The Evil Within 2 Guide Story Walkthrough
Resonances
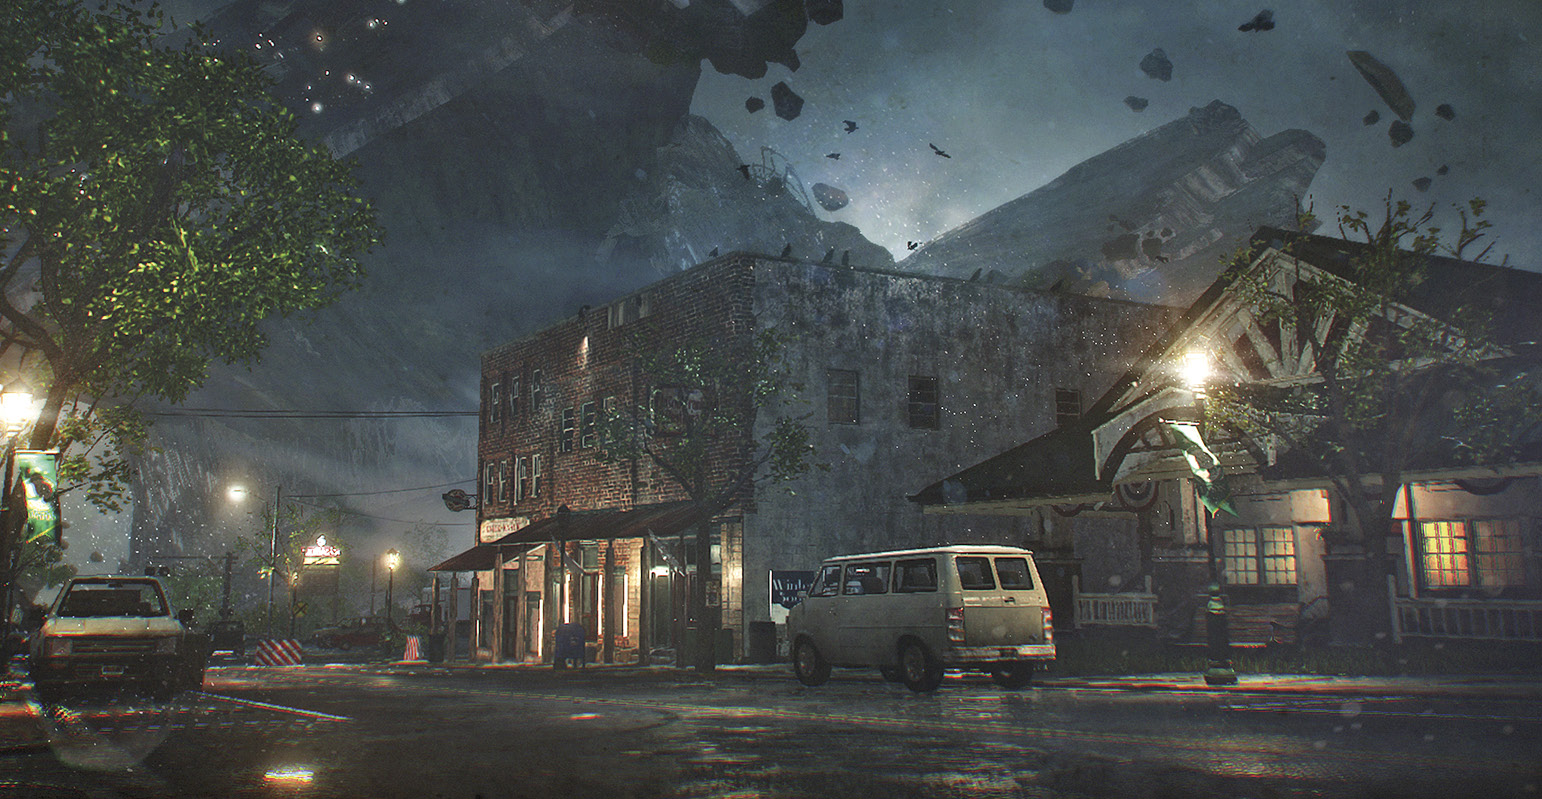
O’Neal says a supposedly simple, “in-and-out” Mobius job has turned into a weeklong slog through confusion and lethal danger. In fact, the STEM world appears to be literally falling apart at the seams. As you begin exploring it this chapter, you’ll find that your handy Communicator is your best friend.
Overview
Objectives
- Talk to O’Neal
- Explore O’Neal’s Safe House
- Go outside and use your Communicator to track the girl’s voice
- Optional: Find the Warden Crossbow
- Optional: Complete the “Rogue Signal” side mission
- Track down the source of the girl’s voice using your Communicator Collectibles
- 8 Files
- 2 Slides
- 6 Residual Memories
Talk to O’Neal
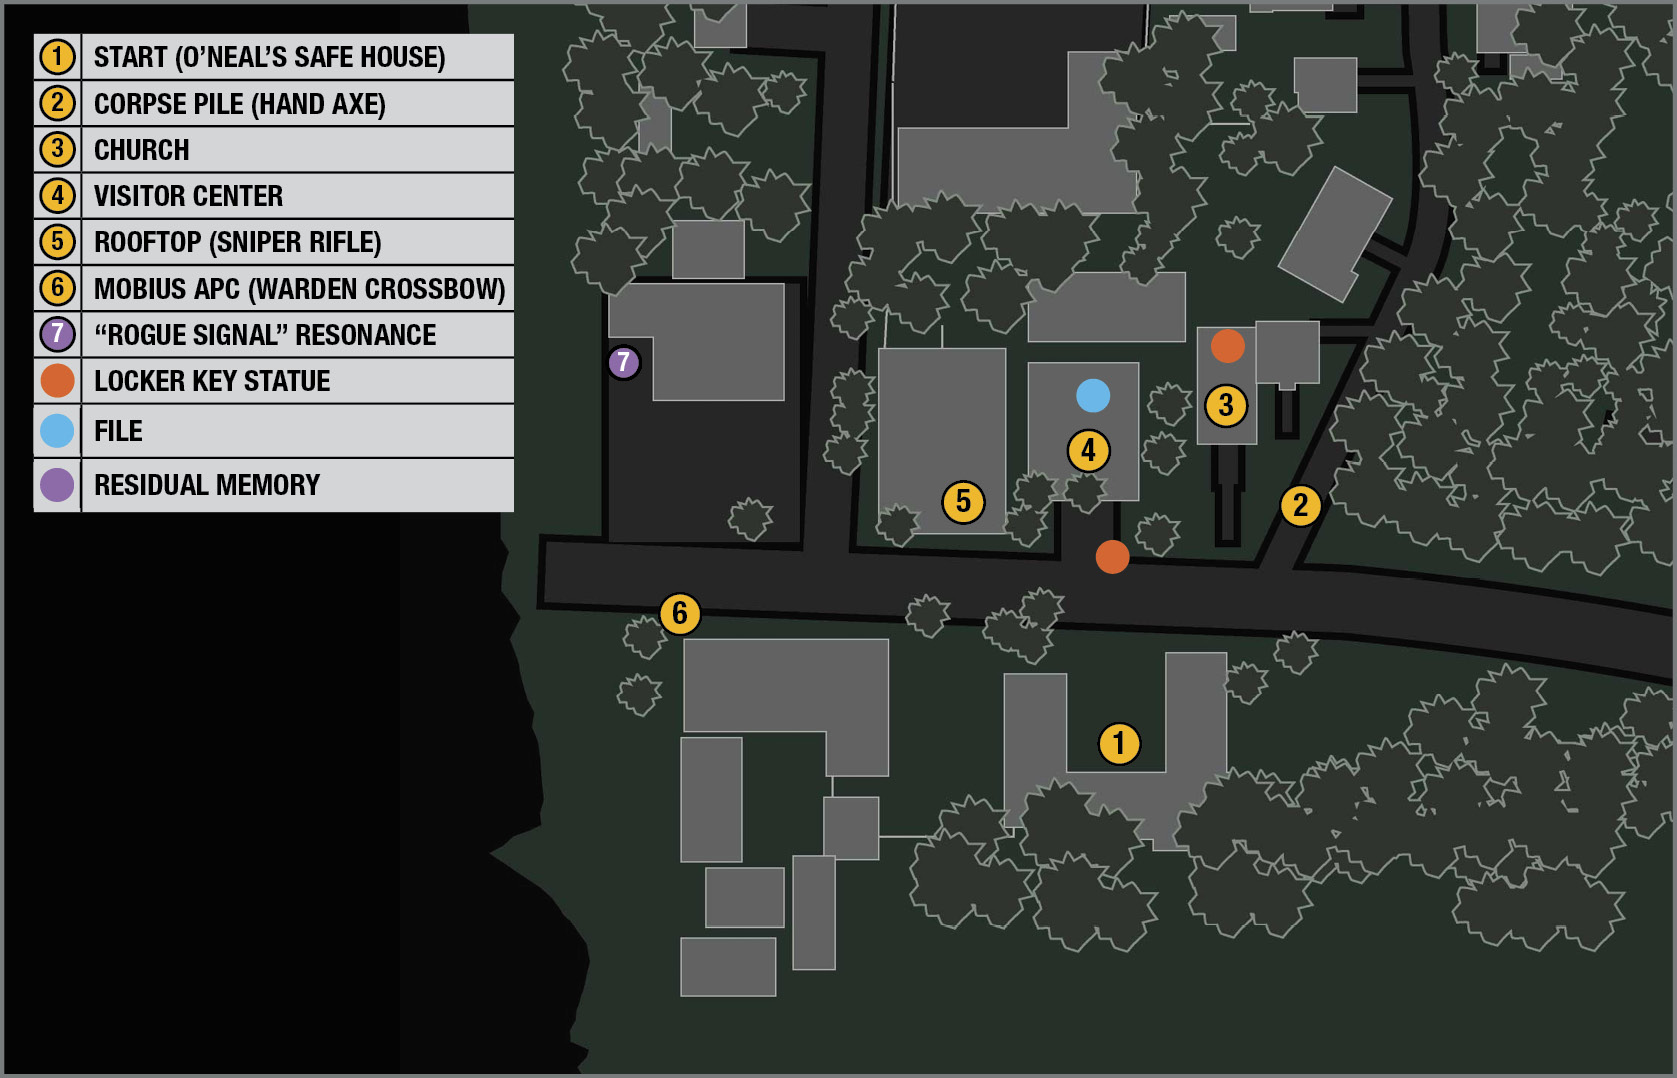
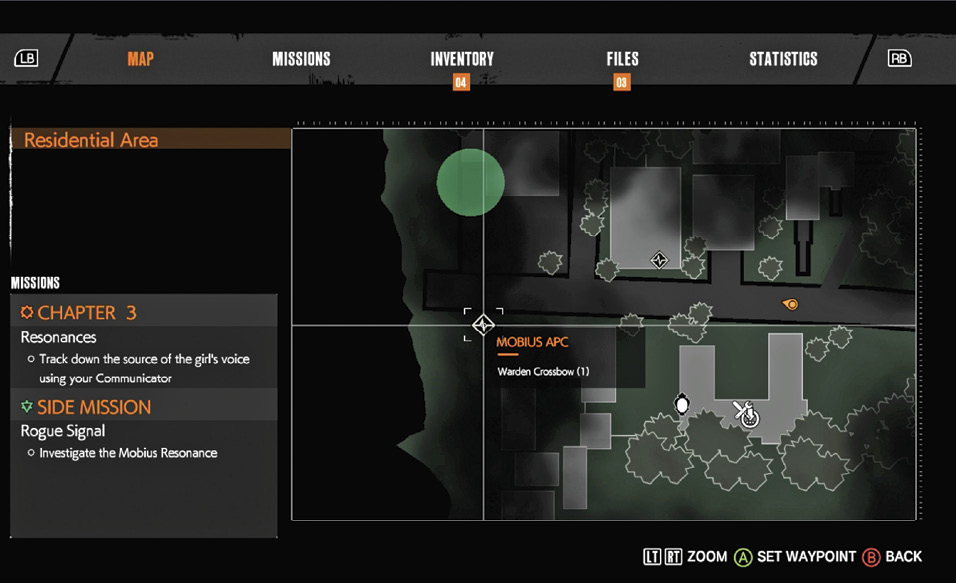
Select all four dialogue topics with O’Neal to get the full backstory on the Mobius deployment and other items of interest. When you select the “Supplies?” dialogue option, O’Neal notes that other Mobius team members have reported the discovery of weapons caches; he sends these coordinates to Sebastian. This exchange triggers an optional side mission, “Rogue Signal,” and puts a green search-area circle on your Communicator map. When Sebastian asks about “Something stronger?” O’Neal reports spotting a weapon next to a Mobius APC just outside the compound, and puts a search icon on your map to mark the APC’s location.
Explore the Safe House
O’Neal’s Safe House has some useful features. First, pour yourself a cup of health at the Coffee Maker next to where O’Neal is working. (This maxes out your health meter.) If playing on Casual difficulty, a Supply Box full of useful items sits against the right wall.
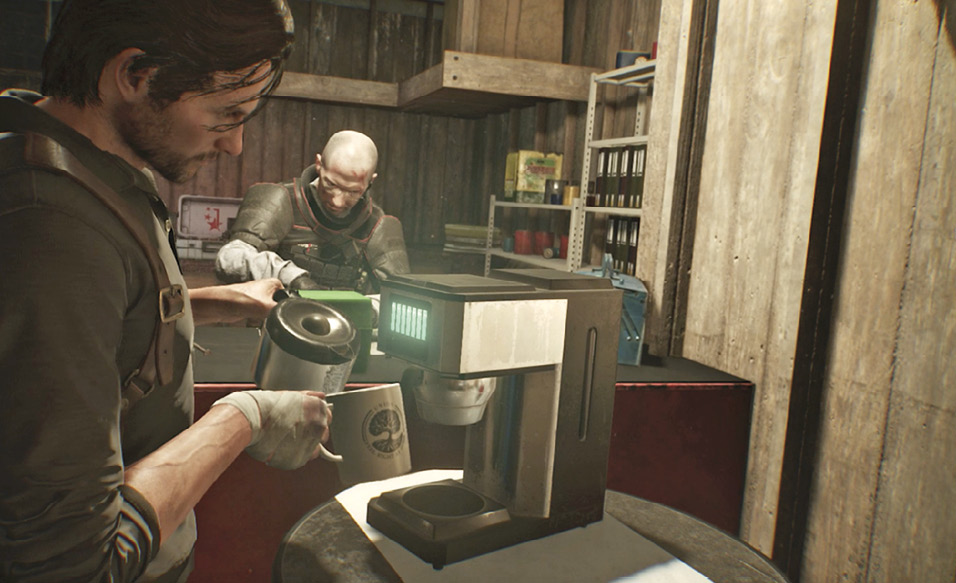
Next to that sits a Workbench, where you can use Components to craft ammo and other items, or upgrade or repair weapons using Weapon Parts. For this purpose, be sure to grab the piles of Weapon Parts sitting around the room too. Finally, use the nearby Save Terminal to save your game progress.
Find the portal back to Sebastian’s Room
Exit the main room via the side door and head left down the corridor. Up ahead, you catch a brief glimpse of a nurse figure, walking away from you. Follow her to the Mirror portal and use it to transport back to a back corridor of Sebastian’s Room that was previously inaccessible. Here you find another Workbench and, at the far end of the hall, a wheelchair.
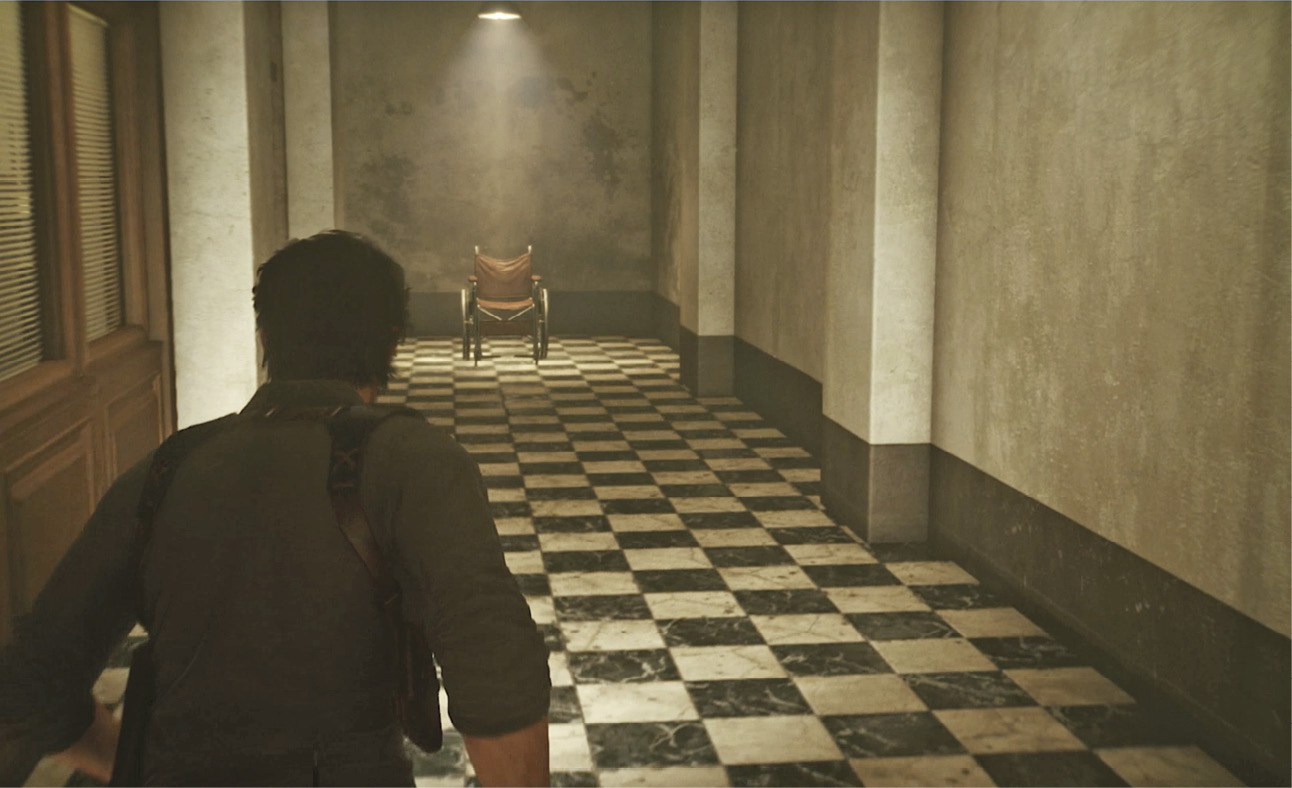
Check out the upgrade chair
Go sit in the wheelchair to trigger a phase-shift that transports Sebastian into another chair familiar to players of The Evil Within. Tatiana, the nurse—also familiar to Evil fans—greets Sebastian, moves to the new upgrade board, and offers to help him “get back in shape.”
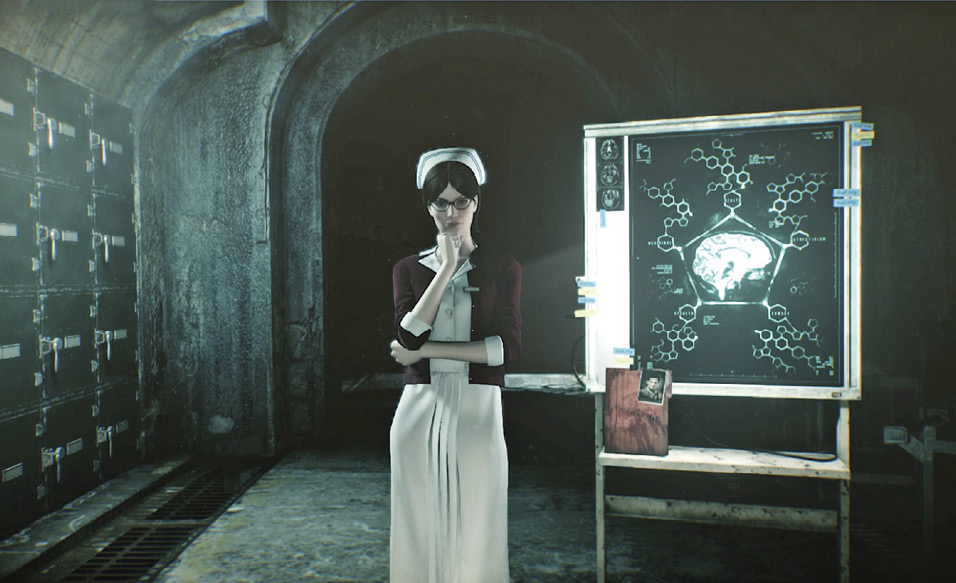
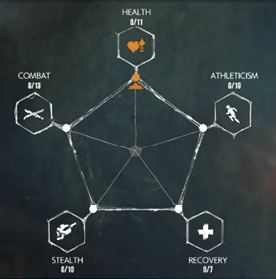
Here you can select the board and spend the Green Gel that you’ve collected to purchase upgrades in five areas: Health, Athleticism, Recovery, Stealth and Combat. (For more on this, see the section on “Upgrading Skills” in our Basics chapter.) As the game progresses you’ll also need jars of Red Gel to unlock higher levels of each skill category.
When you’re finished, simply select Stand Up to return to the back corridor of Sebastian’s Room. Walk through the now-open doors into the office area and use the Mirror on the left to return to O’Neal’s Safe House in Union.
Go outside and use your Communicator to track the girl’s voice
Exit the Safe House via the side door just down the hall on the left. Outside  , take a couple steps forward to trigger a short scene: Sebastian pulls out his Communicator and an “Unknown Resonance” lock-on icon appears. (Read the “Resonance Scanning” info window that also pops up for a quick overview on how scanning works.)
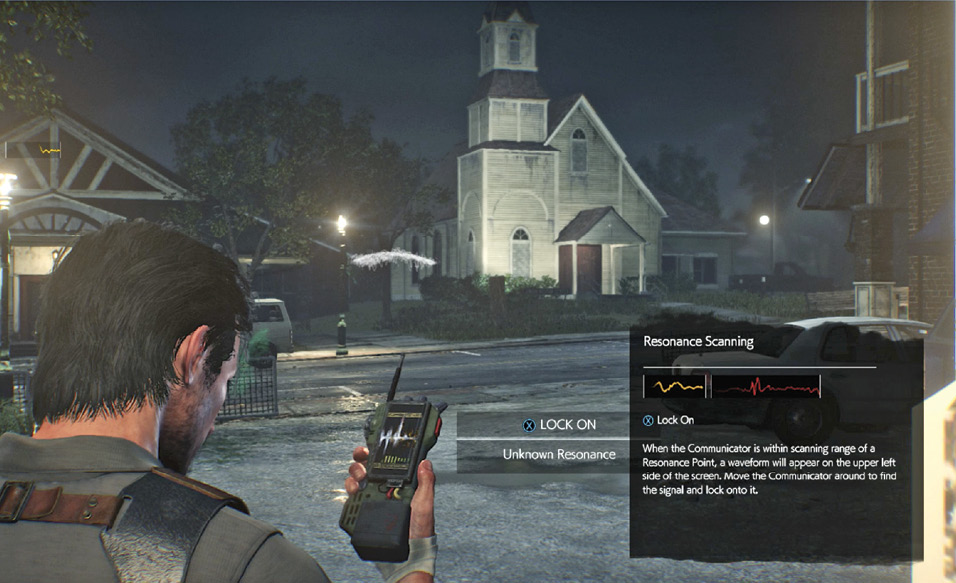
Press the Lock On button indicated to lock onto the signal for the Girl’s Voice. (Read the “Logging Resonance Points” info window here.) When you lock onto a main mission resonance signal, its general location appears as an orange “search-area” circle on your map, labeled with the current mission name—in this case, “Resonances.”
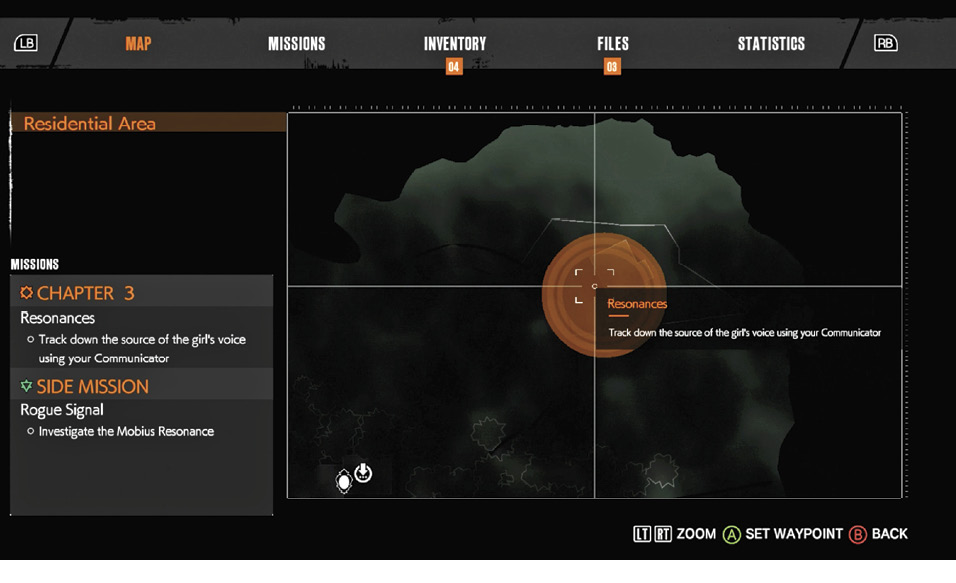
Now, swivel leftward until the green “Rogue Signal” waveform and Lock On icon appear, and lock on to that signal too. You hear a snippet of conversation between two male voices. Note that this Resonance Point is closer, just over 100 meters away. This corresponds to the green search-area circle on your Communicator map, labeled “Rogue Signal”  , where you search if you choose to pursue the side mission.
Lock onto the “Fallen Mobius Operative” signal
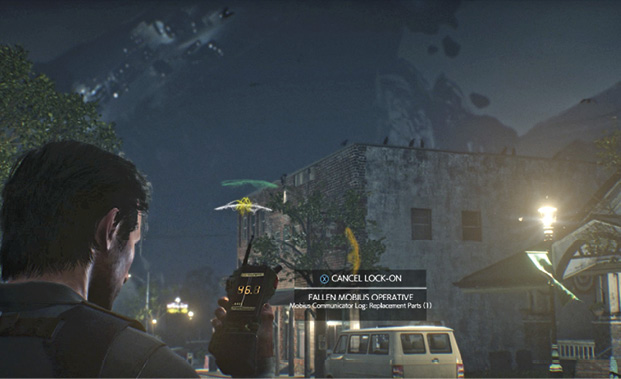
Unequipping the Communicator triggers a quick cutscene. Watch as the STEM breaks apart further, and chunks of Union are torn away from town. After the cinematic, equip your Communicator again and swivel to center on the white “Unknown Resonance” waveform that now appears. Lock on to track the location of a “Fallen Mobius Operative” just 46 meters away. The corresponding search icon on your map marks a spot atop a nearby building. More on the fallen soldier shortly.
Optional: Snag a Hand Axe
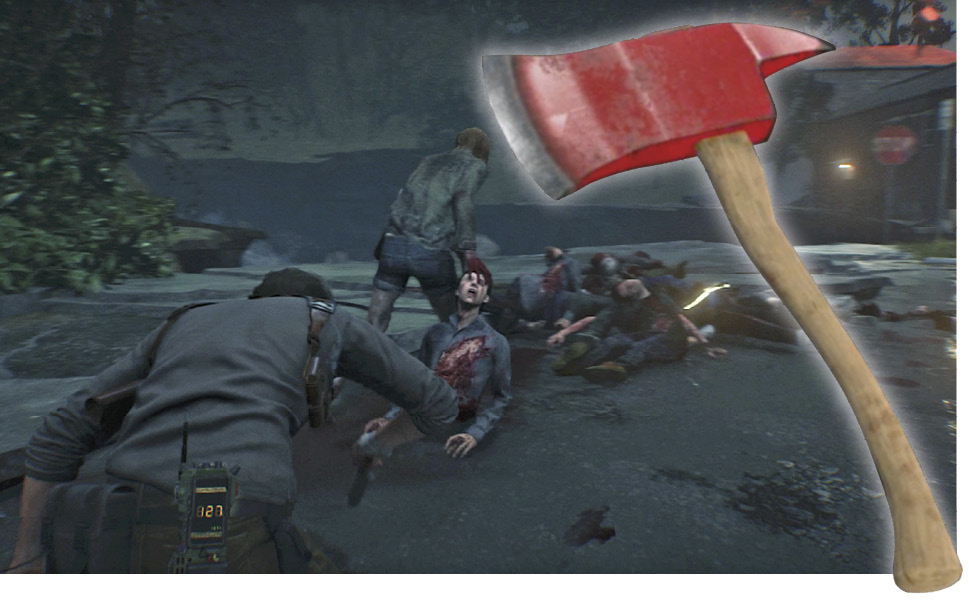
First, let’s explore the immediate area and snag some helpful items. Veer rightward and head carefully toward the pile of corpses  in the street next to the church. Crouch behind the nearby pickup truck and wait for the Lost hauling another body to the pile. Take it down from behind with a Sneak Kill then grab the Hand Axe from the pile of corpses. Hand Axes are very powerful melee weapons; they can kill a Lost with just one strike.
Optional: Explore the Church
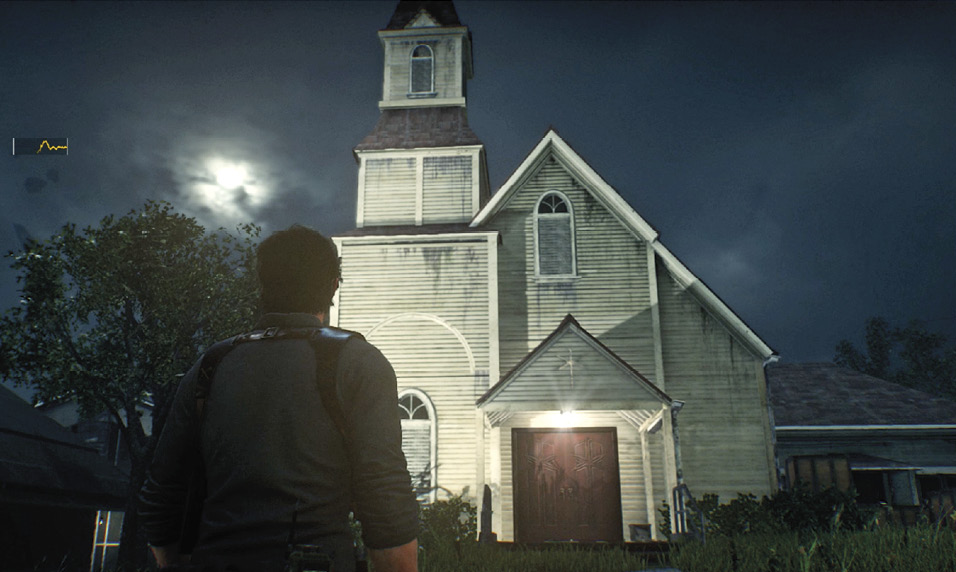
If you’re up for a challenge, make sure your Semi-Automatic Handgun is fully reloaded then enter the church  via the front door. Your entrance triggers a disturbing scene with the parish priest, and then a pair of nasty parishioners burst through side windows. When the scene ends and control returns, the attackers approach you from three directions!
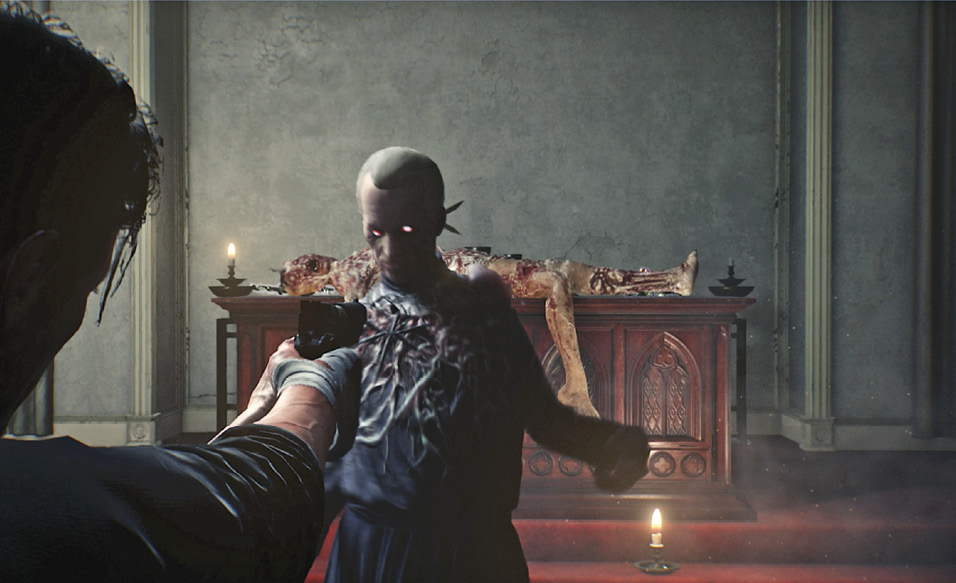
Immediately dispatch the priest with two headshots, then swivel and run down the aisle. If you can get the two parishioners to pursue you side by side, you can use the Hand Axe you just acquired to score a one-hit kill, taking out both with just one swing! But if you can chop only one, you’ll have to shoot the other.
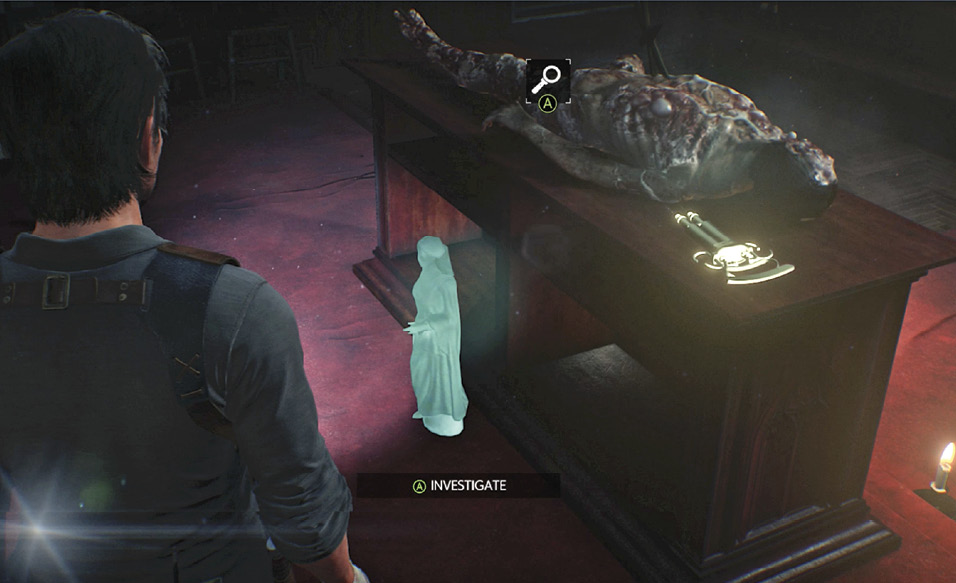
Once the holy space is cleared, be sure to scoop up the Green Gel puddles and then check behind the altar to find a statue. Smash the statue with a melee attack then pick up the Locker Key that falls out. Don’t miss the Medical Syringe sitting on the altar before you exit the church.
Optional: Explore the Town Center area
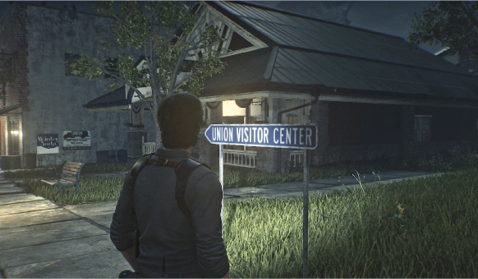
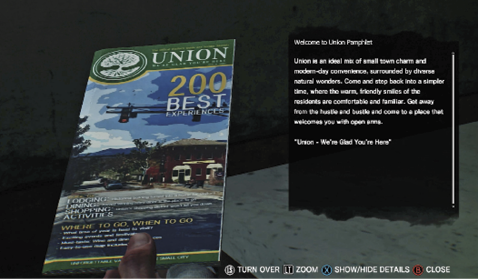
Another Locker Key statue sits on the bus bench by the street in front of the Union Visitor Center, next door to the church. Enter the Visitor Center  , loot the room, and pick up the “Welcome to Union Pamphlet” file sitting on the counter. Then exit back out to the street.
Optional: Explore the restaurant roof
Check your map to see that the “Fallen Mobius Operative” icon is located on the building  next door to the Visitor Center; the spot is actually on the rooftop. Head down the alley between the Visitor Center and the Jason Franklin Restaurant to find an exterior staircase. (Look for breakable crates underneath the staircase that you can smash for pickup items, but watch out for the Lost ravaging a corpse just around the corner to the right.) Climb the stairs to the landing, then find the ladder and climb it to the roof.
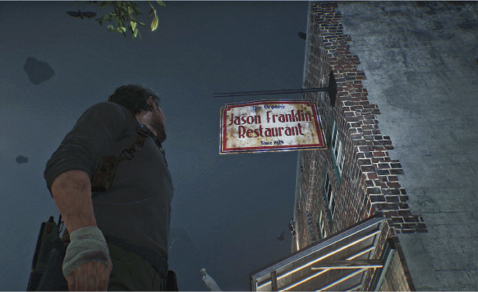
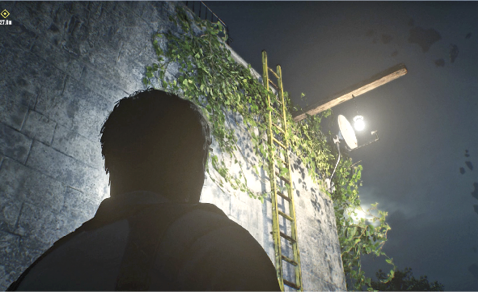
Careful: a Lost is roaming the rooftop, so immediately take cover behind the nearest fan housing. Move with stealth from unit to unit until you can get behind the Lost for a Sneak Kill. (You can also just go shoot it, but it’s better to save your bullets whenever Sneak Kills are an option.) Once the Lost is downed, find all the items scattered on the roof. You discover a Broken Sniper Rifle, Sniper Rifle Cartridges, plus other useful items in open supply crates.
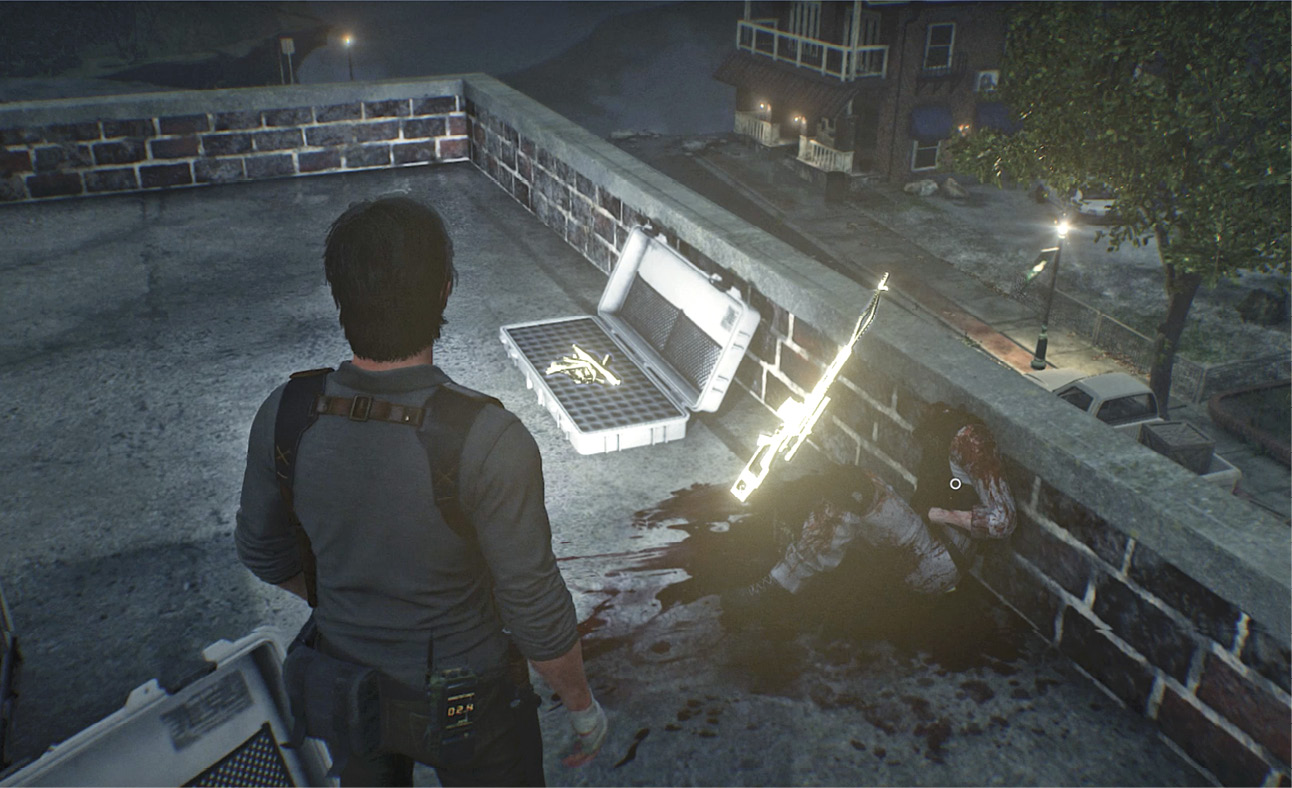
You also find a Communicator on the dead operative. It has a log that points you to replacement parts for the Broken Sniper Rifle; they’re stored in a supply shed across from Union Auto Repair. This adds a search icon labeled “Sniper Rifle Parts” to your map in the northwest corner of town.
Once you’ve looted everything on the roof, climb back down the ladder and stairs and return to the street, crossing over to the opposite side.
Optional: Find the Warden Crossbow at the APC
Note that this objective is optional now, but it is mandatory later on, since you cannot get into the North Safe House without it. Open your Communicator map again and set a waypoint on the Mobius APC  that O’Neal marked on your map just down the street to the west. Start sneaking along the left side of the street, using parked cars and road barriers as cover.
Up ahead, you can see about half a dozen Lost stumbling back and forth across the street in front of Krimson’s Supermarket. While keeping an eye on them, move stealthily to the APC at the corner and duck behind the vehicle.
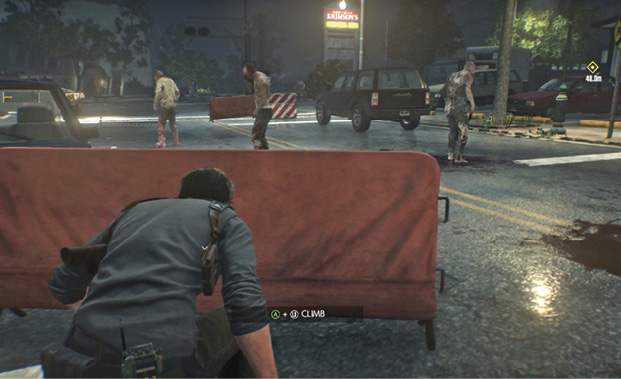
Grab the Warden Crossbow and read the onscreen instructions for using it. Then close the tutorial page to trigger a quick cutscene: another STEM quake rattles the street. The shaking rolls a nearby car into a fire hydrant, releasing a gush of water into the street. The car’s horn honks as well, attracting the attention of the nearby Lost. They wander over to the growing pool of water.
Open your Arsenal Menu and equip the crossbow, which is already loaded with a Shock Bolt. Quickly fire the Shock Bolt into the pool of water on the street. Watch as the bolt electrocutes all Lost standing in the water. As they collapse to the ground, hop over the barrier and Stomp fallen Lost before they can get up. Once they do get up, fire the second Shock Bolt into the water and repeat the process. You should be able to stomp most of the monsters without resorting to other forms of combat.
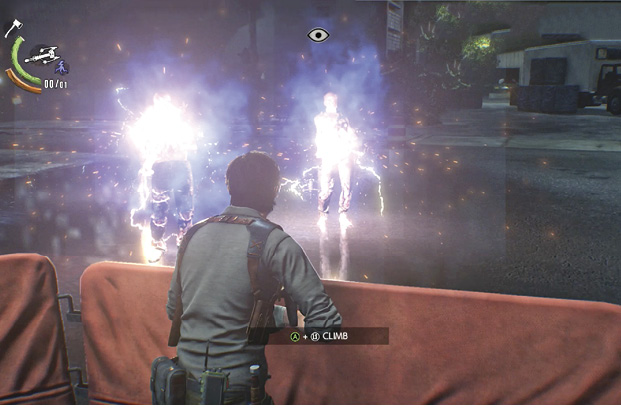
Before you move on, be sure to scoop up all the Green Gel and then return to the APC and grab the pair of Harpoon Bolts for the crossbow.
SIDE MISSION: Rogue Signal
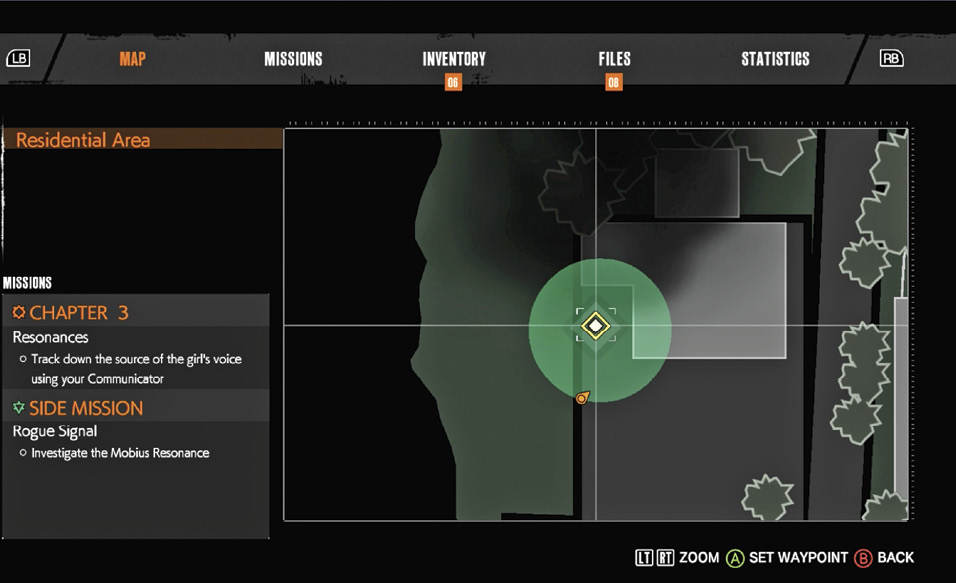
At this point, you can start tracking the girl’s voice to the orange search zone on your map if you want. But we recommend that you tackle the side mission first. It not only gives you some practice, but also lets you stock up supplies for important skill and weapon upgrades. It also offers some juicy backstory elements that deepen the overall plot.
Overview
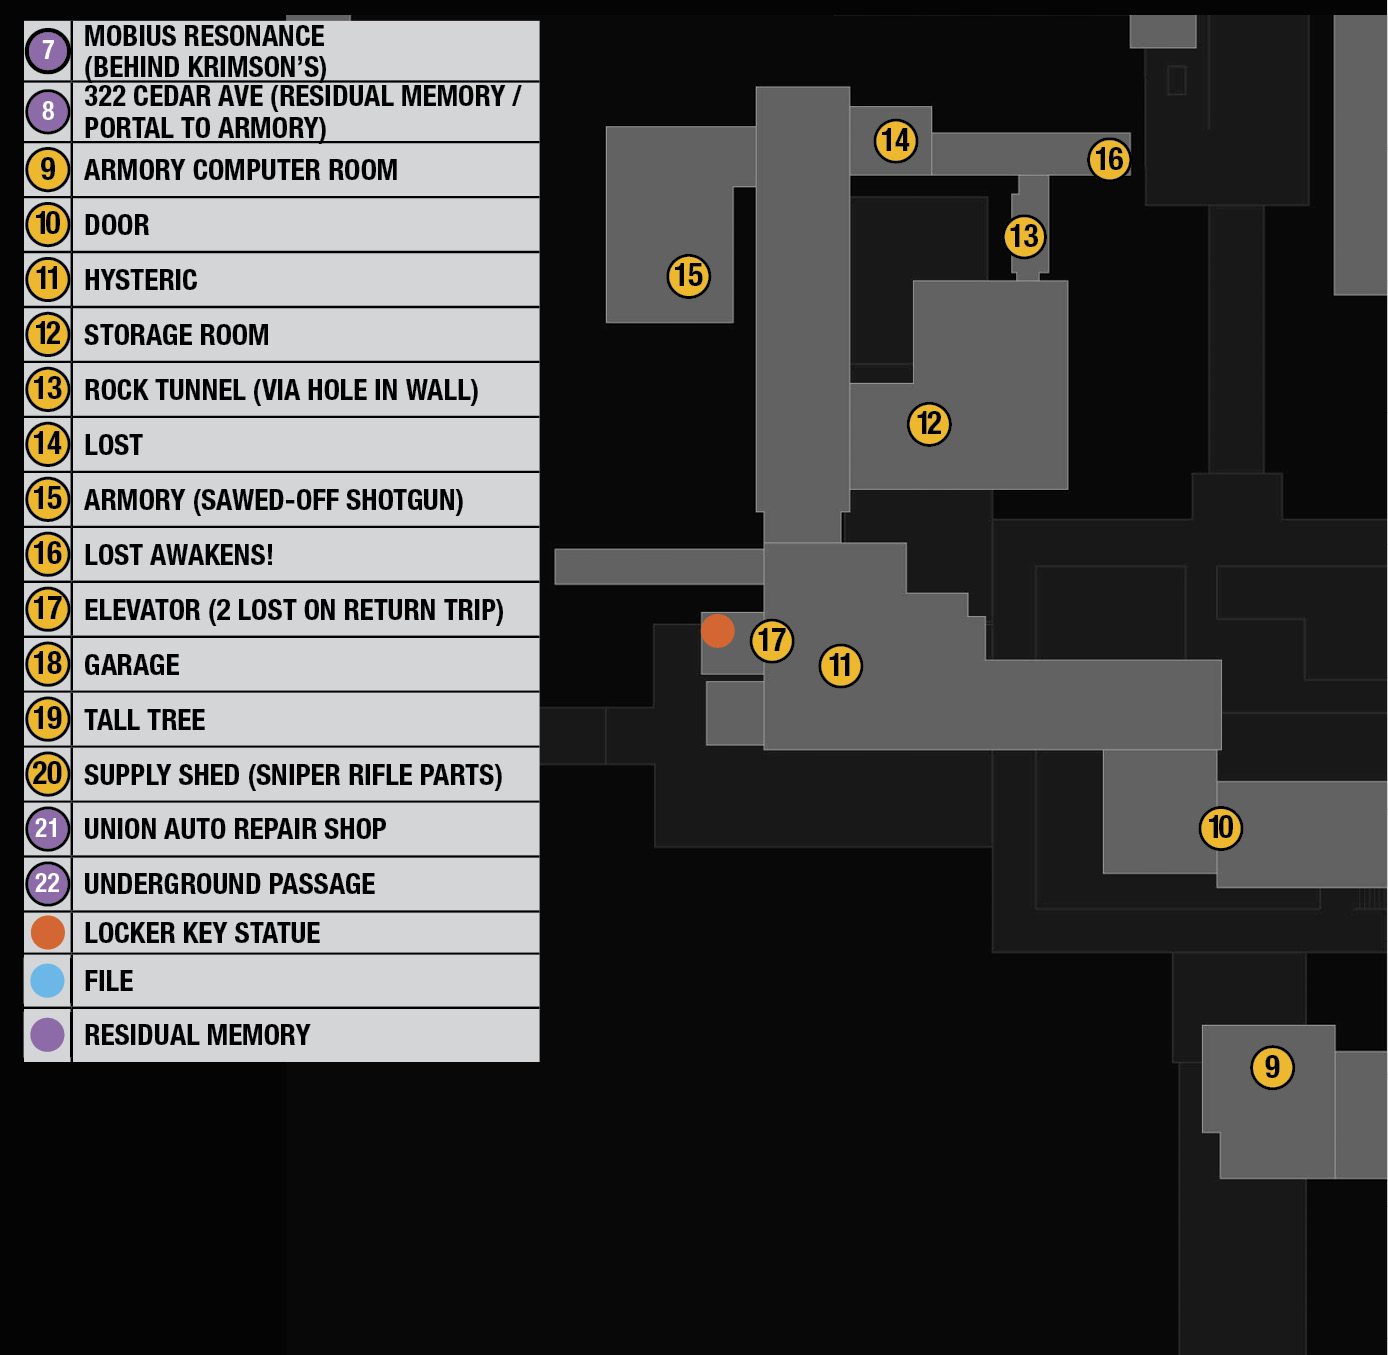
Objectives
- Investigate the Mobius Resonance
- Investigate 322 Cedar Ave
- Optional: Explore the Armory
- Investigate Union Auto Repair
- Investigate the Visitor Center
- Report back to O’Neal
Investigate the Mobius Resonance
Open your Communicator menu to access the map. Move the map reticle directly into the middle of the green “Rogue Signal” circle and press your Set Waypoint button. Now when you return to the world view, you see a yellow waypoint marker onscreen.
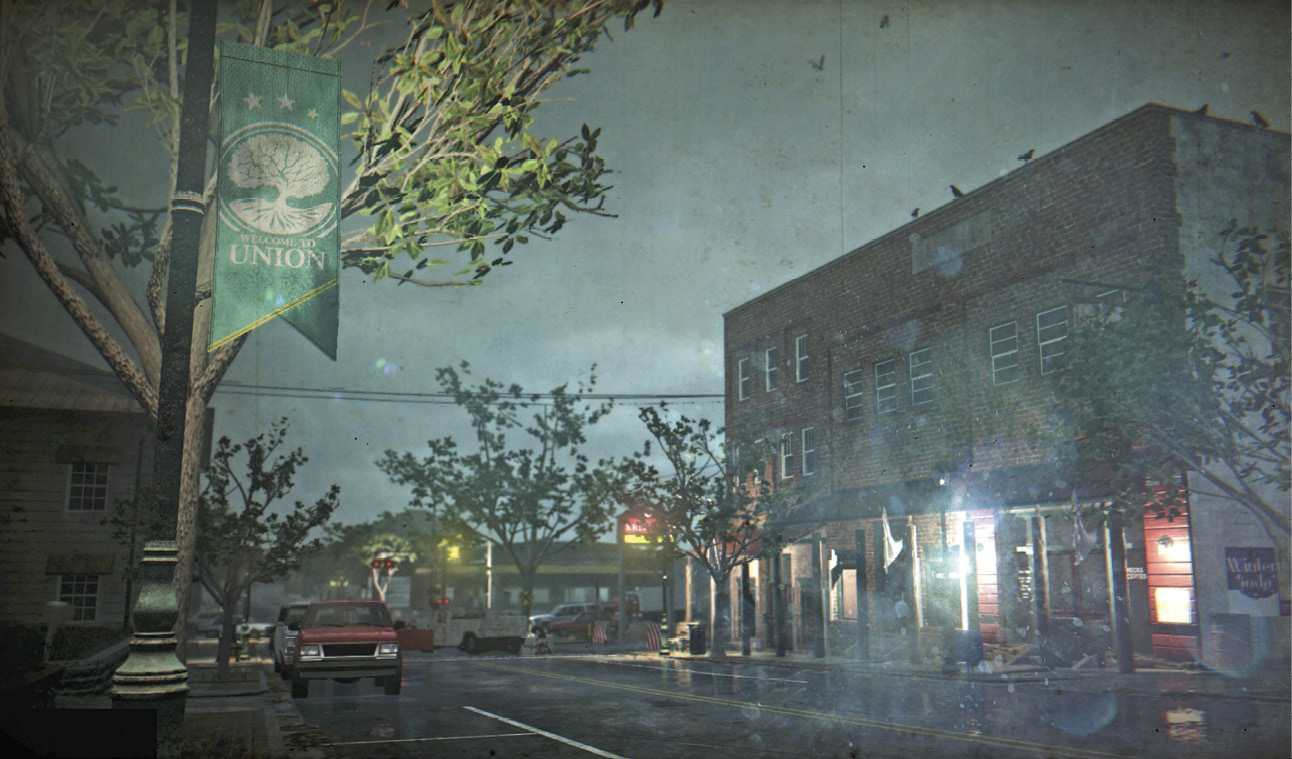
Follow the yellow waypoint marker through the foliage along the right side of the fence leading to the Krimson’s Supermarket dumpster dock  . Equip your Communicator and approach the dumpsters, moving until the “Tune” button icon appears onscreen.
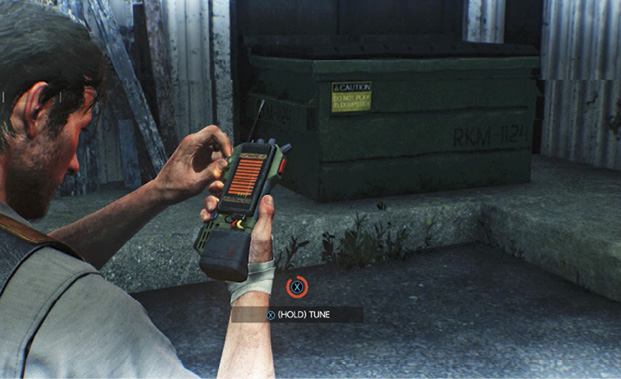
Hold down that button until the Residual Memory appears, revealing the ghostly figures of two Mobius security officers, Turner and Hayes. Listen to their conversation: Turner calls an Alpha One Emergency, ordering Hayes to abandon protection of O’Neal’s Mobius tech team and kill everything in Union that moves.
Now you can smash a number of crates near the dock for pickup items (including some inside the delivery truck), but beware of Lost lurking nearby. Toss a bottle to distract it, or lure it over for a headshot or axe strike. Then find the Fallen Mobius Operative out in the middle of the street and loot the body for a pickup item.
Investigate both Resonance Points
Once the first Residual Memory fades, two new Resonance Points appear as green search zones on your map.
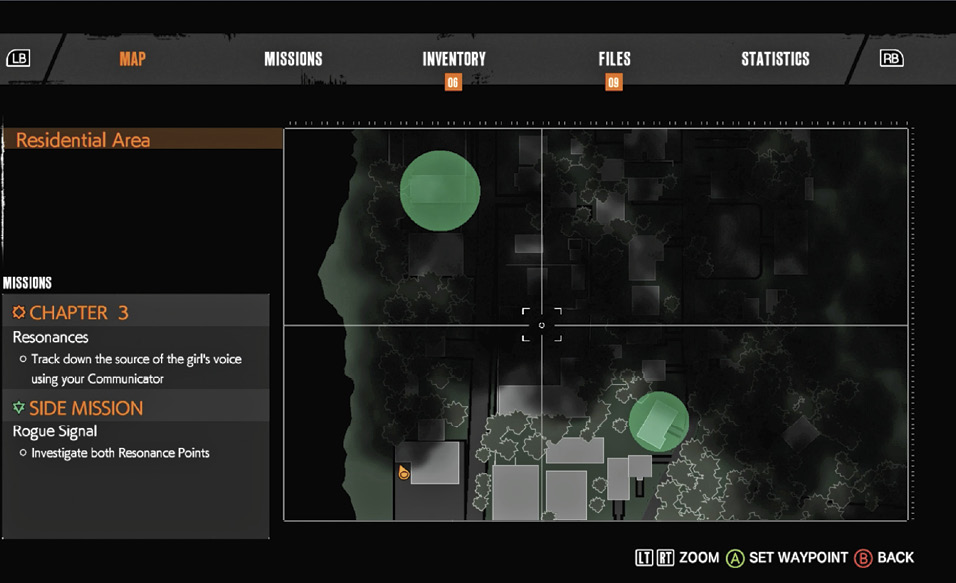
Investigate 322 Cedar Ave
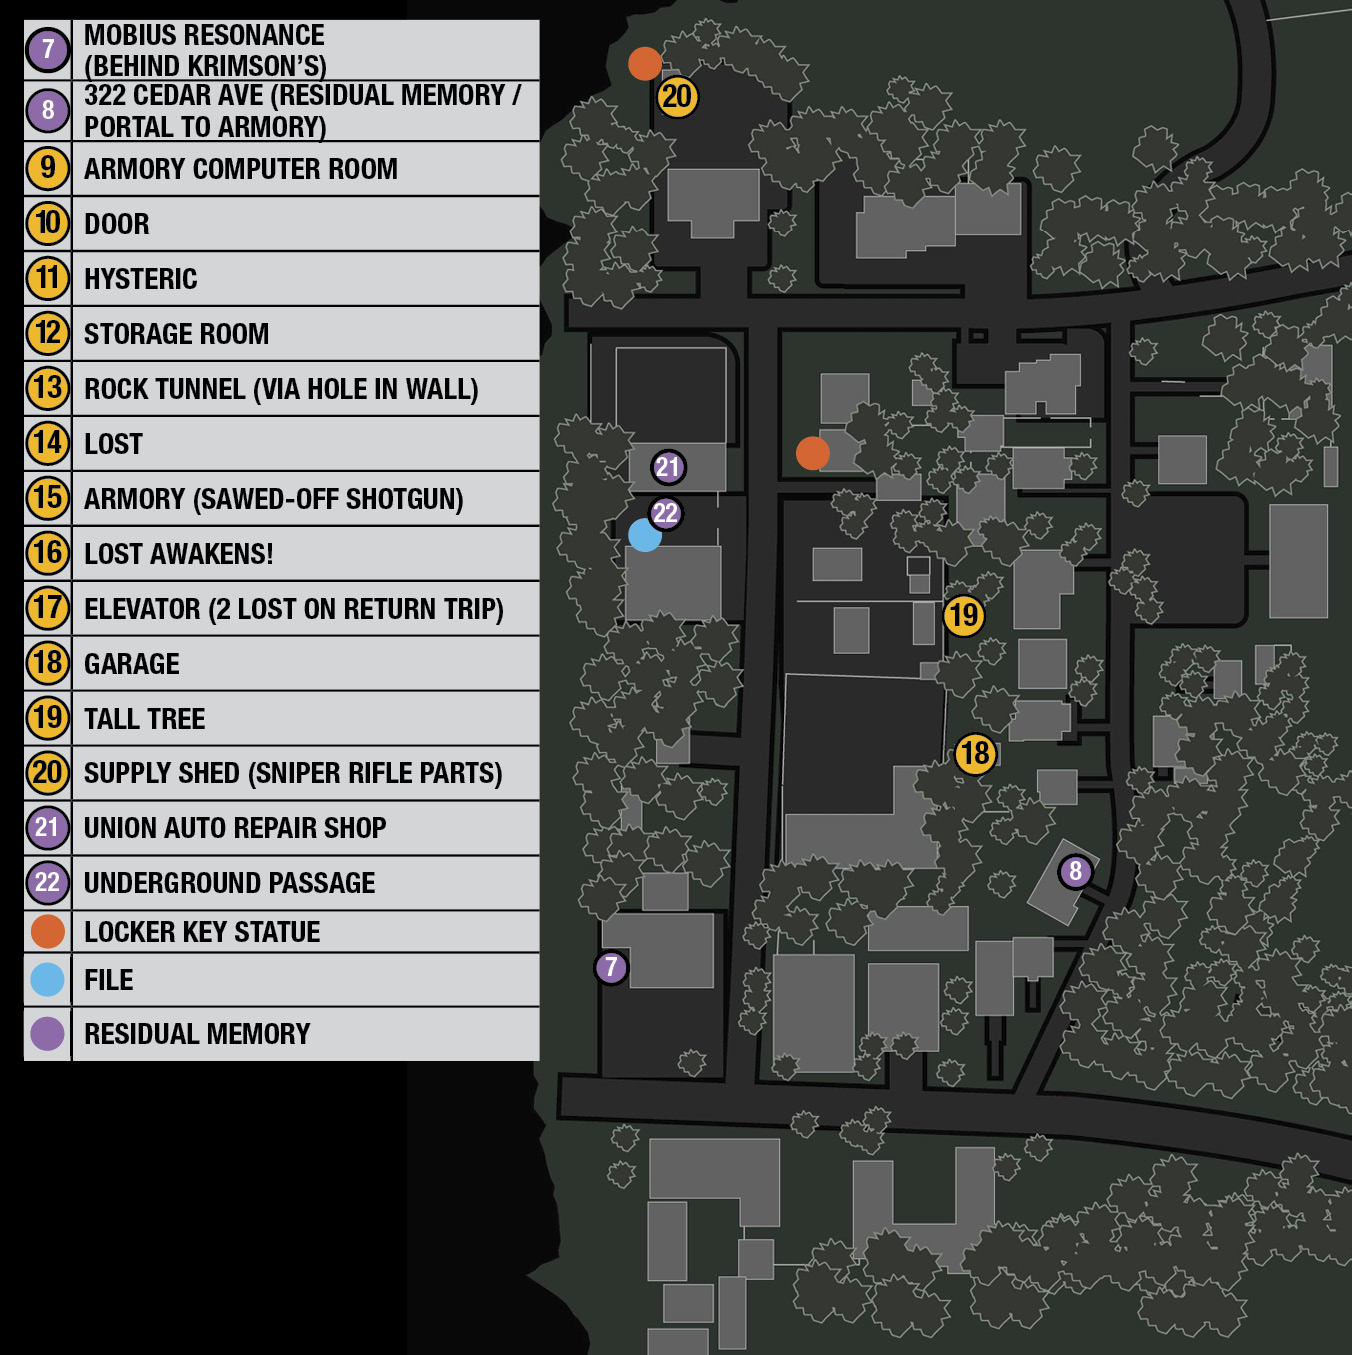
Work your way back down the main street toward the church. Turn left on Cedar Avenue, approach the first house on the left, 322 Cedar  . First, take the Handgun Bullets from the Fallen Mobius Operative on the front sidewalk. Then equip your Communicator, lock in the green Rogue Signal waveform, and enter the house through the front door.
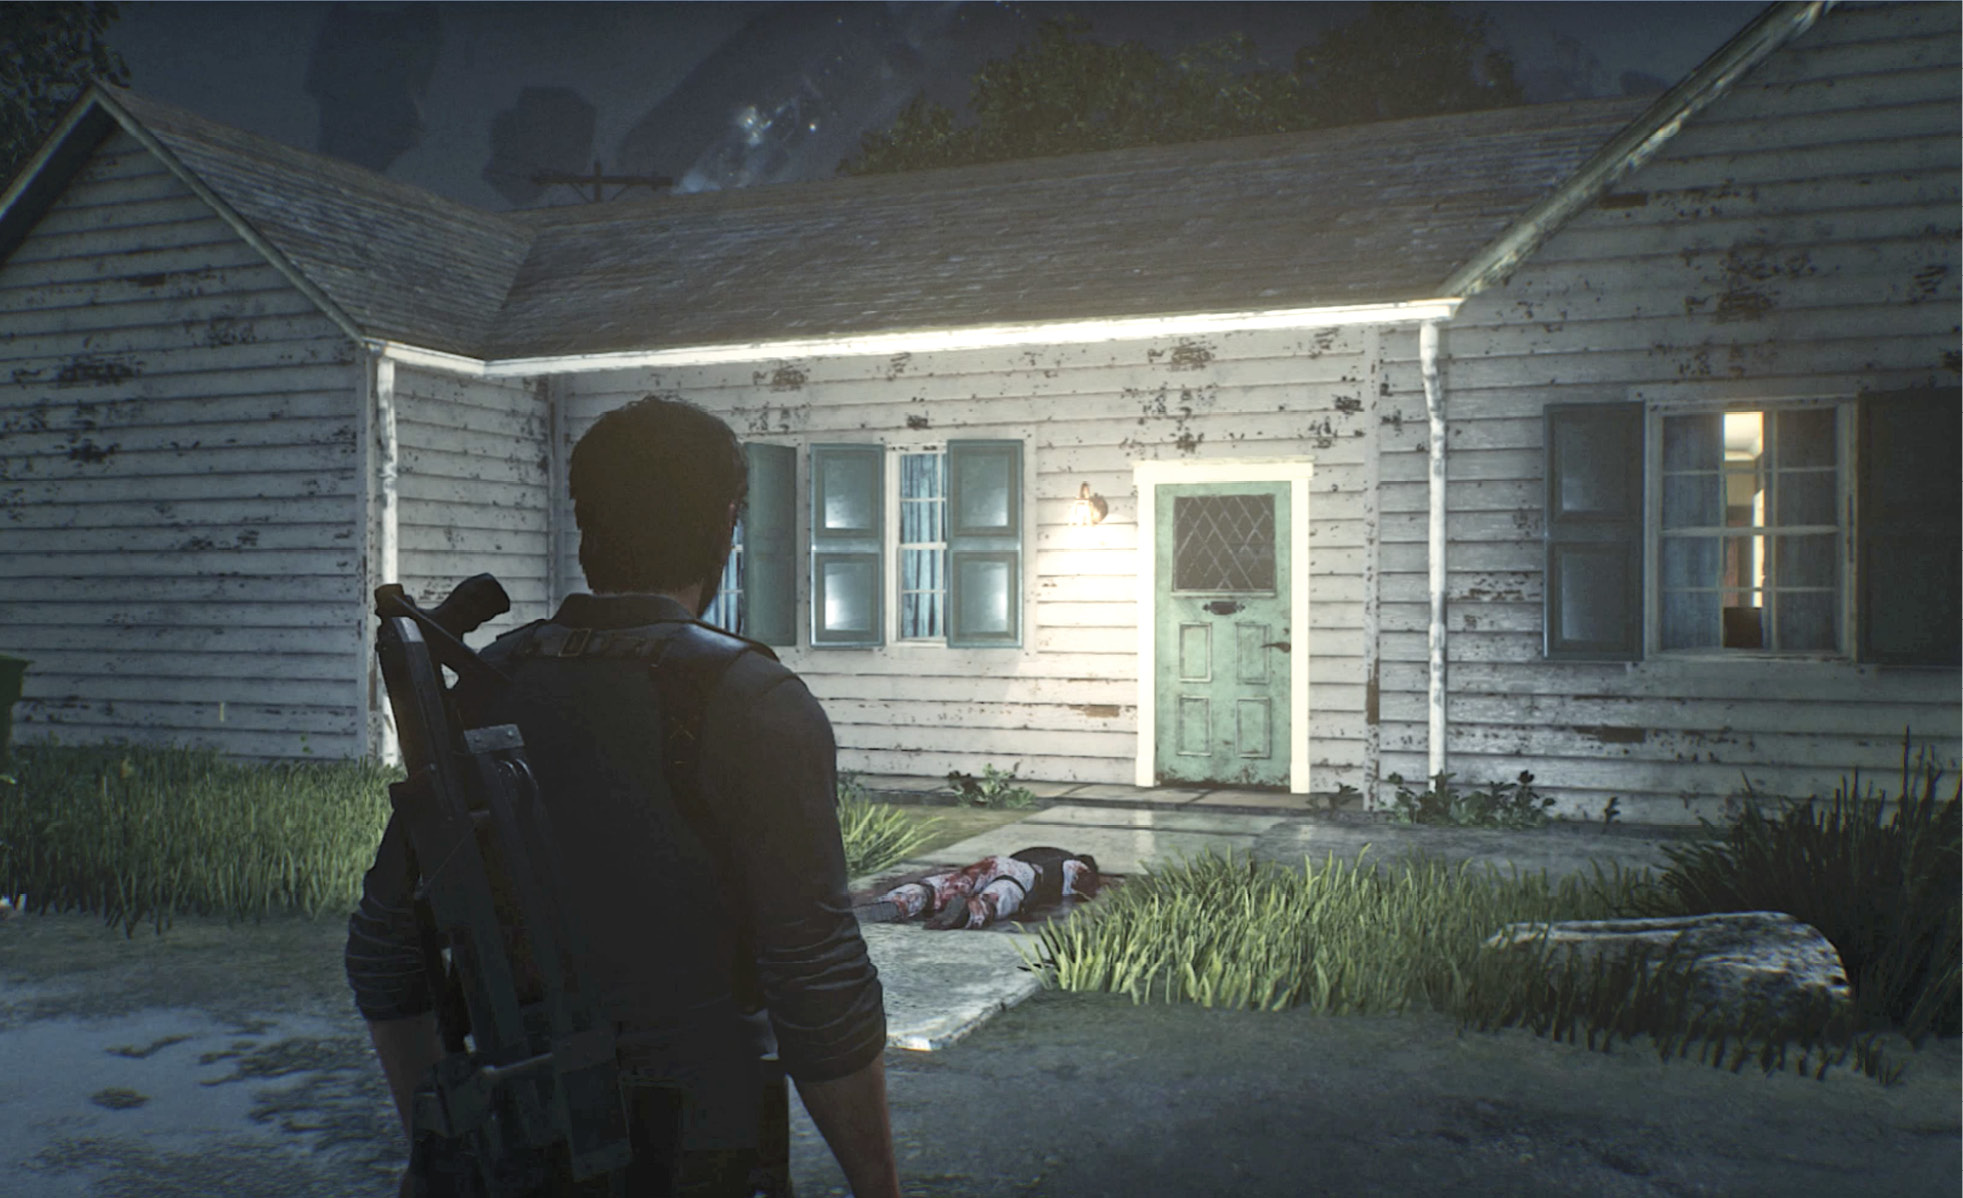
Inside, snag the Syringe from the bathroom cabinet then go through the white interior door. Follow the long corridor into a utility room. Equip your Communicator, move until the Tune button icon appears, and then hold the button indicated to trigger another Residual Memory. You learn that Turner is heading to the auto body shop for supplies while Hayes is using a computer to “get down there.” They plan to meet later at the Visitor Center for what sounds like a very grim task.
Optional: Explore the Armory
After the Residual Memory is logged, you can enter the storage room beyond and scour it for pickup items. There you also find a trap door on the floor. Open the trap door and climb down the ladder into an underground room. Approach the computer on the desk and hold down the button indicated to “Go to The Marrow: Armory.”
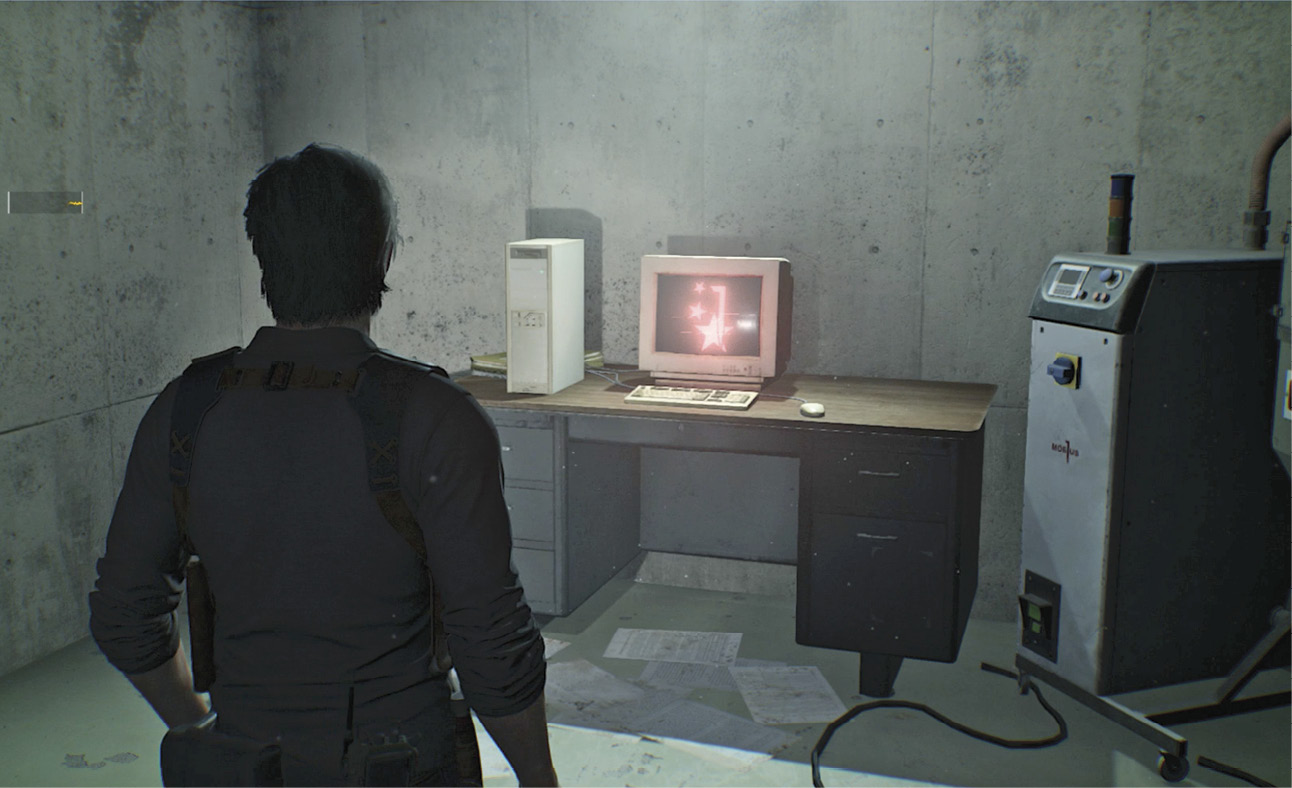
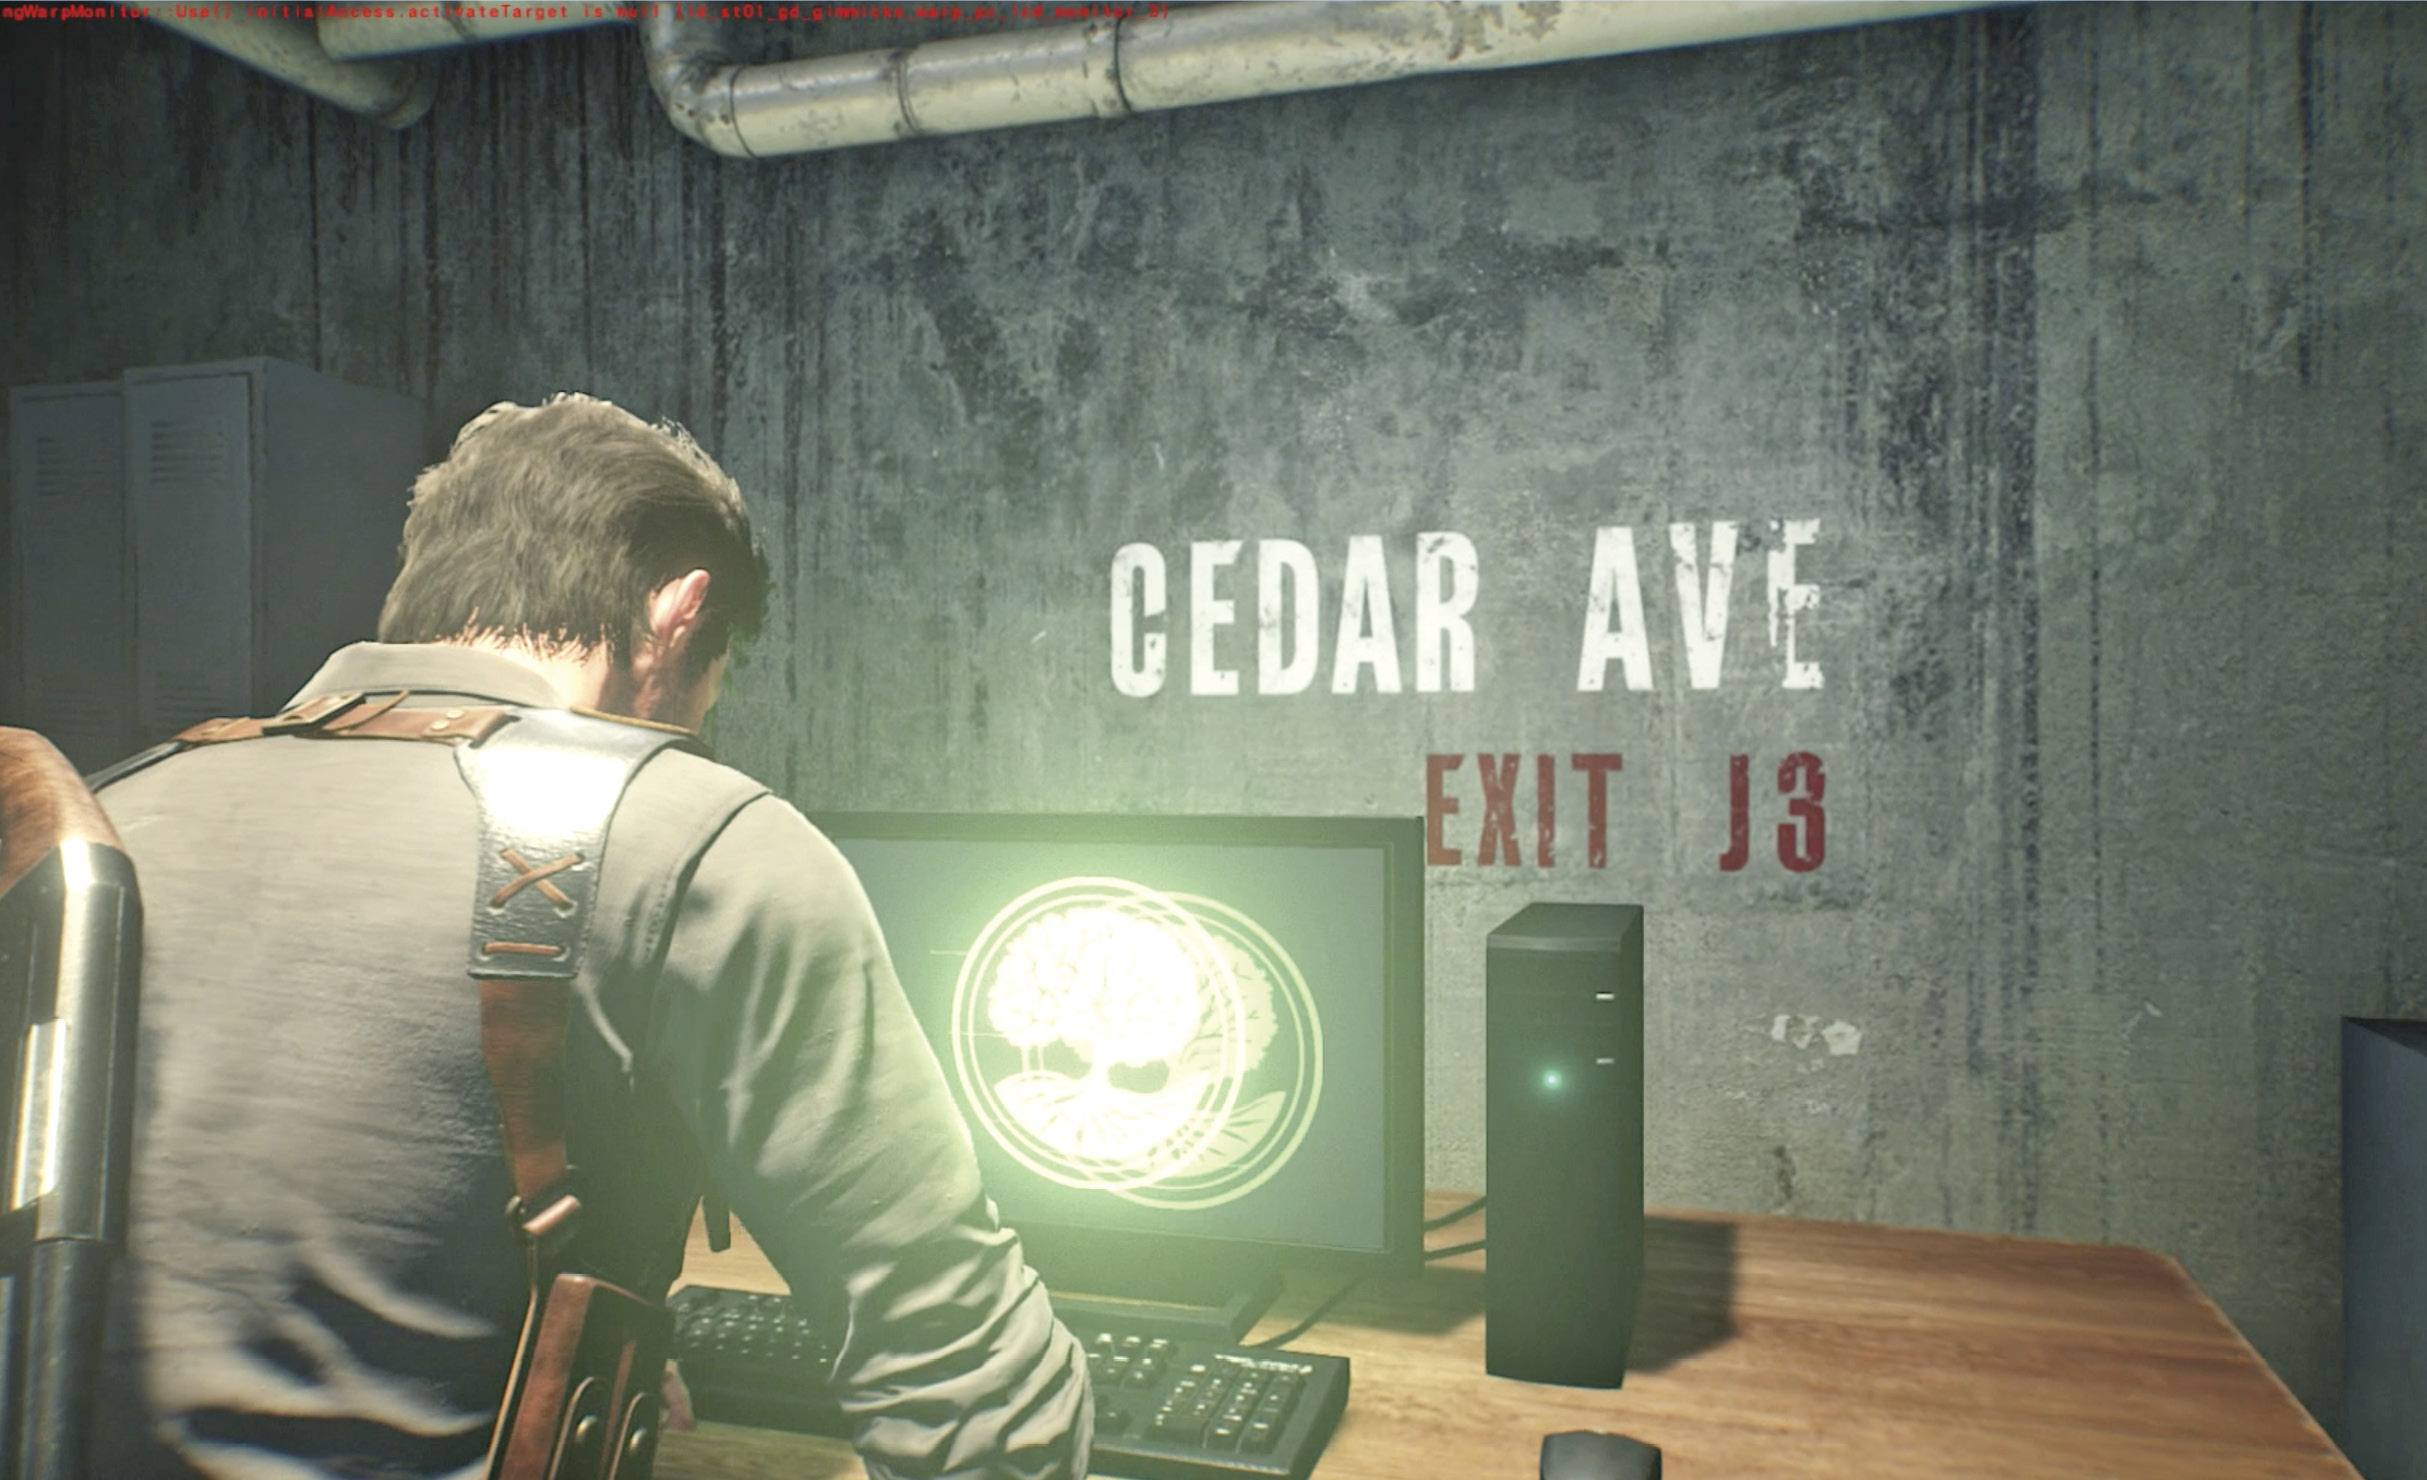
You teleport to the same dark, watery nether-space that you landed in when you first dropped into the STEM world. Wait a second until a blinding light flashes, then approach the computer that appears and use it to complete the trip to the Armory terminal  . You end up at a terminal under a “Cedar Avenue, Exit J3” sign. Grab a few Handgun Bullets stashed in an equipment locker just to the right then exit the room via the only door. Follow the corridor downstairs then past a floor directory of the Mobius underground facility; continue through the next door
  .
.
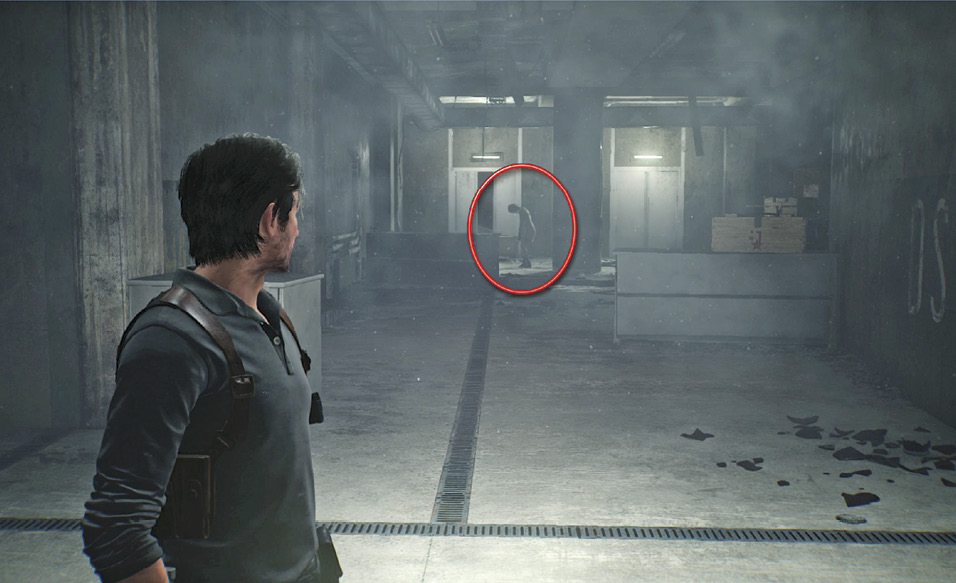
Follow the hallway around the corner then stop and crouch as you hear the distinctive gurgle of a deadly, frightening Hysteric  just down the hall (circled in our shot). She paces in front of two sets of elevator doors, halting to slouch every few steps. It takes multiple hits to bring the tough lady down, so try this: creep up behind her for a Sneak Kill (it’s an easy approach—she paces very slowly). This attack won’t kill her, however. When she recovers with a wild swing, back away and target her with quick headshots until she drops! Be sure to scoop up the prodigious puddle of Green Gel she leaves behind.
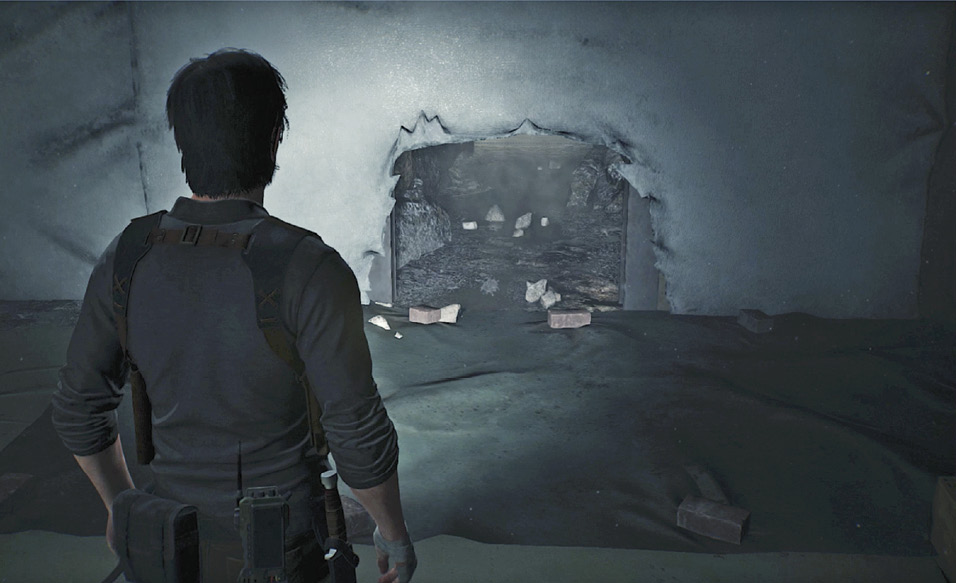
Proceed through the next door into a big storage area  and smash boxes to find pickup items. Then crouch and exit via the hole torn in the wall; proceed through the rock tunnel
  . As you exit the tunnel you hear activity down the corridor to your left. At the far end, a Lost
  is tearing at the flesh of Hayes. Creep up behind him for a Sneak Kill.
Solve the wave lock puzzle
In the next room, you find two locked doors. Each one has a lock control panel next to it. For this walkthrough, we’ll skip the big security door labeled DW-B03. (See the Tip on this page.) Approach the unmarked double-doors and operate the lock panel to their left for a close-up of its display.
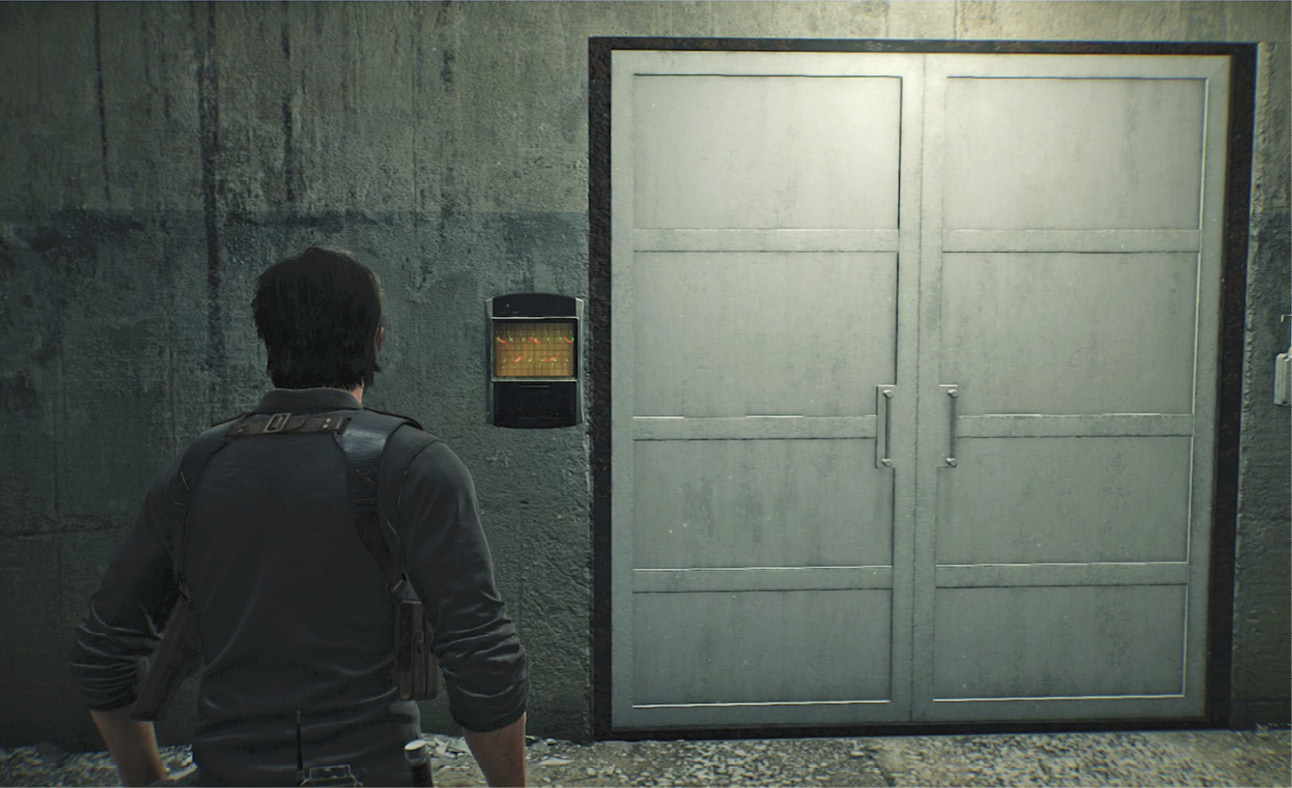
This is an oscilloscope-based lock puzzle. Your objective is to match the green wave pattern to the red wave pattern. First, use the Adjust Amplitude control indicated onscreen to change the green wave height until it matches the red wave height.
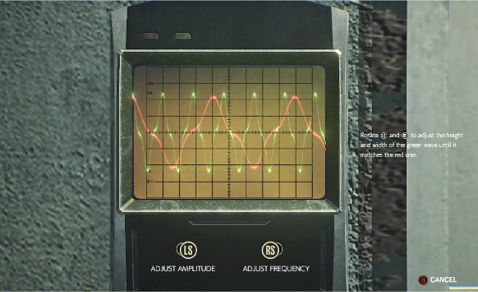
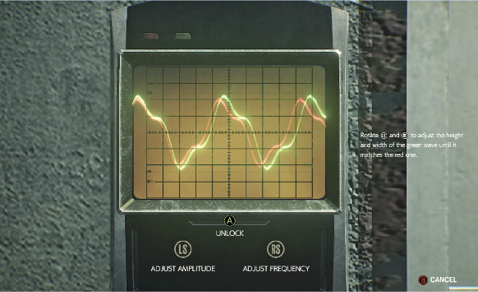
Then use the Adjust Frequency control to alter the width of the green waves until they match up to the width of the red waves. An “Unlock” button icon appears on the display. Press that button to unlock the doors.
Loot the shotgun and fight back to the computer terminal
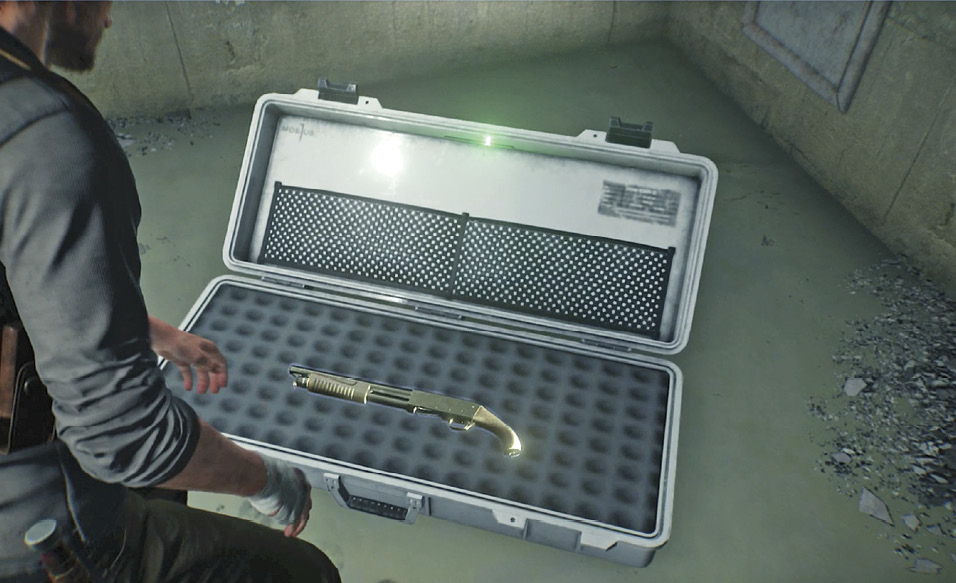
Now you can loot the Armory  unmolested. The flat weapon crate on the floor holds the glorious Sawed-Off Shotgun. Wield it immediately! Then start retracing your route back to the computer room
  .
.
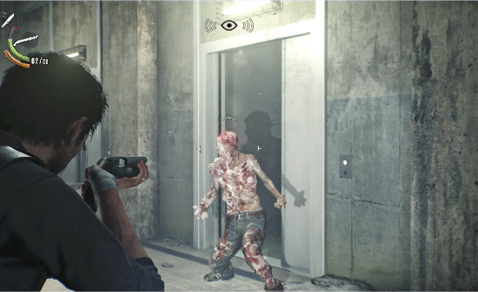
On the way, watch out for a lone Lost  who awakens as you enter the corridor that leads to the rock tunnel entrance. One good shotgun blast to the head takes it out in spectacular fashion. Reload so you have the full three shells in the clip… because more danger lurks ahead in the elevator hall. There, two grisly Lost burst from the rightmost elevator
  as you approach. Terminate them both with close-range blasts. Be sure to check out the elevator afterward to find and break the Locker Key statue.
Return to 322 Cedar
When you reach the computer terminal, use it to return to the dark watery void, and then wait for another computer to appear in a blinding flash. Use that one to travel to the underground room at 322 Cedar Avenue  . Climb up the ladder and exit into the main floor corridor.
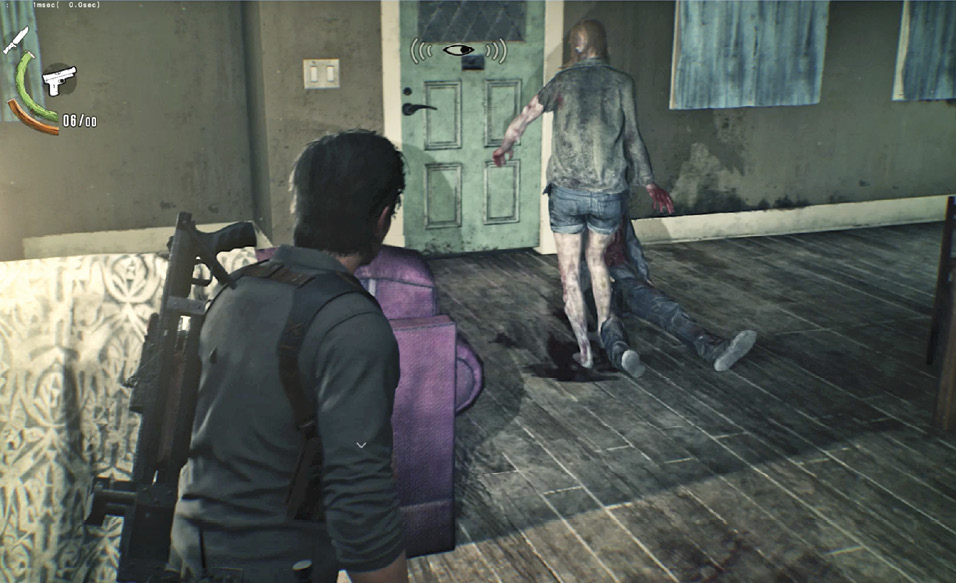
Move down the corridor to see a corpse dragged away! Proceed through the half-open door to see the Lost dragging the corpse to the front door. Try to creep up behind the Lost and Sneak Kill her before she gets outside, then prepare to shoot an axe-wielding Lost who rushes the front door from outside. Be sure to pick up its dropped Hand Axe!
Travel toward Union Auto Repair
Now open your map and put a waypoint on the other green circle that marks the location of Union Auto Repair  . Work your way directly toward the shop, cutting through the backyard behind 322 Cedar.
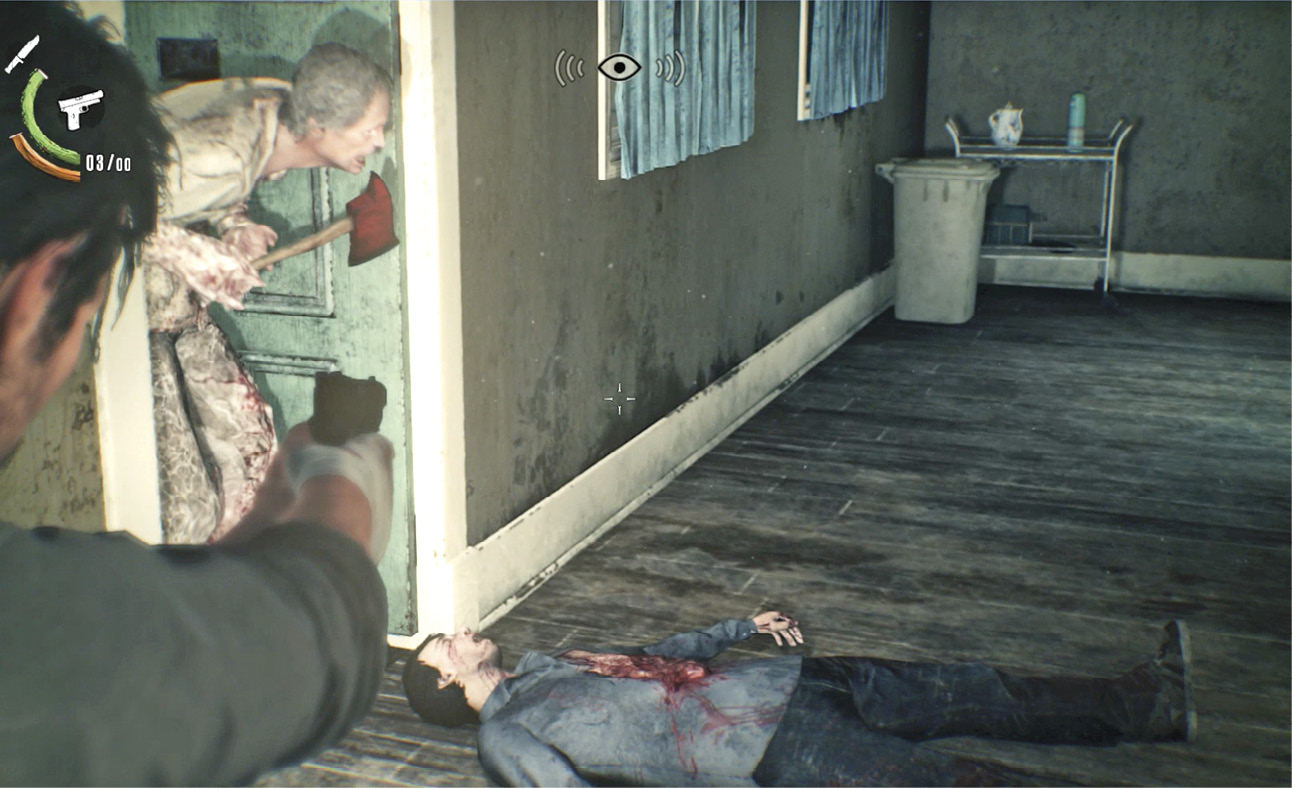
En route you see an open garage  that appears to hold some items and a pair of corpses. When you enter, the door slams shut behind you and one of the corpses awakens. Kill it fast, loot the garage, and exit.
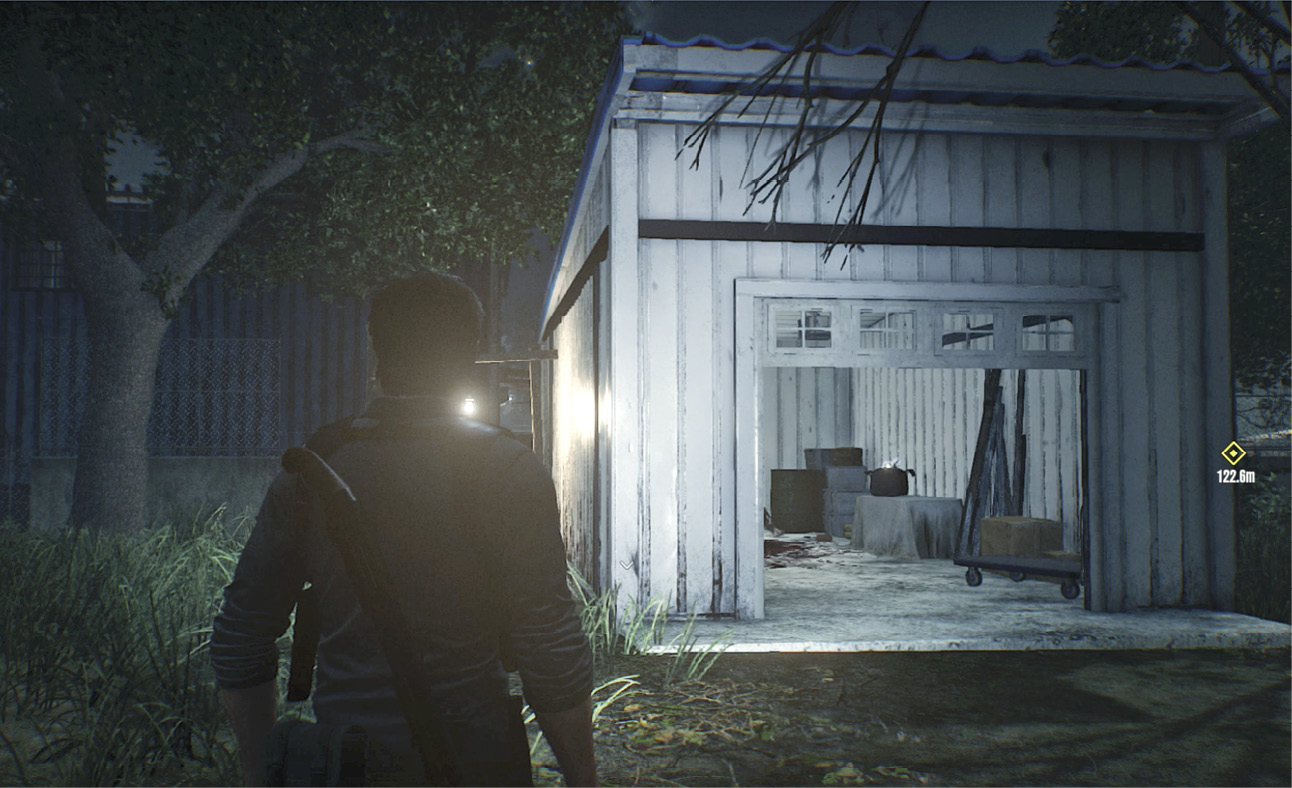
Continue around behind the garage and push through the tall grass and foliage along the back fence of the Tredwell Trucking yard. Up ahead, spot the tall tree  near the red house. Before you pick up any items, move around the tree and pump a headshot or two into the “dead” Lost sitting against the tree’s trunk. (If you don’t do this, it will awaken and attack.) Stay sharp, as other Lost may drop into the area too.
Continue along Tredwell’s industrial fence line then work your way across residential yards until you can squeeze between the houses out onto the road at last.
Optional: Repair the Sniper Rifle
Let’s acquire a weapon that can prove useful going forward. Work your way down to the west end of Ridgeway Road then head north along the building toward the supply shed  behind it. This is the shed mentioned in the log you picked up (titled “Mobius Communicator Log: Replacement”) along with the Broken Sniper Rifle from the fallen Mobius soldier on the rooftop. Stop at the corner of the main building before you cross the open lot to the shed. Several Lost and a towering, poisonous Lament are patrolling the area.
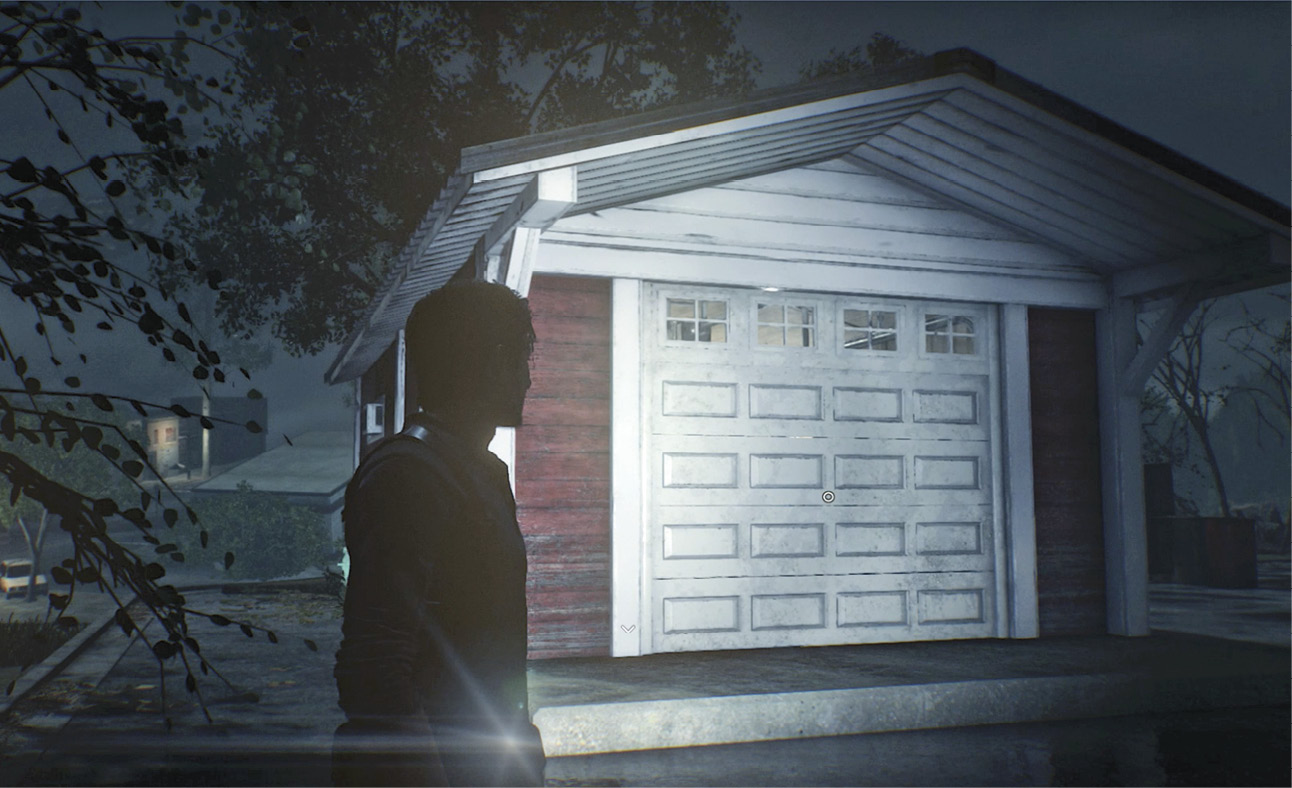
Duck behind the shed’s west side and find the Locker Key statue. Sneak carefully around the corner to the side door and break the chain lock with a melee smash. Crouch and open the door, then creep in to make a Sneak Kill on the Lost banging wildly on the garage door.
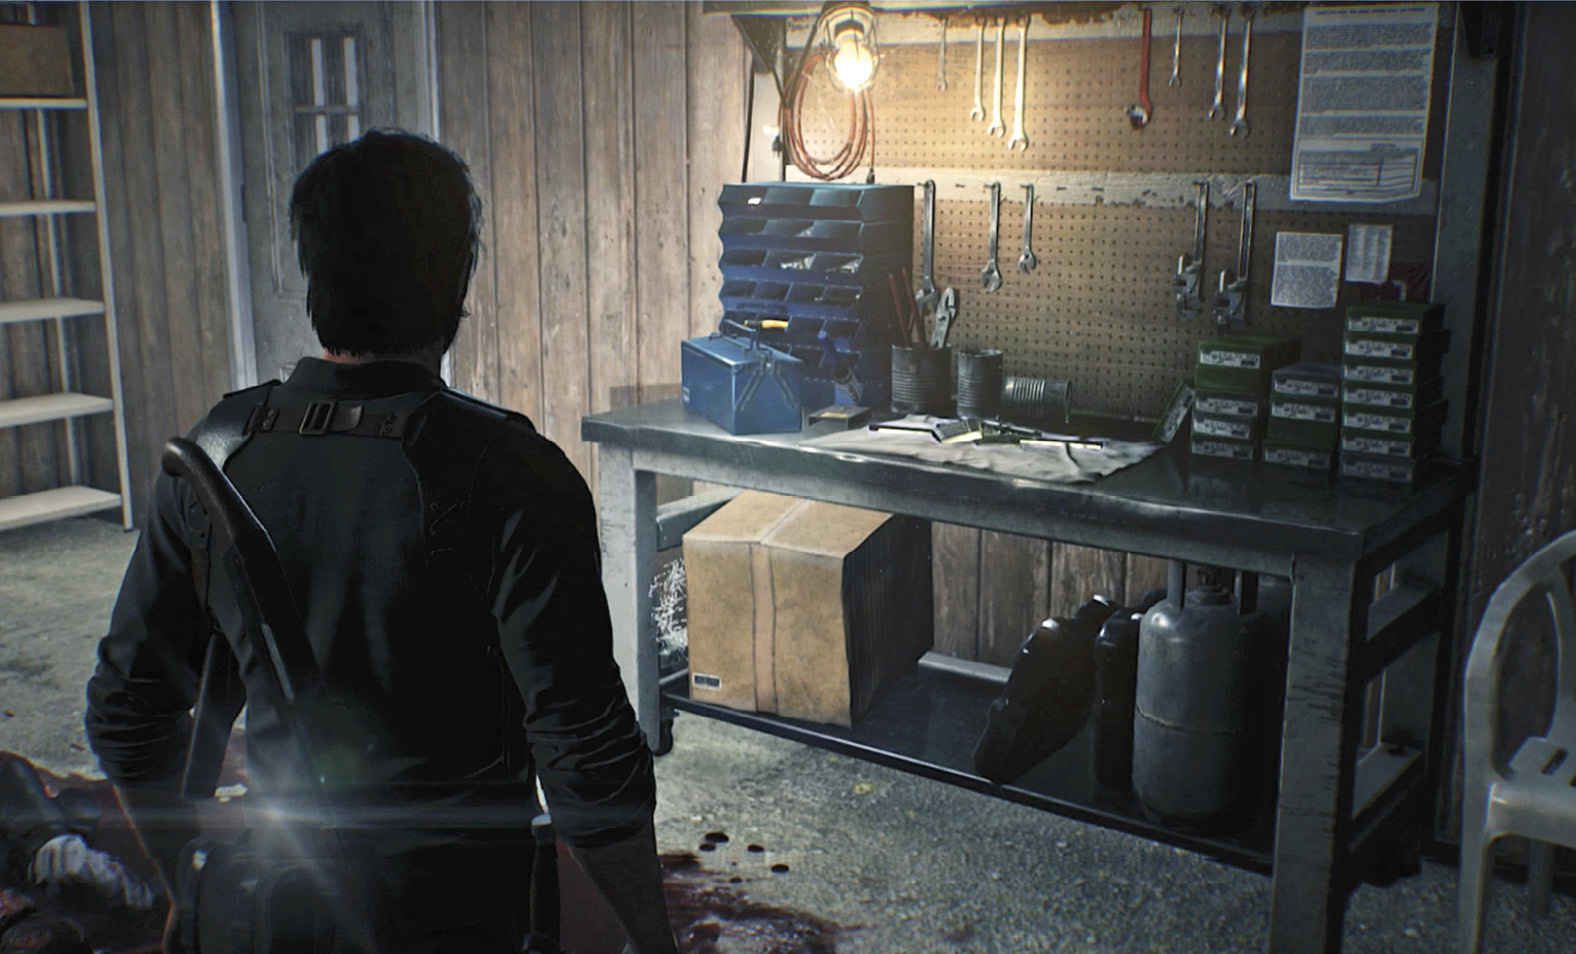
Now you can loot the room in peace, including some Sniper Rifle Cartridges and the Sniper Rifle Parts sitting on the Workbench. Then use the Workbench, open the Crafting menu, select the Sniper Rifle under Weapons & Ammo, and hold the button indicated to craft your newly refurbished Sniper Rifle.
Head to the Auto Repair shop
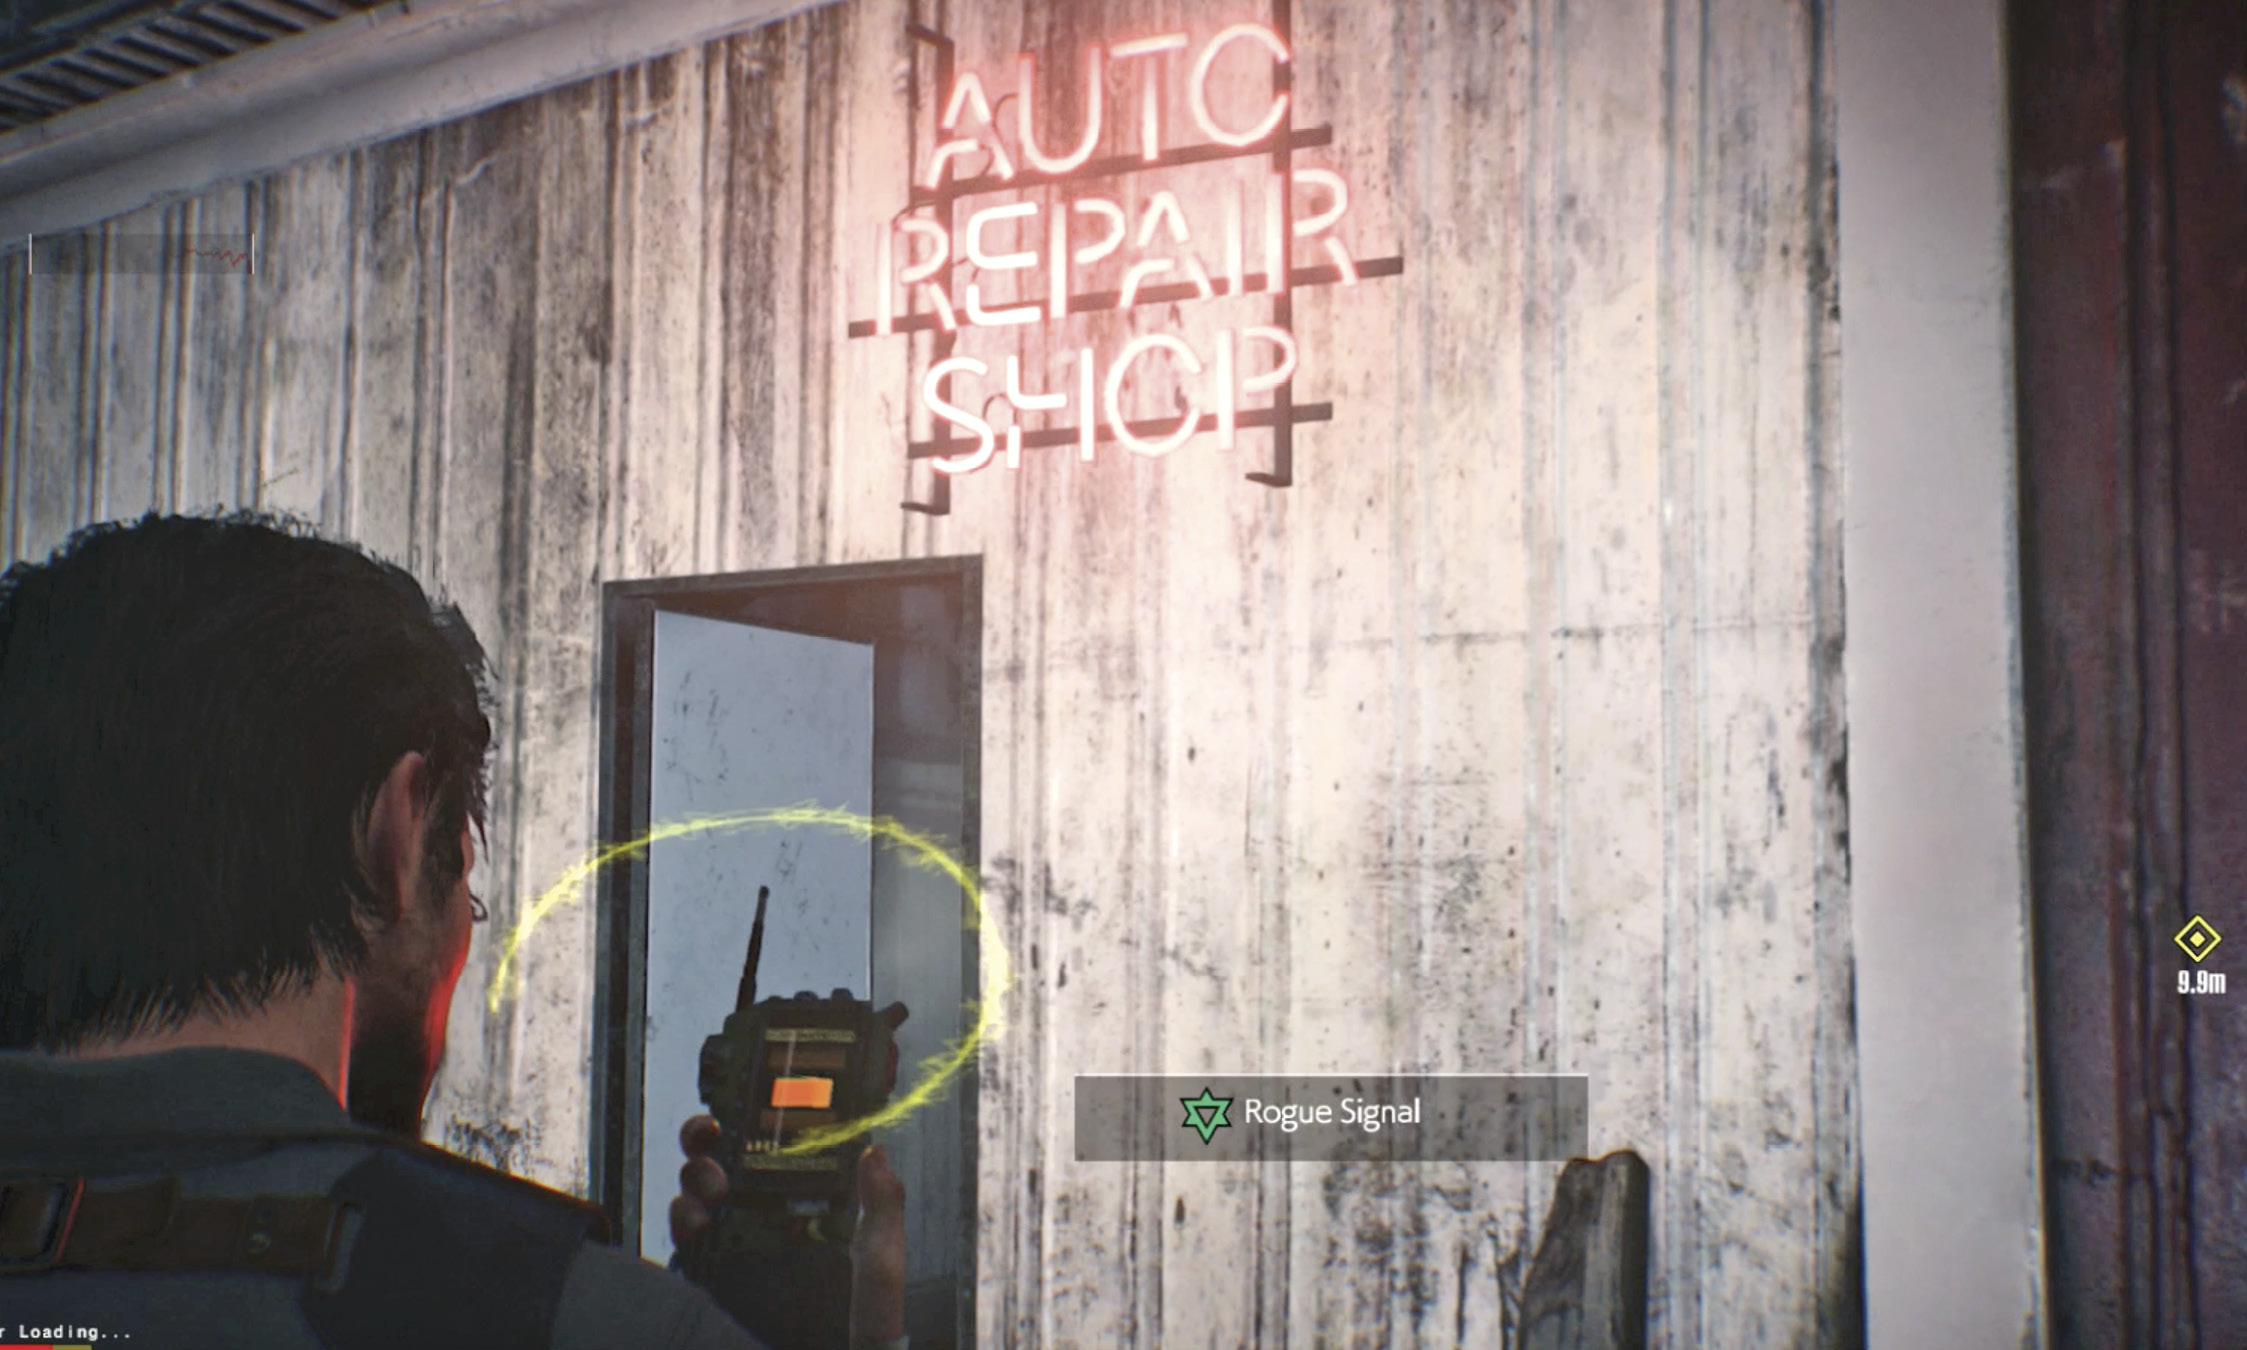
We suggest you step outside the shed and test what the new rifle can do by targeting the Lament in the lot. One good headshot can drop the tough monster. Then head back down the street to the Union Auto Repair Shop  and enter the street-facing door that leads into the garage.
Investigate Union Auto Repair
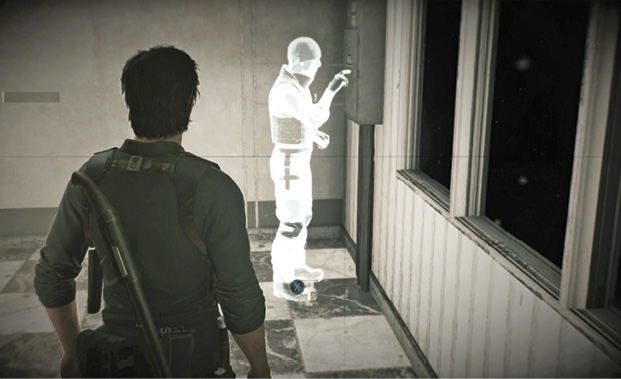
Head directly across the garage into the back office, turn right, and equip your Communicator when prompted. Tune in to see the Residual Memory of Ryan Turner, the Mobius security goon, manipulating the fuse box in the corner and mumbling about a supply cache. Then you see him calling his partner, James Hayes. He reports that he locked a number of those “things” in a room underneath the shop, and calls out the next destination in the side mission: The Visitor Center.
Restore power to the garage
Before we follow the trail to the Visitor Center, let’s raid that supply cache. Open the fuse box to find four fuse switches. Flipping each switch lights up a set number of the bulbs below them. Your goal is to flip switches that combine to light up all ten bulbs: no more, no less.
And because we’re a cheat book, we won’t tease you with annoying hints and simply tell you that the answer is to flip switch 2 (lights up six bulbs) and switch 4 (lights up four bulbs). Now the lights in the facility illuminate.
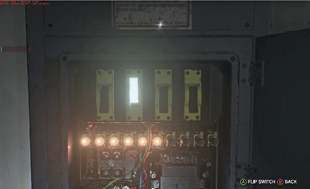
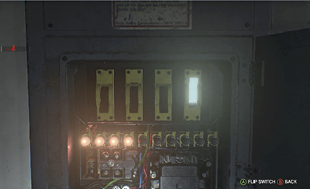
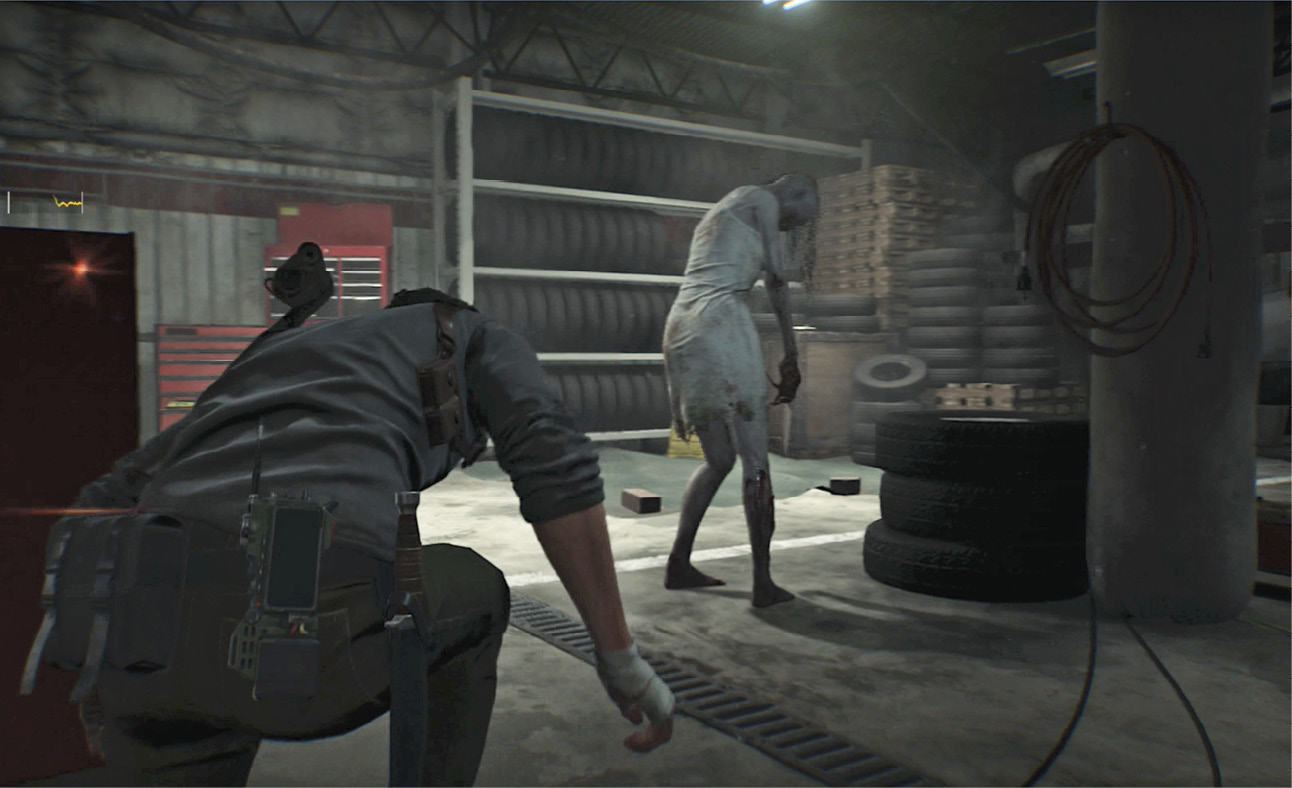
Don’t just run out into the garage, though. Crouch at the office doorway and peek around the jamb to see a door open in the near corner. Watch as a deadly, gurgling Hysteric emerges from a storage room. Make sure your Handgun or Shotgun clip is full then creep carefully behind her, using cover until you can execute a Sneak Kill. This won’t kill her, of course, so back away and nail her with a headshot or two to finish her off. (If you want to save ammo, you can run away and hide, then sneak back behind her for a second Sneak Kill, which drops her.) Loot the storeroom from which she emerged.
Access the underground cache
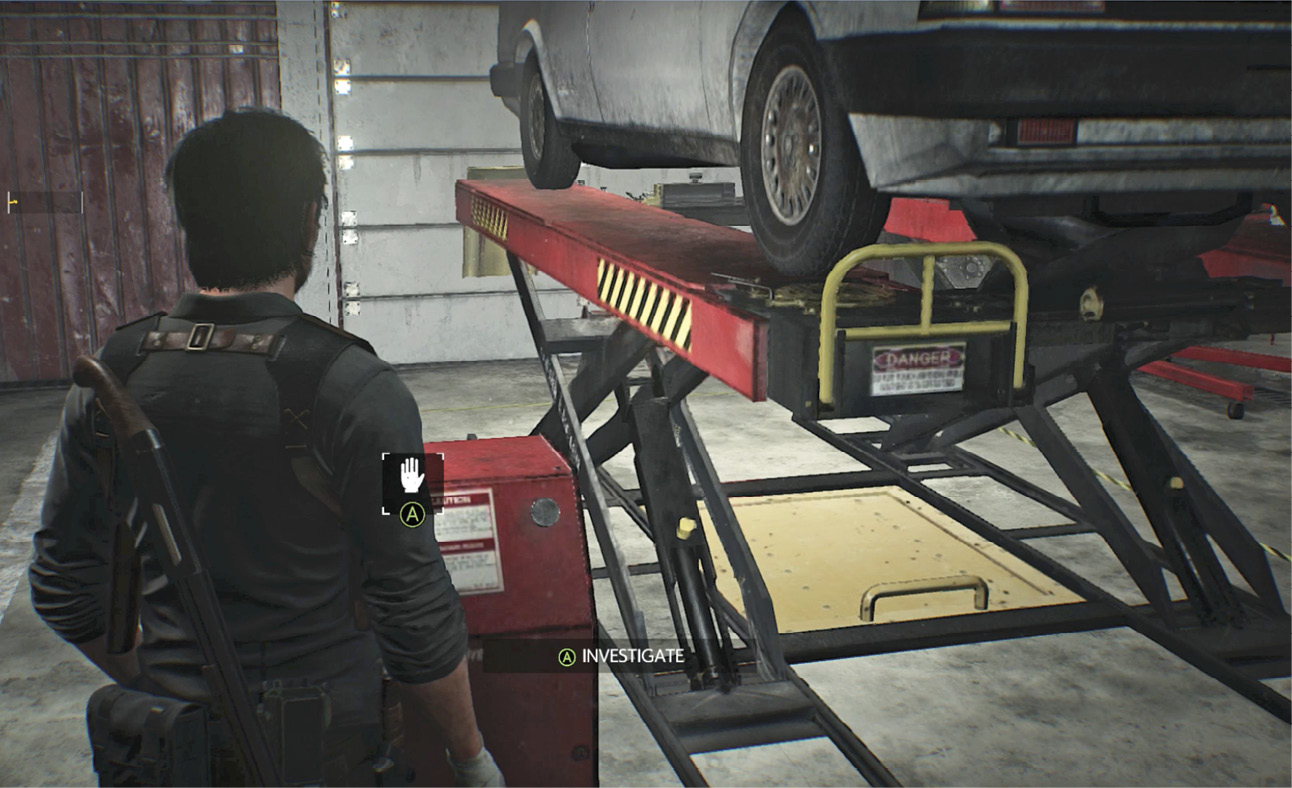
Use the control podium at the hydraulic lift closest to the office to hoist up the white car and reveal a trap door on the floor. Open the trap door and drop into the basement.
Follow the dark, garbage-strewn passage to the body sprawled on the ground and tune in another Residual Memory  : a fateful meeting between a Union citizen and a Mobius operative. Continue down the passage, crouching under the low beam and through the hole in the wall.
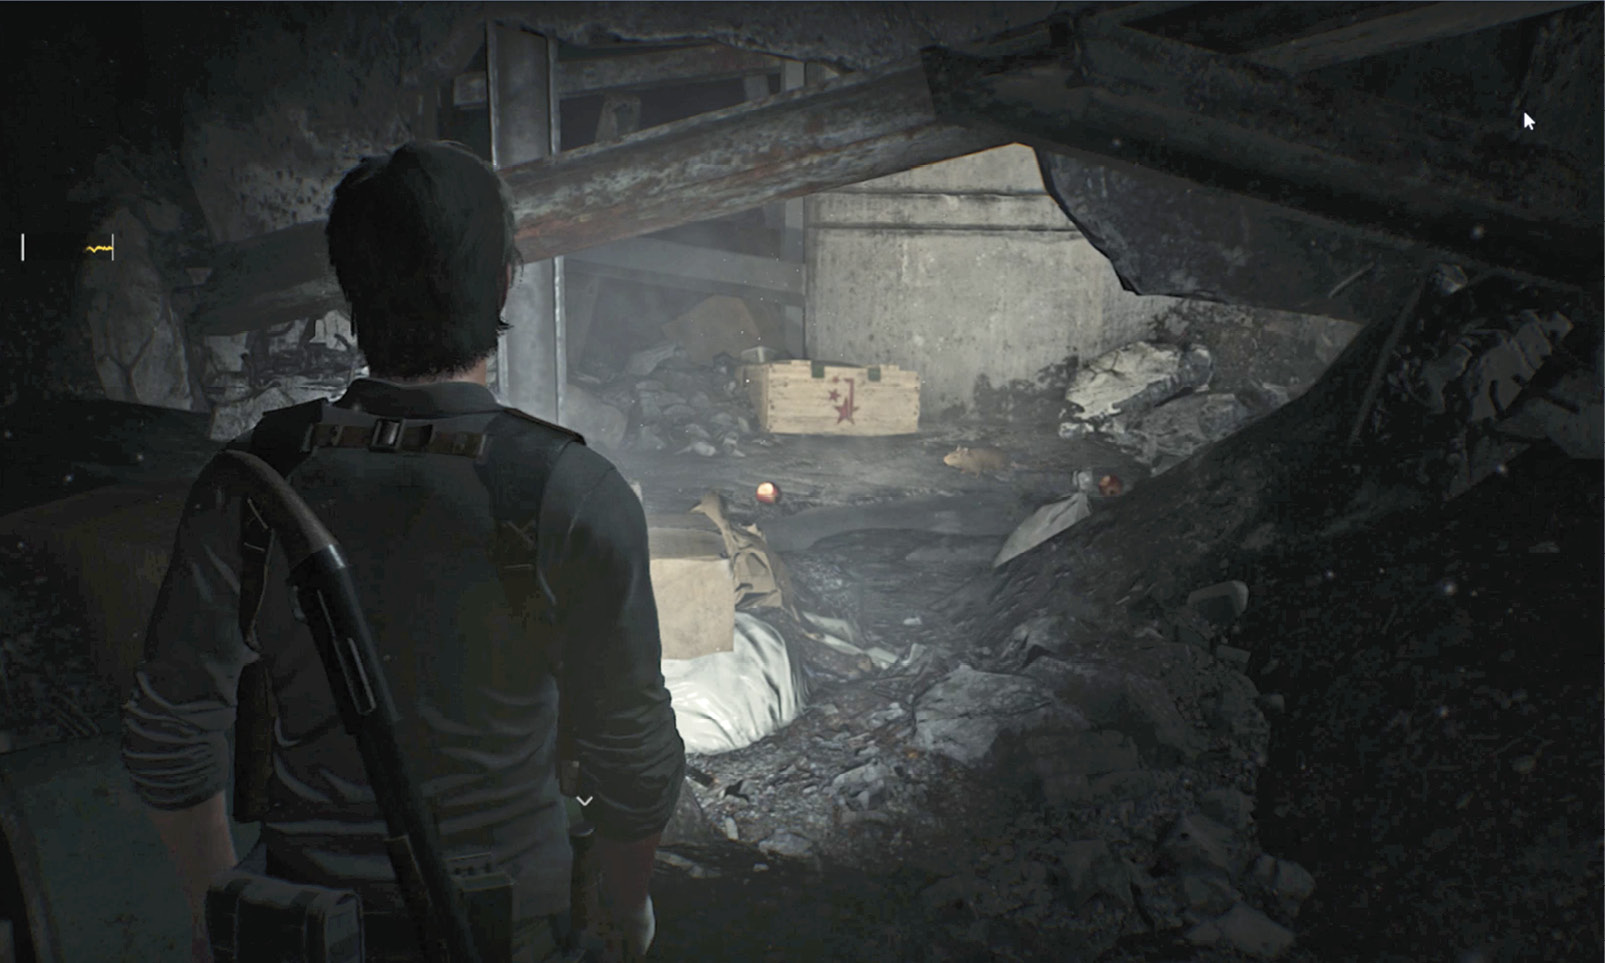
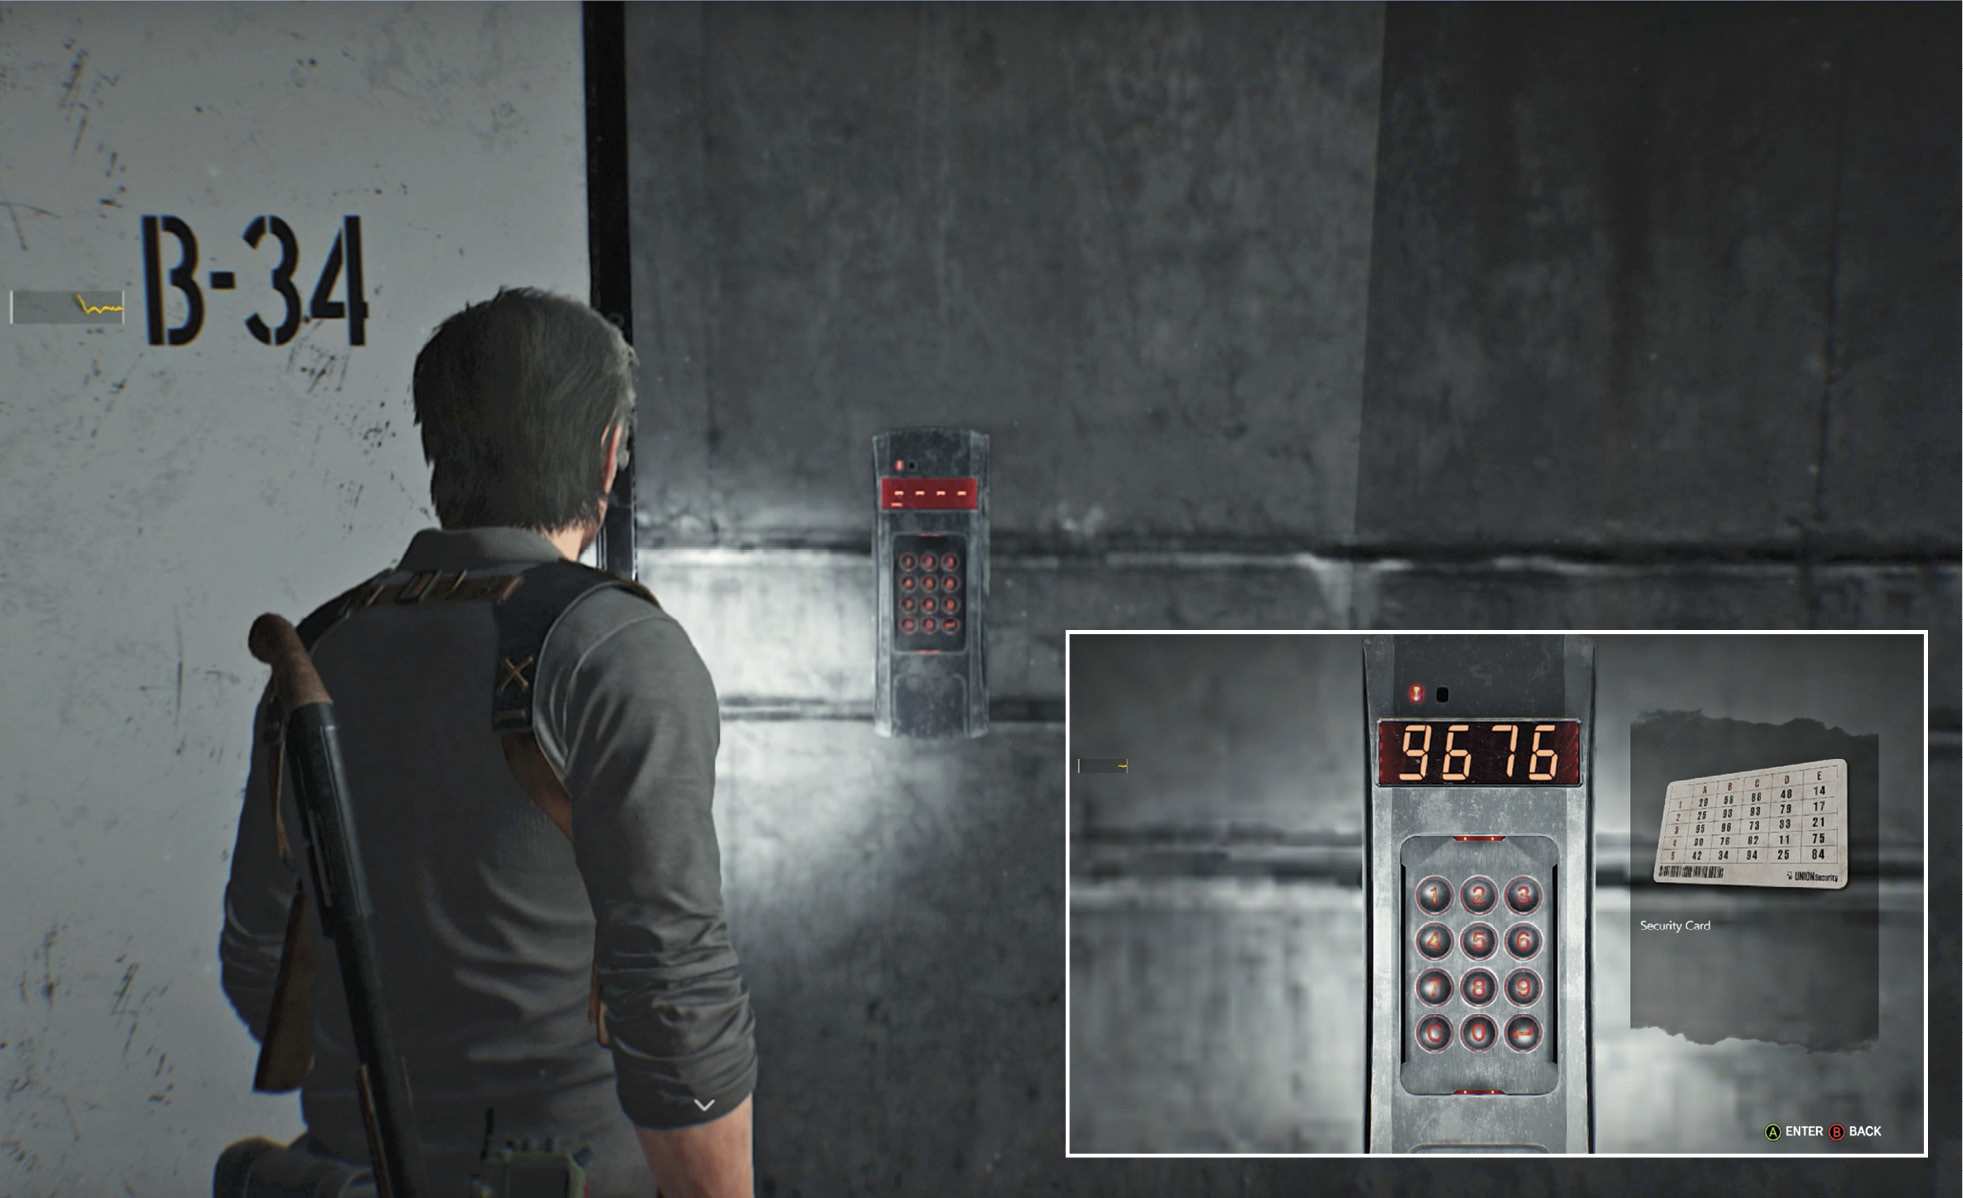
Ahead you see another corpse, this one in a Mobius uniform. Beyond him is a chain-link fence with several snarling Lost on the other side. Investigate the fallen soldier to snag his Union Security Card (a new Key Item in your inventory), showing a grid of authentication codes used for access to locked Mobius locations. Watch out! One of the Lost emerges from a low passage just to your right. Take him out.
Now approach door B-34 and use the keypad next to it. On the newly acquired Security Card, note that in the B column, the code numbers listed in the rows for 3 and 4 (as in “B-34”) are “96” and “76.” Enter those numbers in order to unlock the door. Then enter and loot the room, including two valuable items: a Medical Kit and a box of High-Grade Weapon Parts.
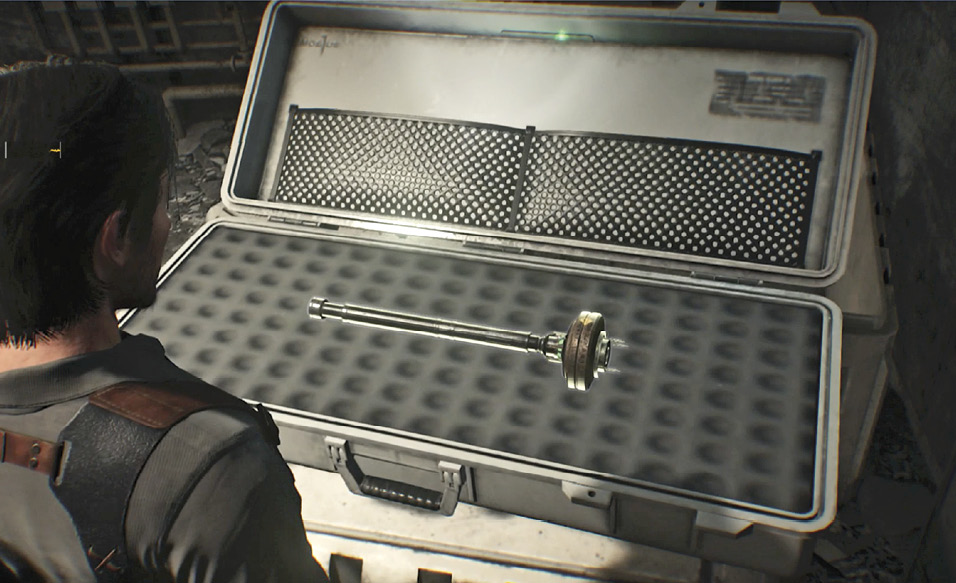
Exit and go through the red door across the hall to loot that room too, including an Explosive Bolt tucked in a Mobius weapon crate and a very interesting report on the side desk. (It explains who Ted and Jon are in the “Fatal Witness” Residual Memory you just viewed.) Then climb the ladder in the corner of the room.
Escape the construction workshop
You emerge on the main floor of Mitchel and Sons Construction. Don’t move out across the floor yet! Spot the Explosive Bolt stuck on the crate to the left. Approach it slowly to spring the tripwire. Then move back a bit and wait until the Lost prowling around the room spots you (or toss a bottle to draw its attention). When it hits the tripwire, the explosion tears the poor fool to pieces.
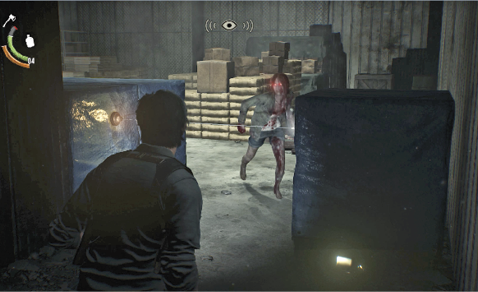
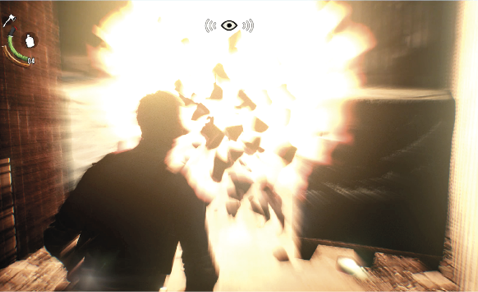
This wakes the sitting Lost just across the floor, so quickly load another Explosive Bolt in your Warden Crossbow and fire it into the same spot on the crate to set another tripwire. When it runs at you, watch it explode into twitching gobbets of meat. Grab the dropped Hand Axe and loot the room. Don’t miss the Explosive Bolt sitting on the utility shelf, and the Shotgun Shells on the fallen Mobius soldier. When you’re done, operate the forklift to raise its load, then crawl underneath through the opening.
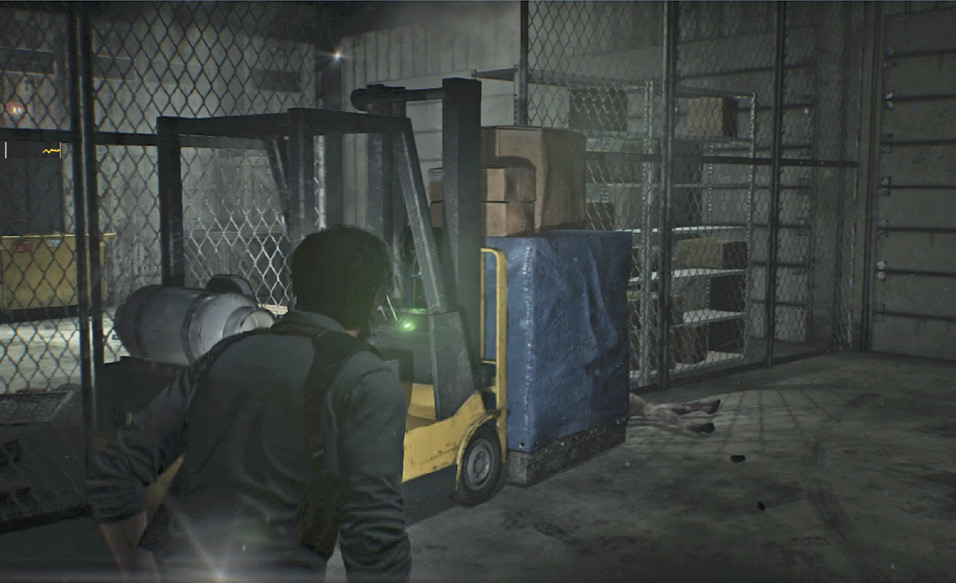
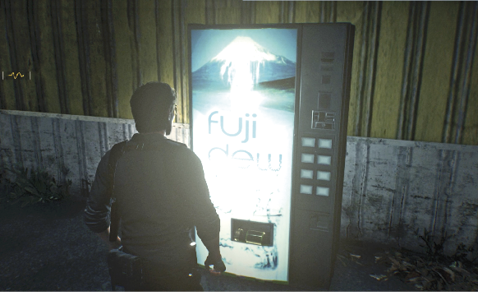
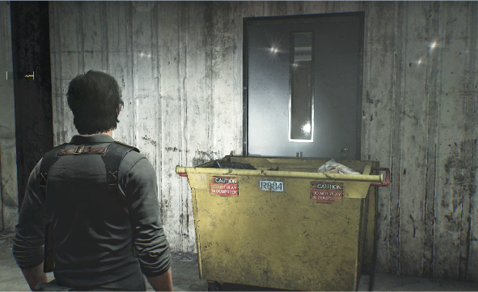
Loot both rooms beyond, smashing all the breakable crates and checking all the shelves and drawers. Then move the yellow dumpster (you can push or pull it) that’s blocking the exit door. Open the door and step out into the yard. Turn left and hit the Fuji Dew soft drink machine three times to score a jar of Green Gel each time.
Acquire the Laser-Sighted Handgun
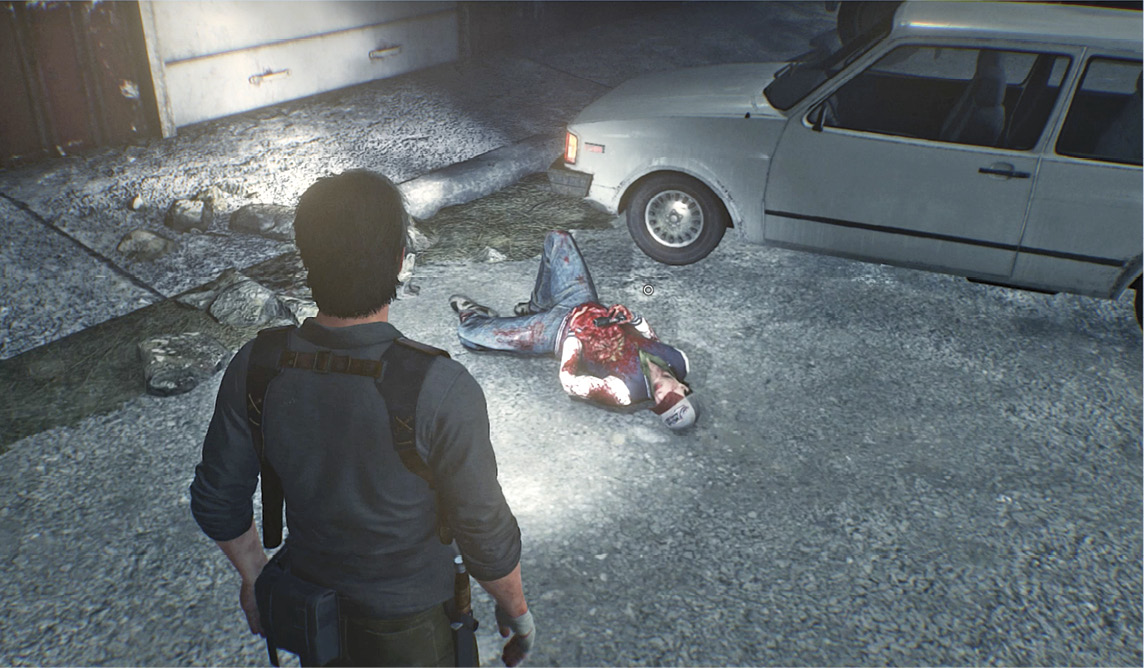
Climb into the lot on the north side of the Auto Repair Shop using one of the blue crates outside the perimeter fence. Find the corpse on the ground and pry the Laser-Sighted Handgun from his cold, dead hand. This awakens a Lost atop a nearby car who makes a leaping attack, pinning Sebastian to the ground. Use the control shown onscreen to toss it off, then kill it.
Now you can follow the Rogue Signal side-mission objectives and head to the Union Visitor Center. But if you want another challenge first, head west toward the derailed train instead.
Overview
Optional: Explore the derailed train
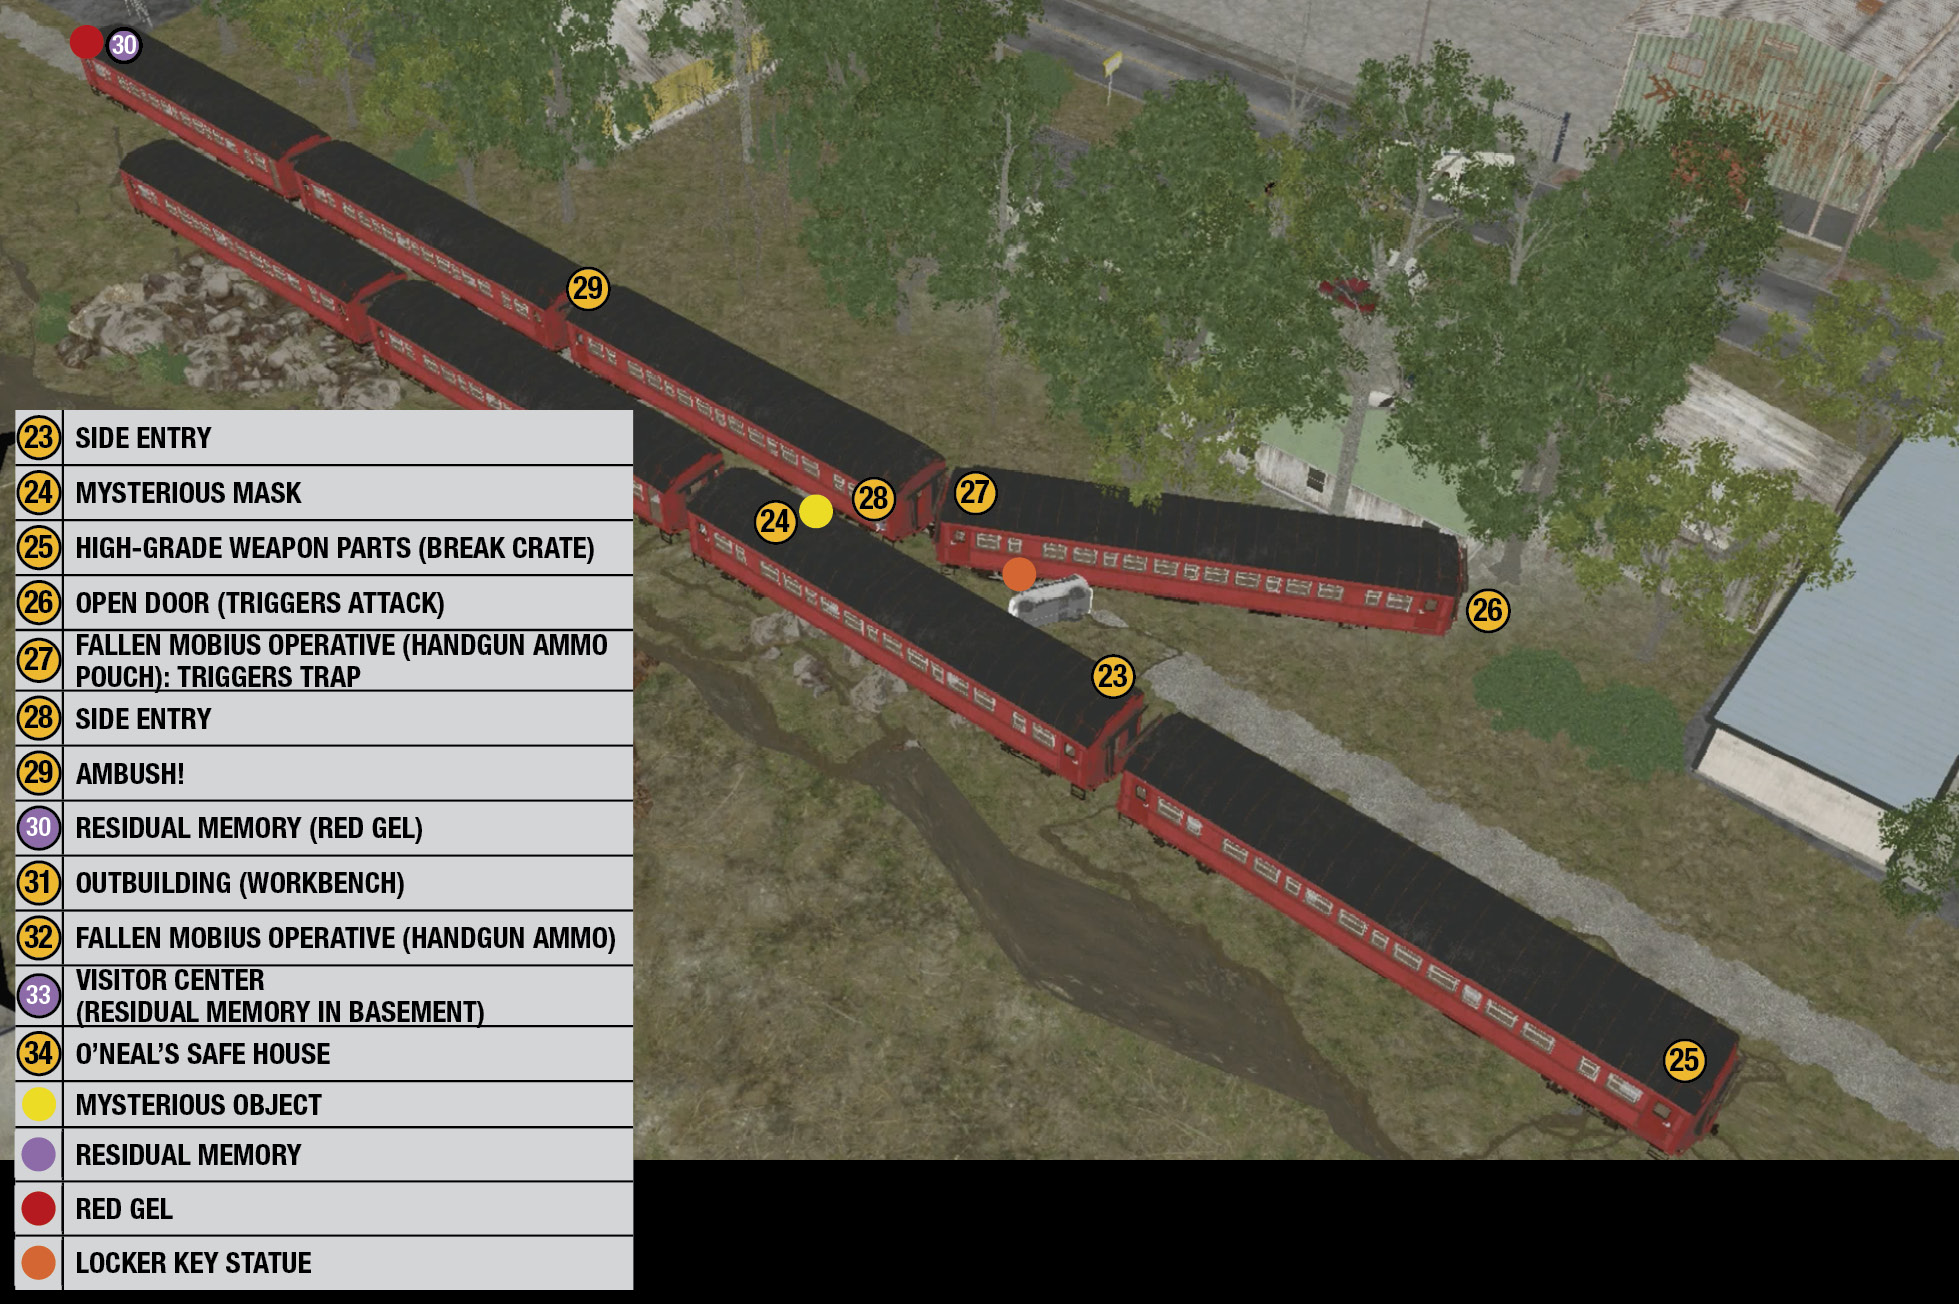
The derailed train is actually two separate strands of cars, with crates blocking passage between some of the cars. Here’s a systematic way to work quickly through the train:
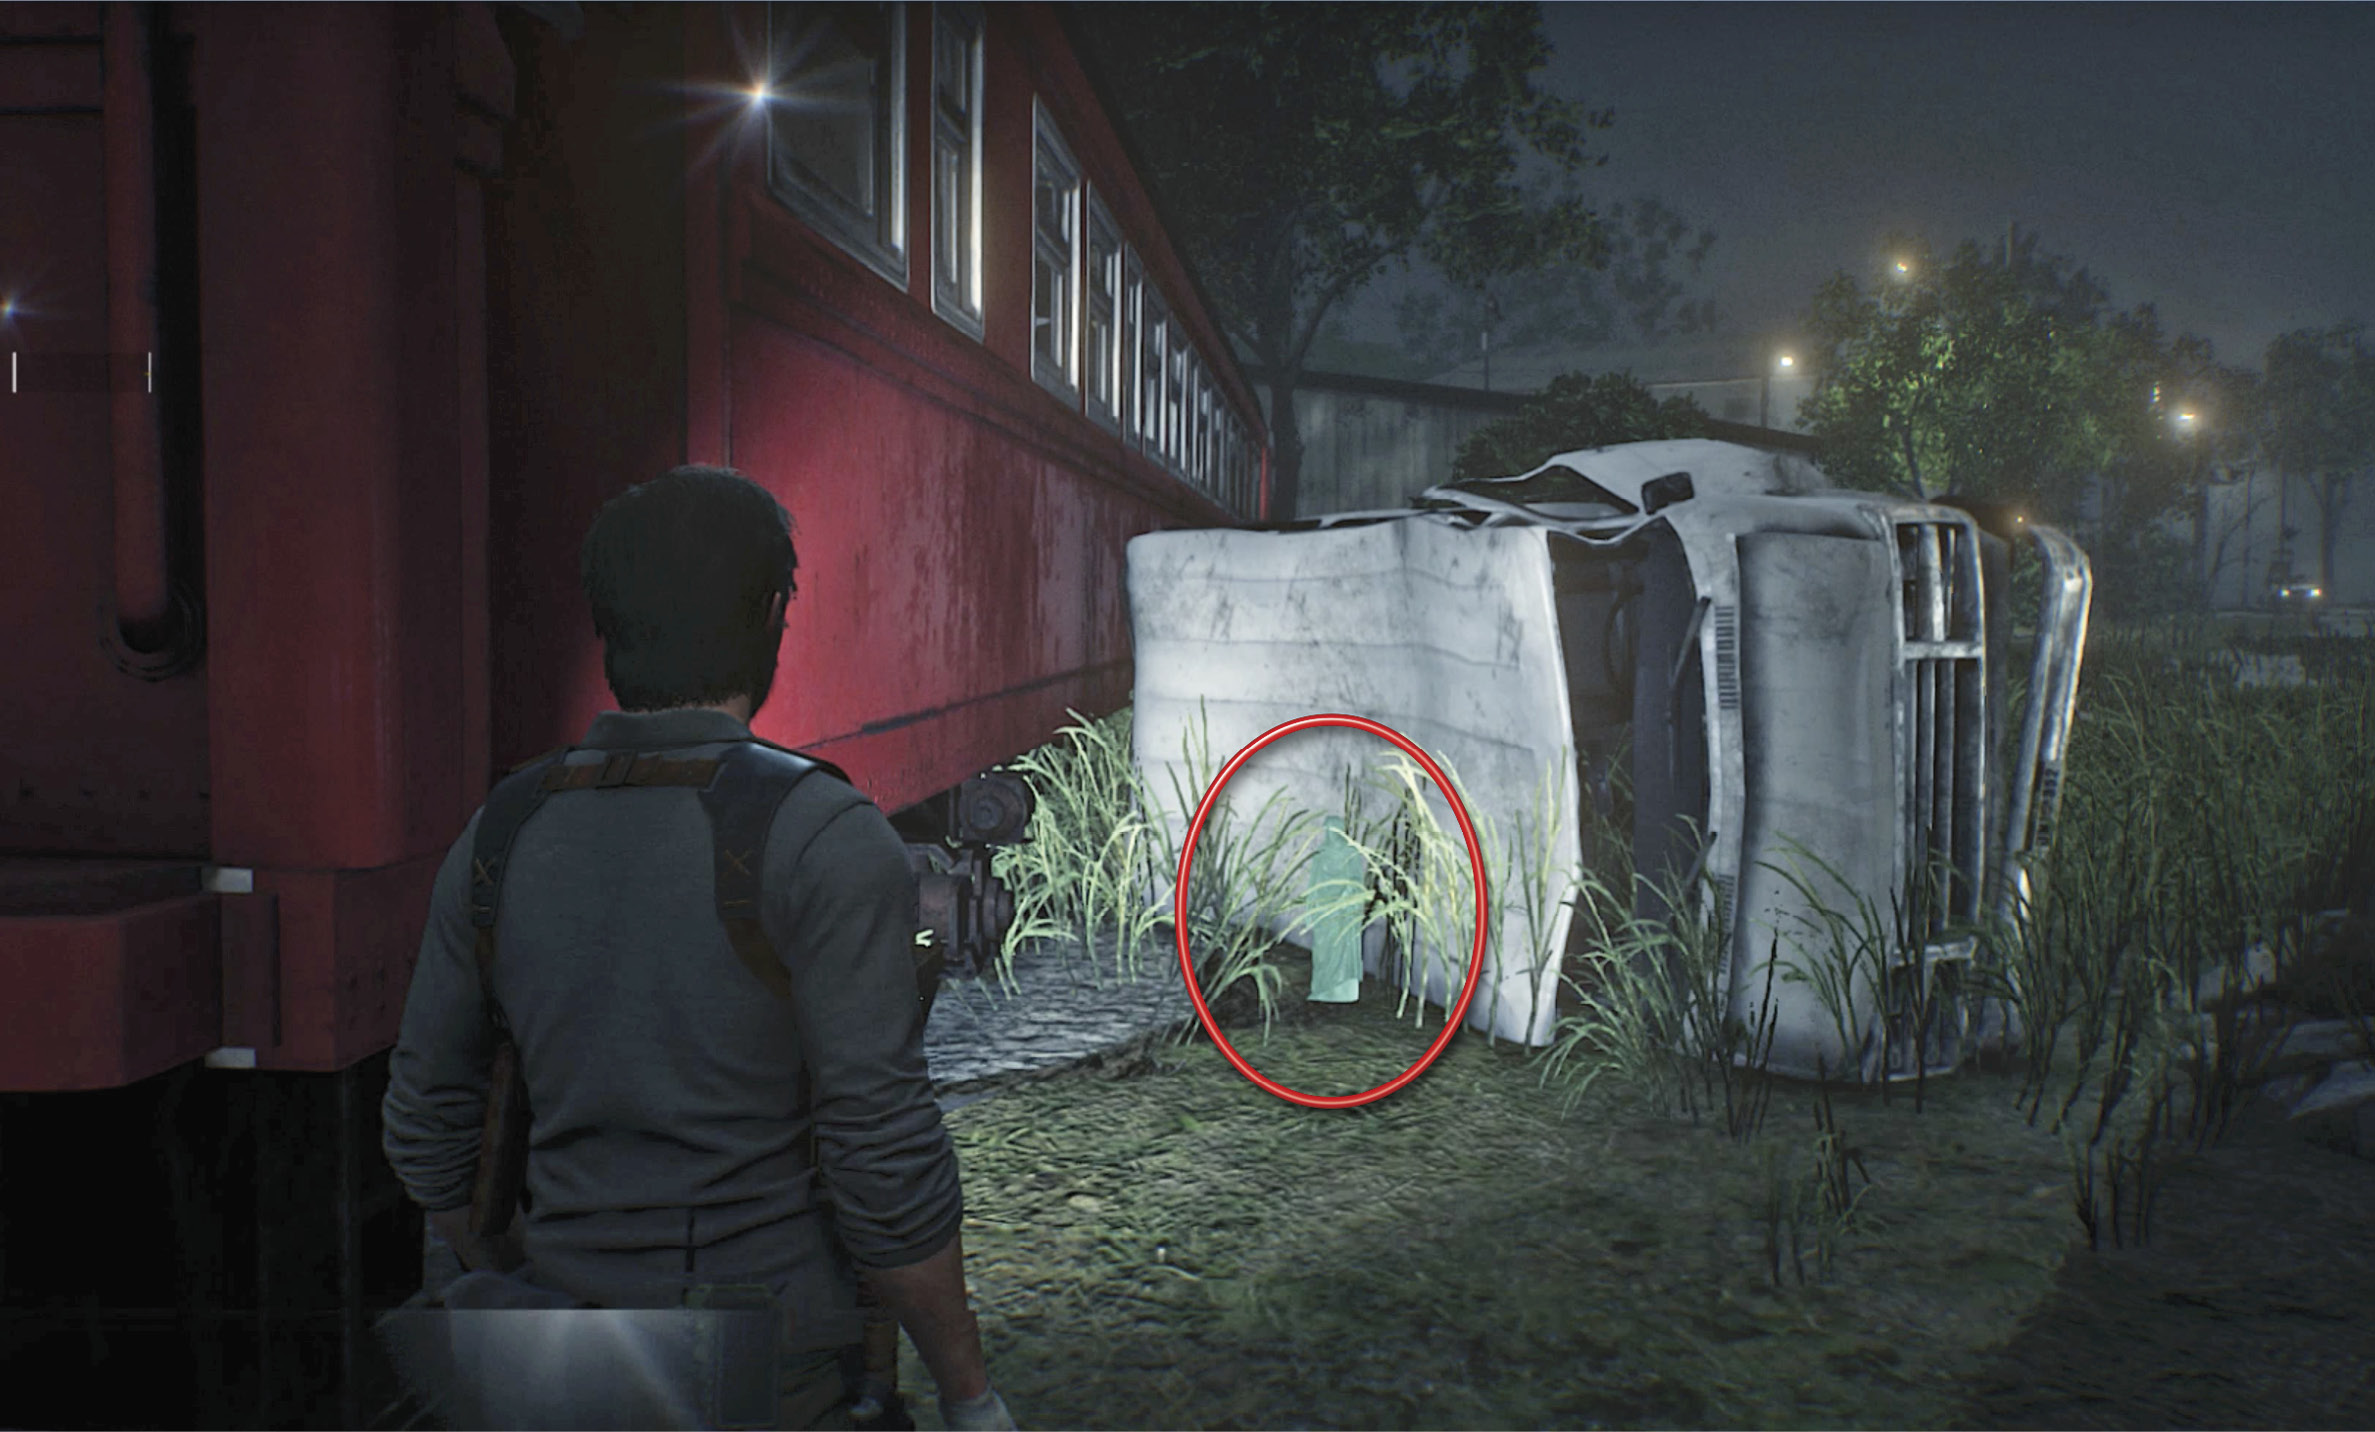
First, make sure you’ve got your Handgun or Shotgun equipped with a full clip. From the yard between Mitchel and Sons Construction and the Auto Repair Shop, head straight to the train, turn right, and go around the back end of the first train. Proceed between the two trains until you reach the overturned van and find the Locker Key statue (circled). Break it, grab the key, and continue to the next open door on the right  .
.
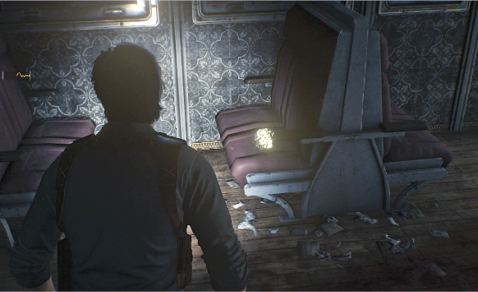
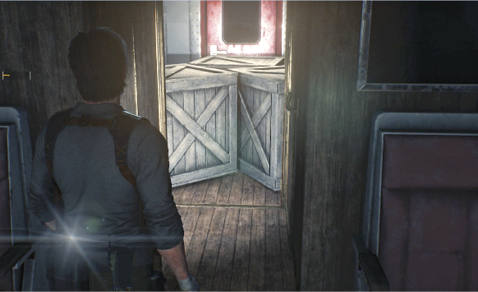
Enter the car, turn right, and find the Mysterious Mask  sitting on the last seat on the right. Go back through the car and continue into the next car. As you approach the end of the aisle, watch the strange floating corpse fly off the overhead luggage rack. Then go smash the breakable crates
  to find items including a valuable box of High-Grade Weapon Parts. Return to the open door
  and exit the train.
Turn right and approach the closed door on the angled car at the front end of the other train . Try to open the door to trigger a cinematic: the outside handle breaks off, Sebastian reaches through the broken glass… and suddenly a vicious Lost attacks! Once you regain control, fire off quick headshots to kill the attacker.
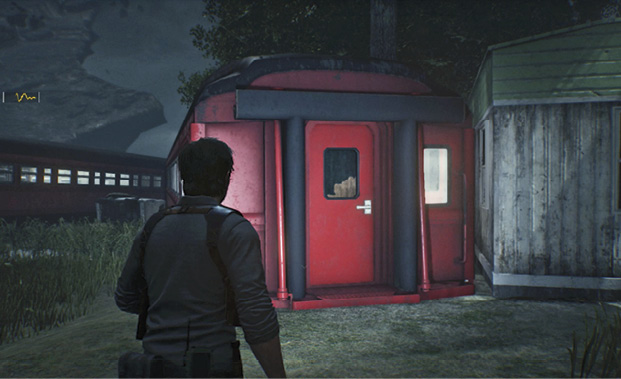
Move through the angled car, noting the camera oddly placed on a tripod halfway down the aisle. Who would put a camera there? (Take a wild guess.) Continue to the car’s end  to find a fallen Mobius operative with a valuable Handgun Ammo Pouch that increases the amount of Handgun Ammo you can carry.
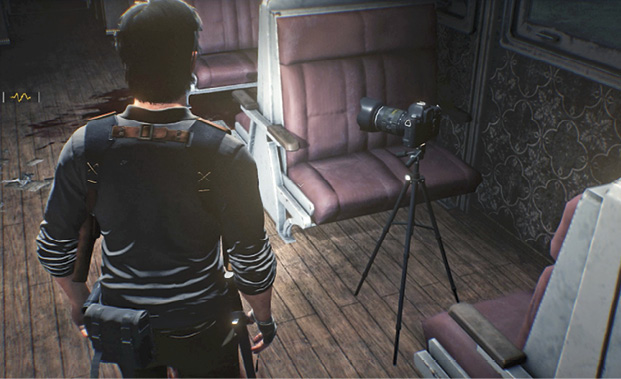
When you turn around and head back, you trip some sort of line stretched across the aisle. (This cannot be avoided.) It triggers a weird time warp as a Lost charges down the aisle at you in slow-motion. Nail it with a pair of headshots. Then exit the angled car via the door you entered.
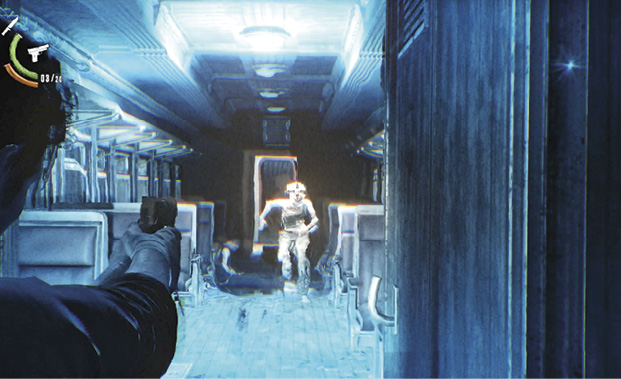
Move along the train past the wrecked, overturned van then enter the next car on the right  , climbing over the dead body in the open doorway. Move down the aisle; up ahead, you can see a single Lost in the next car. Shooting it will trigger an ambush, as several other Lost will awaken and attack. Thus, your best bet is to stop in the narrow passage between cars
  before you fire the first shot; this forces the attackers to funnel through single file, making it easier to take them out and to avoid getting swarmed.
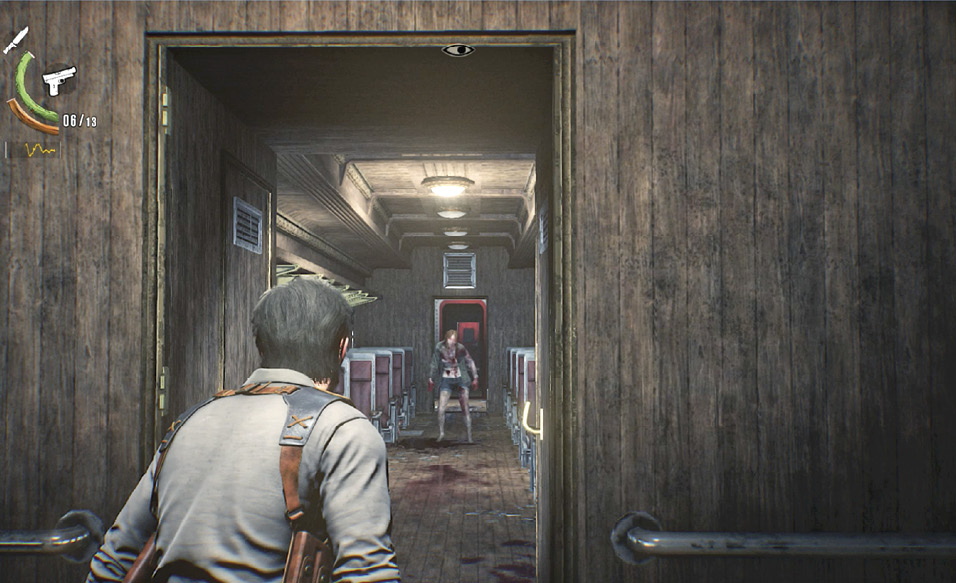
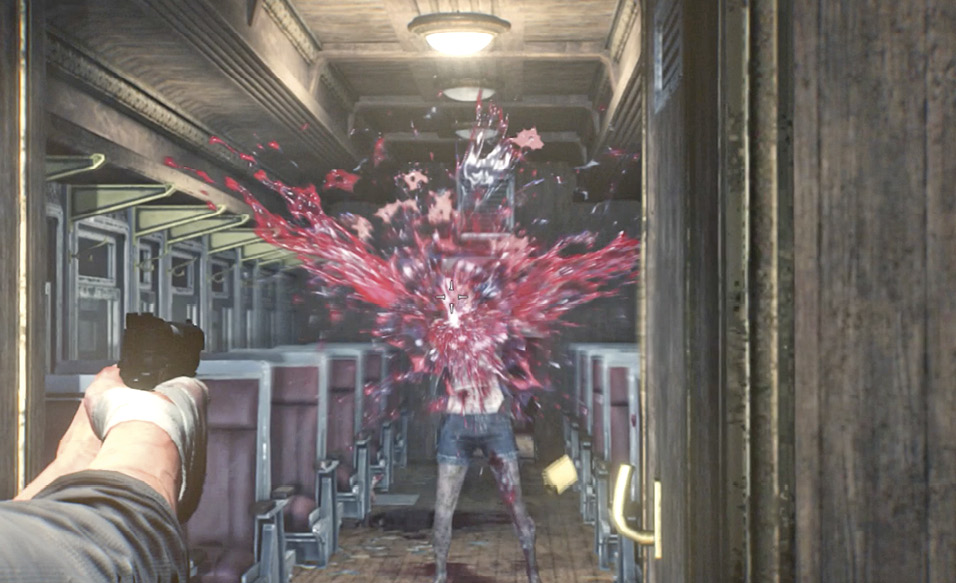
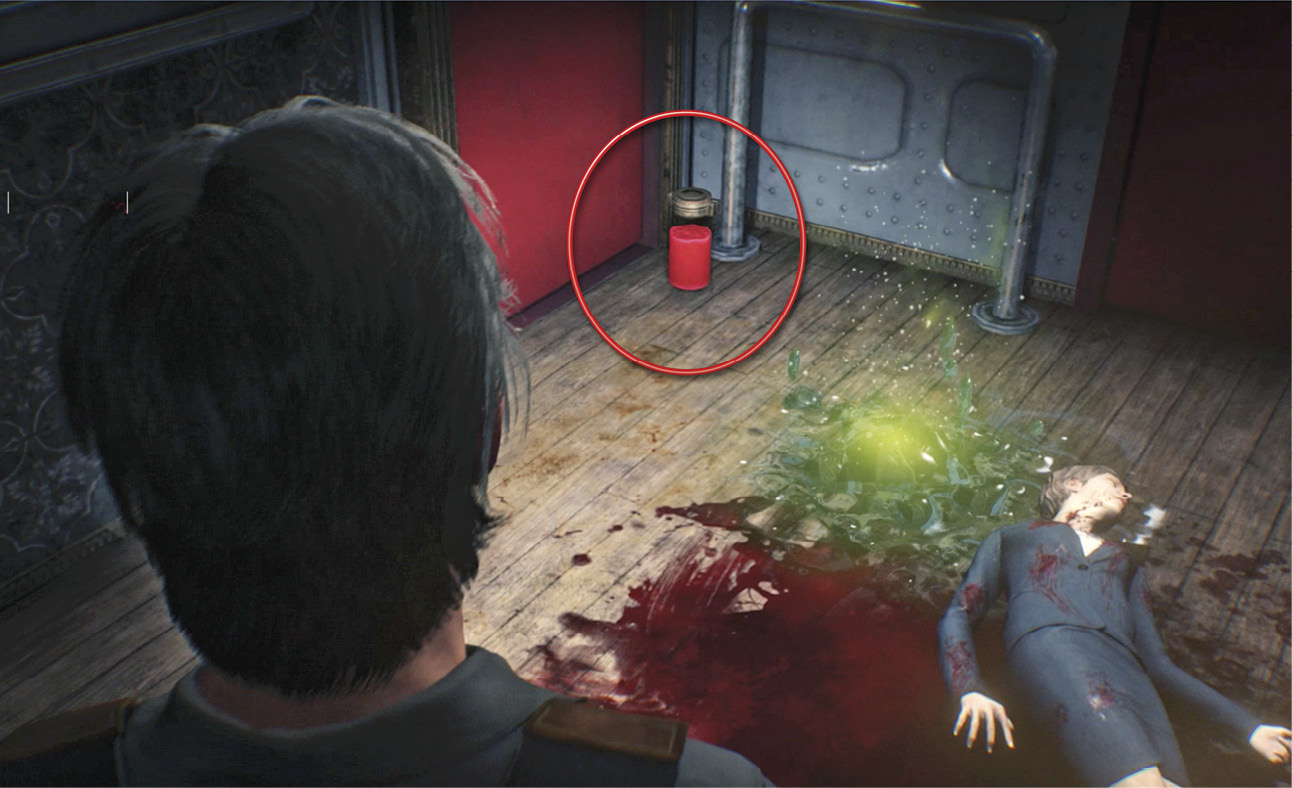
Continue through the cars to the end of the train  , where you see a deceased woman on the floor and a jar of rare Red Gel (circled in our shot) nearby. Grab the gel then equip your Communicator and tune in to hear the Residual Memory of the poor woman trying to escape Union’s apocalypse.
Investigate the Visitor Center
Optional: Find bullets and a Workbench
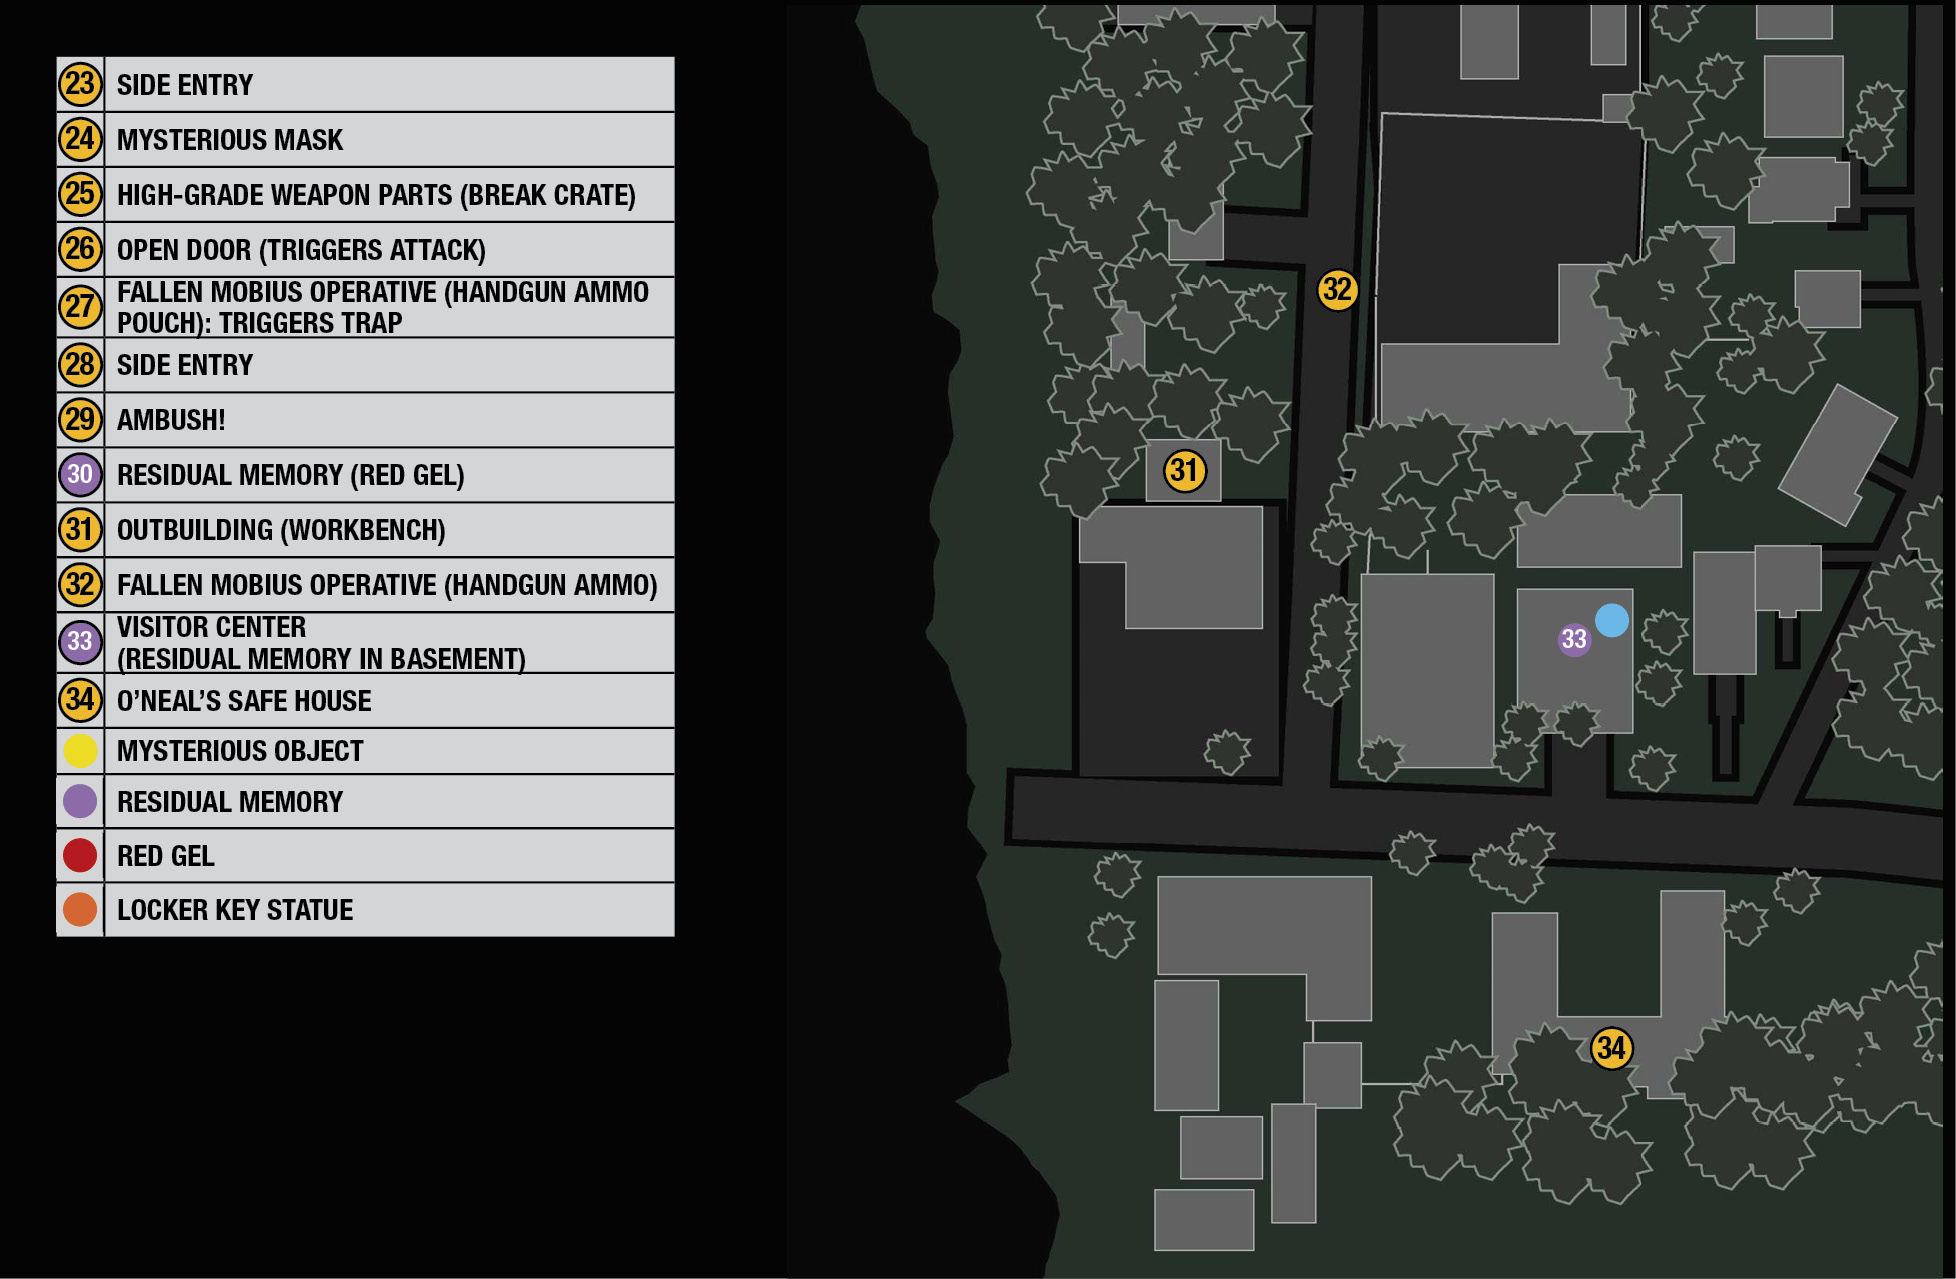
Exit the train and set a waypoint on the Union Visitor Center. En route you can explore an outbuilding  behind Krimson’s Supermarket where you find a fallen Mobius operative with six Handgun Bullets, plus some other Component items and a Workbench. Exit the building and find more bullets nearby, on a fallen Mobius operative lying atop a yellow van next to a city bus
  .
.
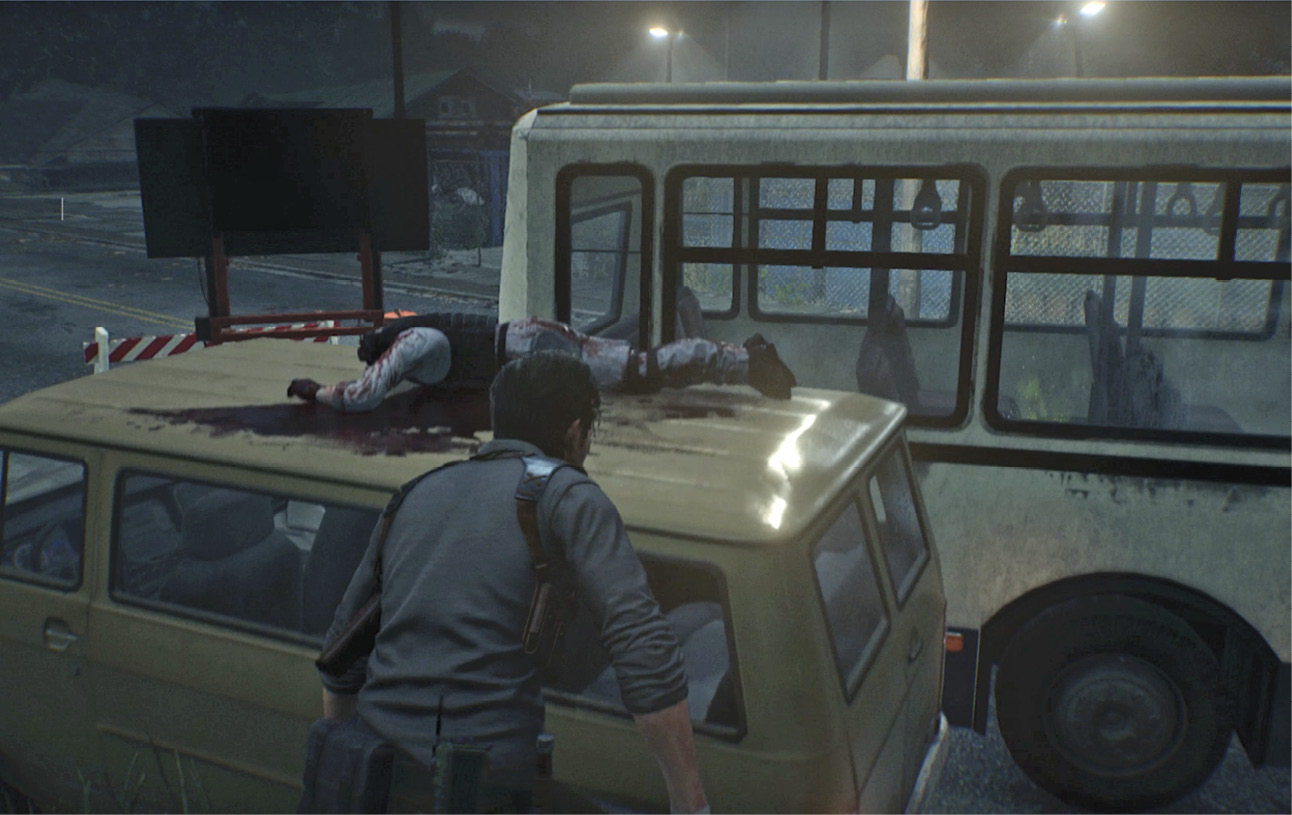
Explore the Visitor Center basement
Now continue on to the Union Visitor Center  . Enter the building and equip your Communicator to see that its arrow indicator (circled in our shot) suggests that the Resonance you seek is below you. Cross the room and notice that the previously locked door in the back slowly swings open. Go through the doorway to see an eerie message appear on the wall.
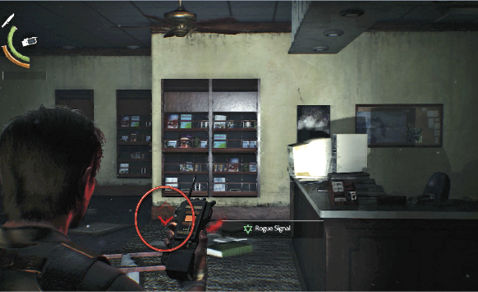
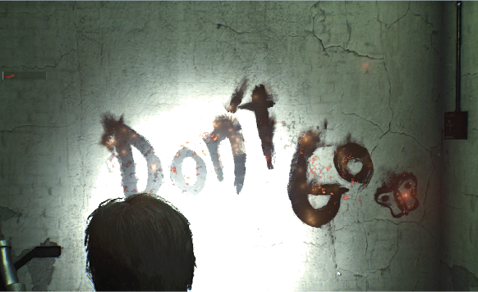
Descend the stairs and approach the door. Note the nameplate for “Ryan Turner” next to the door; it’s the same as the ones you saw back in the creepy hotel labeled William Baker and Damien Karr. Not a good sign (literally) for Turner. Enter to find yet another “frozen in time” death shot; Sebastian recognizes the work. Equip your Communicator and find the tuning spot to trigger the Residual Memory featuring Turner and the knife-wielding stranger you’ve seen before.
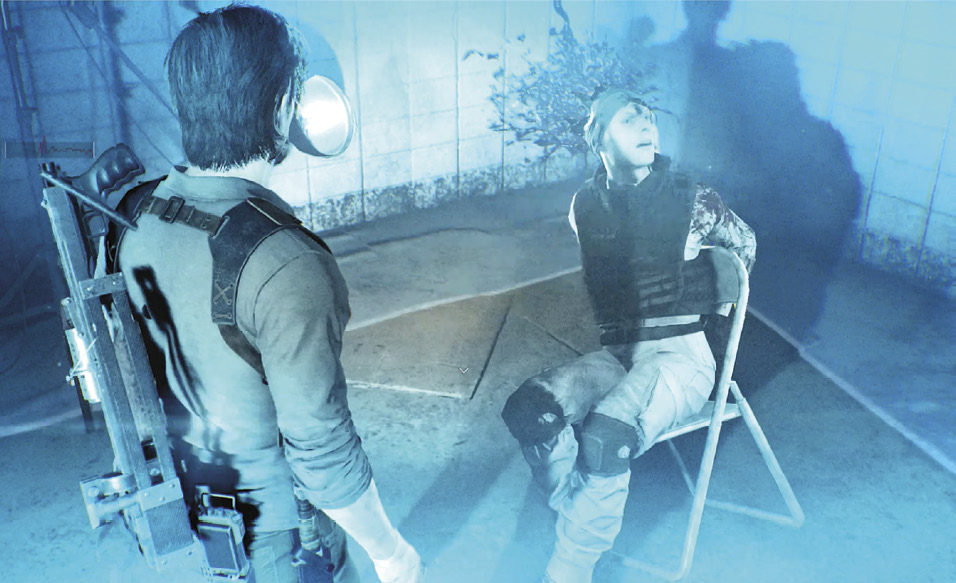
Afterwards, scour the room to acquire another collectible File: Turner’s Communicator Log. (This is only available after you’ve viewed the Residual Memory.) Once you acquire this handy item, the locations of all fallen Mobius operatives in the current map area appear as search icons on your Communicator map. (Turner rigged his device to pick up their Unity Chip signals.) These Security Team members always carry useful supplies that you can loot from their sad corpses.
Now exit the basement. When you open the basement door, the stranger is waiting there to snap a photo! When the flash dissipates, Sebastian finds himself back in a corridor of the hotel where he entered this STEM.
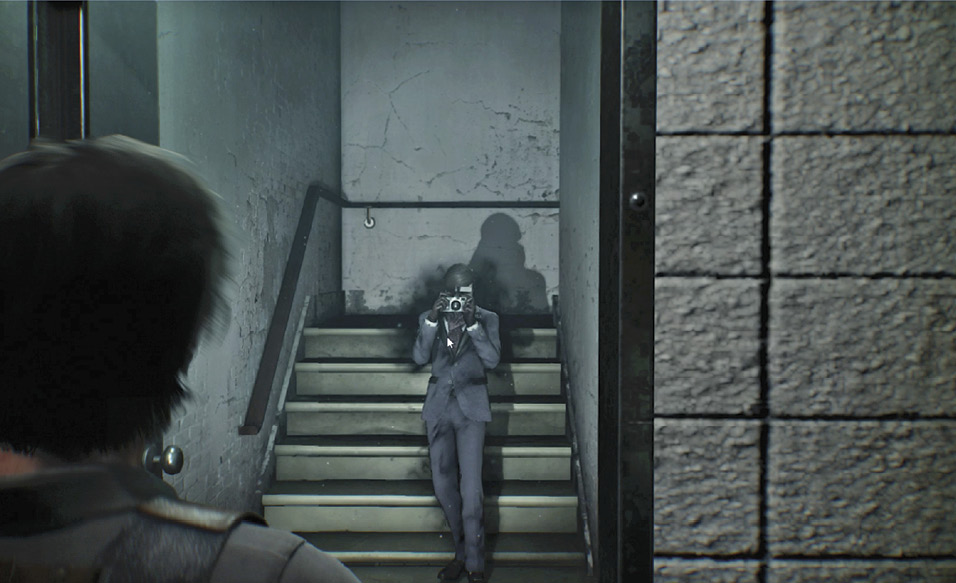
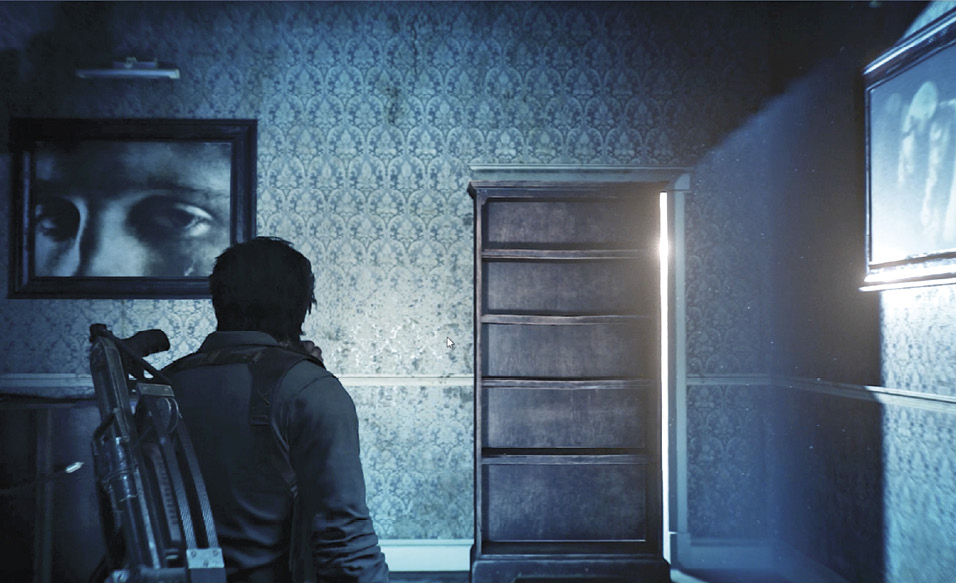
Follow the hall to what looks like a photography workroom. A giant photo of Turner being killed can be examined here, as well as the floating Guardian heads. Examining the latter causes some sleeping Lost to get up and attack. Find the empty wooden bookshelf in the corner and move it to reveal a passage into another hall. Go open the doors under the Exit sign to emerge from the Visitor Center. As Sebastian says: “That was weird, even for this place.”
Report back to O’Neal
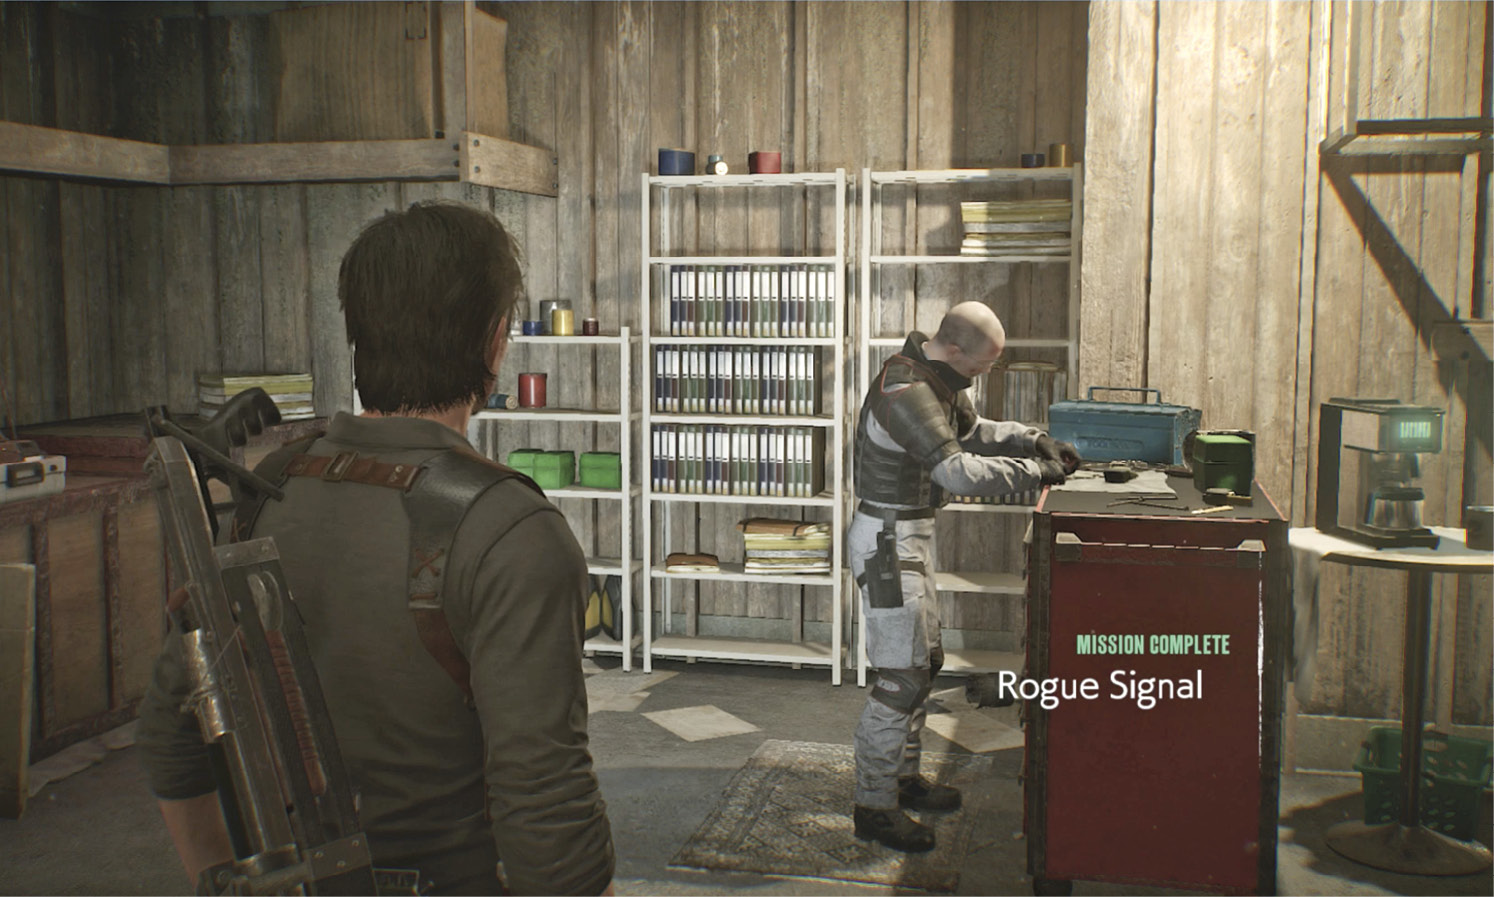
Head across the street to O’Neal’s Safe House  . Inside, approach O’Neal and talk to him to wrap up “Rogue Signal,” the side mission.
Return to Chapter 3 Main Mission Overview
Use your Communicator to track down the source of the girl’s voice
Optional: Kill the Hysteric
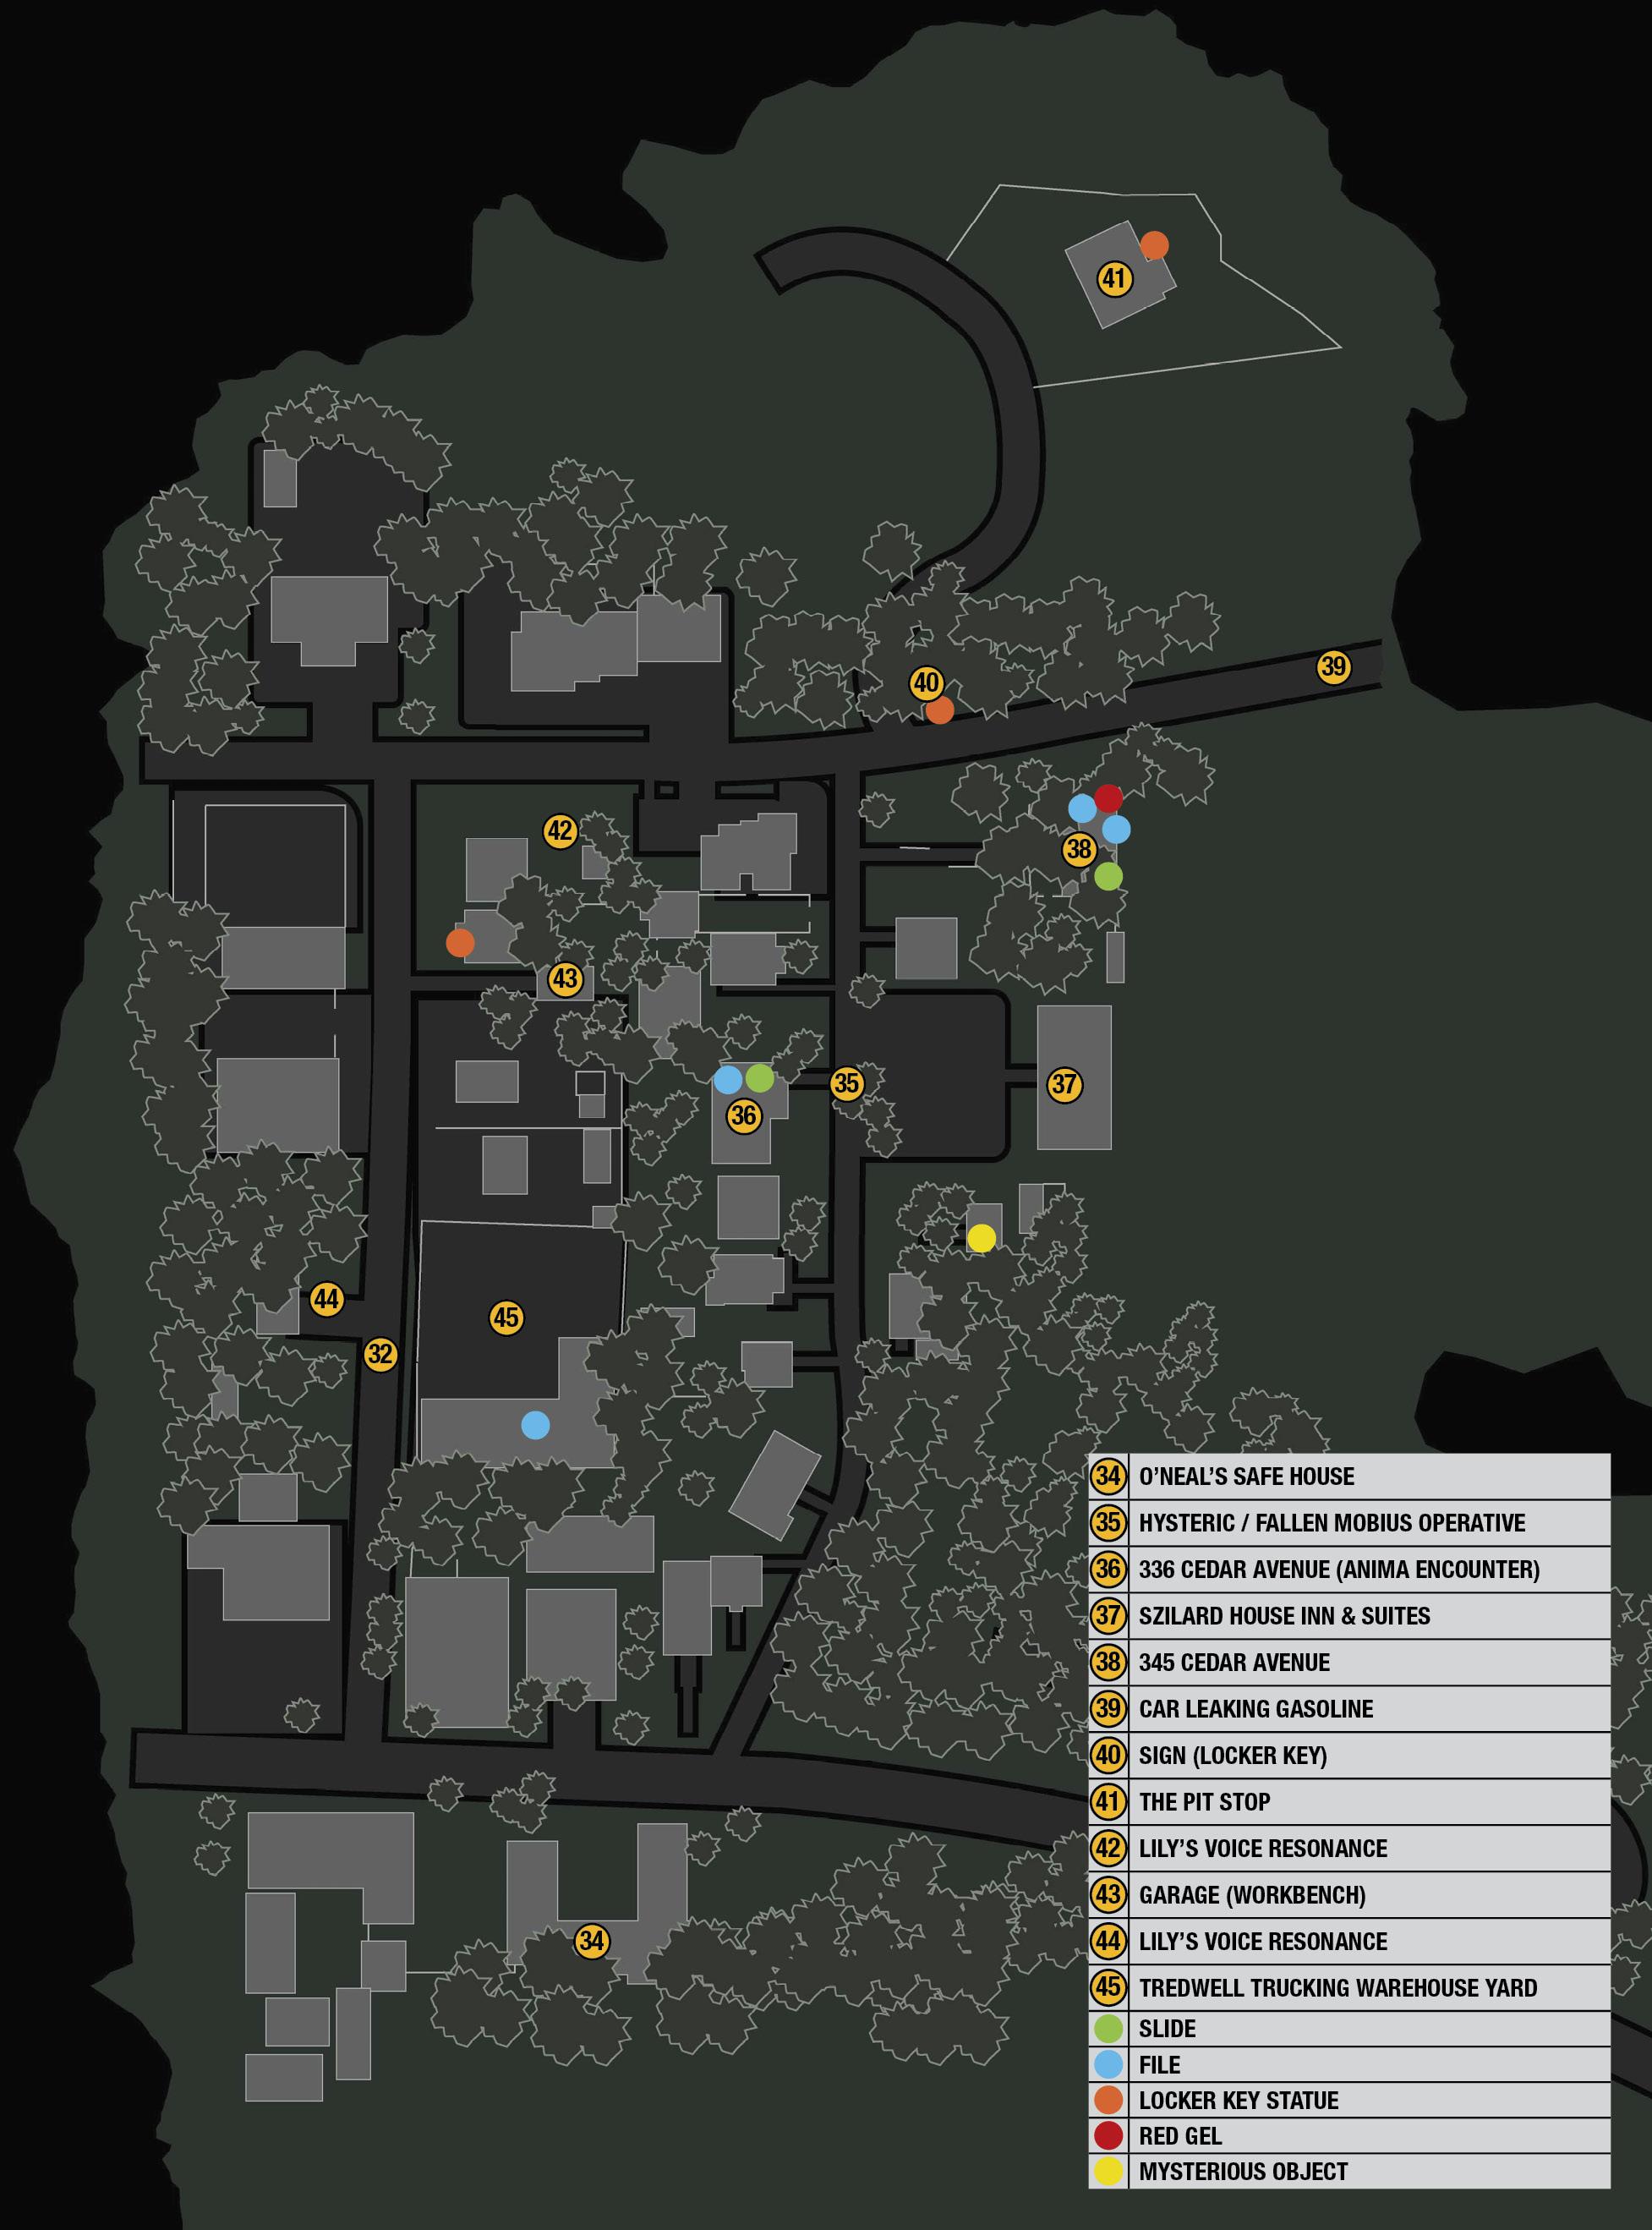
Now you’re going to start working your way carefully up Cedar Avenue toward the reddish circle on your map. Up ahead, another Hysteric  stands gurgling in the road, facing you. She seems to be standing guard over a fallen Mobius operative.
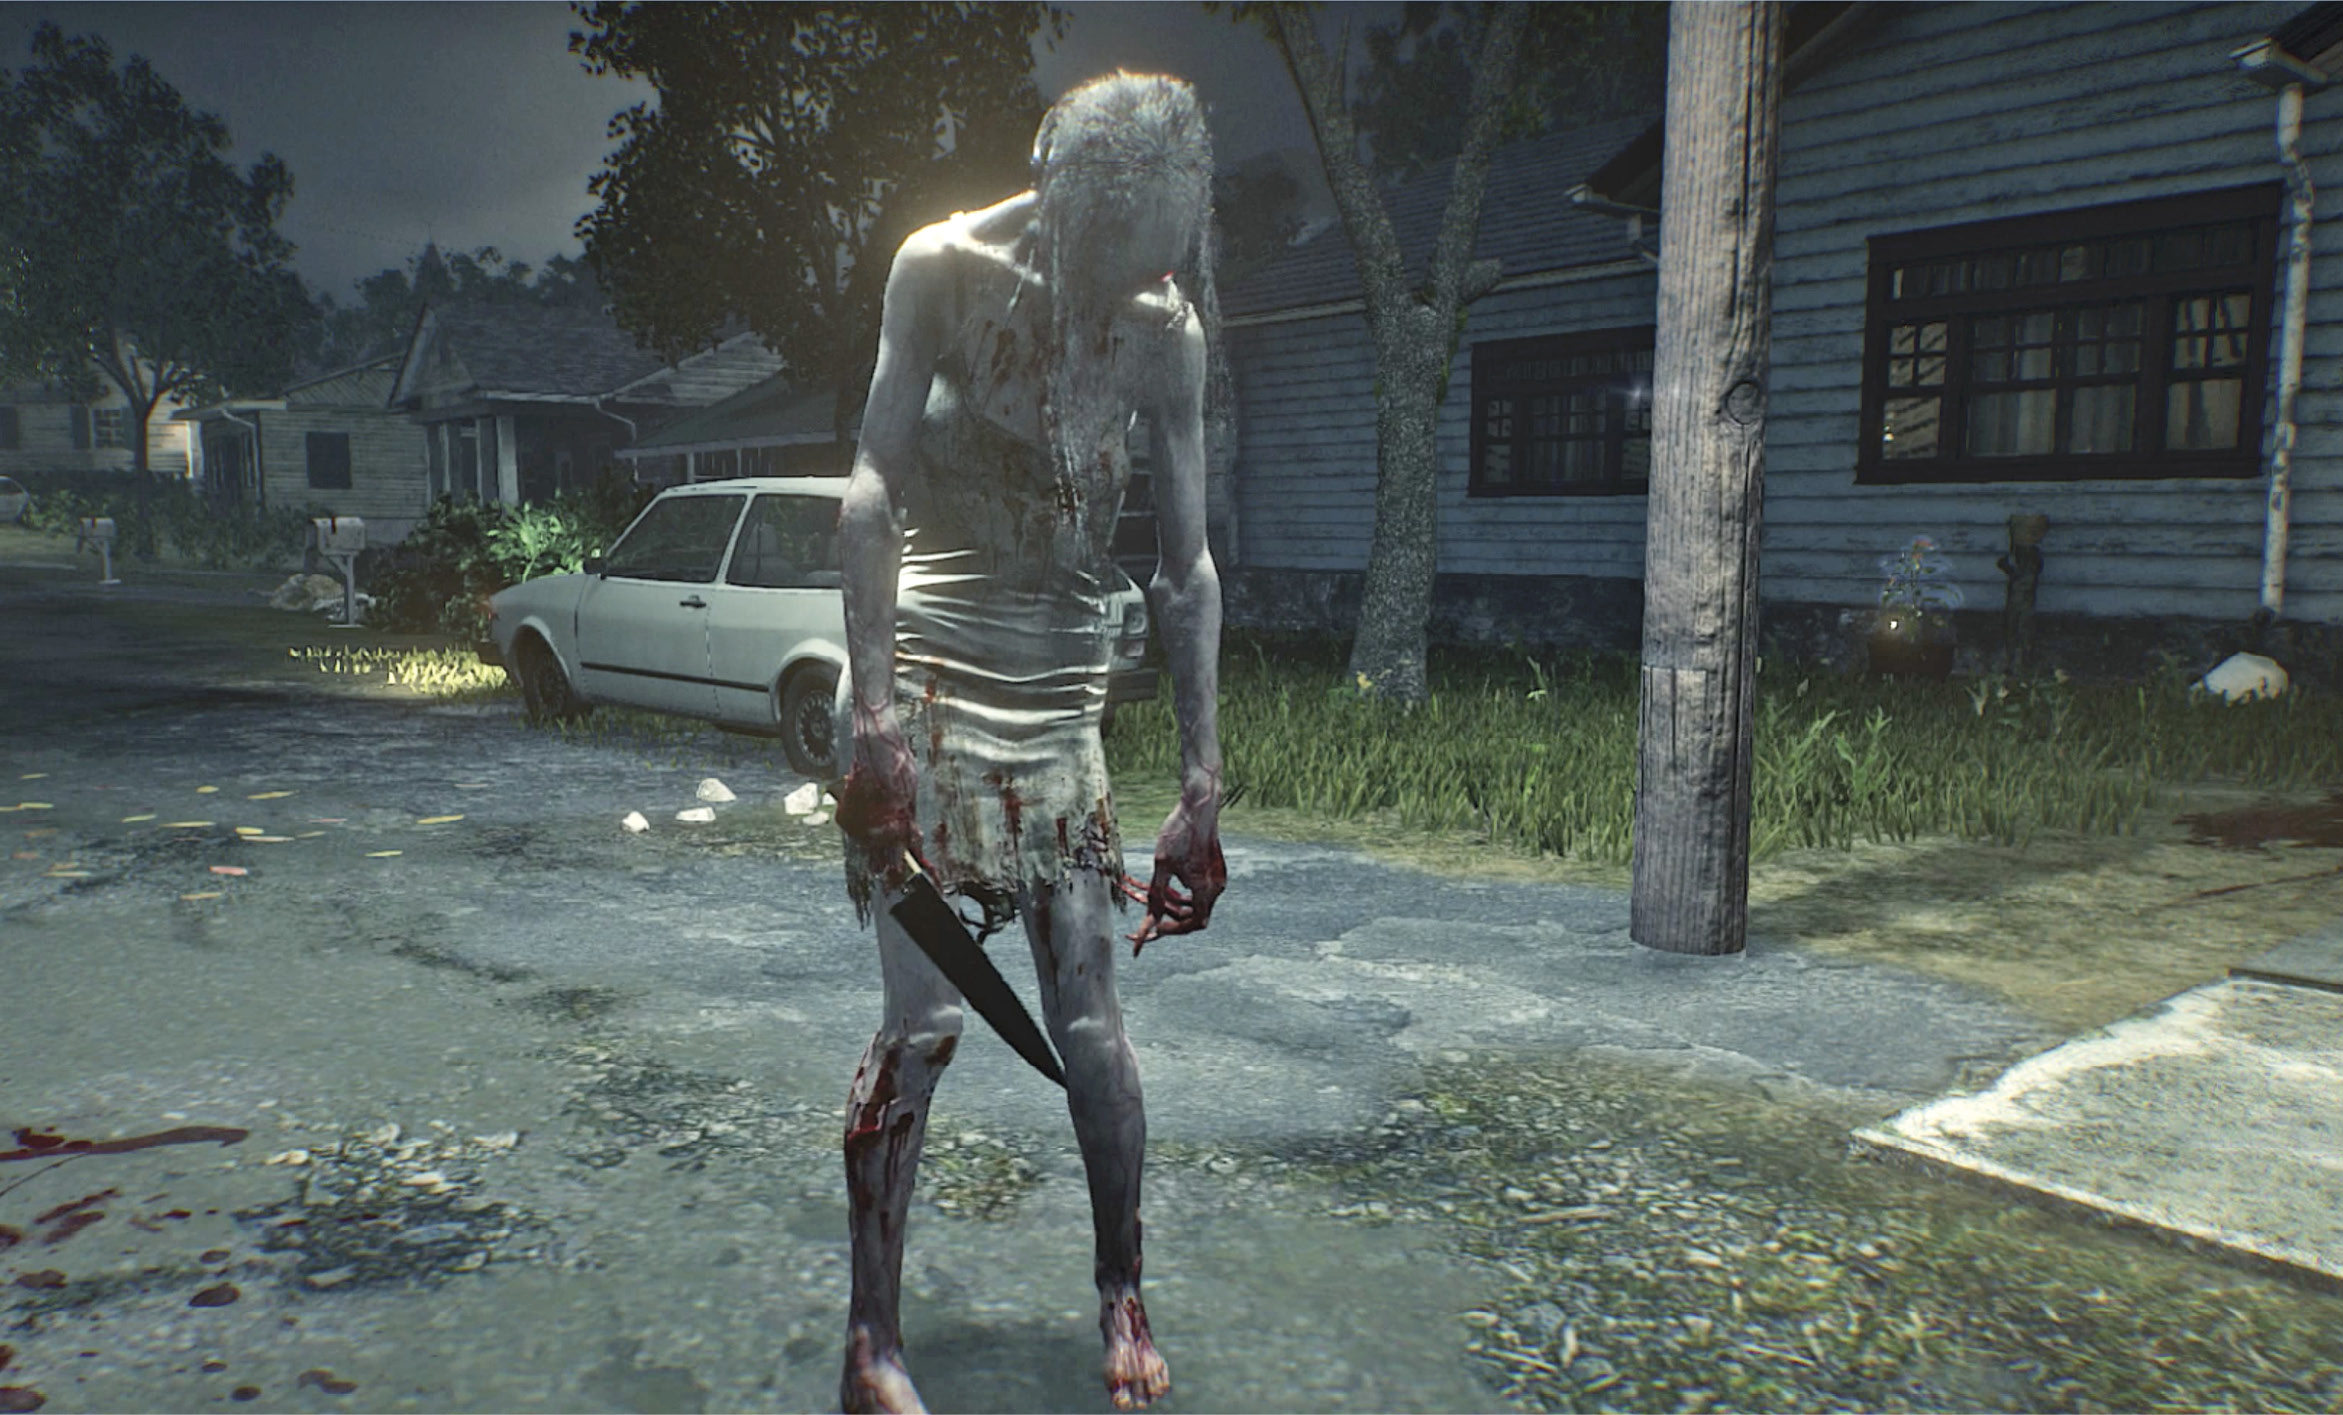
Sneak down the right side of the road through the high grasses of the yard in front of Szilard House Inn, then creep around behind the Hysteric to unleash a Sneak Kill attack… which doesn’t actually kill her, so back up quickly and nail her with shotgun blasts to the head. (If you want to take her out stealthily, remember that it takes two Sneak Kill attacks to terminate her.) Collect the Green Gel , and snag the Handgun Ammo Pouch from the fallen Mobius operative.
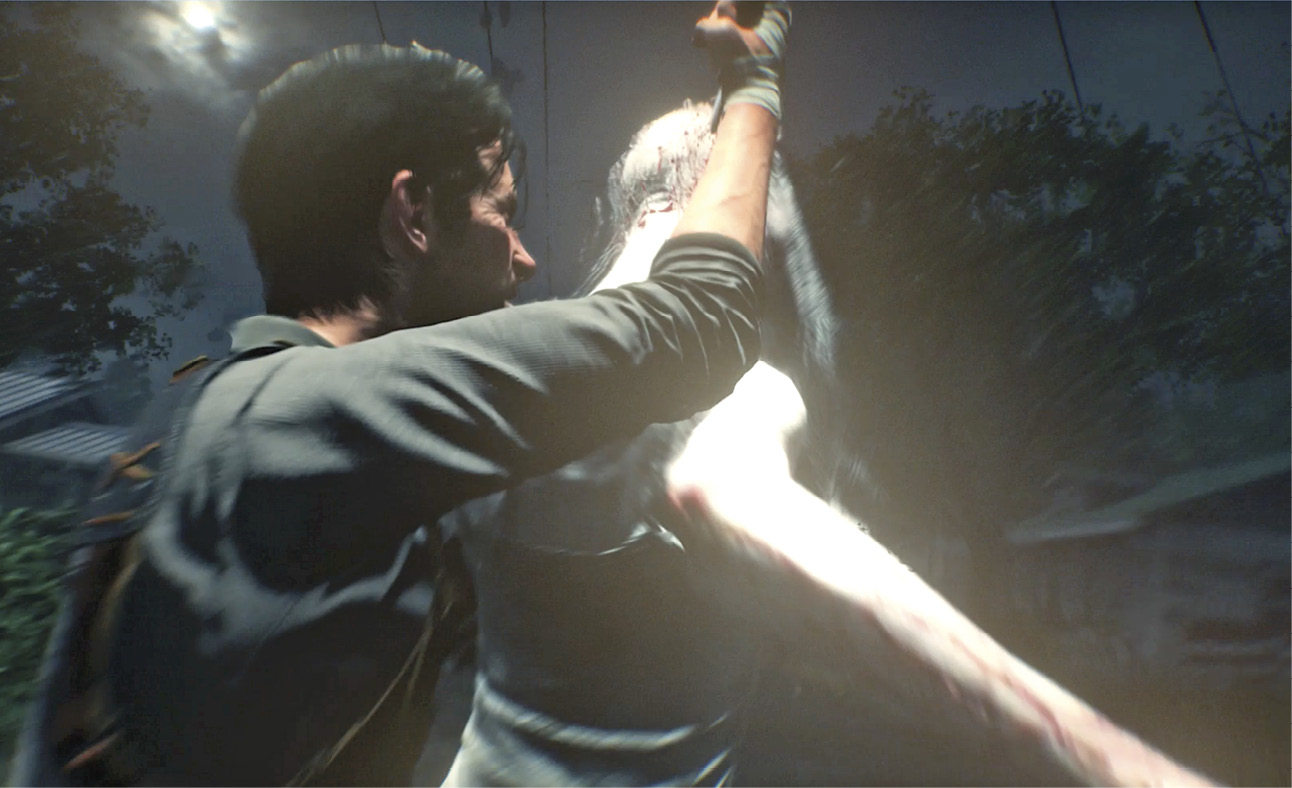
Optional: Explore 336 Cedar Avenue
Now get ready for some truly frightening weirdness. Approach the nearby house  , down the bloody sidewalk where the Hysteric was posted. This is 336 Cedar. Enter to find a fairly normal, orderly living room. Grab the Syringe from the bathroom cabinet then head down the hall. Enter the bedroom and pick up the Woman’s Journal on the table.
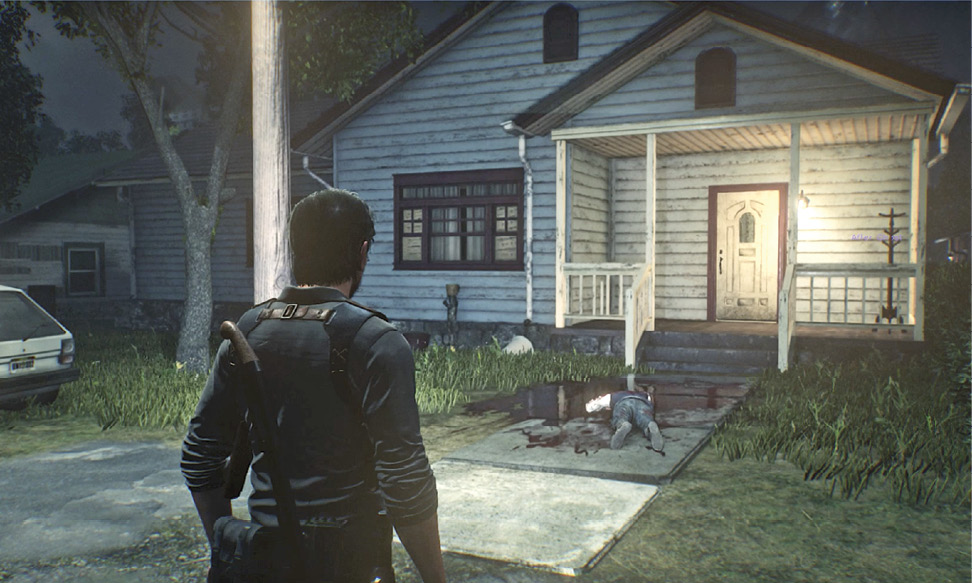
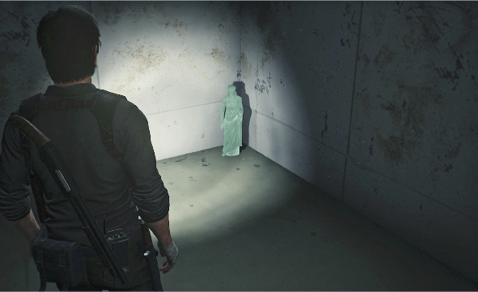
This pick-up triggers an event. Suddenly the chairs start rattling and the room grows frigid cold! Step back out into the hallway then return to the living room to see furniture fly. Behind you, a ghostly woman in flowing robes appears at the end of the corridor. This is the Anima, and she will stalk Sebastian relentlessly.
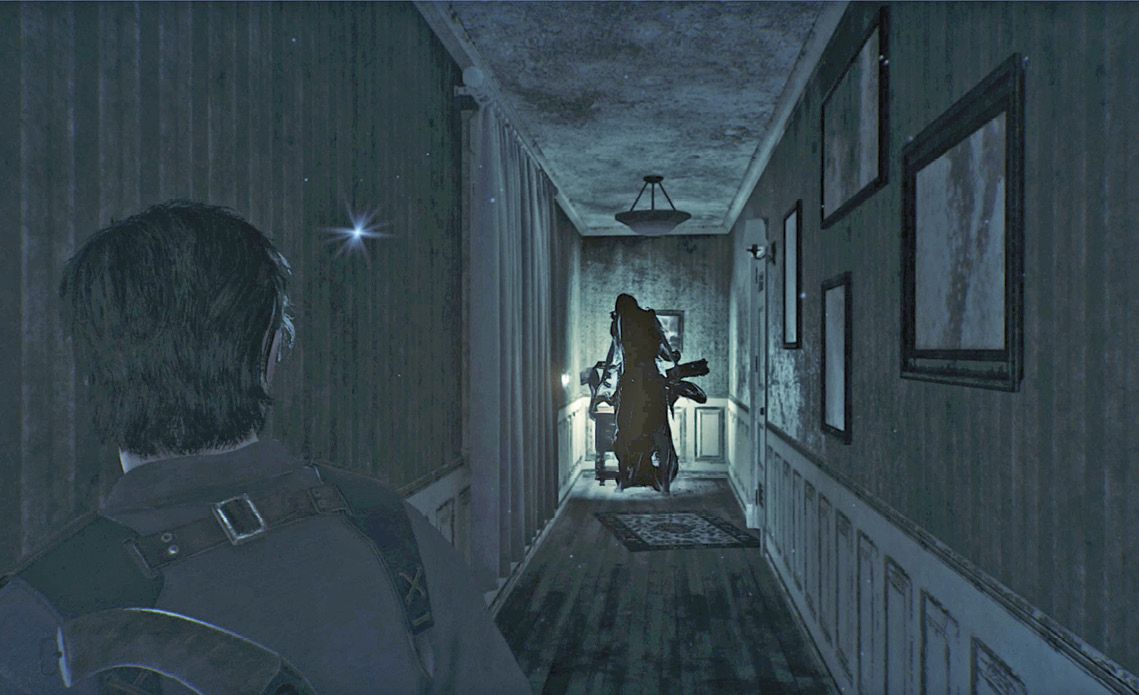
The specter makes a sudden lunge, knocking Sebastian to the floor. Sebastian hustles past her and dives into the bedroom… but it’s been transformed into a psychiatric ward! The ghost makes another rush and Sebastian ducks behind a pillar in a large room and says: “It’s coming for me. I gotta get out of here.” Unfortunately, this is a sealed hospital ward. The only door that leads out is down the corridor to Sebastian’s left (see our shot), and it’s locked. You need a keycard to open it and escape.
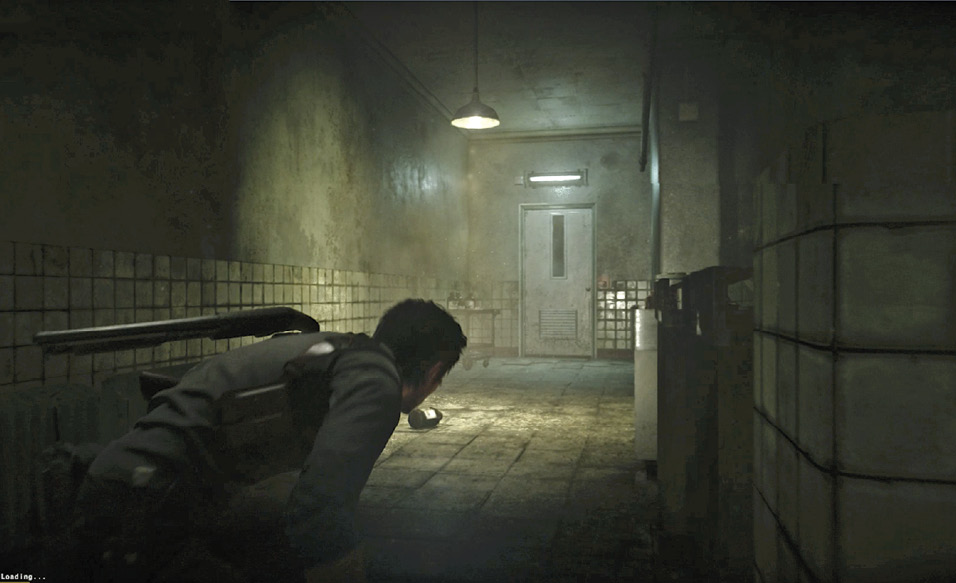
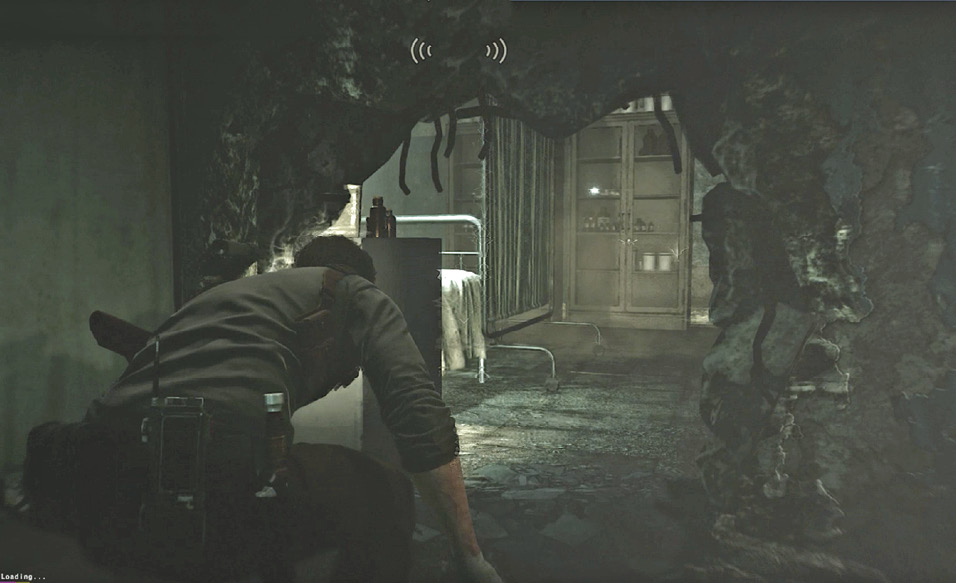
The humming Anima will track you slowly as you move through the ward; if she catches you, Sebastian is toast—her Grab attack kills instantly. When you regain control, spin around and exit via the door in the corner. Turn hard right to see a hospital gurney next to another door. Kick open that door and veer left around the first curtain divider to find a hole knocked in the wall. Crouch and hustle through the hole into the next room.
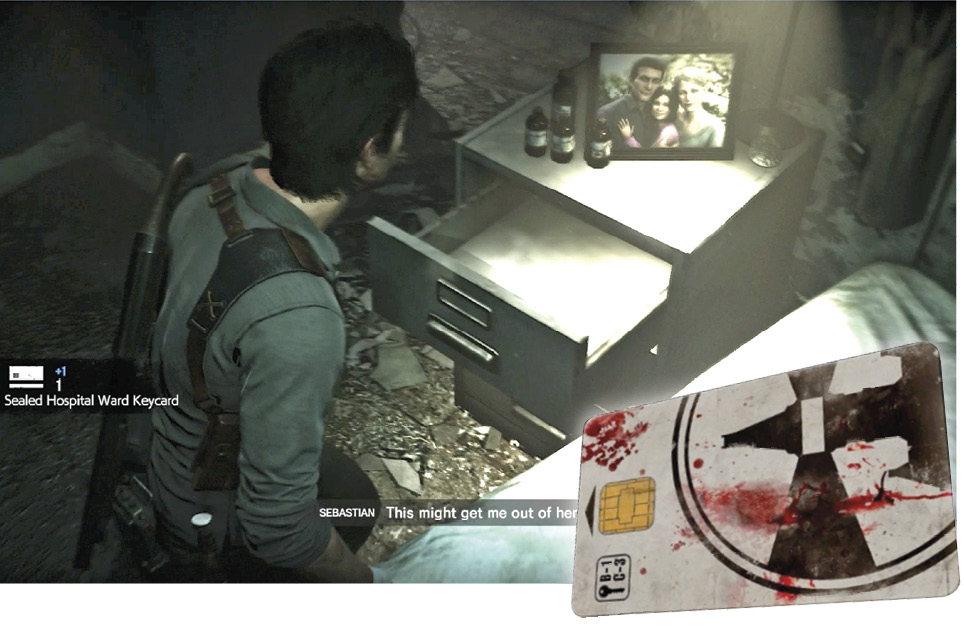
Just beyond the hole, turn left and open the nightstand drawer next to the bed. (Note the Castellanos family photo sitting on the nightstand!) Grab the Sealed Hospital Ward Keycard. If the Anima is near the hole (and she probably is) exit via the door across the room.
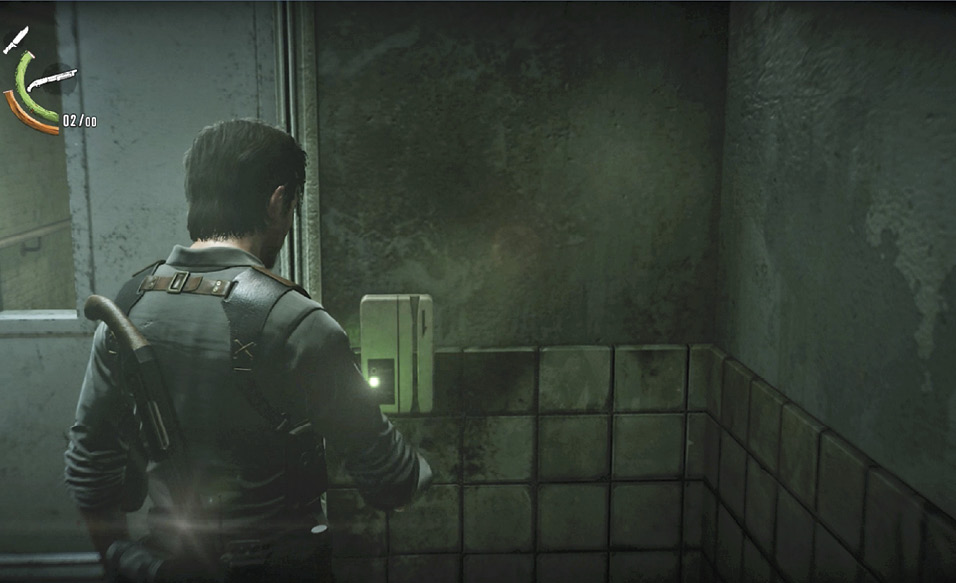
Turn left and sprint to get through the next door directly ahead, which leads back into the big central room. Turn left again, sprint to the keycard door, operate the card reader to unlock the door, then open it and run. This triggers a quick cinematic: Sebastian is staggered by a cascade of disturbing flashback images.
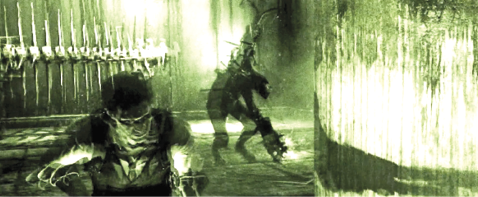
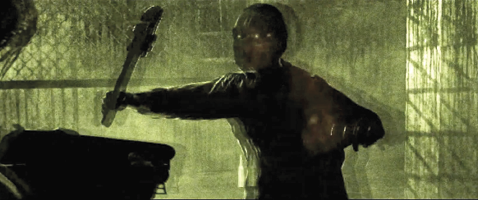
You automatically exit from the ward into the bedroom of 336 Cedar again. A new photographic slide sits on the round table in the same spot where the Woman’s Journal sat before. Grab the slide and exit the house.
Optional: Check out Szilard House Inn
Some useful items can be found across the street at the Szilard House Inn & Suites  . Go around the right side of the inn to find a ladder and climb up to the second-floor balcony. Make sure your shotgun or handgun has a fully loaded clip, then proceed around the corner.
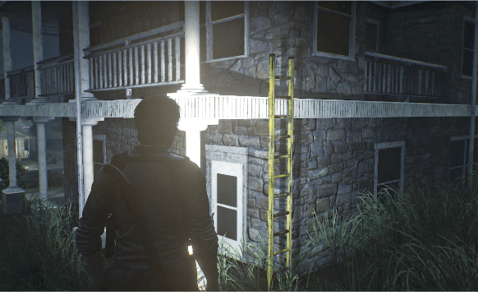
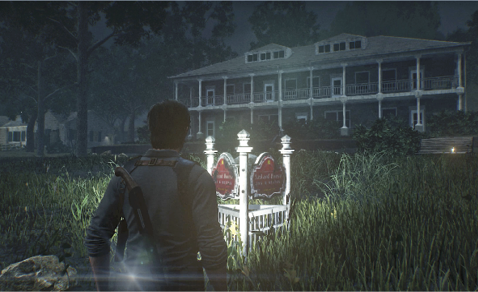
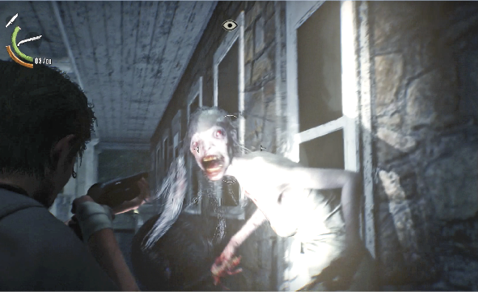
You find a time-warp tripwire stretched across the balcony just past the second door. Step into it to trigger a slow-motion Hysteric attack. Terminate her with headshots as she approaches then continue around the corner to find a fallen Mobius soldier next to a cache of good stuff, including a nice Shotgun Ammo Pouch.
Optional: Visit 345 Cedar Avenue
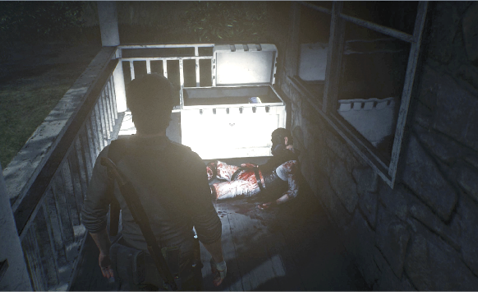
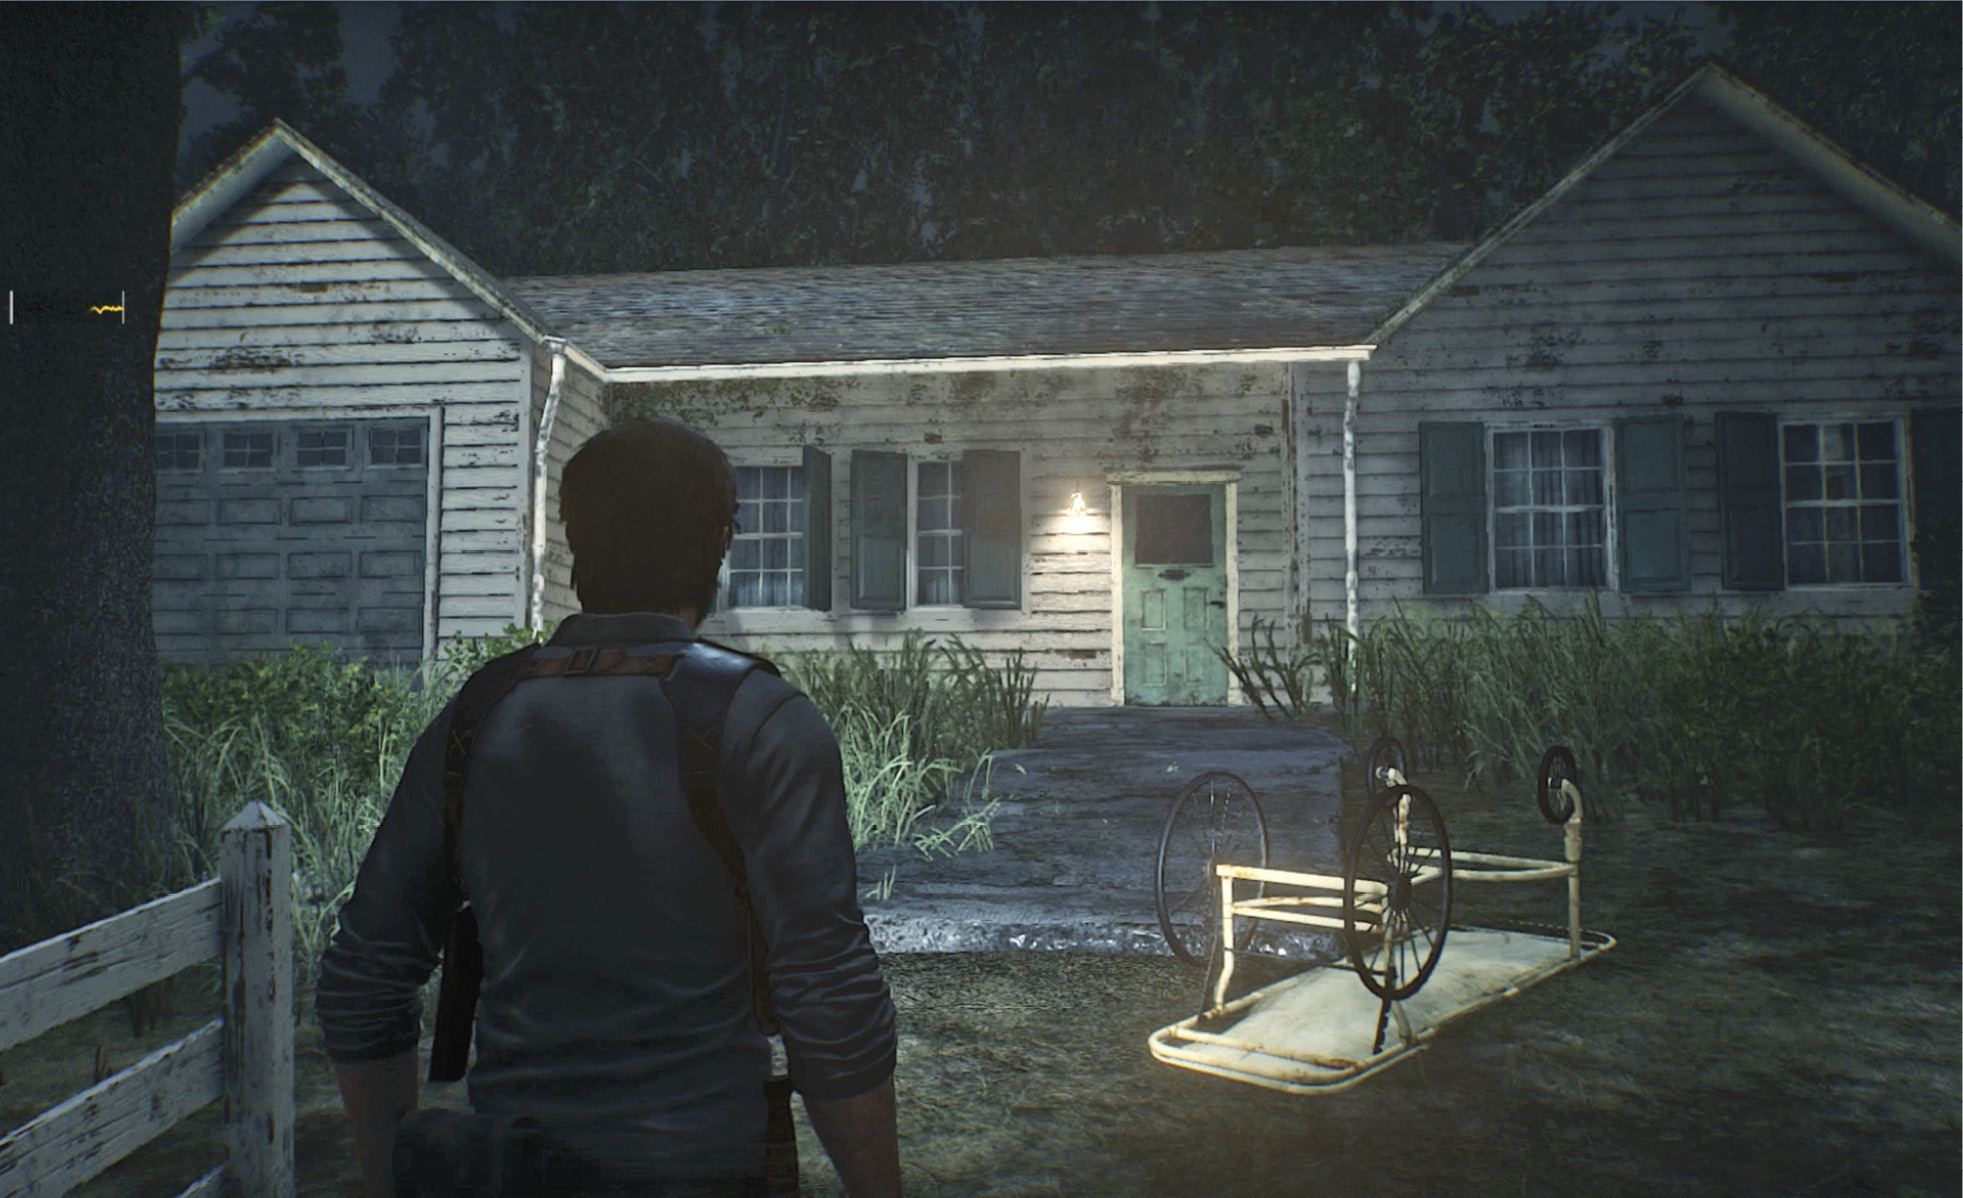
Continue along Cedar Avenue. Just past Szilard House, you pick up a Resonance pulse that tracks to 345 Cedar Avenue, the house up the long sidewalk to the right. Equip your Communicator to lock on and hear a snippet of conversation between Sebastian and a police psychiatrist. Approach the house to see a hospital gurney lying upside down near the front door. Enter the house, veer to the hallway just right of the TV, then head left down the corridor to the garage. Pick up the manila envelope sitting on the gurney next to the car.
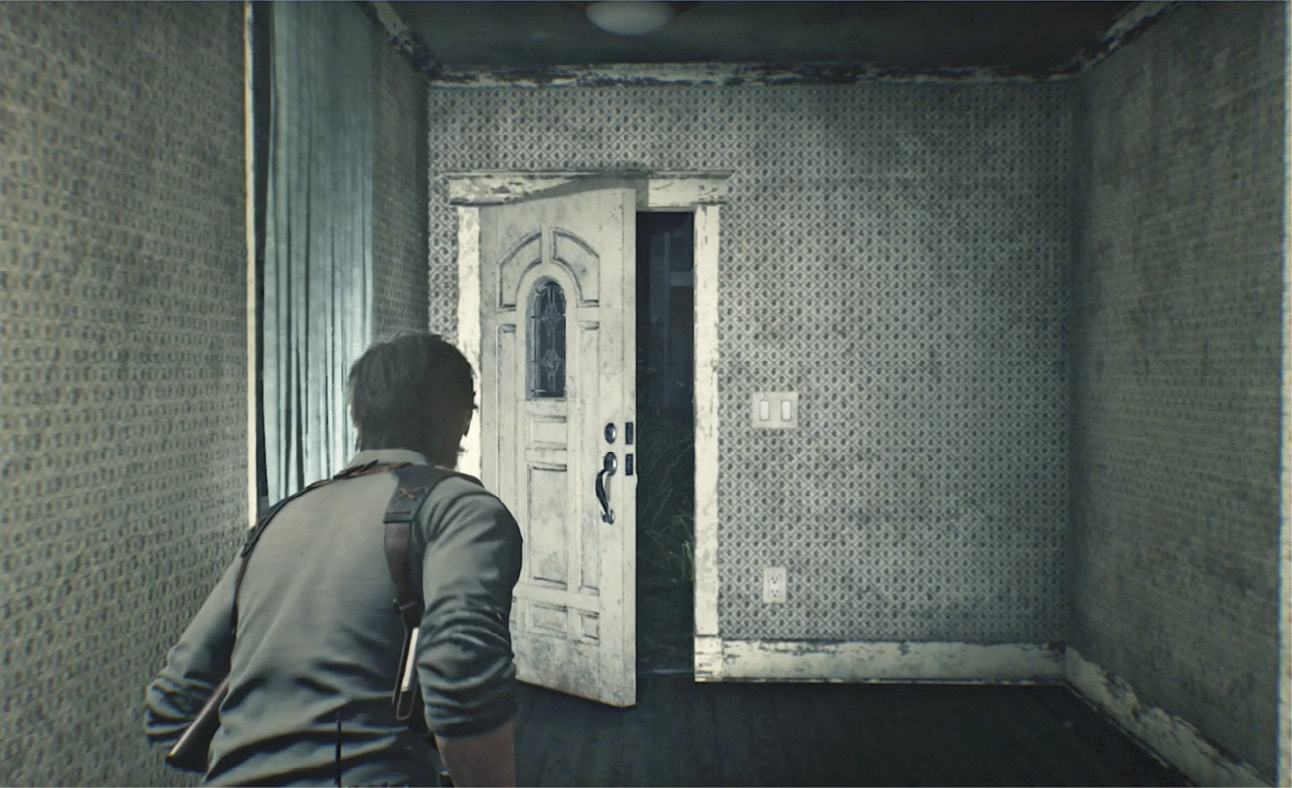
As you return down the corridor, notice that the door at the far end that leads outside slowly closes. If you try to open it, you find it locked! In fact, all of the doors leading outside are now locked; you can’t escape 345 Cedar until the entire hallucinatory sequence plays out.
Return to the living room to find the lights out and the TV crackling with static. Investigate the TV to trigger a vision and hear Sebastian’s interview with the police psychiatrist. Turn right, enter the short hall, and turn right into the bedroom to see a brief vision of a figure hunching over the side table. Then pick up a report now sitting on that table. When you exit the report screen, the bedroom morphs briefly into a Beacon hospital room.
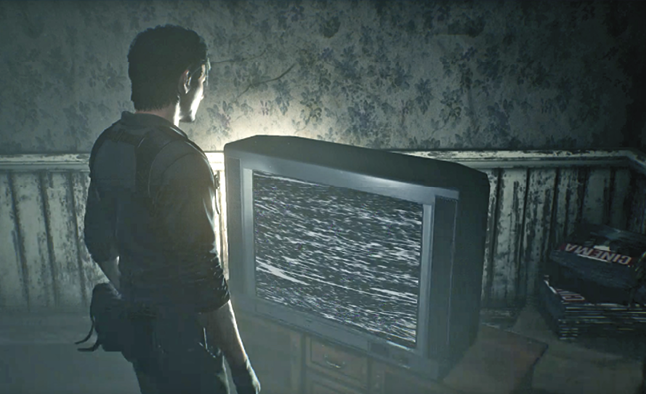
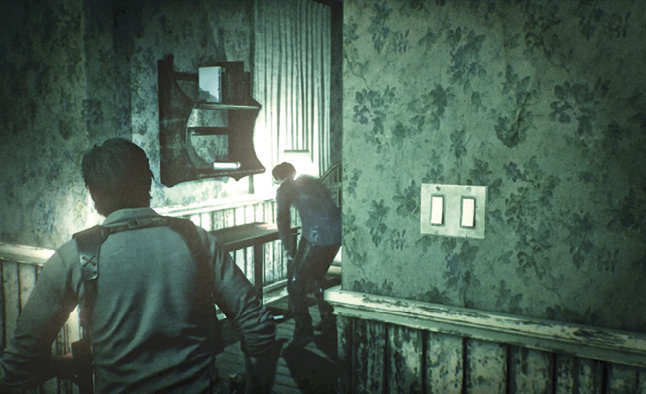
From this point on, Sebastian’s perception repeatedly flips back and forth between the regular Cedar house and the Beacon hospital environment. Exit the bedroom and look down the long corridor that leads back to the garage to catch a vision of a figure going through the door at the far end. Follow him to find the door now locked, but with a Beacon image flashing on the other side.
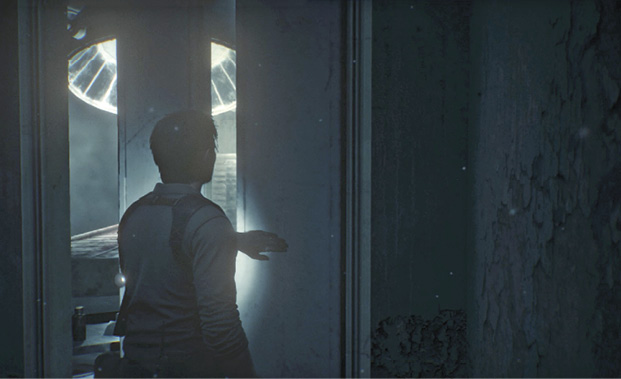
Return to the living room and veer to the left of the plaid chair into the kitchen to catch a glimpse of the shadowy figure at the sink. Approach the sink, which flickers back and forth in time, and turn off the water faucet. Approach the table in the living room to trigger a vision of an overturned gurney. Turn left to see a ghostly image of Sebastian with the psychiatrist.
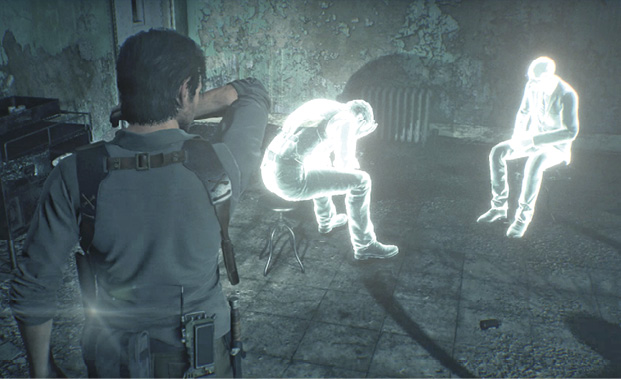
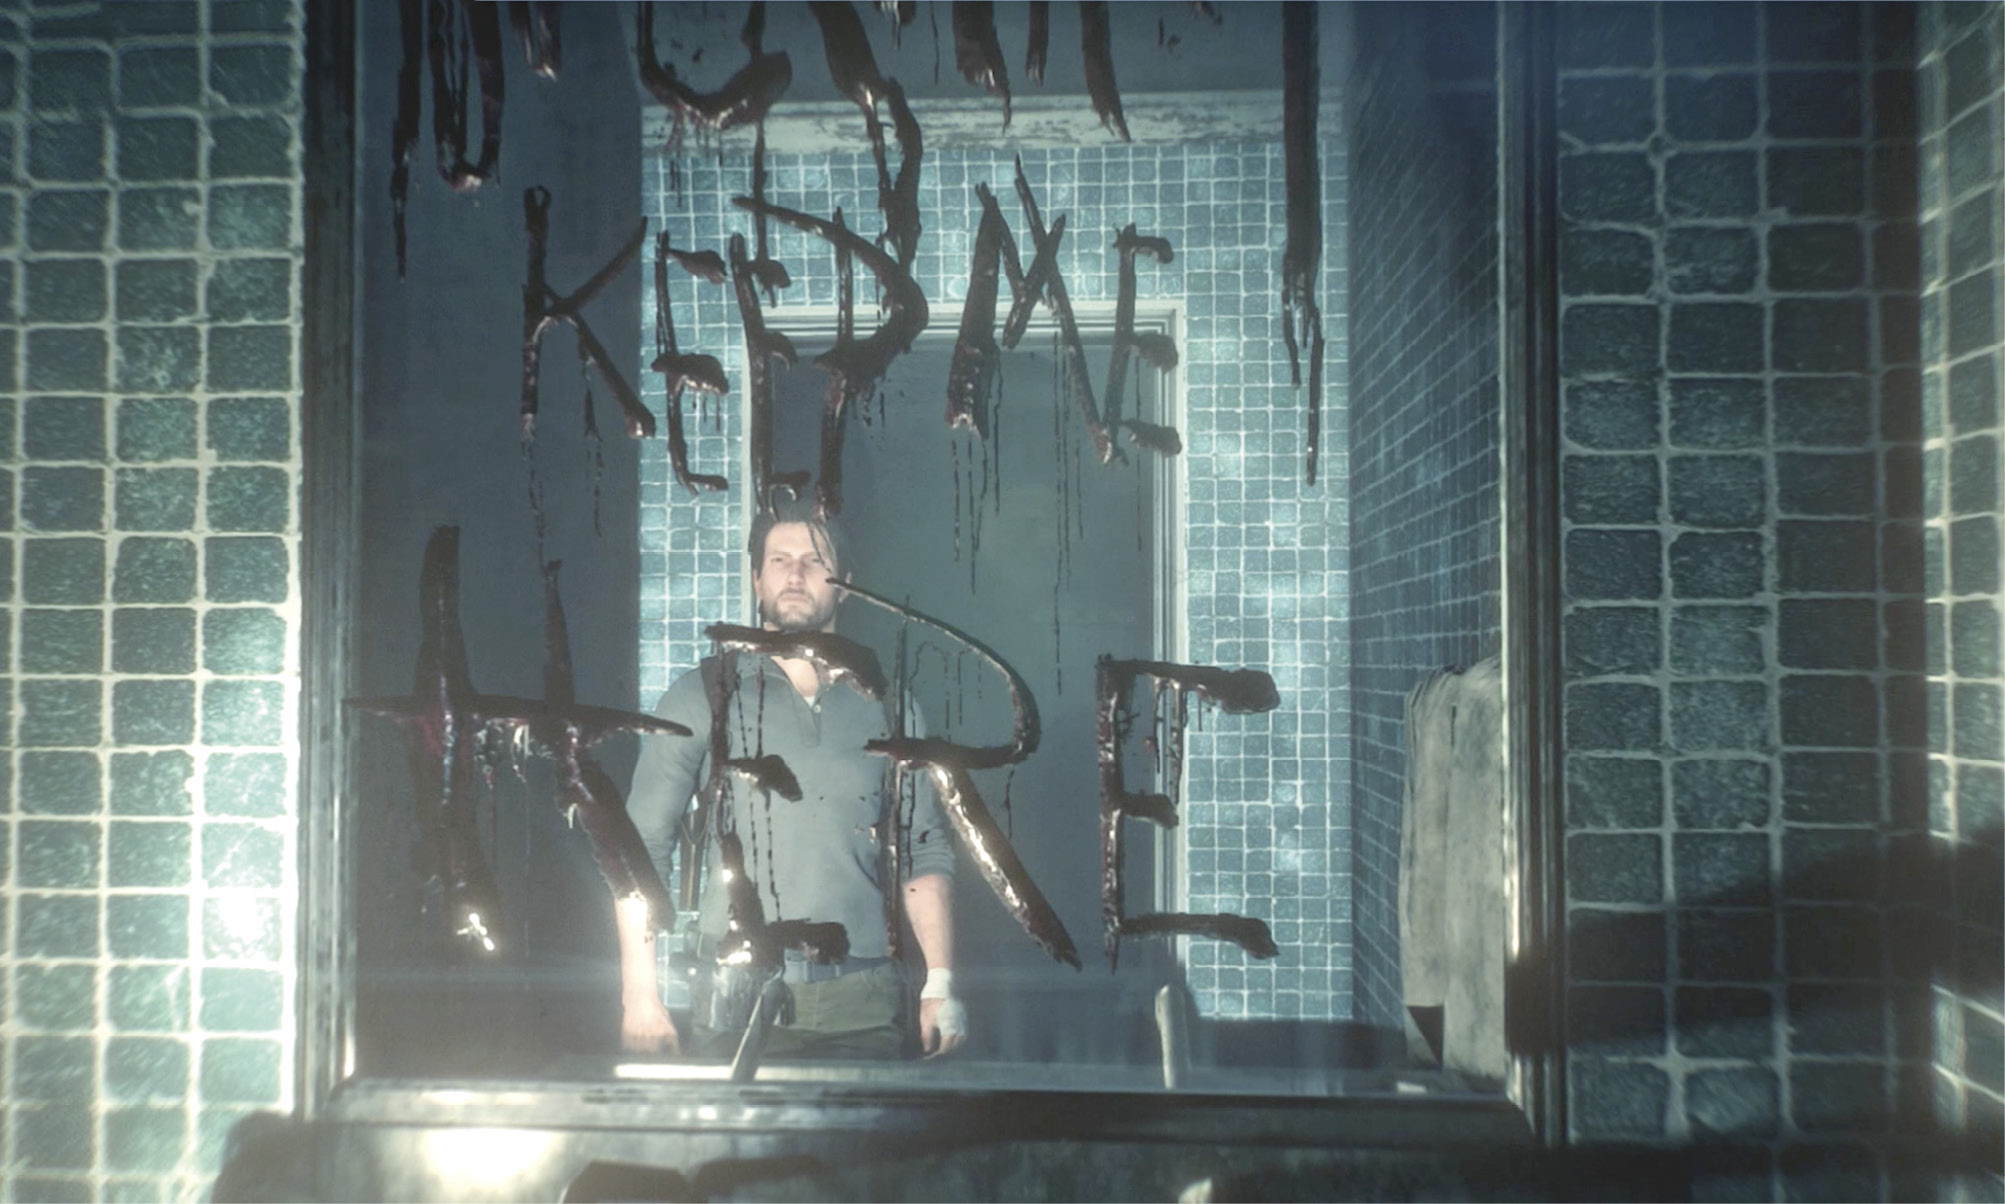
Now the bathroom door mysteriously opens. Approach to find a message scrawled in blood on the mirror: YOU CANNOT KEEP ME HERE. Investigate it to trigger another flashback to Beacon. Turn and head down the long Beacon corridor until you reach the wheelchair. When you pick up the slide sitting on it, Sebastian suffers a flood of flashback images.
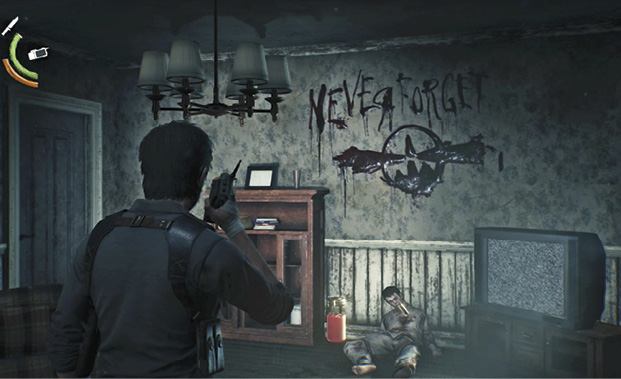
Continue down the long corridor and approach the figure sitting in the chair. After the shock vision, Sebastian wakes up back in 345 Cedar. Kidman calls him on the Communicator. After the conversation, pick up the jar of Red Gel and take the Harpoon Bolt impaling the poor victim on the floor under the “Don’t Forget” message on the wall. Exit the house.
Burn up Lost below The Pit Stop
Turn right and approach Ridgeway Road to see half a dozen Lost awaken to roam the hillside between you and The Pit Stop, which sits at the top of the hill. You can try to sneak past them; creep up for Sneak Kills; or use up a bunch of bullets killing them one at a time.
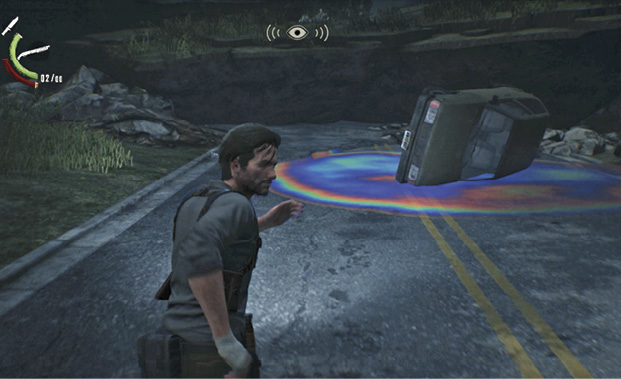
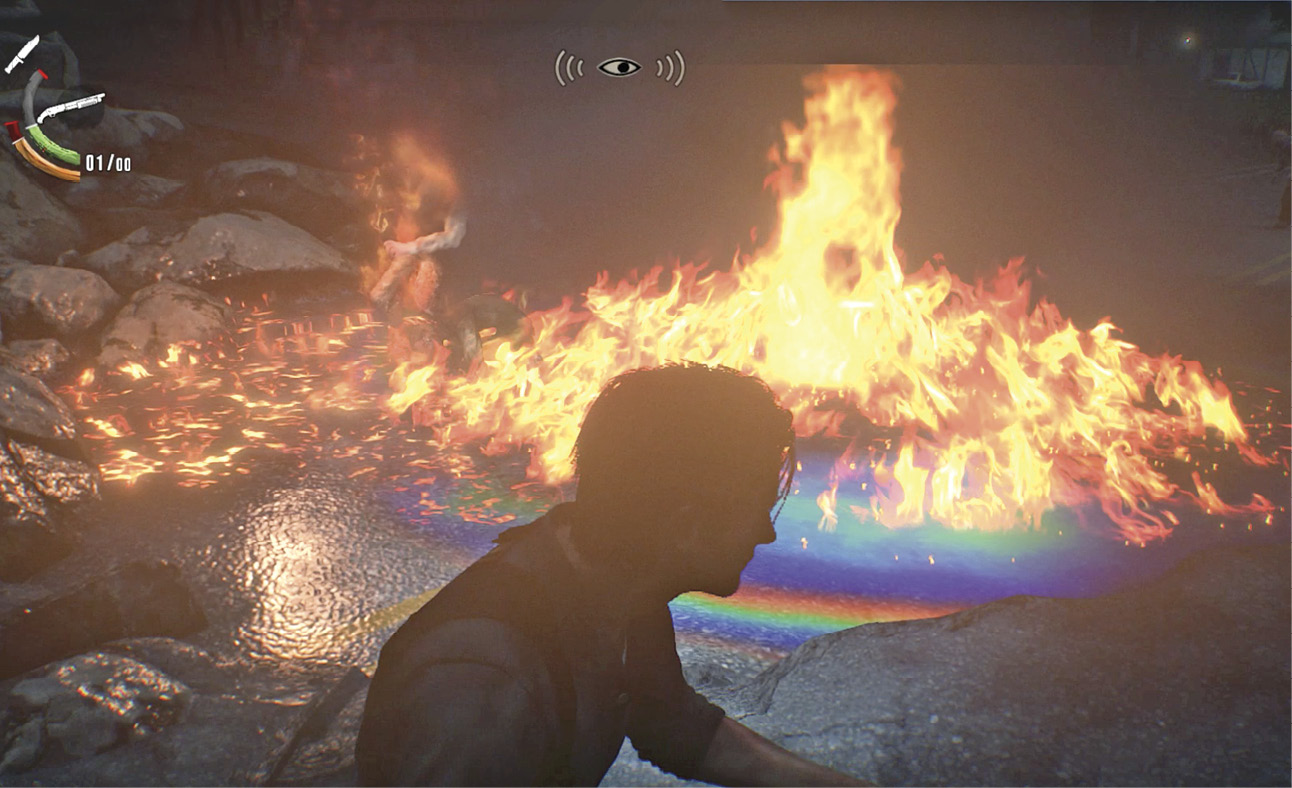
But try this tactic first: as Lost start rising on the road, equip your handgun and run right past them, luring them into pursuit! Sprint up Ridgeway Road to the overturned car leaking gasoline where the road ends  . Run around to the far side of the rainbow-colored spill, wait for your pursuers to move into the puddle, and then shoot at the gas until it ignites.
Track the signals at The Pit Stop
Before you head up the hill, follow the road back to The Pit Stop road sign  and spot the Locker Key statue sitting on its strut. Go around behind the sign to break the statue and grab the Locker Key. Then head uphill to The Pit Stop
  . (You might also want to use your Sniper Rifle to pick off the Lament staggering around the hillside.)
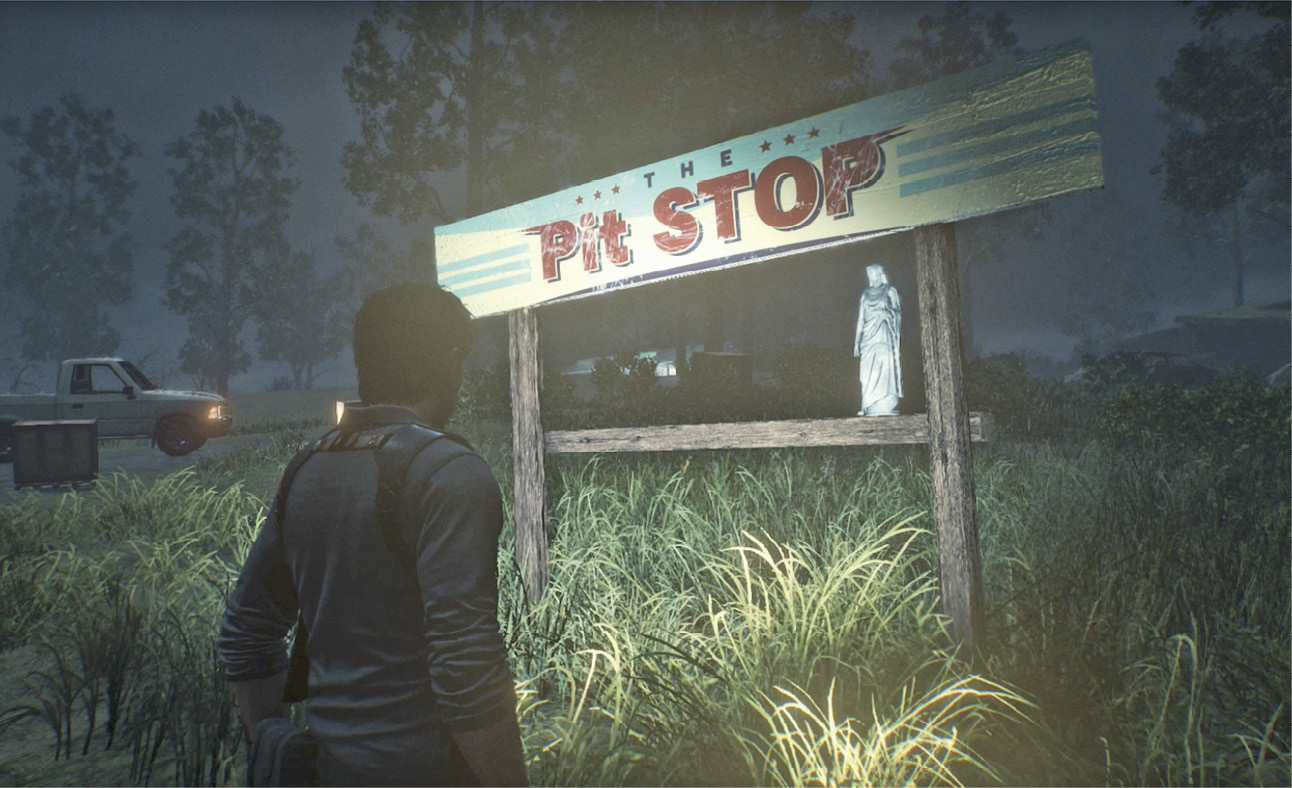
Approach the front of the building, equip your Communicator, and tune in on the resonance to trigger a quick vision of Lily running to the entrance. Afterwards, you see small white hand prints on the entry door.
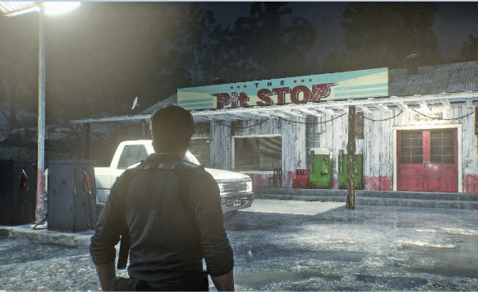
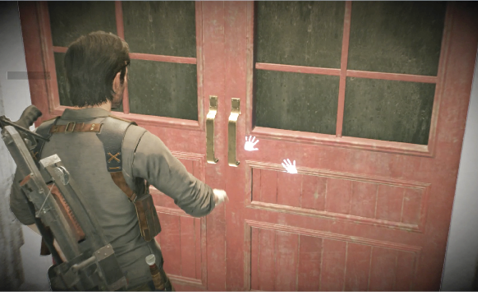
Open the door and follow the white footprints behind the counter to the Office door. Try to open the door—it’s jammed shut—then turn left and push the white counter along the wall to reveal a low opening. Crawl through the opening into the office.
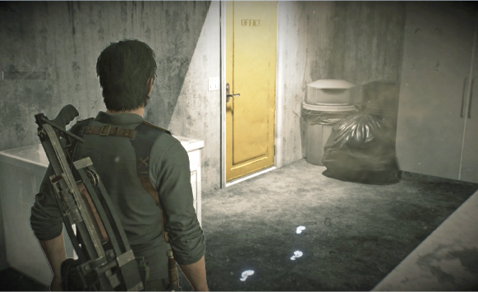
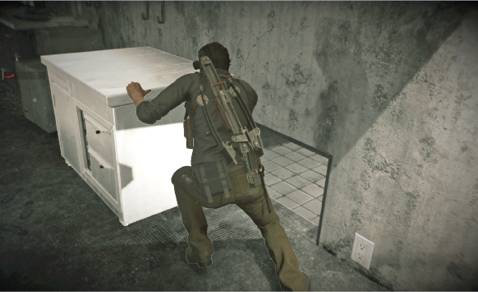
Pick up the Lily Doll on the floor to trigger a vision: Sebastian sees through Lily’s eyes as she flees from a pursuer. The vision ends as Lily looks up at a high window that leads out back.
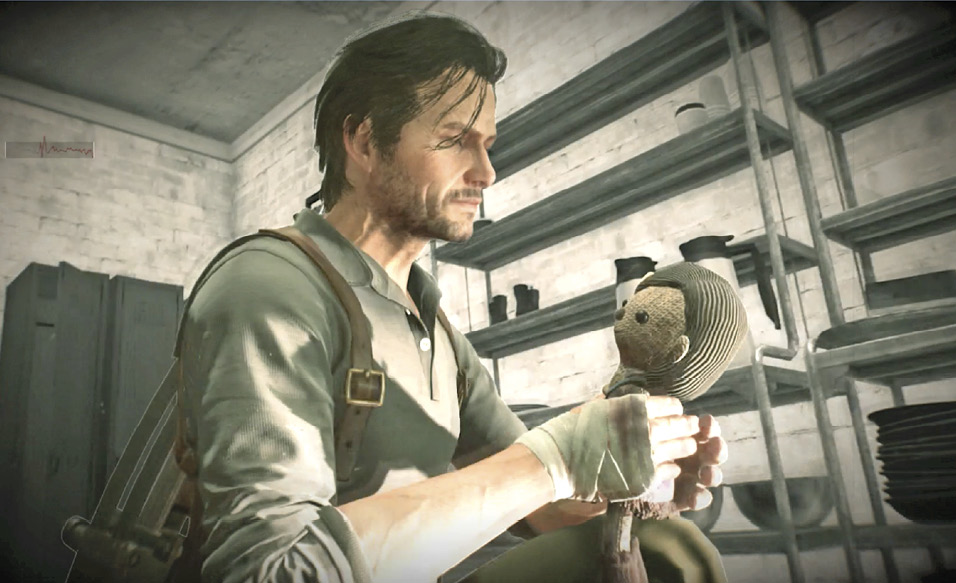
Search for clues behind the restaurant
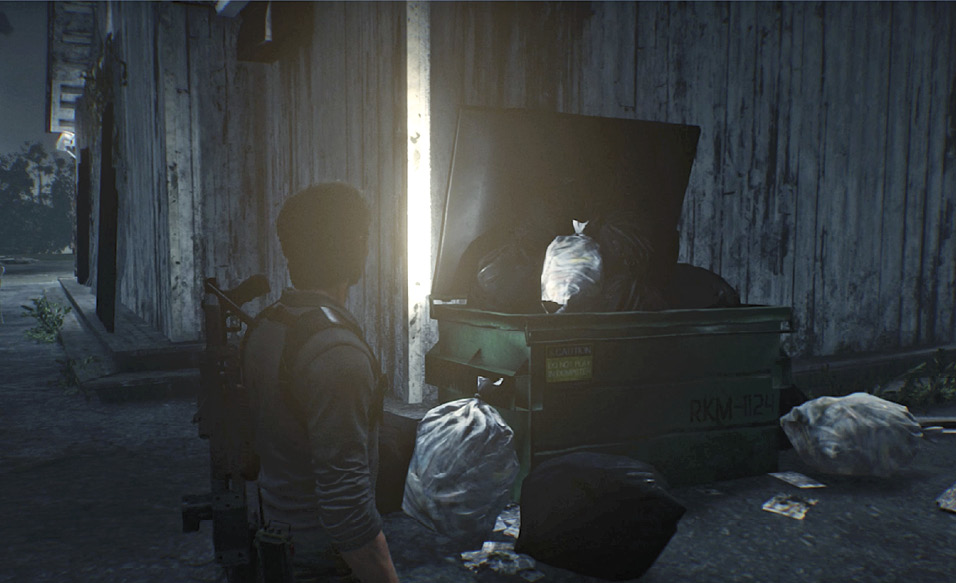
Exit the restaurant and go around behind the building. Investigate the dumpster at the corner to trigger another quick memory flash through Lily’s eyes. Your Communicator automatically maps a new search area labeled “Lily’s Voice” 191 meters away.
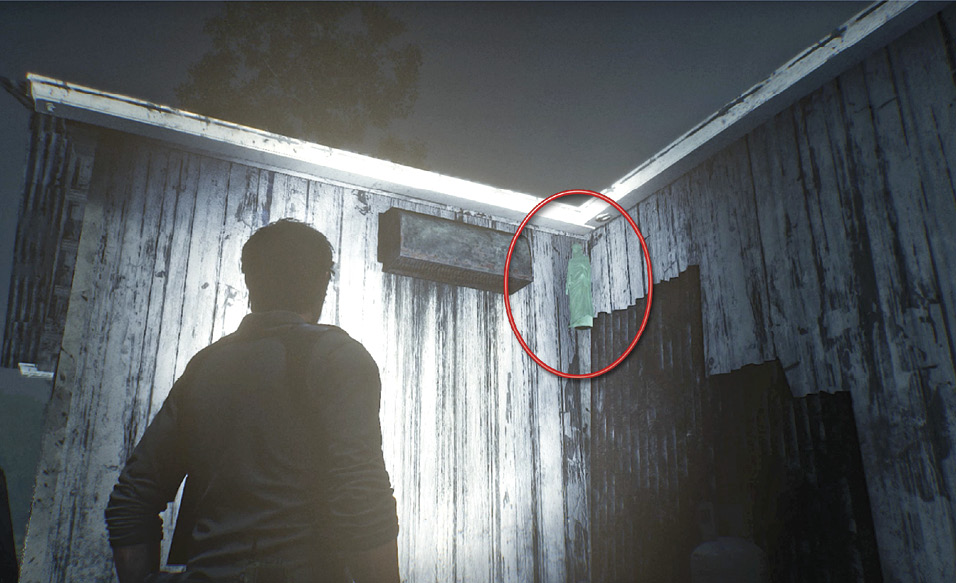
Note that a Locker Key statue is just around the corner in the back, too. It sits up high (circled in our shot), so you’ll have to shoot it to break it. But the key itself drops to the ground for easy pickup.
Follow the new Resonance of Lily’s voice
Fight off the Spawn!
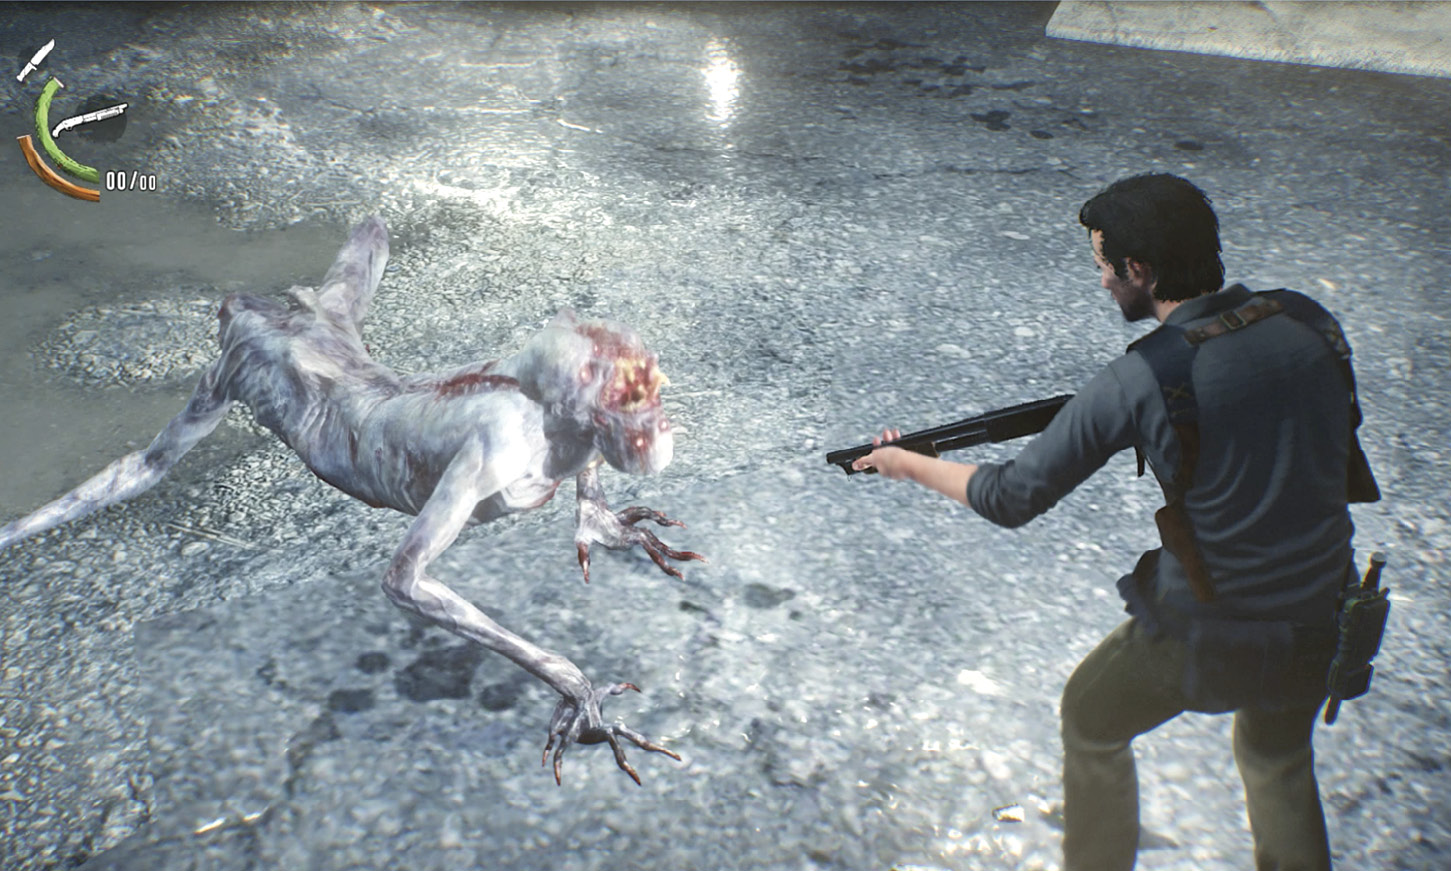
Set a waypoint in the orange circle and make sure your weapons have full bullet clips before you set off across the parking lot. Crossing the lot triggers a quick cinematic: something monstrous stalks Sebastian through the tall grass. When control returns, two hissing Spawn crawl on all fours toward the lot.
Wait to shoot each one until it approaches with open jaws, then fire directly into the mouth to stun it. Watch out as its back end crawls toward you; when it gets close, the beast’s three-headed mouth flips forward again to bite. Keep circling away from it, and keep blasting its foul jaws until it finally drops.
Follow the Resonances
After the fight, follow the waypoint marker down the hill to the waypoint you set in the alley  . (You can enter the light blue storage hut there for some pickup items and a quick fright.) Equip your Communicator and tune in for a brief glimpse of Lily’s Resonance. Investigate the glowing white column that appears to see Lily’s footprints.
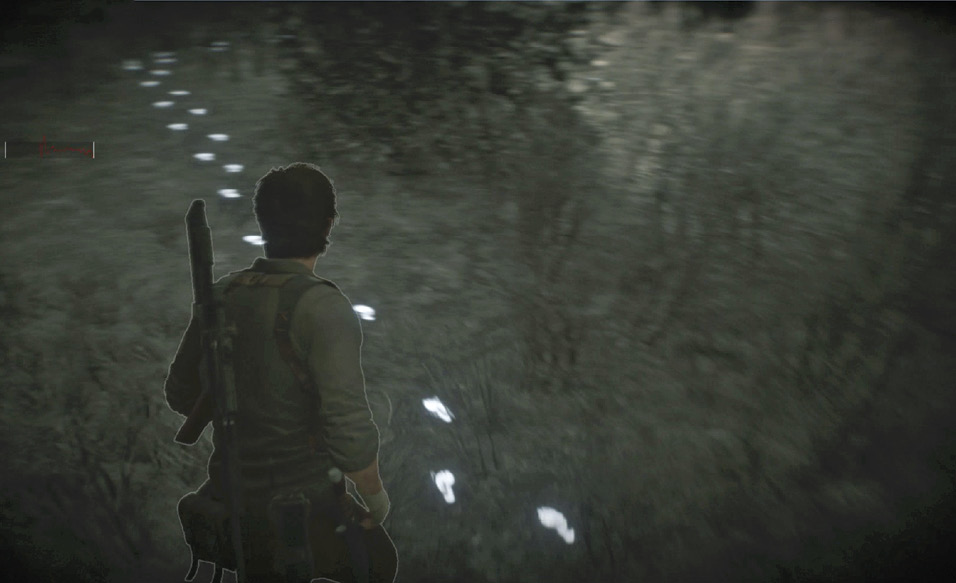
Follow their curving route through the foliage to the blood spot on the outer wall and examine it to see Lily’s image run off again. Follow the running girl until it disappears and another “Lily’s Voice” Resonance Point automatically appears on your map  .
.
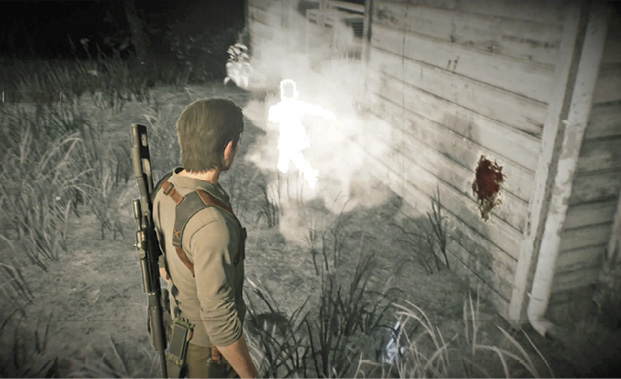
Put a waypoint on it and follow the waypoint marker again to that spot. On the way, be sure to explore the garage  with a Workbench and lots of Component pickup items; if you’re low on bullets/shells, craft some new ones. You can also find another Locker Key statue on the front porch of the nearest house (see our map).
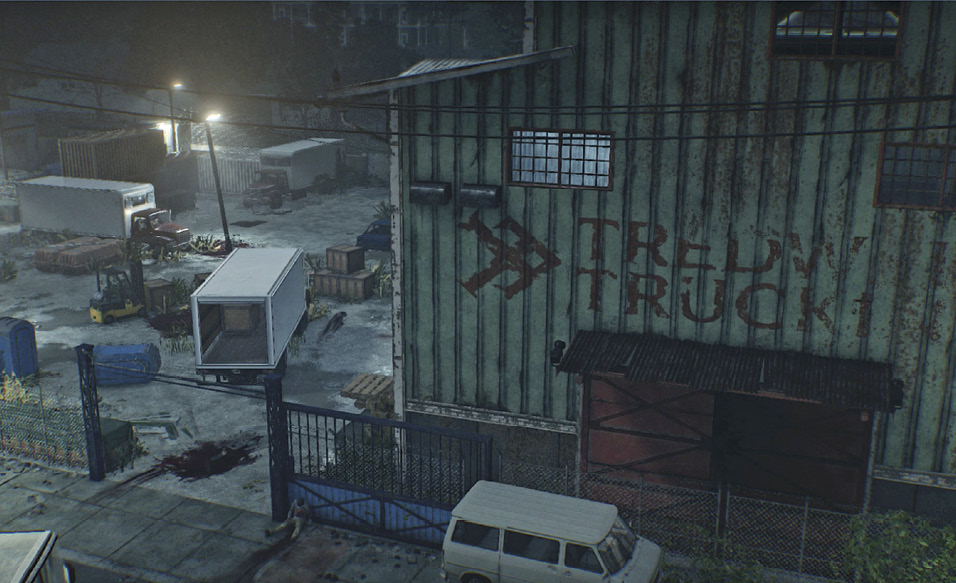
When you reach the waypoint location  , tune in the Resonance Point to spot Lily’s ghost image running off. Follow her to investigate another column of white light that spawns another set of white footprints. Track them to the GSN 4x4 vehicle and investigate; when Lily’s image reappears, follow her until she disappears. Sebastian notes that she ran into the Tredwell Trucking warehouse across the street: “lots of places to hide.”
Overview
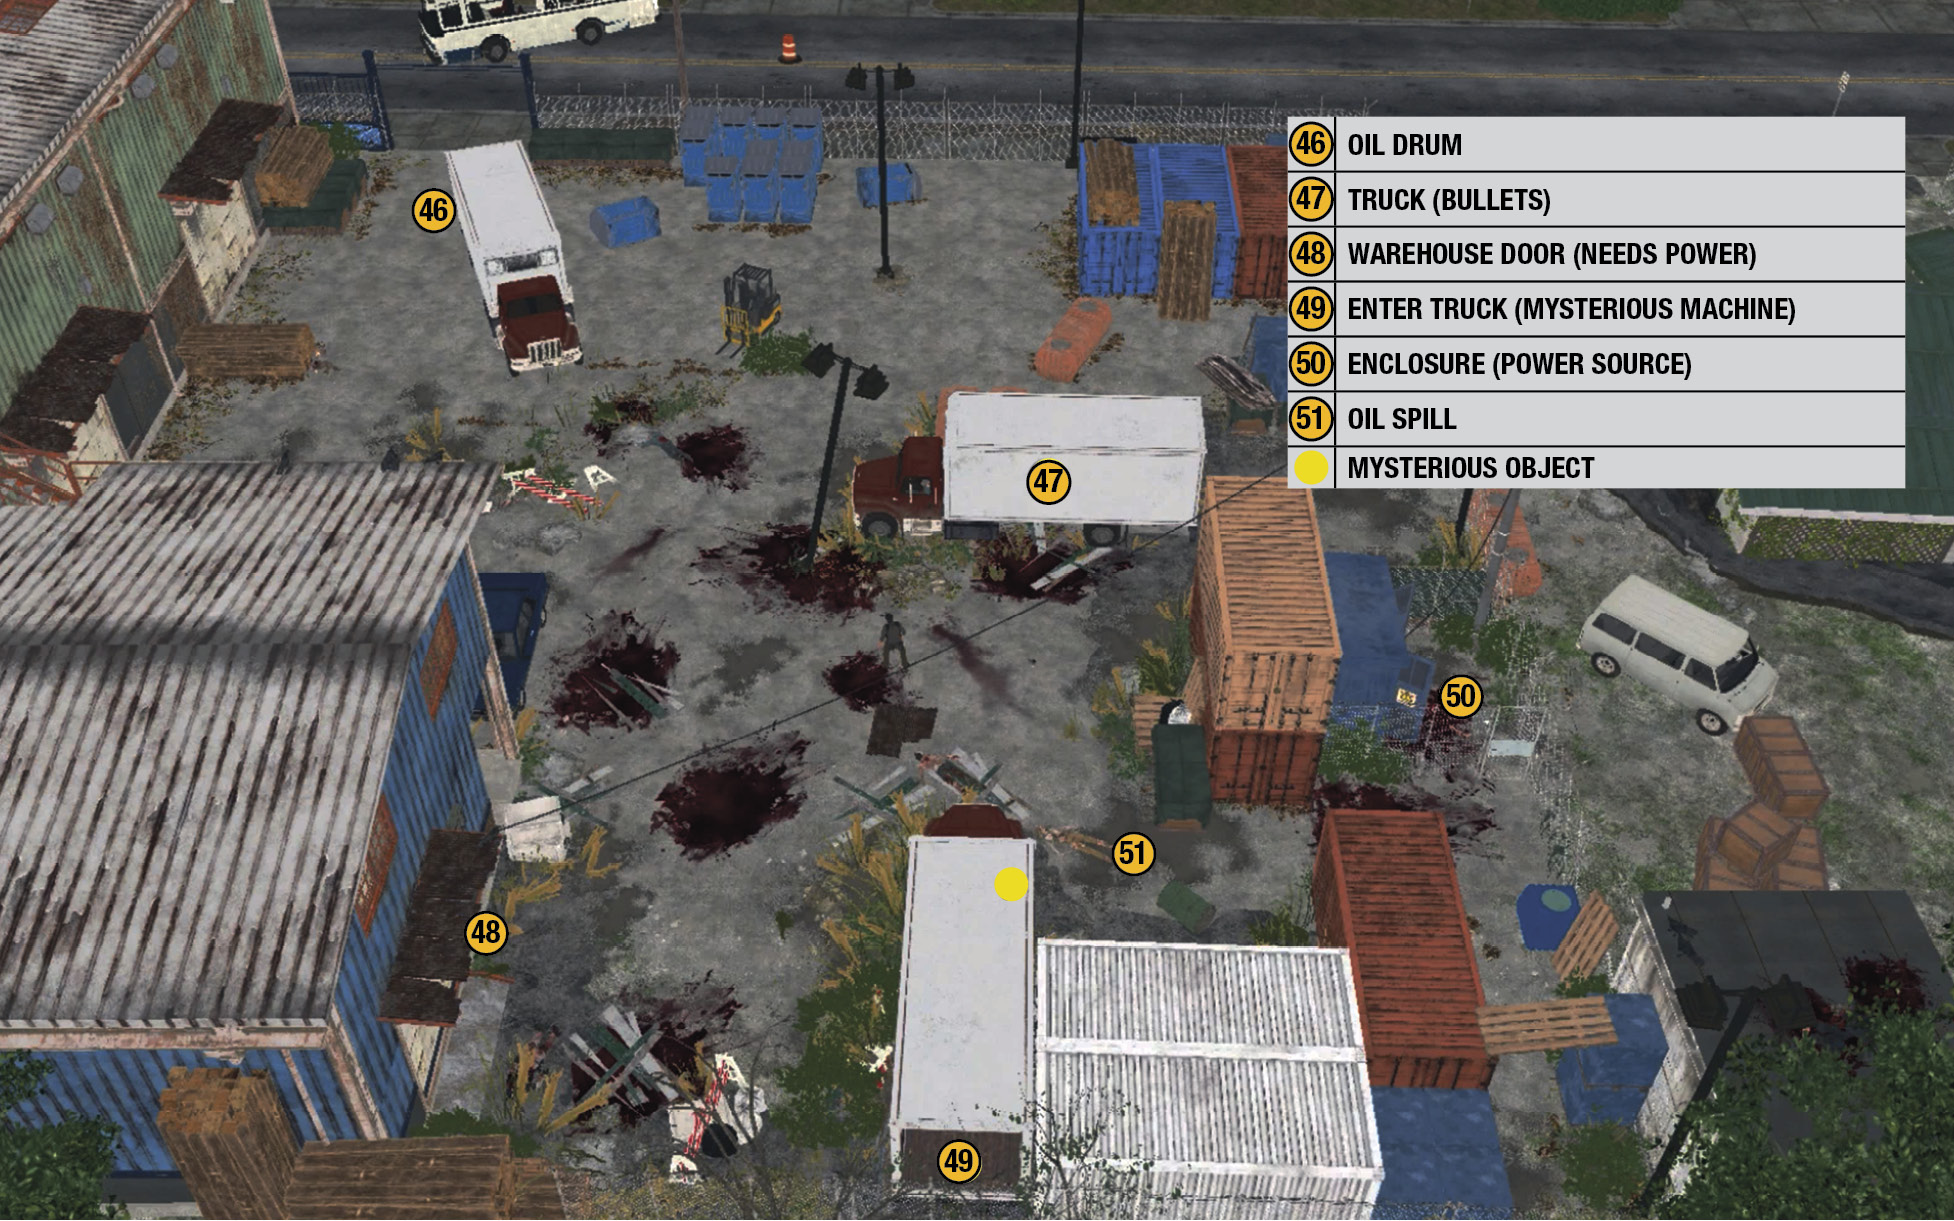
Search inside the warehouse
Clear out the yard
The warehouse yard is well populated, so start by luring a few Lost across the street to take them out, preferably with Sneak Kills to save ammo. Just inside the yard entrance, kick over the oil drum  next to a delivery truck to create a flammable oil spill. Lure Lost into the spill and shoot the puddle to ignite it and barbecue the beasts. Afterwards, retrieve the Handgun Bullets in the back of the delivery truck. More bullets are stashed in the back of another nearby truck
  as well.
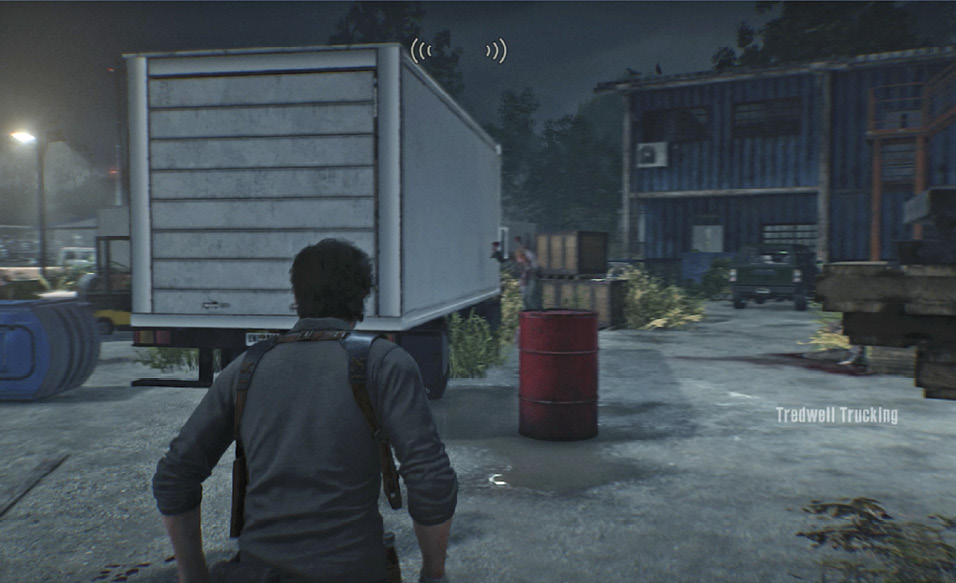
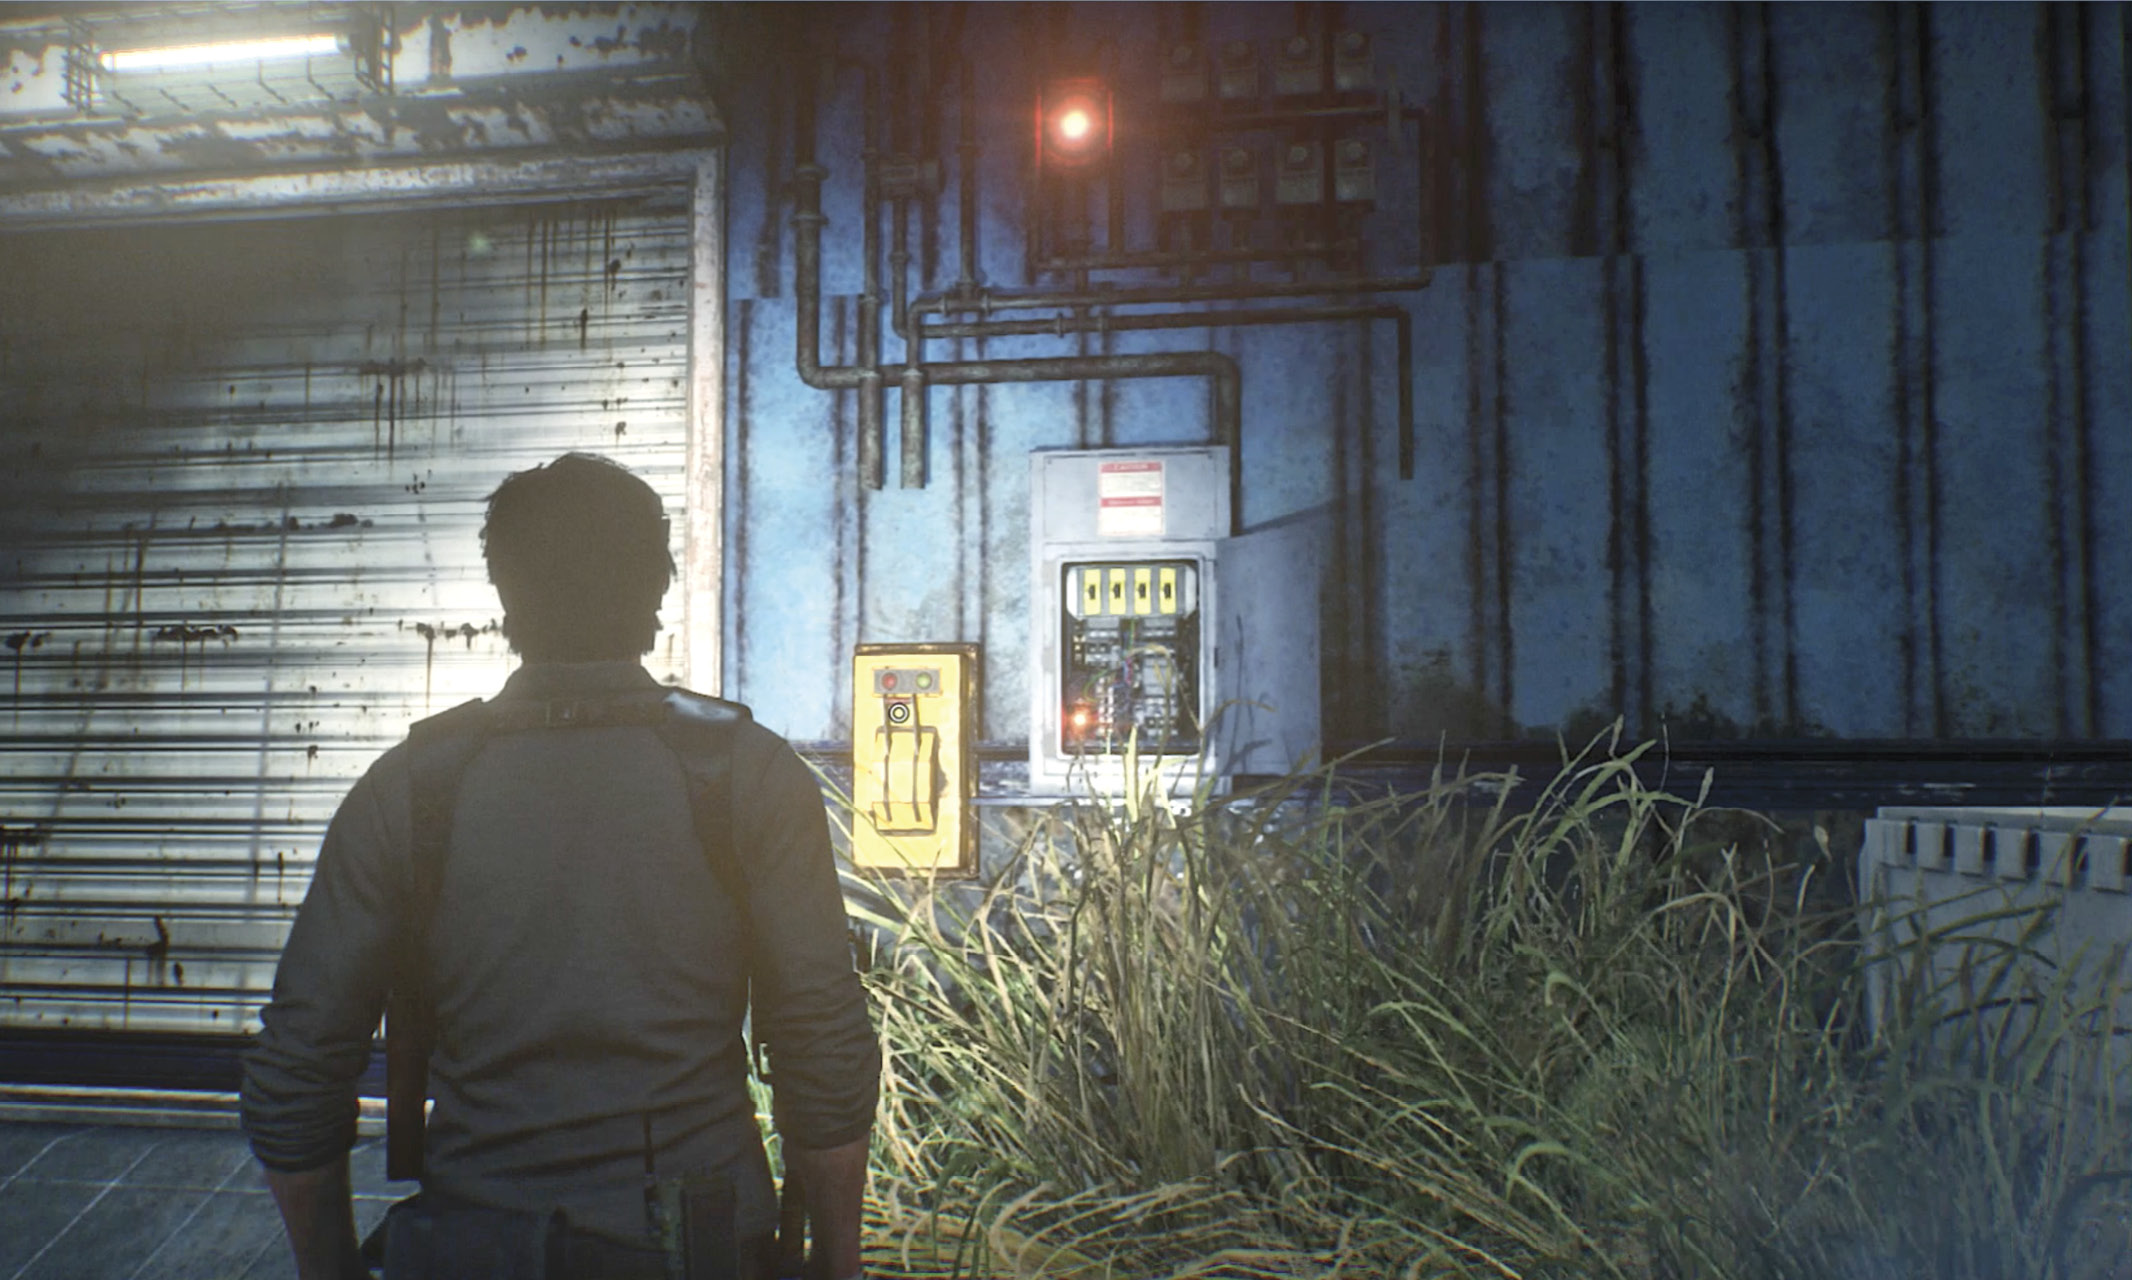
Direct power to the warehouse door
Now head over to the warehouse garage entry door  and try the switch. The power is out, and Sebastian notes the wires overhead, which likely run to a power source. Head to the nearby third delivery truck . Open its rear door and find a Mysterious Machine inside behind a crate.
Exit the truck and continue around the outer edge of the yard until you spot a pair of frenzied Lost tearing up a corpse in a small enclosure  . Catch their attention and they’ll burst through the chained gate to chase you. Run left through the rainbow-hued oil spill
  then turn and shoot it to ignite the oil just as the two Lost run through it. Loot their crisp corpses.
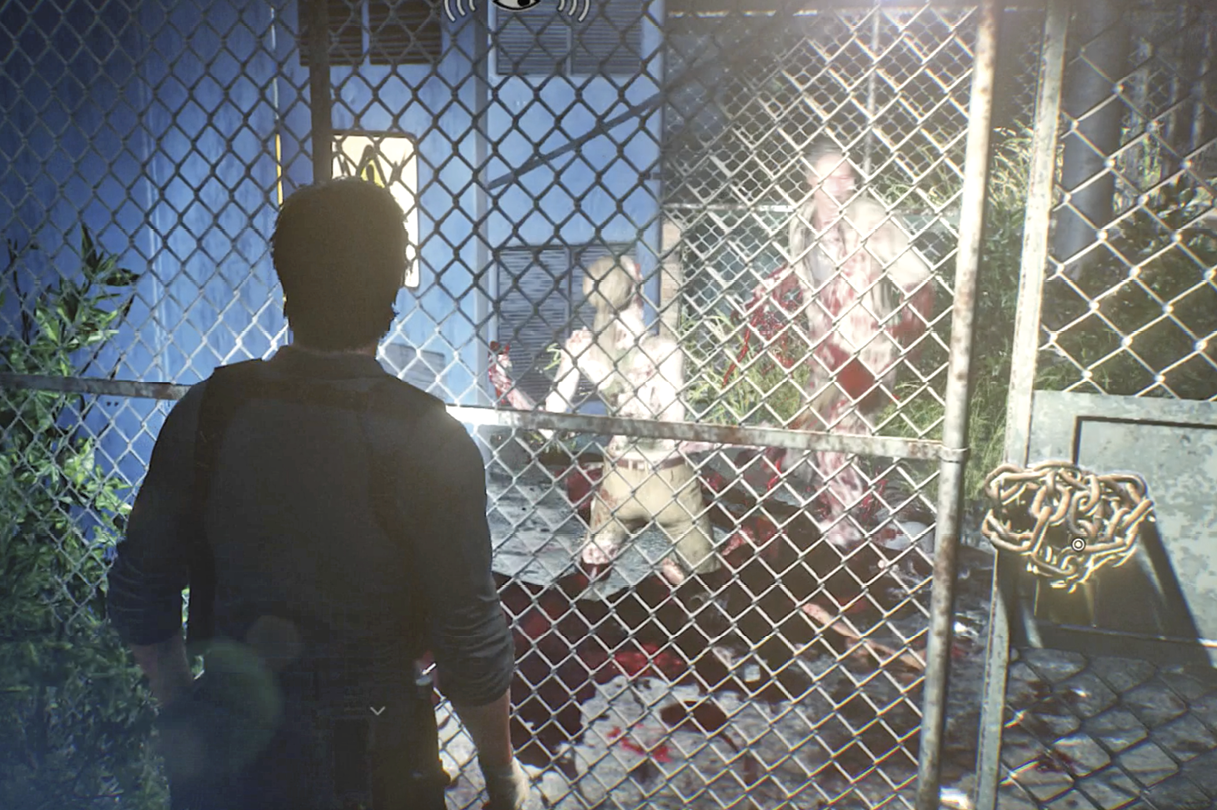
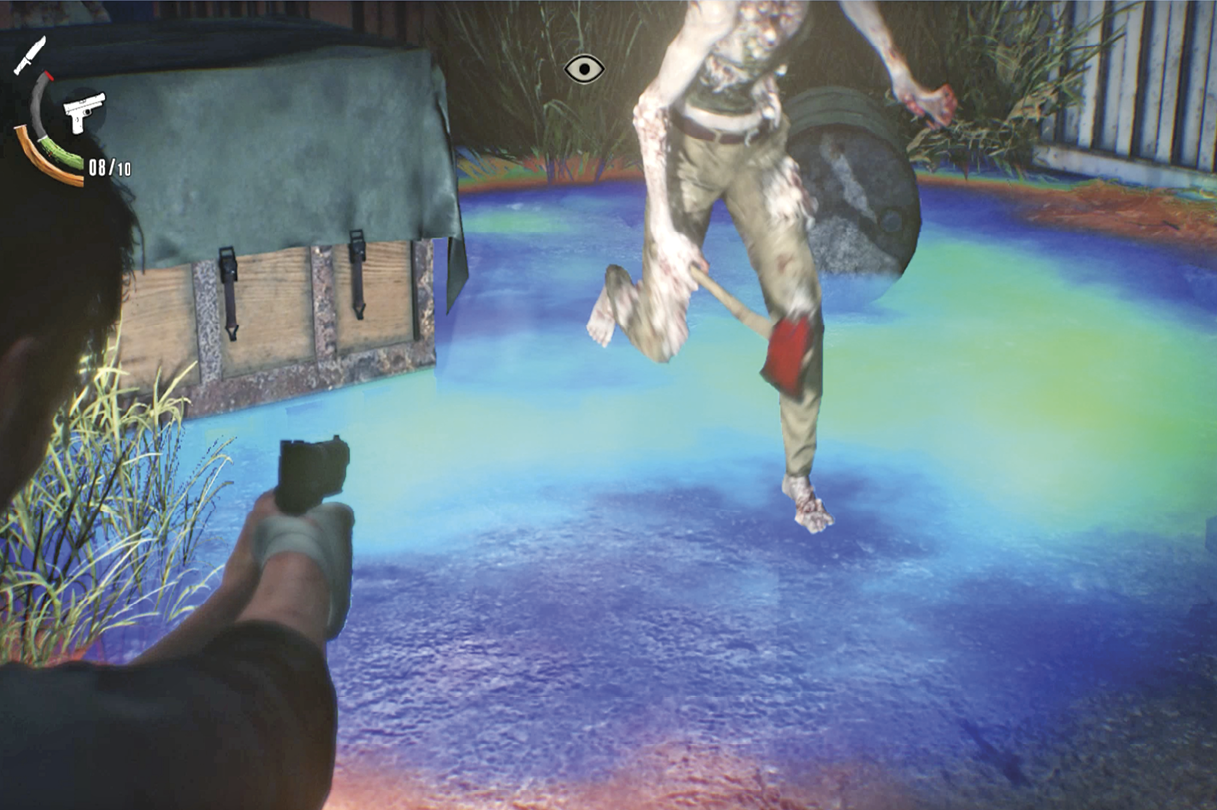
Head back into the enclosure  where you can flip a switch that sends power over to the warehouse door mechanism
  . Now you can open the garage door and enter the Tredwell Trucking warehouse. As you do so, Sebastian hears a girl’s scream. Lily’s in there! When you move forward, the garage door slams shut and locks behind you.
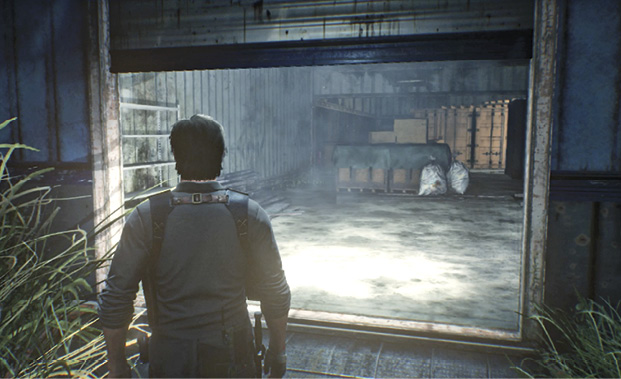
Get to the second floor
Proceed into the next room. The gate door is locked, but you can find a low passage blocked by a wooden board. When you investigate the board, Sebastian yanks it out. Crouch through the passage and proceed between the shipping containers to the staircase leading up to the left. (There’s also a passage to the right; we’ll come back to it in a minute.)
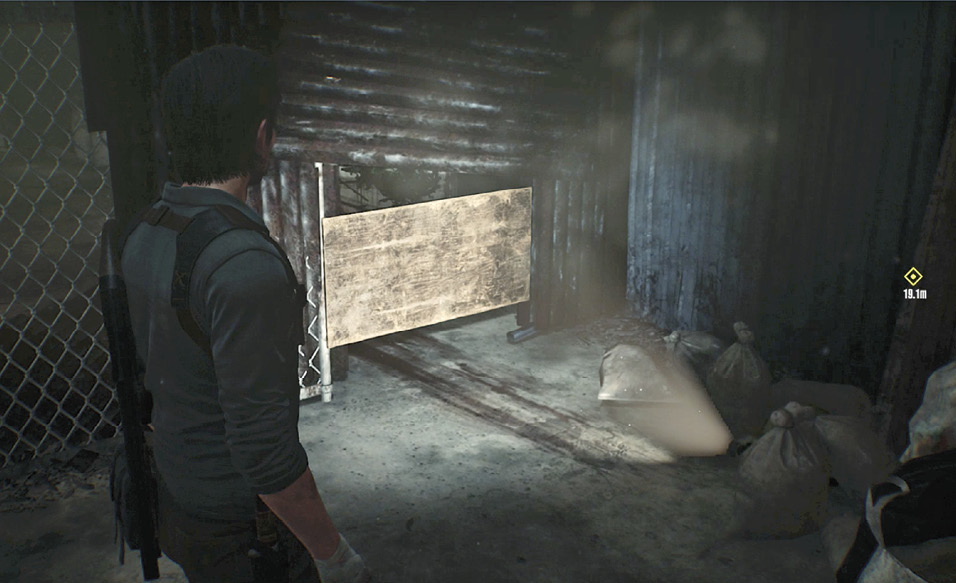
Climb the stairs to the metal catwalk. Follow the catwalk through another door onto an exterior staircase overlooking the warehouse yard. (Remember this spot for later!) Descend those stairs to a storeroom with a few pickup items and a sleeping Lost who wakes up unhappily if you get close.
This storeroom is a dead end, so retrace your route all the way back down the interior staircase then go straight ahead, following the left wall. As you proceed, a crate suddenly falls off the shelf in front of you. Raise your weapon and quickly take out an axe-tossing Lost as he turns the corner ahead. Nail him before he can fling an axe!
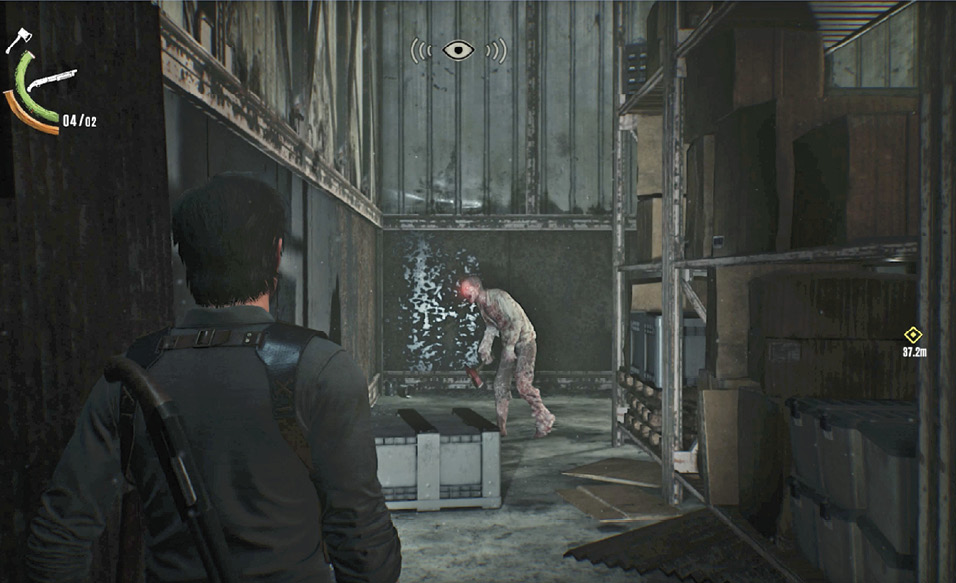
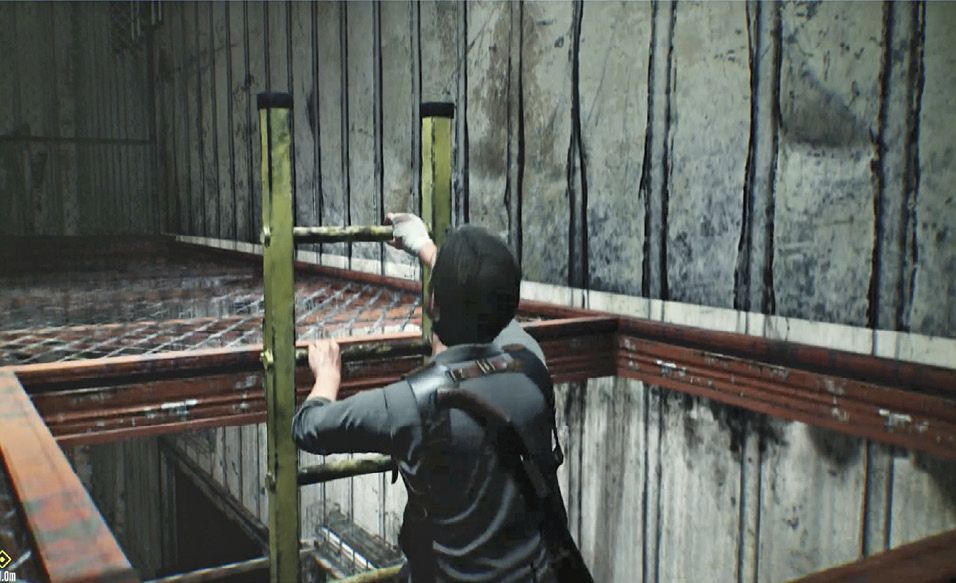
Continue to a low passage under piled lumber and crouch to pass through it. (Don’t miss the Handgun Bullets in the passage.) Keep going until you reach the yellow ladder then climb it to the second level. Follow the catwalk around the corner to see two doors up ahead on the left.
Explore the control room
The first door leads into a control room. Inside, you find an Explosive Bolt in a crate; an infrastructure report on the power console full of gauges and control wheels; and a valuable box of High-Grade Weapon Parts on the Workbench. If you have the Sniper Rifle (as in this walkthrough), we suggest you use the Workbench to craft as many Sniper Rifle Cartridges as you can, and then upgrade that rifle if you have enough Weapon Parts to do so.
Explore the storeroom
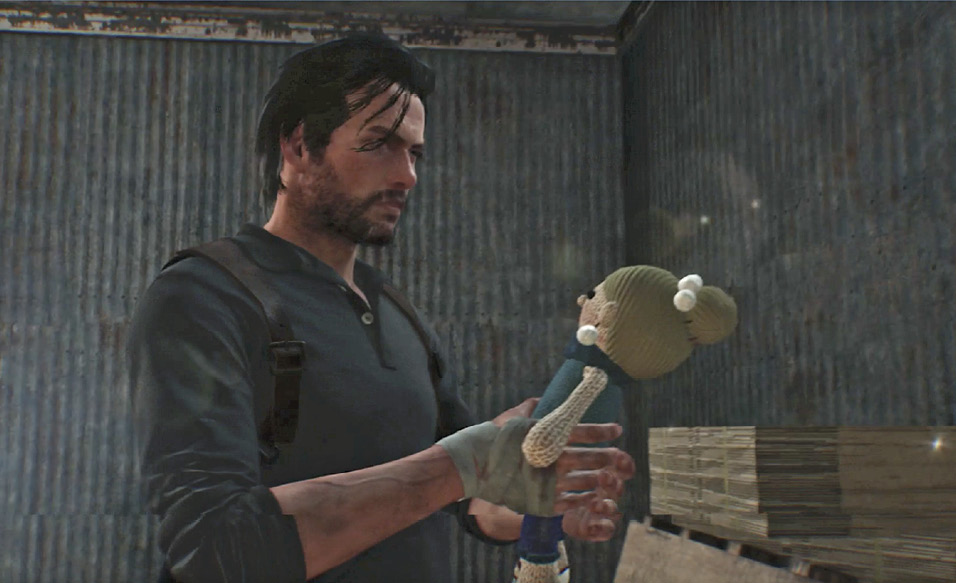
The second door leads into a storage room filled with cabinets and lockers. Loot the room then pick up the Myra Doll sitting in the pool of blood on the floor to trigger more disturbing visions through Lily’s eyes. Afterwards, Sebastian tries to check in with O’Neal but his Communicator can’t make the connection. Time to head back outside to see if you can get a signal.
Go outside and call O’Neal
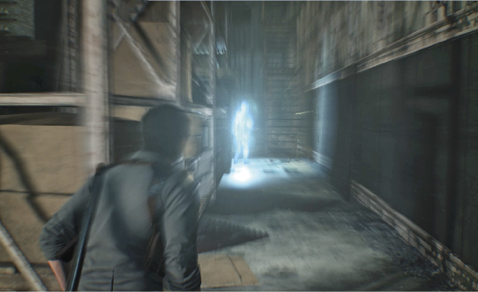
Retrace your route back down the ladder and through the low passage under the lumber stacks. Soon you hear the familiar, unsettling music of the murderer with the camera, and the lighting starts flickering. When you turn the last corner, you spot him up ahead! As you follow him, reality warps Sebastian back to a corridor of Stefano’s domain.
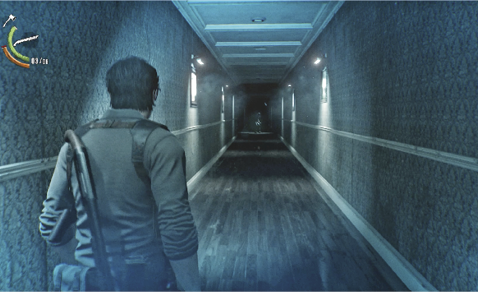
Head down the corridor to the “art exhibit” of the death of Randall Figg, another Mobius soldier. Continue down the hallway beyond to see reality morph back to the Tredwell warehouse, with a request painted in blood on the wall: SMILE FOR ME.
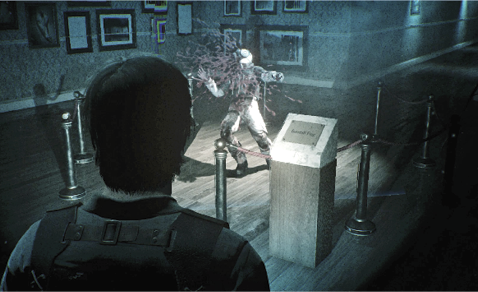
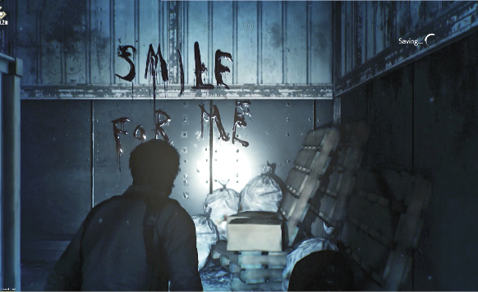
Turn the corner and follow the murderer out into the yard to trigger a cutscene: The murderer summons a great eye in the sky and teleports away. Threee Spawn emerge, ready to hunt Sebastian.
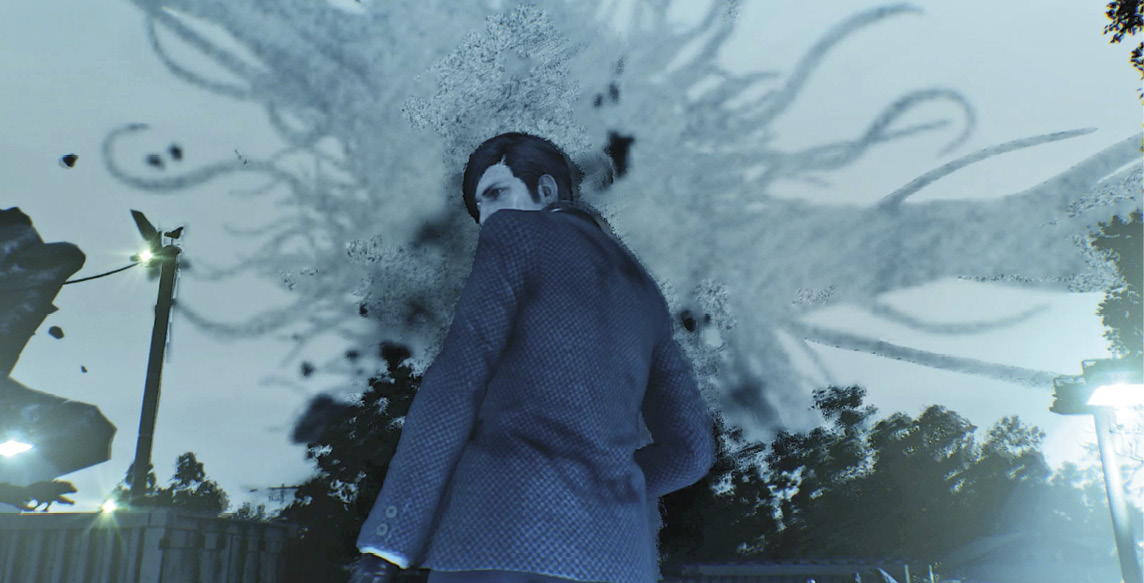
Eliminate the Spawn
Stay on the move as you pull out your Sawed-Off Shotgun and eliminate the Spawn. Target the jaws and if possible use a Shock Bolt to immobilize one of them. Watch out for the flip attack if one ends up on its back. When all three Spawn are dead, Sebastian contacts Liam O’Neal via Communicator. O’Neal logged the power spike associated with the murdering fiend who has Lily, and traces its frequency to City Hall—it sits on another chunk of Union floating up in the sky. O’Neal tells Sebastian to return to the Safe House for a briefing on how to get there.
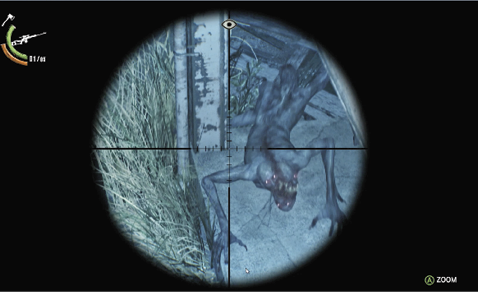
Return to O’Neal’s Safe House and speak with him
A brief cutscene reveals that monsters are rising from the ground everywhere in Union, as if summoned. When control returns, head back to O’Neal’s Safe House and talk to him. The technician explains Union’s structure, and describes its connective passageways as “The Marrow.” He directs Sebastian to the North Safe House to find the port that leads through The Marrow to Exit B2, the passage to City Hall. Finally, he hands over a gas mask and warns of deadly leaks in some of the passages.