The Evil Within 2 Guide Story Walkthrough
Reconnecting
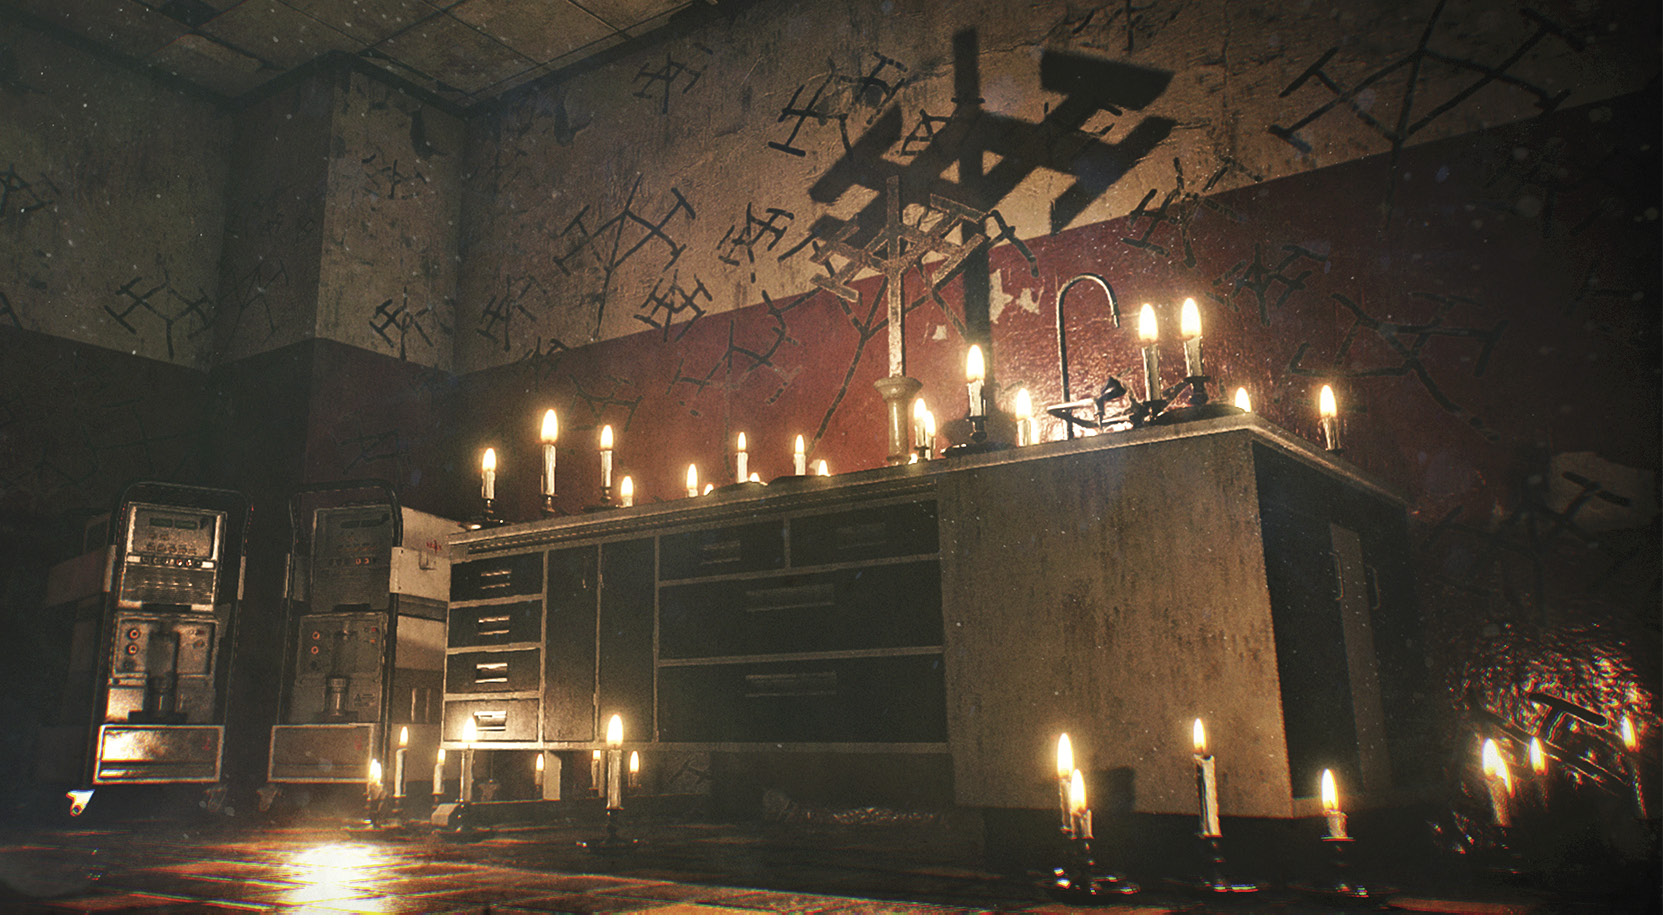
The plot points are coming fast, and they have Sebastian’s head spinning. The revelation that people he trusts and even loves are Mobius operatives, working on clandestine operations, casts new shadows on the situation. But one thing remains clear: his burning desire to save Lily. The next step in that process is reconnecting with Liam O’Neal.
Overview
Objectives
- Pass through The Marrow to find a way back to O’Neal
- Follow Hoffman to find O’Neal’s whereabouts
- Search the Laboratory for a Unity Cerebral Chip
- Pass through the security gate and search for Hoffman and O’Neal
- Search the back room and find the machine that O’Neal mentioned
- Talk to Esmeralda when ready to arm the explosives Collectibles
- 9 Files
- 3 Slides
- 4 Residual Memories
Optional: Check in at Sebastian’s Room
Before you use the computer, talk to Torres and select all of the dialogue choices to learn more about “the Plan” and the actors involved. Next, explore the Safe House for some nice pickups, including a new type of crossbow ammo, the Freeze Bolt, and a valuable box of High-Grade Weapon Parts (in the Mirror room). You also find a journal on a desk in the main room.
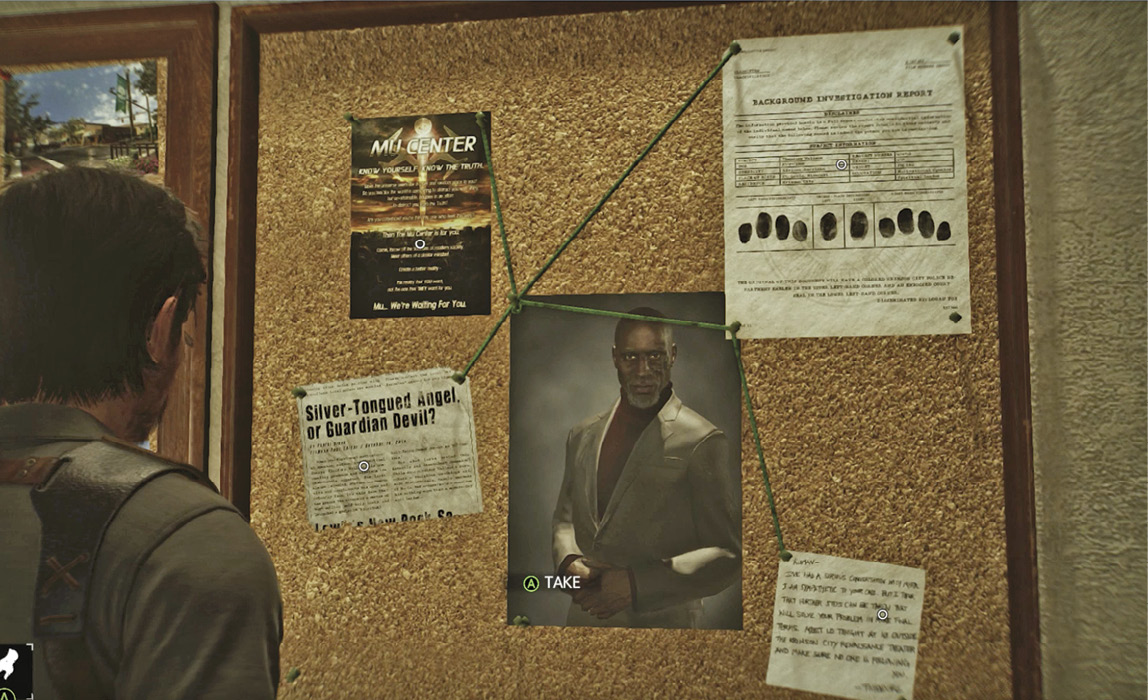
Then use the Mirror  to head back to Sebastian’s Room. As usual, use the visit for crafting and upgrades; viewing any new slides (and talking to Kidman about them); and checking out the bulletin board material that Kidman posted on Theodore Wallace. Looks like she left a slide for Sebastian too. When you’re done, use the Mirror to return to Torres’s Safe House.
Pass through The Marrow to find a way back to O’Neal
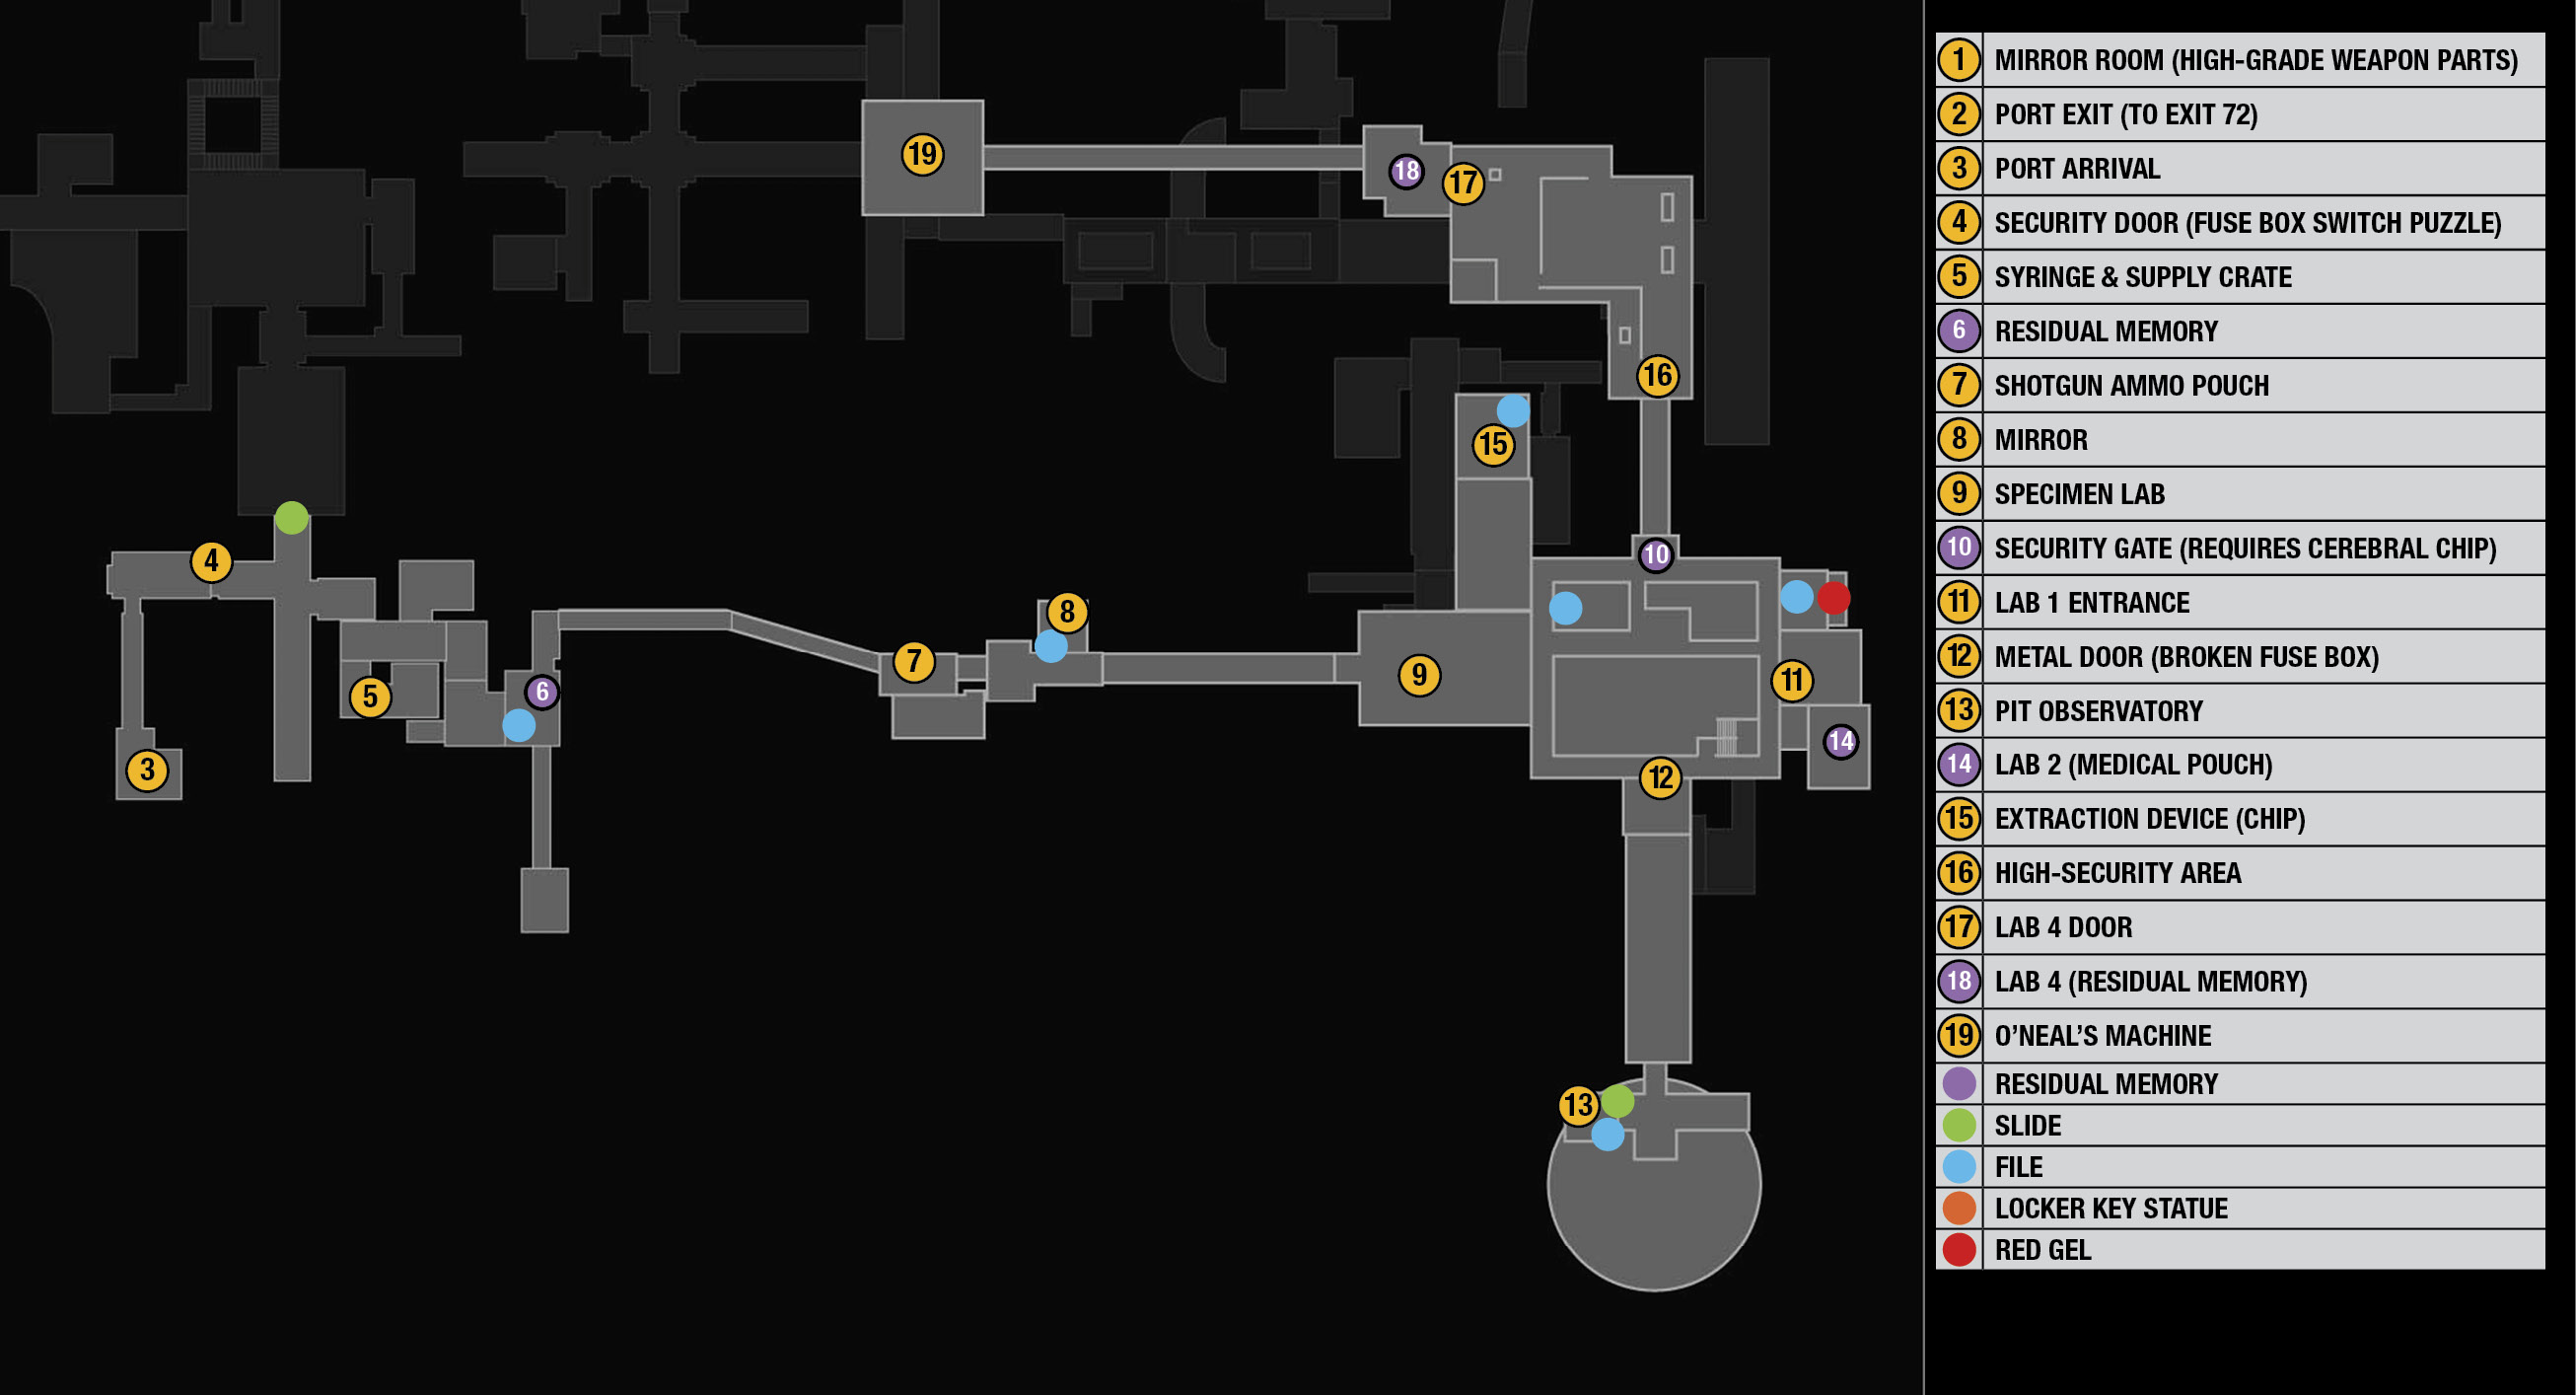
Now use the Mobius Computer  to travel to The Marrow: Facilities. In the arrival port
  , be sure to grab the Condenser on the shelf; it’s a prime Component for making handy Freeze Bolts.
Follow the passage up to the big security door marked CE-C03  . Open the fuse box next to it. Remember, fuse box puzzles call for you to flip switches that light up an exact total of ten bulbs in the panel.
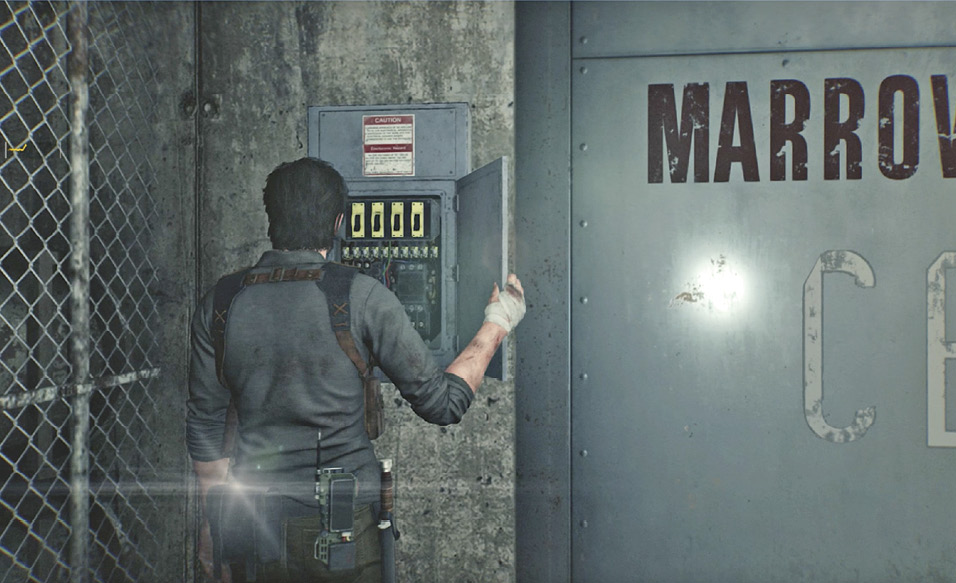
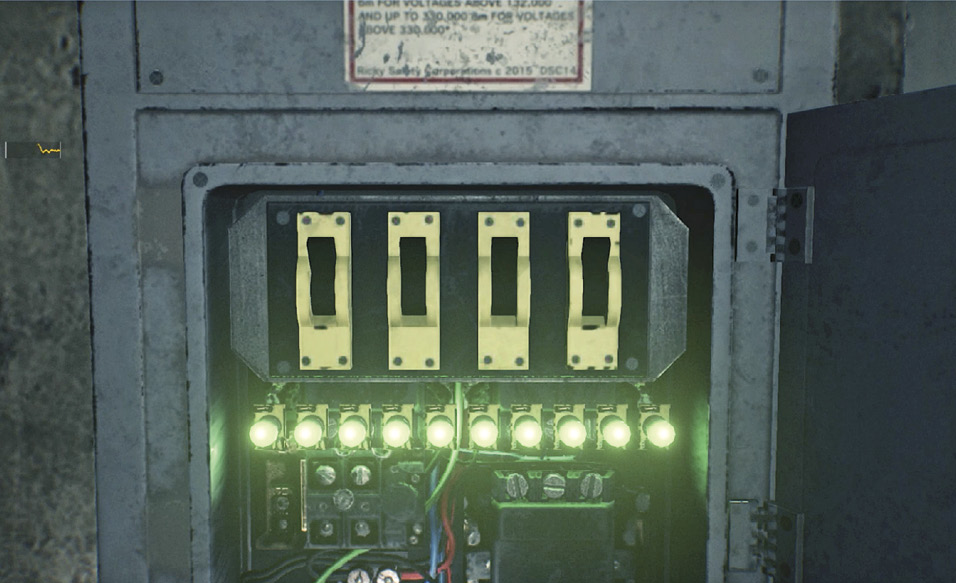
In this case, the switches in order from left to right turn on 2 bulbs, 6 bulbs, 1 bulb, and 1 bulb. This means you must flip all four switches to open the security door. When the security door opens, go through and turn left to see a candlelit altar. Grab the slide sitting on it. Note that Sykes’ corpse is lying nearby if you saved him on the truck, but did not help him start up the server in the previous side mission.
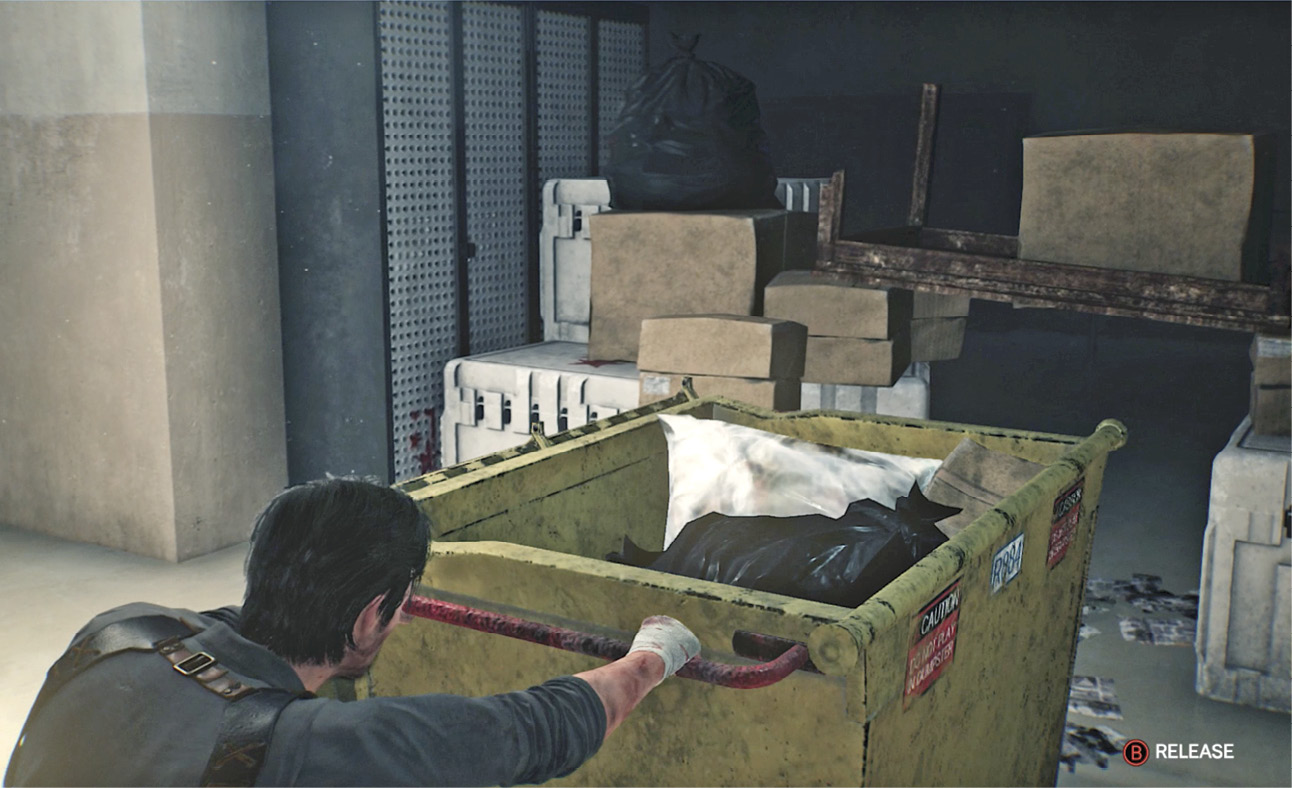
Continue around the corner of the passage and enter the room directly ahead  , where you find a fallen Mobius operative with a Medical Syringe. Approach the nearby yellow dumpster and pull it back to create a low passage through the pile. Crouch through the passage and loot the Mobius supply crate in the back of the room.
Exit back into the corridor, turn right, and continue on into Hoffman’s Safe House  . Where did Hoffman go? Move through the room to see the shadowy image of a Resonance Point; Sebastian automatically walks right to it. Equip your Communicator and tune in the Residual Memory to learn that Hoffman got a call from Liam O’Neal requesting that they meet in a highly-restricted area. In the memory, Hoffman finds this odd, but she goes anyway. Sebastian finds it odd, too. Better track it down. Before you go, however, check out the file open on Hoffman’s computer.
Follow Hoffman to find O’Neal’s whereabouts
Get to the Restricted Labs
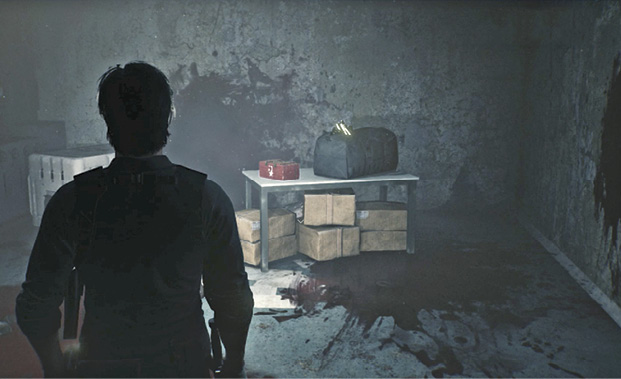
Exit via the doorway labeled Restricted Area and follow the long narrow passage to a fallen Mobius operative carrying a Shotgun Ammo Pouch  . Enter the room directly across the hall. A box of High-Grade Weapon Parts sits on a table, but a sneaky monster hides behind boxes underneath the table, waiting to scoot out and ambush anyone who tries to take his prize; another Lost fake-dozes against the wall to the left. Shoot the dozer in the head when you first enter, then step to the table and back up quickly to shoot the sneaky one when it scuttles out.
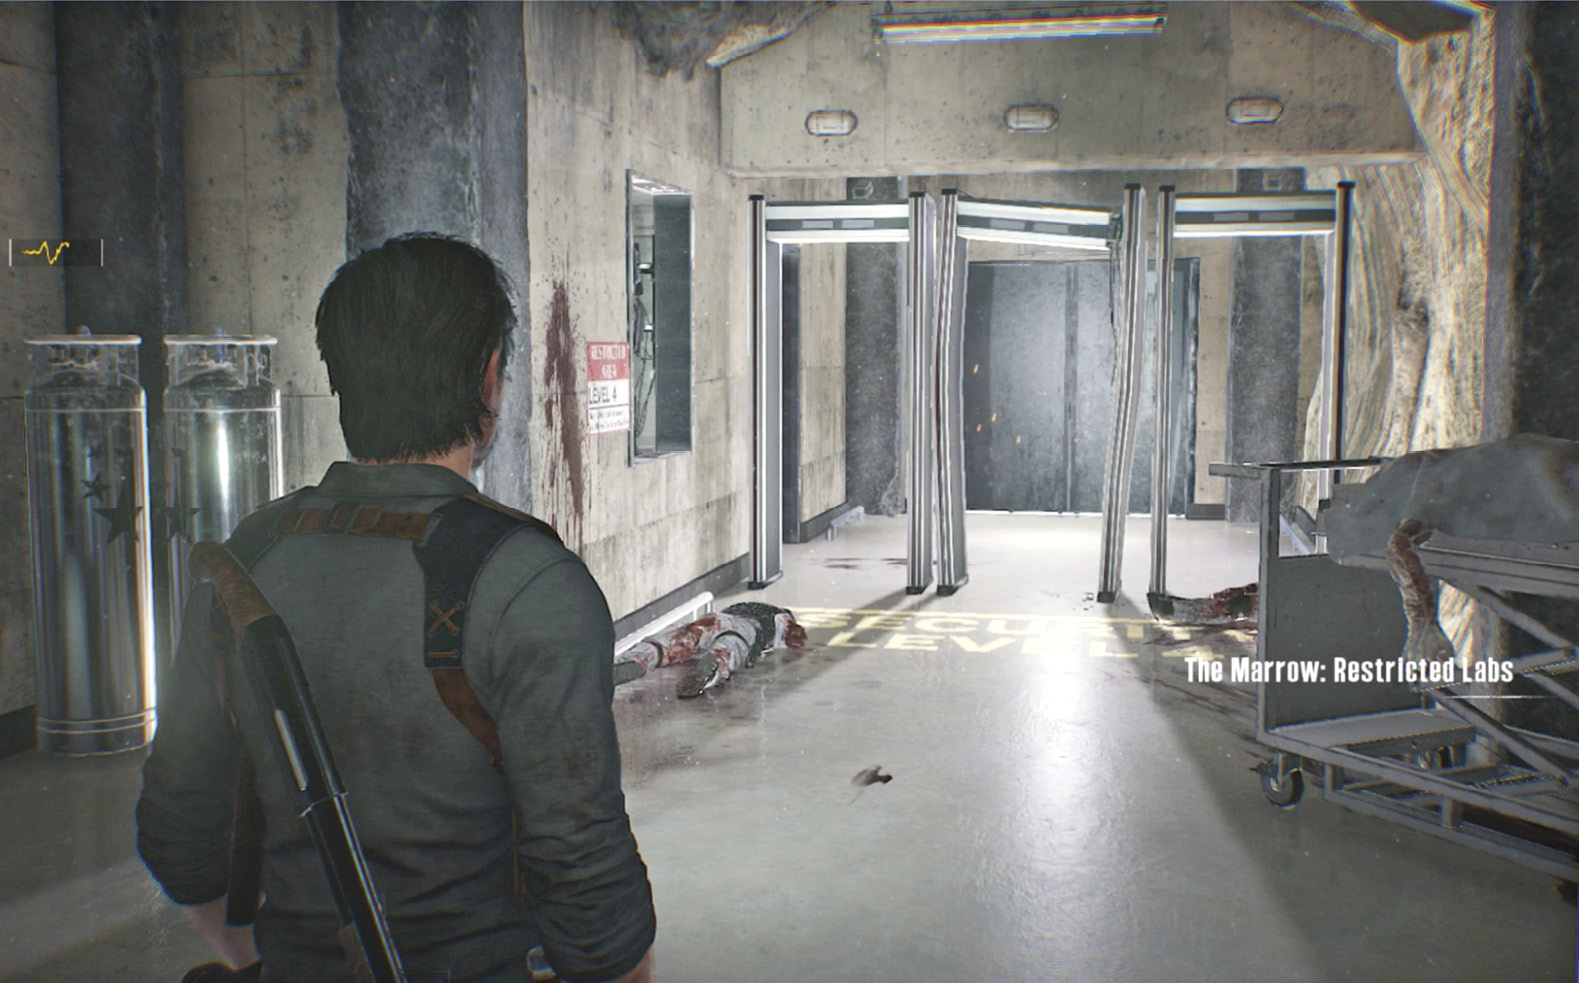
Exit the room, head right, and operate the call button for the elevator. When it arrives, step inside and use the floor selection panel to ride to The Marrow: Restricted Labs. When you arrive, step through the Security Level 4 checkpoint and explore the room to the left  to find a Mirror; a fallen Mobius operative carrying some Shotgun Shells; and a desk computer with another interesting file.
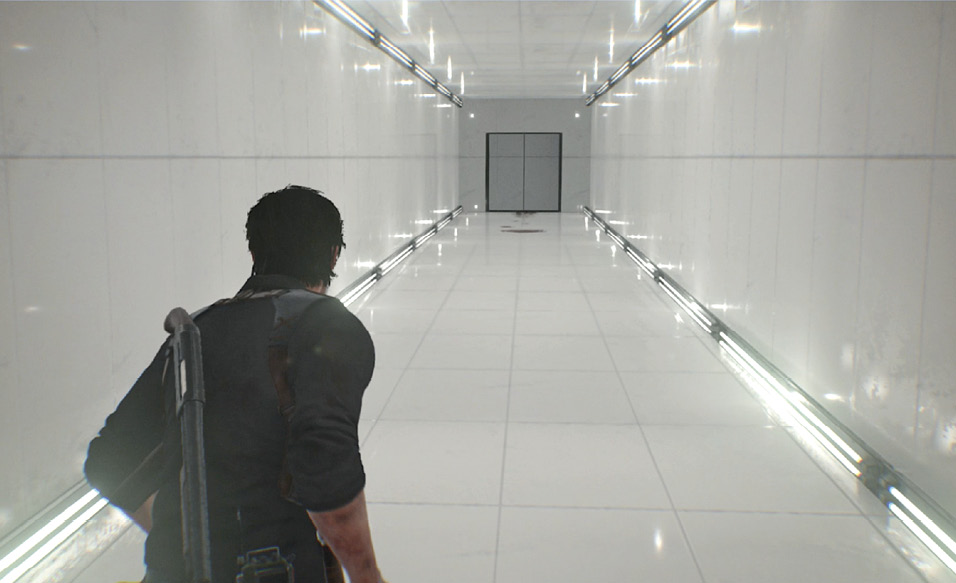
Exit the Mirror room, turn left, and walk through the automatic doors that slide open. Head down the long, white, antiseptic corridor and enter the first restricted lab  with liquid-filled storage tanks that house Lost specimens.
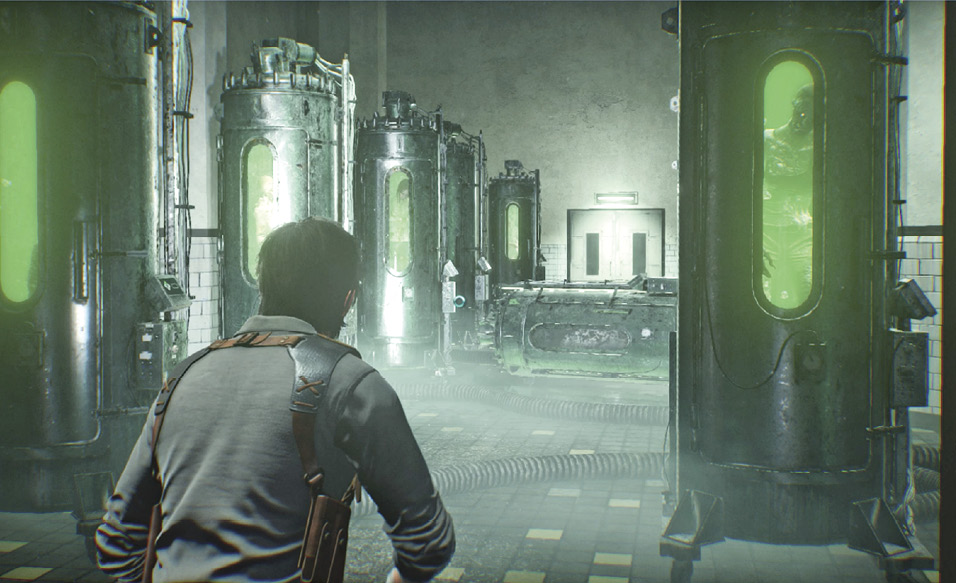
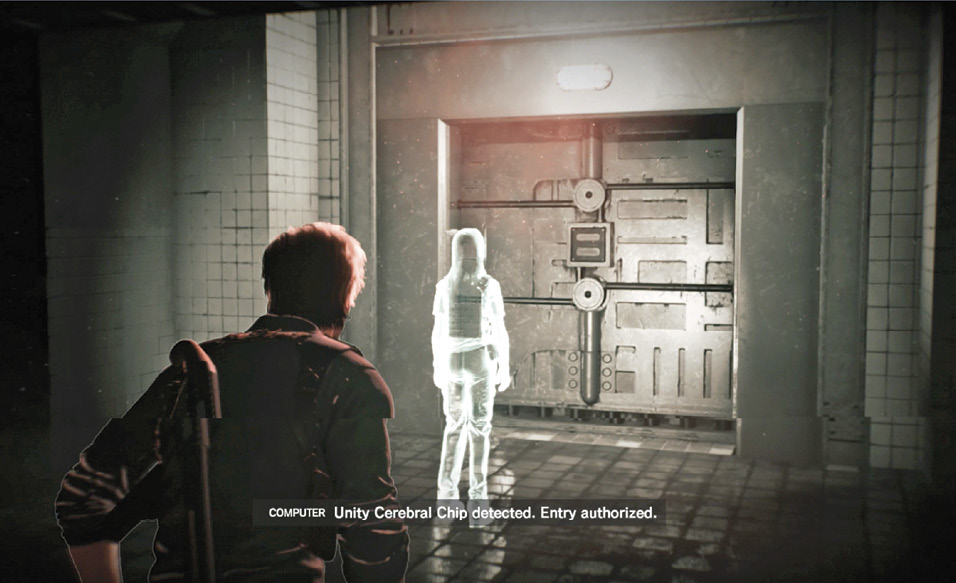
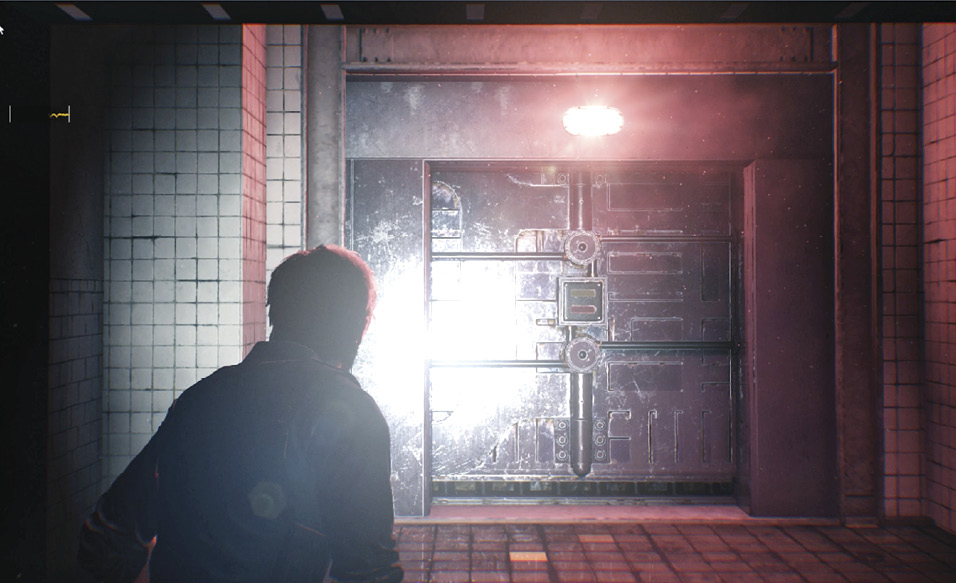
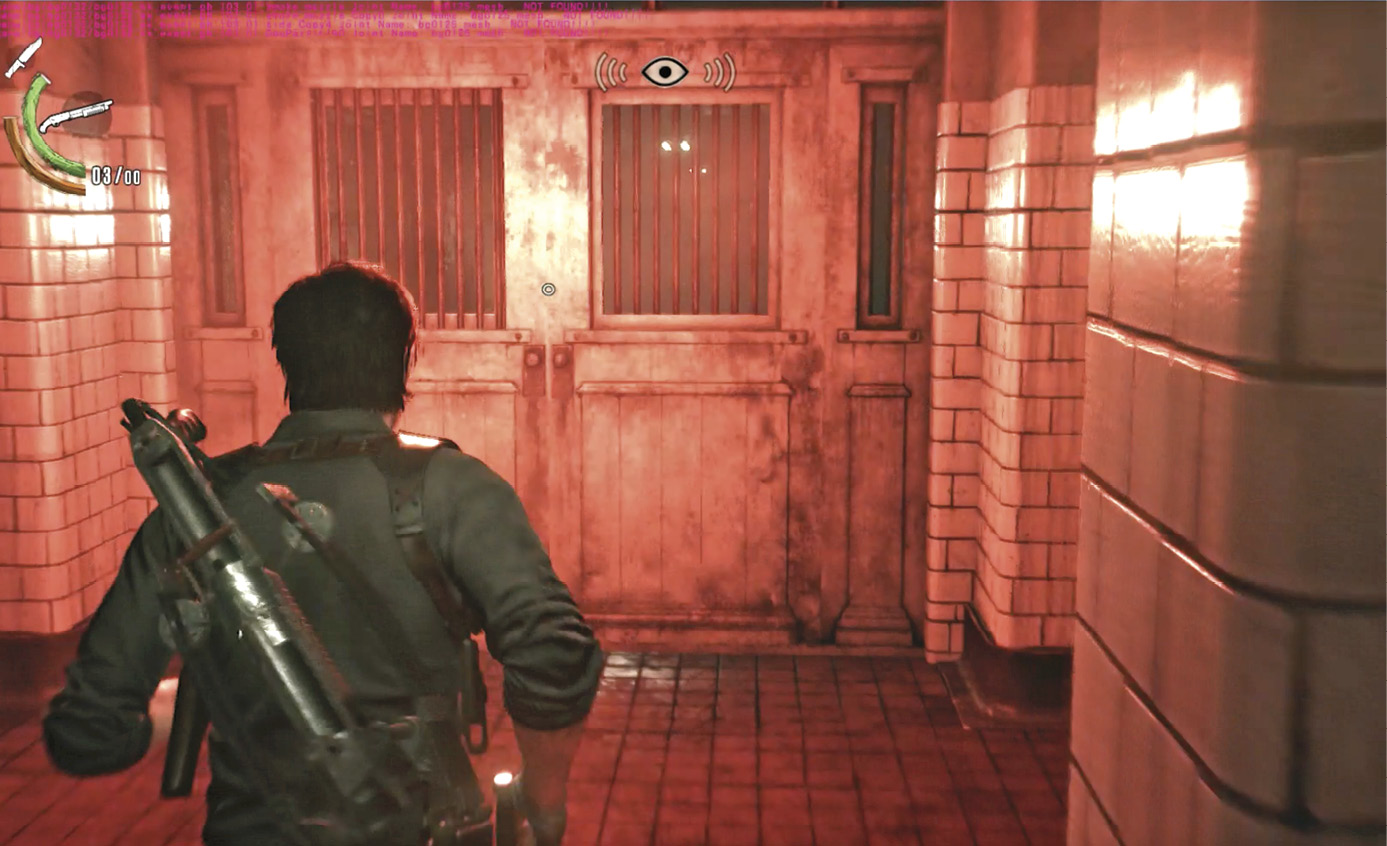
Continue into the second lab, an autopsy area sectioned into partitions by hanging room dividers. Move to the far end and turn left to approach the red-lit security gate. Sebastian automatically views another Residual Memory  of Hoffman: she gets clearance through the restricted gate because the security scan detects her Unity Cerebral Chip. To stay on her trail, Sebastian needs a chip too.
Search the Laboratory for a Unity Cerebral Chip
Stay and explore this autopsy lab a bit—you can find a Locker Key statue up high. You also find a partition with an autopsy table and a slide show projected onto a whiteboard. Propped against the board is a very interesting report on STEM side effects. Also: When you enter this partition, you hear a bang on the other side of the lab, and hear growling. Sounds like some of the specimens are on the loose.
Explore Lab 1
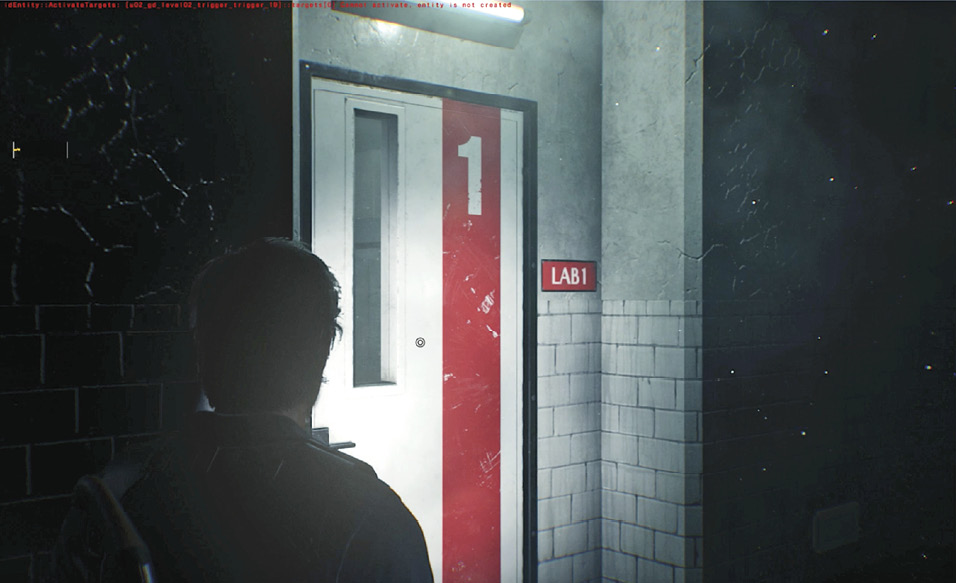
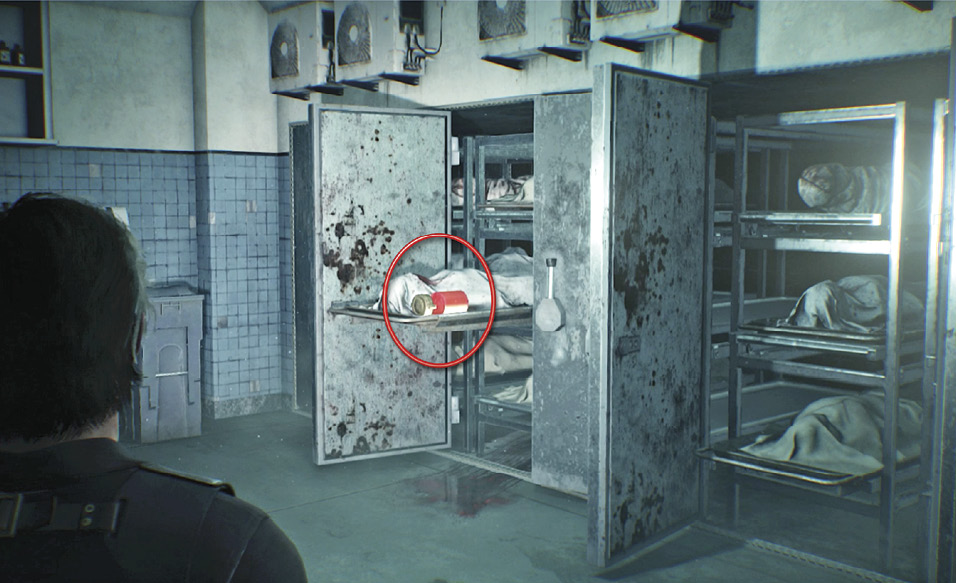
Now work your way around the outside of the autopsy lab to the opposite side, where you see a morgue area through the windows. Watch out for a pair of Lost en route; one dives through a window as you approach the door labeled “Lab 1”  . Enter Lab 1 and search the first room for items, then go into the second room to find a lovely jar of Red Gel (circled in our shot) and another disturbing report on STEM irregularities.
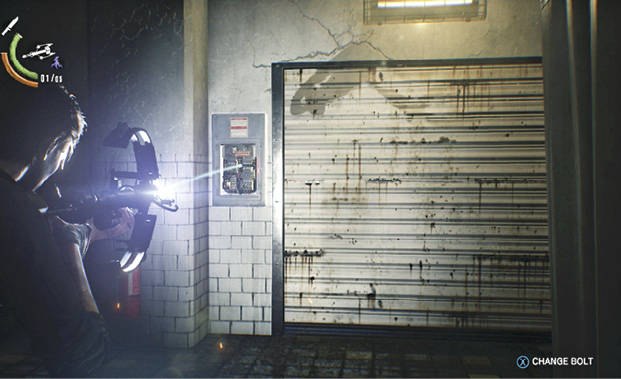
Exit Lab 1 and turn left to find the staircase leading up to the second floor of the Restricted Labs sector. But before you go upstairs, head past the staircase to the metal door  and fire a Shock Bolt into the broken fuse box next to it. This shot powers up the door and opens it halfway. Crouch to move under the door.
Explore the Pit Observatory
Investigate the corpses and carts loaded with body parts next to a rack of hazmat suits and a set of cart tracks. Grab pickup items then follow the tracks down the litter-strewn corridor to a platform where another loaded cart sits; you pick up the Resonance Point here. Walk past the cart to investigate the big disposal pit—as Sebastian says, “Looks like it goes down forever.”
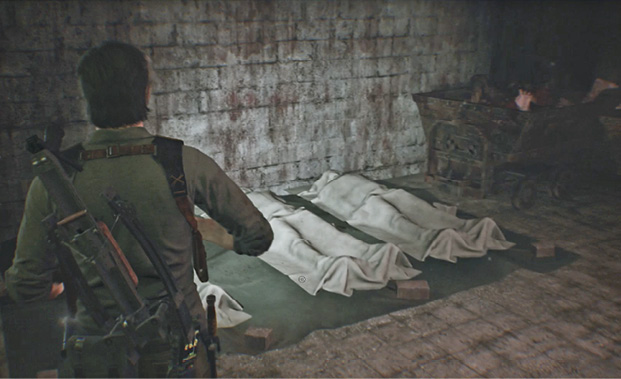
Enter the small office nearby  and investigate the desk computer to find yet another creepy report. Afterwards, the room suddenly grows ice-cold, and by now you know what that means.
Exit the office and follow the track back to the half-open door. When you reach it, however, it slams shut and Sebastian sees the Anima crawling down the tunnel toward him! The scene ends with Sebastian hiding on a balcony around a room below as the Anima floats in the center.
Escape the Anima!
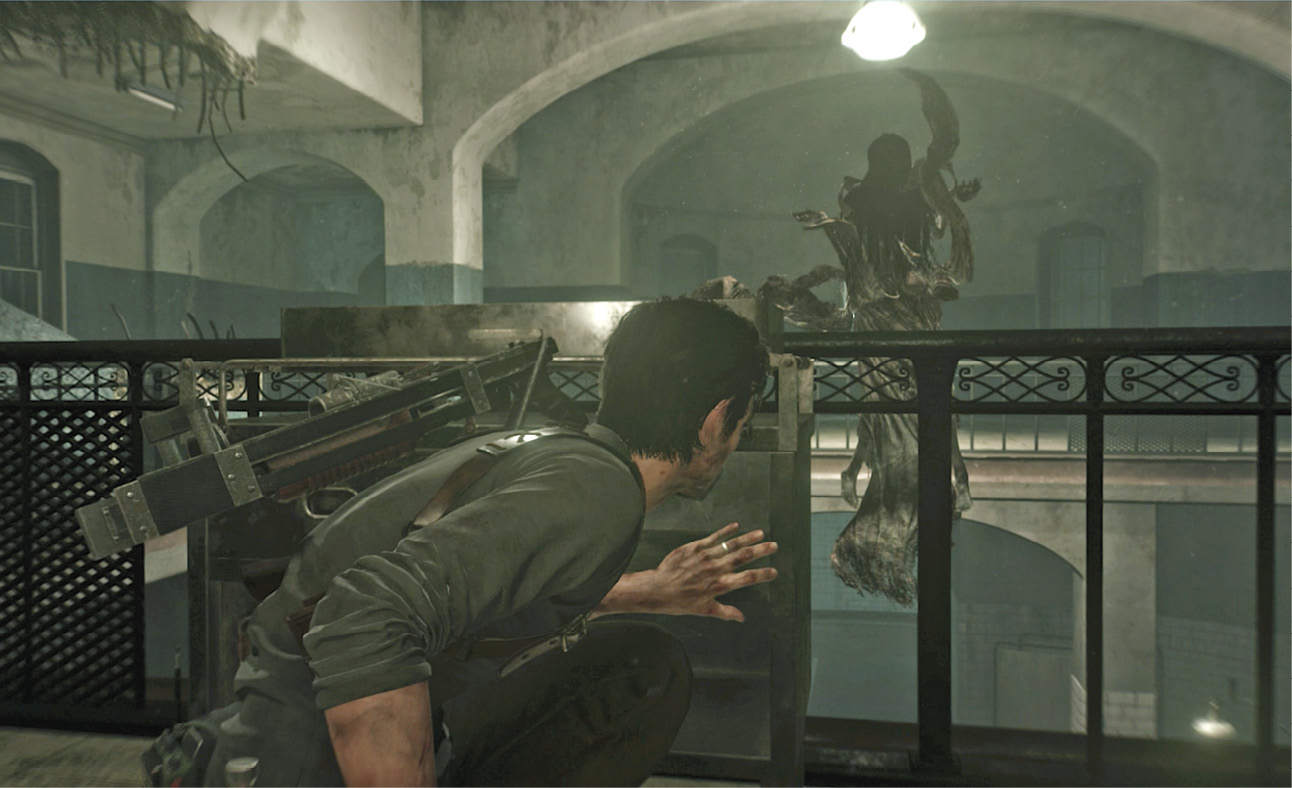
You start crouched in cover behind a cart. Don’t let the Anima see you! If you do, she swoops right through cover to grab Sebastian in a death grip. Wait until she turns away from you before you make moves. The balcony is blocked to the left at first, so creep rightward to the corner column. The Anima slams down debris to block that side too. Creep back to the cart, then to the left corner. Move post to post (again, when she’s turned away) and head down the blue-lit staircase in the back corner.
At the bottom landing, you find a passage that leads into some sort of examination room. When you move down this passage, the Anima suddenly drops down from above. Then she levitates the furniture and machinery in the room and slams them down to the floor. Take cover!
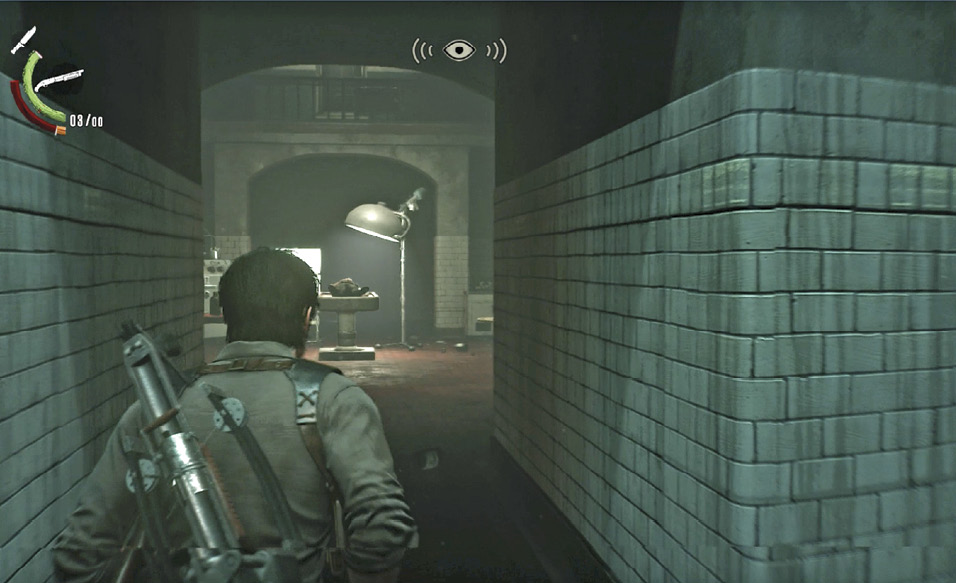
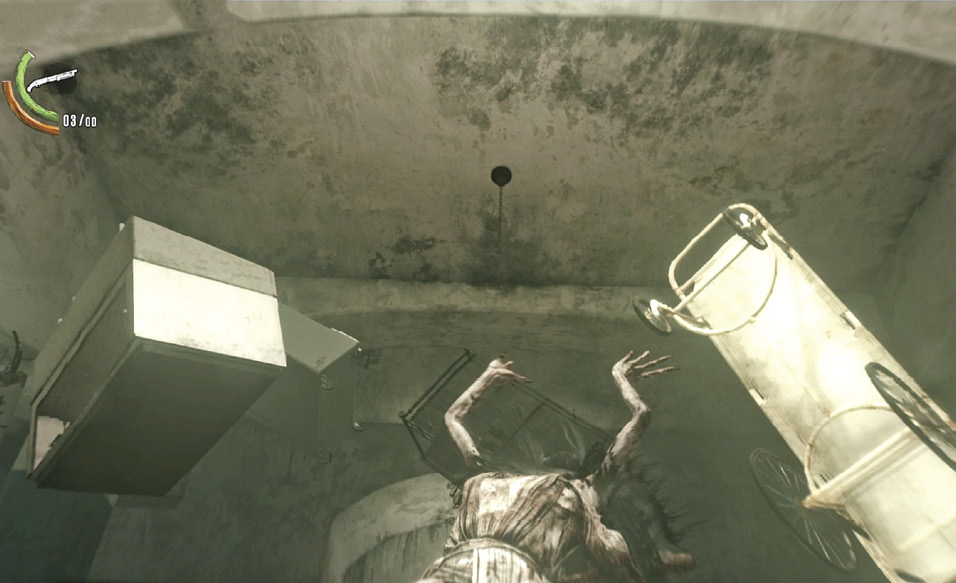
The rest of your escape is quite nerve-racking. Your ultimate goal is to reach the red-lit exit on the opposite side of the room. And the basic principle of escape is to creep patiently and unseen to whatever gap is currently open in the debris.
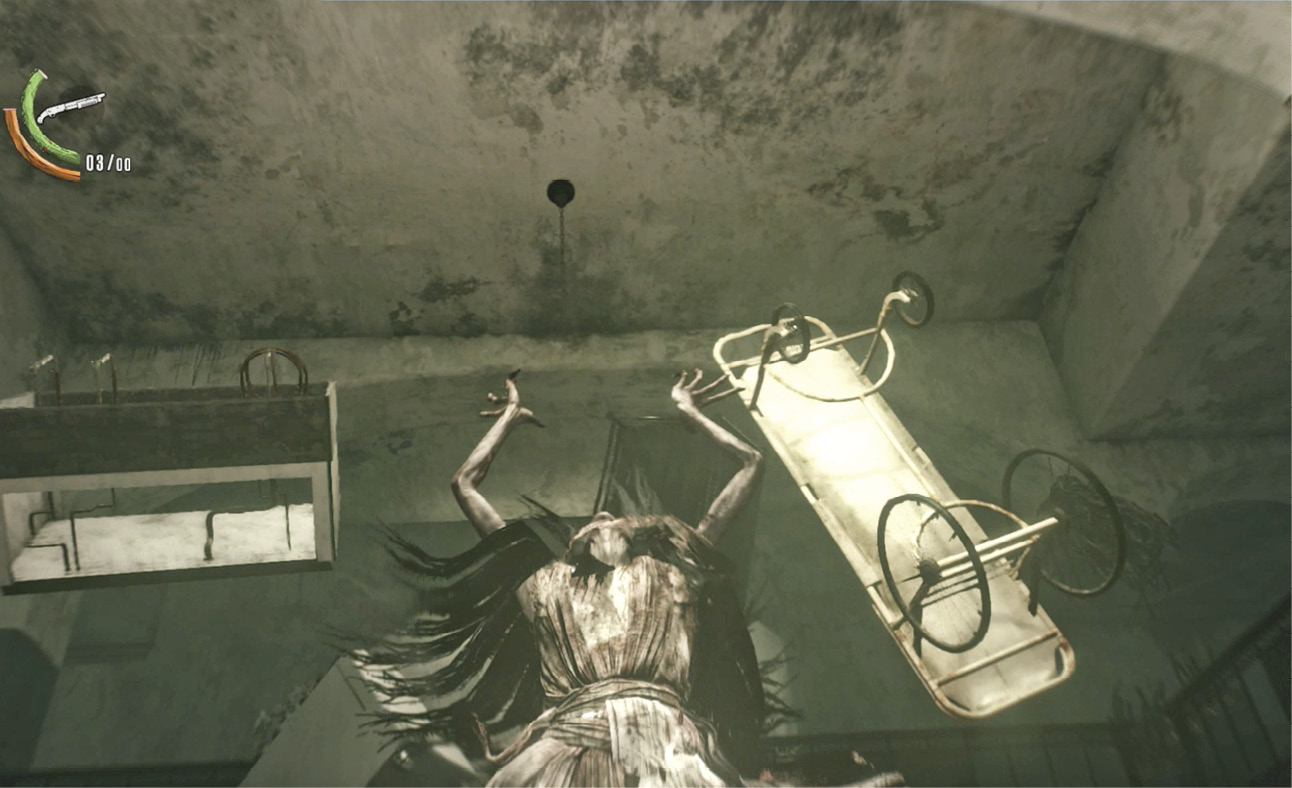
The way to your left is blocked for now, so creep from post to post around the room’s right side, avoiding the Anima’s gaze. As you approach the corner, morgue drawers suddenly burst open, blocking the route and knocking Sebastian backwards.
Now you have to creep back around the outside of the room to the left until you reach the only opening available—right into the center of the room, toward the Anima! First, hide behind the rolling storage cabinet in the middle. When the Anima turns away, dart left to the white room divider.
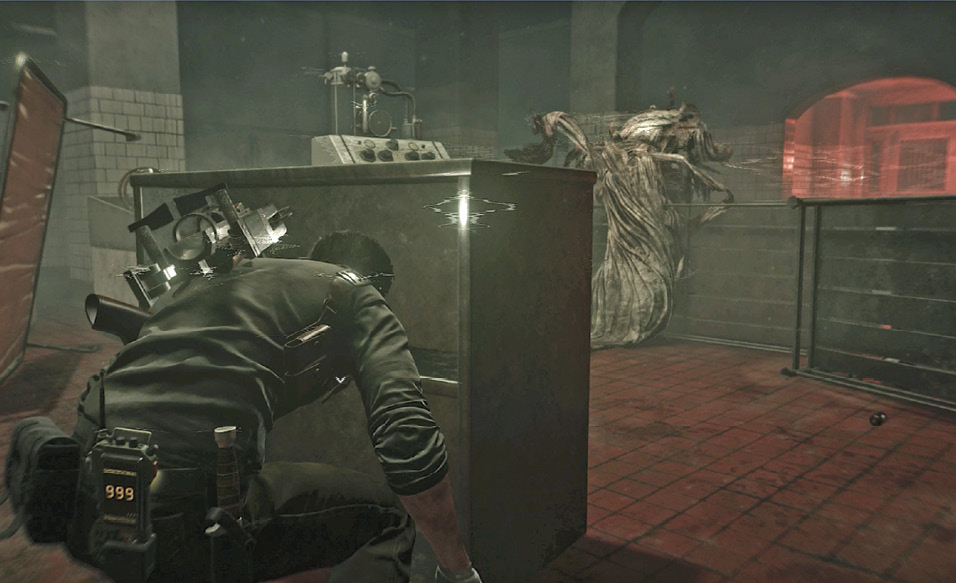
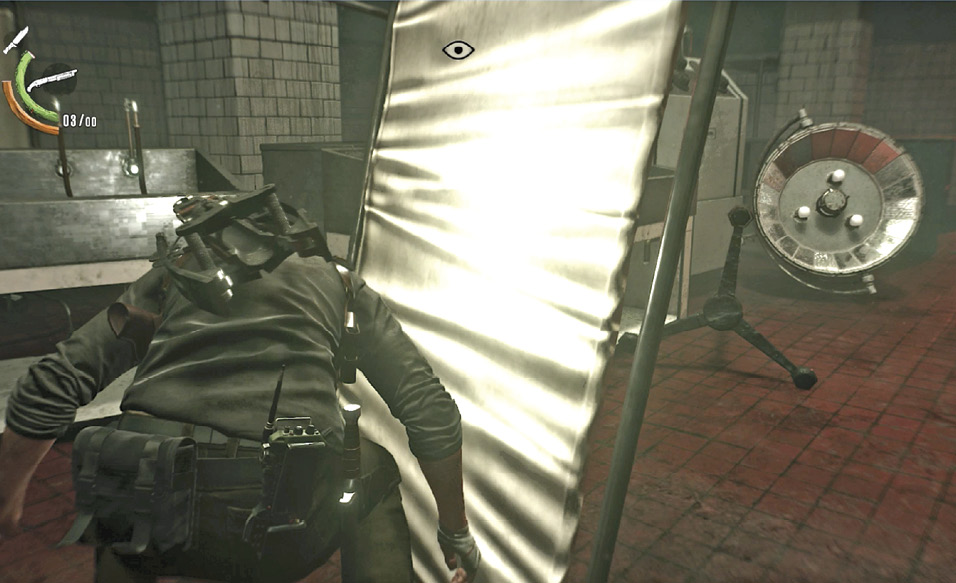
Next, slip out through the gap behind you and veer right. As you move down this side of the room, a high morgue drawer snaps open, forcing you to crouch under it. Then more drawers slam open, blocking your route. Good lord. Back up a couple steps then slip through a new gap (between a column on your left and a room divider on your right) toward the center of the room.
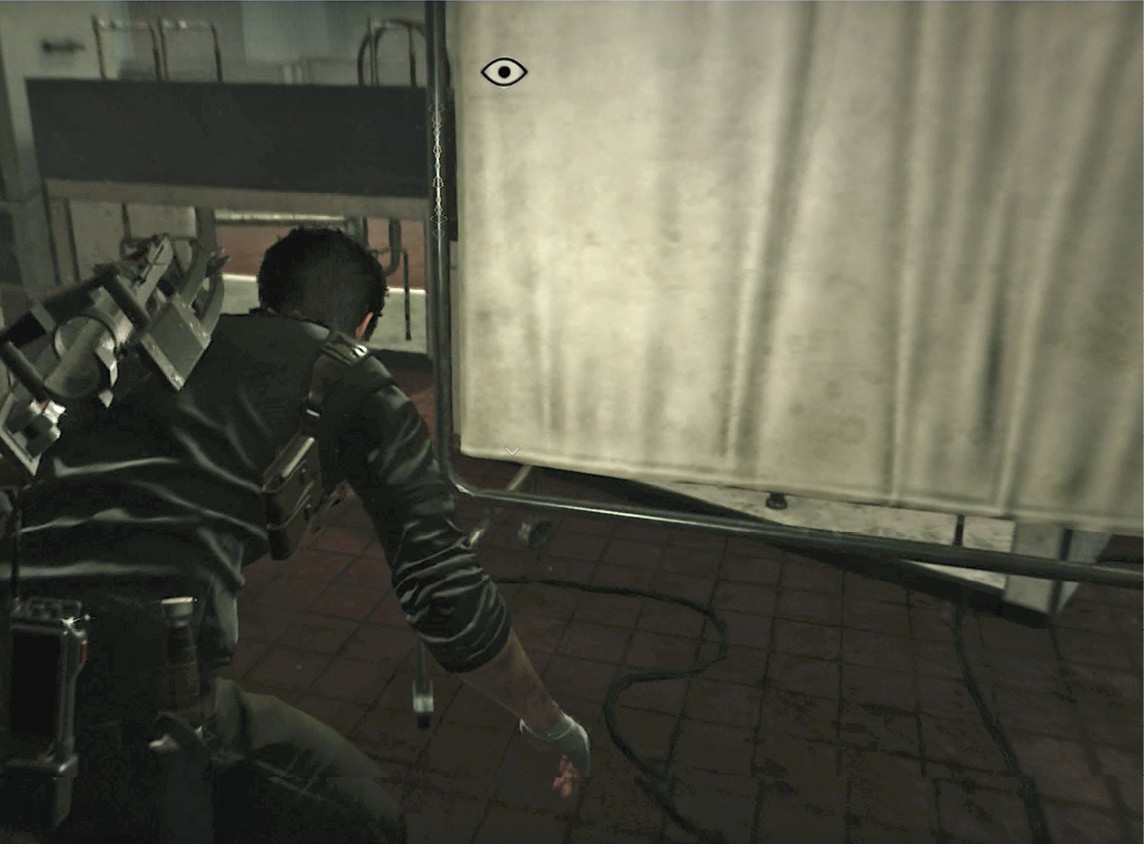
Sneak leftward along cover to what looks like an open gap to the red-lit corridor… but no, a metal shelf falls over at the last second as you approach, blocking the way. When this happens, be ready to move! The Anima lifts up room objects again, ready to slam them down into a new arrangement. As she does this, creep around the column you’re behind and move toward the center of the room, taking cover behind the tall medical apparatus.
(Or you can try sprinting around the next column to the exit when the Anima is raising the furniture—the timing is tight, but it’s possible to make it on the run from this point.)
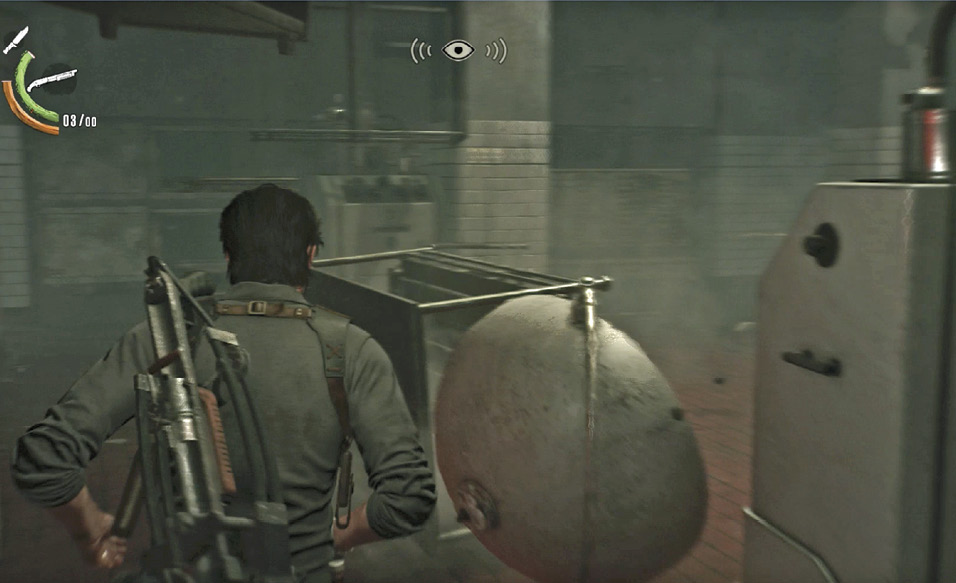
When the Anima slams down stuff again, wait until she turns away then sneak to the overturned table to the left. This move is a bit frightening—you’re practically right underneath the freakish humming monster. By now you’re pretty sick of Clair De Lune, so wait until she turns away then sneak around the middle column behind you, wait again to make sure the Anima is turned away, and then sneak to the exit door. (Or you can just make a sprint to the door from this point, but open it just as you arrive.) Whew!
BONUS: Survived All Three Anima Events?
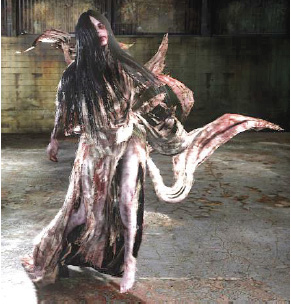
What happens after you escape the Anima event triggered in the Pit Observatory office depends on whether you’ve completed the other two Anima events as well: one at 336 Cedar Avenue in the Residential District, and the other at the Juke Diner in the Business District.
If you haven’t yet completed all three Anima events, Sebastian will be wracked by a quick cascade of dark visions in the corridor beyond the exit door, and then he ends up back in the Pit Observatory office.
But if you’re following this walkthrough, you have completed all three Anima events now. The exit door from the final event leads down a passage into a hallway with two open rooms, one on either side. In the room on the right, find the bottom half of Sebastian’s torn psychological profile by the police psychologist, Walter Harrington, PsyD.
In the room directly across the hall, turn right and approach the upright gurney to find a letter regarding the “Castellanos/Beacon situation” from Krimson City Police Chief James Vankirk to an unspecified recipient (most likely someone very high on the Mobius org chart).
Both files provide critical understanding of what happened to Sebastian Castellanos after the events at Beacon Mental Hospital. Continue down the hallway and descend the eerie stairway with strange visions playing on the walls. In the room at the bottom, approach the figure lying on the autopsy table to trigger a final vision as Sebastian confronts his demons. In the end, he winds up with his trusty Revolver added to his arsenal.
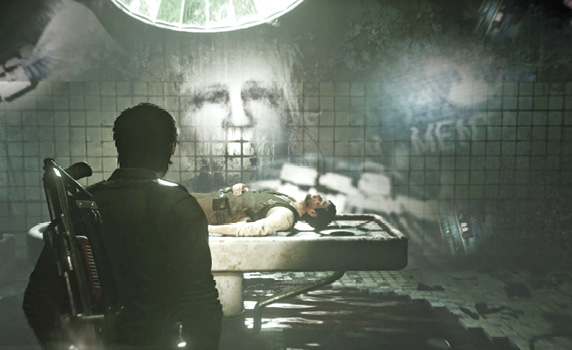
Again, in this walkthrough you end up back in the Pit Observatory office. Sebastian holds his trusty Revolver, and a new slide sits on the desk. Grab it, exit the office, and follow the cart track back to the half-open entry door. Crouch and reenter the laboratory area.
Explore Lab 2
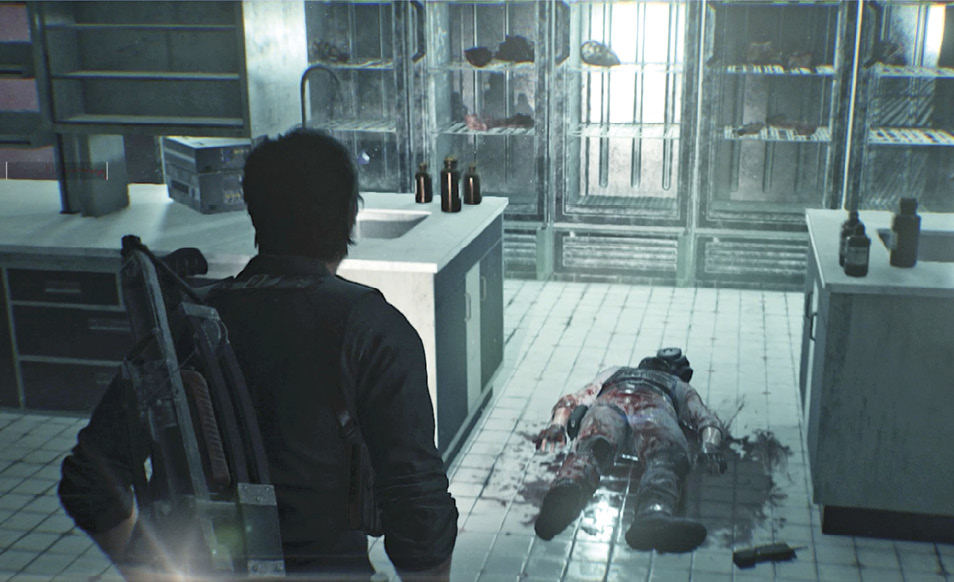
Turn right and climb the stairs to the second floor. At the top, turn left and go through the door marked “Lab 2.” Just inside you spot a shadowy Resonance  at a worktable. Tune in the Residual Memory of the Mobius researcher then grab the Medical Pouch from the fallen Mobius operative.
Explore Lab 3
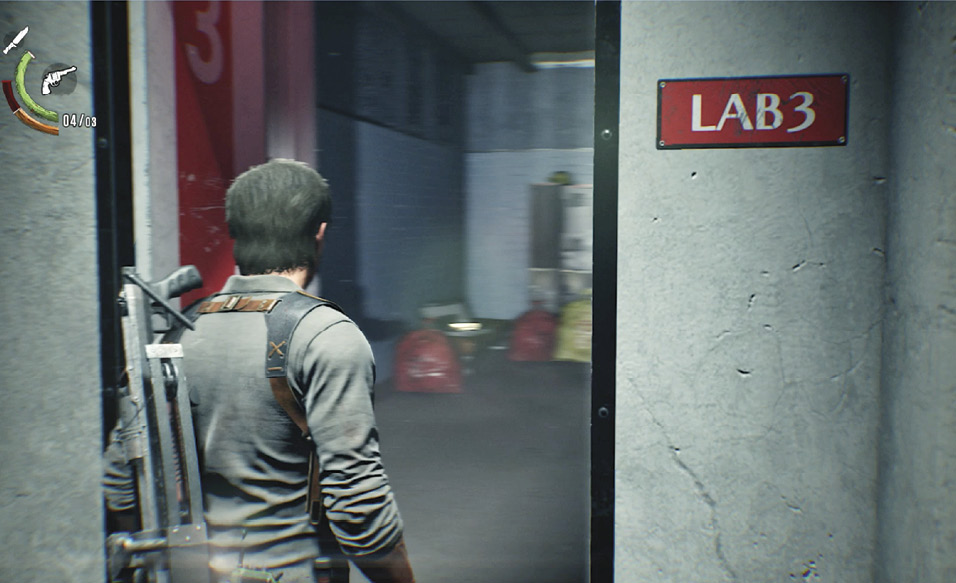
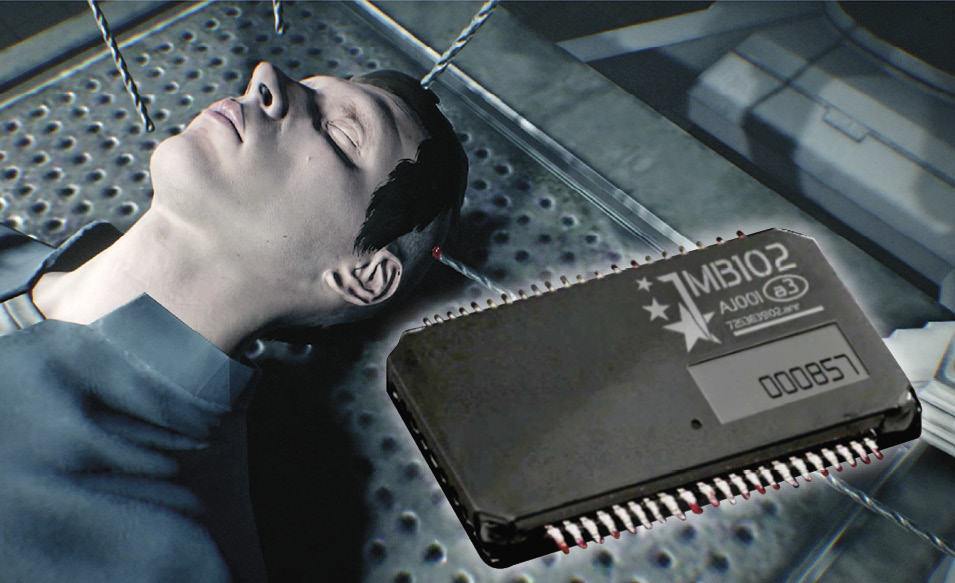
Exit and follow the outer walkway around to Lab 3. (Watch out for a pair of Lost ripping at a corpse in the center walkway.) In the backroom  you find a deceased Mobius employee on the table of an Extraction Device for removing cerebral chips.
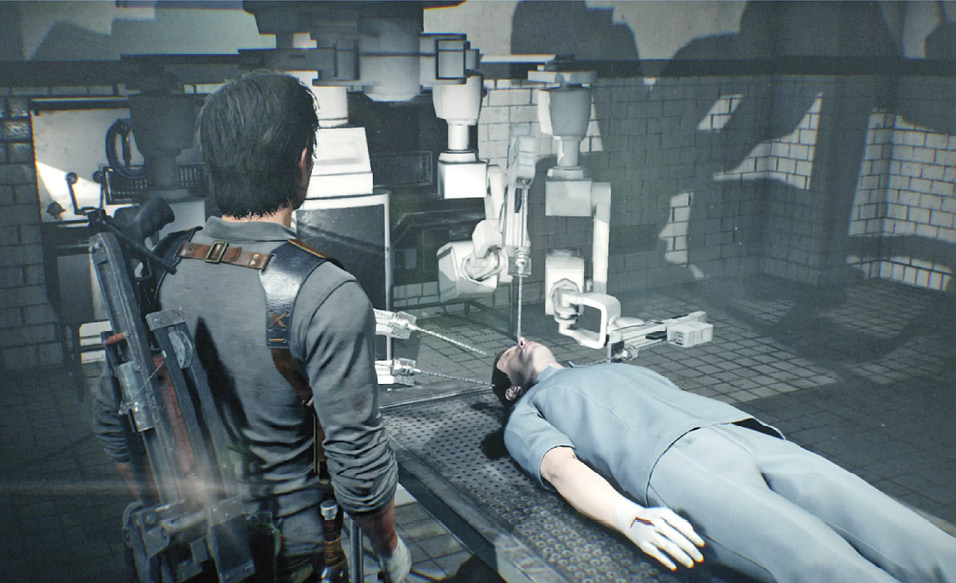
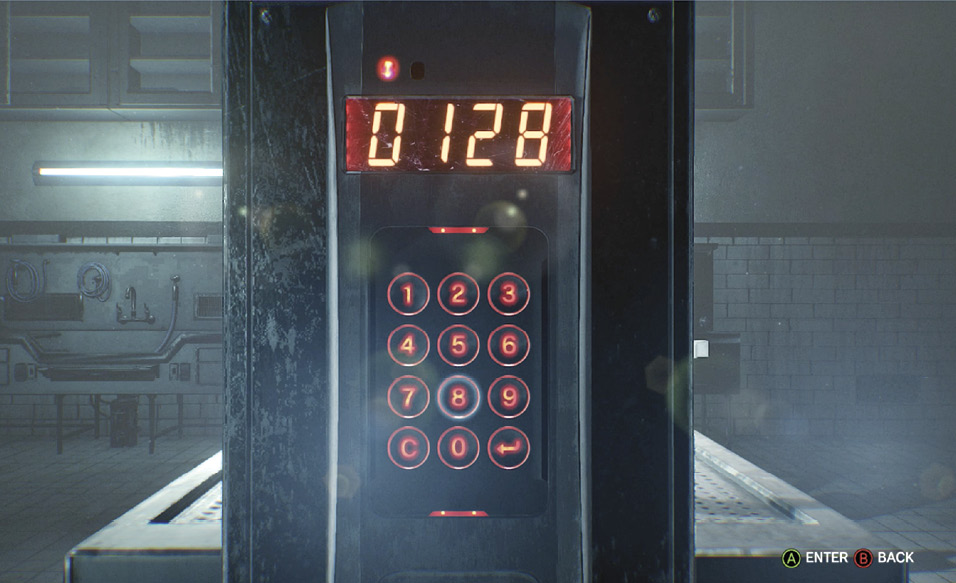
The machine needs a four-digit activation code, which you can find on the nearby desktop computer terminal: 0128. Use the control panel at the foot of the table and enter the code to activate the machine and remove the Unity Cerebral Chip from the Mobius subject. After the grisly procedure, pick up the Unity Chip from the extraction table.
Pass through the security gate and search for Hoffman and O’Neal
Fight or evade monsters to reach the gate
Exit Lab 3 and head back downstairs to the security gate  . This return is made considerably more challenging because using the Extraction Device overloads the power circuits and knocks out the lights. A veritable platoon of monsters gets loose in the darkness, both upstairs and down.
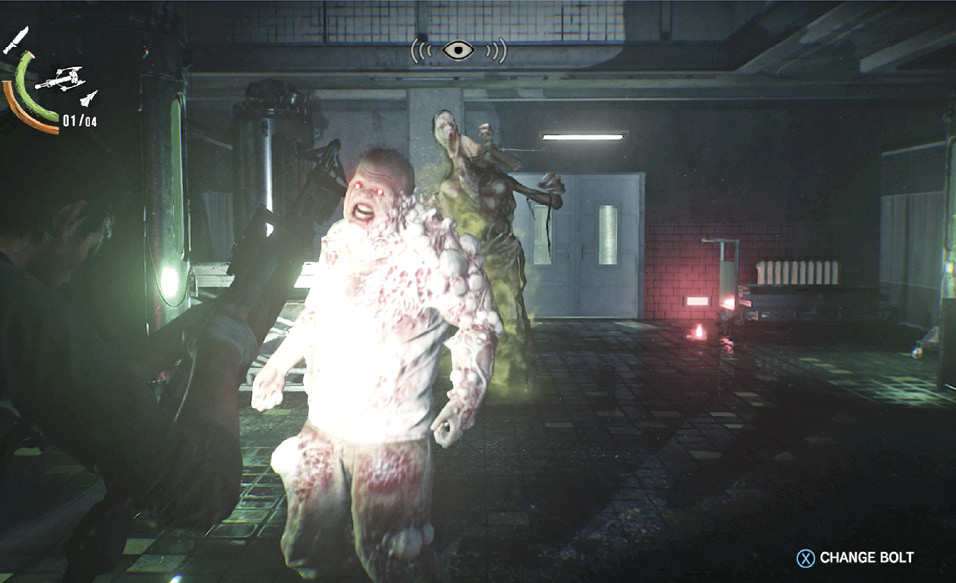
You can try to sneak past them to the gate, or you can just wade in and spill rivers of Green Gel. Either way, you must get past a host of Lost plus a Lament to reach the gate, which opens automatically when you approach with your new Unity Cerebral Chip. (Okay, it’s not new… it’s used.)
Survey the sector
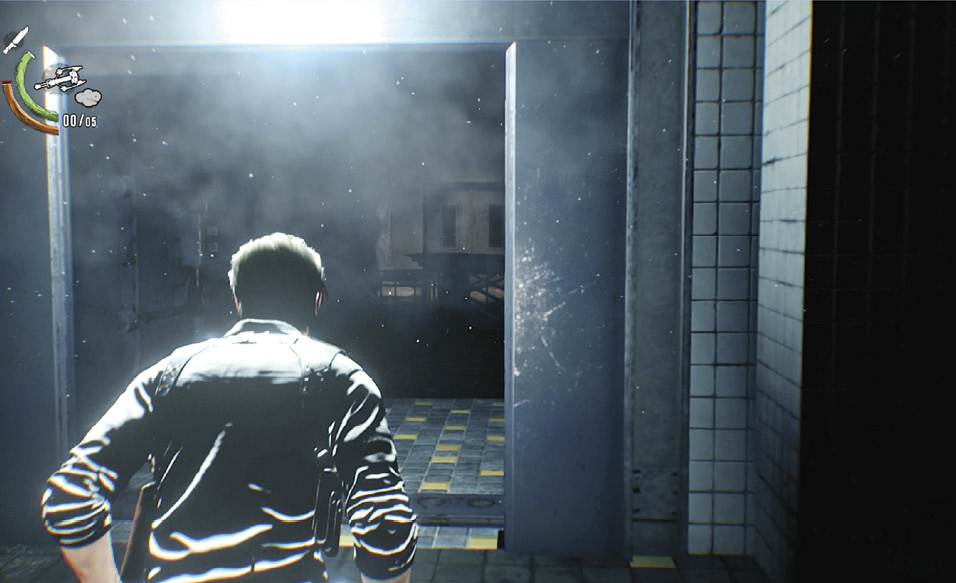
Here’s a tip: Once you get past the security gate, you’re safe from Lost attacks, so you can take some time before you trigger the chapter-ending event. Explore the area thoroughly to grab ammo pickups and get the lay of the land. Get familiar with the rooms and corridors of the area—the long narrow passage, in particular—and note the locations of two Fire Emergency switches (each briefly turns on an overhead sprinkler nearby) and three liquid nitrogen tanks (labeled “Cold Burn Hazard”).
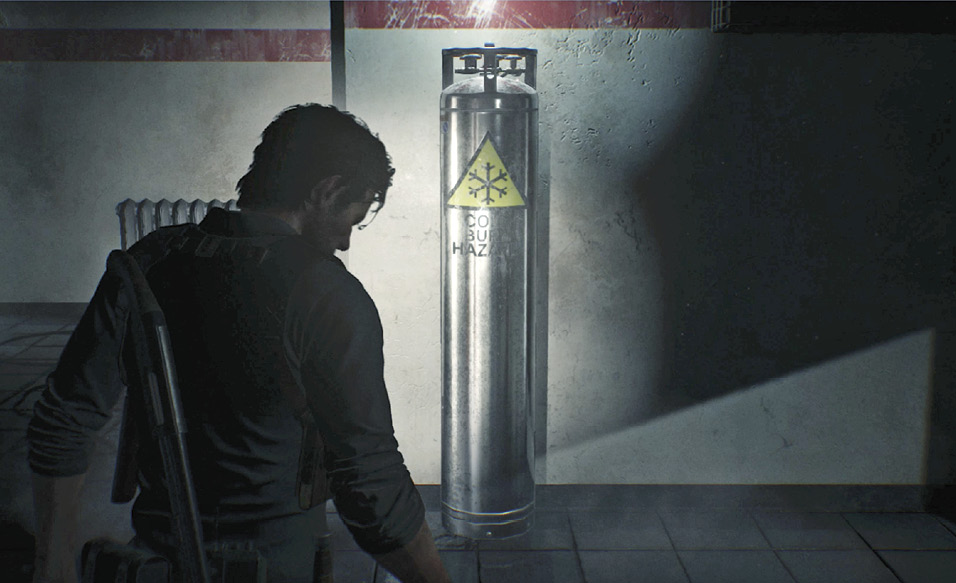
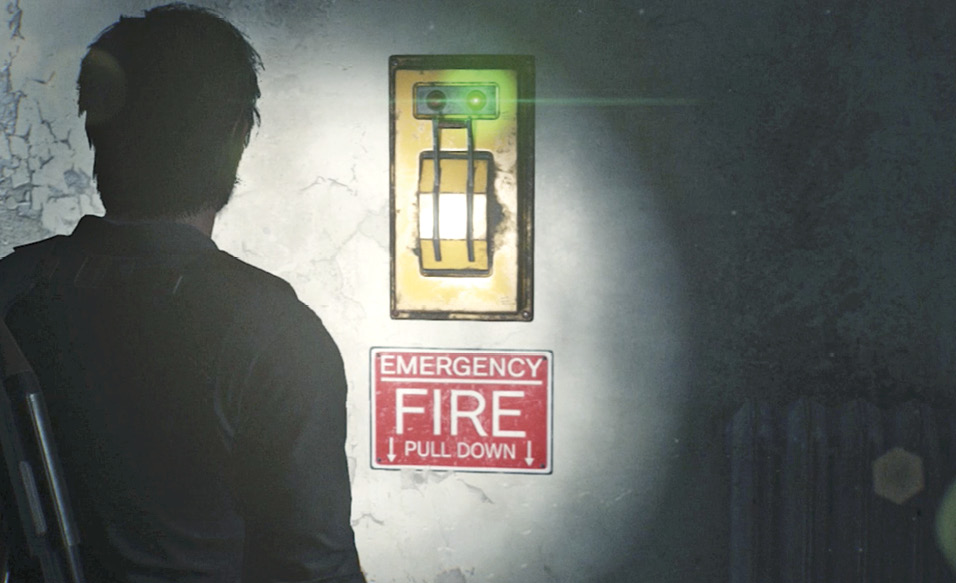
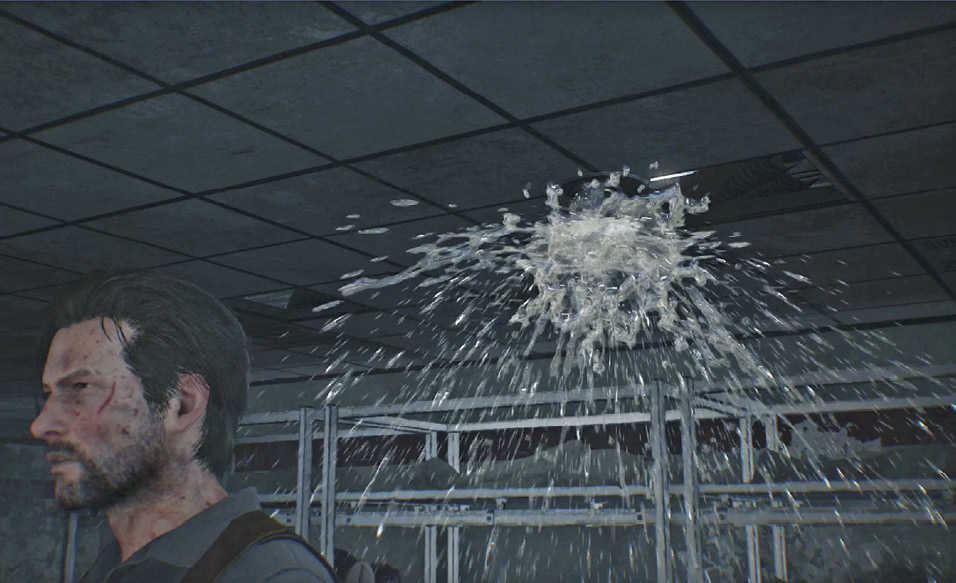
Now go to the Lab 4 door  where you hear voices. Open it to trigger a cutscene: O’Neal is a changed man. Hoffman tries to intervene, but to no avail. Time for a firefight.
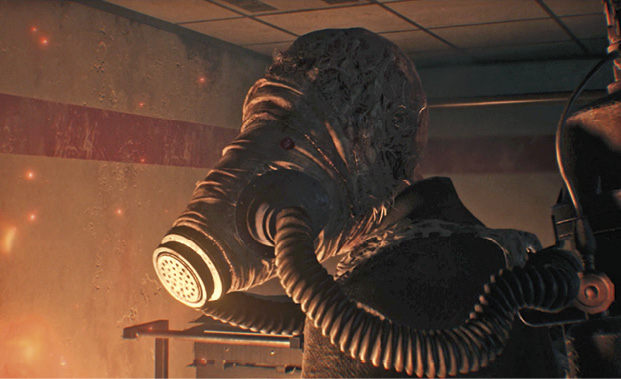
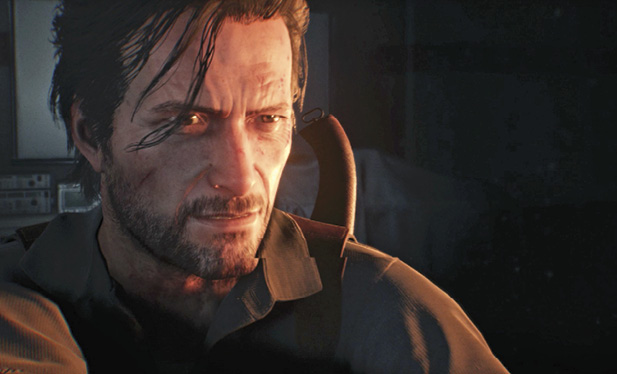
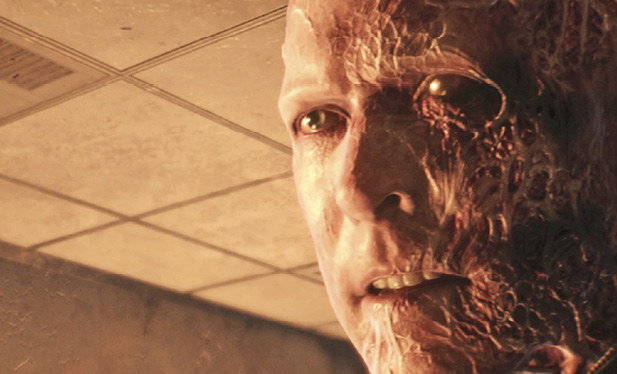
Defeat O’Neal
In general, you want to keep Sebastian on the move in this fight. O’Neal’s flamethrower has murderous power and good range, and it serves as a deadly blunt-force weapon in close combat. He also uses it to spew flame barriers that can box you in, restricting your movement options. This is where those Fire Emergency switches come in handy. Pull the handle to open a ceiling sprinkler that douses fire that may be cutting off your escape paths.
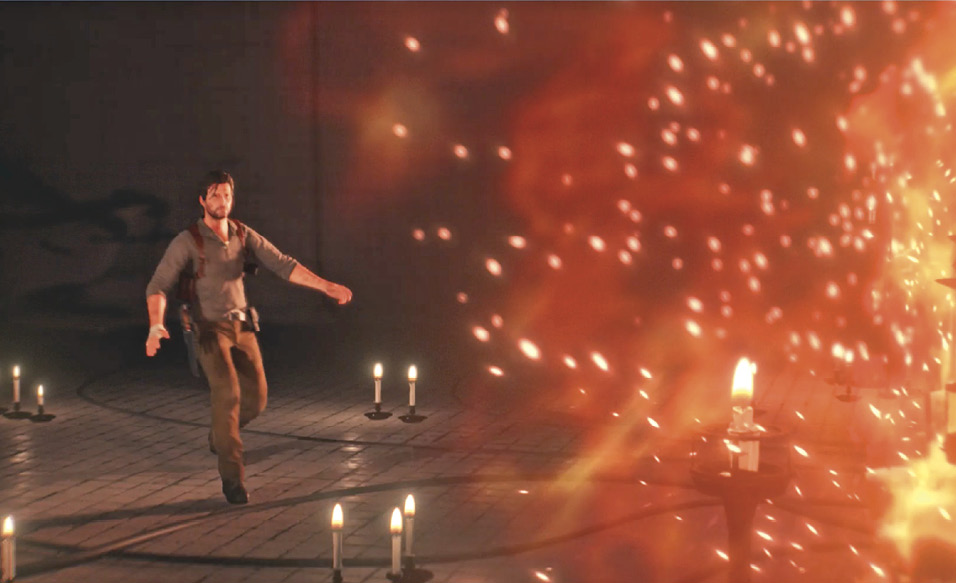
O’Neal’s biggest disadvantage in the early going is his lack of speed; you can physically outmaneuver him fairly easily. In particular, he rounds corners slowly; the barrel of his flamethrower appears first (see our screenshot), giving you advance warning and time to aim carefully before his head emerges. Bang! Headshot.
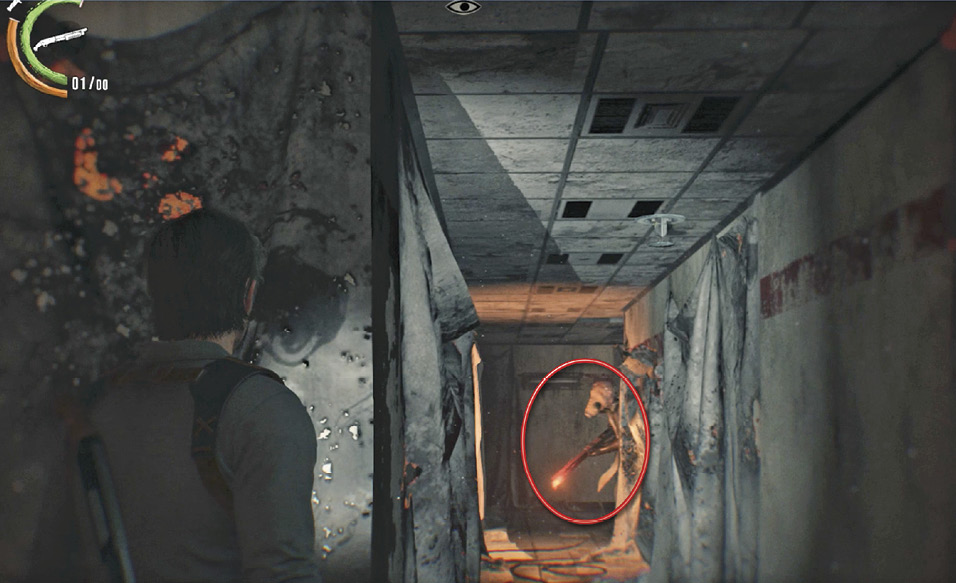
Another tactic: Set up with your Sniper Rifle at either end of the long narrow passage in the room; you can squeeze off 2-3 accurate shots before he can open his weapon’s nozzle on you. The narrow passage is also a great place to set tripwires with your Explosive Bolts.
Conversely, don’t get caught in the middle of that long passage when O’Neal is there too, ready to fire. The flamethrower’s stream is wide enough that it’s hard to dodge in those narrow confines. When you enter the long passage and you know O’Neal is behind you, sprint all the way to the far end before you turn to engage in any way.
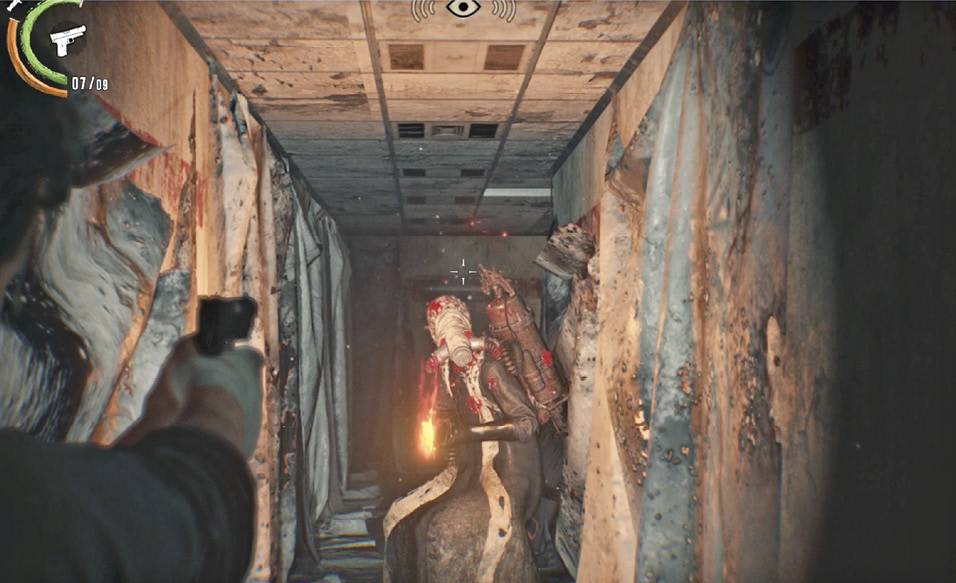
You can disable O’Neal’s flamethrower by shooting the fuel tanks on his back. But note that if his gun gets extinguished, O’Neal turns into a relentless melee monster, chasing and hammering you with his weapon. His closing speed picks up considerably, so you have to change your own tactics a bit. You can’t just sprint away anymore; instead, circle the concrete columns and autopsy tables to keep him off you as you squeeze off shots. Keep a sharp eye out for ammo pickups as you do this.
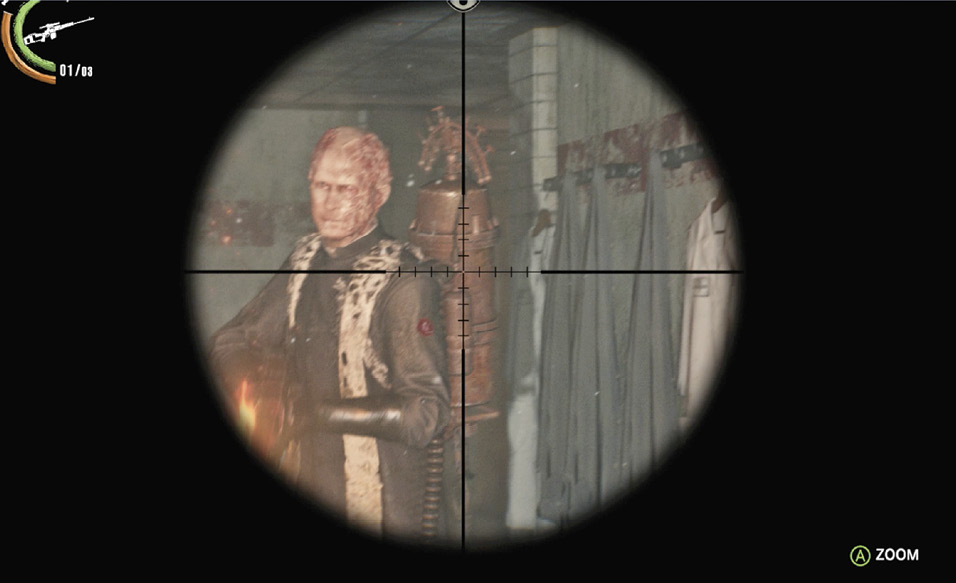
As our awesome QA experts point out, the three liquid nitrogen tanks can give you an edge if you use them effectively. Lure O’Neal past a tank and shoot it to freeze him in place for a few seconds. This gives you time to score multiple easy headshots, then run away to heal and reload while he’s reeling from the salvo. The same goes for crossbow shots with Freeze Bolts.
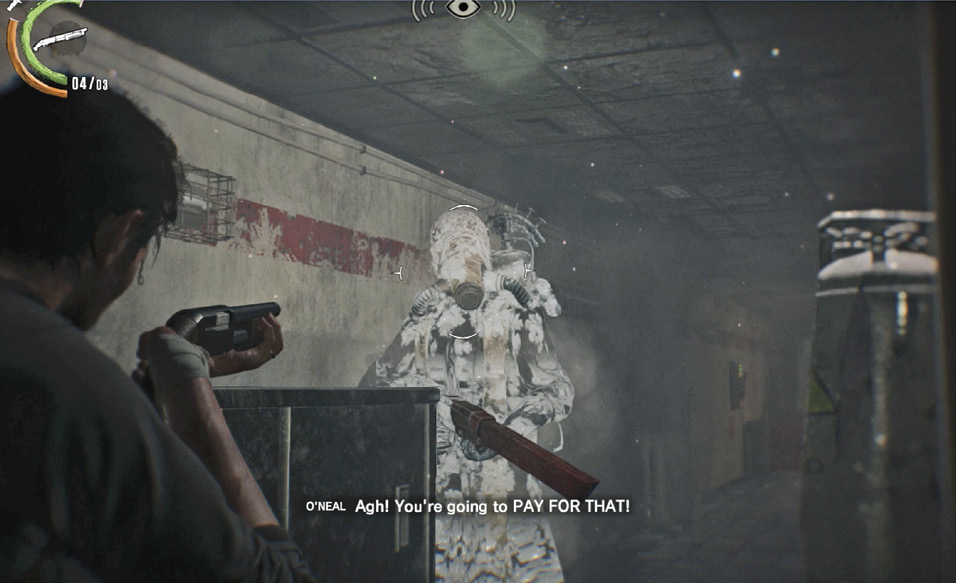
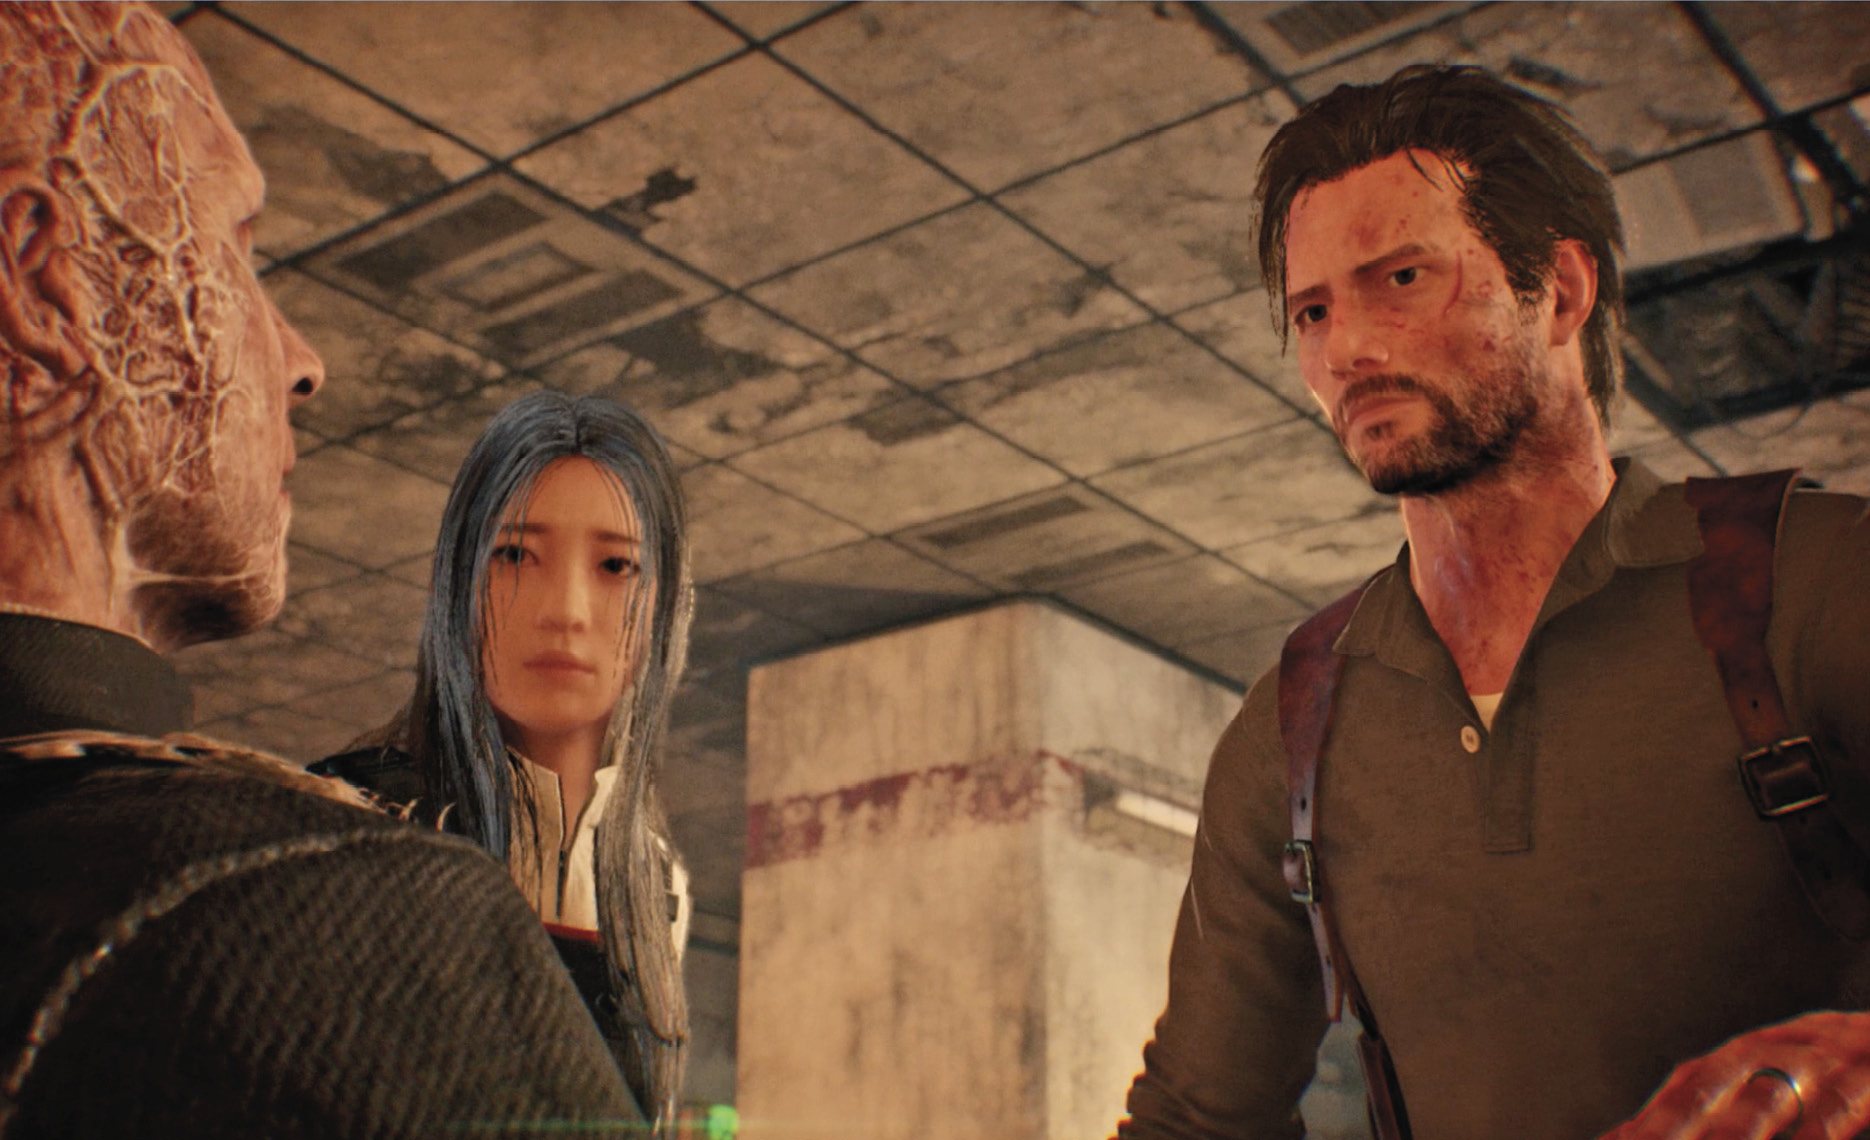
Late in the fight, when O’Neal has taken extensive damage, he rips off his mask and fights bare-faced with a renewed fury. Target that head! When O’Neal finally falls for good, he shares some critical information about his support for Father Theodore.
Search the back room and find the machine that O’Neal mentioned
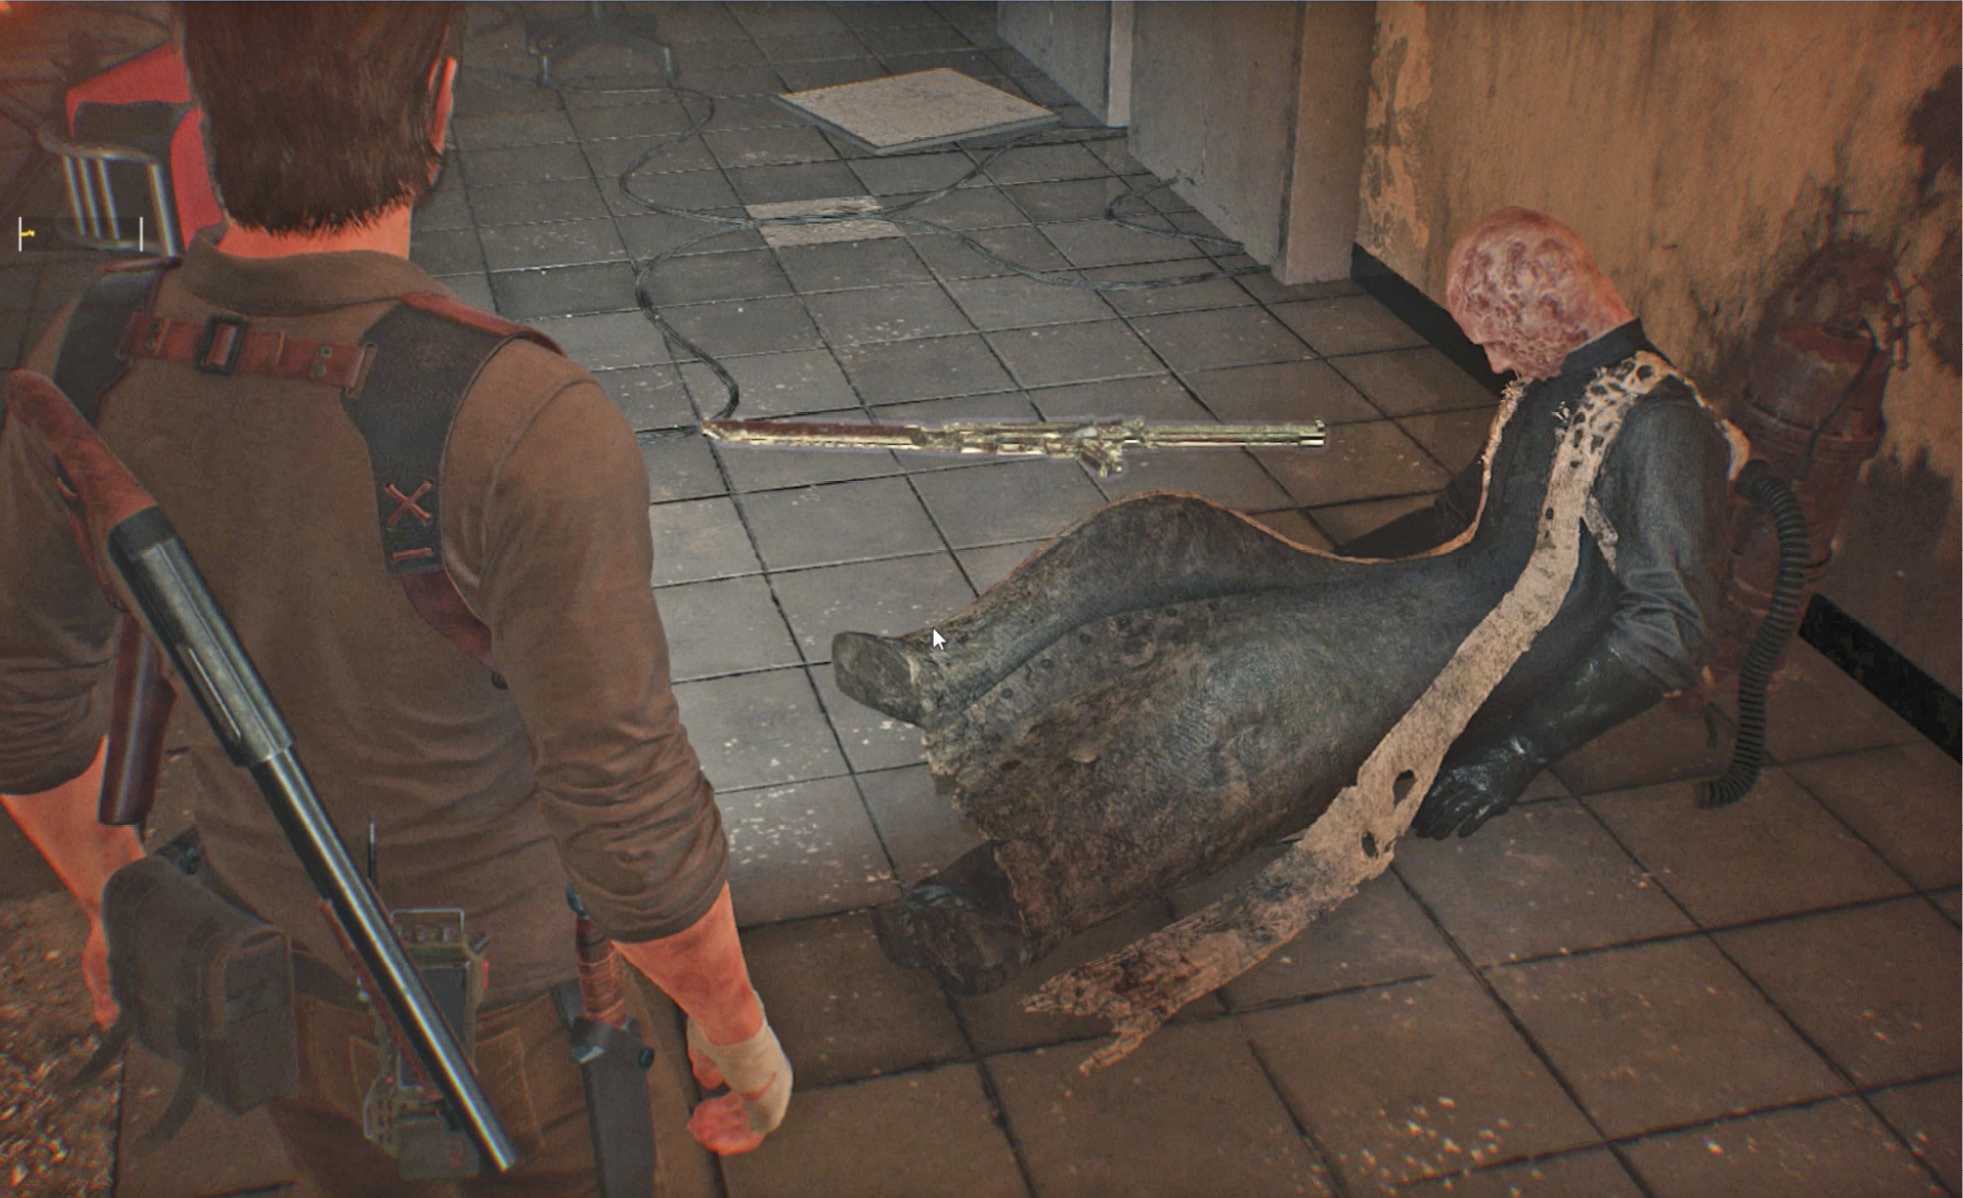
After the fight, be sure to pick up the Broken Flamethrower next to O’Neal. (We’ll find tanks later to repair the awesome weapon.) Then enter Lab 4 to see a Resonance that you can tune in as a Residual Memory  .
.
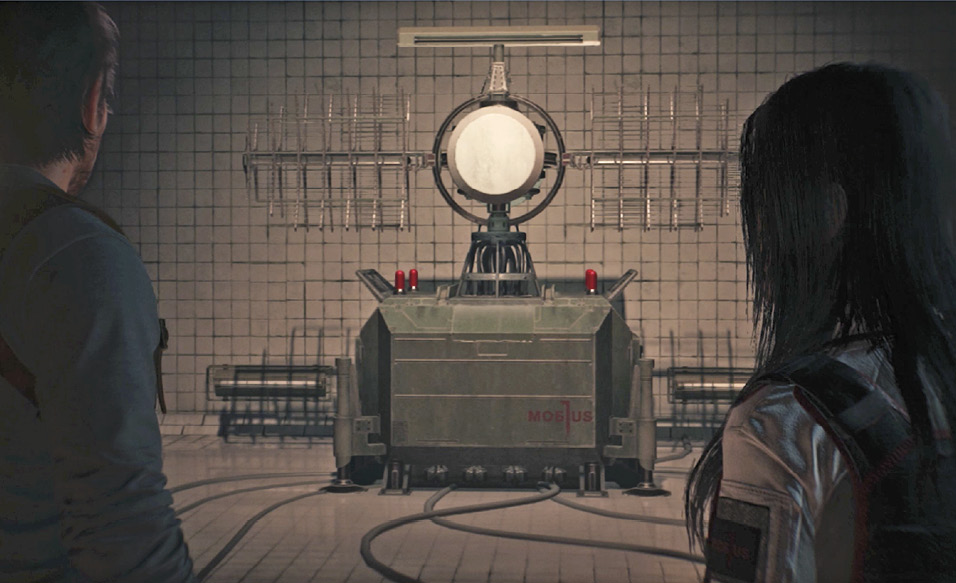
Grab the box of High-Grade Weapon parts and examine O’Neal’s worktable and his makeshift altar. Then use the Mirror to teleport to Sebastian’s Room to craft ammo, upgrade weapons and skills, and save your game. Return and head through the “Laboratory in Use” door. Walk down the long corridor to the room with O’Neal’s machine  , where Sebastian makes a call to his demolitions expert.
Talk to Esmeralda when ready to arm the explosives
Later, Esmeralda Torres has O’Neal’s machine rigged with C4 explosive. Find the Locker Key statue hidden behind the machine. Talk to Hoffman and ask all questions, then do the same with Torres. When you’re ready, tell Torres, “Let’s arm this thing.” Then watch the fireworks. Once again, Sebastian finds himself cast into the odd darkness of the void.