The Evil Within 2 Guide Story Walkthrough
On the Hunt
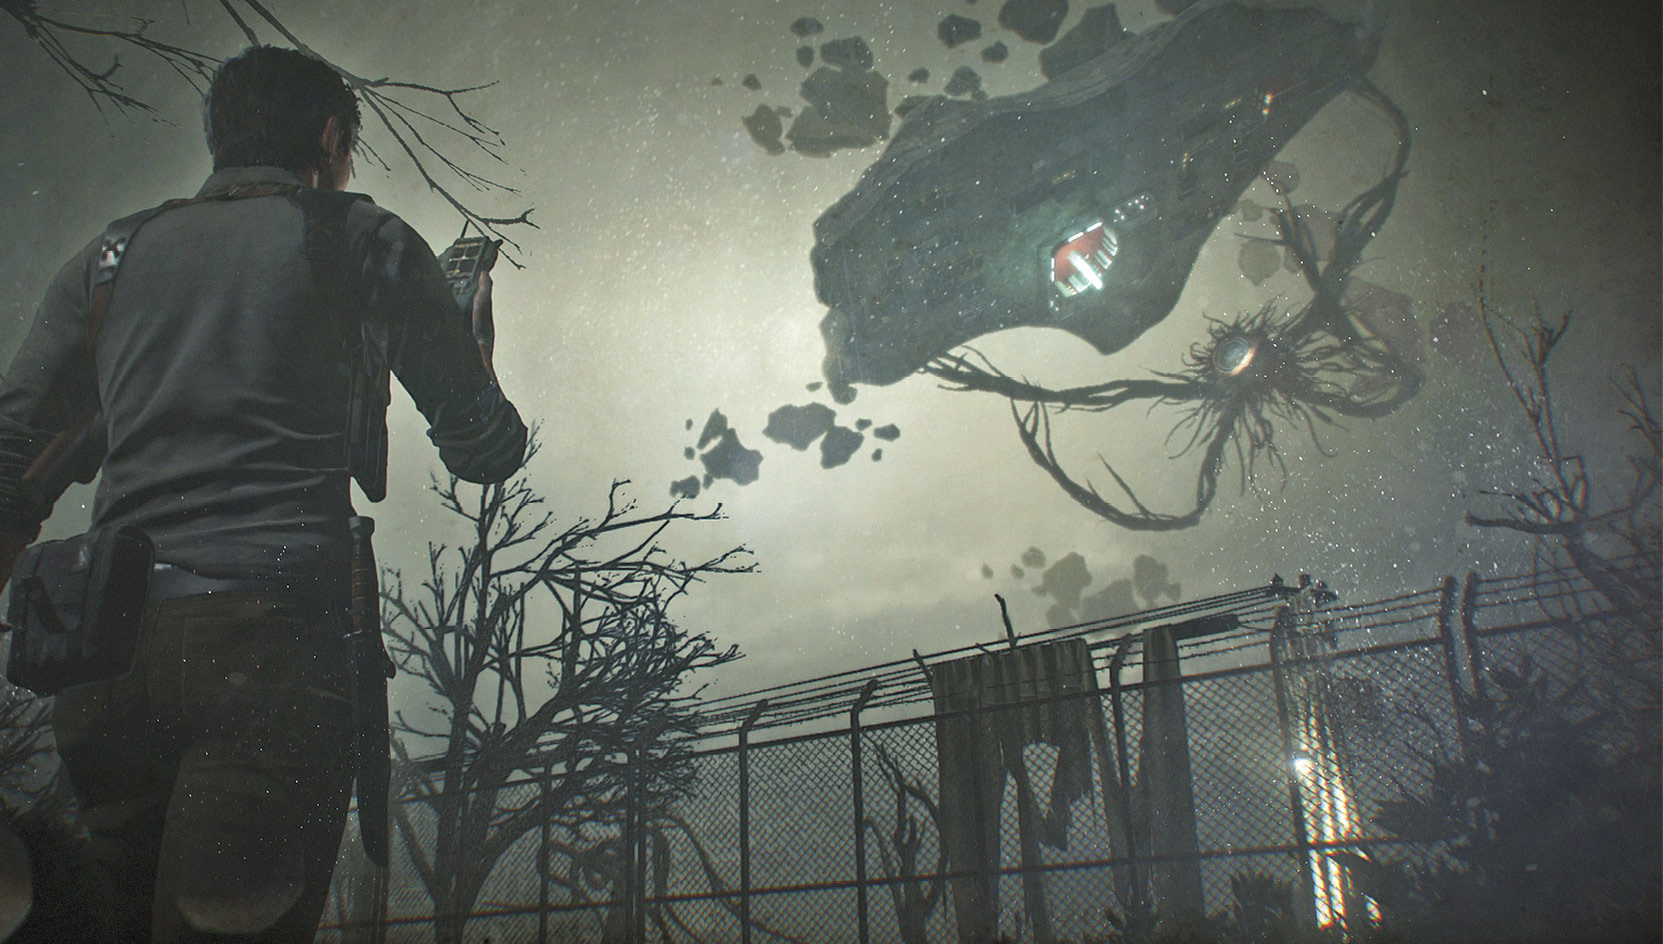
The Aperture hunkers over the chunk of Union in the “sky” where the Theater sits. To get after Stefano at the Theater, Sebastian must work down through The Marrow’s West Access Tunnels to the Facilities sector and find Exit D5. O’Neal tells Sebastian that the Stable Field Emitter has done its job. Parts of The Marrow have been reopened and stabilized for now, anyway.
Overview
Objectives
- Pass through The Marrow and search for Exit D5
- Investigate the Theater Collectibles
- 2 Files
- 1 Slide
- 1 Residual Memory
Pass through The Marrow and search for Exit D5
Return to The Marrow
Follow the road back to the Safe House, climb down the ladder, and have some coffee, for gosh sakes—you deserve it. Take a mirror trip back to Sebastian’s Room and buff up your skills and weapons, then come back and use the computer to enter The Marrow’s Central Access Tunnels.
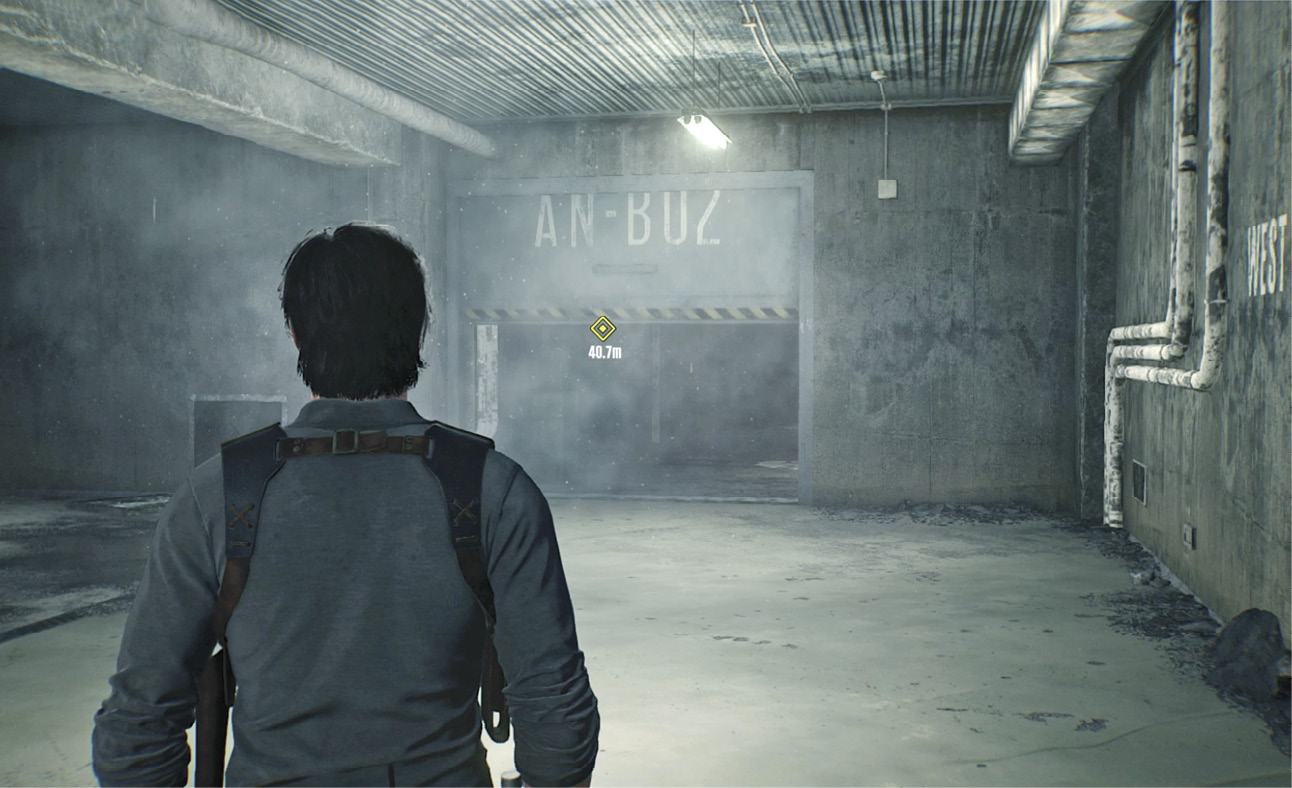
In the port  , equip your Communicator and lock in to the nearby Resonance. Exit the room and move forward until the security door raises, revealing a passage
 to the West Access Tunnels.
Navigate the West Access Tunnels
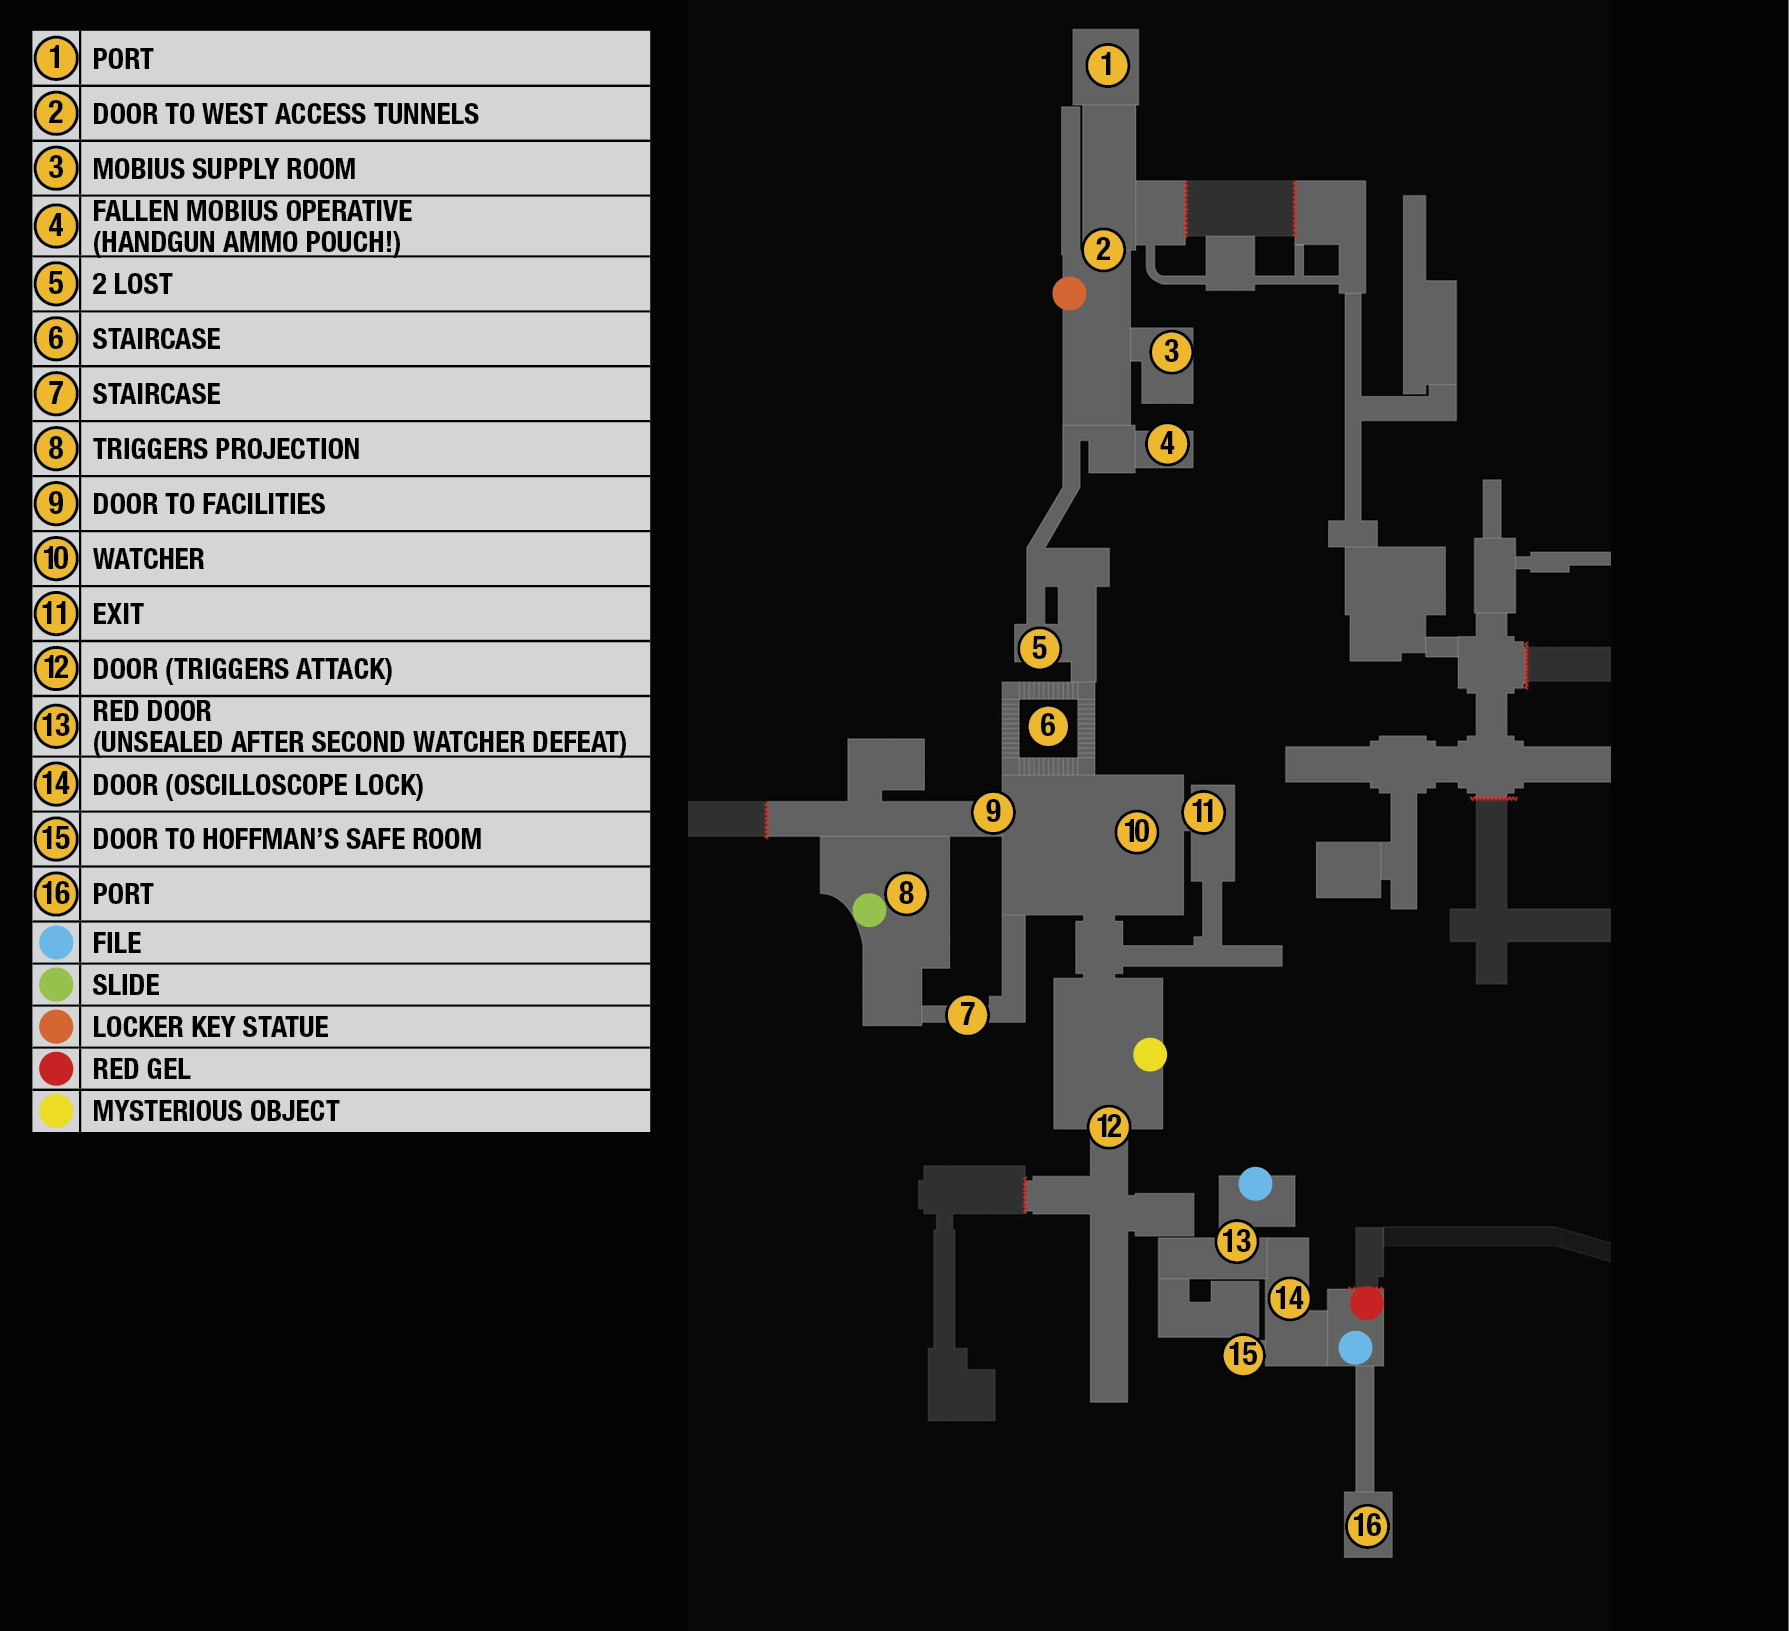
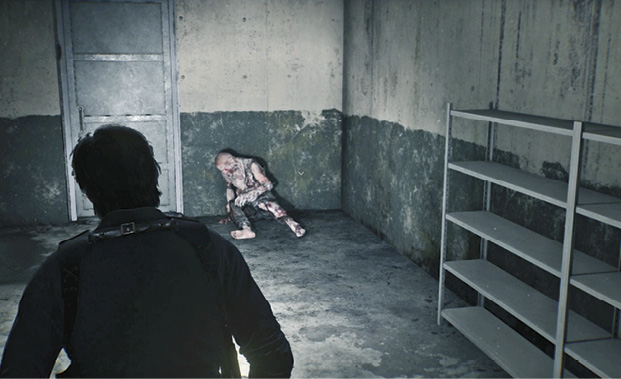
Ahead on the left is a door with an oscilloscope lock. Solve the puzzle as you’ve done before and loot the Mobius supply crate in the storeroom  . Exit and continue down the hall to the next door on the left. Your map shows a fallen Mobius operative
  with a Handgun Ammo Pouch on the other side. But before you grab it, look behind the open door to find a sleeping Lost that will awaken when you take the pouch. Put a couple of bullets in its head to prevent that.
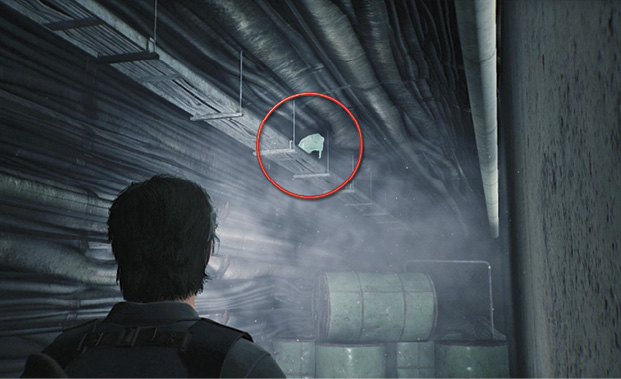
Exit that room and step through the opening in the chain-link fence directly across the corridor. Turn right and follow the narrow passage until you find a Locker Key statue above you on a bracket, hanging amongst the pipes, wires and tubing. Shatter it with a gunshot and pick up the Locker Key that falls.
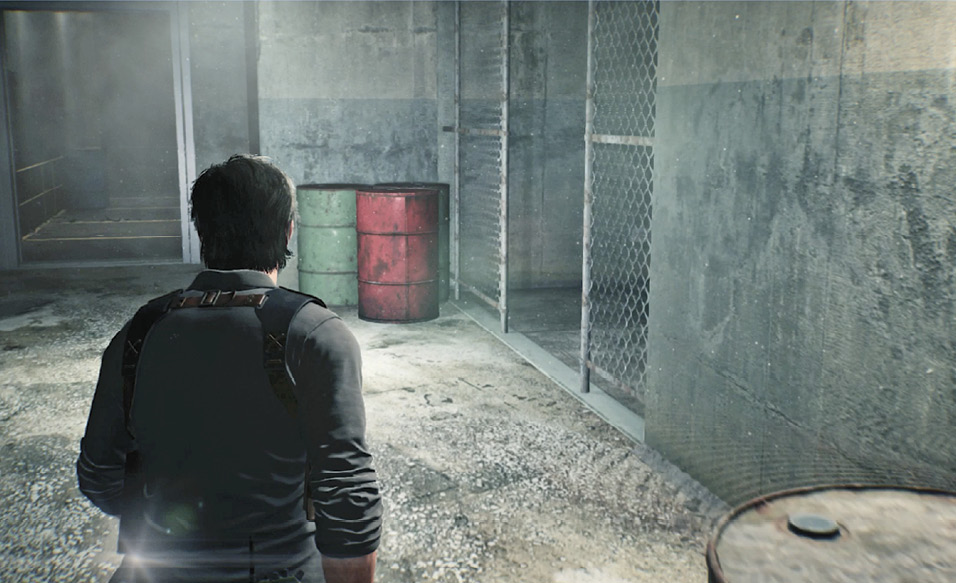
Turn around and follow the narrow passage until you hear a pair of Lost moaning and howling just up ahead  . Crouch and wait a few seconds while they look around; then sneak through the hole in the wall just ahead on the left and take cover behind the two green barrels. Wait a few seconds for an opportunity to creep to the fence gap for a Sneak Kill on one, then the other, if you can. Or you can kick over the red oil drum near the opening, lure both Lost onto the oil spill, and ignite the oil with your Handgun.
Find the media room
Descend the long staircase  until you emerge onto a walkway overlooking a big warehouse-sized storage room full of crates. Some sort of weird, sticky, bubbling white stuff has seeped into the corridor. It’s creepy and difficult to wade through in places, but keep going until you reach another staircase
  that leads down to a media room filled with monitors and recording equipment.
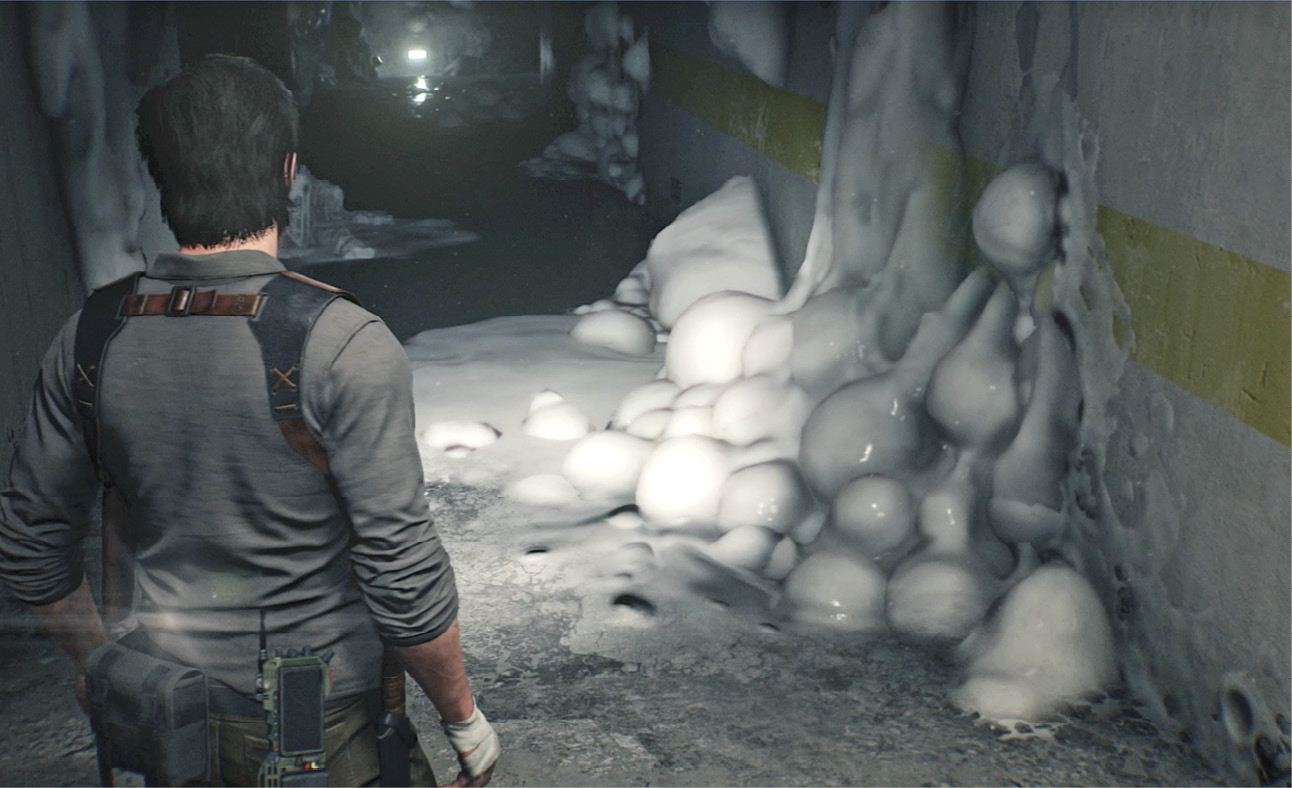
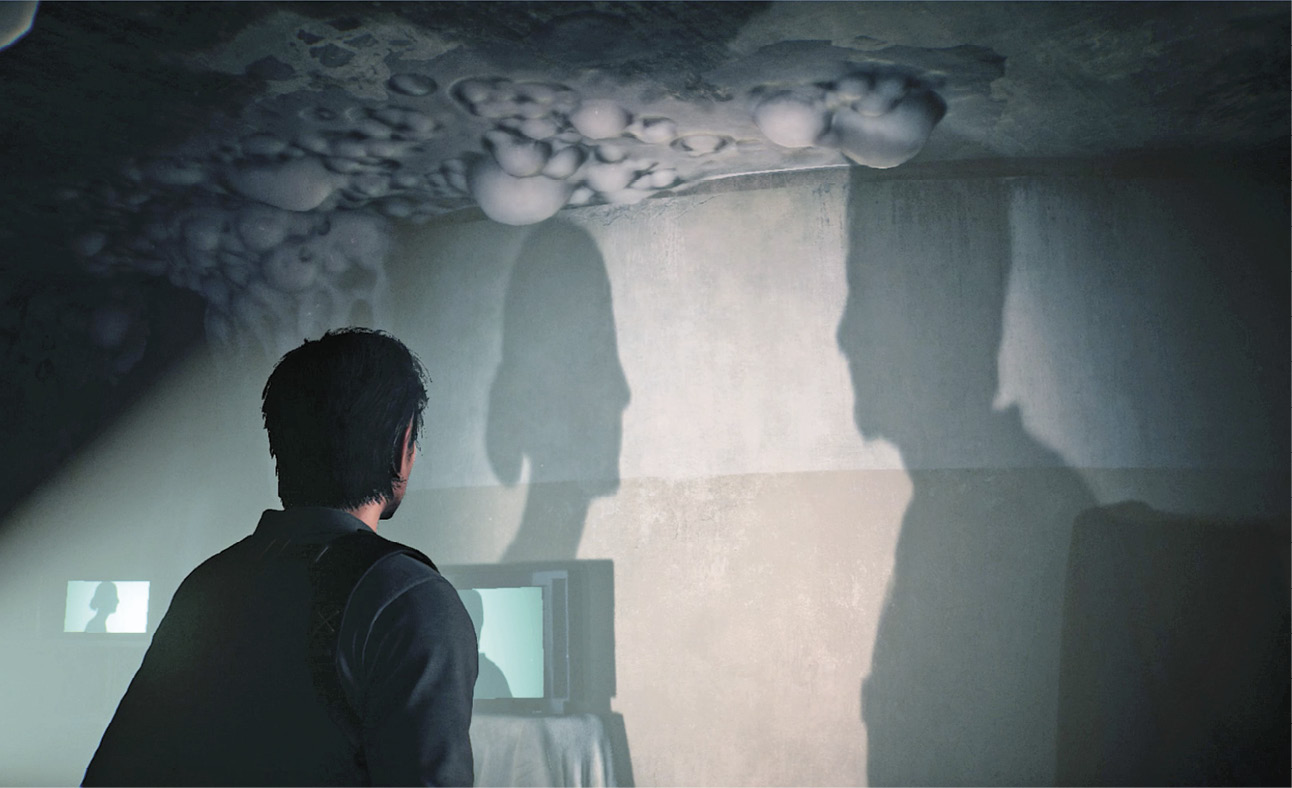
This room is infested with white goop too. As you move across the room, monitors oddly switch on. When you reach the room’s center  , you trigger a heartbreaking conversation between Sebastian and his wife Myra, projected in silhouette on the wall. Afterwards, pick up the slide sitting next to a slide projector on a pallet stacked with computer monitors.
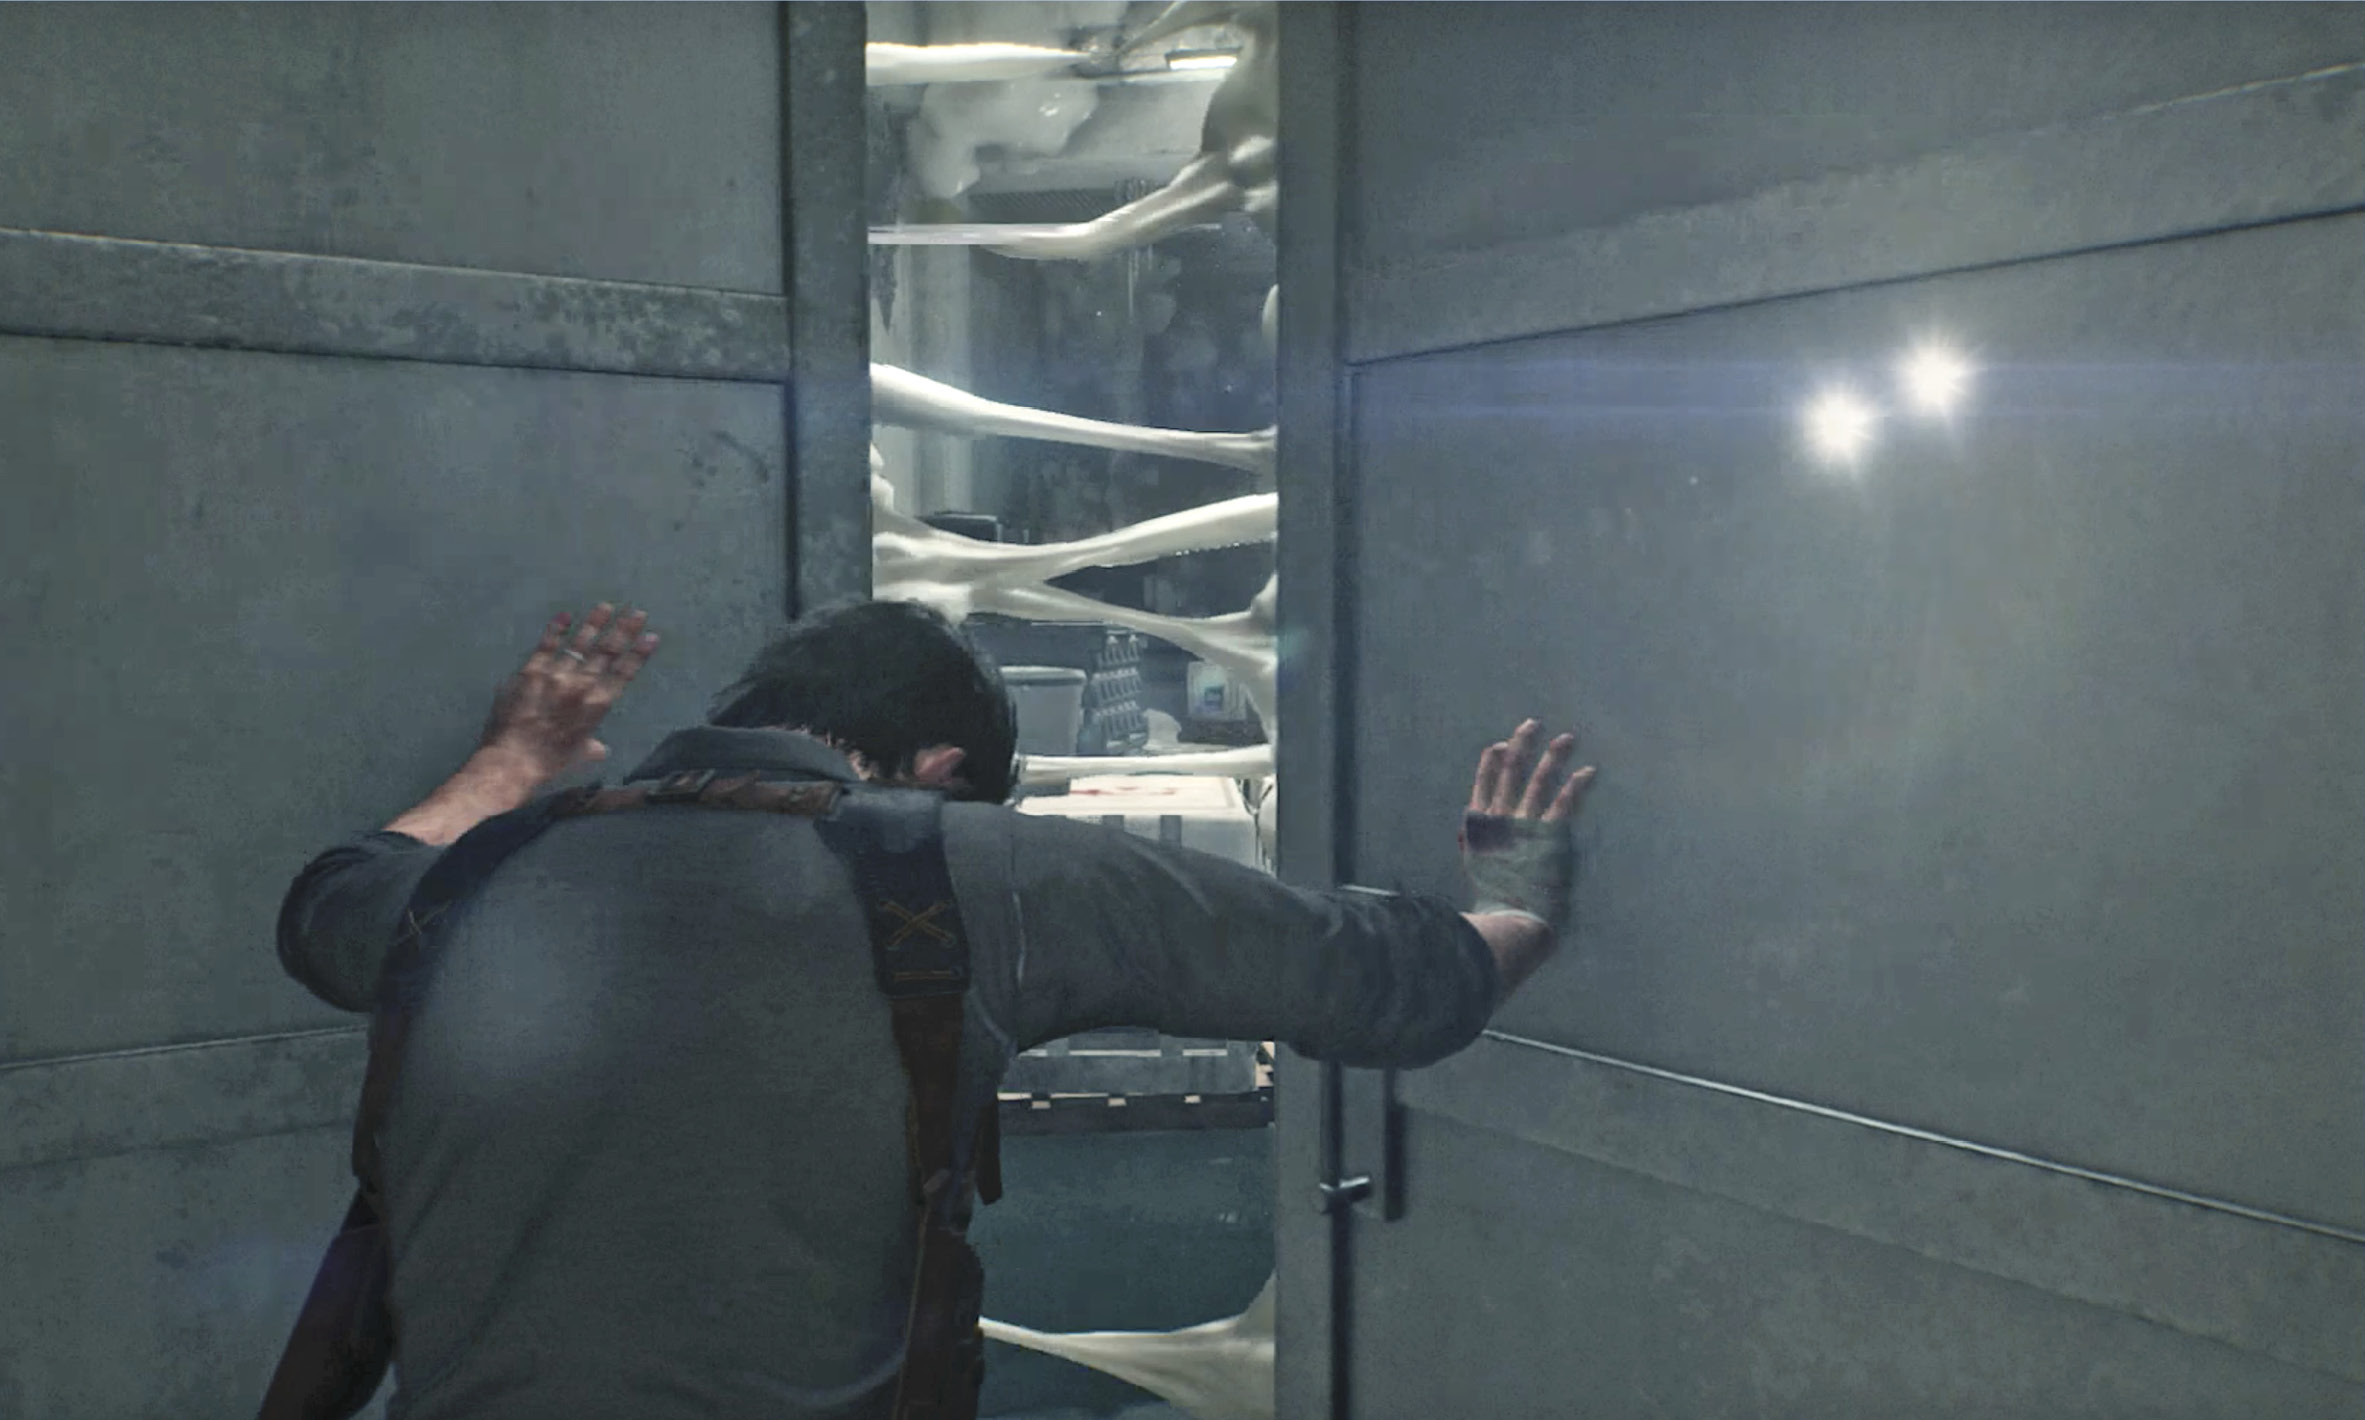
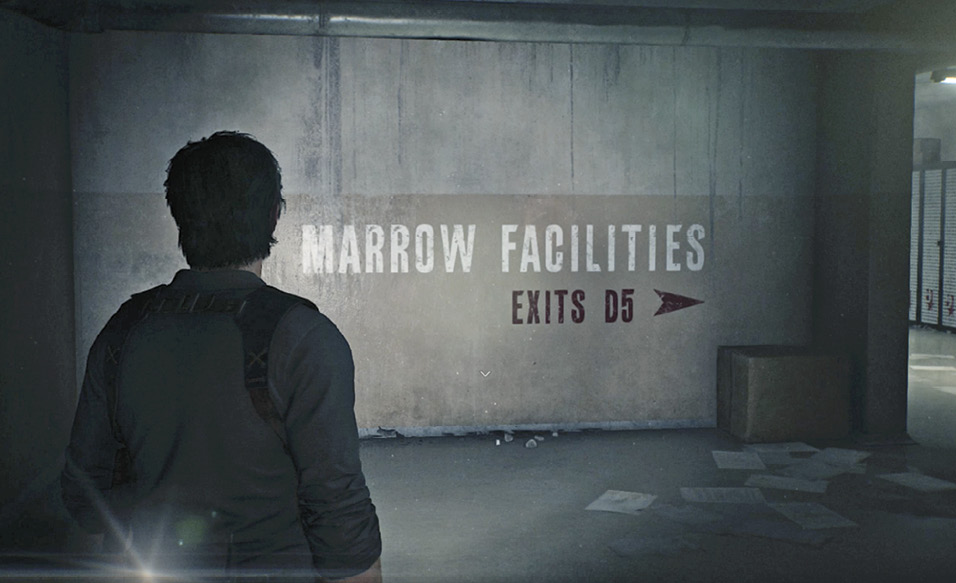
When you exit the media room and turn right, something slams the door shut down the hall  , just past the “Marrow Facilities, Exits D5, 27” sign on the wall. Move down the hall towards it. (Note the door sealed shut by white goo on your left; you’ll revisit it in the next chapter.) Make sure you’re ready for a boss fight (full ammo, etc) before you force open the door at the end of the hall!
Defeat the Watcher: Part 1
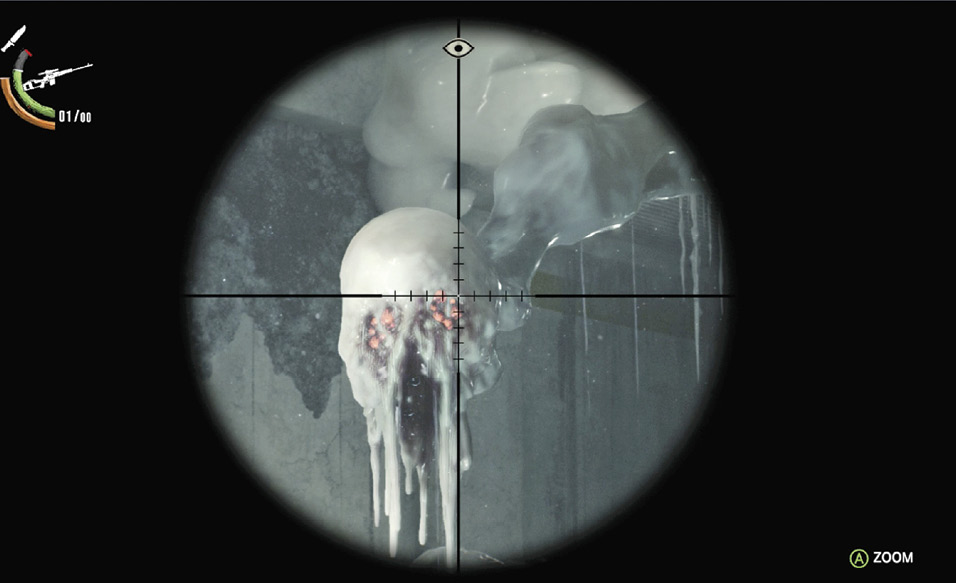
After the hair-raising introduction to the Watcher  , be aware that it can be defeated with some pretty basic tactics. First off, any red patch on the monster is a weak spot. At first, only its two eyes are red. Once you shoot them, a larger red patch opens up on its face that you can target for a few seconds.
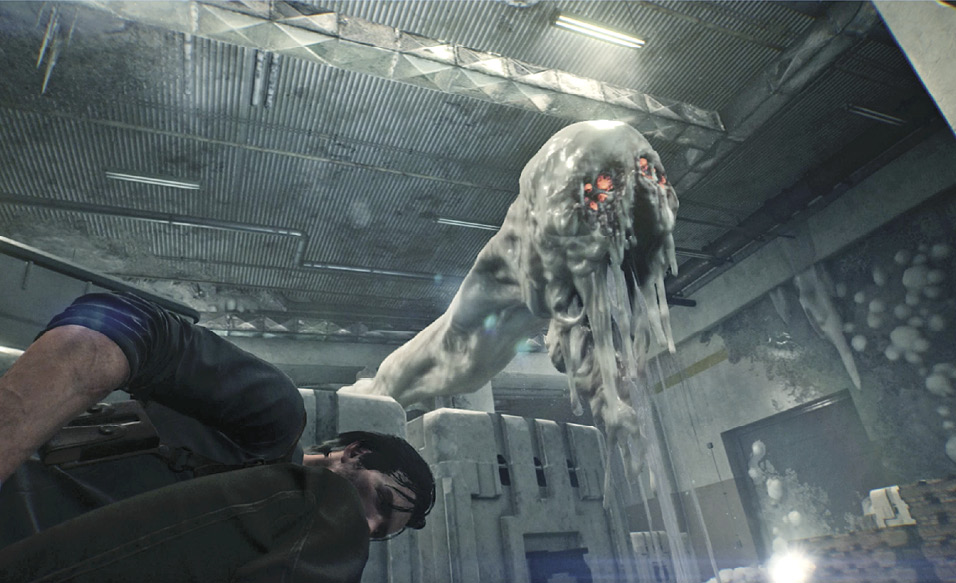
Soon the Watcher recovers and starts its fatal attacks: spitting deadly white matter at you, and slashing with its huge goopy claws— claws that not only extend from its “body” but also spring up independently from various white puddles on the floor, including behind you when you think you’re in cover.
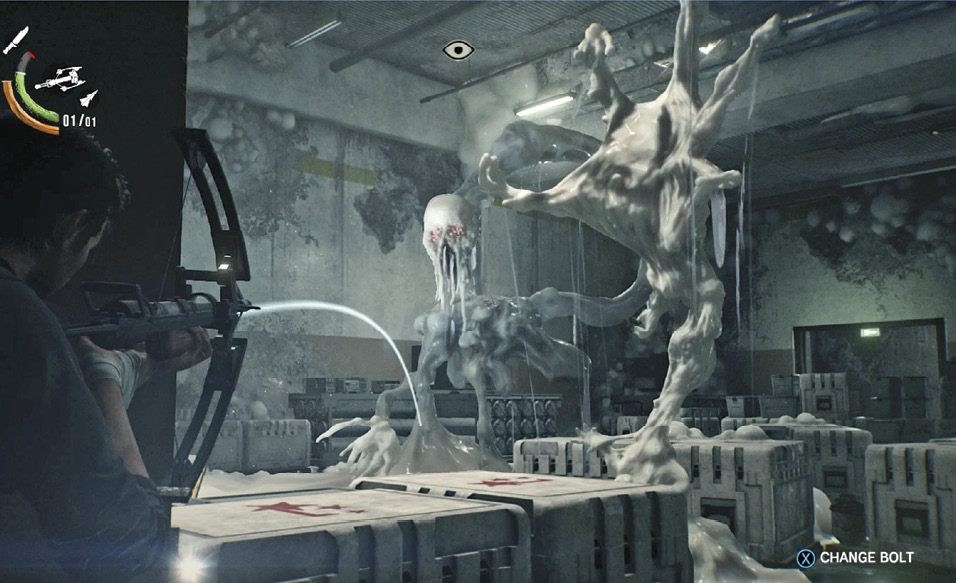
Note that its claws and spitballs absorb your gunshots without taking damage, so time your shots at its red eyes in between these obstacles. It’s entirely possible to take down the Watcher with your basic Semi-Automatic Handgun (we did it several times), but if you want your first punch to land harder, use the Sniper Rifle for your opening salvo.
Defeat the Watcher: Part 2
Follow the passages into another big storeroom and find the unusual object tucked behind some stacked crates. Then try to exit the room via the far door  . Opening that door triggers a quick rematch with the Watcher. You have just a few seconds to shoot its swaying face as it moves in to swallow Sebastian. In Survival mode, four good hits force the beast to retreat again.
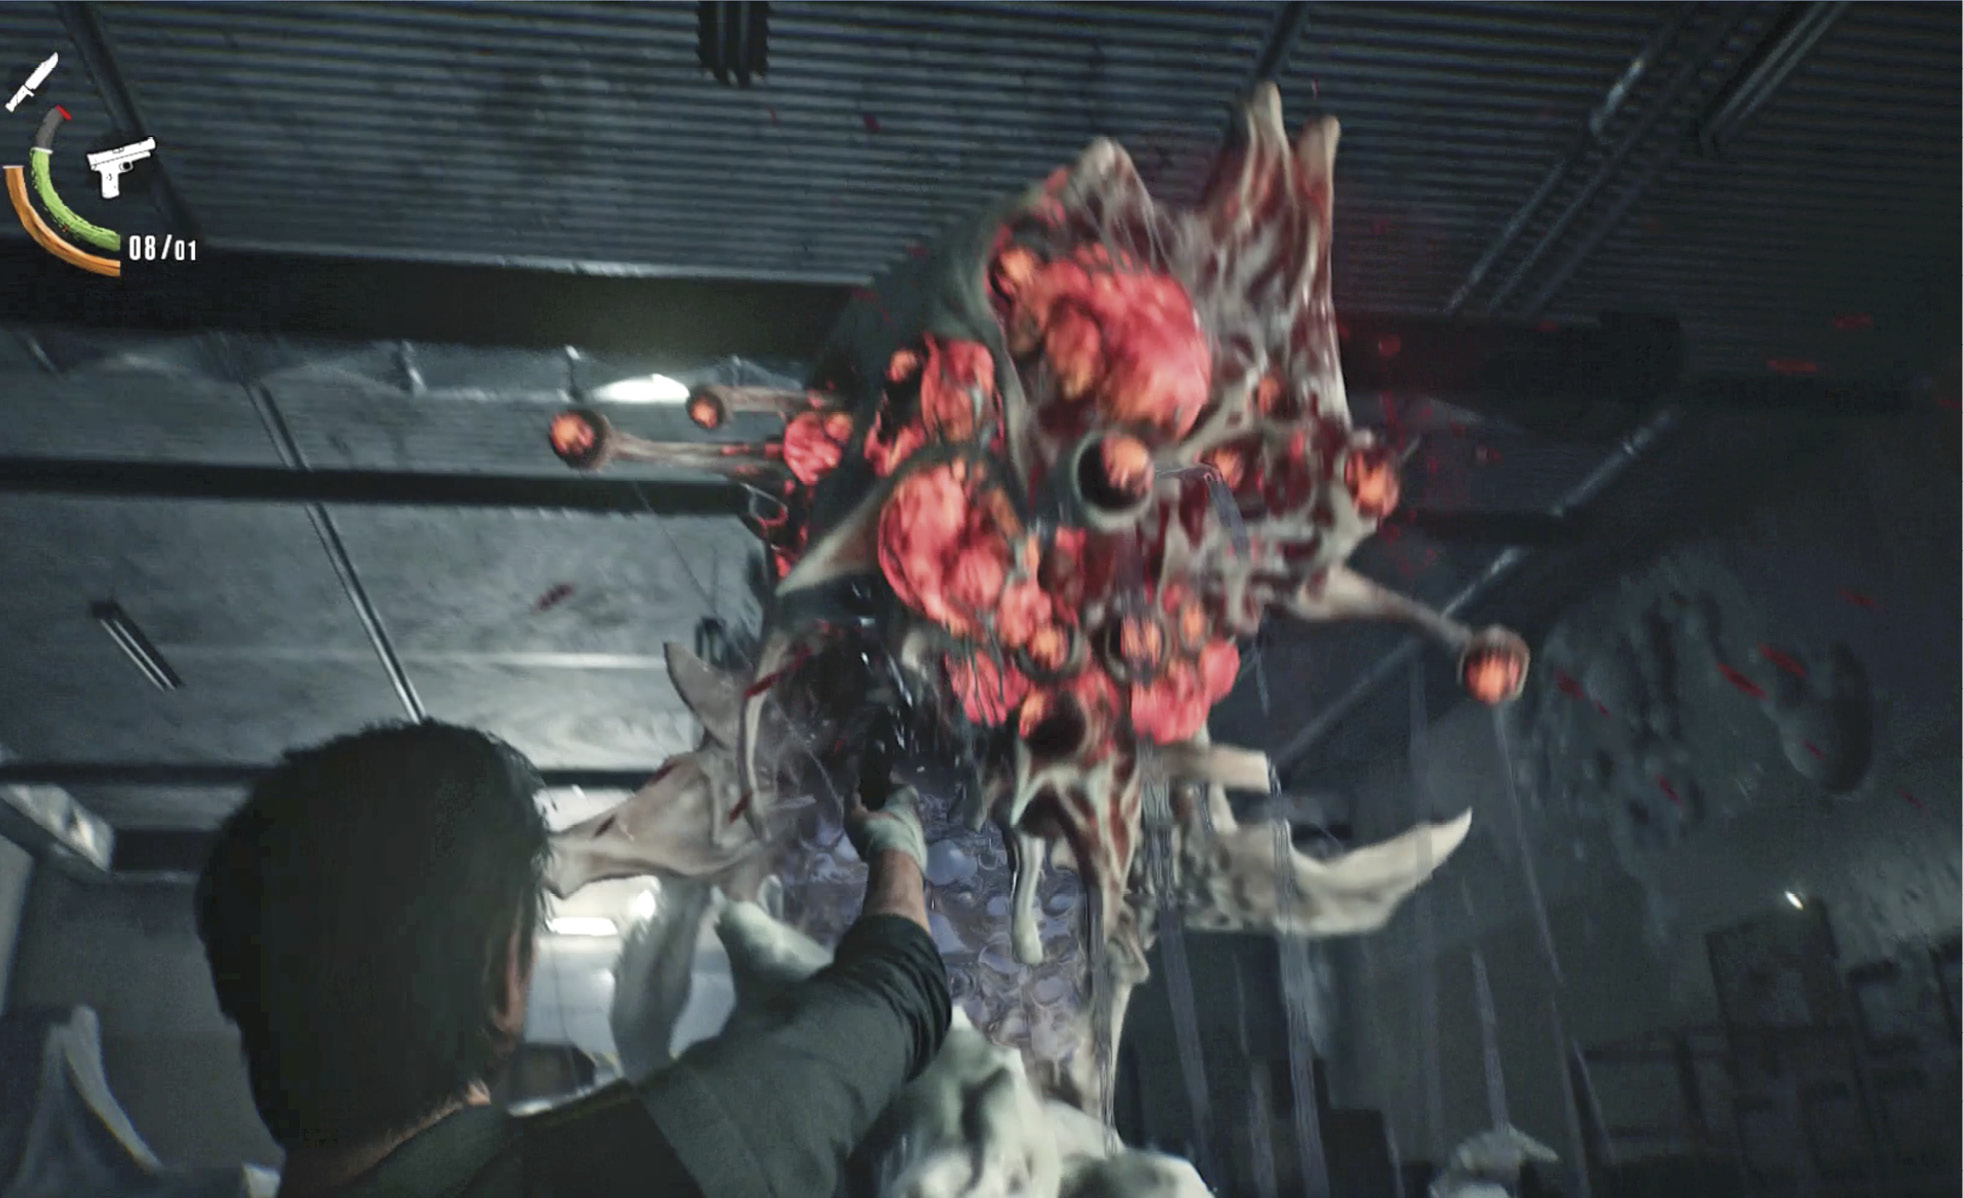
After you strike the Watcher’s eyes, it is temporarily blinded, so take that opportunity to pump a few more shots into its red face then sprint to hide behind a different pillar. When it regains its sight, it first looks for you in the place where it last detected you. Keep targeting its red spots. When the big monster finally slumps down defeated, exit the room via the open doorway  .
.
Get to Exit D5
Continue past another “Marrow Facilities: Exit D5” sign to find another door with an oscilloscope lock  . Match the green wave to the red wave to unlock it. Enter to find a Mobius report on the desk, and then loot any items (including the Sawed-Off Shotgun if you don’t have it yet).
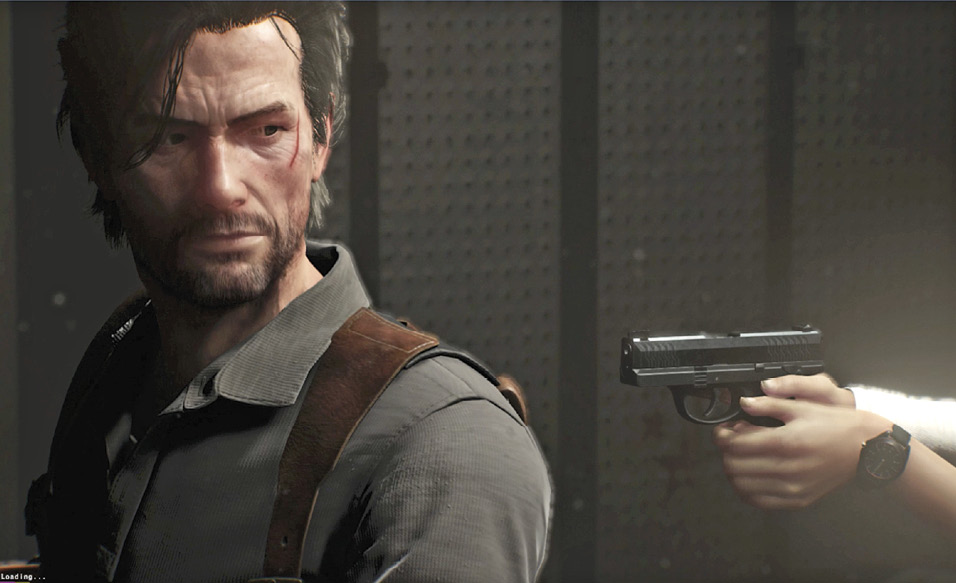
Exit and continue on through the next door  to trigger a long cutscene: Sebastian discovers a file on Lily and meets Yukiko Hoffman, the Mobius Search Team’s psychological profiling specialist. After the auto-conversation, select each of the dialogue choices to get more background.

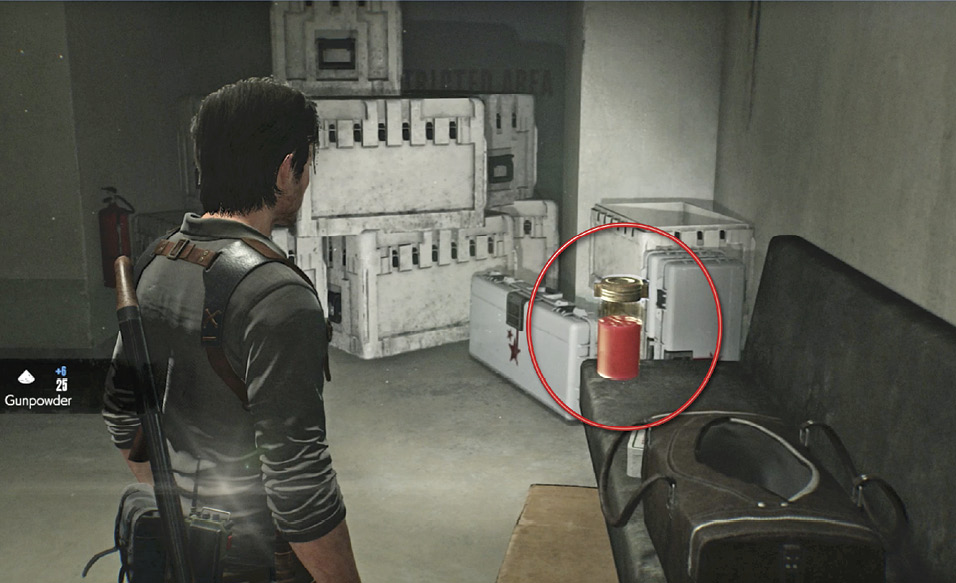
Then check out the nearby computer for more on Lily’s selection as a Core candidate. Be sure to grab the valuable jar of Red Gel (circled in our shot) on the sofa, drink some coffee, and use the Save Terminal too.
You can also use the Mirror  in the next room to travel back to Sebastian’s Room for upgrades. There you can also view the new Slide 4 you just acquired, and talk to Kidman about it. Then return to Hoffman’s Safe House.
Travel to the Union Business District
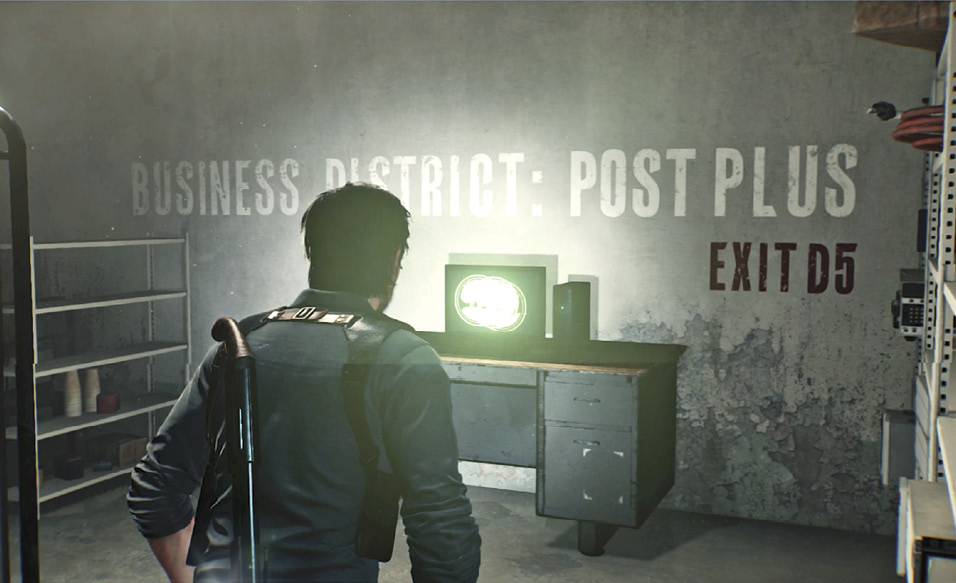
Leave the main room via the door marked Exit D5. Follow the corridor to the port room  . Use the computer labeled “Business District: Post Plus” to travel to that location.
Overview
Find the Grand Theater
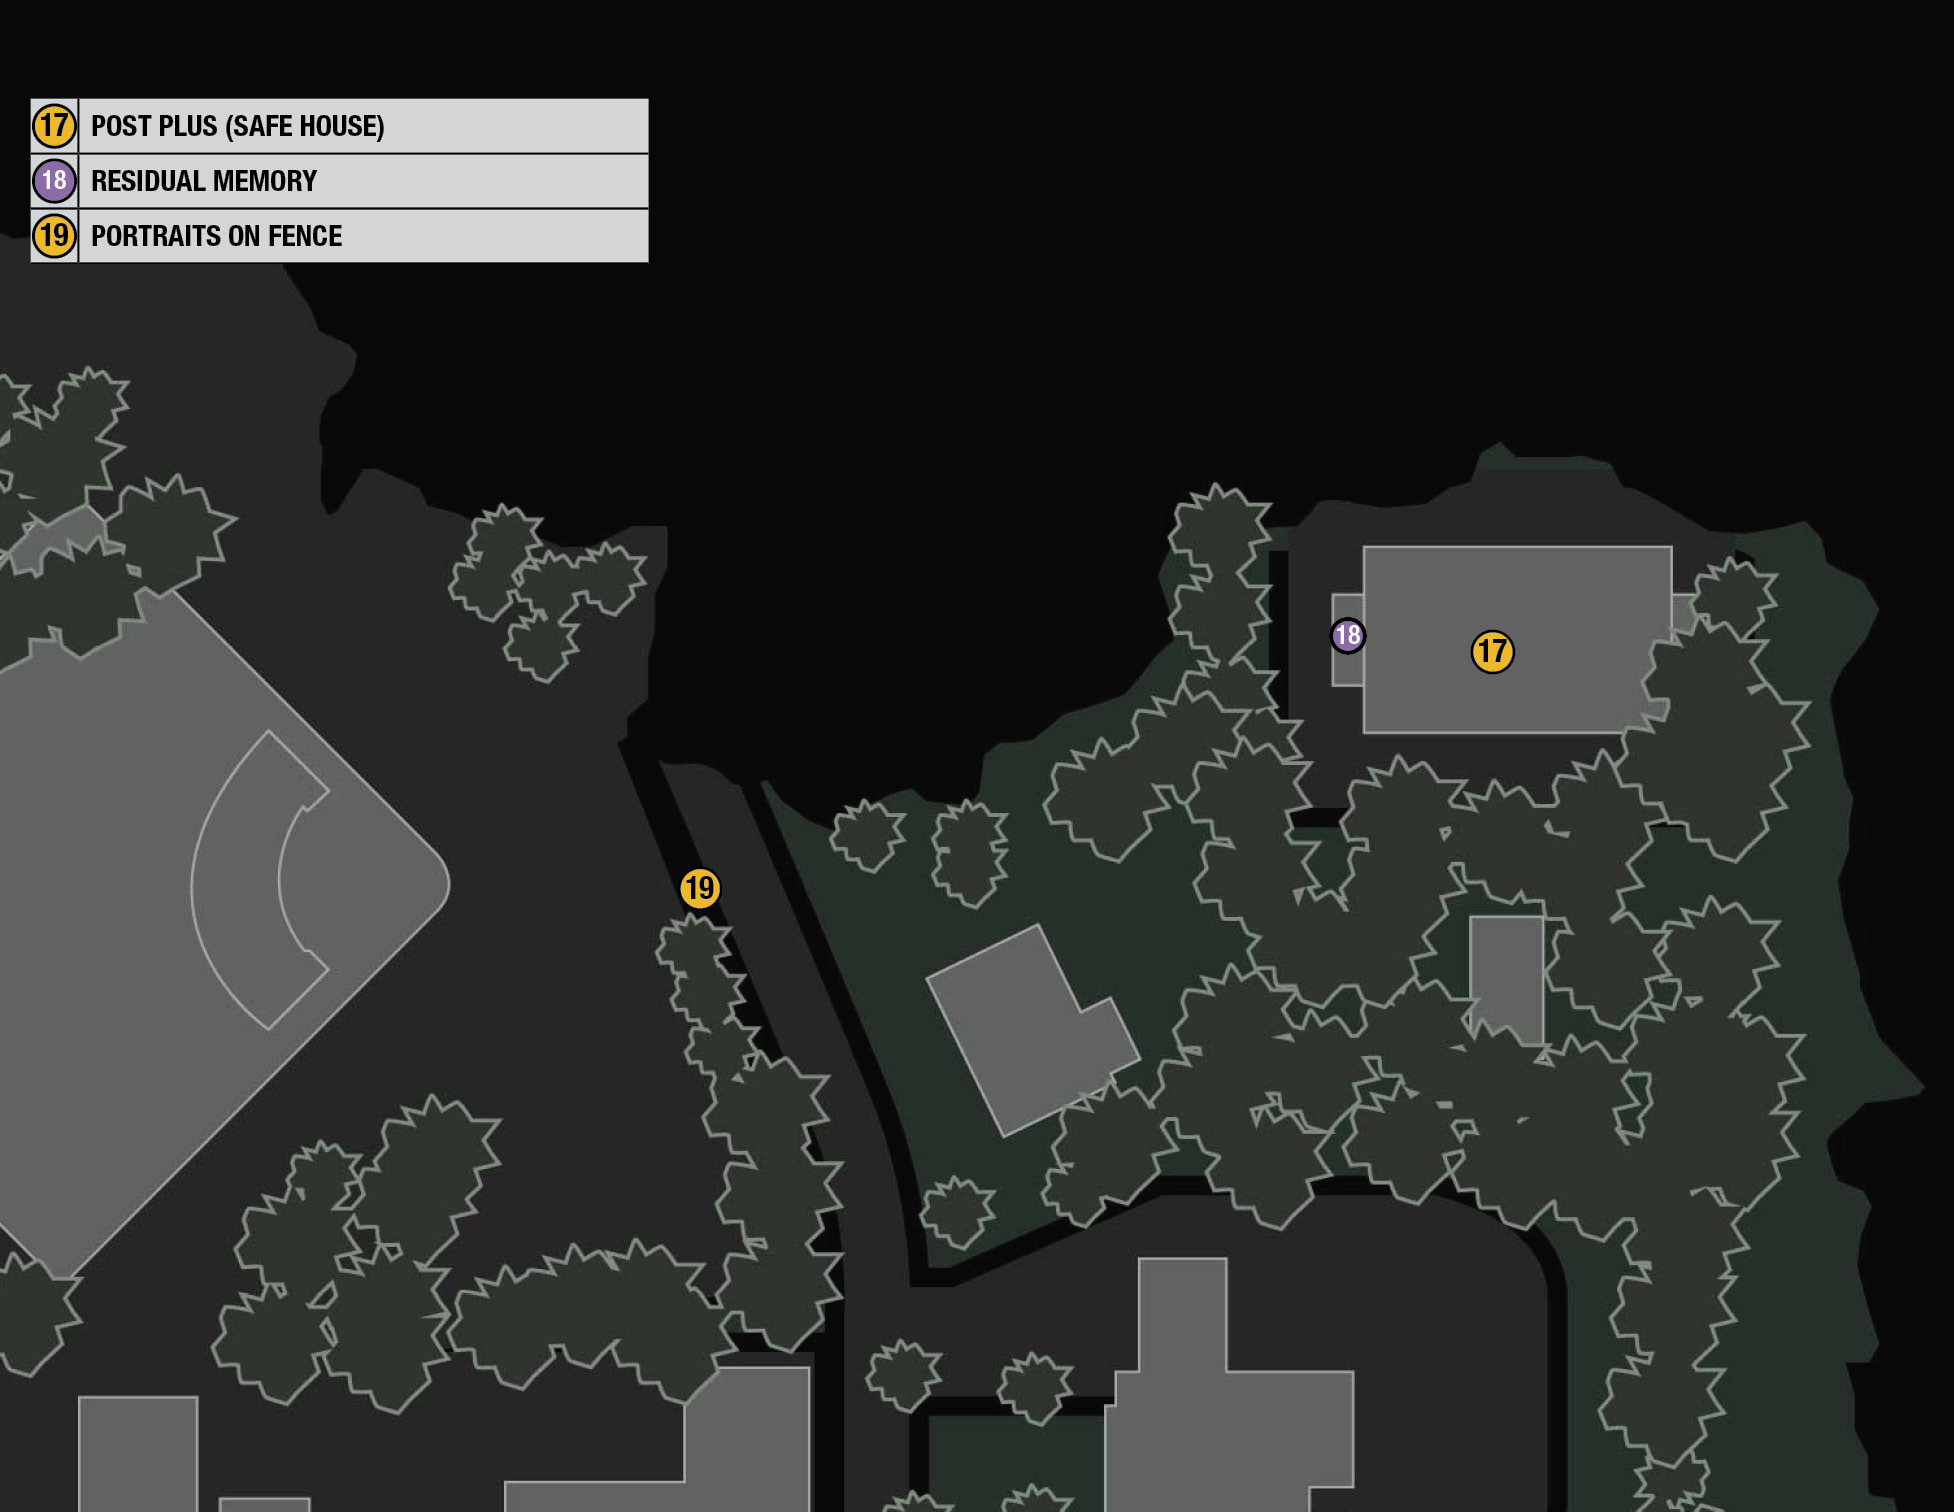
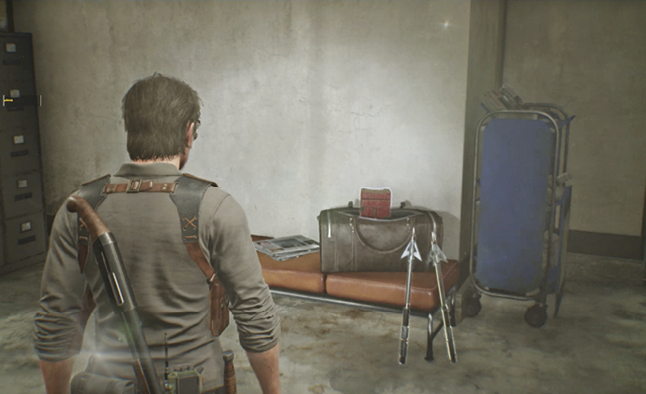
You arrive inside a Post Plus  , which serves as your Safe House in the Union Business District. Explore the place to find all the usual Safe House features and grab all pickups, including a couple of Harpoon Bolts and especially the rare box of High-Quality Weapon Parts in the duffel bag. Then go through the door into the outer room to detect a Resonance flash. Equip your Communicator and tune in to the Residual Memory in the corner
  over the fallen Mobius soldier.
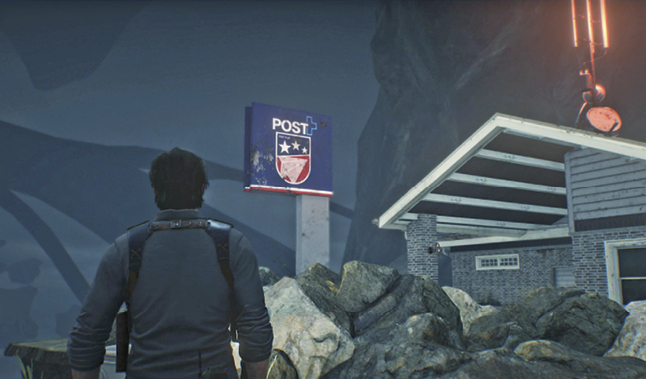
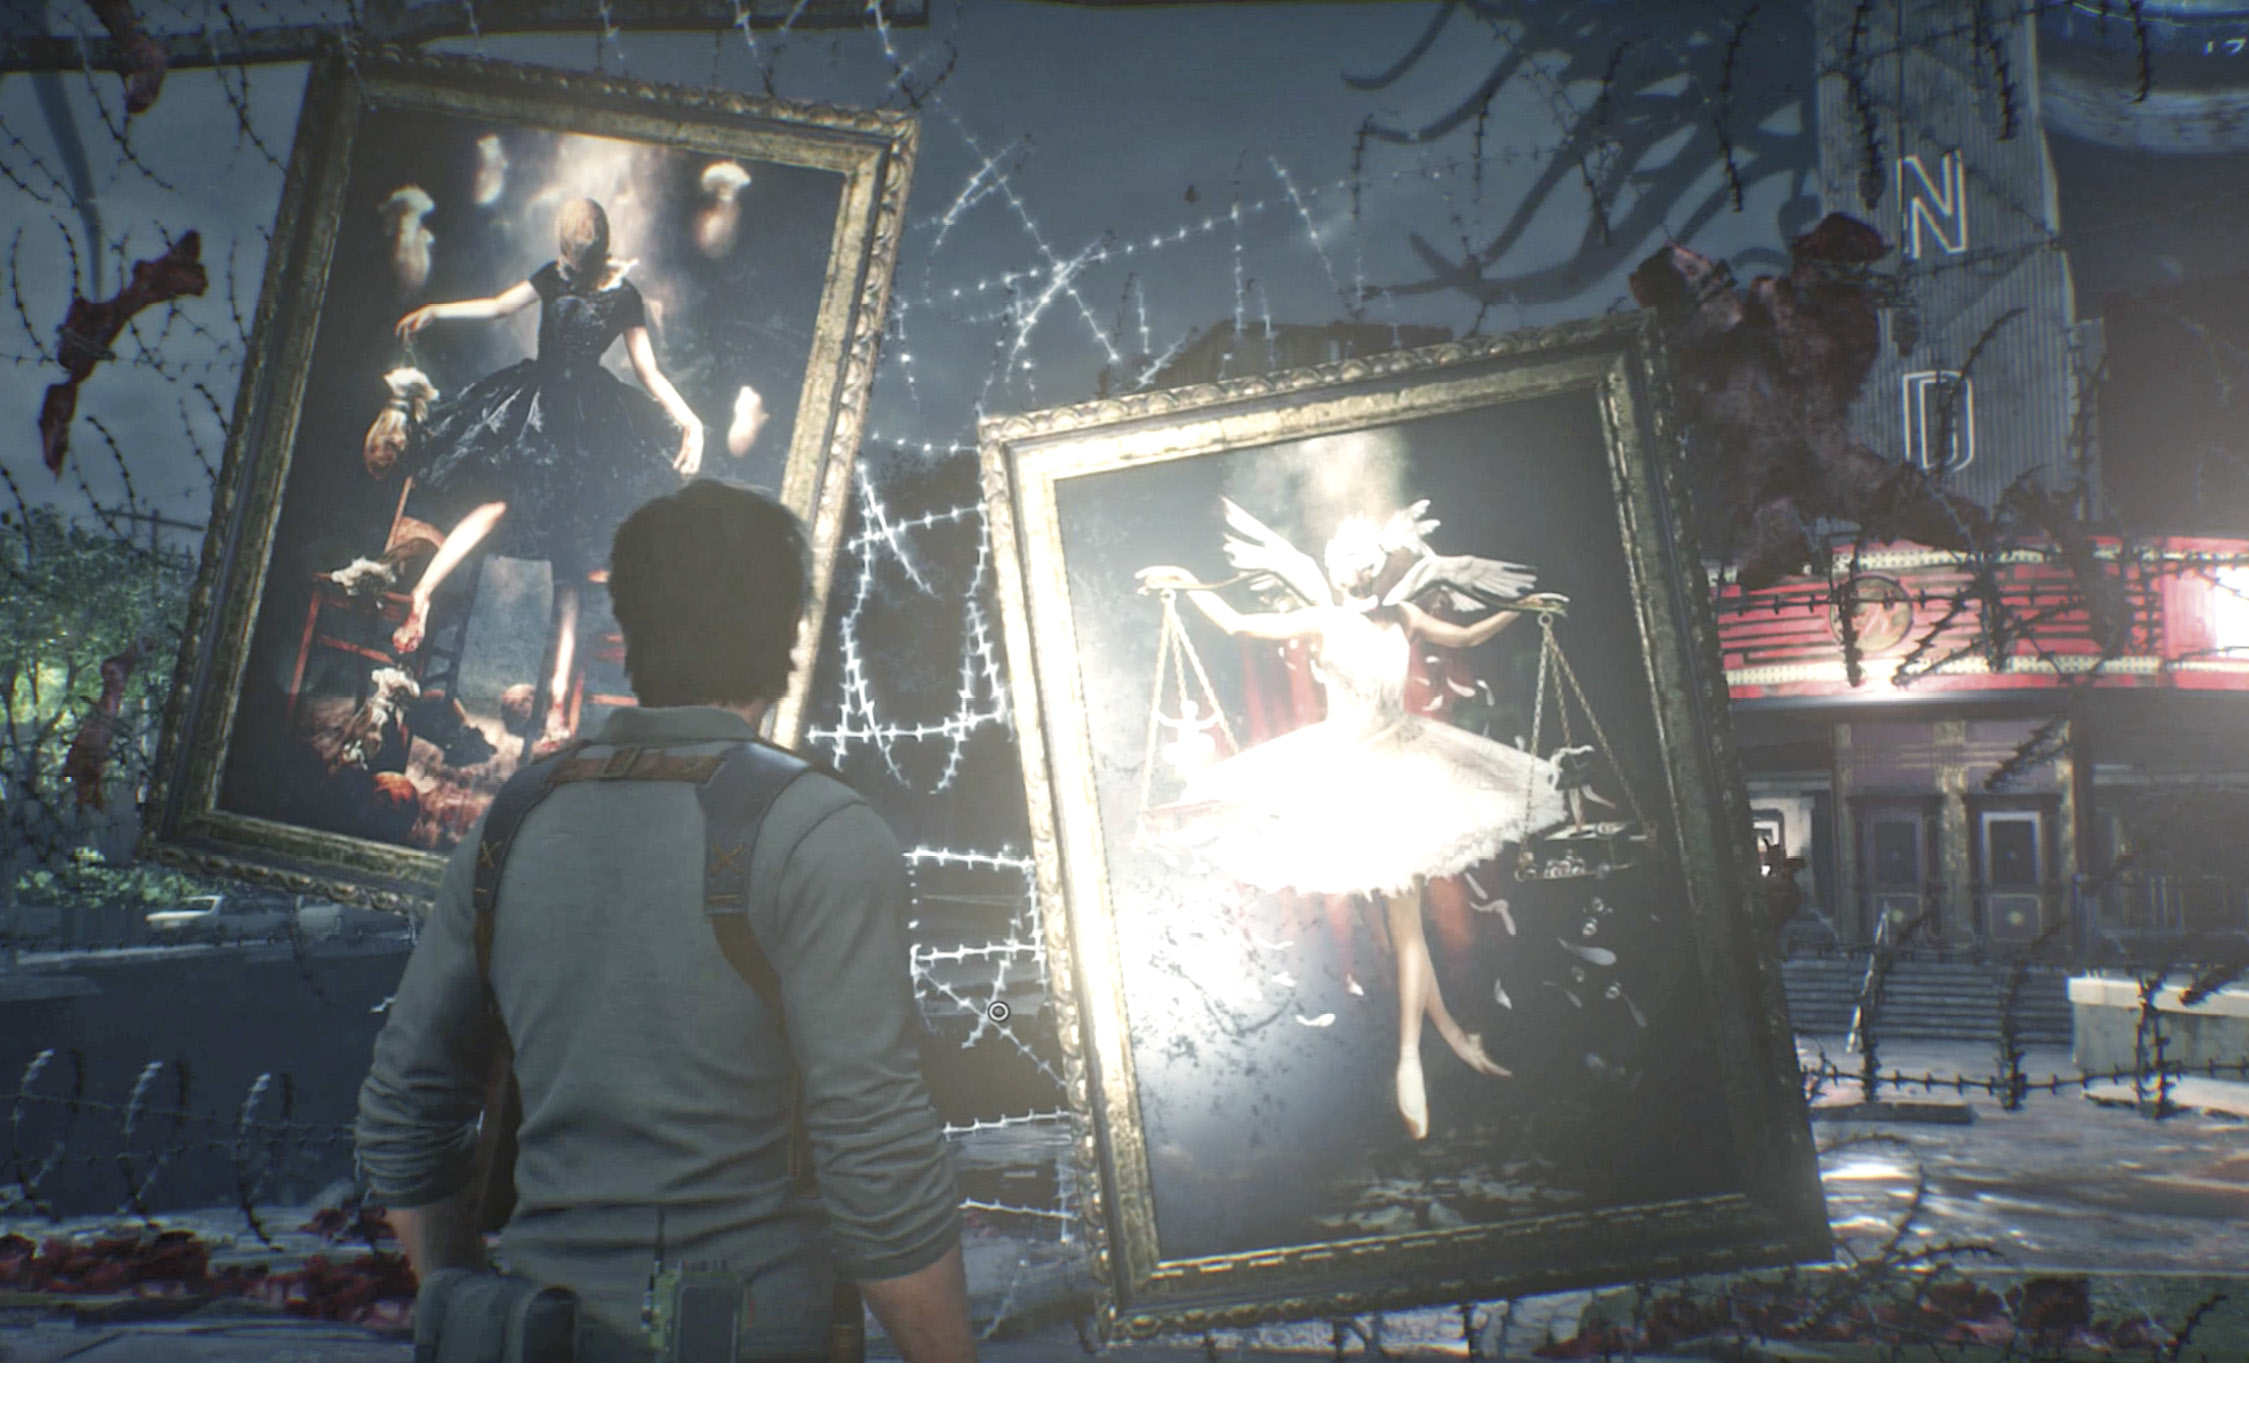
Exit the Post Plus and head directly toward the Grand Theater. (You can’t miss it; the Aperture floats directly above it!) Investigate the two creepy framed portraits  hanging on the barbed wire to trigger a message from Stefano and begin a new chapter.