The Evil Within 2 Guide Story Walkthrough
In Limbo
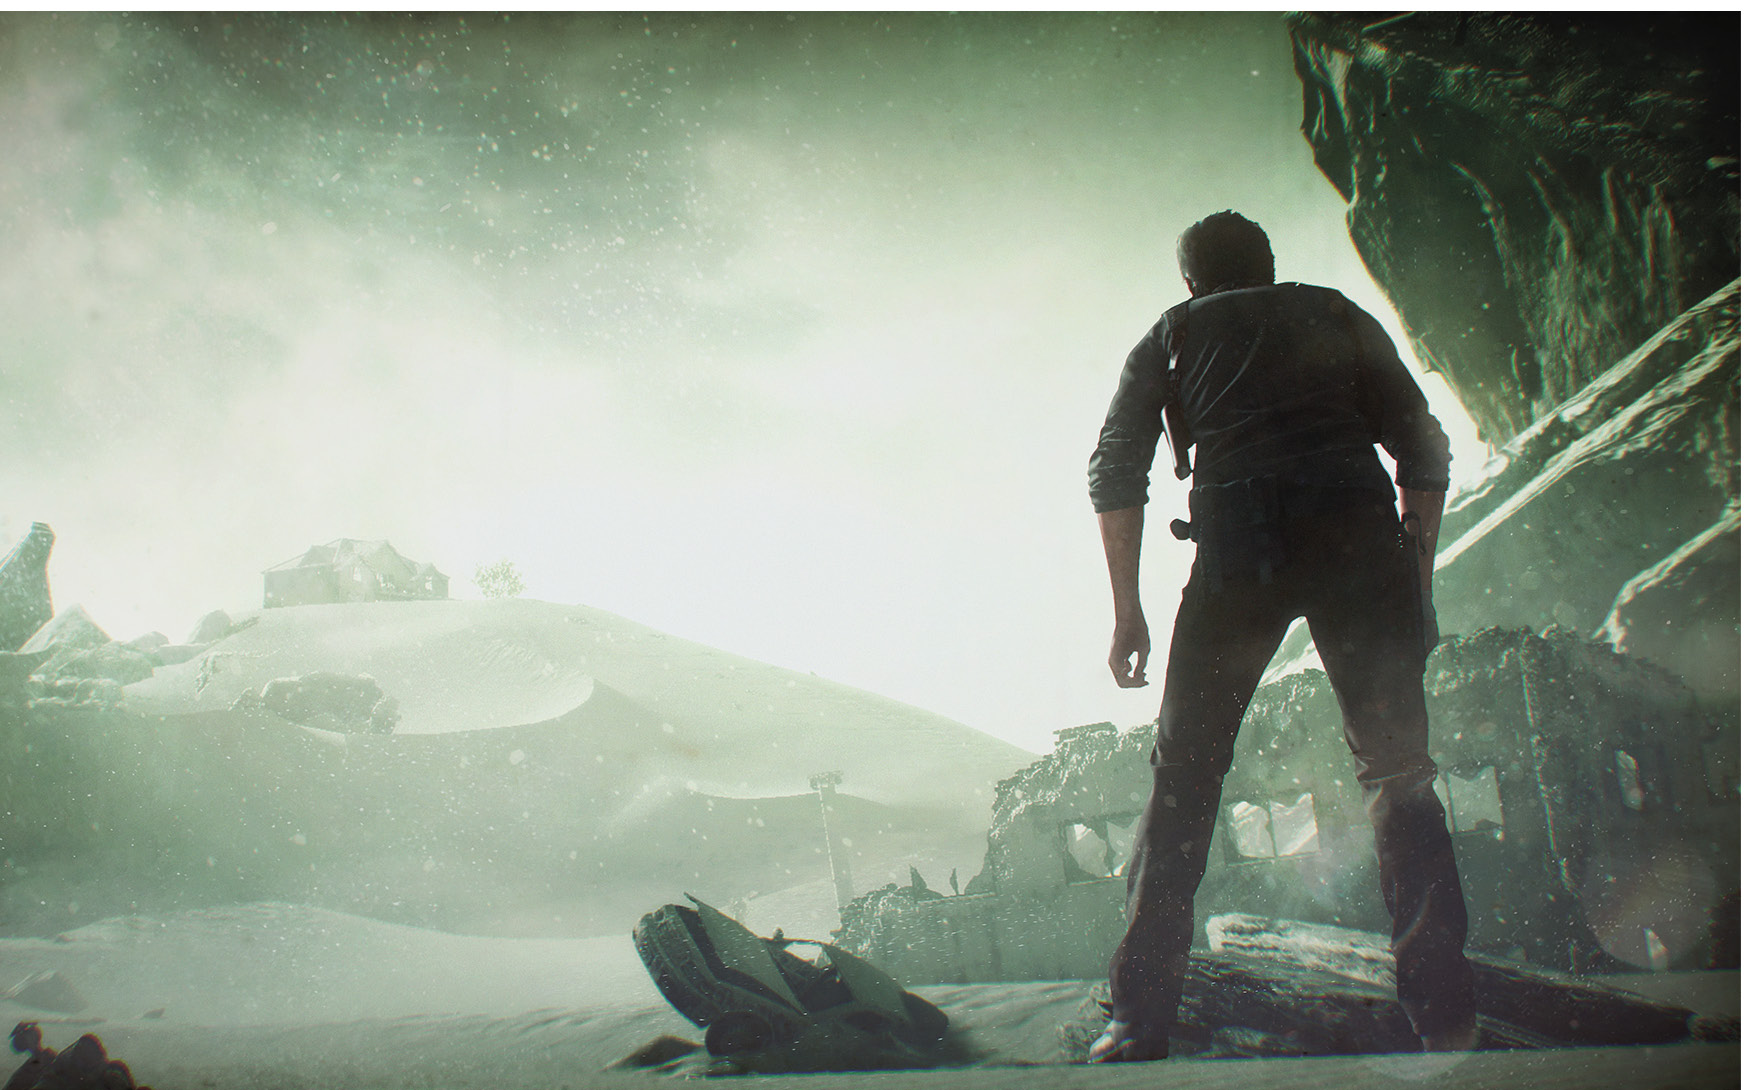
Sebastian sees his old house at the top of the slope, a final surviving remnant of the STEM world. How did it get there? Surely Myra’s new and terrible powers have something to do with it.
Overview
Objectives
- Make your way back home
Collectibles
- 4 Residual Memories
Make your way back home
Start climbing. You’ll reach the house eventually, but on the way, you encounter a series of four Residual Memories that fill in the last layers of the narrative. The first one is not far up on the left side of the slope under a tall, tattered banner waving in the wind. The second is further up the slope, next to an angel statue and a tall pillar.
From there, veer rightward toward the ruined building to find the third memory on a rock platform near a hole torn in the structure. After viewing the memory, you can walk through the hole right into Sebastian’s Room!
In Sebastian’s Room, grab a handful of pickup items, including a jar of Red Gel sitting next to the now-nonfunctional Mirror. The slide projector is gone, but you can use the Workbench and the upgrade chair. Use the Workbench to max out handgun, shotgun, sniper, and assault rifle ammo with any leftover gunpowder. (Talk to Nurse Tatiana before you leave for an interesting conversation.)
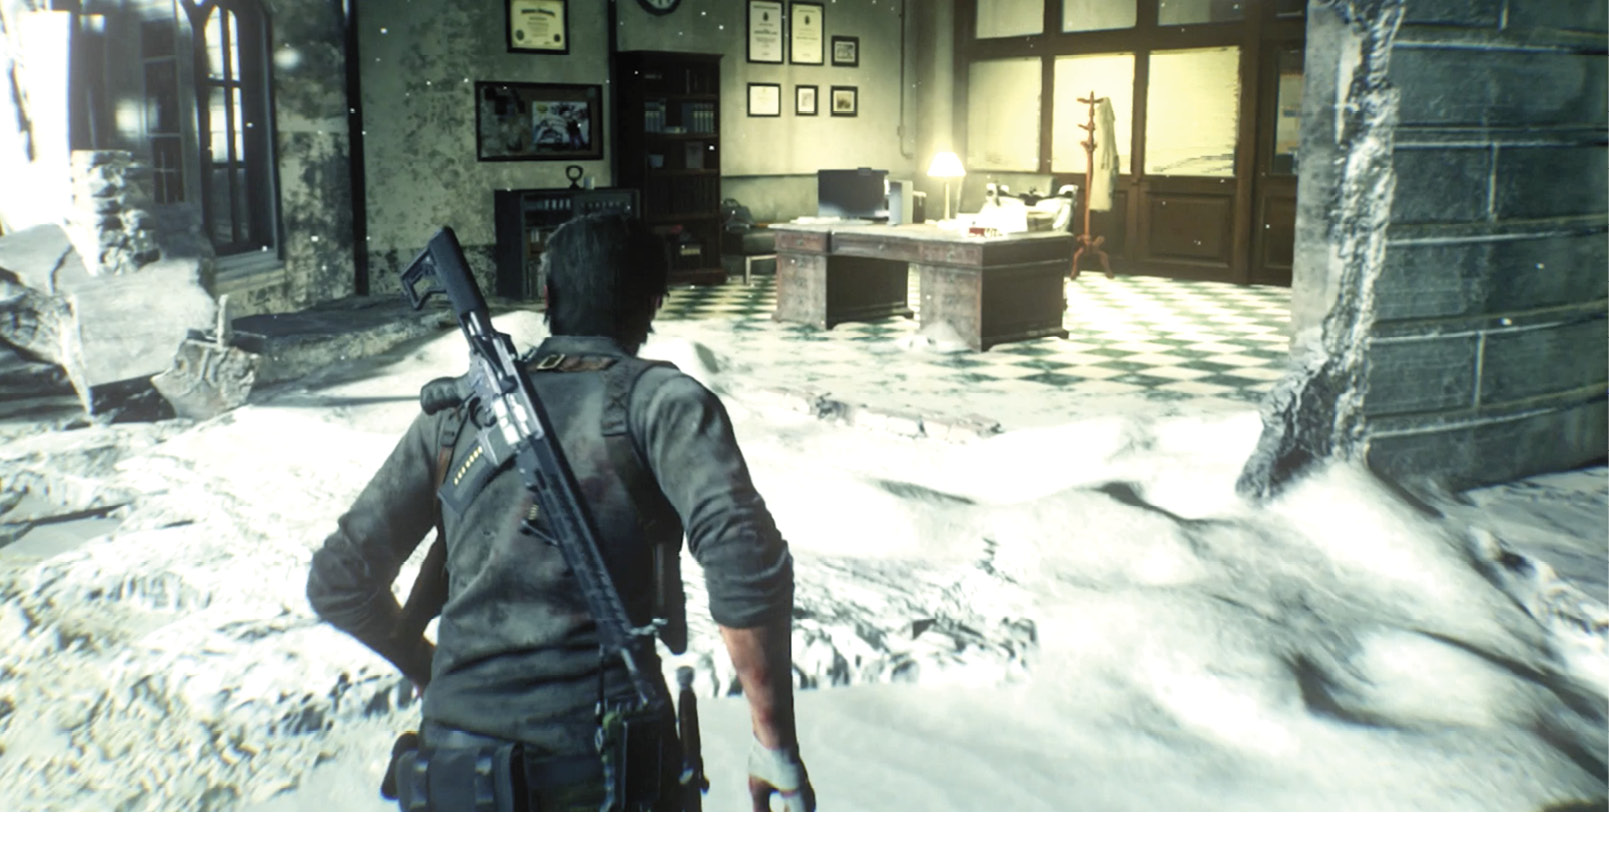
Then save your game and continue your trek toward the Castellanos house. The fourth and final Residual Memory is at the base of the tall, barren tree just up the slope from Sebastian’s Room.
Once that final memory plays out, follow the fenced lane toward the house where Myra waits.
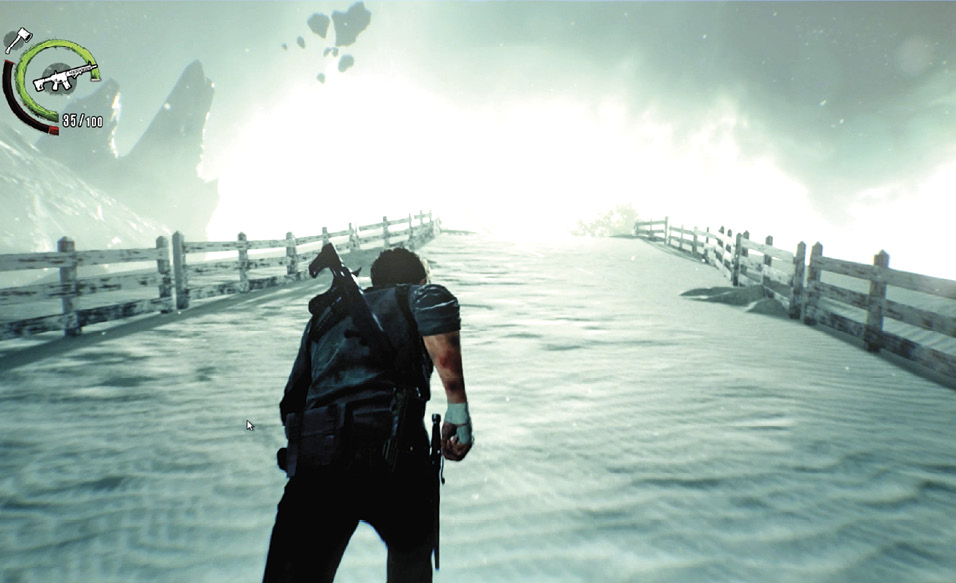
Sebastian tries once again to talk her into rejoining him with Lily, but Myra’s protective instinct has mutated into something obsessive, destructive… and very, very big.
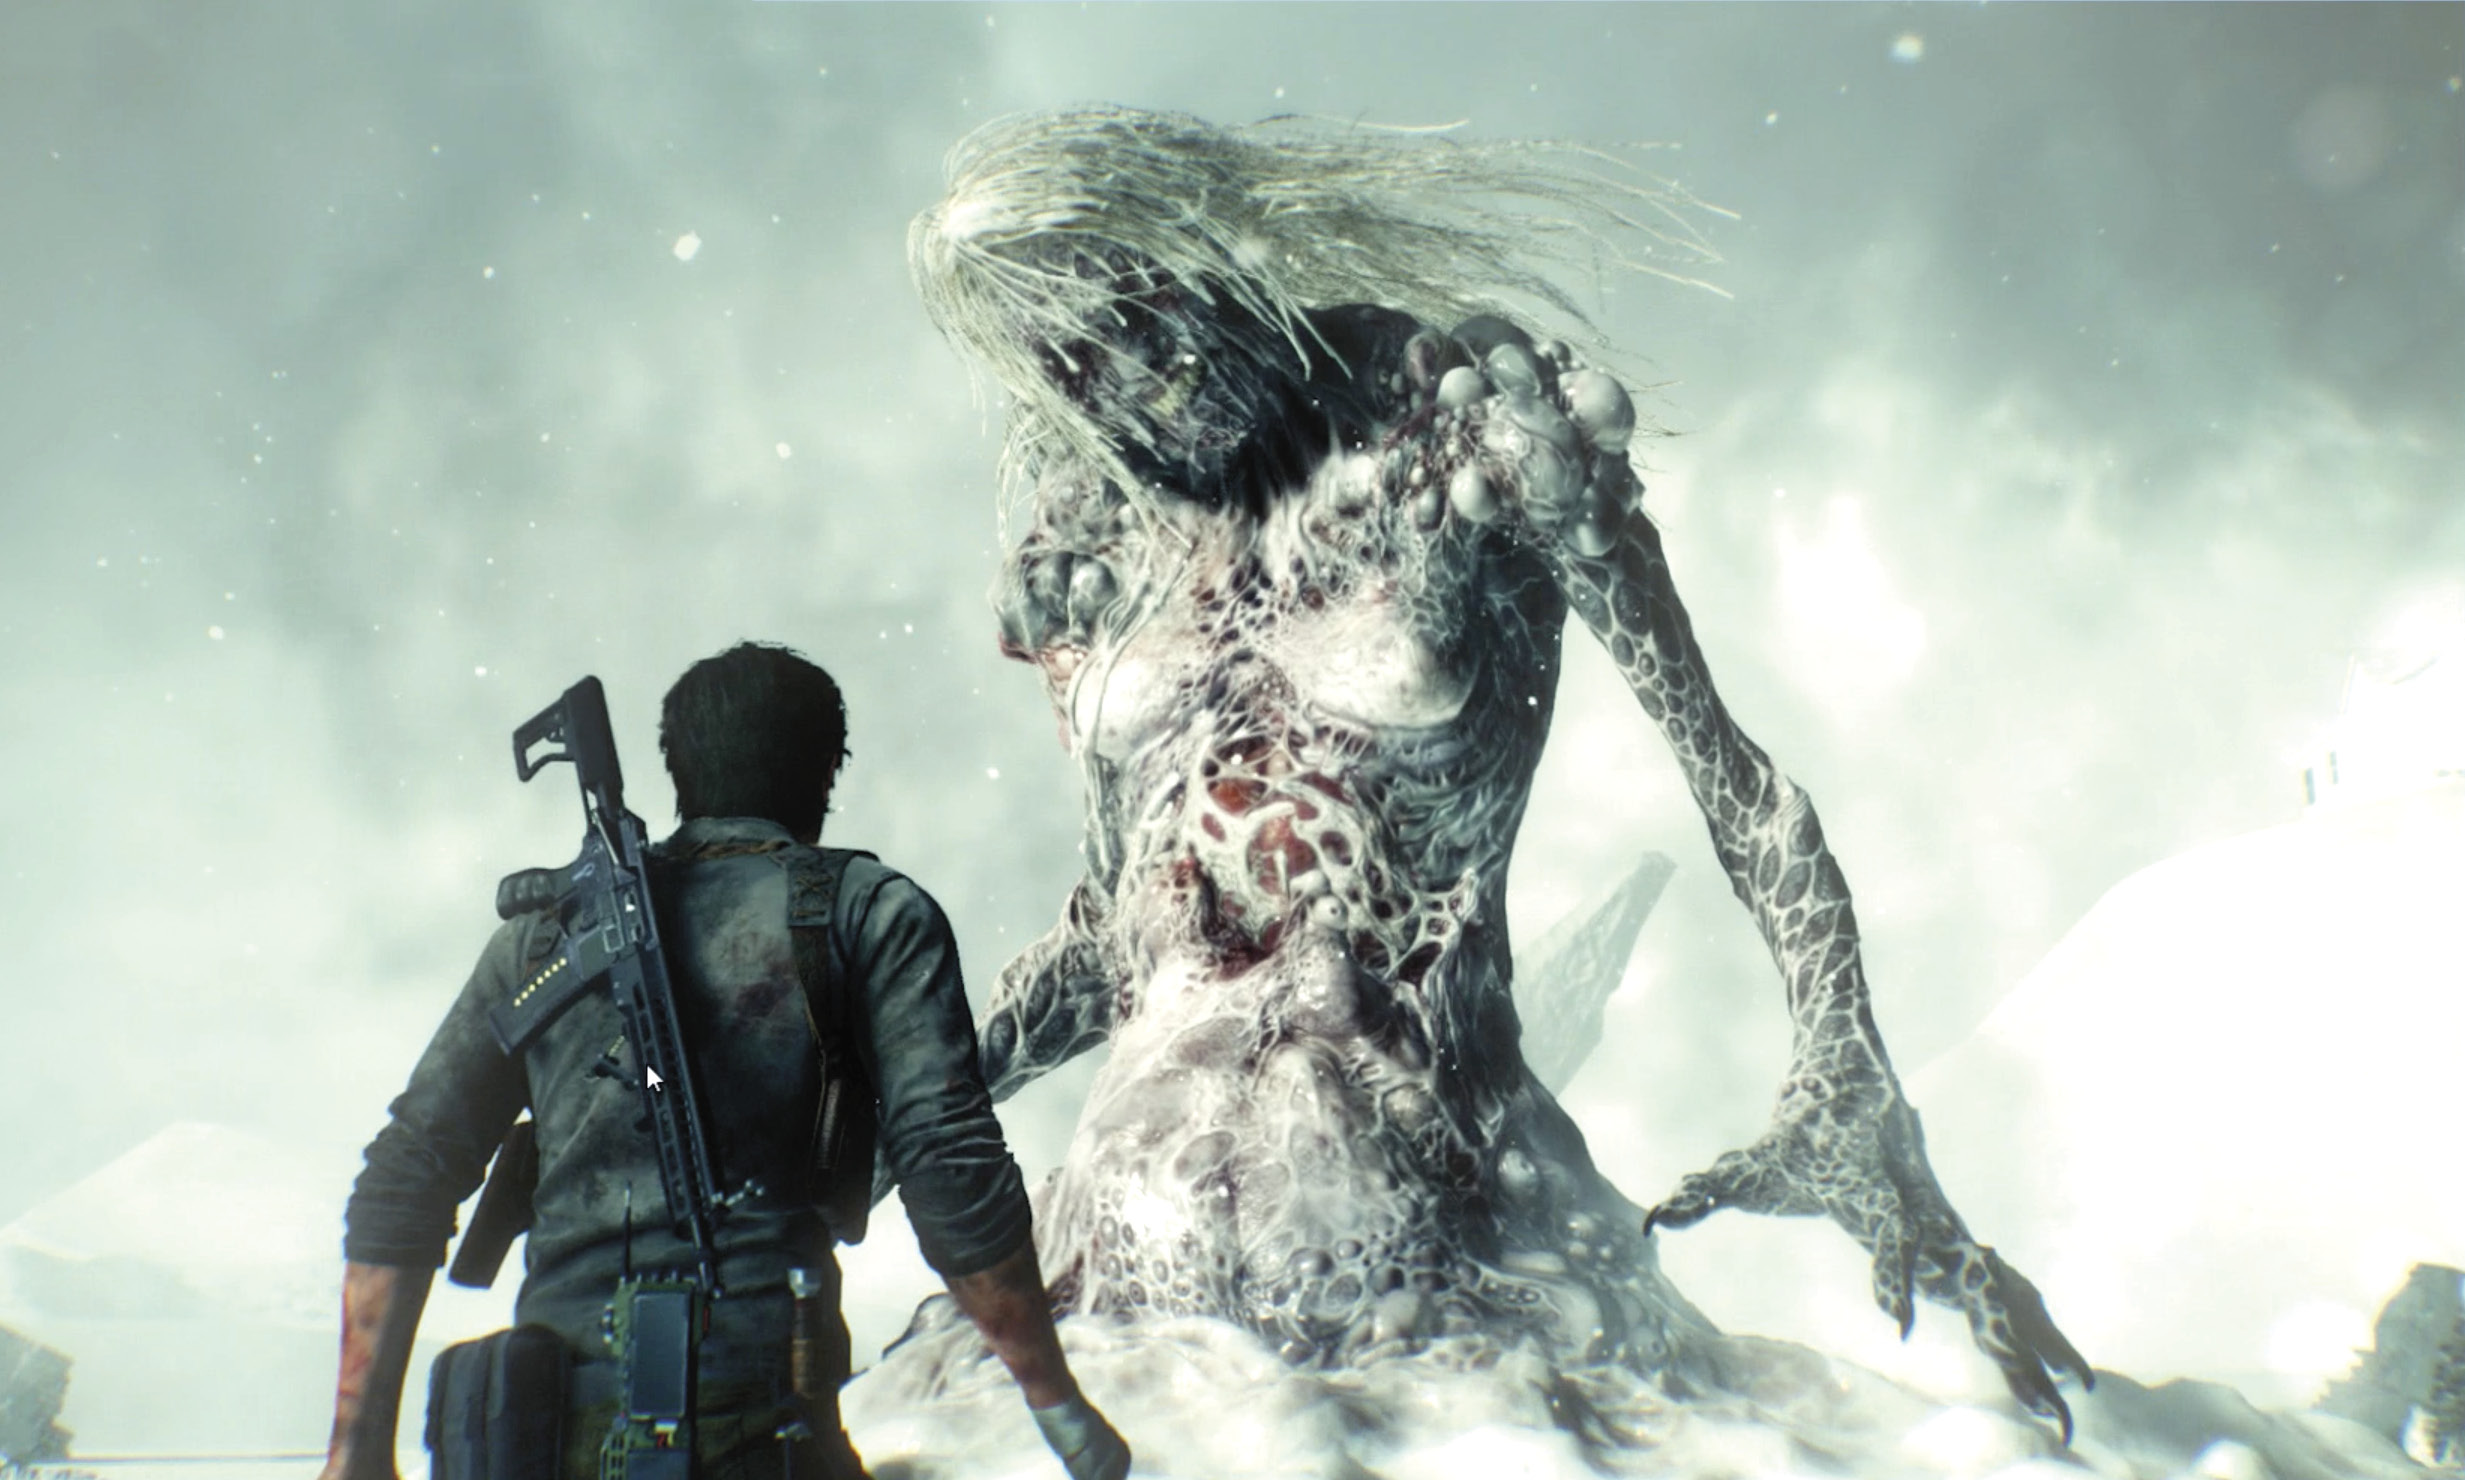
Defeat the Matriarch
Here it is, your big finale boss battle. The Matriarch is big and powerful, with multiple attacks that evolve through three phases of battle.
Phase 1
The Matriarch starts out swinging with three basic attacks. The most common is a one-handed ground-slam that sends a deadly but narrow shockwave rolling toward Sebastian. This is fairly easy to sidestep; just keep a sharp lookout for her big windup, then dodge sideways as she delivers the blow.
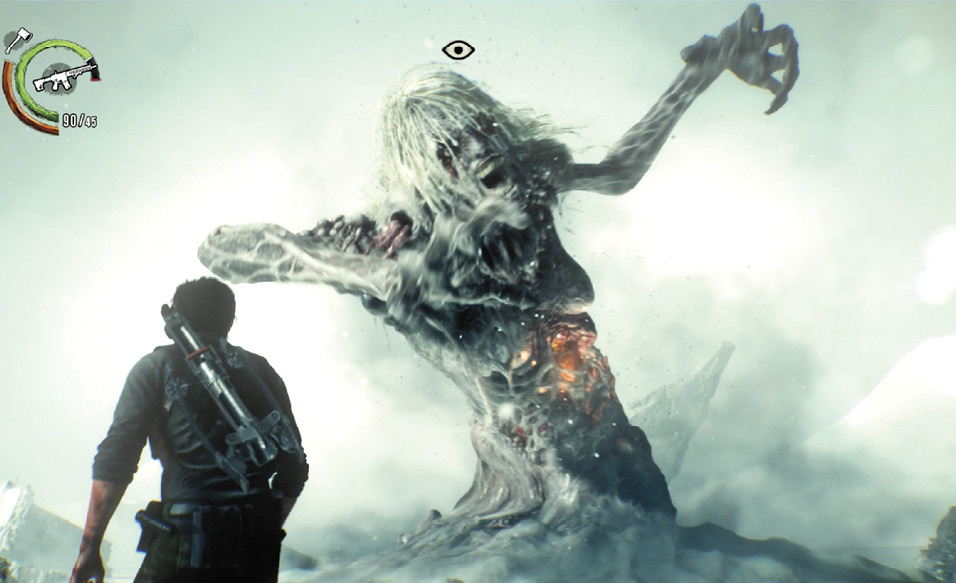
Every few hits this attack turns into a three-slam series from alternating fists, but again, keep moving sideways to dodge all three shockwaves. Her third attack is a sweep move; she slams down an arm then sweeps it completely across the space in front of her. This won’t cause damage if you keep your distance.
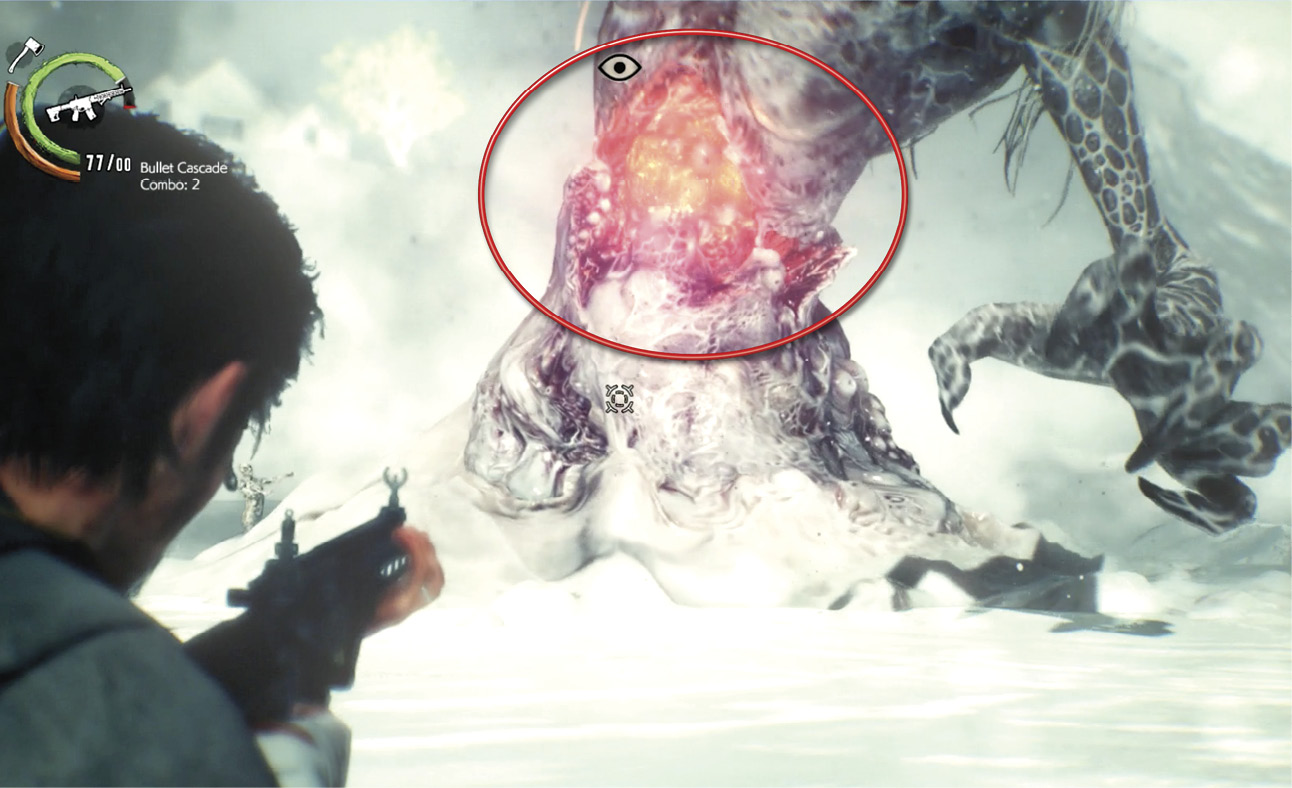
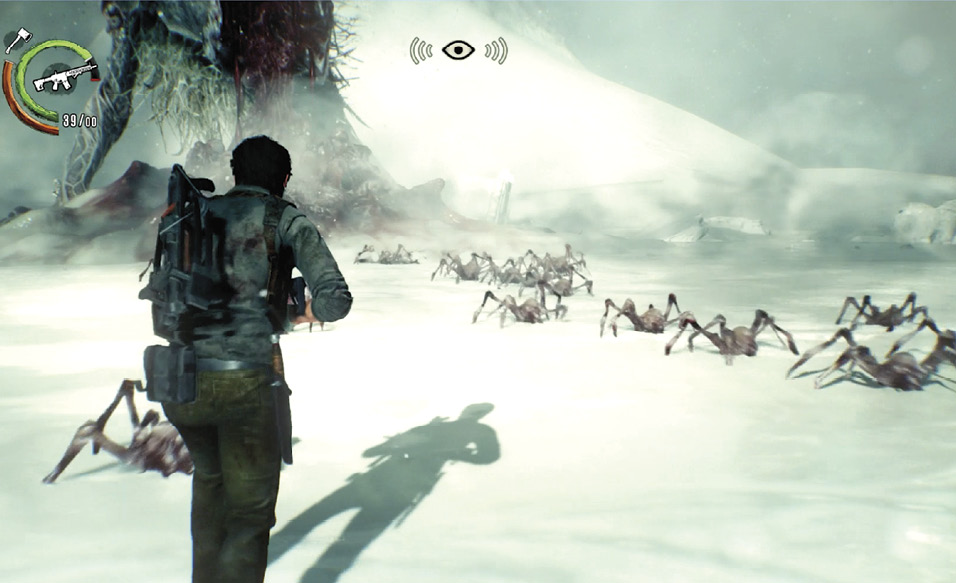
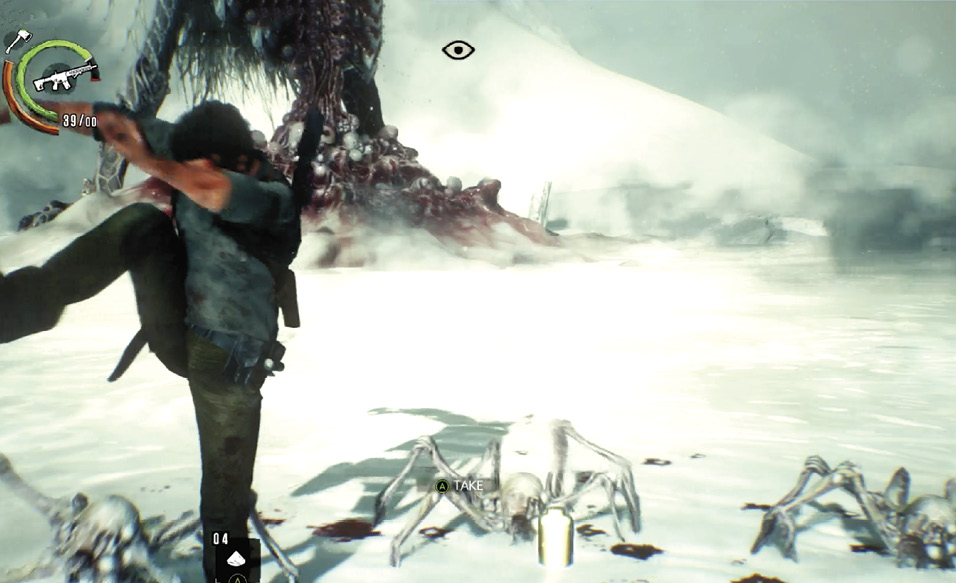
As with other bosses you’ve met, the Matriarch’s weakness is the red glowing organ in the center of her torso. Target this spot with every shot! Your first hits tear away a protective membrane, and the organ glows even brighter red. Keep shooting it between your sidesteps. Once you inflict enough damage, her belly extends and bursts, expelling a swarm of spiders that rush to attack!
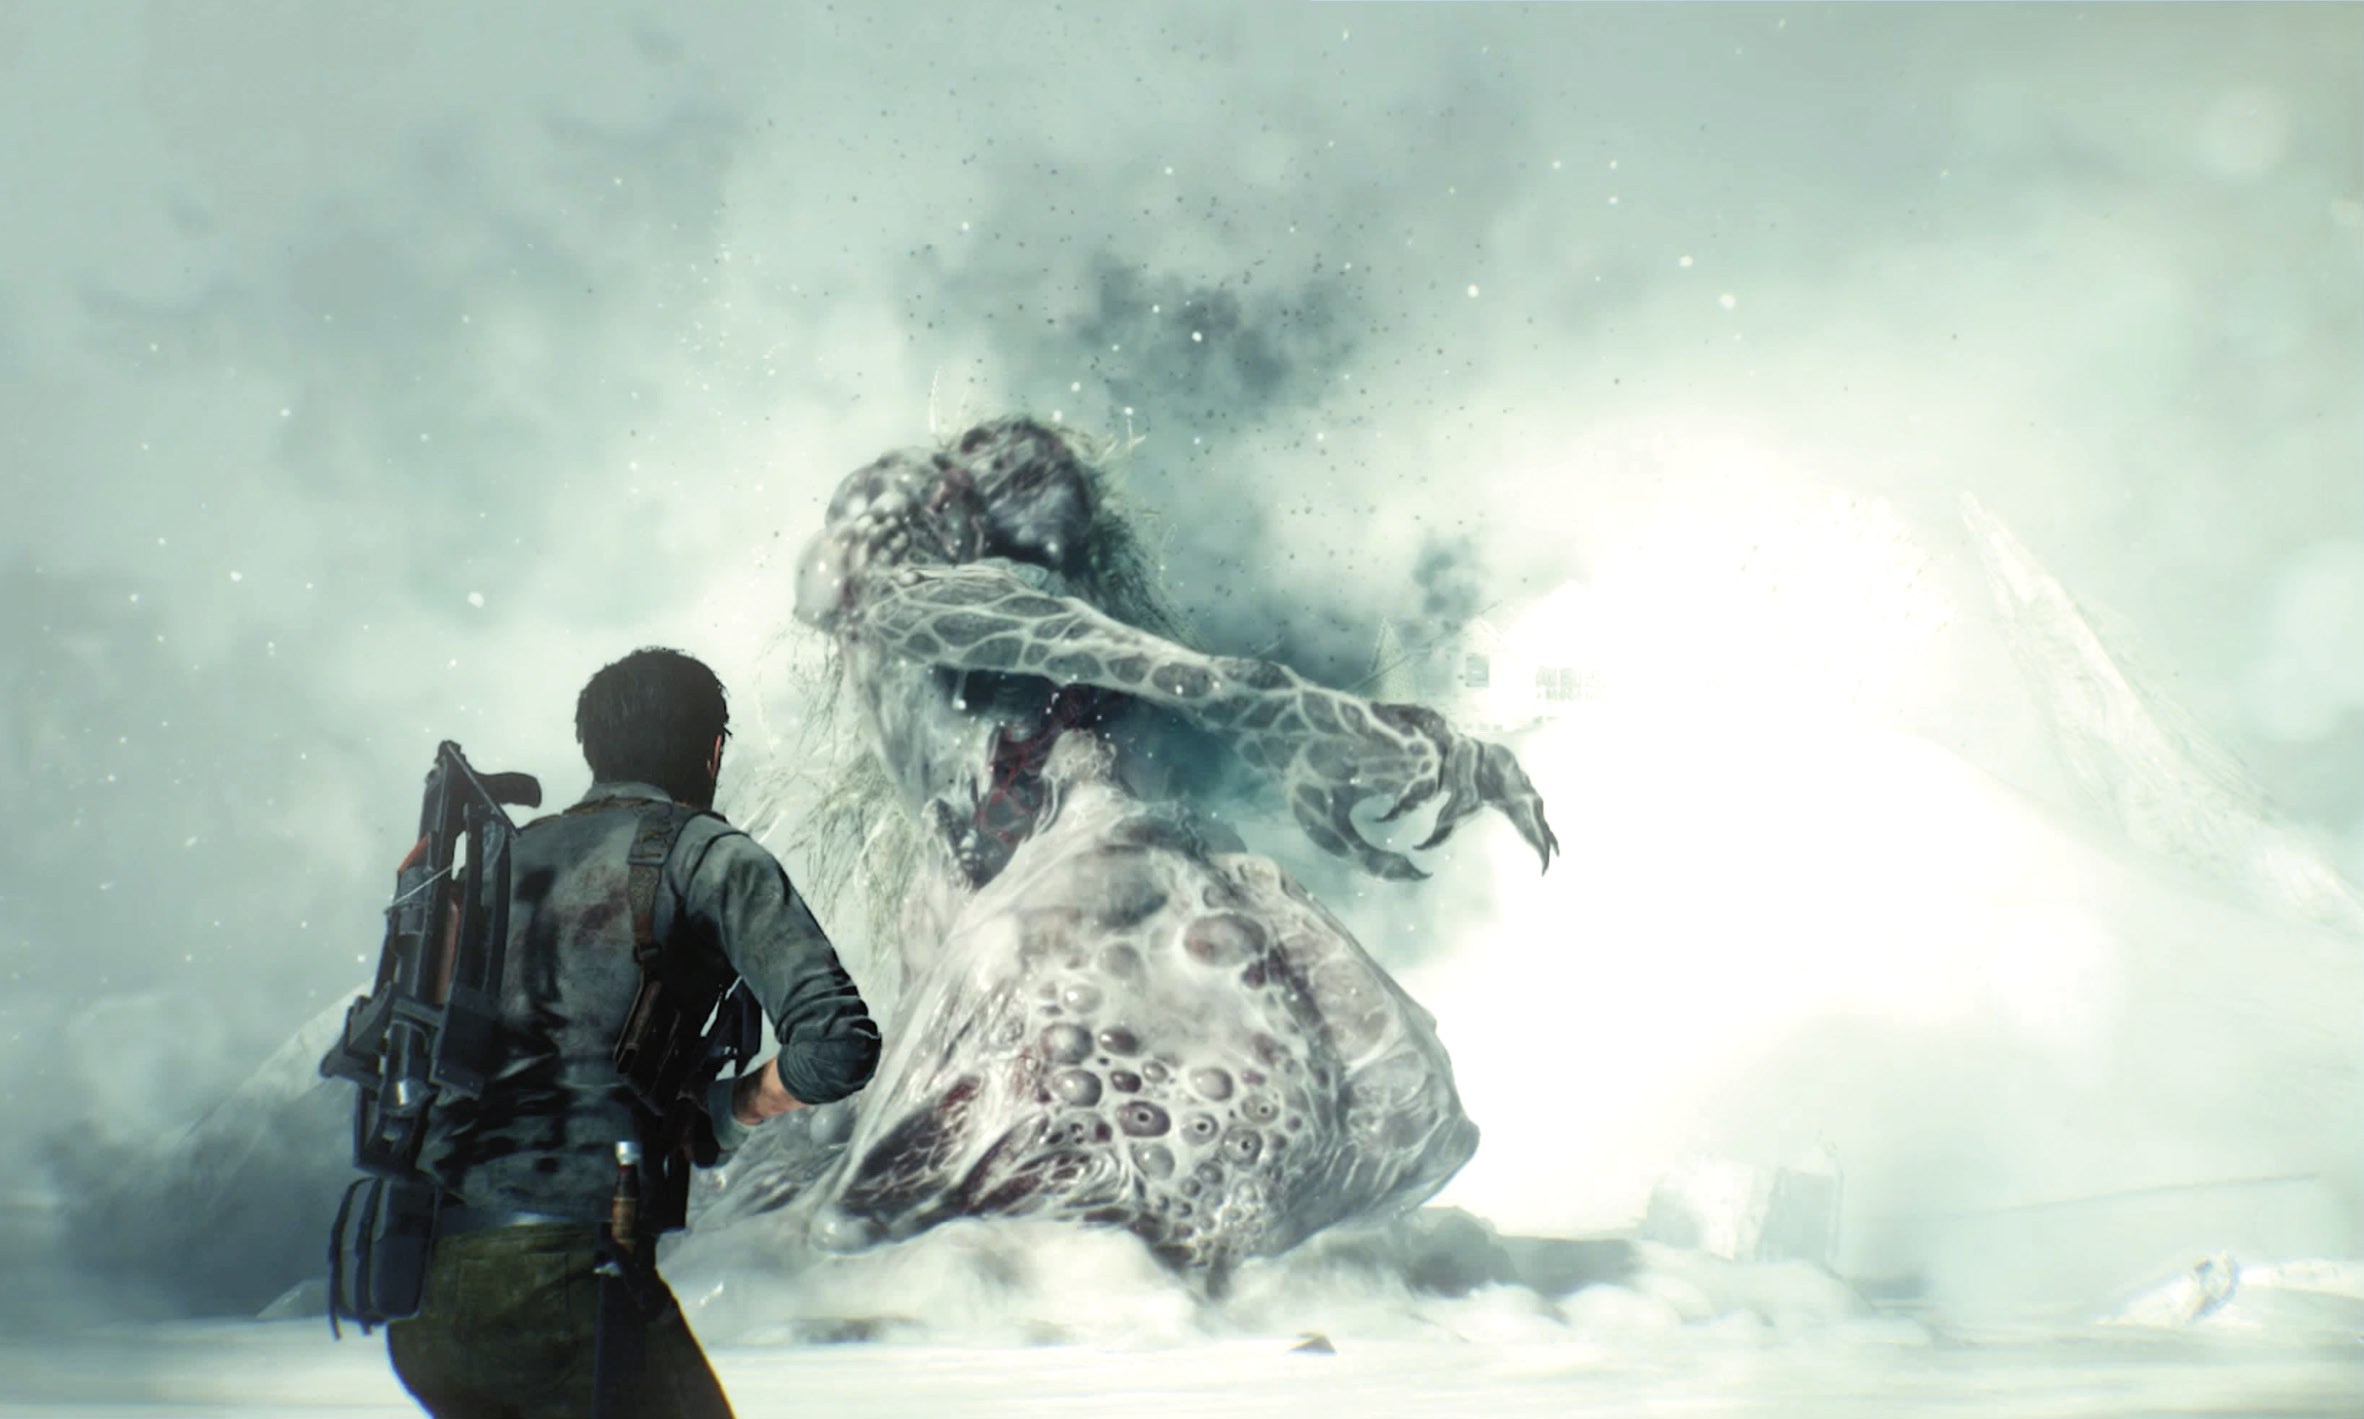
As our QA experts point out, stomping these spiders instead of shooting them saves ammo… and actually, it turns out to be the most effective way to annihilate the swarm quickly. This spider swarm also triggers the next phase of the fight.
Phase 2
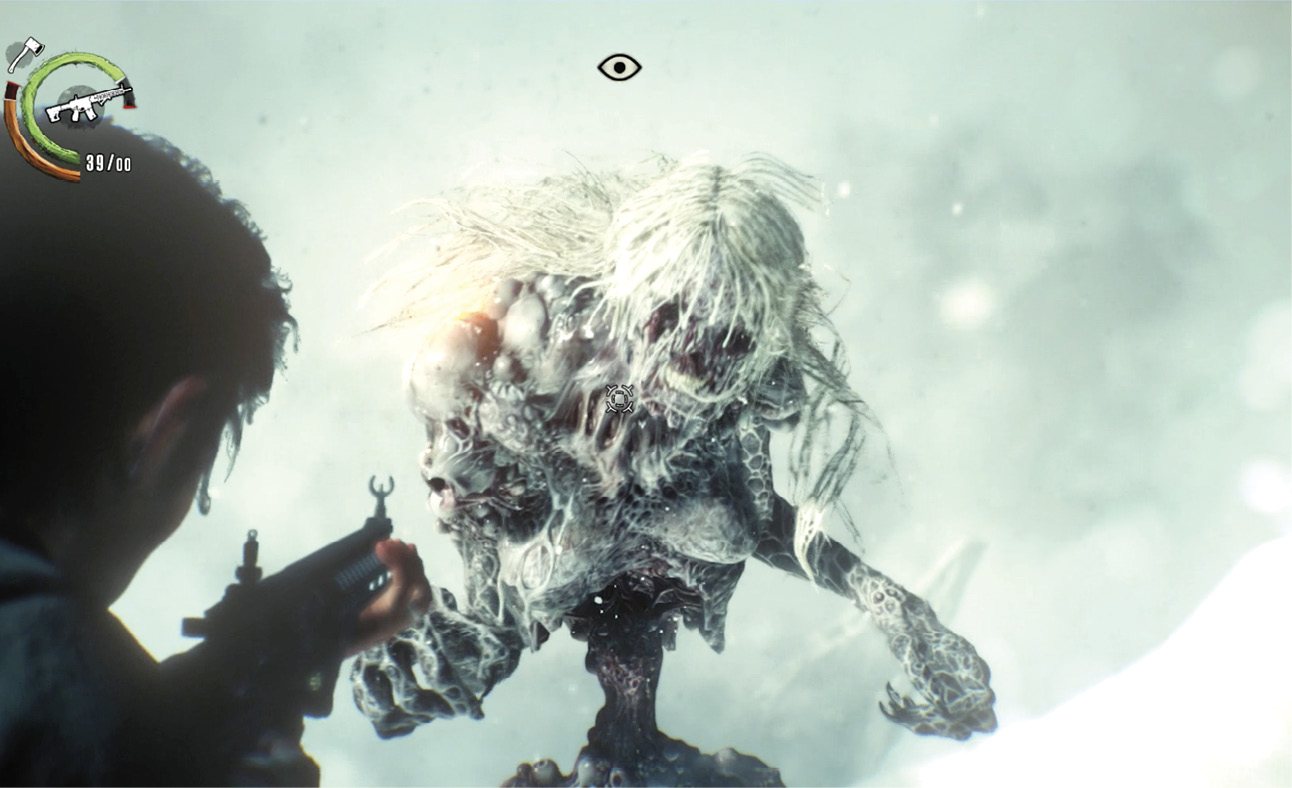
The Matriarch has thinned out in the middle, but she retains much power, and her basic attacks continue. But be aware that her three-hit combo now adds a fourth hit, a double-fisted ground-slam that sends out a wider shockwave. Note that although she has two red vulnerable areas now, they are hidden behind her shoulders, facing away from you. Wait to shoot until the Matriarch finishes an attack move; she hunches forward for a few seconds, exposing both red spots on her shoulder blades.
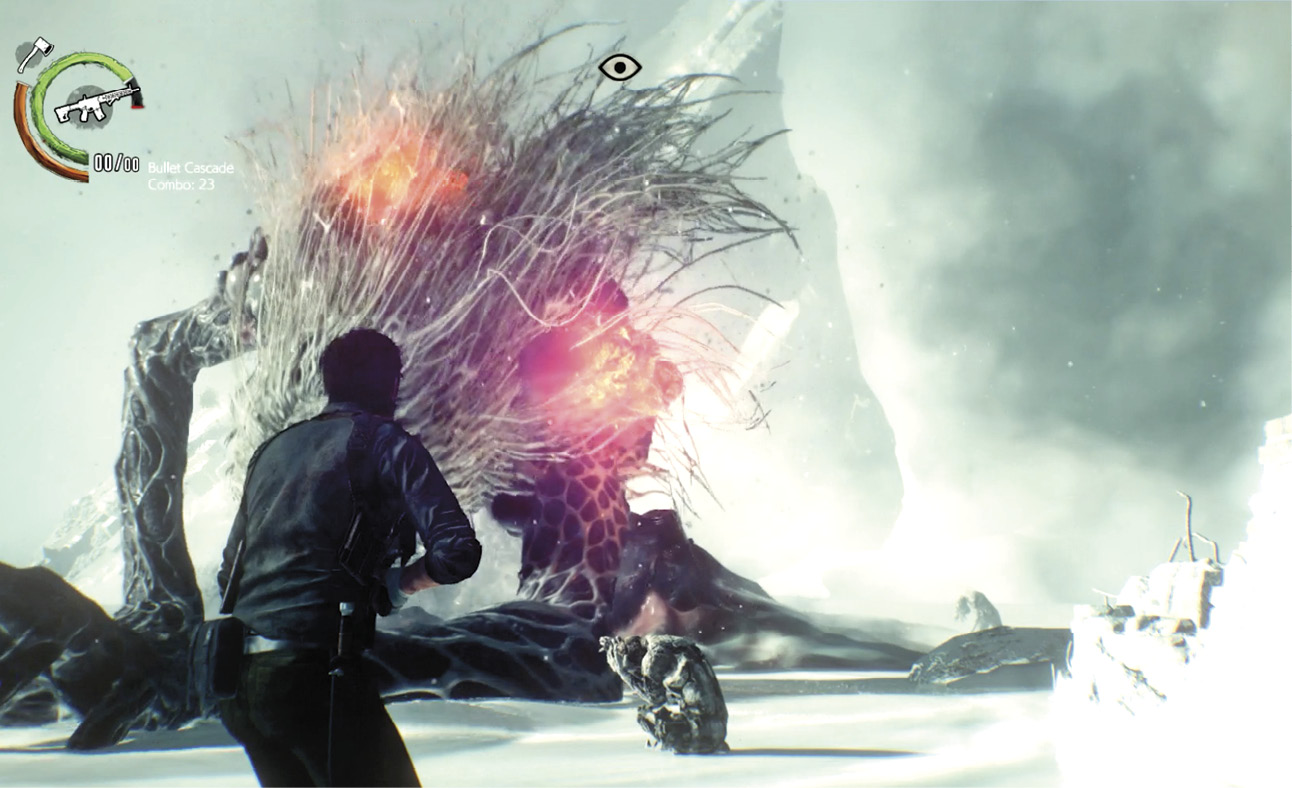
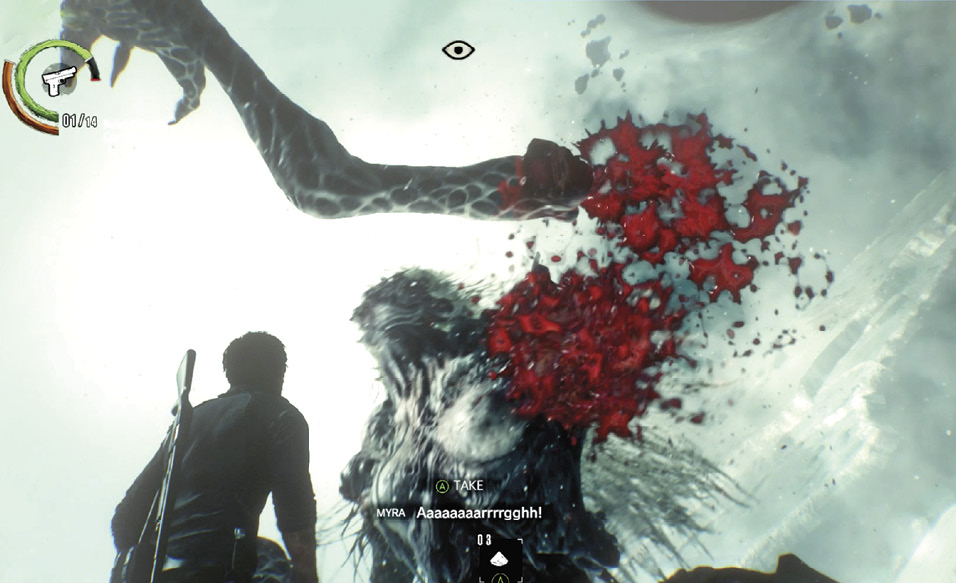
When you nail the red spots enough, you blast one of her arms completely off! Unfortunately, it takes on a life of its own and suddenly grabs Sebastian. Now you must shoot the pulsing red blob on the severed arm until it releases Sebastian. This ends the fight’s second phase.
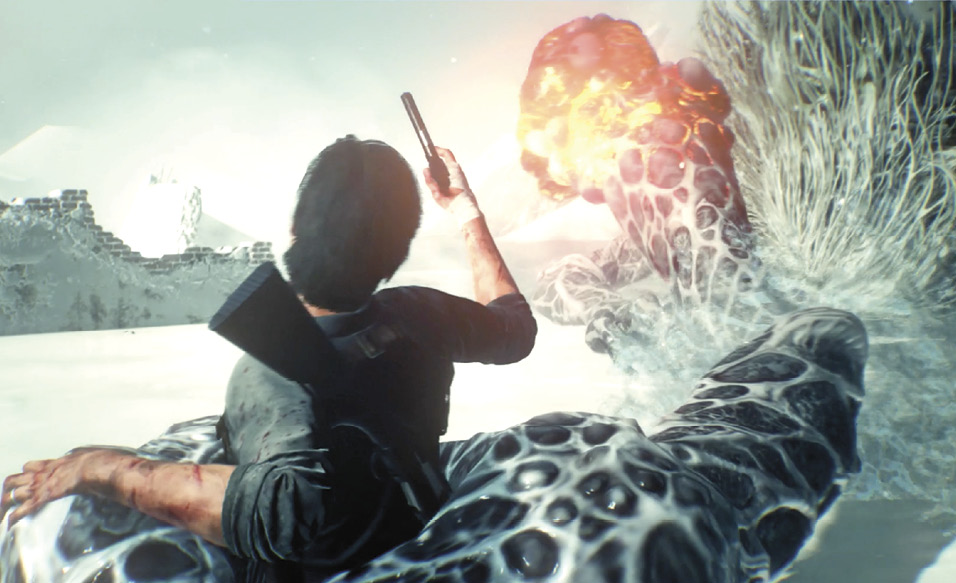
Phase 3
The Matriarch sprouts something that’s better than an arm—it’s a living tentacle with six massive, razor-sharp claws. Avoid this thing at all costs. She also starts sprouting smaller arms that burst up from the ground near you. Keep running back and forth, ready to open fire the moment she grasps and misses you. As before, she hunches over after she strikes, exposing her red shoulder spots again. Watch out for a few more spiders too.
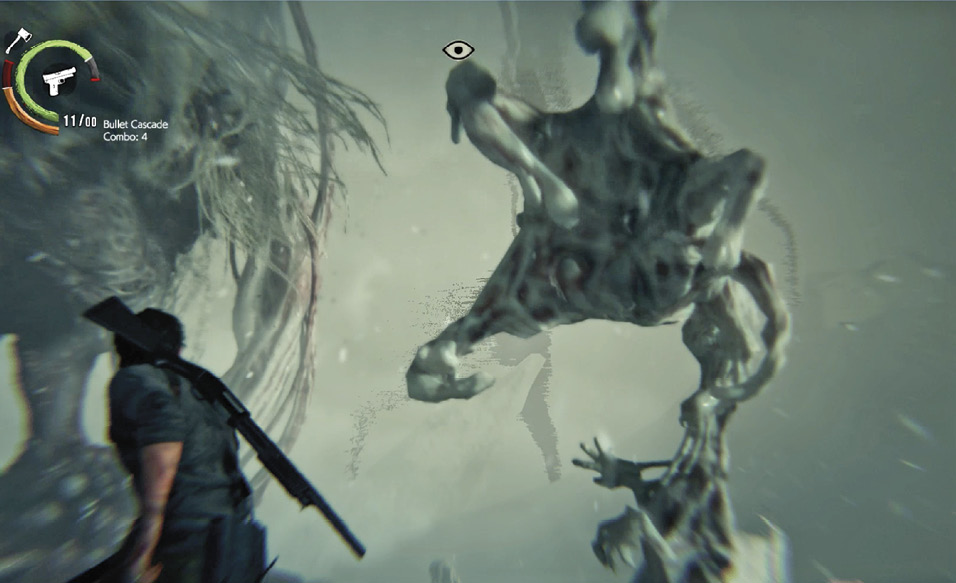
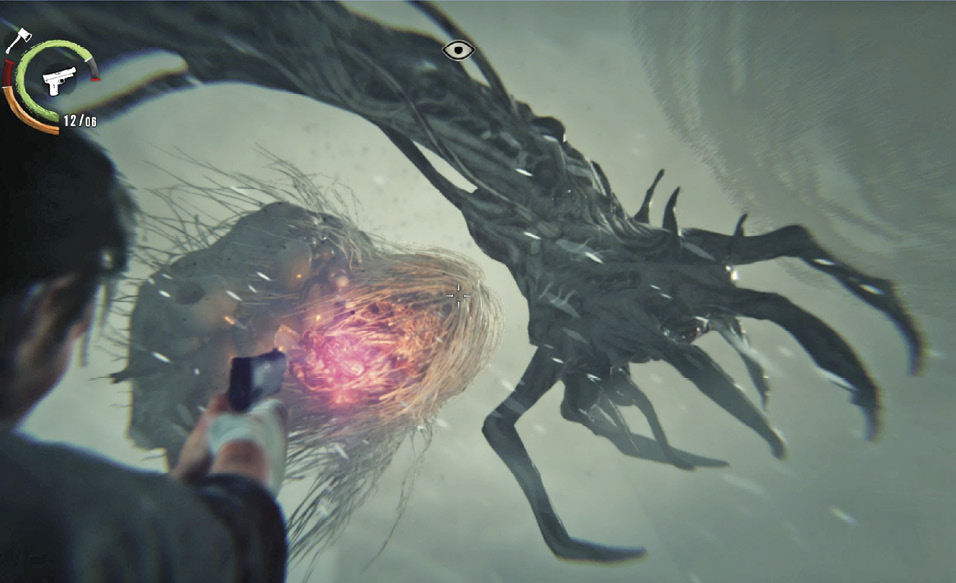
When you hit her shoulder spots enough times, she makes one last transformation—her face turns into her red vulnerable area. You’re close now! Keep moving, dodging the nasty tentacle, and emptying ammo into her face. It may not seem like it, but eventually she will expire.
After the fight, Sebastian wades into the white muck to fish Myra out of the melted remains of the Matriarch. Myra convinces him, against his wishes, to continue up to the house without her. His primary concern must now be Lily.