The Evil Within 2 Guide Story Walkthrough
Lying in Wait
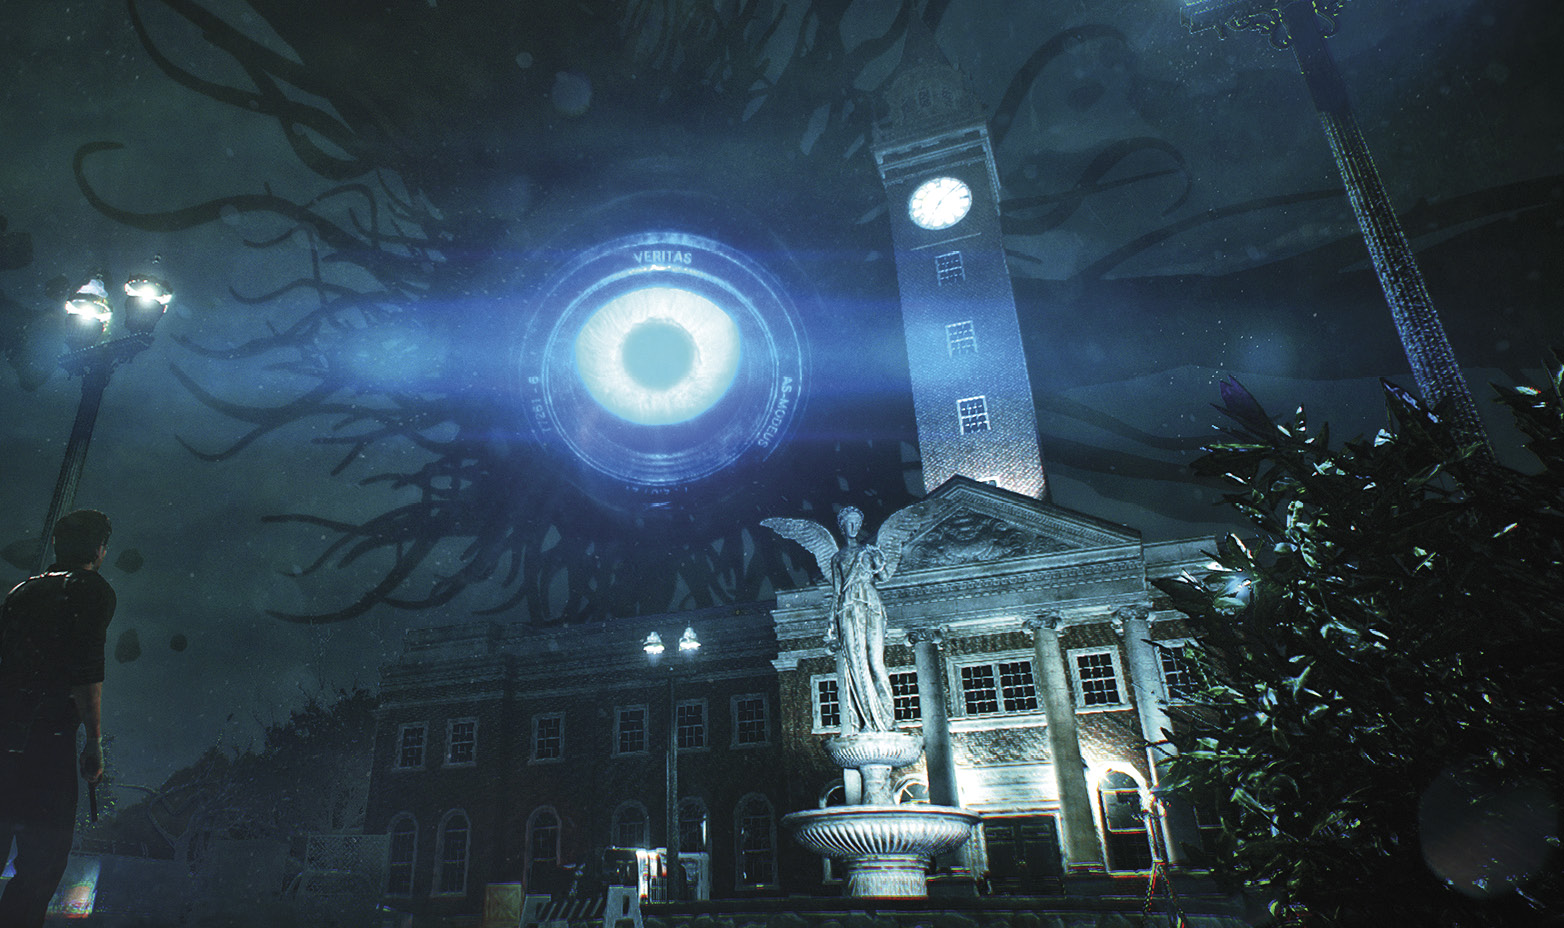
City Hall looms ominously ahead under the watchful eye of the Aperture. Somewhere inside, a homicidal maniac who fancies himself an artist holds Lily captive. This chapter pits Sebastian against two boss-type monsters, although you can bypass the first one, if you want.
Overview
Objectives
- Enter City Hall and search for Lily
- Find and activate the Stable Field Emitter on the second floor of City Hall
- Leave City Hall Collectibles
- 6 Files
- 1 Residual Memory
Enter City Hall and search for Lily
Find the Residual Memory
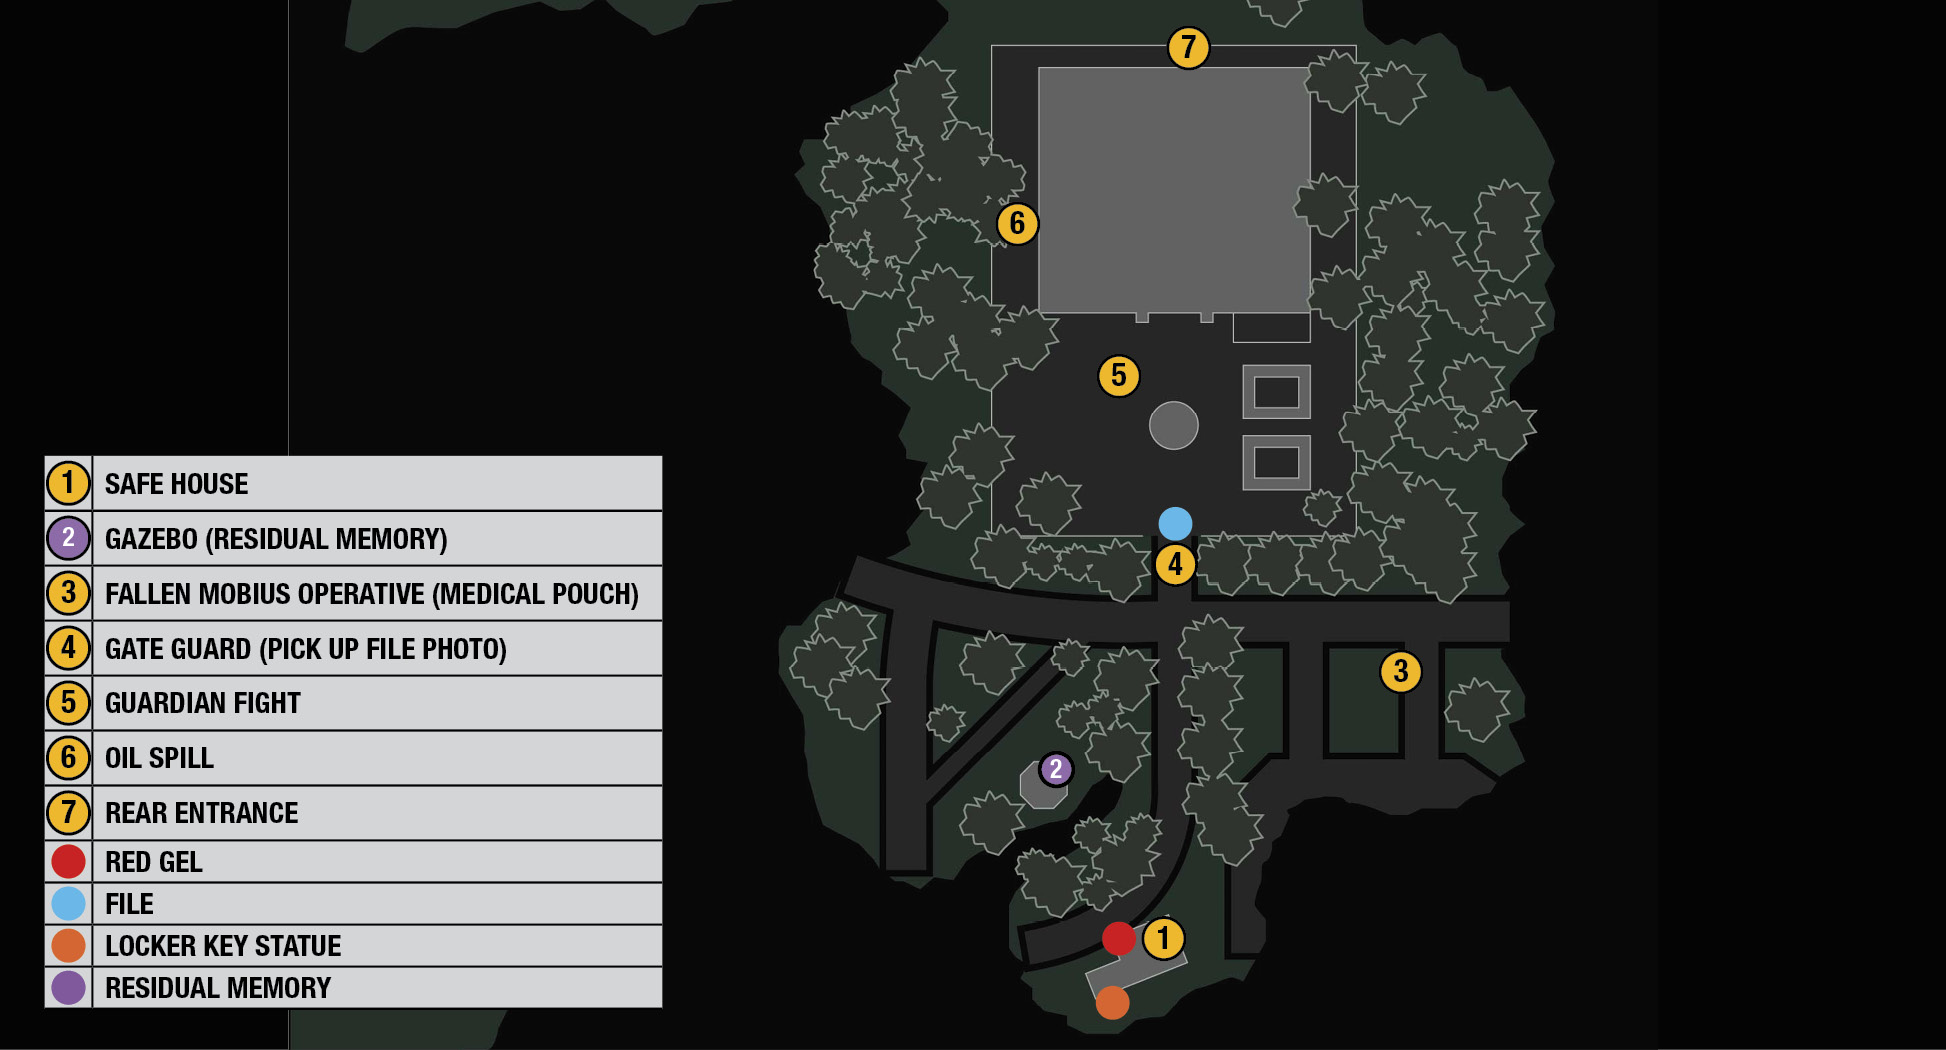
From the road, work your way over to the nearby gazebo  . Step onto the platform and use your Communicator to tune into a citizen who professes to have been born and raised in Union. Sounds like the Mobius brainwashing was top notch. Then lock in on the Mobius operative
  with a valuable Medical Pouch in the parking lot. You also find some Handgun Bullets and an Explosive Bolt. Nice haul!
Head down the road to the City Hall gate  where a fallen Mobius guard has something on his mind. Take the photo stuck on the guard’s head to trigger a major upheaval. The Aperture restructures City Hall, disintegrates the barbed wire blocking the gate, and transforms a pile of citizens into Sebastian’s old friend, the Guardian!
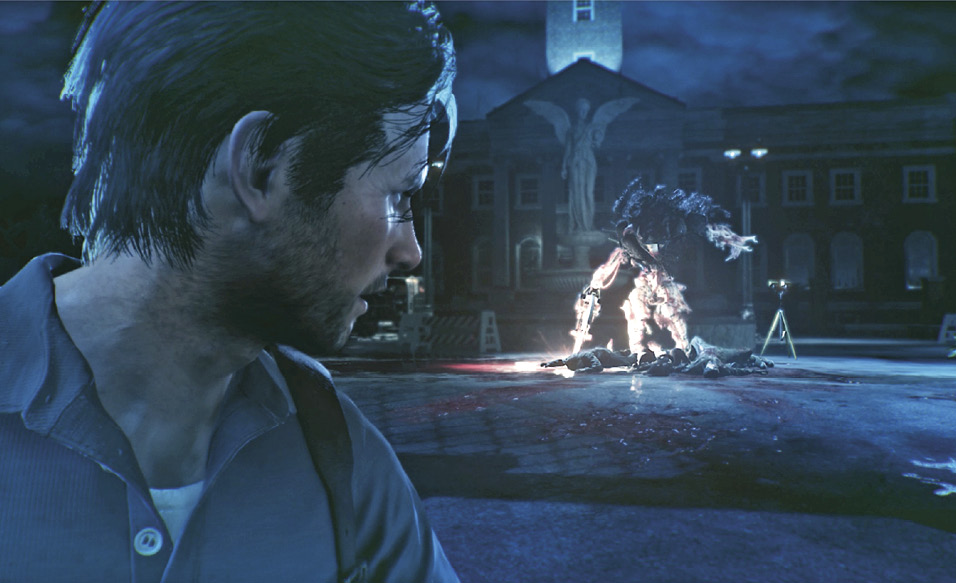
Option 1: Defeat the Guardian
The gate closes and locks behind Sebastian, creating what seems like an inescapable battle. But there is an escape route, which may become your only option if you expend your ammo without downing the Guardian. (We’ll get to that shortly.)
However, you can find plenty of ammo pickups around the arena to replenish your stock. For example, the back of the overturned truck  holds ammo for Handgun, Shotgun and some crossbow bolts too. An added bonus is that the Guardian can’t follow you inside the truck’s trailer… although she will slice through its roof with her chainsaw, so watch out for the spinning blade.
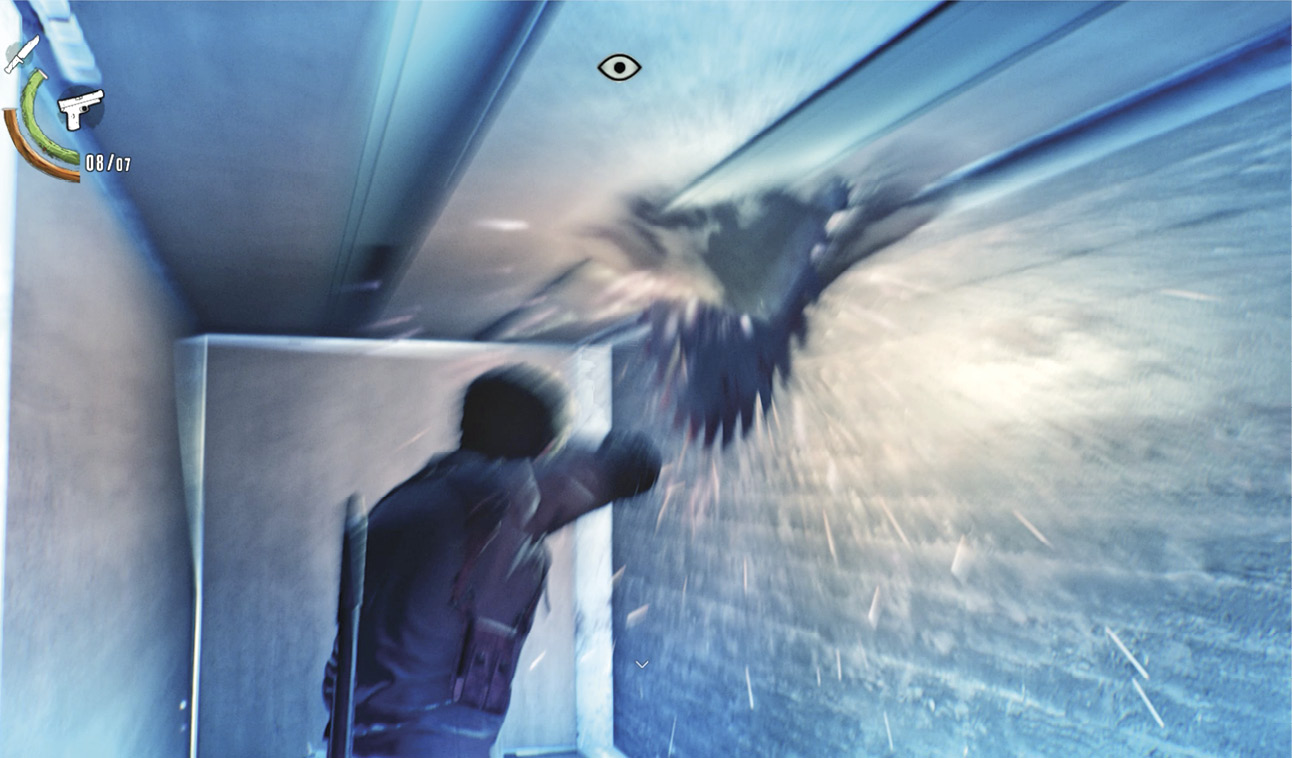
The overturned truck also provides a nice option for inflicting extra damage on the walking quilt of corpses. The truck’s fuel tank leaks into a big flammable puddle. Lure the Guardian into the rainbow-hued fuel spill then turn and quickly ignite it with your Handgun. Nail her with a few headshots while she burns. Then take off running again.
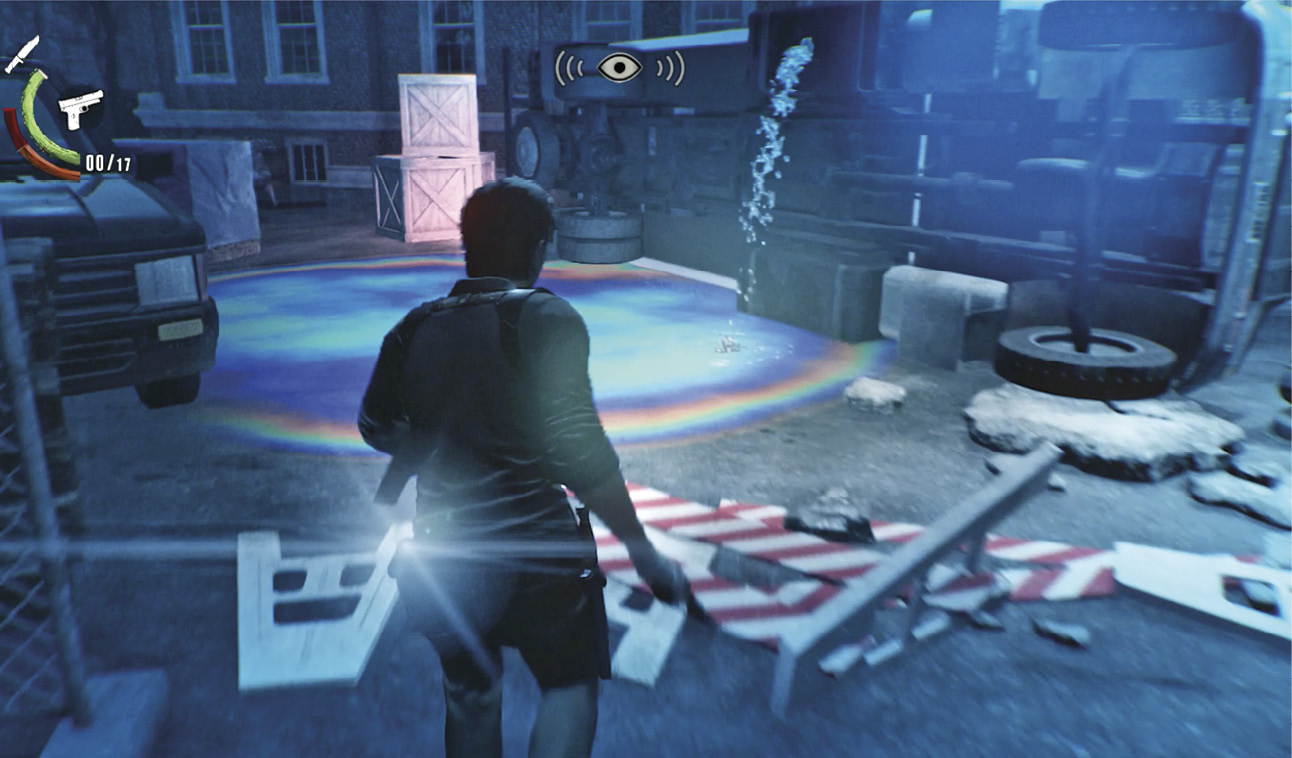
Be aware that the Guardian can dash quickly for such a big, makeshift monster, so sprint away and cut tight around corners to get her off your back. You can also hustle into chain-link enclosures on either side of the arena; Sebastian shuts the gate behind him, and it takes the Guardian several seconds to cut through the fencing. During that time, you can pepper her with shotgun blasts through the chain link.
Note that several tripwires are stretched across parts of the arena too. Tripping these wires will slow down time, letting you aim and fire more accurately at the Guardian’s heads. When the monster finally drops, the barbed wire blocking the City Hall’s front entrance disintegrates. You can go right in the front door and find Miles Harrison, one of the Mobius Search Team members, sprawled on the floor in front of the reception desk.
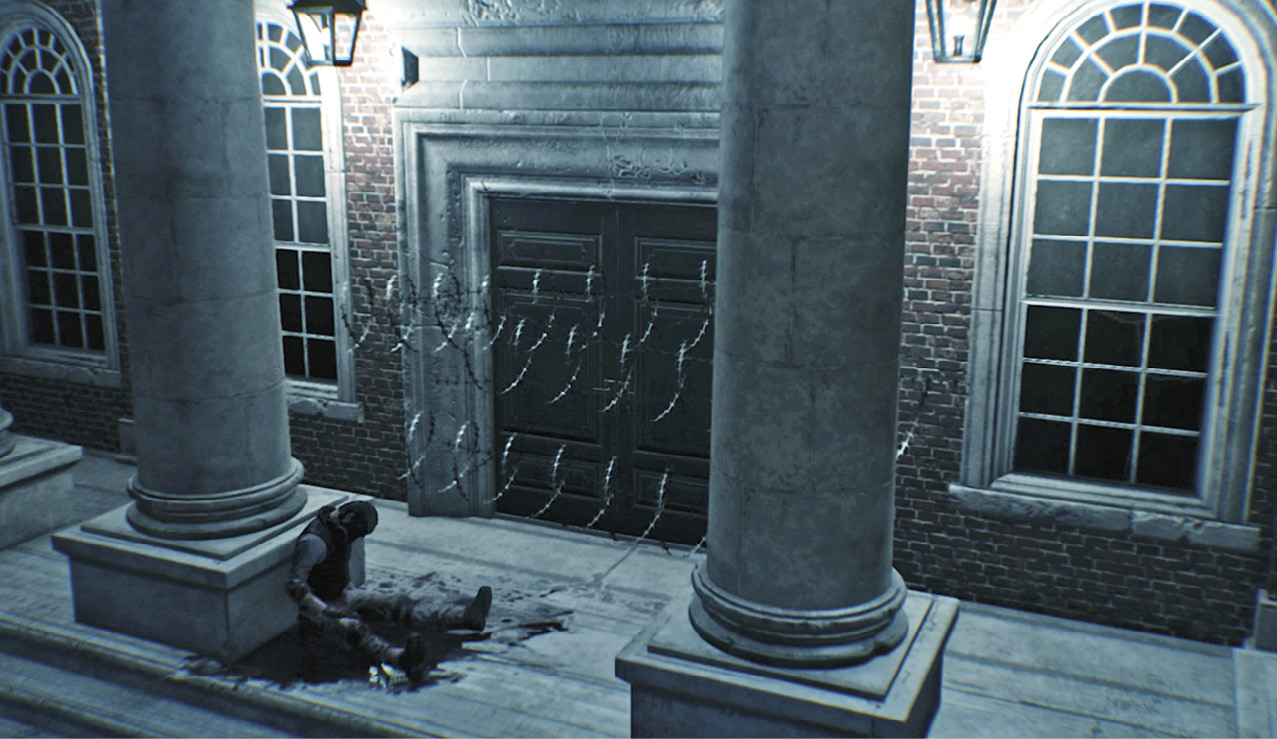
Option 2: Evade the Guardian
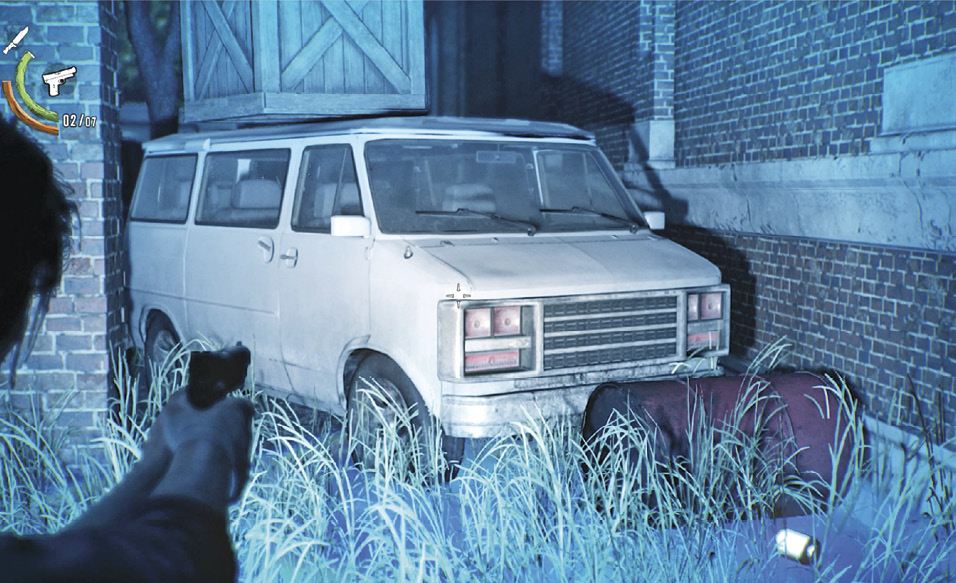
As long as you dodge the Guardian’s chainsaw attacks and use the arena’s obstacles to cut off her pursuit, you can wear her down with your guns and crossbow bolts. But another option is to sprint around the left side of the building, where you find three oil drums next to a white delivery van  blocking the side passage. Kick over one drum and shoot its spilled oil; the flames cause the other drums to explode, blowing up the van too!
Watch for tripwires as you continue around the building. Crouch underneath the one strung to the bus; let the Guardian trip it if she’s chasing you. Then bash through the stack of breakable crates just around the corner.
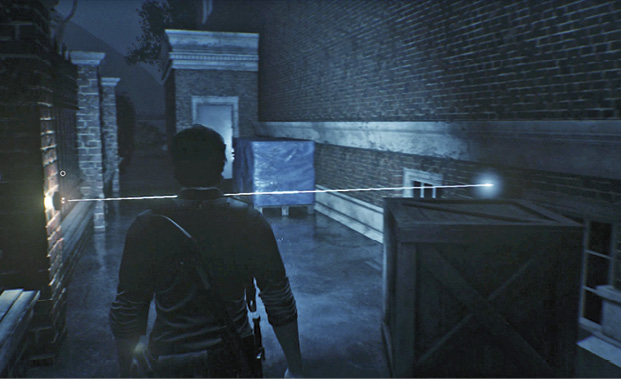
The back lane features two Explosive Bolt tripwires. The first one is low, so approach the bolt on the left post and press the Operate button indicated to collect it. The second Explosive Bolt tripwire is high enough to crouch underneath; if the Guardian is chasing you, she hits the wire and trips the explosive!
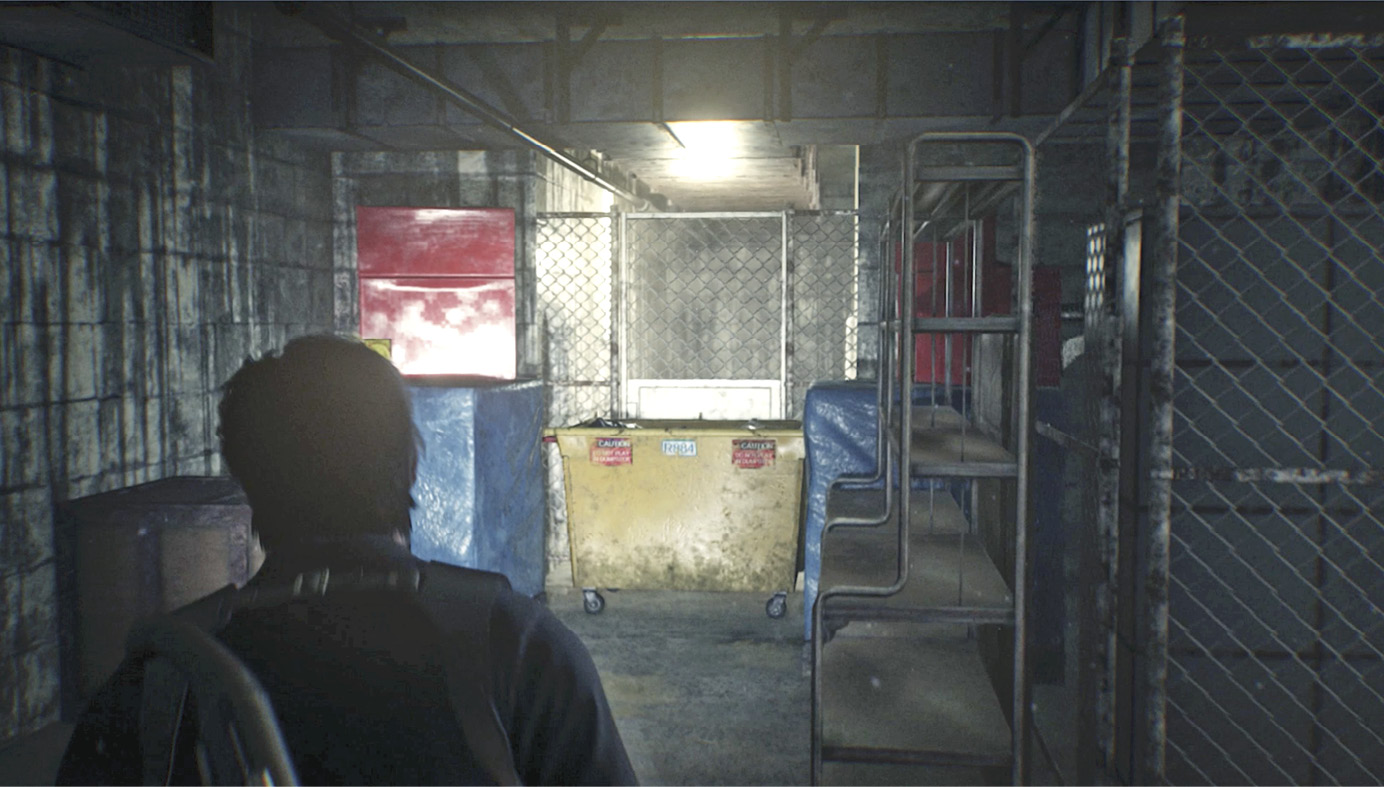
When you finally reach the rear entrance  , the door is jammed so keep tapping the control button indicated onscreen until Sebastian shoulder-bashes it open. Safe at last! Descend the stairs and move with caution through the power housings in the room—a pair of Lost are roaming this basement. Dispatch them and continue to the gate blocked by a yellow dumpster. Go around the stacks to the right to reach the dumpster’s side then push it against the far wall. Then open the gate and climb the ladder to the main floor.
Overview
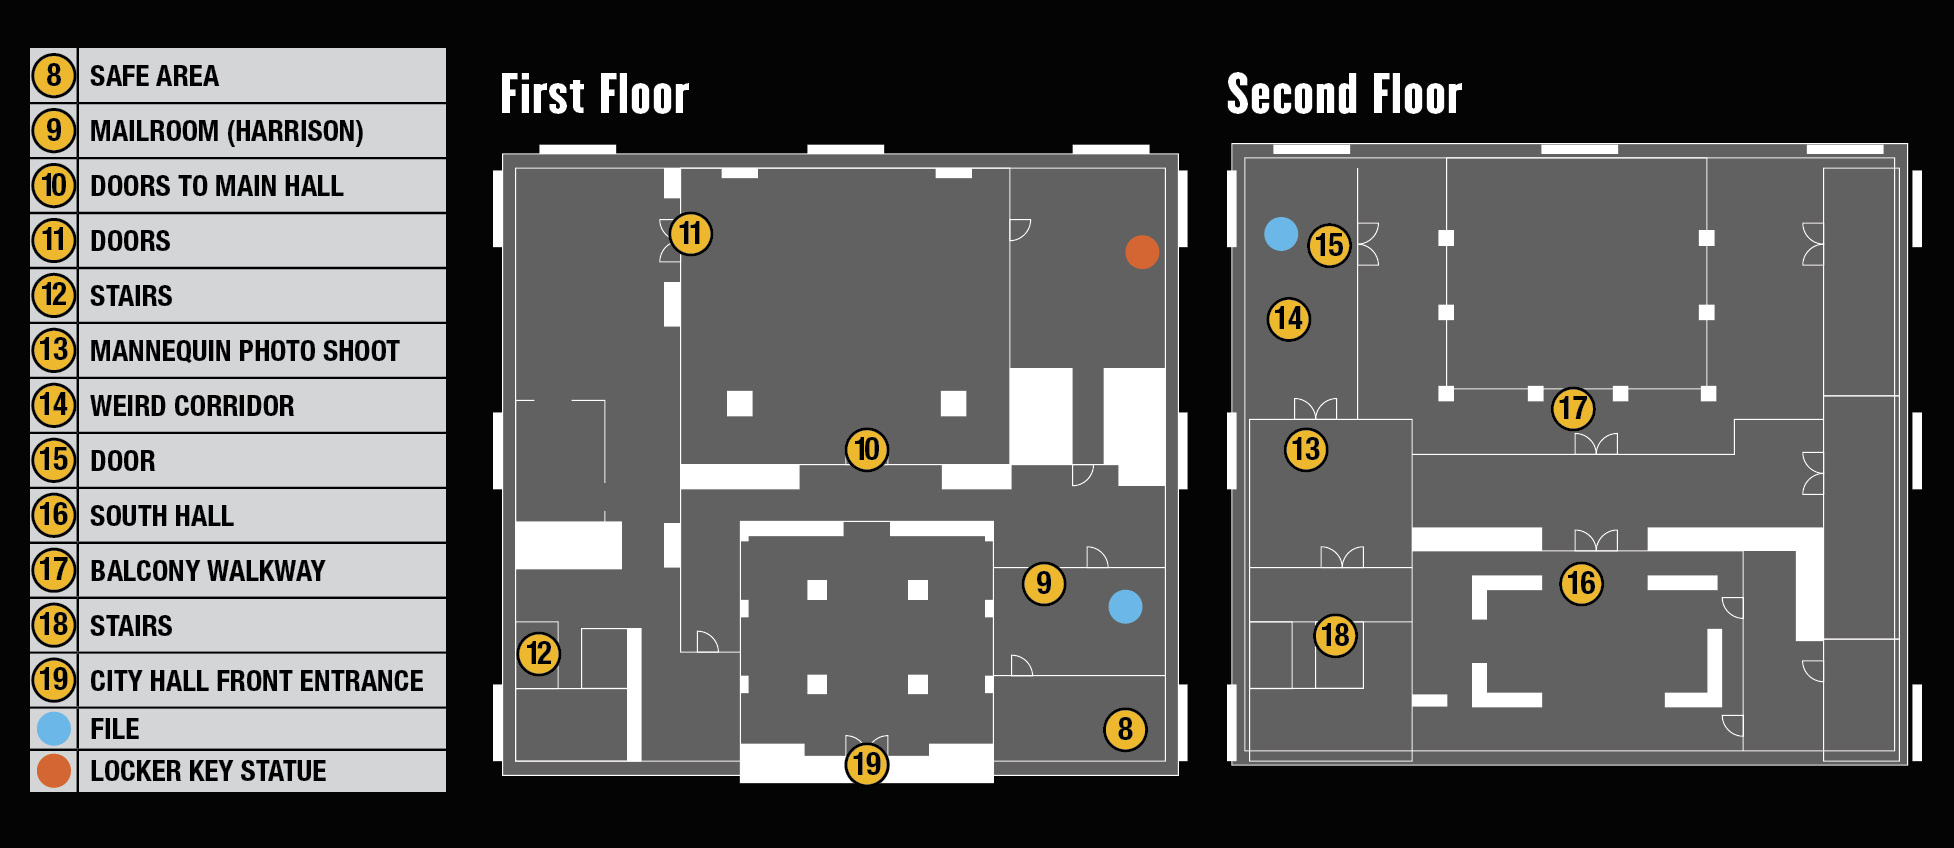
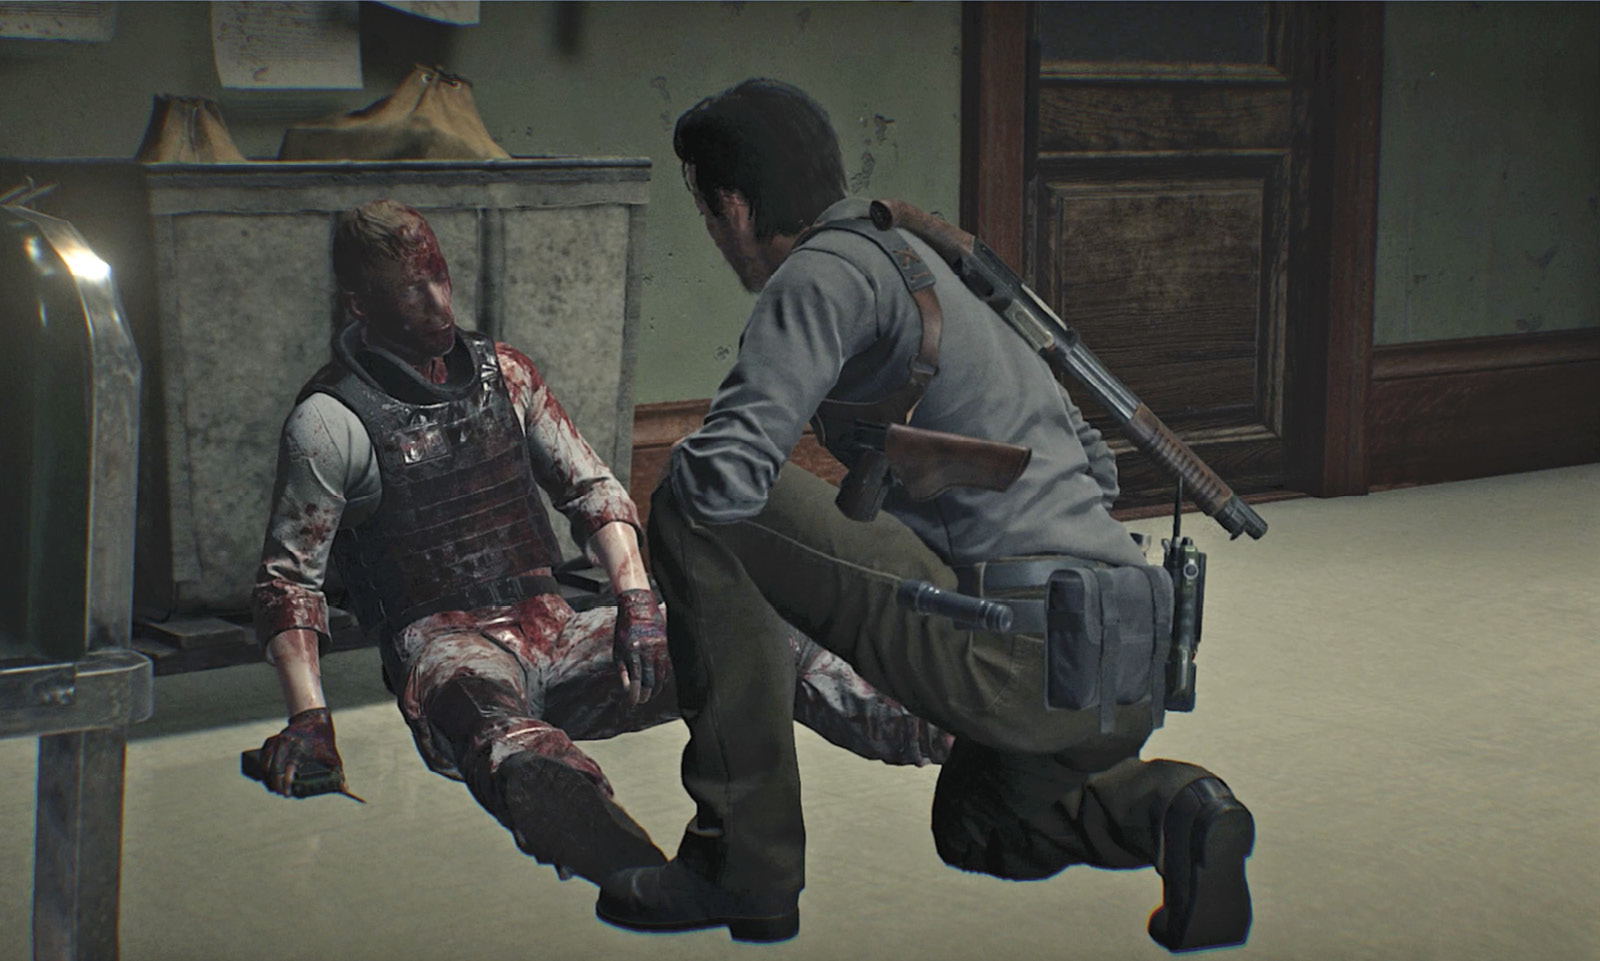
You emerge in a back office  with a Workbench and Save Terminal. In the next office, the Mail Room, you find Harrison dying on the floor
  . He manages to direct Sebastian to the Stable Field Emitter on the second floor, and hands over his Communicator to start it up. He says if the Emitter isn’t turned back on soon, Union will completely collapse. After the scene, grab the report on the nearby desk.
Find and activate the Stable Field Emitter on the second floor of City Hall
First Floor
Exit the MailRoom, head left down the corridor. To the left is the Entrance hall (with some pickup items); to the right are doors  to the Main Hall with one of those familiar gold nameplates (this one for “Jonah Constant”) that suggest gruesome art lies within. Enter to hear familiar music and find another “frozen in time” exhibit, starring another Mobius security officer. Turn left and head through another set of double-doors
  into a hall that leads to the staircase
  .
.
Second Floor
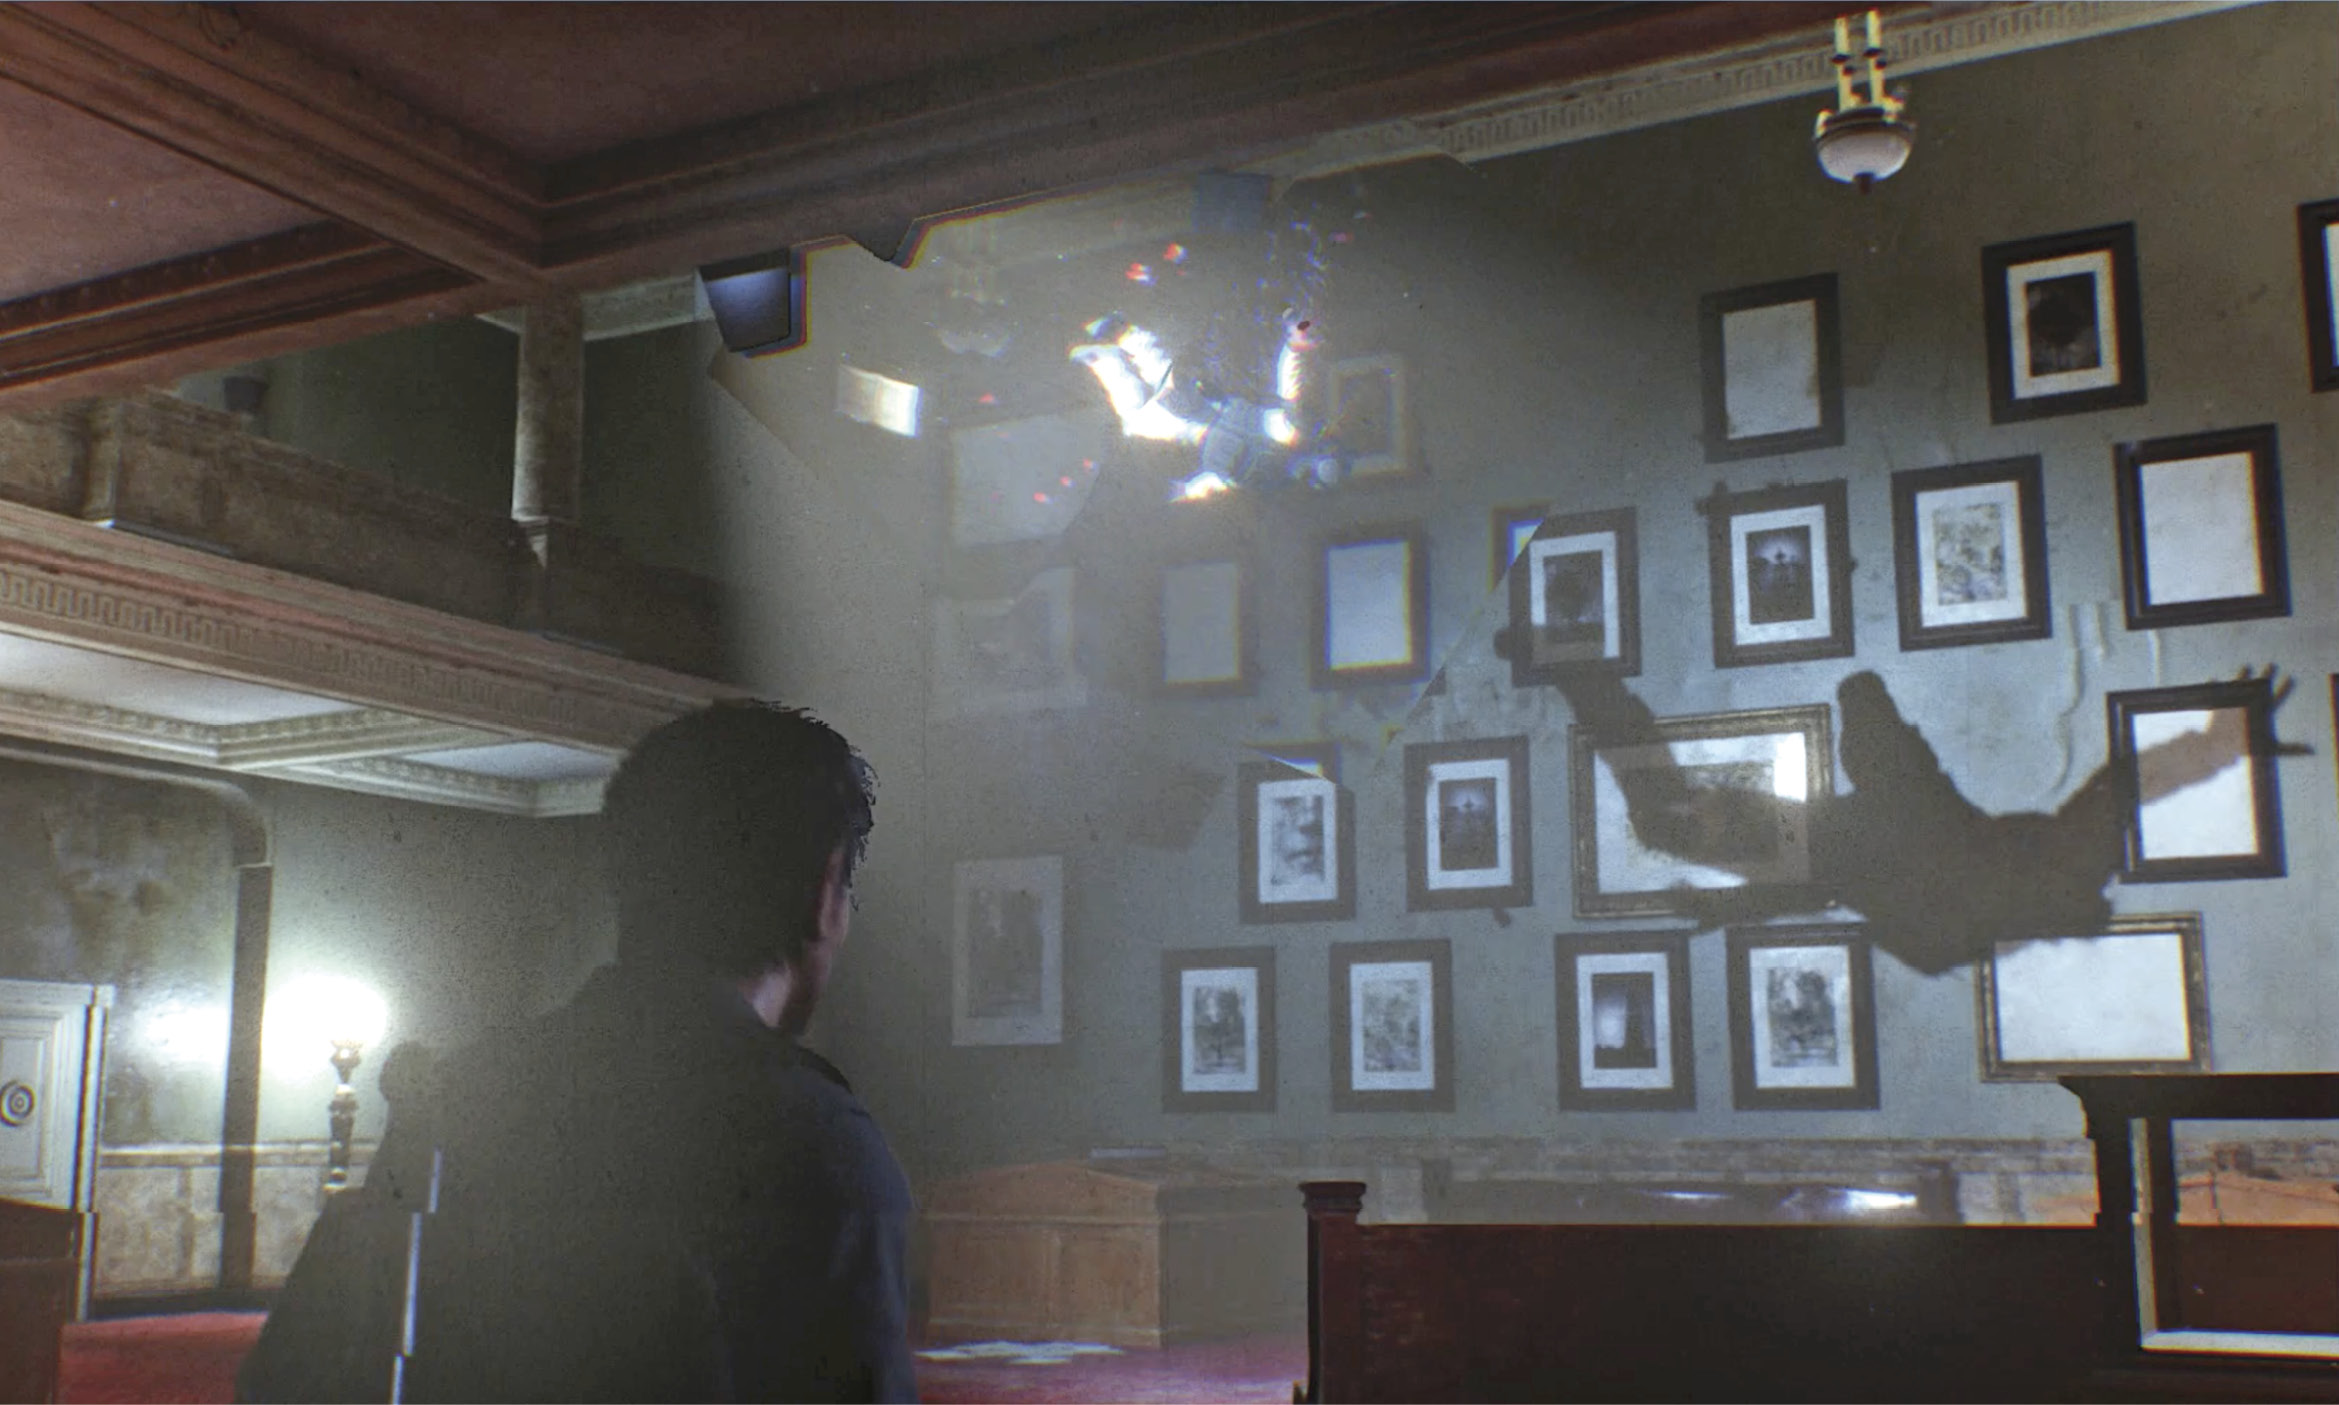
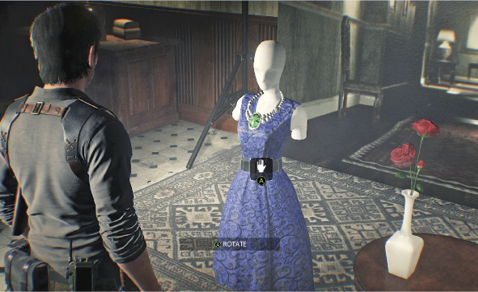
From the top of the stairs, push through the black drapes into an area set up for a photo shoot  with a mannequin in front of a painted backdrop of a hallway. First, investigate the large portrait on the left wall—the woman’s face has been scraped off. Note that she’s wearing an emerald necklace and stands next to a vase of red roses. Grab the actual roses from the vase next to the portrait, and take the emerald necklace on display in the corner.
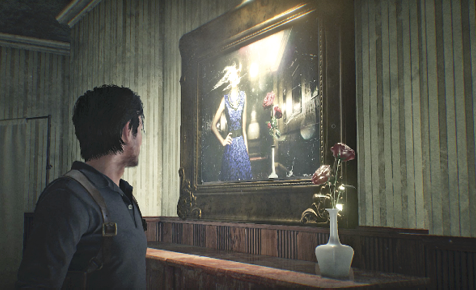
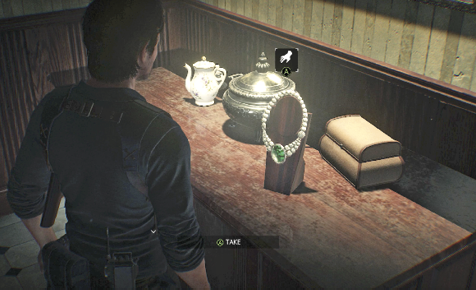
Now approach the mannequin that wears the same dress as the woman in the portrait. Put the emerald necklace on the mannequin and place the roses in the empty vase next to it. Then rotate the mannequin so she faces directly toward the old-fashioned camera set up nearby.
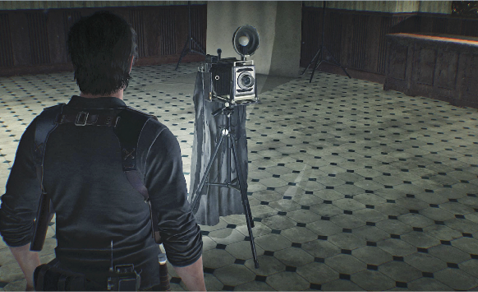
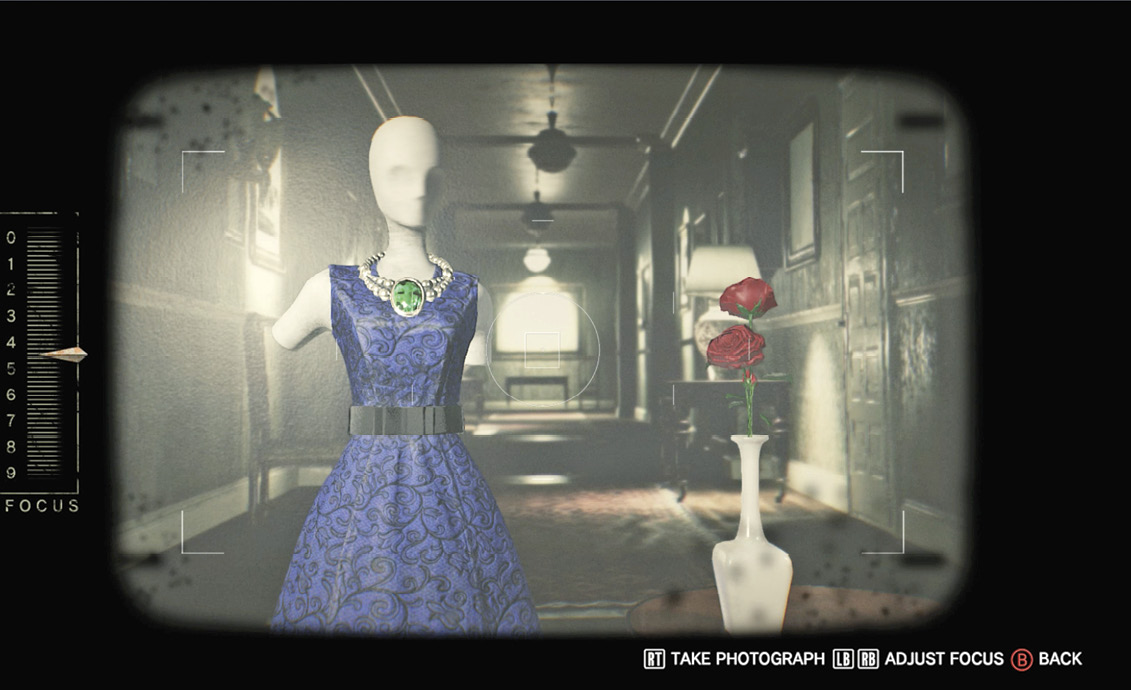
Go around behind the camera and select Operate to bring up the viewfinder screen. Use the Adjust Focus controls to get a crisp focus, then press the Take Photograph control. When you back away from the camera, you discover that the painted backdrop has turned into an actual hallway!
Find the Emitter
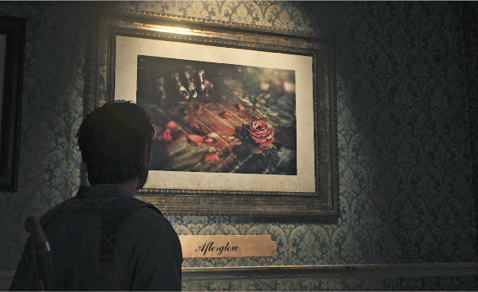
Start moving down the hallway  . A number of the hanging frames are blank, but a few have photos with title plates mounted underneath. As you approach each of these, a display light hits it. Investigate all four of them: Afterglow, Innocent Gift, Bouquet, and Glory. Check out the oddly ticking wall clock too, with its stopped pendulum. And don’t miss the Krimson Post newspaper article, propped against a frame on the side table. (Tip: Read the article and note the quote attributed to the decapitated woman’s “longtime friend and photographer Stefano Valentini.”) Then investigate the message scrawled in blood on the big frame at the end of the hall.
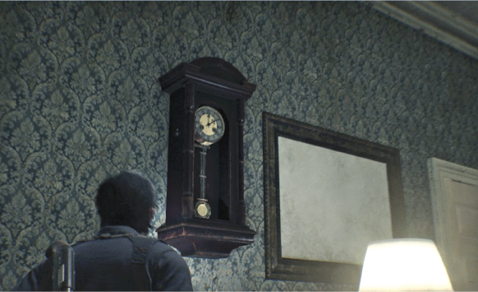
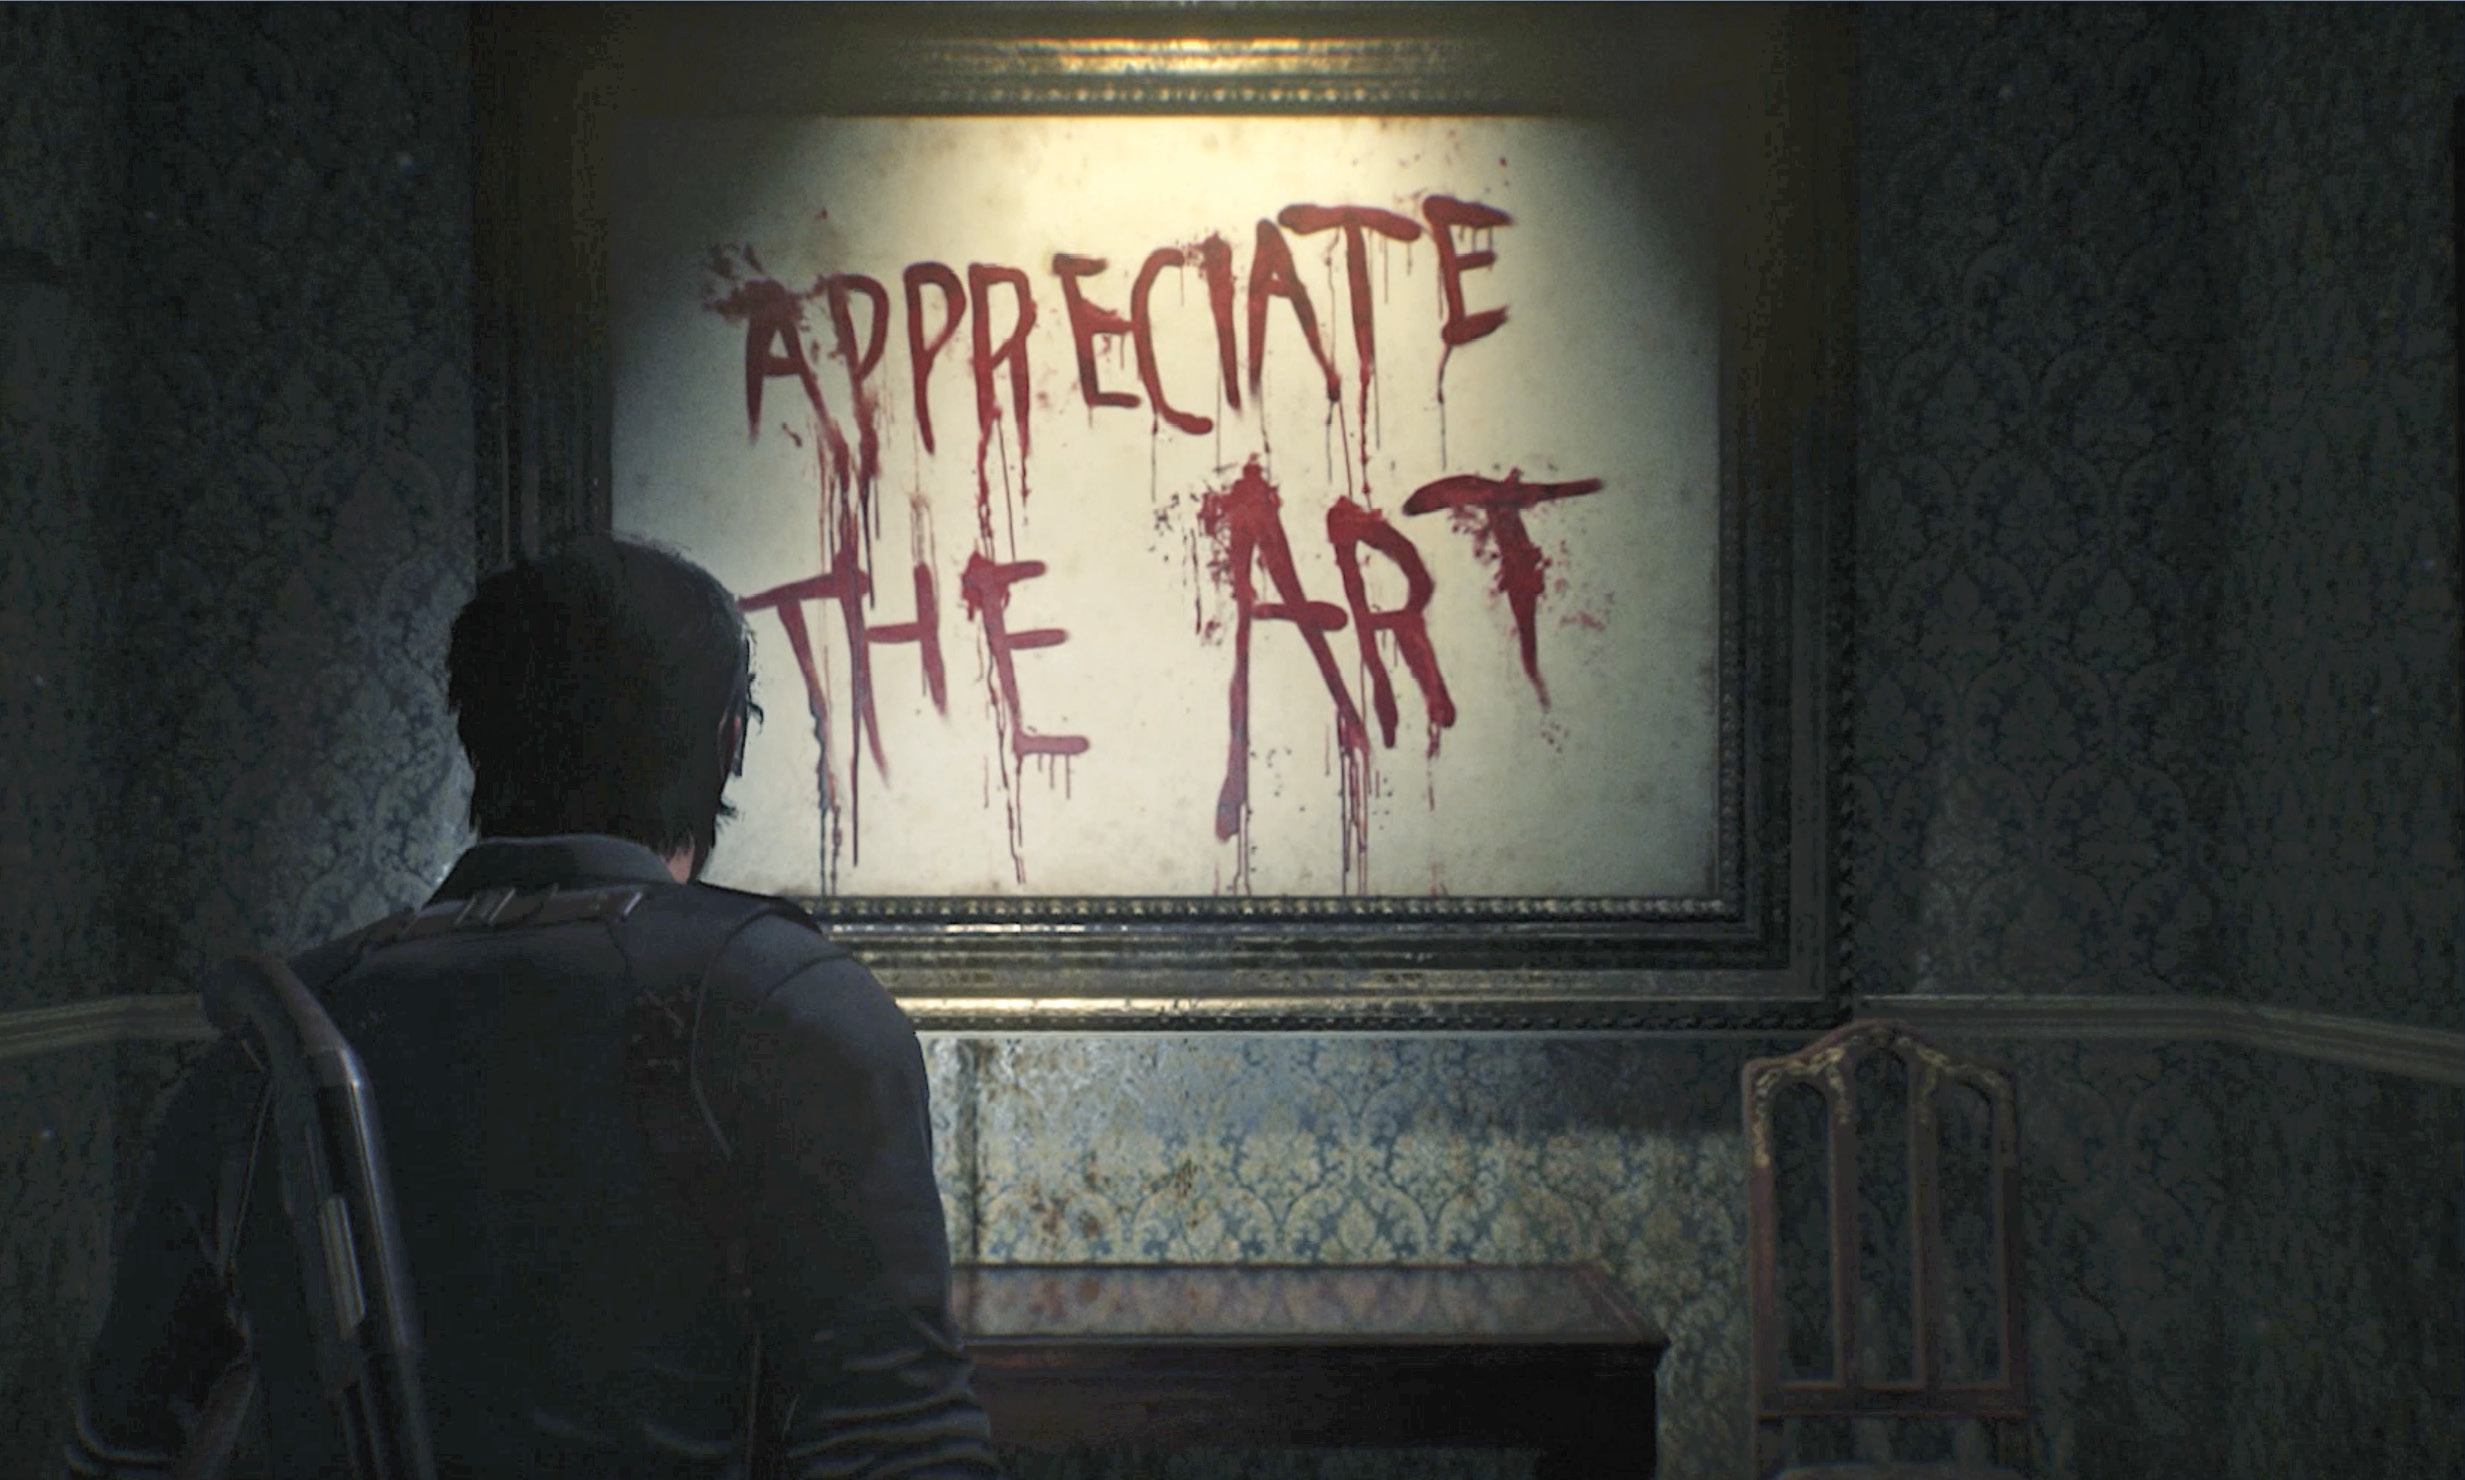
After you turn away, you hear a sound behind you.
Turn to see that the frame at the end of the hall now holds a different portrait! You hear a pounding on the door  just up the hallway. As you approach this pounding, the “Innocent Gift” frame falls off the wall and the door opens, smeared with blood on the inside.
Follow the next corridor to the end and listen to the accented voice speak of “death preserved on silver nitrate.” Turn back and retrace your steps to find that the door is gone. But then a new door appears behind you and opens. Go through to find a dressing room with a row of changing booths and some mannequins. In the office next door, pick up the photo sitting on the desk. It’s a shot of the Mobius agent murdered and suspended in the Main Hall downstairs.
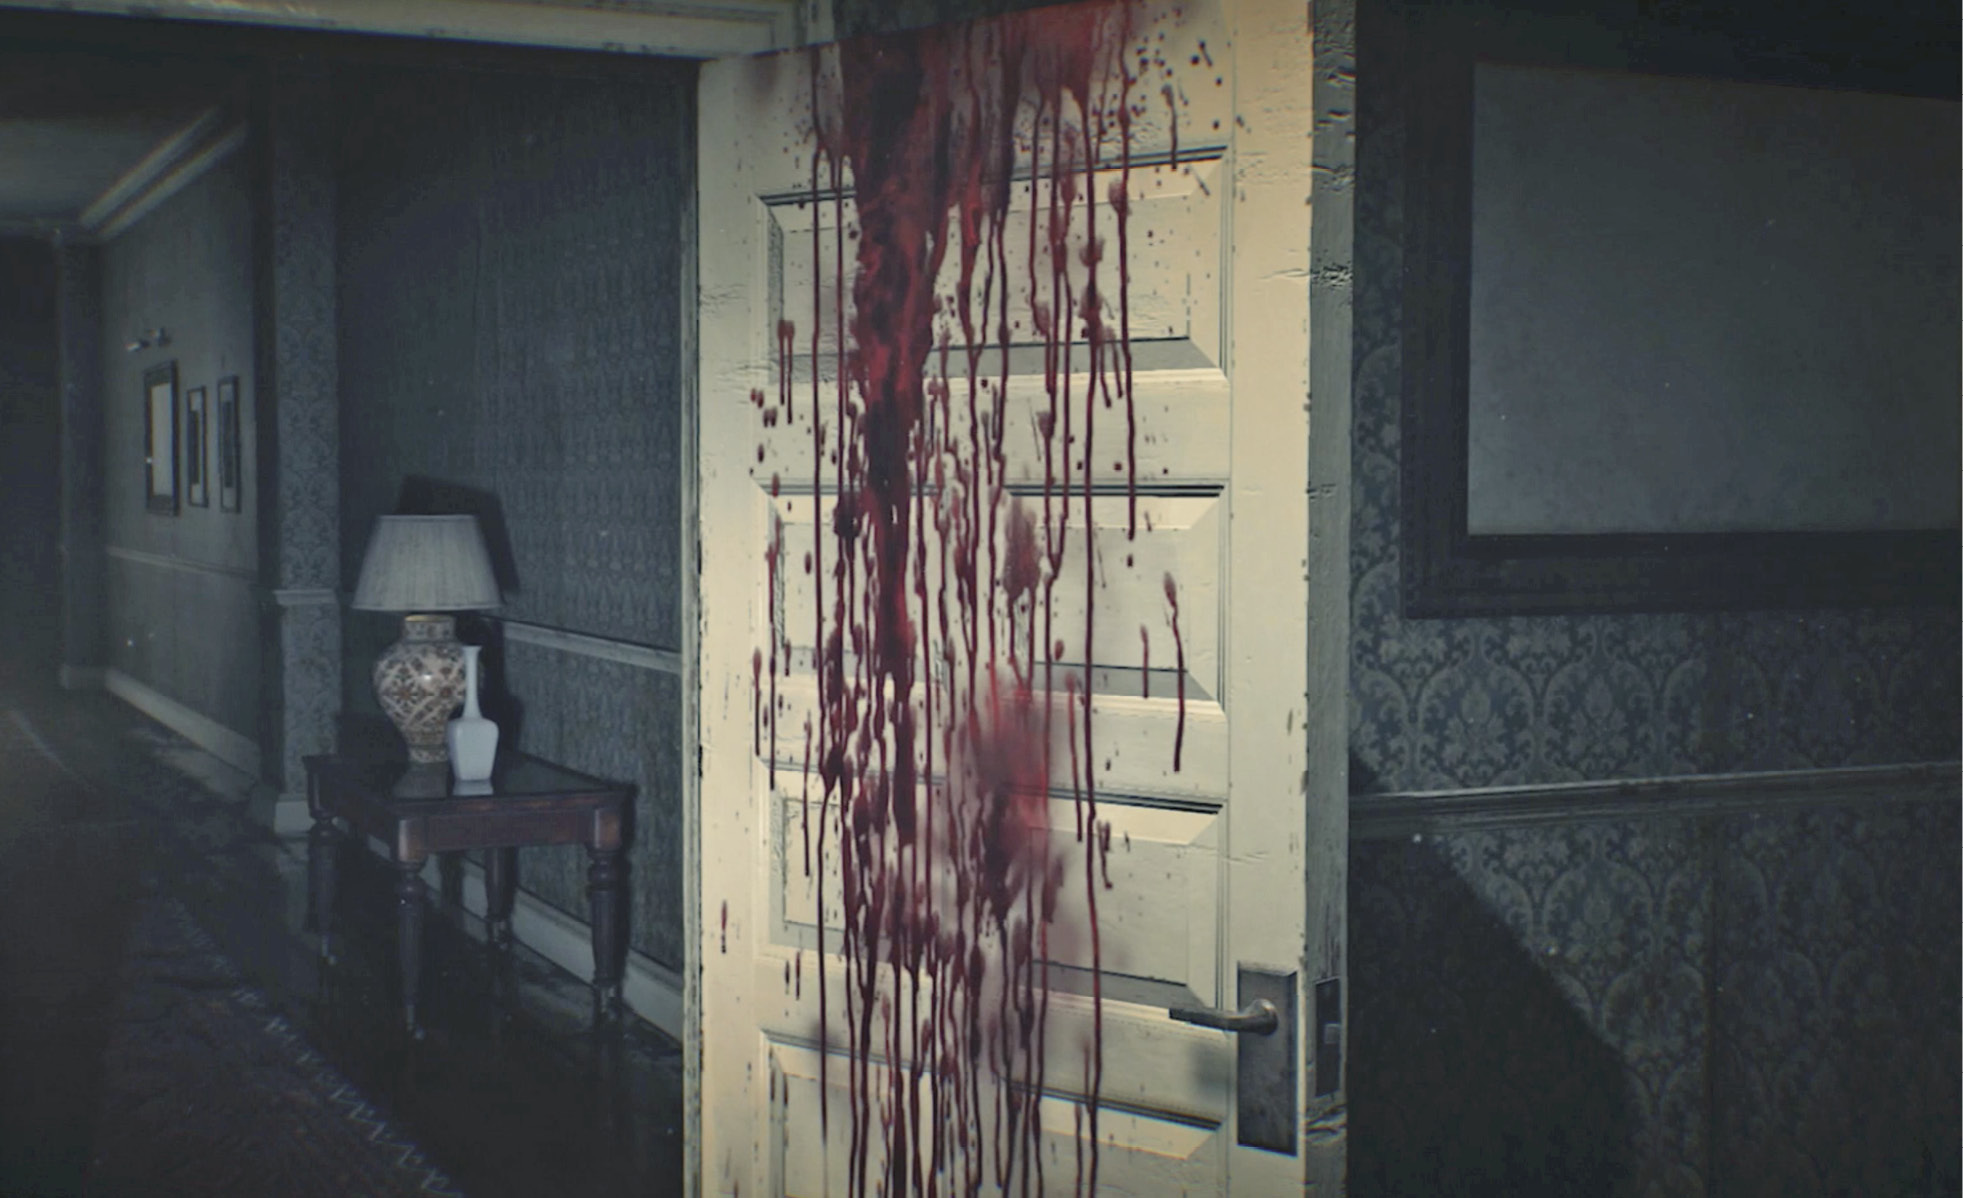
Exit via the dressing room to find the hallway altered again. Turn right and follow it around the corner to the right; you see the deranged photographer at the end, snapping a sequence of photos of you. Move toward him until he chuckles and doors slam in your face. Turn around to see the hallway behind you transformed yet again!
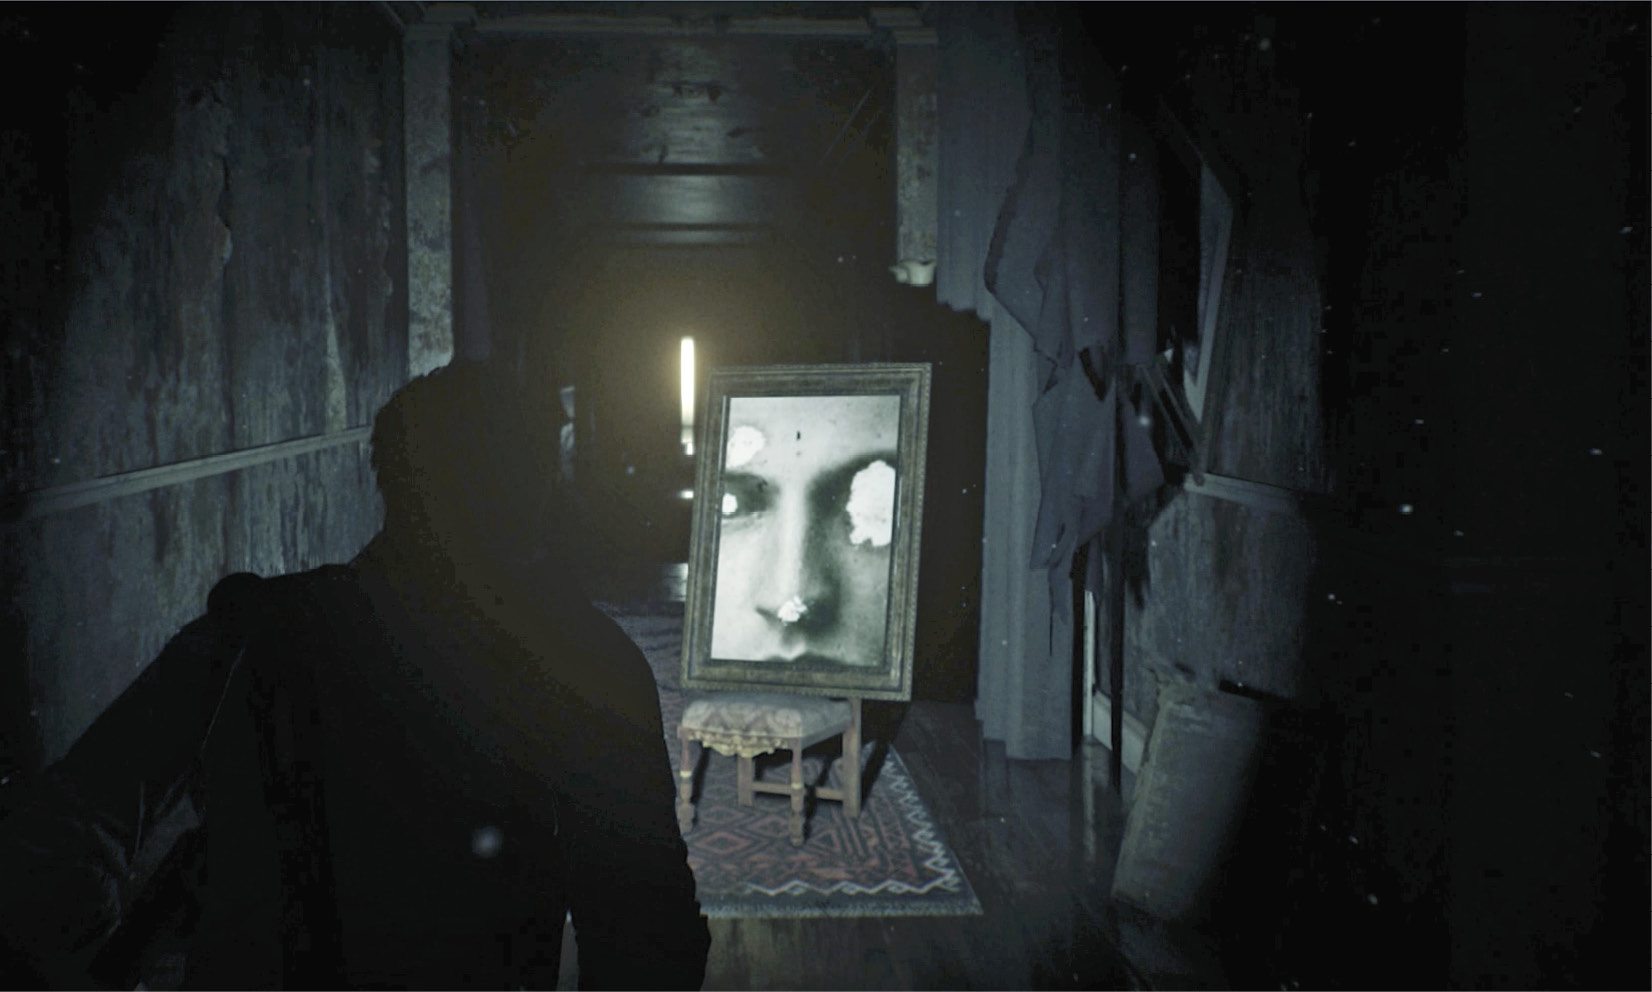
Follow the corridor to a staircase and descend many stairs until you reach another set of doors. Open them to see a chair; the emerald necklace and roses lie on the floor next to it. Approach the chair to trigger a short but disturbing cinematic. You end up in a room full of grotesque and very kinetic-looking statues. Pick up the note on the table by the exit door then step outside.
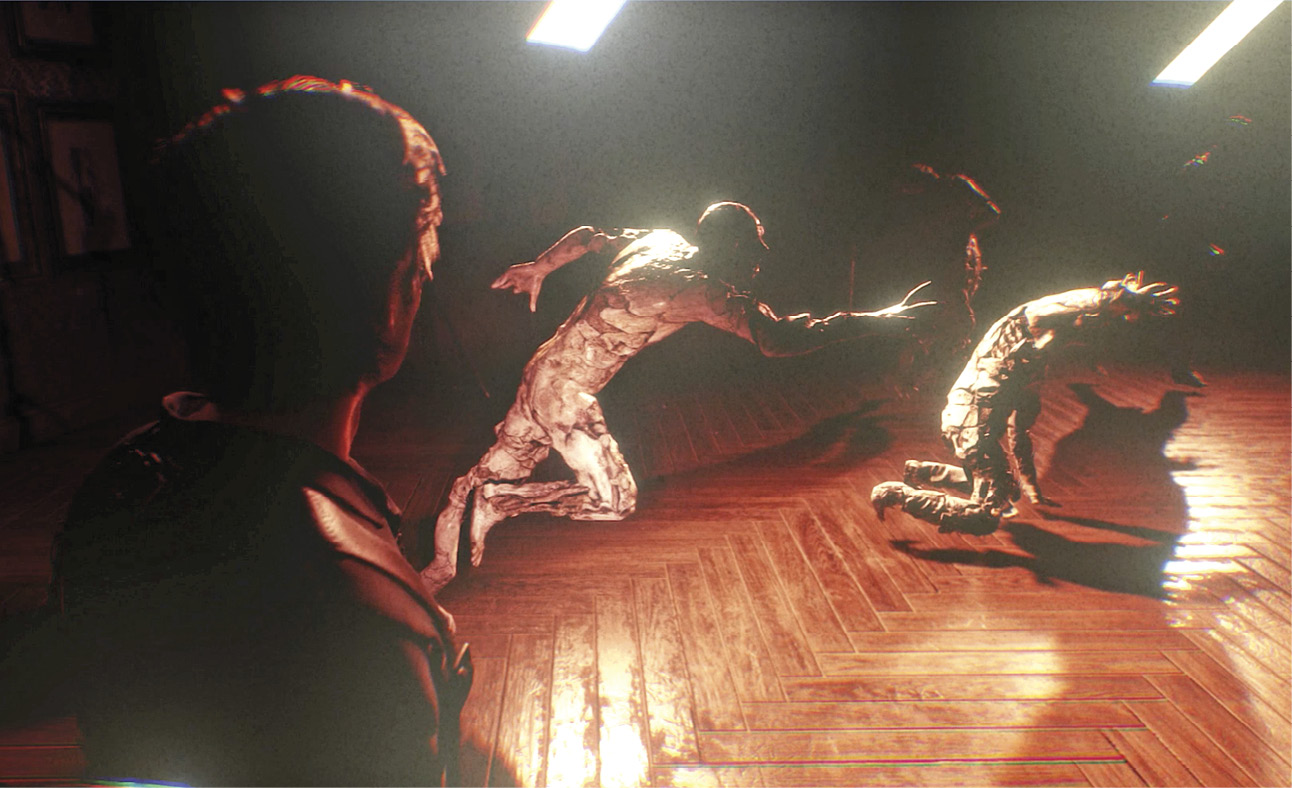
Will the weirdness never end? Proceed down another dark hallway hung with grisly framed photos and go through the doors at the end to find yourself back in the hall where you photographed the mannequin! But now there’s an open doorway to the right.
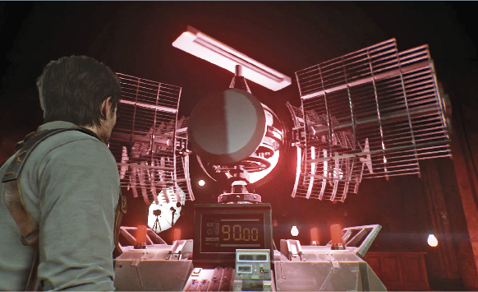
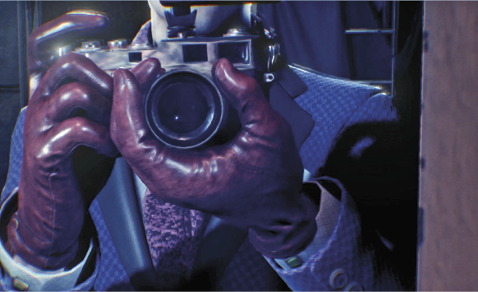
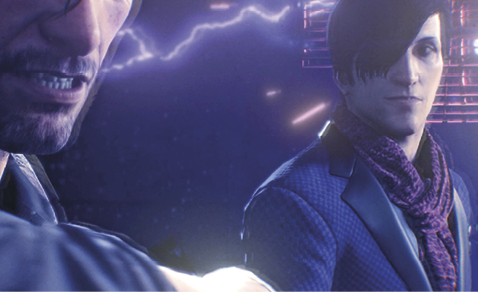
Go through it and find the ammo stashed directly ahead. (As veteran gamers know, this is usually a sign that you’ve got some shooting to do real soon.) Turn right and step into the South Hall  to see the Stable Field Emitter. Activate it to trigger a cutscene: Sebastian initiates a 90-second restart sequence. Then he meets the murdering photographer at last. His name is Stefano. Soon you meet his three-legged, ceiling-crawler of a creation as well: The Obscura.
Defeat the Obscura!
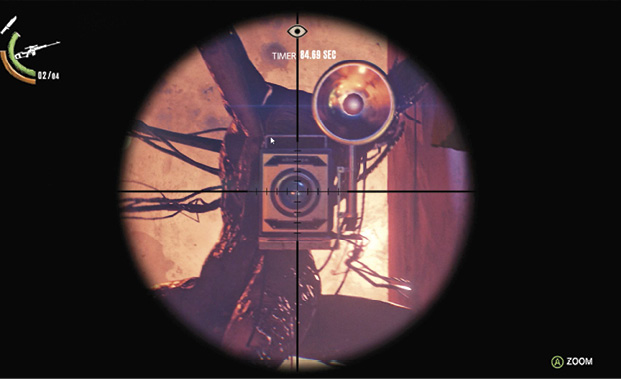
Here comes your second boss battle of the chapter. When the Obscura takes a photo, time freezes for its photographic target. Thus, whenever Stefano’s creation snaps a shot of the Stable Field Emitter, the restart countdown stops. (The Emitter’s timer appears onscreen, so you can monitor it throughout the fight.) To break the time-freeze and start the timer again, you must shoot the Obscura in its body or directly in its camera lens.
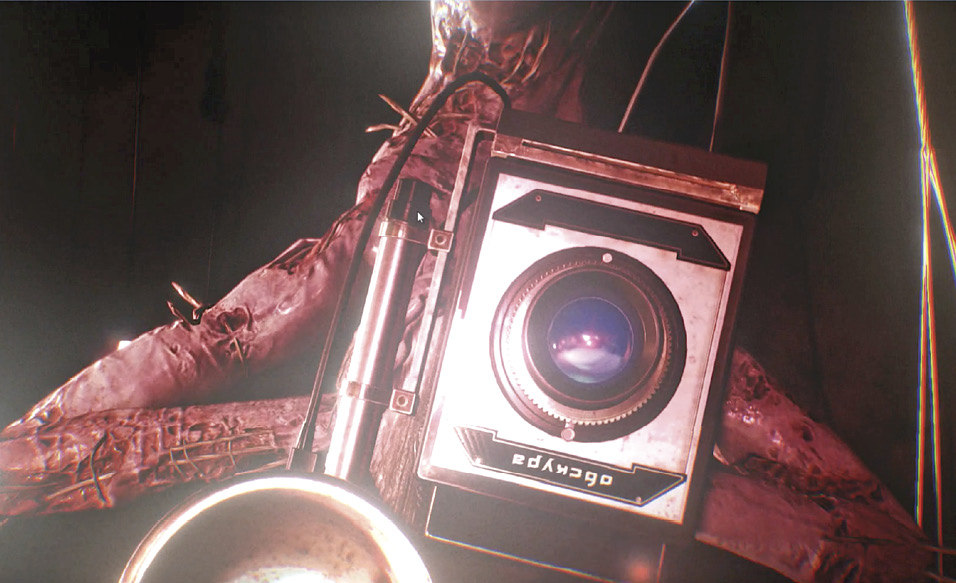
Easier said than done, of course. The Obscura runs and hides, then unexpectedly darts out to attack. Its long, tendril-like appendages are deadly if they can grab Sebastian, so keep your distance and use cover. When the Obscura decides to pursue you, dash quickly around corners then turn and back away while aiming, ready to shoot the moment you see the monster’s camera peer around the corner.
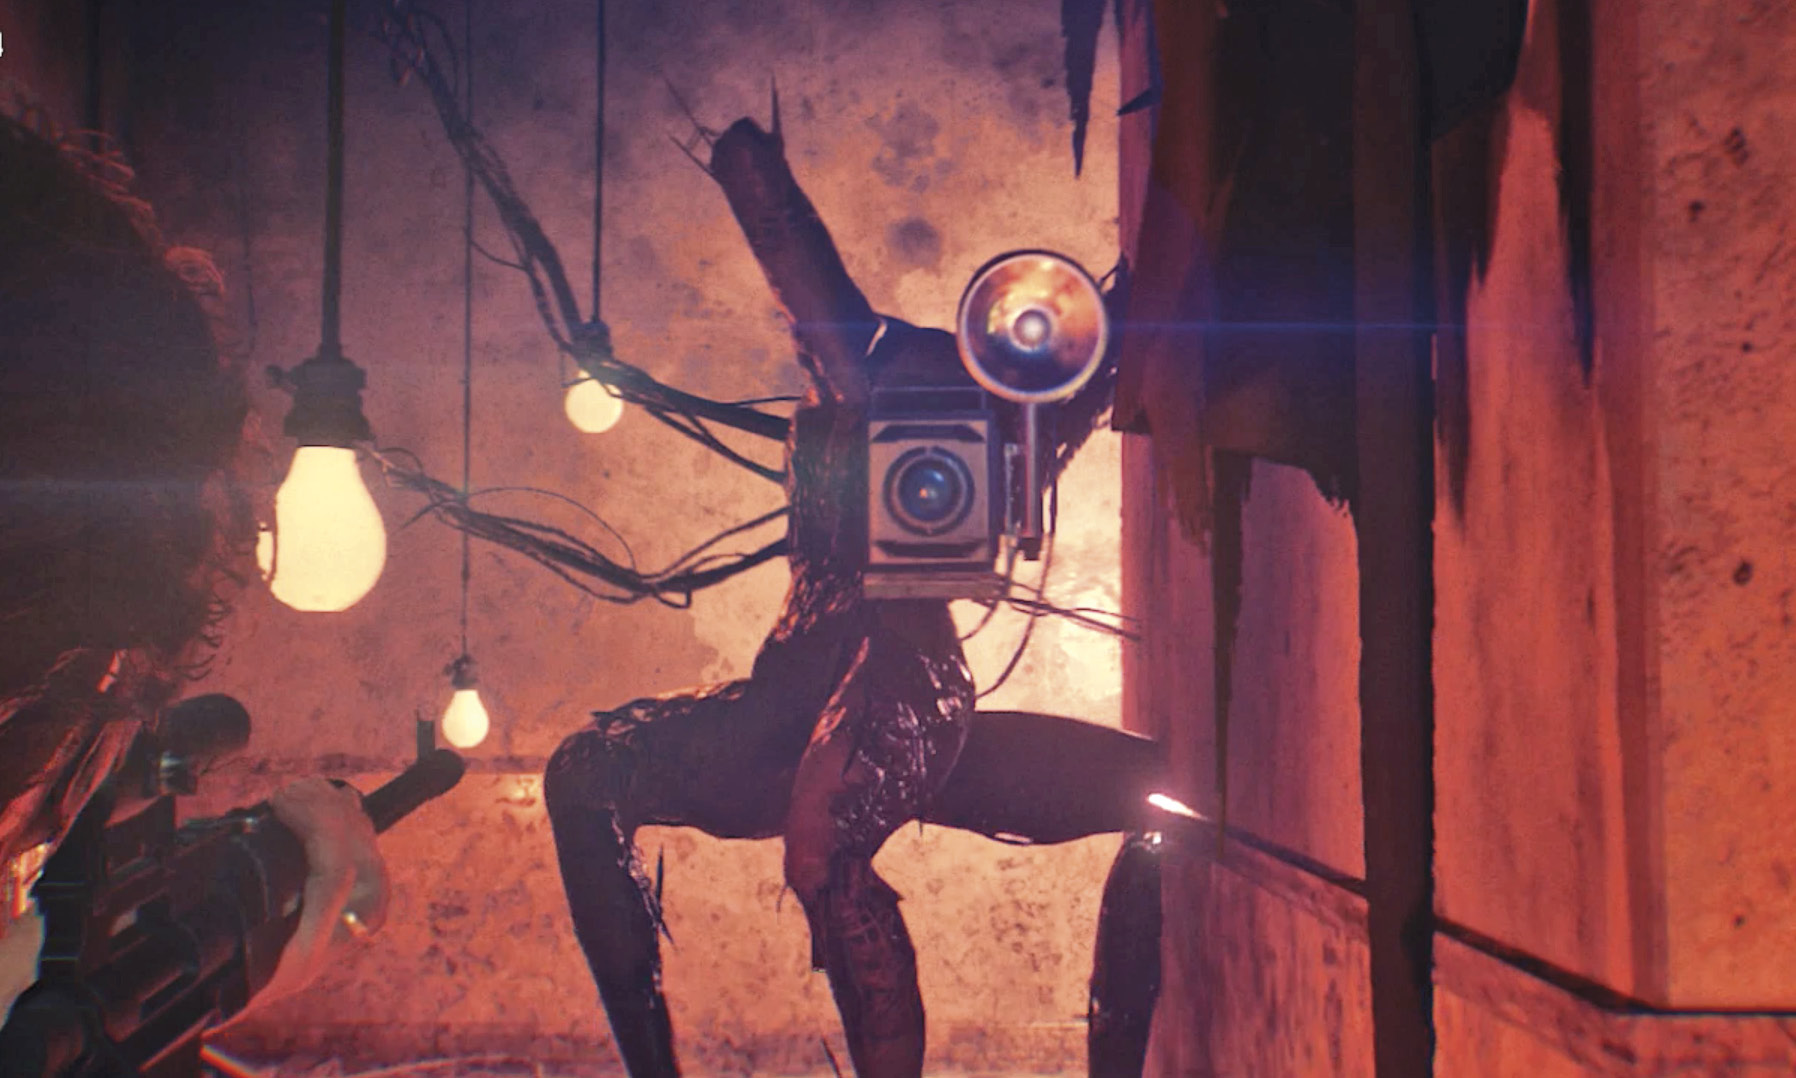
A good tactic is to set up with your Sniper Rifle along the back wall of the room, maintaining a clear view of the Emitter. Nail the Obscura’s lens when it moves in to line up a photo of the Mobius device. Also: Keep an eye upward too. The Obscura can fling its tendrils to the ceiling and hoist itself up!
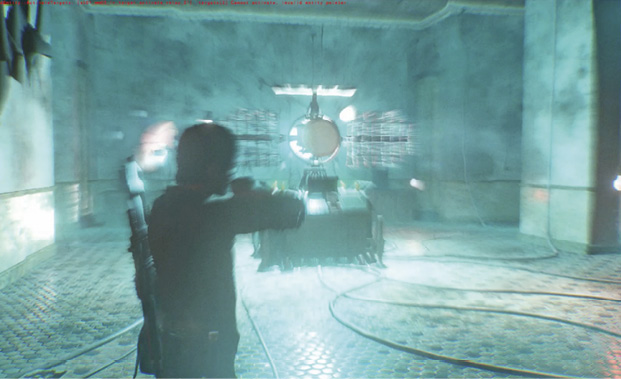
When the countdown finally reaches zero, the Stable Field Emitter fires up and disintegrates the Obscura. Sebastian automatically calls Kidman to provide an update, but he can’t get a signal with his Communicator. Time to head back outside.
Leave City Hall
Exit via the South Hall’s main doors and continue straight ahead through the next doorway onto the balcony walkway  overlooking the First Floor below. Turn left and loot the supply bag loaded with pickups sitting on a bench next to the wall. Keep following the walkway to the next set of doors and enter the office to find a folder on the center desk.
Exit through the open doorway to the left, proceed through the hall to the stairs  , and descend to the first floor. Things are a little different now, so turn right at the bottom of the stairs, then left all the way to the double doors
  and go into the Main Hall. Look directly across the hall; you can see a Locker Key statue through the opposite doorway. Go snag it!
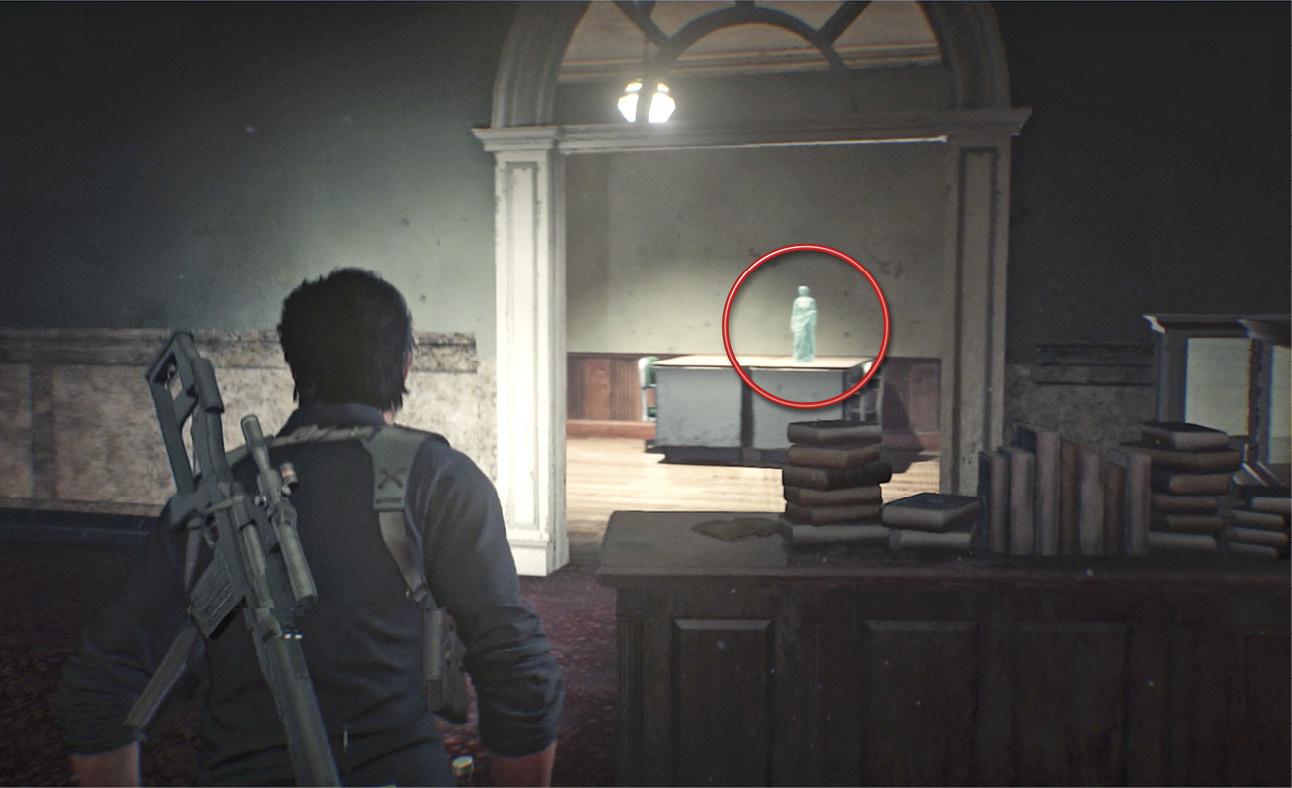
Then come back into the Main Hall, turn left, and exit via the brown double-doors. Continue directly across the hall to the Entrance lobby then leave City Hall via the front entrance  . This exit triggers a long cutscene: Kidman contacts Sebastian, and they discuss the situation. Then Sebastian calls O’Neal, and they discuss the next move. Looks like Stefano has moved his base of operations to the Grand Theater in the Union Business District.