The Evil Within 2 Guide Story Walkthrough
Lust for Art
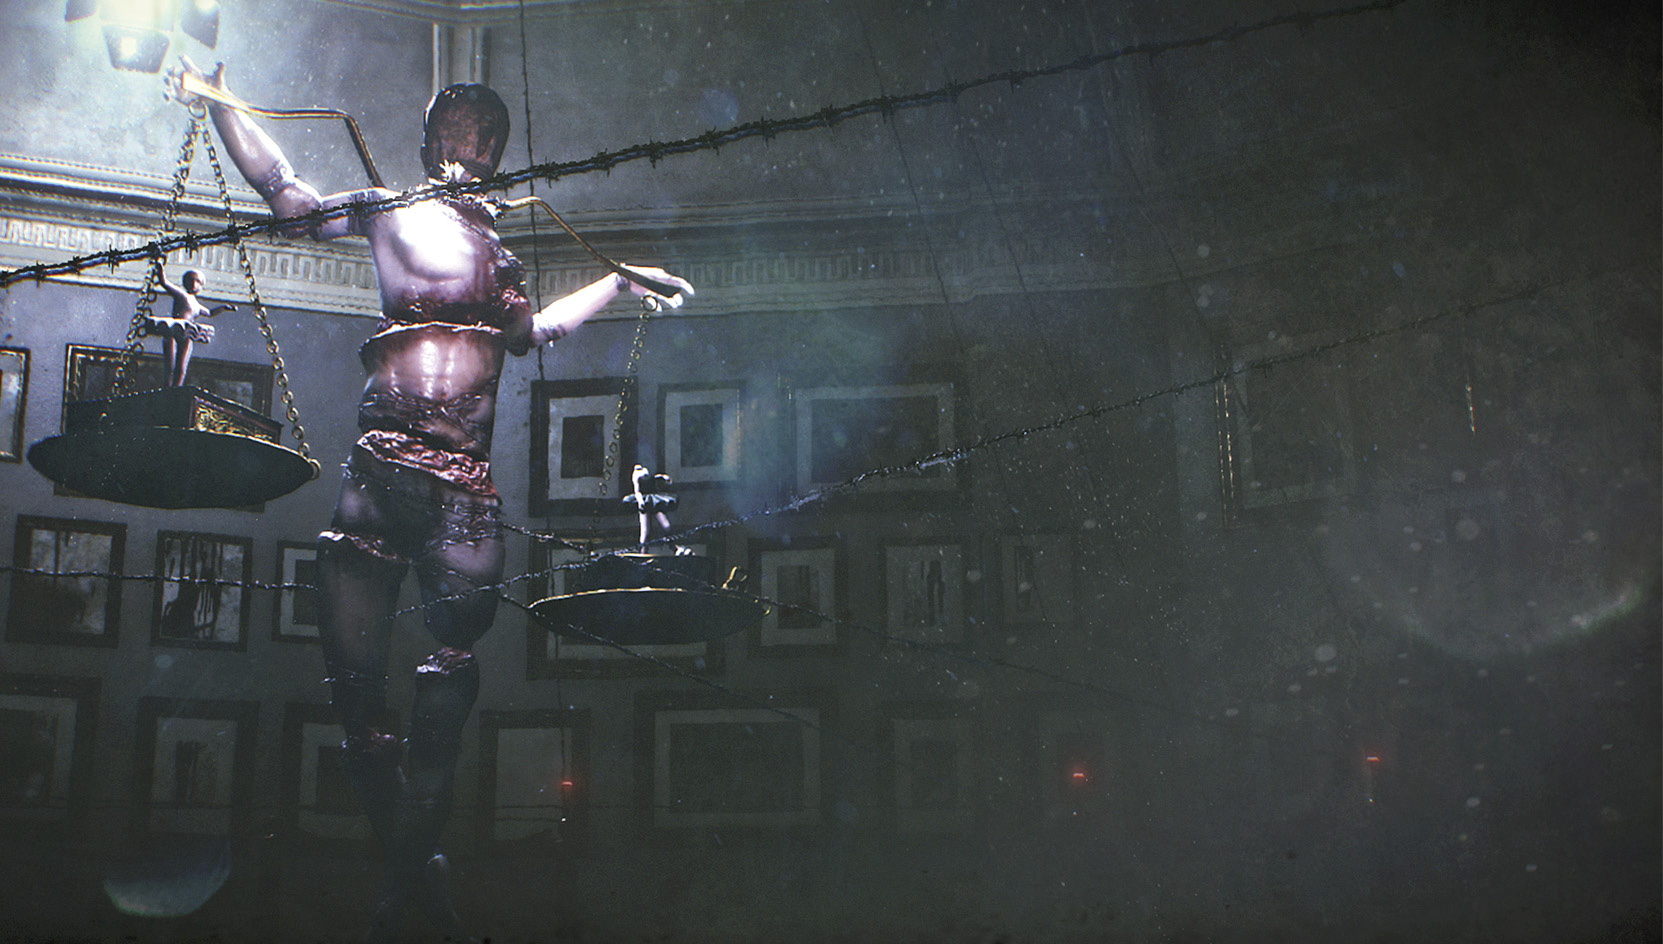
Stefano fancies himself a great artist. Yukiko Hoffman suggests that his pathologic self-regard is also his greatest weakness. If Sebastian can target Stefano’s art—by degrading and outright attacking it—perhaps he can flush out the narcissistic murderer for a confrontation that might save Lily.
Overview
Objectives
- Use the Communicator to search for Stefano’s works of art and destroy them
- Optional: Complete “Out in the Open” side mission
- Optional: Complete “Getting Back Online” side mission
- Use the Communicator to search for the remaining work of art
- Enter the Theater Collectibles
- 1 File
- 1 Slide
- 3 Residual Memories
Objective 1: Use the Communicator to search for Stefano’s works of art and destroy them
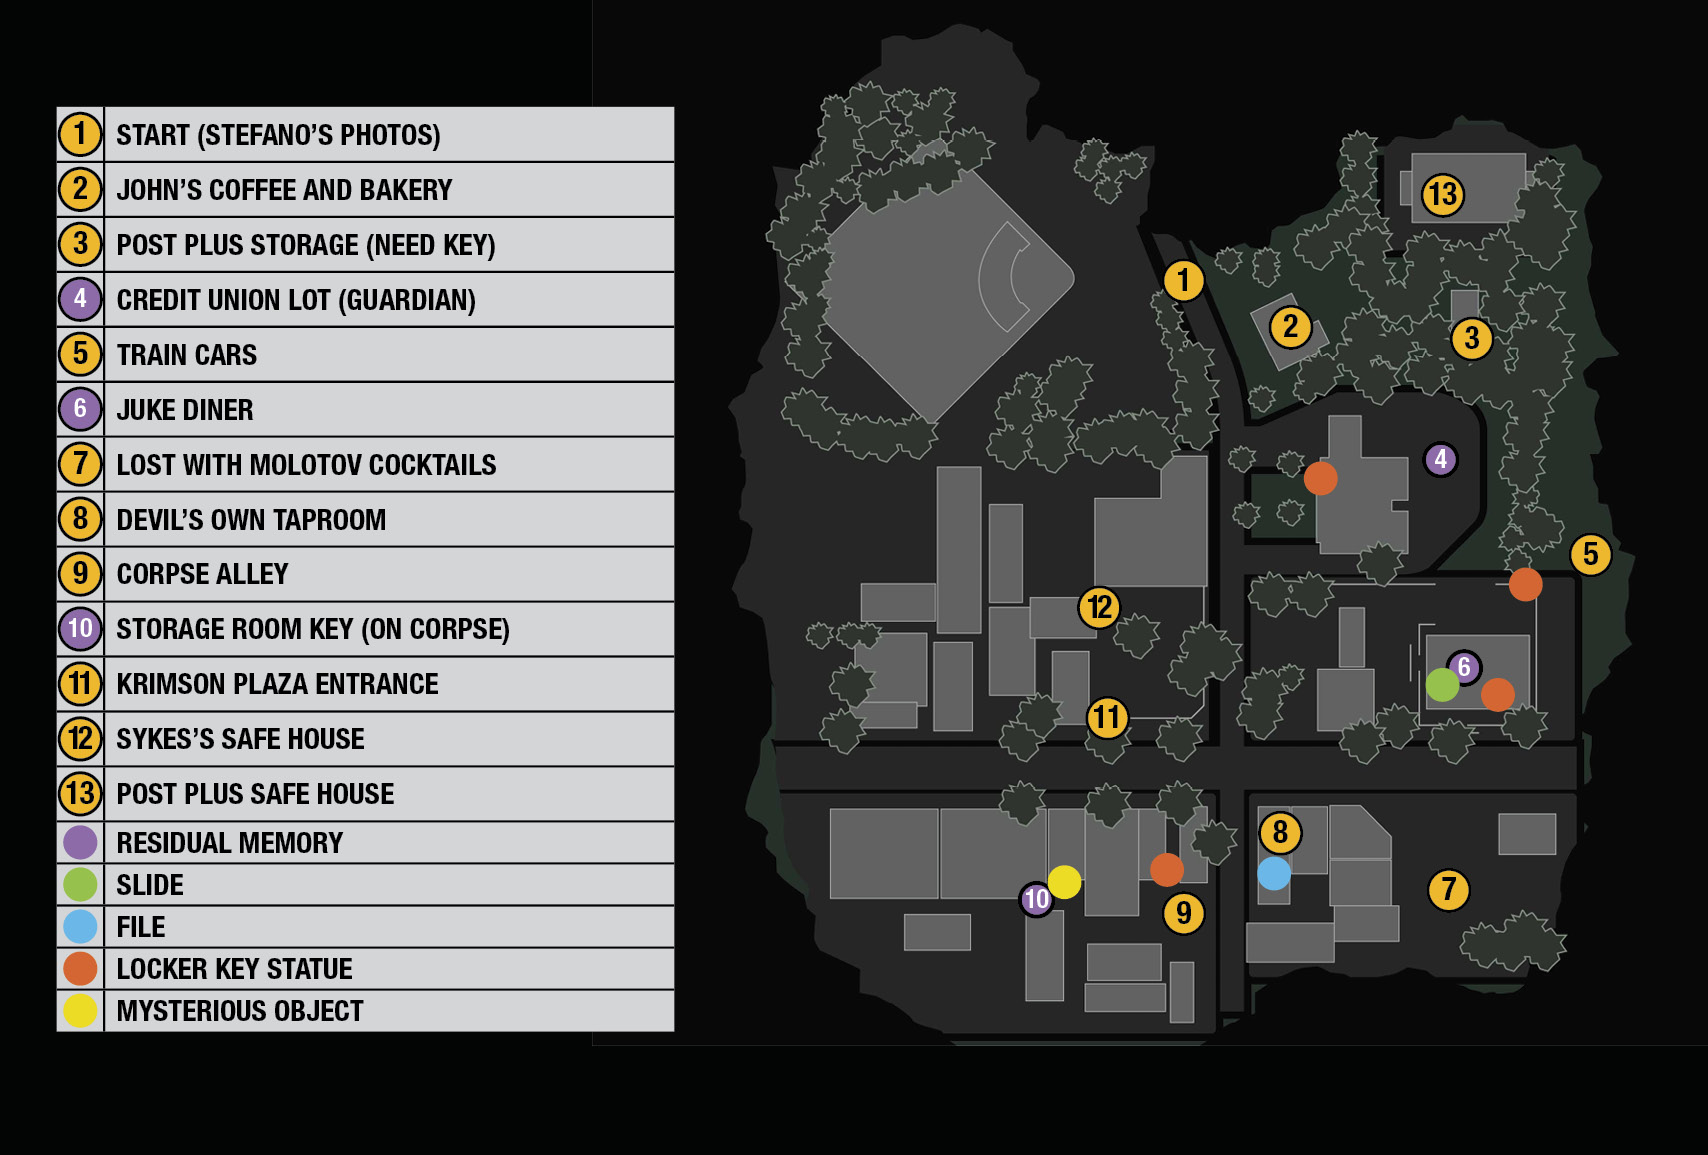
First off, equip your Communicator and lock into one of the orange Resonance waveforms to put search-area circles on your map (at  and
and  ) marking locations for both of Stefano’s works of art. From the chapter starting point at the blocked Grand Theater entrance
  , head across the street to John’s Coffee and Bakery
  .
.
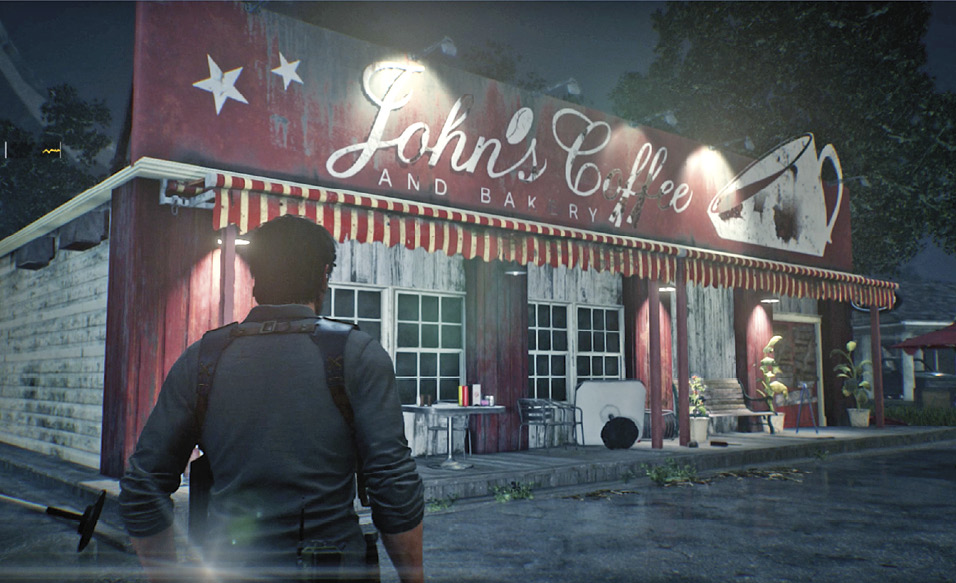
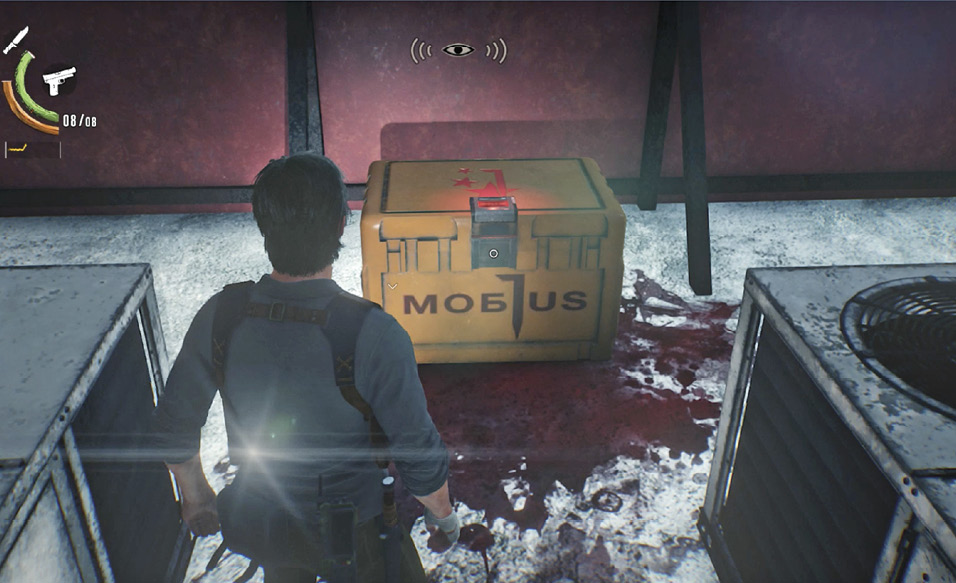
Go around back—careful, there may be a Lost lurking there—and climb the ladder to the roof. There you find pickup items, but the big orange Mobius crate is locked. This is the first of several such crates you’ll find in the area. We’ll get them all unlocked soon enough.
Climb off the coffeehouse roof and move stealthily due east toward the small brick structure  . This serves as a storage room for the Post Plus across the street. Approach with caution: A moaning, chuckling Lament (circled in our shot) paces back and forth just beyond it. The building’s entry door is locked and requires a key that you’ll find later, at the southern edge of the district.
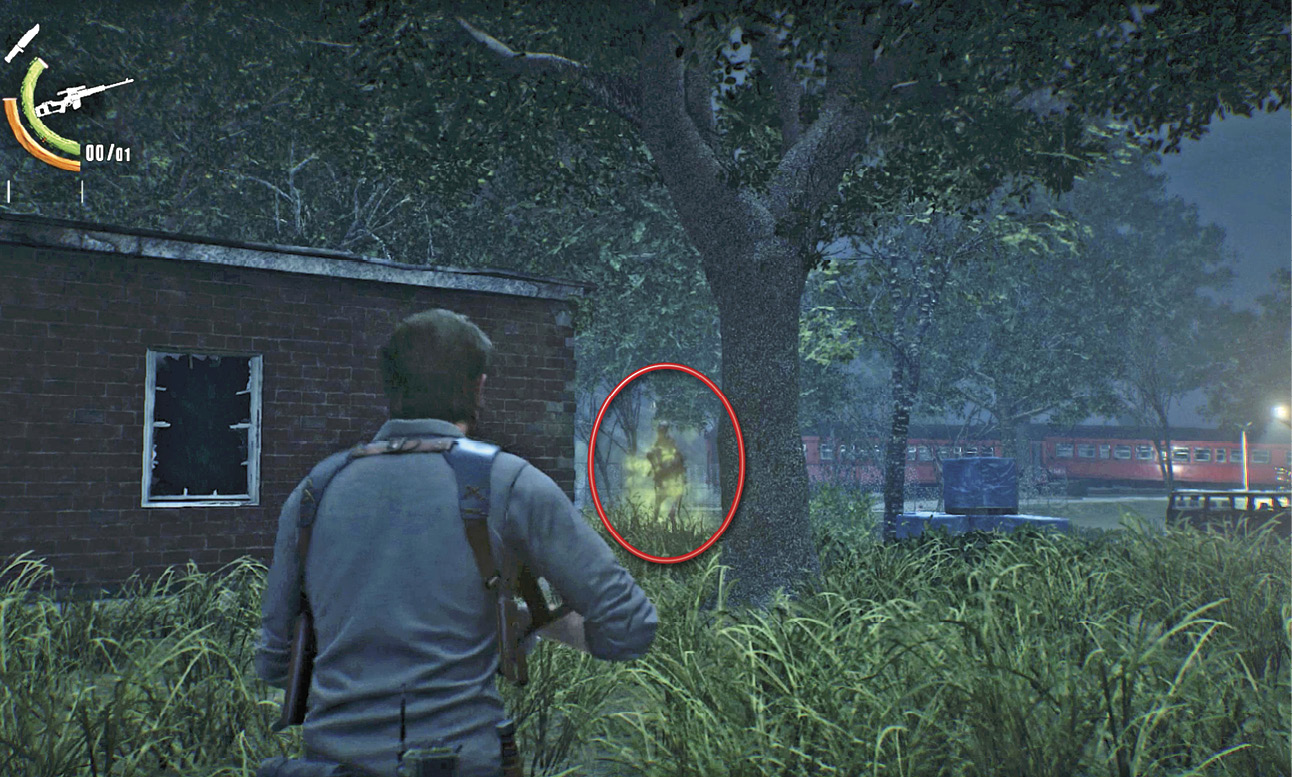
However, it saves you some grief later if you can eliminate the Lament now. Don’t let it spot you! Nail the monster with Sniper Rifle headshots from a good distance, if you can. If you get too close and the Lament sees you before you can kill it, its deafening shriek will awaken several Lost that slumber in the tall grass around the brick structure.
Track the Residual Memory
Head south into the parking lot  of the Sons of Liberty Credit Union. Equip your Communicator and approach the pile of burning corpses near the bus and van. Tune in to a Residual Memory that explains why the corpses are aflame, then get ready for the dramatic arrival of your old friend, the Guardian, who lands atop the van, crushing it.
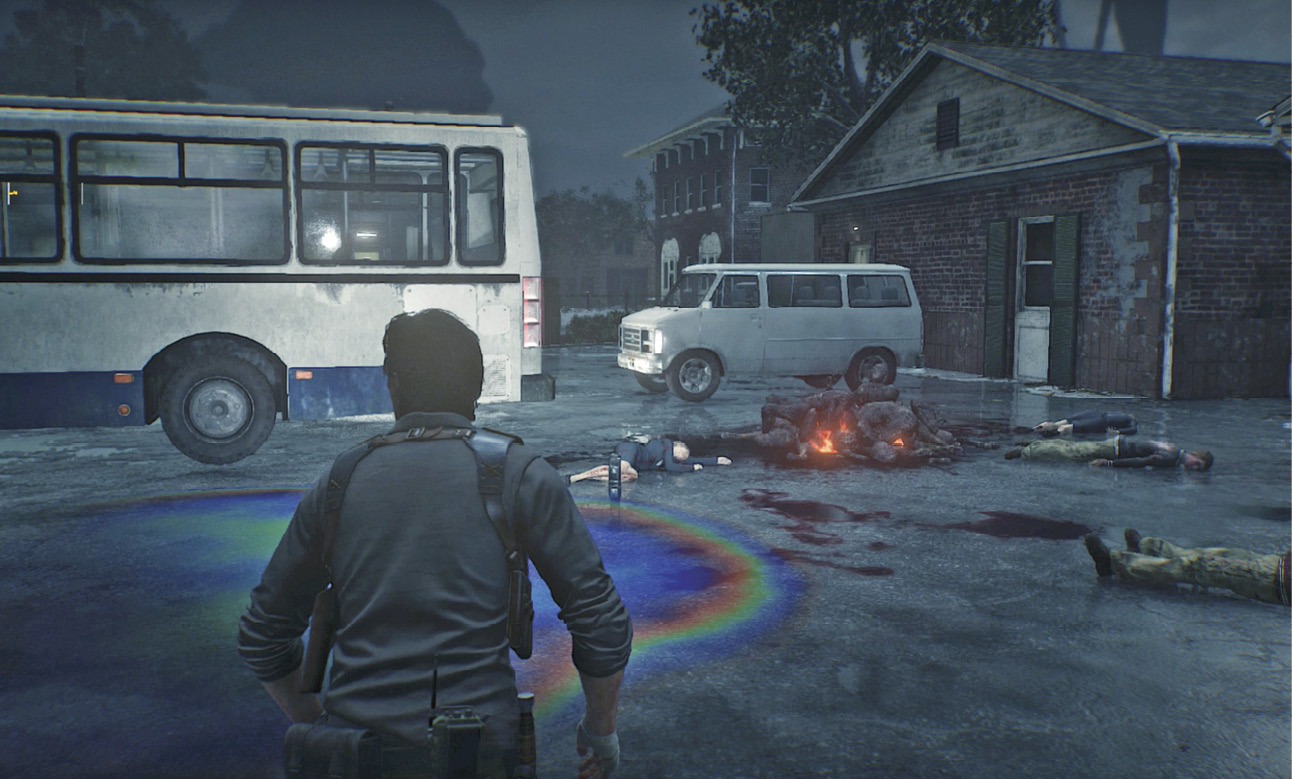
Defeat the Guardian!
Here’s a great tactic for fighting the Guardian this time. Immediately sprint into the bus and go to the rear (not the front). The Guardian cannot follow you inside the bus, so she jumps atop the vehicle and slices a hole in the roof near the front with her circular saw. She jams her arm through the hole and swings the saw toward you for a few seconds, but it won’t reach; after a few seconds, she pulls out the saw, waits a moment, then tries again.
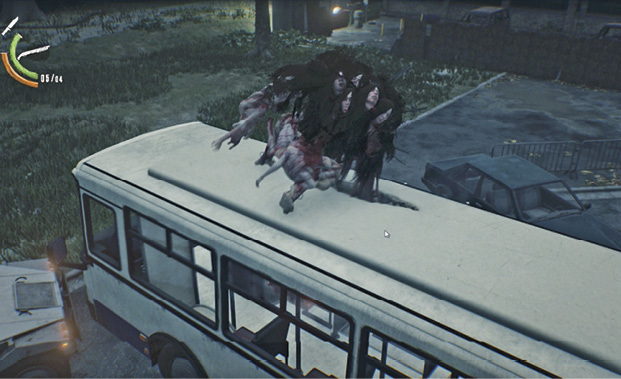
The Guardian will attempt this saw-attack through the bus roof over and over as long as you’re inside. So, when she extracts the saw, wait a couple seconds. Just as she rams her saw-arm back through the roof, hop outside the door and start pumping gunshots into her head area. Keep shooting until she extracts the saw and jumps down. Fire a couple more shots as she hits the ground then quickly hop back inside the bus. The monster will jump back onto the roof and try to reach you with her saw again. Step outside again and fire, luring her back down to the ground. Tip: You want to kill the Guardian while she’s on the ground so you can scoop up the large dose of Green Gel that bleeds out when she dies. If she drops the gel atop the bus, you can’t reach it!
As you engage her on the ground, be ready to hop back into the safety of the bus if the situation gets dire.
(If you’re low on health afterward, you can find a Medical Kit inside a Mobius case in the back of the overturned delivery truck just south of the Credit Union.)
Optional: Clear the train cars
Just to the east sits a pair of derailed traincars  . Two nasty Spawn have made this area their home. One Spawn hangs from the ceiling in the leftmost car, and the other one paces outside the far side of the rightmost car. If you engage one, the other will come to support its ugly cousin. You’ll find very few pickups in the traincars, so enter only if you want the challenge of killing Spawn.
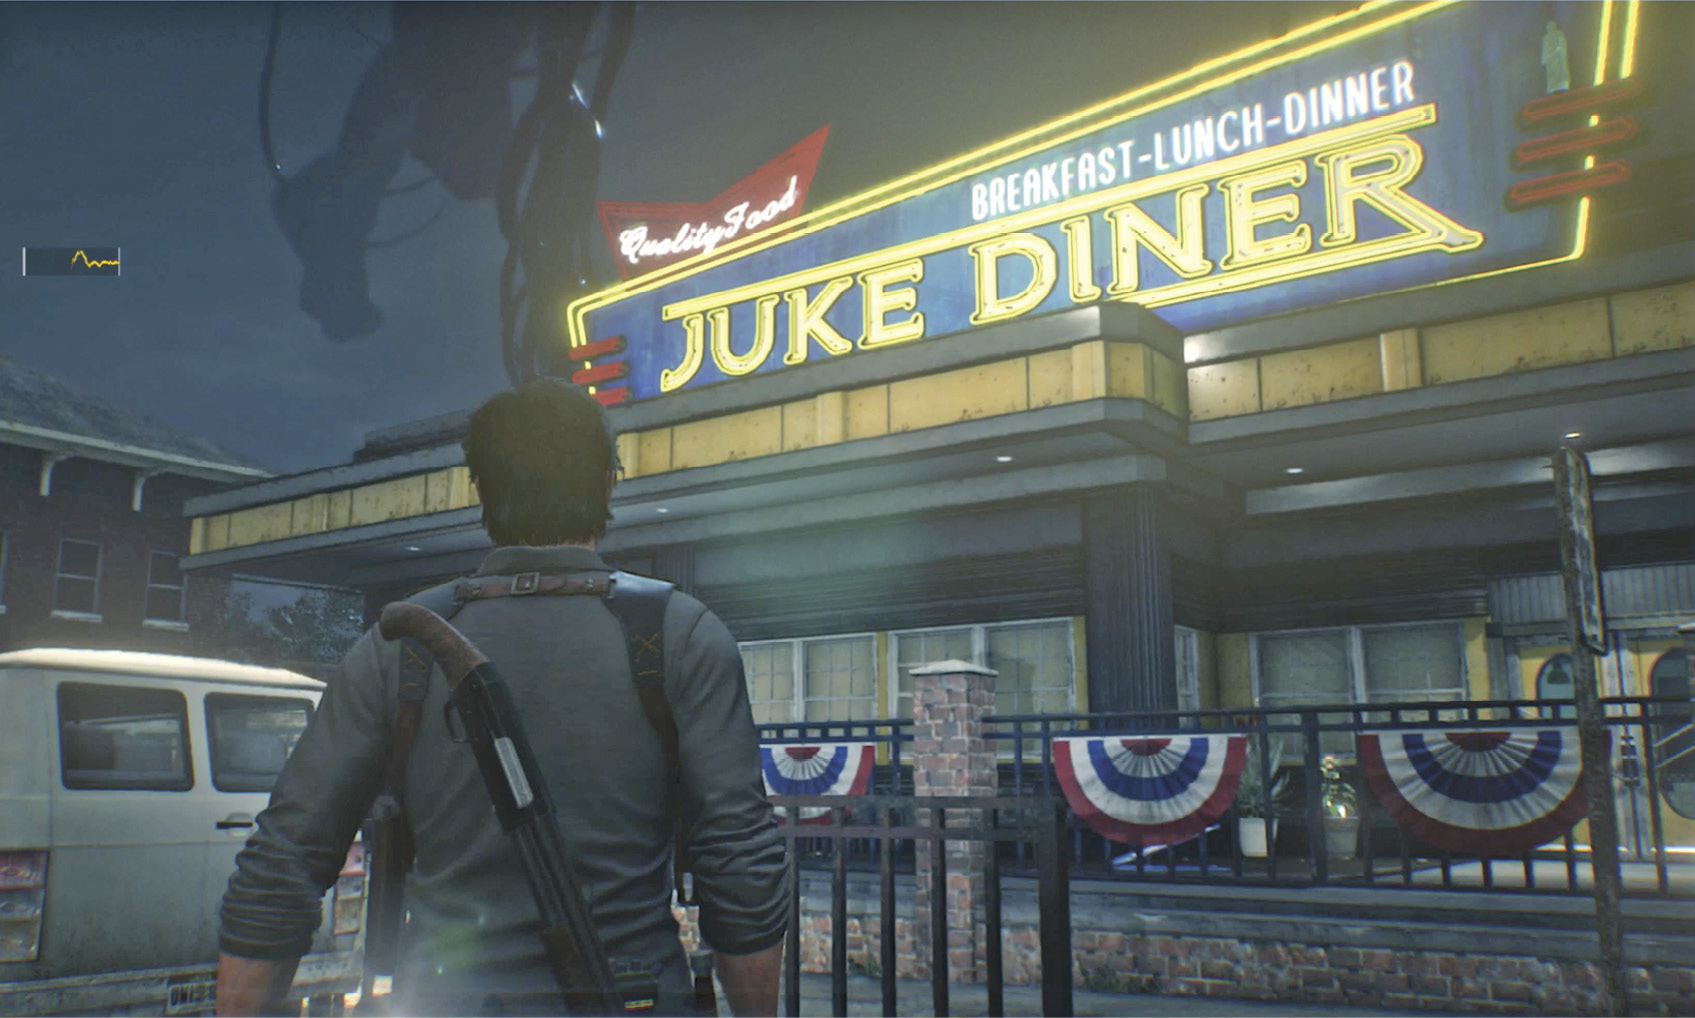
Juke Diner: Find a Memory
Continue southward to the Juke Diner  . Explore around the outside of the building. You find a fallen Mobius operative with a Sniper Rifle Ammo Pouch; an open Mobius case full of useful goodies; and a Fuji Dew machine that you can hit for Green Gel jars. Then head inside the diner.
Back in the kitchen, approach the man slumped in a chair. Equip your Communicator and tune in the Residual Memory to learn something about the man’s fate. Then suddenly the place goes ice-cold, both exit doors lock, and the jukebox starts to play. Approach it to trigger the always pleasant appearance of Sebastian’s stalker, the Anima.
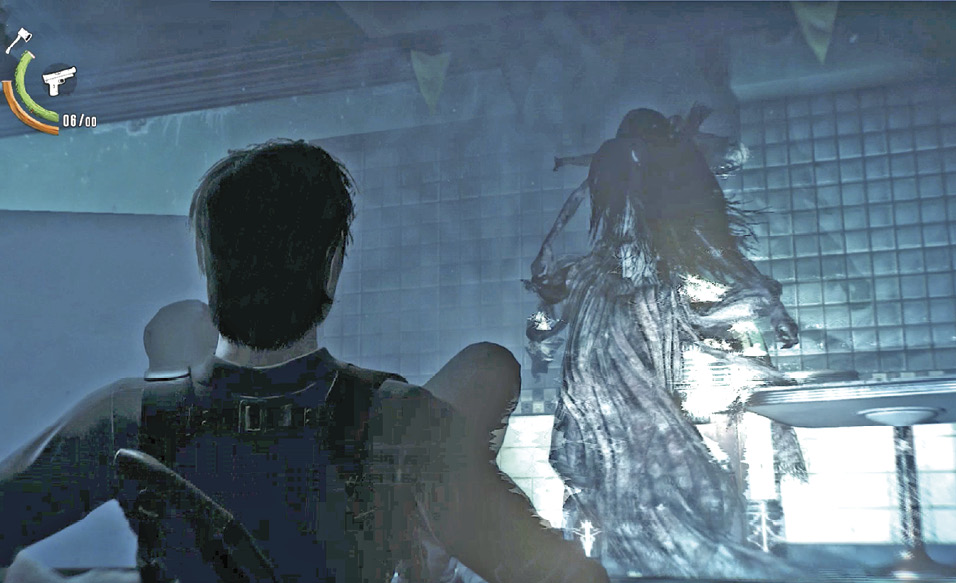
Survive the Anima Event
Turn and sprint down the long corridor that has appeared directly behind you. Yes, you’re back in the asylum. Push through the door into the room then try to open the next door on the right. It’s locked! Sebastian automatically ducks behind a counter as the Anima drifts into the room and then melts right into the mirror on the wall. Inside the mirror reflection, she opens the locked door… and the actual door to your right opens too!
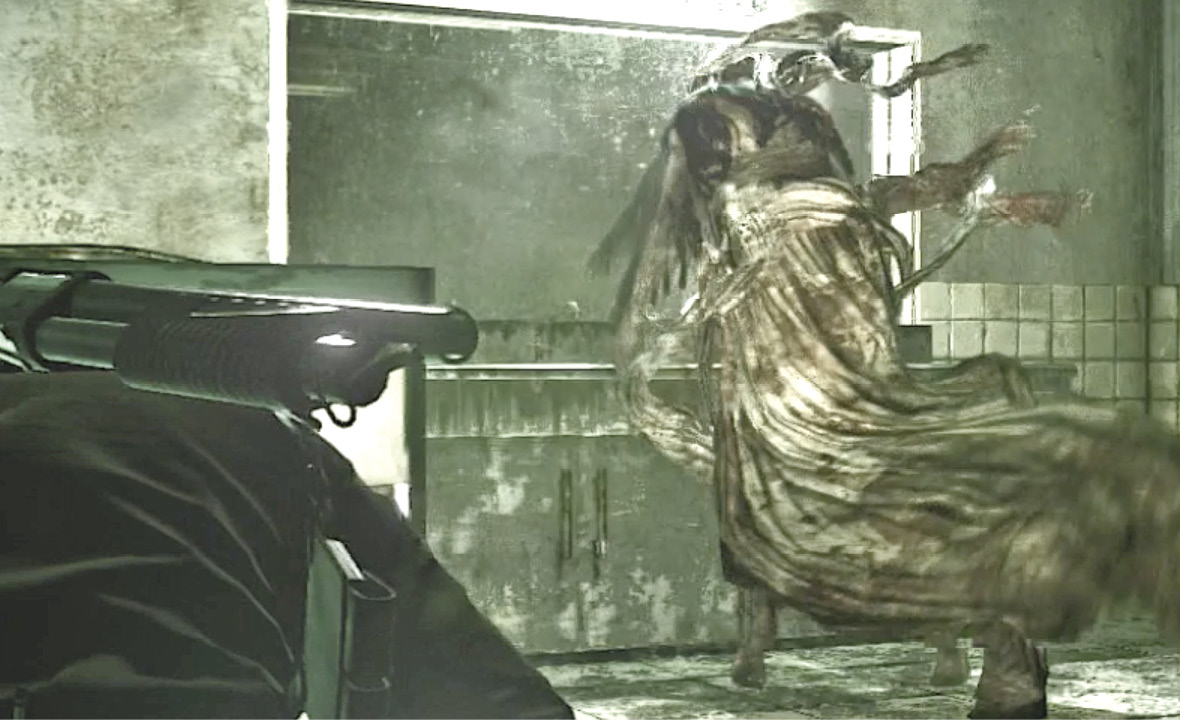
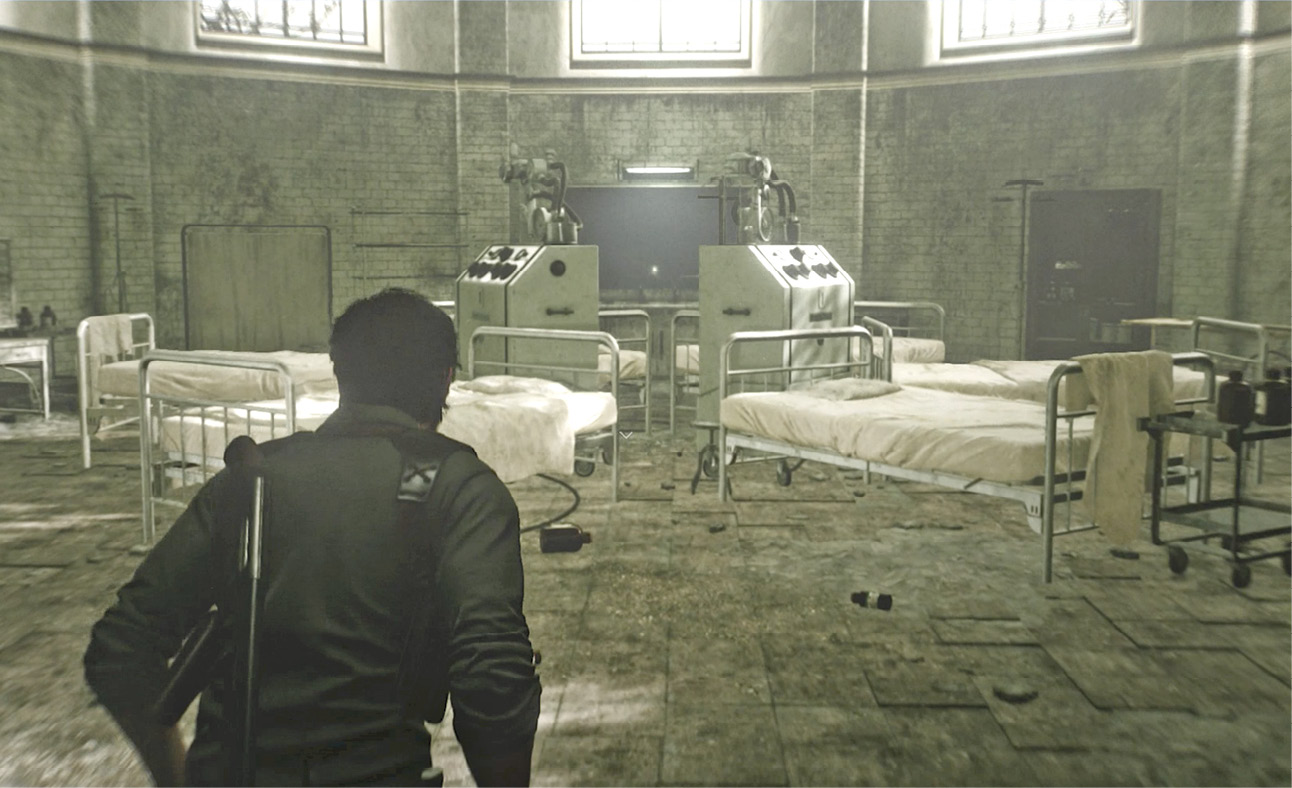
Go through that now-opened door and push through the next set of doors down the hall. Step forward into a circular domed chamber with a set of hospital beds arranged around strange machinery. Four side doors lead from the room, but if you try any of them they all lead right back into this room. Approach the big mirror on the far wall. Suddenly the Anima bursts through!
Back away and she disappears. Then go look in the mirror again. Notice that the window in one of the four doors is brightly lit (circled in our shot). But if you turn to look at the actual door that is being reflected, its window is not lit up. Go through that door. (If you go through any of the other three doors you end up right back here in this chamber.)
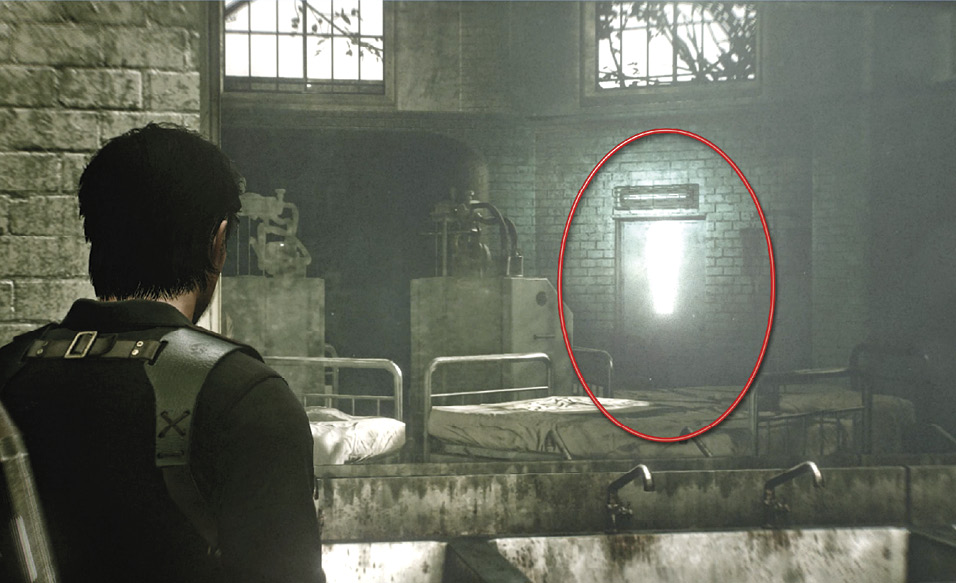
This leads into a smaller, dark hospital room with another mirror on its far side. As you approach the mirror, the Anima emerges again! Duck behind the room dividers and try to stay out of her sight as she slowly floats around the room. When the Anima drifts to the side of the room opposite the mirror, hustle to the mirror and look in to find which of the exit doors is lit up again in the reflection.
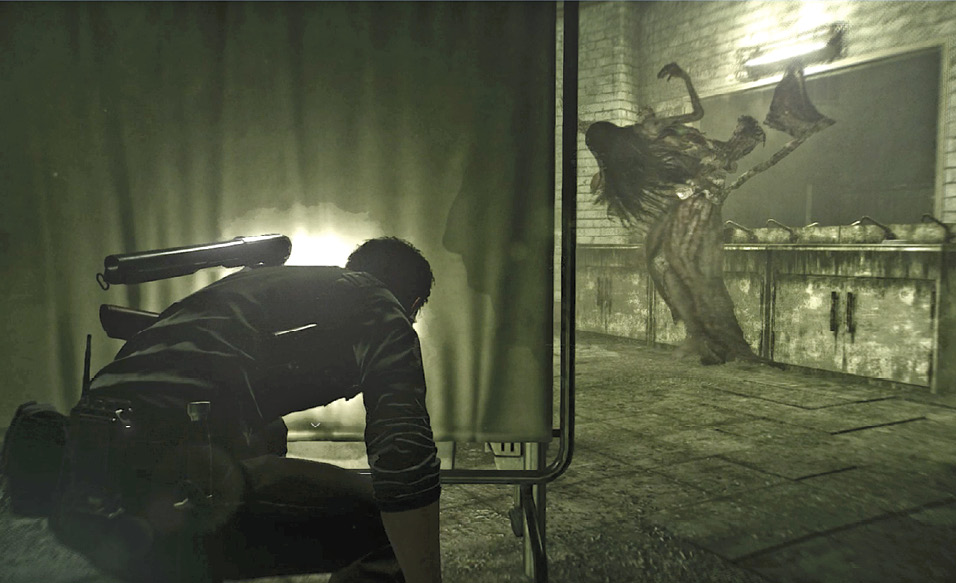
If you can turn and reach that door without getting spotted, you can open it and head safely (except for a few hallucinations) down the corridor beyond until Sebastian is zapped back into the Juke Diner kitchen. Be sure to snag the photographic slide that now sits in the dead man’s hand.
Optional: Break up the fire dance
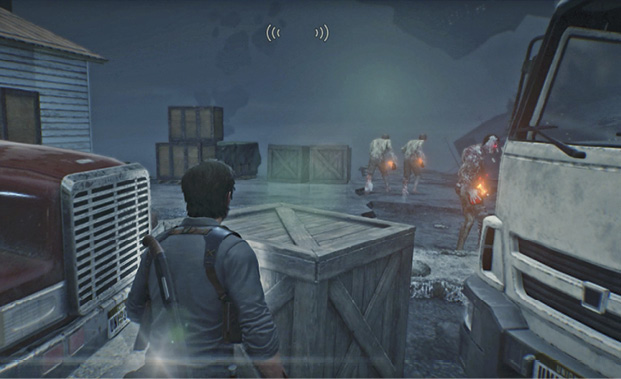
Cross the street from the front of Juke Diner, head right, then take a left into the street blocked off by vehicles. You find a crew of Lost carrying lit Molotov cocktails  circling a pile of burning corpses in some sort of demented ritual. Gun them down before they can toss their Molotov cocktails at you. Bust up all the breakable crates at the dead end to find a handful of pickup items.
Destroy Stefano’s art
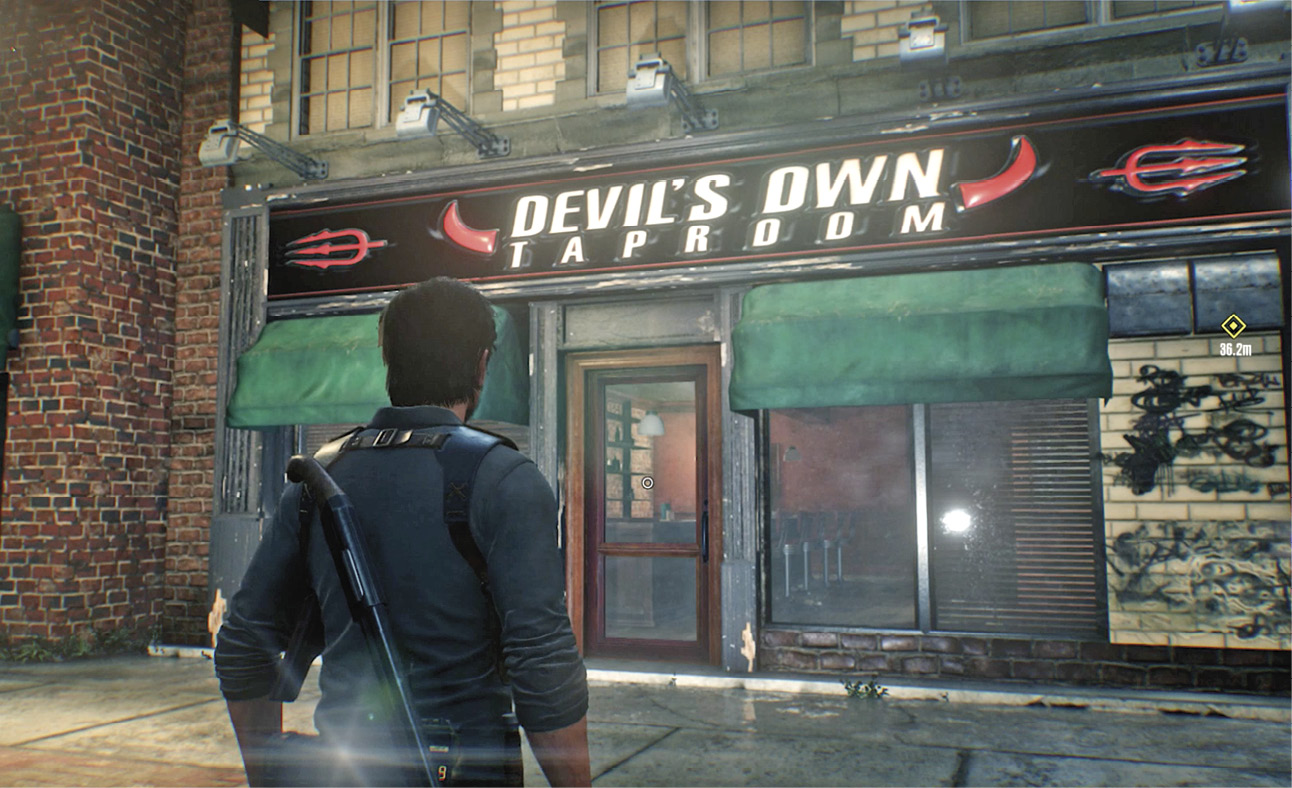
Enter the Devil’s Own Taproom  on the south end of the district. Grab the Barkeep’s Journal in the corner then go through the door into the back room where you find Stefano’s photo hanging at the far end. Investigate the framed portrait; Sebastian tries to defile it but gets yanked into another odd hotel-like corridor.
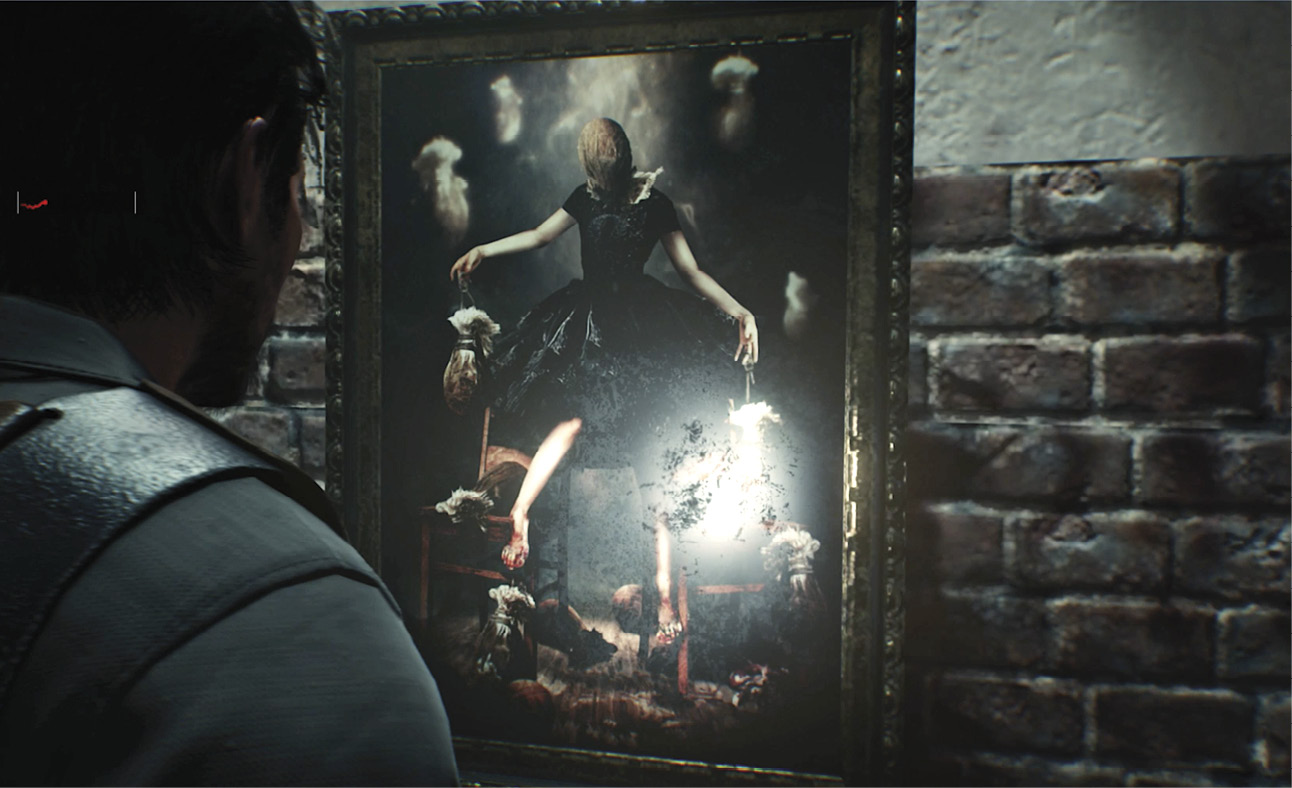
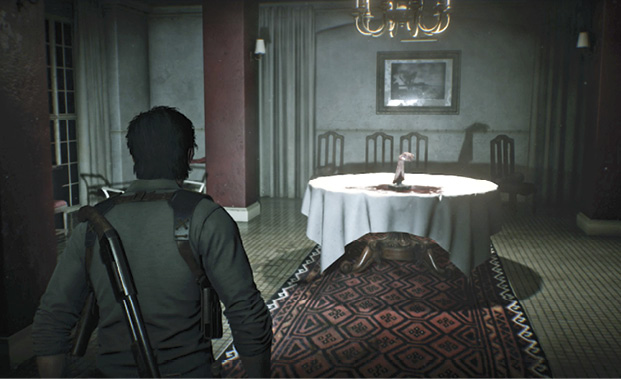
Sebastian ends up behind a locked gate, staring at the “sculpture” that served as the subject of the photograph. You need a key to unlock the gate. Turn around and head down the long corridor, stopping if you want to view murky, chilling images of Stefano creating his “work.” At the corridor’s end, you find a severed hand holding a key; it sits on a table under a chandelier. Take the key and grab the pickups in the room, including Handgun Bullets and a Smoke Bolt.
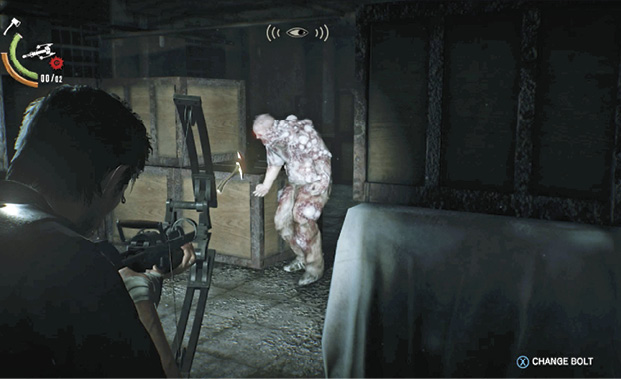
Head back up the corridor to find that a shimmering translucent barrier now blocks the route back to the locked gate. Angry Lost are on the other side. Veer left through a new wall opening into a crate-filled storage area. Move with stealth; you can take out all of the Lost using Sneak Kills if you’re patient. Look for a nice Hand Axe stuck in a crate along the way too. If you get swarmed, fire the Smoke Bolt into the floor then gun down the temporarily blinded foes. Eventually you reach a heavy iron gate that you can lift by tapping the Open button indicated onscreen.
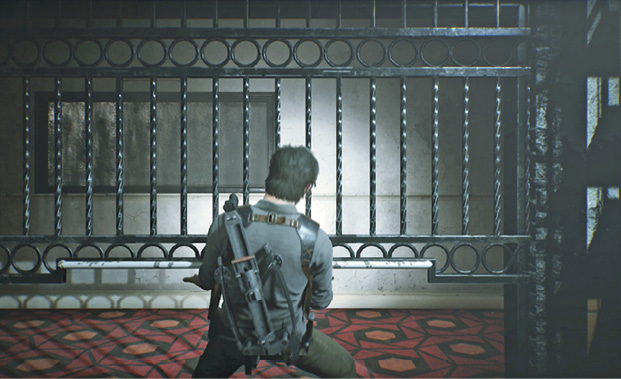
Proceed down the corridor to the locked gate. Now that you have the key, it unlocks nicely, but when you step toward the sculpture with the nametag “Lisa Crane,” a maze of barbed wire strands suddenly pulses with electricity. You must creep very carefully through these strands. Touching any wire will zap you causing extremely painful damage.
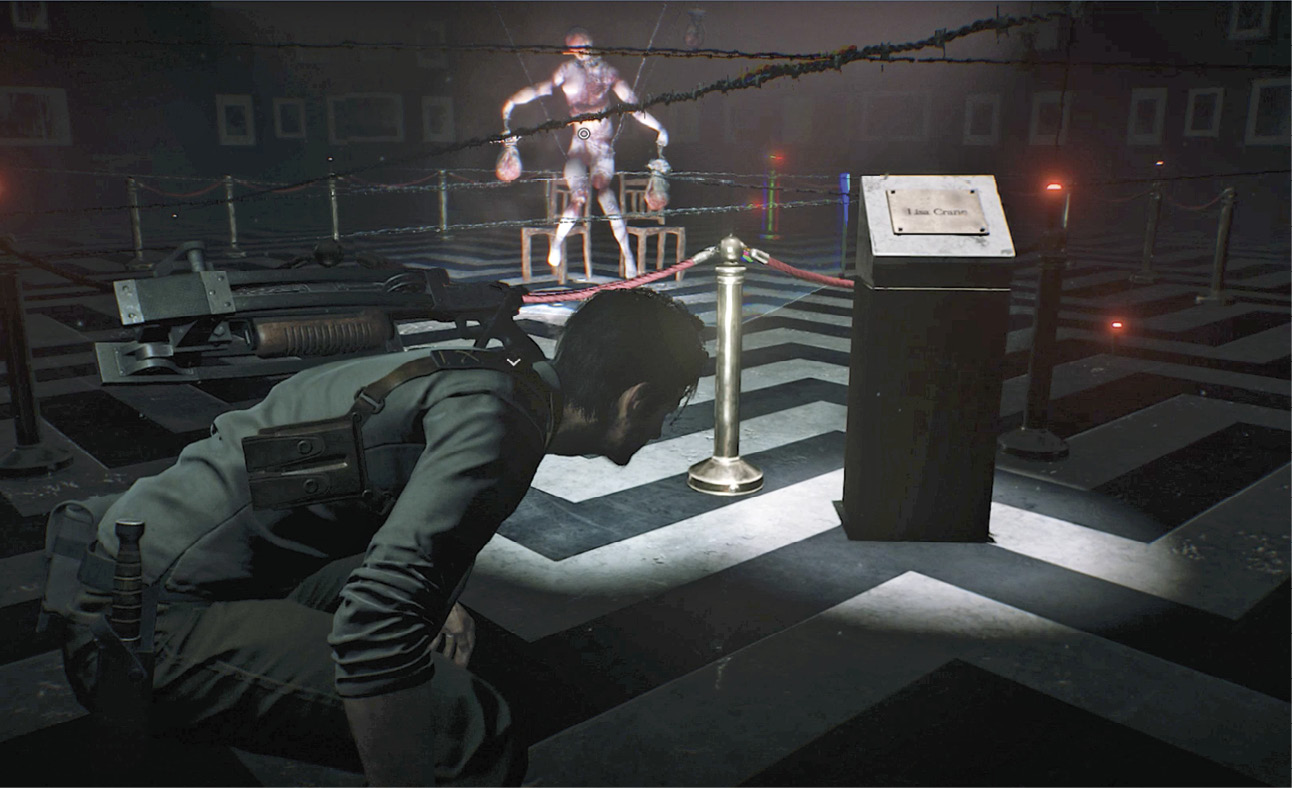
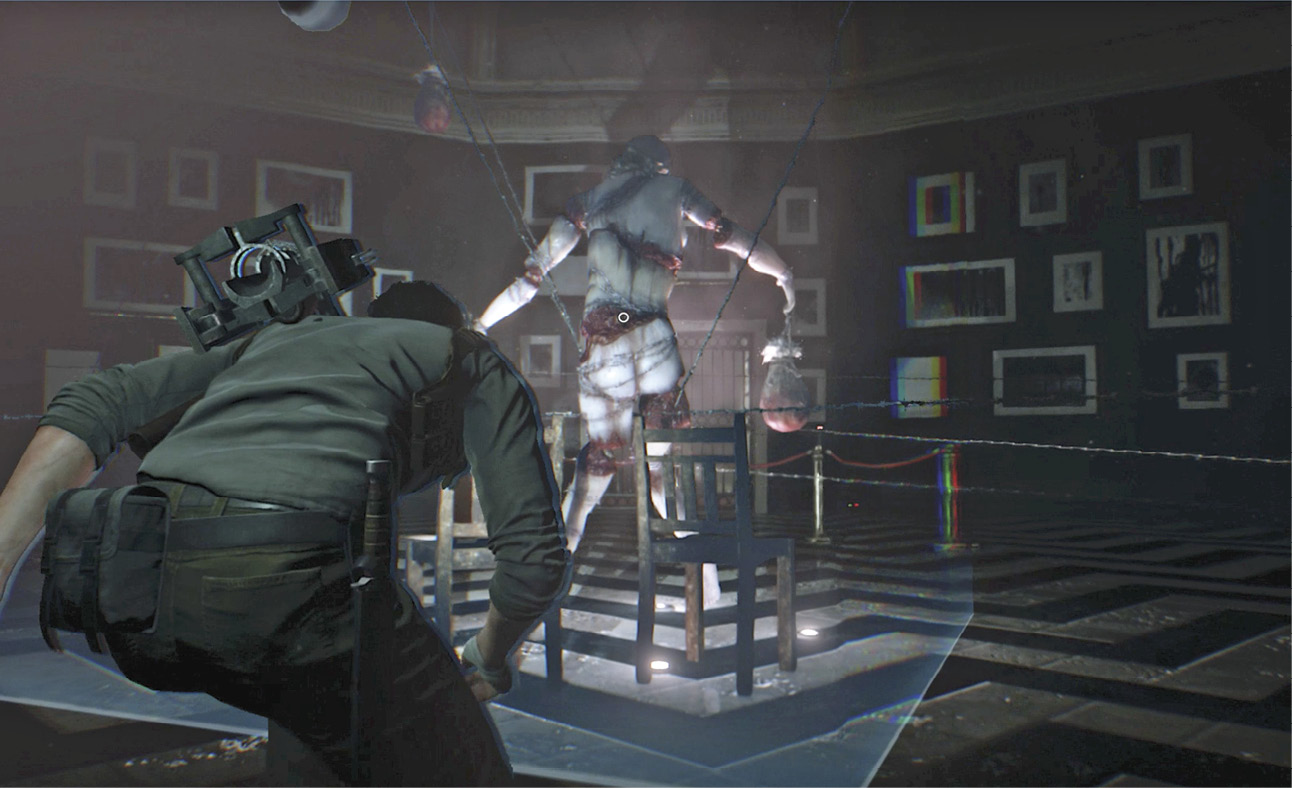
From the start, crouch and head to the right, keeping closer to the wall at first, then veering in toward the display. Move under strands, some of which are strung across at deceptive angles from low to high. The pulses of electricity flashing through the wires are disorienting, so make sure your flashlight is on—you can see the actual barbed wire better. Stay crouched the entire time and move slowly. Once you get inside the blue “frozen-time” warp you can stand behind the sculpture and destroy it. One down, one to go!
Find Stevens
Exit the Devil’s Own Taproom, head left, then left again and carefully approach the alleyway  behind a row of businesses where a few Lost are piling up corpses by an overturned delivery truck.
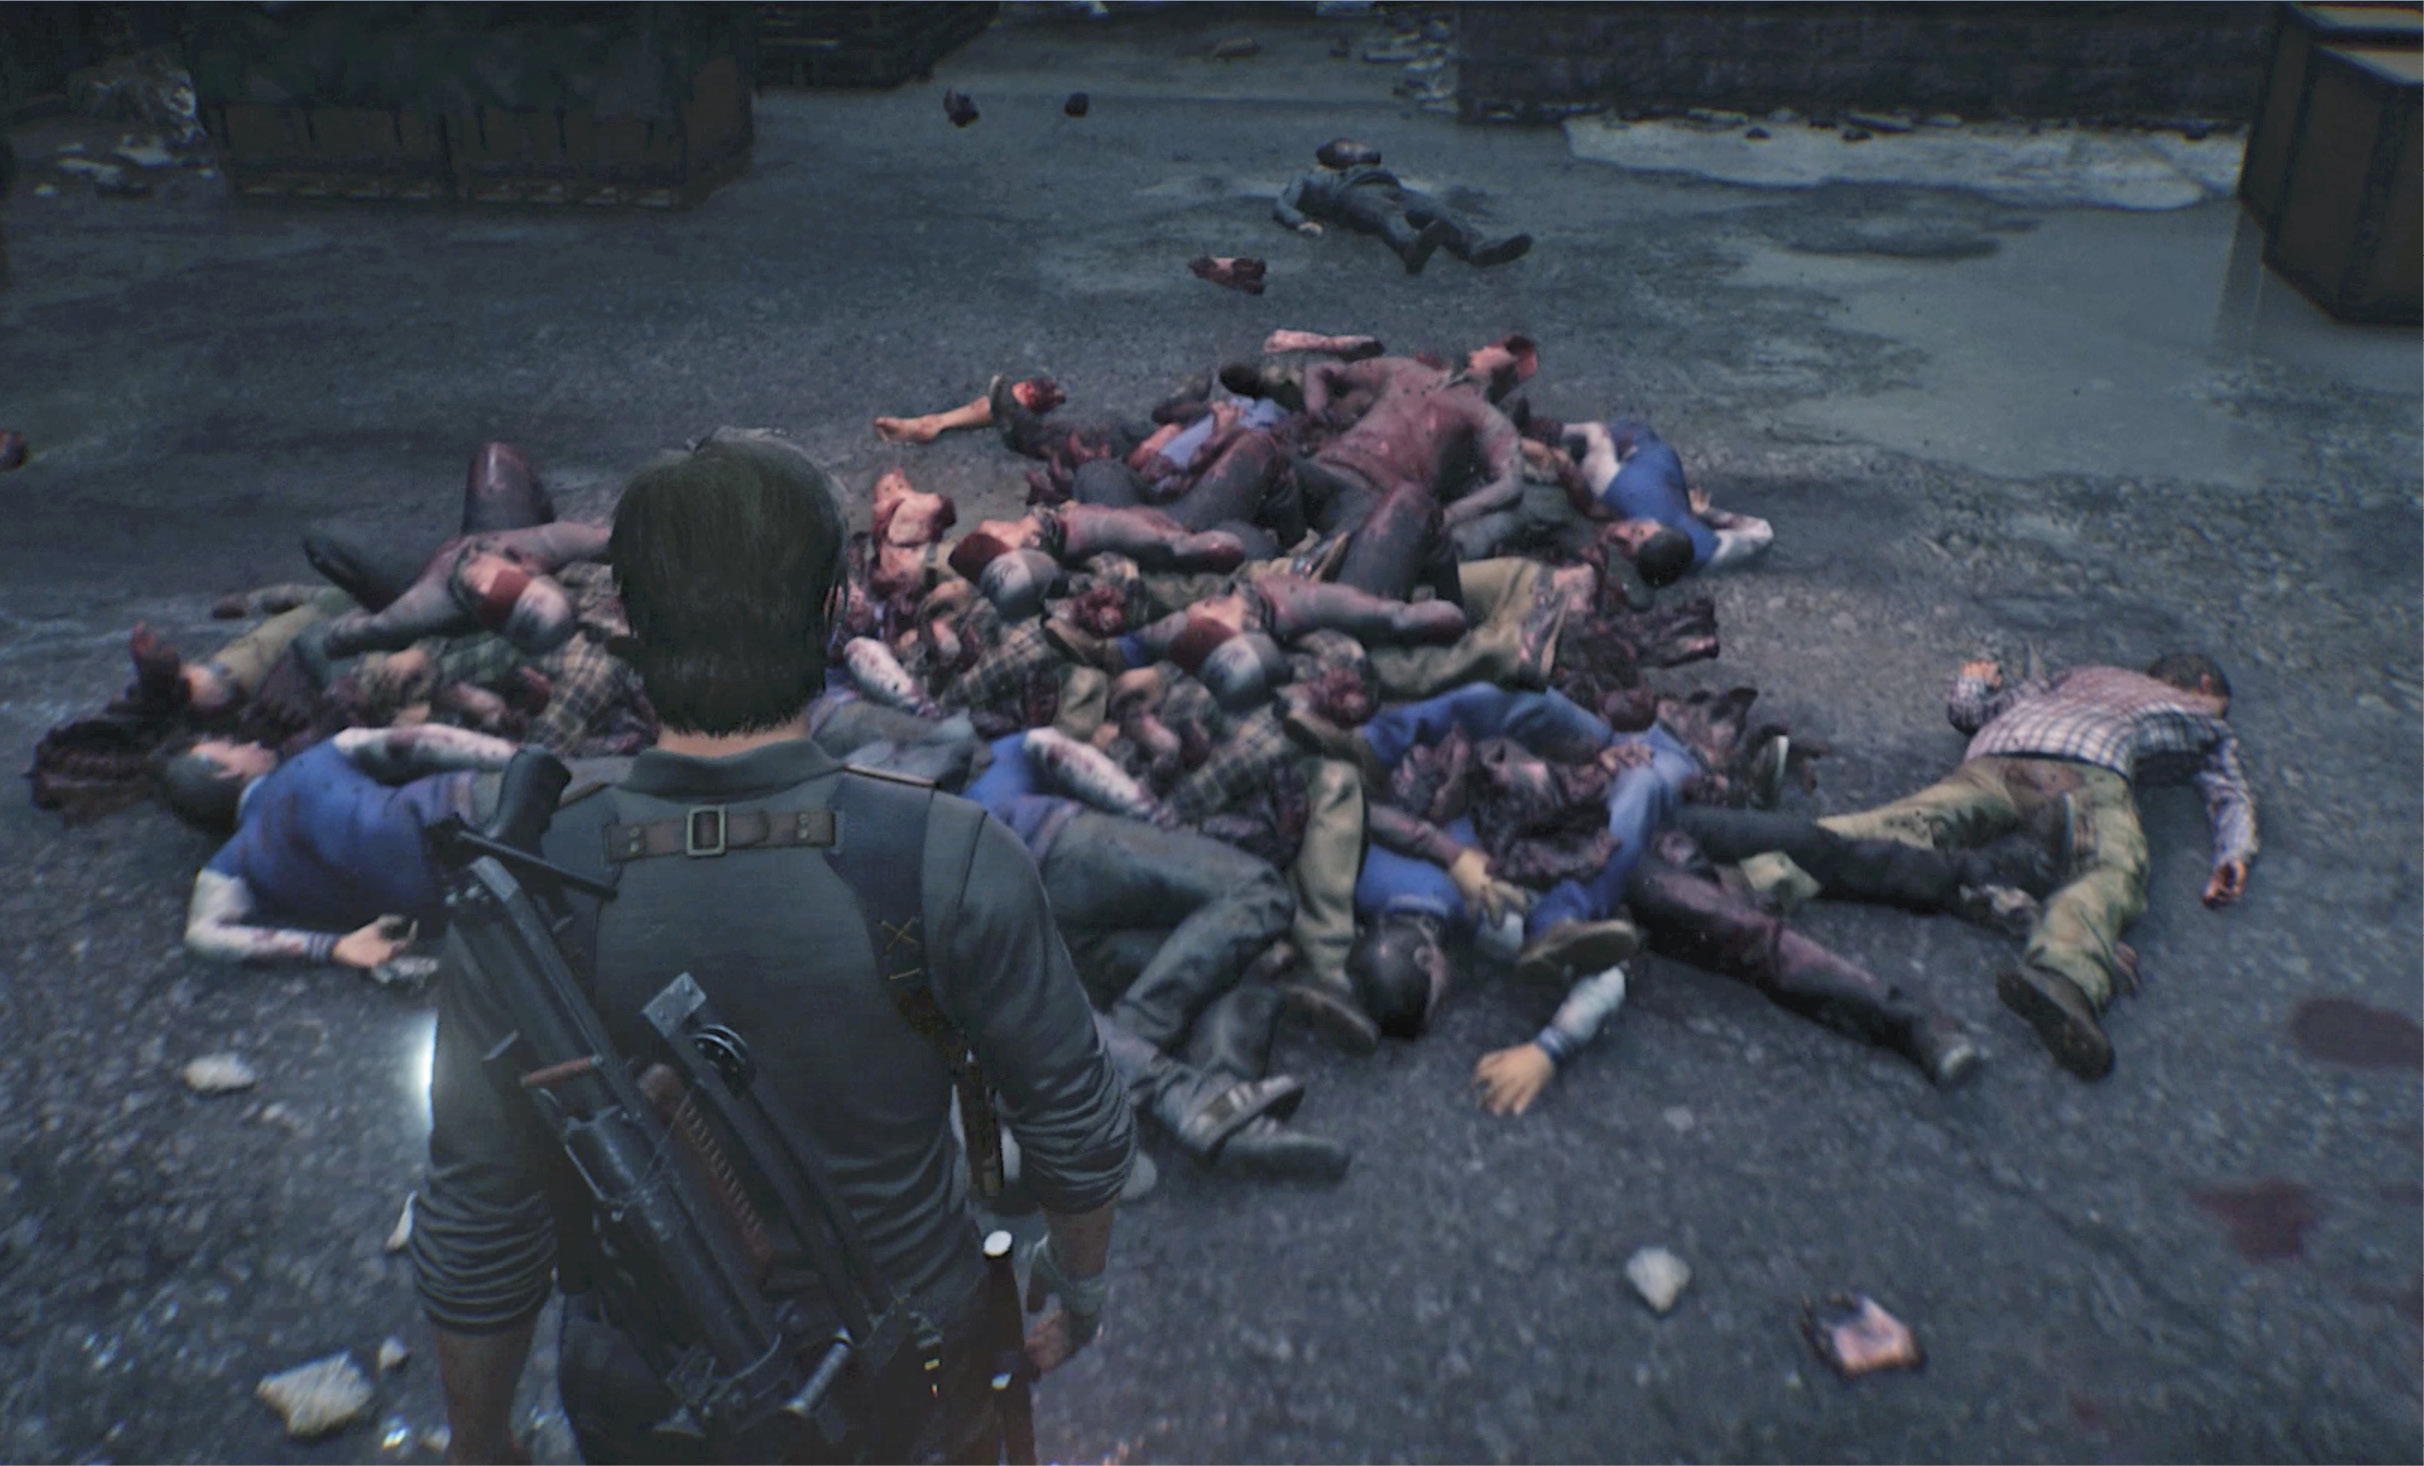
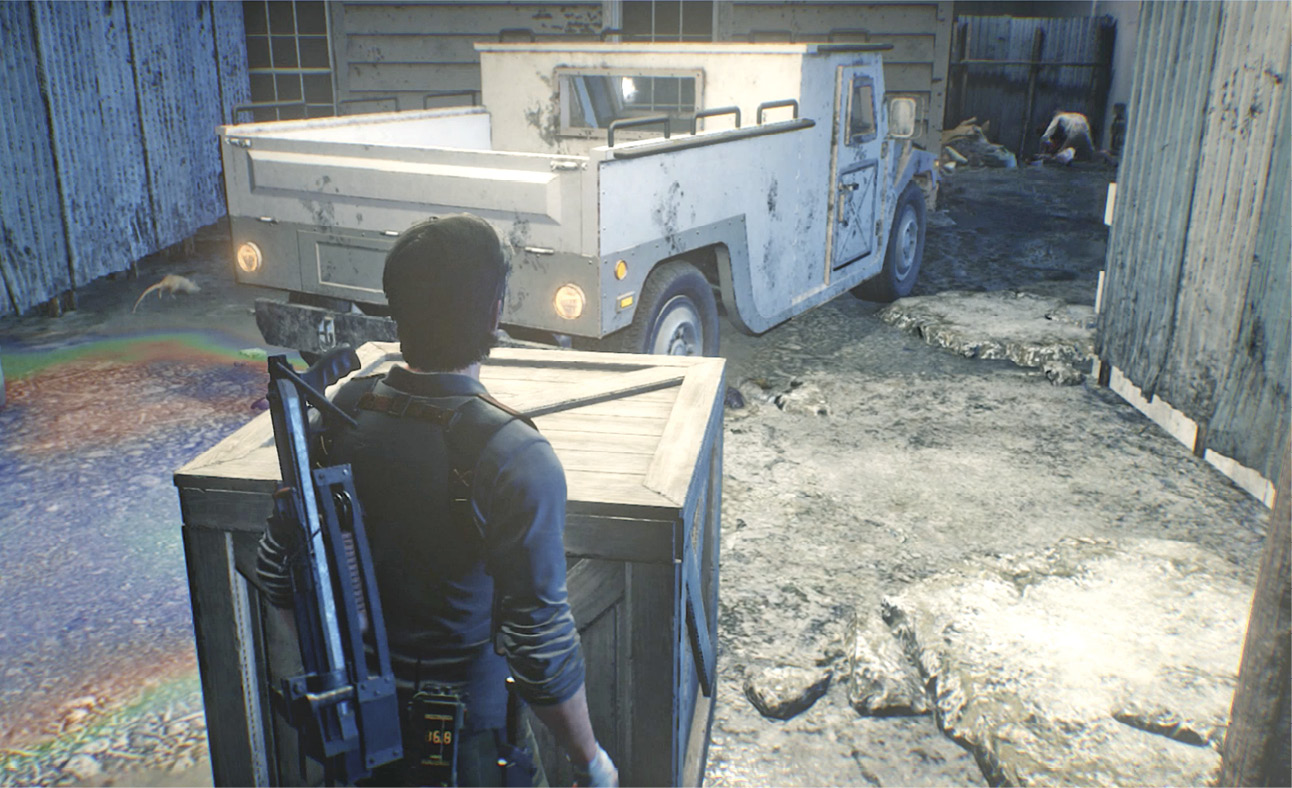
Eliminate the Lost near the truck and smash up crates to get pickups, including some inside the truck. Find a Locker Key statue up above you on the corner of a building roof. Then continue down the alley to see a Mobius APC up ahead.
Sneak past the APC and kill the Lost tearing at a corpse in the short alley  . Use your Communicator to track the Resonance Point and then tune into the Residual Memory to learn that this corpse is Stevens, the operative referred to in the “Waiting for Stevens” memory. Search her to discover that, sure enough, she has the key to the Post Plus storage room. Before you leave the alley, find the Mysterious Action Figure in the blue bin just around the corner from Stevens.
Defeat another Guardian!
When you approach the pile of corpses as you leave the alley, the “parts and pieces” suddenly gather together to form yet another Guardian! You can use the back of the delivery truck as a safe space, hopping out to shoot her then ducking back inside when she attacks.
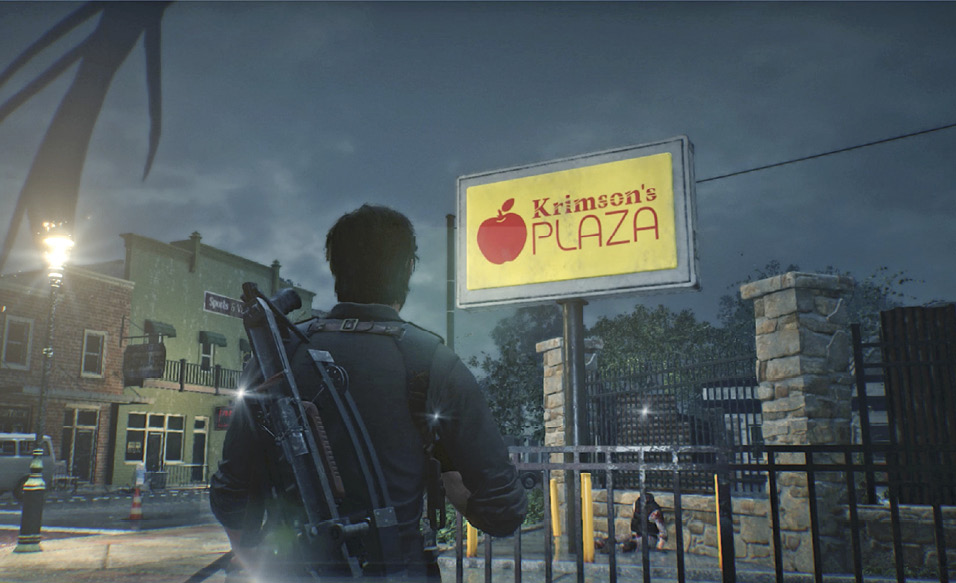
Once she finally falls, exit the alley and follow the street up to Krimson’s Plaza where you hear gunfire. Turn left at the corner and head toward the plaza’s entry gate  , where you see several Lost crawling over the top. Open the gate to trigger a scene: A Mobius Search Team member is trapped atop an overturned delivery truck by a snarling Lost pack. He calls for your help!
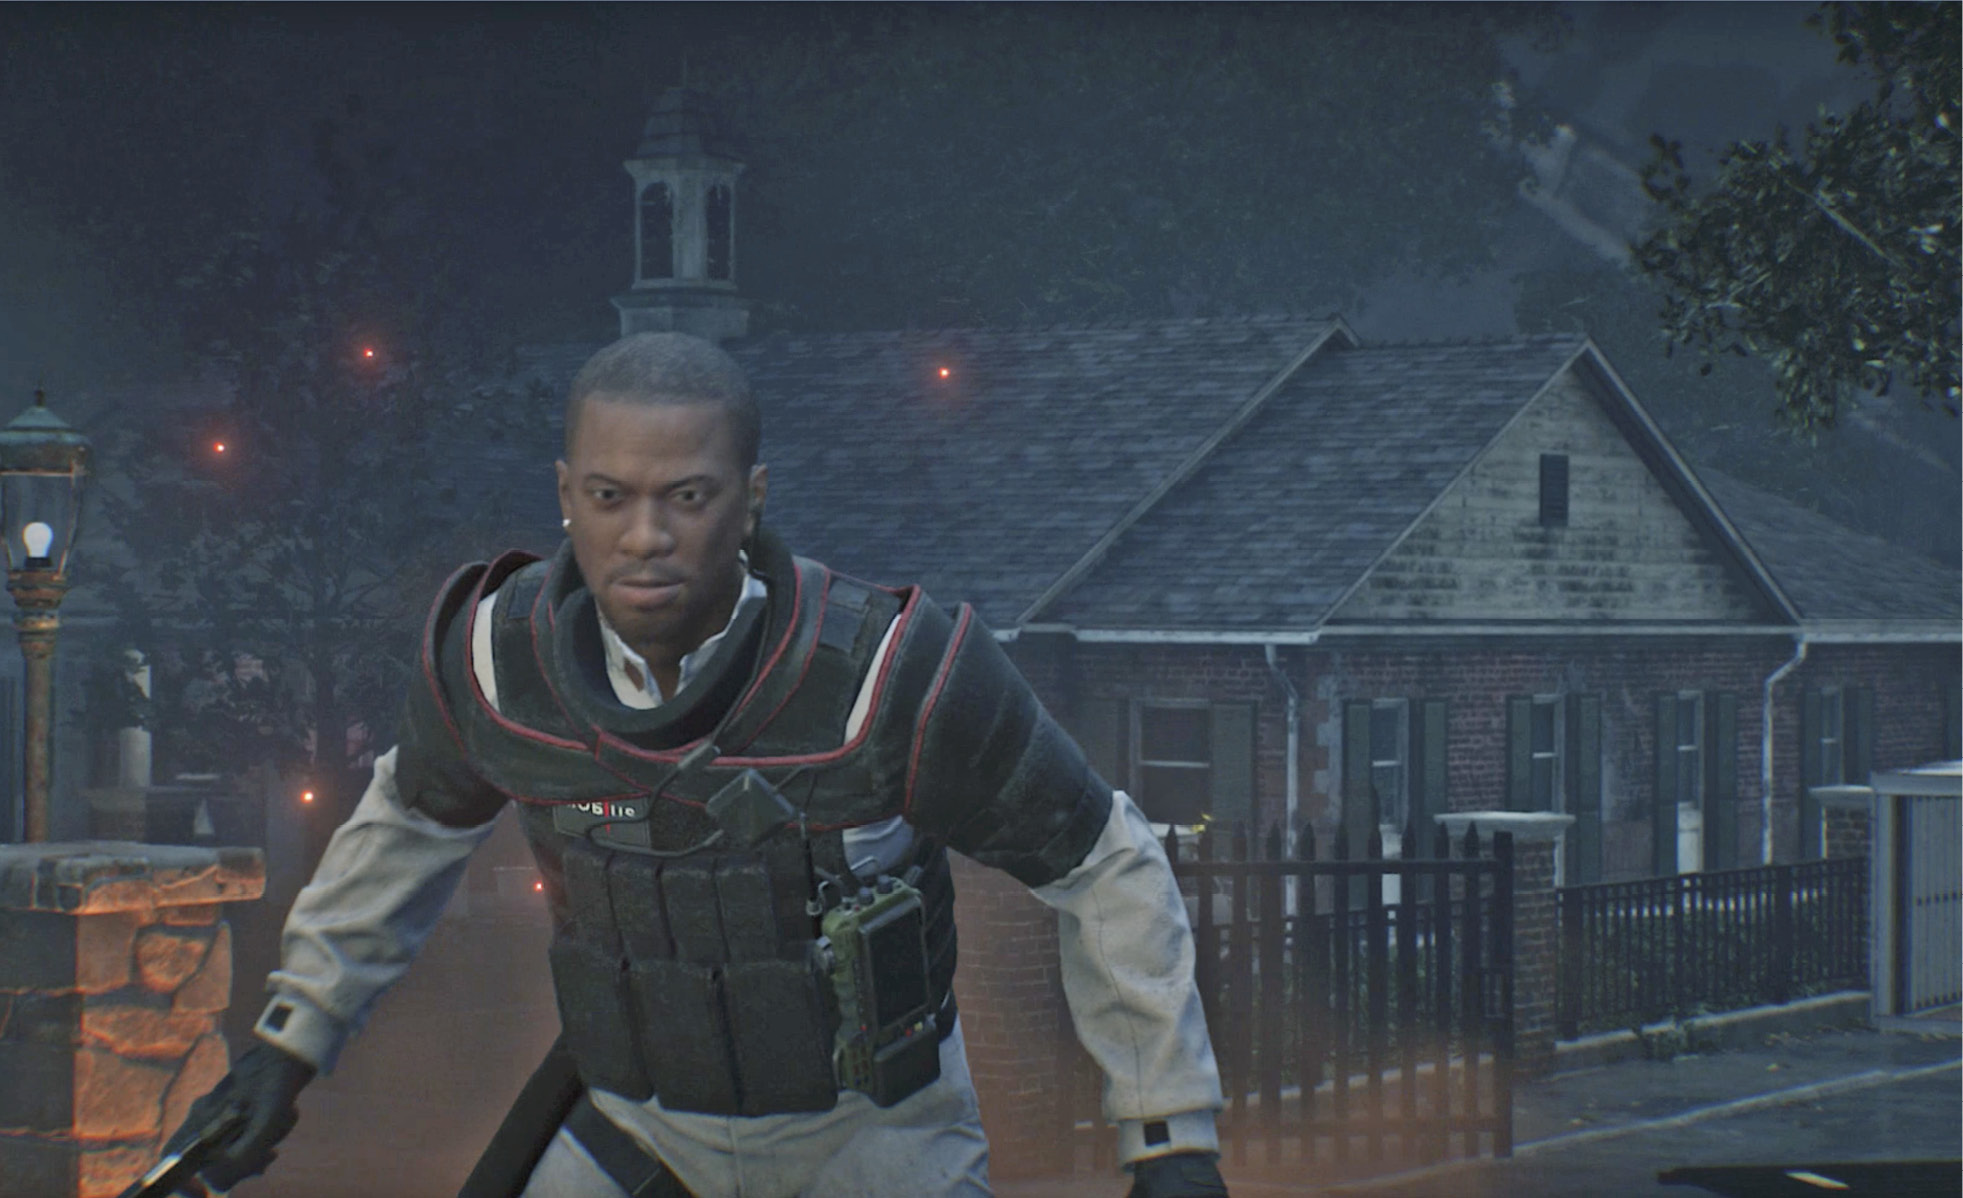
SIDE MISSION: “Out in the Open”
Rescue the man on the truck
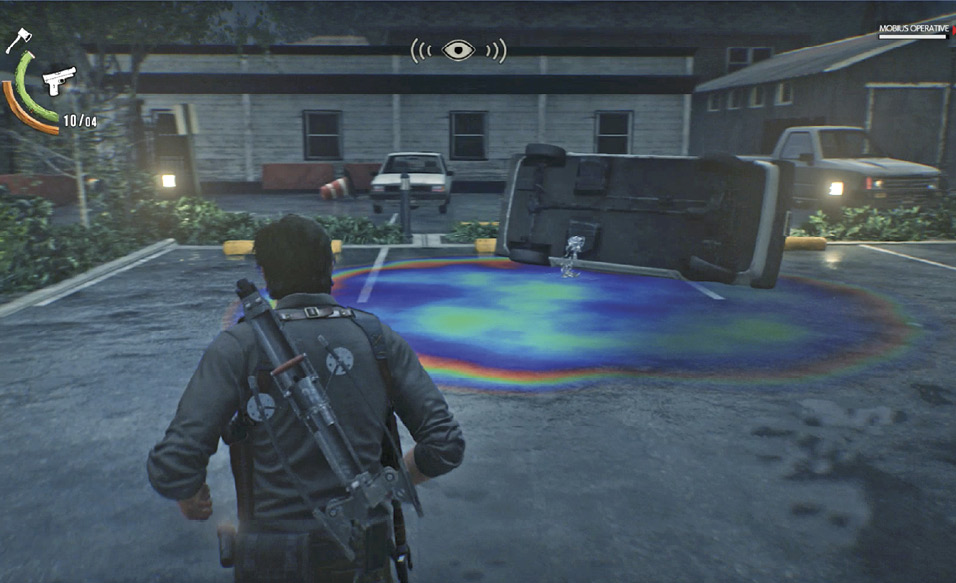
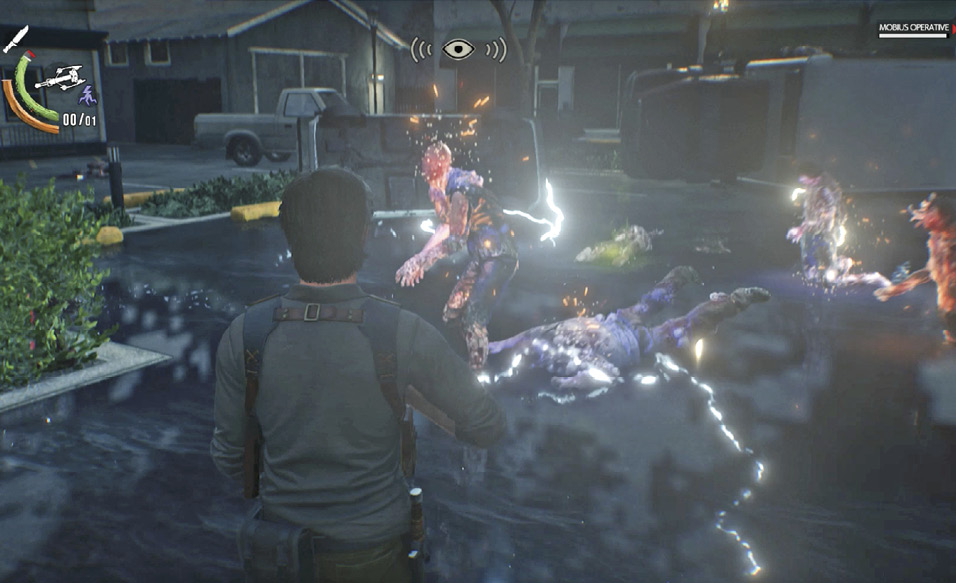
Enter the parking lot and approach the Lost, who focus on the man atop the truck. Lure this bunch into the nearby fuel spill and ignite it with pistol fire. This way you can kill most (if not all) of them with just a couple of bullets. (Note: you must ignite the fuel spill before you use the fire hydrant in the next step. If you open the fire hydrant first, the fuel spill will not be flammable later.)
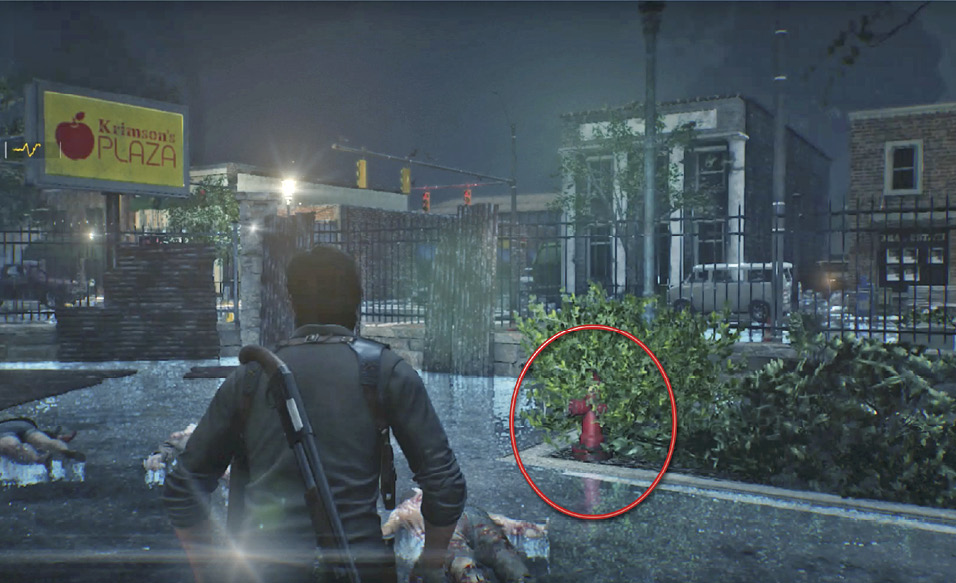
After you clear out this first Lost bunch, the man on the truck points out a new pack of Lost folks crawling over the fence near the Krimson Plaza sign. These come all at once, half a dozen of them, so the fight can be difficult. One good tactic, however: Rush to the fire hydrant (circled in our shot) in the nearby bushes, open it up, and set up on the edge of the spill. Then fire a Shock Bolt into the water just as the Lost converge on you. As they drop to the ground, quickly stomp-kill each one.
Go with the Mobius operative
When the last monster dies, the first objective is complete and the Mobius operative hops off the truck. He tells you to follow him to his Safe House. Take a minute to scoop up all the Green Gel and other pickups around the parking lot, then use the Safe House entrance  . Go through the interior door to converse with Julian Sykes and complete the side mission.
SIDE MISSION: “Getting Back Online”
Speak with Sykes
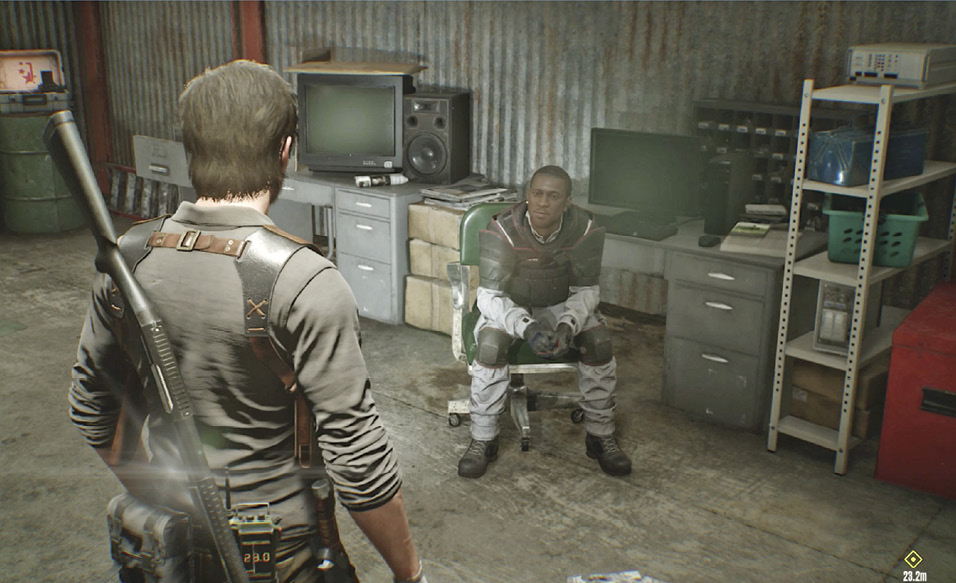
Approach Sykes and talk to him; Sebastian is “all ears.” Sykes needs Sebastian to restart a server that went offline back in The Marrow Facilities area. He puts the location on your map. If you can activate the server, Sykes will unlock all of the orange Mobius supply caches for you. Select both dialogue choices to learn that Sykes thinks he can find a way out of Union—a “back door” that Mobius doesn’t know about.
Activate the server in The Marrow
Grab everything you can in the Safe House then exit. Hustle back across the district to the Post Plus Safe House  . Use the computer there to return to The Marrow: Facilities.
Overview
Find the server
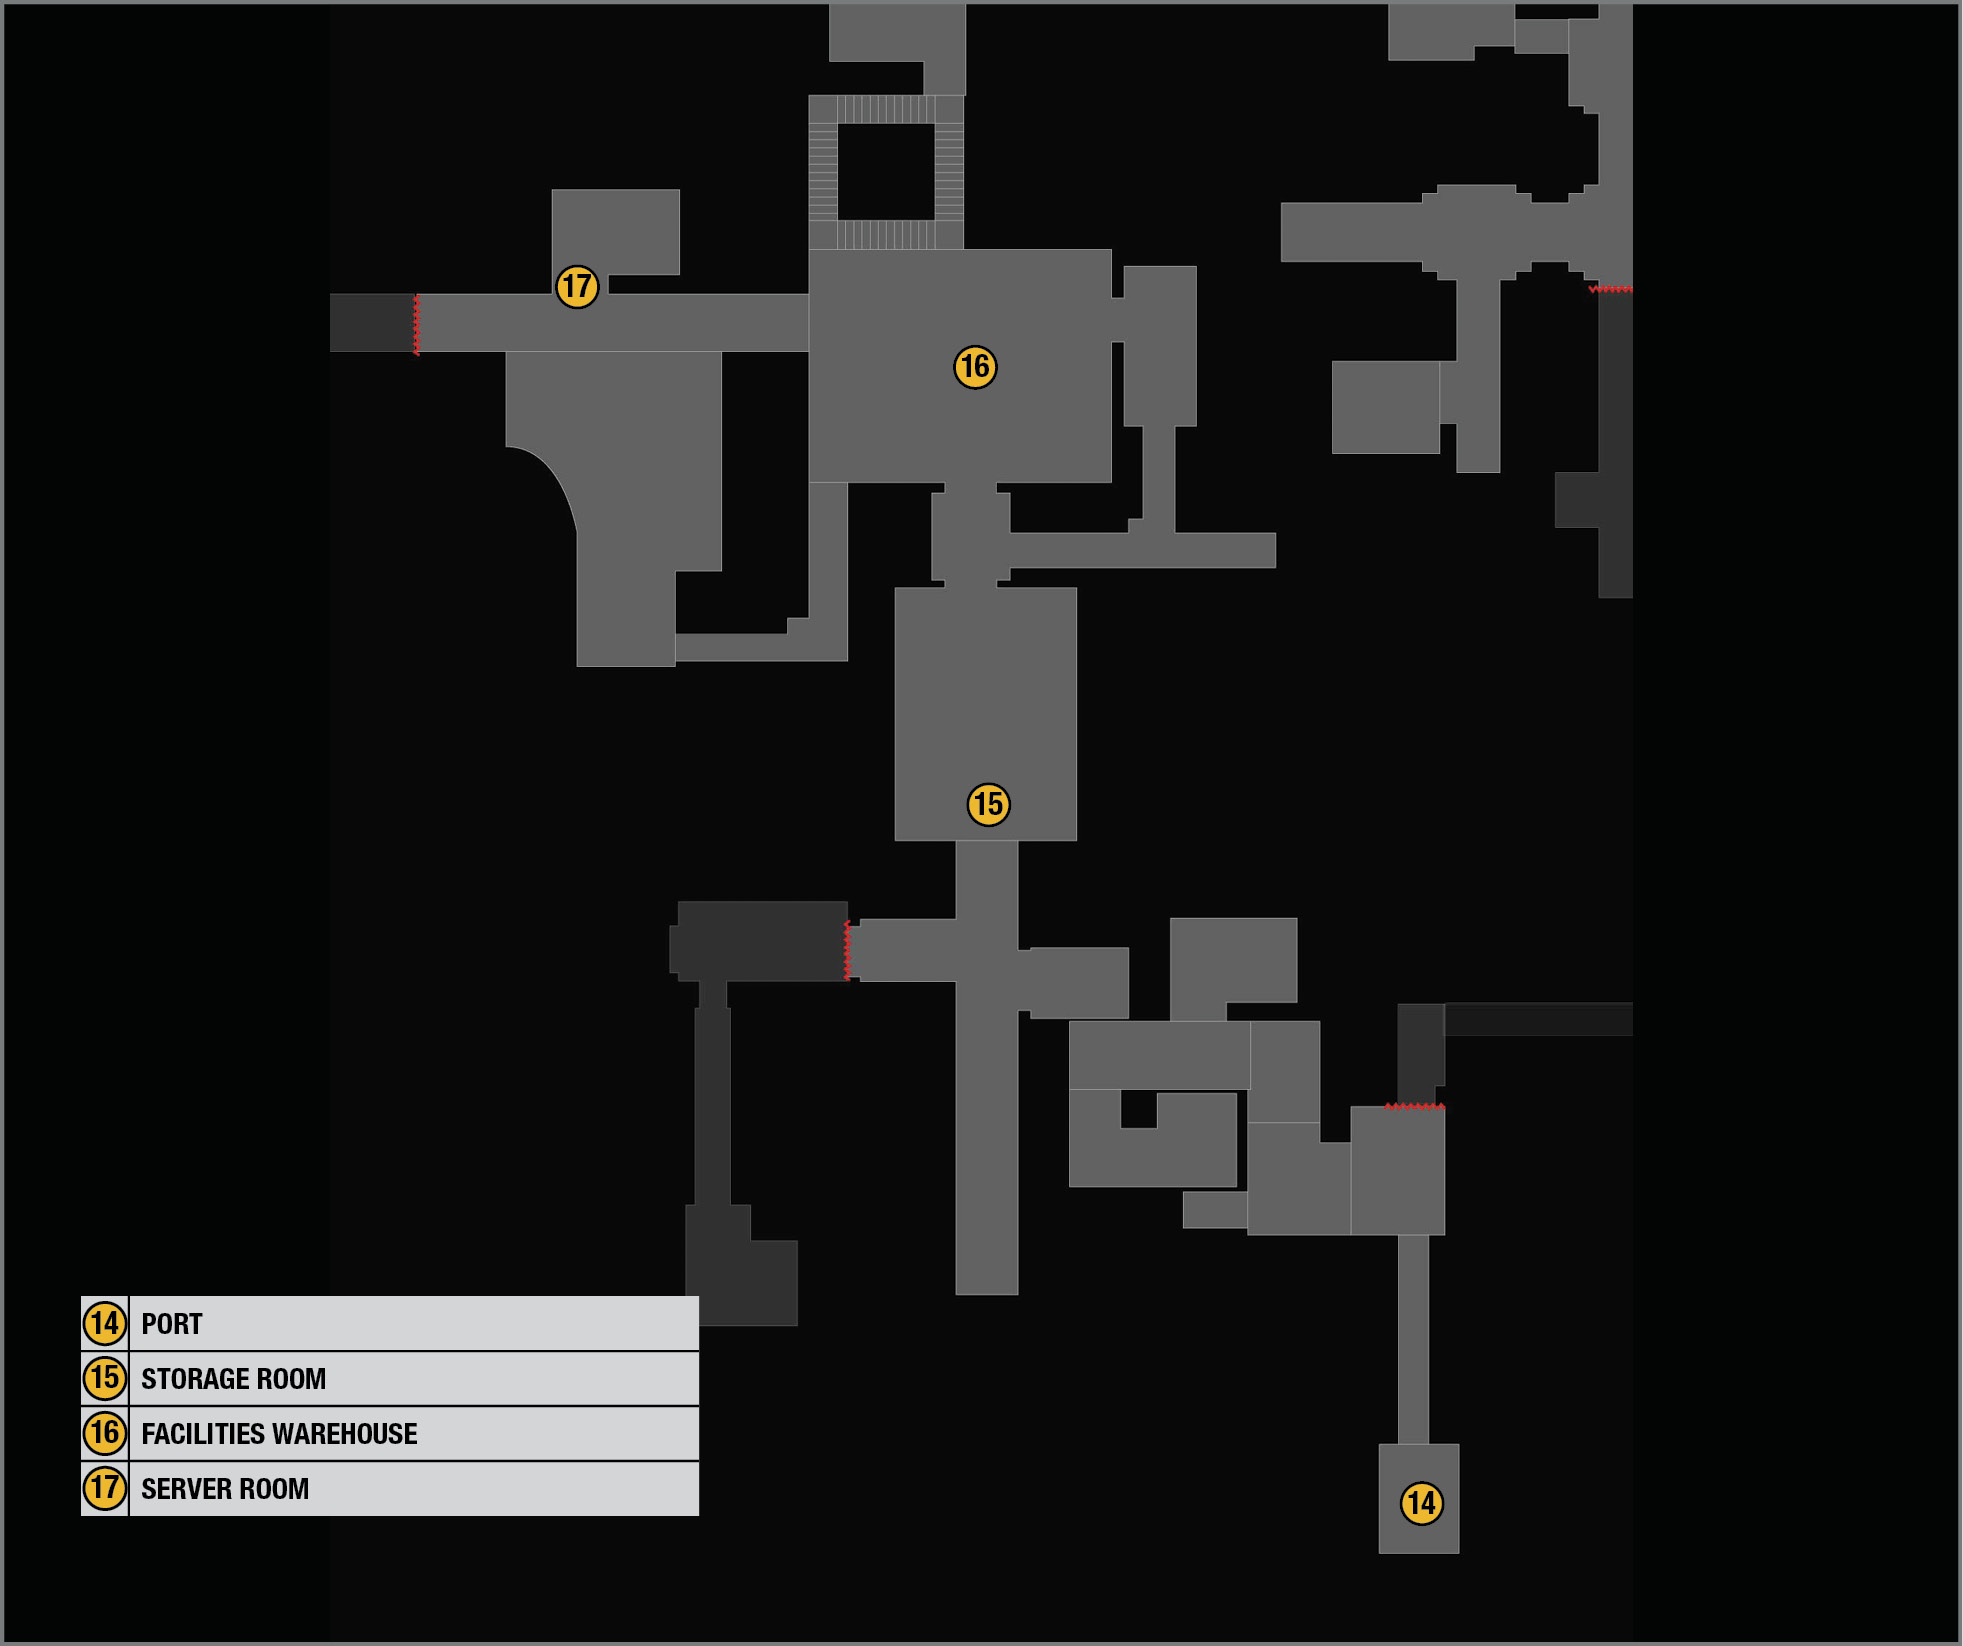
From your arrival in the port  , head up the corridor past Hoffman in her Safe House. Retrace your route back to the storeroom where you finally escaped the Watcher earlier
  . There’s no sign of the Watcher’s white goop anywhere! Continue on the route to the big Facilities warehouse
  , the place where you first met the Watcher. Again, the place is entirely without goop. Proceed through the far doors into the hall and find the red door
  on the right, just past the wall signs.
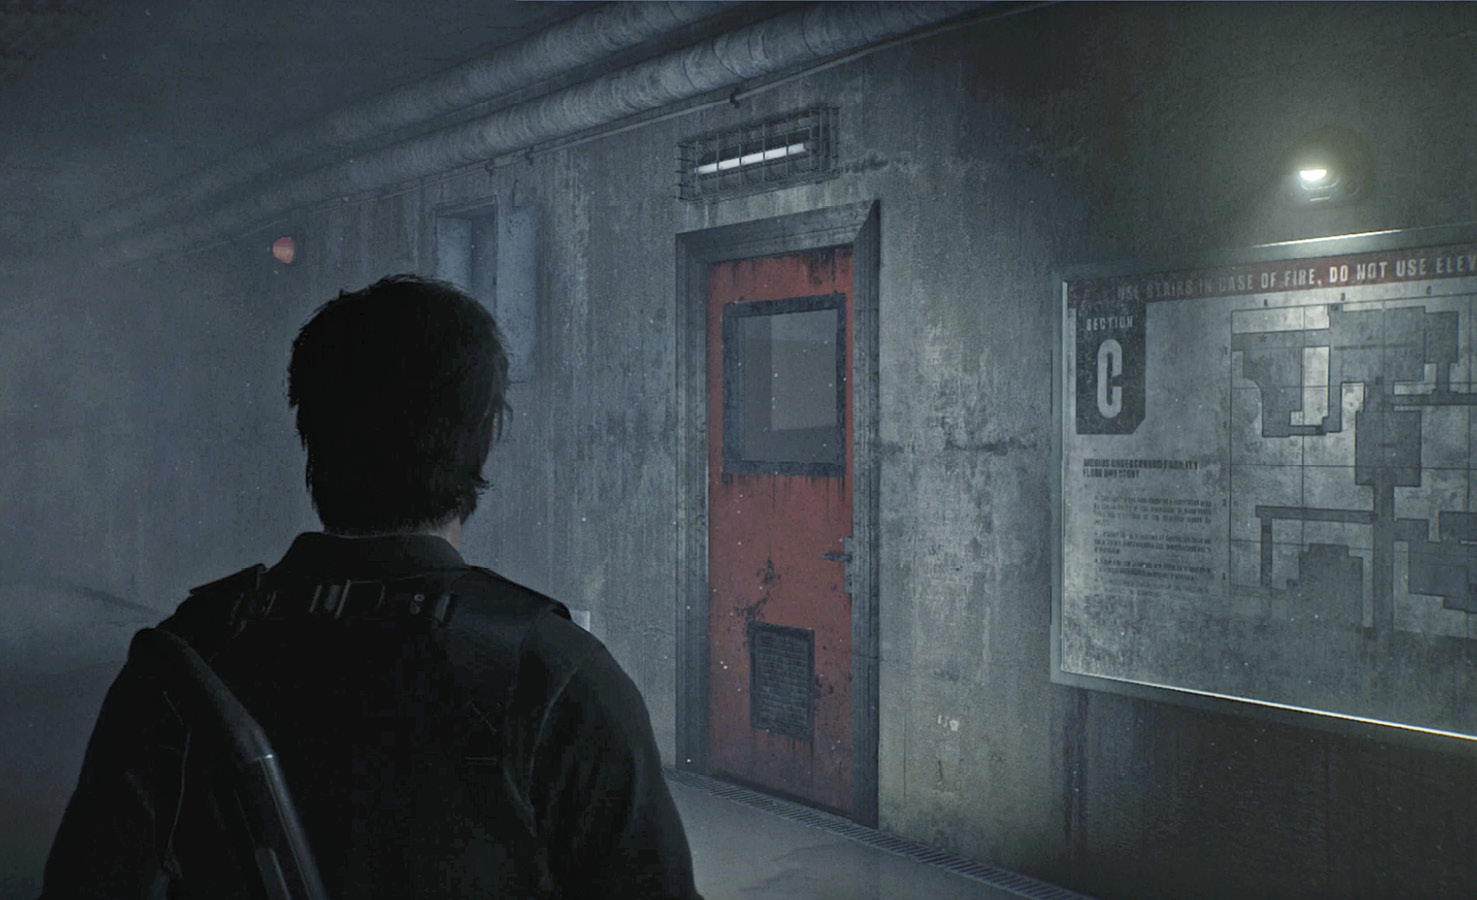
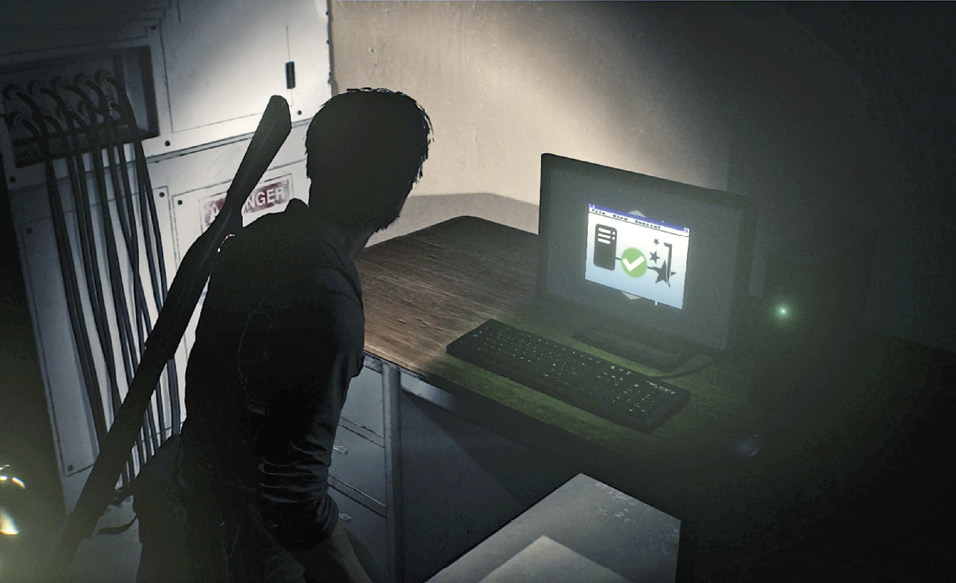
This is the door that was sealed shut by white goop when you first passed it earlier. Inside the room, approach the computer and hold down the Operate button indicated onscreen. Behind you, the server bank lights up. Restarting the server also unlocks all of the orange Mobius supply crates; one sits right there in the room. Open the crate to find it loaded with ammo and other good stuff. You’ll need it.
Report back to Sykes
Firing up the server seems to have attracted all kinds of attention. Just outside, two Lost attack you with axes. Kill one, grab its axe, and chop off the other’s head. Now start your trek back to the Union Business District.
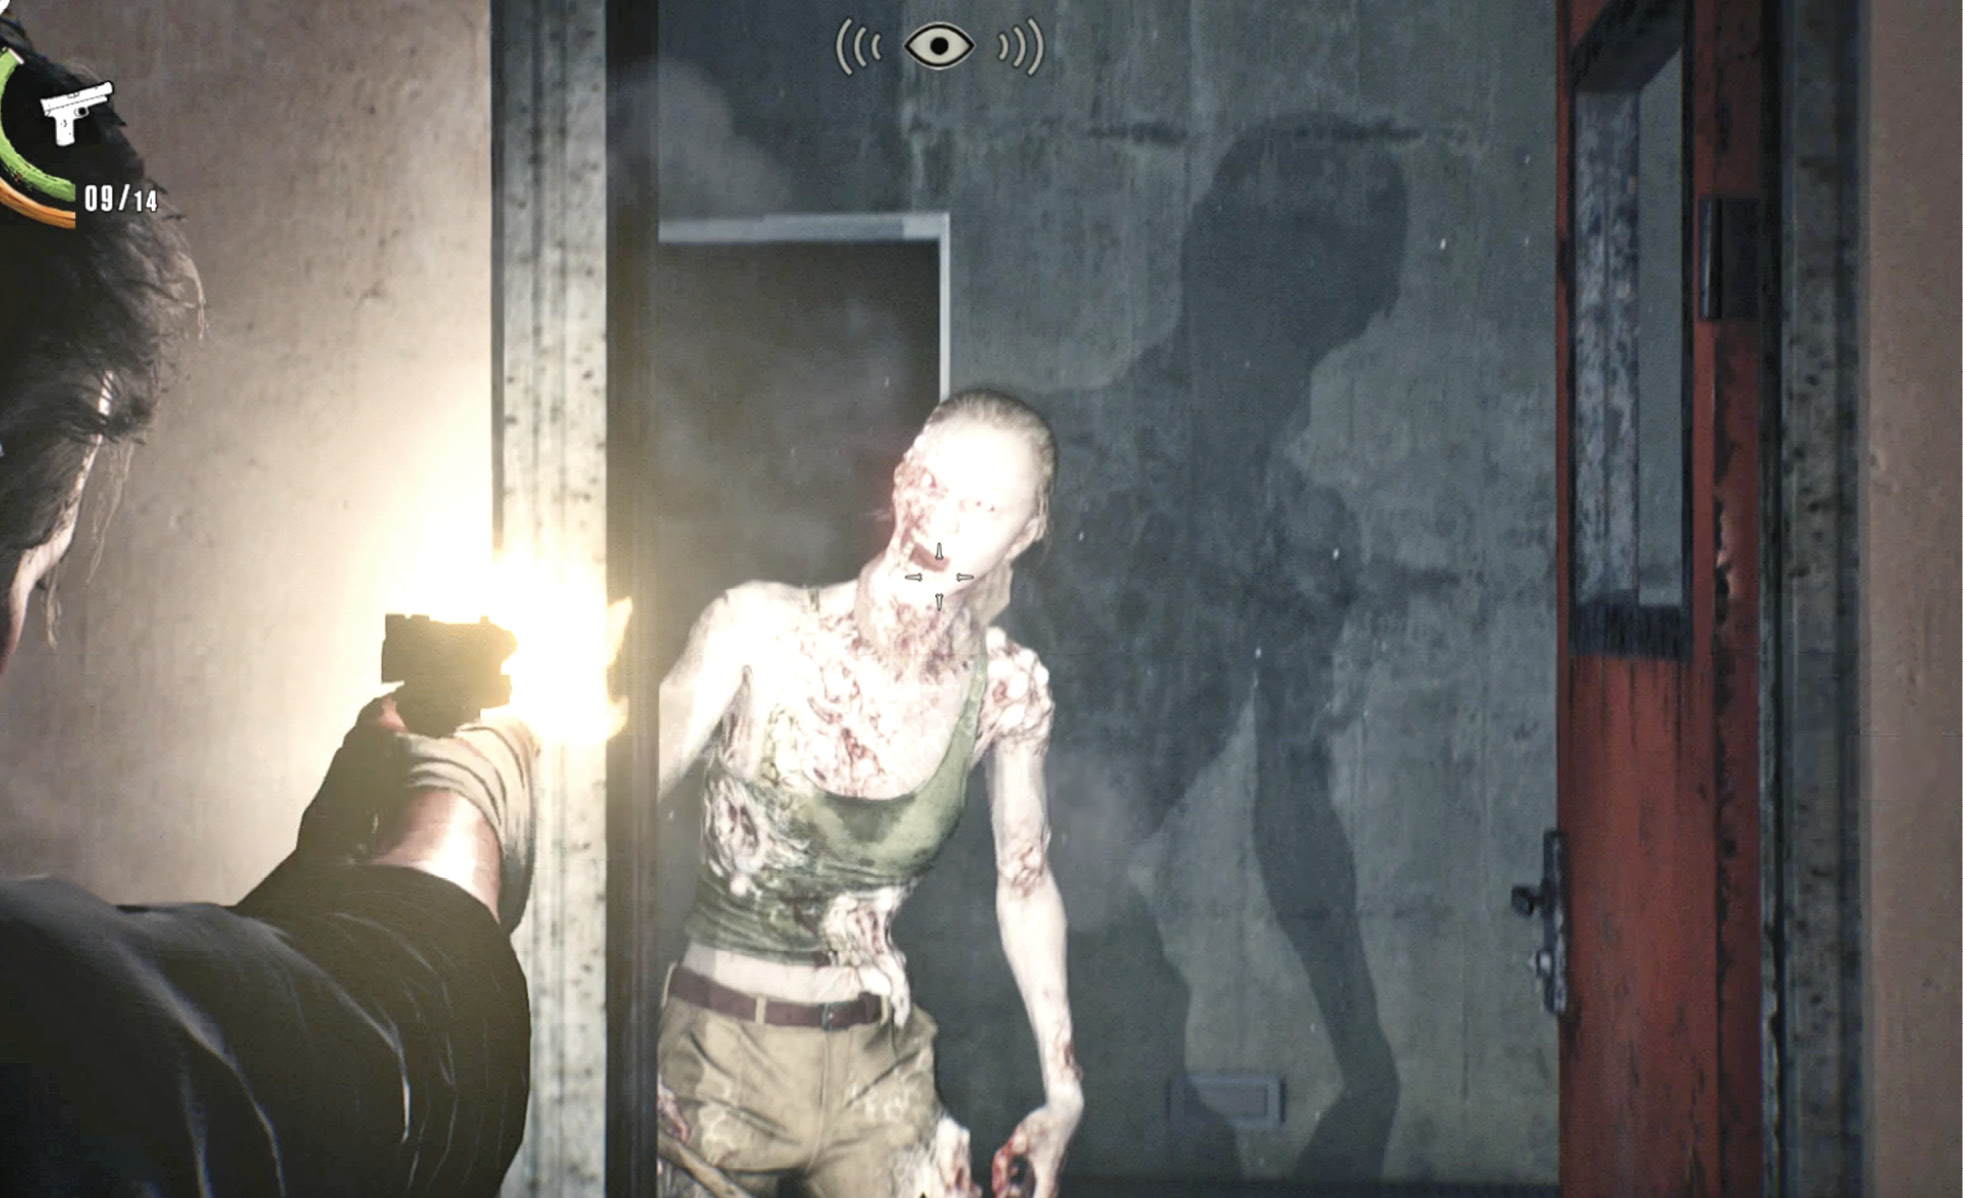
The Facilities area is crawling with a new wave of Lost, including a Hysteric guarding the last exit door  , so proceed with caution. (If you have a Hand Axe, you can execute a Sneak Kill move on the Hysteric, then follow up with an axe swing to terminate her.) When you get past Hoffman’s Safe House, use the port computer
  to return to the Post Plus port.
Overview
Use the Storage Room Key
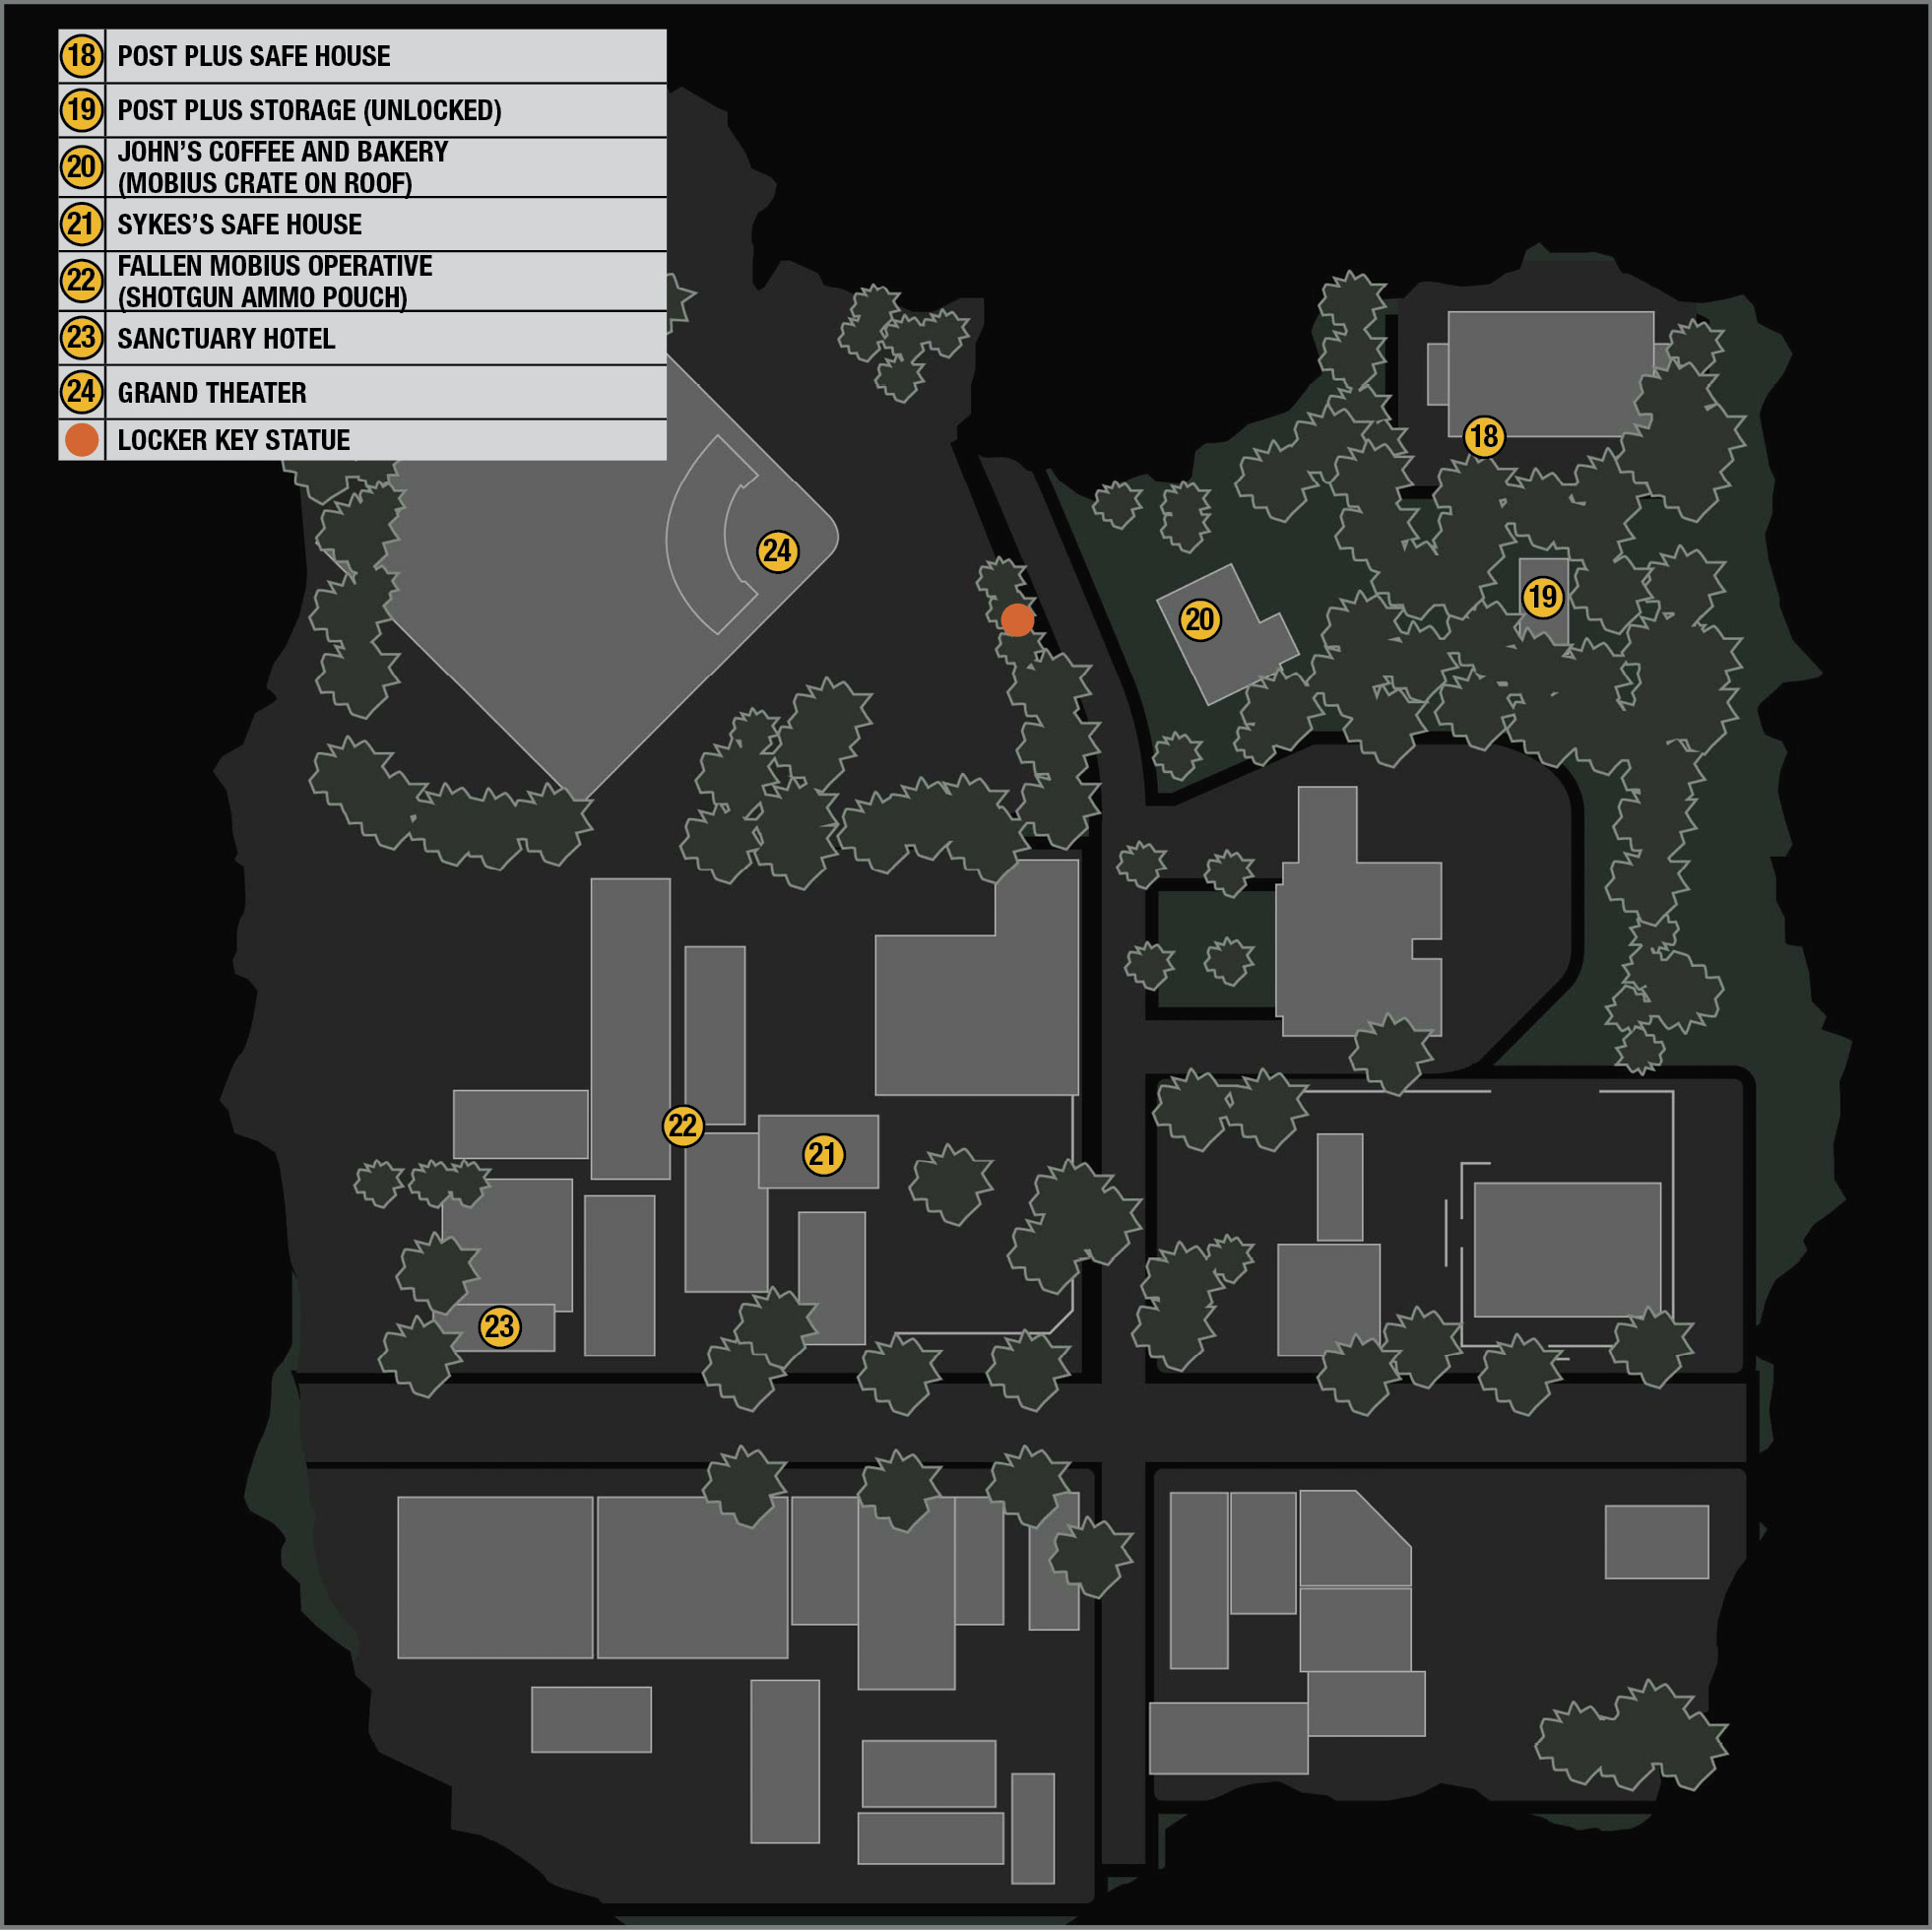
From the Post Plus  , head across the street and unlock the door to the storage room
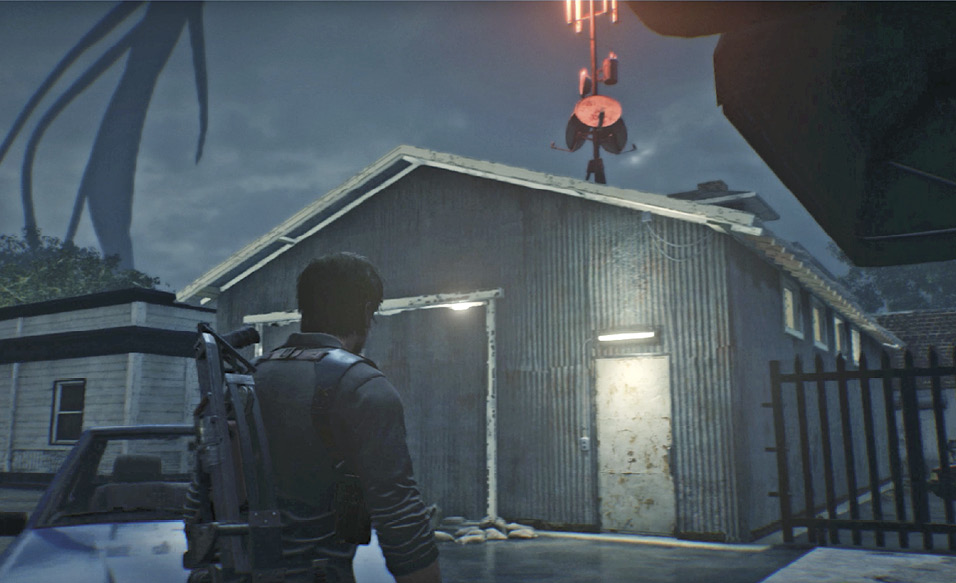
  . (Sebastian uses the Storage Room Key that you picked up from the fallen Mobius soldier, Stevens, down in the south district alley.) Inside, you discover the gorgeous Full-Barreled Shotgun. You also spot an orange Mobius supply crate, unlocked when you restarted the server for Sykes. Inside you find a box of valuable High-Grade Weapon Parts.
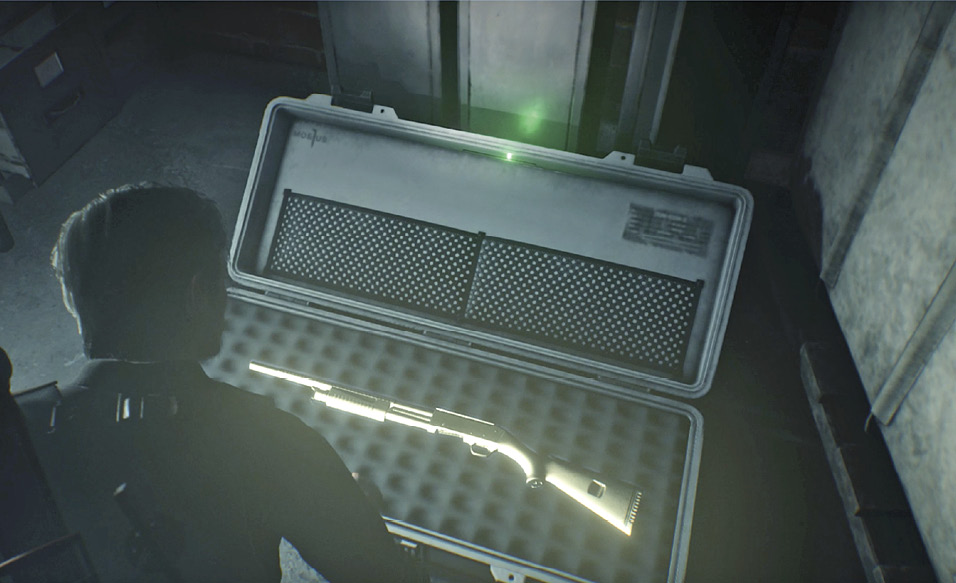
You also find a poor fellow with a Hand Axe lodged in his chest. Grab it if you need one. At some point while you’re in the room, it suddenly goes ice-cold—the sign of the Anima. Try to open the front door. It’s locked! Then you hear the off-tune humming. After the Anima makes her move, recompose yourself and exit the storage room.
Loot the other two orange crates
Climb the ladder onto the roof of John’s Coffee  and open the orange Mobius supply crate, also unlocked now by the server restart. Then return to Sykes’s Safe House
  and open his orange Mobius crate too. Here you find the Silenced Handgun.
Talk to Sykes
Approach Sykes and talk to him to wrap up the “Getting Back Online” side mission. Ask Sykes both topics to learn more about his plans, and Sebastian’s too. Both men want out of Union via the “back door”—that is, without Mobius knowing it. Sykes also mentions that every Mobius employee has a subdermal chip implanted in their head.
Optional: Exit and find the Shotgun Ammo Pouch  on a fallen Mobius operative in the alley behind the Safe House. Two jealous Hysterics guard the prize—one out in the parking lot, and another in the alley, standing right over the corpse.
Use the Communicator to search for the remaining work of art
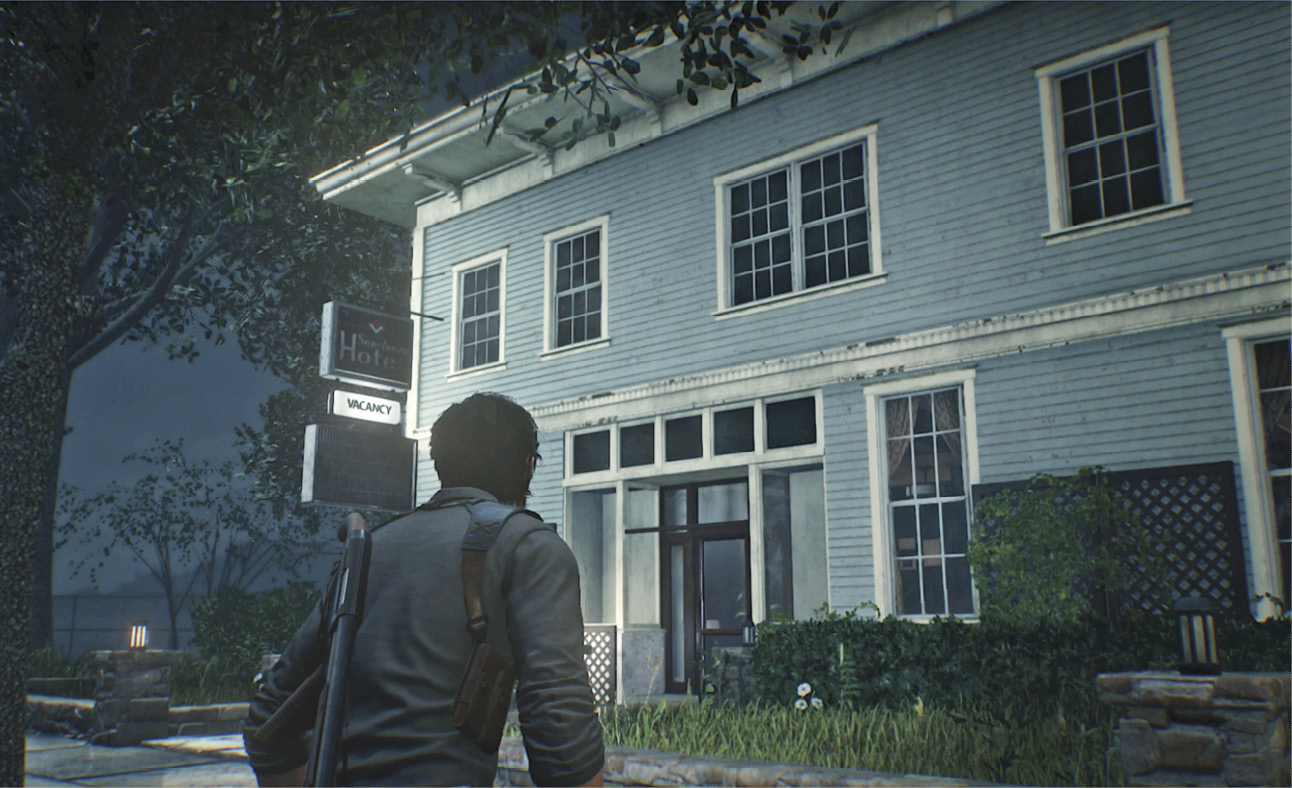
Now you can get back to the business of flushing out that scumbag Stefano. Check your map to see that his other work of art is in the Sanctuary Hotel  , just around the corner from Sykes’s Safe House. Enter the lobby to find some pickup items plus a pair of Fuji Dew machines to hit for prizes. Then head upstairs and find Stefano’s other portrait photo hanging at the end of the corridor. Investigate it to get pulled into a warped but now-familiar world.
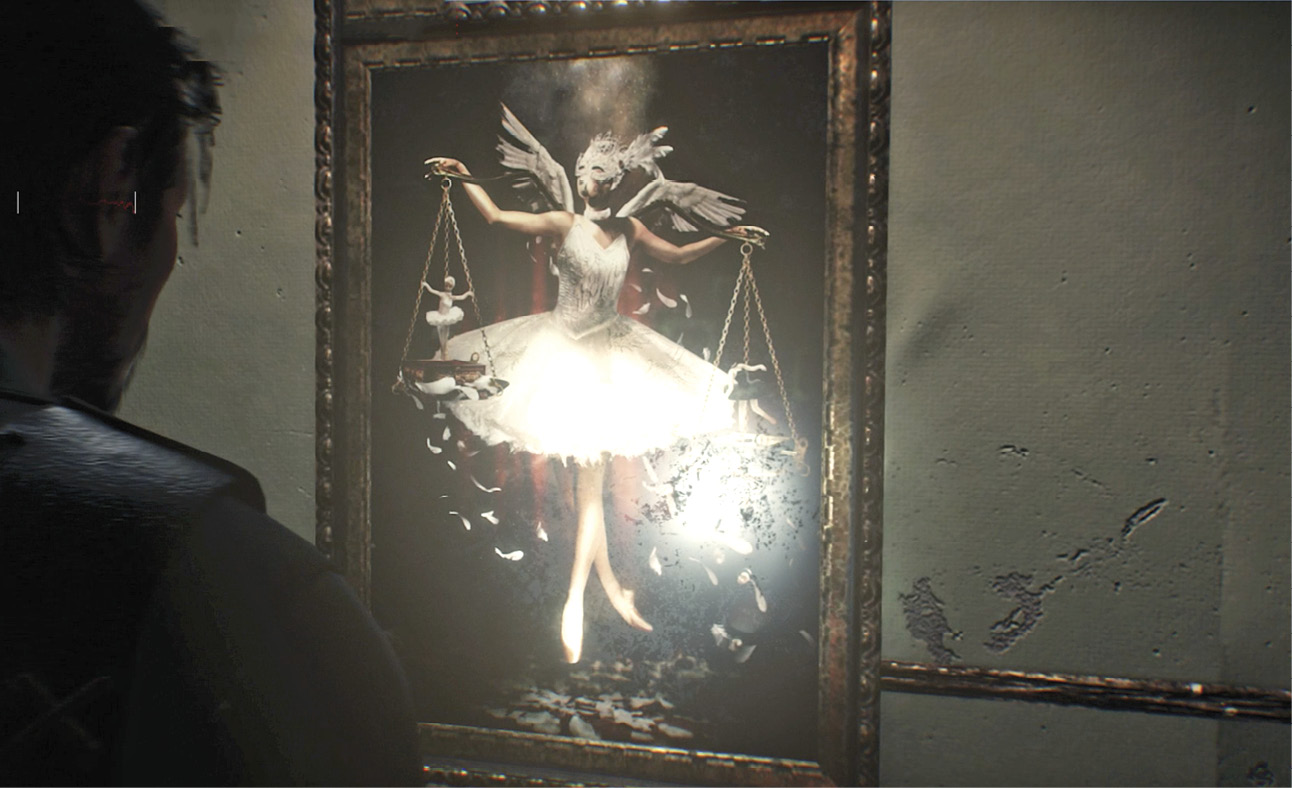
Defeat (or evade) the Obscura
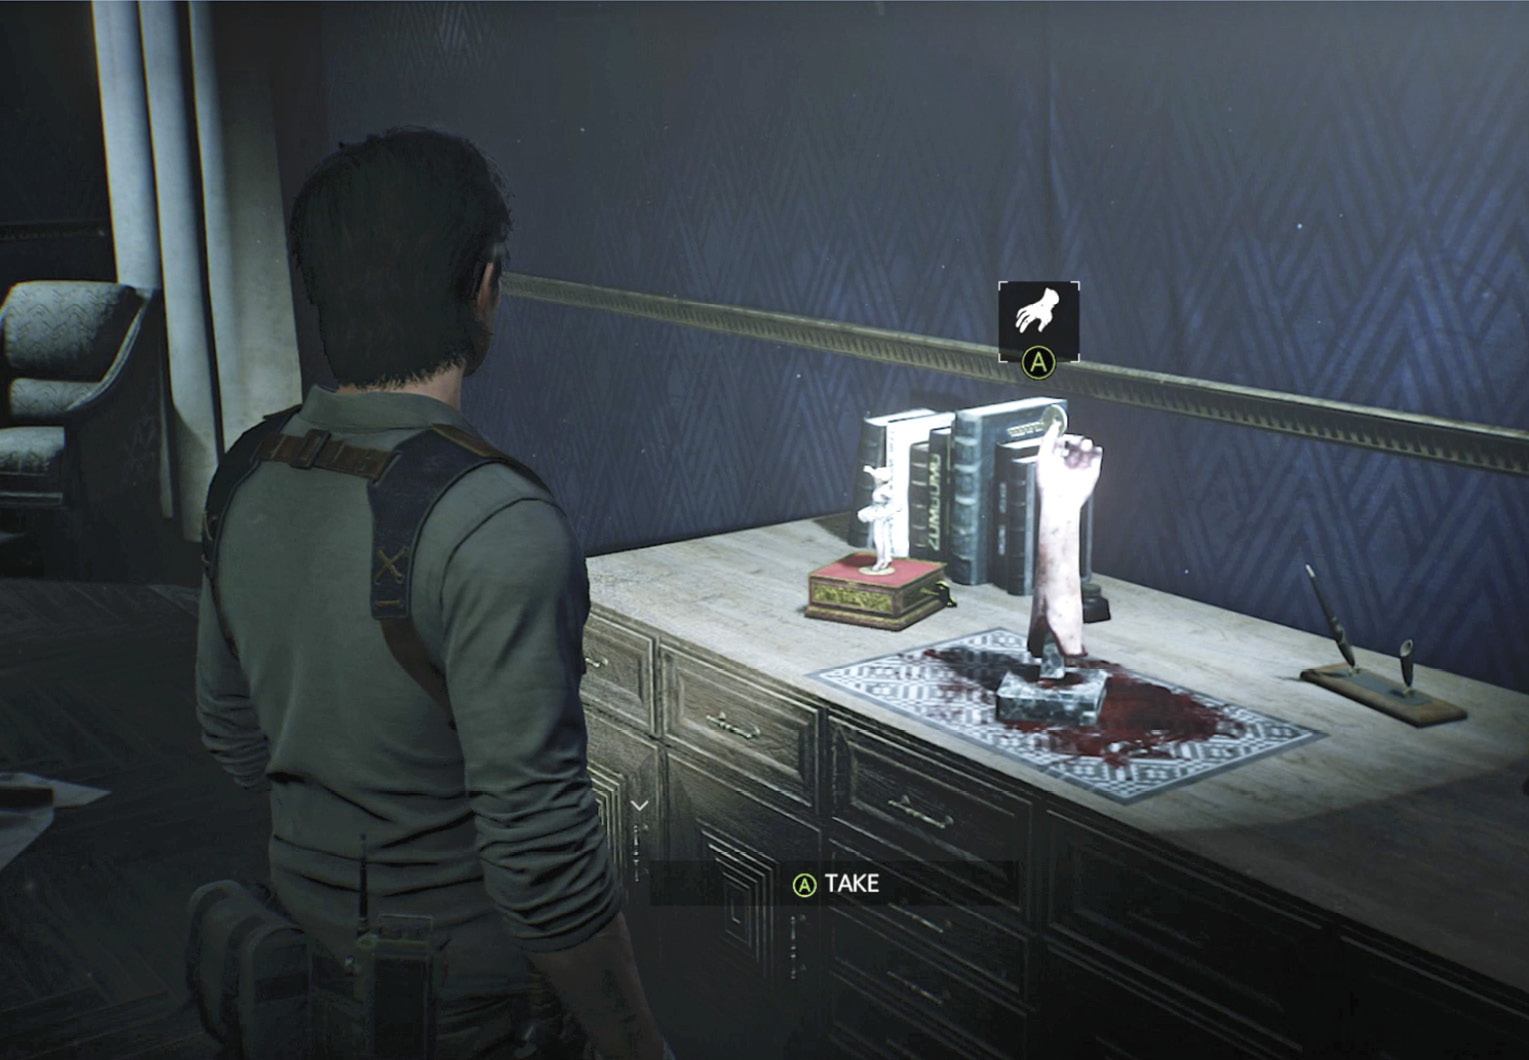
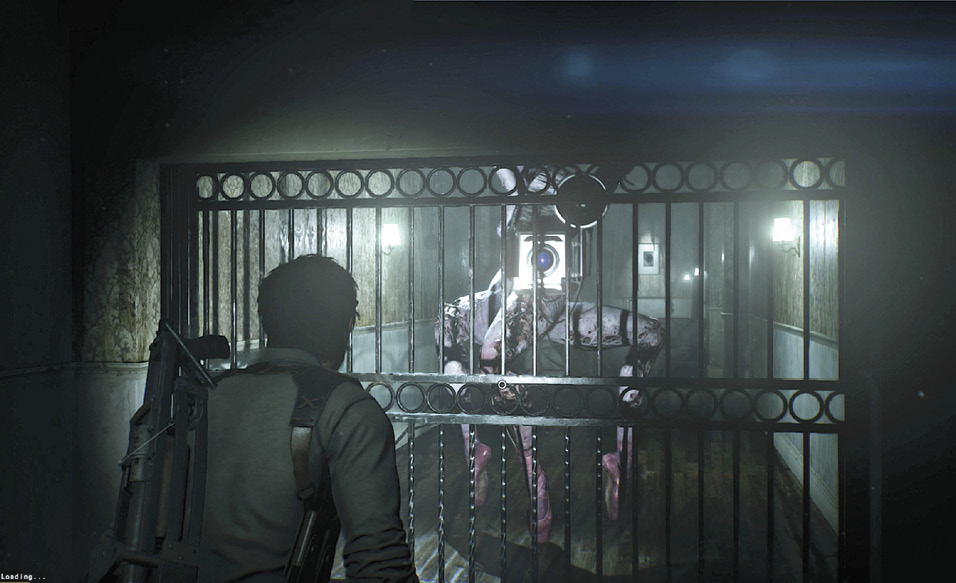
A locked iron gate bars your entrance to the exhibition room where Stefano’s sick sculpture is on display. You need a key. Follow the long corridor to find the key on a severed hand display. When you take the key, the Obscura starts stalking you around the rooms and hallways. You can either kill it again or evade it and make a run for the exhibition room. If you choose to fight, remember to target the lens of its camera. Two or three lens hits will stun the creature long enough to let you retreat before it can stab Sebastian with its deadly tendrils.
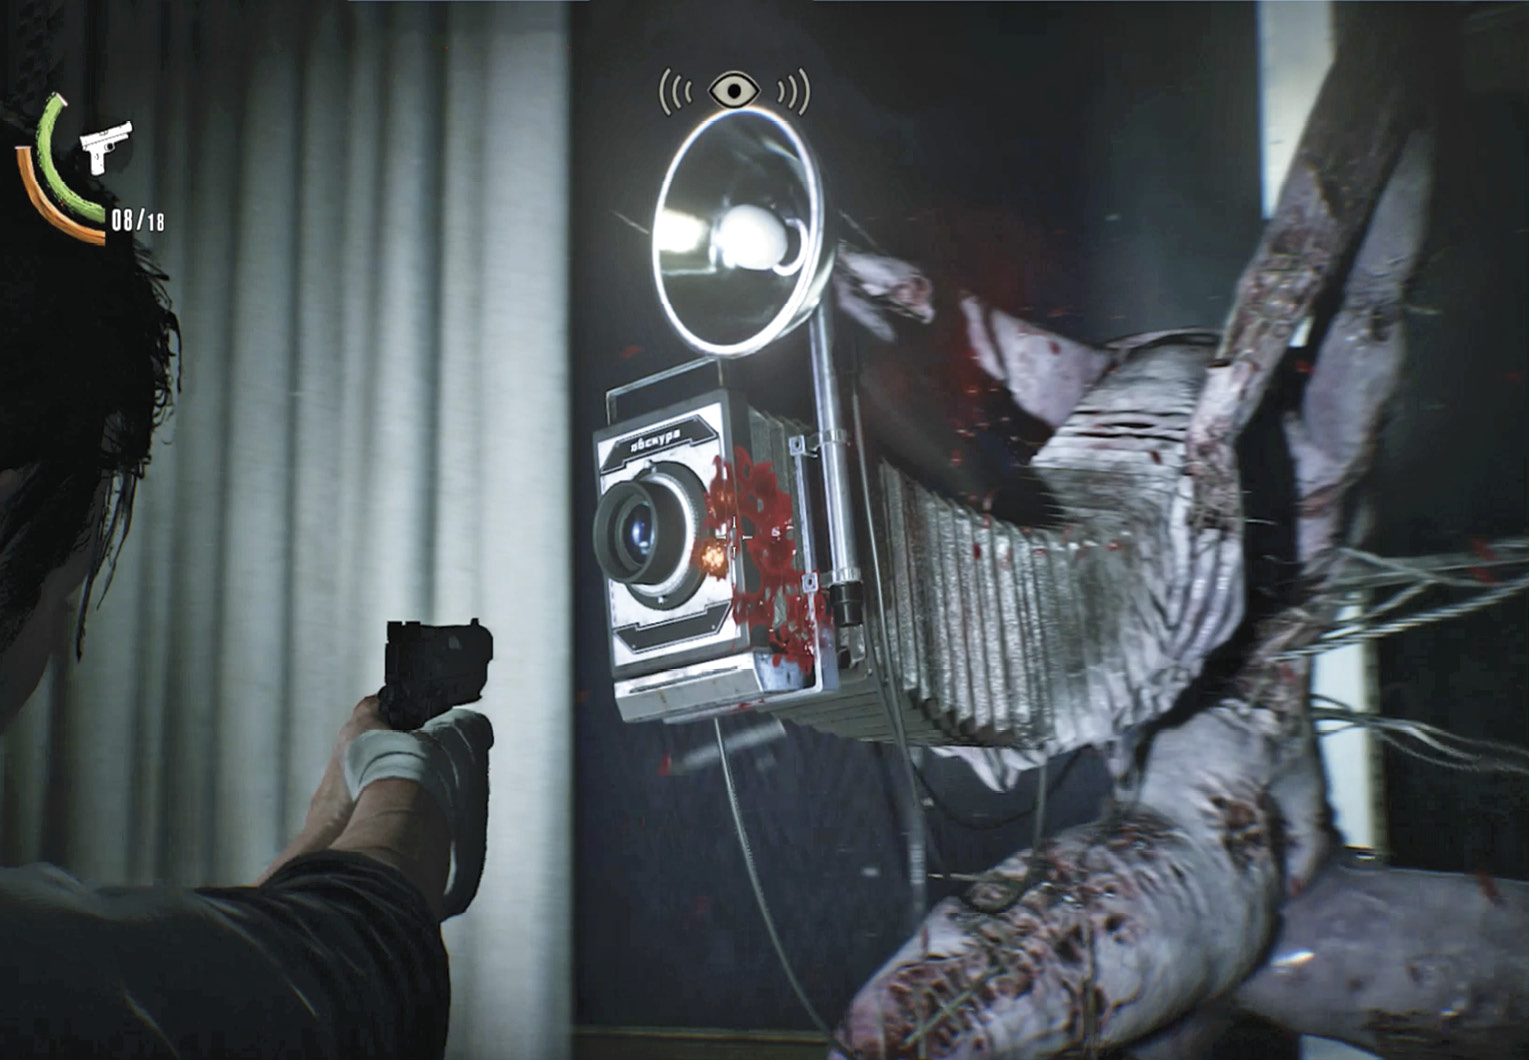
Once the Obscura has fallen (or if you choose to make a run for it) return down the hallway. Lift the first iron gate by rapidly tapping the button indicated onscreen, then climb the stairs and unlock the second gate with the key you just acquired. (If you evaded the Obscura, she lurks like a disappointed paparazzi down at the first iron gate.) As you step toward the sculpture of “Maria Crane,” the lights dim and a maze of electrified barbed wire appears.
Get to the sculpture
Make sure your flashlight is on so you can see the actual wires; the electric flash-lines are disorienting, so don’t rely on them for navigation. Crouch and move to the left, veering out toward the wall at first, then veer back in toward the sculpture’s right rear side.
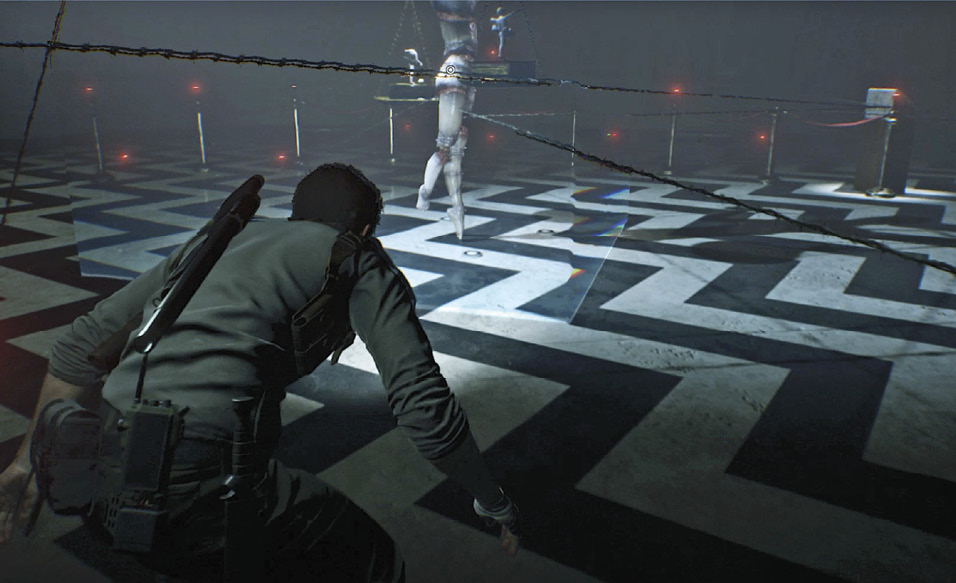
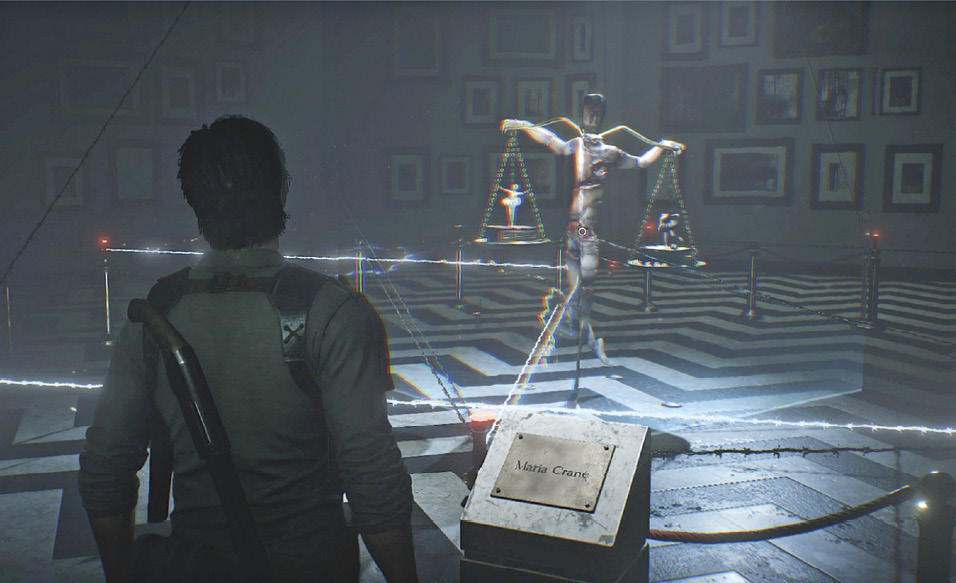
When you get there, investigate it to trigger Sebastian’s attack. Now both of Stefano’s pieces are destroyed, and the fence in front of the Grand Theater melts away.
Enter the Theater
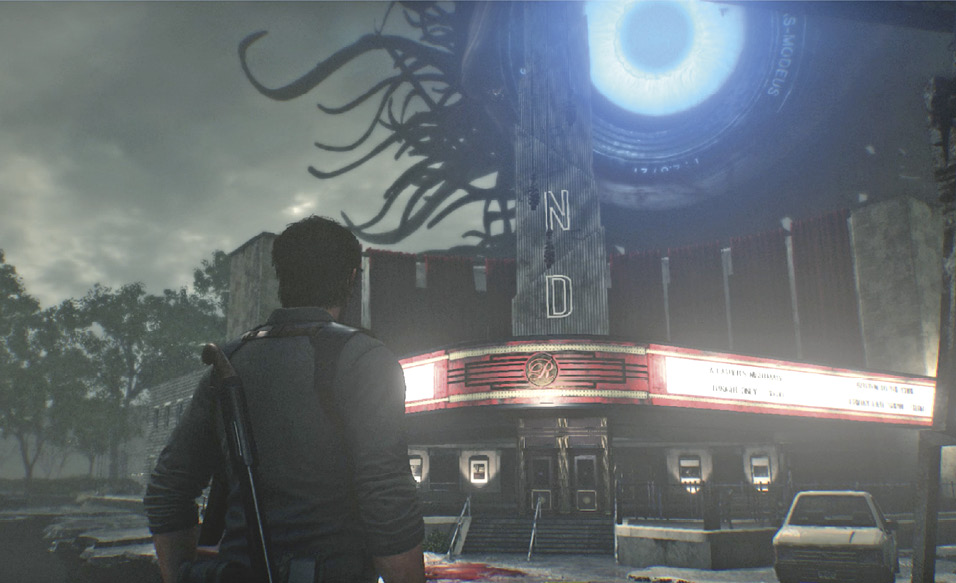
Exit the hotel and head up the street to the Grand Theater  . (See our Tip to find a Locker Key statue on the way.) Check out the ironic show names listed on the marquee above the entrance. Then go through the front doors to end the chapter.