The Evil Within 2 Guide Story Walkthrough
Behind the Curtain
O’Neal wonders if the murderer was drawn to City Hall because of the Stable Field Emitter set up there, an emergency device that temporarily stabilizes an area if the STEM starts to break up. He says Mobius sent Miles Harrison, the team’s hardware support specialist, with a security team to set it up.
Overview
Objectives
- Find the entrance to The Marrow in the northern Safe House for a route to City Hall
- Search for Exit B2 in The Marrow to reach City Hall Collectibles
- 3 Files
- 2 Residual Memorie
Find the entrance to The Marrow in the northern Safe House for a route to City Hall
Check out the Shooting Range
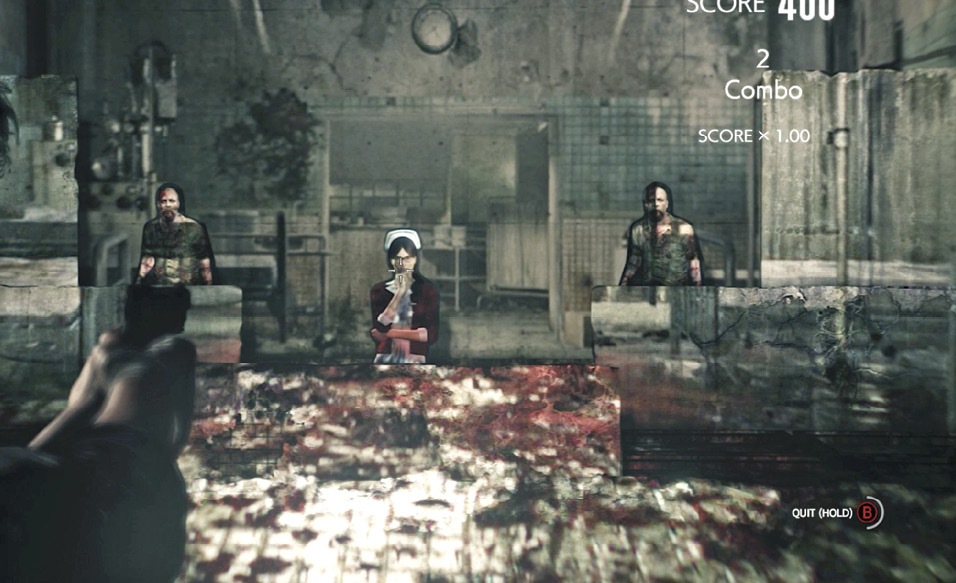
Before you head out, use O’Neal’s Mirror to travel back to Sebastian’s Room where you find a new door just down the hall. Enter to find yourself in a Shooting Range . Try a few rounds; the ammo is all free. You can improve your shooting skills while winning prizes like extra Weapon Parts or Gunpowder. When finished, exit and go use the upgrade chair to boost your skills for the ordeal ahead. Then travel back to O’Neal’s Safe House.
Save the woman in 344 Cedar Avenue
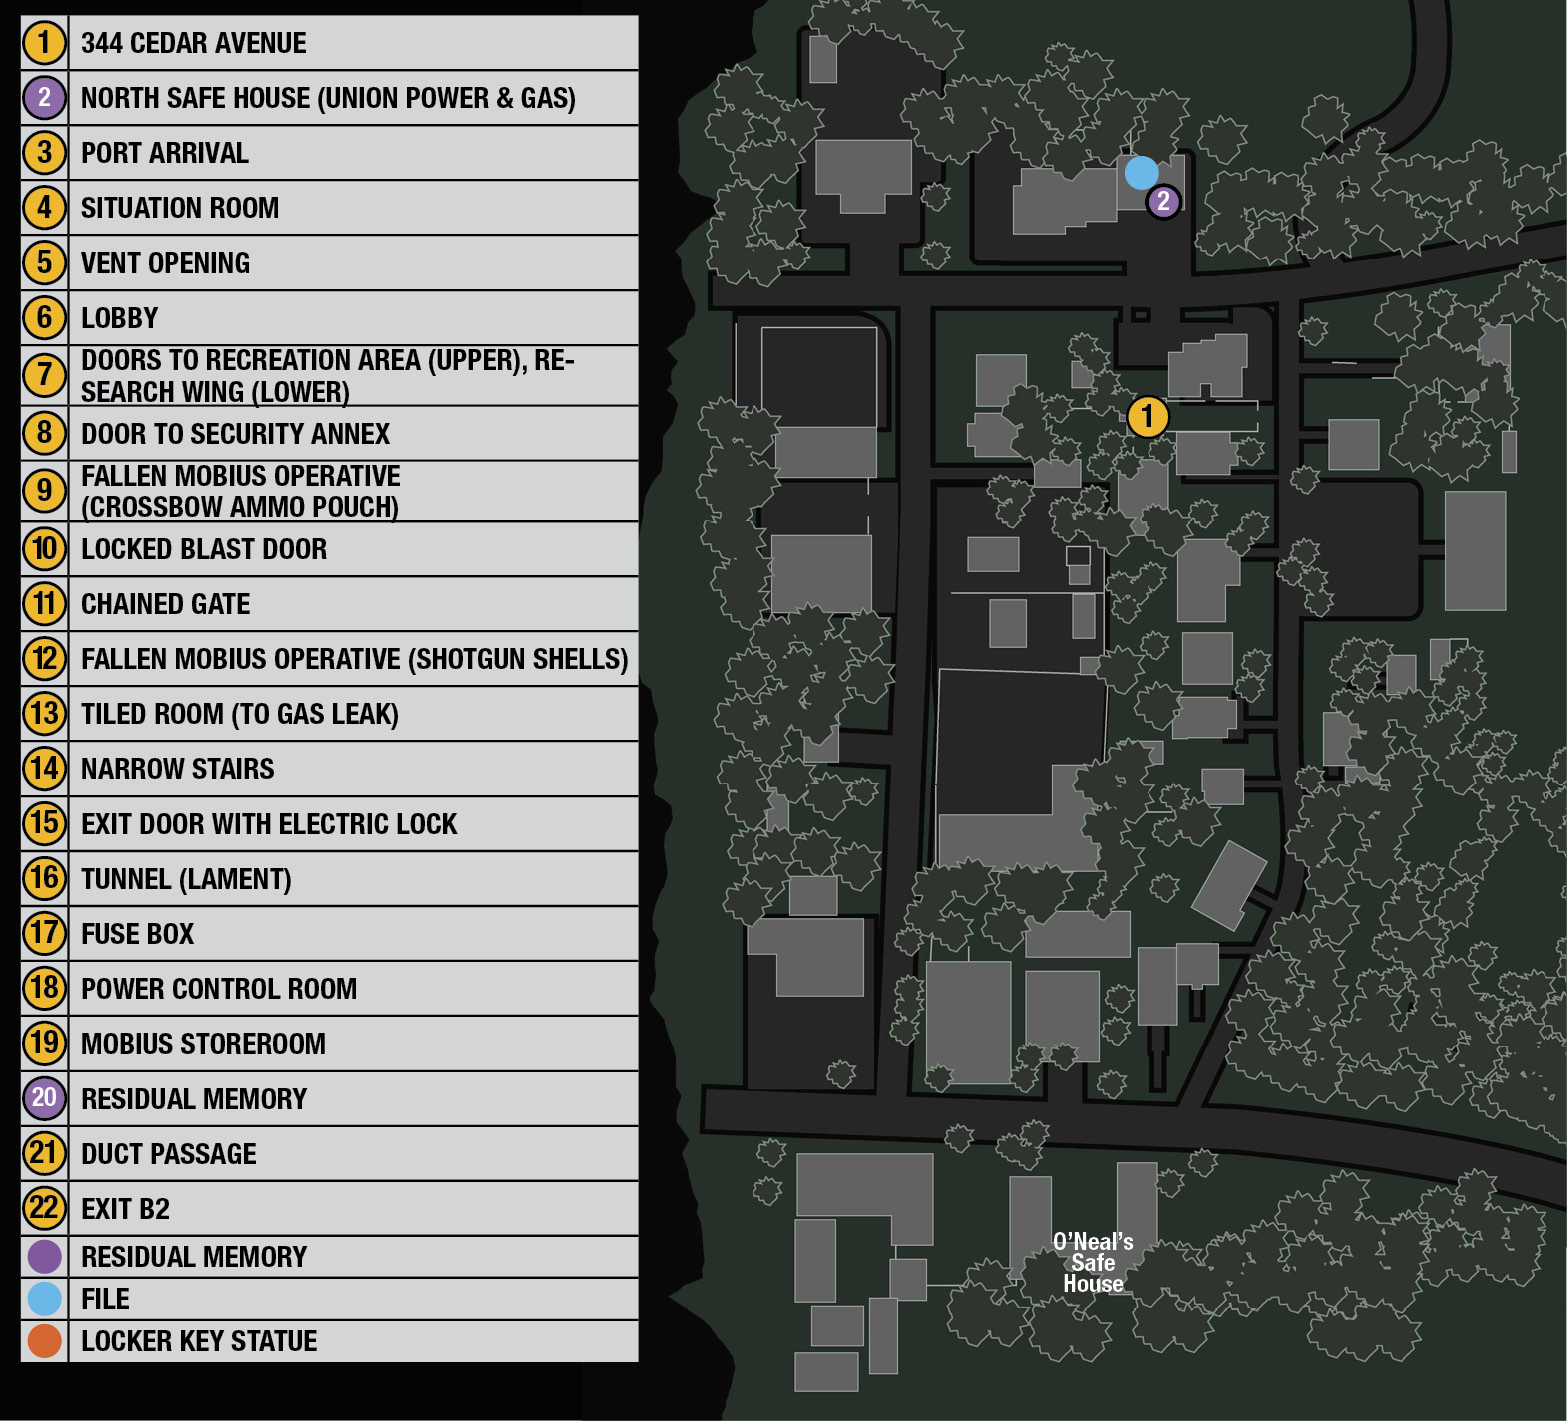
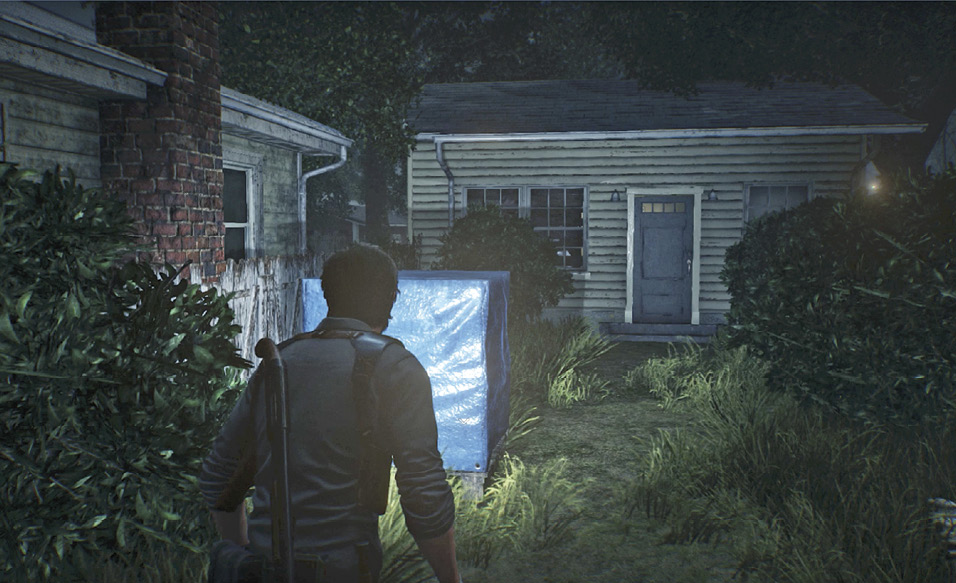
Make sure you have a good stock of Sniper Rifle Cartridges before you head out. From O’Neal’s place, start working your way north up Cedar Avenue. More creatures have repopulated the town, so move stealthily to avoid getting surprised. Near the north end of the street, you hear a woman scream and find a growling pack of Lost at the front door to 344 Cedar Avenue  , a tiny studio-style one-room house set back from the street. Pick off a few goons with the Sniper Rifle or lure some out with bottles for Sneak Kills, to even up the odds a bit. Then wade in and take out the last ones with a Shotgun.
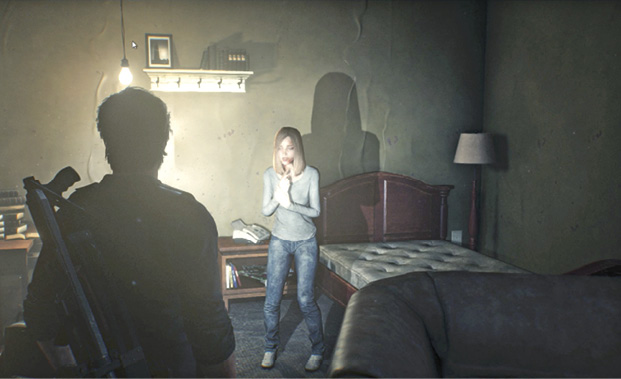
Approach the front door; Sebastian calls out to the woman. Open the door to see her cowering in the living room. Approach her to trigger an automatic conversation. After the scene, talk to her and ask all questions. You pick up a lot of interesting background story information from this chat. Before you exit, pick up the stash of ammo sitting on the bed behind her.
Snipe the Lament stalking the Safe House
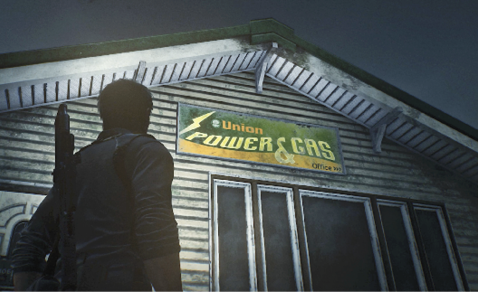
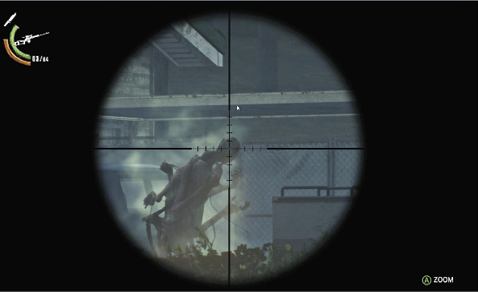
The North Safe House  is actually part of the Union Power & Gas offices. As you approach, spot the big Lament pacing back and forth in front of the building. If it spots you, its shrill cry will awaken a significant pile of sleeping Lost scattered in the street. So, keep your distance, equip your Sniper Rifle, and carefully target the monster’s head.
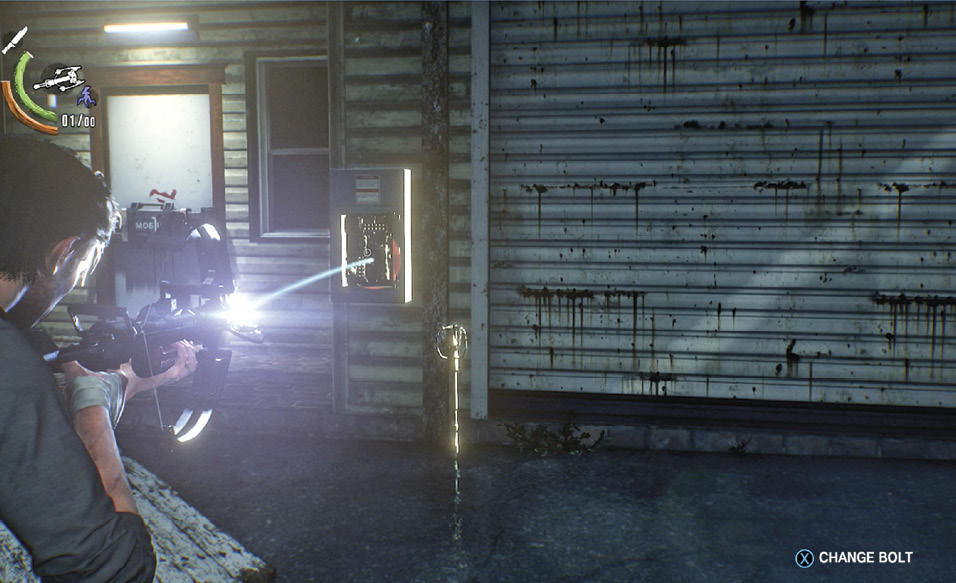
Shock the lock
Equip your Warden Crossbow and load a Shock Bolt, then approach the lock panel to the left of the building’s garage door. Zap the panel with the bolt to open the door. Approach but don’t enter or equip your Communicator yet, even though your Resonance indicator flashes.
The reason: Inside lies a fallen Mobius soldier, and he’ll awaken if you get close. Nail his head with a couple of handgun shots before you enter the garage. Otherwise you’ll get a surprise like the one in our screenshot when you try to use your Communicator.
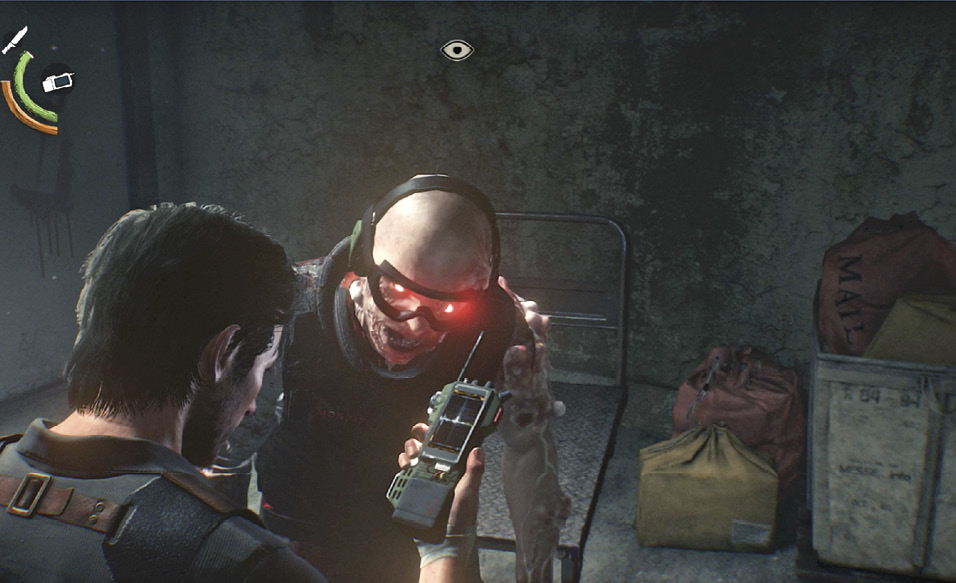
Now tune in to the Residual Memory to hear what happened to the operative: he locked out Hayes, but locked doors couldn’t keep out the Anima.
Explore the Safe House
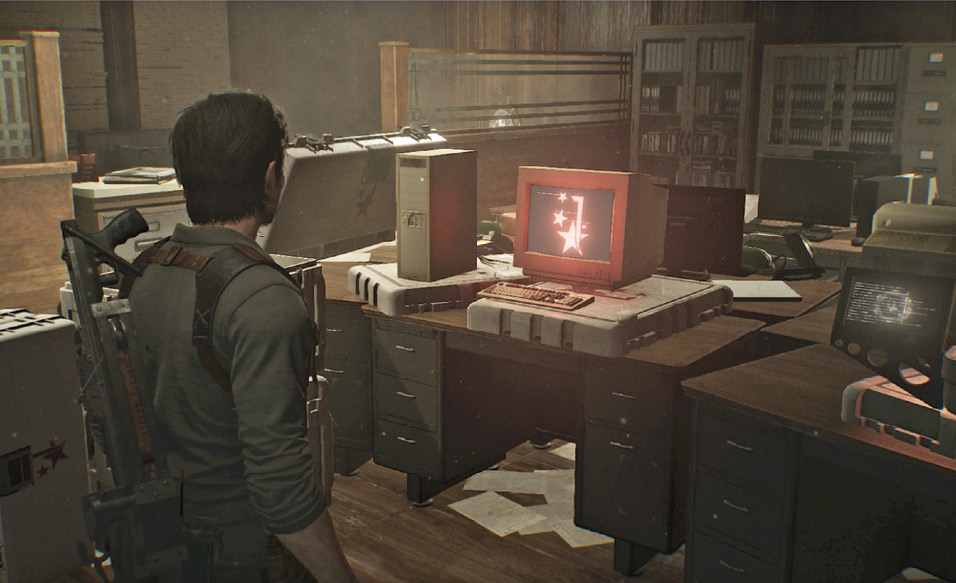
Entering the Safe House triggers an automatic phone conversation with Kidman. Afterwards, grab the Smoke Bolt (which will come in handy during an upcoming situation in The Marrow) and other items in the room, including a Mobius report on “Recruits” that provides insight on where all these Union townsfolk originally came from. Then use the computer sitting on the desk to travel to the dark void, and use the next computer that appears to continue on to the Operations sector of The Marrow.
Search for Exit B2 in The Marrow to reach City Hall
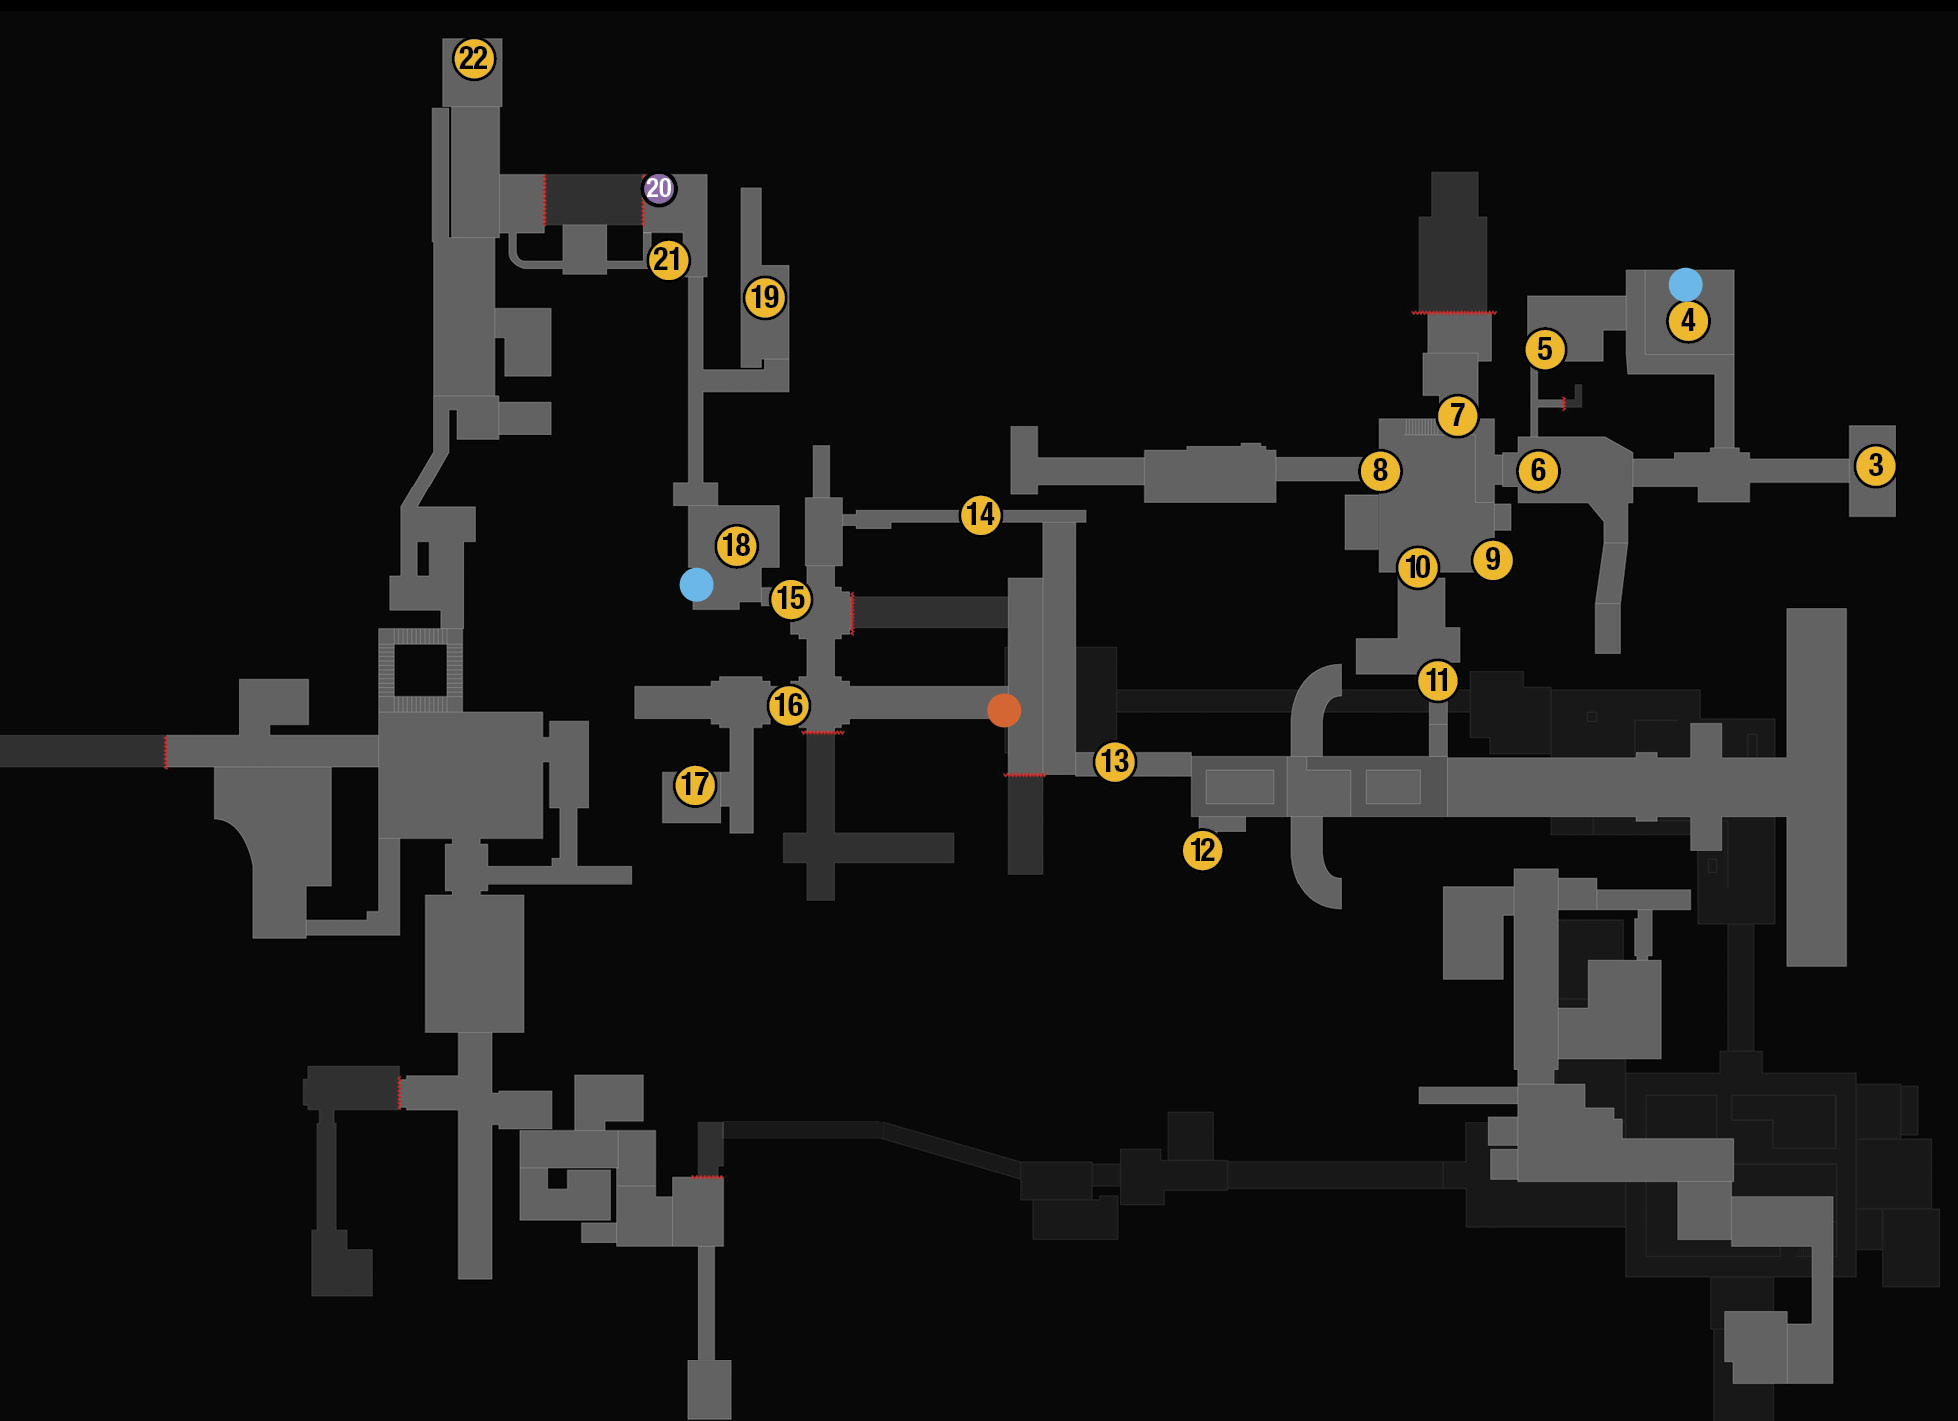
Grab all the pickups in the arrival port  and exit via the double doors into a short hall. Hit the Fuji Dew vending machine to pick up some free Green Gel then move through the next set of doors into the Situation Room
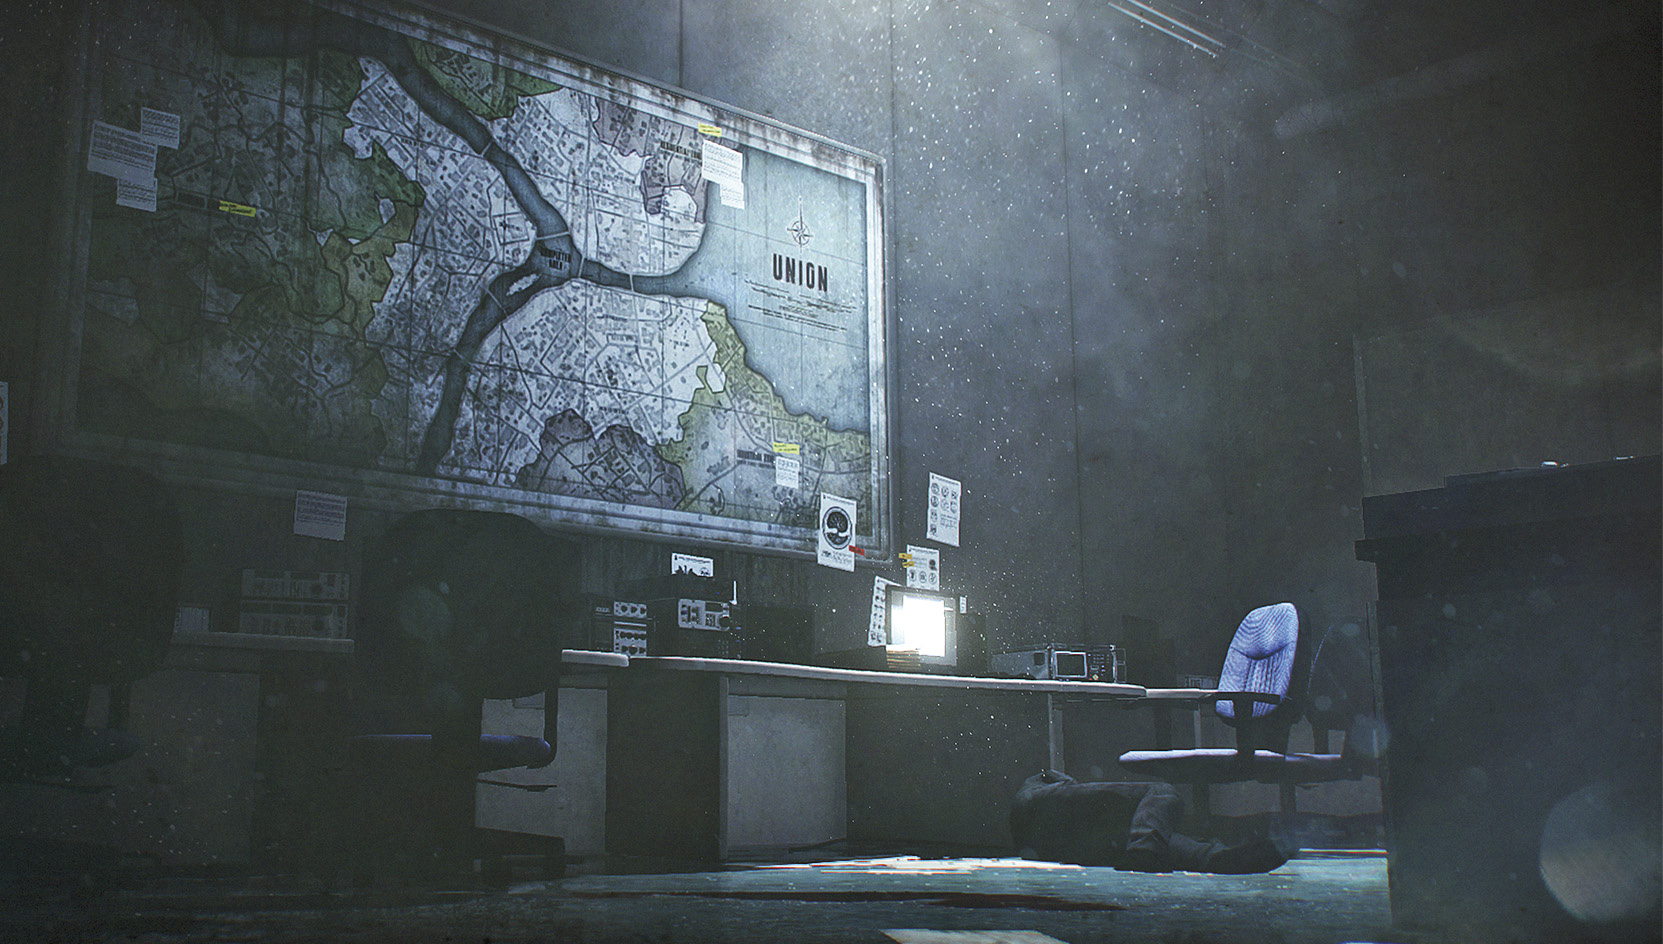
  . Investigate the model of Union in the center of the room, and check out the big wall map too. Then read the email on the desktop monitor under the map. You learn that Mobius had ambitious expansion plans for Union, including new residential, farming and industrial zones.
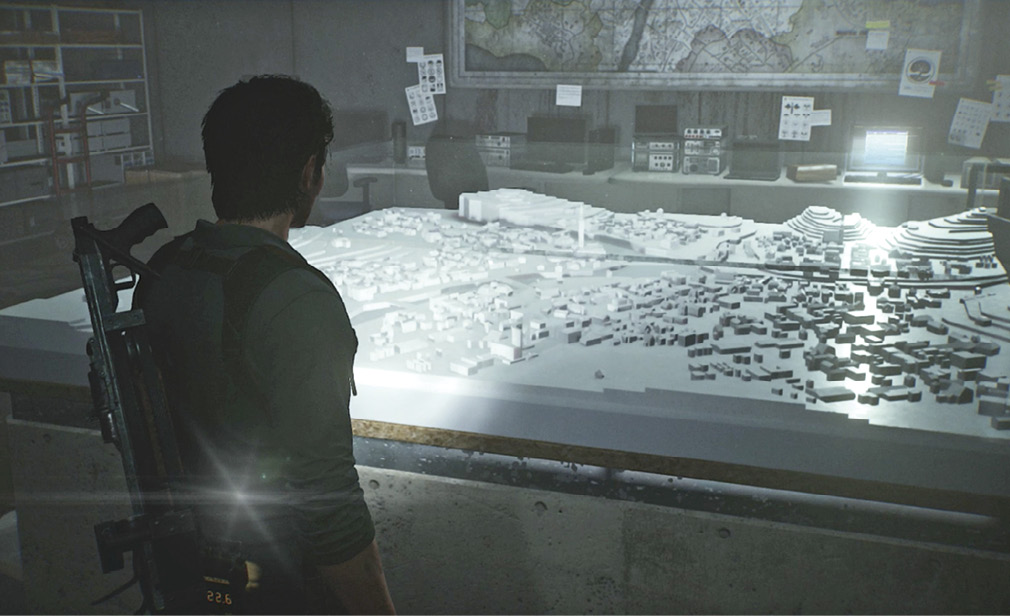
Climb the stairs and exit the far doors. In the next room, find the fallen Mobius operative next to an open wall vent  . Grab the item on the soldier, move through the vent, and follow the duct to a connecting lobby
  . Search it for items; you can use a Shock Bolt to open security door BE-C03, but it’s not necessary. (You’ve already seen the other side.) Then move through the open blast door onto a catwalk that overlooks a dark, shattered central hall.
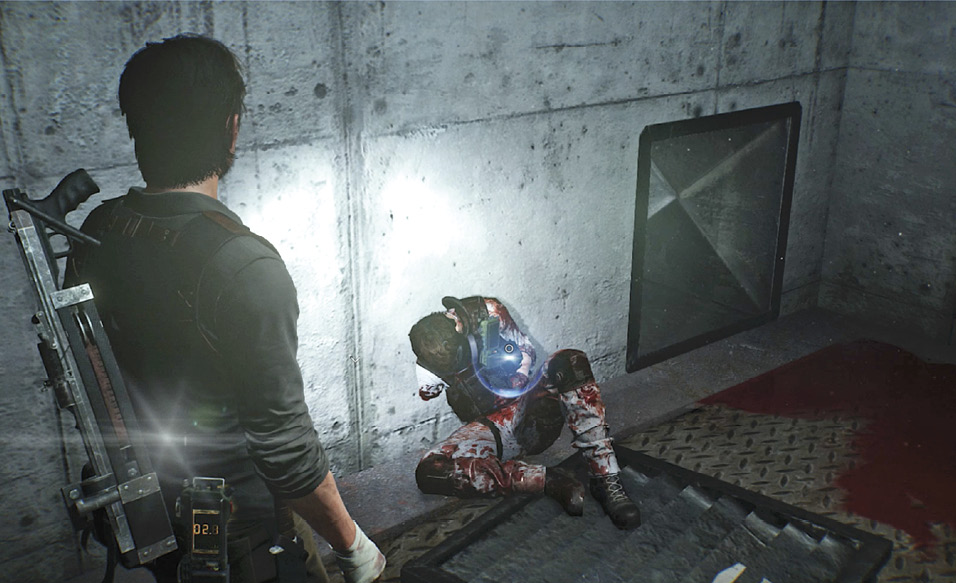
Unlock the blast door
If you check out the three locked doors with glass windows leading from the hall, you see several hungry Lost tearing at corpses in a frenzy of bloodlust. The Recreation Area door is at the top of the stairs  and the Research Wing is below it. The third door is the Security Annex
  where a sleeping Hysteric lies just on the other side.
Up the nearby ladder, you find an unlocked door  that leads to a fallen Mobius operative carrying a valuable Warden Crossbow Ammo Pouch. Kill the sleeping Lost next to him then loot the supply duffel in the corner. Now return to the main floor and approach the locked blast door
  labeled “Entry to Access Tunnels.”
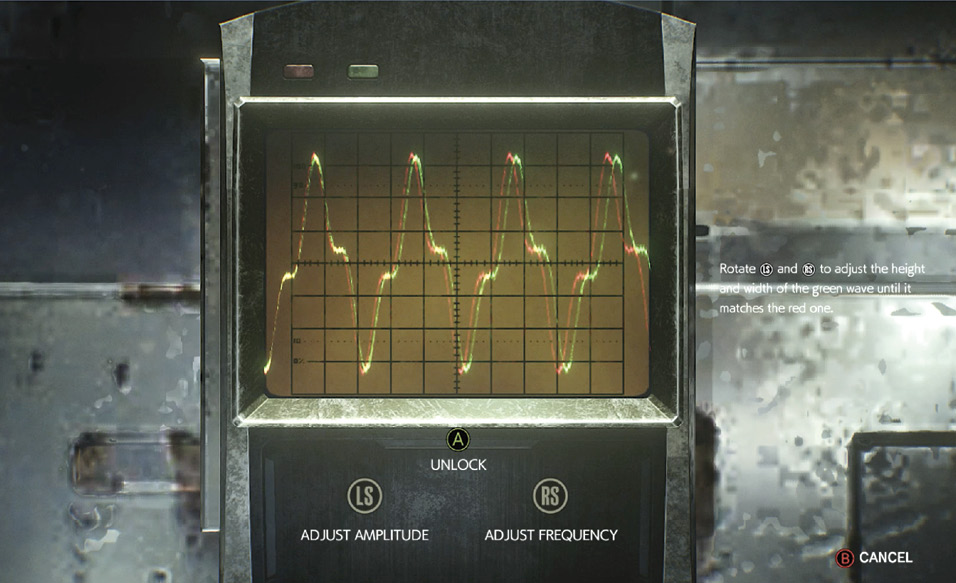
Investigate to learn that an emergency lockdown is in effect. Operate the lock panel. As you did in the previous oscilloscope lock puzzle, use the Amplitude control to adjust the green wave’s height to match the red wave’s height; then use the Frequency control to match up the width of the waves. Be ready for havoc!
Fight off the Lost swarm!
When you hit the Unlock button, the emergency lockdown is deactivated. Unfortunately, this unlocks all of the side annex doors, one at a time, releasing the Lost cooped up behind them. The intercom announces each annex as it unlocks. First is the Recreation Area, then the Research Wing. Try to nail these first few attackers with gunshots. But if you get overwhelmed, quickly switch to your Warden Crossbow and sling a Smoke Bolt into the floor amidst your attackers. The Lost will be blinded by smoke for a few seconds, long enough for you to switch to your Handgun and blast off a few heads. Repeat the tactic with a second Smoke Bolt if necessary.
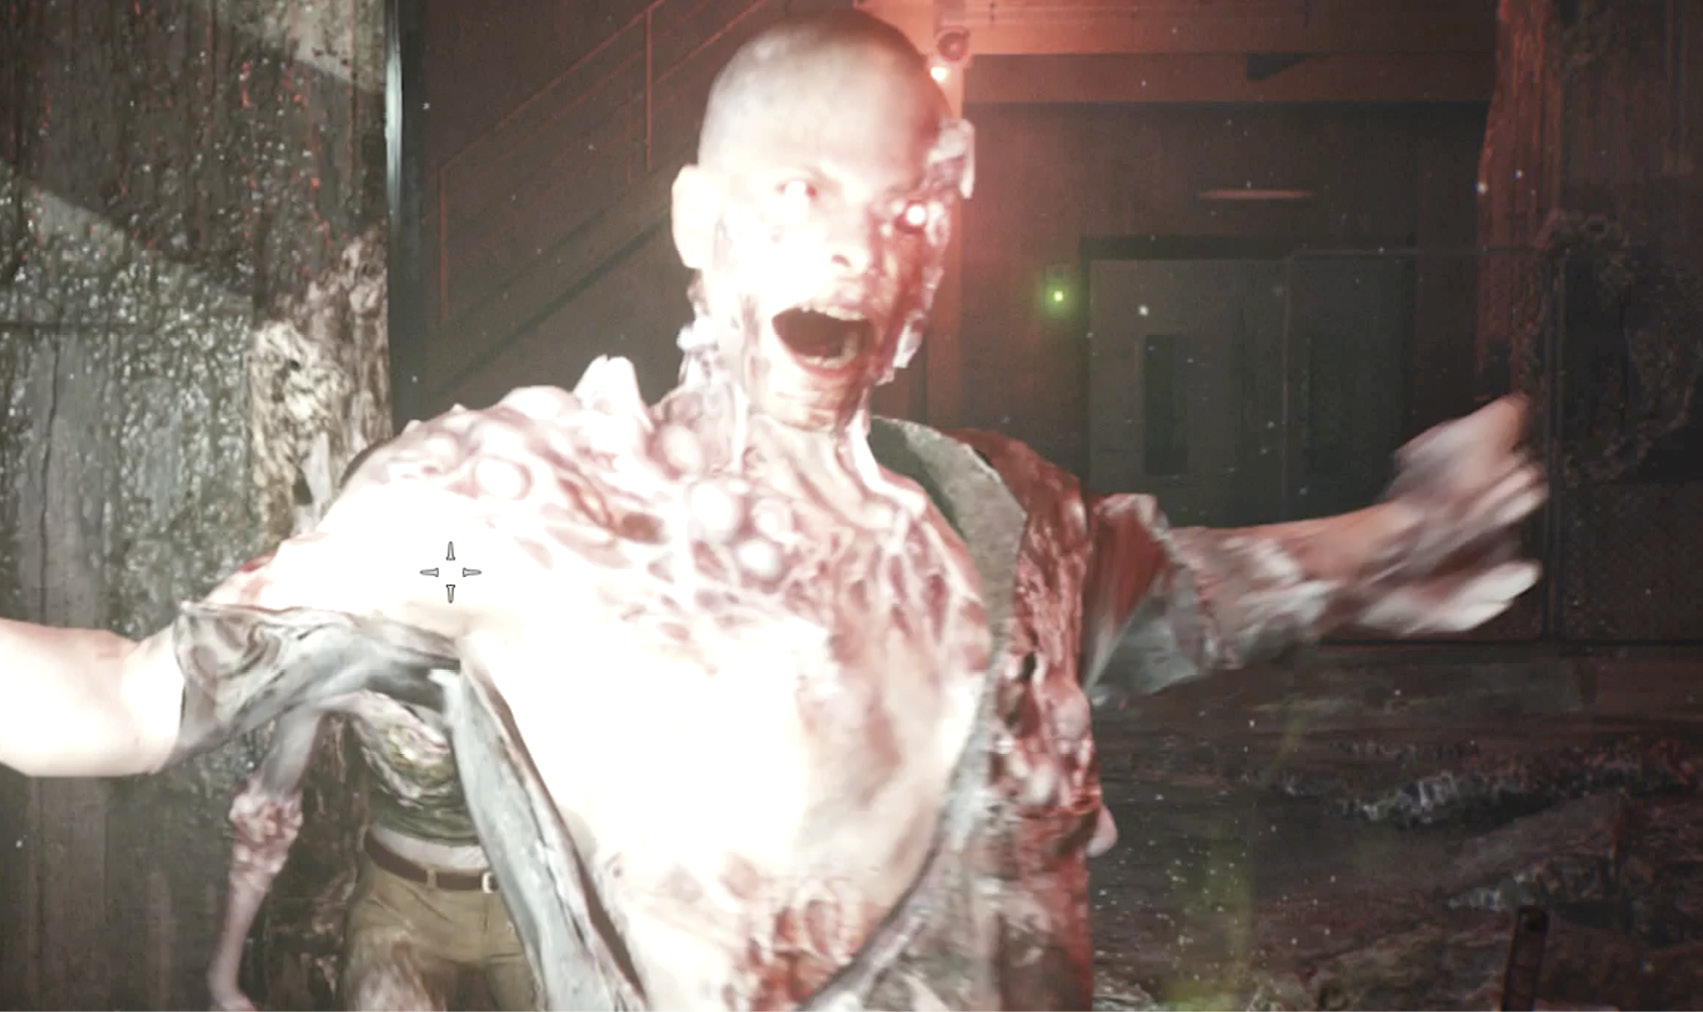
When the Security Annex unlocks, the brutal Hysteric emerges and comes sprinting at you. Switch to your Shotgun and stun her with a blast to the face, then follow up with more headshots until she drops. When the area is finally clear, loot behind all of the newly opened annex doors for some nice pickup items. Then return to the blast door you unlocked and proceed.
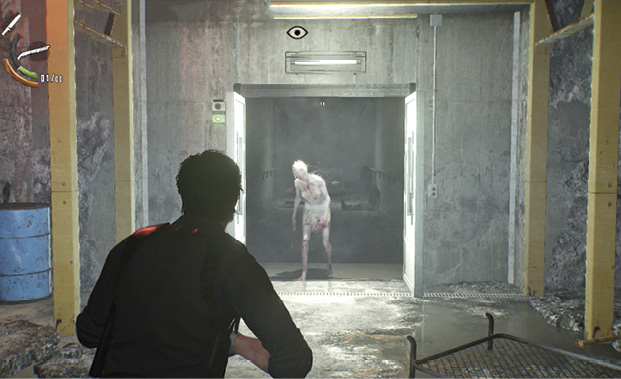
Navigate the Marrow Access Tunnels (Central)
Break through the chained gate  and continue into the smelly access tunnels. Follow the catwalk to the switch and throw it to drain sludge from the tunnels. Climb down the ladder and follow the channel to a short staircase leading to a side passage
  where you find a fallen Mobius operative with some Shotgun Shells.
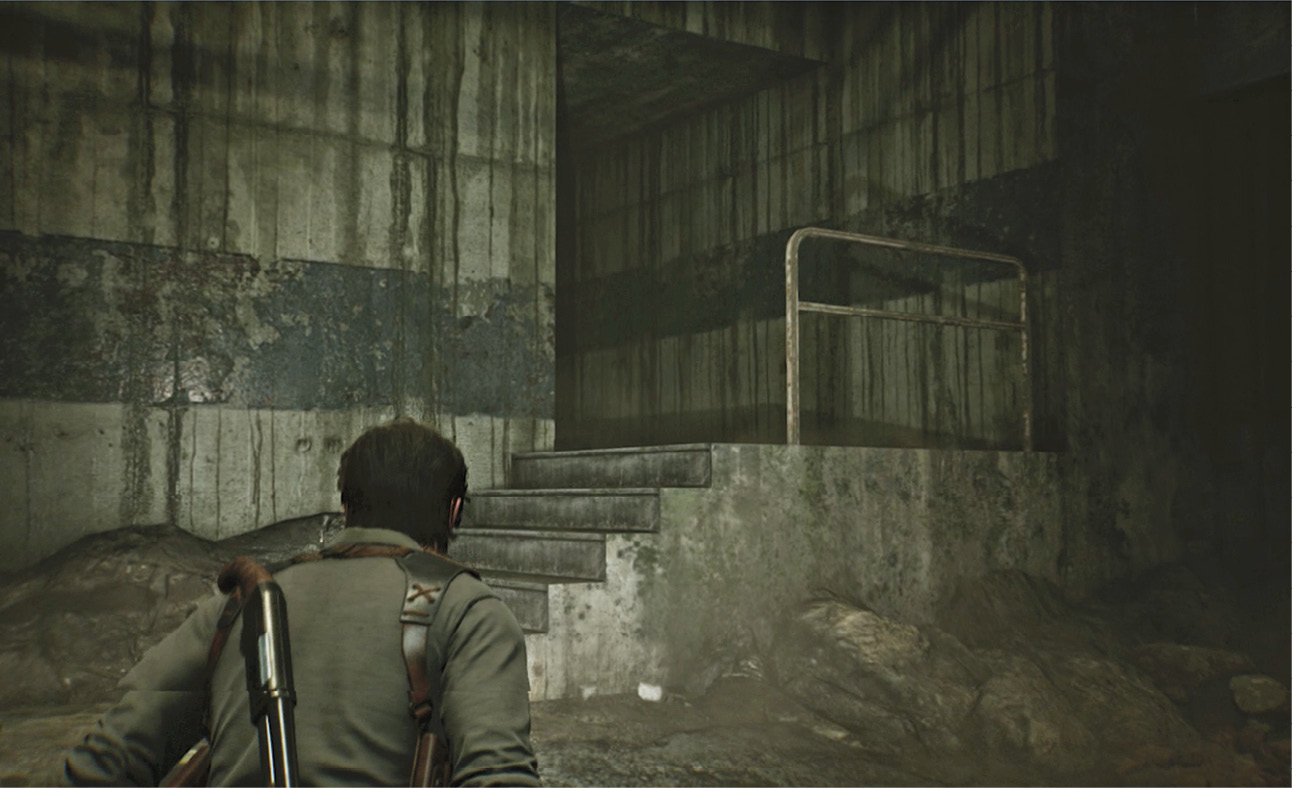
Return carefully to the channel; a Lost is wandering the floor. Wait for it to move past then crouch up behind for a Sneak Kill. Climb the other tall ladder to the catwalks and turn left to enter the tiled room  where Sebastian automatically dons his gas mask. With the mask on, your point-of-view switches to first-person. As Sebastian notes, you cannot use your firearms in the gas, so you must rely on stealth and your knife. Open the door and enter the gas-filled maintenance tunnel.
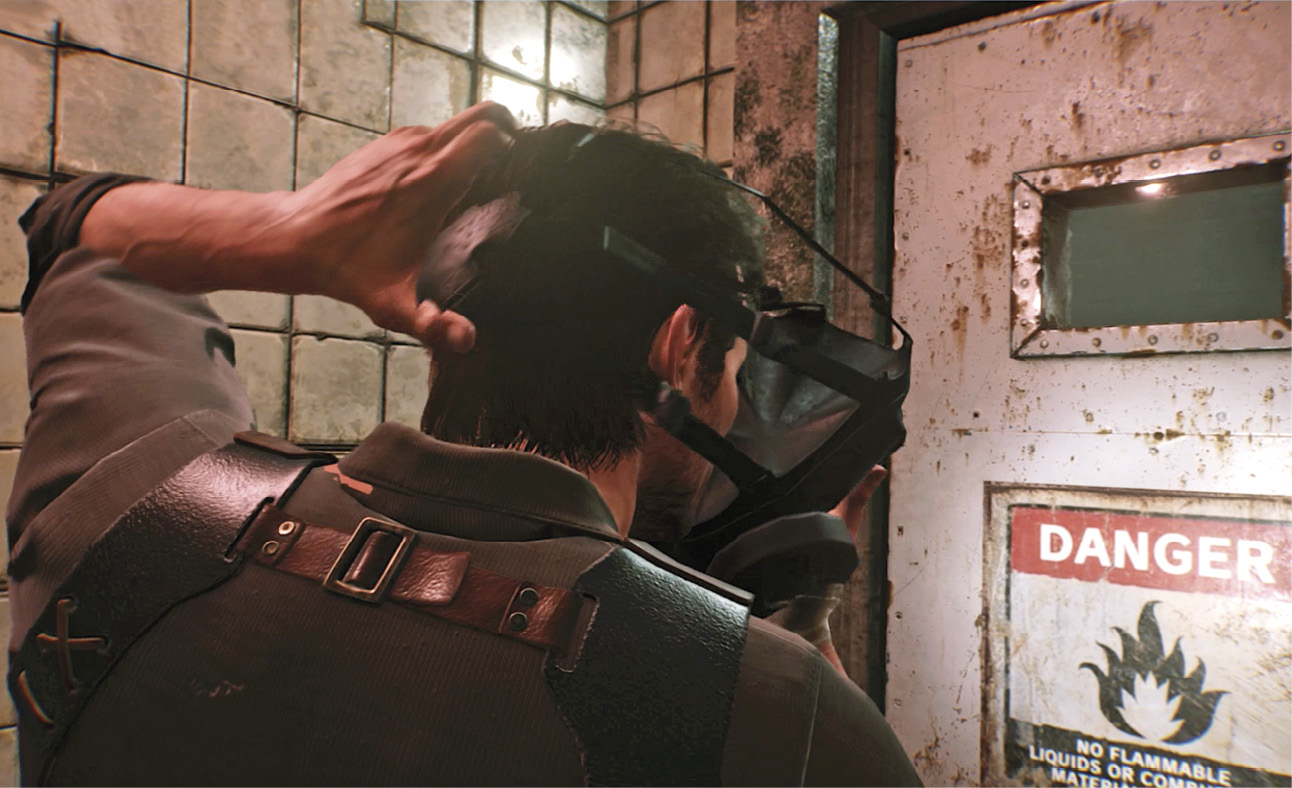
Get past the gas leak
A Lost lurks just down the walkway, so crouch immediately and duck from crate to crate until you can work behind the goon for a Sneak Kill. At the end of the walkway, turn left and descend the long narrow staircase  then duck under the boards in the low passage. You emerge into a watery tunnel
  with gas spewing from a pipe above.
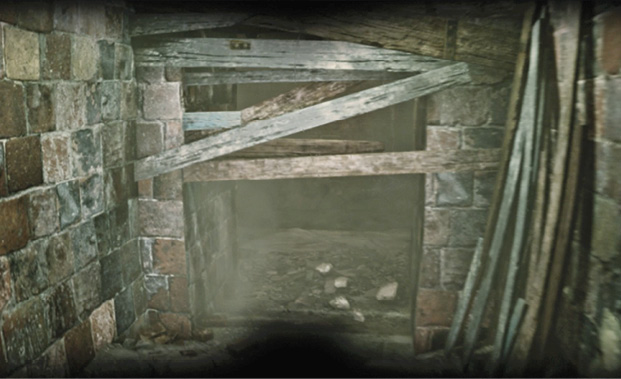
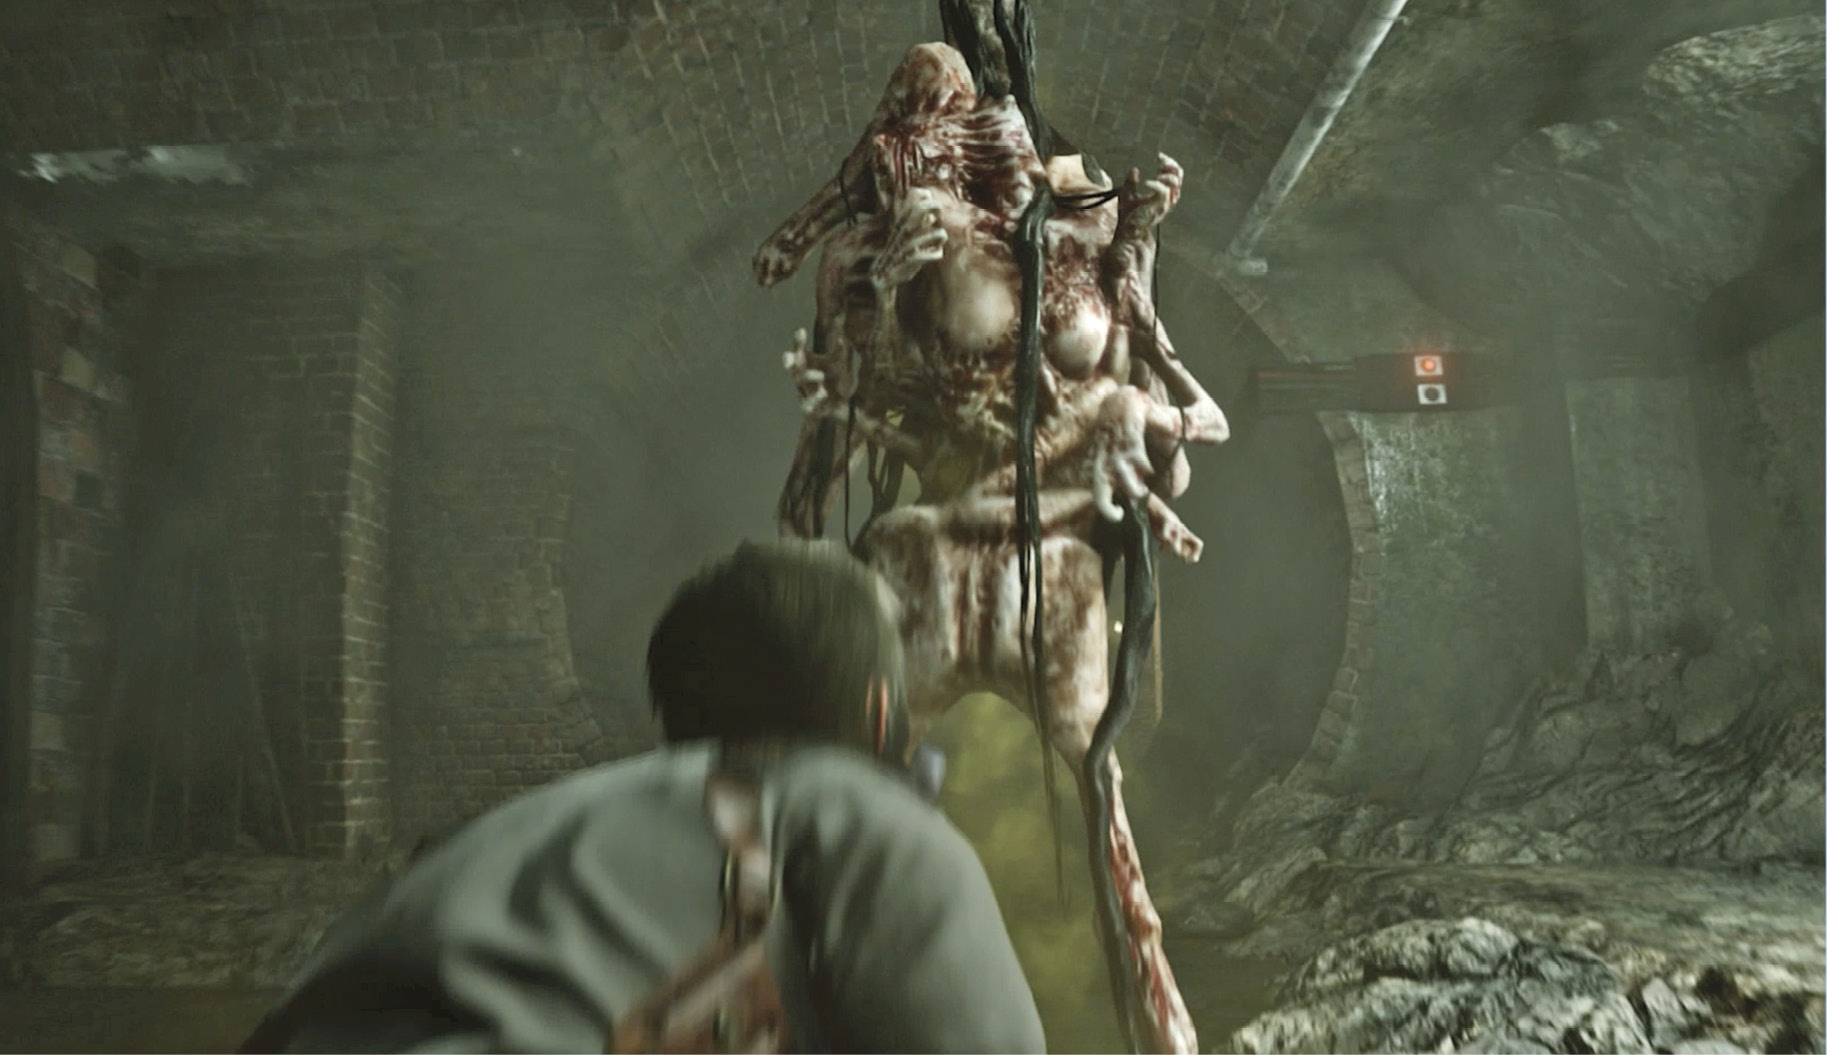
Hear that wailing? That’s a Lament, roaming up and down the tunnel to the left. The exit door is just ahead in a small alcove on the right  , but it has an electric lock. Your task now is to follow the bundle of black/red power cables, mounted high on the wall, along a series of red-lit relays to the power source. Of course, this route leads right past the Lament!
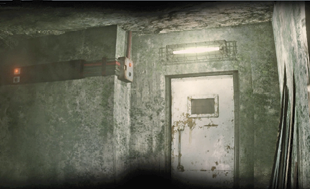
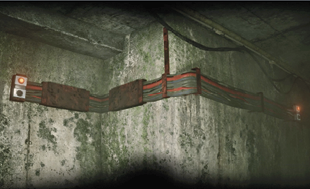
Crouch and follow the tunnel along the cable bundle route. At the first corner, you’ll spot the Lament nearby, pacing up and down the next tunnel  . Wait until it passes by, and then creep up behind it to attempt a Sneak Kill. One attack won’t kill it, so after it shrugs off Sebastian, turn and hustle back to the door alcove. Wait until the Lament settles down and starts pacing again, then repeat the effort. The second Sneak Kill attack brings it down.
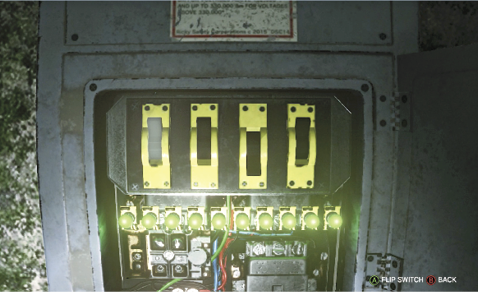
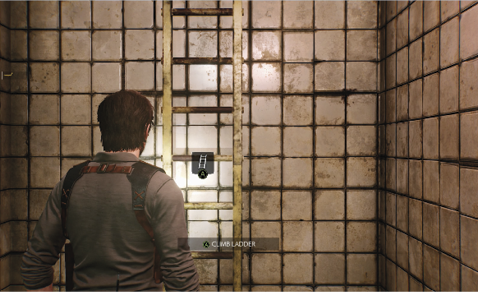
Then return west to the cable bundle and follow it into a small utility room  to find the fuse box. Open the box, flip switches 1, 2 and 4 (left to right) to light up exactly ten bulbs and send power to the door. Return to the now-unlocked door and exit the tunnel. Sebastian automatically removes his gas mask. Climb the ladder.
Get to City Hall
You emerge in a power control room  . Grab pickup items and find an email on the computer in the corner. Then exit via the doorway indicated by the sign that reads “To West Access Tunnels: B2.”
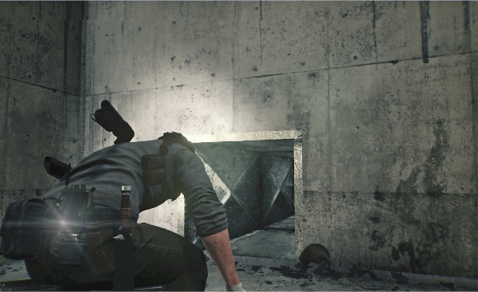
Climb the metal stairs to the doorway, then turn right and climb the concrete stairs. At the top, you find a Mobius storeroom  with some pickup goodies, including a Harpoon Bolt. Then go back downstairs, turn right, and cross the metal catwalk to the rusting door. Push it open and note the open vent, low on the left wall. Continue past it around the corner and equip your Communicator. Find the Residual Memory near the fallen soldier
  .
.
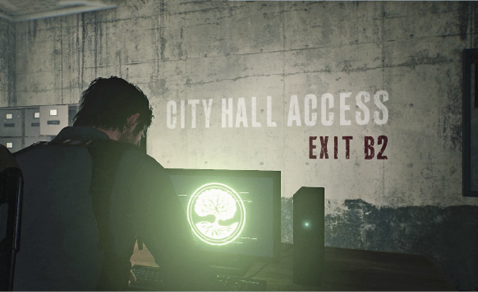
Now return to the open vent and crouch into the duct  . Follow it until you emerge on the other side of the collapsed floor. Go through the door marked Exit B2 and approach the computer
  under the City Hall Access sign. Use the computer to travel to the dark void, then again to the City Hall port.
Overview
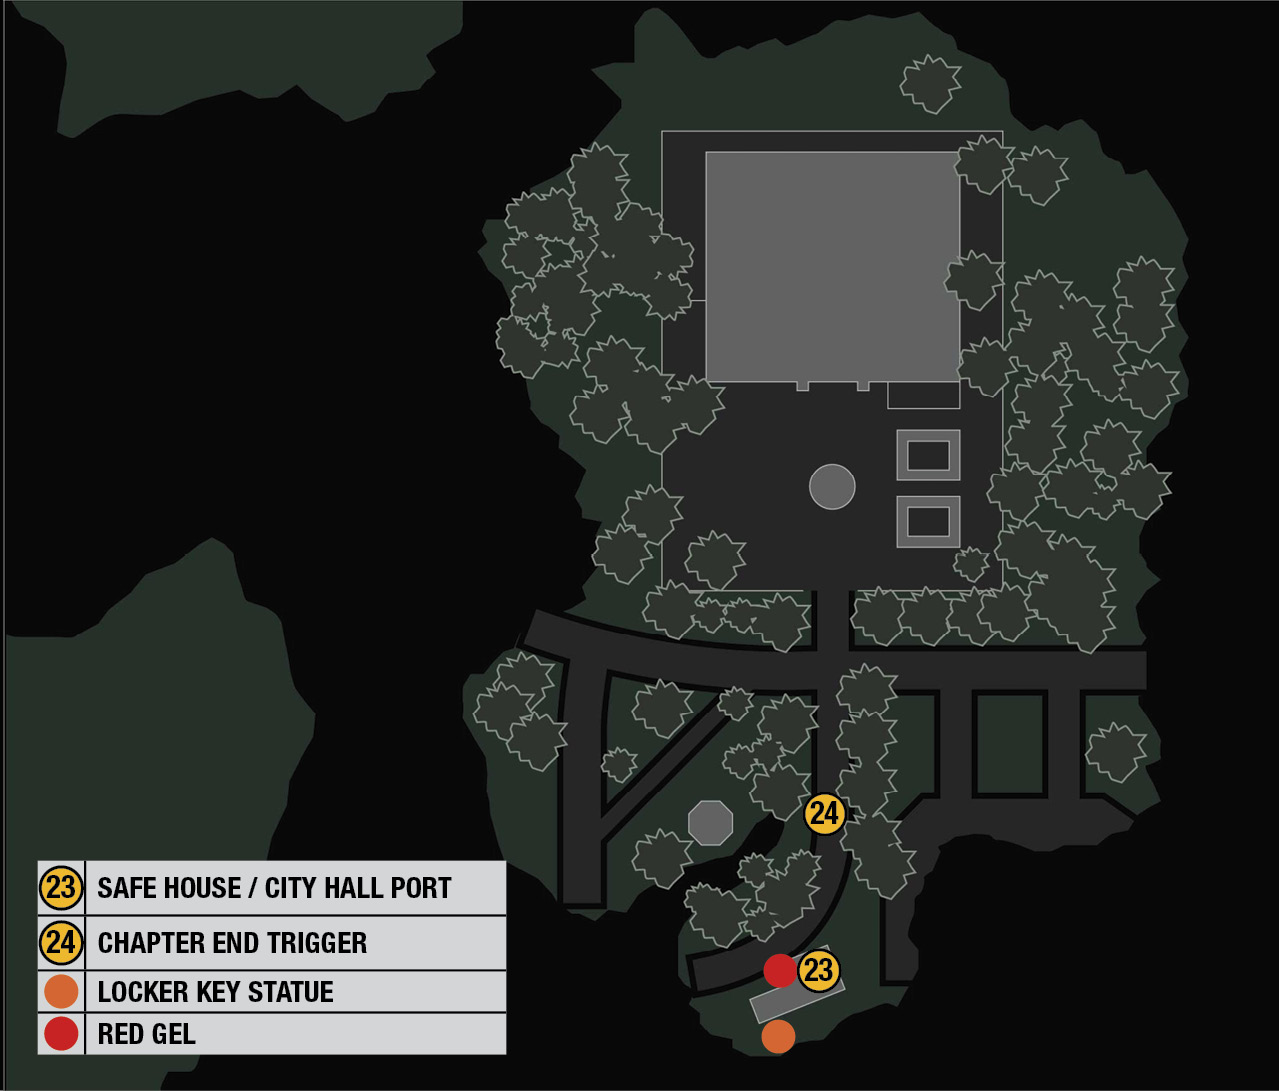
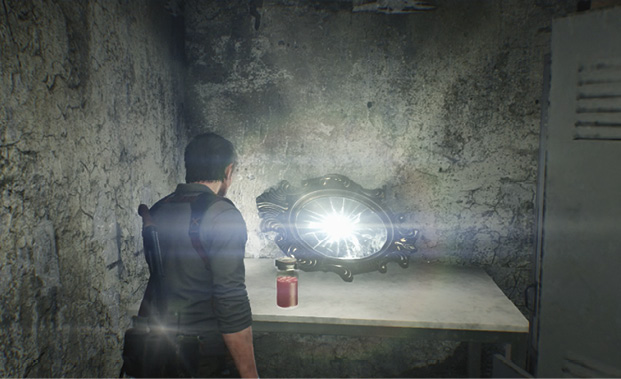
You made it! But the chapter isn’t quite over yet. This is an underground Safe House  , so drink some coffee, grab the pickups (including a rare jar of Red Gel), and use the Save Terminal. This is also a good place to use the Mirror to travel back to Sebastian’s Room for a round of skill upgrades, Shooting Range practice, and maybe some Workbench use too. Then return via the Mirror and climb the ladder up to ground level.
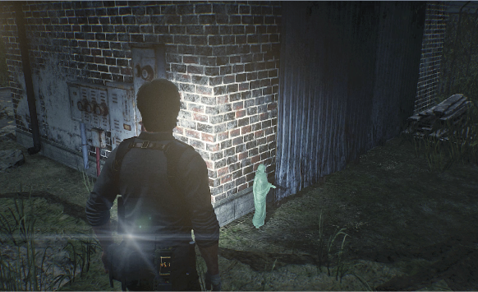
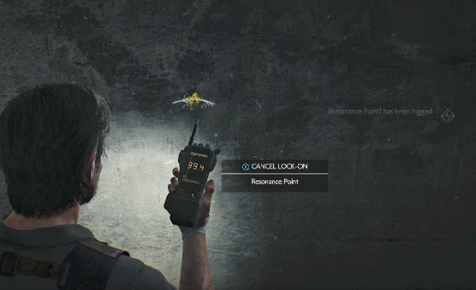
Equip your Communicator and lock in on the Resonance that you pick up here. Step outside the door, turn left, and walk around the brick hut to find a Locker Key statue just around the back corner.
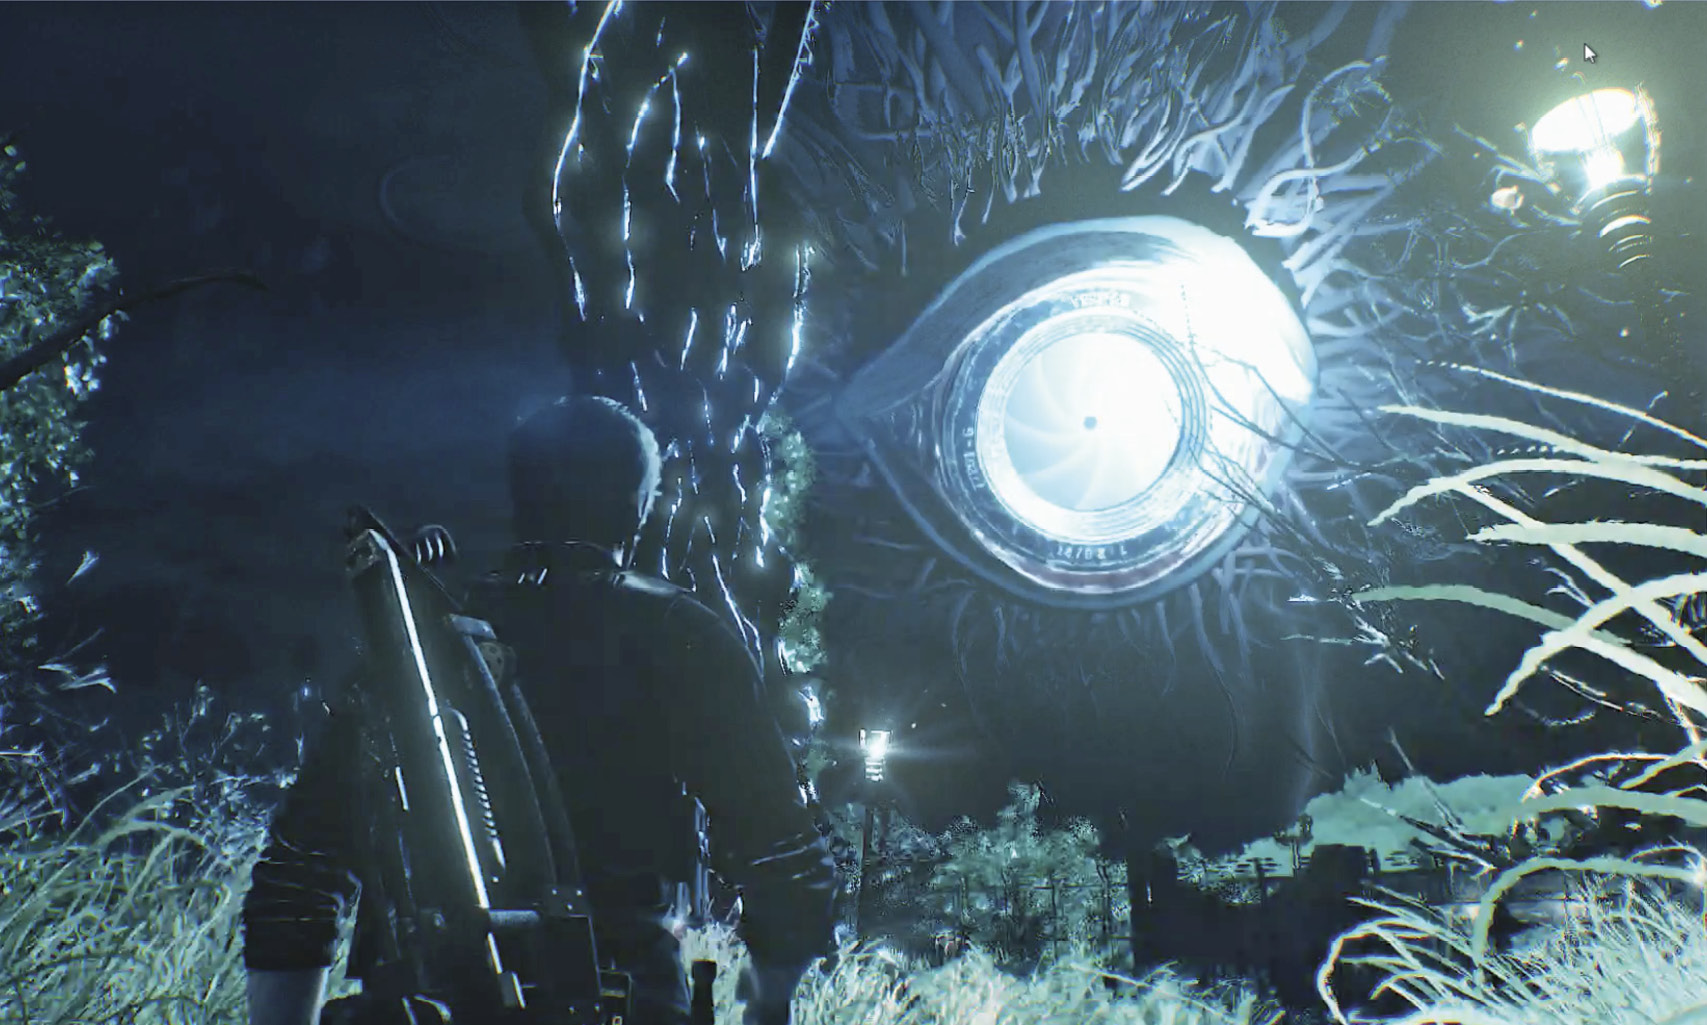
Now start walking toward City Hall. Just a few steps down the road  , you trigger a quick scene. Watch as the murderer teleports in up ahead… and then the massive eye creature, the Aperture, flashes in the sky.