The Evil Within 2 Guide Story Walkthrough
Premiere
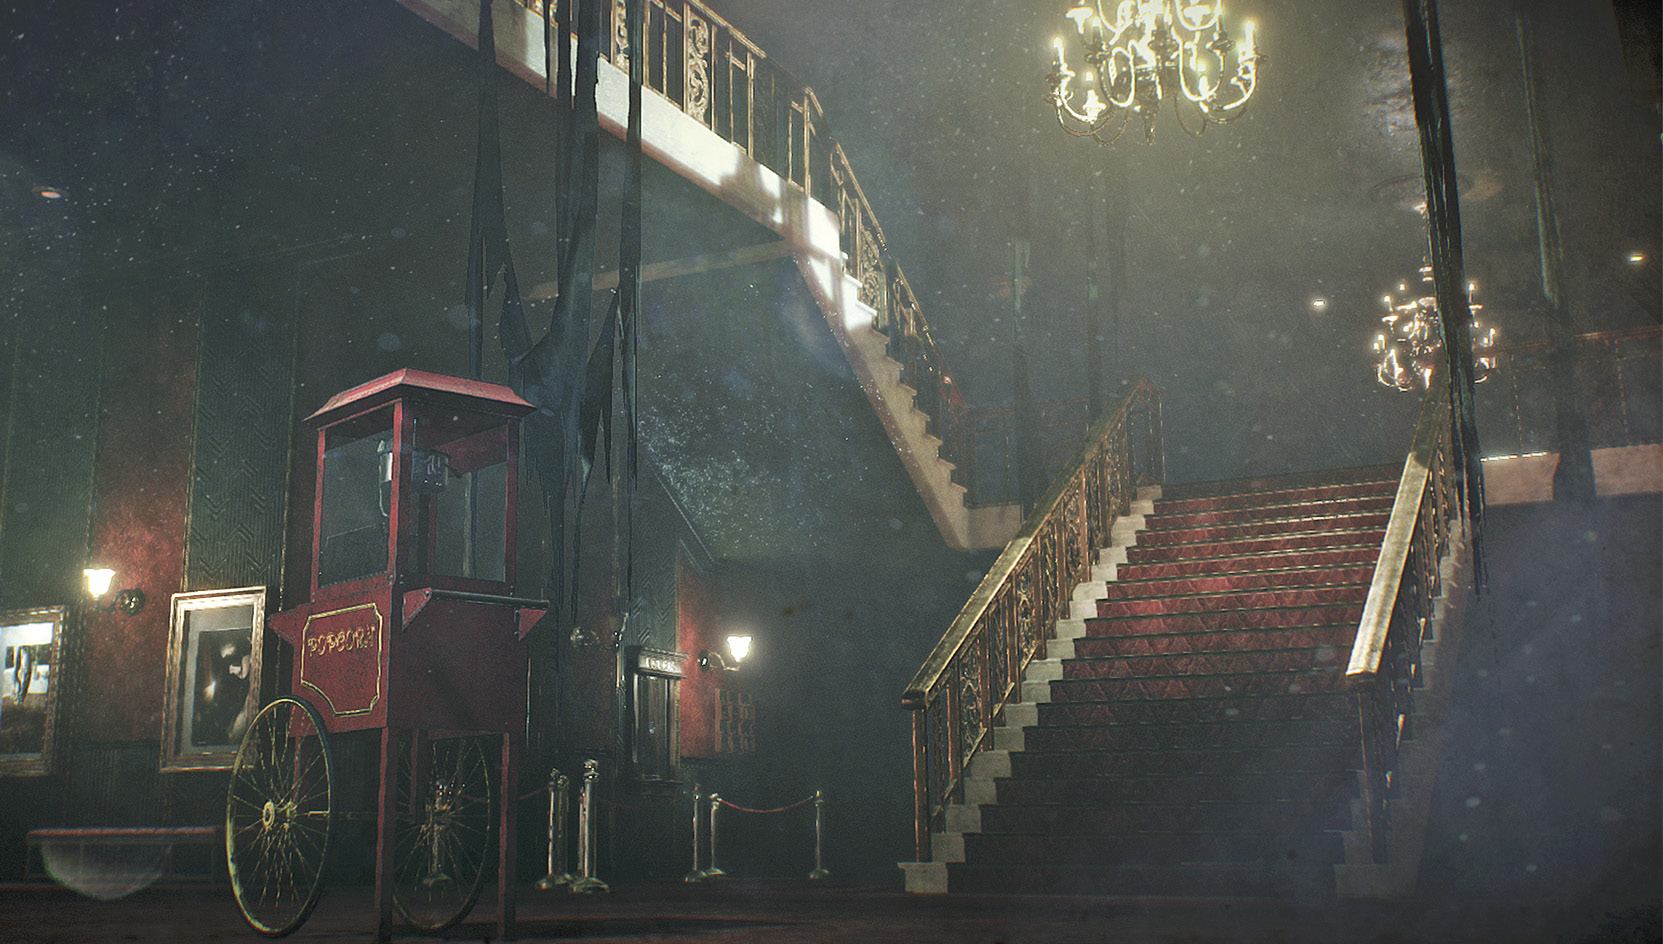
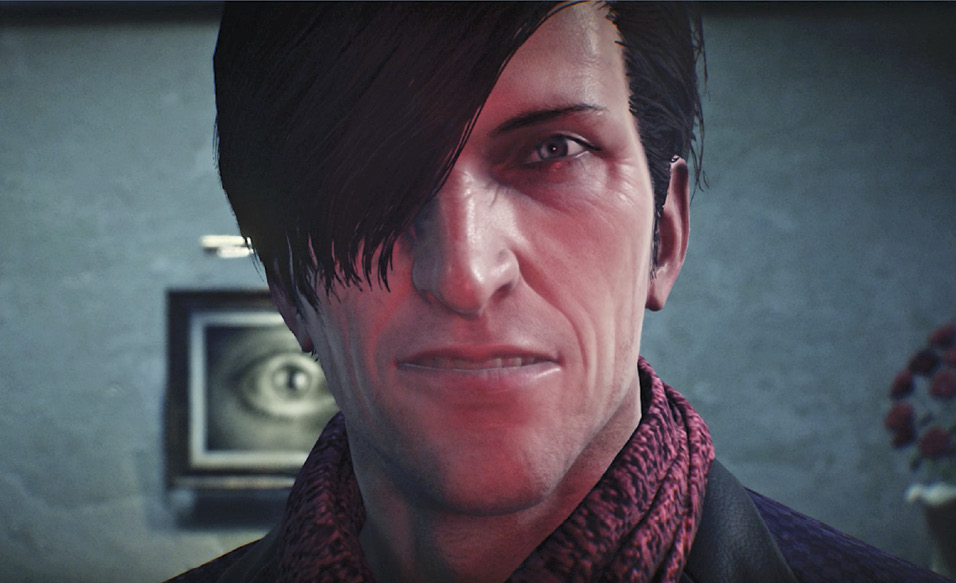
Stefano’s not running from Sebastian anymore. But the Grand Theater is this self-proclaimed artist’s turf, so be prepared for some unpleasant surprises.
Overview
Objectives
- Take down Stefano and save Lily Collectibles
- 1 Residual Memory
Objective: Take down Stefano and save Lily
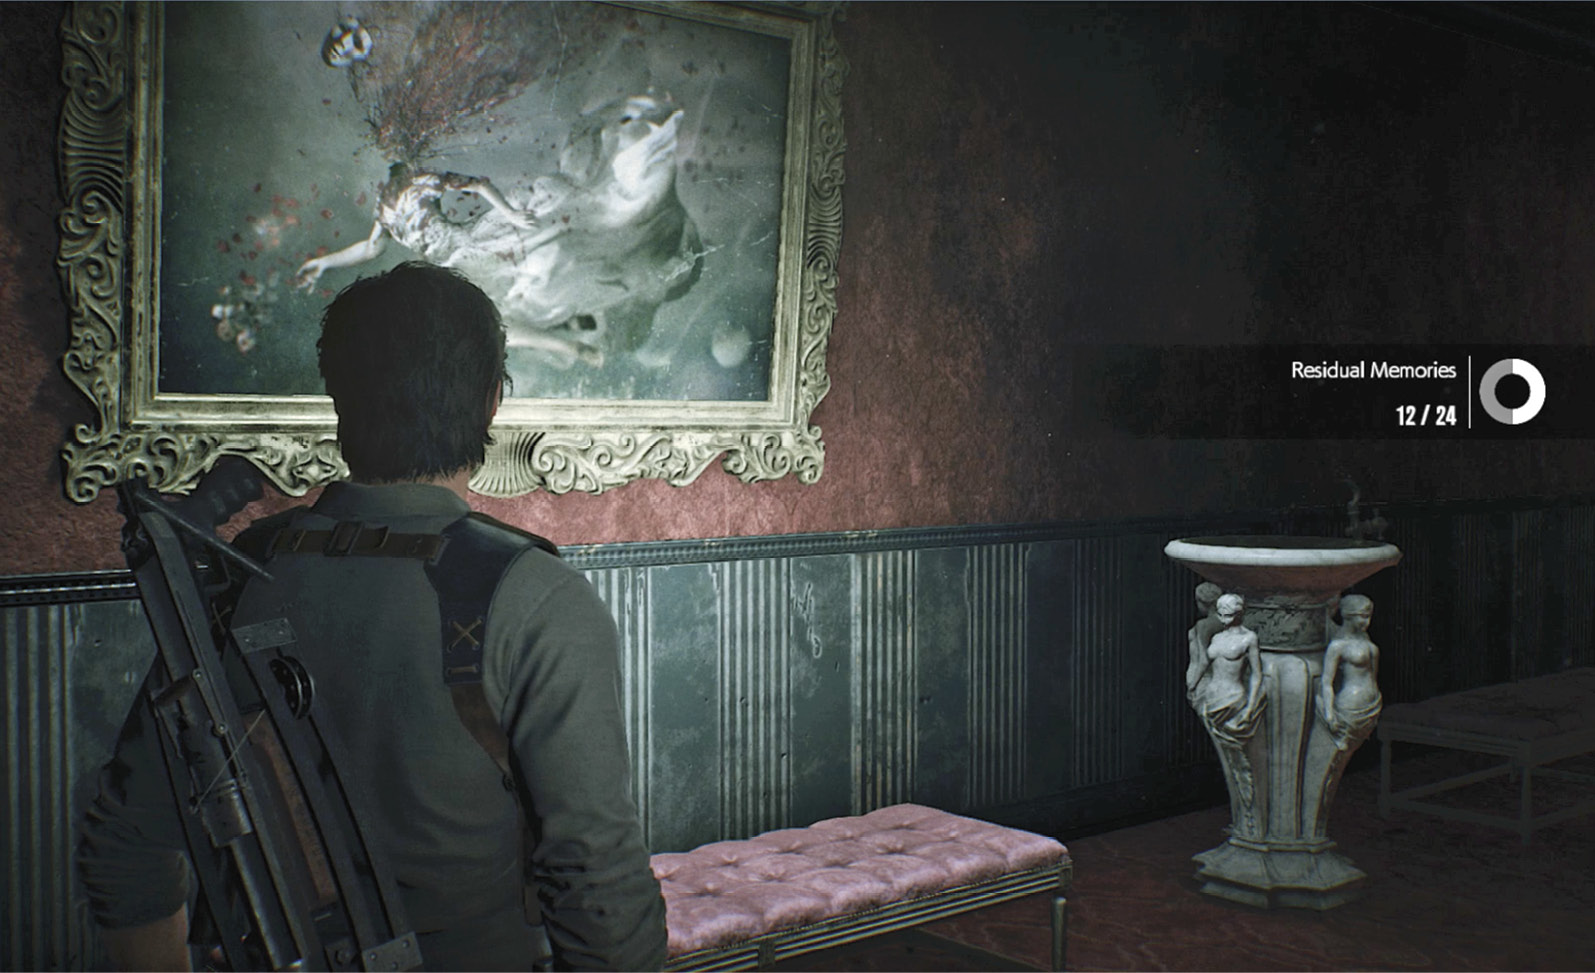
Go through the foyer into the main lobby and climb the first staircase to the theater level. This is where you enter the theater itself, but first climb up the stairs to the second level to investigate a Resonance Point. Approach the portrait on the back wall and tune in the memory with your Communicator.
Navigate the shattered corridor
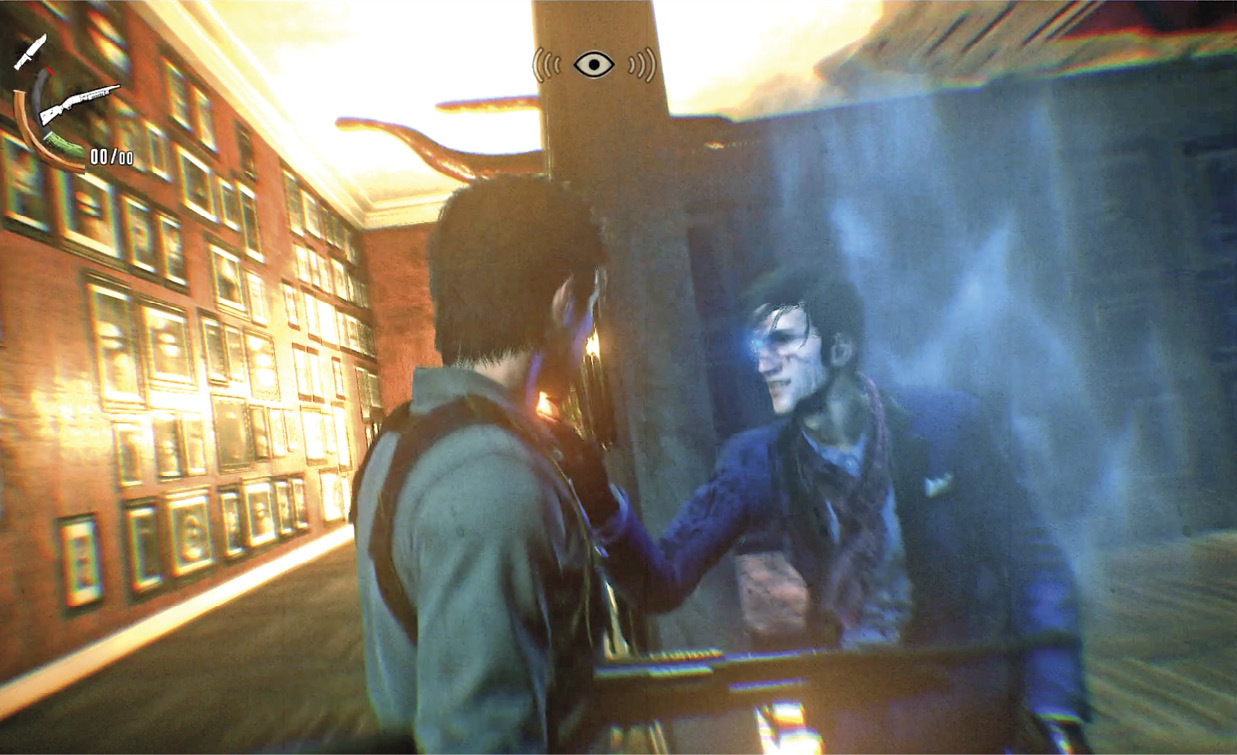
Enter the theater to watch the long cutscene as Stefano waits on stage before a captive audience. When it ends, you see Stefano at the end of a long corridor. Start running after him. As you do, the corridor breaks apart! But Sebastian won’t let that stop him from hunting down Stefano.
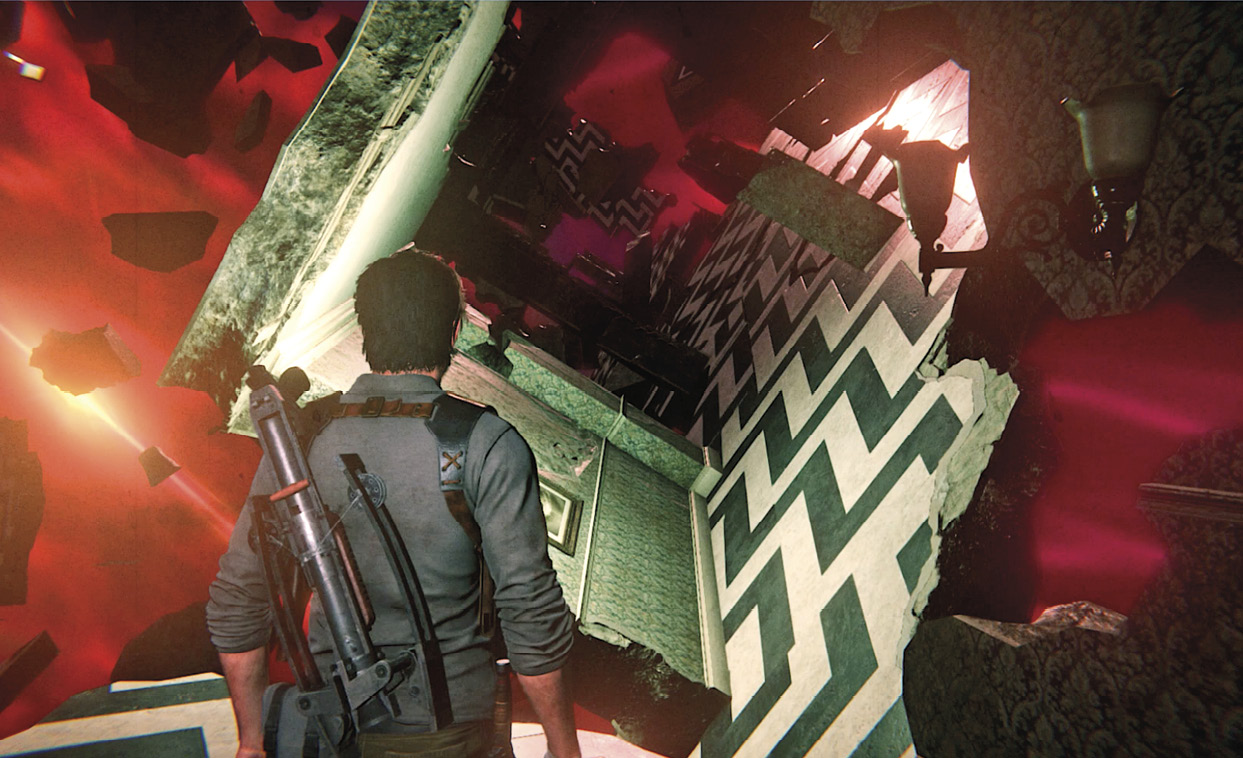
Watch for onscreen cues as you proceed, telling when you need to either climb down or climb up obstacles on the route. From the start, aim directly at the middle of the next floating section and climb down. Sebastian is flung onto his back then recovers. Then the Aperture appears, slamming its tentacles onto the floor ahead.
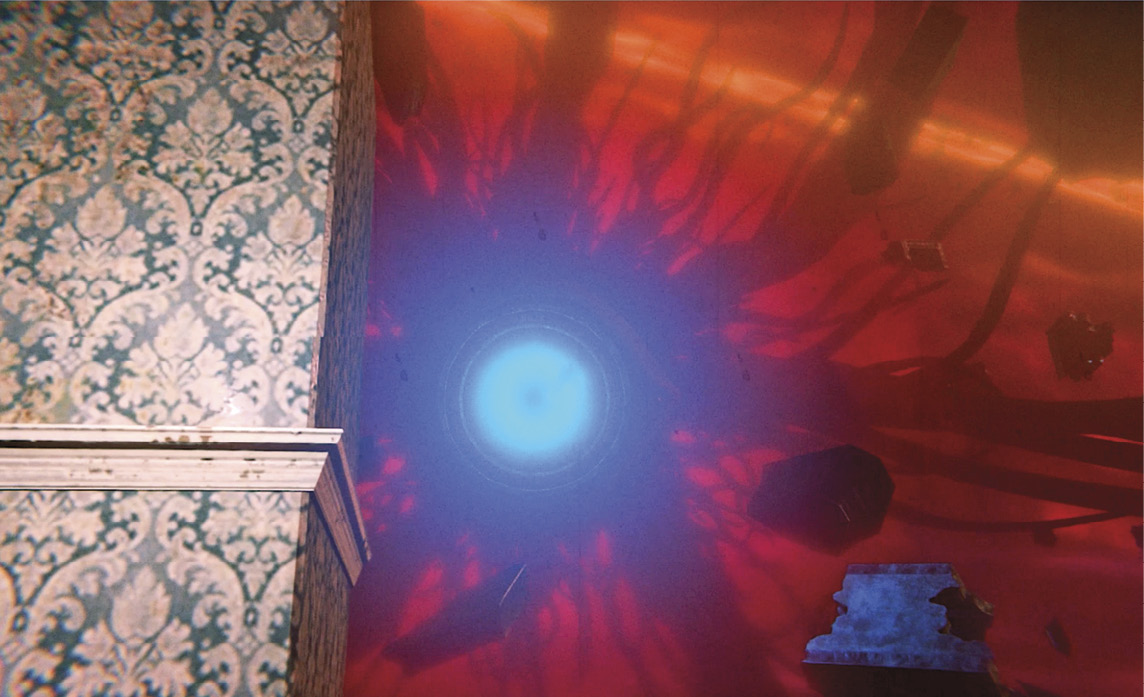
The key now is to stay out of the bright gaze of the Aperture. If the creature sees Sebastian, it quickly crushes him. This is not a timed event; although the corridor is shattered and twisted, the pieces are stable, so take your time. Just don’t get caught out in the open by the searchlight.
When the gaze moves away, veer rightward to the two wall sections and camp behind the low wall. When the gaze moves away again, veer left and climb down to drop to the next section. Climb up to the next platform to your left and run again. Note that a Locker Key statue is hidden behind one of the low wall segments on the right.
Follow the obvious route along the corridor fragments, hiding in the shadow of walls when necessary. When you reach another section of corridor twisted sideways, climb down to get flung onto it.
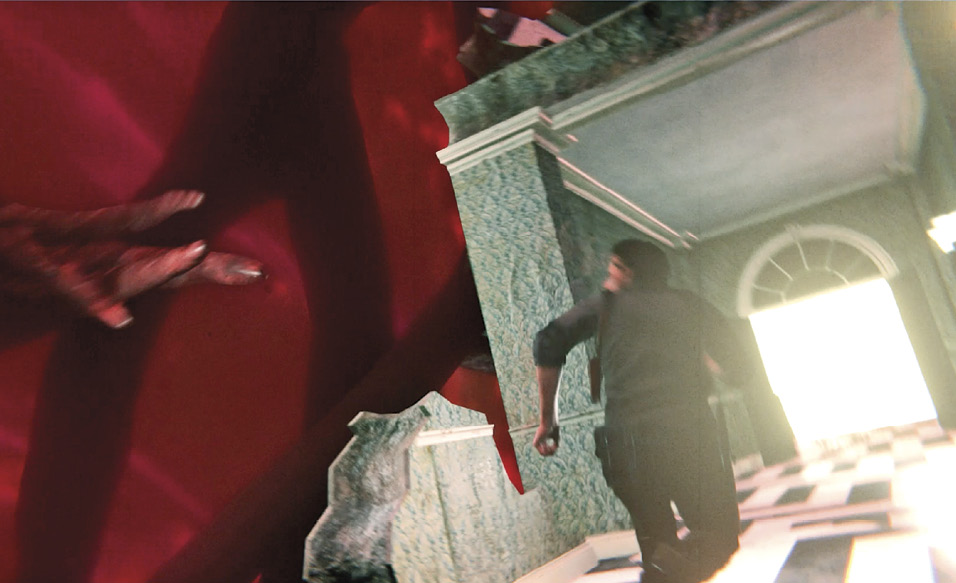
This next part is tricky. (See our screenshot.) When the Aperture’s gaze is away, turn left and run down the broken slab of wall that forms a ramp to the next piece of the corridor below, and hide behind the wall blocking the Aperture’s gaze. When the gaze moves away, hustle to the overhanging section and crouch to duck underneath it. Stay under the overhang until the coast is clear, then emerge and run to the next low rise to climb up.
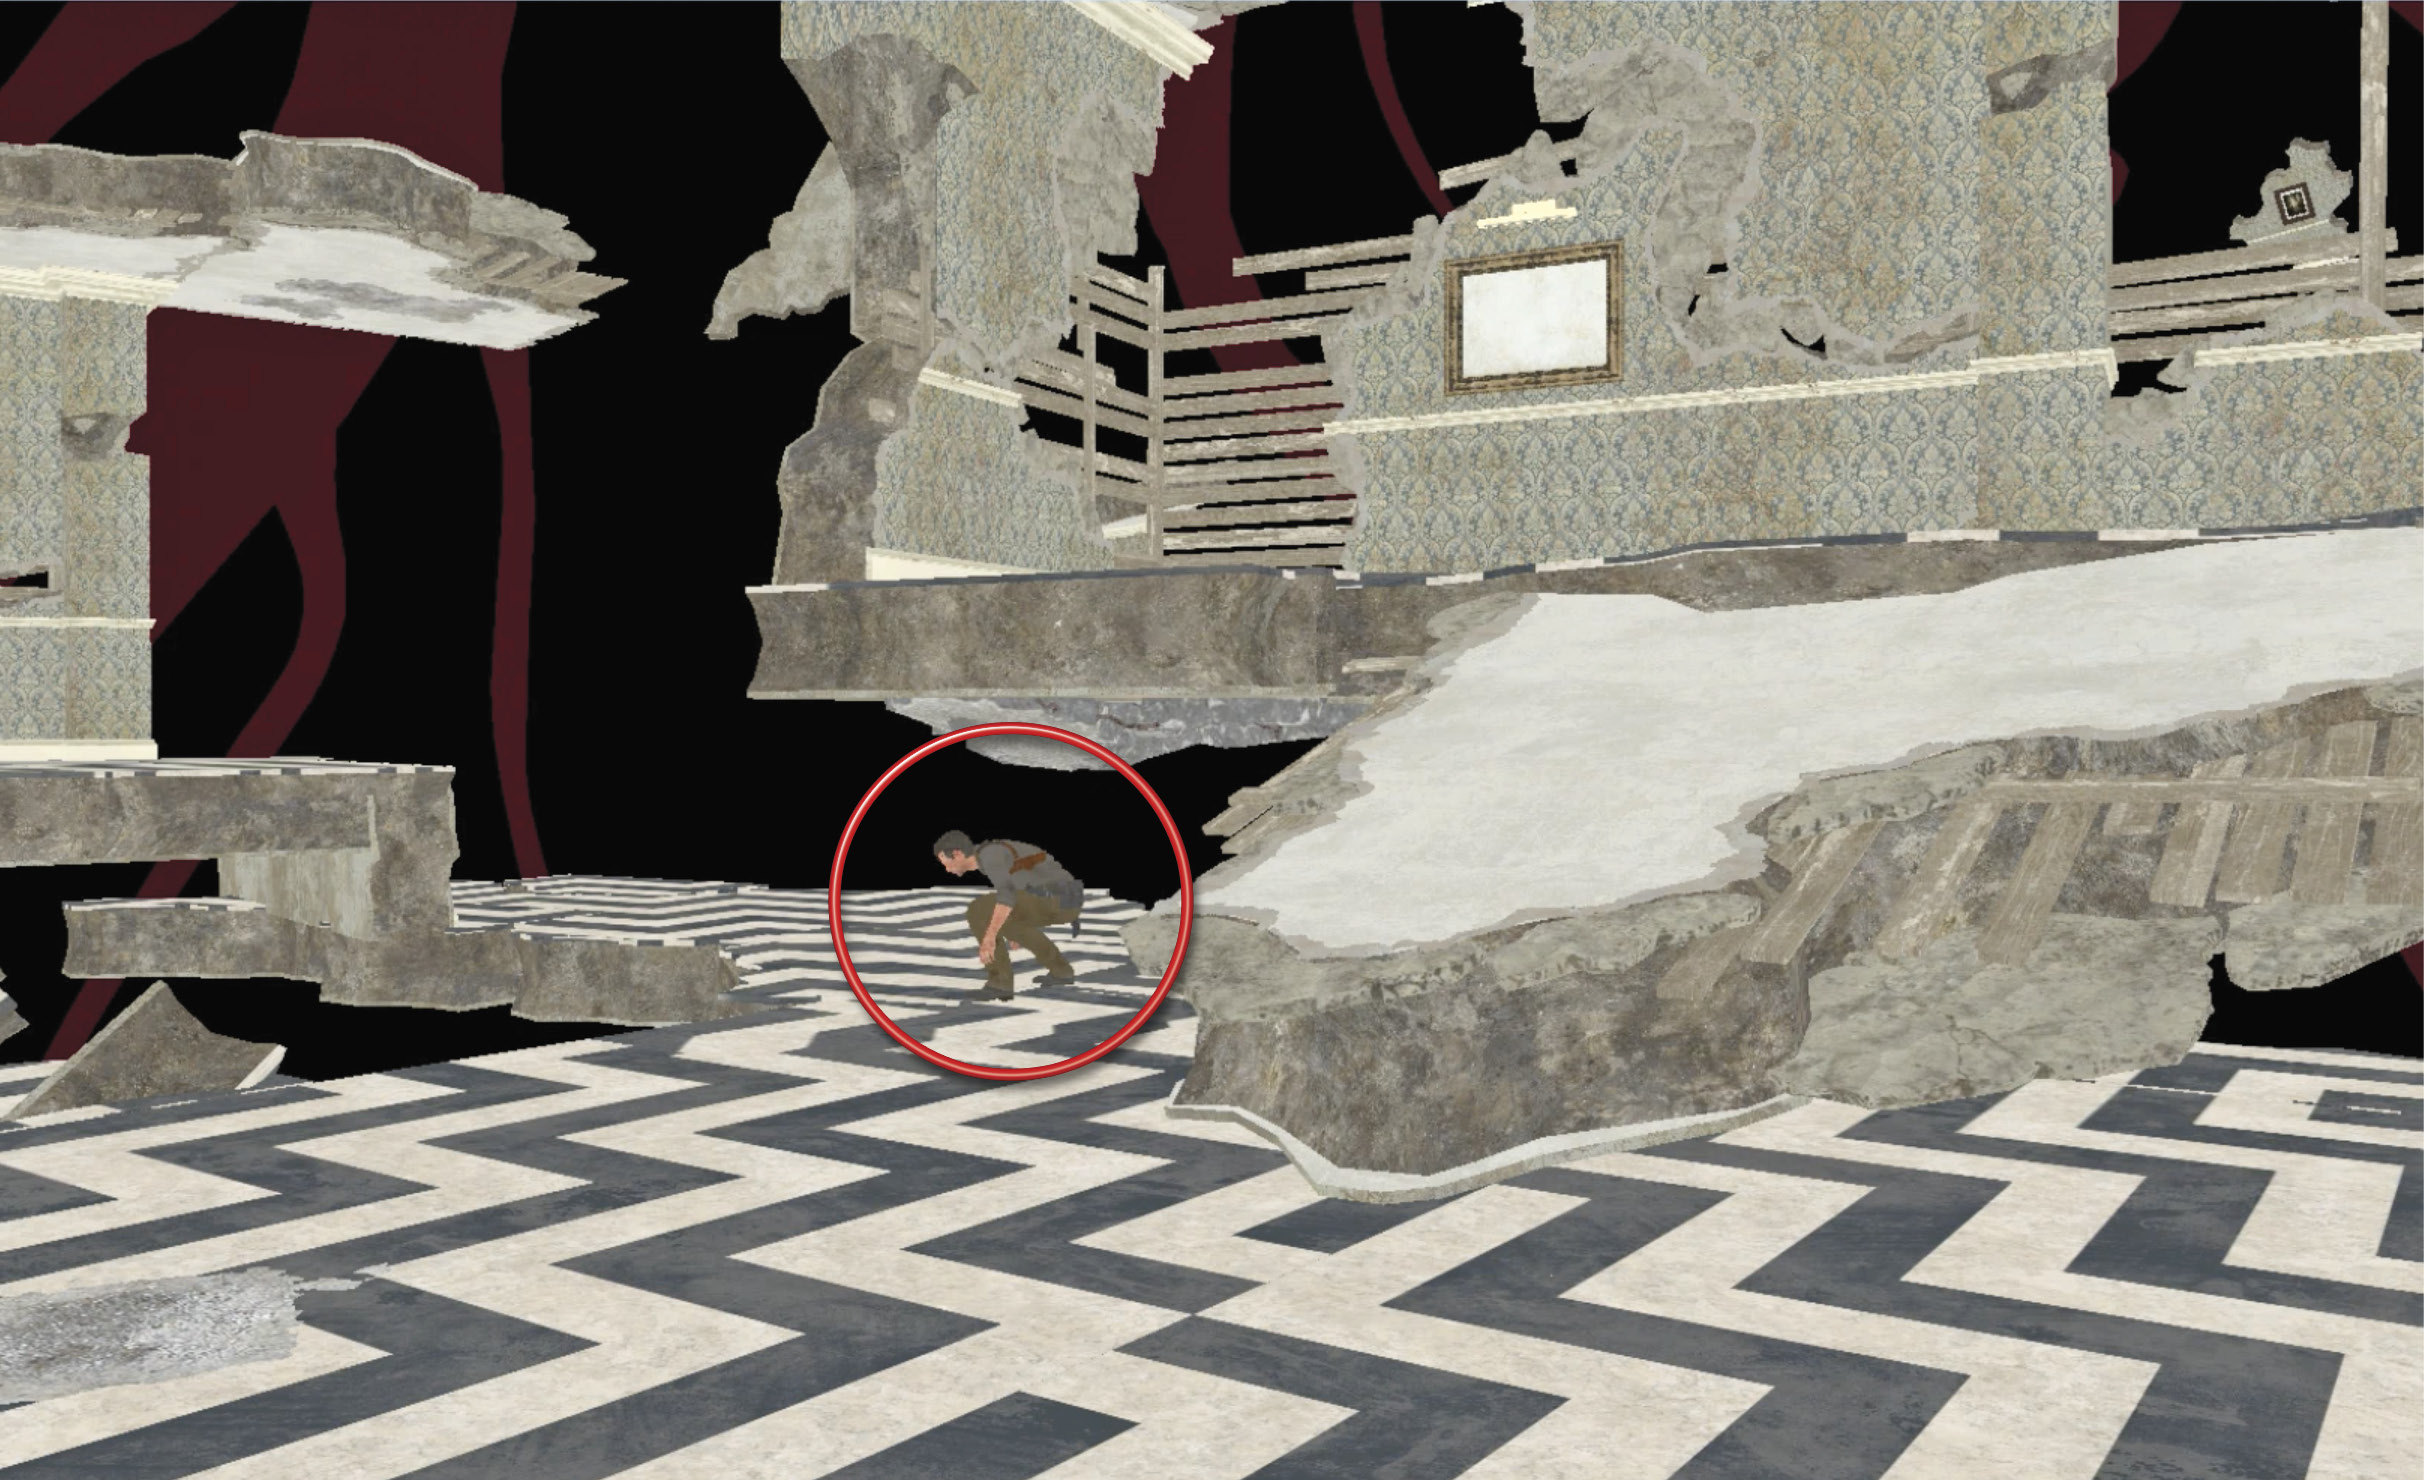
Veer rightward between the two wall sections then climb up the next low wall. Now it’s a straight sprint until you trigger the sequence-ending cutscene: Sebastian barely escapes the Aperture’s hostile tentacles and sprints through a brightly-lit doorway.
Find Stefano
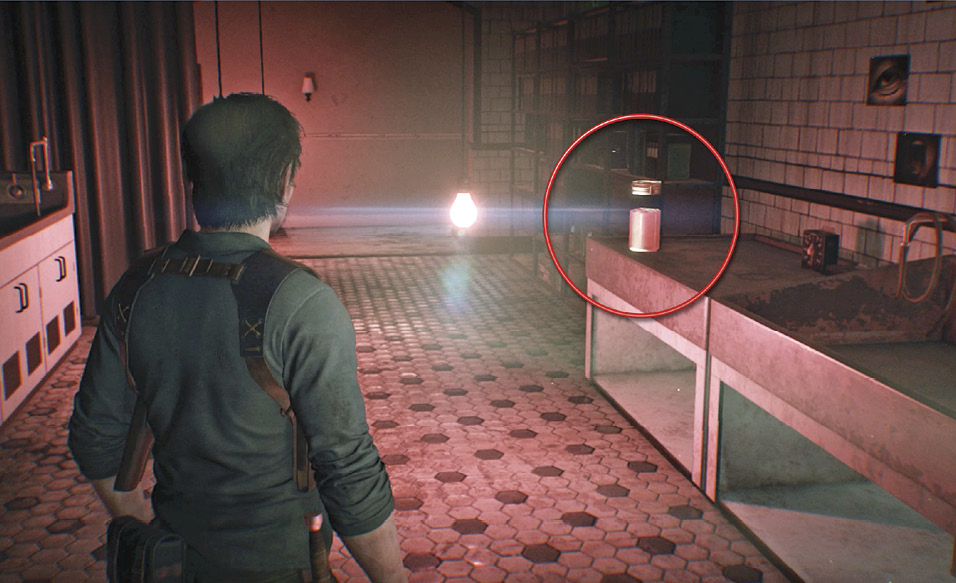
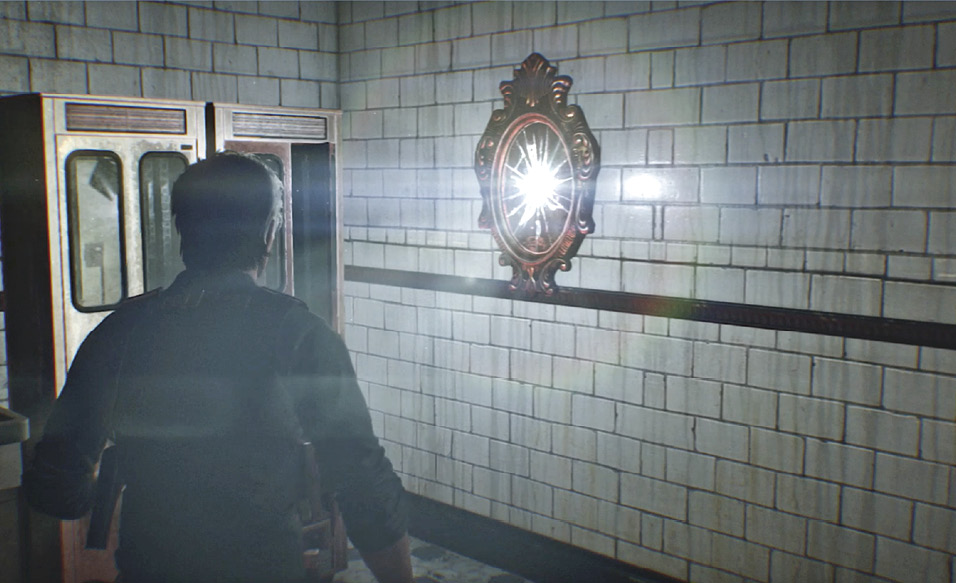
Proceed through the next doors into a photographic darkroom where you can pick up several items including a jar of Red Gel. Use the Mirror here to travel back to Sebastian’s room for crafting, upgrades and target practice, if you want. You want as much ammo as possible, and you want your weapons and skills in top shape.
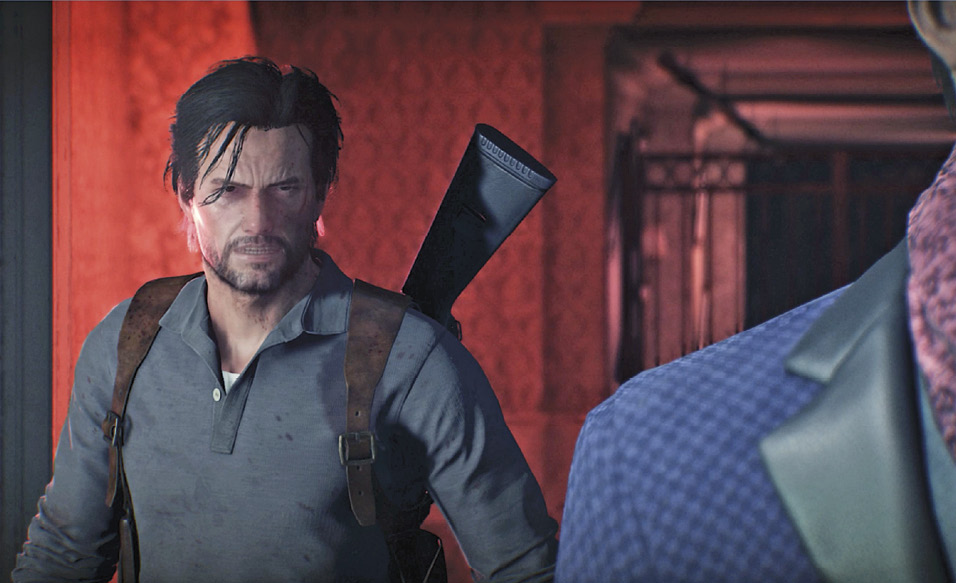
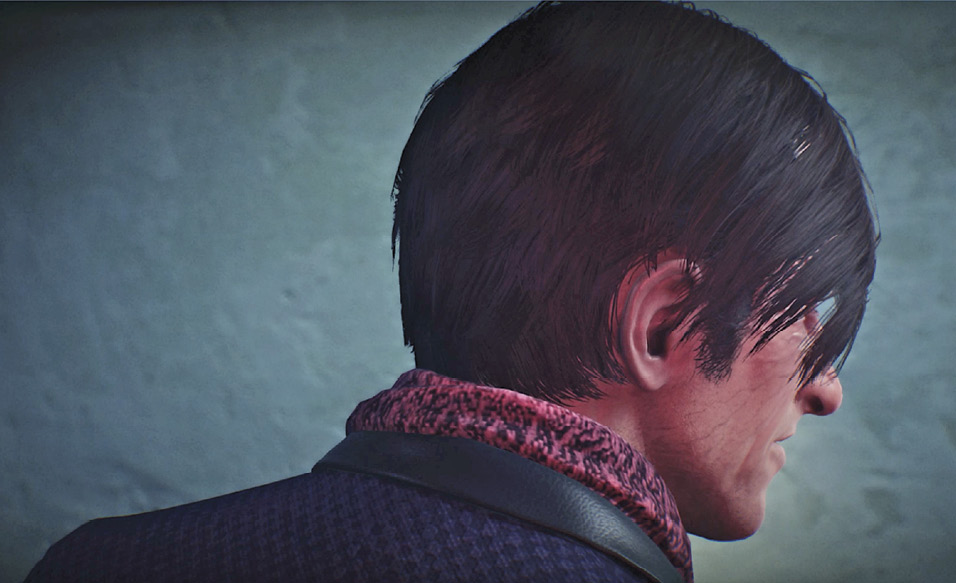
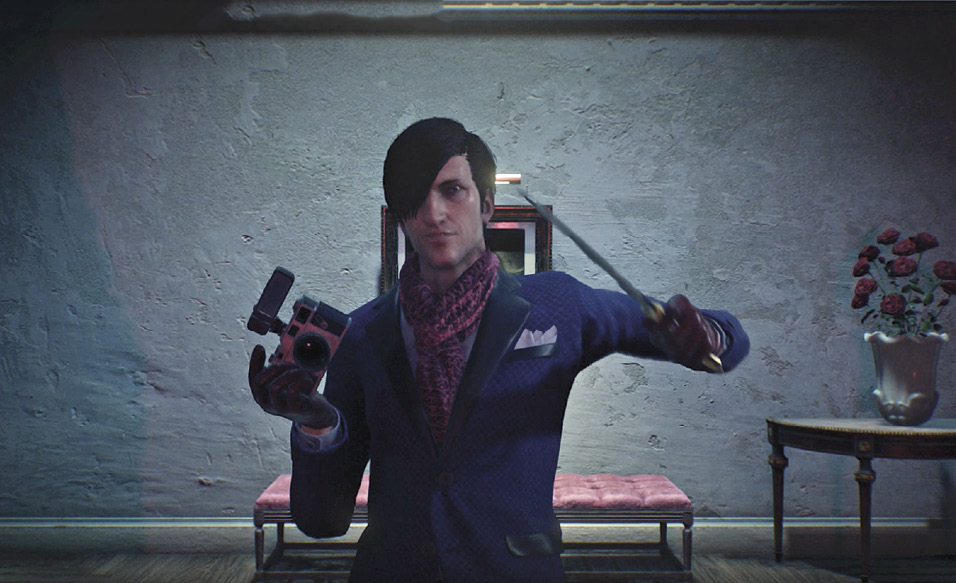
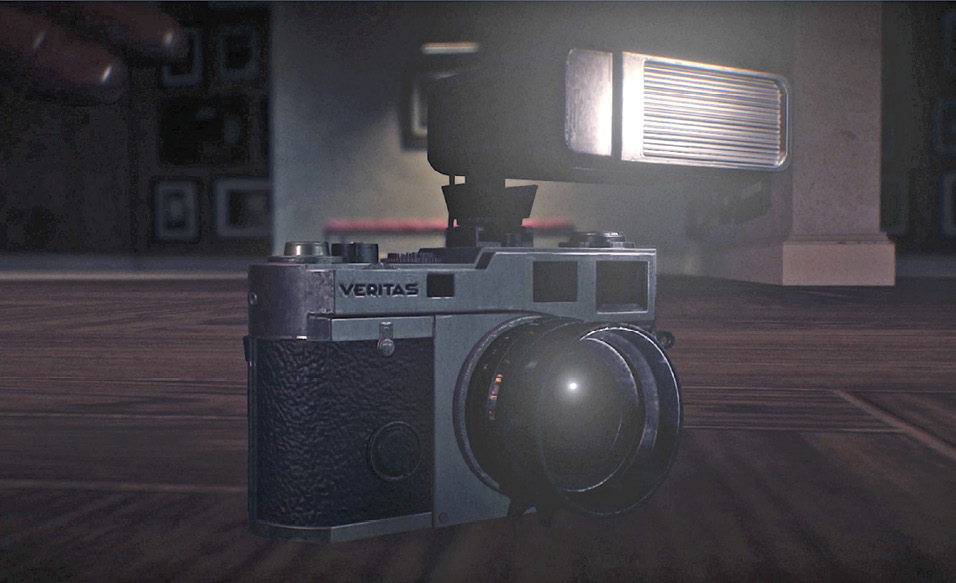
When you’re ready, exit the darkroom and go through the doorway down the next hall. This puts you back in Stefano’s domain where you started your whole STEM experience. Descend the stairs to the main floor—look for a Medical Kit in the back alcove here—and then follow the long corridor to the reception area. Snag the Shotgun Shells sitting on the desk then continue past the “Sebastian Castellanos” nameplate on the podium to enter the arena. After a short confrontation scene, Stefano pulls out his weapons—a knife and a camera—and the battle begins.
Defeat Stefano: Phase 1
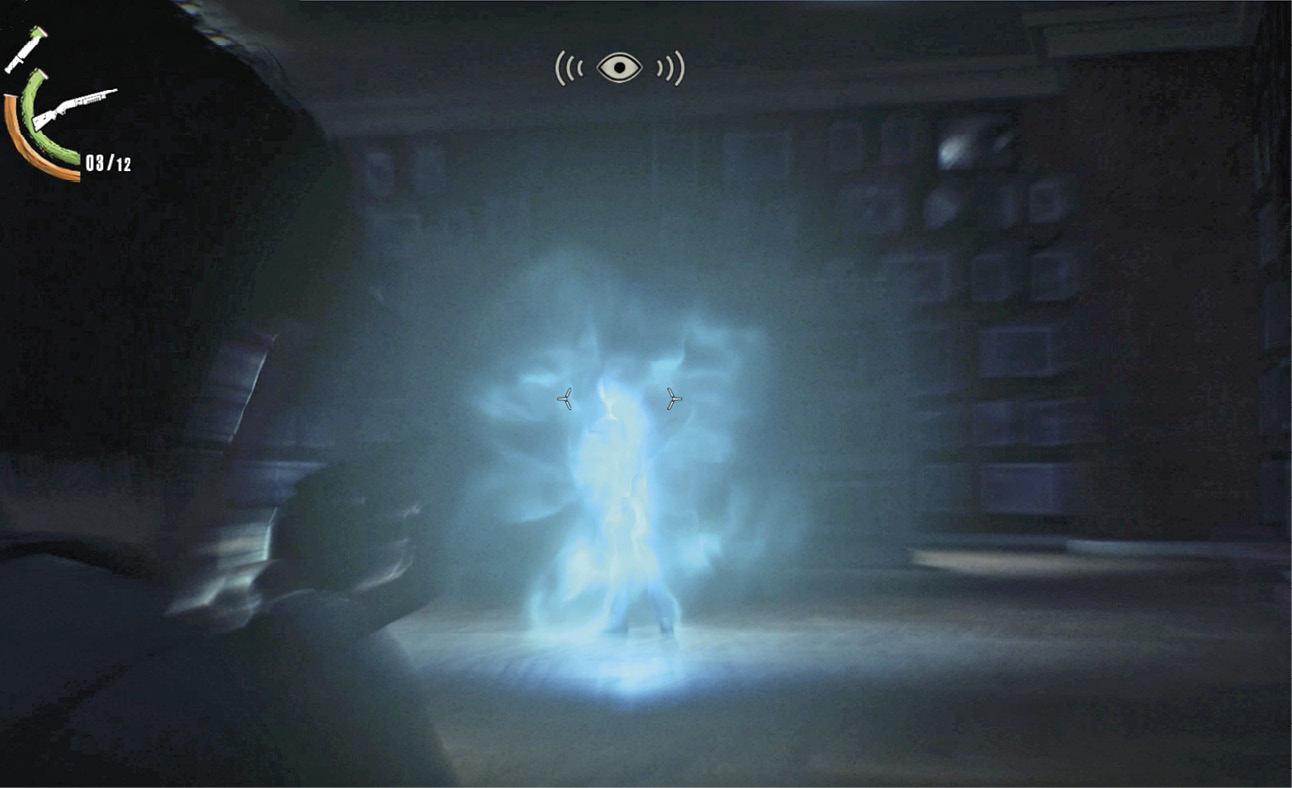
Stefano can phase-shift. He’ll zap himself quickly all around the arena, so you’ll have to keep swiveling side to side to locate him. He tosses his knife from a distance and slashes it across you when he’s in close. Both attacks hurt moderately, but you can dodge his throws fairly easily, and circle away from his slash attempts. Watch for the bluish smoke of his phasing activity.
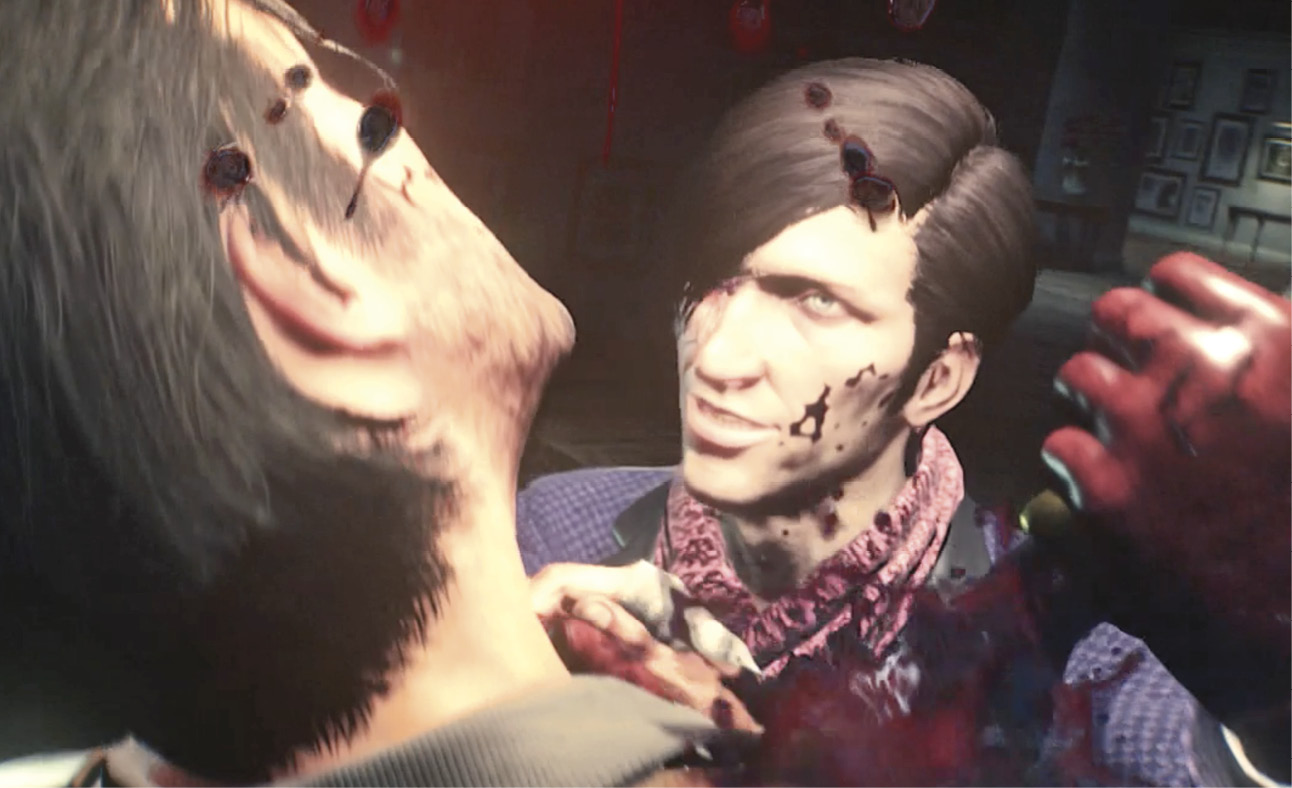
Stefano can also use his camera to cast a “slow-time” field: a bluish cube that surrounds you and slows your movement. When this happens, he moves in close for a Grab-Stab attack that hurts badly. Listen for a cue that precedes this. When you hear Stefano say, “What a great shot!”, “Smile for the camera!”, or “Hold still for the camera…” and he raises his camera, start running! If you get caught in the field, keep running in slow-motion until you pop out.
Pay close attention to Stefano’s phase-shifting pattern. He likes to pop in/out, approaching you in a straight line from a distance in a series of four shifts that jump progressively closer to your position. Don’t waste shots by firing wildly after he’s already in sight. Instead, once you figure out his pattern, you can aim and fire at the next spot where he’ll appear, hitting him just as he phase-shifts into view!
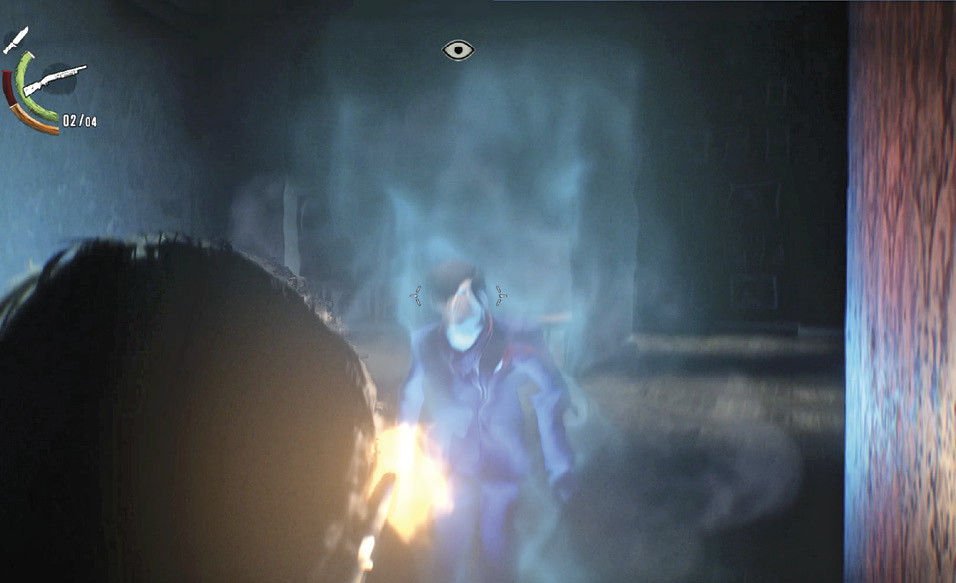
One effective combat tactic is to back yourself into a corner and wait for Stefano to appear. This cuts off his approach angles so he can’t drop in out of your peripheral vision. Be ready to sidestep Stefano’s tossed knives and to slide away from his close range attacks, and then slide back into the corner when he phase-shifts away.
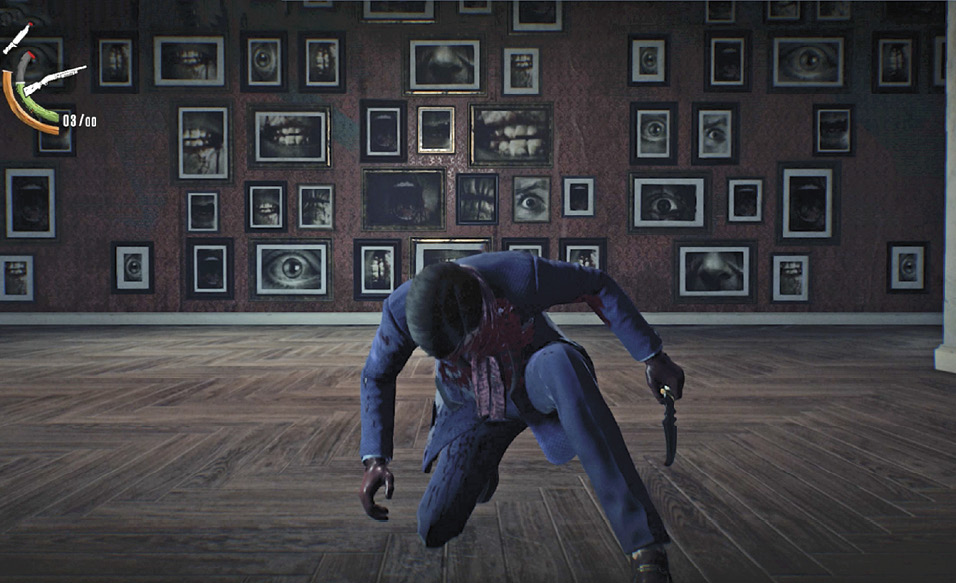
When you’ve nailed Stefano enough times, he staggers and falls to one knee. But now the guy’s really angry. He summons his pal, the Aperture. Get ready for Phase 2.
Defeat Stefano: Phase 2
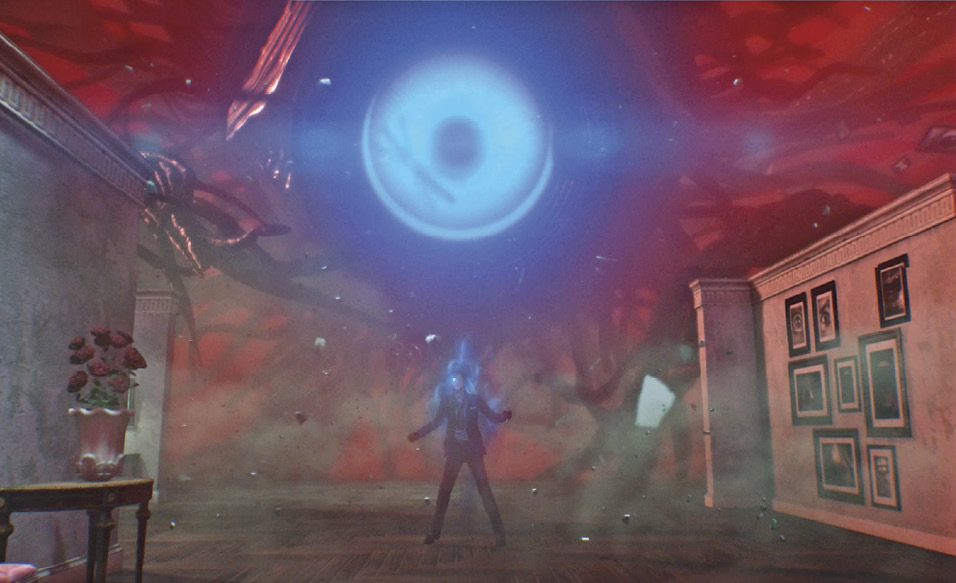
Stefano keeps up his phase-shifting knife attacks, but his pattern changes, shifting side to side instead of approaching in a straight line toward you. This makes targeting him much more difficult. He adds a devastating dash attack that ends in a nasty series of multiple stabs, each one a separate attack. Stefano also conjures up time-frozen explosive traps that detonate if you get close, inflicting significant damage.
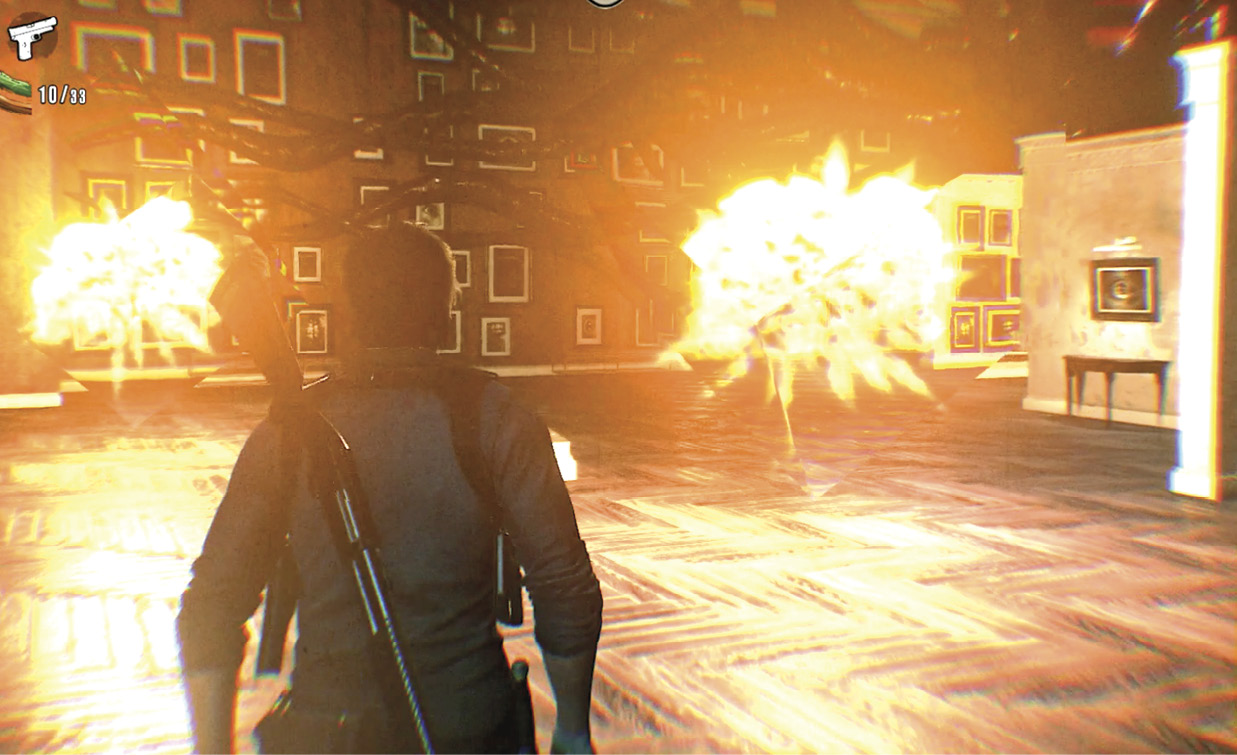
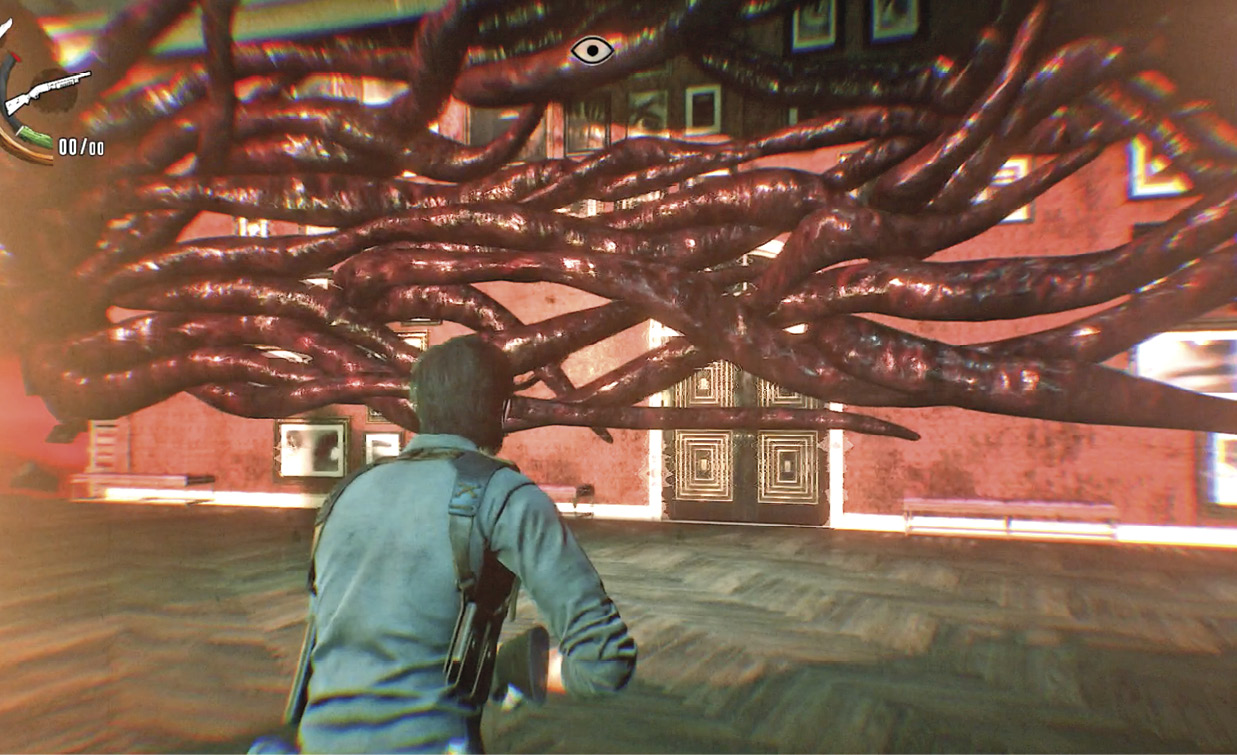
Meanwhile, Stefano’s hovering eye-pet slams its slimy tentacles onto the arena at intervals, knocking down room dividers to reduce your options for hiding and cover. You can try setting up in the corner again for short periods, but you’ll need to be more mobile to avoid the Aperture’s crushing hits and Stefano’s wild rushes. Note that shooting these tentacles will make them retreat, after which the damaged tentacle won’t attack again for 1 minute.
Hang tough, though. If Stefano gets close, swing your own knife to counter his melee. Keep dodging his slashes and getting in a headshot here and there. Eventually, Stefano will fall, causing his sad Aperture buddy to sink into… well, whatever’s out there.
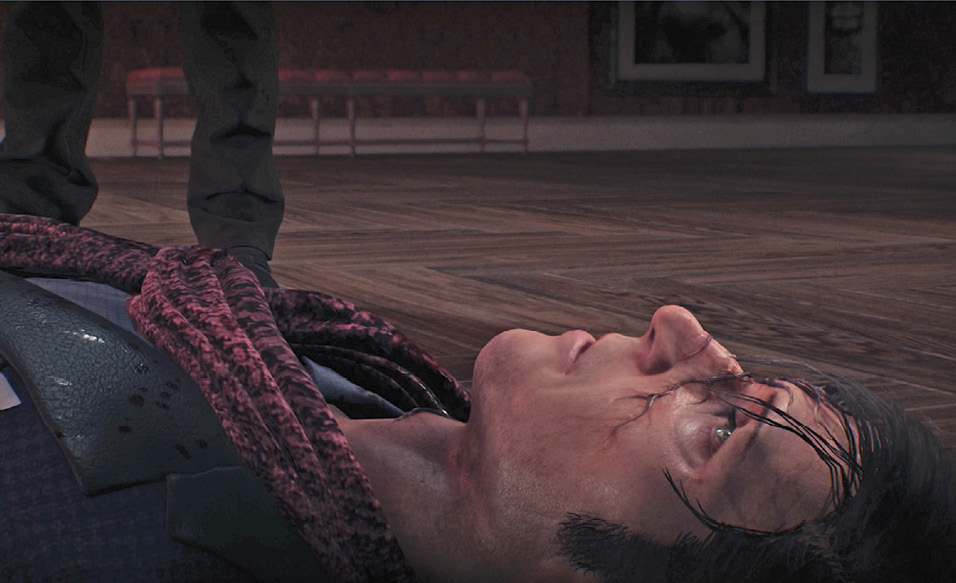
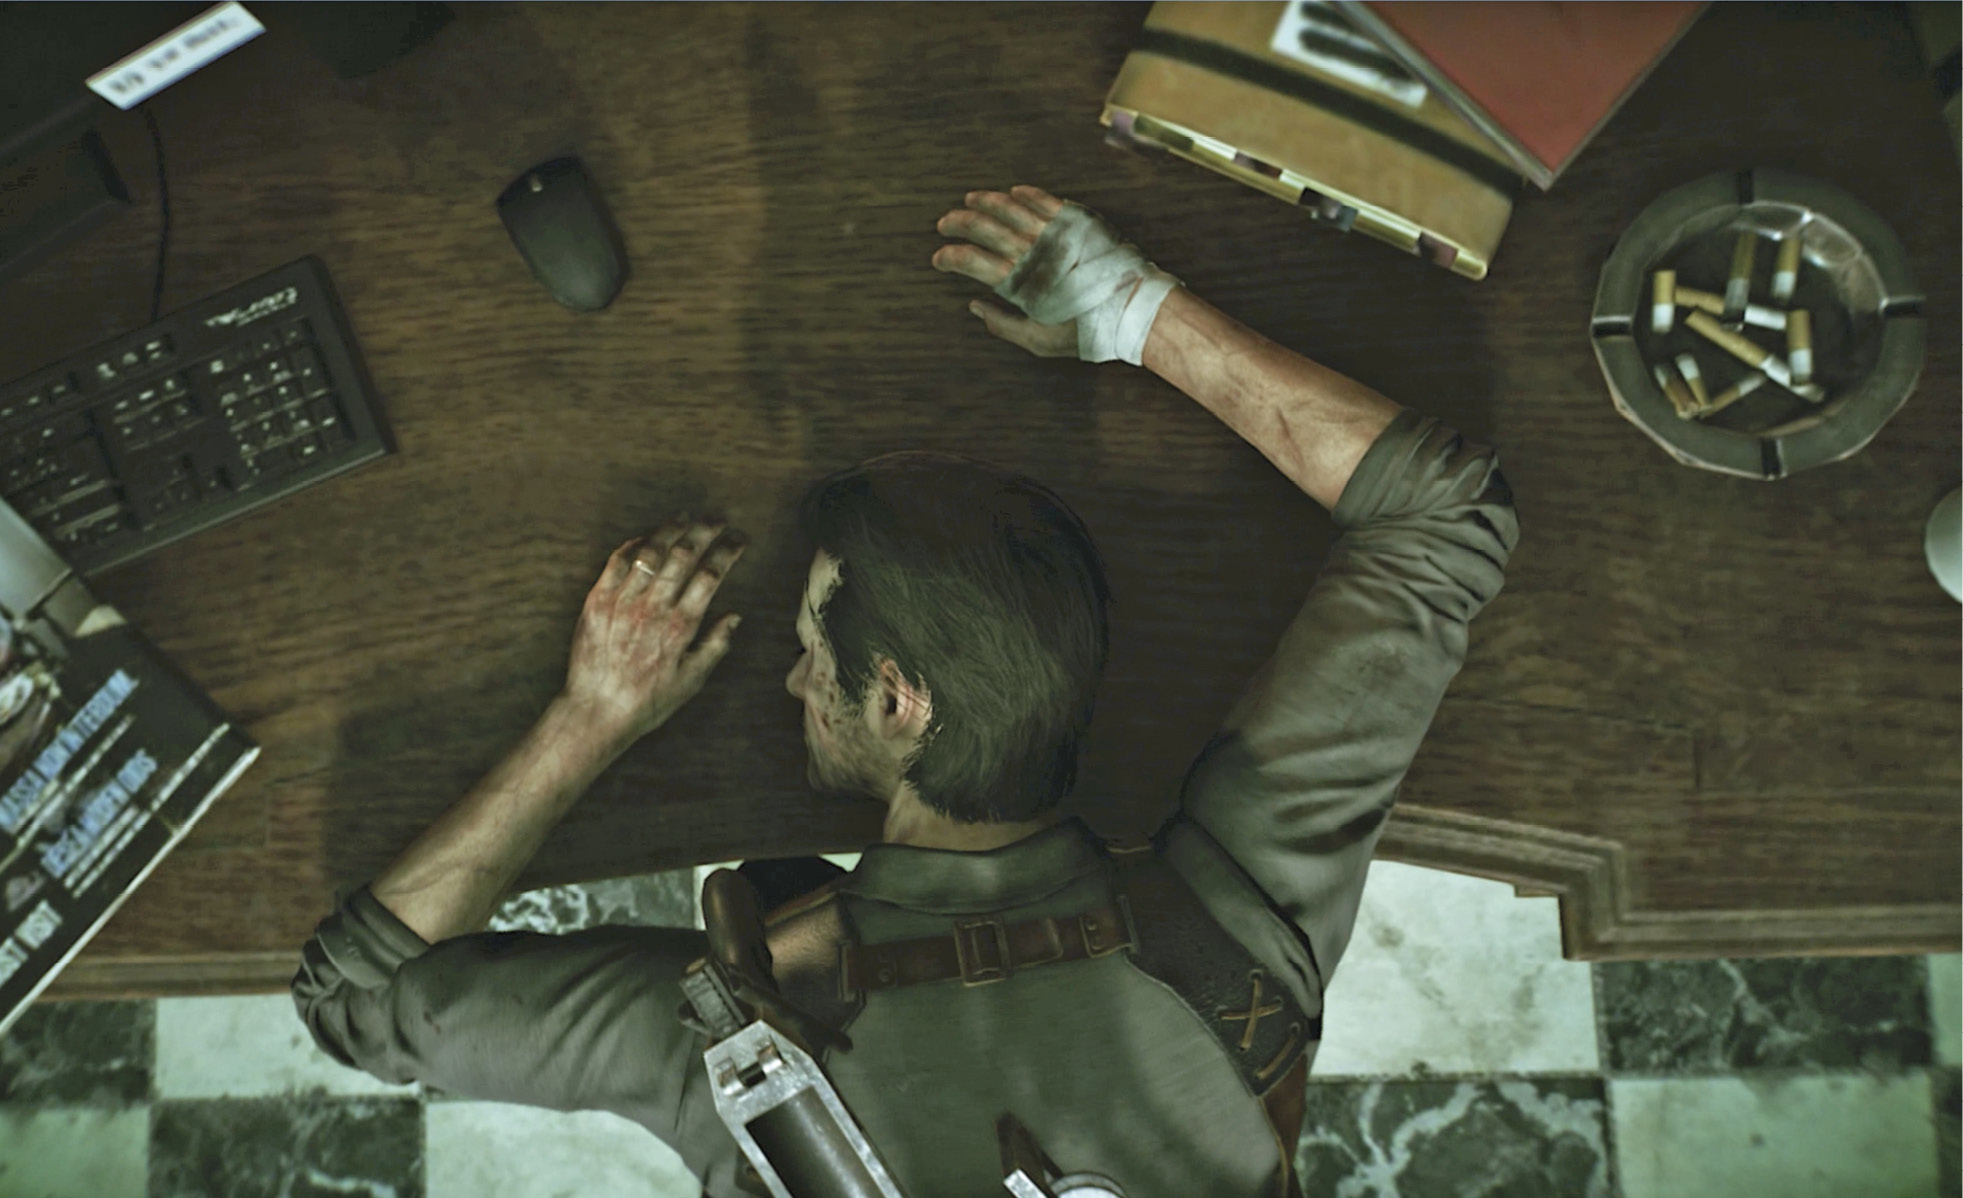
The fight’s end triggers a long cutscene: Sebastian is reunited with his loved ones. The reunion is brief, however, and not particularly amicable. He ends up at the desk back in his Room, where things have changed a bit.