The Evil Within 2 Guide Story Walkthrough
Burning the Altar
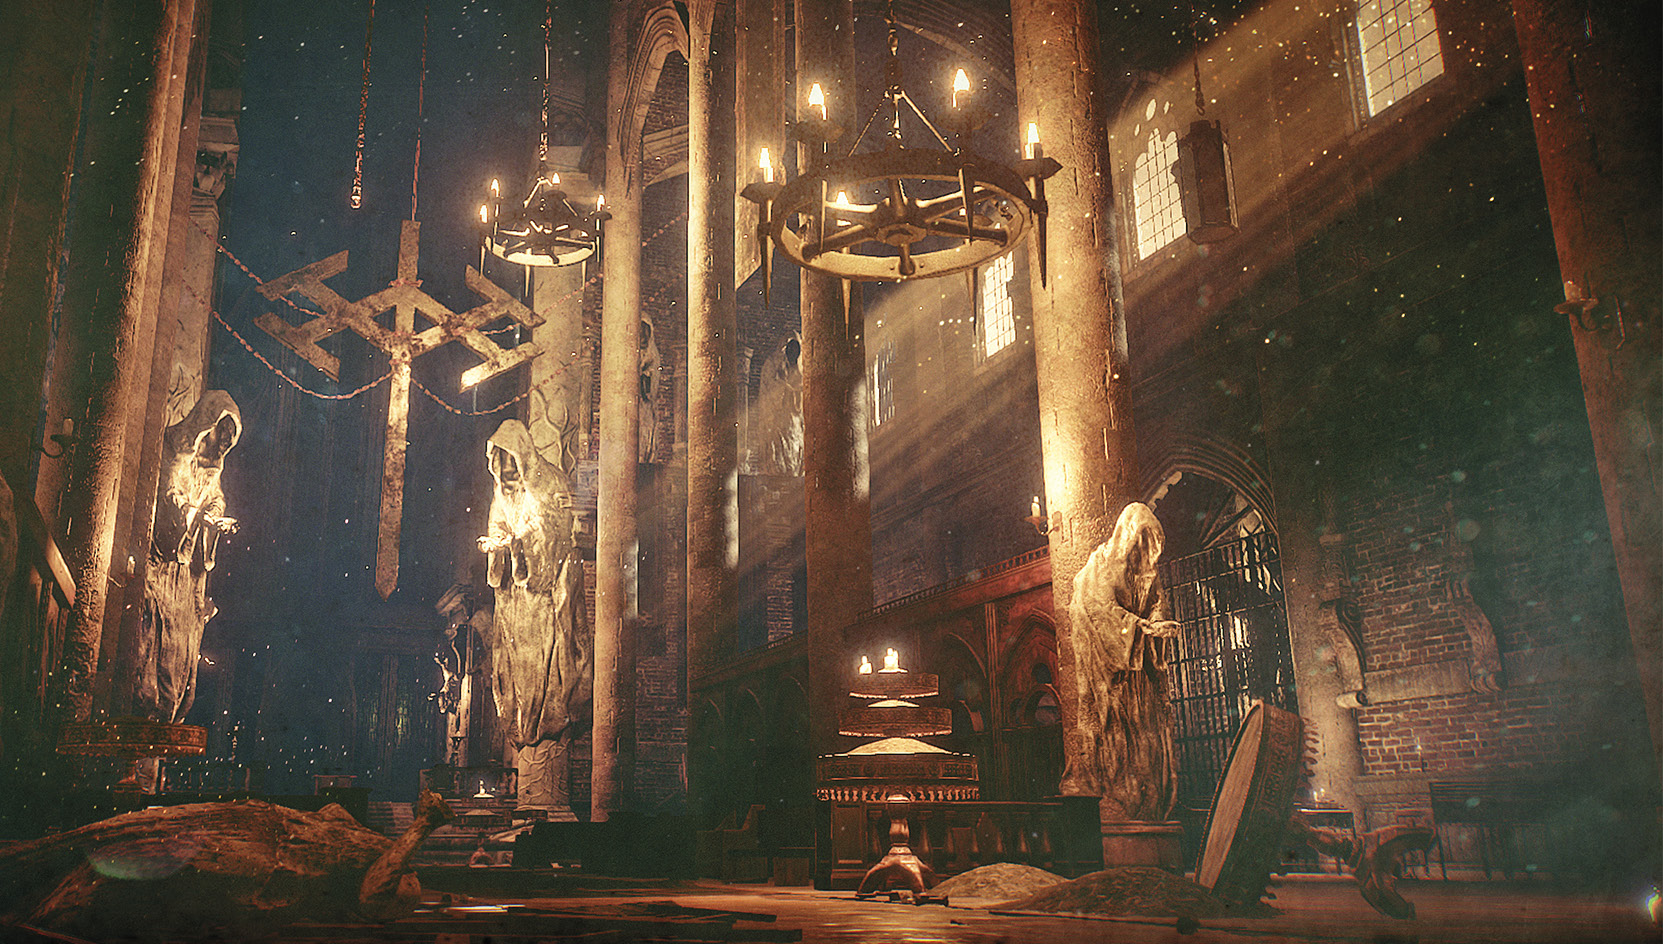
Sebastian has a lot of good folks to avenge now. Theodore’s multi-leveled edifice is imposing and patrolled by Disciples, Spawn and other savage monsters. Flame-jet doorways block many passages. And two special servants of the master await you on the way to his throne room.
Overview
Objectives
- Climb Theodore’s stronghold to confront him
Collectibles
- 2 Files
- 1 Residual Memory
Climb Theodore’s stronghold to confront him First Floor
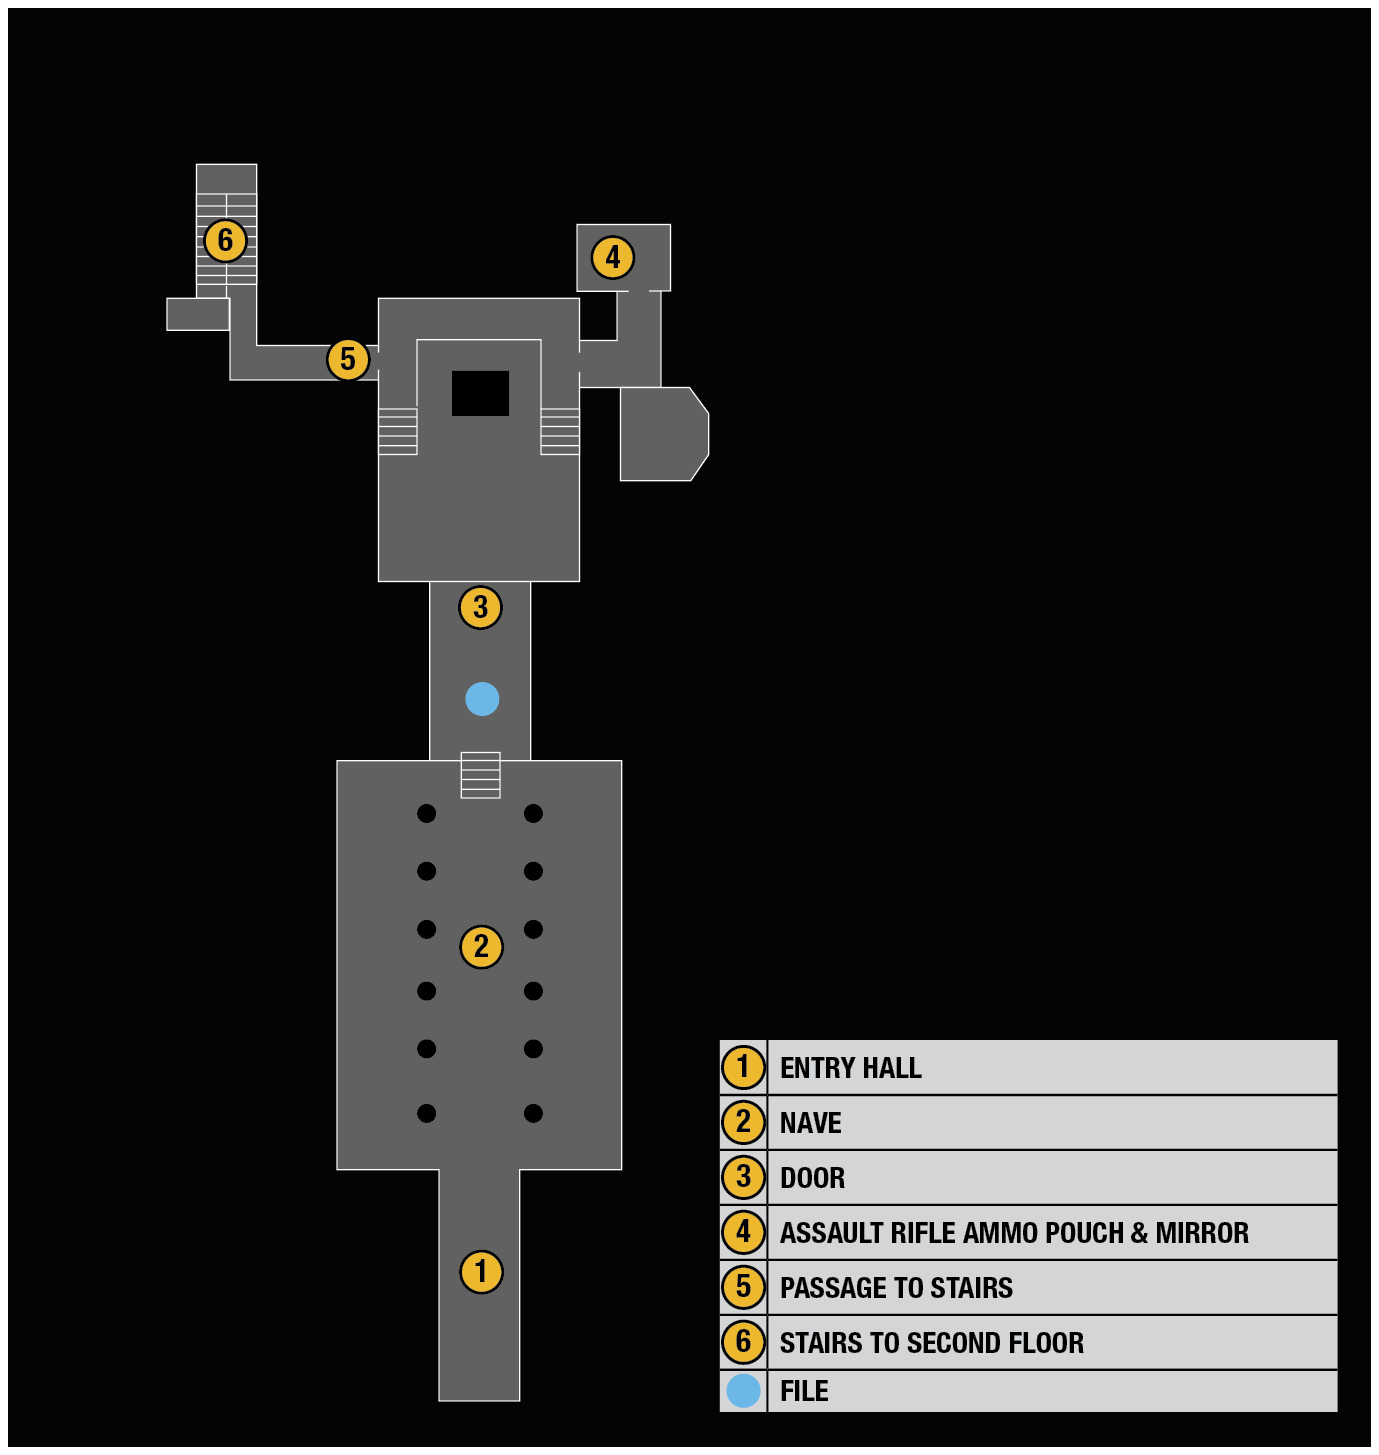
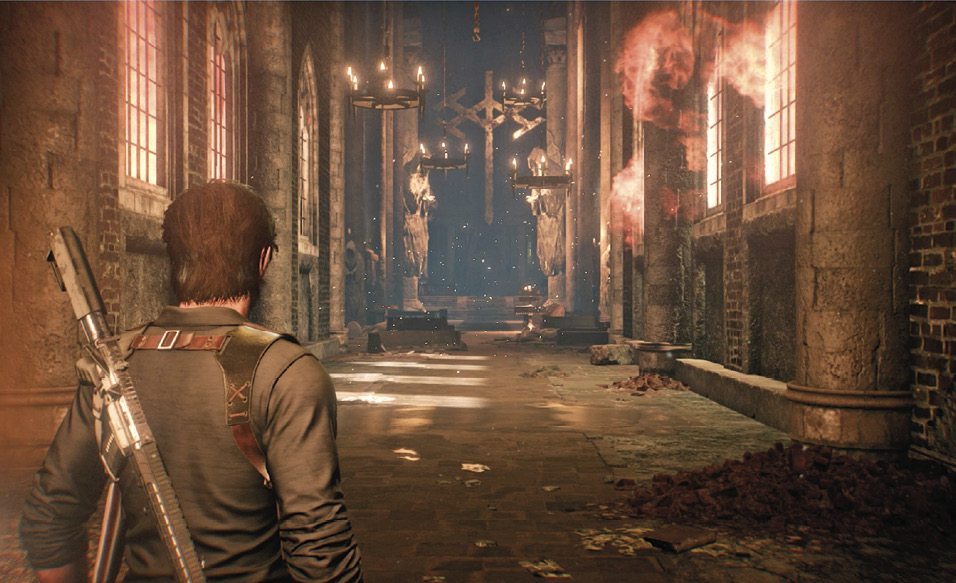
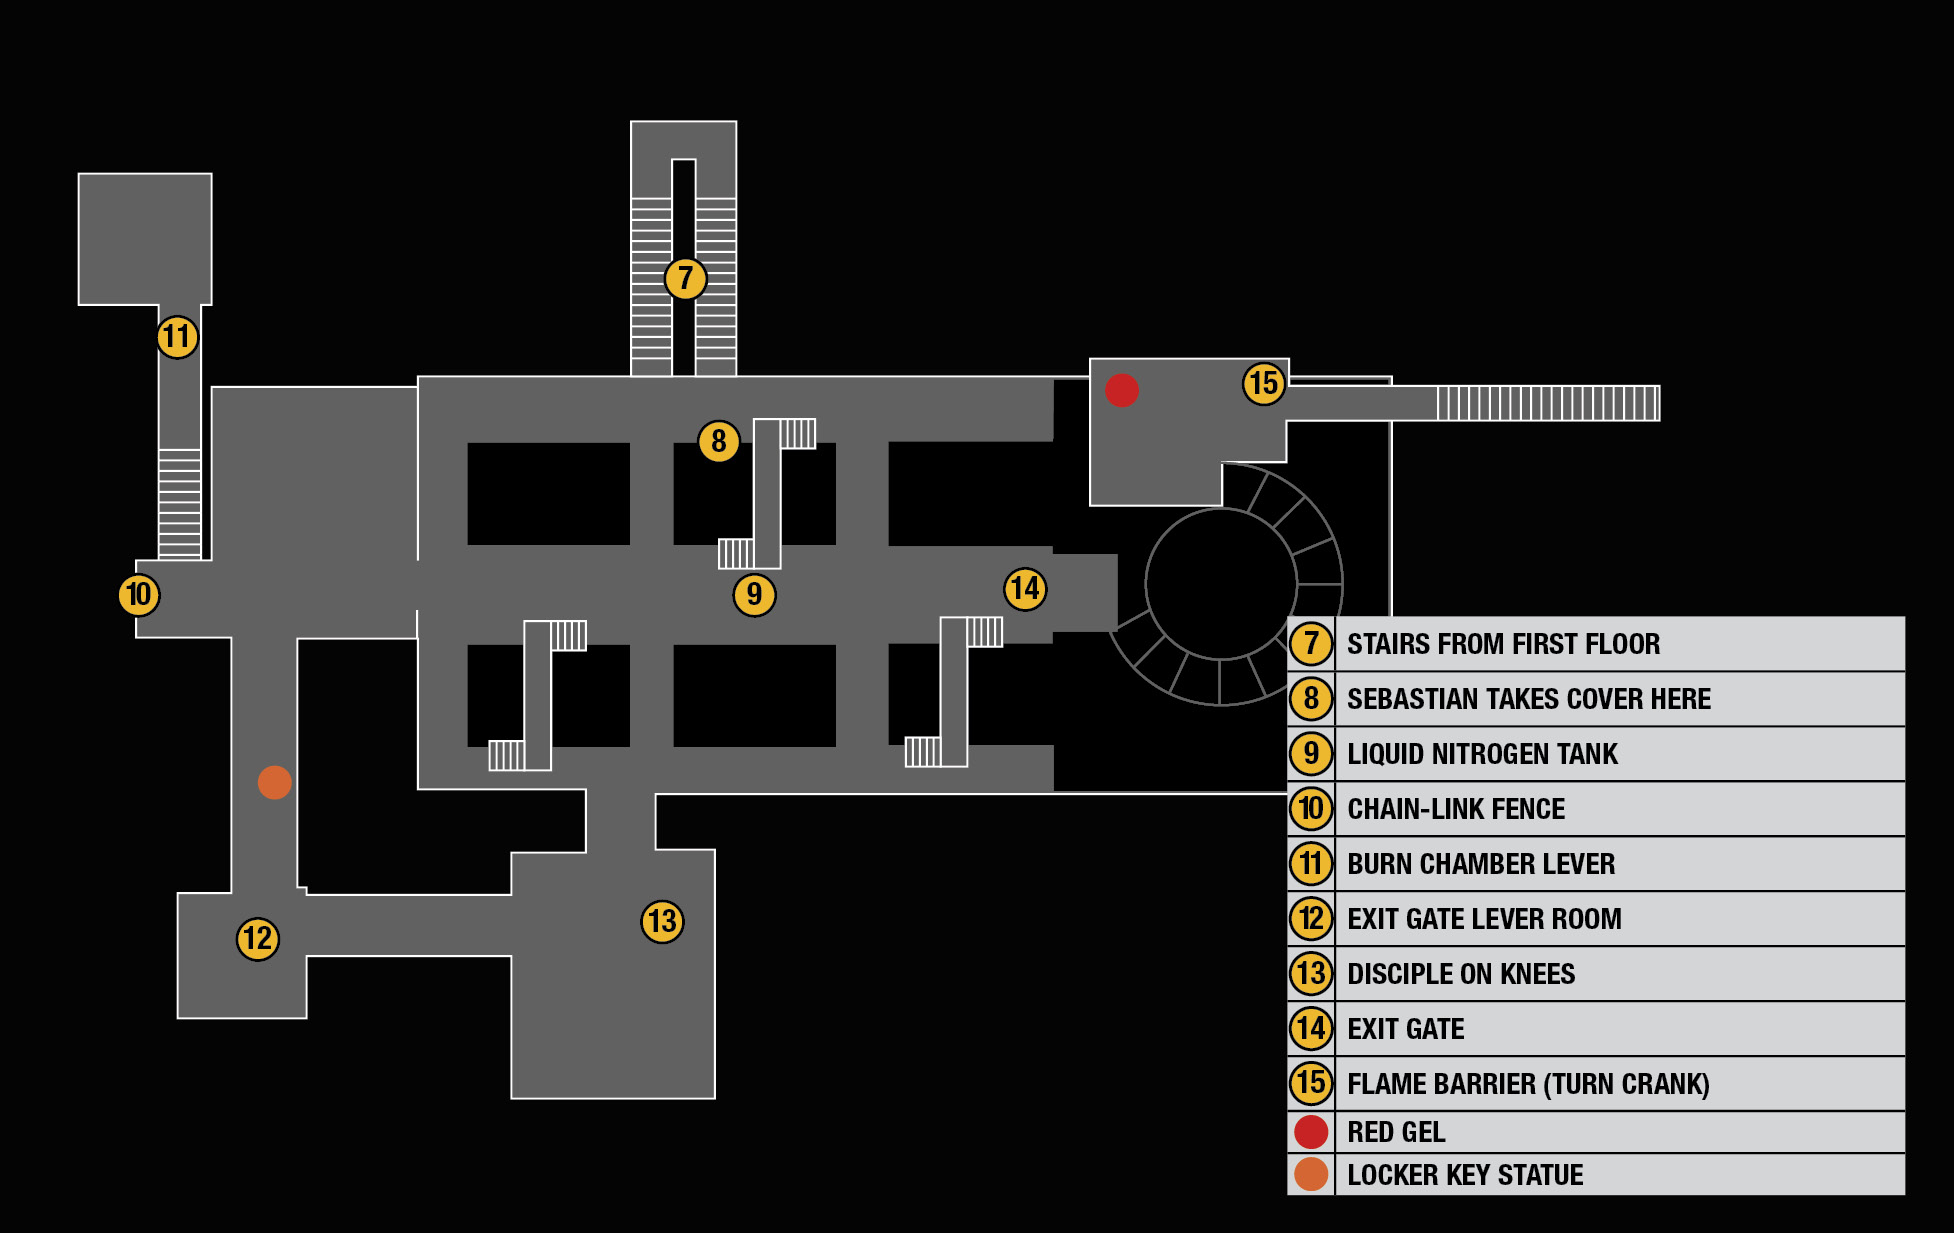
This first level of the tower is a cavernous, cathedral-like space with a simple layout. Proceed down the long entry hall  into the big open area
  for the congregation. You can explore this space to find a small handful of pickup items, and then climb the stairs in front. Approach the lone altar and grab the page of scripture sitting there. Then push through the big doors at the back of the nave
  .
.
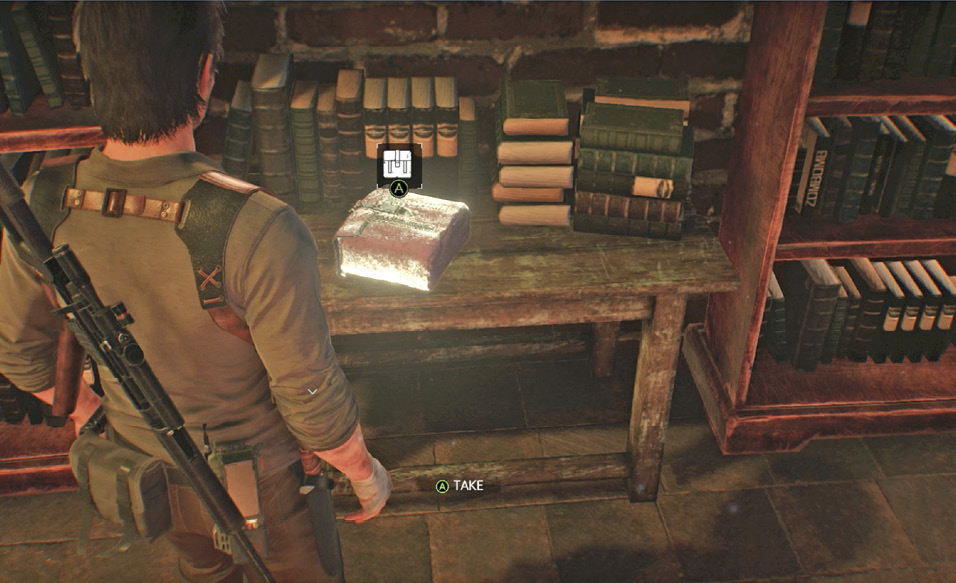
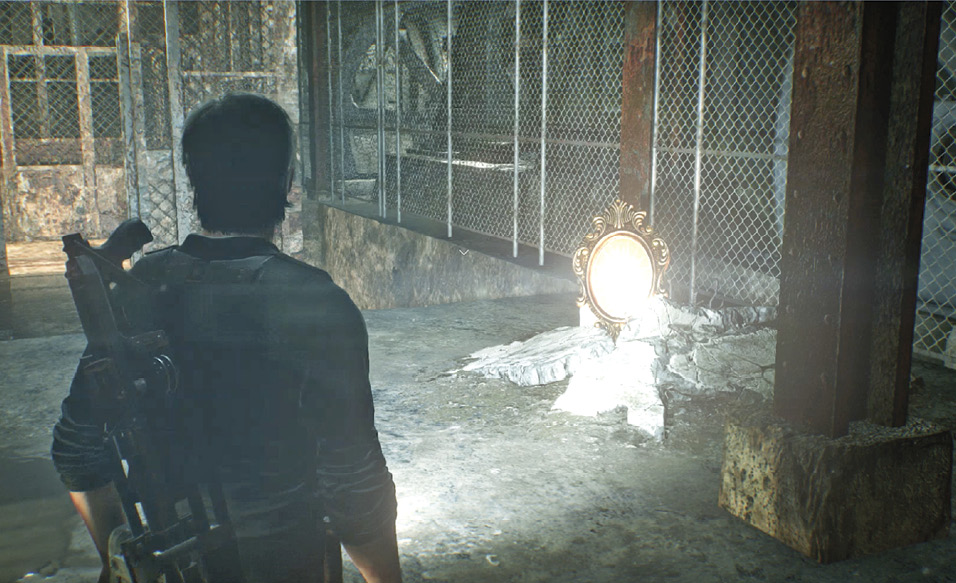
Sebastian sees a figure on a rising elevator lift out of sight, and has a brief exchange with Theodore. Climb the stairs on the right and search the side chamber rooms for items, including an Assault Rifle Ammo Pouch (on a side table full of books) and a Mirror  .
.
Then head for the passage  on the opposite side of the hall; it leads to stairs
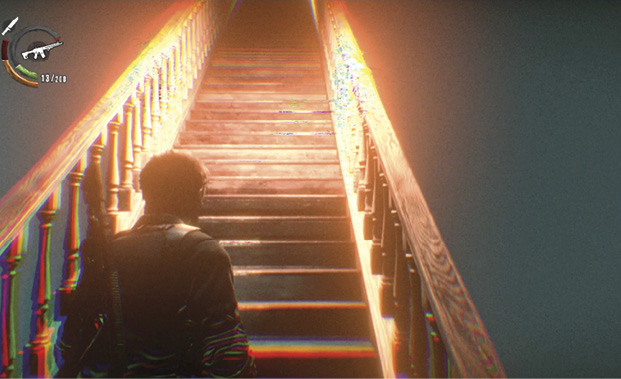
  that run up to the second floor. As you climb them, these stairs turn into a vision of a much longer staircase, which you may recognize from the beginning of the game, with another message from Theodore. At the top, open the doors.
Overview
Second Floor
Sebastian steps into a huge central generator room, hung with burning gibbets using corpses as the fuel. He automatically takes cover  as a squad of Disciples emerges and Theodore locks the exit gate. The doors lock behind you, so there’s no returning to the first floor.
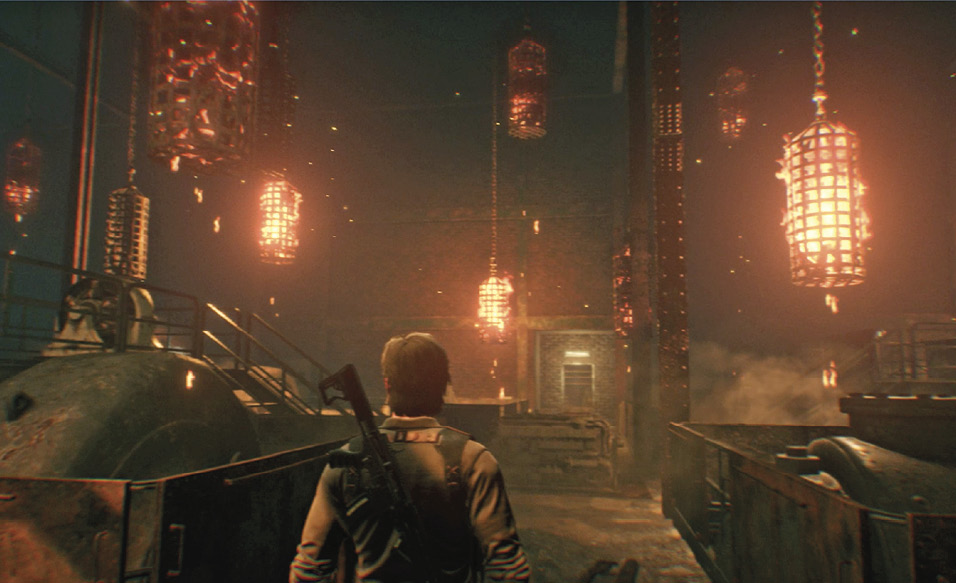
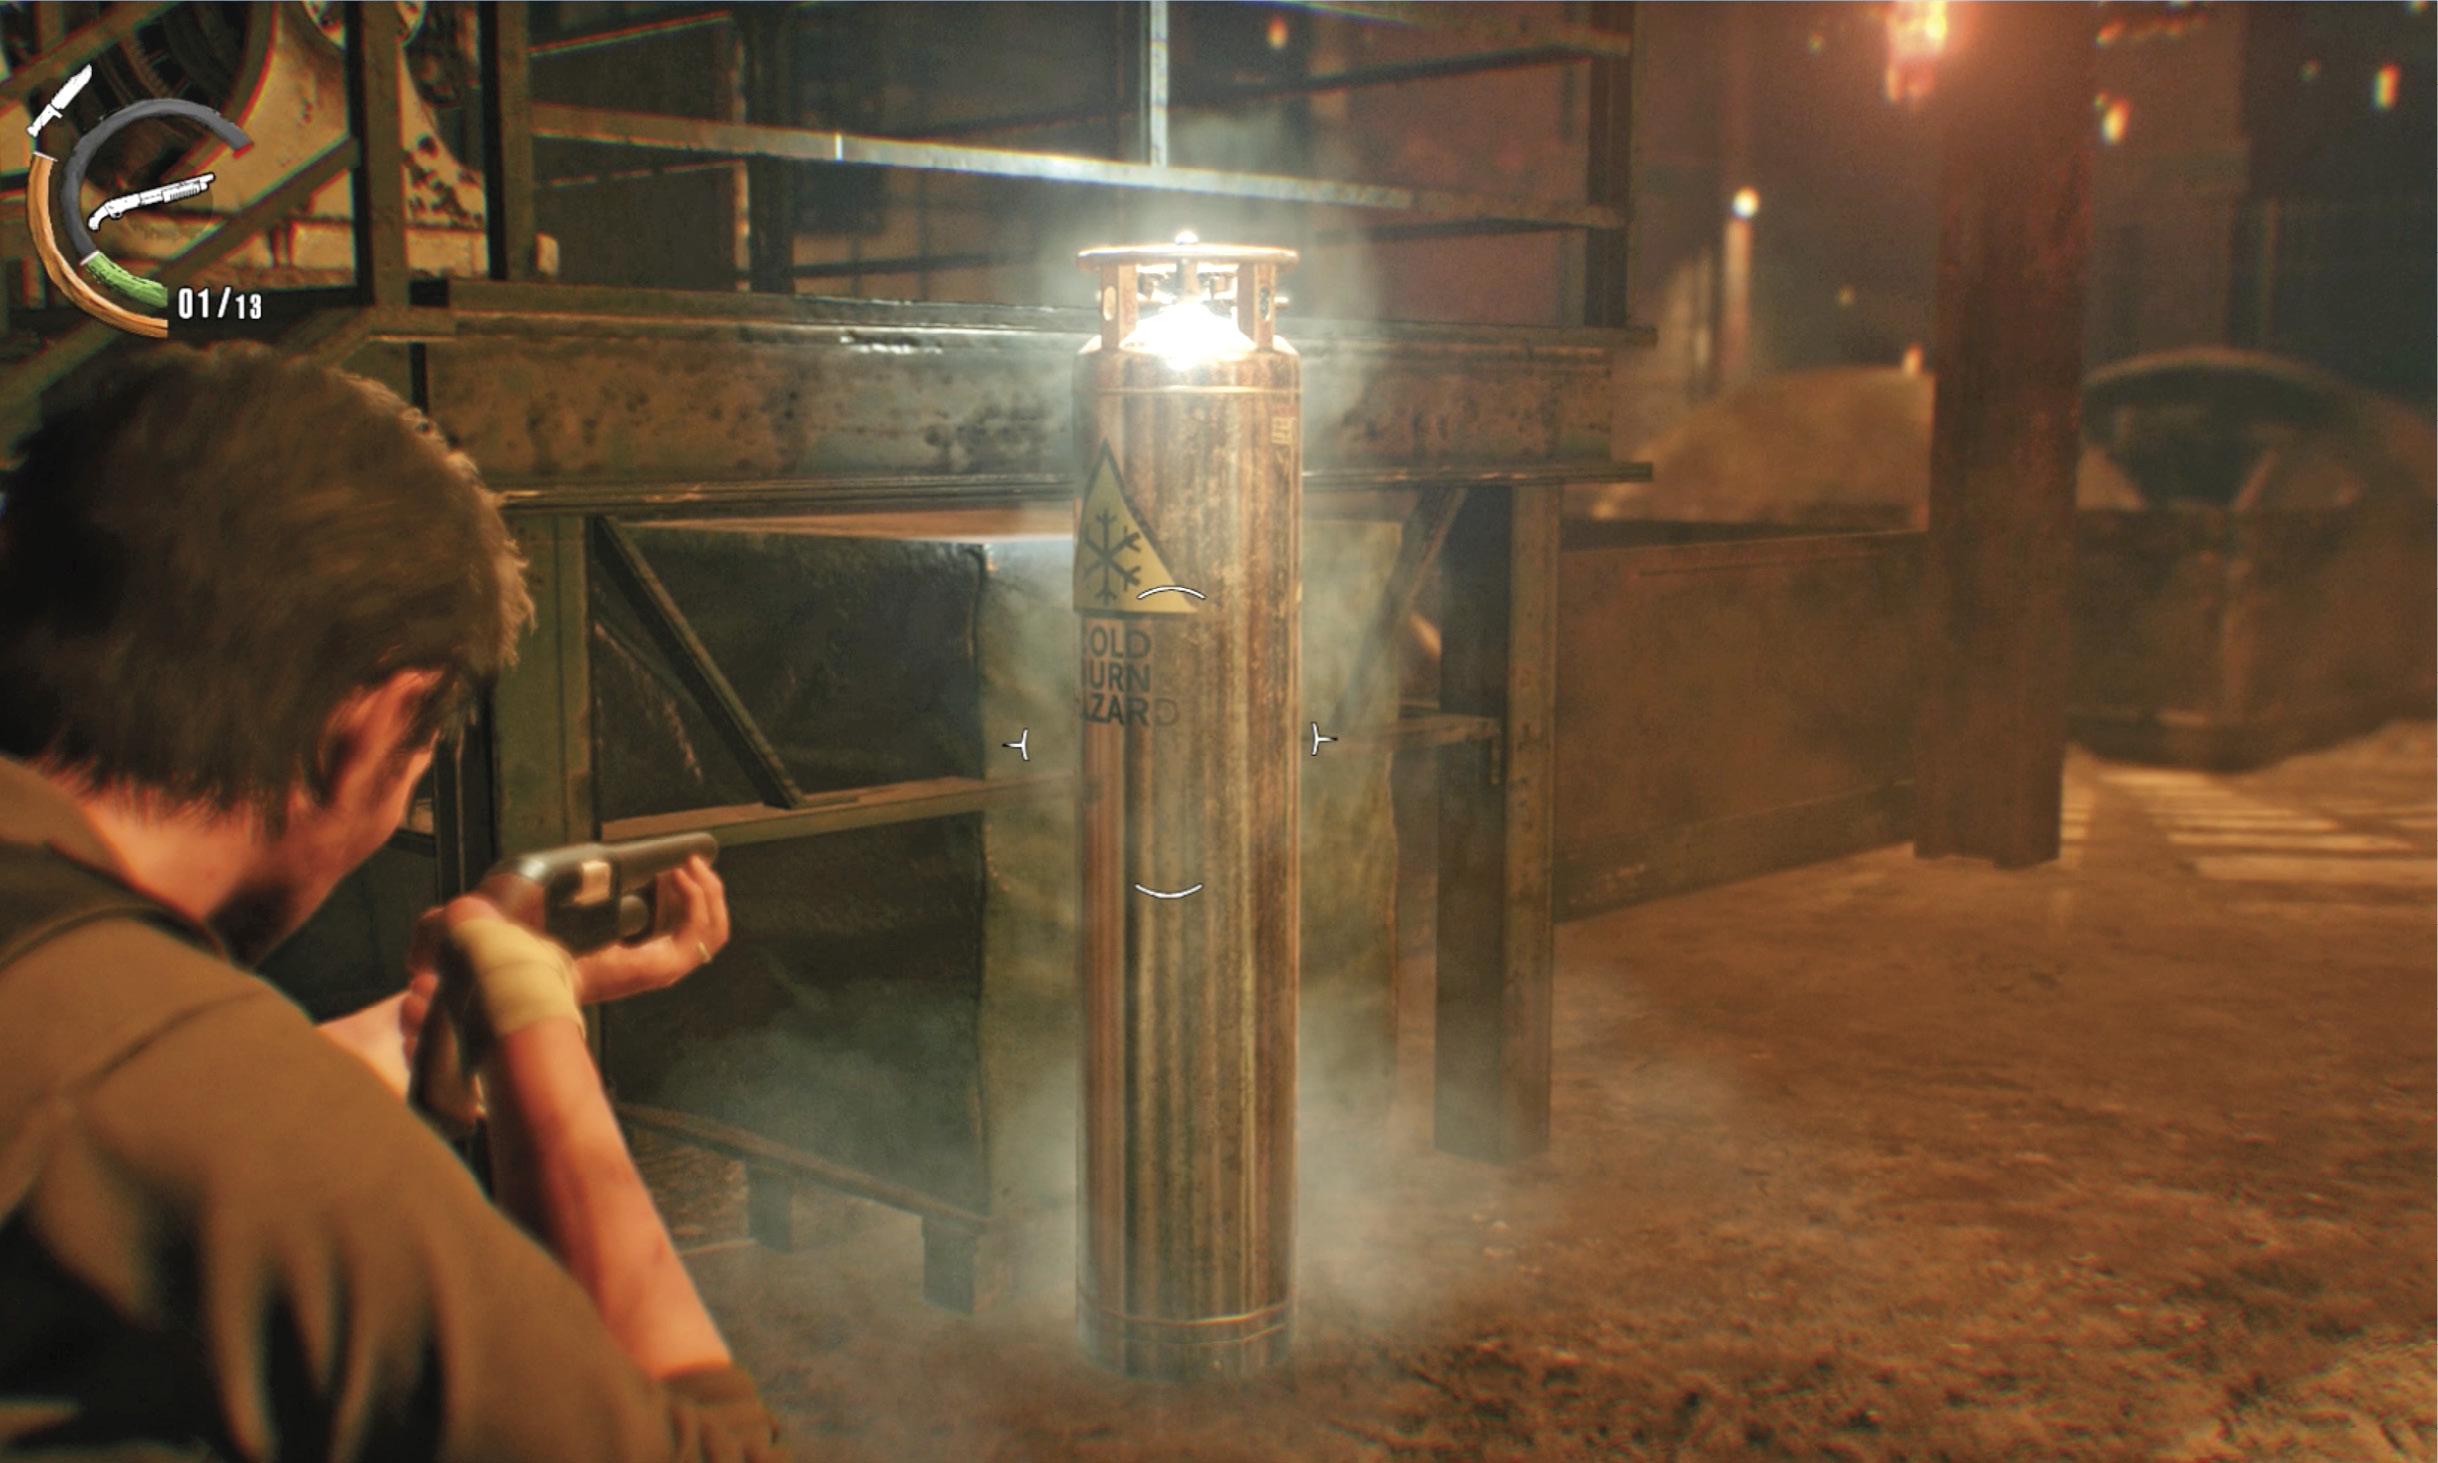
Try for a Sneak Kill or two to even out the odds, but remember that Sneak Kills don’t work on Disciples when they’re in their flaming state. The room gives you a number of walkways and raised platforms if you want to keep on the move while you’re outnumbered. Shoot the liquid nitrogen tank  in the room’s center walkway to freeze pursuers for a few seconds then blast them. When the area is clear of Disciples, explore the second floor for pickup items. (See our tip.)
Optional: Clear the flame-nozzle chamber
Two side exits lead off the central chamber, but both ultimately lead to the same connecting passage. Head for the exit through which you see a flame-nozzle barrier behind a chain-link fence  . Turn right and descend the short staircase to find metal gate
  with Lost prisoners shut into a chamber behind it. There’s a lever by the gate. When you approach the lever, another gate slides shut behind you, locking you in! This also attracts the attention of the horde in the chamber.
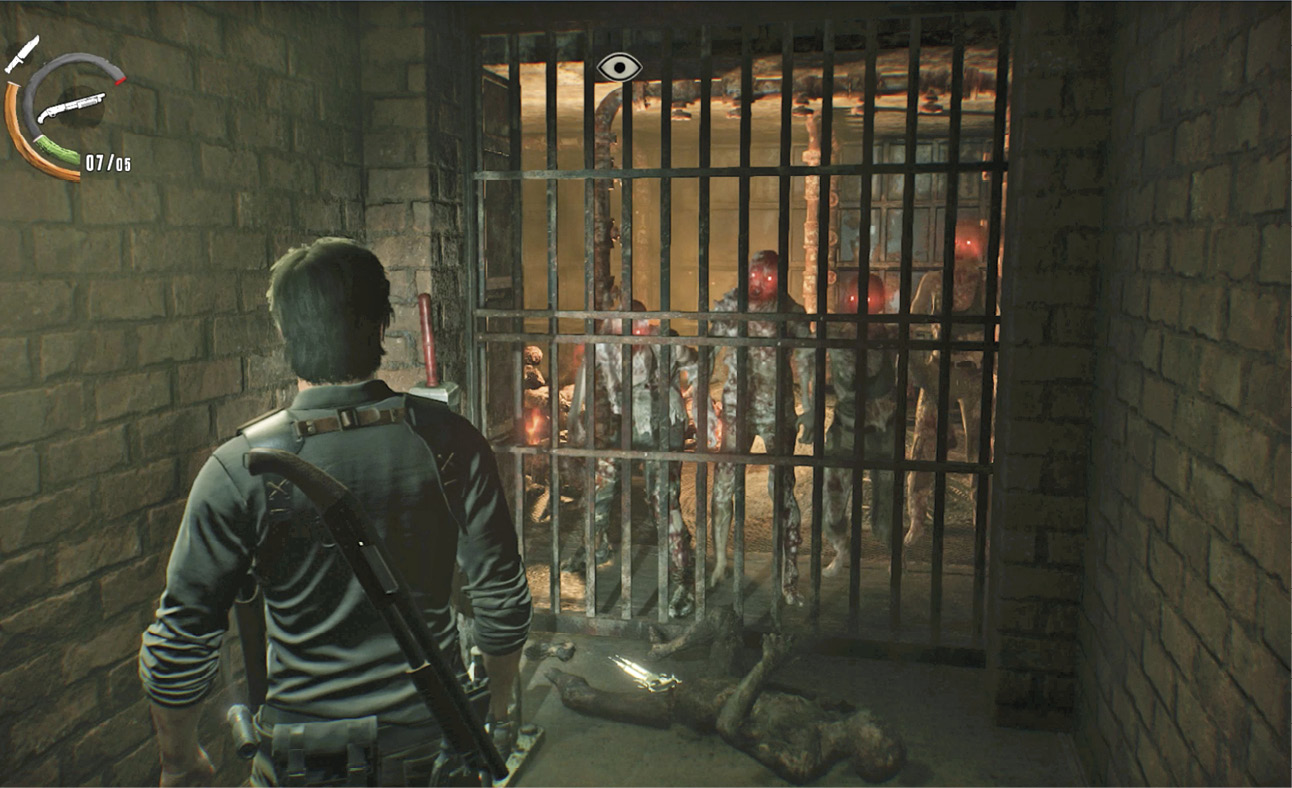
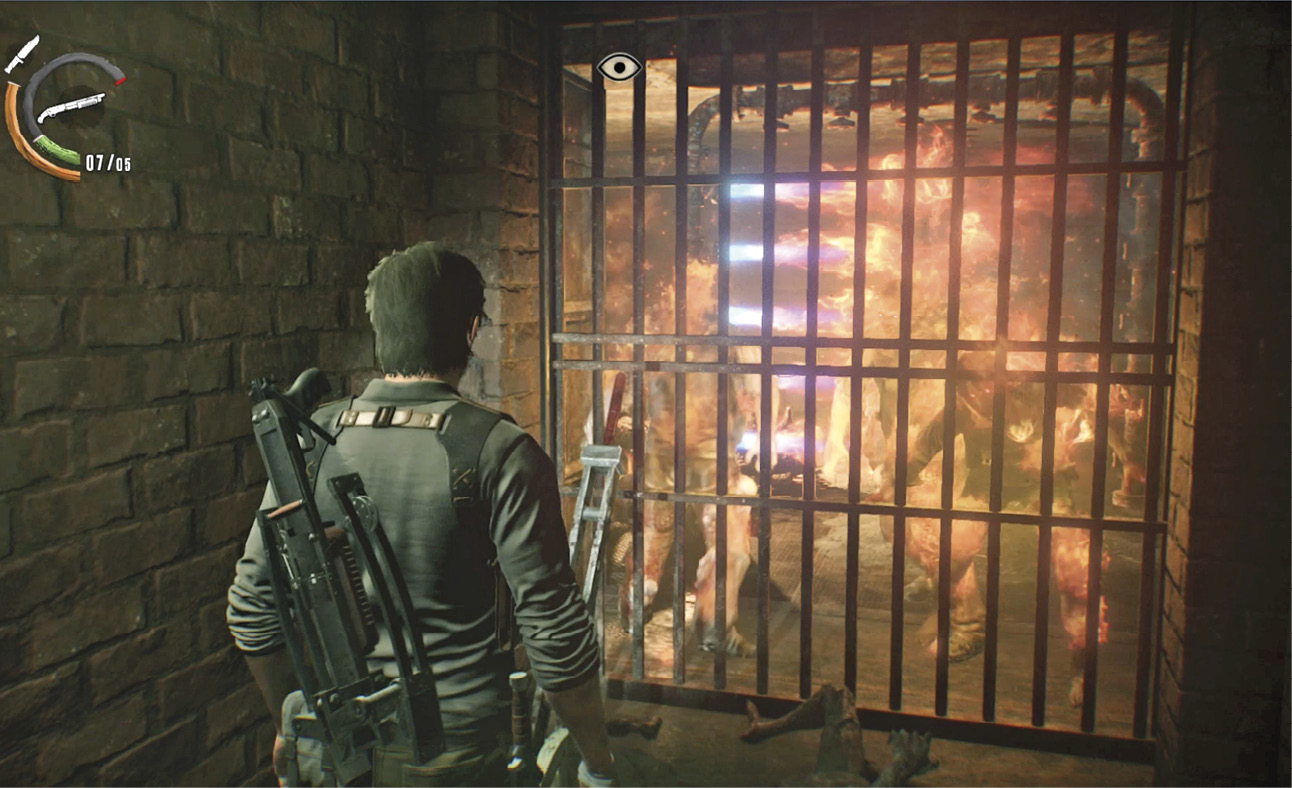
You can just shoot them all, right through the gate… but that’s a waste of ammo. Instead, even though it seems risky, just pull the lever. This activates the flame nozzles inside the chamber, which burns the poor incarcerated Lost into charcoal briquettes.
When the nozzles turn off and the gate opens, enter the burn chamber with a full clip in your shotgun, because you’re about to get ambushed. (Note that the exit gate that slid shut behind you won’t open for a few more seconds.) Start scooping up Green Gel, crossbow bolts, and other pickup items, including some hidden in bone piles. When you examine one of the bone piles inside the chamber, two Disciples suddenly rise up from the ground! Gun them down fast. Exit and climb back up the stairs.
Find the gate lever
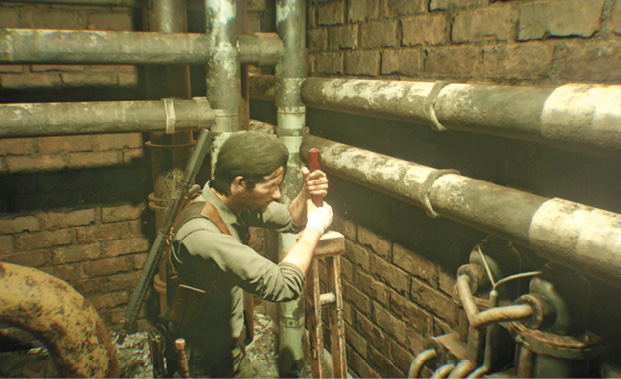
Take cover at the corner of the passage just across from the stairs and spot the Disciple in the room down at the far end  . Nail him with a Sniper Rifle headshot from afar, or creep down the passage box to box and try for a Sneak Kill. Be sure to look inside the dumping hopper halfway down the passage to find a Locker Key statue. Then proceed into the room and pull the lever; this opens the exit gate
  out on the main floor. You see more Disciples rise up to defend it!
Get to the exit gate
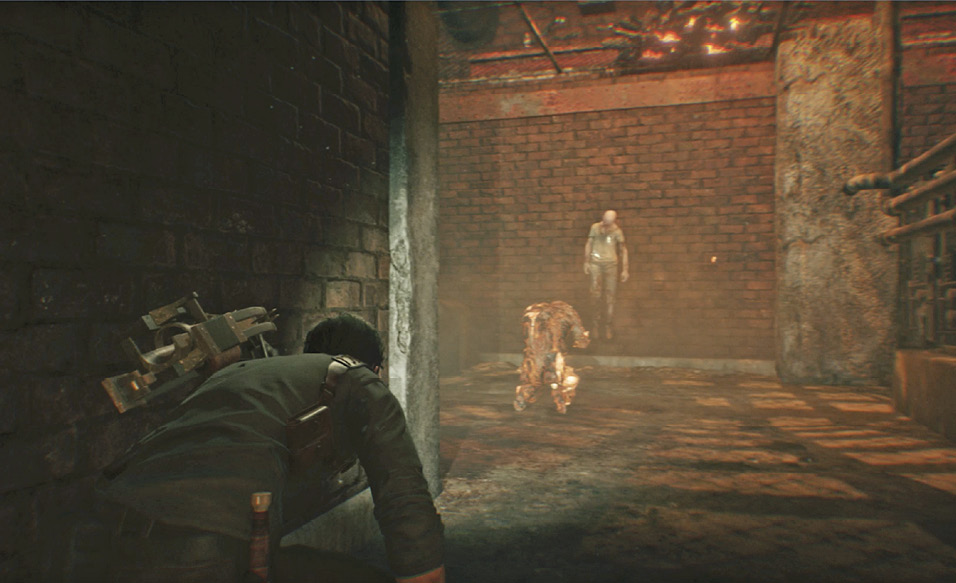
Move stealthily down the next long passage to see a Disciple on its knees  , raptly worshipping a cadaver harpooned to the brick wall. End its rapture with a Sneak Kill while he’s not flaming, or just blast the back of his head with a shotgun, and then snag the Harpoon Bolts.
Get to the third floor
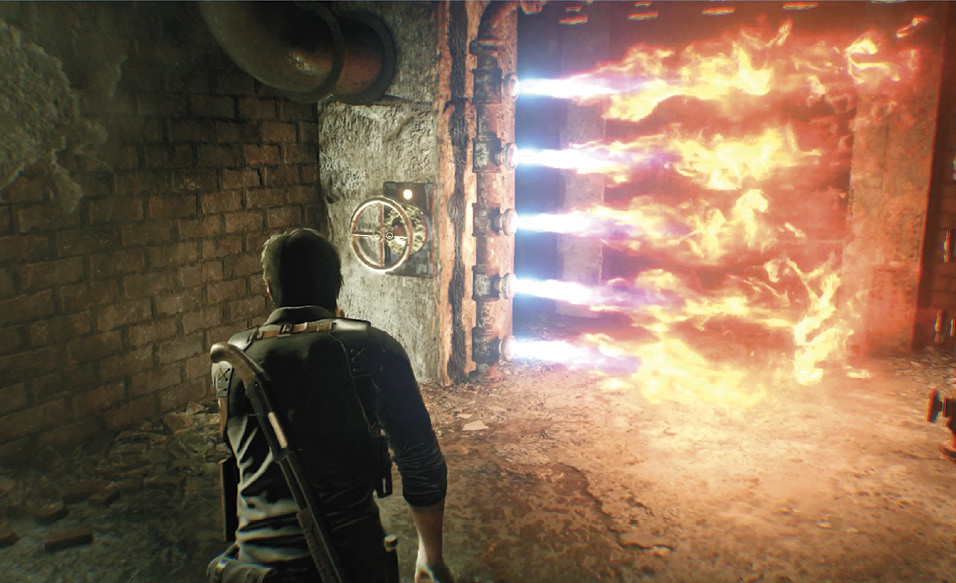
Clear out or sneak past the big squad of new Disciples out on the main floor, then go through the now-opened exit gate  . (It slams shut and locks behind you.) Climb the long winding staircase up to the first landing, where you find a jar of Red Gel. Tap the control shown onscreen to rotate a wheel crank
  that turns off the flame-nozzle barrier in the doorway.
Overview
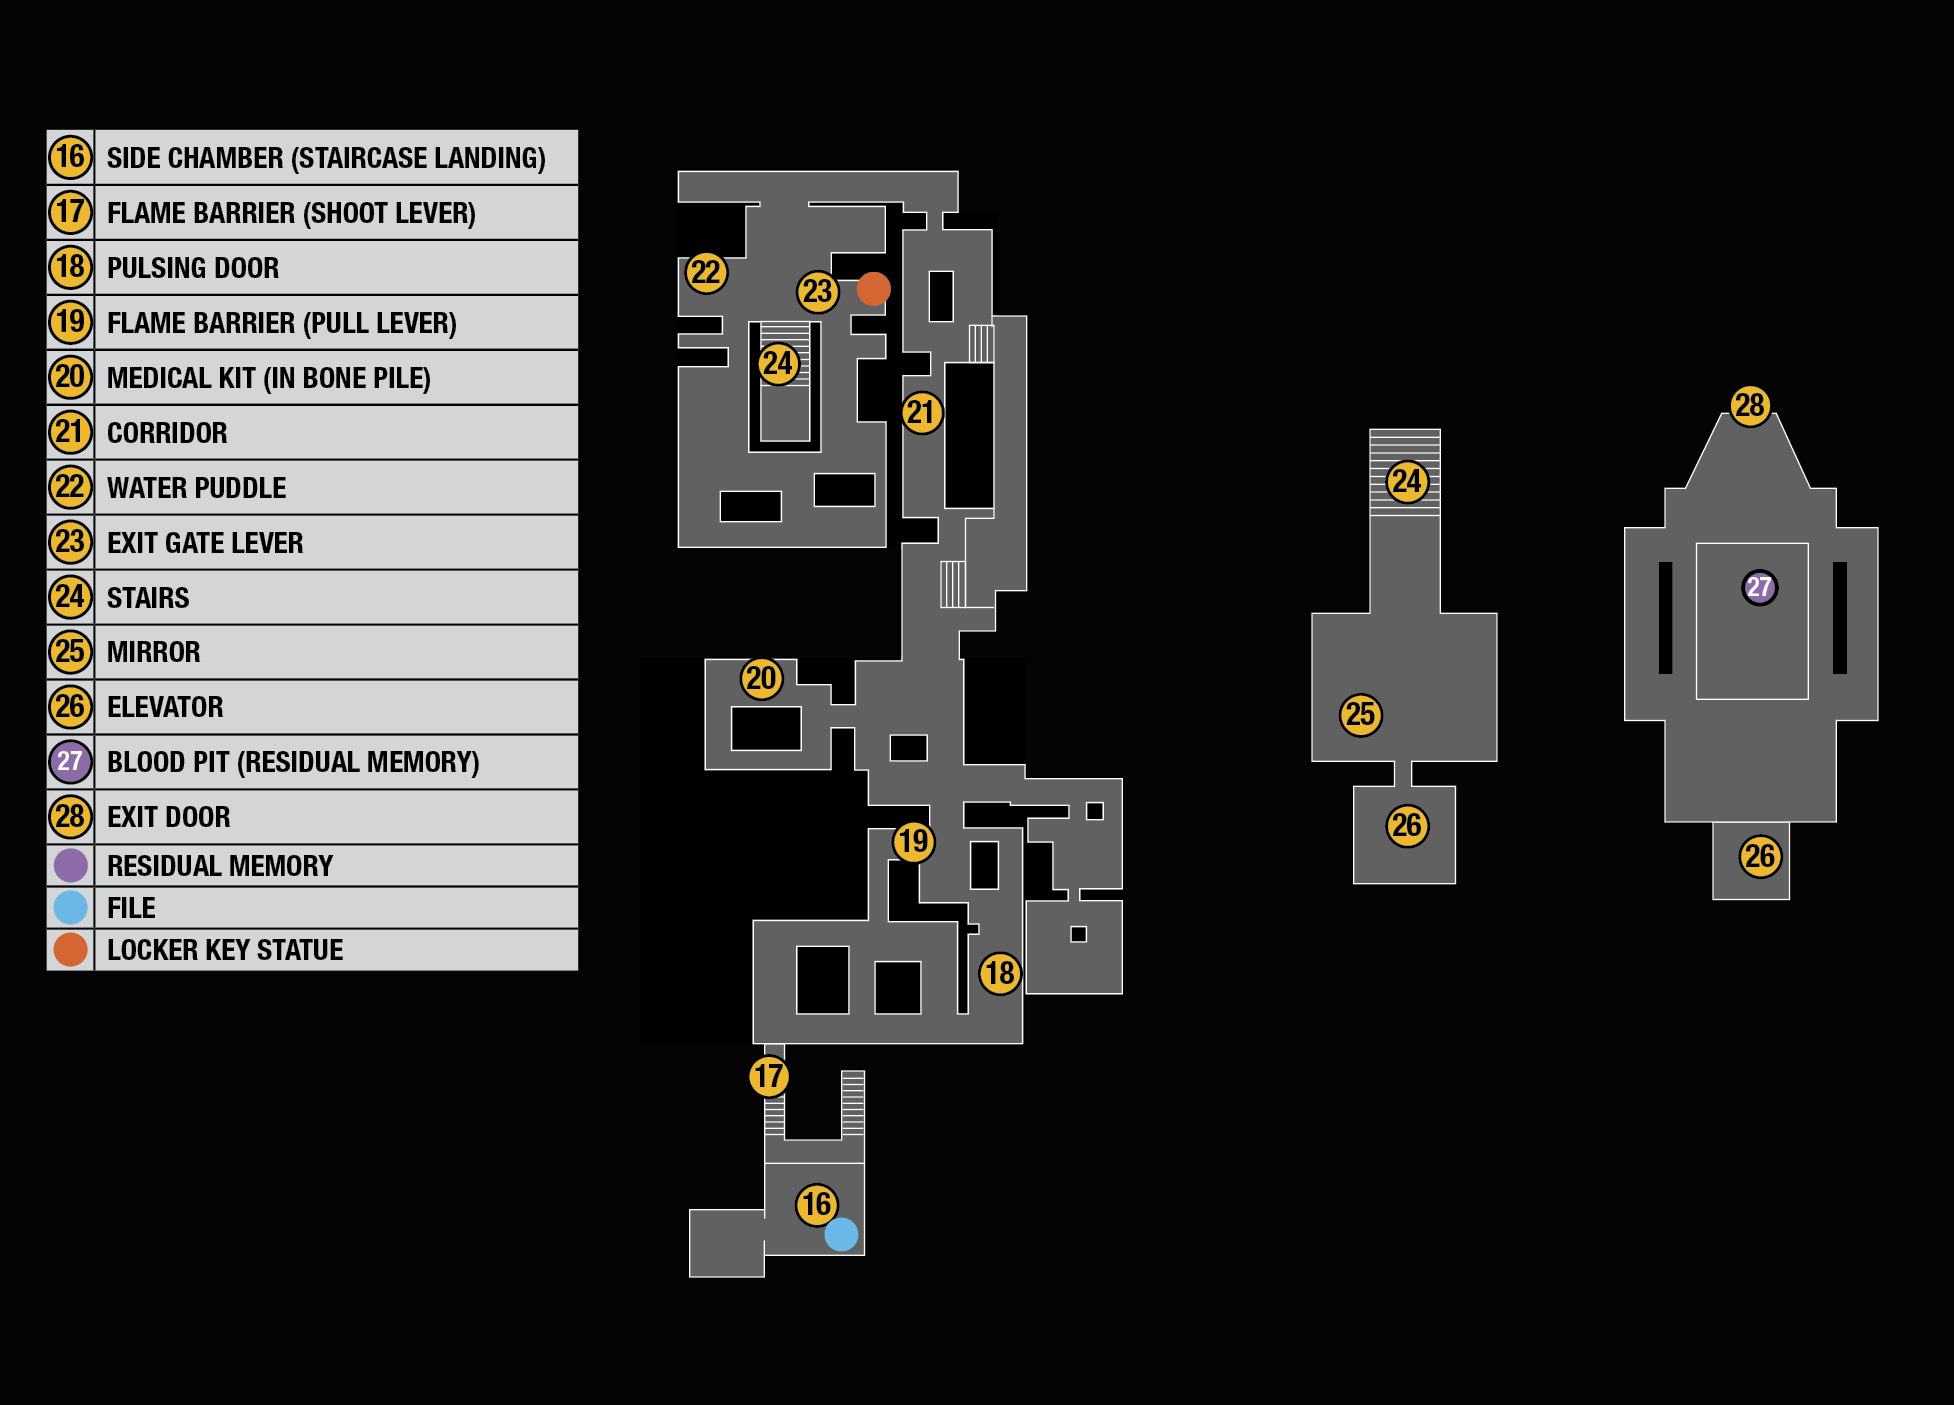
Climb more stairs to another landing with a chamber door halfway up. Enter the chamber  to discover more writing from Theodore on a table, plus another Mirror in a side room. Then exit the chamber and continue up the stairs to the third floor.
Third Floor
Get through the flame-nozzle barriers
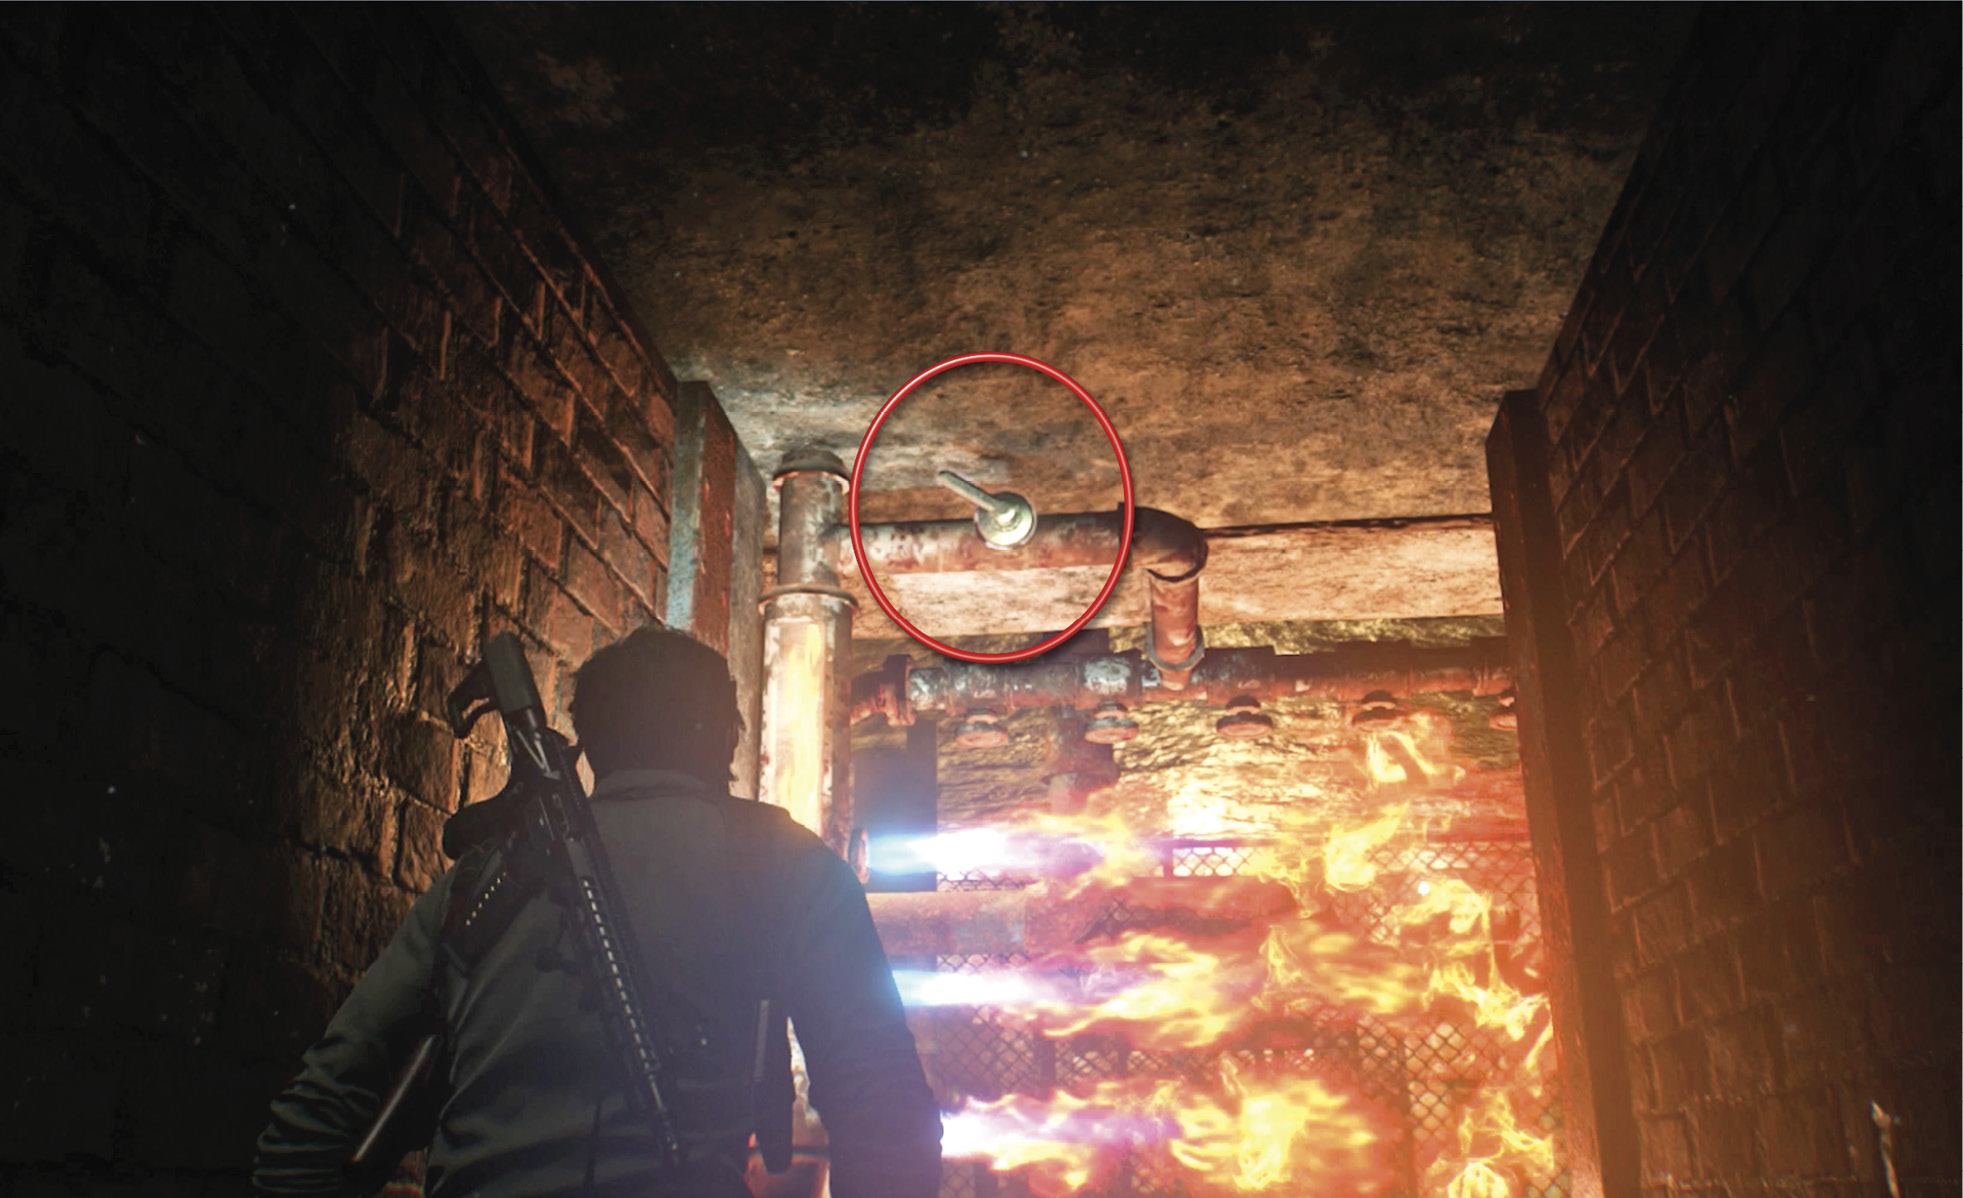
When you reach the flame-nozzle barrier at the top of the staircase  , a gate locks shut behind you. Shoot the small lever (circled in our shot) above the barrier to clear the doorway, and enter.
The next small area features a Disciple and a couple of Lost with metal masks that make headshots less effective. Try stealth for Sneak Kills here. Note the pulsing door  ; a Disciple and a Lost lurk behind it, so have a Shotgun ready when you open it! Enter the room beyond and grab the Hand Axe stuck in the Lost corpse. Then go back through the door and pull the lever
  to open the next flame-nozzle barrier.
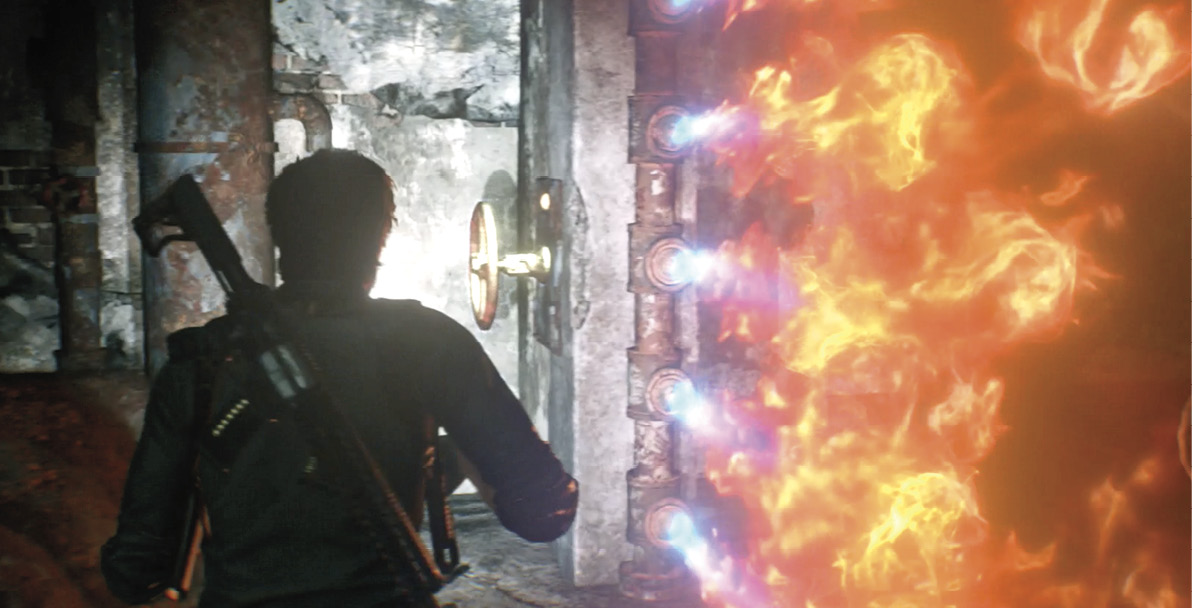
This floor might seem like a maze, but all paths flow you in the same direction eventually. Pull or shoot levers, or turn wheel cranks to shut down the flame-nozzle barriers in doorways, and keep moving. You find a Medical Kit  buried in a bone pile in one side room; keep moving down the corridors
  . Stay wary for Disciples and other bad guys roaming the passages.
Shock the Spawn
Eventually you reach a room with a big puddle of water  and a gate lever
  . Wield your crossbow and switch to its Shock Bolt ammo. When you pull the lever, you lock yourself into this enclosure and a Spawn suddenlyemerges from the floor next to the lever. You can’t escape until you defeat it… and a couple more of its siblings, who show up soon too.
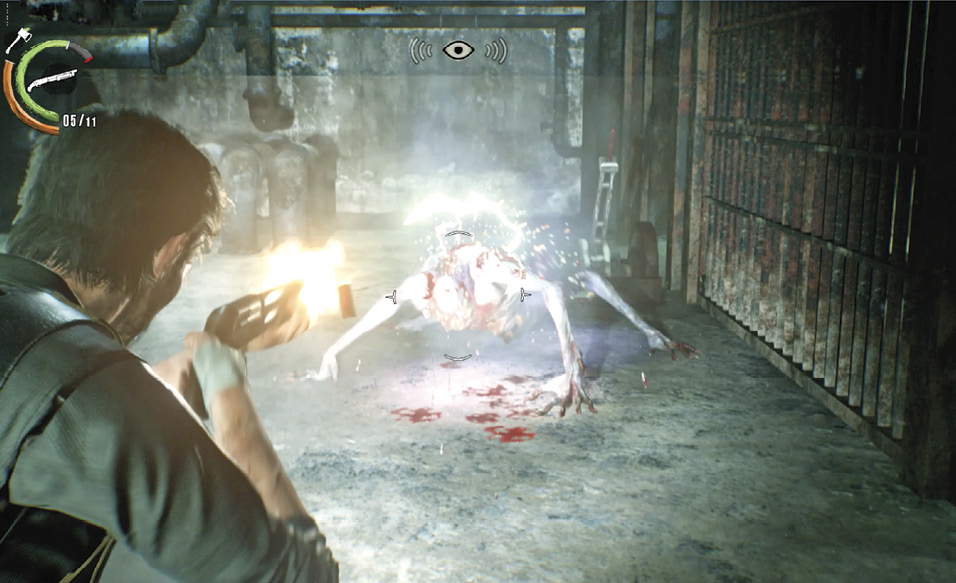
Lead the Spawn into a puddle and fire a Shock Bolt into the water to immobilize it for a few seconds. During this time, kill it with a volley of close-range headshots while it shivers with electricity. When the two other Spawn pop into the enclosure, use the same tactic; note that there’s a second water puddle in the back of the area, plus a liquid nitrogen tank that you can shoot to freeze any beast nearby.
After the battle, find the Locker Key statue in the pipes above. Then head through the newly opened gate and climb the stairs  to a Mirror
  and an open elevator
  . Use the Mirror first! This is your last chance to head back to Sebastian’s Room to craft as much ammo as you can and buff up your skills for a set of very tough fights ahead. Then return and step into the lift.
Throne Room
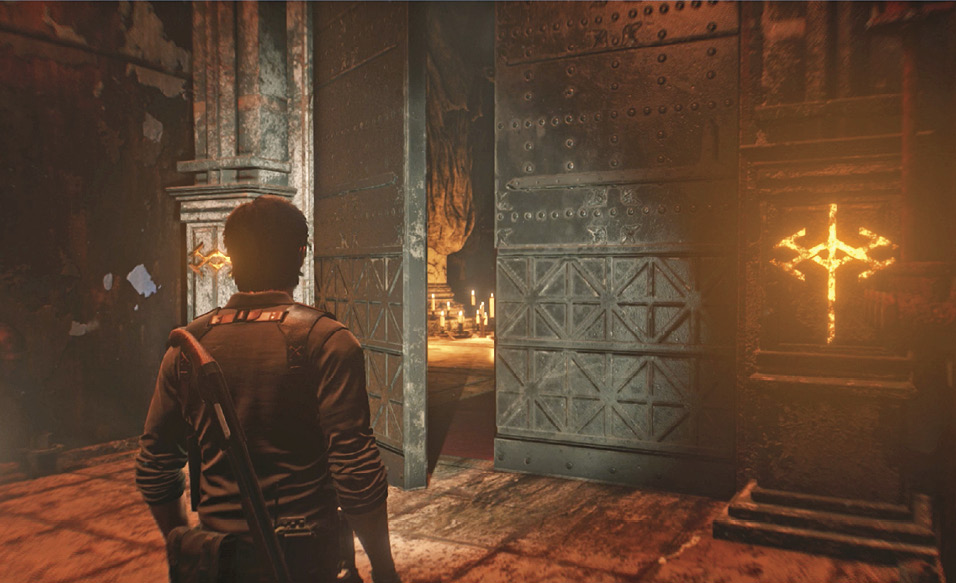
The elevator automatically carries Sebastian up to Theodore’s throne room. Move around the pit and climb down the ladder into the pit of blood. Step to the center to see the shadow of a Resonance Point  , and use your Communicator to tune it in. Afterward, find the Medical Syringe and Shotgun Shells in the pit; you’ll need as much help as you can get. Then climb back up the ladder and go through the partially opened tall doors
  .
.
Meet and Beat the Three Bosses
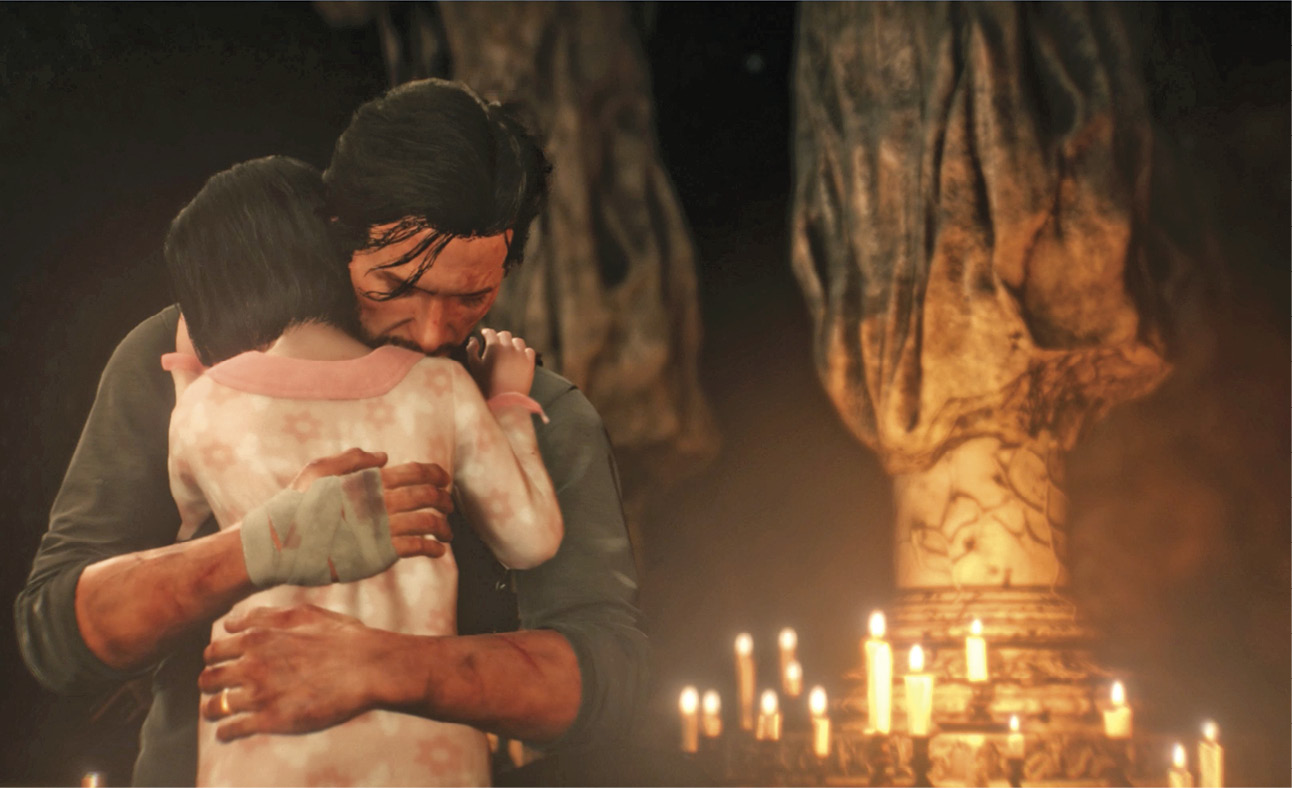
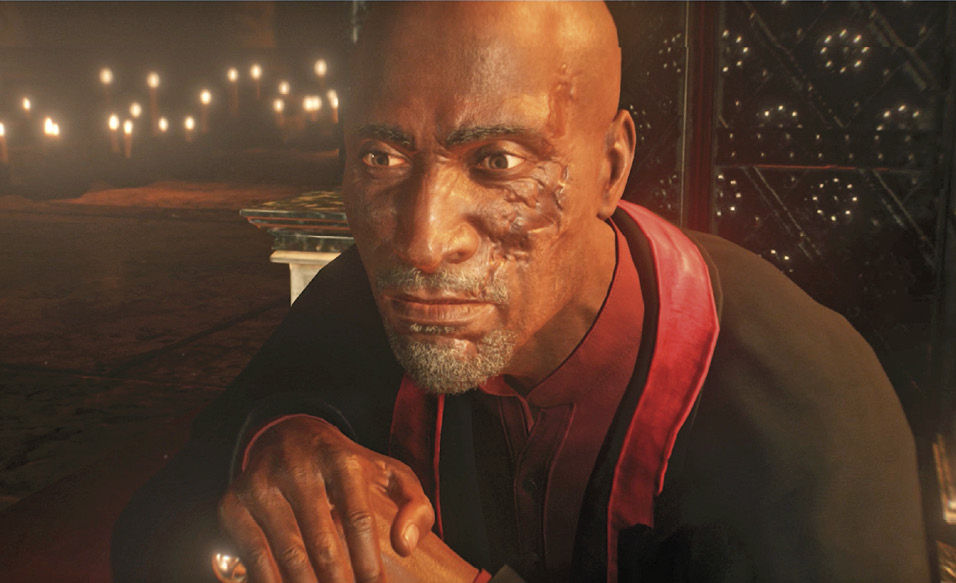
Sebastian and Theodore meet face to face once again. The evil master makes yet another attempt to play on Sebastian’s guilt and pain about Lily, but then changes tactics. He conjures a different memory—a frightening nemesis from Sebastian’s past.
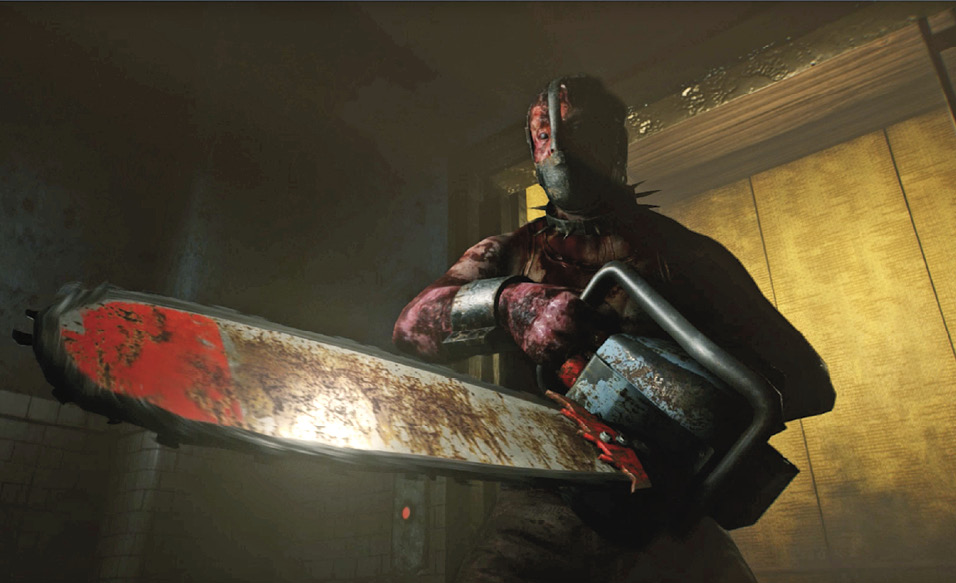
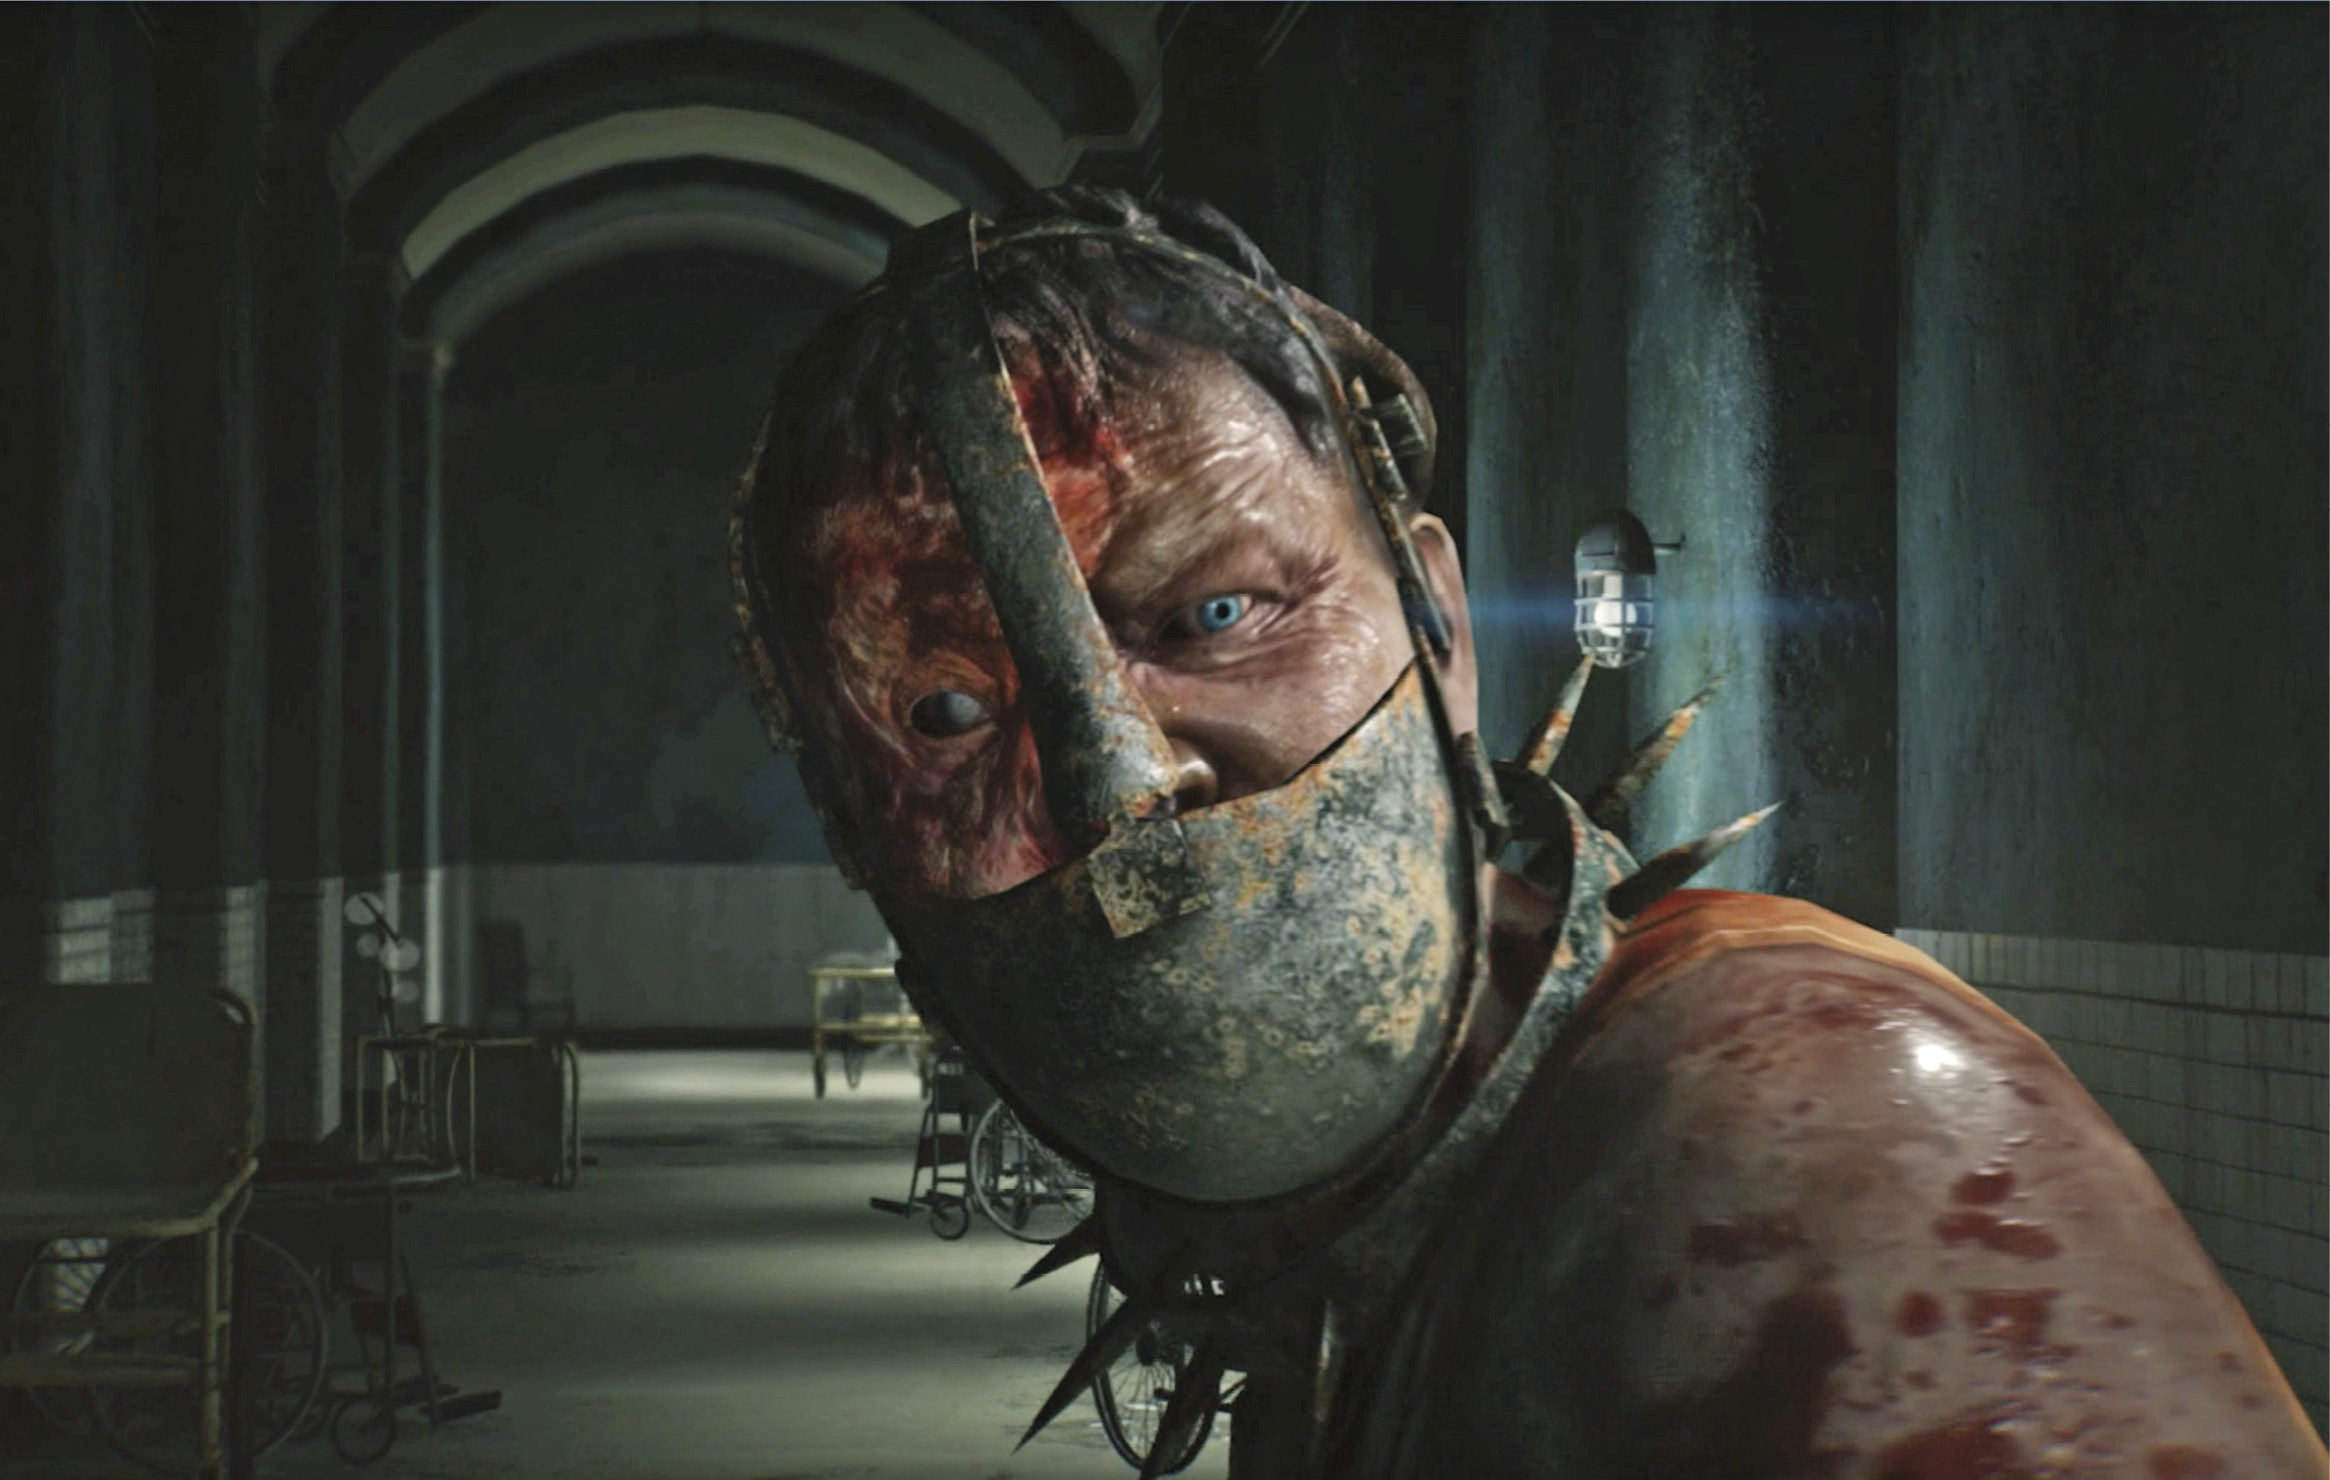
Defeat the Sadist
When you gain control, sprint away from the Sadist to the door down the Beacon hallway and kick it open. (Don’t let the Sadist catch you; it’s instant death for Sebastian.) Keep sprinting down the next stretch of corridor until a cutscene takes over: Sebastian literally turns the tables on his foe.
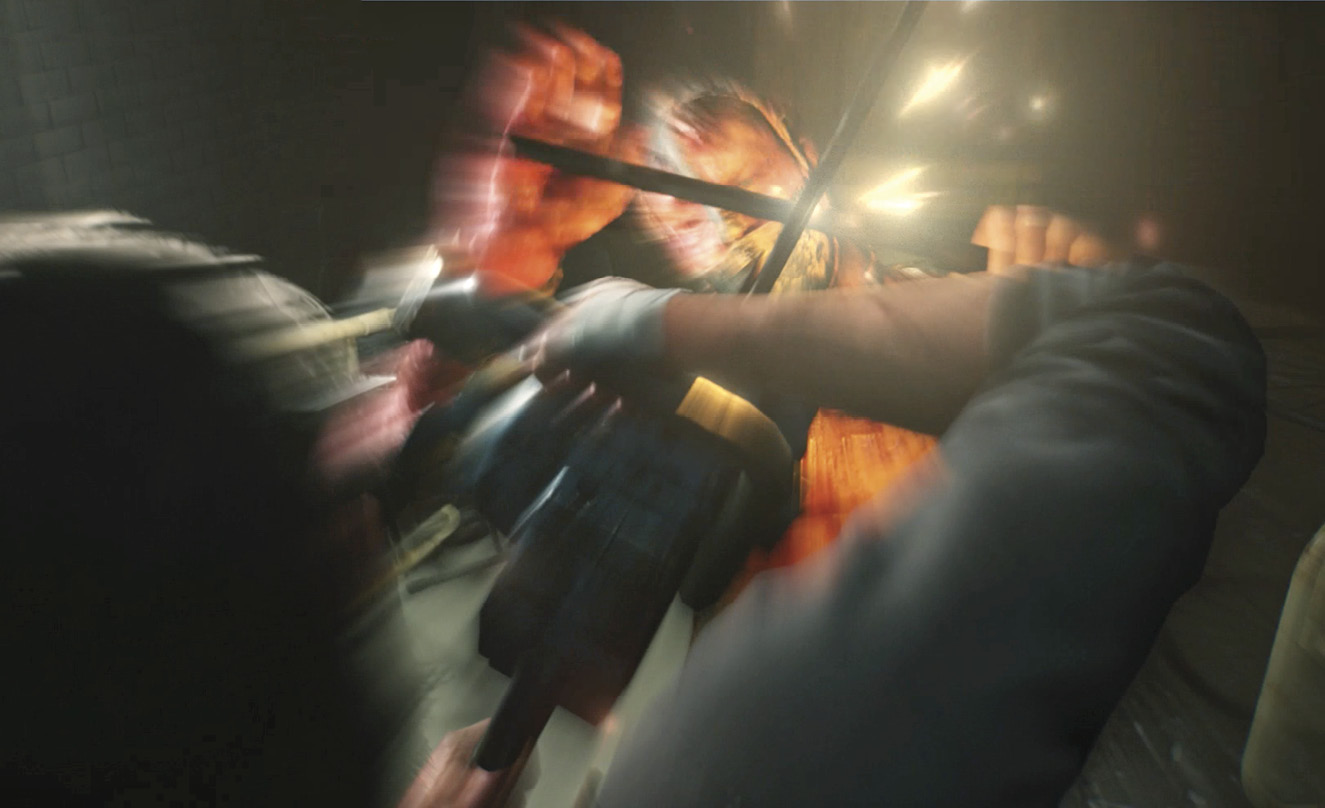
When the cinematic ends and you regain control, slowly walk forward until Sebastian stands blade to blade with the Sadist. Tap the Cut button indicated onscreen until you win the standoff in spectacular if somewhat grisly fashion. But victory is short-lived, as Sebastian is tugged back to the stronghold to face a second monstrous enemy.
Defeat The Keeper

Fans of The Evil Within (this game’s predecessor) will also recognize The Keeper and his massive meat tenderizer. He is still deadly, swinging his hammer and his sack of victims’ brains in vicious melee swipes. He also has a surprisingly nimble dash and tackle move.
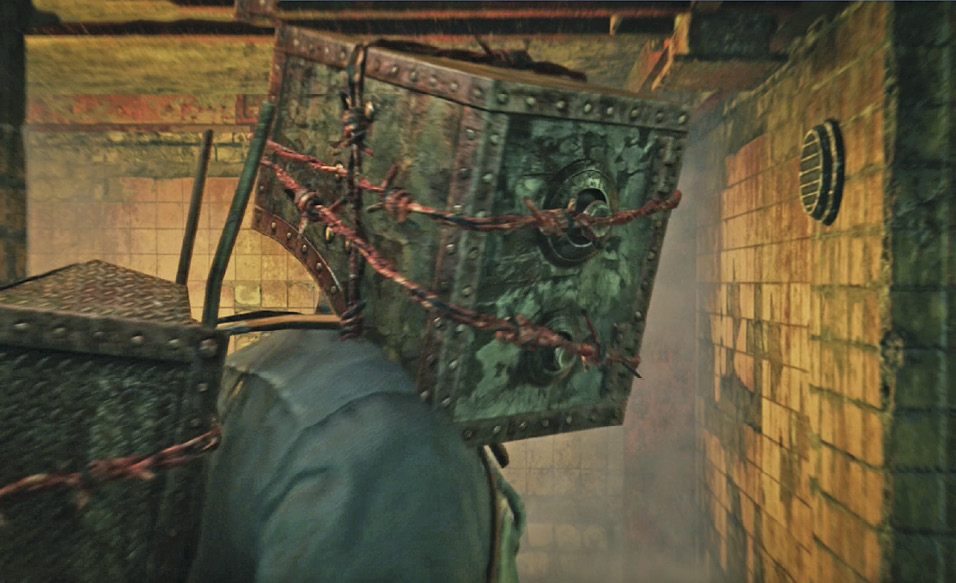
This is a pretty straightforward fight. If The Keeper gets you cornered, dodge to the side and run the moment he begins his swing move. Target his midsection with shotgun blasts to stagger him briefly as he approaches, giving you a chance to dart past him and run down the passage.
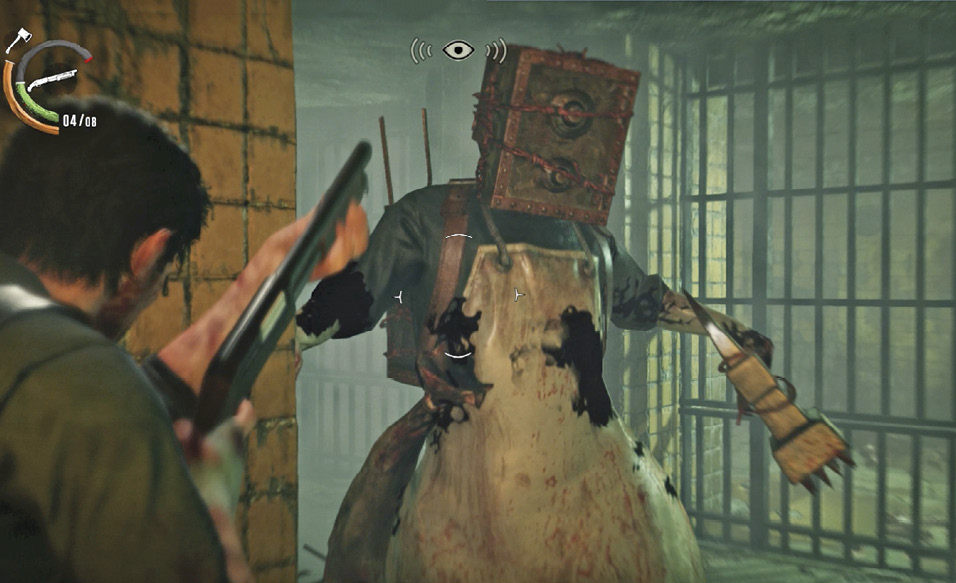
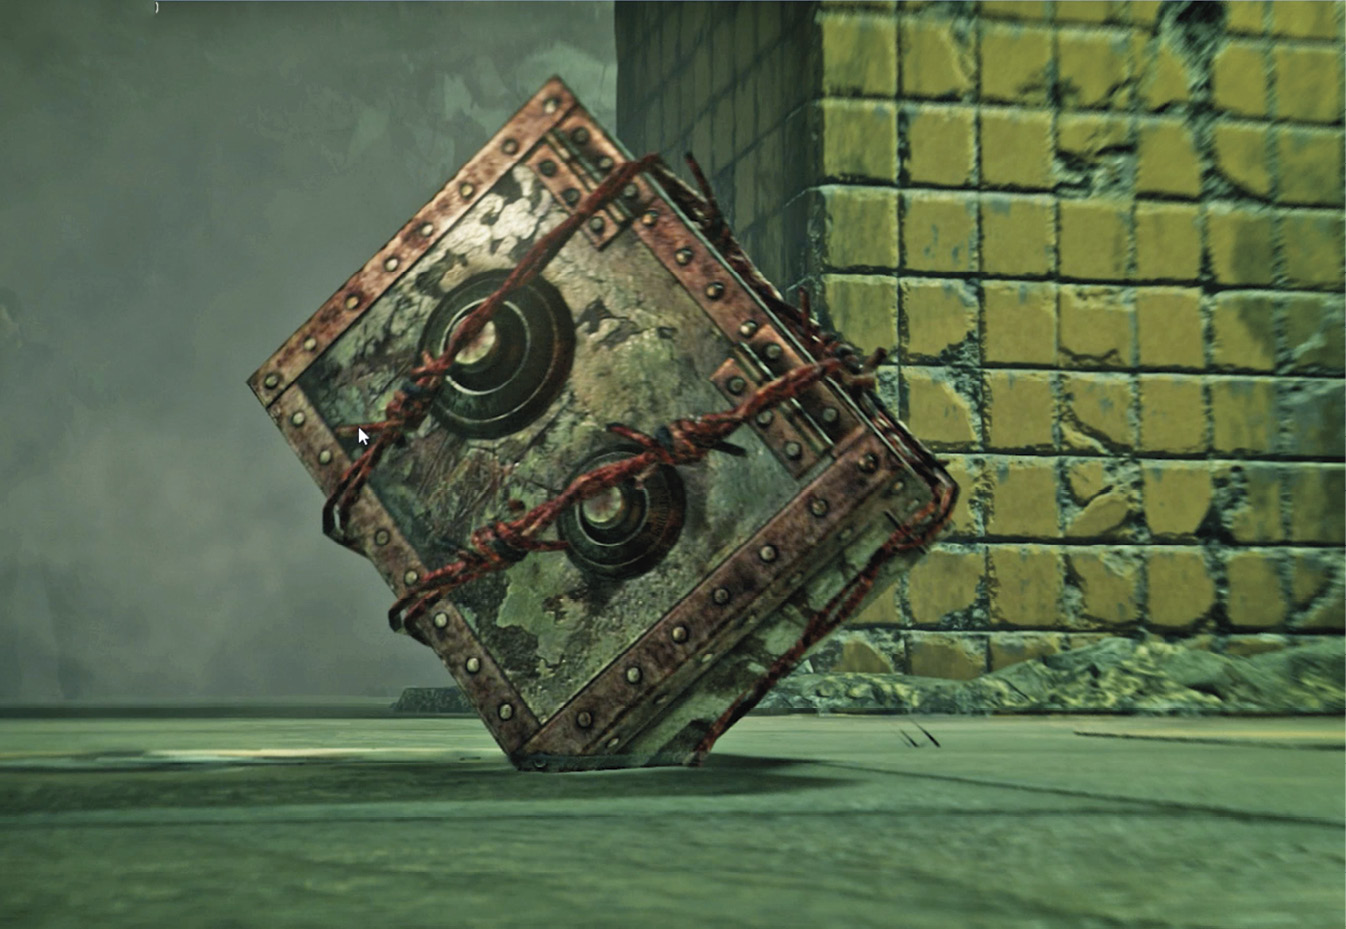
At one point, you seem to defeat The Keeper as his box-head drops to the ground and disappears. But seconds later he reappears… as twins. Now you have to kill them both. Continue fighting using the same tactics, but be aware that a second Keeper might be just around the corner as you flee the first one! When both Keepers finally drop, something emerges from the fallen box-head. Once again, it’s a blast from the past for Sebastian and fans of The Evil Within .
Defeat Laura
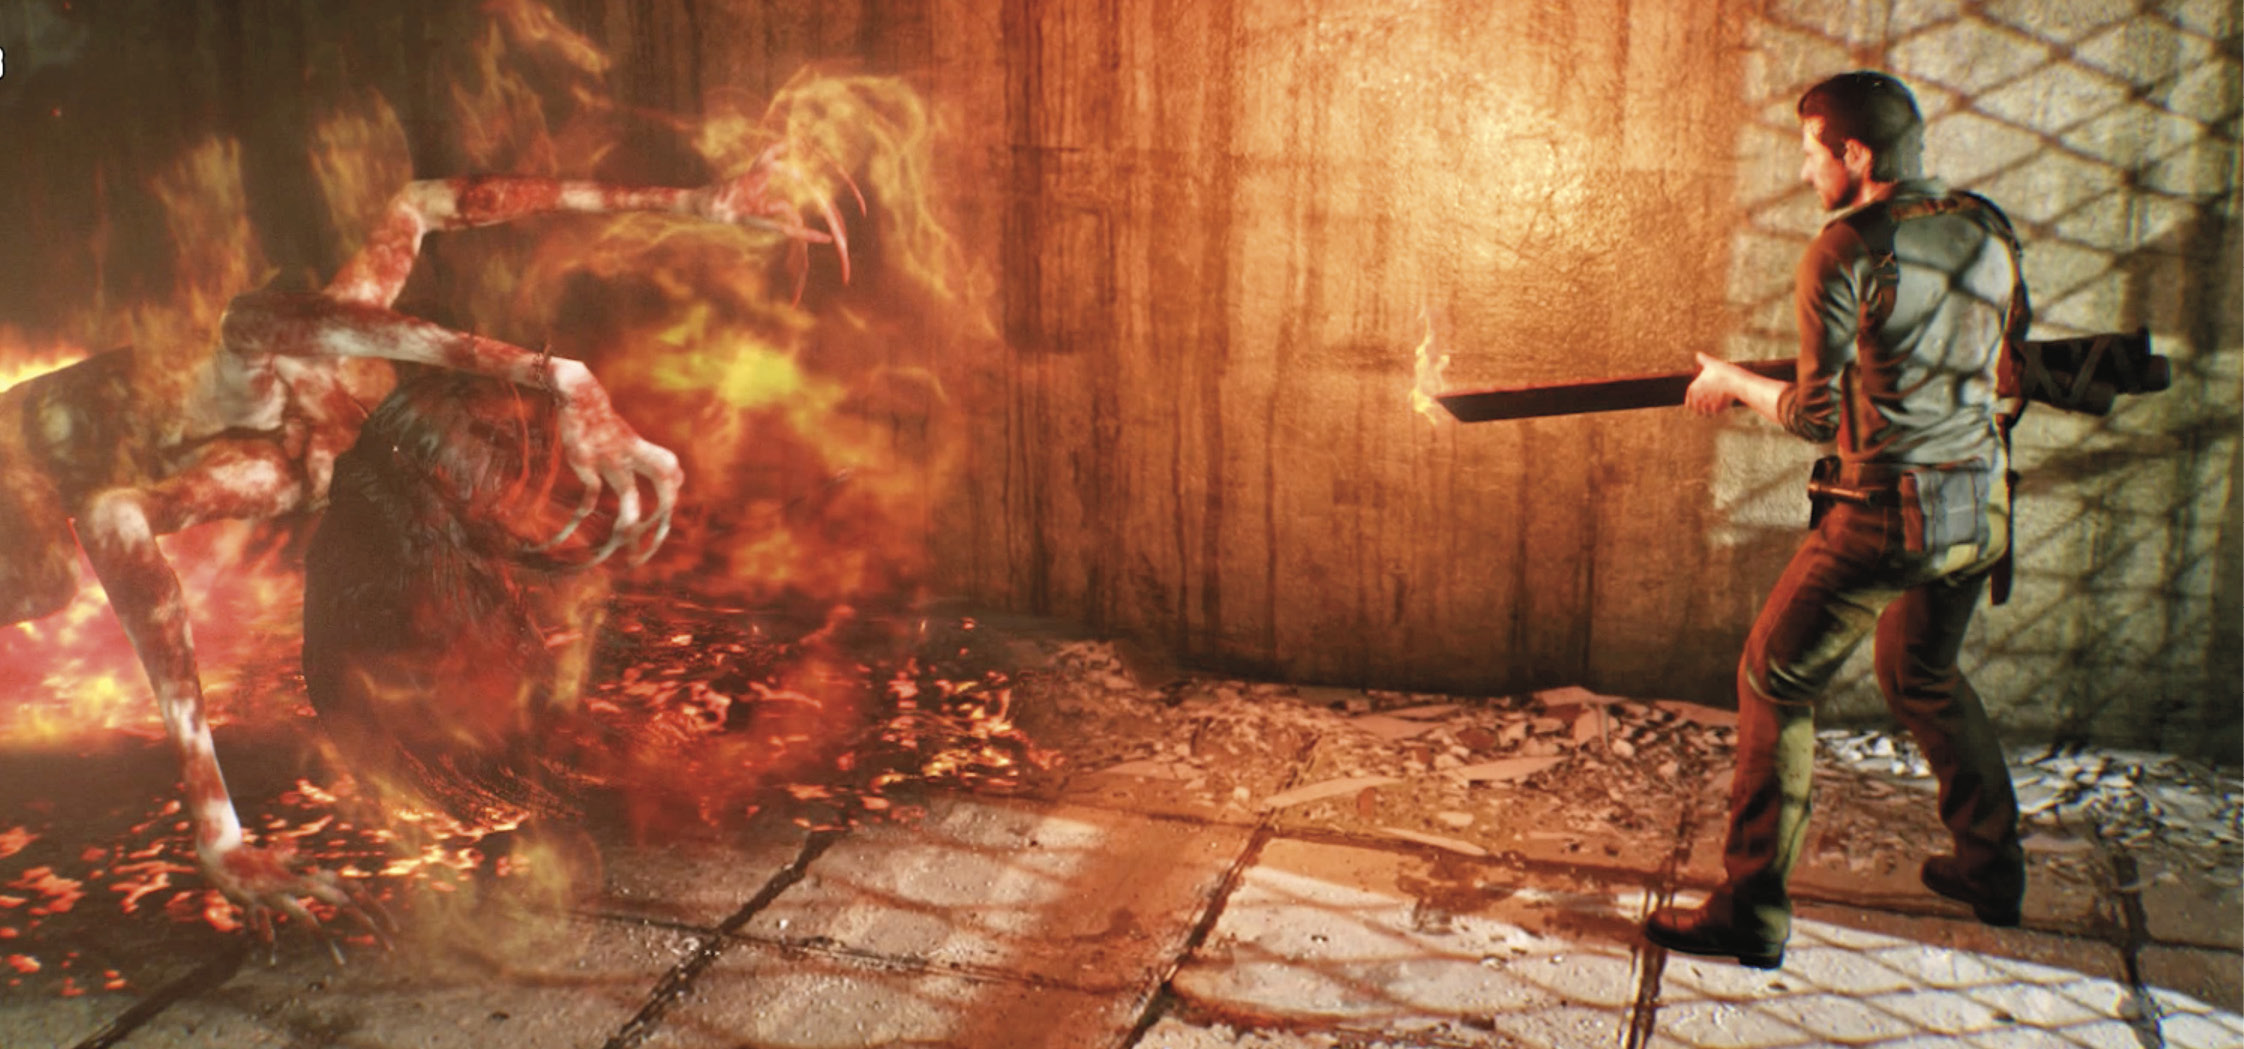
Laura has just two attacks, but her nail-scratch inflicts huge damage per swipe, and her grab means instant death. Her physical movement is not particularly fast, but she has a teleport burst-move that zaps her several times rapidly across space. Keep in mind what our QA experts point out: her primary vulnerability is to fire. As Sebastian says when he sees her, “I burned you once… and I’ll do it again.”
The easiest way to “burn” Laura is to discharge a Flamethrower at her. If you took the Broken Flamethrower from the fallen O’Neal (as in this walkthrough) and then repaired it by adding two fuel tanks picked up from fallen Harbingers, you’ve got what you need. Unleash the stream of fire and keep your finger on the trigger until the tank is empty
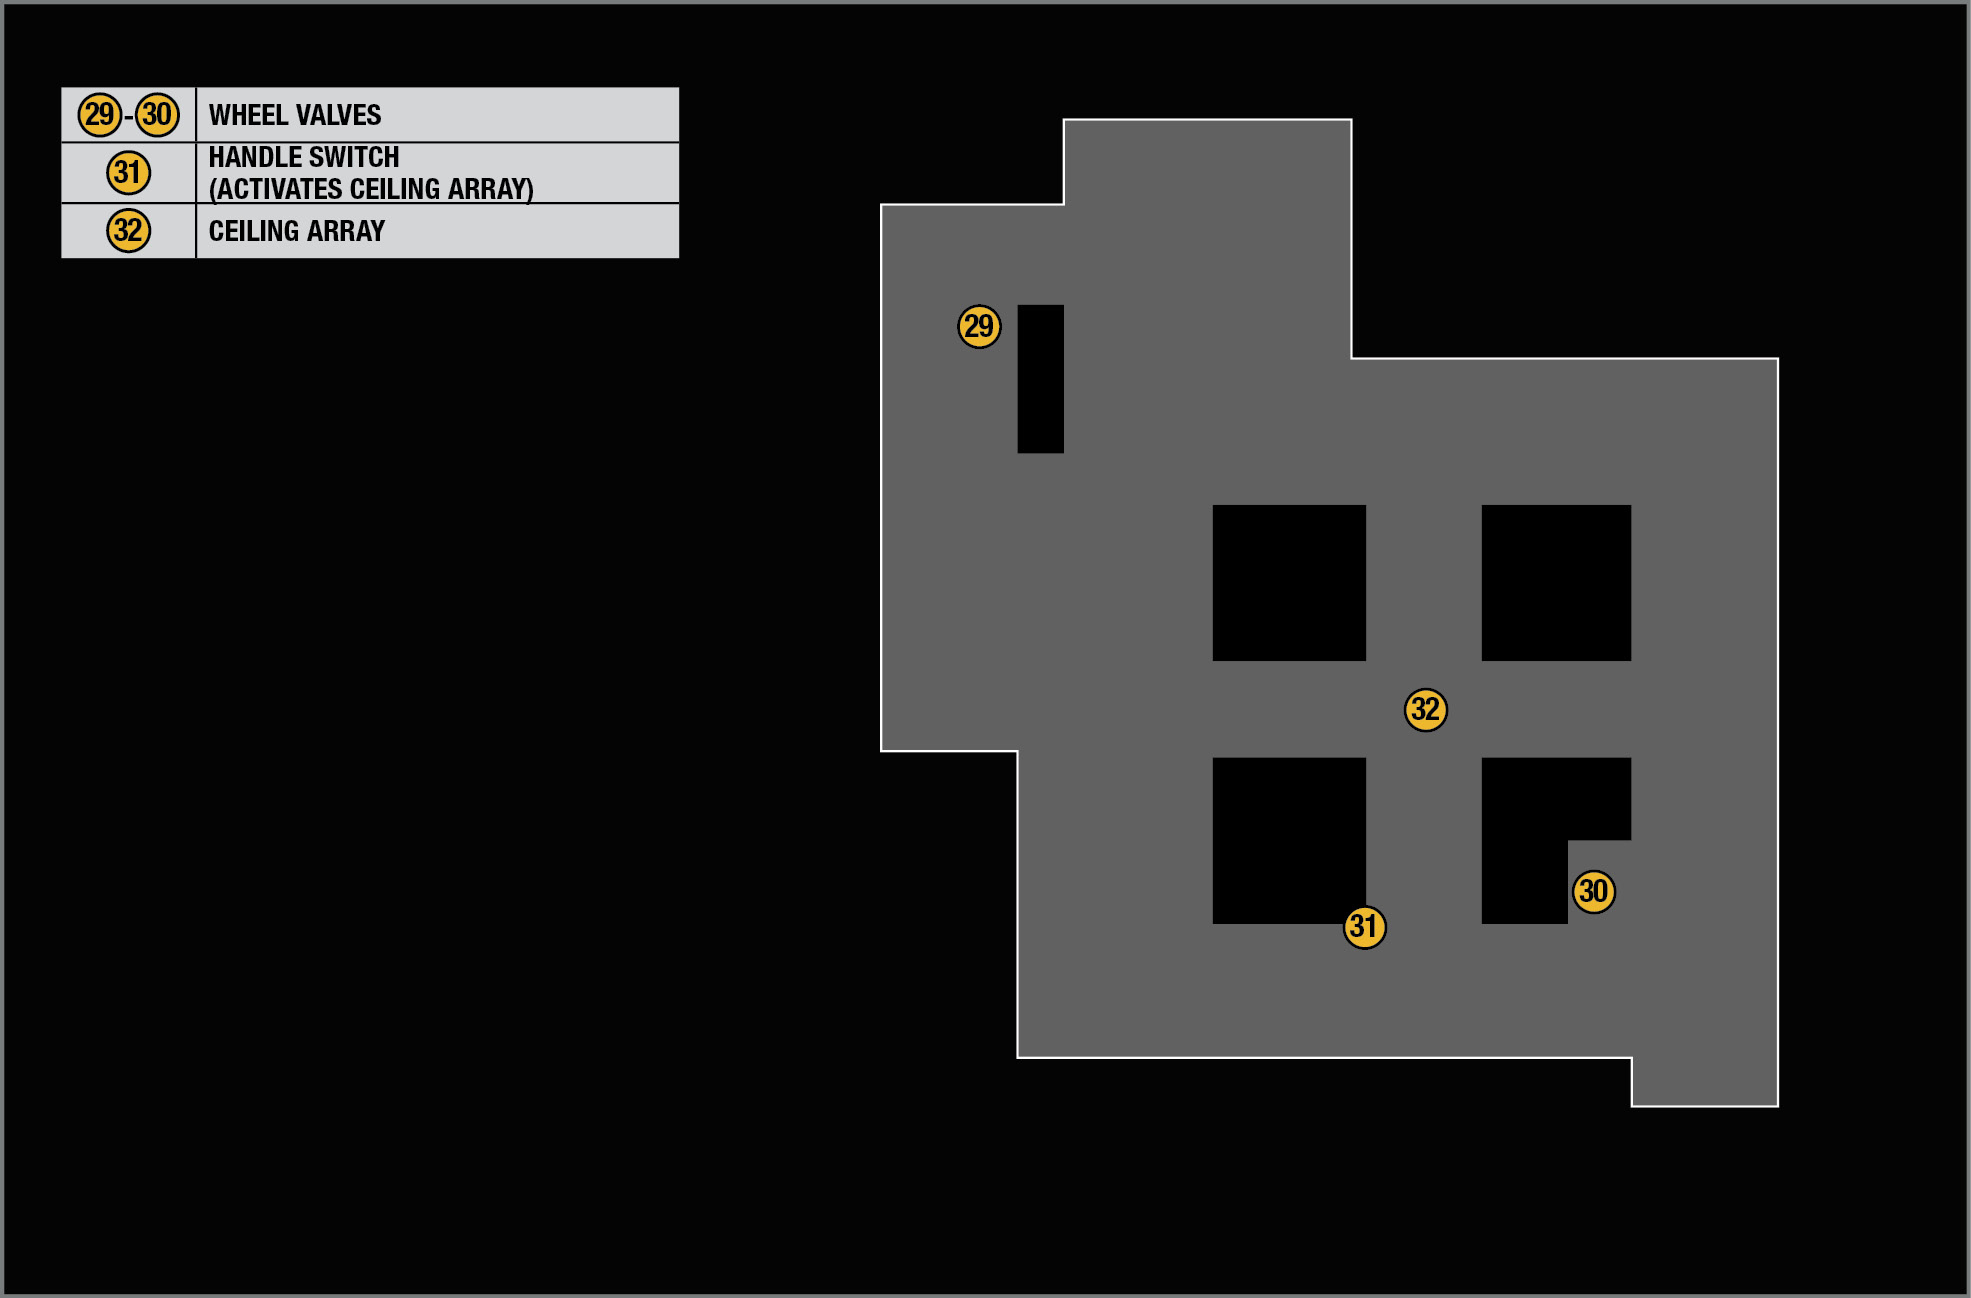
However, if you don’t have a functional Flamethrower, or you used up its fuel already, you have another “burn” option. Laura’s lair features two wheel valves (  ,
,
 )that can pipe a stream of fire to a ceiling array of flame-nozzles
  in the passages. Both valves must be turned on for this to work, however. When both are on, you pull the wall handle switch
  to shoot searing jets of flame downward from the ceiling nozzles for several seconds.
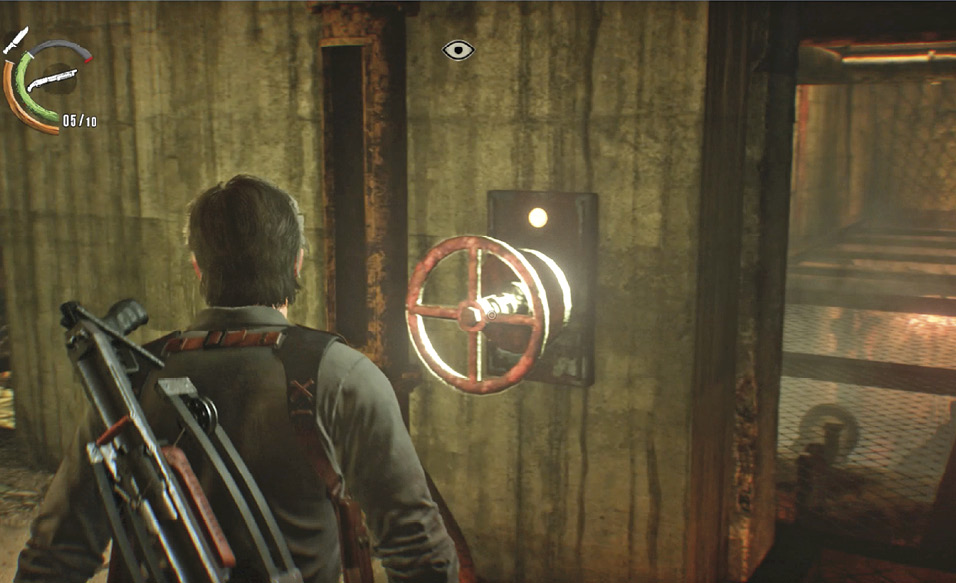
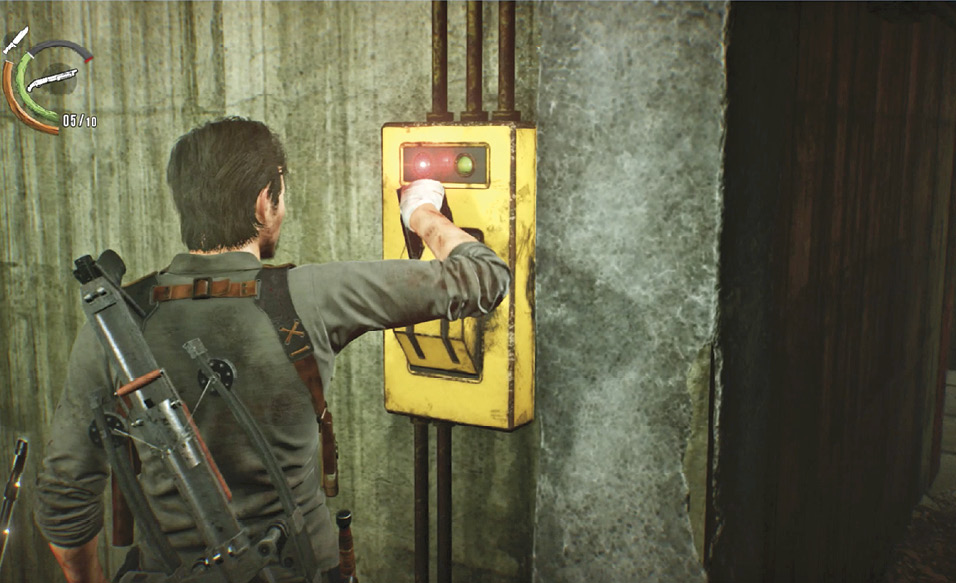
Handle Switch
Turning on each valve takes a few seconds of button-tapping, and if Laura arrives during the effort she’ll grab Sebastian, pin him to the ground, and murder him. One solution is to fire a Shock Bolt into Laura then quickly turn the wheel valve while she twitches.
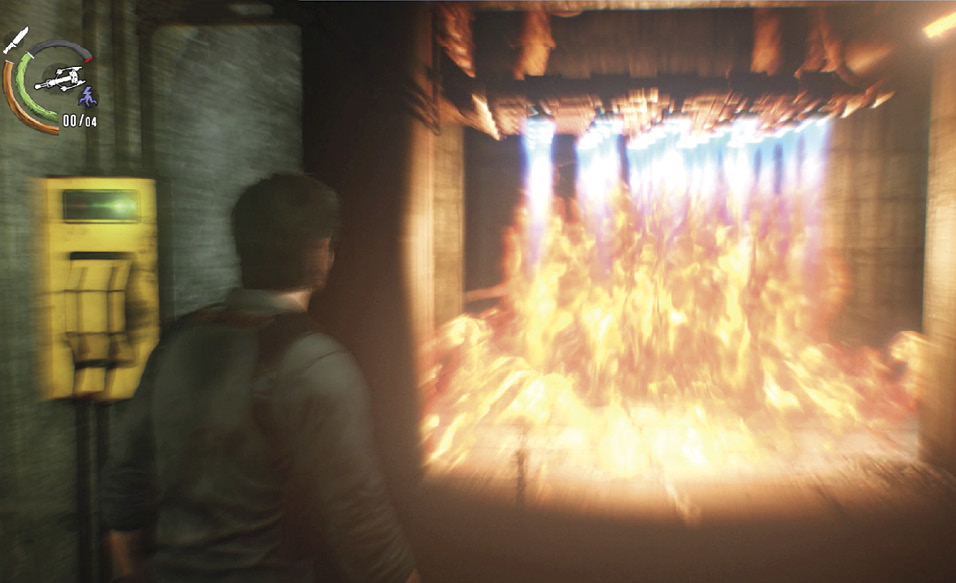
If you manage to get both valves turned on, maneuver Laura under the ceiling nozzles and then quickly pull the wall handle to catch her in the flame blasts, she’s toast—you win.
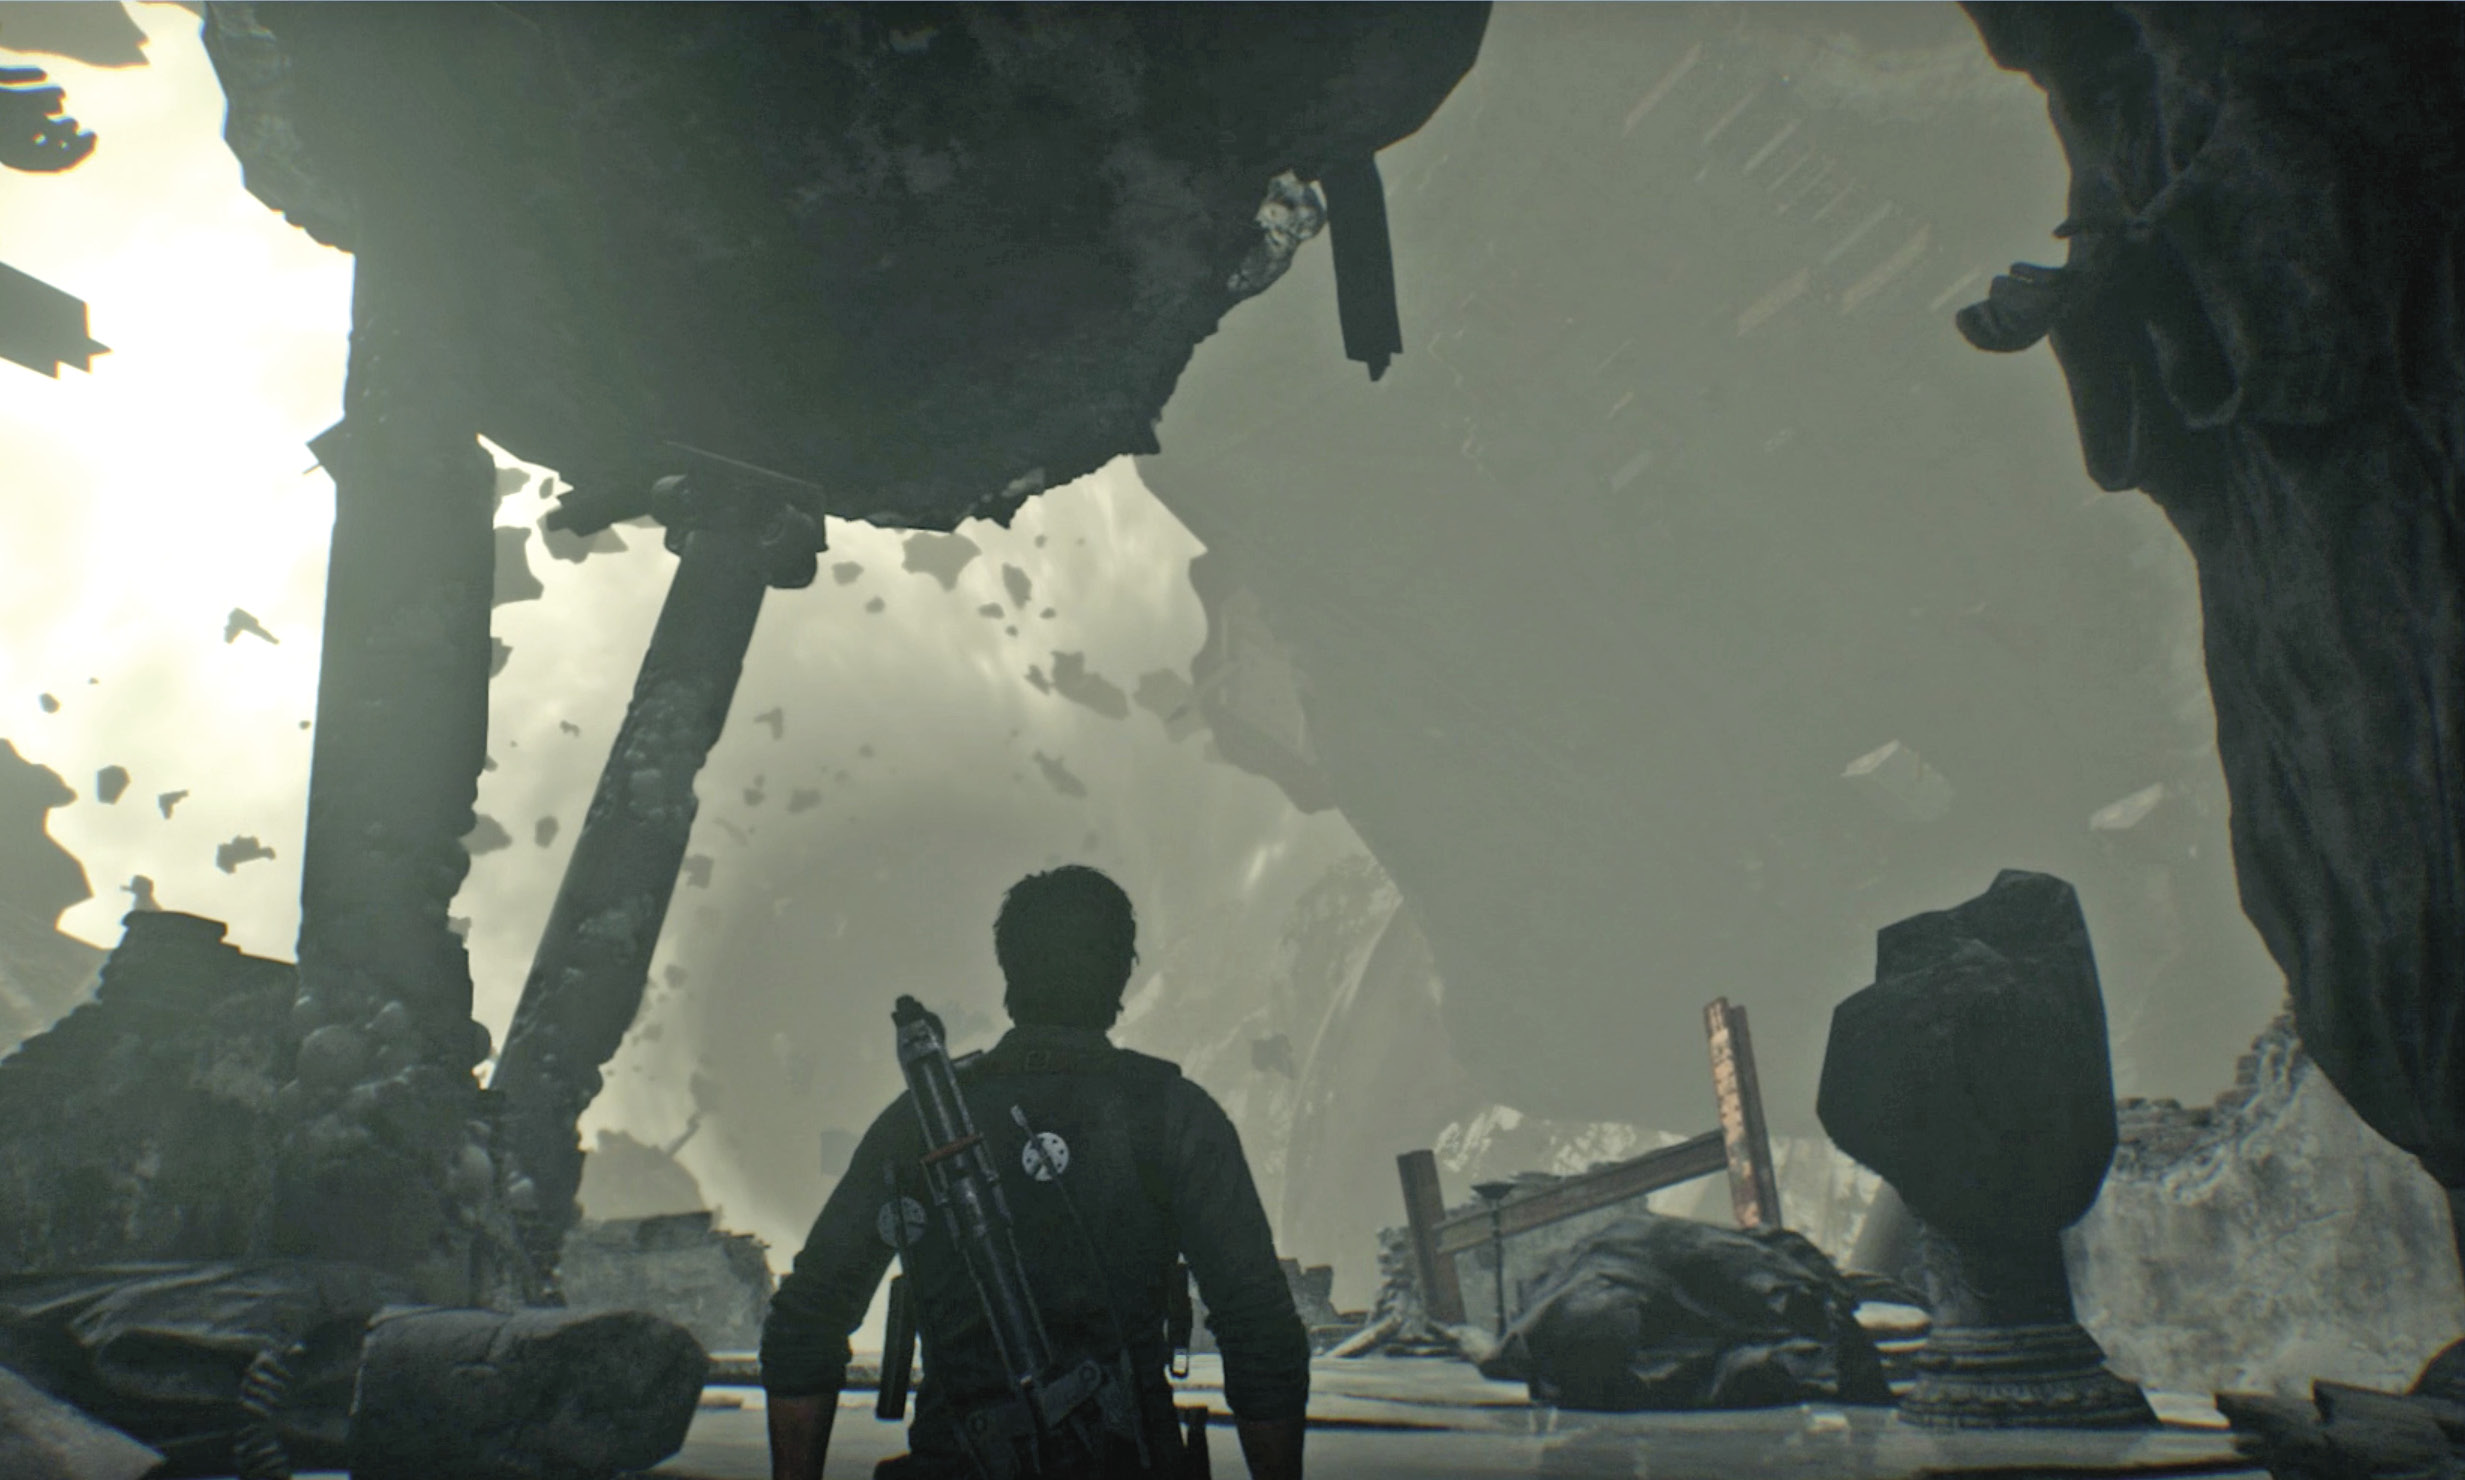
Watch the chapter-ending cinematic: the game changes for Theodore and Sebastian as another major player in the struggle for Lily emerges again. With a wave of her hand, she turns Theodore’s “stronghold” into a ruined wreck. When Sebastian wakes up, exit via the tall doors to end the chapter.