The Evil Within 2 Guide Story Walkthrough
Something Not quite Right
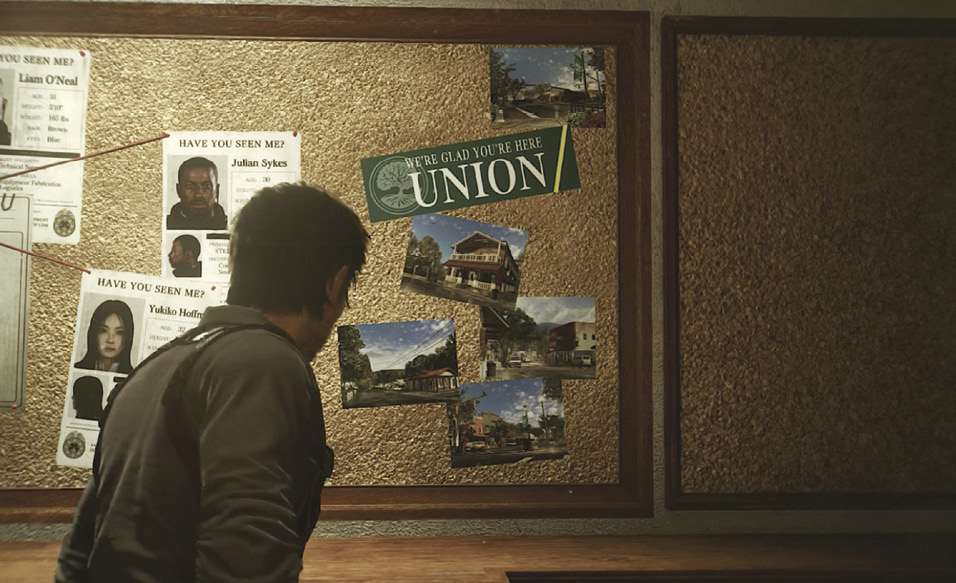
Kidman reiterates that the Mobius Search Team is stuck in the STEM environment and looking for Lily too. This STEM is designed to replicate the look and feel of a small town named Union. (Sebastian calls it “Anytown USA.”) Before you leave the detective’s office, take Kidman’s advice and check out the team’s available info.
Overview
Objectives
- Explore Sebastian’s Room
- Search for the Mobius Search Team members within STEM for a lead on finding Lily Collectibles
- 5 Files
- 1 Slide
Examine the Mobius posters
Investigate each one of the five Mobius team posters, and check out the Union flyers too. Kidman suggests you try to canvass the town locals for information.
Explore the rest of Sebastian’s Room
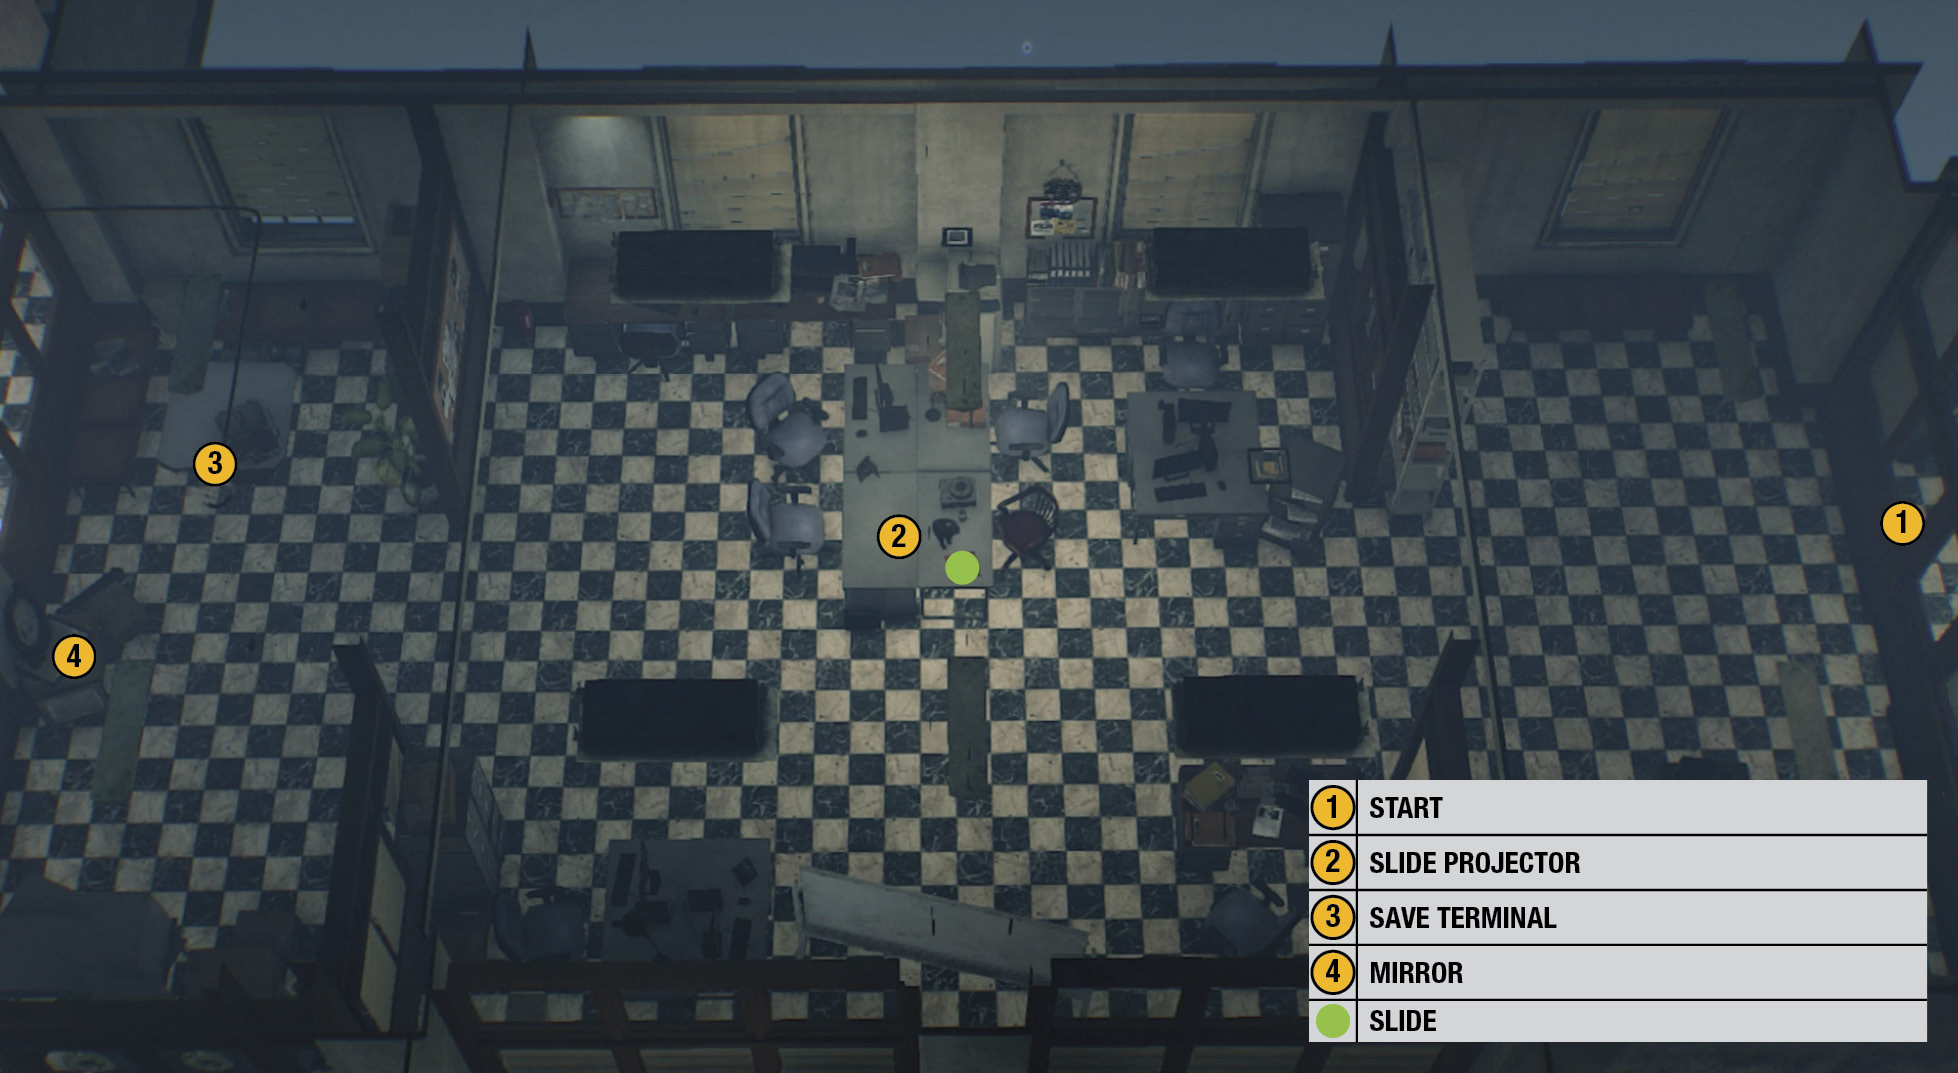
Exit Sebastian’s office via the only door  and step into the next room. Approach the desk
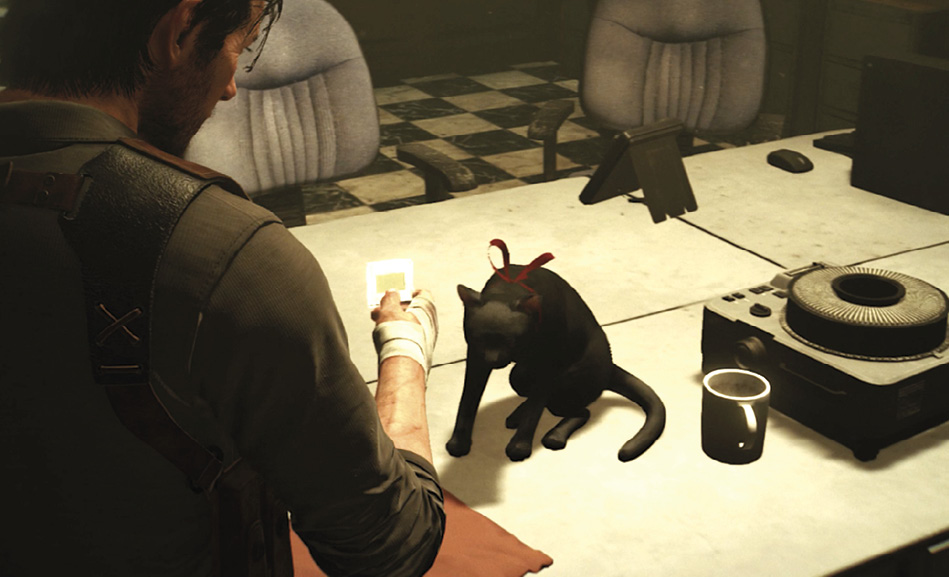
 and pick up the Photographic Slide next to the projector. Operate the projector to load the slide and sit down. Select the only loaded slide then select TALK TO KIDMAN to trigger a conversation with her. When you’re finished, select STAND UP.
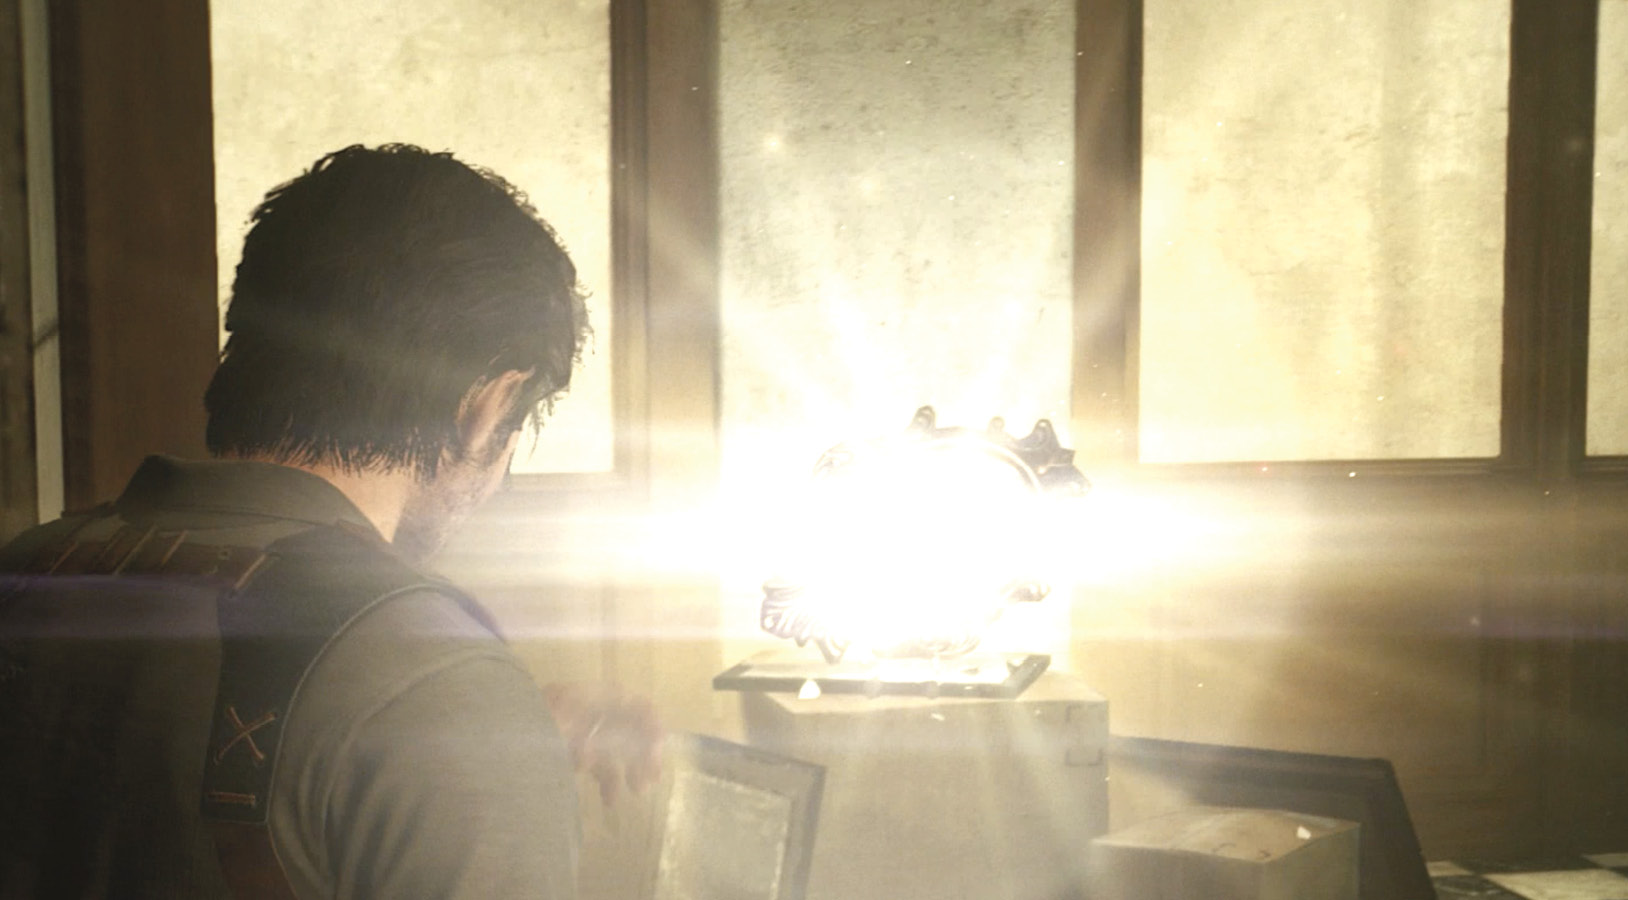
After you stand up from viewing the first slide show, grab the jar of Green Gel that appears on the floor. (See our Tip on Green Gel.) Then proceed into the next room. Sebastian finds a brightly glowing mirror  that he recognizes as a portal to a new location. Approach the Save Terminal
  on the nearby table and save your game progress.
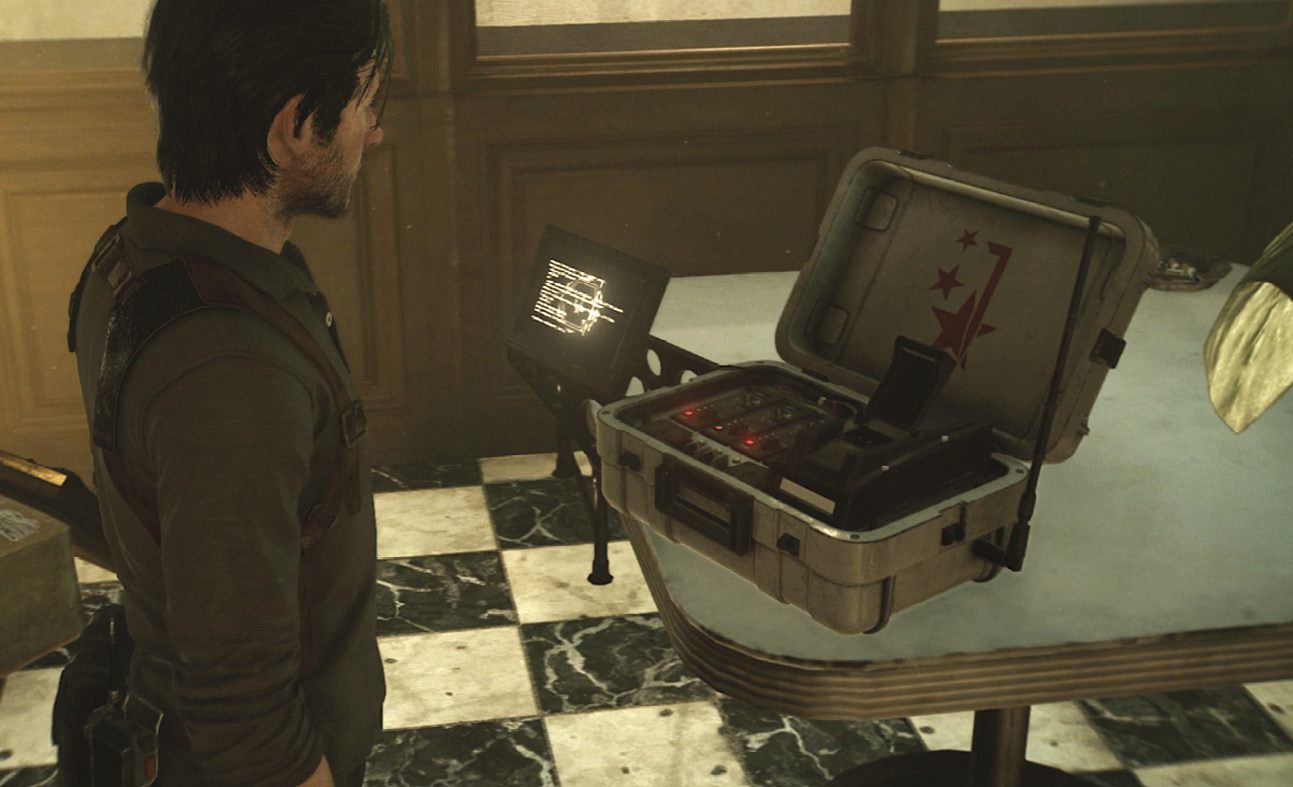
Then approach the mirror and investigate it. Sebastian travels “through the looking glass” to a new location where you start your search for Lily and the Mobius Search Team.
Overview
Search for the Mobius Search Team members within STEM for a lead on finding Lily
Your jump into the STEM world starts with a hallucinatory flashback to Sebastian’s family life with Lily and Myra. You end up standing before a massive entry door. Open the door and enter the great hall beyond.
Explore Baker’s parlor
Cross the hall to the far wall and approach the framed depiction of a door. Turn to see that exact doorway has morphed behind you: Room 102 marked with the nameplate “William Baker.” If the name looks familiar, it’s because that’s the name of the Mobius Search Team leader. Open the door and enter.
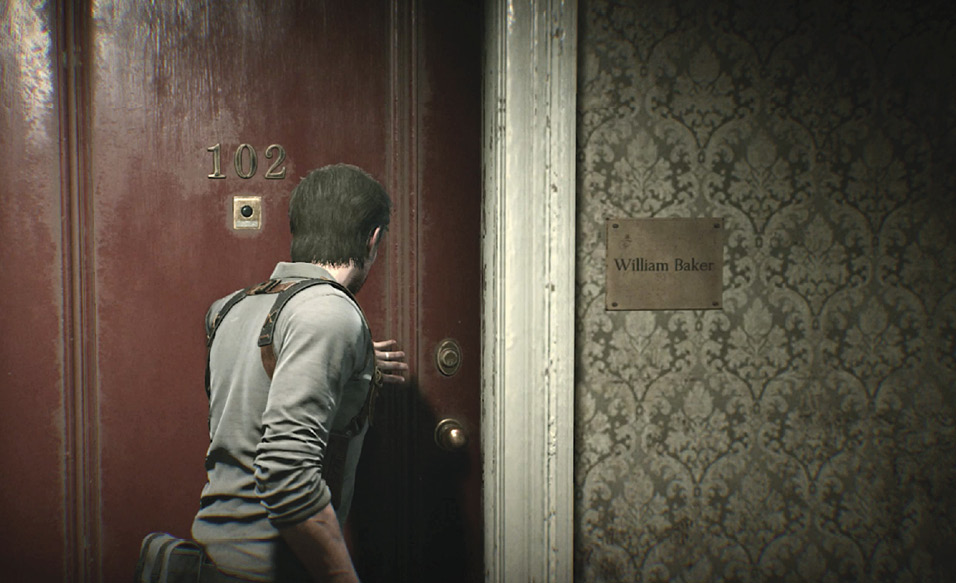
You step into the hallway  of what appears to be a hotel suite. The corridor beyond is dark, so toggle on your Flashlight using the control indicated onscreen. Follow the corridor; its side doors are locked and its walls are lined with odd, unsettling photos. Proceed around the corner then open the blue door
  and move into a parlor where music plays. Here you find William Baker
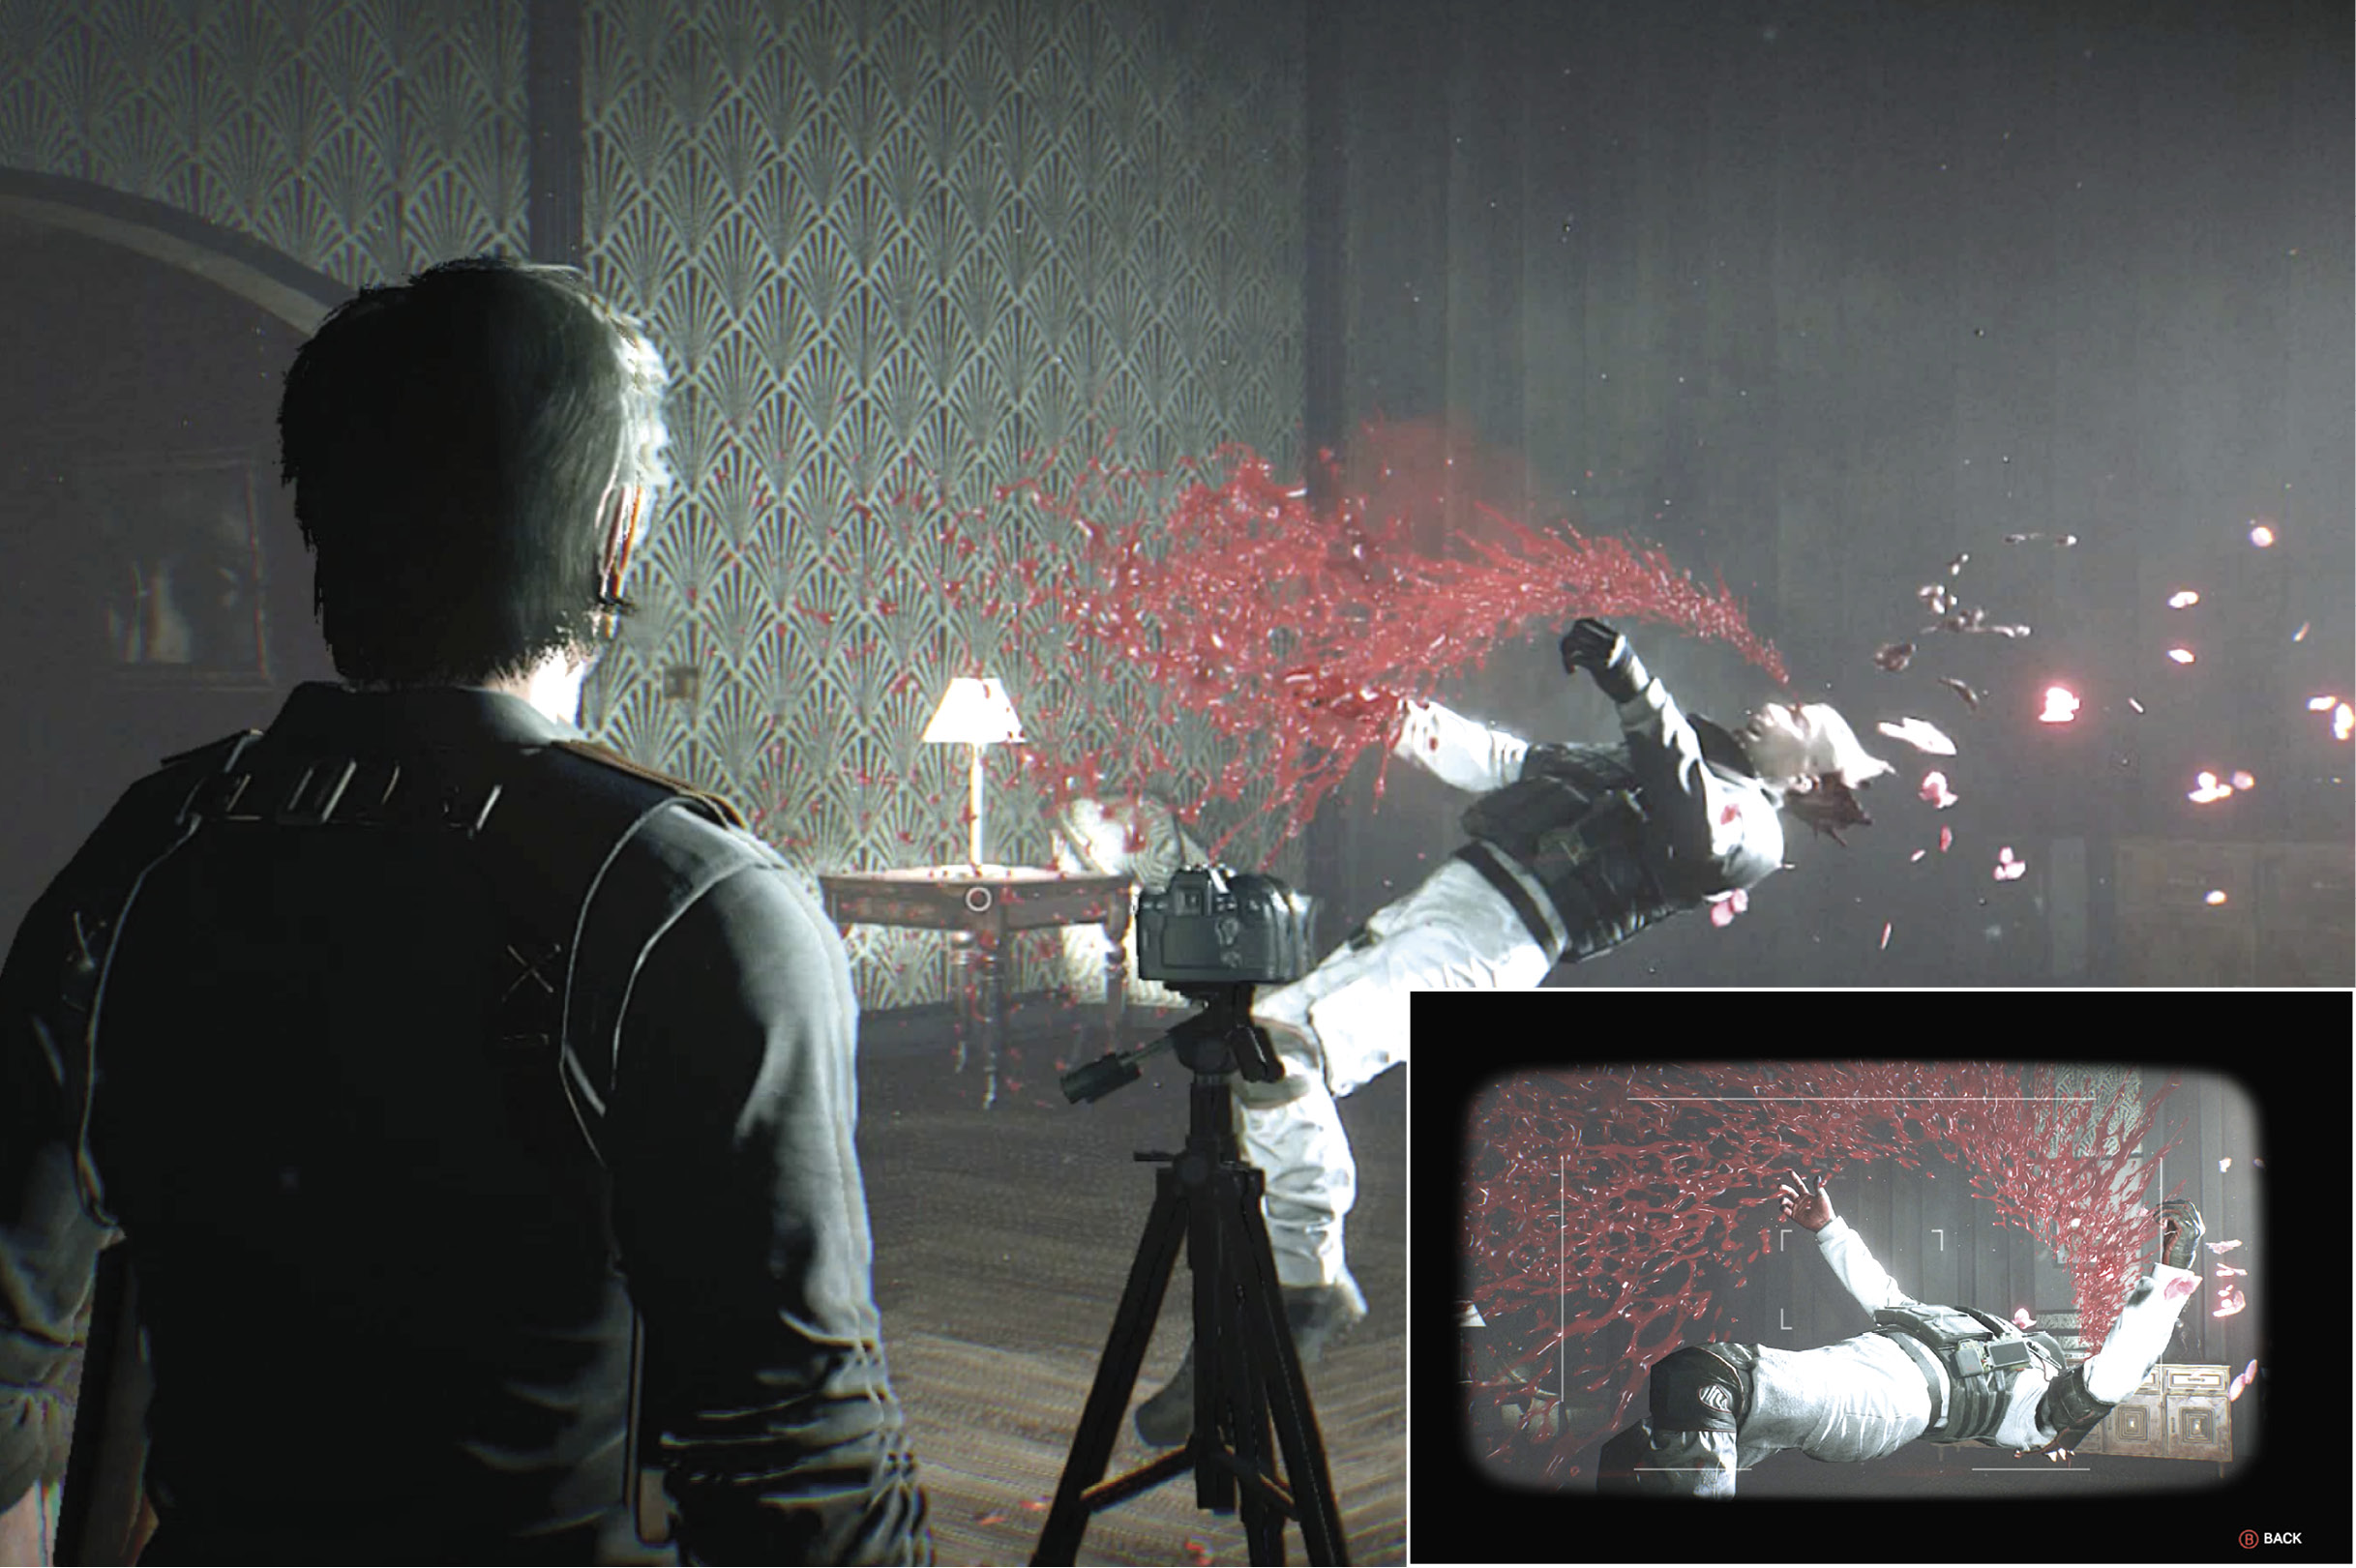
  “frozen in time.” Unfortunately, the moment frozen appears to be Baker’s violent death by gunshot.
Approach the camera and investigate to see Baker framed in the viewfinder. Approach Baker and investigate; Sebastian steps into some kind of shimmering time warp. There, examine Baker more closely.
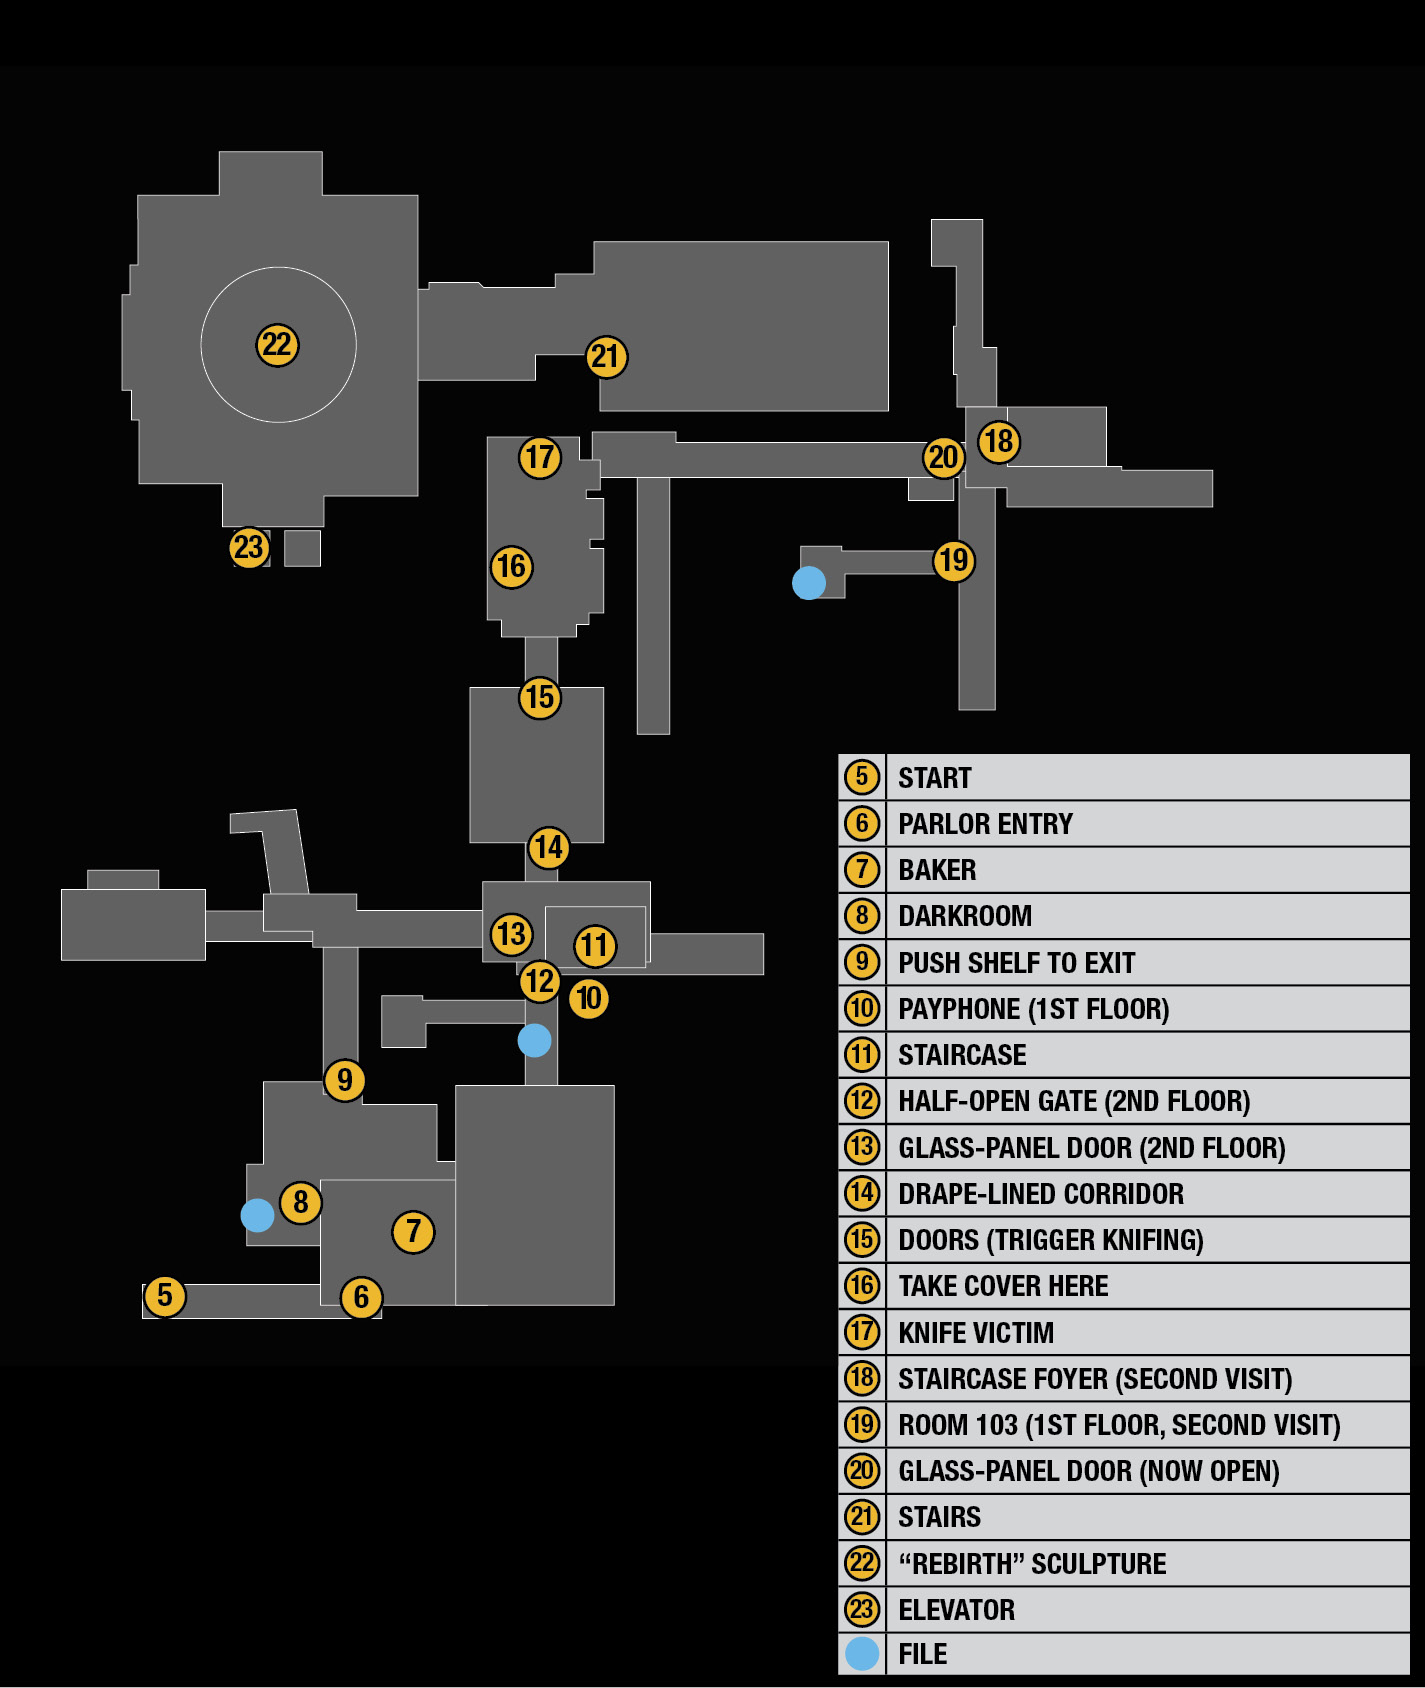
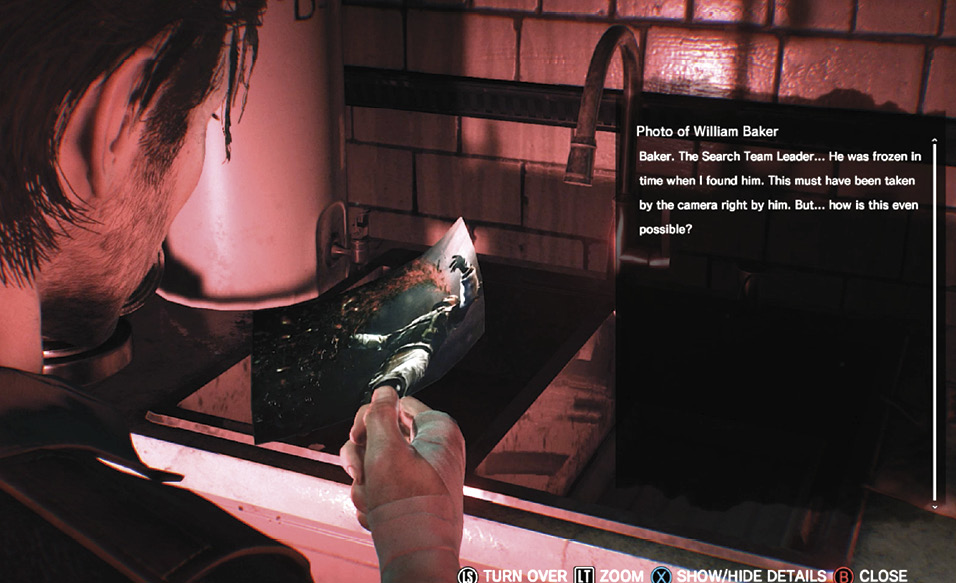
Go through the open doorway into the photographic darkroom  , lit dimly by reddish bulbs. Take the photo sitting next to the sink; it’s a shot of Baker’s moment of death. (This is the first of 40 collectible “Files” found in the game.)
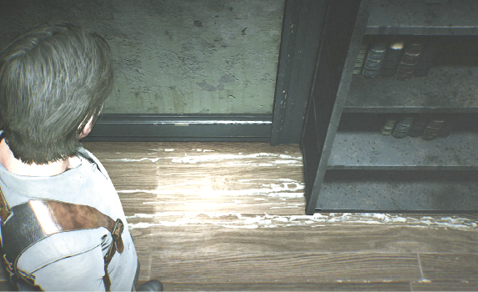
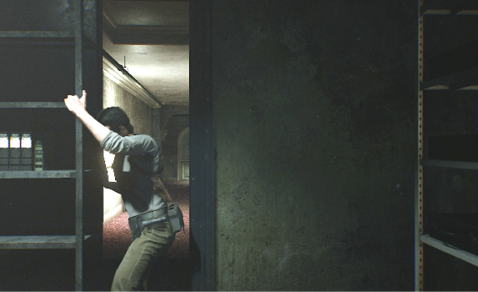
From the sink, turn right and move into the storeroom filled with metal shelves stacked with binders full of photo albums. Approach the gap between the two shelves where the wood floor is scraped  and investigate.
Sebastian notes that “someone tried to block the way out… or in.” Operate the metal shelf to the right of the scrape marks to slide it leftward and open up an exit passage.
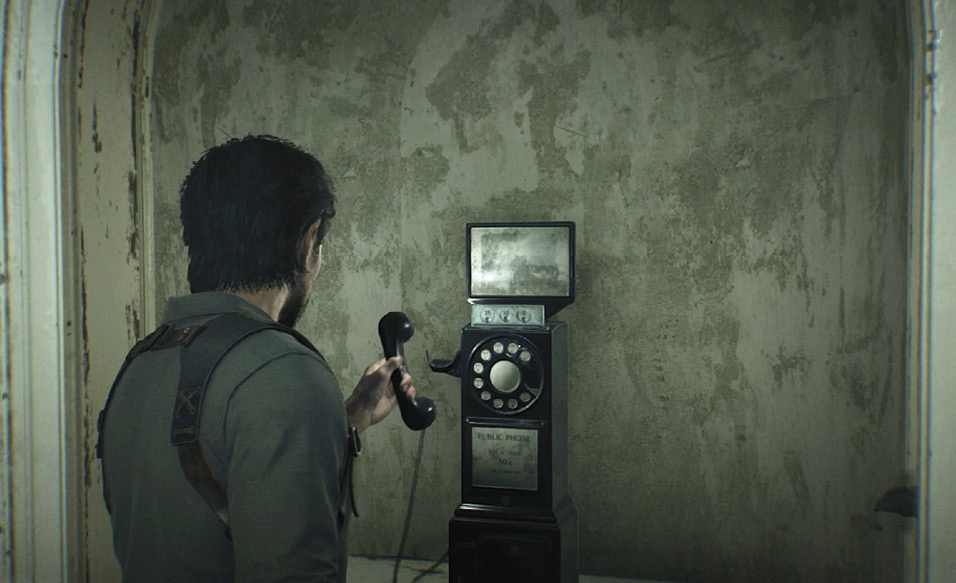
Follow the newly opened passage around the corner to the right and into the staircase foyer. As you enter, the lobby payphone  rings. Go answer it. A locked metal gate blocks access to room 104 near the bottom of the staircase; across the foyer, the entrance to room 103 (nameplate “Manuela Ruberto”) is blocked by debris. Climb up the staircase
  to the next floor. Note the globe lights hanging down the center of the staircase atrium.
Second Floor
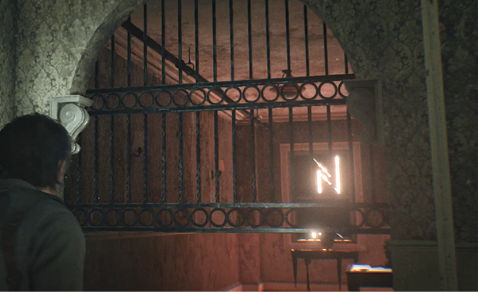
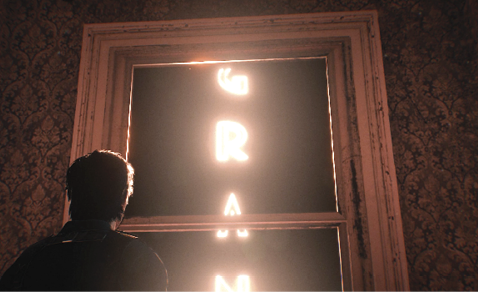
At the second-floor landing, follow the passage to the right, then turn left to crouch under a half-raised metal gate  . You see a lighted marquee sign that vertically spells “GRAND” outside the window, and find another File collectible next to the locked door to room 203.
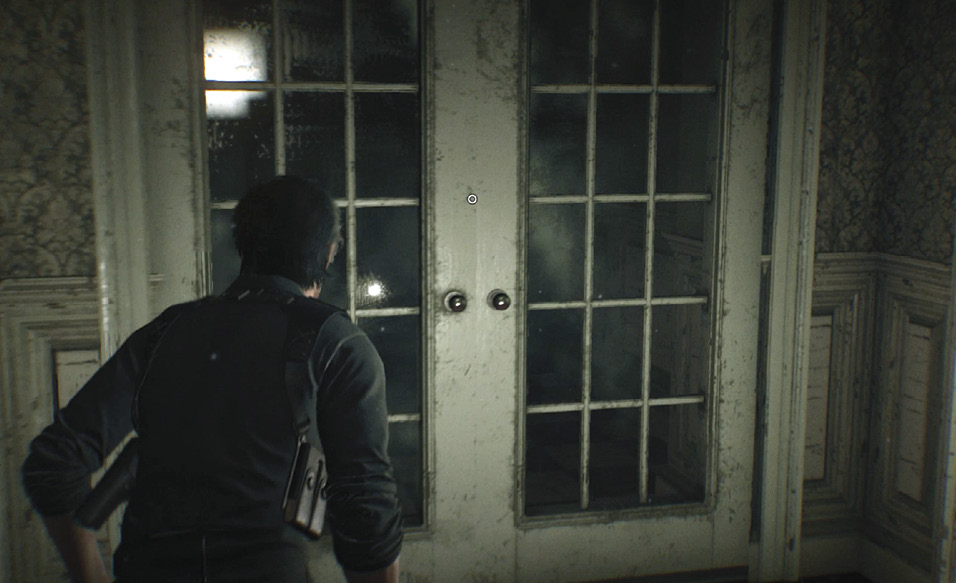
Duck back under the half-raised gate and approach the glass panel double-doors  on the left. Try to open them to get a fright. Another locked metal gate blocks access to room 204, so climb upstairs to the next floor.
Exhibition Hall
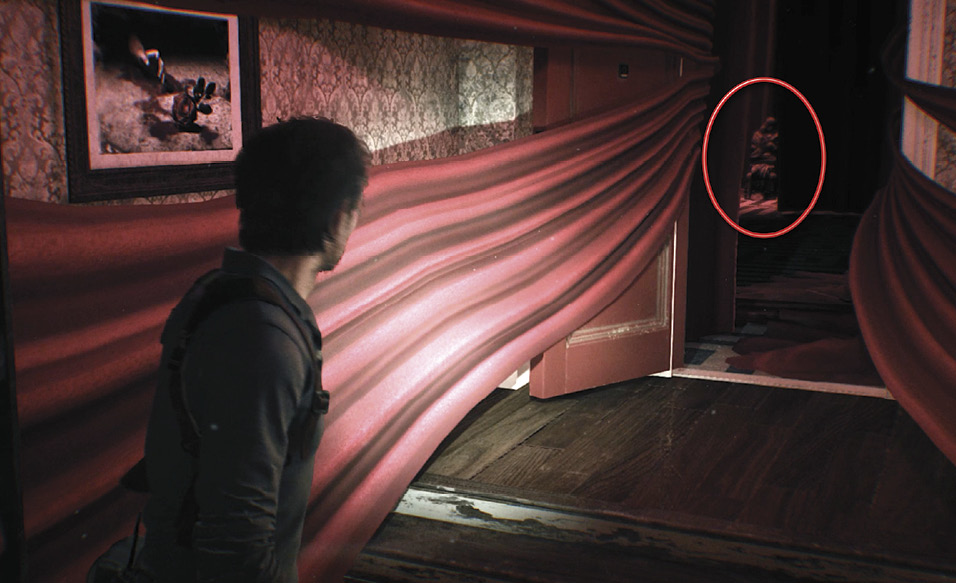
On the third floor (at least, it appears to be the third floor) enter the weird hallway lined with flowing red drapes  . Look up ahead—through the next doorway you can glimpse a bound figure in a chair (circled in our screenshot), but it disappears as you approach! Continue through the doorway with the nameplate “Damien Karr” next to it.
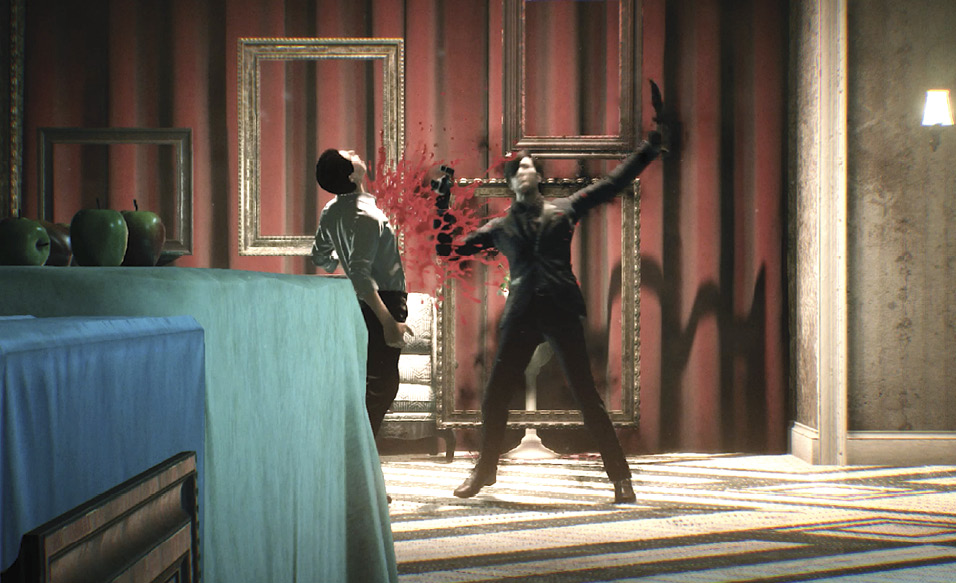
Work your way through the hanging red drapes to another set of double-doors  . Open them to enter an exhibition hall hung with creepy photographs like those you’ve seen elsewhere on the walls. At its far end you see a man stumble into the room; seconds later, a stranger teleports in and stabs the first man as Sebastian automatically rushes forward to hide behind a sofa.
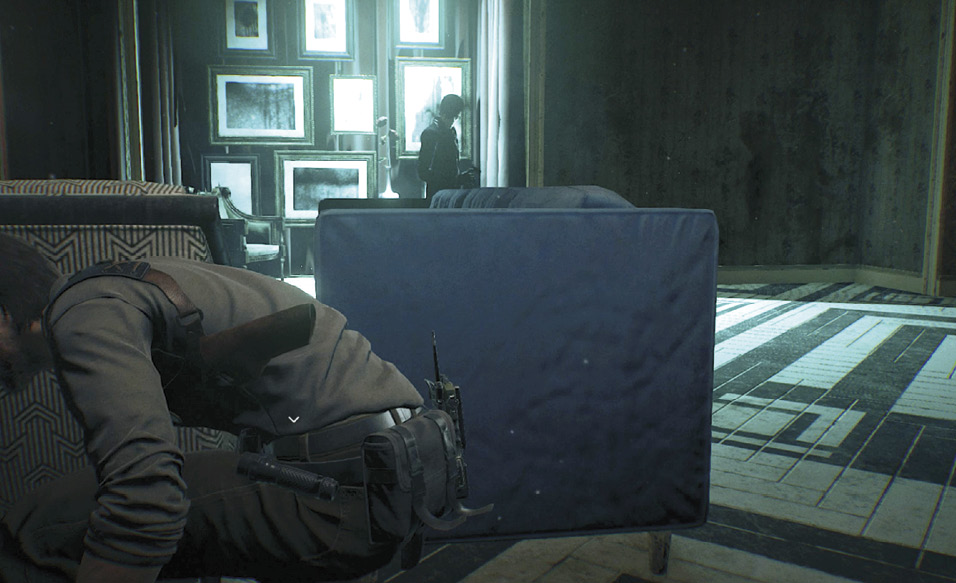
Unfortunately, a framed portrait next to the sofa falls, attracting the killer’s attention. View the two-part Cover tutorial (scroll to its second page) then stay crouched and slide left around the corner of the sofa  to hide from the knife-wielding man. Stay hidden until he exits via the doors to your right.
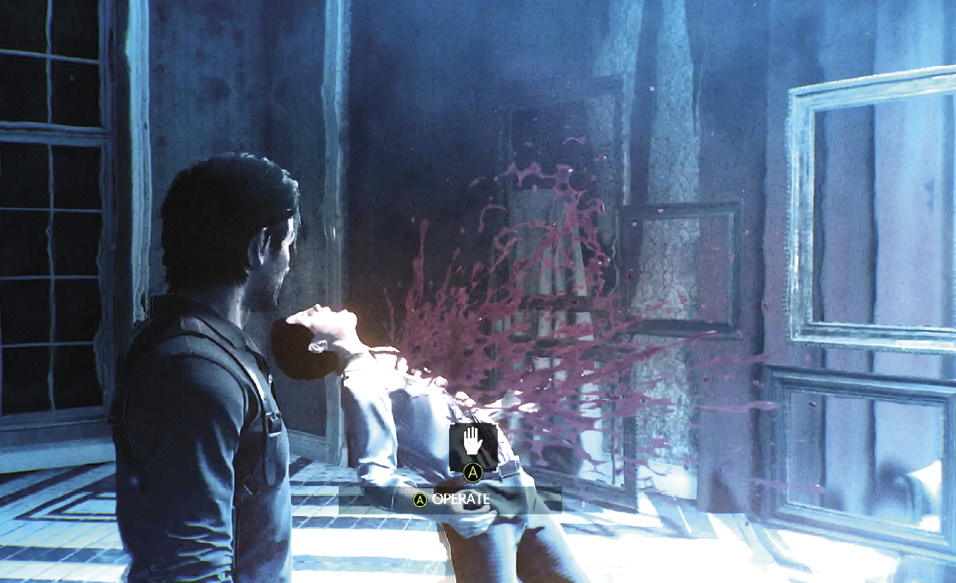
Now approach the stabbing victim  —his moment of death is frozen in time just like that of Baker, the Mobius Search Team leader. Select Investigate to examine him, then exit via the nearby door.
First Floor (Return)
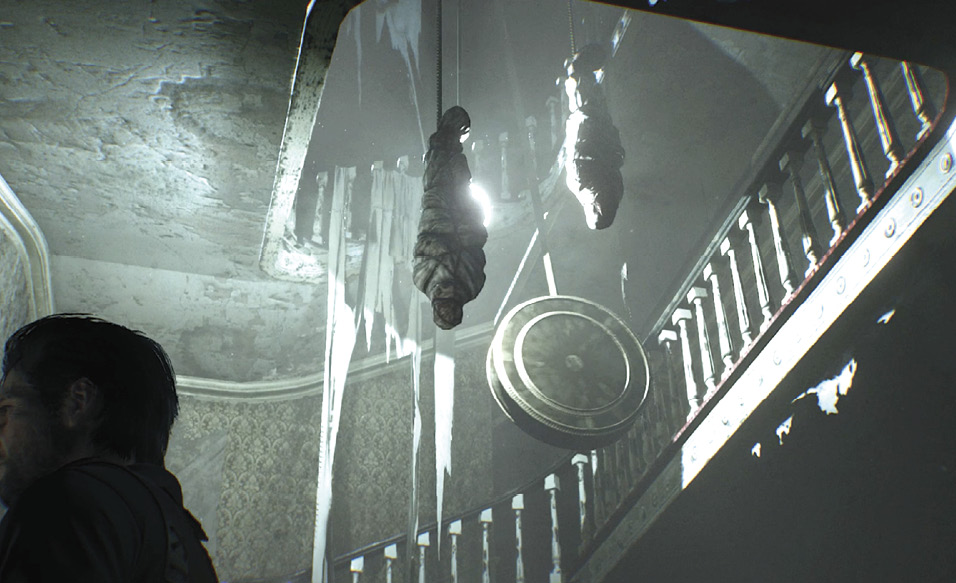
Proceed down the long hall. Strangely enough, you appear to have returned to the first-floor staircase foyer  ! Things are different now, however. New objects hang down the center of the staircase atrium now, including a massive, pulsing pendulum.
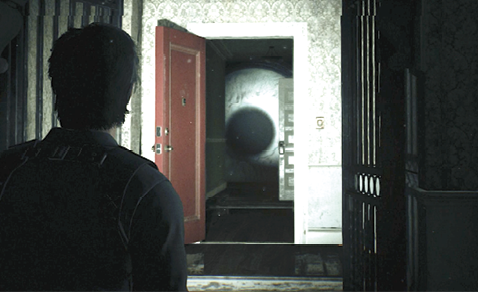
Turn left and look down the corridor to see the image of a large camera aperture morph into an eyeball then disappear. Head down that corridor to find its floor has collapsed.
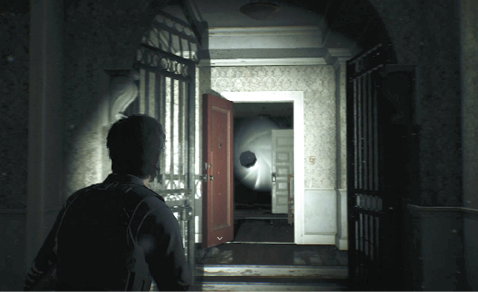
Now turn back and head down the opposite hall. You see a fallen body in an open doorway  But as you approach, the body is suddenly yanked through, and the door slams shut. This is room 103 again—Manuela Ruberto’s suite.
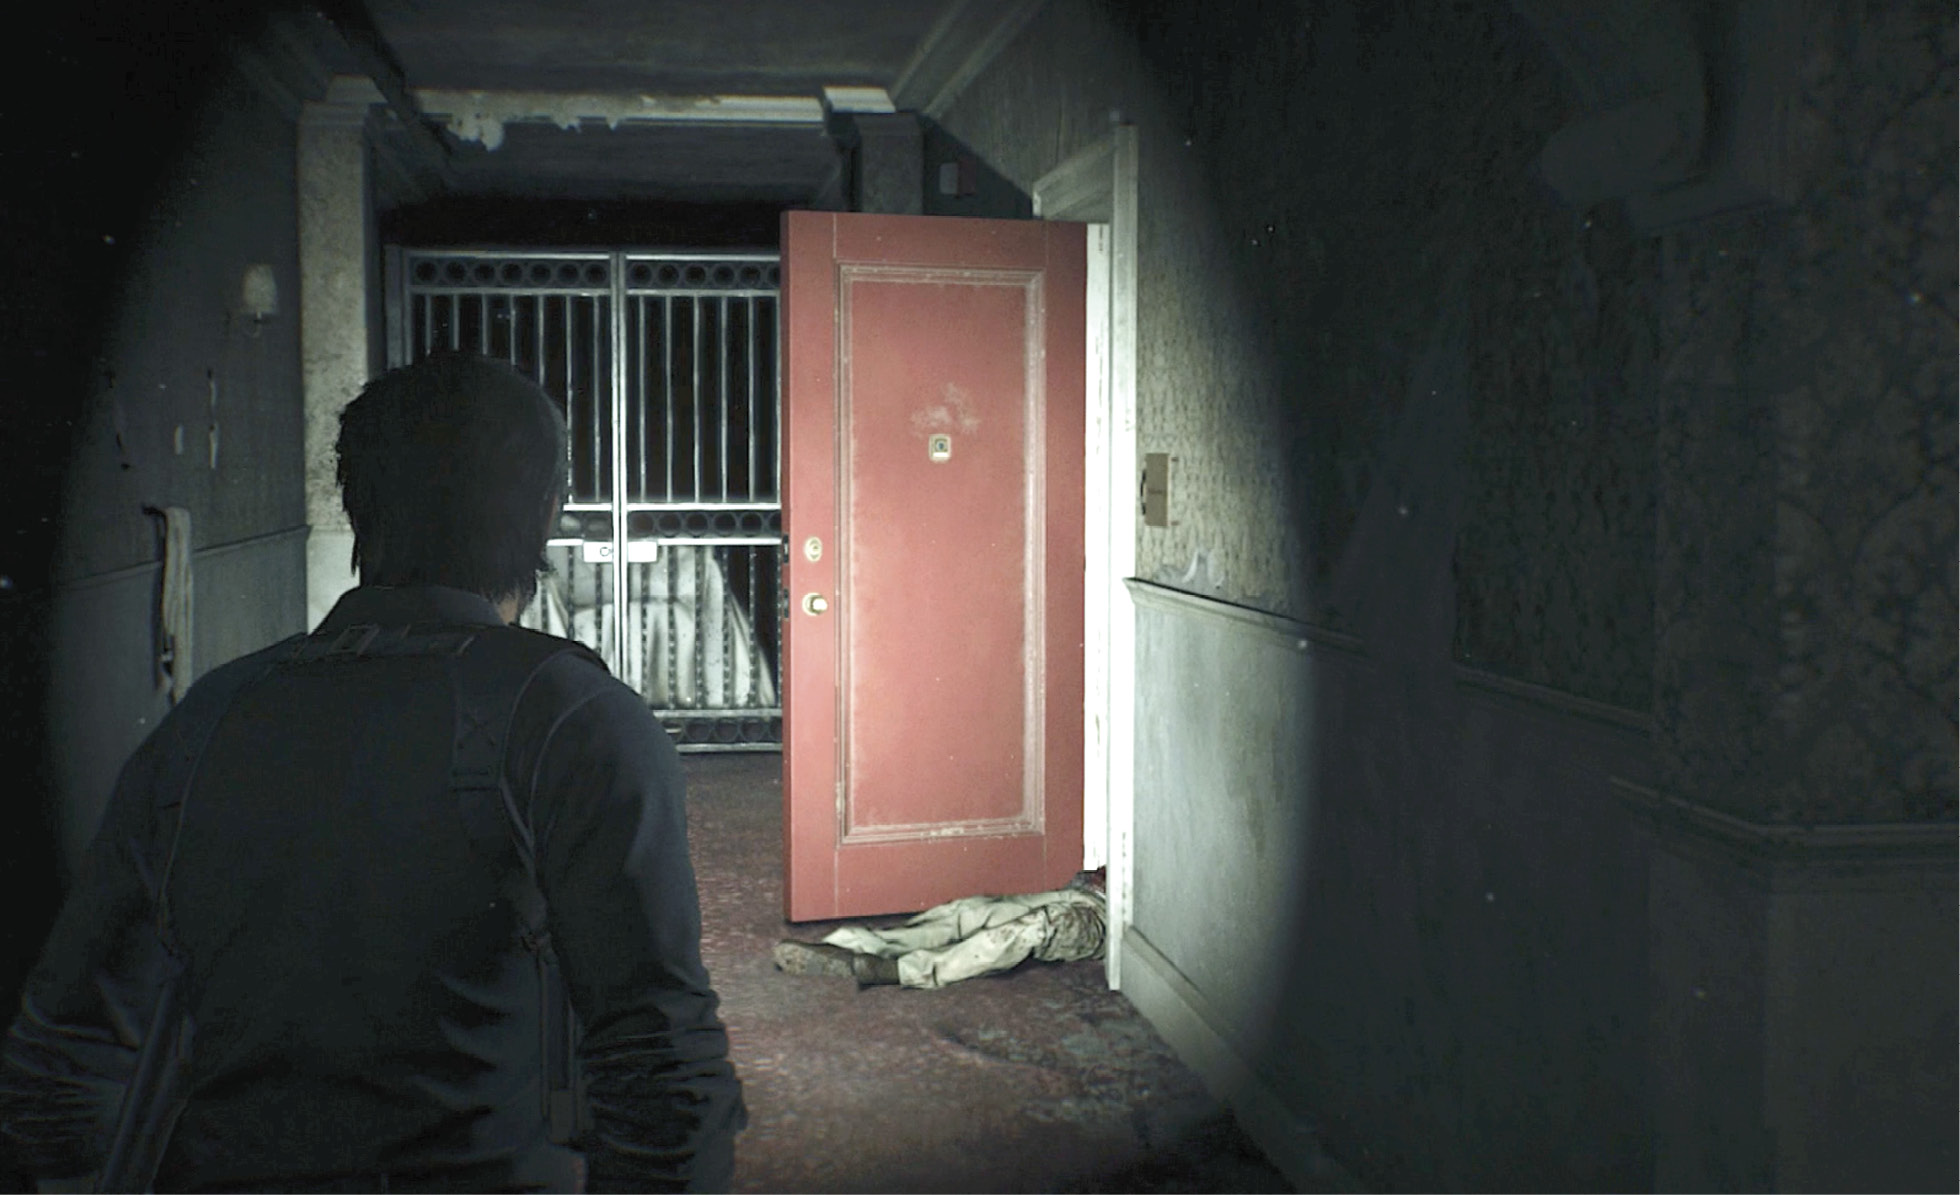
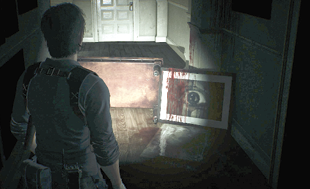
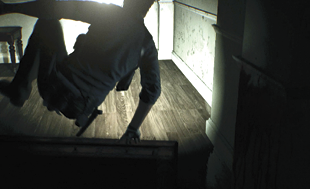
Open the door and follow the blood-smeared entry hallway; you hear grinding, sawing sounds as you advance. Use the “Climb” controls shown onscreen to climb over the fallen table. Find the photo on the side table: another murder victim in a Mobius uniform, also shot in the head like Baker. Return to the staircase foyer and climb the stairs past the pendulum to the next floor.
Second Floor (Return)
The stairs return you to the second floor, although things look different here too. (As you climb, a marble head rolls downstairs.) For one, the glass-panel double-doors (through which you saw the frightened woman earlier) are now open  . Go through that doorway to see the stranger materialize at the corridor’s far endand start walking away.
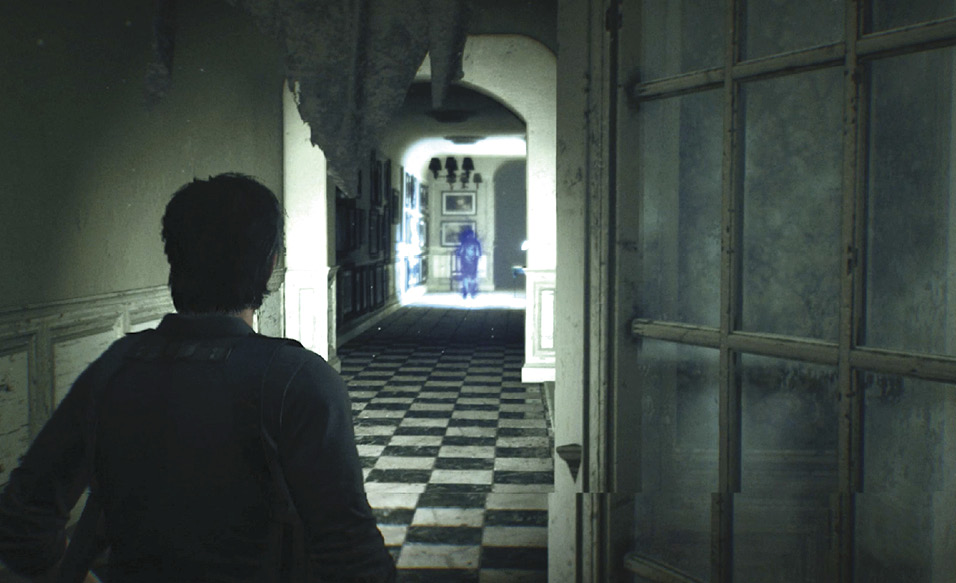
Follow him down the hall and climb the next set of stairs  to find a massive sculpture surrounded by pillars. Approach and investigate the sculpture
  , entitled “Rebirth.” It appears to be a female creature in a flowing gown, being born of bloody corpses piled below her.
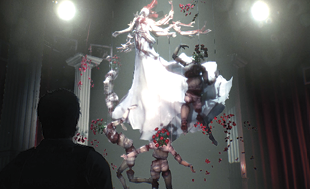
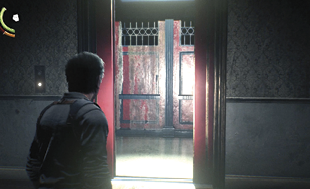
Now head for the right-most elevator door  across the room; it opens as you approach. Enter it and operate the panel to ride the car down to what appears to be the basement.
Overview
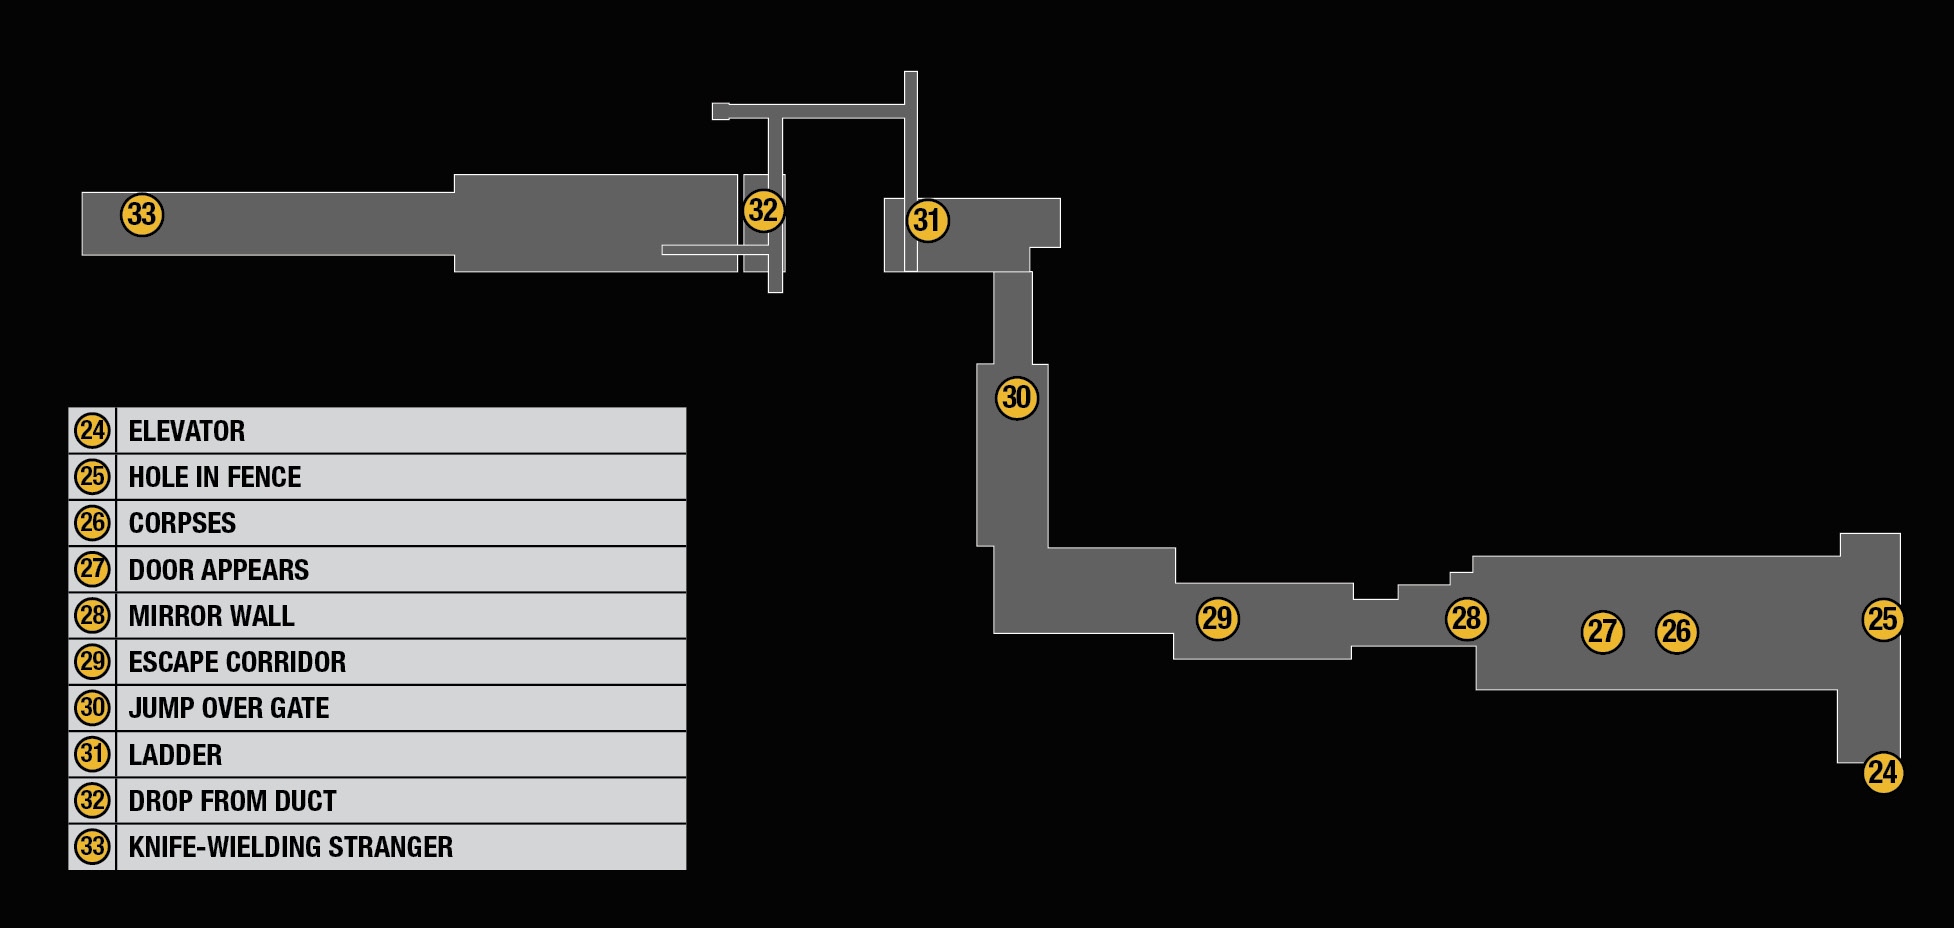
Basement
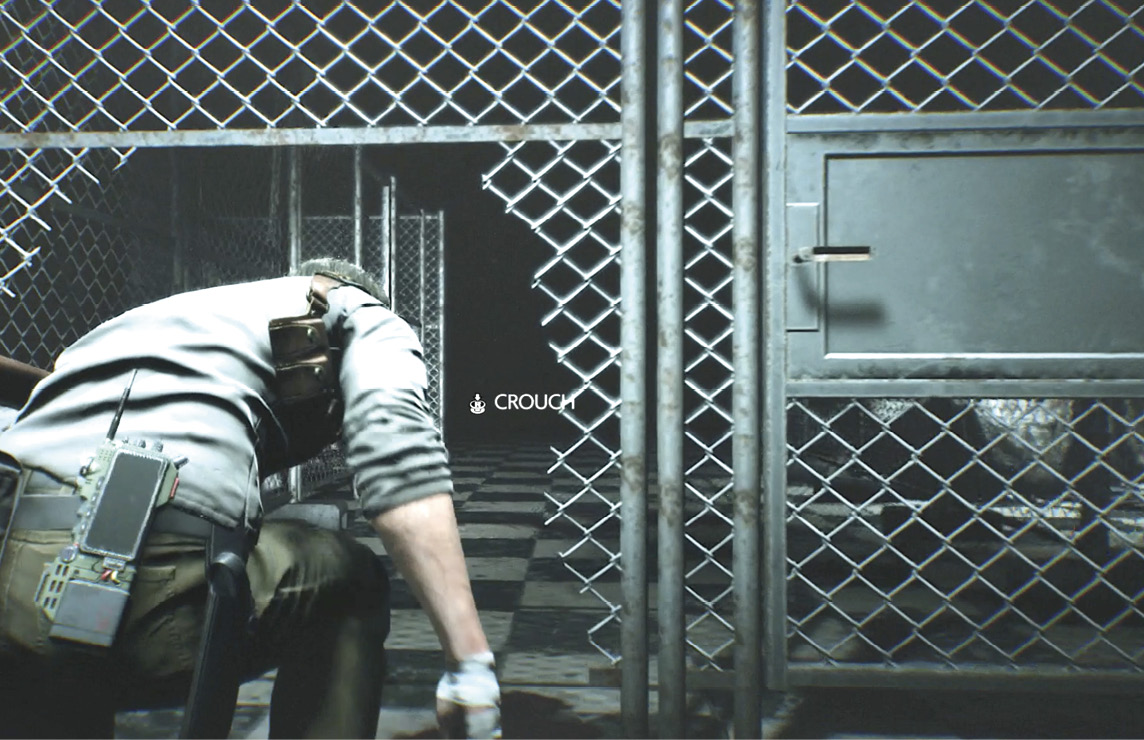
Exit the elevator  and find a hole torn in the chain-link fence on your left
  . Crouch and duck through the hole. Then head across the room until you reach the crew of hanging and impaled corpses
  . Move through the bodies to the wall behind them. You hear a thump, and the area is suddenly closed off by another wall behind you!
Turn around and approach the camera sitting on a tripod to hear another loud thump. Turn around again to discover that the far wall now has a door  . Open the door. The stranger is waiting there with his camera. He snaps a shot… and the doorway disappears, turning back into a wall with a big red eye icon!
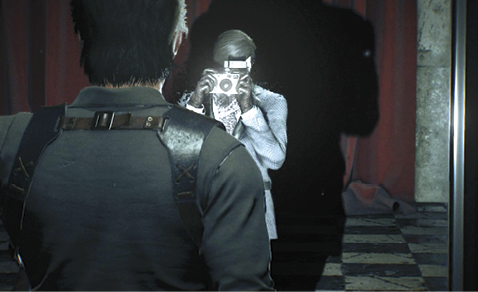
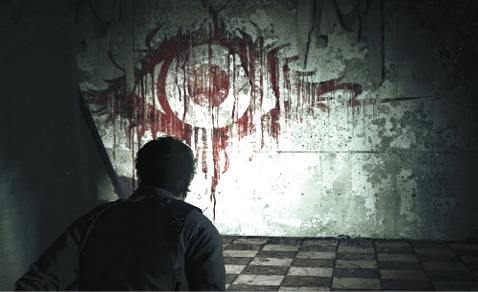
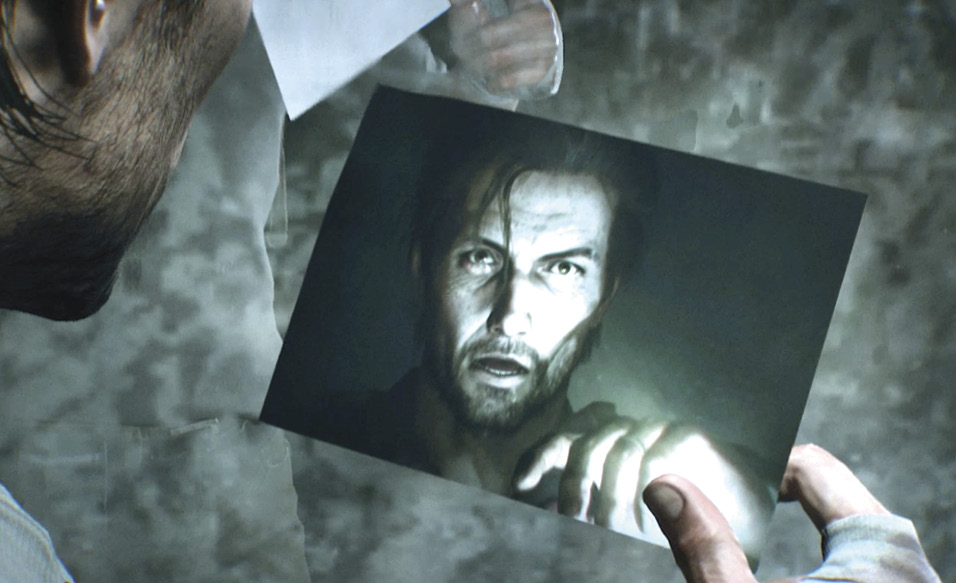
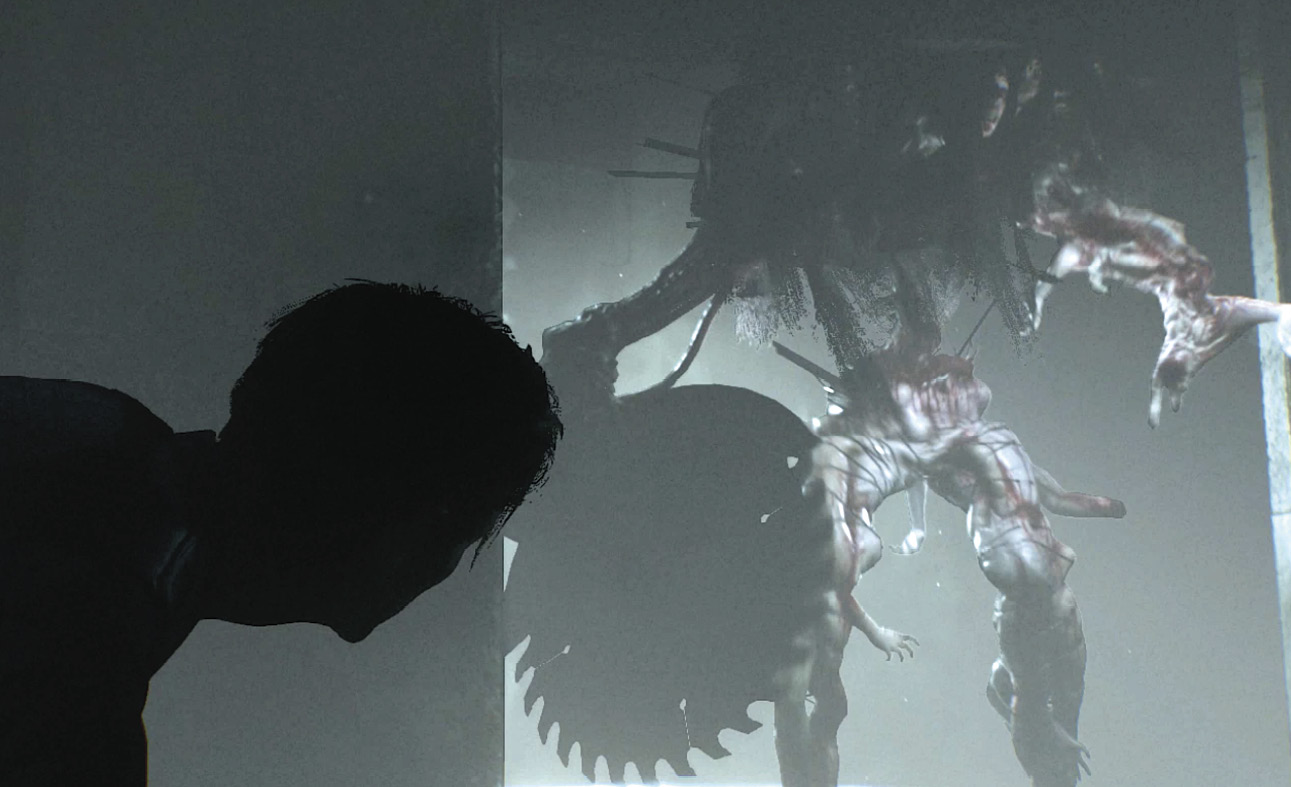
Go to the opposite wall to find that it is now a full-sized mirror  . Take the photo stuck in the center of the mirror to trigger a horrifying cutscene: Sebastian catches a glimpse of a woman in the glass… and then all hell breaks loose.
Escape the Guardian
Dodge past the monster (called the Guardian) and hurry down the black/white tiled hallway from which she emerged  . Hold down that Sprint control, and don’t run into the boxes stacked along the route. After you hustle around the first corner to the right, keep an eye out for a low gate ahead
  . After you hop over it, the exit door is just ahead. Tap that Open button the moment the icon appears onscreen!
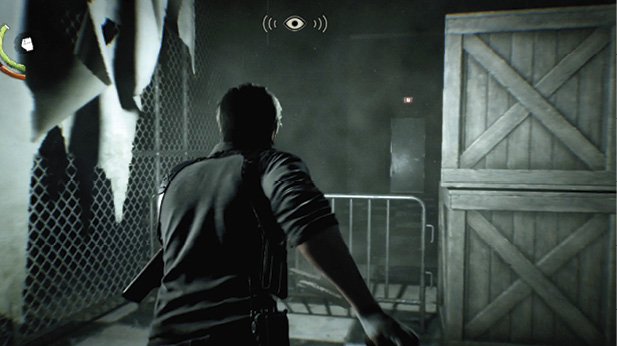
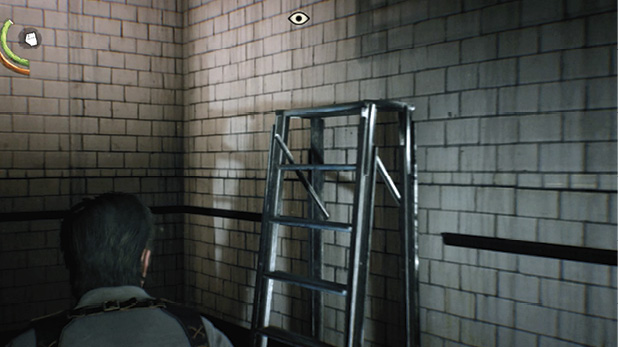
In the next room, veer left and sprint to the ladder  leaning against the wall. Use the control indicated onscreen to climb the ladder up to the vent opening and pull yourself into the air duct. Follow the duct until the monster tries to cut through the metal from below (just after the rat appears). The moment looks dire, but Sebastian emerges unscathed, so keep crawling down the duct until you reach the escape vent
  and drop through to the floor in the next corridor.
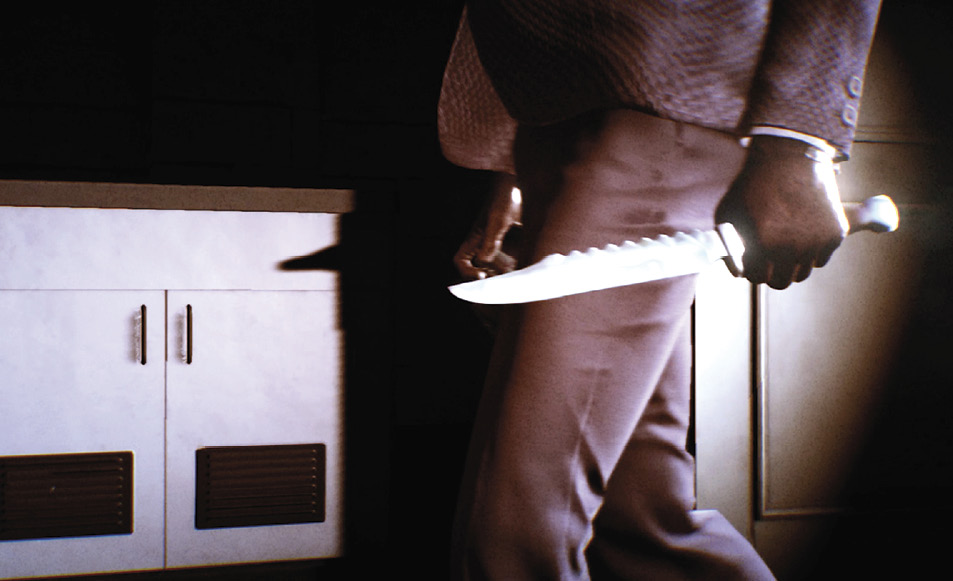
Proceed down the corridor until the Guardian bursts through the wall behind you. Flee from her at a full sprint until the knife-wielding stranger reappears directly in front of you  . He tries to do the same thing to Sebastian that he did to the poor soul he punctured upstairs.
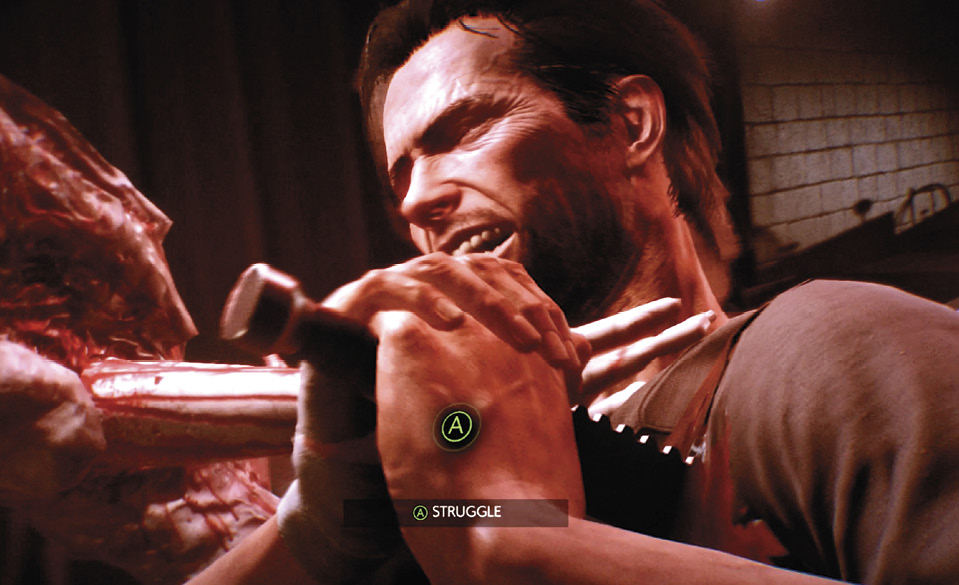
Believe it or not, there’s a real upside to getting stabbed in the chest—you end up with a free Survival Knife! Watch closely as the Guardian seizes Sebastian by the throat. The moment the “Struggle” icon appears onscreen, start tapping the corresponding button on your controller. If you tap it fast enough, Sebastian extracts the knife and uses it to fend off the monster.
Once you regain control of Sebastian, run towards the open doorway at the corridor’s end to trigger a quick cutscene: Sebastian tumbles through a portal to an entirely different location.
Overview
Abandoned House
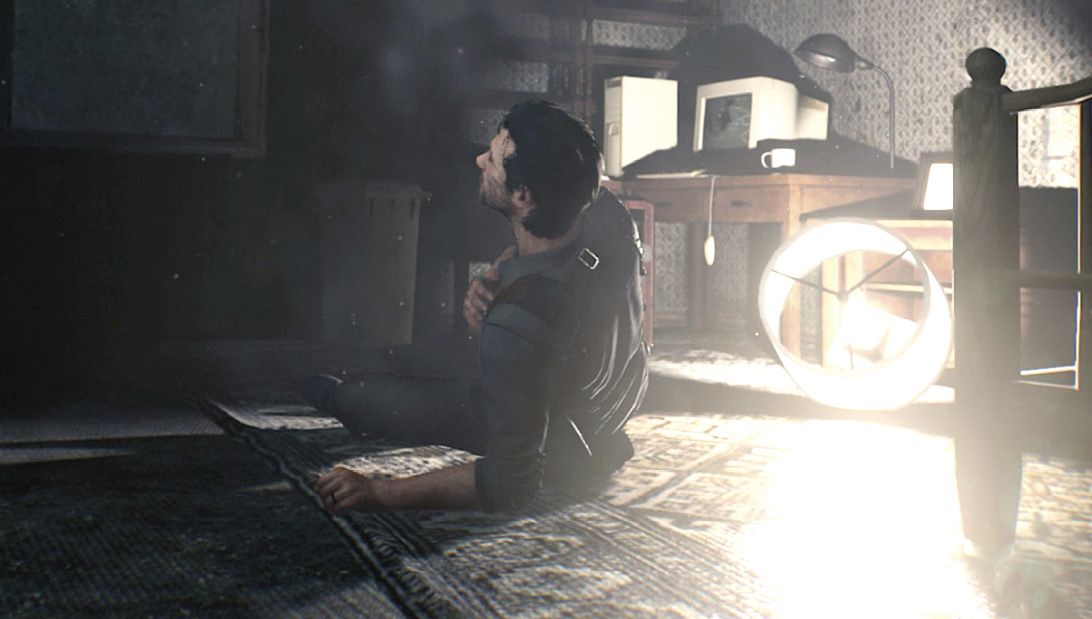
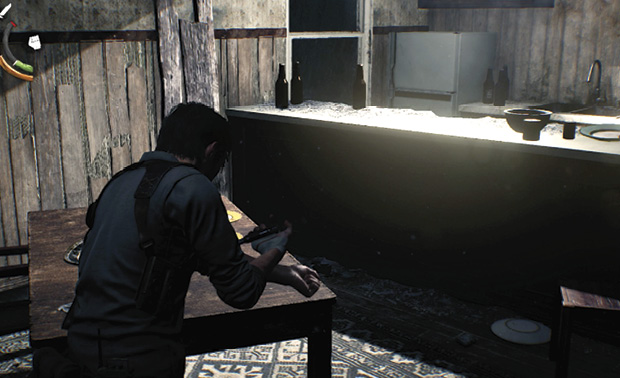
The portal dumps Sebastian into an abandoned house  on the outskirts of town. Stand still in the arrival bedroom until your Life Gauge rises out of the red critical zone. Exit the room and go down the hall to the main living area. Take the Medical Syringe sitting on the dinner table. Open your Arsenal menu then press the Use button indicated to inject Sebastian with the syringe for increased health.
If you open the door to the study and enter, you can find another File item, a journal. The writer concludes: “They’ve all changed. It’s too late to save them…” Then exit the study and open the front door that leads outside. This move triggers a sequence of three automatic events.
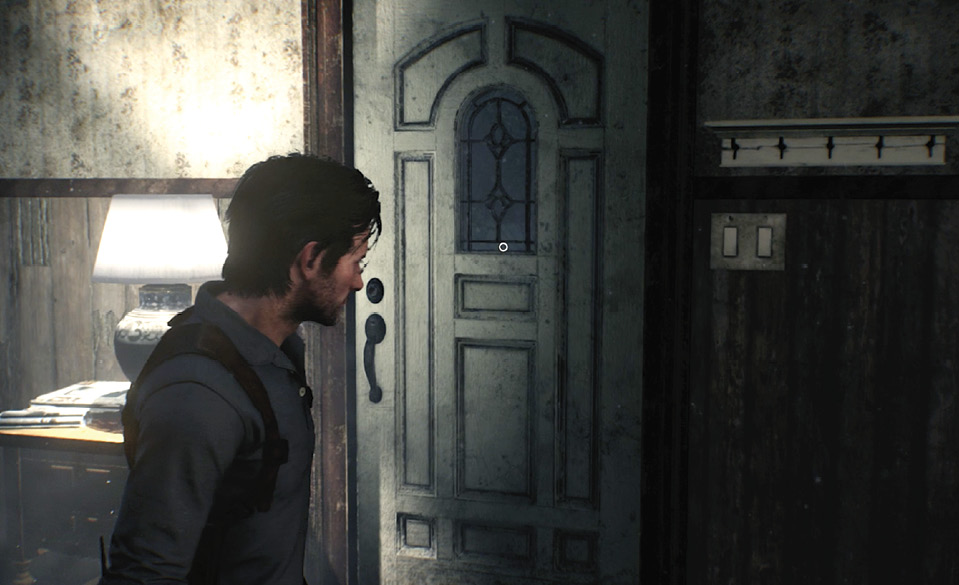
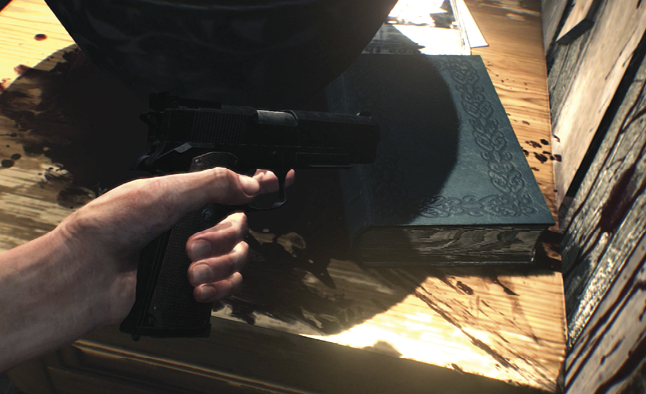
First, Sebastian finds a Semi-Automatic Handgun tucked under a book on the entry table next to the door. Next, Sebastian steps outside and glances at a family photo of Lily and Myra, which is added to your Files in Inventory. Finally, Sebastian uses his Communicator to call Kidman and report.
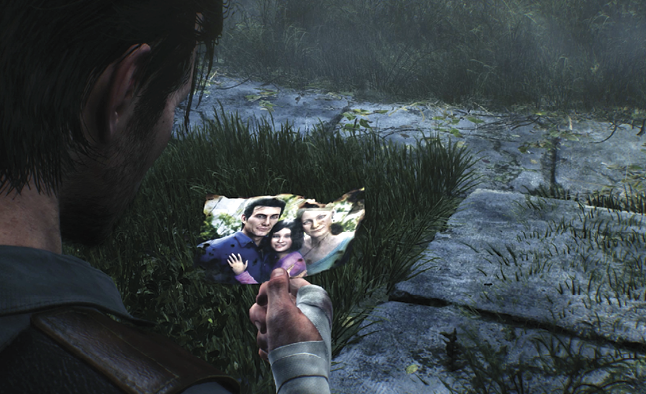
Sebastian automatically pulls out this photo as he exits the abandoned house.
Take the road into town
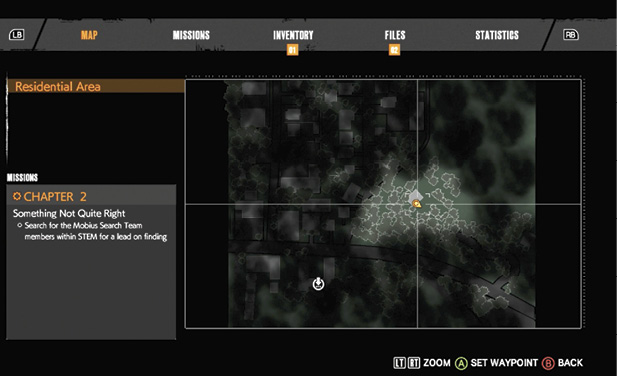
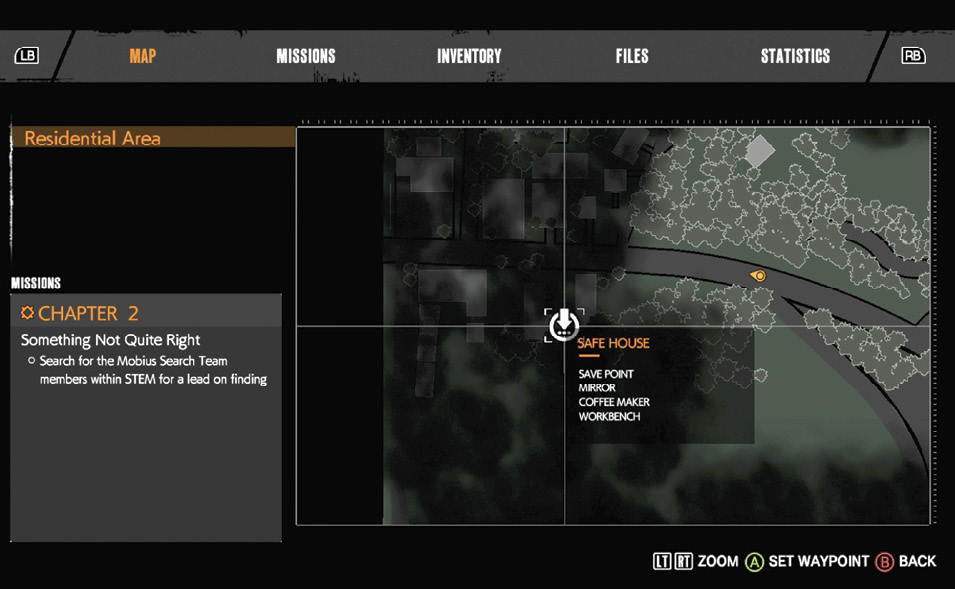
Now you can open your Communicator menu and check your map, which is labeled “Residential Area.” The immediate area around Sebastian’s location is visible, but further away the map is covered in fog. This map fog will dissipate in each new area that you explore.
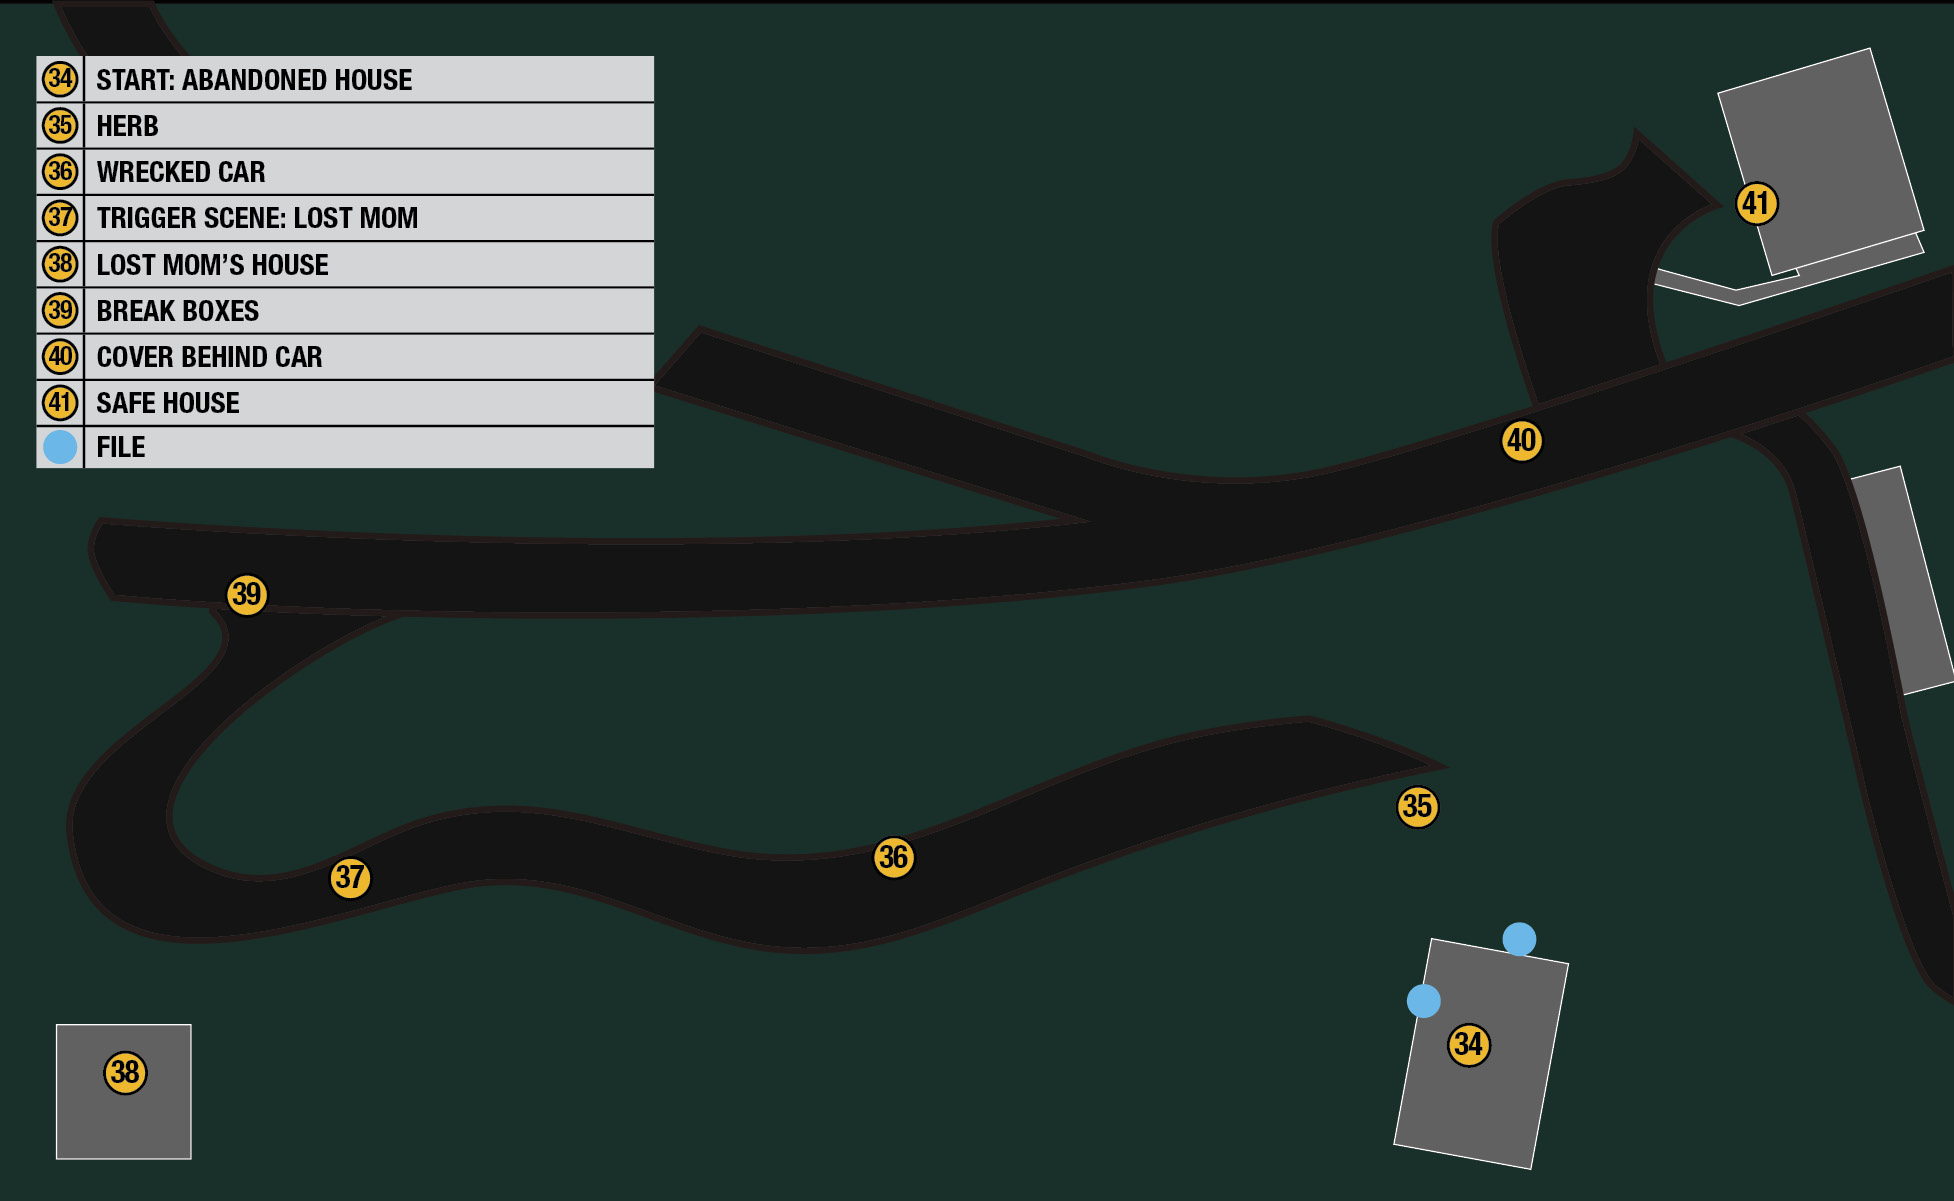
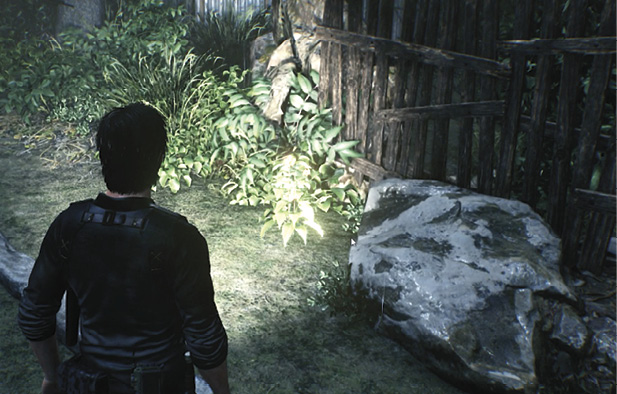
Move out through the fence into the road, turn right, and walk past the mailbox to find a small Herb  that you can pluck from the ground. This is a Component with medicinal qualities that can be used in the crafting of other useful items.
Head down the road and investigate the car  crashed into the pole on the right side. Continue down the road until you reach a spot
  that triggers a long scene: Sebastian follows a woman into her house
  and learns a few things about the local townsfolk. They’re not friendly, and their cuisine is not haute.
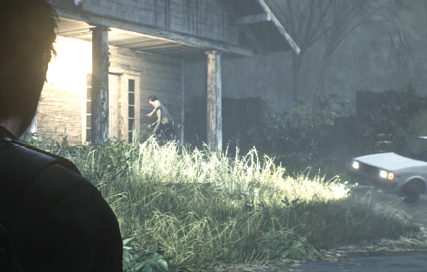
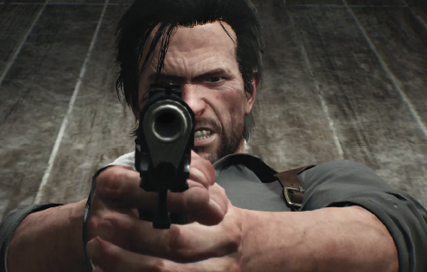
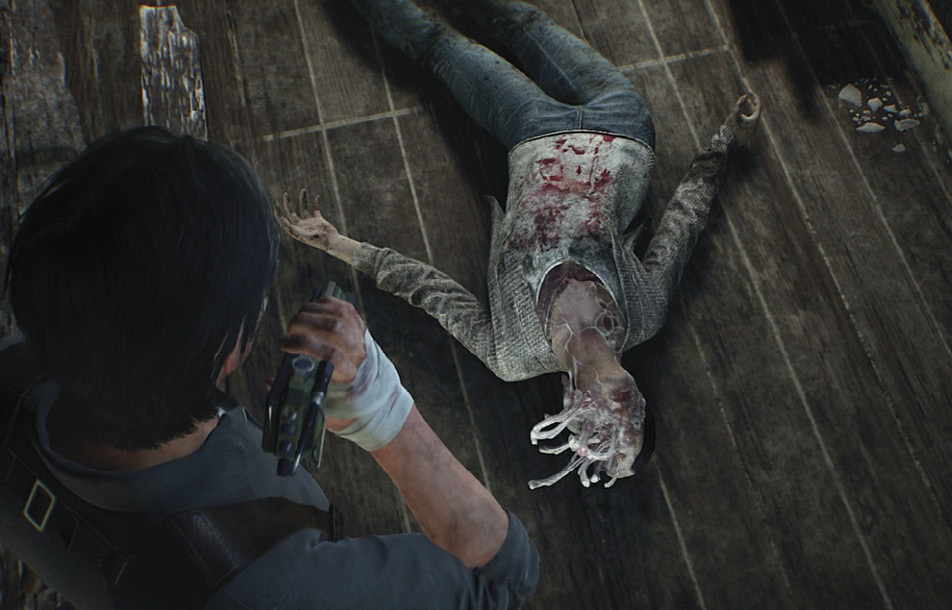
When the scene ends, you must act quickly: shoot the woman (or whatever she is). Aim for the head! Headshots take down foes much faster. In this case, the first headshot tears off her skull, revealing disgusting tentacle-like appendages; the second headshot kills her.
When she falls, investigate the fallen corpse to nab some Gunpowder (another Component, useful for crafting ammo). Then investigate her again: Sebastian automatically calls Kidman and reports on the incident. Afterwards, explore the house for items then exit and continue down the road.
Smash some stuff
When the road reaches the highway, a distant explosion rocks the ground. Note that your melee attack can break boxes, padlocks, and car windows. Use it now to smash the lighter-colored gray boxes near the intersection  ; look for pickups like Handgun Bullets or other items that fall out. Then, for fun, go smash the windows of the Greyson GSN 4x4 vehicle just down the highway.
Head into town
Proceed along the highway past the Union welcome sign and open your Communicator to check your in-game map. Note that it marks the location of a “Safe House” in town, not very far ahead. That looks like a suitable destination.
But just down the road… well, it doesn’t look or sound good. People mill about in strange lurching movements, and rifle shots ring in the air. Continue until you trigger a cutscene: a pair of uniformed men tries to break through a horrifying horde of creatures. Only one makes it to the safe house. His name is O’Neal, and he’s one of the Mobius Search Team members.
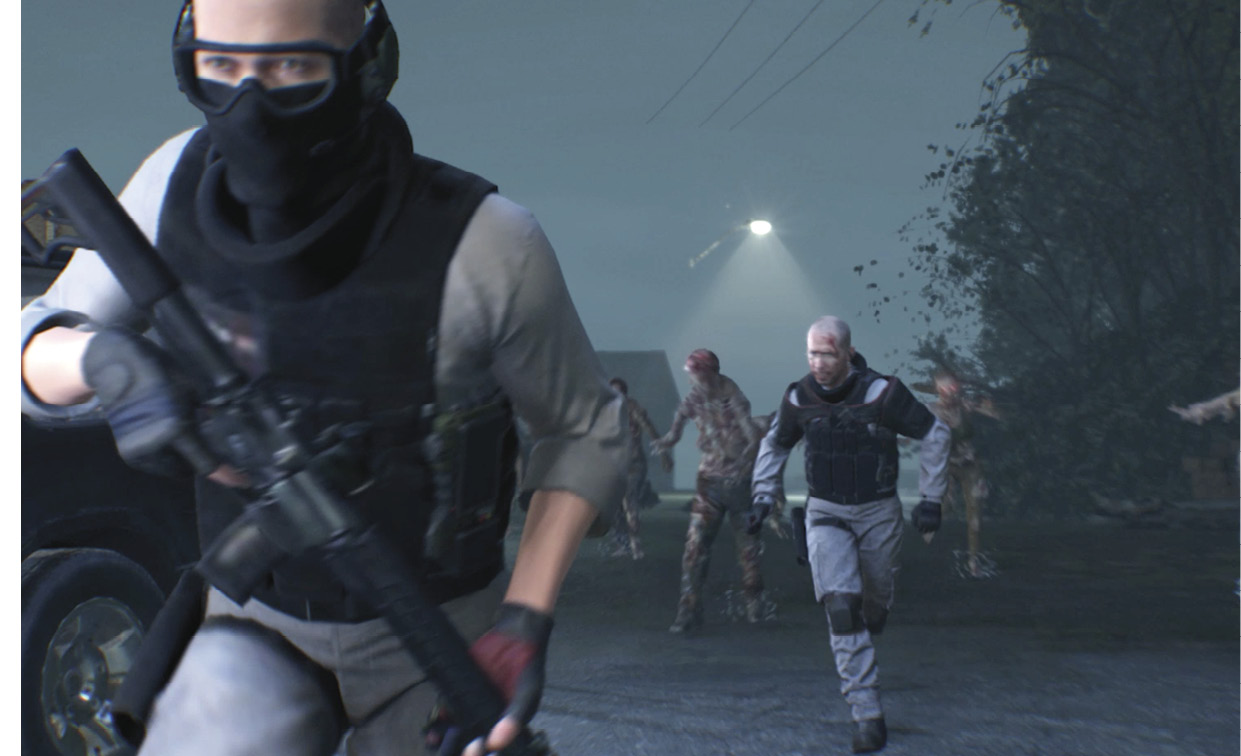
Go after the fleeing Mobius Operative
When the cutscene ends, Sebastian is hiding behind a parked car  , with the Safe House
  less than a block away. Unfortunately, a Lost is moving toward the vehicle. Wait in cover until it turns and heads back.
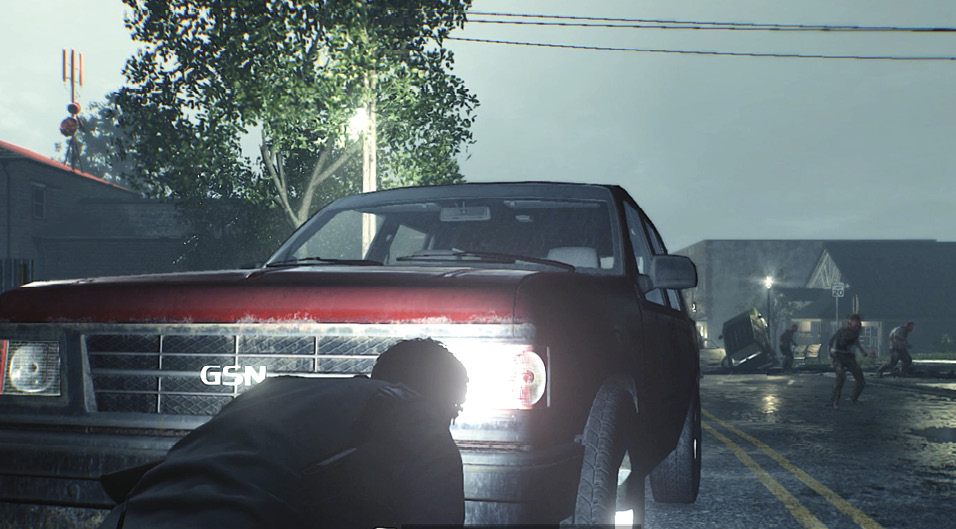
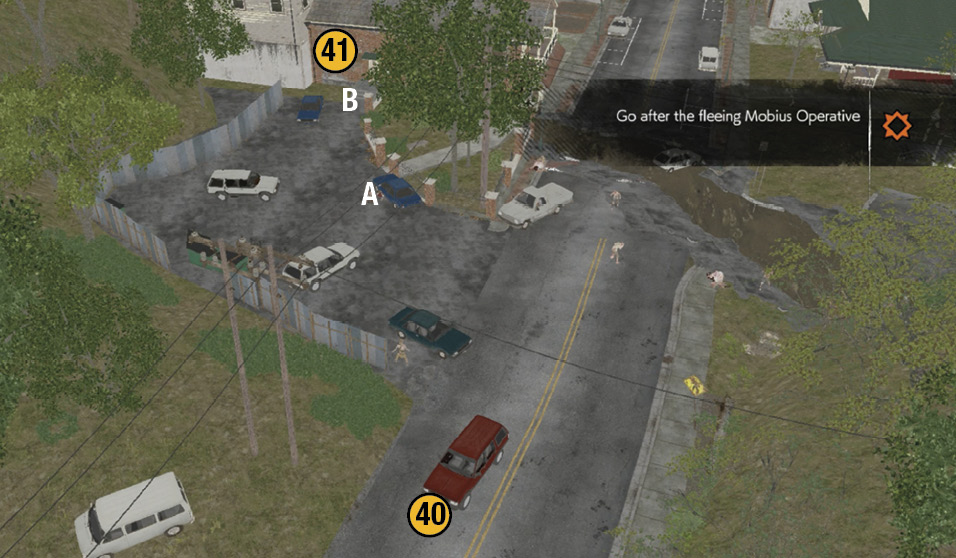
Stay crouched and stealthily creep across the parking lot behind the Lost ripping up a corpse by the parked car (at A in our overhead shot). Press the button indicated onscreen to execute a swift Sneak Kill. Be sure to harvest some Green Gel from the corpse. Then creep over to the Safe House entry stairs and Sneak Kill the Lost (B in our shot) clawing at the door.
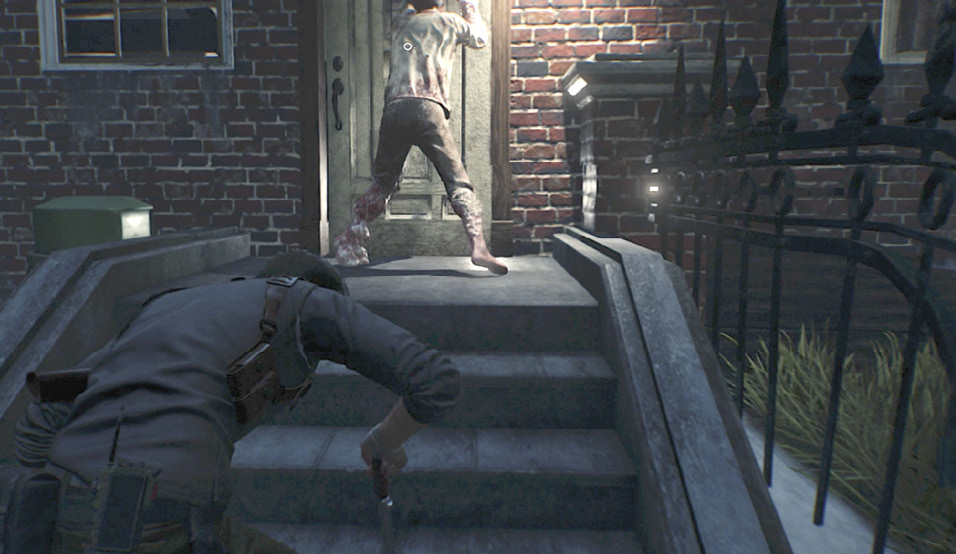
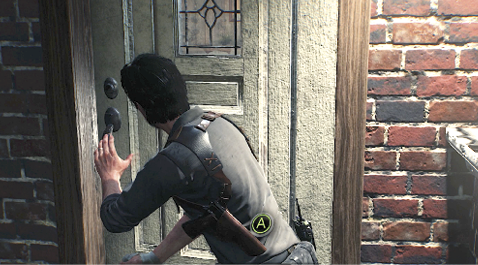
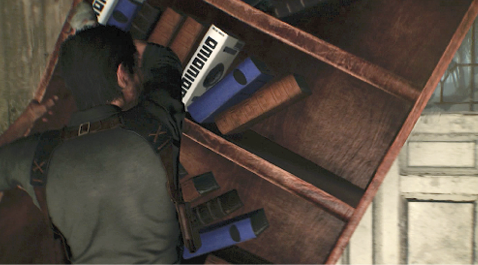
When you try to open the door, it’s blocked from the inside by a table. Repeatedly tap the “Shove” button indicated onscreen until Sebastian rams open the door. Then watch as he slams it back shut and secures it with a bookcase.
Find O’Neal
In the entry room, look for an item stashed in a small cabinet drawer next to the sofa. Then enter the bathroom and snag a Medical Syringe from the Emergency Kit on the wall. Go down the back hallway to a staircase leading down to a door. Open the door to trigger a long cutscene: Sebastian meets Liam O’Neal, Mobius Search Team technician.
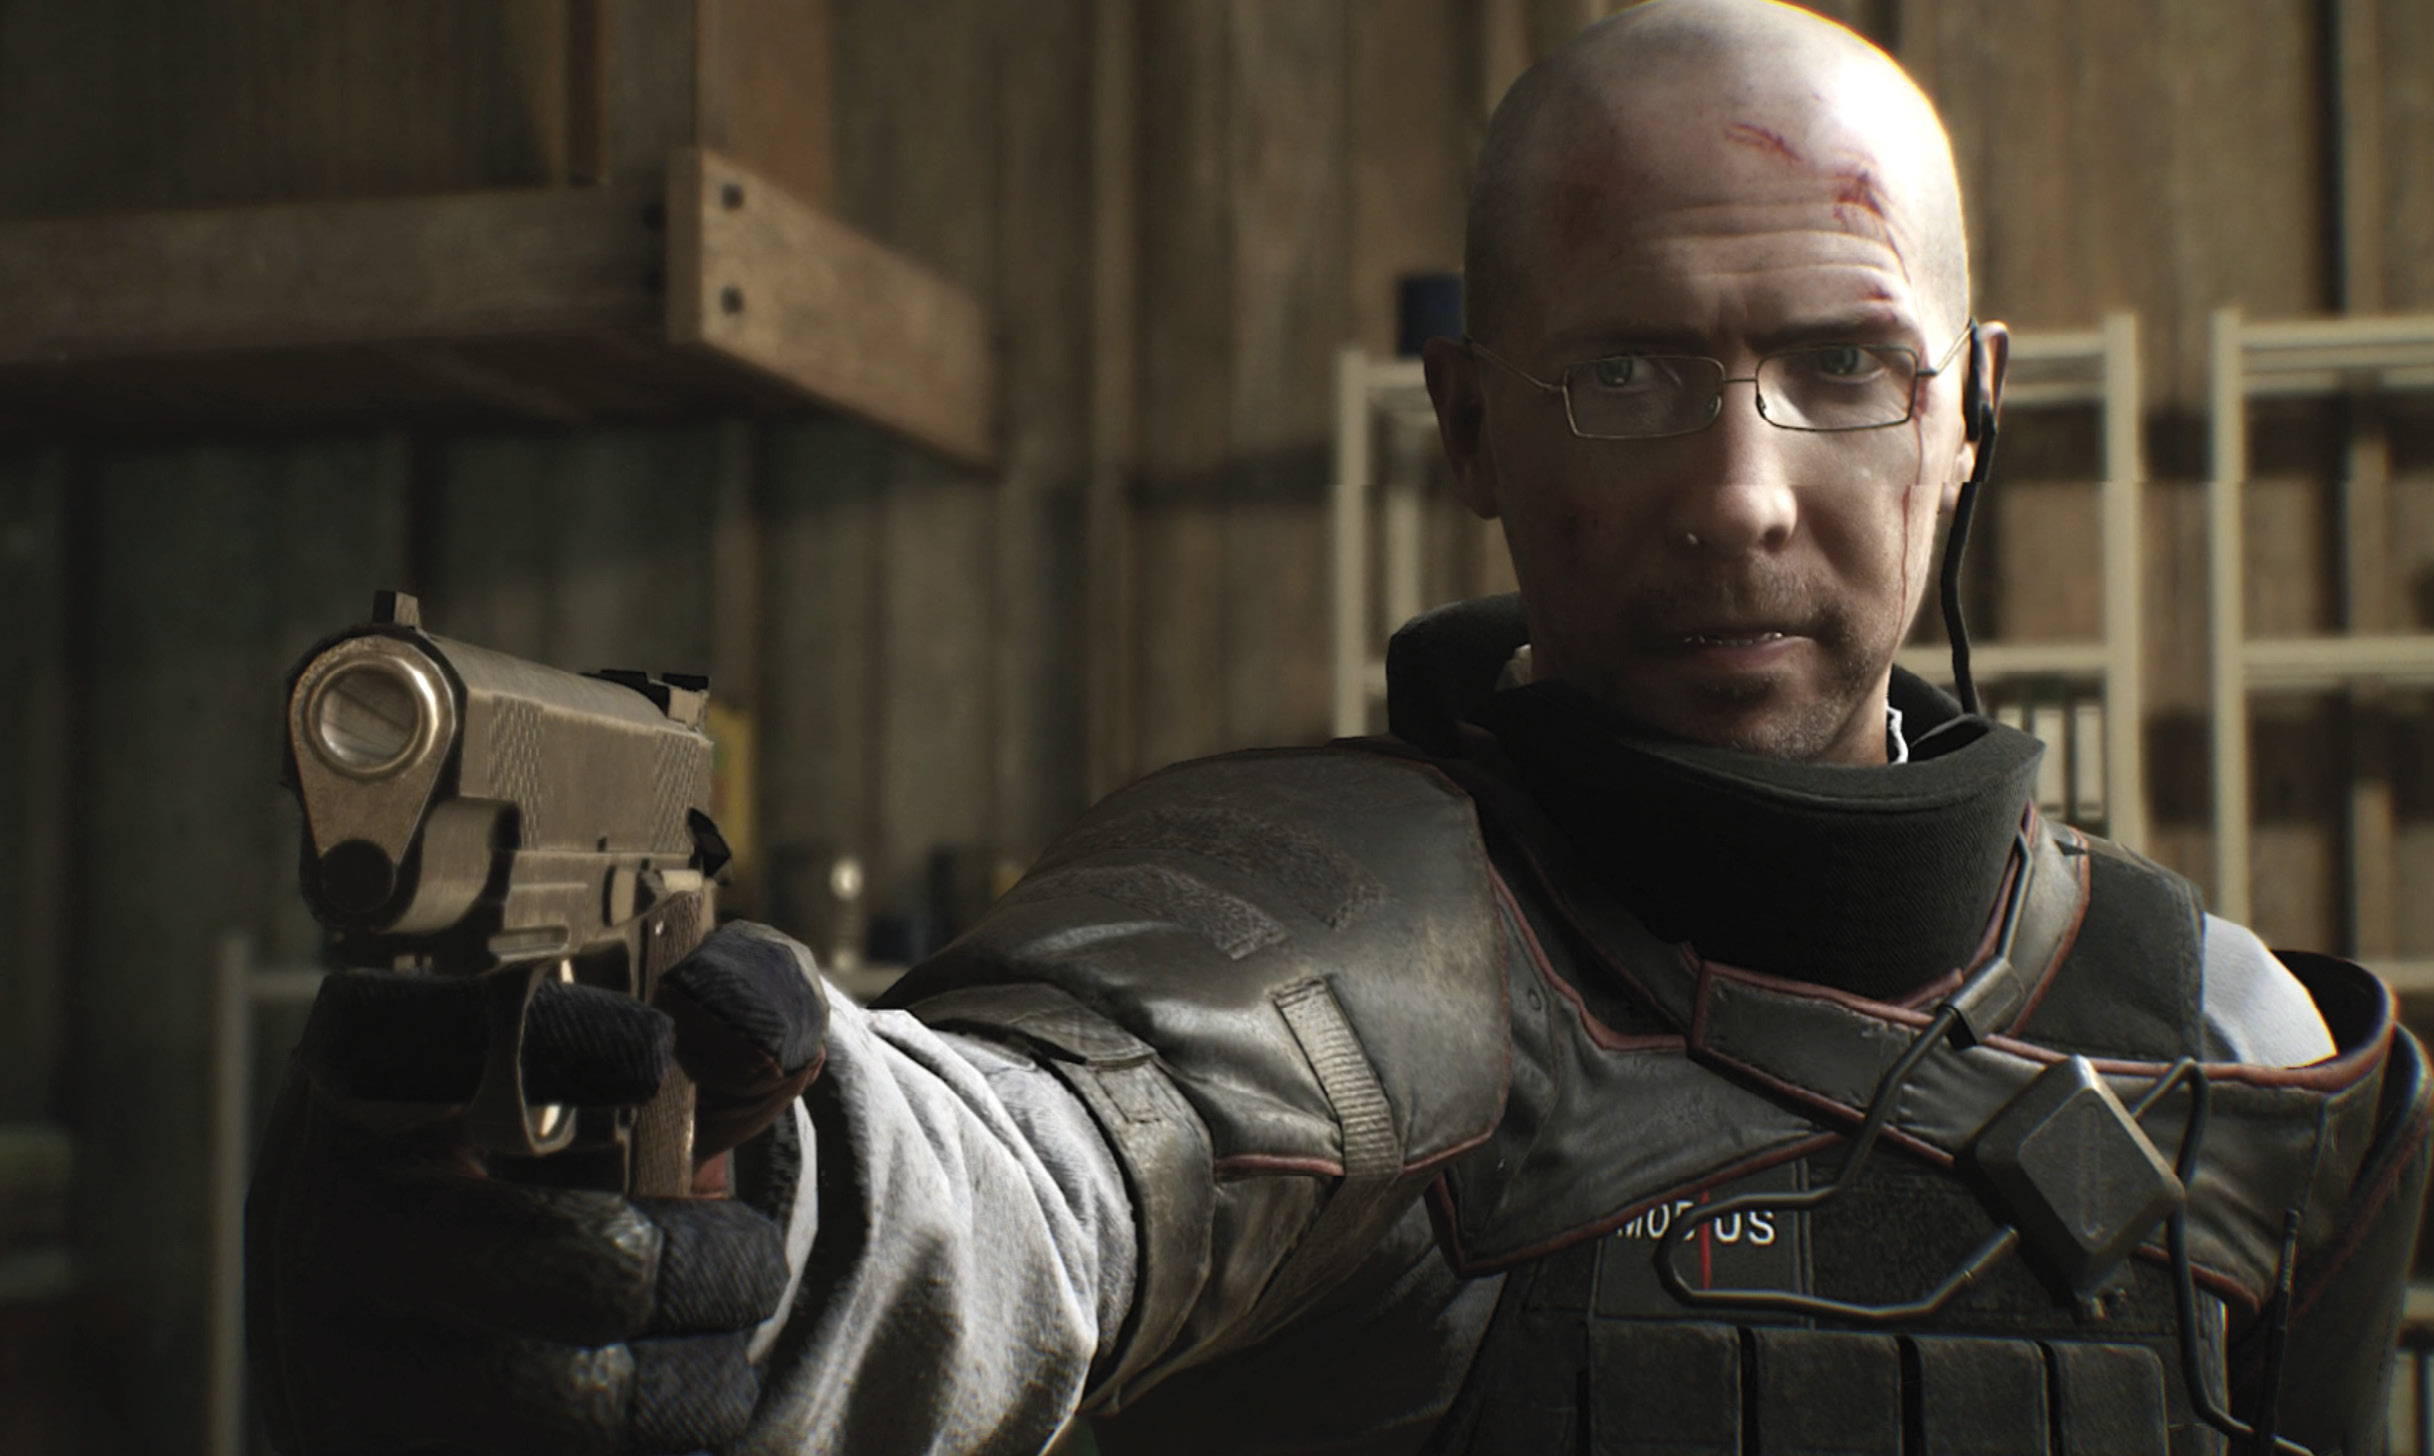
O’Neal explains he was sent into STEM by Mobius to solve a hardware issue. After Sebastian explains that they’re all stuck in STEM until “the Core” is found, O’Neal says he detected signals that resonate at the Core’s frequency nearby. These “signals” sound like a little girl’s voice! Sebastian can use his own Communicator to track the transmission. O’Neal also points out that the Communicator can pick up other signals too.
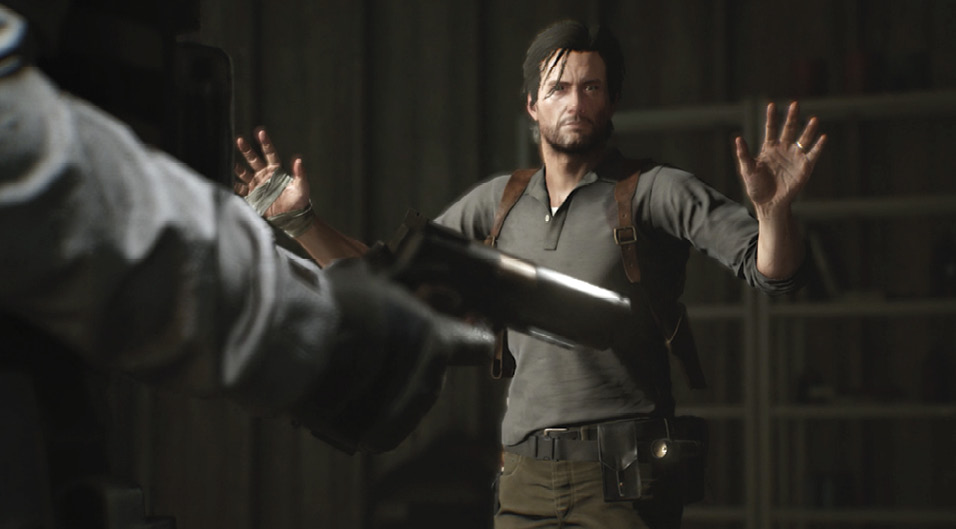
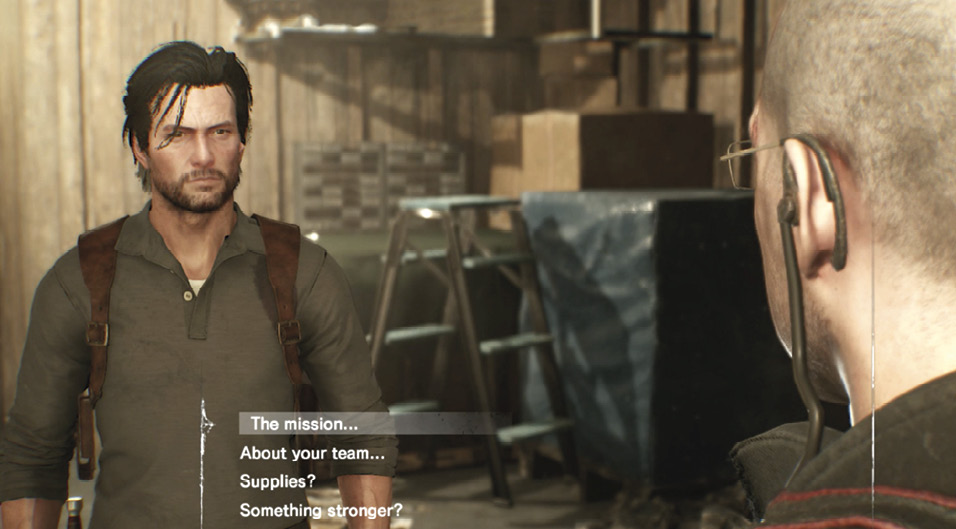
Here you’re given the opportunity to query O’Neal on a series of four topics. This marks the beginning of the game’s next chapter.