The Evil Within 2 Guide Story Walkthrough
Bottomless Pit
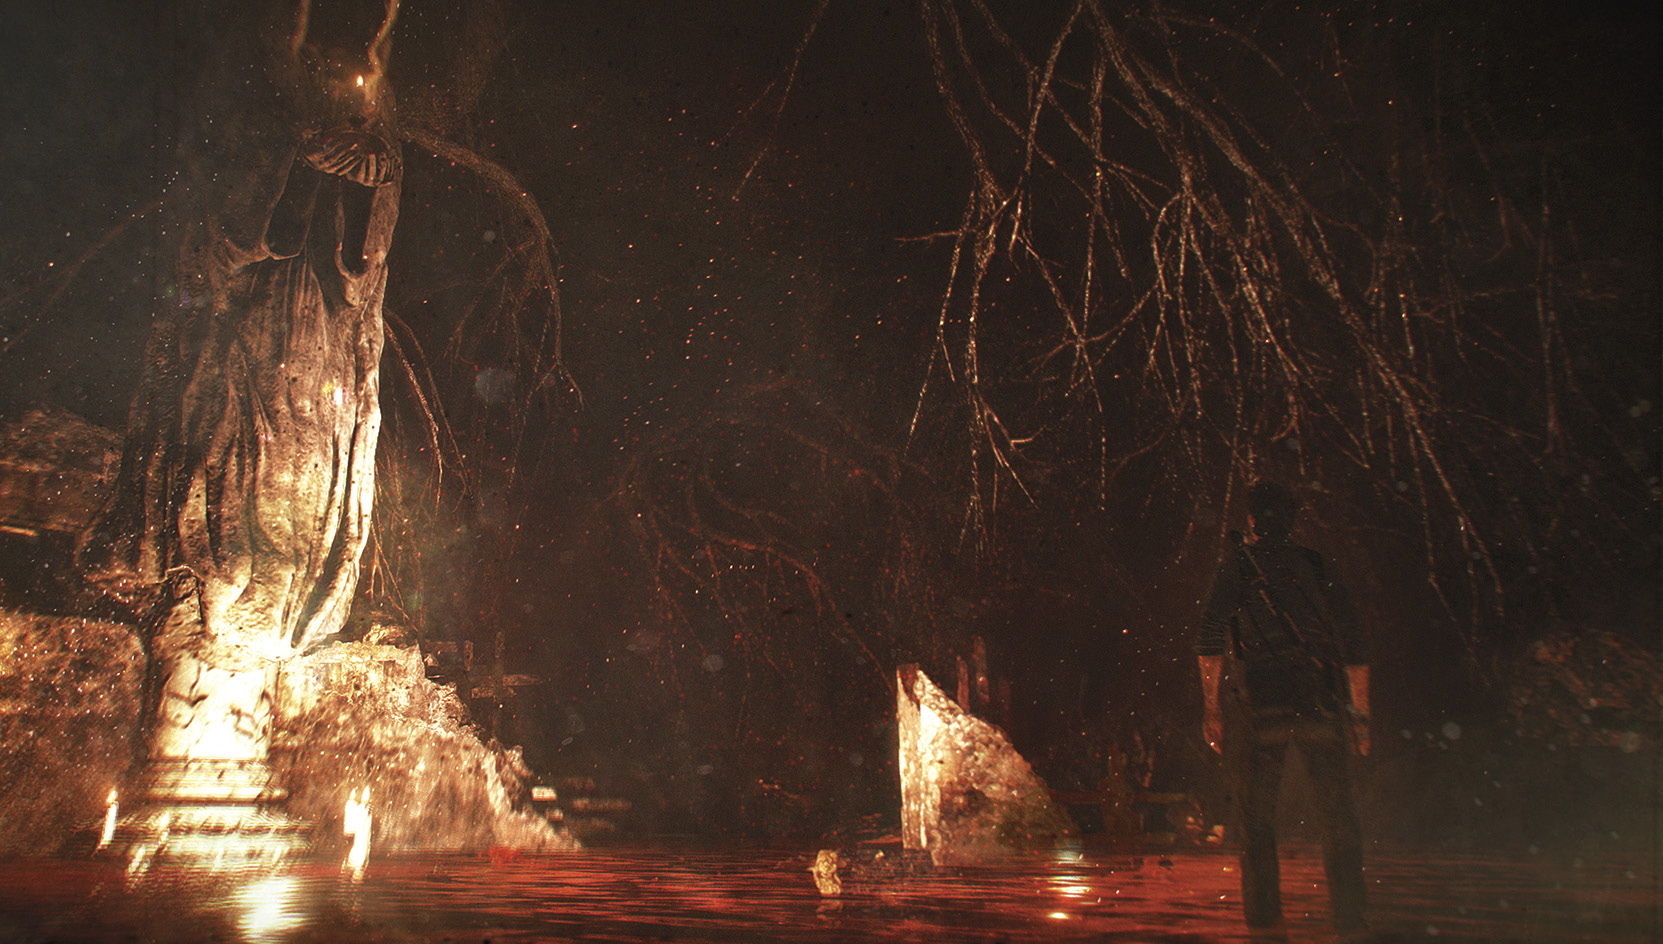
Destroying O’Neal’s machine forces Theodore’s domain out of hiding. But now Theodore demonstrates his power over STEM reality, pulling Sebastian into that domain—a dark, bloody swamp—where he must confront his own fears and failures.
Overview
Objectives
- Use the Communicator to find where Lily’s voice is coming from
- Search the house Collectibles
- 1 File
- 1 Slide
Use the Communicator to find where Lily’s voice is coming from
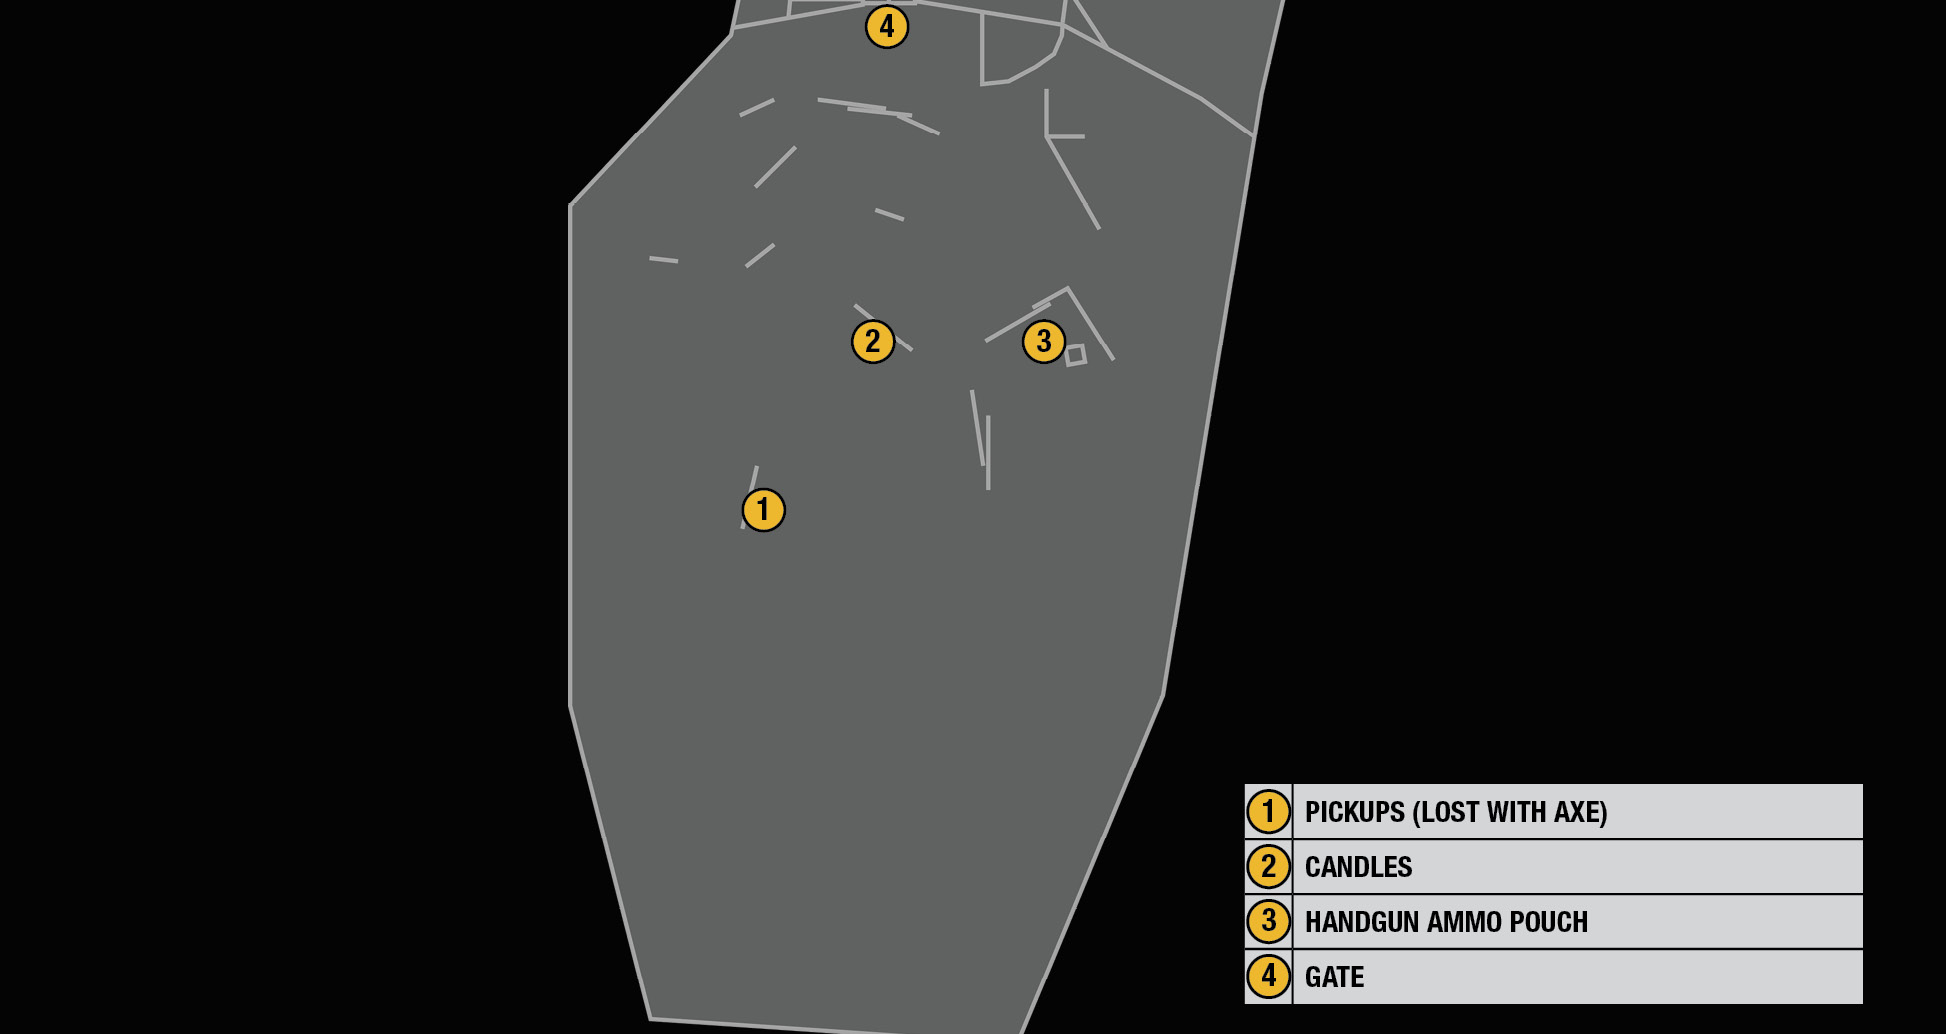
First, make sure your weapon clips are fully loaded. Then Equip your Communicator and lock on to the “Unknown Resonance” to reveal it as “Lily’s Voice.” As you start, note that the Communicator’s distance meter shows you’re about 200 meters away from the source of the signal. En route you’ll pass some odd ruined structures lit by candles and strewn with a child’s toys—Lily’s toys, no doubt.
Start in the direction indicated by the waveform pointer, which leads you toward the only light you can see at first  . But as you go, look left to see the twinkling of items
  in the darkness. Head over to pick them up, but be ready for a Lost with an axe to take offense to your pilferage and rise up from the pile of corpses. Shoot him, grab his axe, then head toward that original light source
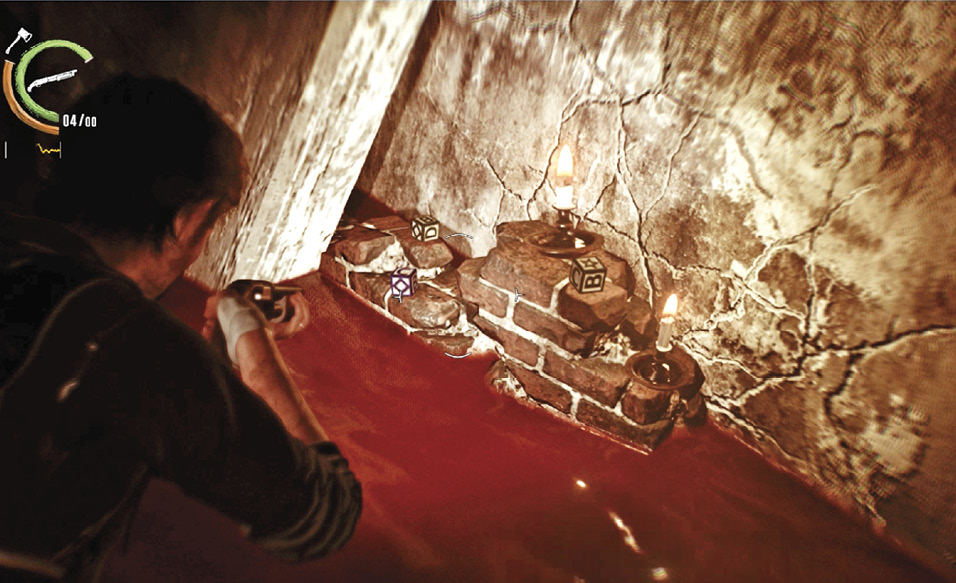
  to find a broken wall section with a few play blocks scattered around candles.
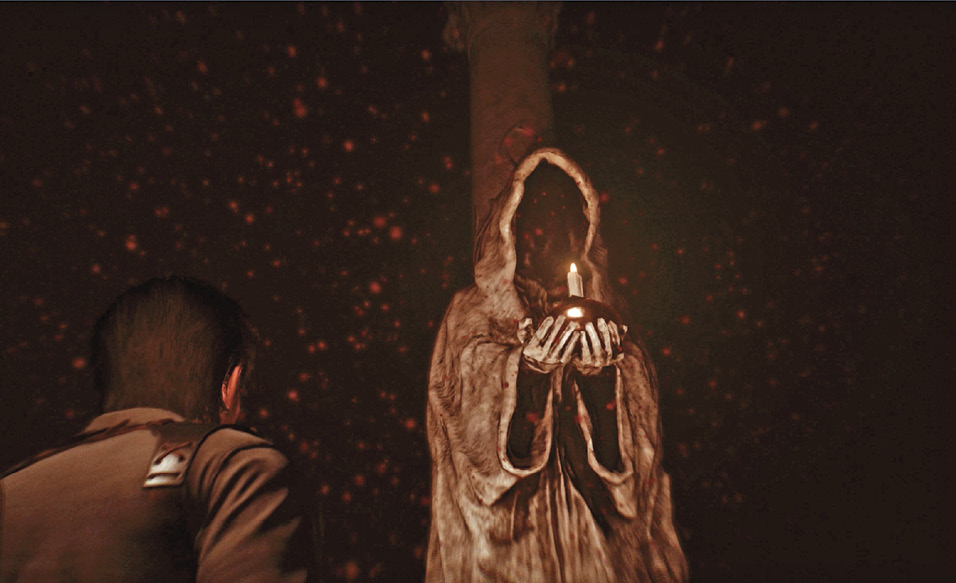
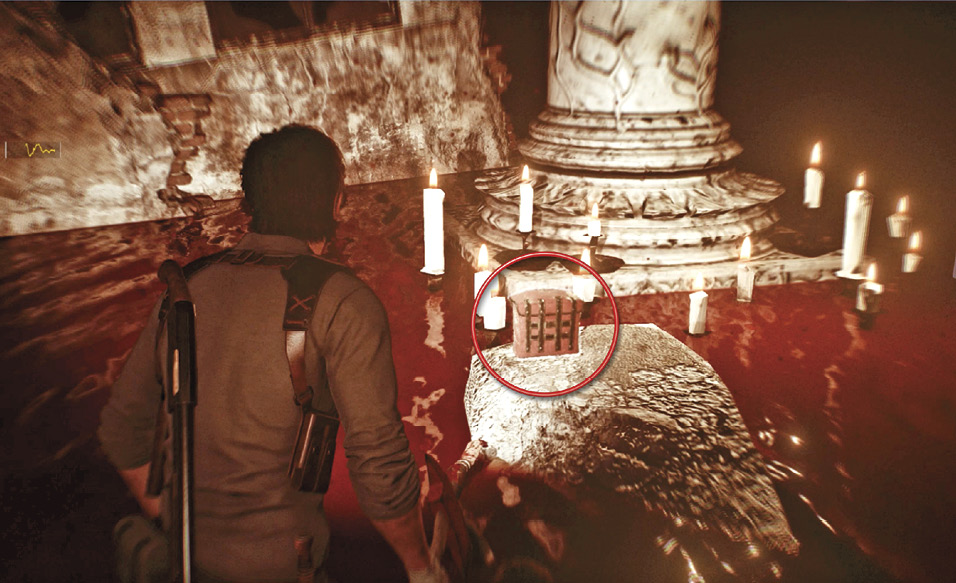
Continue in the same direction toward more candles glowing  at the base of a creepy, towering statue—the same one you’ve seen elsewhere in Theodore’s world. Grab the valuable Handgun Ammo Pouch sitting on the rock near the statue.
Get through the gates
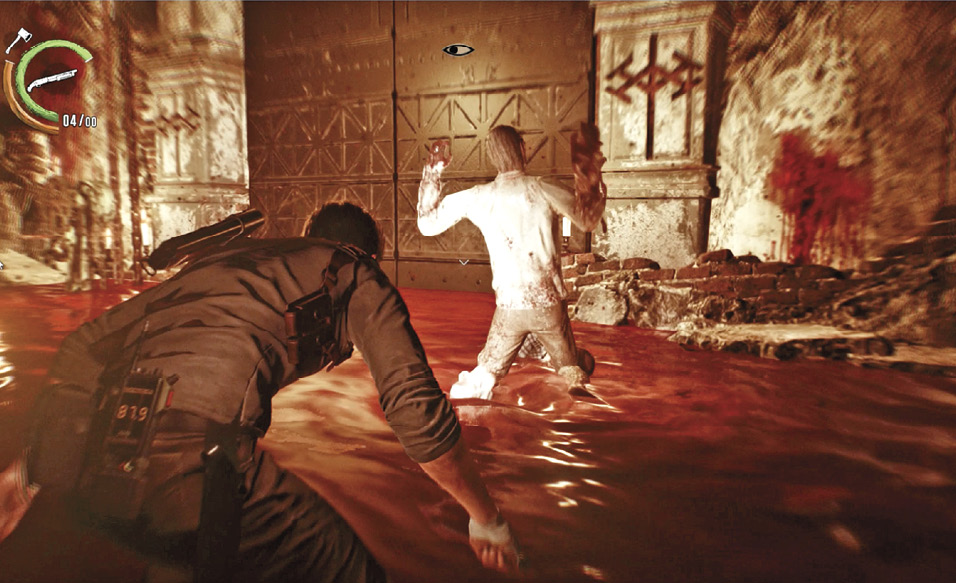
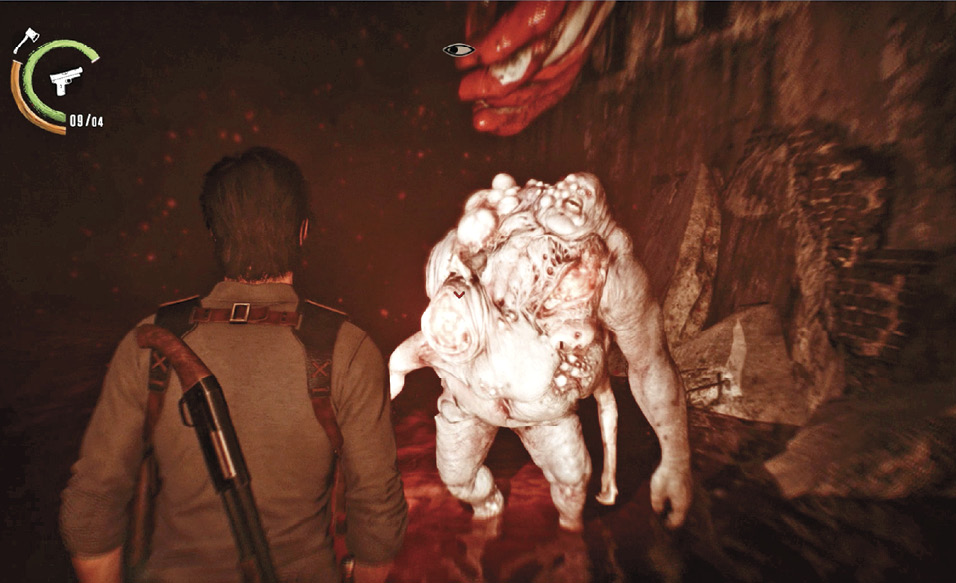
Now follow the Communicator signal again, tracking Lily’s voice toward a massive set of gates  where you find a frenzied Lost tearing at a corpse. Creep up for a Sneak Kill, but be ready—you’ll draw the attention of other Lost, plus a new type of enemy, the massive Glutton. (See our Glutton Notes.) When you see the Glutton, sprint away to get distance before it explodes! Note that if you returned topside after viewing the Residual Memory of Hoffman talking to O’Neal in her Safe House, you may have already met a Glutton.
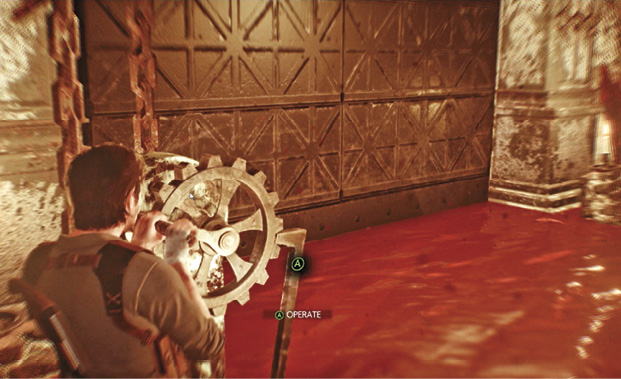
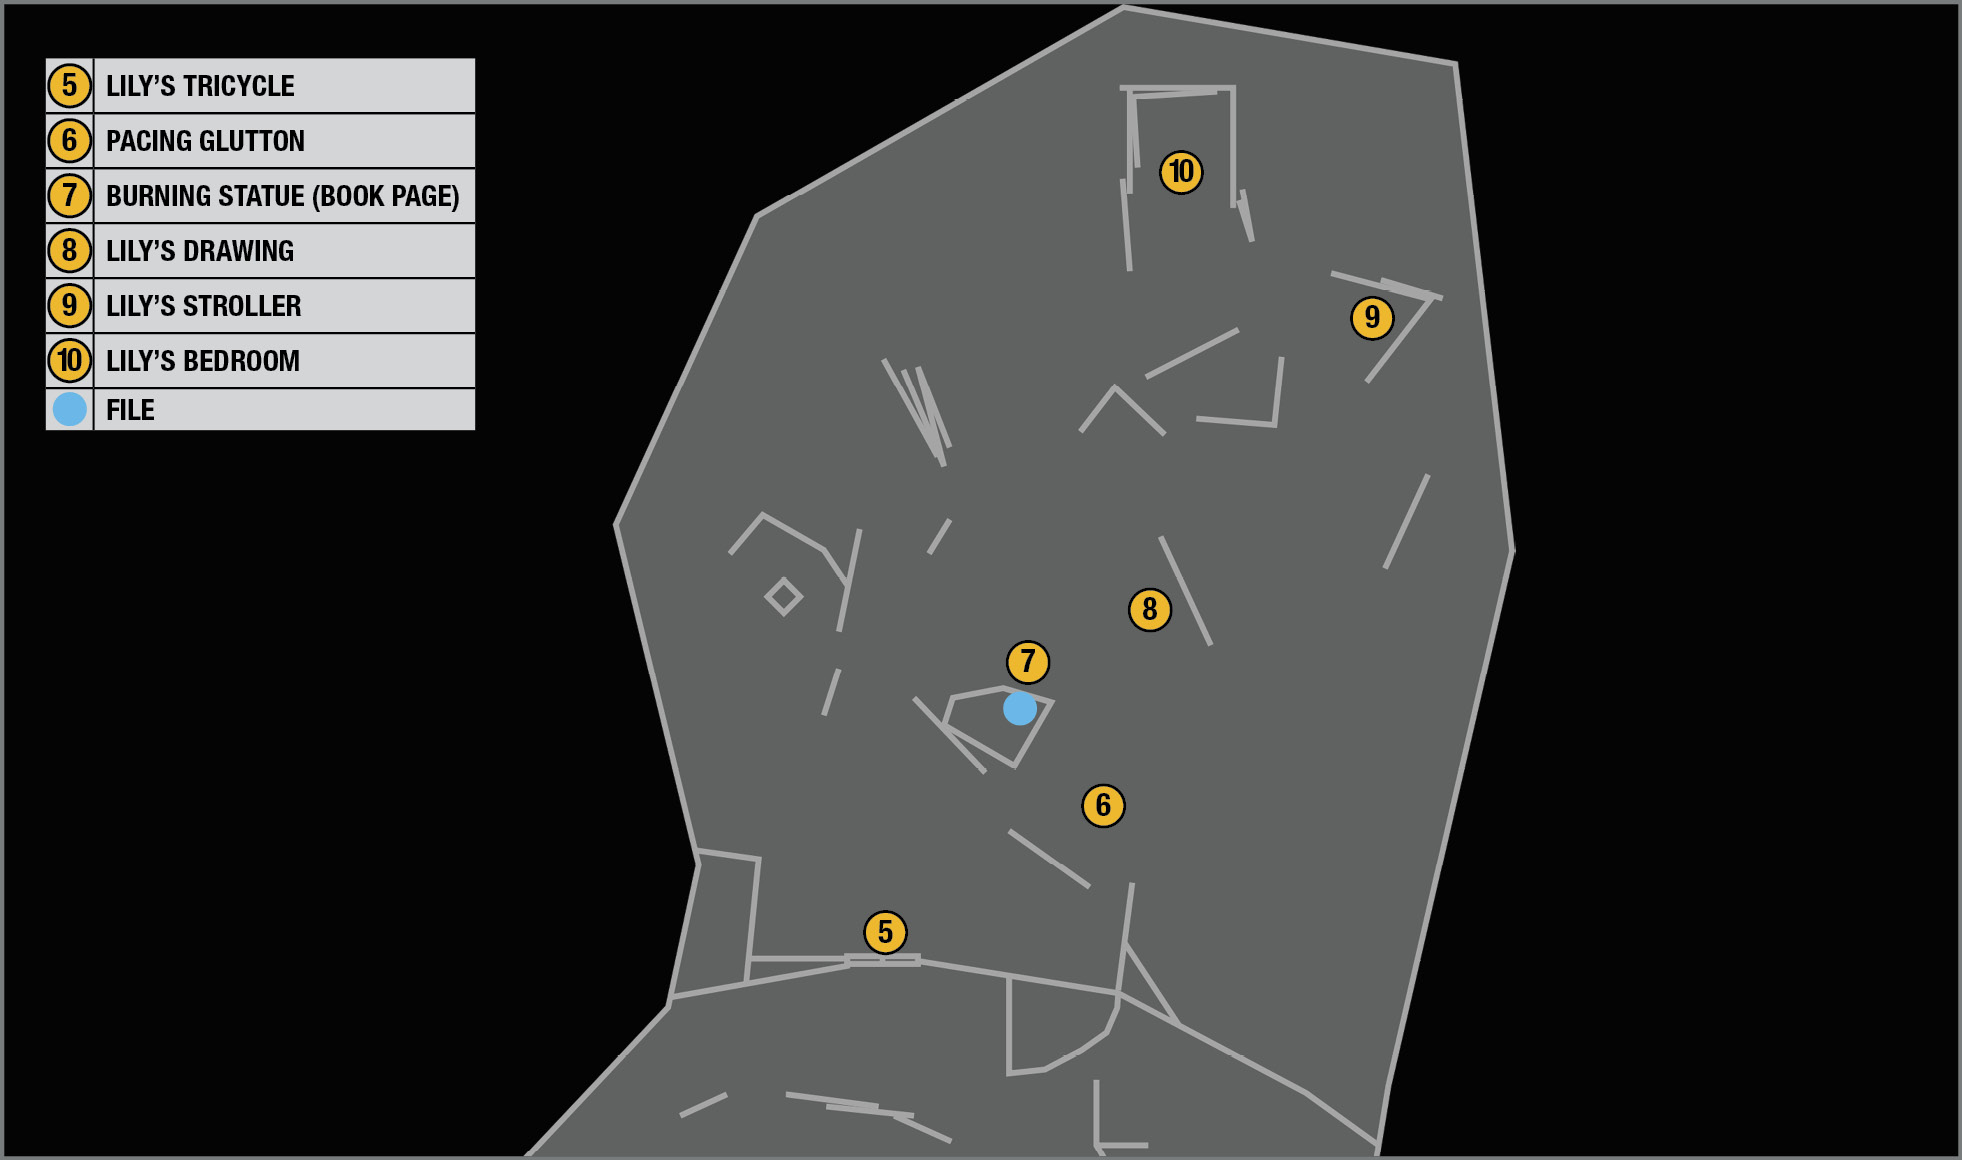
Now you can go to the crank just left of the gates and operate it to open them up. Step through the gates to see Lily’s tricycle half-submerged in the murky red water.
Overview
Find the source of the signal
From the tricycle  , veer slightly rightward to go around the wall section where you can see a giant flaming statue on the other side. Watch out for another Glutton pacing nearby
  ; eliminate him from a good distance with a single Sniper Rifle shot to the head.
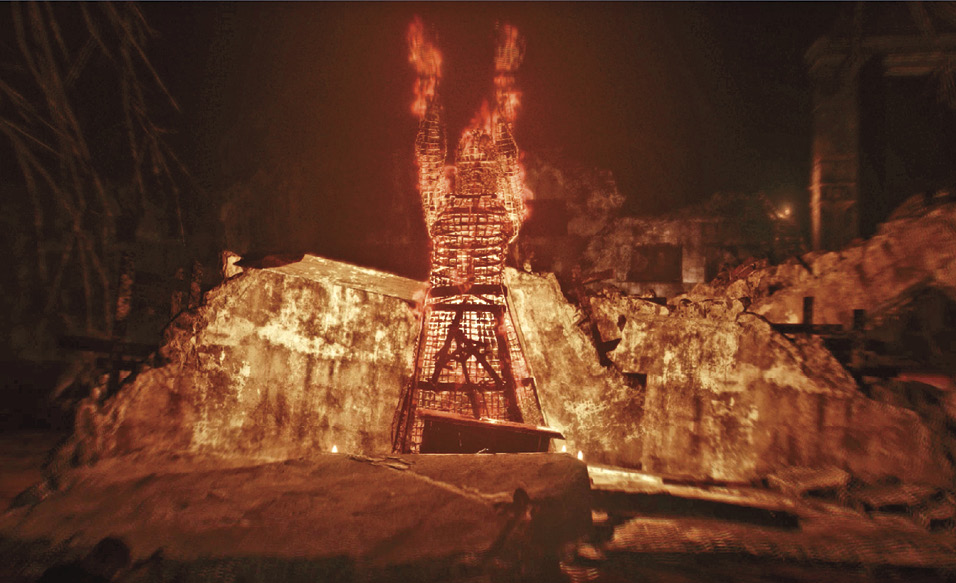
This may bring a few Lost out to investigate; dispatch them with your method of choice. Then move around the wall to the base of the burning statue  where other Lost may be gesticulating in wild worship of the statue. Eliminate them and pick up the book page sitting on the altar. Grab the Harpoon Bolts too.
Wade to the nearby small wall section  with Lily’s framed drawing of her family. The handgun sitting on it provides extra bullets and a bit of irony. Continue on to the next illuminated piece of home
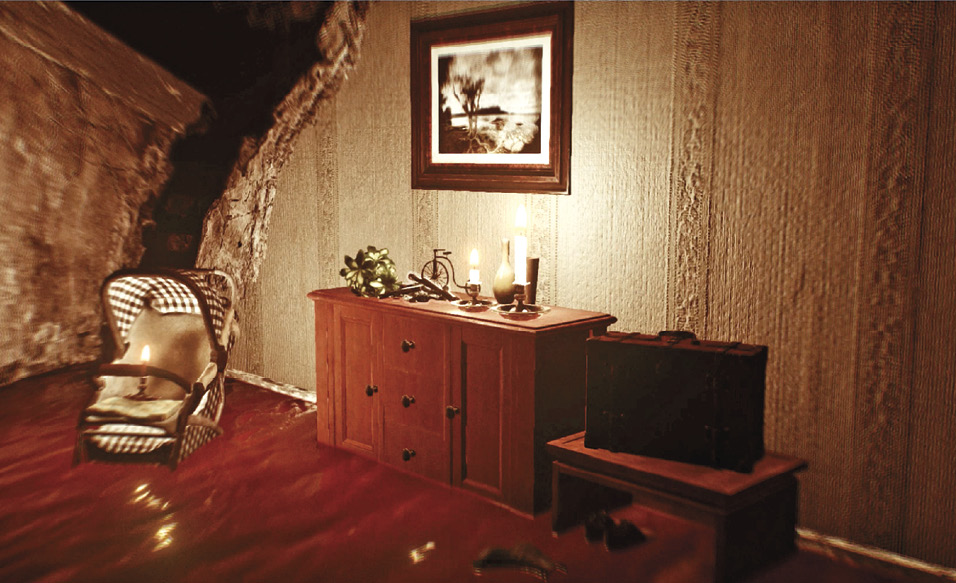
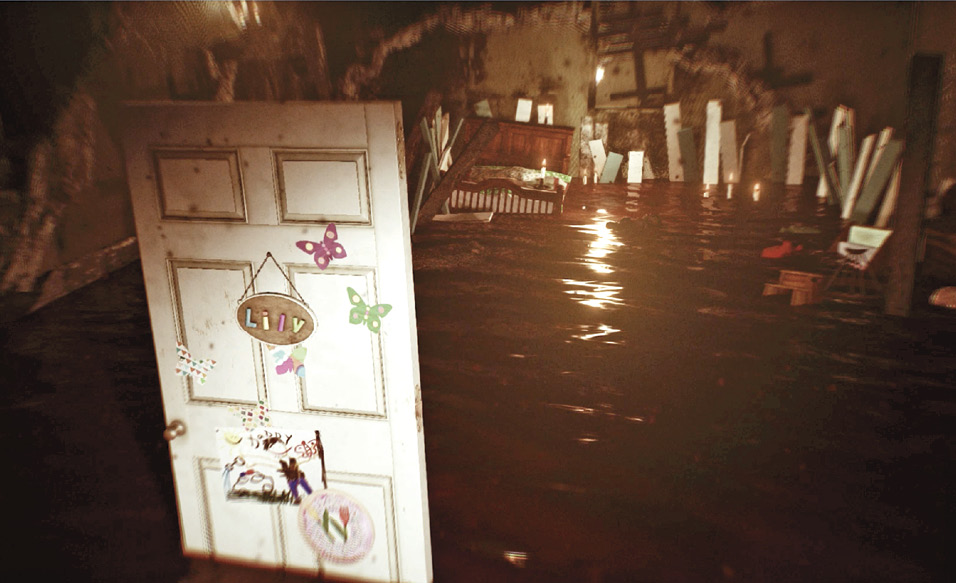
  : a stroller, cabinet, painting and suitcase. Then follow the signal to the unsettling recreation of Lily’s bedroom
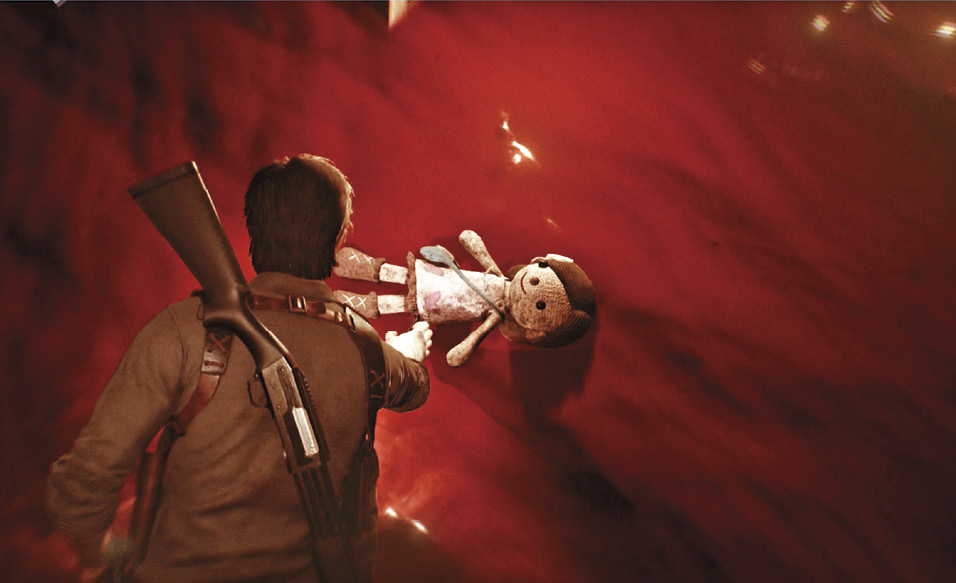
  , door and all. Step around the door and approach the doll floating on the water to trigger a vision: Theodore digs away at Sebastian’s guilt.
Overview
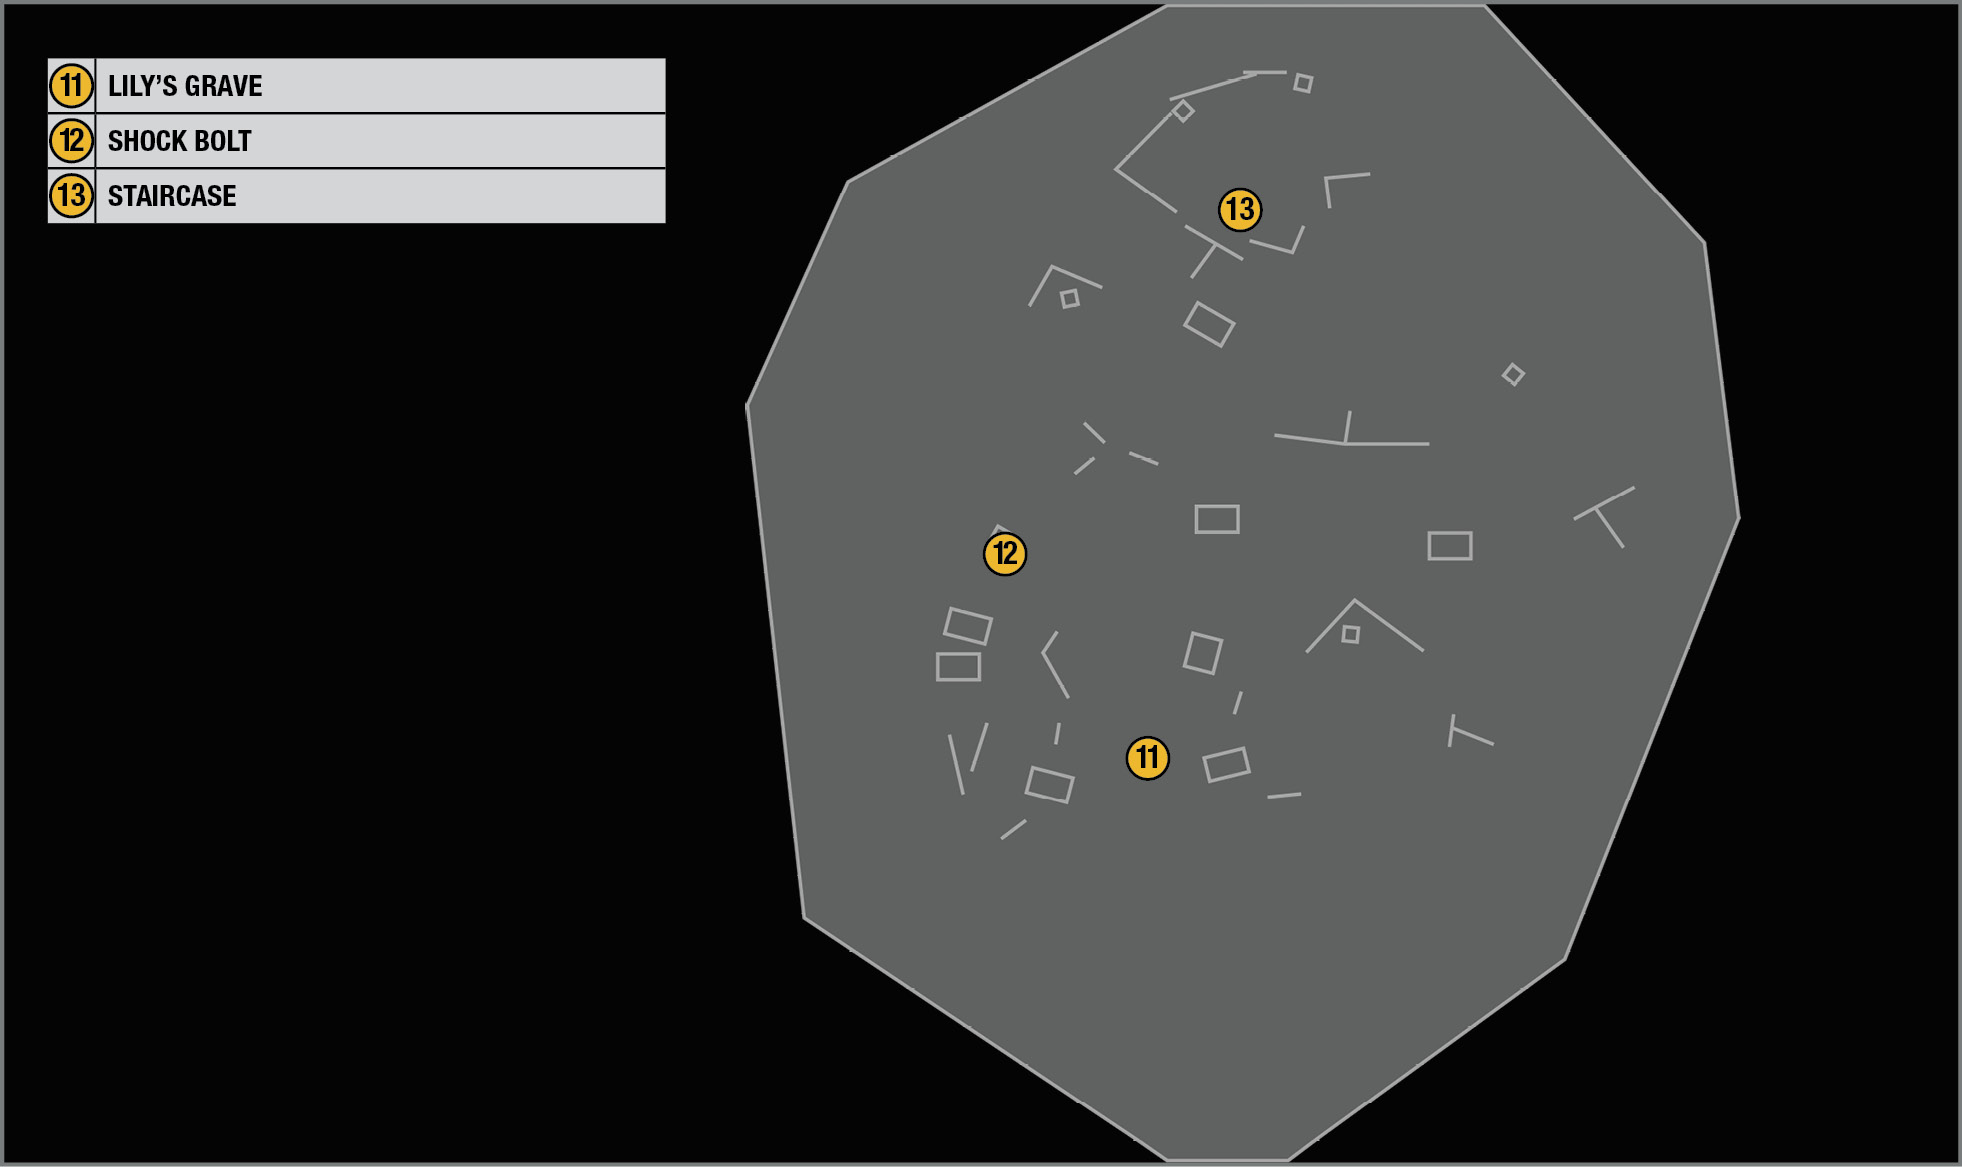
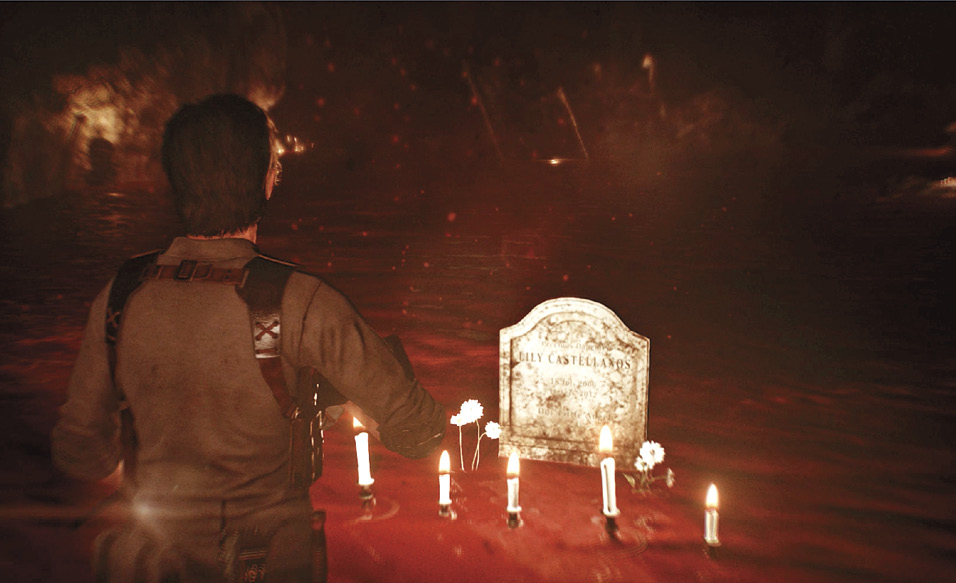
Now a new Resonance signal for Lily’s voice leads ahead through great churning oil pumps to Lily’s grave  , an area patrolled by several Spawn. If you need extra juice to kill them, you can find a Shock Bolt
  off to the left that can immobilize a Spawn for several seconds while you get in close for multiple headshots on the beast. Or you can just follow the signal directly ahead to find the staircase
  leading down, with a couple of Lily’s toy blocks at the top.
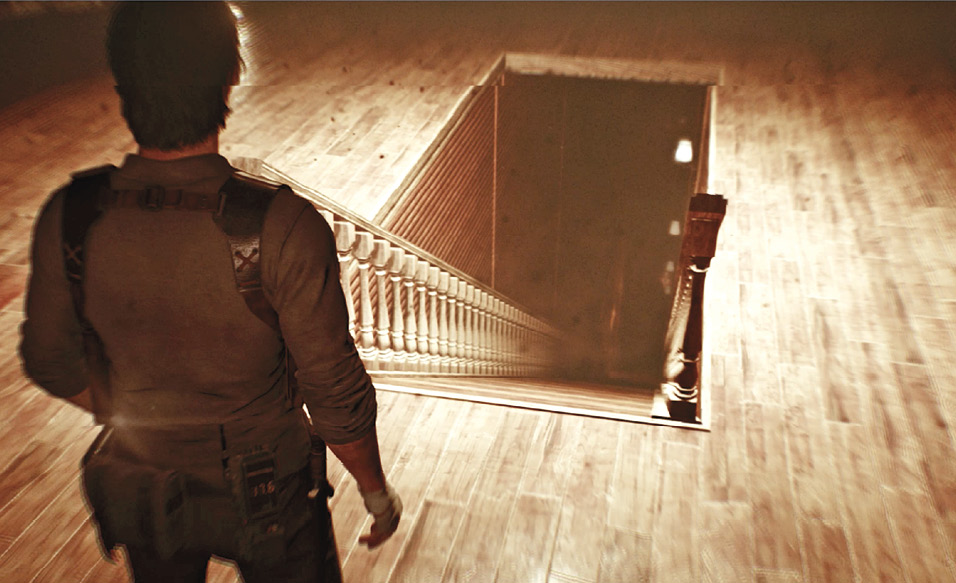
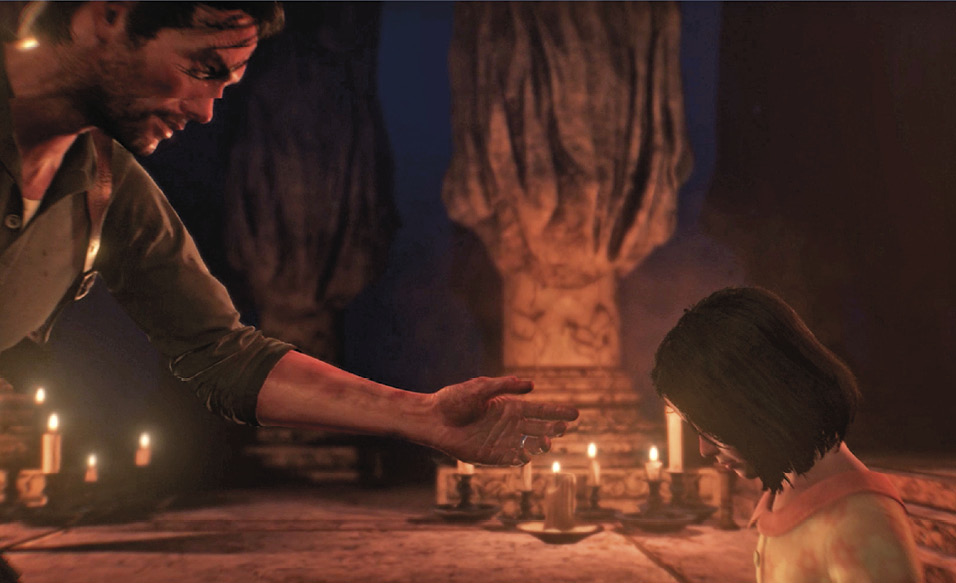
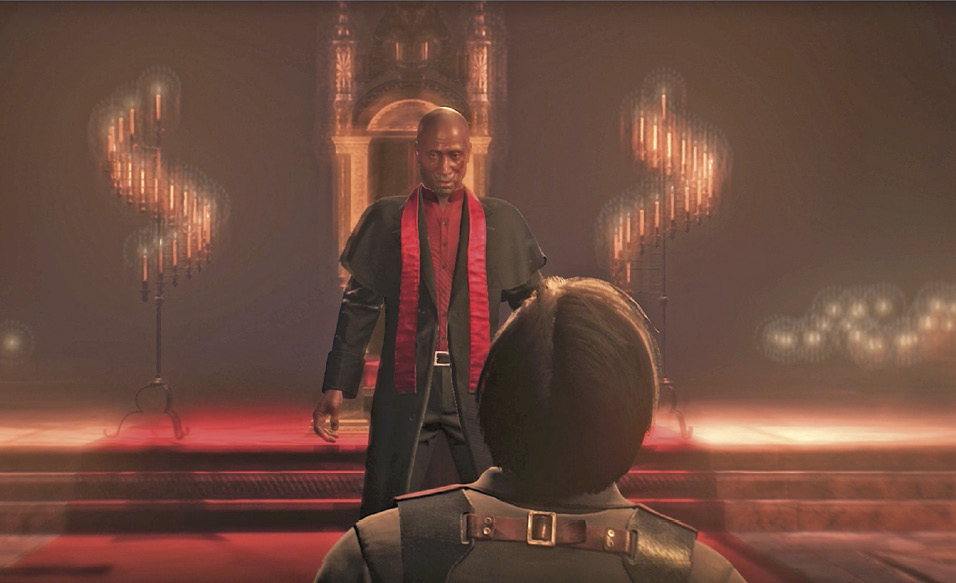
Go down the stairs, which turn into a ramp. Follow it all the way to a dark chamber and continue toward the dark figure as suddenly Lily appears and dozens of candles illuminate. Approach her to trigger a long cinematic sequence starring Lily and Theodore, then Esmeralda Torres and a swarm of Lost attackers.

Search the house
Sebastian wakes up in his old bedroom, and you regain control with a new objective. Exit the bedroom and go into Lily’s room just down the hall. Grab the slide sitting on her cabinet then exit back into the hall.
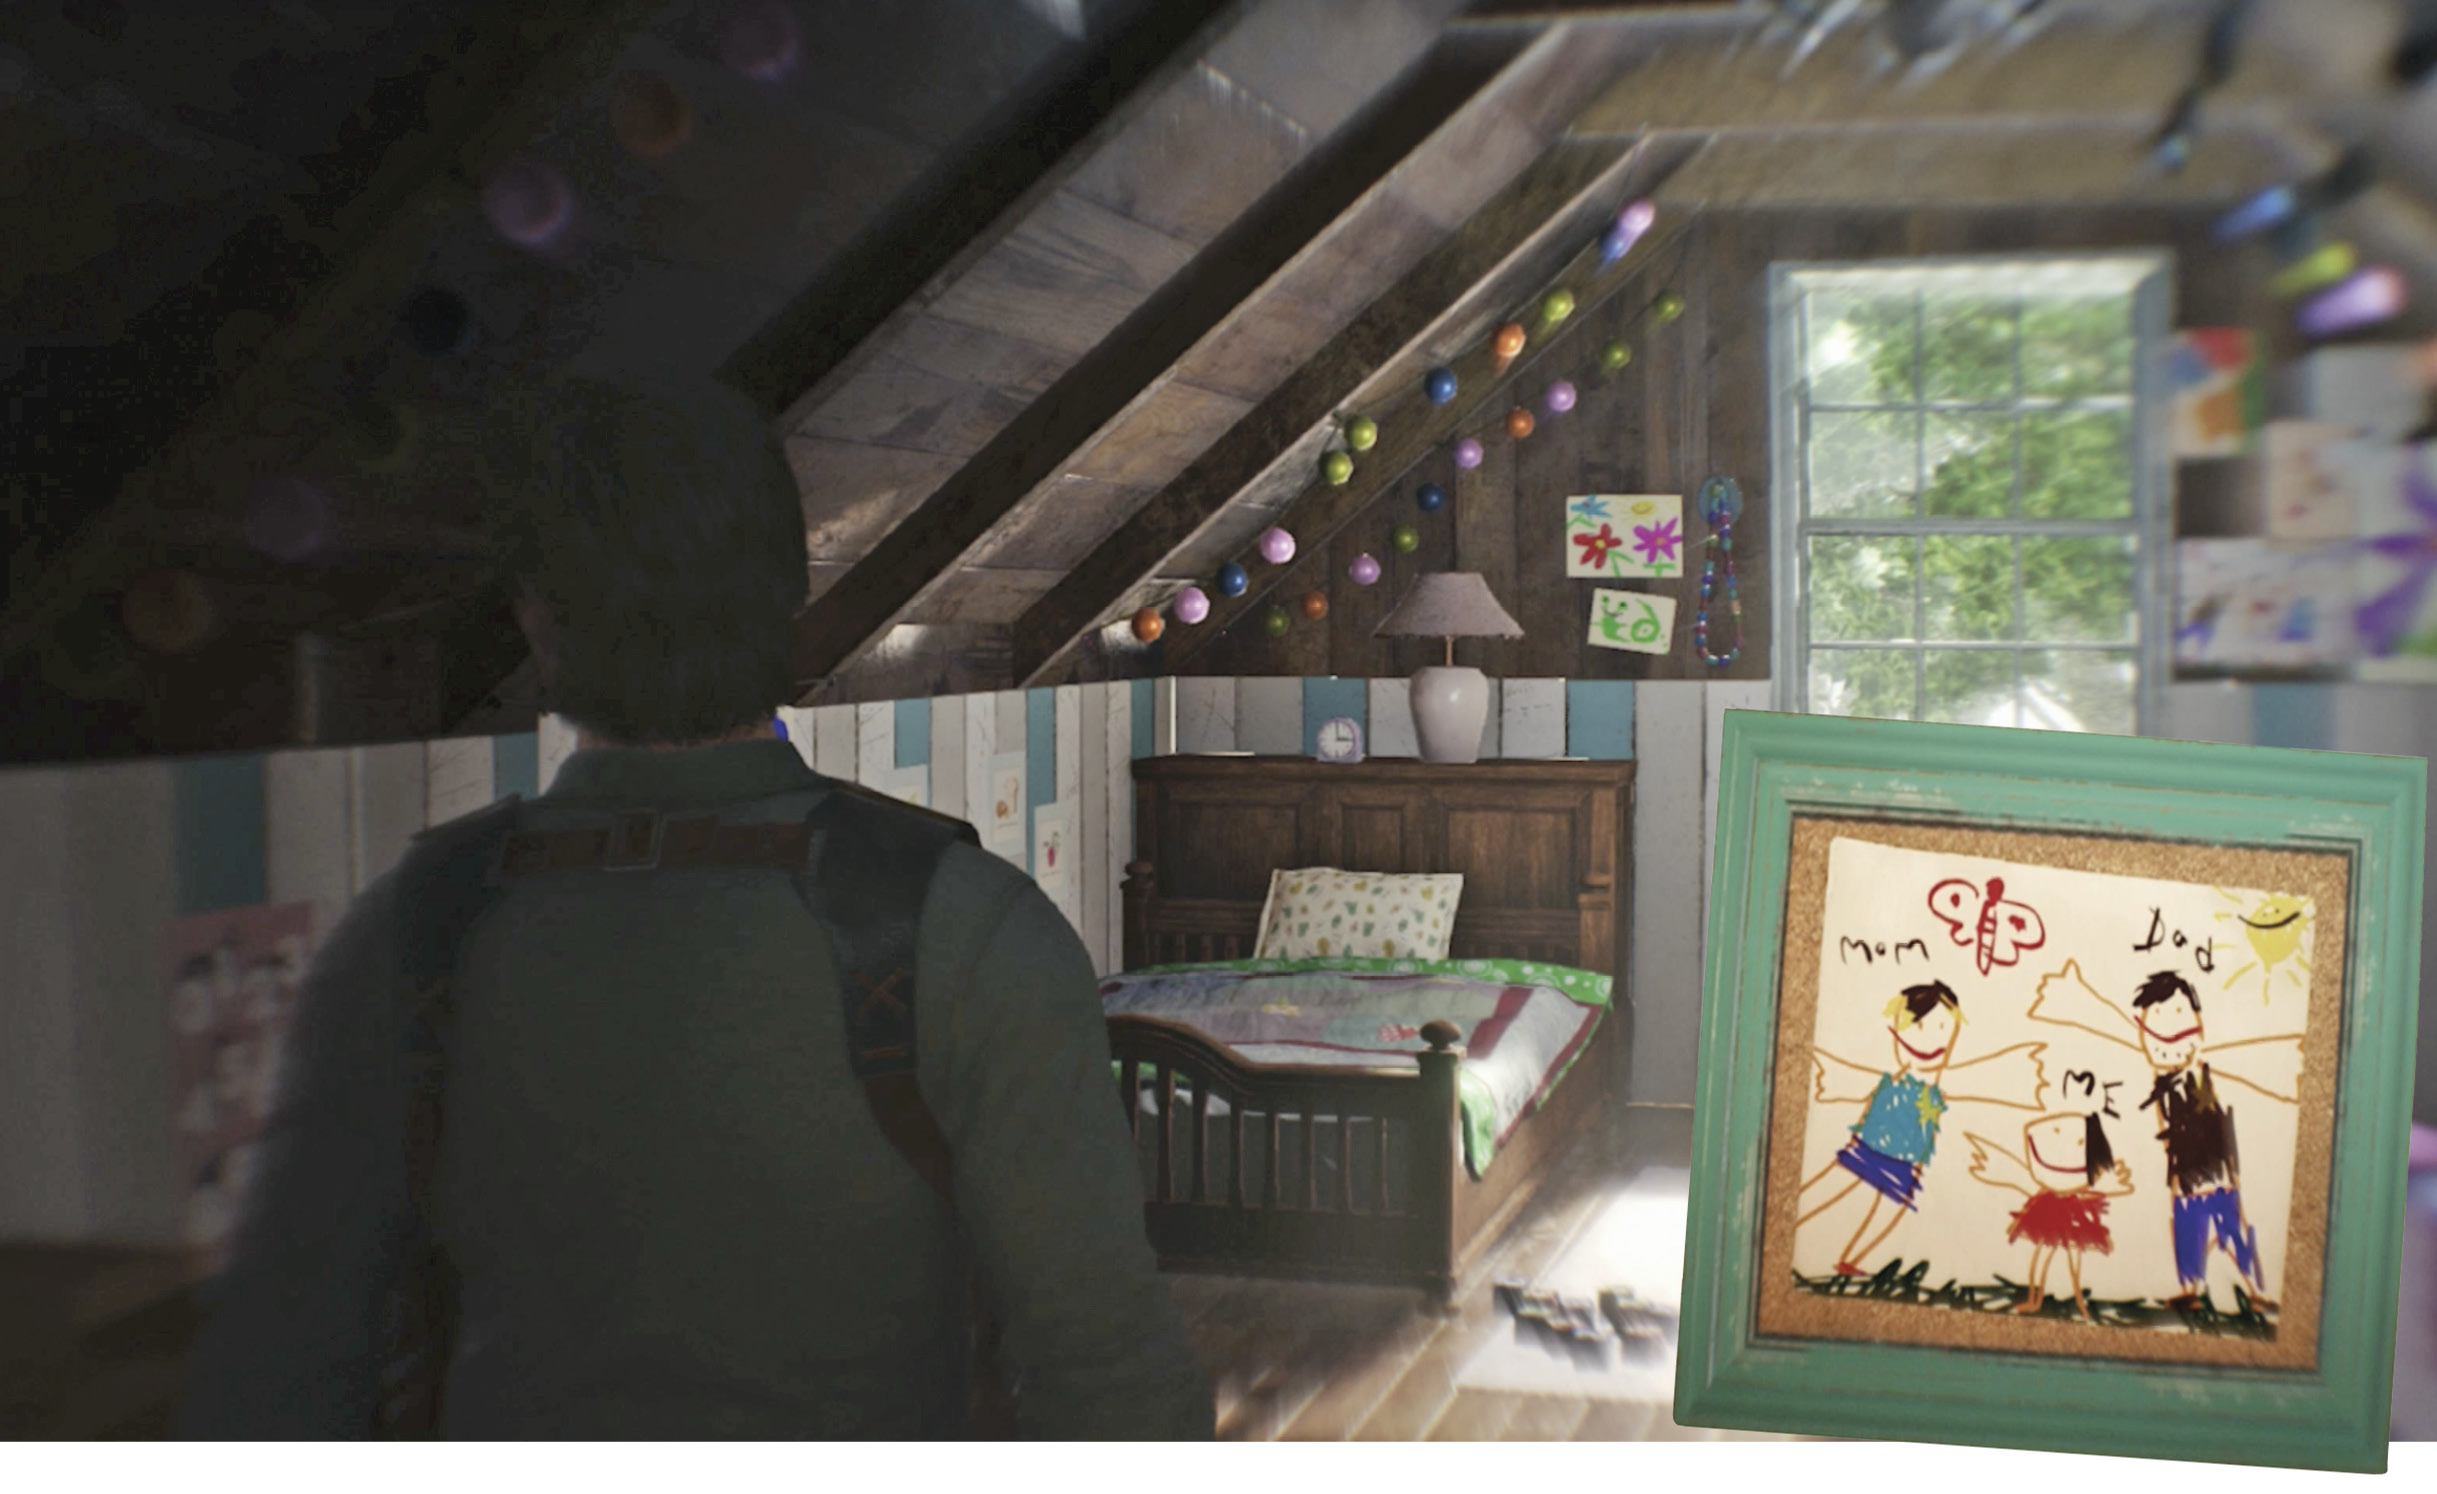
Head toward the stairs; you can investigate Lily’s framed drawing above the desk. Then enter the office just across the hall to find another mysterious object. Examine Sebastian’s work desk to hear his thoughts on time spent. Exit the office and head downstairs.
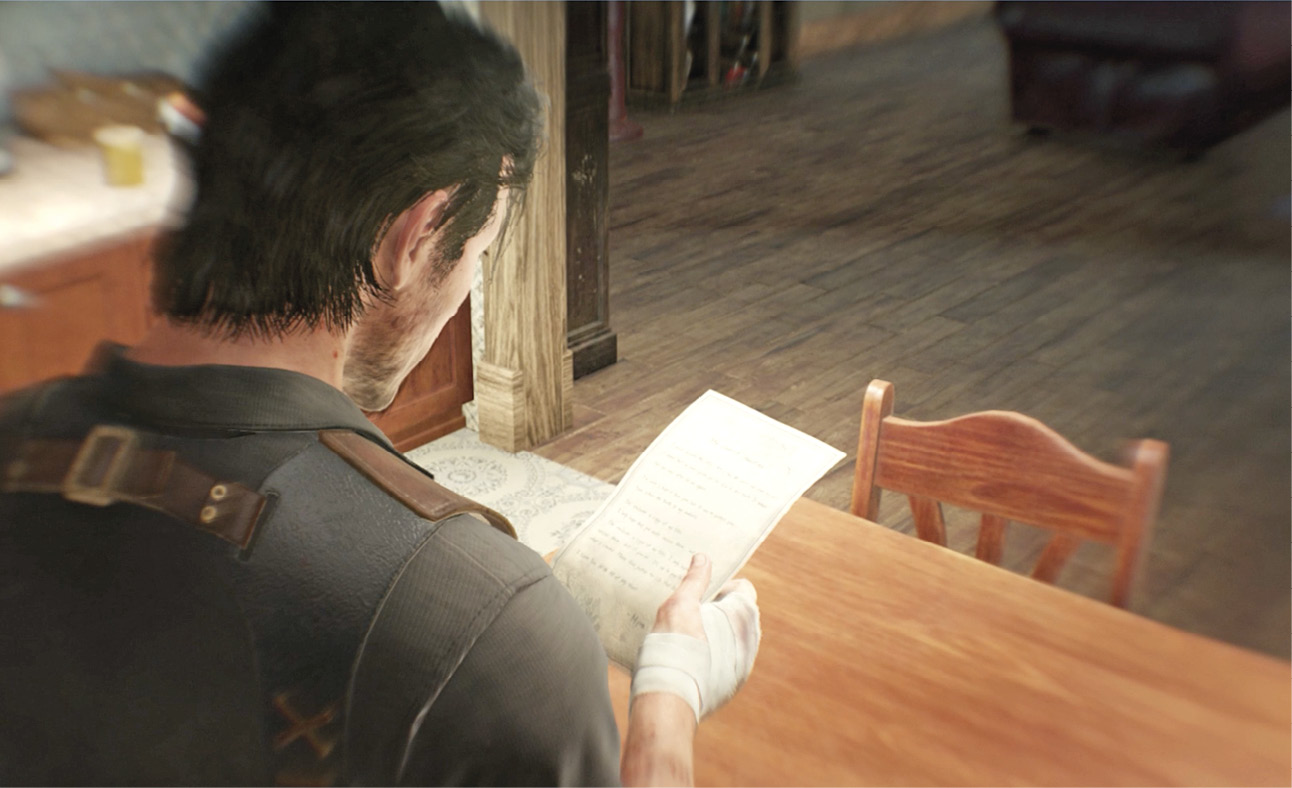
On the main floor, keep an eye out for fleeting glimpses of an earlier life, including photos and awards belonging to Myra that sit on a shelf in the living room. Go into the kitchen to investigate and take the letter on the table. Then watch as Sebastian and Myra clear the air and make amends… in this strange iteration of reality, anyway. And now Sebastian finds a new source of resolve.

When you hear Hoffman knock on the front door, go open it to bring Sebastian back to STEM… and to the sad result of the loyalty he gained from Esmeralda Torres. Hoffman tells him that Father Theodore is now out in the open; his stronghold has appeared in the middle of Union. Unfortunately, it is surrounded by a massive wall of fire. But a device stashed in Liam O’Neal’s equipment room may provide a way in. Sebastian and Hoffman make plans to meet up at the Sanctuary Hotel.