
Quantum Break Guide Walkthrough Act 2
Part 3
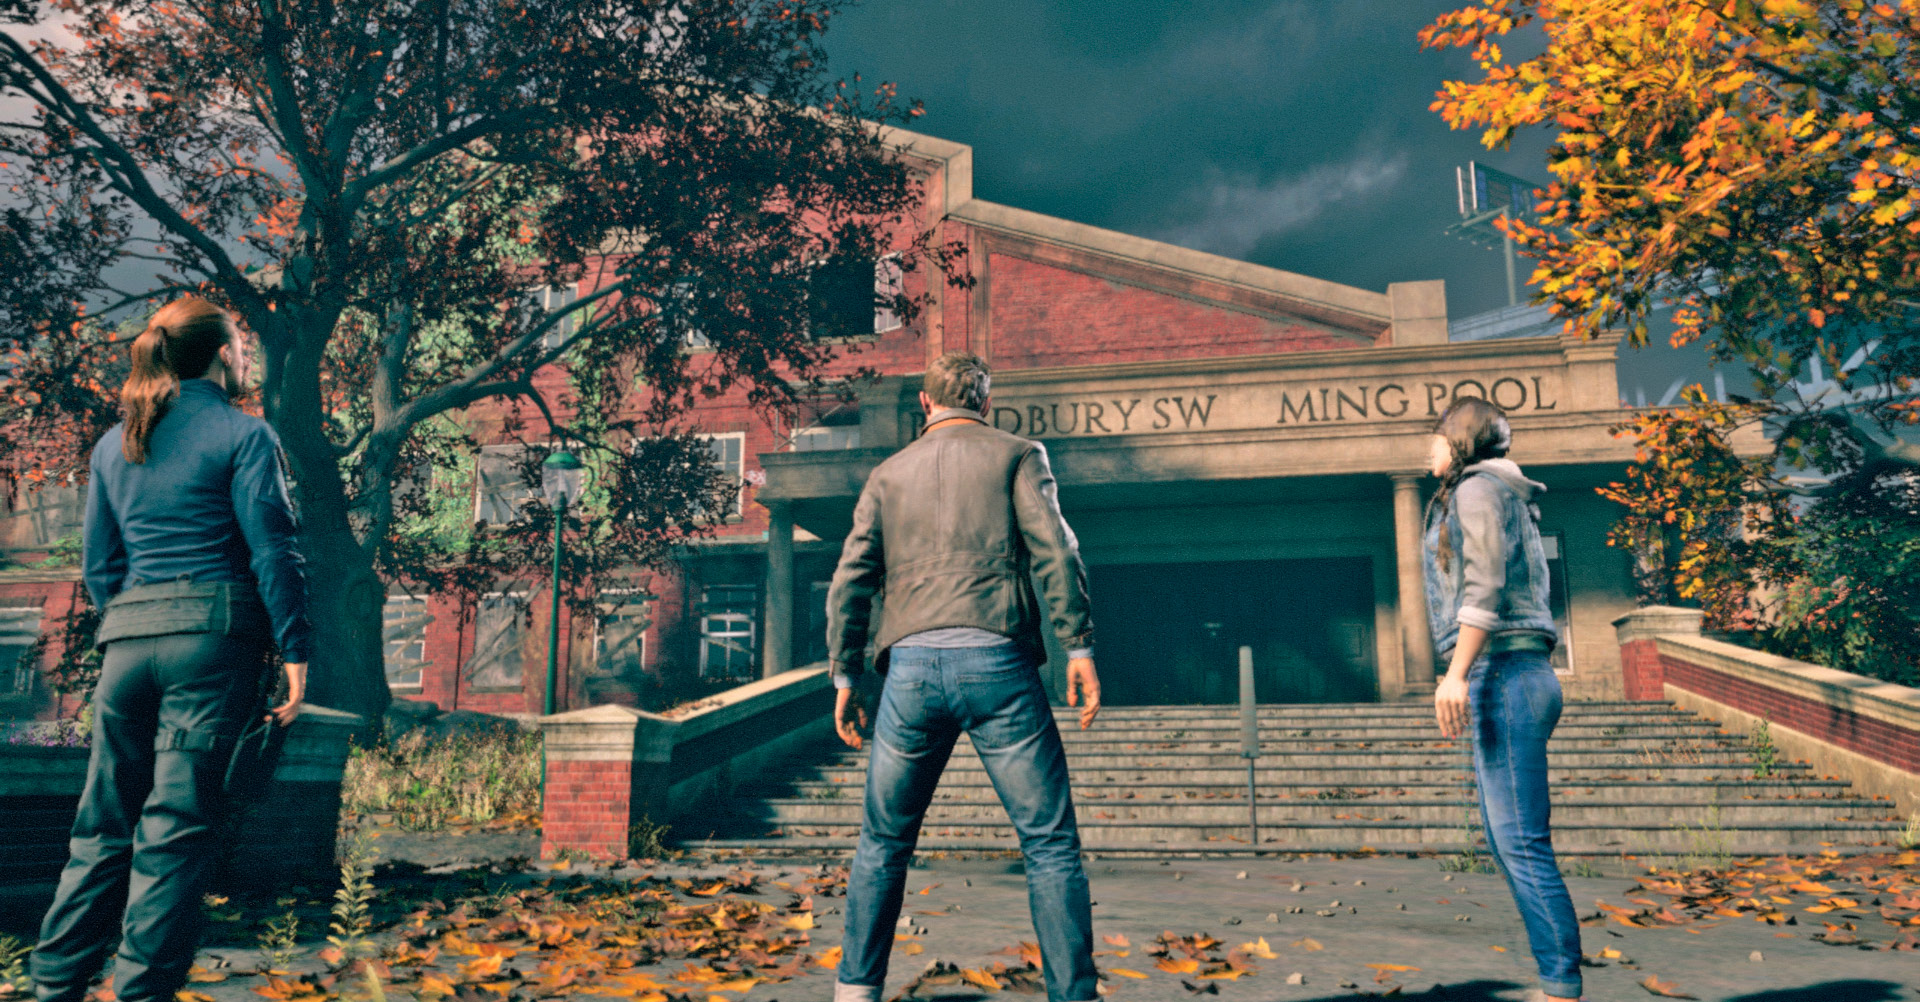
BRADBURY SWIMMING POOL
Arriving at the Bradbury Swimming Pool, which has been closed down for years, Jack, Beth, and the abductee Jack rescued investigate the premises. Incredibly, they discover another Time Machine, hidden in the pool. It’s been built by William.
They also find a video message from William, from July 4, 2010, addressed to Beth. In this message, he says that his countermeasure to the Fracture has been stolen, and he hopes it was taken by her. But Beth says she’s never met William even now, never mind six years ago. It’s another mystery. But the discovery of the Time Machine gives Jack hope: with it, he decides, he can go back in time and put a stop to all of these events before they even happen. Beth is less certain that would work, but she agrees that the Time Machine must be useful.
Using the procedures he learned at the university, Jack attempts to activate the Time Machine, but it turns out that whatever it takes to make the machine work, he doesn’t have it. He’s immensely frustrated, but Beth has another idea: if they don’t have the know-how, somebody else does—Dr. Sofia Amaral, Monarch’s Head of Research, and, with William dead, the world’s leading expert on Chronon particles. If they can kidnap her, they can force her to make the Time Machine work.
Dr. Amaral’s going to be at the gala on Gull Island tonight, but unfortunately, with Jack still on the loose, security there is bound to be airtight. But Jack has a plan for that.
He can surrender.
| Chronon Sources |
5 |
|---|---|
| Intel |
0 |
| Collectibles |
11 |
| Quantum Ripples |
0 |
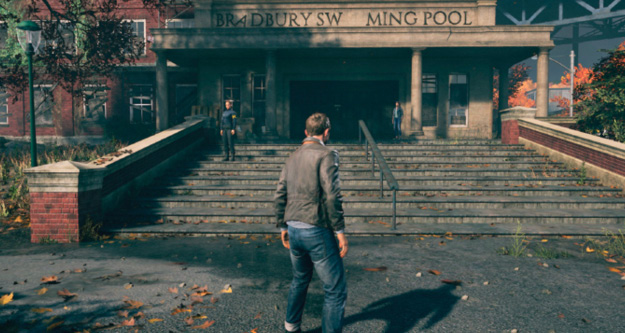
Beth and Jack can finally level set. Jack asks her what she knows. She knows that Will built something that is the only thing that can stop the Fracture. She knows that she was meant to find it—and she knows that Monarch does not what them to. She explains that she has been preparing for this for most of her life. They all need to find Will’s countermeasure—and fast.
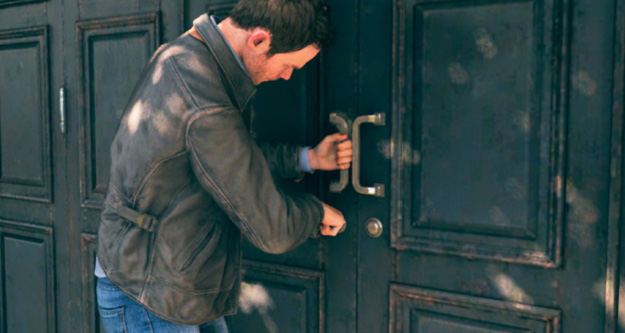
Believing that the key from Will’s briefcase might be able to unlock the front door, Jack tries to open it, but it is locked. They must to find an alternate way into the building.
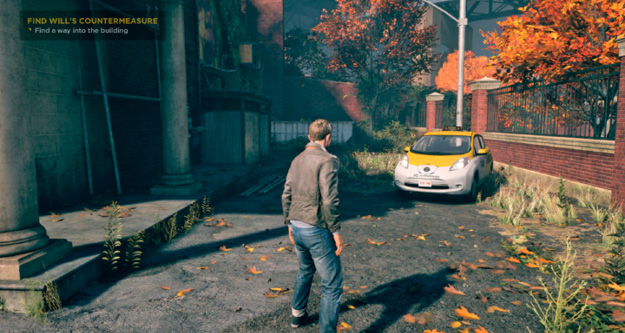
As they search for an entry point, Jack finds a taxi parked on the side of the building. He Interacts with the vehicle. Nick/Amy comments and is surprised that it’s there.
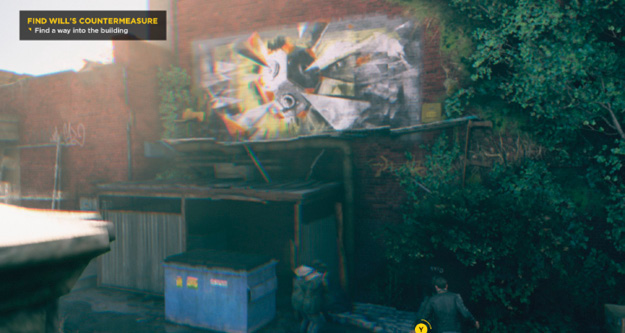
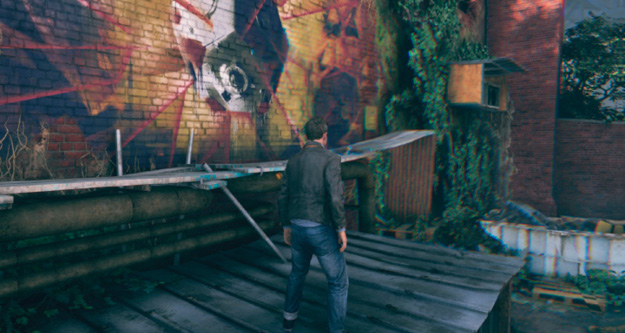
He jumps on the small awning above the garbage can and, from there, jumps to the scaffolding on the left.

Once he makes it on the roof, Jack walks over the entrance to the left of the doors.
By climbing up several sections of the roof, Jack eventually finds an open window and climbs inside.
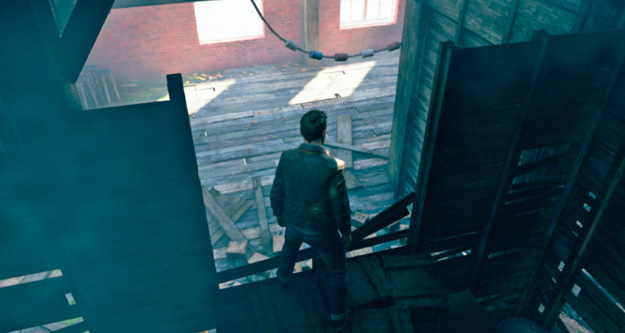
Jack enters the house through the attic, where plantlife has taken over. Nobody has lived in this building in a long time. A very long time.
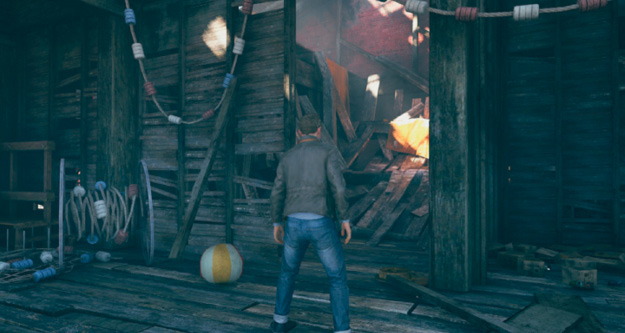
Searching for a way down to open the door for the others, Jack finally finds a ramp covered by the yellow tarp to the top. He finds a path down and jumps down on the other side.
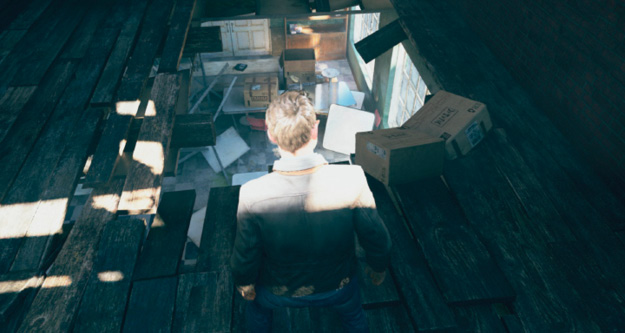
Jack then turns left and drops down through the hole in the floor. He finds a $12,000 moving bill from Will—and Jack speculates that his brother was a moving a lot more to this place than just a few boxes.
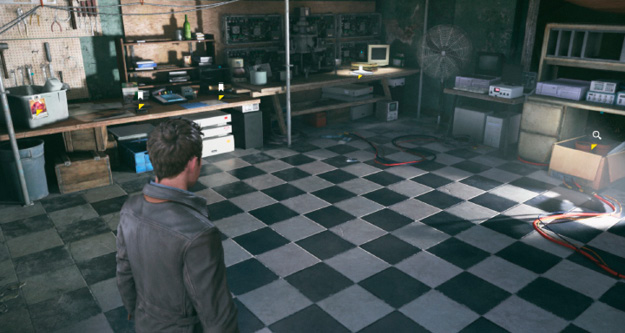
Now on the first floor, Jack uses Time Vision to highlight a number of interesting items from Will’s past in the room that are worth investigating.
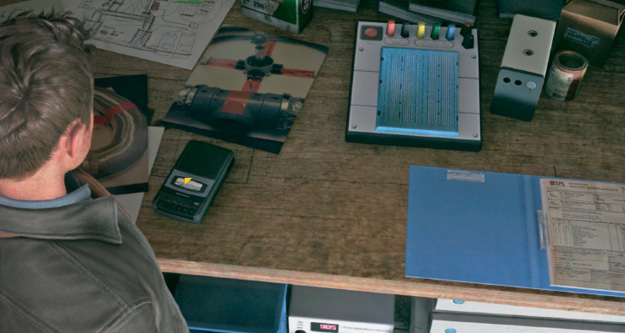
Jack keeps finding interesting items scattered about on the unkempt tables. In this case, an old-school audio recorder with a message from Will.
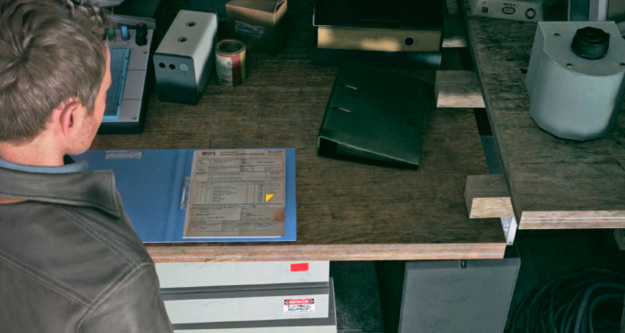
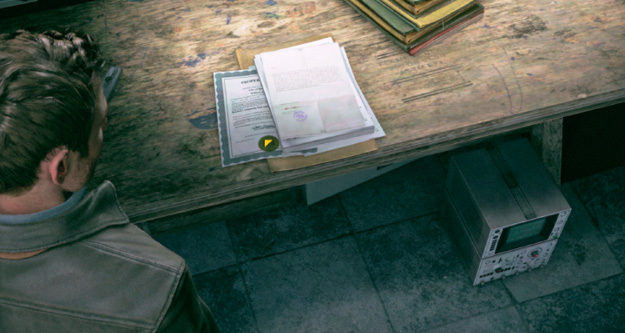
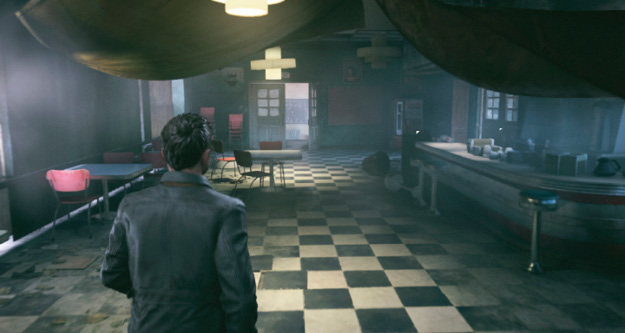
Standing outside the front door, Beth asks if Jack was making progress toward letting them in. He turns around and heads towards the open doorway and the front door.
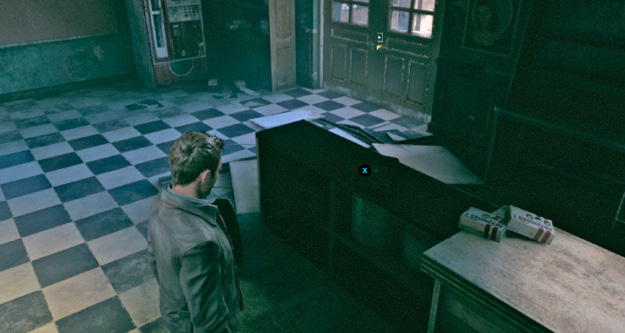
Jack opens the door behind the counter with the radio on it and goes into the kitchen area.
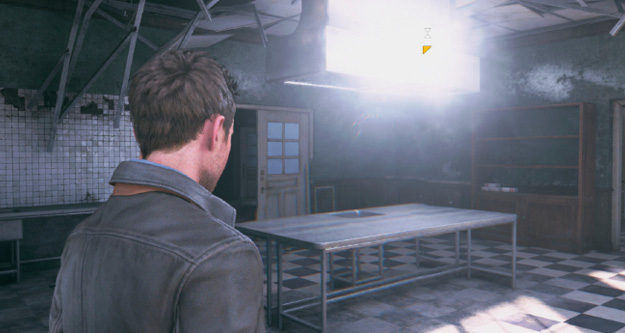
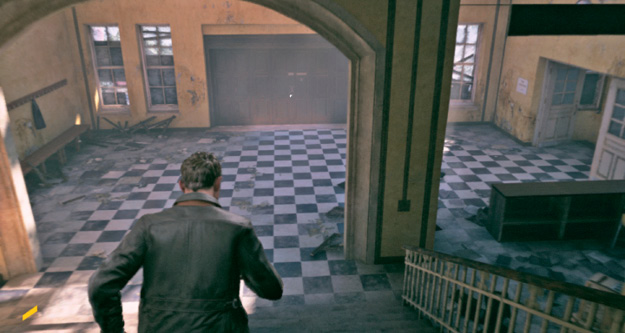
After completing his reasonably thorough investigation of the first floor, Jack finds a staircase that leads down the main entrance where Beth had been patiently waiting.
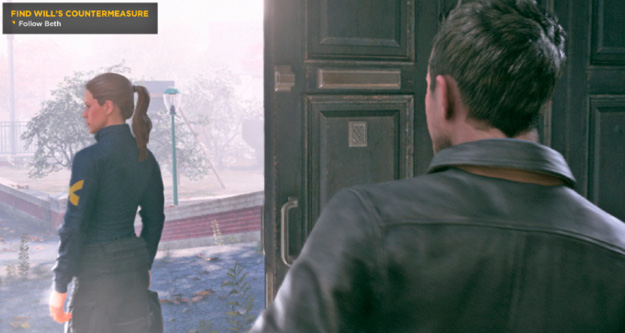
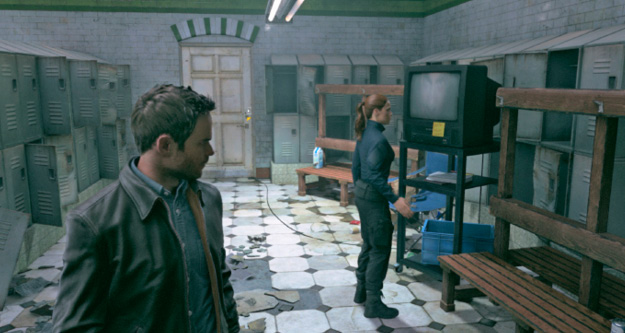
Jack follows Beth through the doorway to a locker room where Beth finds a sticker with a message to her. She turns on the TV to watch a message left behind by Will on July 4th, 2010. Will is clearly upset and is trying to convey something urgently. The countermeasure has apparently been taken and the safe is empty. He is hoping that she has it. Will warns, if it falls into the wrong hands, its power is immeasurable. The future and mankind’s existence depend on it.
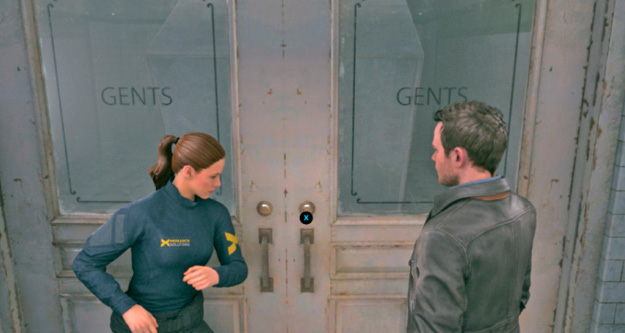
Beth is shocked that Will recorded this message six years ago, as she has never met him before. She also appears very worried that the countermeasure has disappeared or that it has been taken. She wants to investigate further and find out who might have taken it.
She soon finds a door that has been blocked from the inside with a large shelf. She and Jack work together to push the door open.
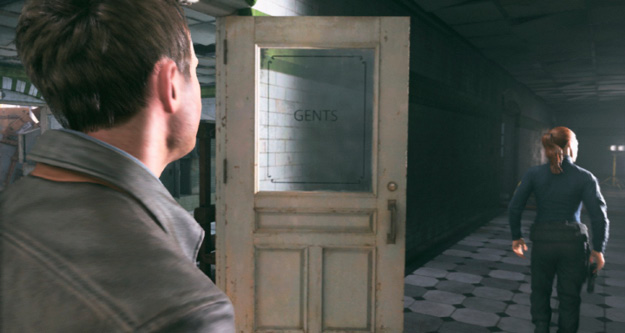
They both walk into the new area to investigate. Jack mentions that it sounded like Will was thinking that she had the countermeasure. She wishes that were so, but believes that it was stolen.
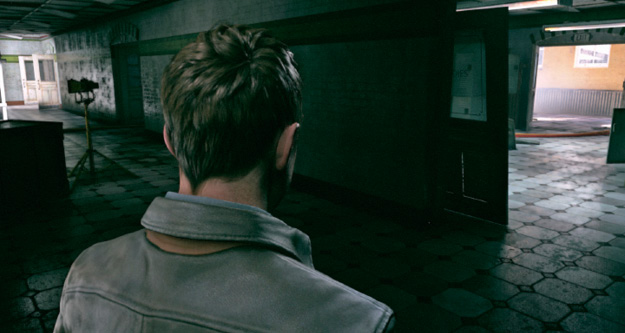
Jack uses his Time Vision to find clues in this new area, but nothing immediately jumps out. The area is large, so the two break up to go faster.
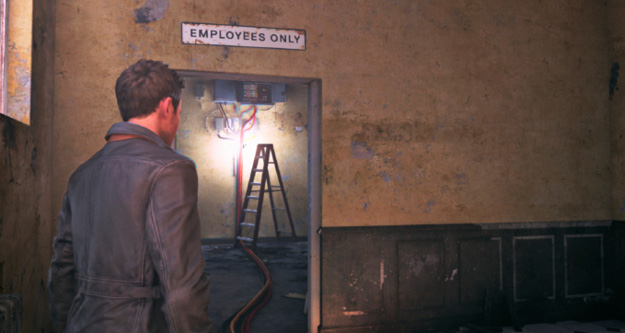
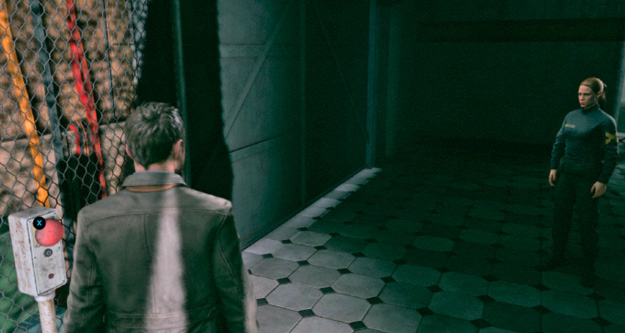
After a short search, they find an activation button for the pool area. Beth lets Jack do the honors and press it. As the large roll-up door moves to the side, they are both stunned to see what’s inside the swimming pool area. A second Time Machine!
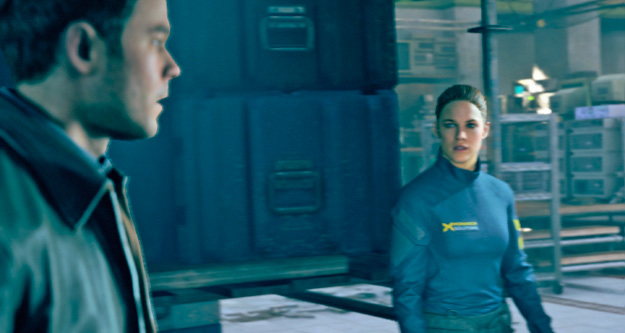
Jack says that this changes everything. In his mind, if they can get the machine working they don’t need the countermeasure. They can stop the Fracture from ever happening in the first place. They can go back to yesterday. Nobody died. Paul doesn’t go into the machine. Monarch never exists. Beth disagrees as she doesn’t believe that time works like that.
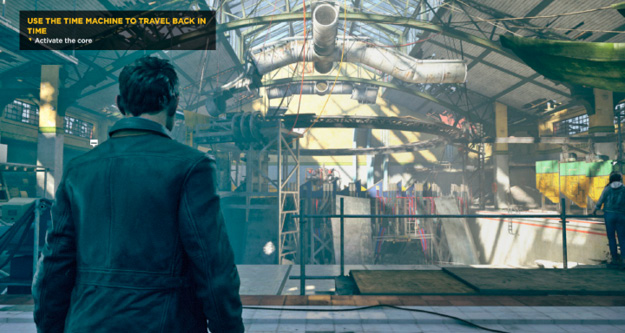
Once in the Time Machine room, use Time Vision and look around. There are a number of interesting objects worth investigation.
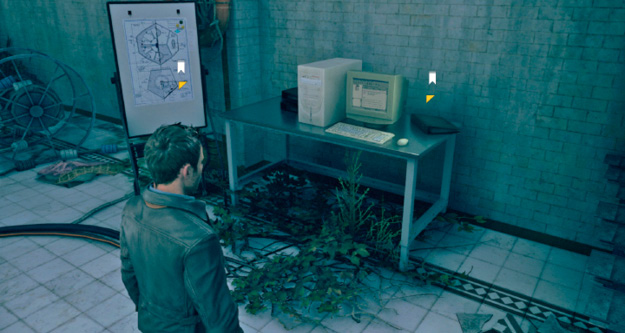
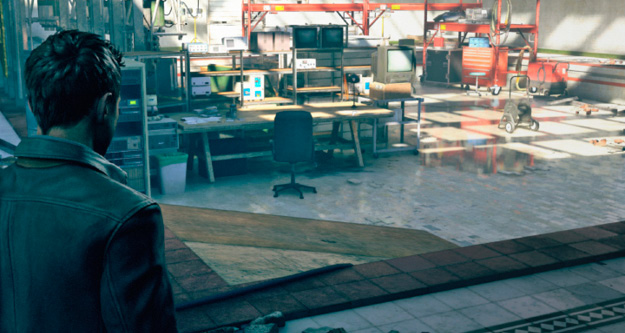
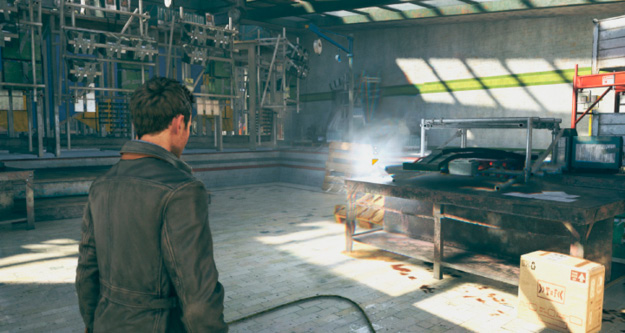
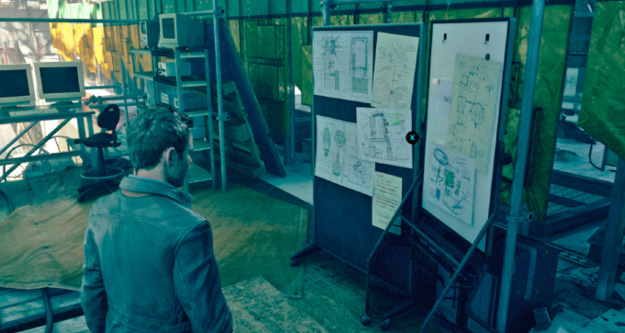
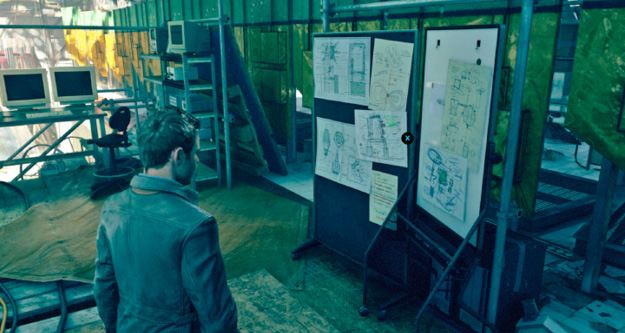
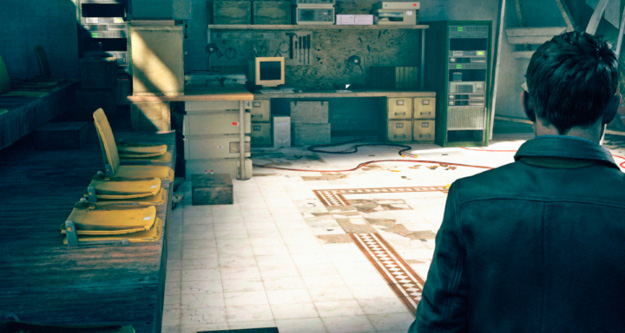
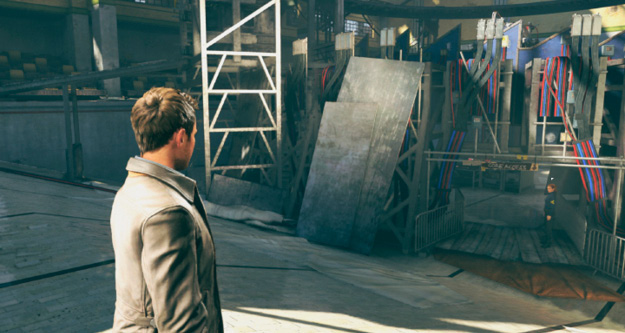
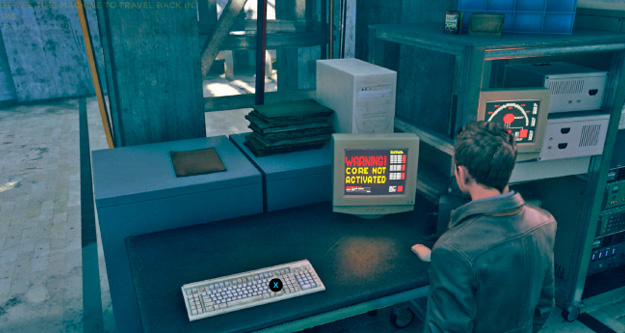
Once it’s on, Jack needs to power up the core.
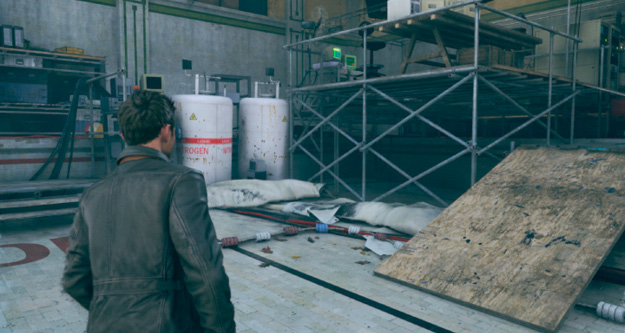
He knows he needs to activate it from the control booth. He runs back up to the rim of the swimming pool area.
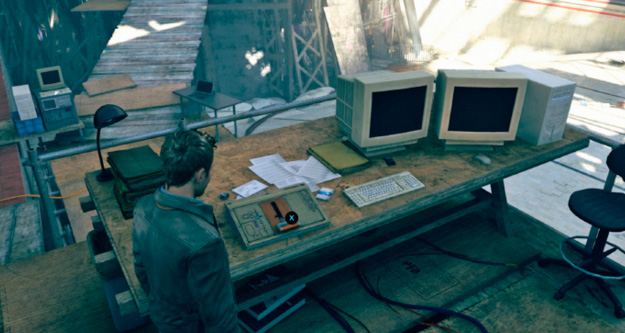
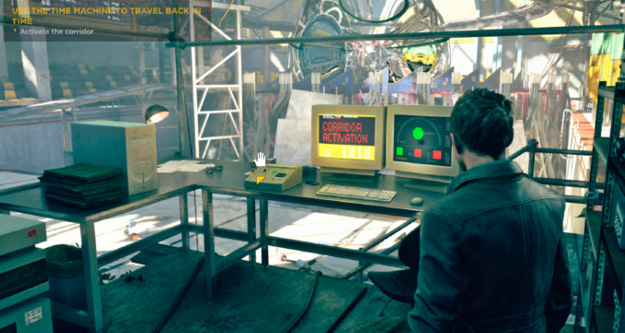
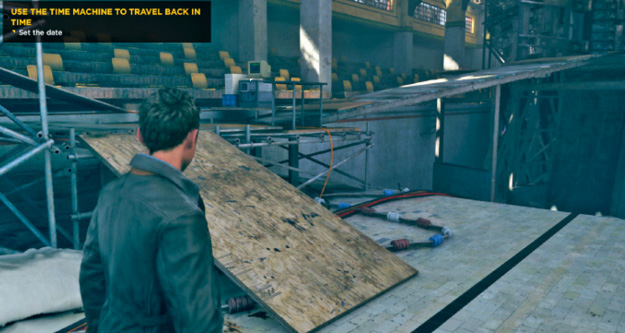
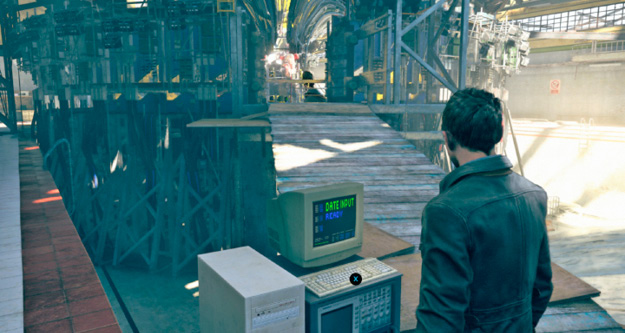
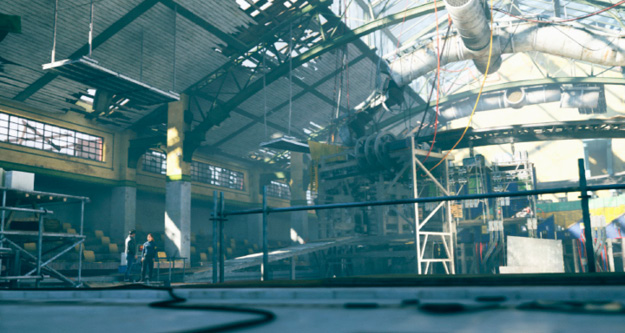
The Time Machine comes alive and the core is activated. Suddenly, Jack realizes that the key he found in the briefcase was to activate the Time Machine. Initially everything seems to work, but then it suddenly goes wrong and the machine appears to be broken.
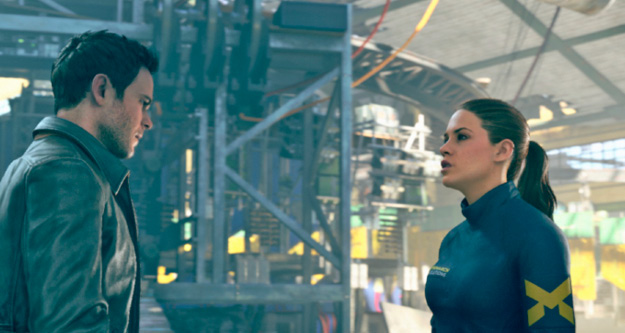
Jack wants to try it again, but Beth stops him. She tells him that they can’t fix the machine, but that she might know someone who can: Dr. Sophia Amaral, a Monarch scientist. She will be at the Monarch Gala later that evening, but security will be incredibly tight. Jack tells her that he has an invite and that Paul told him that he was expecting him there. Given that they are out of options, Jack decides to attend the gala.