Quantum Break Guide Walkthrough Act 1
Junction 1
Junction 1
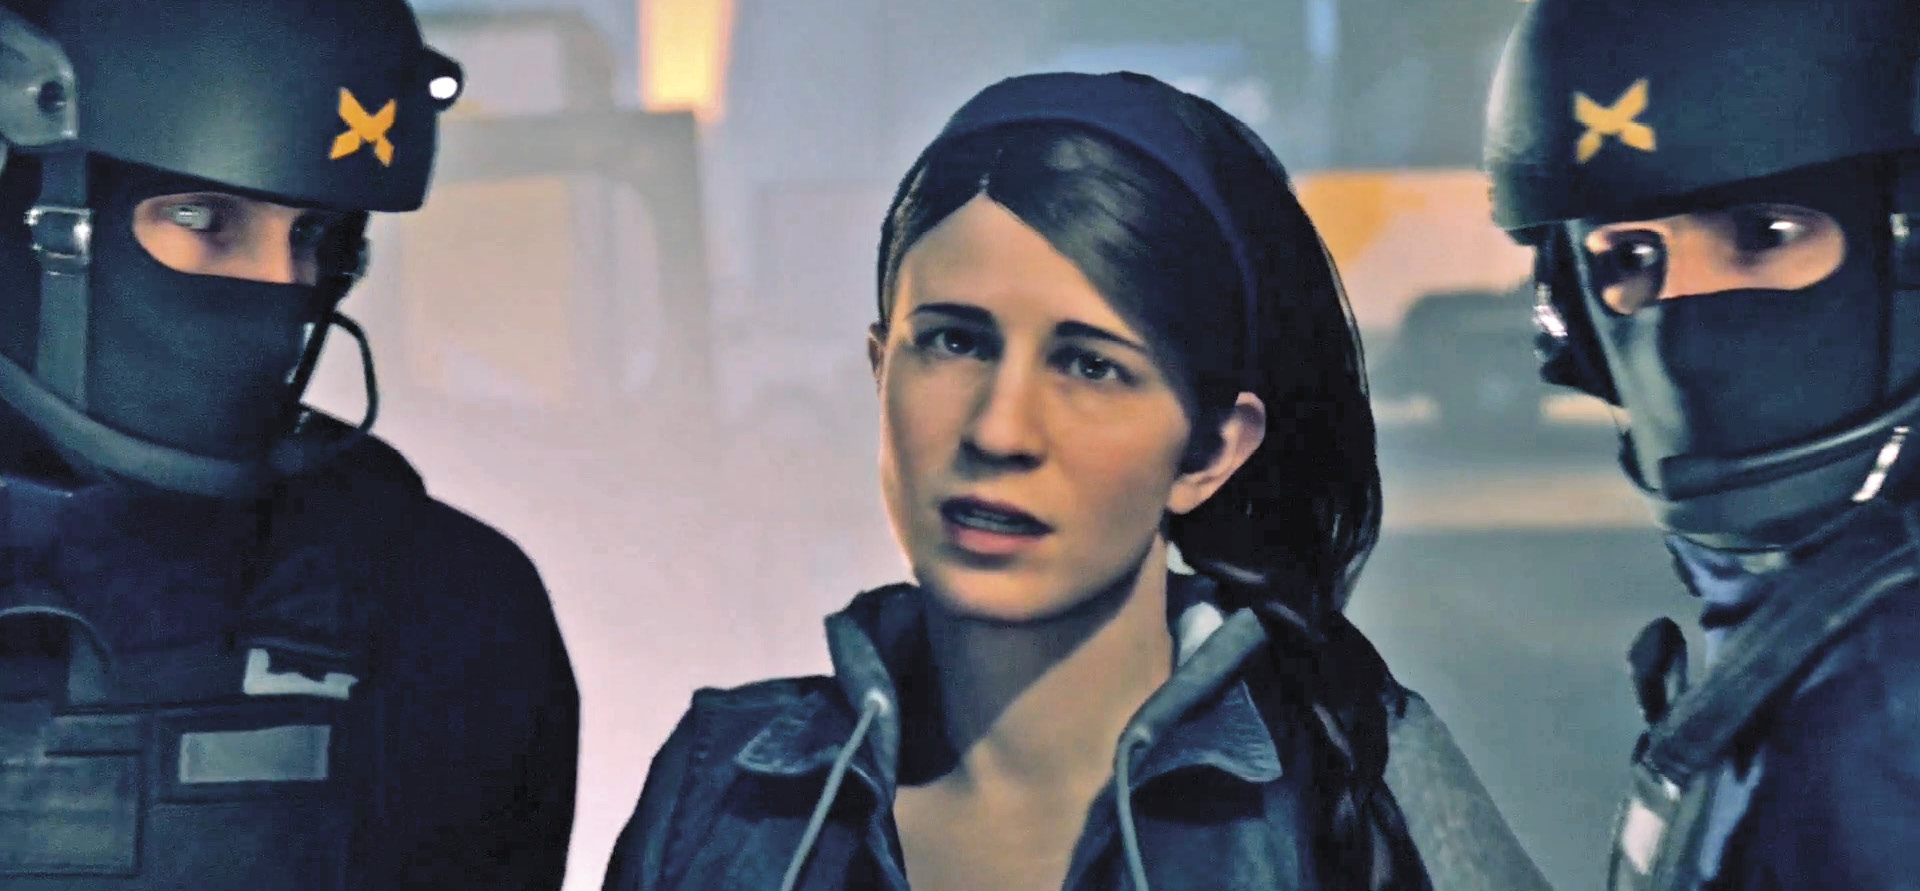
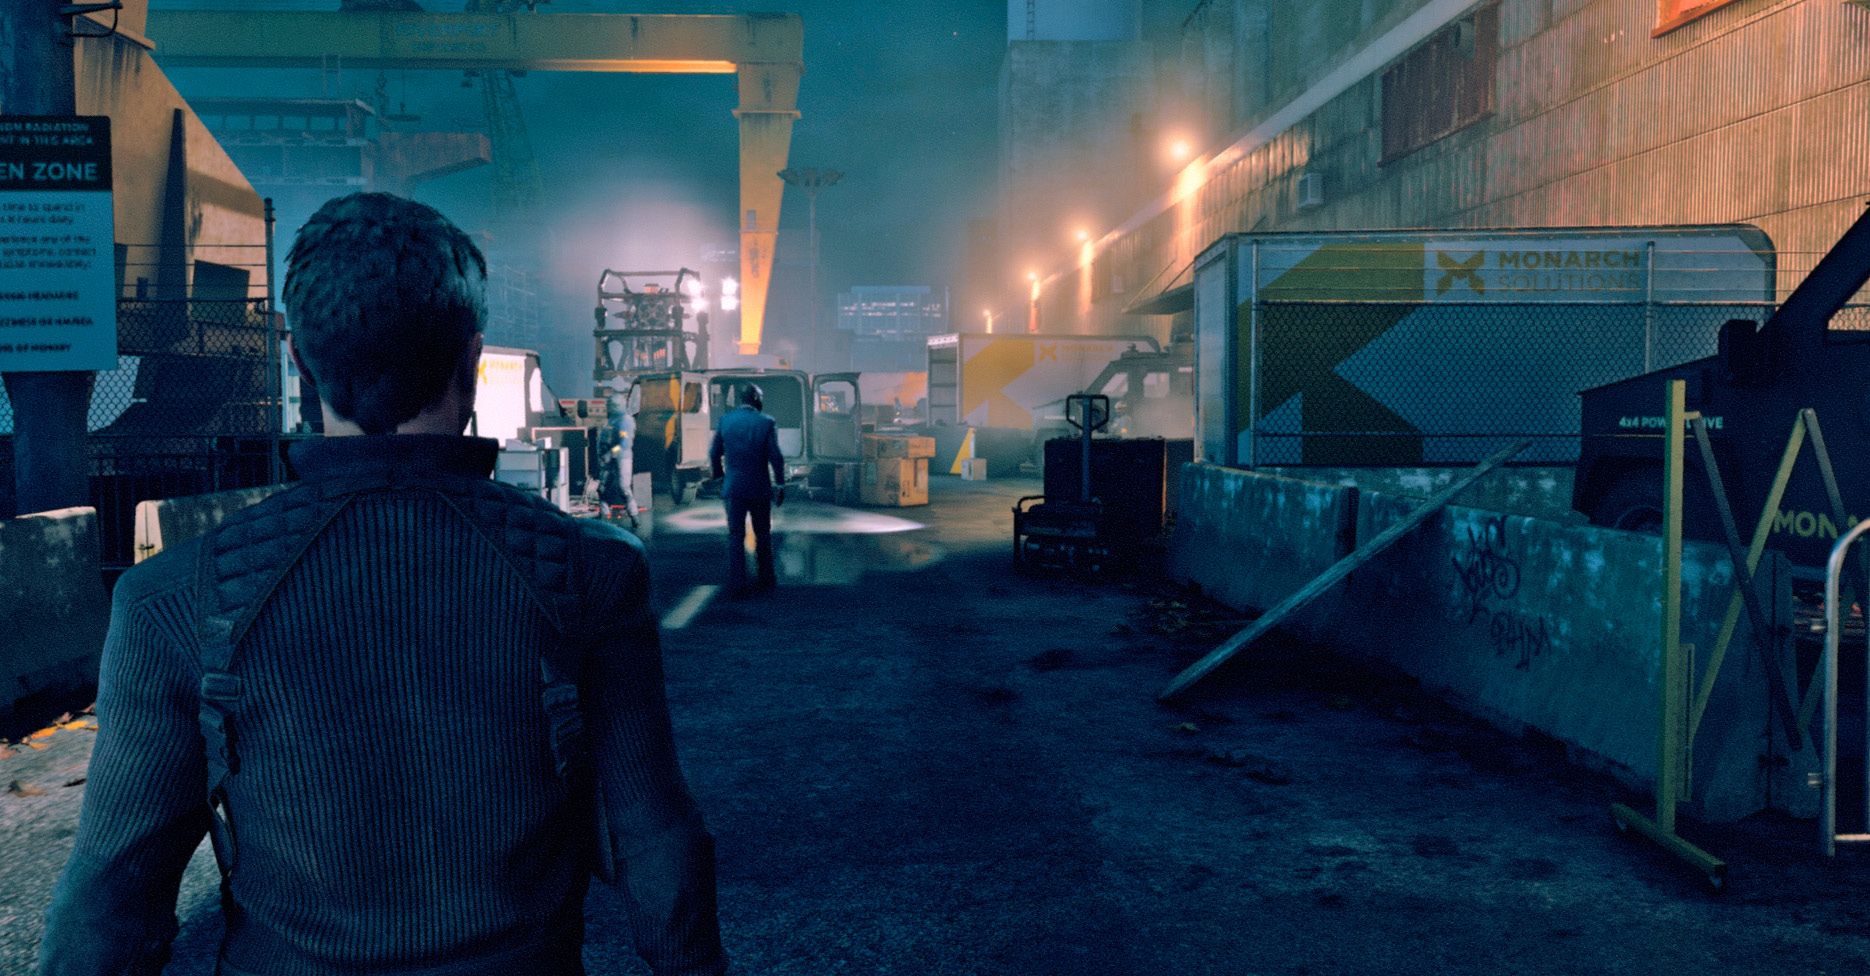
In the aftermath of Monarch’s operation at the Riverport University, Paul Serene meets his right-hand man and the public face of Monarch, Martin Hatch, at the drydocks, where Monarch has established a presence years ago. Monarch is busy preparing to transport the Time Machine core they stole from the Project Promenade lab at the university to Monarch HQ, but there’s another matter for Serene to handle: how to deal with the witnesses to Monarch’s activities at the university. He can either choose a hardline approach, killing all witnesses and denying that anything ever happened, or a PR solution, in which they spin the events into a tale of Monarch heroically intervening when an activist protest turns into terrorist action, led by Jack Joyce.
| Chronon Sources |
0 |
|---|---|
| Intel |
0 |
| Collectibles |
2 |
| Quantum Ripples |
1 |
.jpg)
Following the cutscene, a Junction plays. It is 5:02 AM, October 10, 2016—25 hours after the Fracture in time. Paul Serene is recording a voice memo in which he explains that he founded Monarch Solutions 17 years ago with a clear purpose. He is recording this as a testimony for how things must be. Meanwhile, we see Liam Burke drag the body of Jack Joyce into a van. Beth Wilder is standing nearby observing the scene. A helicopter arrives and Martin Hatch appears.
.jpg)
Paul Serene and Martin Hatch discuss that Jack Joyce’s transport hasn’t arrived yet and that they might have a traitor on the inside. Paul tells him to find Jack and to put his best men on it. As the walk together, Hatch explains that Jack’s level of exposure has led to complications—witnesses at the university. He tells Paul that he needs to take a look and they walk towards where the witness is being held.
.jpg)
.jpg)
.jpg)
As Paul continues walking, just beyond and to the right of the core, there are three objects he can Interact with.
.jpg)
.jpg)
.jpg)
.jpg)
.jpg)
Junction Decision
Once within the Junction decision moment, the consequences of both decisions can be previewed before deciding which option is chosen. This decision can have wide-ranging consequences, so it is important to choose carefully.
.jpg)
In this Junction, Paul Serene must decide if he wants Monarch to take a brutal approach, crush all obstacles and eliminate all witnesses (HARDLINE). This would cause the people of Riverport to turn against Monarch, but their secrets would be safe. Alternatively, he can take a PR-friendly approach and manipulate the public into siding with Monarch by blaming Jack Joyce (PR), however eyewitnesses would be out there and Jack would learn their secrets.