
Quantum Break Guide Walkthrough Act 3
Part 1
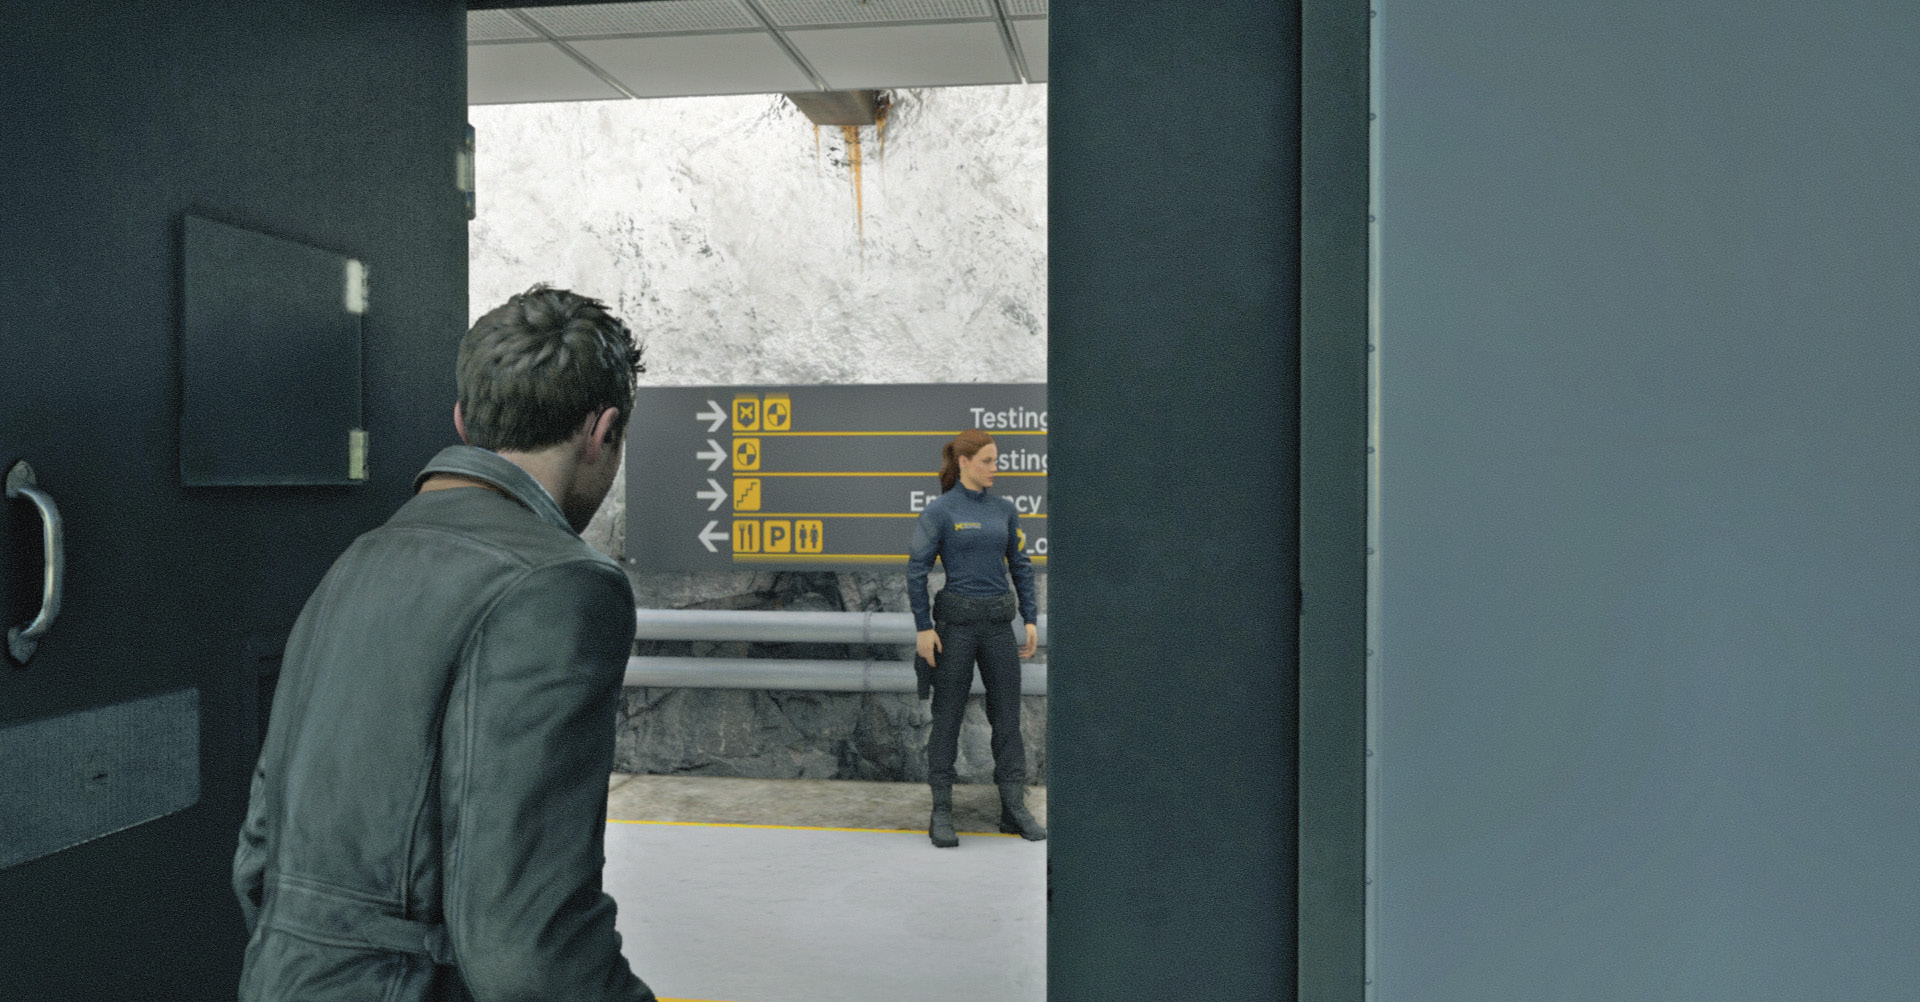
RESEARCH FACILITY
In his holding cell, Jack waits for Beth to come along and spring him. She’s the asset on the inside Monarch doesn’t know about. Once she shows up, she tells him that Dr. Amaral is either at her office in the R&D facility located elsewhere on the island, or she’s at the party at the Monarch mansion. She doesn’t have clearance for the R&D facility, so Jack will have to break into it—with her cover as a Monarch operative, she can scout out the party.
Fighting his way across the island, Jack infiltrates the R&D facility and learns that the scope of Monarch’s operation is huge—but Dr. Amaral isn’t there. Judging by the items at her office, she’s clearly at the party. But Jack’s detour isn’t for nothing; he steals an experimental Chronon harness for Beth. With it, she can keep moving, even in stutters.
| Chronon Sources |
8 |
|---|---|
| Intel |
2 |
| Collectibles |
17 |
| Quantum Ripples |
1 |
%20Blast%20Door%20Screenshot%202016-03-06%2002-06-10.jpg)
Beth frees Jack from his holding cell and gives him an ear piece so they can stay in contact. Unfortunately, she doesn’t have a fix on Dr. Amaral. She might be at the party or at the R&D facility...
Beth leads Jack to a blast door that’s the quickest way to the R&D facility. She disabled the security cameras, but there will be guards. Before they separate, Beth urges him to not make this personal. Too much is at stake.
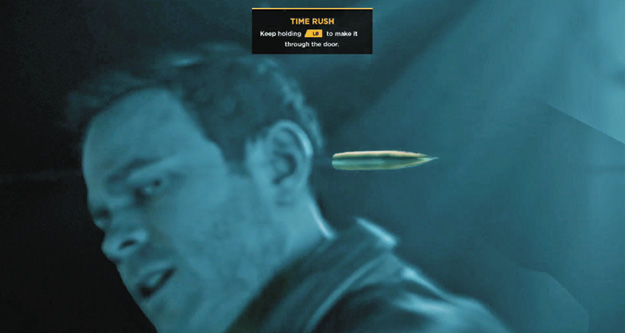
Almost immediately after Jack steps through the blast door, he is spotted by a Monarch Guard who sounds the alarm. Jack uses Time Dash to reach the guard as quickly as possible.
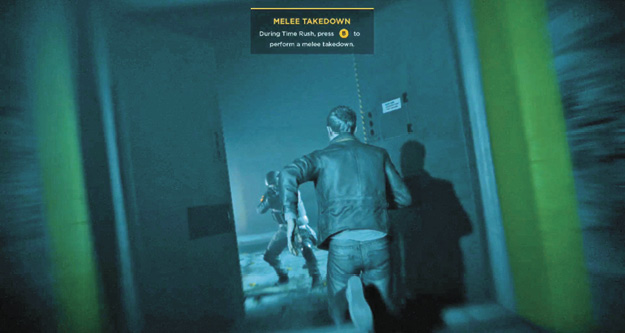
Jack then uses Melee Takedown to knock the guard out. Jack’s powers are definitely still growing. He picks up the Monarch operative’s Assault Rifle and then looks for a way to open the gate leading to the R&D facility.
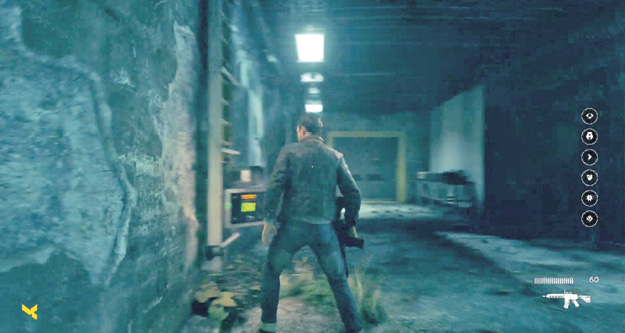
Jack quickly finds an access panel nearby that appears to be controlling the gate at the far end of the corridor.
%20Through%20Gate%20Time%20Blast%20Screenshot%202016-03-06%2002-09-33.jpg)
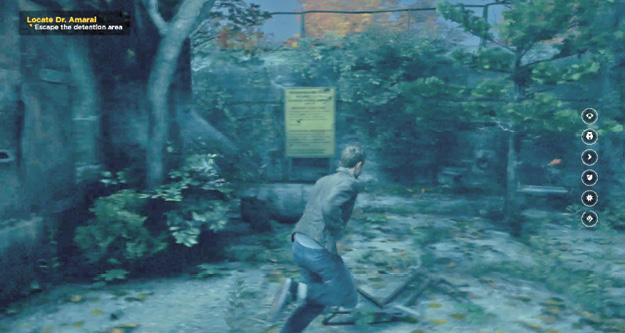
Beyond the gate, Jack finds a network of utilitarian, unlit corridors, some of which have extensive graffiti. Jack contacts Beth to let her know that he’s in the clear.
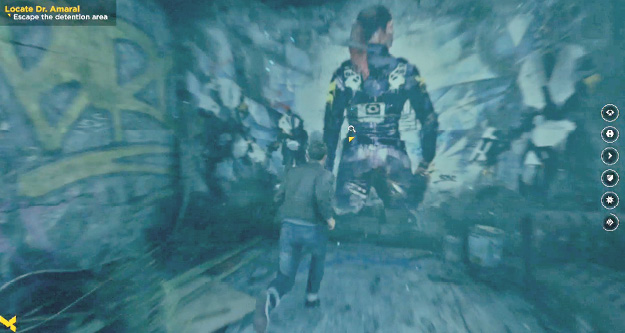
As Jack proceeds through the gray corridor, he passes by an open room and decides to go in to investigate. There’s an interesting painting on the opposite wall of that room.
%20Ramp%20Screenshot%202016-03-06%2002-13-04.jpg)
The room with the painting is a dead end, so Jack heads back outside and continues up the ramp.
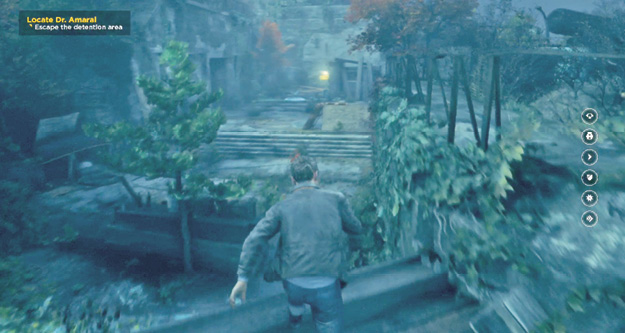
Once Jack enters the next corridor segment, a red laser light locks onto him and a machine gun turret on the far side opens fire.
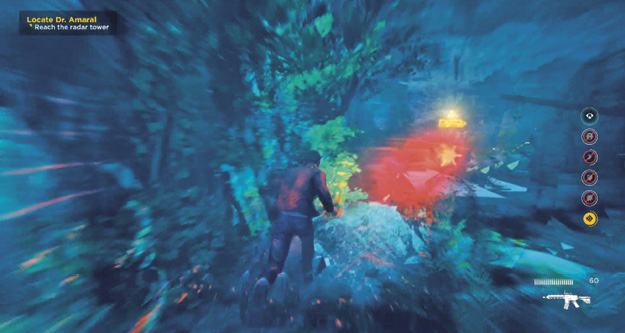
Jack successfully passes the turret and then turns around to disable it.
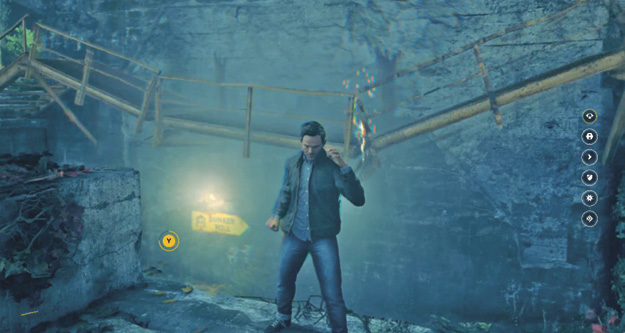
On a nearby wall, Jack sees a brightly-lit sign entitled “Bunker Hill.” Underneath are the remains of a fallen catwalk. Jack climbs up a wall on the other side, but the path beyond that is blocked.
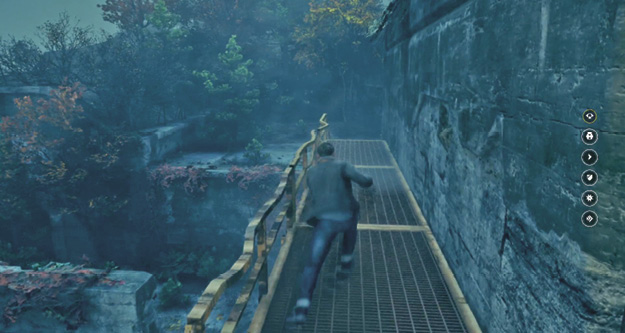
As the Time Restoration is of limited duration, it is critical for Jack to position himself in such a way that he can quickly Time Rush across the catwalk before it falls back down.
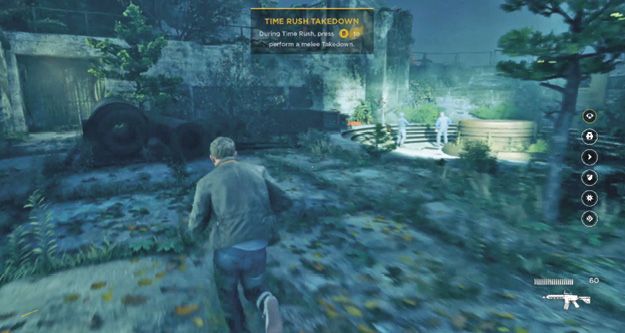
Jack proceeds up a staircase and then runs into two Monarch operatives, apparently guarding the base of an old cannon. He takes out the two men without much difficulty.
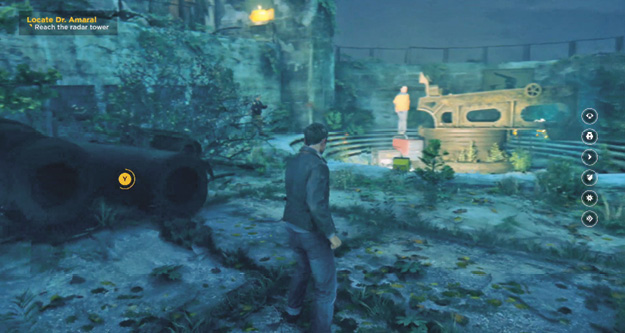
Something in this area does not feel quite right to Jack. Something about time. He looks for a way to get further up the hill, but can’t find one. Eventually, behind some metal pipes, he can use Time Restoration.
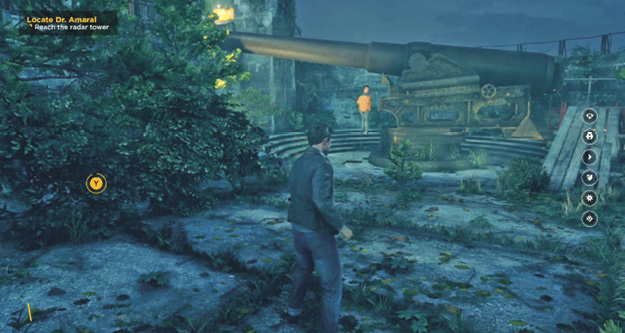
Jack now has a clean path out of this area; run up the wooden ramp and then climb onto the barrel of the large cannon to cross the elevated area further up the hill.
%20Ramp%20Cannon%20Screenshot%202016-03-06%2002-18-24.jpg)
%20Cannon%20Sign%20Screenshot%202016-03-06%2002-19-58.jpg)
%20Cannon%20Cross%20Screenshot%202016-03-06%2002-20-58.jpg)
%20Chronon%20Source%20Screenshot%202016-03-06%2002-22-23.jpg)
Once Jack reaches the other side, there are two paths to choose from: either through a chained gate or down a staircase where a bright light is visible below.
%20Chronon%20Source.jpg)
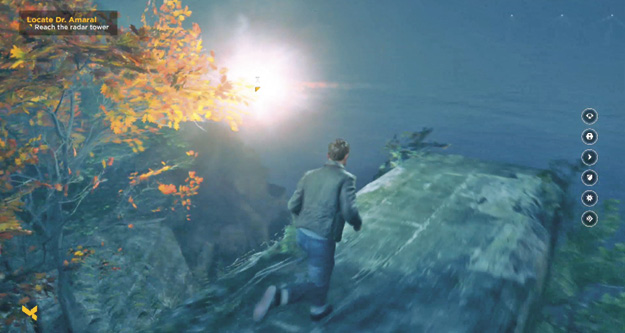
Jack chooses to first try the staircase and descends toward the bright light.
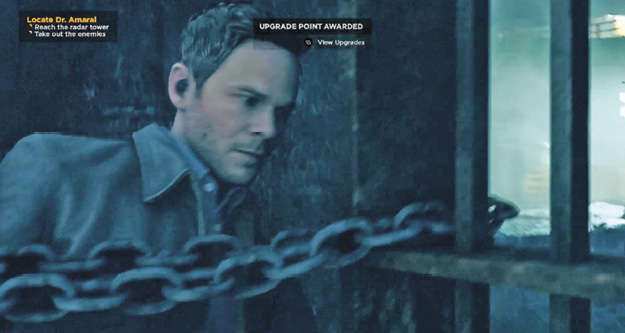
Aside from that, the area proves to be a dead end and Jack turns around and climbs up the stairs to get back to the chained gate.
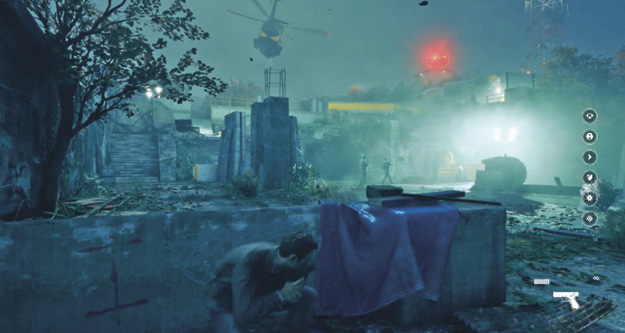
There are several enemies in this area, including two snipers and another turret at the top. Jack must take out two operatives patrolling at the bottom, then proceed up the staircase to the next level. There’s a sniper directly above a wall near the crates, and another one up against the fence by the gate to the radio tower.
%20Snipers%20Screenshot%202016-03-06%2002-28-00.jpg)
Jack must take out the operatives that charge down, then take cover and work on eliminating the snipers.
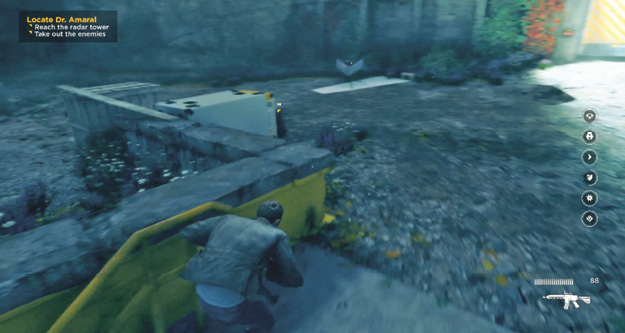
Once the snipers are out of the way, Jack proceeds up the next flight of stairs near the crates and takes out some more operatives.
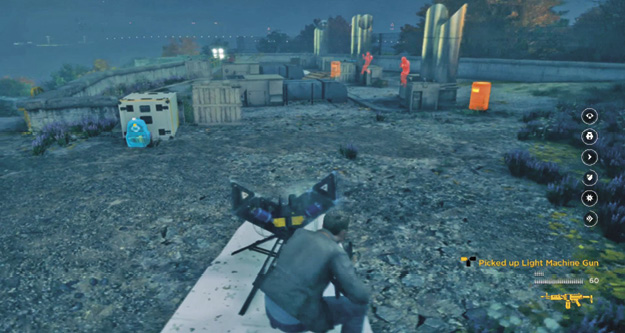
Jacks uses Time Rush to make it behind the Monarch turret and disable it.
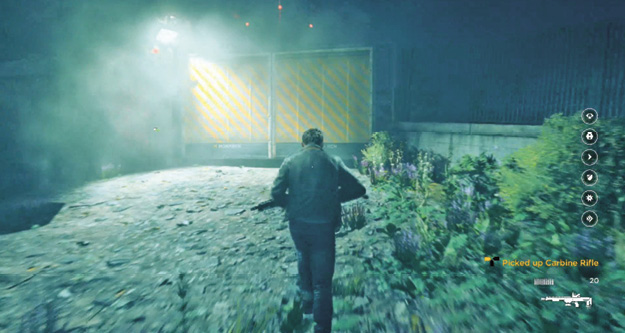
Just as Jack eliminates the last opponent, Beth calls him with the good news that she managed to disable security and to unlock the gate leading to the tower.
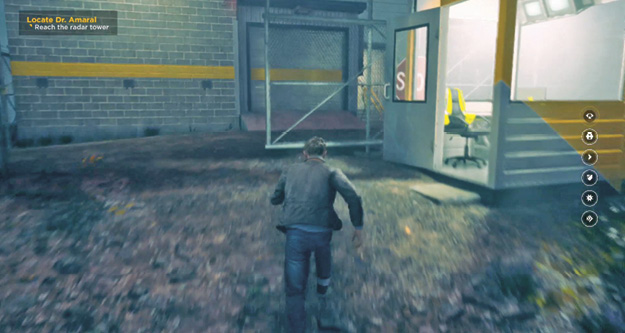
After passing through the gate, Jack runs up the path to the radio tower. He contacts Beth to get further information regarding the location of the R&D lab. She explains that the lab is below his feet, as it’s all top secret. The elevator inside the radio tower will take him down there.
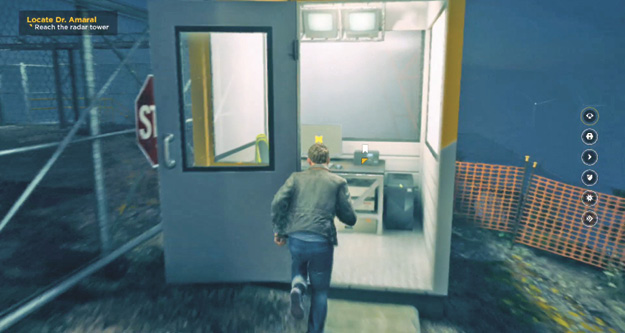
Jack runs up to the small guard booth ahead and takes a look inside.
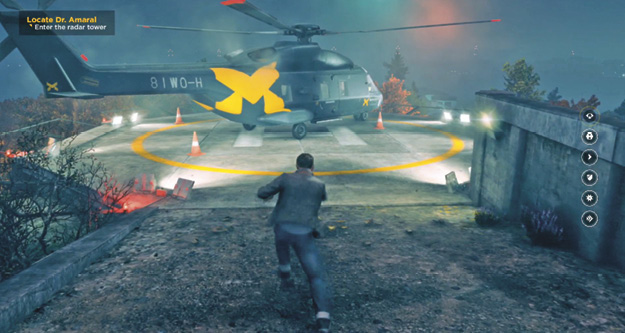
Turning to the left, Jack runs down a small hill toward a helipad with a parked Monarch helicopter.
%20Stairs%20Radio%20Tower%20Screenshot%202016-03-06%2002-33-21.jpg)
Otherwise, the helipad is another dead end and Jack runs back up the hill toward the radio tower. Instead of going in, Jack sees a staircase on the right and follows it down.
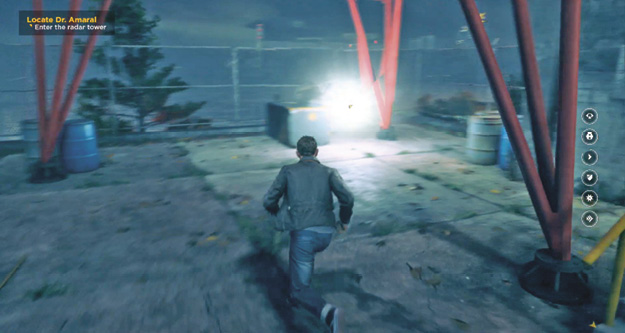
Once he reaches the platform below, Jack looks around as this appears to be another dead end.
%20Door%20Radio%20Tower%20Screenshot%202016-03-06%2002-40-39.jpg)
As he can’t find any other way forward, Jack decides to climb the stairs back up to the entrance of the radio tower.
%20Quantum%20Ripple%20Screenshot%202016-03-06%2002-41-29.jpg)
Just as Jack enters the building, loudspeakers all over the property transmit Paul Serene’s gala speech.
%20Interact%20Elevator%20Screenshot%202016-03-06%2002-42-43.jpg)
Jack contacts Beth to tell her that he’s at the elevator. He also cynically comments that Paul Serene still likes the sound of his own voice. Beth, who is listening to the speech, explains that Paul is currently pitching his survival plan to the associated guests of the gala.
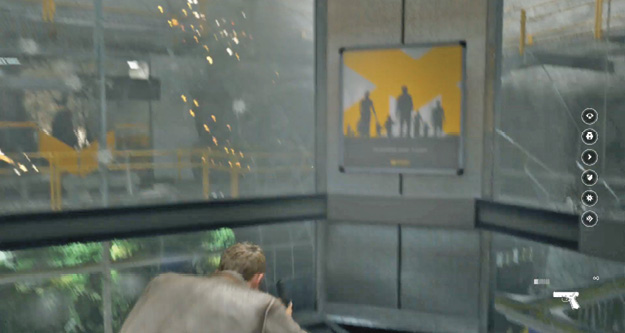
Monarch Research Facility - October 9th, 2016, 8:35 PM—16 hours after the Fracture in time.
As the elevator slowly descends to the R&D lab level below, a number of Time Stutters hit. One of them stops the elevator altogether.
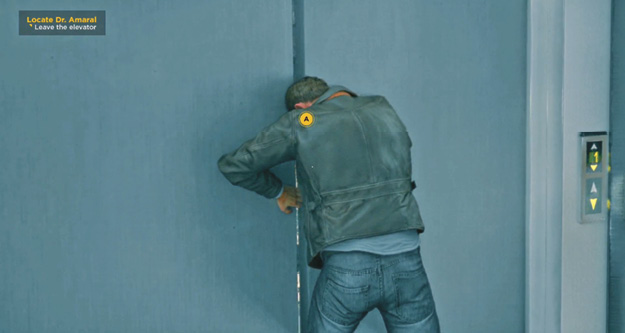
Jack must force the door open as the stutter appears to be quite permanent.
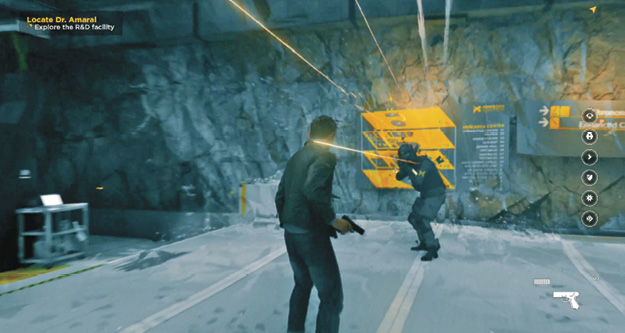
After jumping down from the stuck elevator, everything is frozen—the Monarch personnel, bullets, and tracer fire as they were opening fire on Jack, everything. His radio contact with Beth also abruptly ends, indicating that she was also frozen.
%20Facility%20Map%20Screenshot%202016-03-06%2002-45-02.jpg)
Jack looks around and sees a large-scale map of the complex on the far wall of the cave. He approaches it in hopes of finding the precise location of Dr. Amaral’s office. After a few seconds, he has it: one level up from his current location, on level F3.
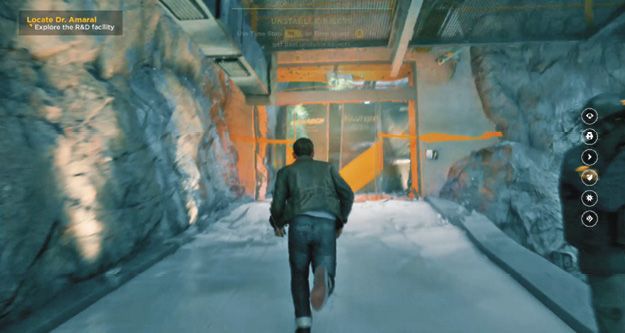
Jack runs up the ramp and encounters an unstable door near the top. It reminds him of his dangerous experience at the drydocks and Jack chooses to be careful.
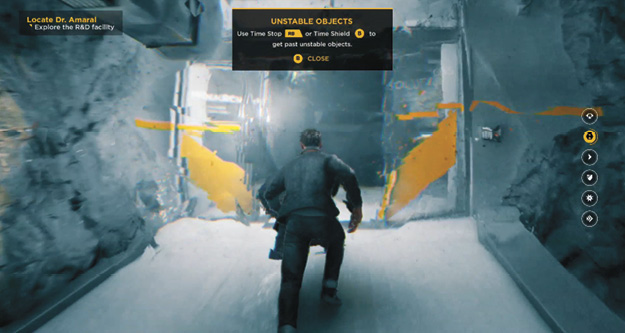
Before passing through the door, he wants to stop it in place by using his time powers.
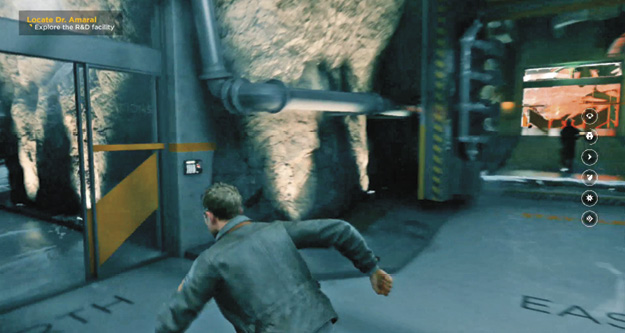
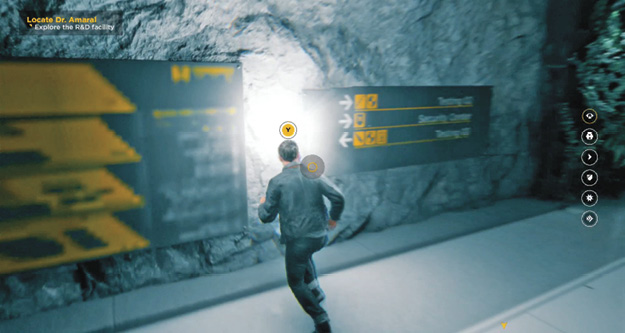
As Jack keeps progressing through the corridors of the R&D Facility, he encounters another Chronon source.
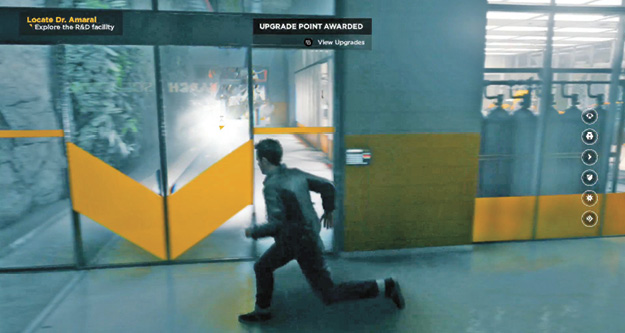
Jack follows the wall until he reaches a dead end. Using Time Vision up against the closed glass door reveals a Chronon source just on the other side. Jack hopes to reach this location after progressing further through the headquarters. Given that he reached a dead end, though, he turns around and walks by several large laboratories.
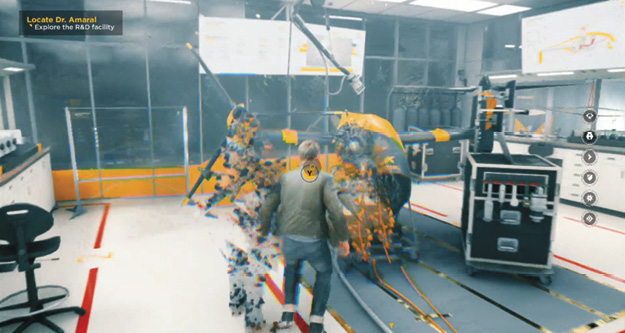
Jack enters the first lab on the left that seems to be filled with drones. The thought of a company like Monarch having eyes in the sky makes him quite uneasy.
%20Partially%20Opened%20Door%20Screenshot%202016-03-06%2002-46-30.jpg)
As there is nothing else of interest, Jack leaves the drone room and heads to the left, through a partially opened door.
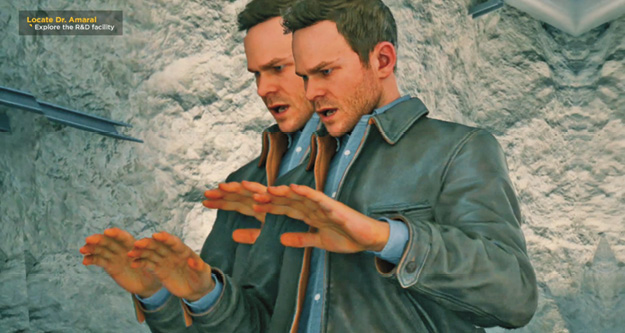
As he walks into the next area, Jack immediately notices that something is very wrong. He experiences a feeling of being drained. His time powers—to be precise—are being drained.
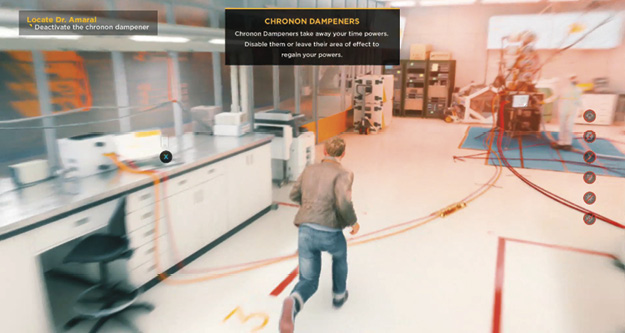
As he searches the room for a cause for this effect, he finds a control panel next to a high-tech looking object. It’s called a Chronon Dampener, and it creates a large bubble that’s draining any type of time power.
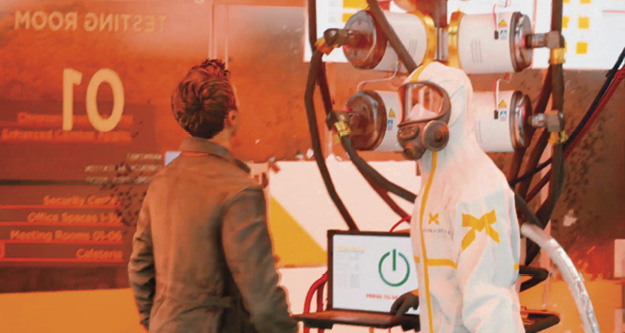
As the machine powers down, the effect quickly dissipates. Once back to his normal super time-powered self, Jack further explores these labs.
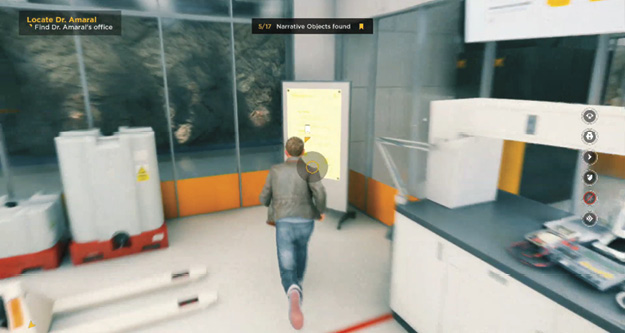
In the far corner of the room, he finds a whiteboard with a poster on it that contains very interesting information about “shifters.” These shifters are beings theorized to exist only in a state of quantum superposition—they only exist in zero state (inside stutters).
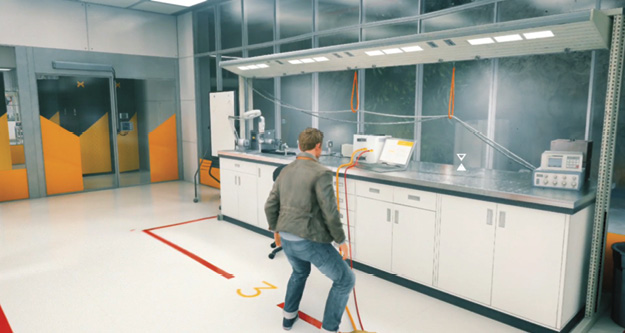
Jack also finds an unsecured laptop on one of the lab tables. It displays an email from Paul Serene about the Lifeboat Protocol.
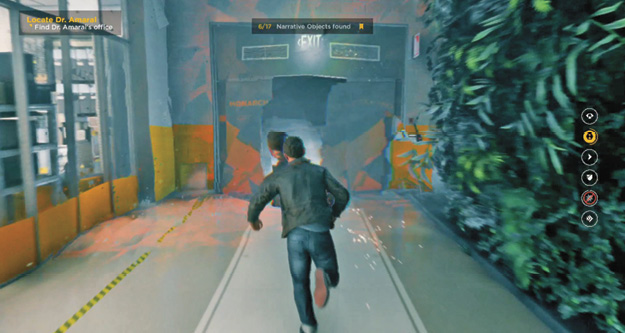
Jack exits the room and heads further to the left, deeper into the facility. Before passing through, Jack wants to stop the door in place by using his time powers.
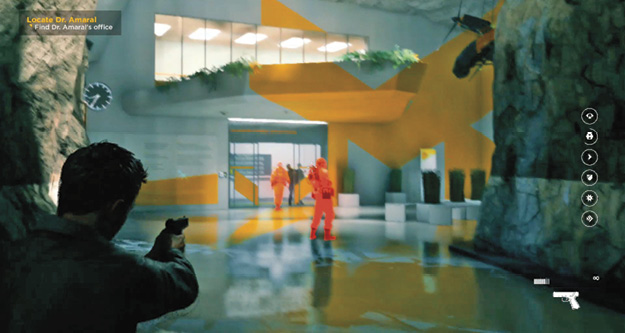
As Jack enters the next larger open area, two Monarch technicians with stutter belts suddenly come into view. They spot him and open fire. Jack must eliminate them.
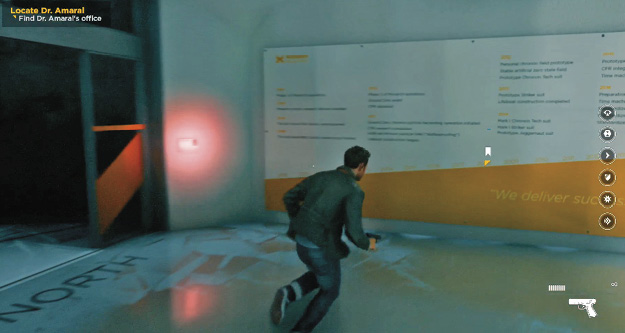
Once the technicians are no longer a threat, Jack takes time to look around. There’s a giant timeline on one of the walls that shows Monarch Solutions’ inventions. Curious, Jack takes a closer look—all the inventions came after 2010, which of course coincides with Will’s Time Machine at Ground Zero.
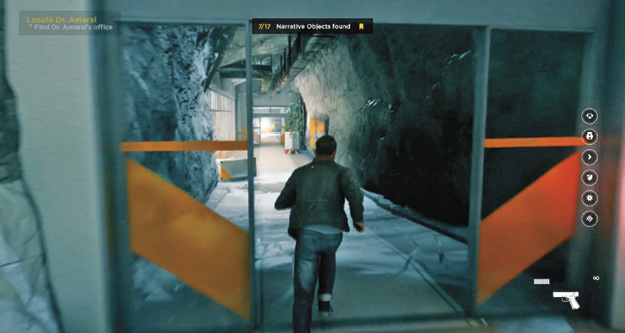
Jack now has almost completely surveyed this floor and knows that there is one Chronon source left that he didn’t get to earlier. By taking a few more turns, he sees the Chronon source in the distance and runs there to pick it up.
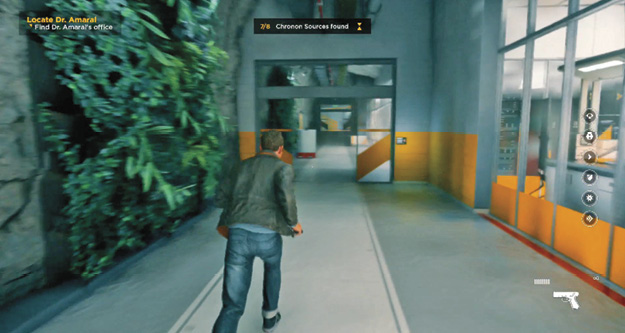
After gathering the Chronon source, three technicians with Time Stutter belts charge down the hallway after Jack. He must take them out, then head back to the larger hall with the timeline and elevator.
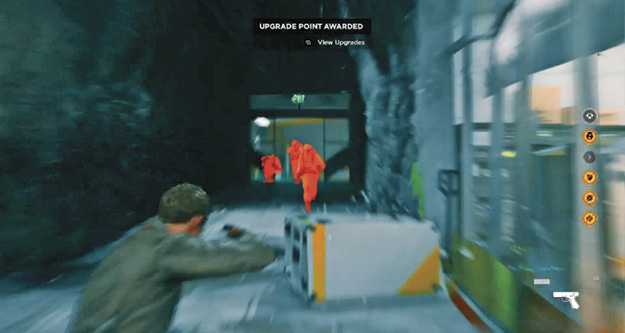
Jack looks around for other options, but the only way forward is to go directly into the research laboratory area. All of the doors are locked with the exception of one, which is cracked open.
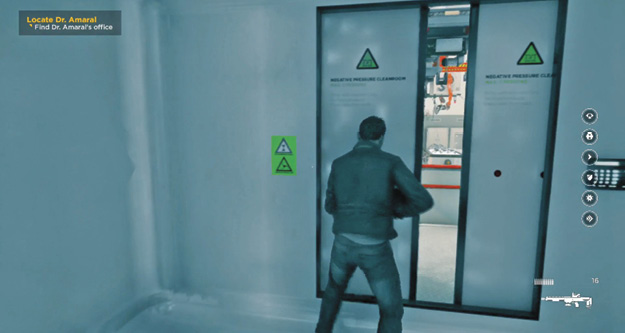
Approaching the crack in the door leads Jack into the actual laboratory.
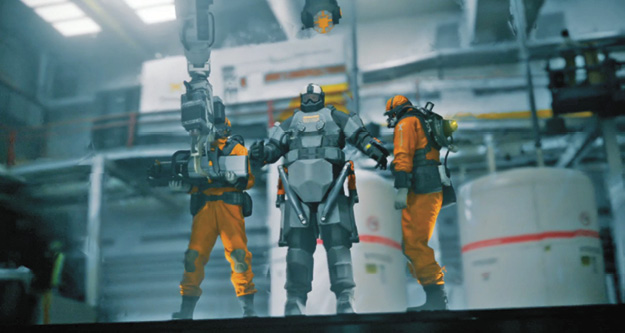
As Jack enters, he is stunned by what he sees. Two Monarch technicians are suiting up a heavily armored unit that Jack has never seen before—a true Juggernaut.
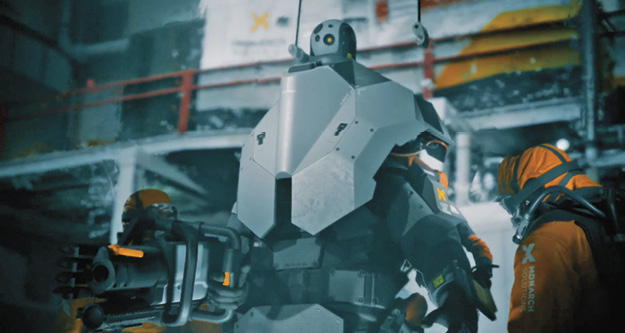
The Juggernaut operator sees Jack and immediately opens fire. He shoots explosive projectiles and Jack barely makes it to cover alive.
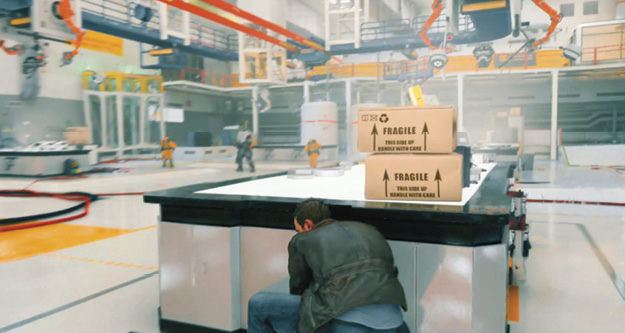
When the fight starts, Jack realizes that he has to be quick on his feet. Even when in cover, he is not safe as the Juggernaut’s cannon shoots explosive projectiles that can and will cause serious damage even when in cover.
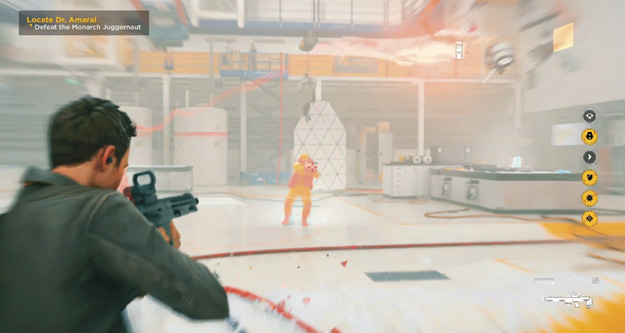
Jack starts by taking out the two Monarch technicians as that makes things a little easier and allows him to focus on the new Juggernaut opponent. Either way, he needs to keep moving so he doesn’t become a sitting duck.
To damage the Juggernaut unit, Jack must hit him directly in the back. Given the unit’s size, Jack also quickly realizes that the Juggernaut is incredibly well armored and has great offensive capabilities, but it’s heavy and can’t turn quickly.
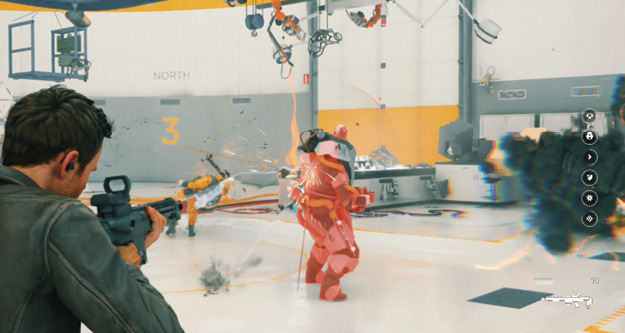
Whenever he can, Jack tries to get behind the Juggernaut, empty his magazine, and then dash away before the large unit can adjust to his location and get one of its dangerous explosive projectiles off.
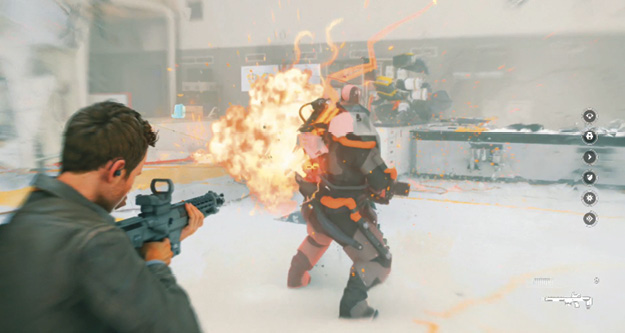
As Jack continues to fight the Juggernaut, his tactics get more and more refined.
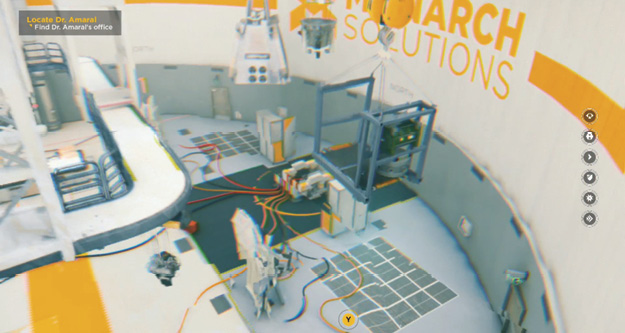
Finally, Jack defeats this true technological monster.
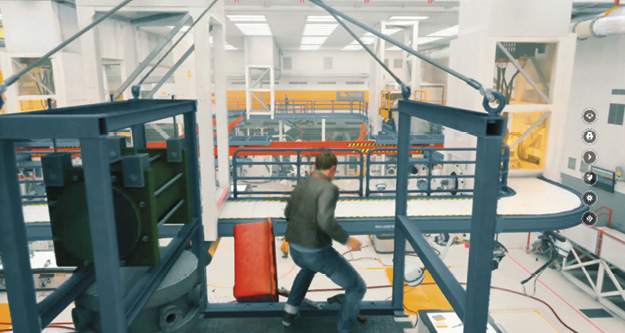
It is clear to Jack that Monarch had been building Chronon technology for years. They certainly were prepared for the Fracture. Jack has to get to F3 where Dr. Amaral’s office is located. He spots a lift in the back of the room, near the stutter shields.
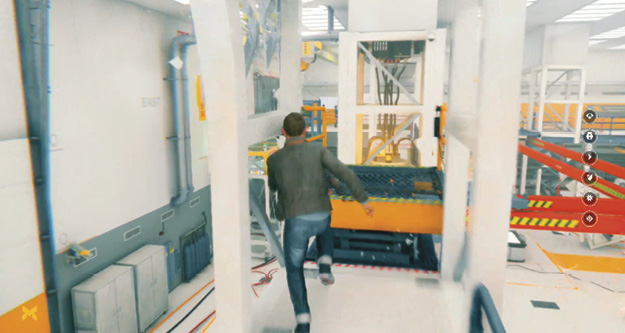
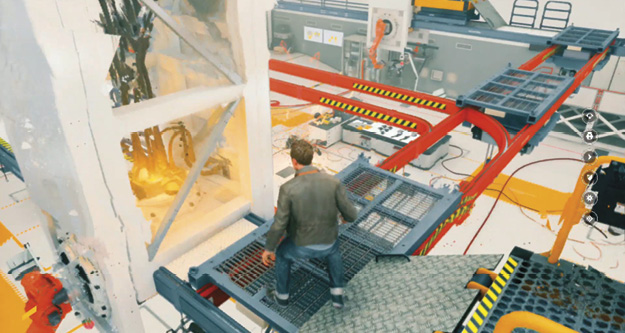
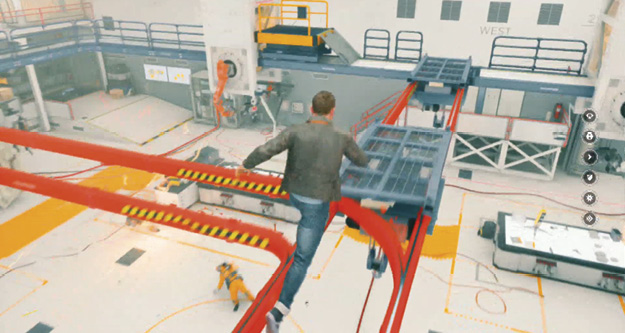
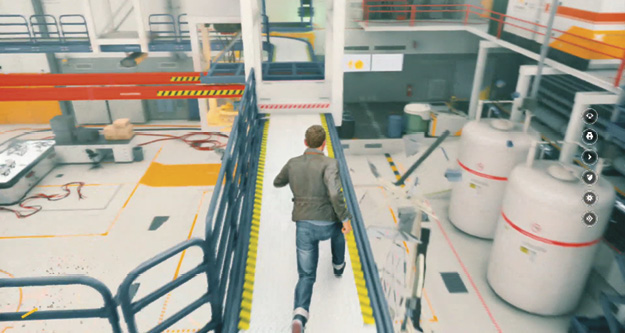
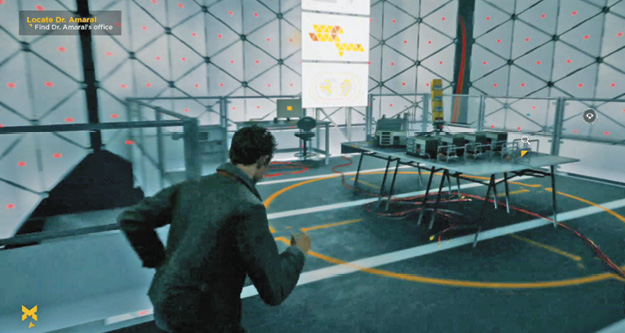
As Jack enters the office area, several employees directly outside of the proclaimed stuffer-proof zone are solidly frozen in time.
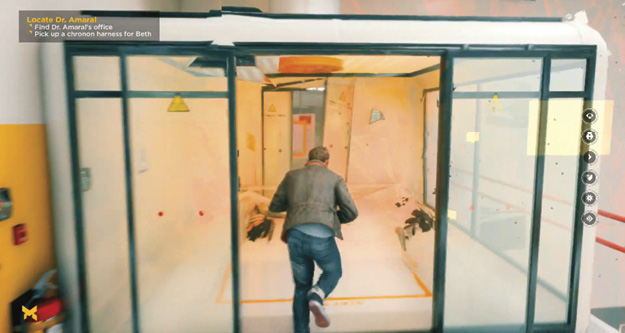
Passing through the grey sliding doors again, Jack runs straight toward an unstable door at the end of the walkway.
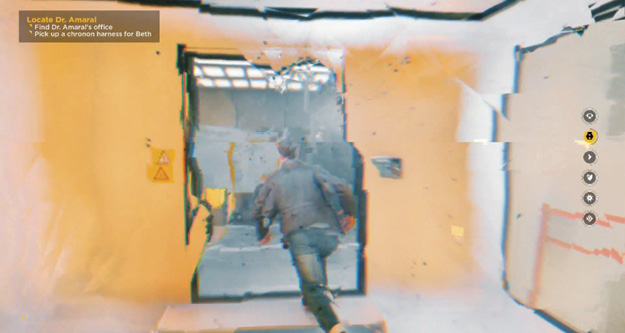
Jack has no trouble getting through the unstable door, but he is surprised that there are no alarms or other signs that Monarch is aware of his presence. It seems that nobody really understands the mess Jack caused on his way into this research facility.
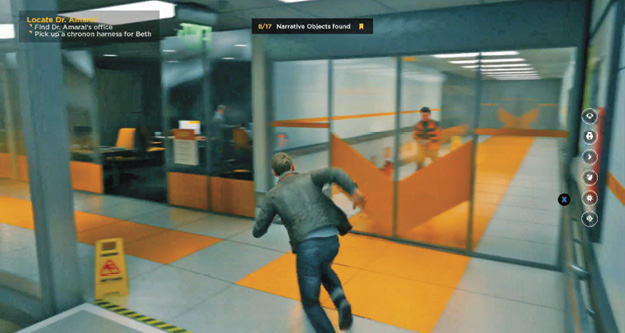
Jack starts his search for Dr. Amaral’s office on the top floor. He heads to the right and continues down the hallway.
%20Notice%20Board%20Screenshot%202016-03-06%2002-54-41.jpg)
As he is passing several pinboards, Jack stops and checks out some of the information displayed.
%20First%20Office%20Email%20Screenshot%202016-03-06%2002-59-00.jpg)
%20Second%20Office%20Email%20Screenshot%202016-03-06%2002-59-41.jpg)
%20Third%20Office%20Email%20Screenshot%202016-03-06%2003-00-33.jpg)
%20Sofia's%20Offce%20Screenshot%202016-03-06%2003-01-19.jpg)
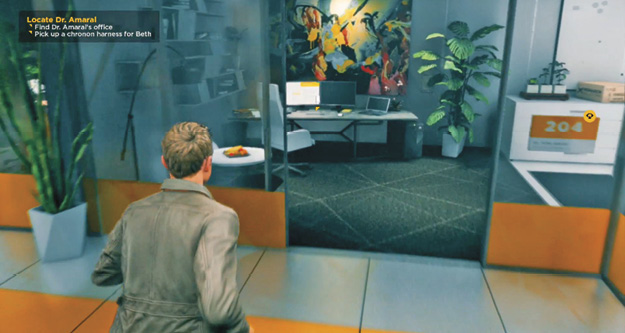
The corner office #204 is Sofia Amaral’s. She is not there, but Jack uses the opportunity to look around.
%20Sofia's%20Offce%20Papers%20Screenshot%202016-03-06%2003-02-58.jpg)
Jack continues his search and finds a stack of paper on a folding table to the right.
%20Sofia's%20Offce%20Belt%20Screenshot%202016-03-06%2003-03-41.jpg)
Turning right in his thorough search of Amaral’s office, the next item Jack finds is on a nearby table—a stutter belt.
%20Sofia's%20Offce%20Presentation%20Screenshot%202016-03-06%2003-04-37.jpg)
Almost directly to the right of the stutter belt is a computer with a presentation about shifters.
%20Sofia's%20Offce%20Intel%20Screenshot%202016-03-06%2003-19-58.jpg)
The final item in Amaral’s office is a notepad concerning the CFR and Dr. Henry Kim’s role in its development.
%20Fifth%20Office%20Email%20Screenshot%202016-03-06%2003-23-04.jpg)
Jack realizes that Dr. Amaral is not here. He has to get to the gala. But he also wants to find out more about what’s going on. He checks the office next to Amaral’s. Like so many, it contains a computer with an email. This one from Hatch to the Monarch Team Leads.
%20Staircase%20Down%20Screenshot%202016-03-06%2003-24-21.jpg)
After finding nothing of interest in the last office on this floor, Jack returns to the staircase near the unstable door where he first entered this area.
%20Staircase%20Down%20Lower%20Screenshot%202016-03-06%2003-27-21.jpg)
He runs past the cleanroom door and heads further down to the ground floor where he continues his thorough search.
%20Lower%20First%20Office%20Screenshot%202016-03-06%2003-37-07.jpg)
Jack enters the very first office (#102) on the ground floor and finds another computer with an interesting message.
%20Mug%20Screenshot%202016-03-06%2003-40-32.jpg)
The next office down (#103) contains a mug that has some associated intel.
%20Final%20Email%20Screenshot%202016-03-06%2003-42-50.jpg)
Office #103 also has an open computer that display an email.
%20To%20The%20End%20Screenshot%202016-03-06%2003-46-26.jpg)
Once Jack checks every single office, and there are no other collectibles in this area, he continues his search and goes back to the yellow-tinted cleanroom. He walks through the cleanroom and continues downstairs.
%20Lockers%20Screenshot%202016-03-06%2003-46-02.jpg)
As he approaches the lockers, he sees an opportunity to learn about Monarch’s weapons.
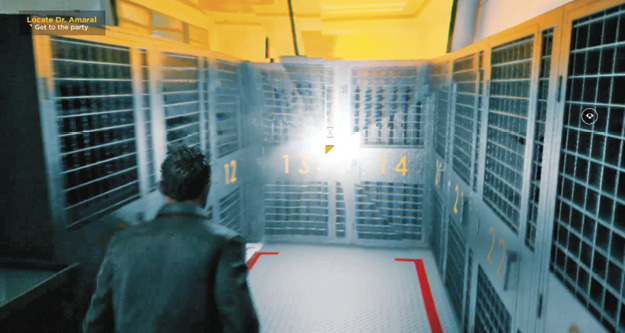
Just at the last of the lockers, Jack is surprised and delighted to find another Chronon source.
%20Two%20Strikers%20Screenshot%202016-03-06%2003-47-00.jpg)
Jack walks into the final cleanroom to the double doors.
%20End%20Door%20Screenshot%202016-03-06%2003-47-34.jpg)