
Quantum Break Guide Walkthrough Act 2
Part 1
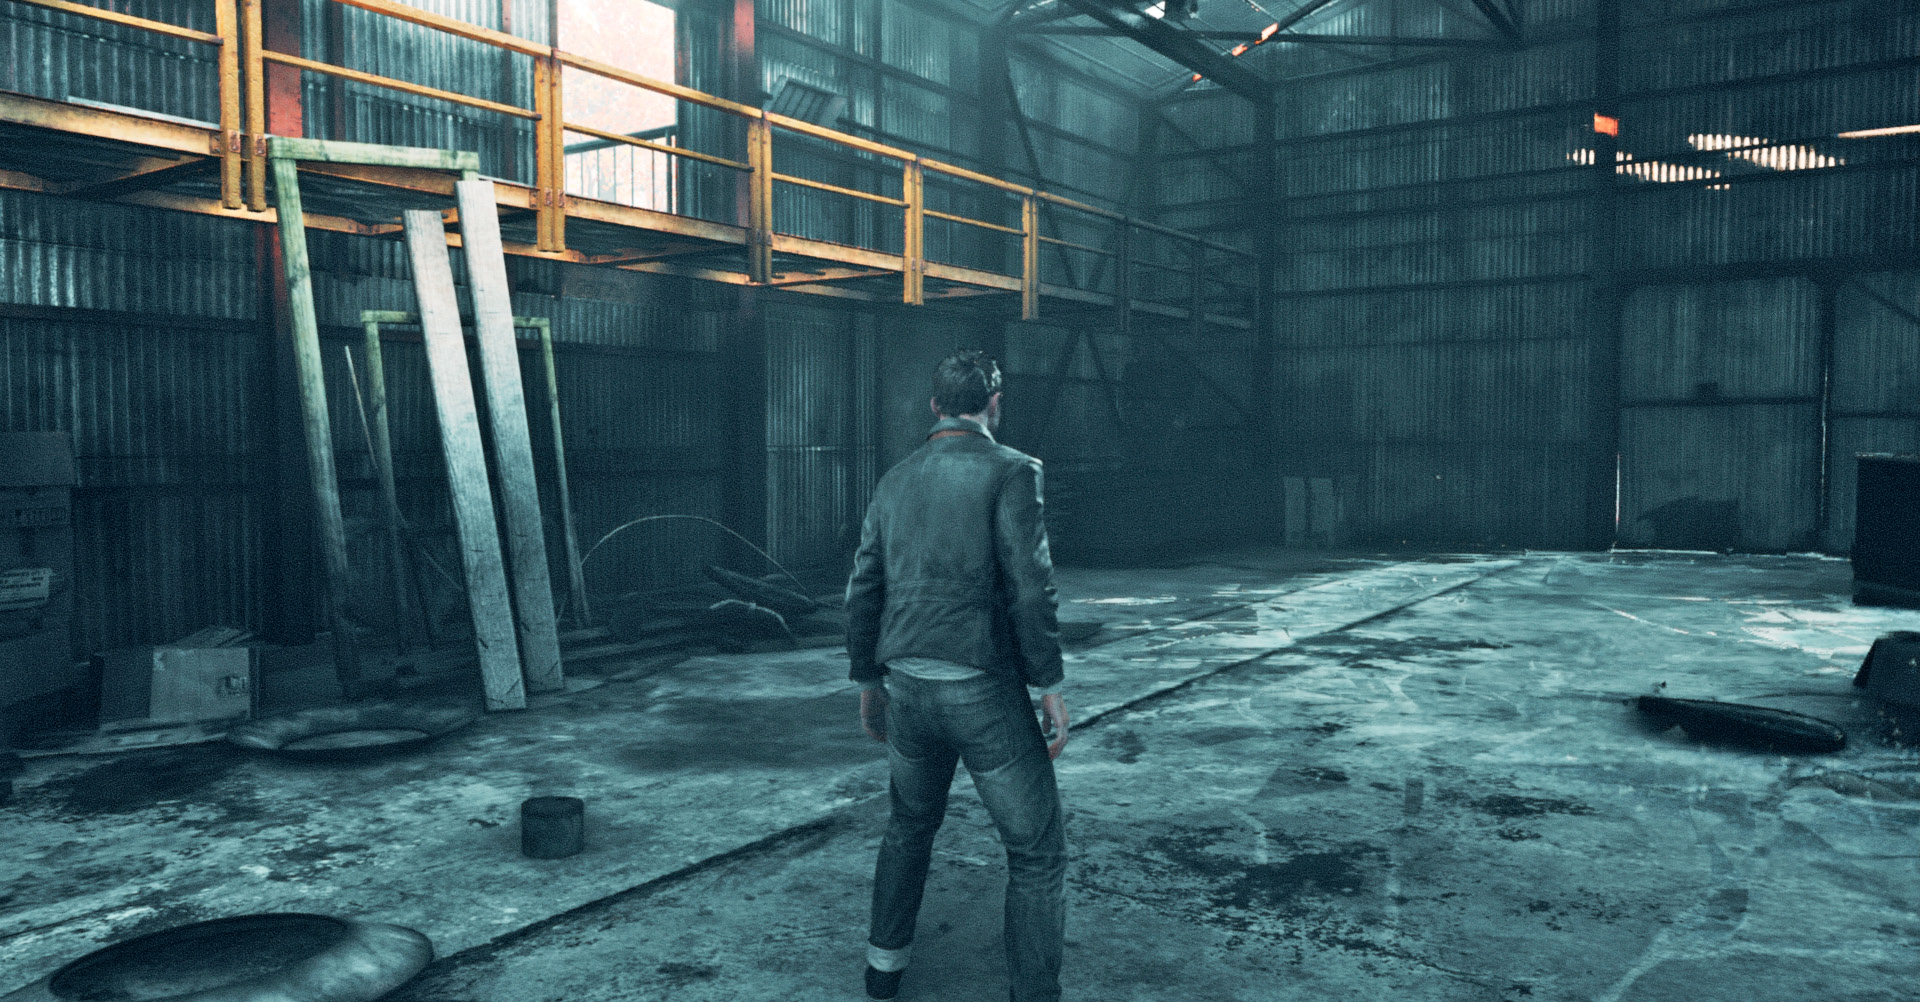
Regaining consciousness in the back of a Monarch van, Jack takes in his surroundings even as another stutter hits. Climbing out of the van, he discovers the mystery woman he met earlier and another Monarch operative pointing guns at each other. Disarming them both and arming himself with their guns, he makes his way out of the warehouse he was in, only to realize he’s near the old Riverport drydocks area.
As time resumes its normal course, he’s soon contacted by the mystery woman, who now introduces herself as Beth Wilder—a name William also mentioned before his apparent death. She tells Jack that it’s imperative they get out of there while they still can, but Jack, having discovered that Paul Serene is also here, is hell-bent on revenge.
On the way, he discovers a person abducted by Monarch—Nick Marsters or Amy Ferrero, depending on the Junction choice—and rescues them, then proceeds toward the drydocks and the reckoning with Serene.
| Chronon Sources |
7 |
|---|---|
| Intel |
1 |
| Collectibles |
9 |
| Quantum Ripples |
1 |
.jpg)
Jack awakens inside a Monarch van that is parked in an abandoned warehouse near Ground Zero. It’s 7:04 AM, October 9th, 2016—two hours after the Fracture in time. Jack is exploring the warehouse and encounters a Chronon source.
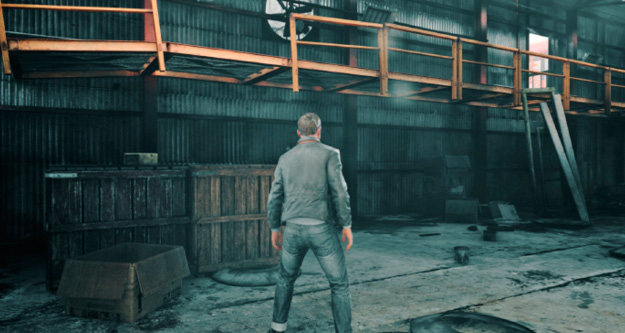
Eventually, Jack discovers that the only way to exit the warehouse is to climb onto a half-broken walkway above. He climbs up and runs toward the exit on the second floor.
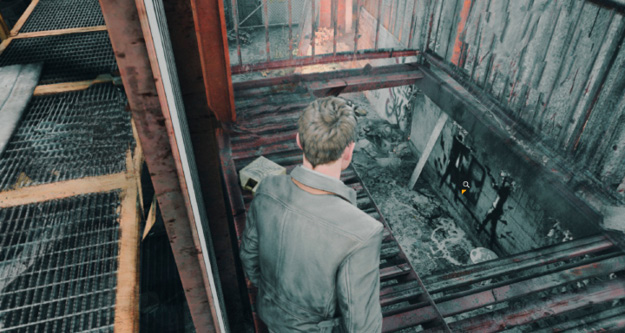
As he passes through the door, Jack jumps down into a narrow walkway below. The Fracture in time is still active and he passes birds, frozen in mid-air.
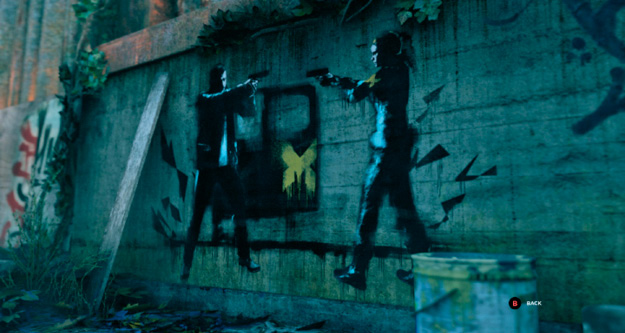
As he makes his way to an adjacent warehouse, Jack is exploring the surroundings. He finds a painting on a nearby wall that can be inspected.
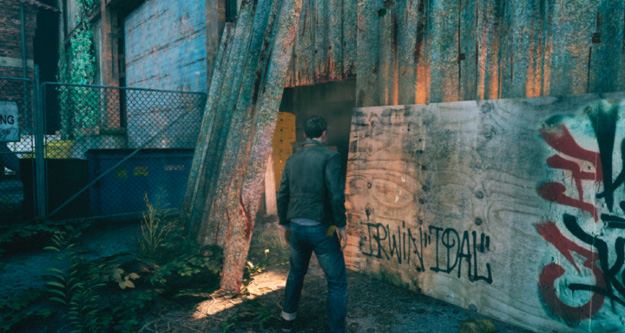
Jack continues moving forward and into the next warehouse, passing through a hole in the wall on the right side.
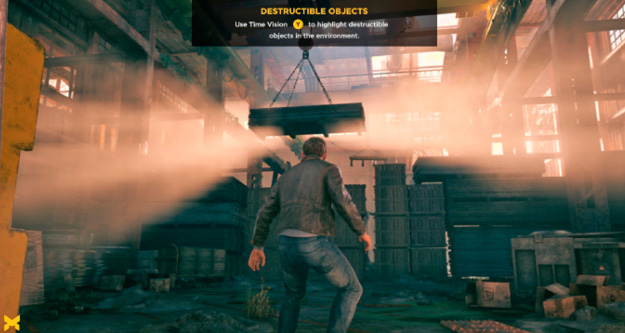
As he enters the large sun-flooded warehouse, a seemingly impenetrable wall of boxes blocks his way. Jack uses his Time Vision that shows an anchor that is holding a large object above. He shoots the stack of wood hanging above, which comes crashing down on the boxes below, opening a new path for Jack.
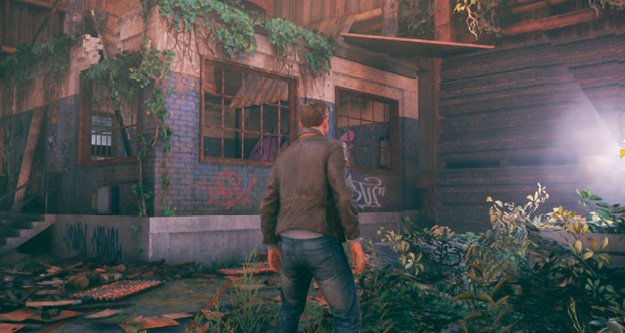
As Jack explores this warehouse, he finds a Chronon source on top of a box of parts in the back-right from the door through which he entered.
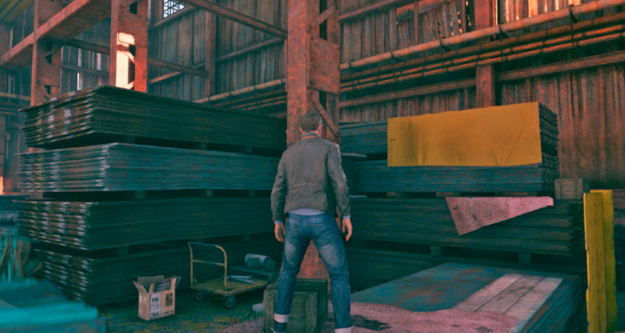
Jack crosses through the gap that was created by the falling wood stack earlier, then climbs the stacks of wood covered in yellow tarps on the left.
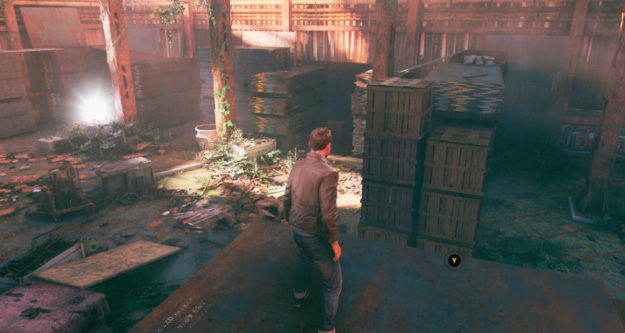
He then walks up the gap that was created by the fallen stack, which he has to cross to get to the other side.
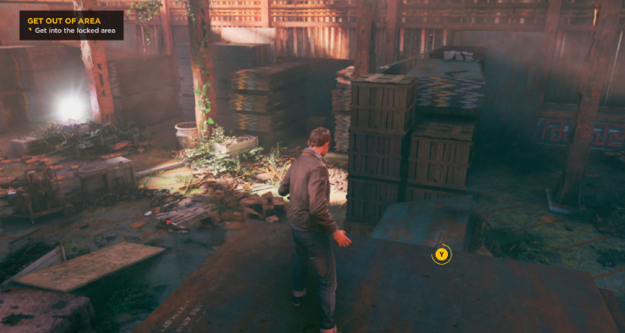
Here, Jack can use his time powers to rewind the pallets that had fallen down earlier. This restores the wooden crates that were once blocking Jack, creating a path to walk across.
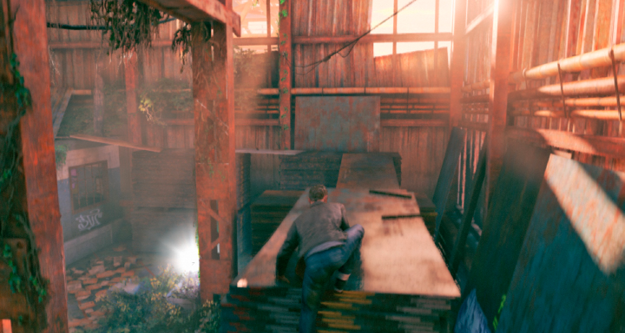
Once he successfully crosses the crates, Jack continues to follow the path around the edge of the warehouse by jumping over the various small gaps.
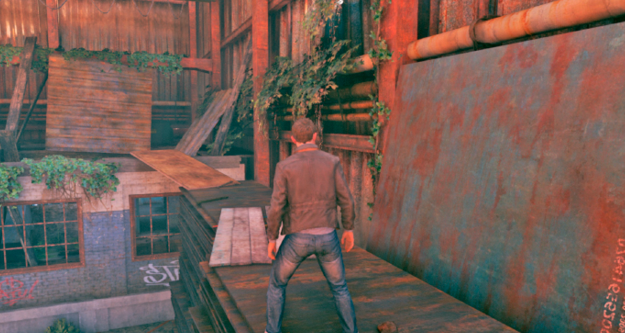
As Jack completes his path across the elevated crates, he drops down into a previously blocked off room.
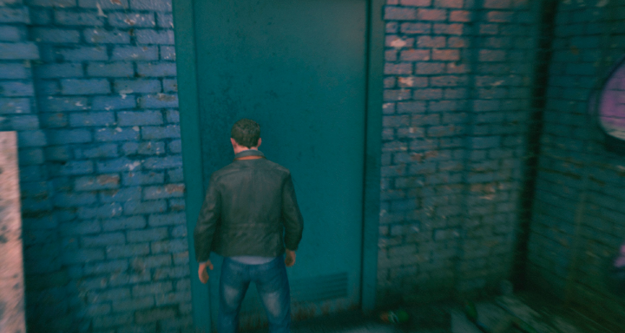
As he lands, he can hear a radio communication between a female and what appears to be Paul Serene. The woman states that they still don’t have a location on Jack from (Liam) Burke. Paul, sounding disappointed, tells the woman to ready a chopper for him at the dry dock—he’s heading to the island.
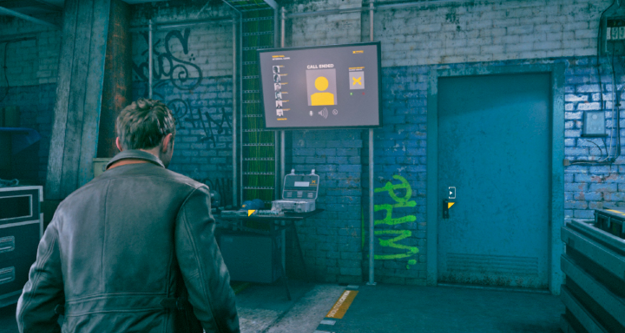
As Jack walks through the room, the woman is asking if she should send an additional team to search for Jack, but Paul declines that offer, telling her that Jack will come to them and that she should focus on the witnesses.
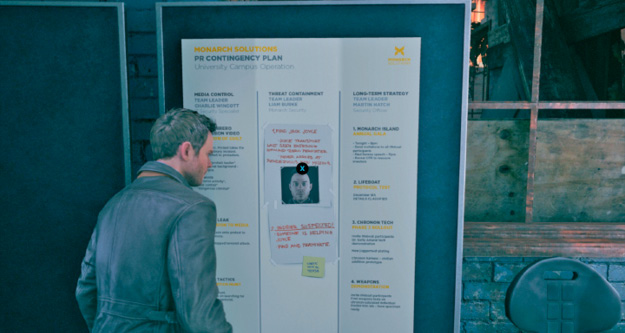
As Jack searches the room, he finds a whiteboard that contains information.
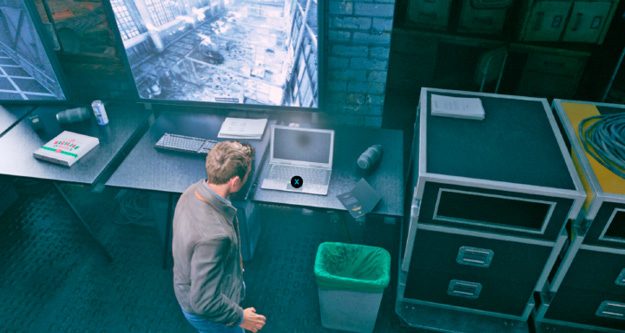
On one of the tables, there is also a selectable computer that contains some information.
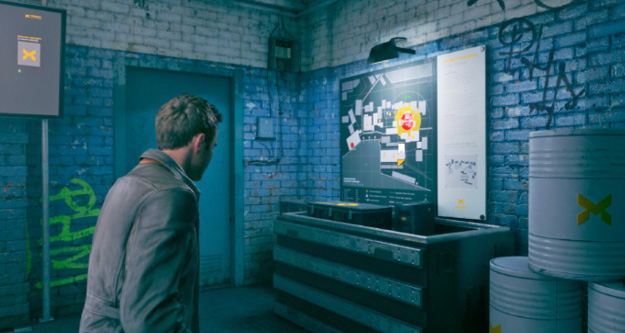
There’s a map mounted on a wall that shows the layout and schematics for Ground Zero.
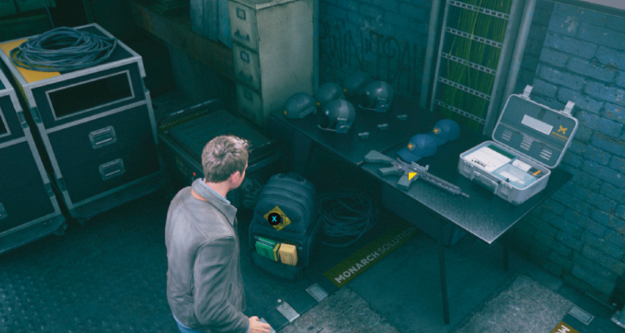
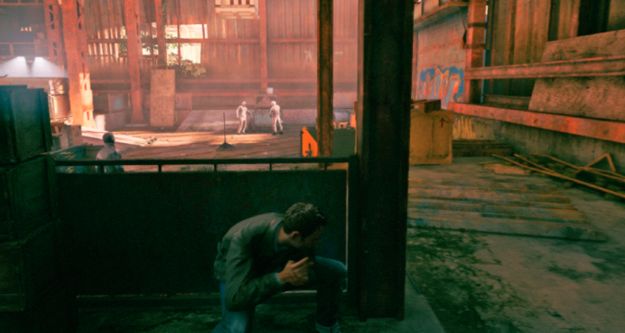
Jack leaves the little room behind and enters another large warehouse-type area. He can hear a few Monarch operators discussing the events at the university. He then runs in and prepares to take them out.
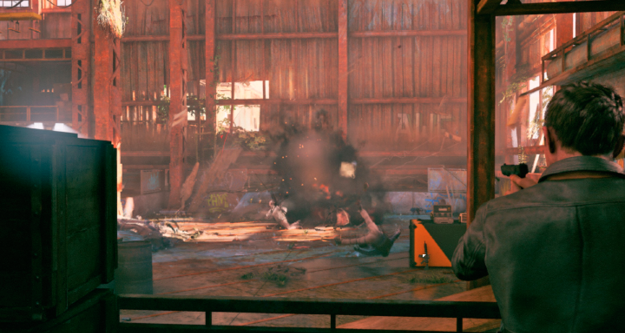
Jack takes out the first group of Monarch operatives near the roll-up door, then proceeds to the middle of the room.
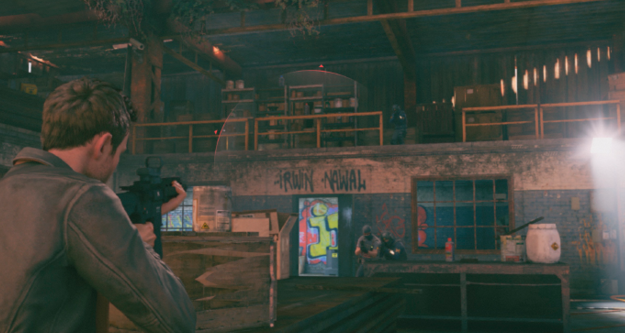
There, he encounters another group of operatives in the middle of the room. After taking them out, a third group arrives from the upper floor.
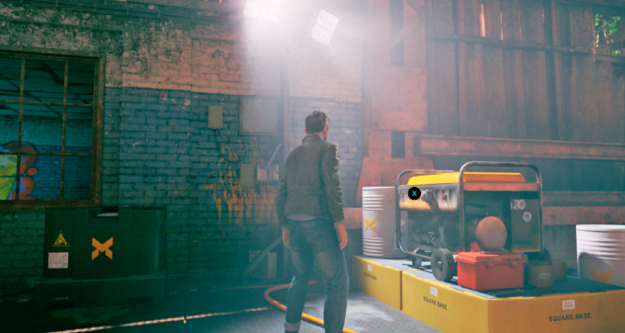
Once all of his opponents have been neutralized, Jack has to search for a way to the upper floor. Eventually, he finds a generator that is powering the elevator on the other side of the warehouse.
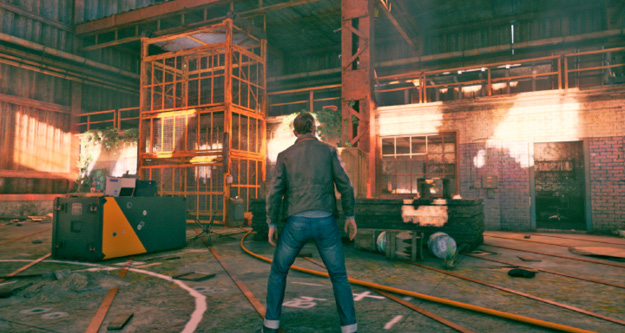
After the cutscene in which he discovers the generator, Beth Wilder contacts Jack to provide an update on the situation. Jack heads toward the elevator by following the power cable from the generator.
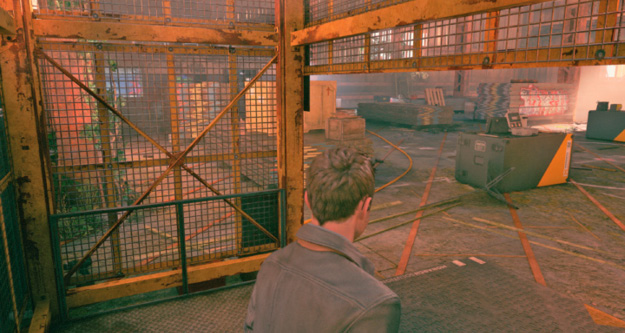
Jack takes the elevator to the top level, then follows the path around to the upper level door.
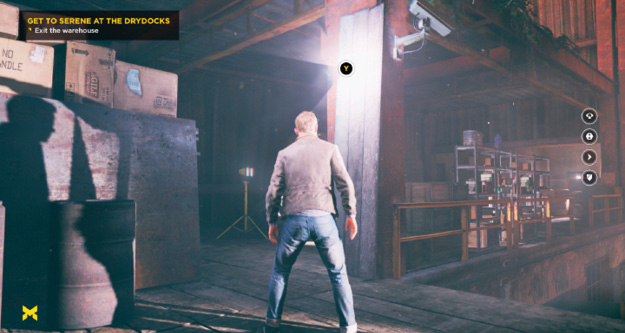
While he is searching for the fastest way out of the warehouse and toward the dry docks where Serene will soon be picked up by a chopper, Jack finds another Chronon source.
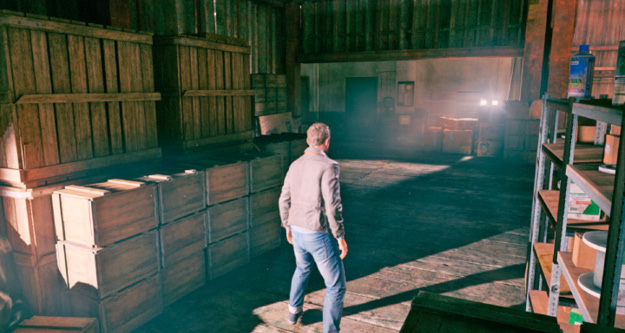
Jack eventually exits the warehouse through the door at the end of the upper level path. As he steps outside on the catwalk, the sun is about to set. In the distance, the dry docks where Paul Serene is currently located are visible. Jack recognizes the place—his brother had a workshop in that industrial area for years.
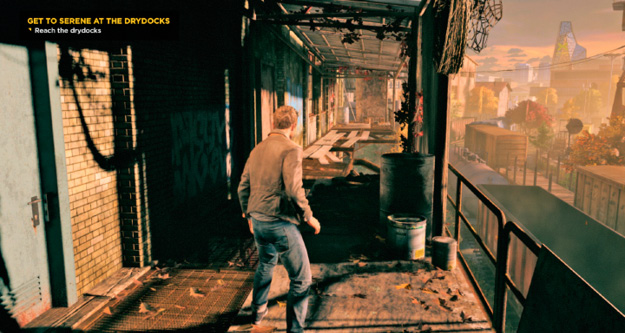
Suddenly, a shot is disrupting the otherwise peaceful scene and Jack runs down the catwalk to investigate. Follow the catwalk to the left of the door and shimmy across the wood planks, Jack sees several Monarch operatives threatening what appears to be innocent civilians.
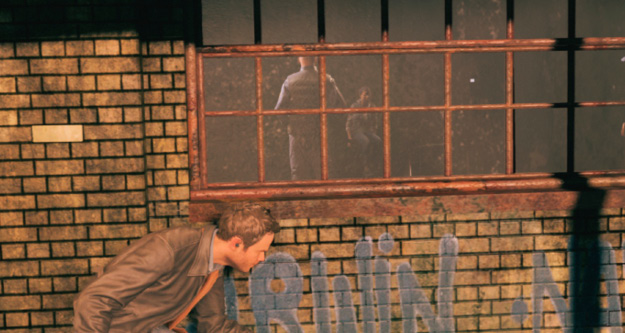
As Jack carefully shimmys forward and ducks underneath the windows, he sees a bit more detail.
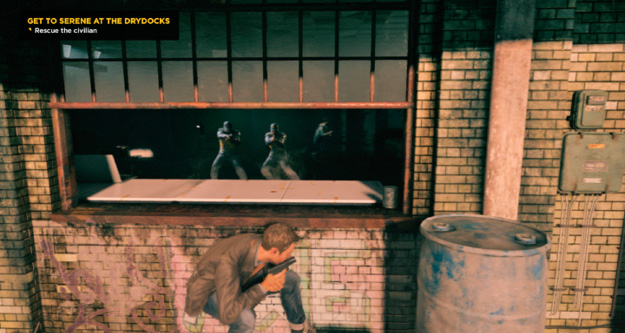
While he tries to carefully move along the wooden planks underneath the windows, suddenly and noisily, the wood planks break and Jack is forced to jump across to the other side. The noise alerts the Monarch operatives who immediately open fire.
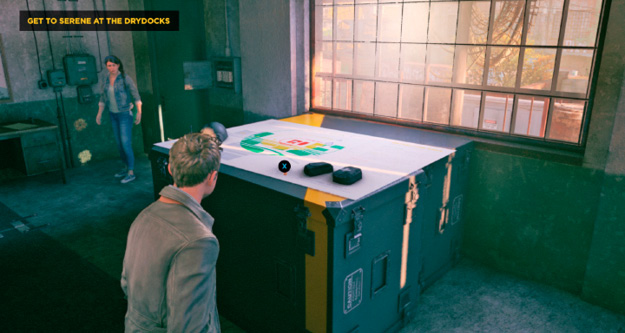
As Jack is investigating the room, the survivor (Amy or Nick) updates him about the fact that Monarch is taking out all witnesses from the University protest.
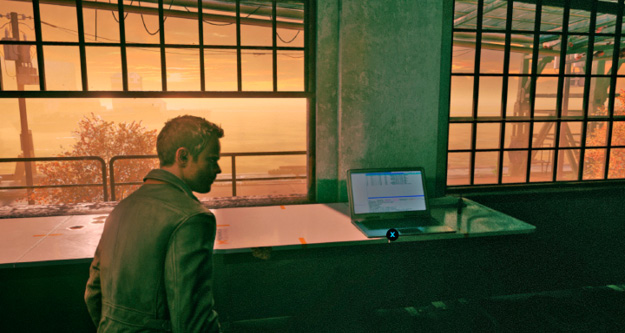
Several dead bodies are on the ground, already packed up in body bags thanks to Monarch Solutions. As Jack keeps searching for clues and information, he finds a computer on a small table between the two large windows.
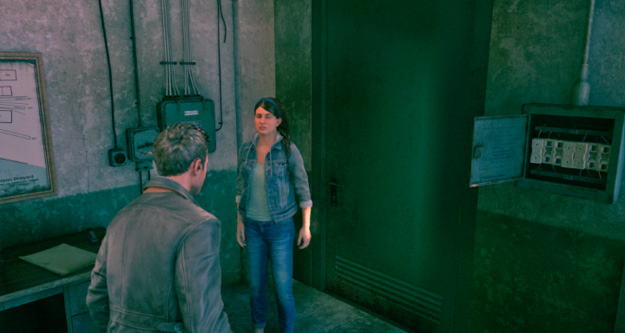
Before continuing to search for the dry docks, Jack talks to Amy or Nick. Either of them will help you in getting to the drydocks.
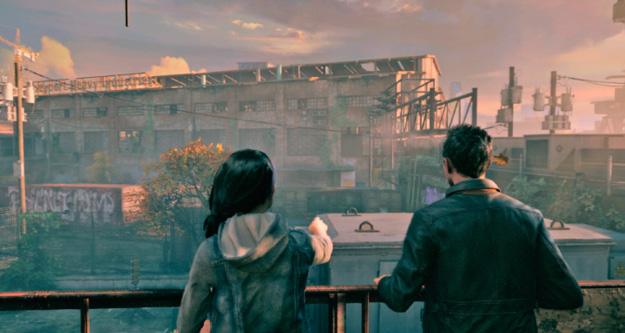
Leaving the room, Jack and his helper are entering an awning above a train yard. He is told that in order to get to the dry docks, he must pass through the building on the opposite side of the train yard.
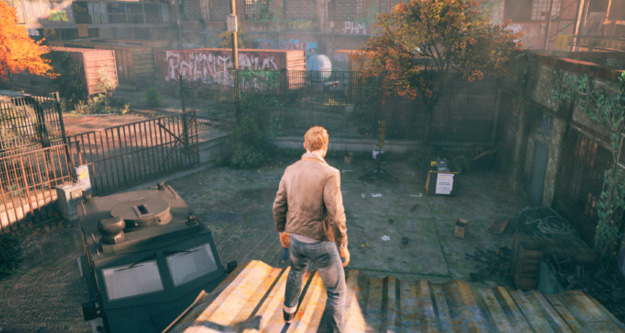
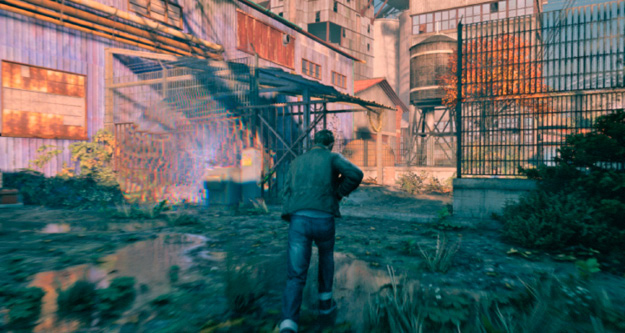
Jack starts by dropping down from the awning. After looking around for a brief moment, it’s clear that this small courtyard is closed off and that the only obvious way out is through a gate that is unfortunately locked. Jack looks to the right and heads toward the green door near the Monarch crate.
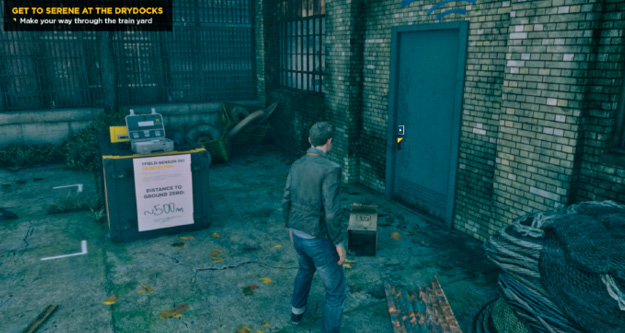
He pushes the door open and finds a small room that is clearly controlling the gate that will open up the entire train yard.
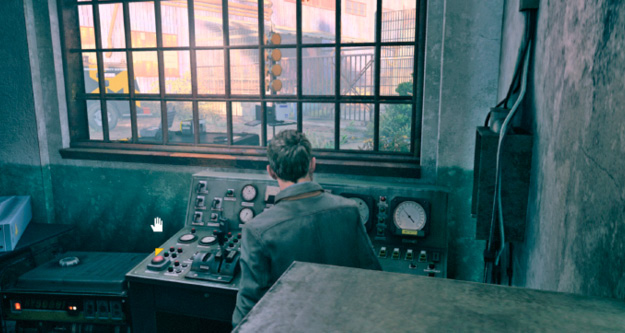
Right after Jack lets the controls go, the gate immediately opens. Jack has to find a way to keep the gate open long enough for him to get through.
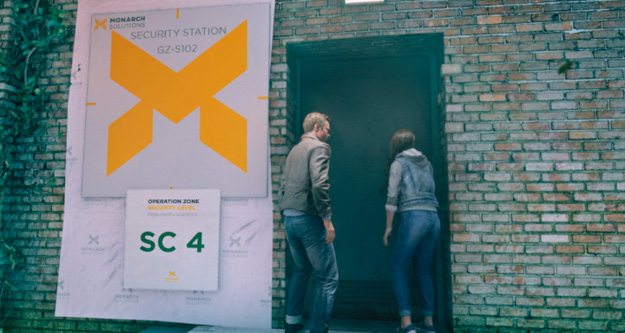
After Jack has made it past the gate, he has to find a way into the security room. Follow Amy/Nick and they lead Jack to a locked door. After discovering it’s locked, they point out an open window above.
Before figuring out how to get up to the window, collect the three Chronon sources in the area.
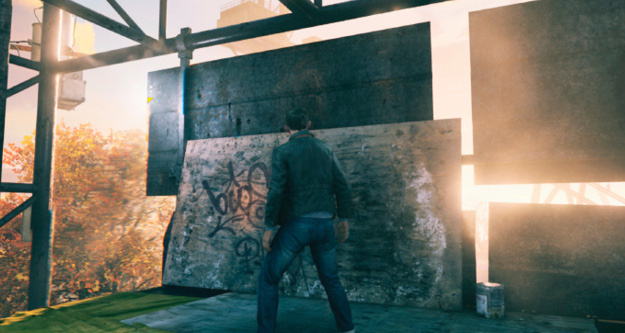
Jack has to climb the yellow train car covered with tarps, then continue up to the scaffolding. He immediately has to use Time Vision and look up to the left for the Chronon source here.
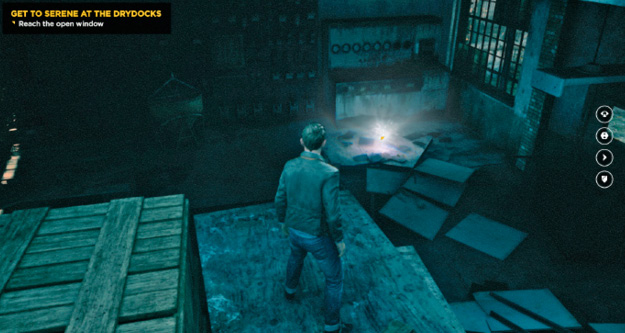
Jack must climb the yellow train car covered with tarps, and up to the scaffolding. Run down the scaffolding to the opposite end and jump to the red train car near the gate control building. From the train car, jump onto the roof of the building and then drop down through the hole. Once inside, press Y.
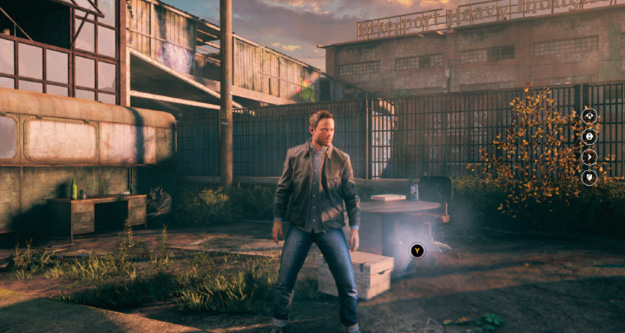
Jack heads back to the gate. The fenced-in area can be seen directly across from this gate. Jack follows the fence toward the blue crate. On the opposite side of the closest train car to that blue crate, there are some wooden boxes. Climb on those to the top of the train car. Jump from there to the metal awning and into the fenced area. Once inside the fenced area, press Y and use Time Vision.
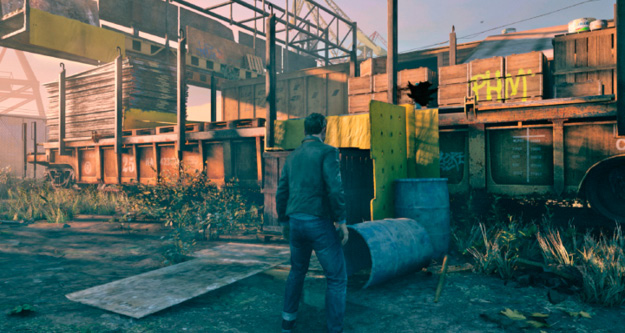
Once Jack has completed his search, and has opportunistically found several or all Chronon sources, he has to figure out how to get through the open windows in the next building.
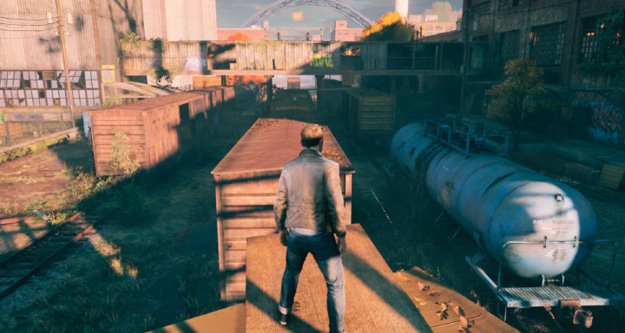
From the door, he climbs the yellow train car covered in tarps and up onto the wooden ramp that leads to the orange train car.
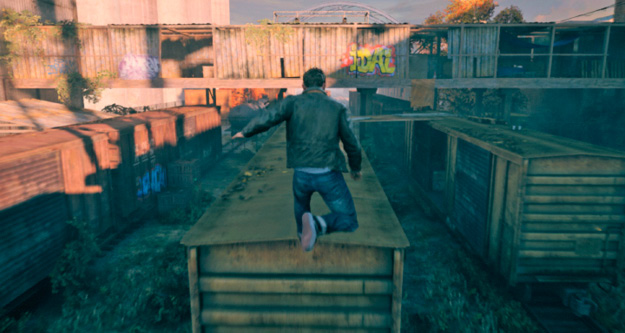
From here, Jack jumps from one train car to the next, toward the catwalk at the back of the train yard.
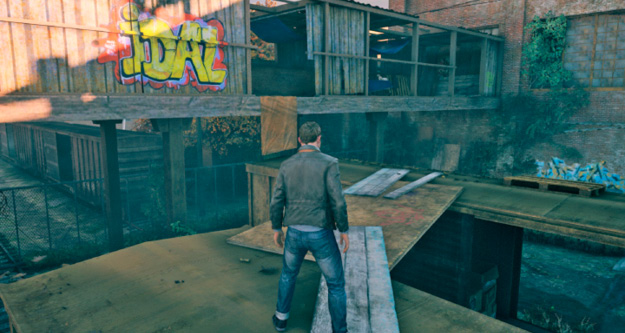
An open wall on the side of the catwalk and a vertically-oriented wooden plank—looks like excellent opportunities to go up there.

Jack crosses the wooden sheet and climbs up into the catwalk.
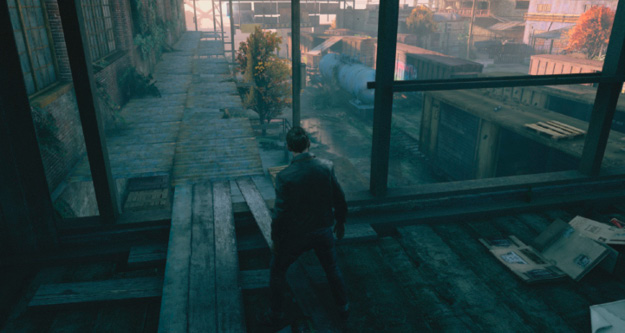
Once Jack successfully climbs through the hole in the catwalk siding, he turns to the right and heads to the white wooden planks.
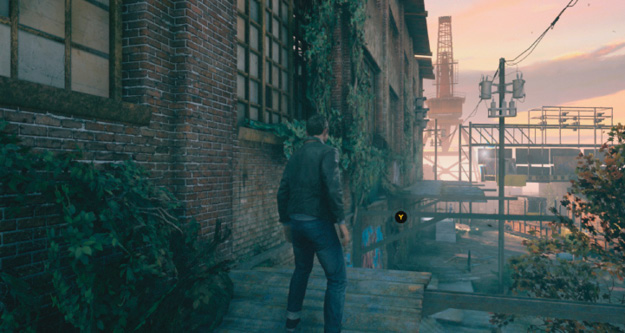
From there, Jack has to jump from the white wooden planks to the metal awning. While he is attempting this, some of the metal sheets will fall. Jack then crosses the gap to the next piece of awning and approaches to another large gap.
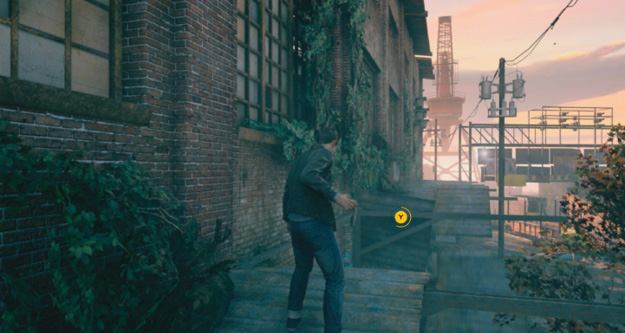
He quickly realizes that there is no way to jump across this one, but as he can rewind time, he chooses to restore it temporarily. See where to rewind, then rewind the fallen awning pieces.
To get across this in time, Jack uses Time Dash twice to cover as much ground as possible. It also takes him far enough, but keep moving toward the open window.
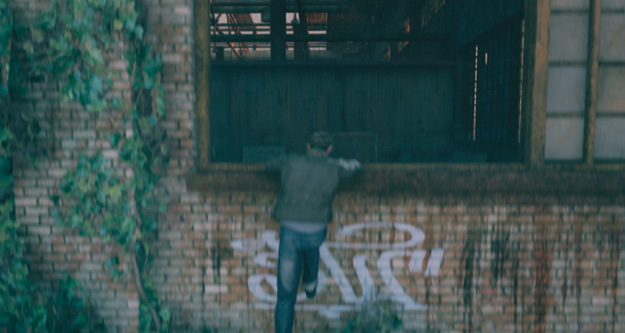
Finally, Jack reaches the open window and climbs inside.
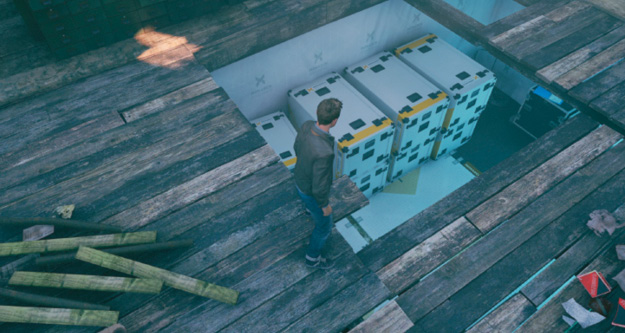
Quickly, he finds a hole in the ceiling and jumps down to the lower floor. As he drops to the ground, a radio voice announces that Paul Serene’s chopper is inbound.
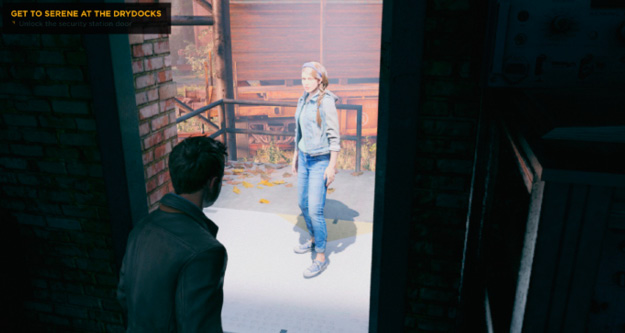
Jack walks over to the locked door of the small room and opens it to let Amy/Nick inside.
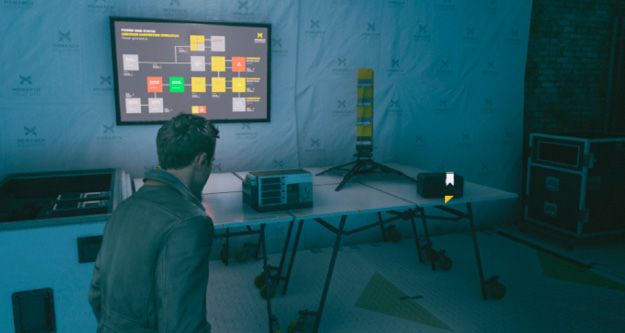
As Jack continues to search the room for clues and other useful items, he comes across a radio on a table to the right of the door.
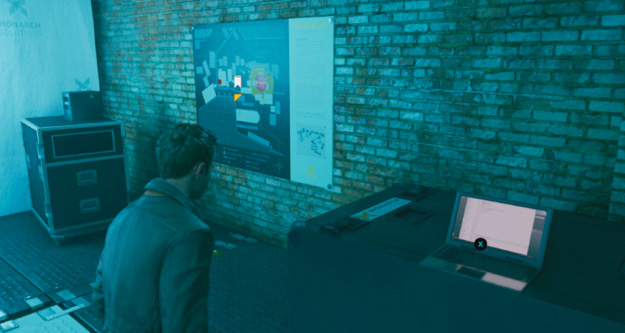
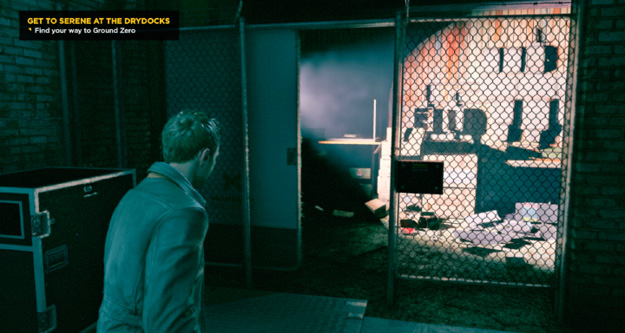
The gate near the radio opens up once Jack Interacts with the map. Nick/ Amy stay behind to guide Jack to the drydocks via the radio. Based on the map, the area Jack needs to enter is called “Ground Zero,” which is also where Will used to have his workshop.
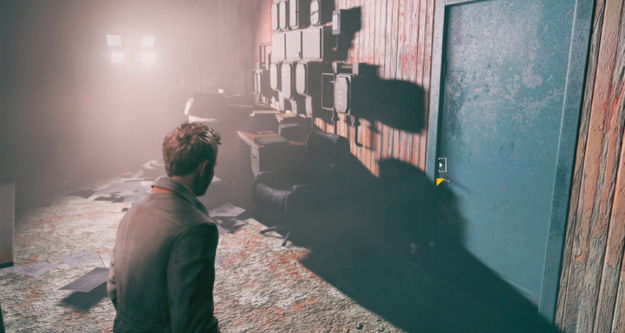
Jack heads through the gate and continues down the hallway. When he opens the door, he encounters several Monarch operatives engaged in a conversation about him and his brother. Regarding Jack, they still don’t know where he is. Regarding Will, they claim that he was screaming when he died.
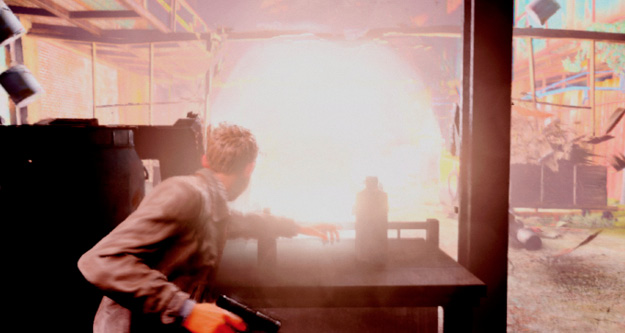
After walking through the door, Jack gains another time power called Time Blast. With this new power, Jack quite literally time blasts several enemies in front of him. Based on the noise, another wave of four Monarch operatives immediately enters the room from the back side.
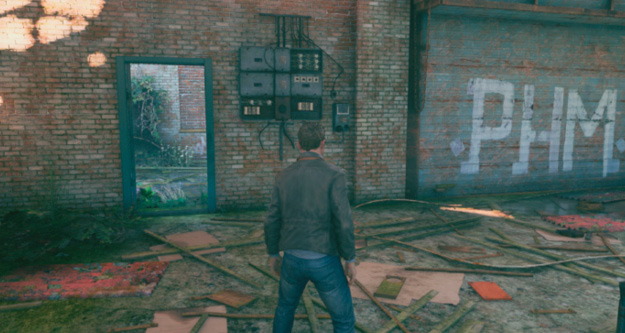
Jack quickly neutralizes them and moves to the back of the warehouse room, As he exits through the door, he enters a narrow passageway.
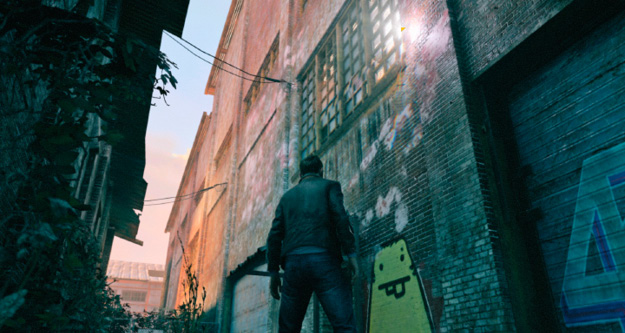
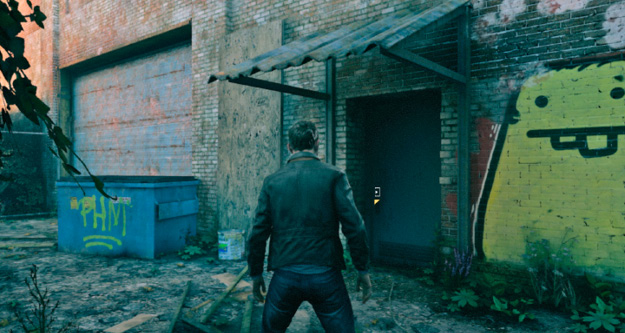
Guided by Nick/Amy, Jack enters the second room of the warehouse complex. It’s owned by the Riverport Heavy Industries and clearly shows that Jack is getting closer to the dry dock complex.
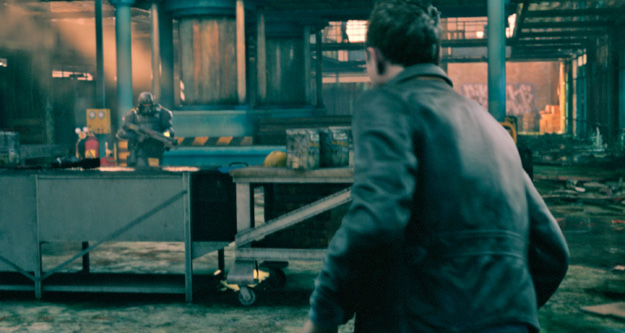
By opening the door, Jack finds a shotgunner and some more Monarch operatives waiting on the other side.
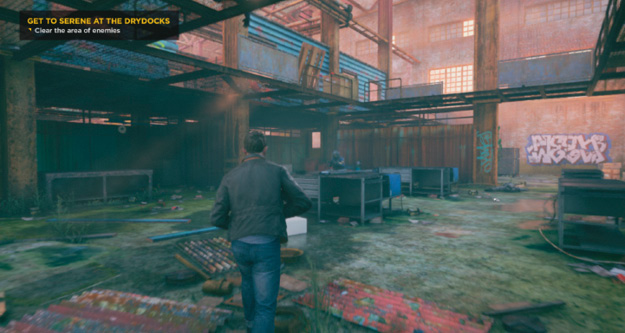
Jack moves through the large warehouse area and confronts six other Monarch operatives, some of whom are on the catwalks, as well.
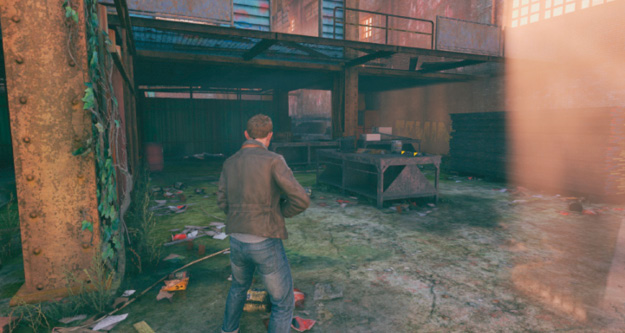
As Jack heads around the corner to the left, he confronts two more operatives throwing smoke grenades.
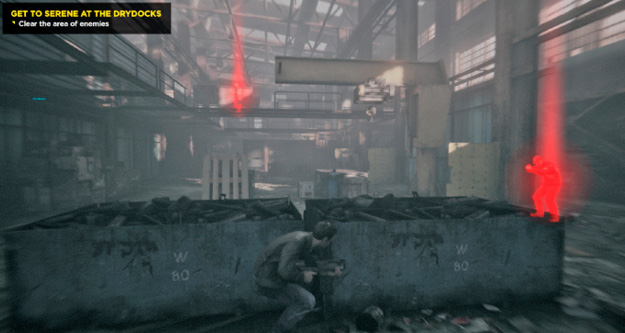
Continuing toward the staircase, Jack faces three more armed guards and another heavily armored shotgunner. After an extended firefight, Jack finally makes it up to the second floor.
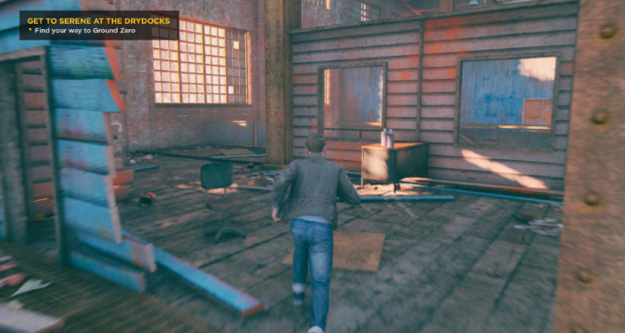
He’s getting further guidance from Nick/Amy on what to do next. He’s told that there is a door on the far side of the building that leads to a skybridge, but he first has to turn off the security door in that area.
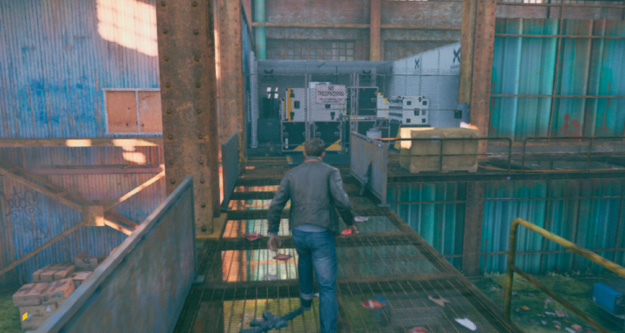
Nick/Amy tell Jack to follow the powerlines on the ground, which are leading to a door that is blocked by crates. Jack has to rewind time to gain access.
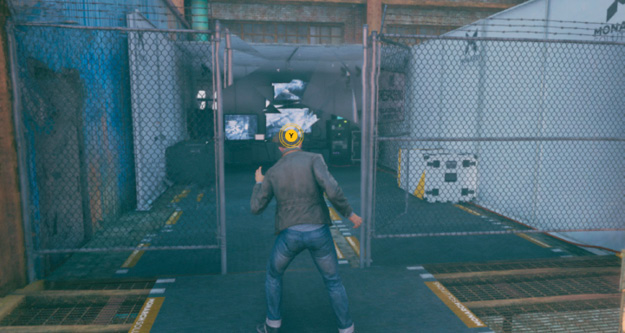
He then enters the room and hits the switch to unlock the door.
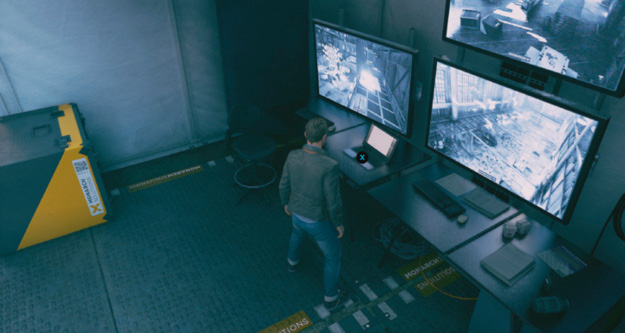
As Jack looks around the room, he finds a computer that he can Interact with.
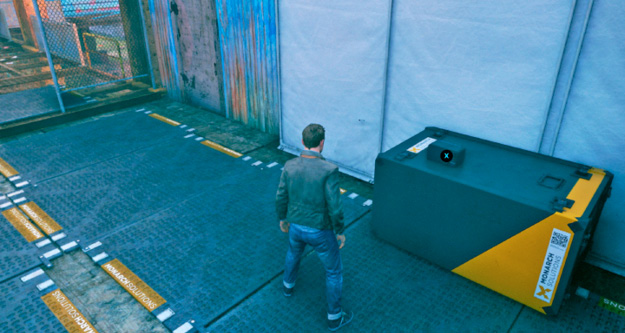
On a nearby Monarch crate is a radio that can be turned on.
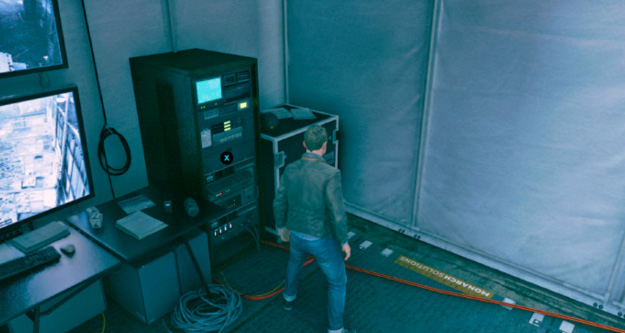
In the far-right corner, Jack eventually discovers the power switch for the security door that Nick/Amy was talking about. He activates the switch and successfully turns the power to the security door off.
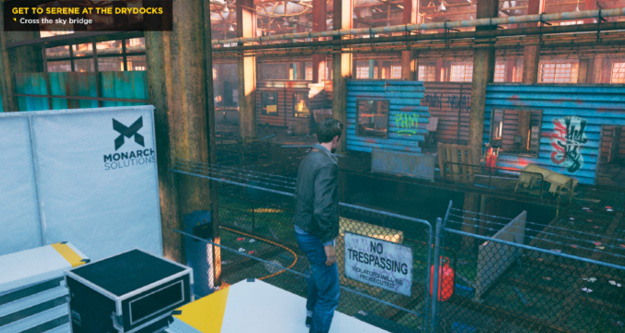
To get out of the room, Jack has to climb up some boxes that are blocking the entrance again. He eventually makes it out and heads back to the locked gate.
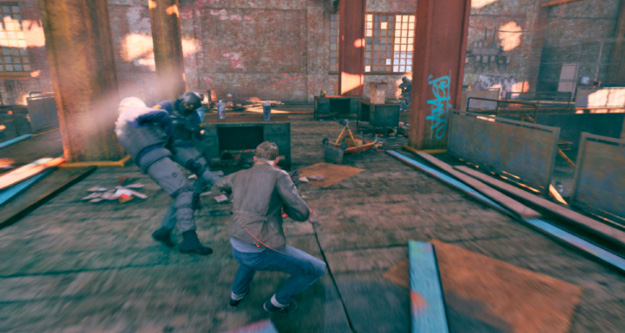
Just as Jack jumps down from the crates and back onto the catwalks, several waves of Monarch operatives close in on him. There are seven operatives and one shotgunner. Jack must use all his skills to fight his way through these enemies.
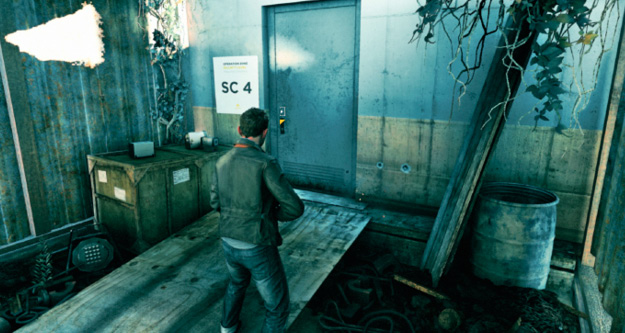
Jack successfully crosses the bridge and calls Nick/Amy back. He is now in a storage facility full of Joyce particles. It’s starting to dawn on Jack that the whole operation is based on his brother’s research.