Quantum Break Guide Walkthrough Act 5
Part 1
MONARCH HQ
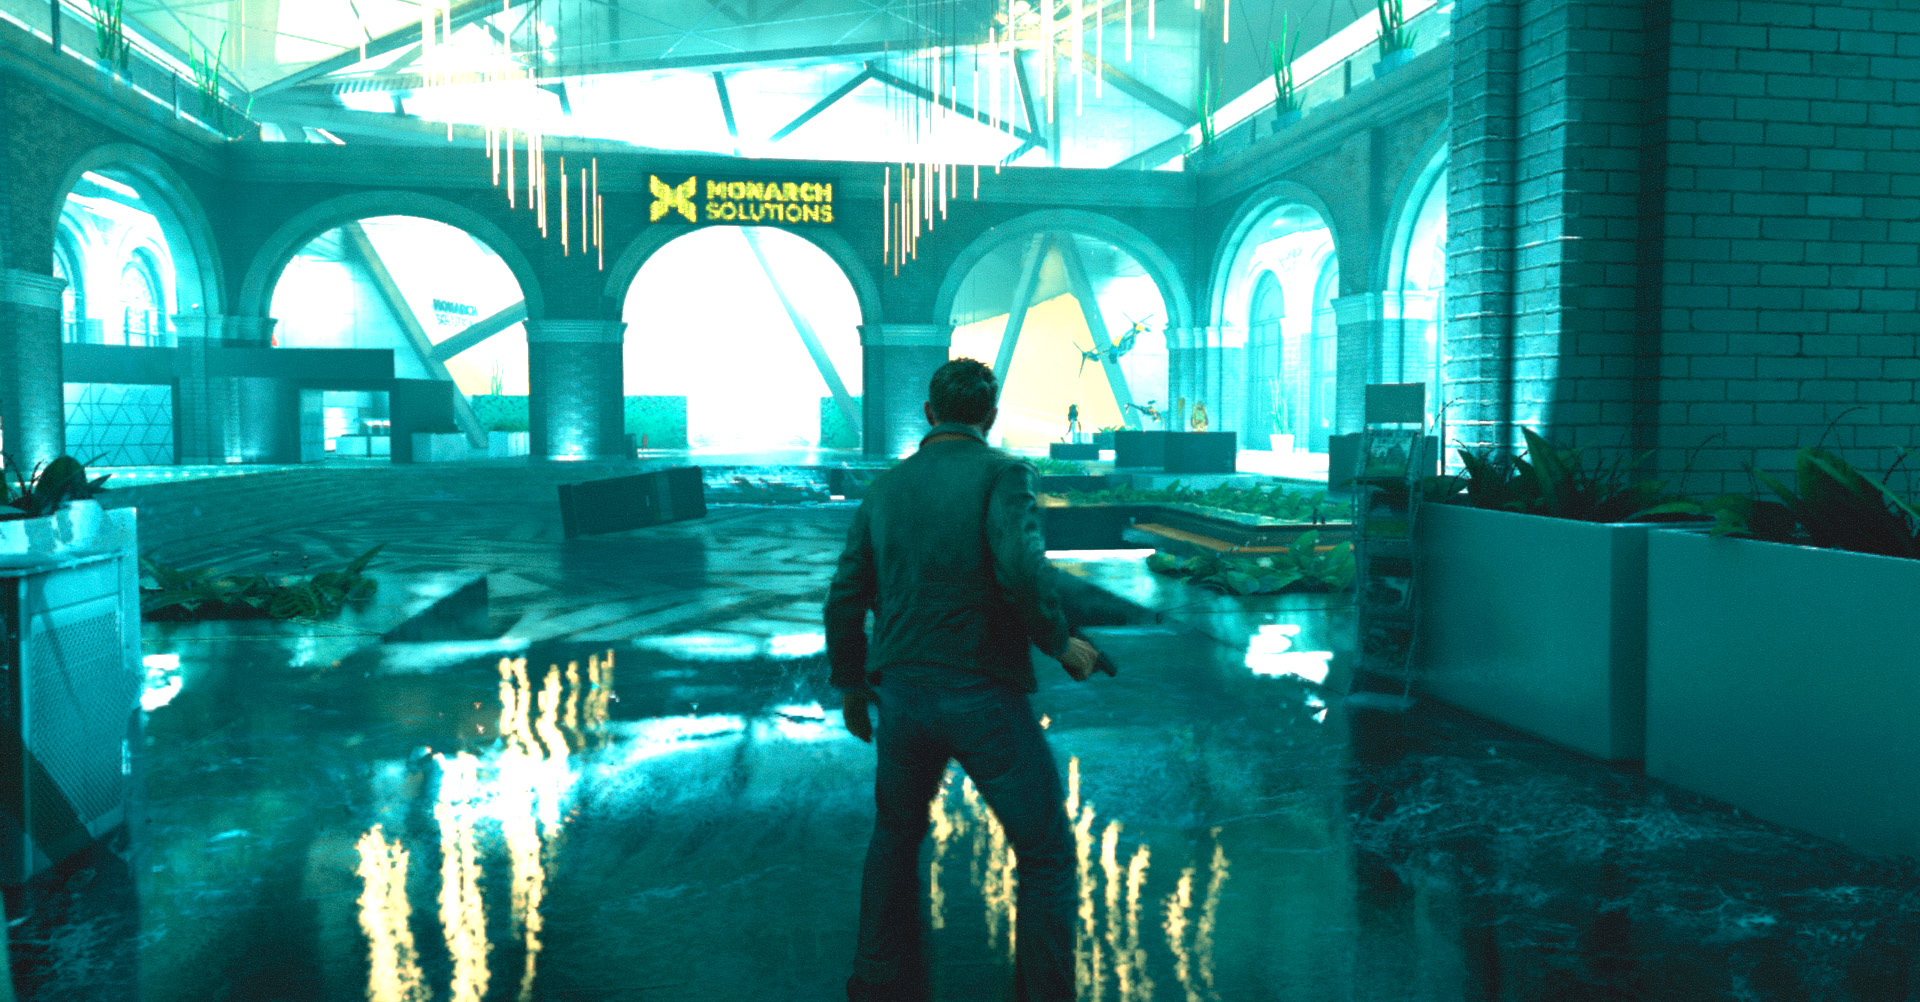
Jack makes his way into the Monarch HQ with the intent of taking the countermeasure. The End of Time is imminent, and he doesn’t have much time. Fighting his way through the building, he eventually locates the countermeasure. Called the Chronon Field Regulator by Monarch, they have repurposed it as a key component in the Lifeboat Project, Monarch’s survival plan for the End of Time.
Unfortunately, Jack doesn’t know how to make it work—he may be related to a scientific genius, but he’s not an engineer himself, and the countermeasure is an exceedingly complicated device that doesn’t come with an instruction manual. But Jack has a plan for this. Monarch has installed the Time Machine core they took from the university in a new Time Machine frame here at Monarch HQ. With that, Jack can travel back to the time of the university experiment, when William was still alive—after all, if anybody knows how to work the countermeasure, it’s his brother.
| Chronon Sources |
3 |
|---|---|
| Intel |
4 |
| Collectibles |
18 |
| Quantum Ripples |
0 |
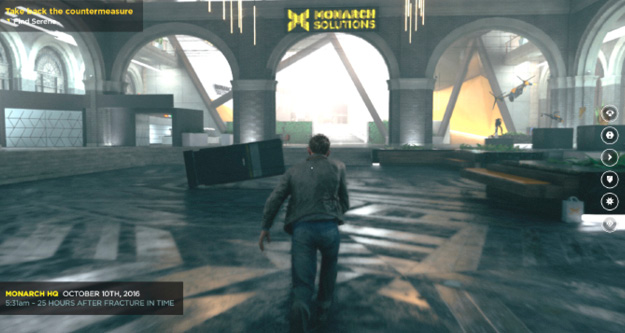
Time is broken The city is in a state of chaos and the End of Time is closing in. The solution was inside Monarch HQ—the countermeasure. Jack was here to steal it from Monarch.
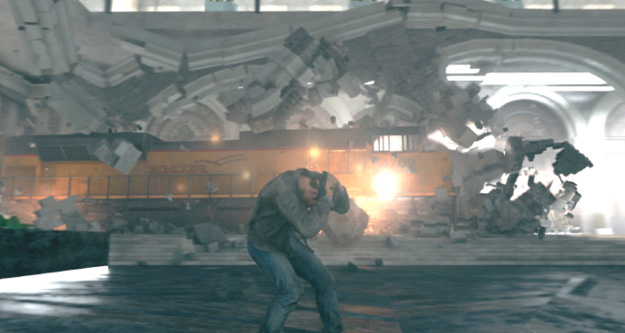
Right as he enters Monarch HQ, a stutter collapses and a runaway train crashes into the building. Shortly after, another stutter hits, leaving the train unstable and careening through pillars inside the entrance hall.
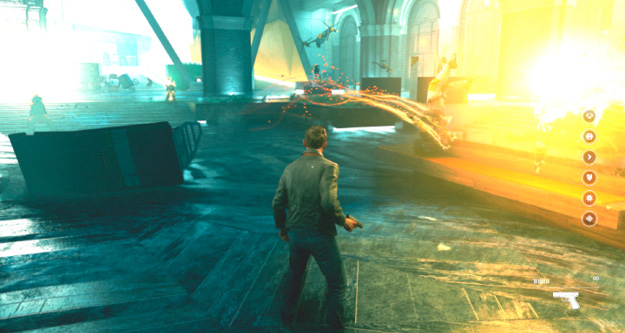
Only seconds after the train crash, Monarch has already dispatched units to the lobby area of the building.
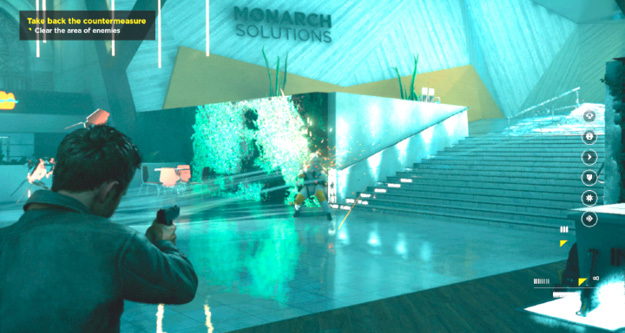
Monarch strikers and technicians approach Jack from behind the reception desk.
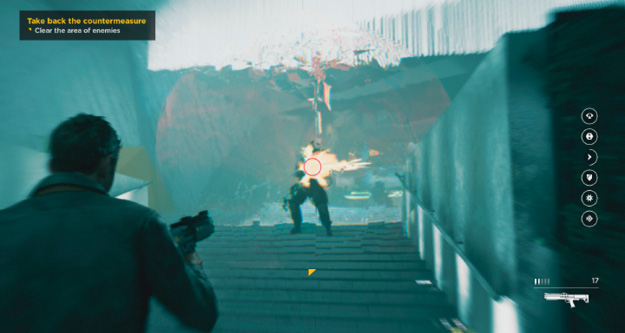
Jack must eliminate all of the Monarch units—technicians, strikers, and LMG tech—before he can proceed further into the building.
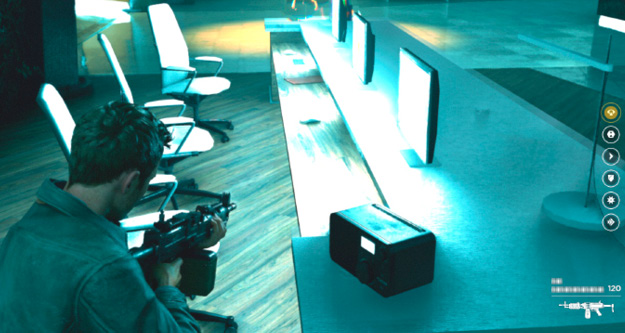
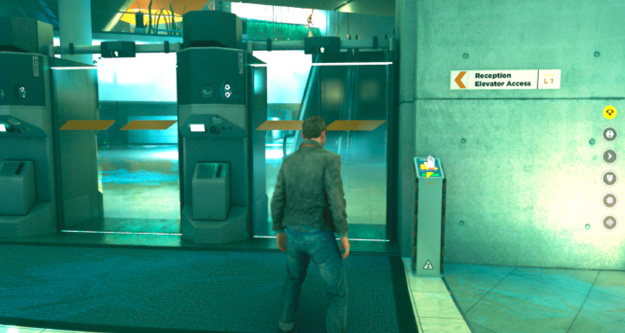
Jack approaches the closed glass doors at the top of the ramp, then Interacts with the terminal nearby. By accessing the terminal, Jack opens communication with Charlie/Fiona (based on the Junction choices made). He’s informed that he needs help getting to the CFR and Paul’s office. But the glass doors in the lobby are easier and they open for Jack.
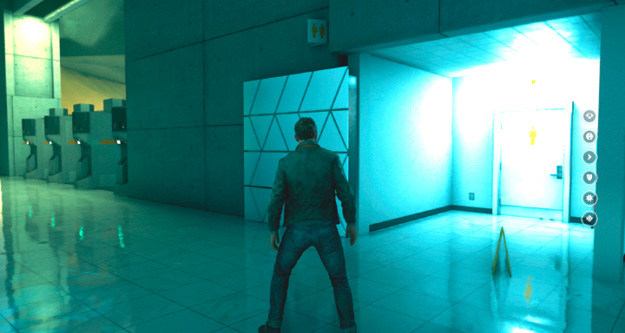
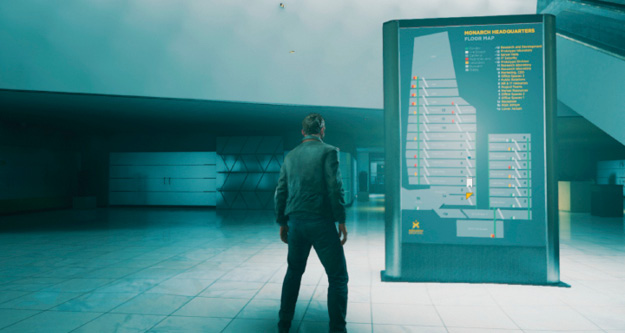
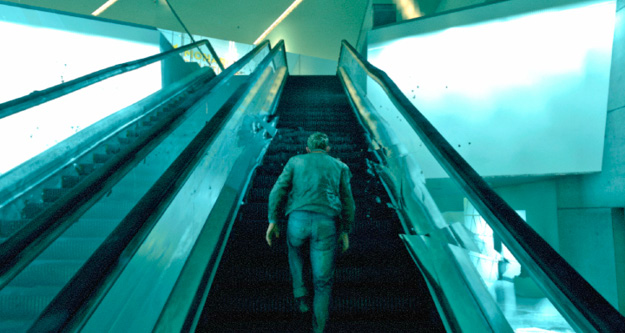
Jack runs up the escalator.
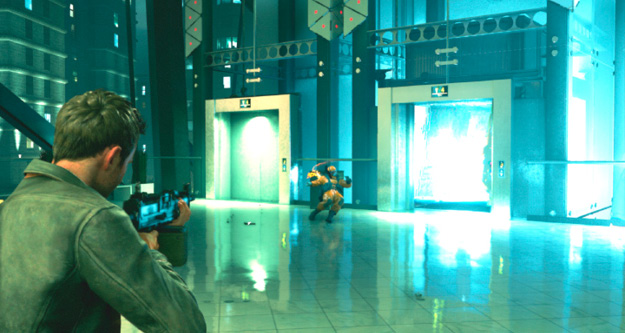
As he reaches the top of the escalator, an elevator is descending. When the doors open, take out the two technicians inside, then turn around to face the desk.
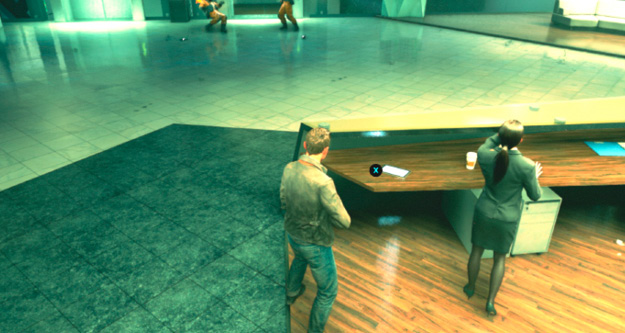
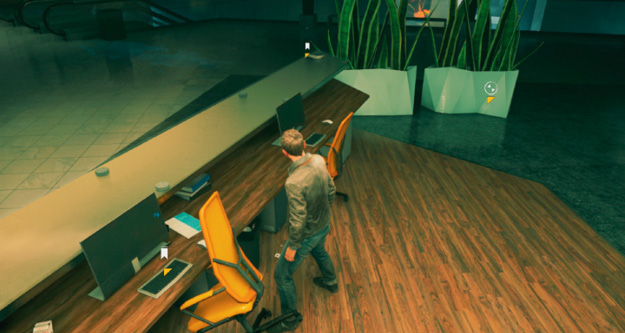
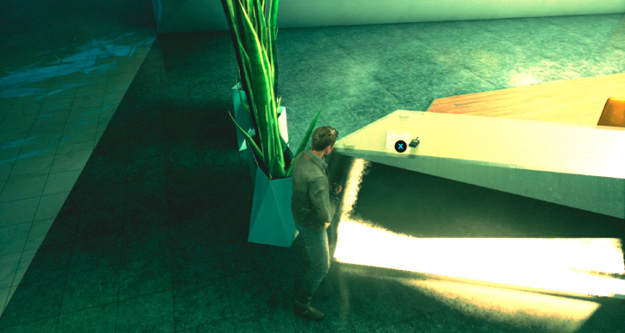
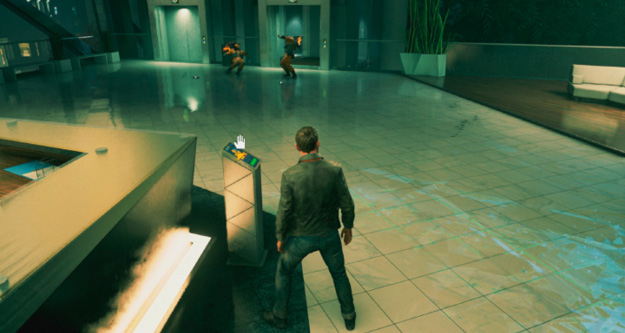
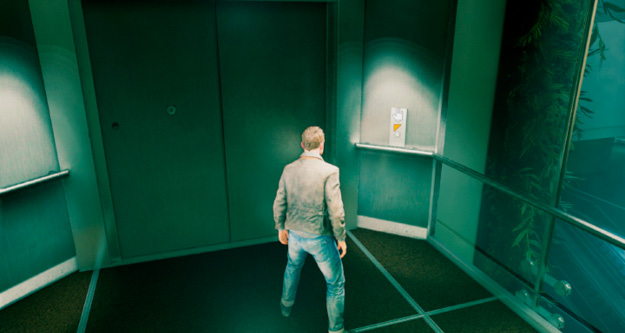
Jack enters the elevator and Interacts with the controls panel to ride it up.
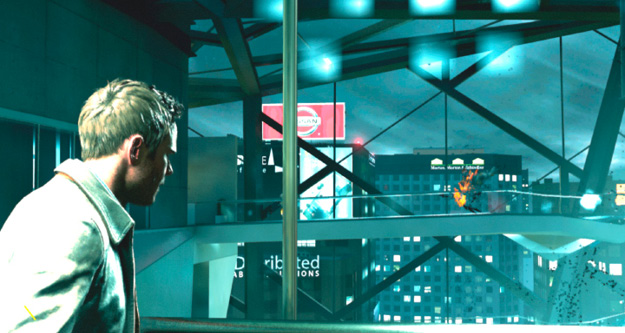
En route to the top floor, Jack sees a shifter taking out Monarch technicians with ease, throwing them aside and rapidly moving up floors.
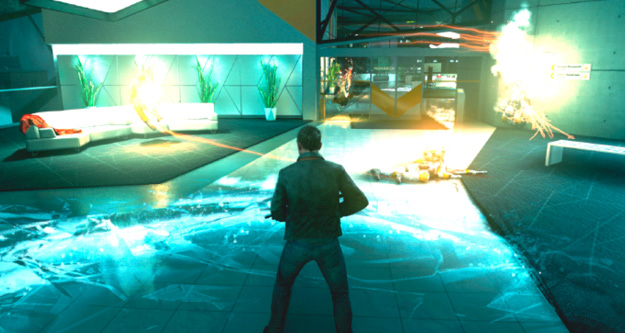
As the elevator with Jack reaches the top floor, he can see some of the aftermath the shifter left behind. A number of technicians and strikers have had their stutter-proof belts destroyed.
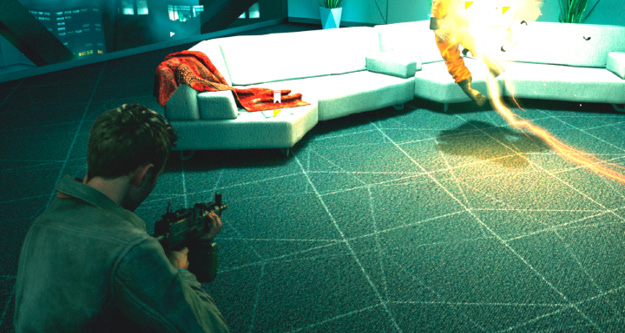
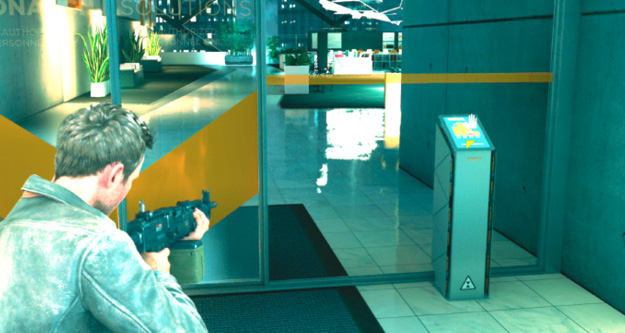
Jack pushes forward to another set of locked glass double doors. Remembering his previous discussion with the Monarch insider over the stutter-proofed communications, he Interacts with the terminal and reaches out for help. The doors open.
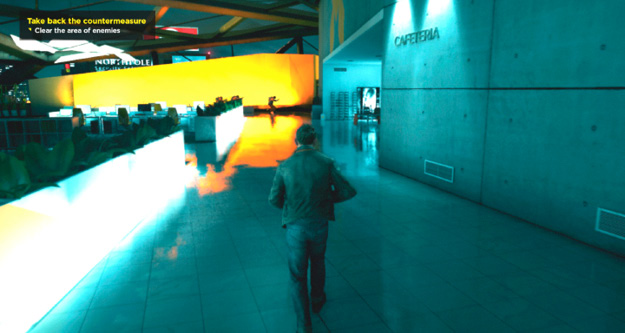
As he proceeds through the corridors of all-powerful Monarch Solutions, Jack encounters a group of technicians on the right.
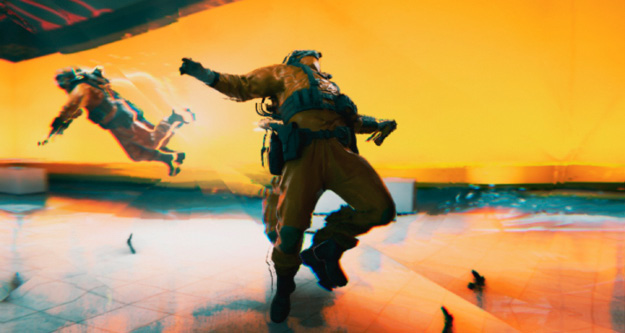
The technicians seem to be backing away from a doorway, but they soon see him and begin to attack Jack. After eliminating the initial set of technicians, a wave of three strikers engages in an effort to assist the technicians in taking down Jack with combined force.
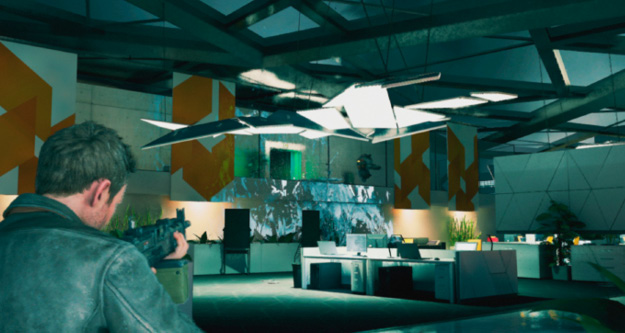
Jack eliminates all of the strikers in fairly short order, but once these units have been neutralized, Monarch dispatches their elite units to stop Jack.
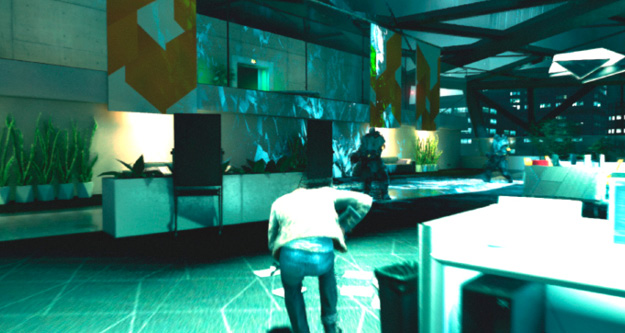
Just as the last striker is eliminated, two elevator doors above the room and separated by glass panes open simultaneously. Two Juggernauts exit just as the doors open and crash through the glass, down into the room
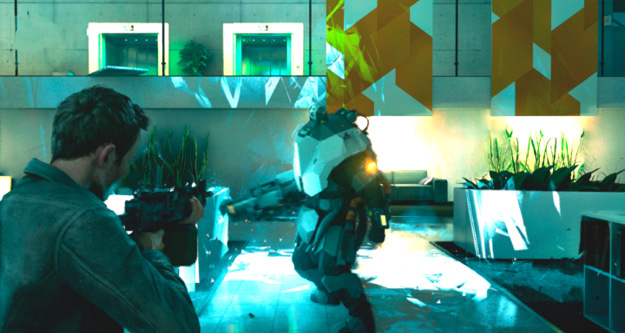
After an elongated and difficult firefight, Jack is victorious and eliminates both Juggernauts.
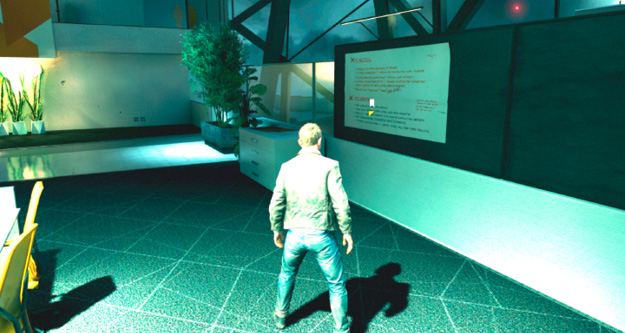
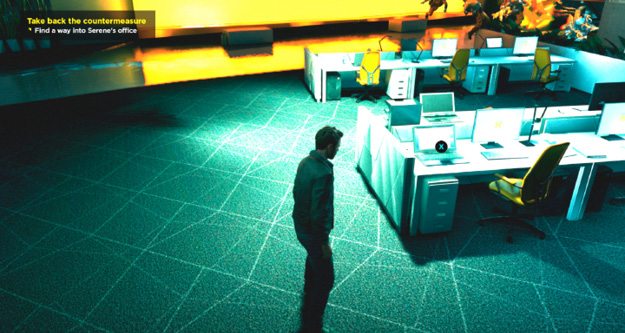
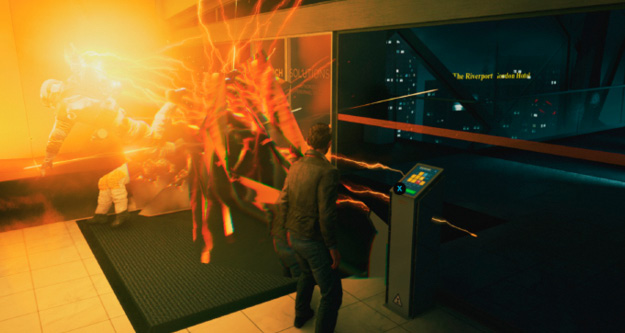
Jack continues his search for Paul Serene’s office. He heads to the doors the technicians were backing away from earlier. It’s locked, but not for long. Using the stutter-proofed communications terminal, Jack is able to get the door unlocked.
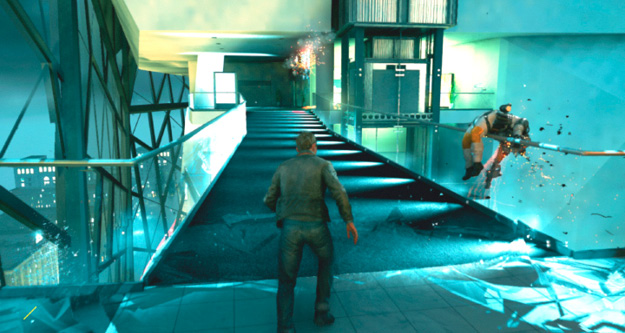
Jack explores the Monarch HQ corridors during his search for Paul Serene’s office.
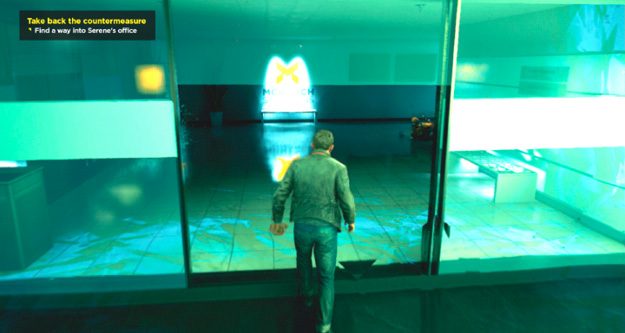
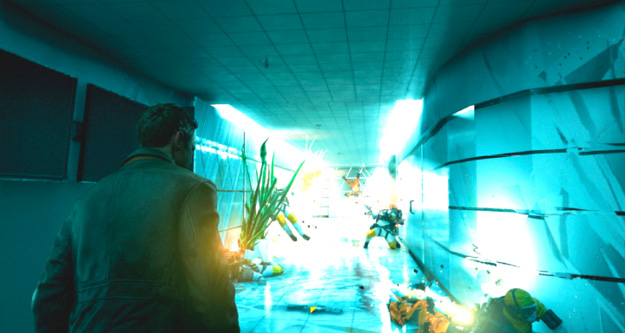
Across the skybridge, Jack finds an open door on the right. As he turns the corner, he sees several dead strikers and technicians scattered throughout the hallway. He can Interact with them.
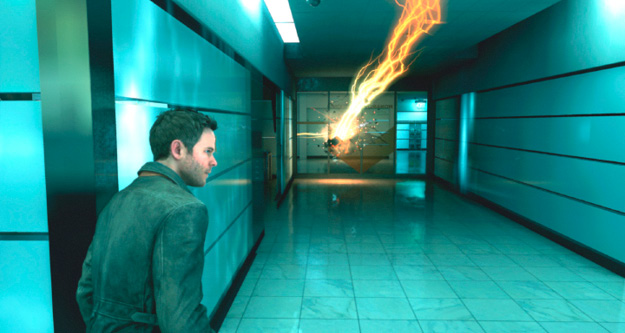
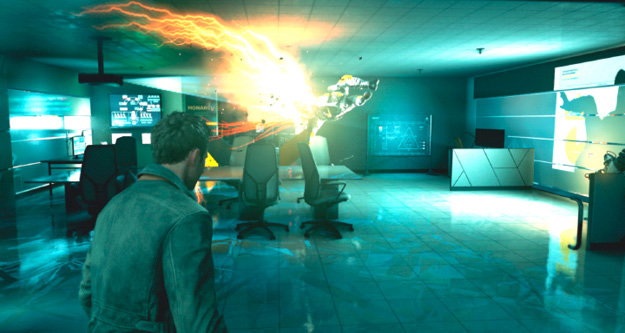
As Jack turns the corner, he notices even more dead strikers in a meeting room. One is suspended in front of a projector, as if ripped apart in mid-air.
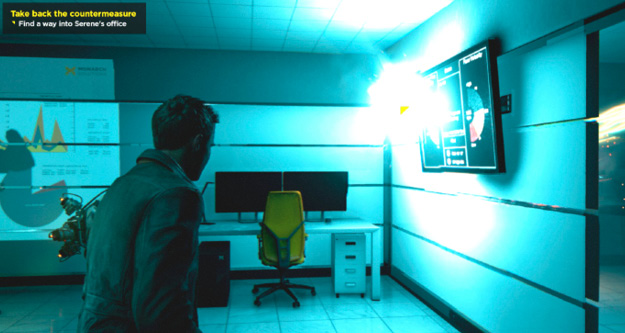
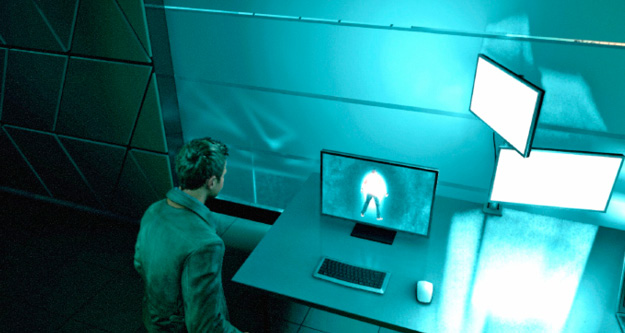
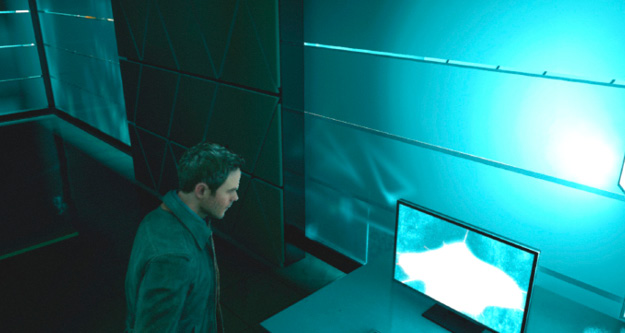
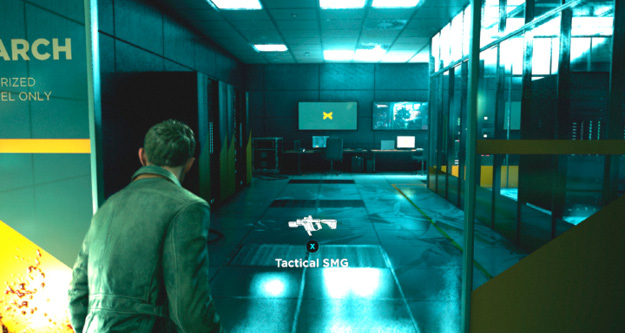
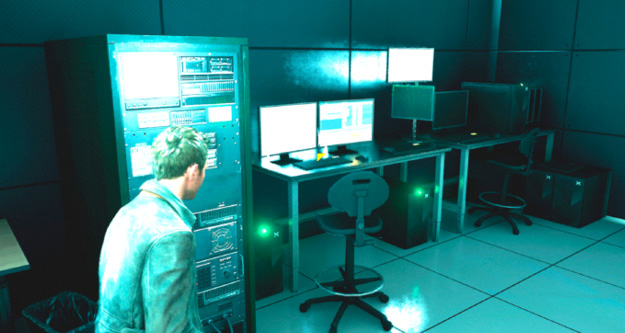
Exiting the meeting room leads Jack to a monitoring station, filled with PCs and Monitors. As he begins to approach the displays on the back wall, he notices the time machine core being used in another time machine.
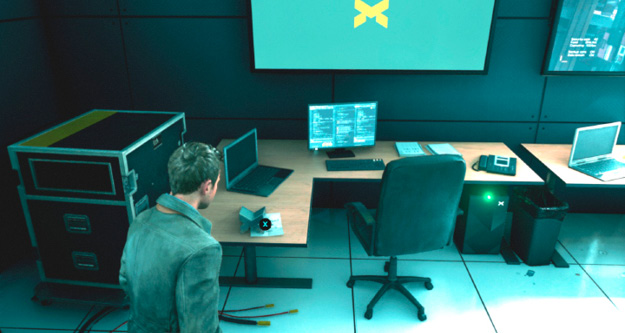
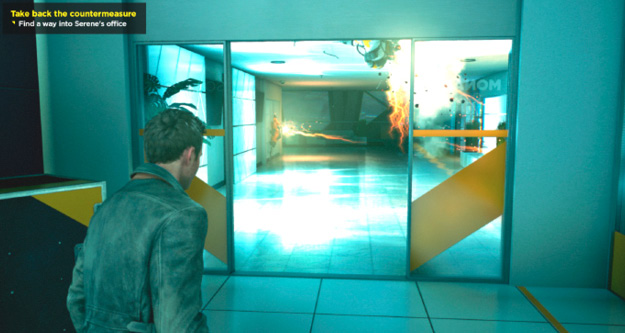
Jack exits the room and continues down the hallway, following the shifters path of destruction. A few more dead technicians and strikers are scattered along the walls and ceiling.
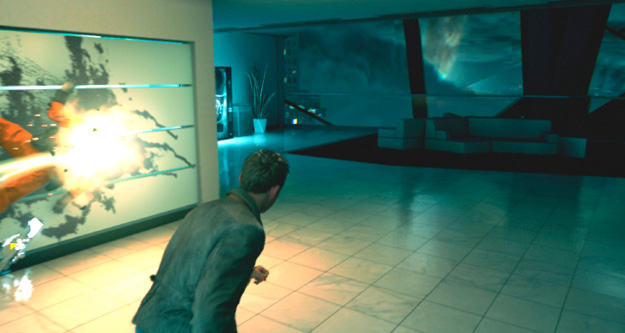
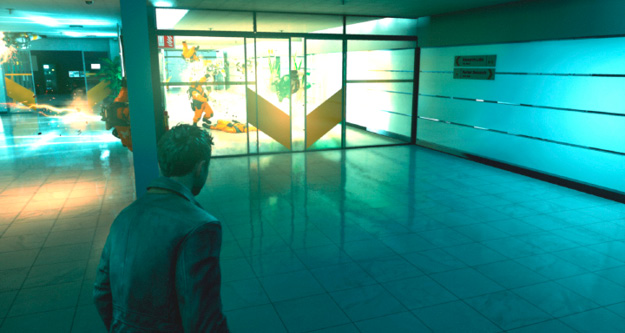
Around the corner, Jack sees partially cracked double doors leading to a room completely full of dead strikers and technicians.
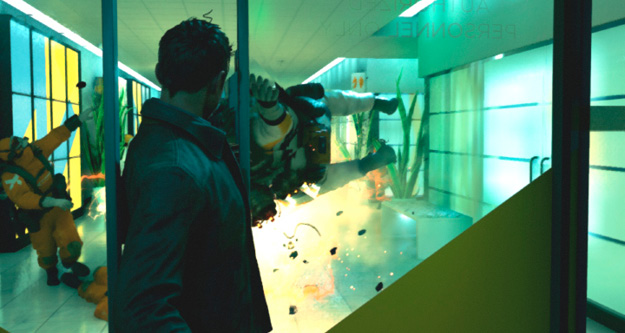
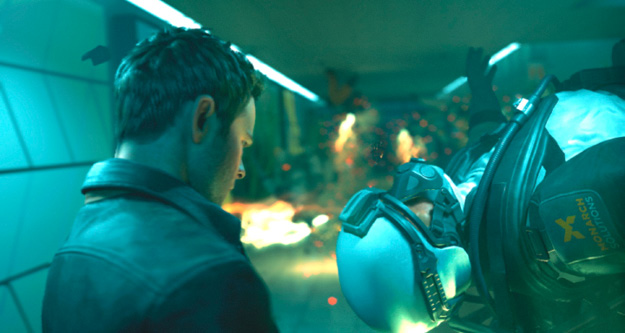
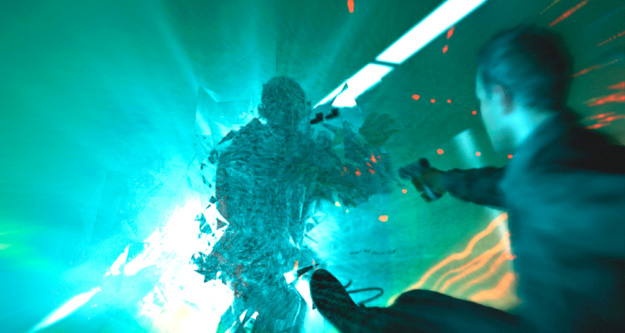
As Jack enters the hall through the cracked doorway, he begins to assess the damage. Shortly after entering the hall, the shifter appears and charges Jack. Jack panics and shoots wildly toward the shifter, just as it disappears. The lights are restored and the stutter collapses, dropping the scattered Monarch bodies to the ground.
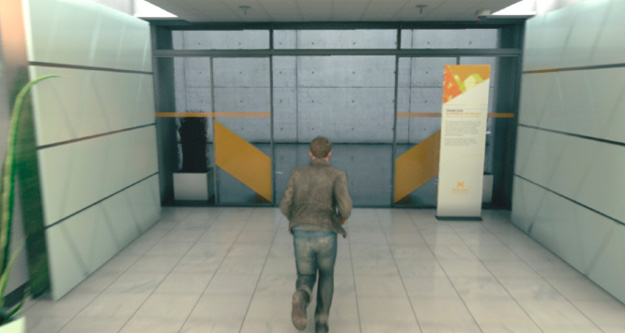
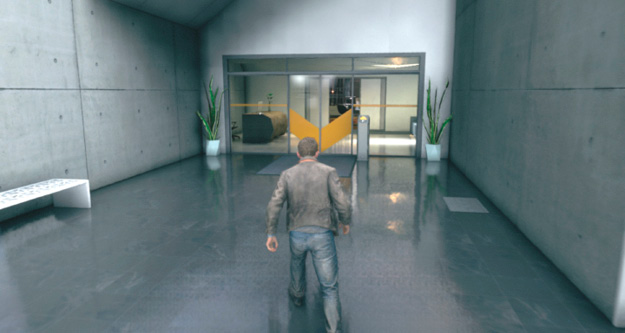
As Jack runs down the hall and into the next room, the restored Monarch communications come online and warnings of intruders and a train crashing into the building are heard.
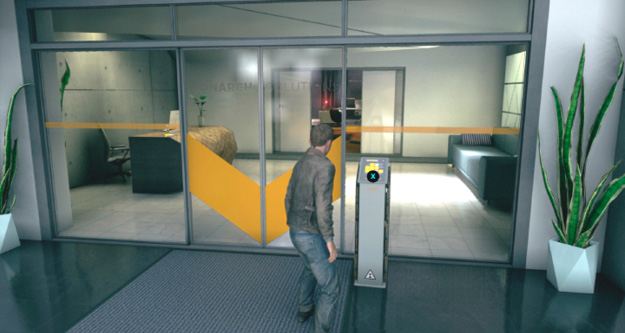
Jack approaches another locked door and uses the terminal to contact the insider for help. He is informed that this is Paul’s office, and the doors are opened.
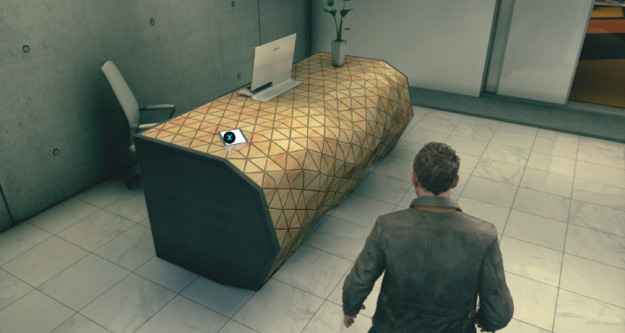
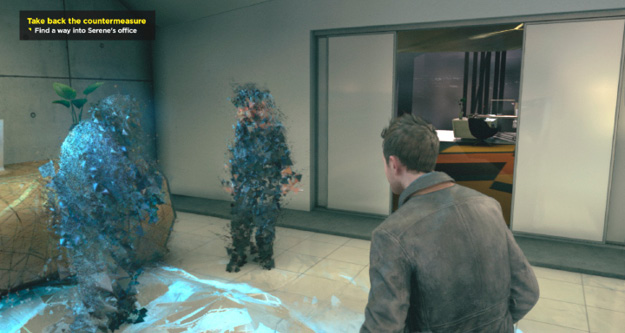
Using his Time Vision, Jack reveals an echo of Paul Serene speaking with Clarice Ogawa. He informs Clarice they need to prep the chopper for a mission, with a full ‘tactical complement’ and a tech squad.
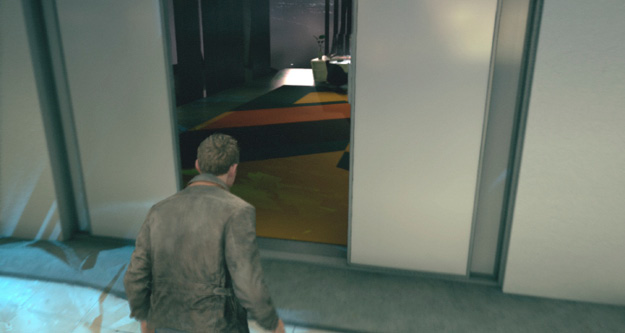
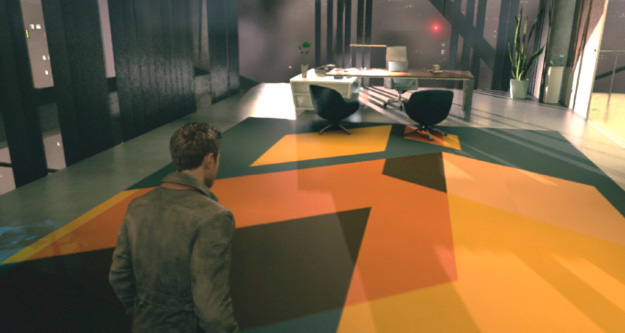
Jack walks into Paul’s office and takes a seat at his desk. As he begins looking at Paul’s laptop, Jack gets a phone call from Paul. They talk about the CFR and their plans, then Paul informs Jack that things will play out as they are supposed to.
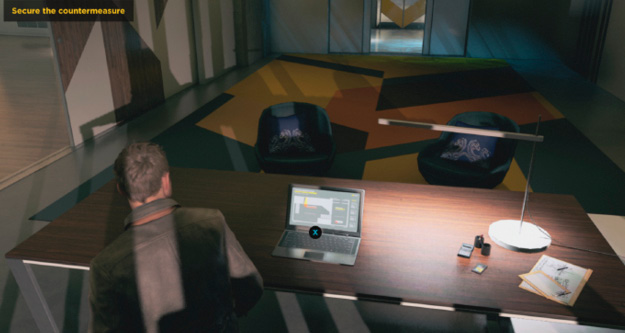
When the cutscene finishes, Jack is inside Paul’s office.
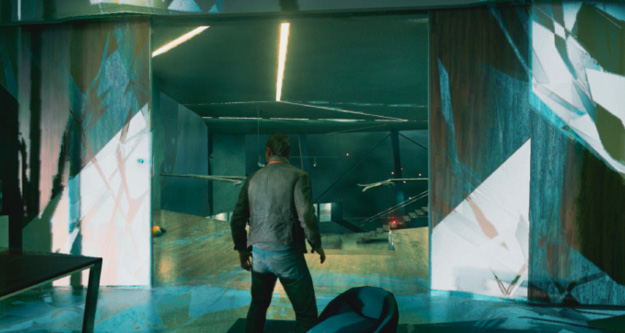
Jack unlocks a hidden door revealing Paul’s living quarters and, down below, access to the CFR lab.
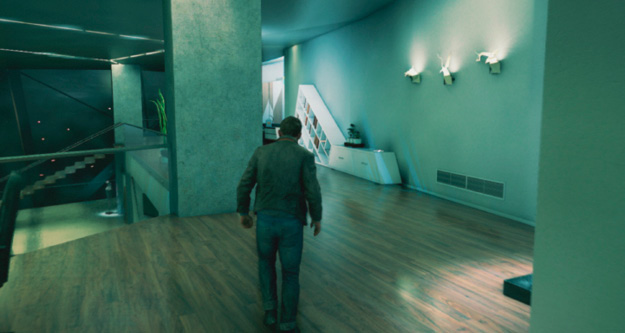
Jack explores Paul’s office, looking for clues. He first heads through the open doorway, but checks out the upper area on the right side before walking downstairs.
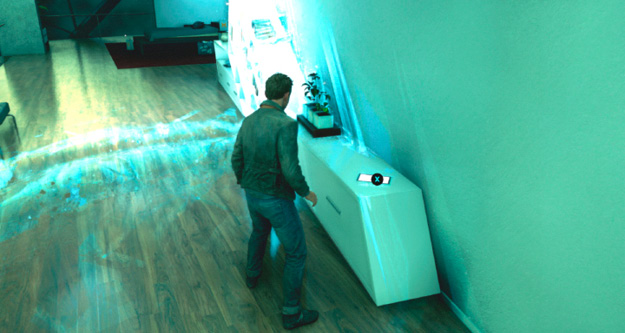
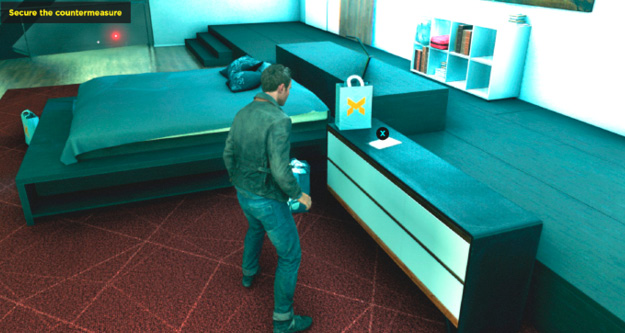
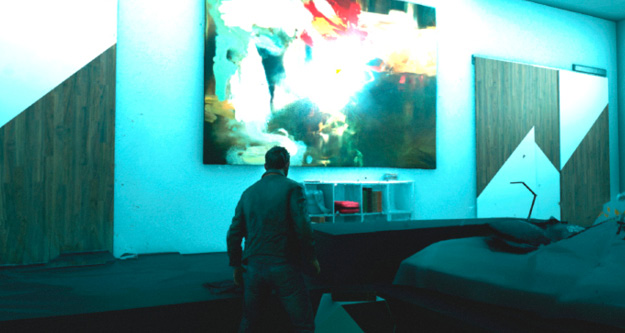
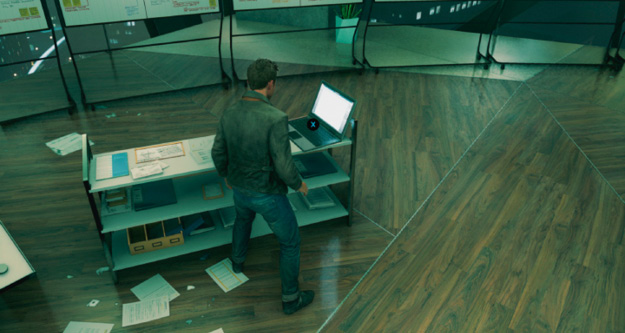
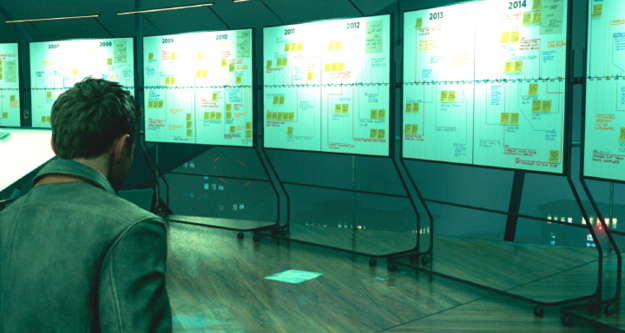
Jack notices a number of poster boards with timelines on them, separated by years spanning from 1999 to 2017. Each of the poster boards contains a timeline of events as told by Paul, based on what he knew after traveling back through time. Jack inspects this for a closer look.
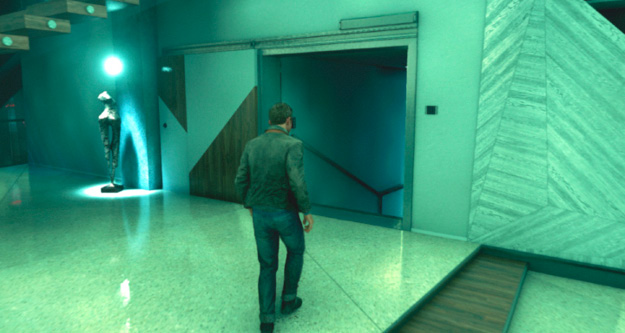
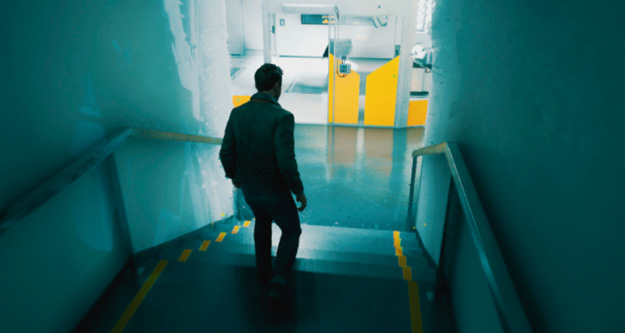
Jack turns around from the timelines and follows a staircase down into a medical lab. Personalized medical equipment is installed in the area.
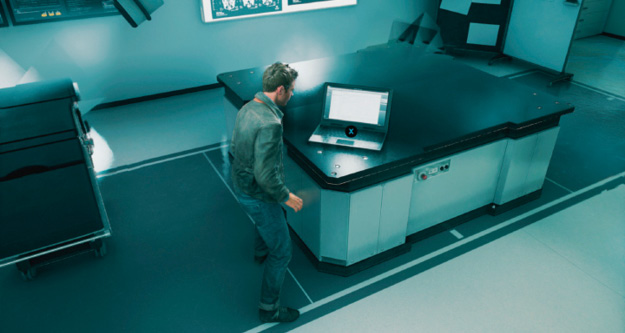
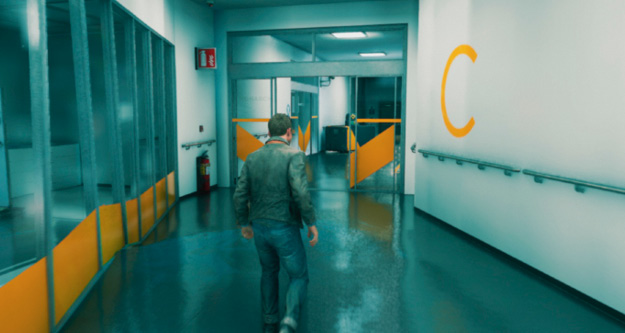
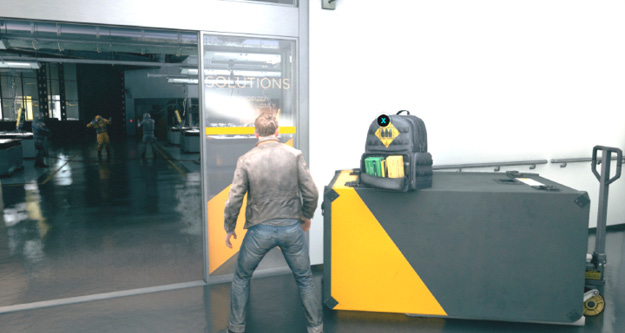
Following the hallway from the medical lab, Jack comes across a set of sliding doors that open.
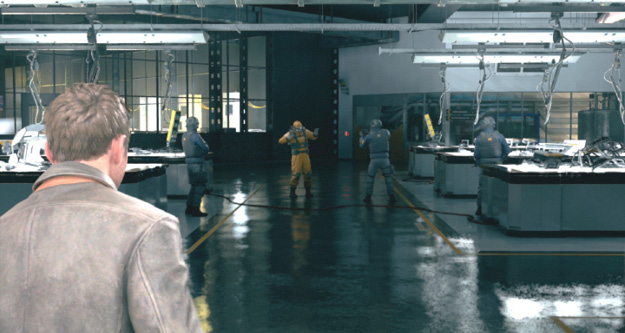
Jack takes some ammo and then heads through the sliding doors. He encounters some operatives confronting a technician.
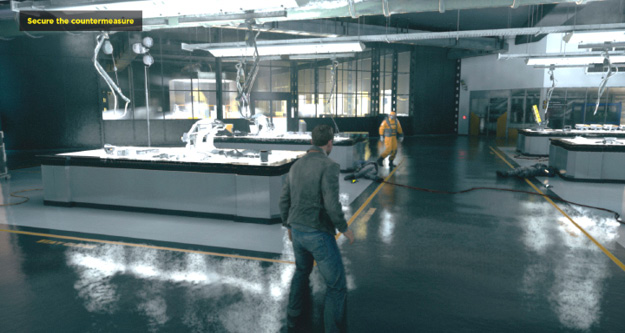
Jack dispatches the operatives and approaches the unknown Monarch technician.
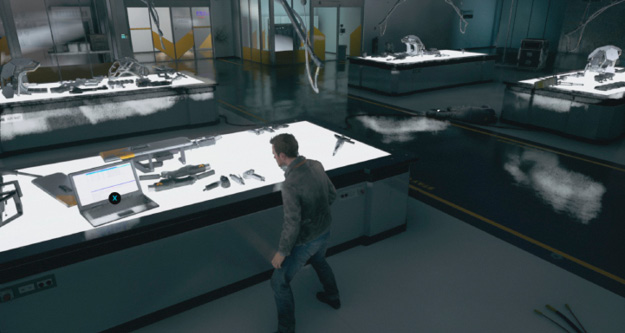
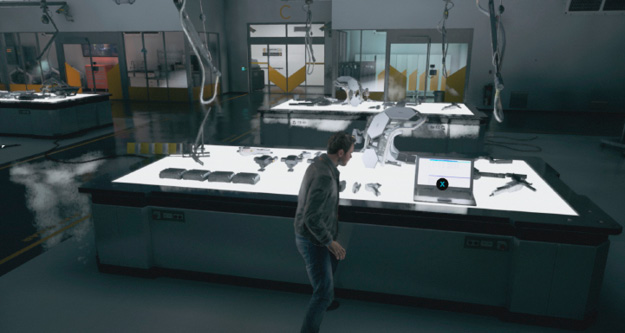
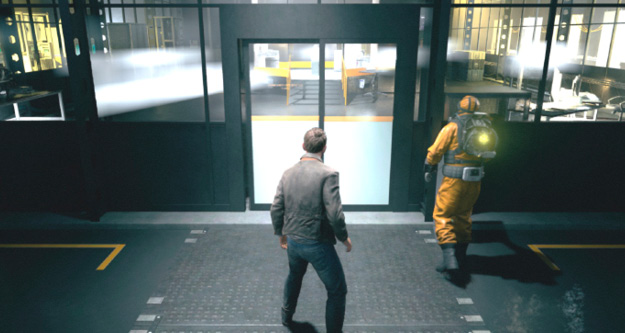
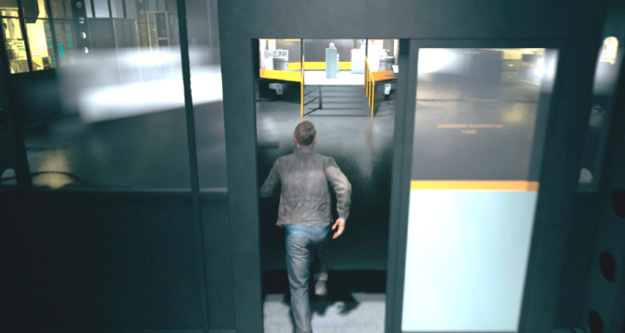
The technician (Charlie) opens the doors for Jack and leads him into the CFR room, informing him he “hopes he knows what he is doing.”
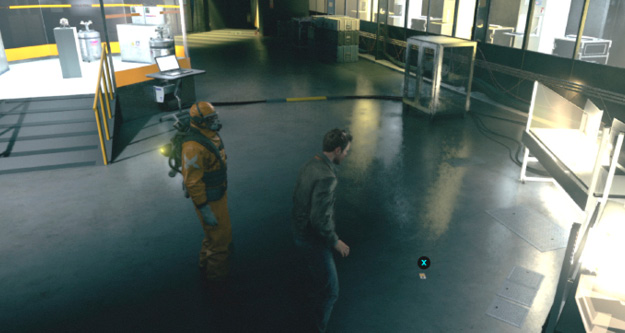
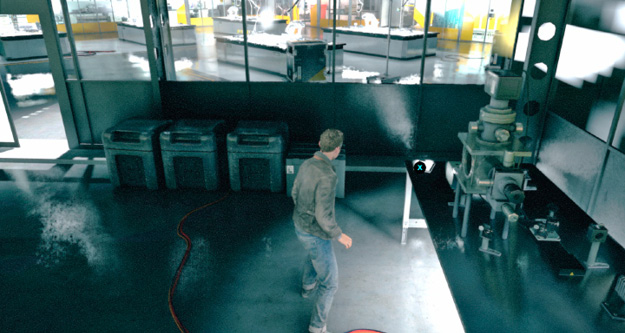
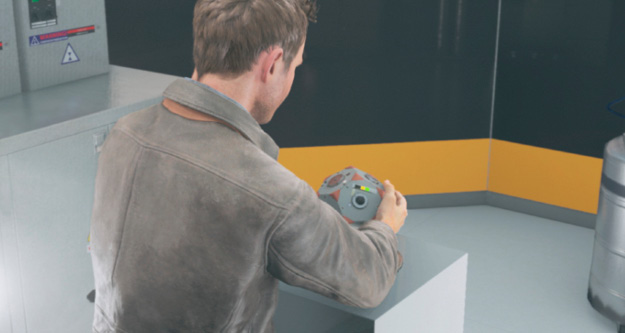
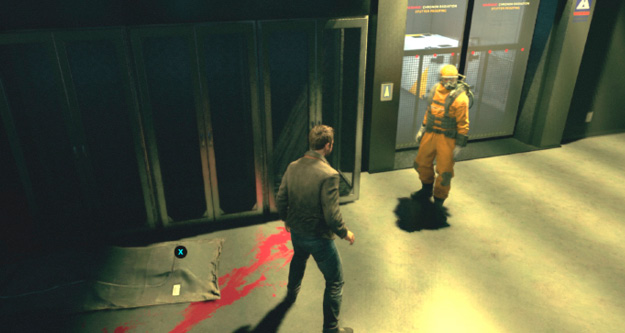
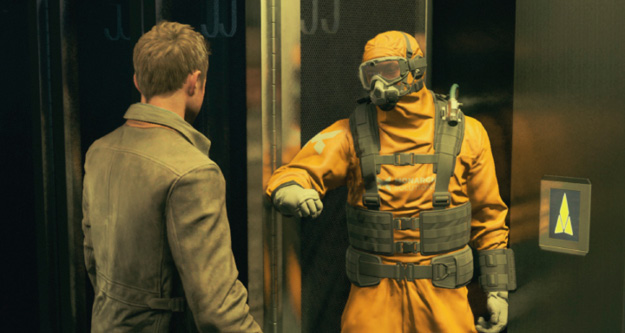
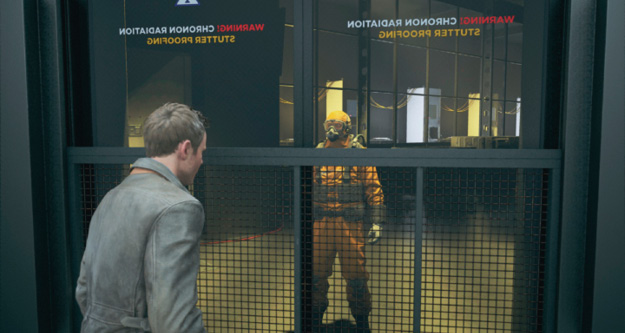
Jack informs Charlie that he needs to reach the chamber above, then asks if he is coming along. Charlie responds that he has to get back to someone and bids Jack good luck. Jack heads down to the other Time Machine. Walk toward the elevator, then ride it to the next location.
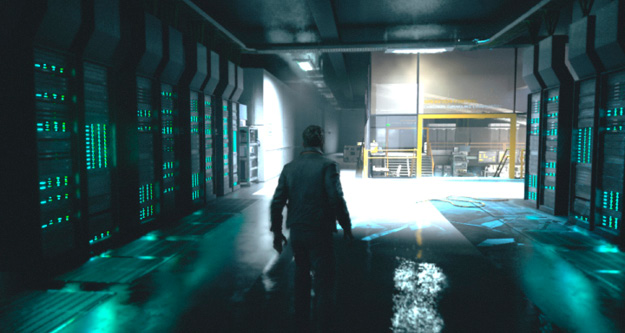
Jack exits the elevator and walks into the Monarch HQ Time Machine room.
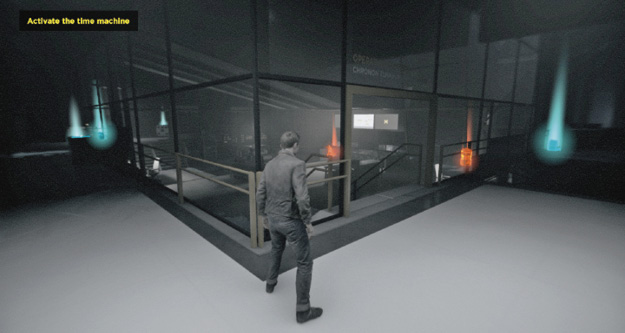
Jack determines the Time Machine’s core was set and prepped, but before activating it, he stocks up on weapons and ammo.
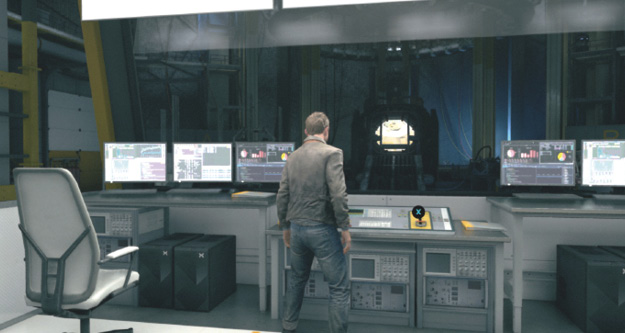
When Jack is ready to begin, he enters the control room and Interacts with the level to power on the core. He sighs deeply, then hits the switch to turn the Time Machine on.
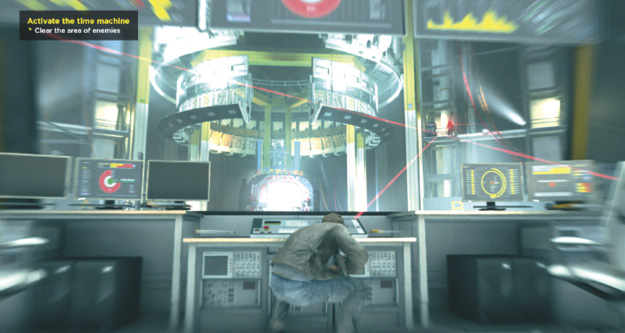
When the fight begins, waves start to appear from around the elevator and snipers arrive on the catwalks above.
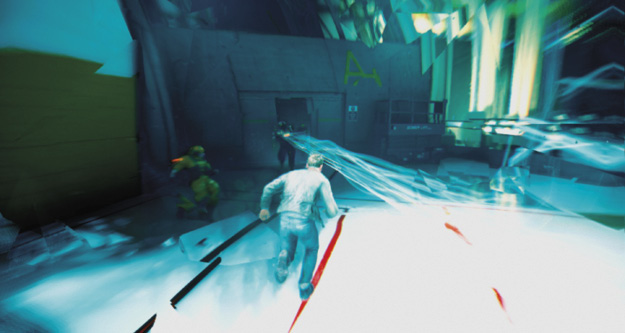
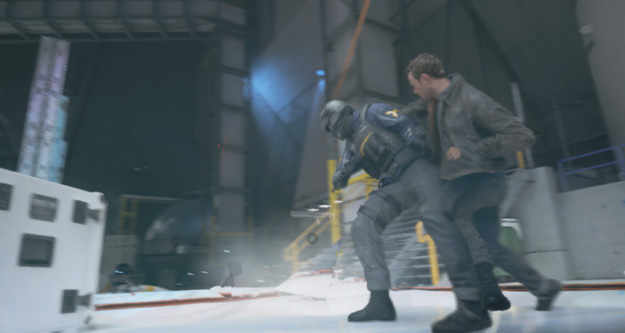
Take the snipers out, then work on the waves of operatives and strikers.
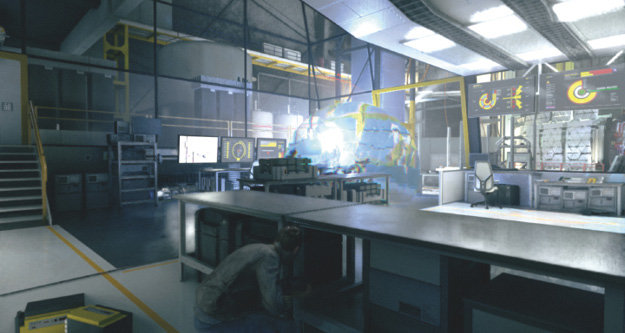
Eventually, a Time Stutter hits and strikers and LMG techs arrive.
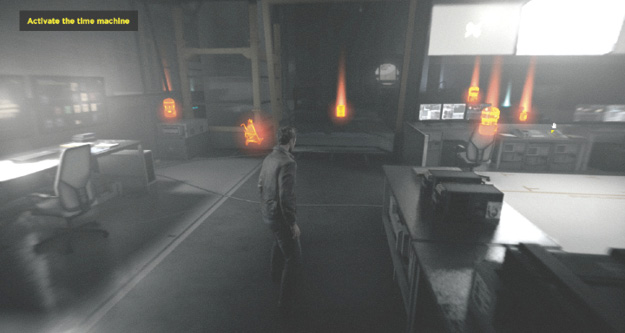
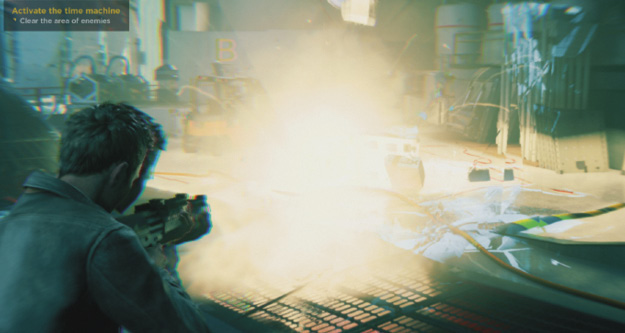
Continue clearing the waves until they’re all dead.
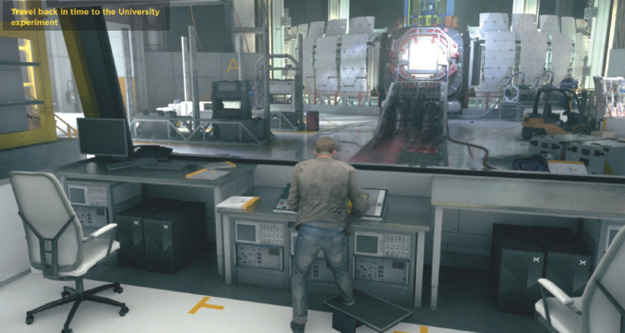
After all waves have been defeated, Jack heads back to the control room. He Interacts with the switch again to open the door.
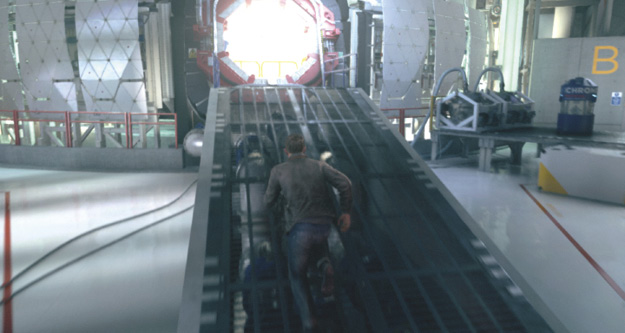
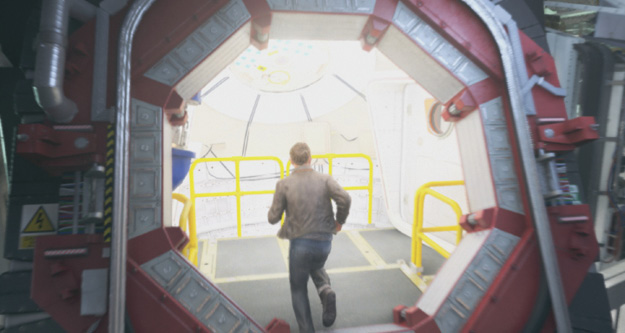
With the Time Machine door open, Jack walks up the ramp and through the open door to travel back in time.