Quantum Break Guide Walkthrough Act 1
Part 2
Campus Escape
Running from Monarch troops, Jack and William make their way through the university grounds. Jack is learning just how much he has been changed as he discovers that he has powerful new abilities that let him take on overwhelming odds, even as the signs of the Fracture’s progress are all around them—time keeps stuttering to a halt. William turns out to know much more about what’s going on than Jack expected—he’s been preparing for an event like this, somehow, and he says he might know how to fix things.
But first, they need to escape. With a seemingly endless army of heavily armed men trying to stop them, it’s up to Jack to make that happen.
| Chronon Sources |
0 |
|---|---|
| Intel |
0 |
| Collectibles |
3 |
| Quantum Ripples |
1 |
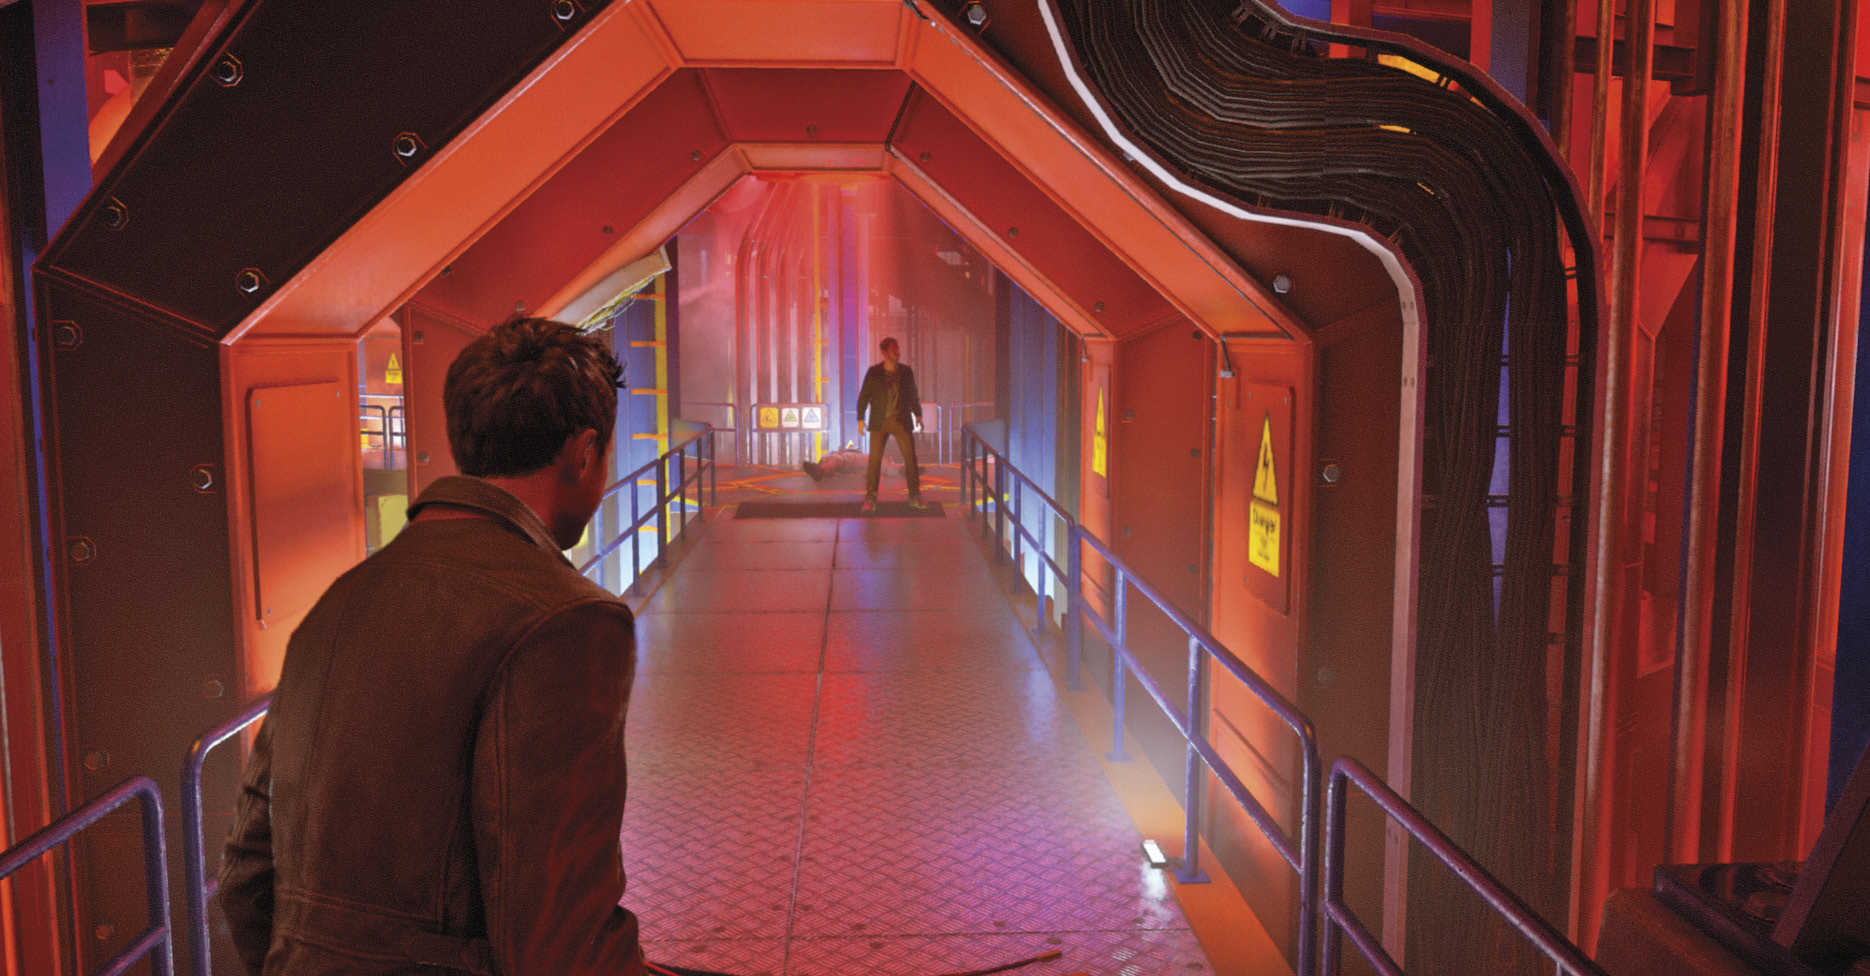
After escaping from the guards through the hatch, Will and Jack find themselves in service tunnels beneath the laboratory. The alarm is still sounding as a Monarch security guard suddenly appears and opens fire.
Jack, realizing his powers for the first time, sees the bullets approaching Will in slow motion. He uses his ability to shoot the guard and save his brother. Will realizes that Jack’s proximity to the pulse must have altered his relationship to the Chronon field.
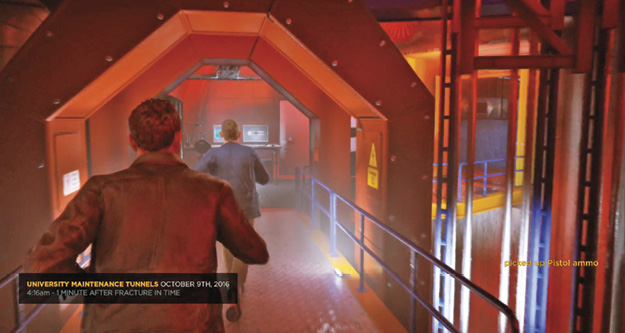
Jack runs past the dead body of the Monarch security guard as he follows Will through the corridors. Will continues to explain that the explosion must have caused the time to go bad.
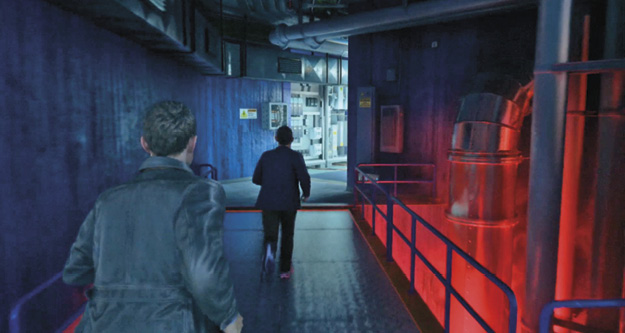
The two men continue to escape through the barely lit corridors. While running, Will continues to theorize that there is now a fracture in time and that time itself is breaking down. After a few more turns, they reach a locked door.
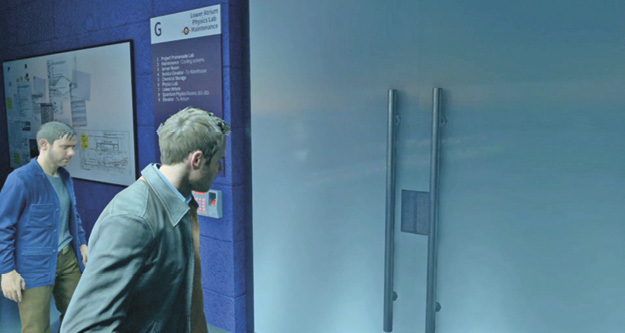
Will attempts to open the door, but is unsuccessful. He realizes that Monarch must have cut his security clearance. Jack, the stronger of the two, volunteers to open the door.
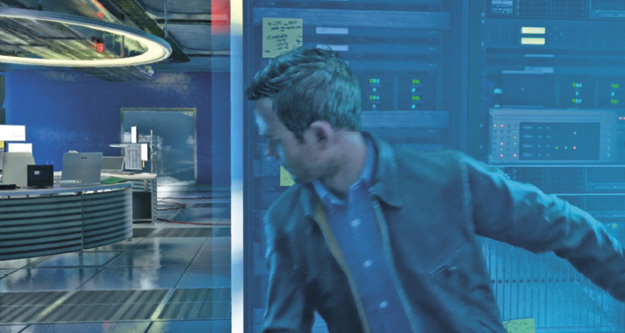
As they enter a room filled with servers, Will and Jack can hear other Monarch security approaching and then see their flashlights coming closer.
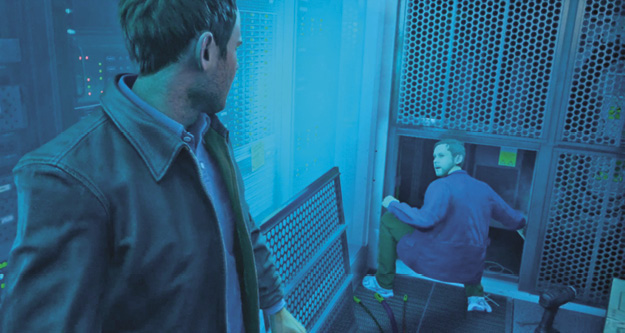
Will, who knows these rooms very well, leads Jack to an open grate that leads behind the wall in the server room.
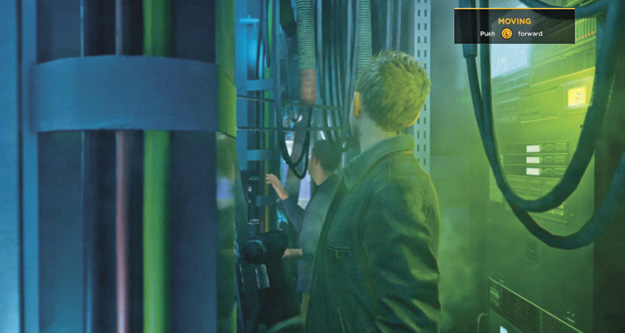
Jack follows Will and must shimmy through the narrow space until they reach the other side of the server room. While hiding from the guards, Will asks Jack why he is even here, in Riverport. Jack replies that Paul asked him to come to clear up Will’s mess. Shocked by that statement, Will says that Jack is missing the context, but that he regrets that Jack is now involved.
.jpg)
After clearing the narrow service corridor and arriving back in the server room, Jack approaches a computer in the center of the room where an email is displayed. Meanwhile, Will predicts that the fracture in time is just going to get worse. He tells Jack that the first thing they need to do is get to his car.
.jpg)
As Will and Jack proceed to the next area, they look through a window near the service elevator. Jack sees Liam talking to some Monarch operatives outside as a Bearcat pulls up in the parking lot above. A helicopter arrives and Liam walks away shortly afterward.
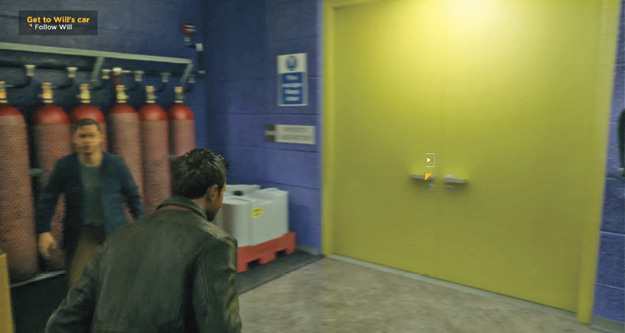
Will is already waiting in the other room, asking Jack to help open another door.
.jpg)
A Monarch operative is waiting for Will and Jack as they enter the lab adjacent to the yellow door.
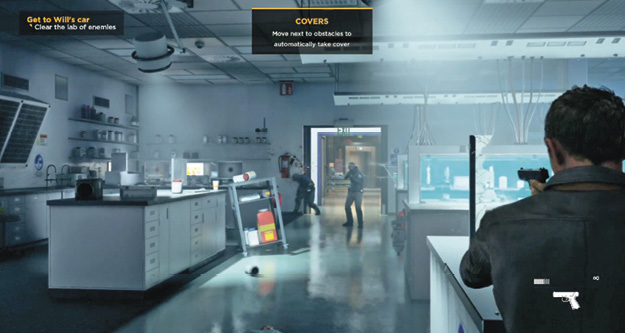
Once the first guard has been eliminated, two more arrive through the door on the back side of the room.
.jpg)
After dropping both guards, Jack approaches the whiteboard on the right side of the laboratory.
.jpg)
The duo continue their escape and find several SMGs from the operative’s bodies on the floor.
.jpg)
The next room is filled with Monarch operatives, one in each of the arched hallways to the right and left of the elevator. Another pair arrives via the elevator.
.jpg)
Once the room has been cleared of enemies, Jack walks to the other side of the elevator and finds a tablet on a sofa.
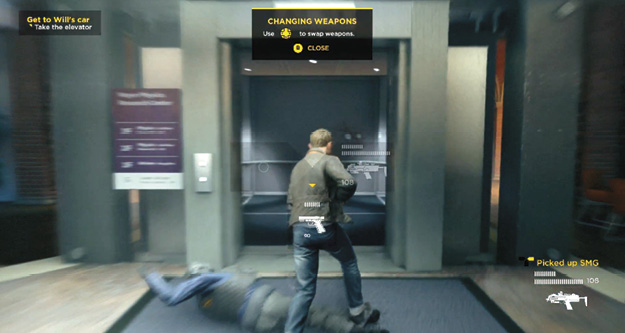
A voice on a radio can be heard asking if Jack and William Joyce have been detained. Will speculates that Monarch is after the machine. Hearing that, Jack feels that they should not go to Will’s car as Monarch might be expecting that.
.jpg)
Will replies that they need to get to the car in order to fix the Fracture. He built something years ago, but finding the countermeasure won’t be easy. Suddenly, time freezes again just as the elevator door opens.
.jpg)
Several Monarch operatives in the lobby are stuck in the time stutter. Will, mostly talking to himself, says that he was right about the Fracture—about all of it. He walks toward the exit of the building.
.jpg)
There’s a tablet on the desk behind the operatives.
.jpg)
Will warns that they don’t want to be there when the stutter collapses. Jack asks him where his car is and Will shows him the way.
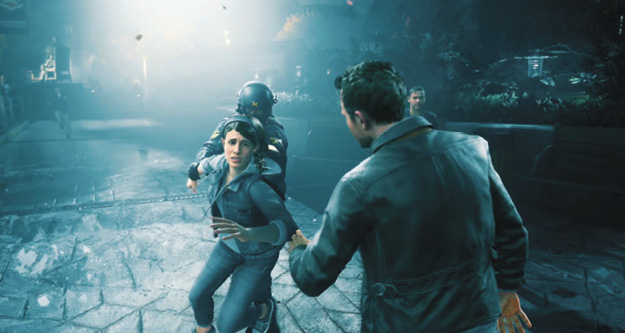
The entire courtyard area is frozen in time. Several Monarch operatives apparently were cracking down on the protesters. As Jack passes Amy, he recognizes her from his earlier encounter with her.
.jpg)
Jack asked Will why he could free him from the Fracture, but not Amy. Will speculates that it might have to do with Chronon exposure. He explains that they can reach his car by going through the lecture hall. Follow Will as he leads you through another building.
.jpg)
Jack wants to know how Will knew what was going to happen. Will reluctantly replies, “Beth Wilder. It’s complicated. I’ll explain in the car.” They reach the entrance to Lecture Hall A: Organic Chemistry.
.jpg)
As they walk into the Lecture Hall, the Fracture collapses. Looking outside, Will sees that the way to his car is blocked by Monarch operatives. Jack calms him down and promises that he can break through and get the car. At the door, Will gives his car keys to Jack.
.jpg)
Jack heads through the double doors and into the parking lot. It’s immediately clear that there are a number of Monarch operatives in the area. He needs to be careful.
.jpg)
Jack’s powers are increasing more and more. He discovers how to use Time Vision immediately after walking outside.
.jpg)
There are two operatives dead ahead. Jack has to take them out and then continue toward Will’s car in the back of the parking lot. There are two more operatives near the bearcat that approach from the left. Jack has to deal with them, as well.
.jpg)
Jack walks up to the echo. It shows Will leaving his car. Jack can interact with the car door after this.
.jpg)
As Jack is unlocking the door to Will’s car, another Monarch operative approaches. At that moment, Jack discovers Time Stop.
.jpg)
Once Jack regains control, Monarch operatives begin to occupy the area.
.jpg)
Once the enemies have been dispatched, return to the double doors and Interact with them to return to the lecture hall.