
Quantum Break Guide Walkthrough Act 2
Part 2
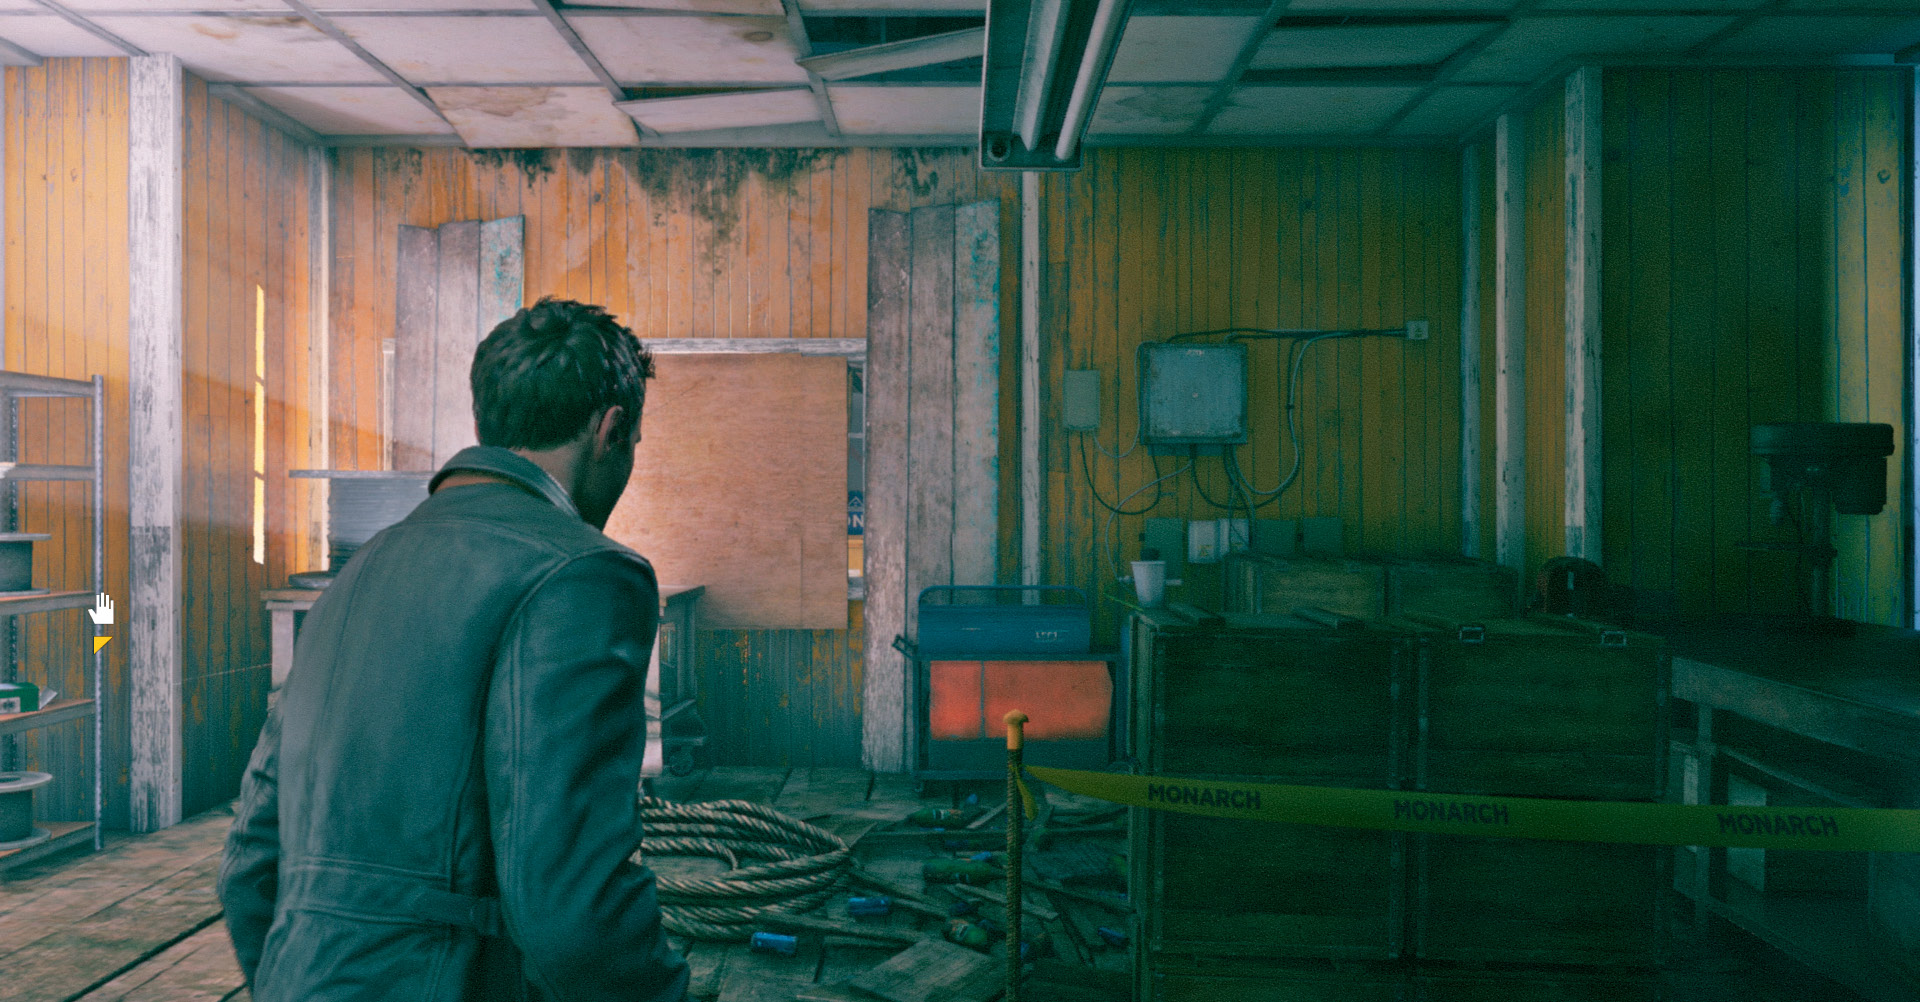
GROUND ZERO
With some guidance from the abductee he rescued, Jack realizes that in order to reach the drydocks, he’ll have to go through the highly restricted area known as Ground Zero. On his way there, he learns that Monarch has recovered some of William’s personal effects from his car. Going through them, he finds an old, battered key labeled “Bradbury Swimming Pool.”
To his shock, its epicenter is actually at William’s old workshop. Entering the area, he experiences glimpses of an earlier time—of William working on a cruder version of the Time Machine, something that predates the one Serene’s Project Promenade built. He realizes something crucial happened here, something that has made time work in weird ways here, but he doesn’t know what—however it’s clear Monarch is very interested in it.
Making his way through this strangely shifting area, Jack manages to get clear of it and reaches the drydocks—only to see Serene taking off in a helicopter. Serene seems confident that he’ll see Jack later tonight at Gull Island, where Monarch is hosting an exclusive gala evening. Jack, enraged and unwilling to let Serene escape, attempts to shoot down his helicopter, but Serene uses his abilities to cause an unfinished massive ship to collapse on top of Jack.
Jack barely escapes the destruction with his life. Climbing out of the drydocks, he encounters Beth Wilder. After some tension, they drive off together to investigate the Bradbury Swimming Pool.
| Chronon Sources |
7 |
|---|---|
| Intel |
1 |
| Collectibles |
13 |
| Quantum Ripples |
1 |
GROUND ZERO
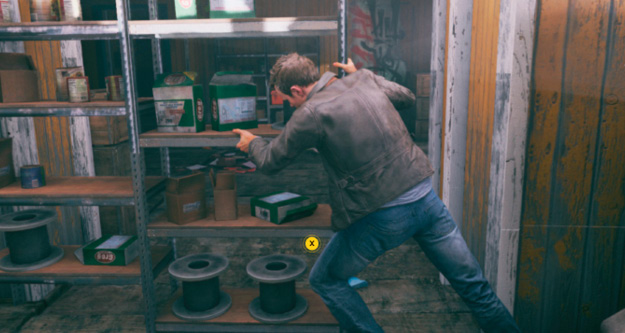
While entering this small room, Nick/ Amy asks Jack if it is possible that his brother Will might be working for Monarch. Jack doesn’t believe that, but thinks Paul is up to something big.
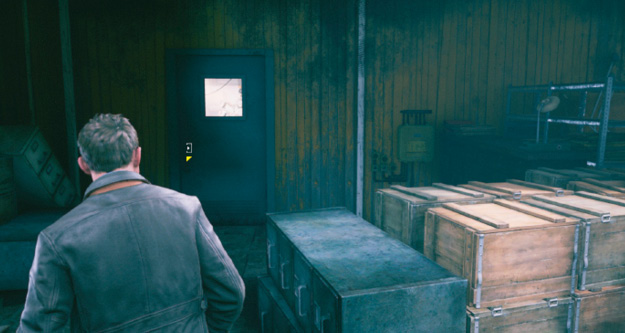
The next door leads to an elevated platform above a massive room that contains a Chronon harvester. Several Monarch personnel guard that piece of equipment.
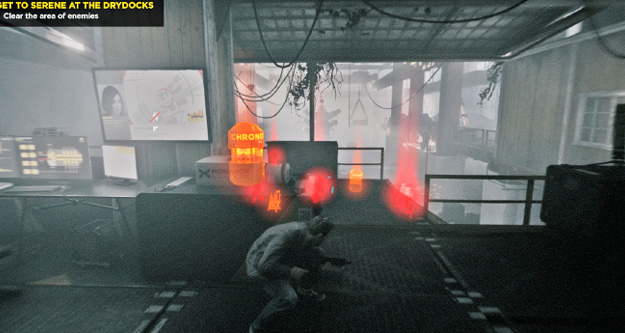
Jack begins by taking out as many operatives as possible on the ground level near the harvester, but then runs back up the stairs as the shotgun tech approaches to separate them from the group.
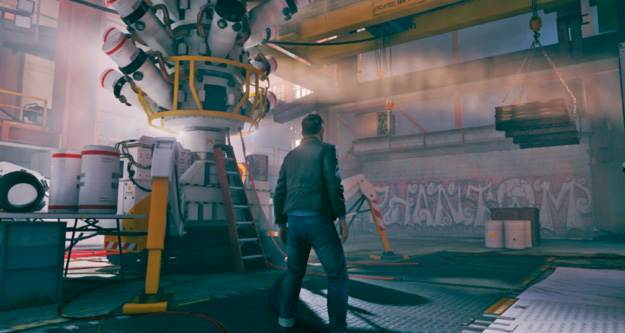
After the shotgun tech has been eliminated, Jack runs back down to the ground floor and takes out the remaining Monarch operatives near the Chronon harvester.
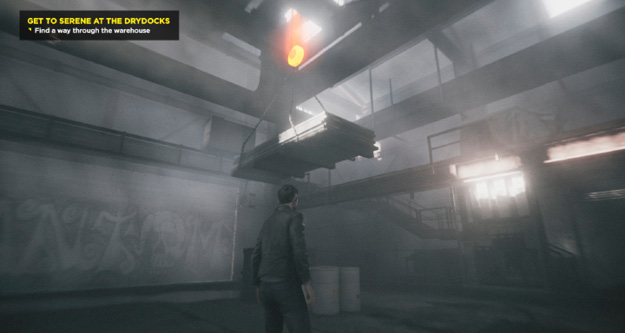
Once all enemies in the area have been neutralized, Jack uses his Time Vision and looks up. He shoots the anchor for the pallets and knocks it to the floor, then climbs on the pallets and rewinds time.
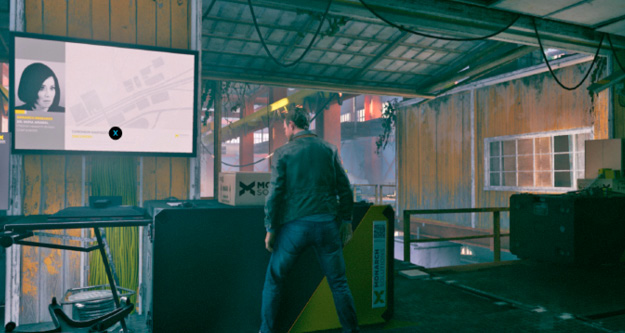
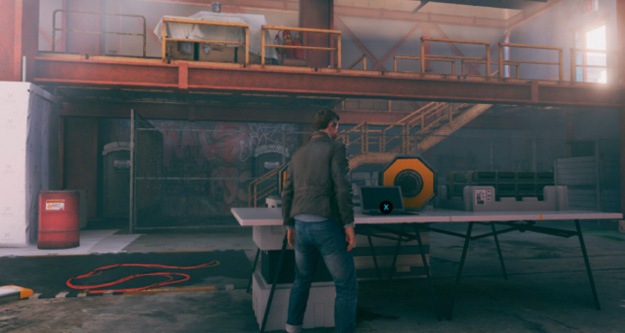
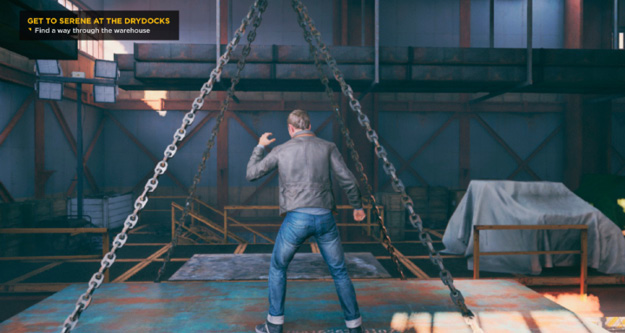
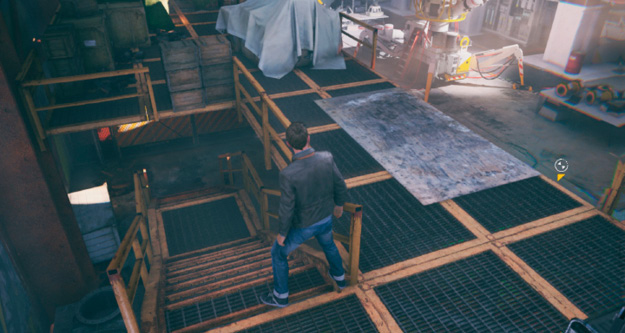
Before following the catwalk back, Jack heads down the nearby staircase.
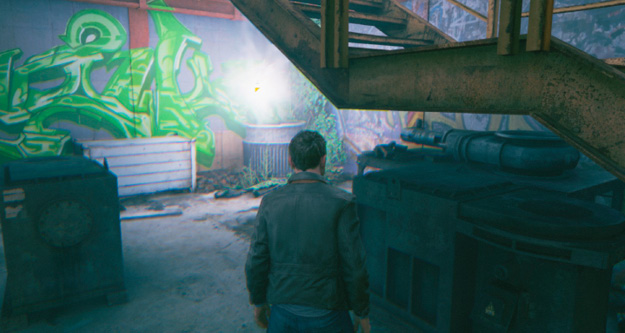
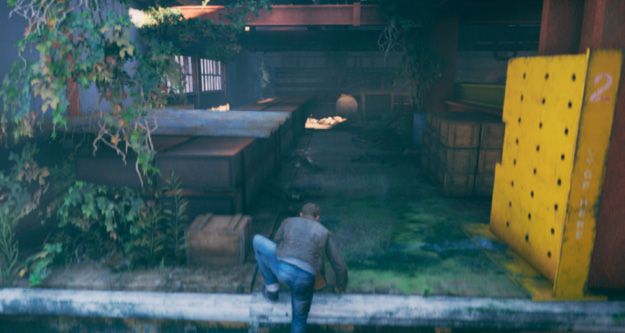
Jack climbs up the crates and follows the path around the room to reach the other side.
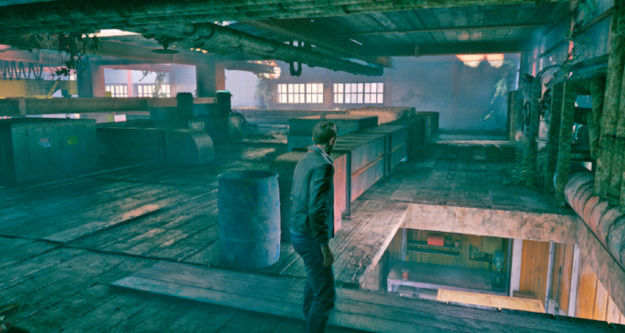
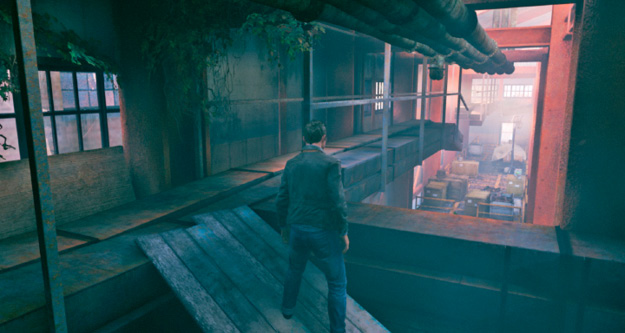
Jack walks up the ramp and onto the air ducts.
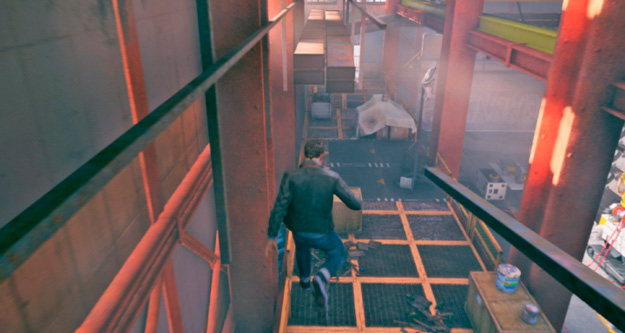
He follows the air ducts back and drops down, then exits the doorway to the next location.
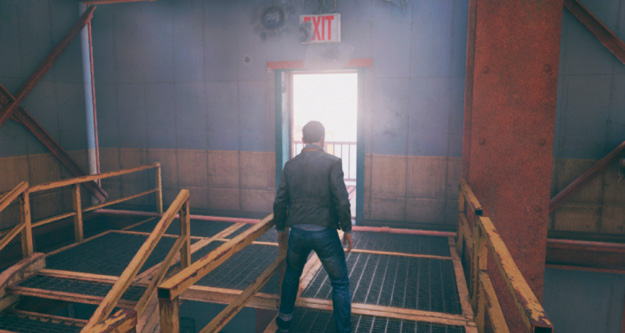
The door ahead leads Jack to the Transformer Yard.
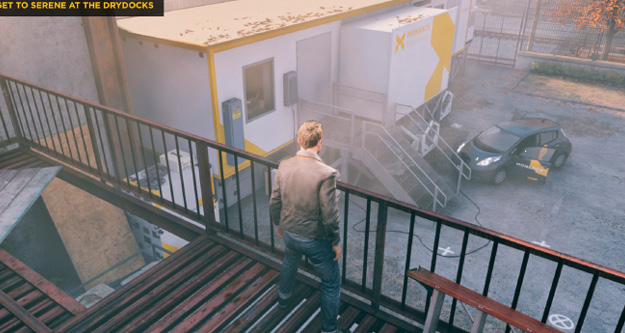
Walking through the door, Jack finds himself on an elevated balcony. He drops down to the area below.
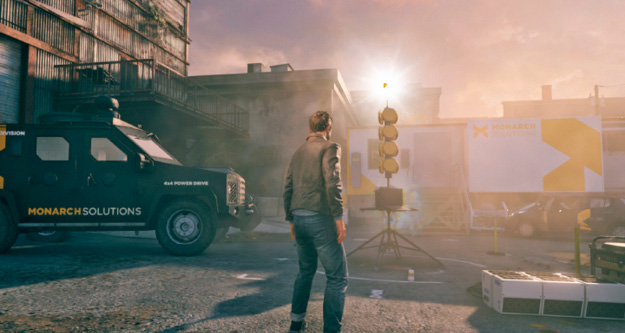
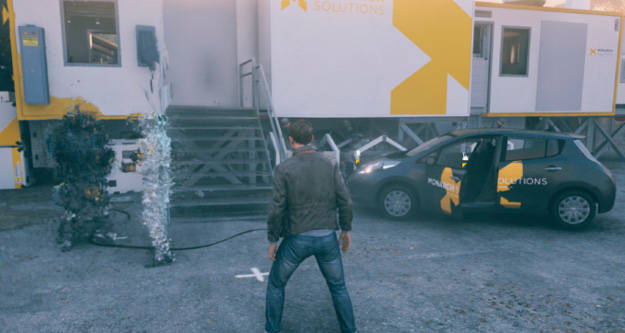
As he is searching the area, Jack finds an echo. He uses Time Vision to Interact with it.
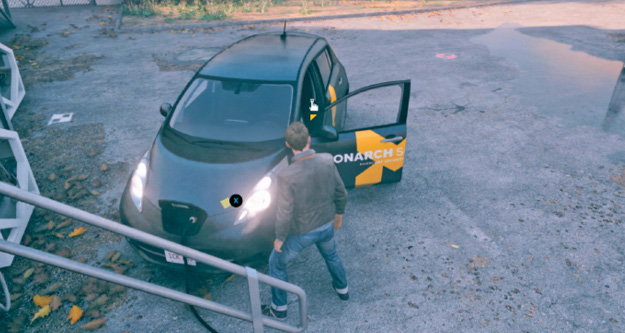
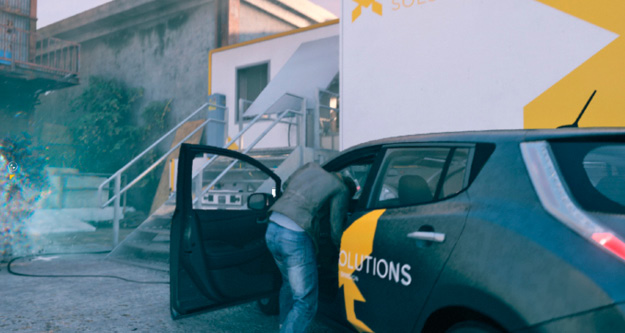
Paul’s men had taken the briefcase from Will’s car and dumped out the contents on a table. Will said he needed something from the briefcase to stop the Fracture.
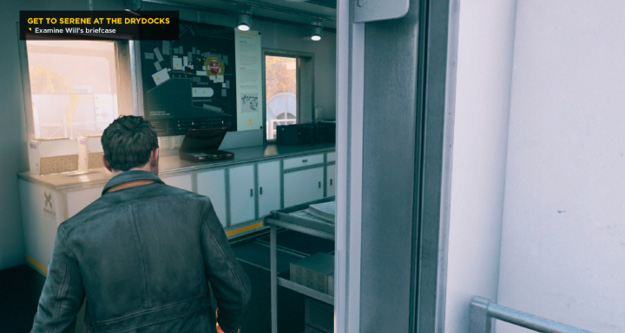
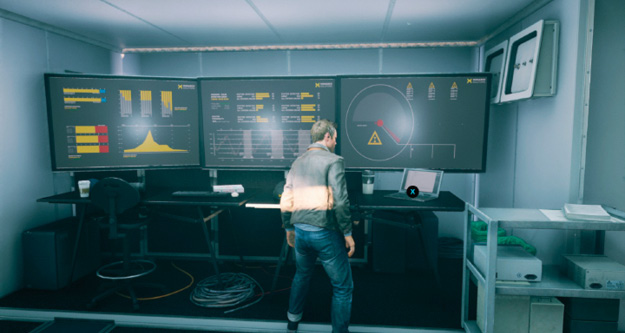
As he is searching the trailer, Beth Wilder calls to tell him someone is accessing Facebook from a Monarch station. It’s Nick! Jack wants to get back to him, but Beth tells him not to.
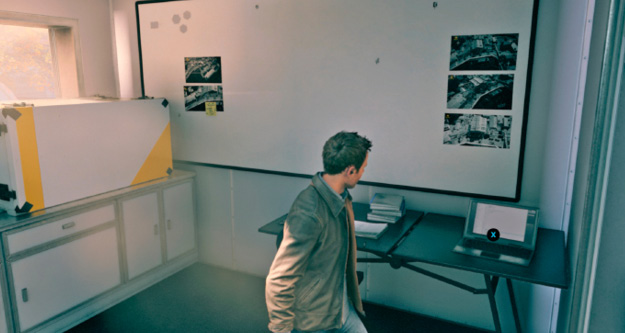
Beth wants to know where Jack is and he explains that he’s on the way to the drydocks to meet Paul. She tells him that Serene is not the priority, but that she’ll meet him at the drydocks.
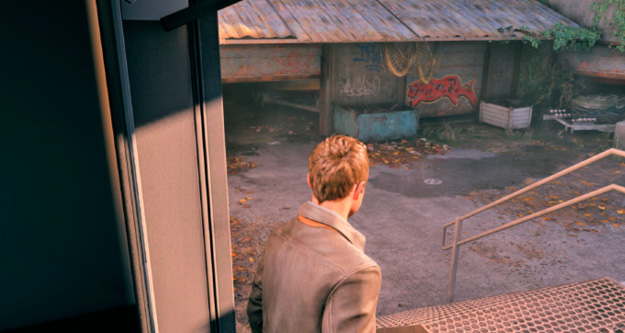
As Jack exits via the door and heads down the staircase, he proceeds to the nearby building through an open garage door. Meanwhile, Beth tells him that Channel One is the Monarch frequency and that Jack should use it to stay ahead of them.
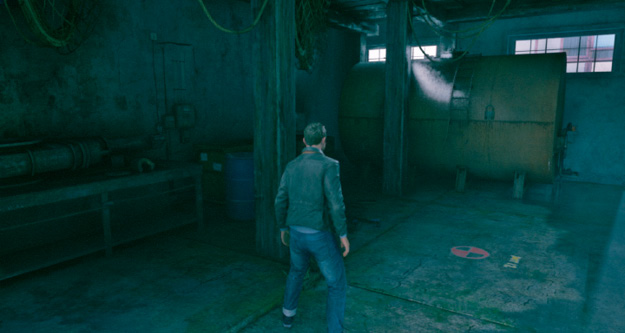
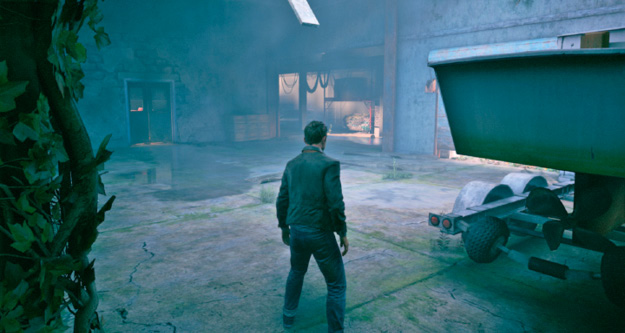
He heads toward the double doors in this garage. The door is locked, however, and Jack has to find another way in. As he’s looking around the area, he sees that there are several explosive barrels just behind the door.
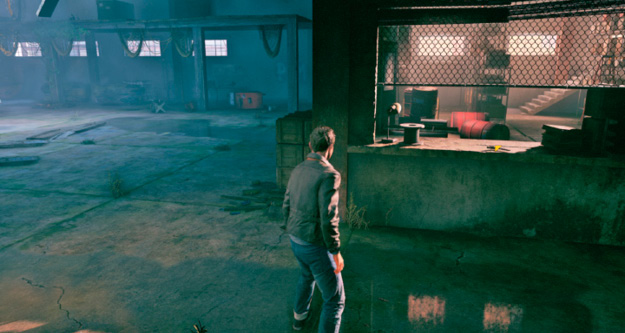
As he continues his search of the area, Jack runs to the side. To his surprise, there’s a burst pistol on the counter. He takes it.
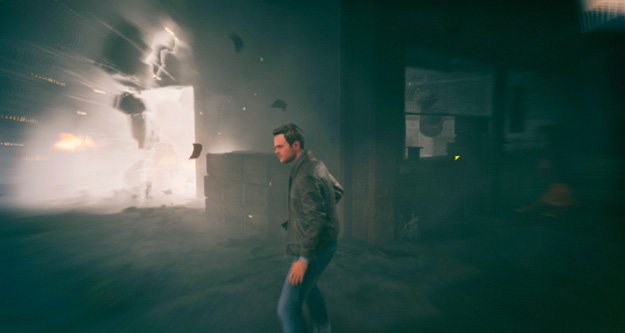
Jack shoots at the barrels to blow them up. This takes the door out, creating a new path for him to get to the drydocks. The loud explosion is also heard by others and Jack can overhear a radio transmission from a Monarch operative to HQ regarding this. HQ reacts by dispatching striker units to take defensive positions near Ground Zero.
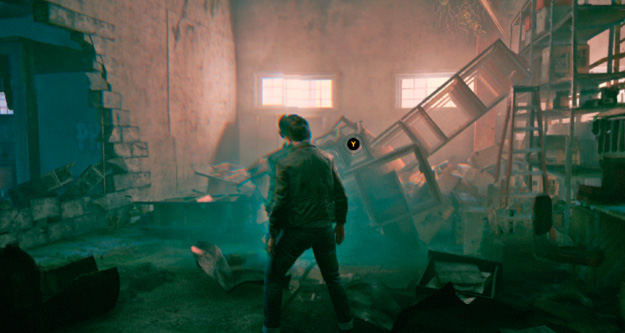
He enters the small room that is now littered with debris due to the explosion. Jack uses his power to rewind time and get various fallen shelves out of his way.
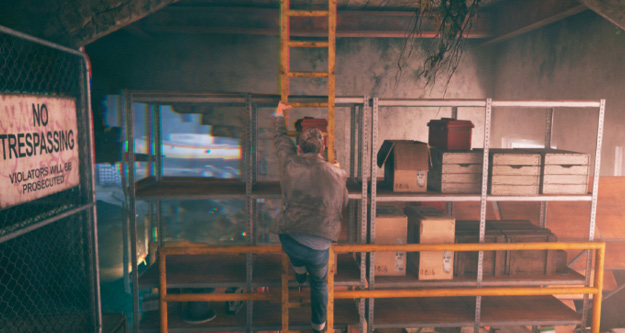
Jack moves past them and climbs up the ladder that leads to a small transition room. As he heads through a door, he sees a large open area he immediately recognizes—Will’s Workshop. It was becoming clear to him that the Workshop was at the center of Monarch Solutions. Jack wants to see what’s in there—plus it seems to be the only way to reach the drydocks from here.
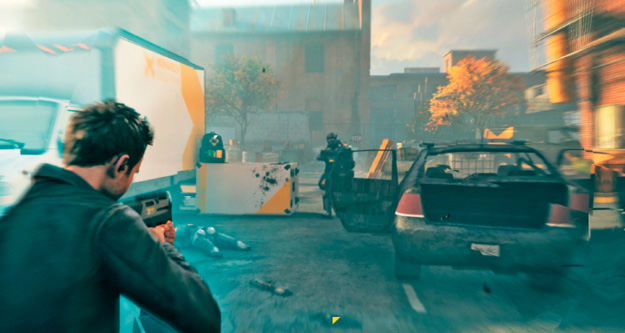
Jack drops down to the Transformer Yard ready for a fight. The area is heavily patrolled by operatives from Monarch Solutions. As Jack is fighting the hostile forces, an alarm is filling the air and it appears that a stutter is about to hit.
After an extended firefight, all operatives have been taken out and the gates to the transformer yard open...
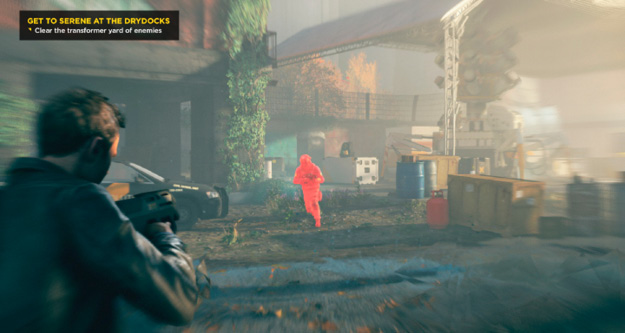
...and two heavily armored Monarch shotgunners approach.
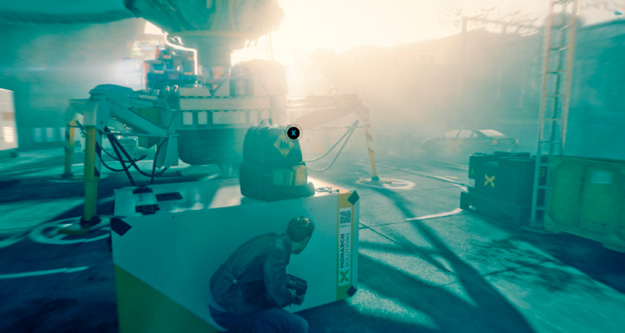
Once Jack has taken down the two shotgunners, he reloads his weapons at a nearby armor crate and heads into the transformer yard.
As this is Ground Zero, the area is heavily defended and Jack must defeat many operatives as he progresses toward the opposite end of the yard.
The stutter seems to be getting worse.
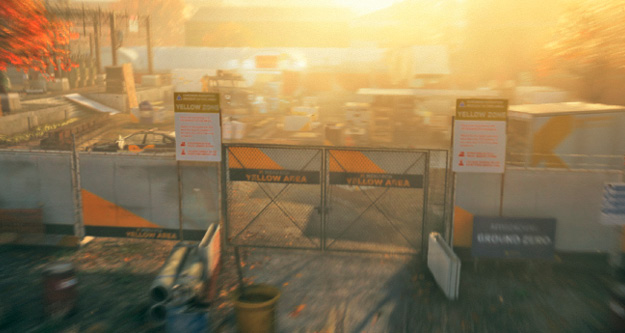
As Jack reaches the back gate, a bearcat crashes through just as the time stutter hits, freezing everything.
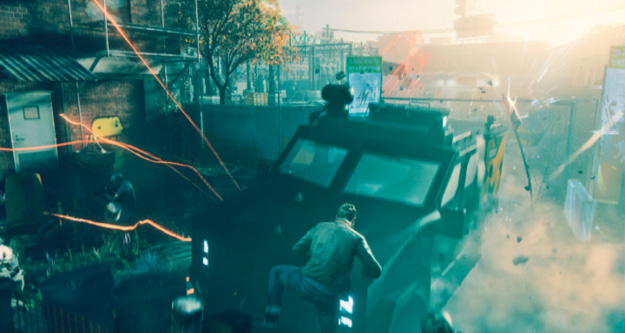
As he is the only one who can freely move during a stutter, Jack climbs unopposed on the bearcat and jumps over the fence and into the next area.
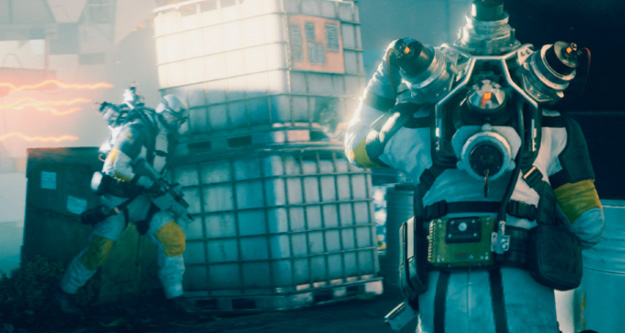
Suddenly, a new enemy appears. Monarch Striker units appear. Wearing a heavy combat suit and other high-tech equipment, these troopers can move during a time stutter. Jack is shocked as this was completely unexpected.
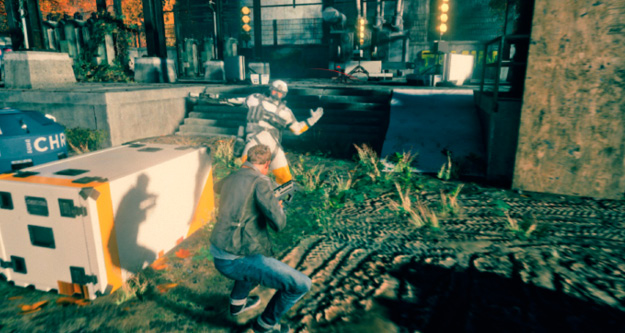
Two waves of two strikers attack Jack. These enemies can moves very quickly—almost like teleporting through time—and Jack has his hands full to overcome them. After a difficult and tactically challenging firefight, Jack manages to take out the two waves of strikers.
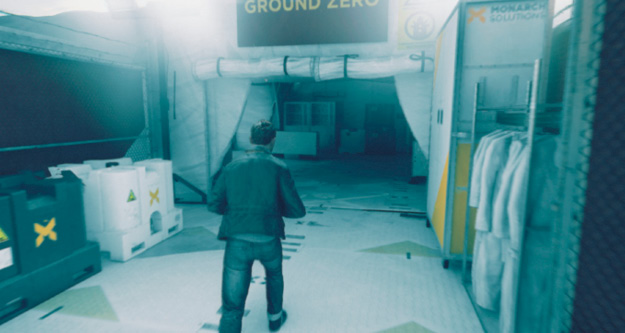
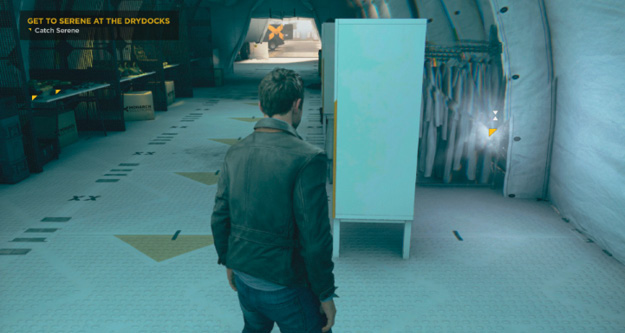
Jack heads into the tented area and follows the path. Scientific equipment, lab suits, and Monarch equipment line the path into the area.
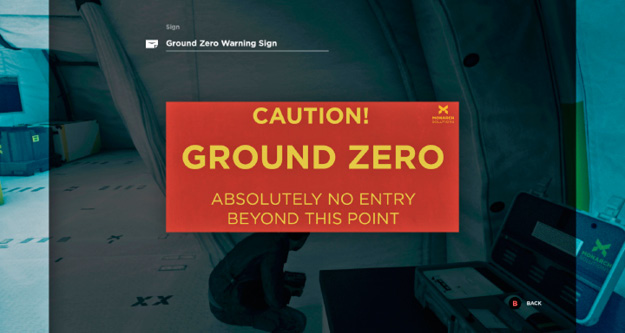
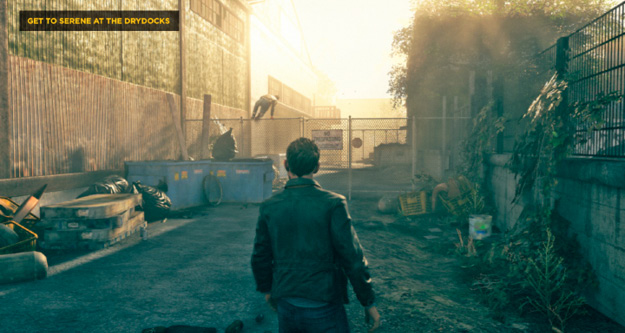
As Jack continues to head further down the path, time suddenly rewinds rapidly and he finds himself outside. Just ahead, he sees a person jumping over a fence. It’s Jack himself... somehow in another time? This already happened!
Jack approaches blue garbage cans and jumps over the fence, then walks down the path to a boarded up doorway.
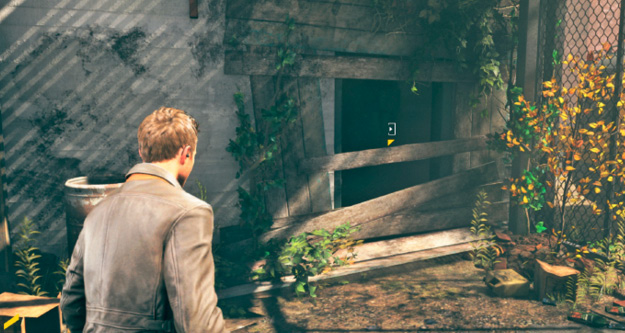
Jack know this area well. It is Will’s old workshop. As he proceeds down the path, time seems to be unraveling. Different times of day, sudden rainstorms, everything moving incredibly fast. Finally, Jack reaches a boarded-off doorway. He breaks the frame to enter the building.
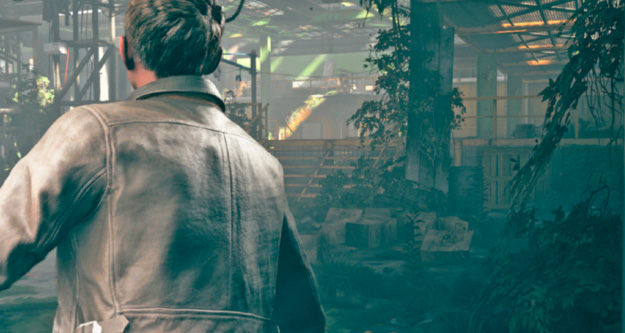
The moment Jack enters, the door through which he came is gone—replaced by a solid wall. He can hear Will’s voice echoing in the room. Inside this area, time is fast forwarding. Day, night, the inside of the room, everything is moving and jumping through time. Throughout all this, Will is clearly building something...a machine.
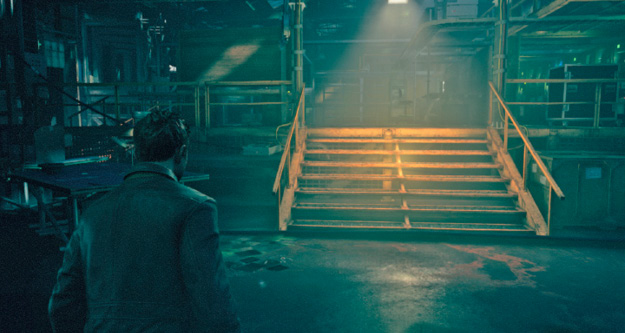
Jack is just watching the events unfold, over time, the myriad loose equipment and seemingly unrelated elements form into something quite grandiose—and familiar—a Tlme Machine much like the one Paul had shown Jack back at the university. Eventually, the machine is completed and Will’s ghostly appearance—at some unknown moment in time—exclaims, “It works!”
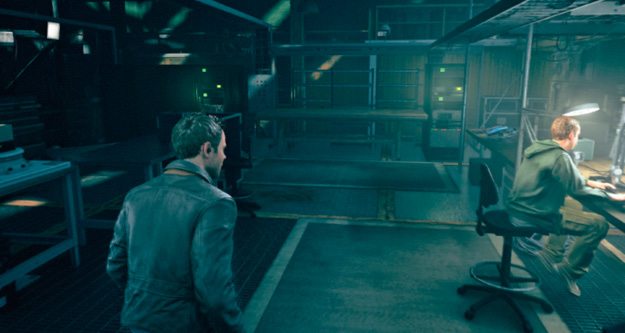
Continuing to witness the events of the past, Jack sees his brother frantically working on something else—a countermeasure? Jack witnesses scenes with Paul Serene. It appears that the Time Machine is gone from this location.
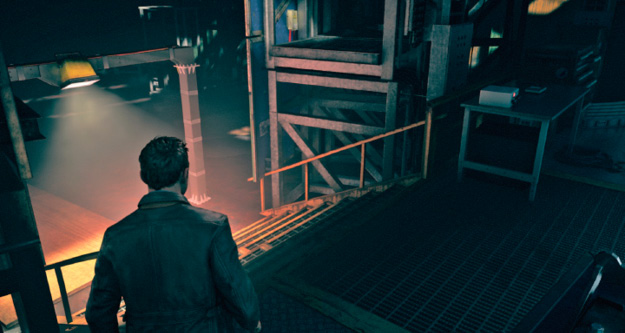
As Jack is searching the area, he finds another set of stairs and heads down these.
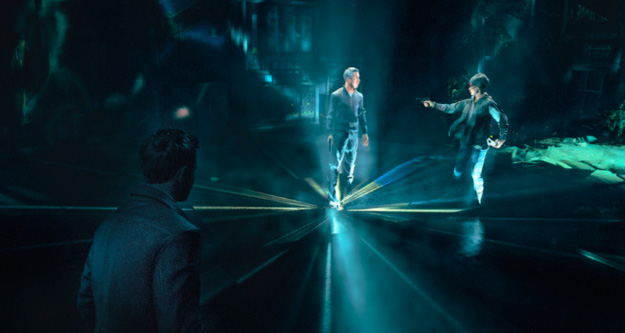
Jack witnesses glimpses of the past... or maybe the future. There’s a woman—is it Beth?—holding a gun at Paul. But it’s all just fractions of conversations...nothing cohesive. Eventually, there is a bright flash—after that, Jack can continue moving. Jack knew that something had gone horribly wrong there, but it was scrambled, impossible to crack.
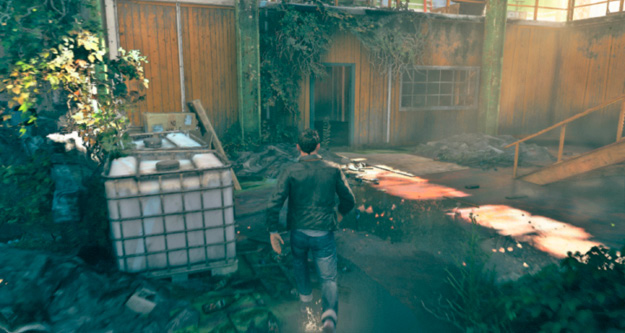
Jack heads through the doorway. It’s daytime again. This is Ground Zero on October 9th, 2016—7:31 AM—three hours after the Fracture in time. As Jack explores this area, time keeps shifting. Eventually, he walks up a staircase.
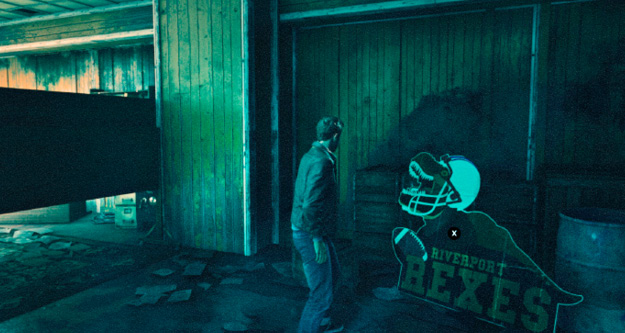
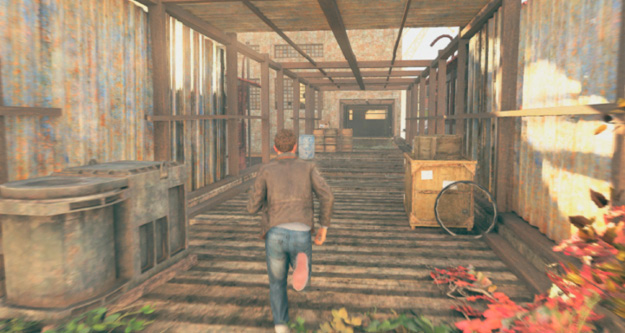
After that, Jack you can head over the skybridge to the adjacent building. As he is running over the bridge, the structure of the skybridge itself, the time of day, the objects—everything keeps changing. Jack realizes that he was part of something massive—something that didn’t start at the university a few hours ago—it started over 17 years ago with his brother running secret experiments with Time Machines and countermeasures...
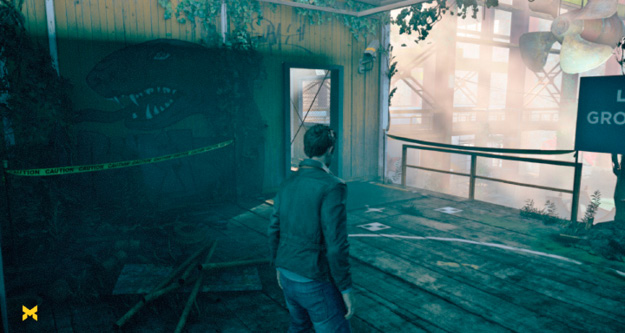
Once Jack reaches the other side of the skybridge, he turns to the left and heads through the narrow doorway. All Jack knew was that he had to get to Paul at the drydocks to find out more about what was going on.
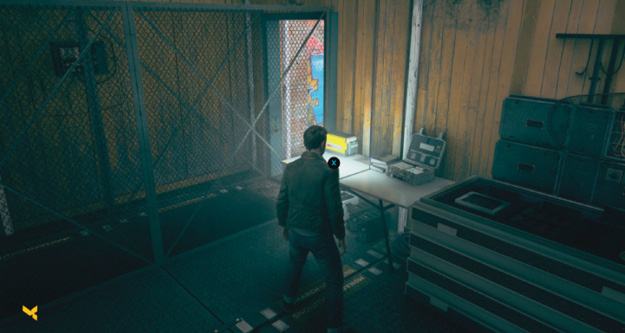
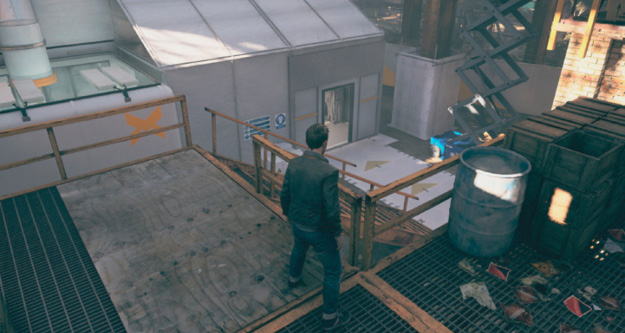
As he heads down a staircase, Jack encounters a time echo next to the scissor lift. It appears to be a scene with Paul and Dr. Sofia Amaral, but it’s difficult to make out.
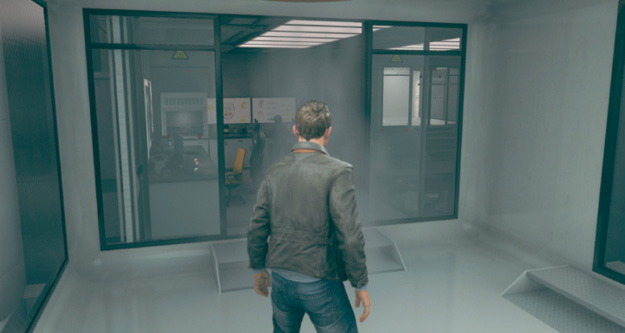
Finding his way through the maze of objects and time shifts, Jack finally enters a Monarch Solutions-branded area—it looks like a scientific lab or a medical facility.
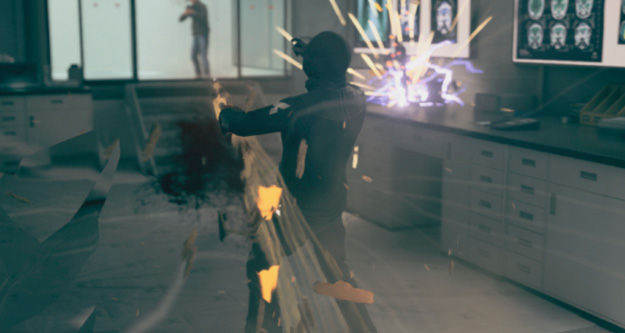
As he proceeds, Jack encounters medical room and is surprised to suddenly run into two Monarch operatives that appear to be working here. Jack must eliminate them.
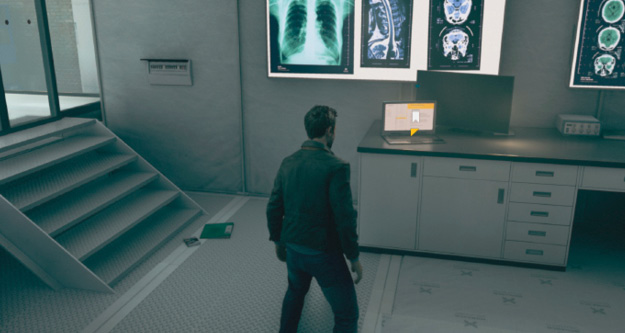
As Jack is looking around, it is clearly a medical facility as the walls are covered with brain scans and other scientific readouts. He finds a computer on one of the tables.
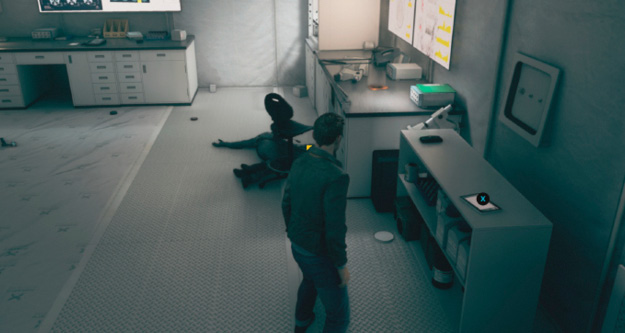
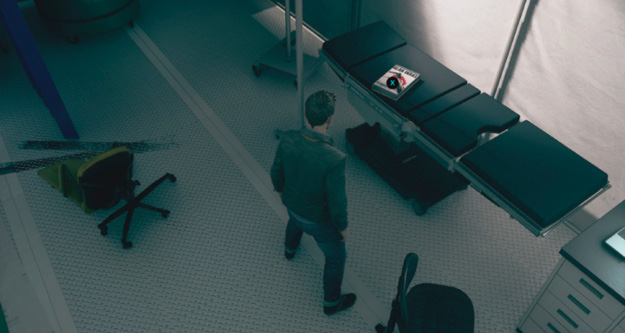
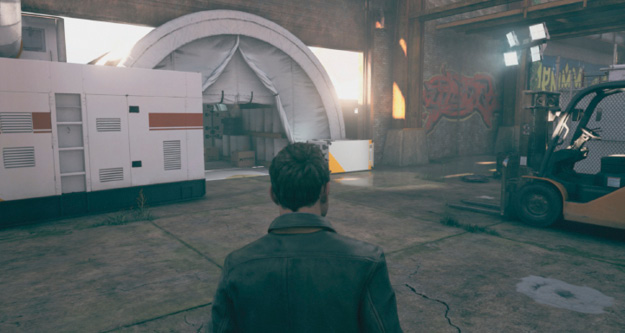
Jack exits the medical room and heads to the right. While exploring the area, he receives a phone call from Paul Serene. The two men get into an argument and Jack accuses Paul of killing the civilians from the university.
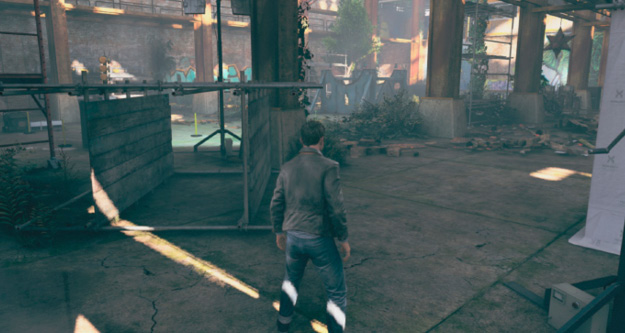
Paul refuses to engage in that conversation, but invites Jack to a gala later that evening. Jack is outraged that Paul would have a party instead of being remorseful—and Jack tells him that he won’t attend his party. Paul only states that he will come, as it’s already happened. Jack wants to know from Paul what’s going on, what he has seen, but Paul only says, “good.” Angry, Jack runs through the corridors trying to reach Paul.
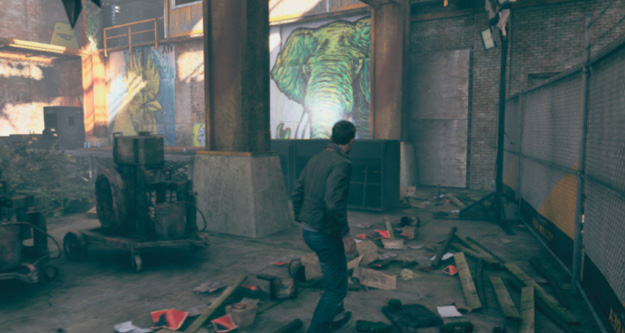
Around the corner in an open warehouse, Jack heads to the back wall toward a picture of an Elephant on the wall.
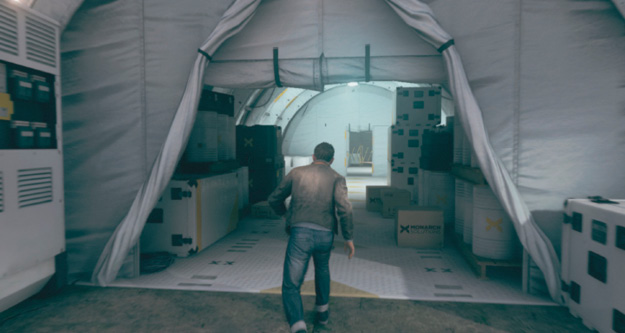
Jack continues to run through the Monarch-branded tents, desperate to find Paul. Suddenly, the noise of a helicopter can be heard from outside.
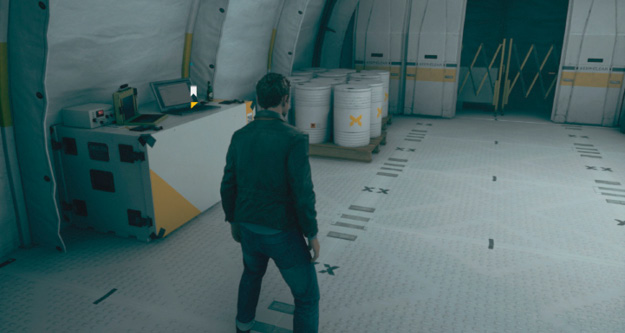
Jack reaches a clearing. He can see the drydocks now!
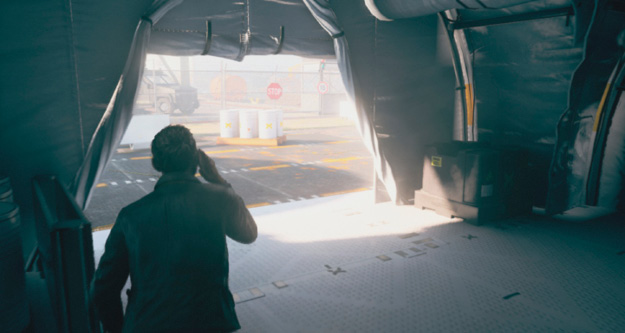
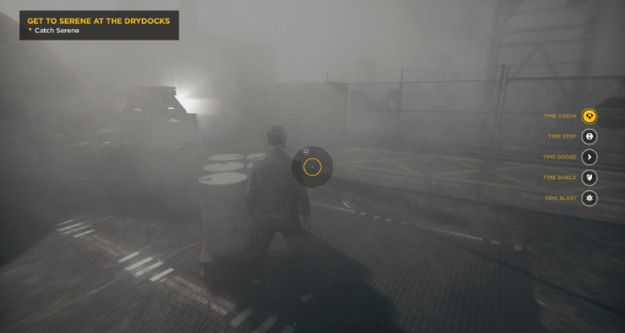
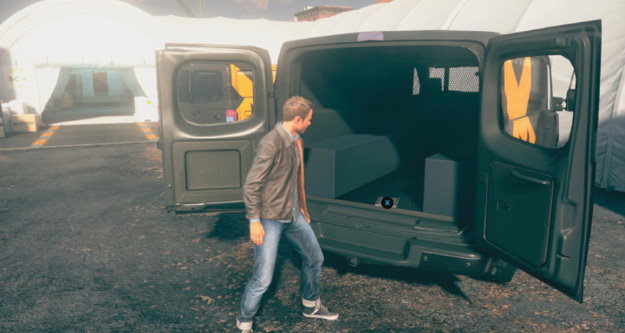
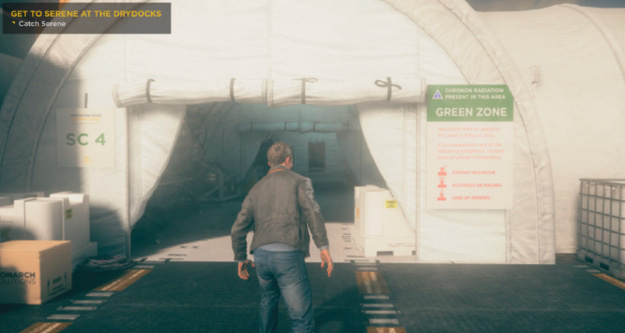
As he hears the helicopter in the distance, Jack continues running into the next series of tents.
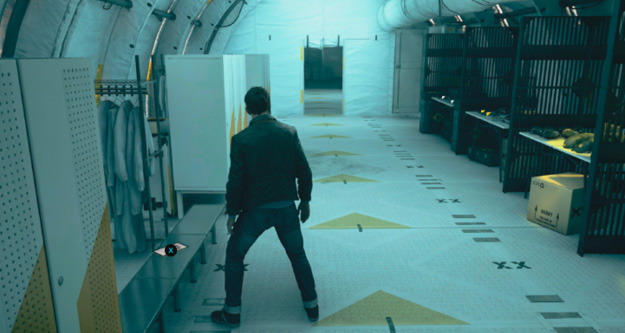
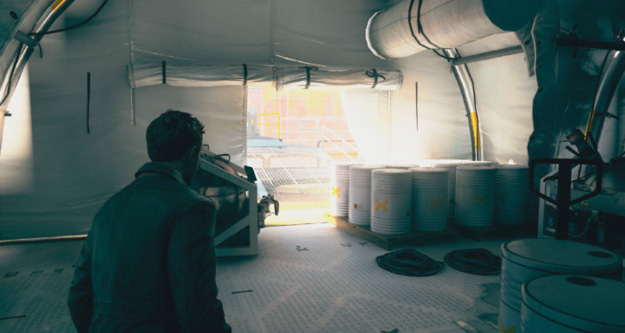
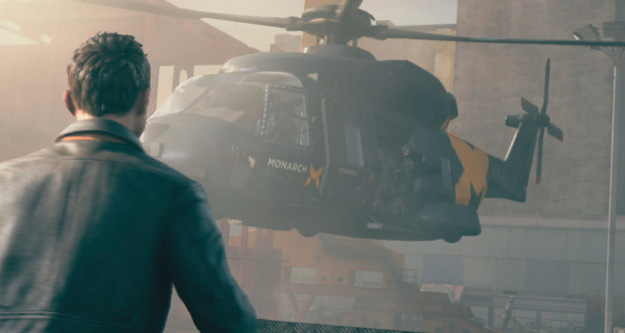
Jack is facing the helicopter and is seen by one of the pilots, who alerts Paul Serene of Jack’s presence. Jack is furious that he’s too late to face Paul and opens fire with his pistol. The armed guards on the chopper want to return fire, but Paul stops them. As the chopper starts to accelerate, Paul waves to Jack and also seemingly uses time powers to destroy the crane that was carrying part of a large ship under repair in the drydock.
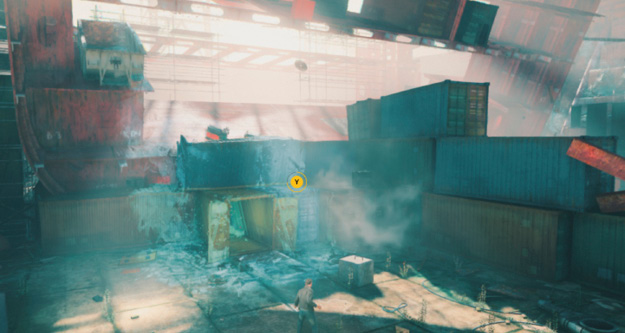
The container ship starts to come crashing down and a smaller piece hits the platform Jack was standing on. The impact destabilizes Jack’s platform and comes crashing down; Jack is barely hanging on. Eventually, it crashes at the bottom of the drydocks while the entire container ship above is destabilizing. Jack uses time powers to make it through a collapsing yellow container that forms a tunnel for his escape.
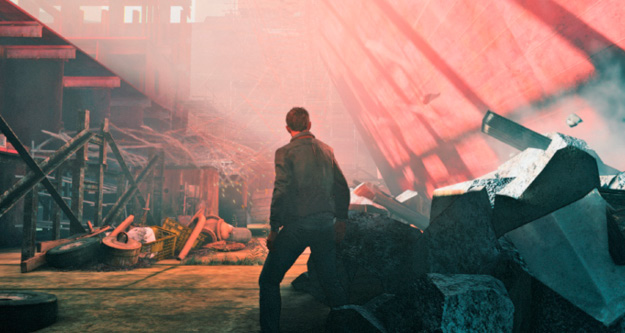
Jack dashes through the falling debris whenever the opening is clear and is tying to observe the falling pattern of the scaffolding. Jack has to time two dashes to make It through this section.
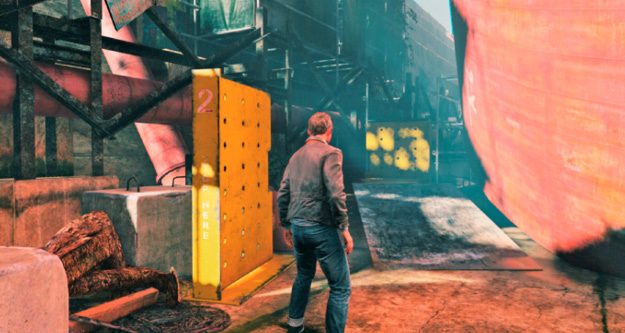
Jack needs to carefully time his dashes as many large objects are caught in the stutter and move erratically. Timing this wrong will cause Jack to get hit with deadly force of these large, erratically moving objects.
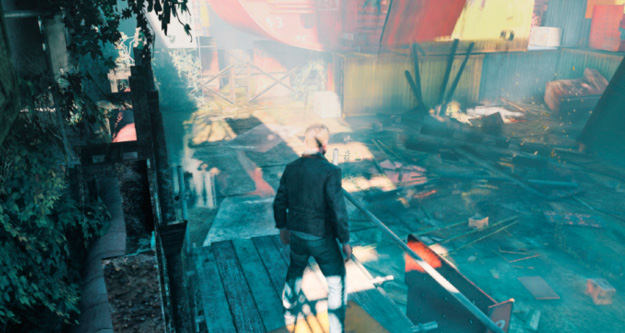
Jack, by carefully moving through the chaos, makes it to the far side of the drydock and climbs onto an elevated walkway. He continues following the path around the side.
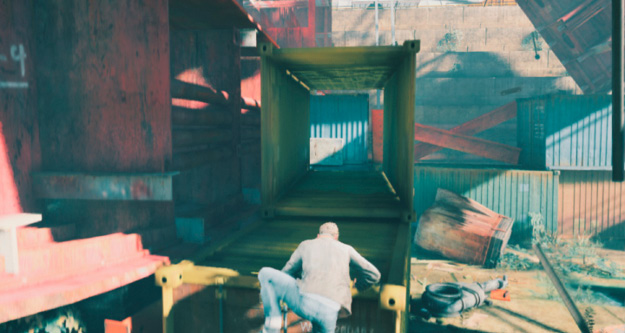
As he successfully passes on the side of the drydock, his path is blocked and he must climb onto a concrete block in front of two yellow containers, then onto the first container before dashing through the opening on the second. He needs to Time Dash carefully through the second container as it’s rapidly shifting in time and could easily crush Jack if he times his dash wrong.
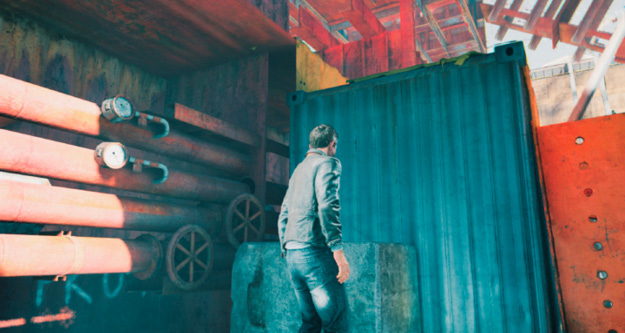
After making it through the yellow container, Jack must climb on top of a blue metal wall to reach the next platform.
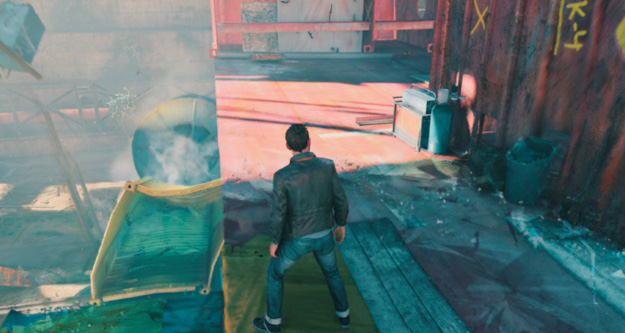
The stutter is getting worse. Jack continues following the yellow tarps, climbing up to reach the top of the ship section.
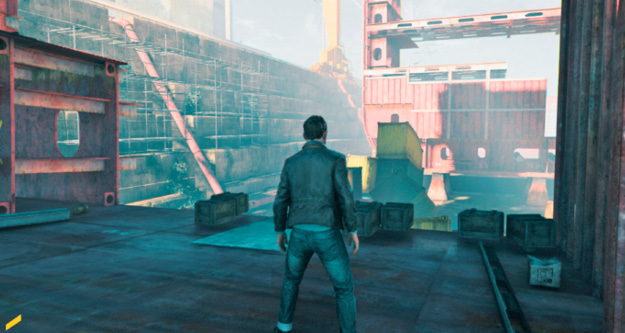
Once there, the Time Stutter hits fully and everything freezes. Jack knows that he has to get out of there as fast as possible and the environment is entirely unstable.
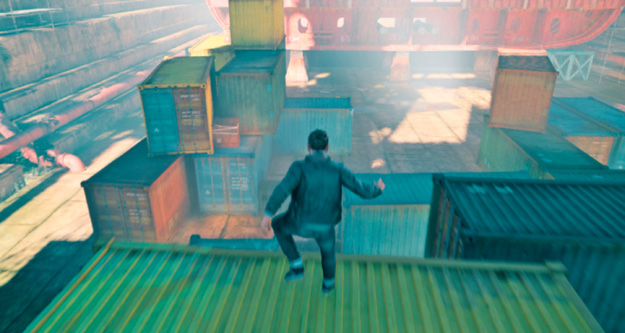
Quickly jumping from container to container, Jack tries to get through this labyrinth of metal as quickly as possible. Most of the solid landing spots happen to be yellow container boxes.
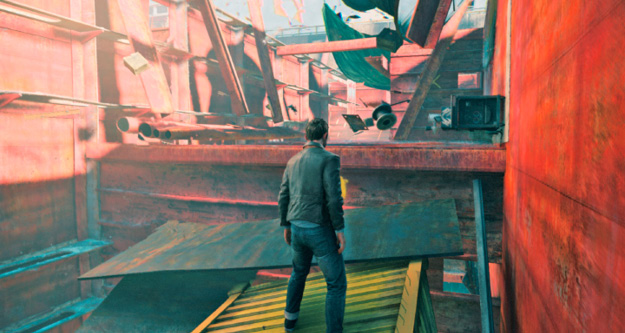
Jumping down to another yellow crate further below, the entire hull section starts to disintegrate and fall down toward Jack.
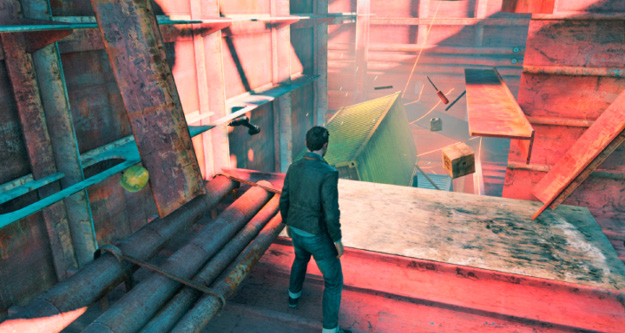
Jack climbs up the fallen hull and across to the other side.
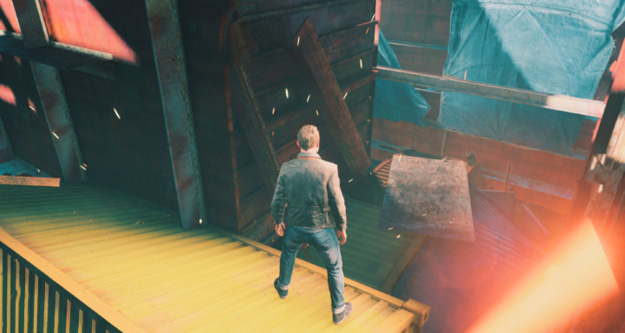
Jack looks for another yellow crate and drops down to it, then walks around the corner. A hull section falls again.
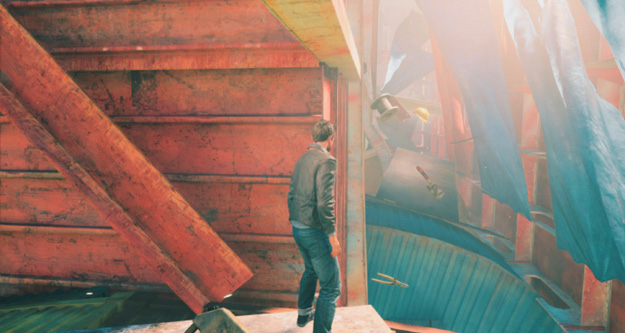
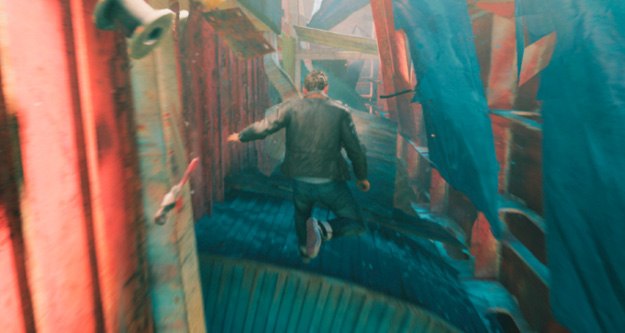
Jack jumps from crate to crate, keeping the blue tarps on his right side.
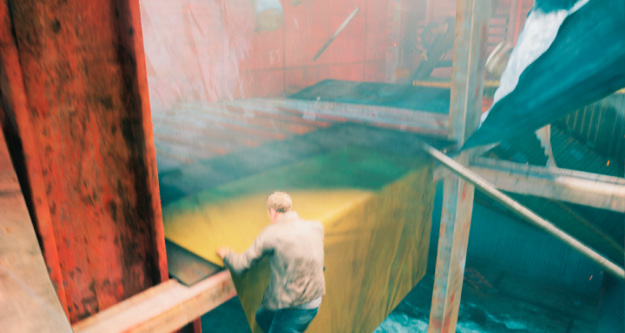
Once he makes it through the blue section, Jack climbs up the yellow tarp on the left and runs around to find some more yellow crates.
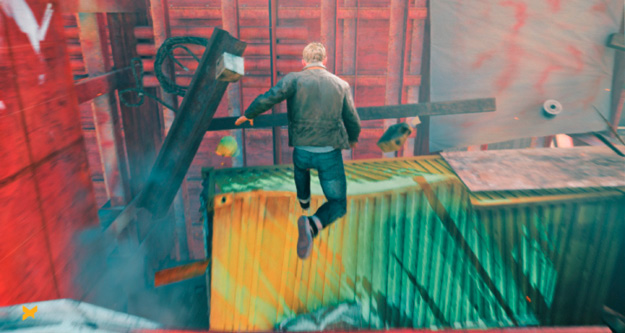
The stutters get more erratic and violent as Jack moves through this section of the ship.
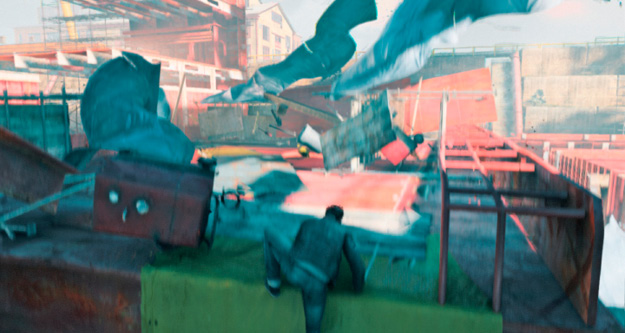
He climbs the yellow crates and continues onto the top of thehull section.
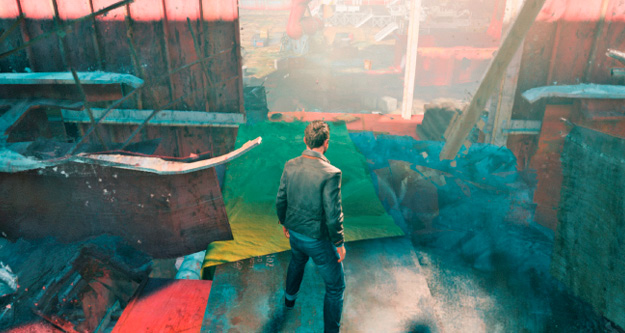
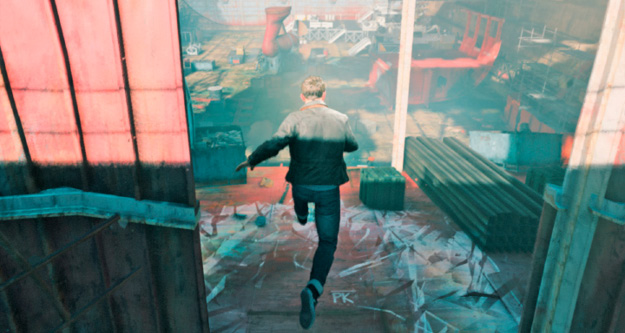
Having now reached the highest point of the ship, Jack has to leap down. Just as he jumps, a violent stutter hits and this entire portion of the ship falls to the ground as Jack slides off of it. As he lands, a huge section of this ship crashes right in front of him.
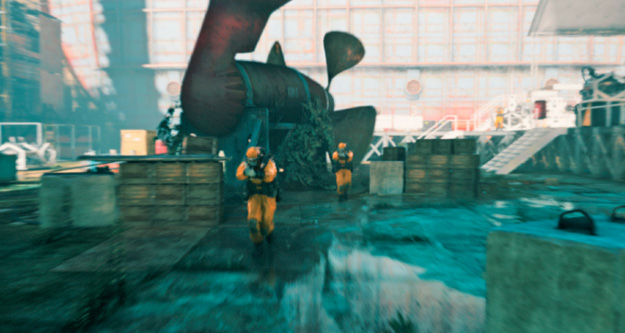
Now falling inside the stutter, the boat section moves back to its original position and opens a path for Jack to escape the drydock.
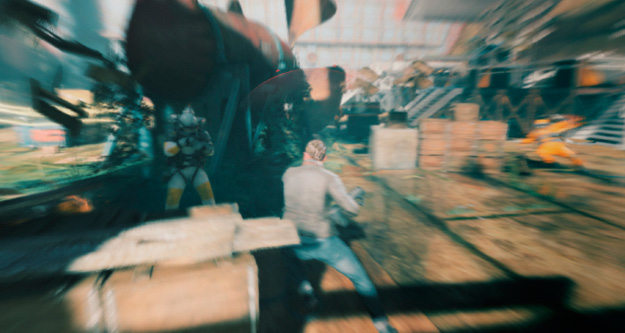
But as the boat rises, a number of Monarch technicians attack Jack. He must take them out and use Time Vision to locate the others.
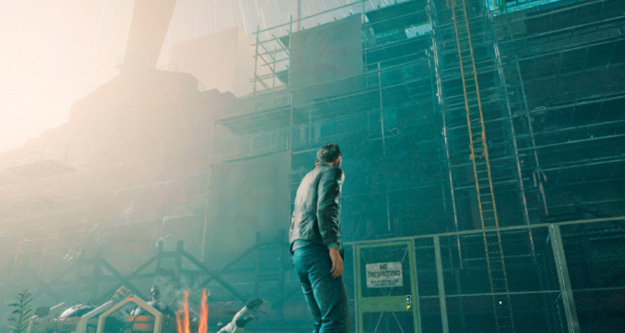
Once these technicians are taken care of, another wave approaches from the boat side. A final wave of strikers attacks next.
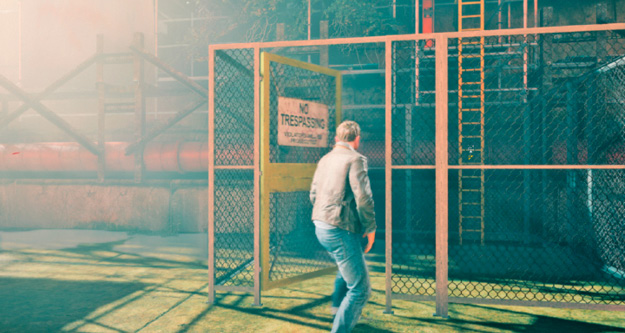
Jack has to take the strikers out, move to the gate, and open the door..
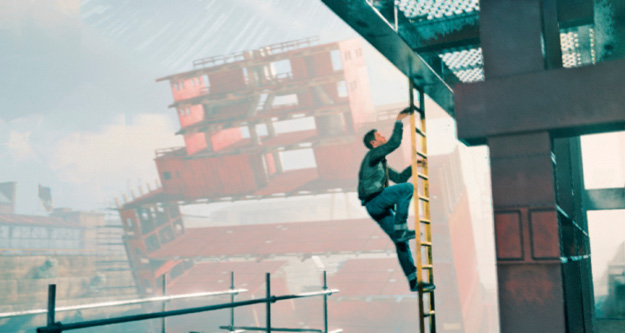
Jack climbs up the ladder to finally escape the drydock just as the entire ships comes crashing down. Beth awaits him at the top. It’s October 9th, 2016—7:37 AM—three hours after the Fracture in time.
Beth has secured a Monarch van and they are driving to the Bradbury Swimming Pool, based on the only clue Jack has from Will that something in his briefcase was important. And the key to the pool is their best shot.