
Quantum Break Guide Walkthrough Act 4
Part 2
PREPARING THE TIME MACHINE
Back at the Bradbury Swimming Pool, Jack and Beth convince Dr. Amaral to help them repair the Time Machine. During the conversation, Jack accuses Amaral of hiding the information about the countermeasure. After Dr. Amaral agrees to help, Beth opens up to Jack. She reveals that she knows more about time travel than she’s let on previously. She says that when she was just a little girl, she met a strange woman who told her how things would happen for her, and that she had an important mission. That strange woman, she says, was her. What’s more, a piece of graffiti they discover in the swimming pool depicts that encounter between Beth and her younger self. Everything that her older self told her came to pass. Everything. Even when she tried to stop it.
Therefore, she says, she doesn’t think Jack’s plan to go back and change things will work. She doesn’t believe they can change things. But William’s message from 2010 was addressed to her. The countermeasure he built to fix the Fracture was stolen six years ago by parties unknown, but thanks to the Time Machine, they can go back and steal it right now. Somewhat shaken by all this, Jack agrees. He’s still going to do all he can to save his brother, but getting the countermeasure makes sense to him.
With help from Dr. Amaral, they manage to get the Time Machine working. They are about to use it to travel to July 4, 2010. Beth enters the machine first, but at the last moment Jack realizes something is wrong: instead of being sent to the past, Beth is being sent to the future. Dr. Amaral has sabotaged things. She is loyal to Monarch, and she was hoping to get rid of them both.
Not knowing what else to do, Jack decides that he can still try to follow through with the plan. Resetting the machine to July 4, 2010, he enters the machine and travels through time.
| Chronon Sources |
3 |
|---|---|
| Intel |
0 |
| Collectibles |
12 |
| Quantum Ripples |
1 |
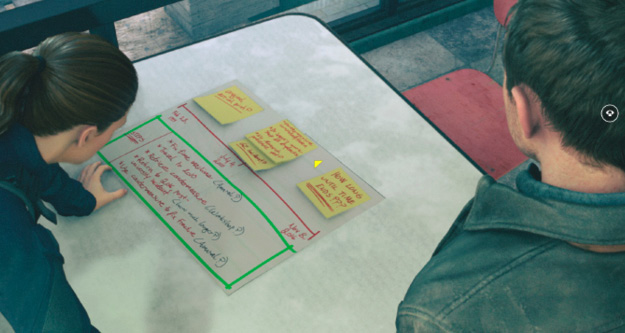
Beth, Sofia, and Jack are arguing. Sofia is unsure if she can fix Will’s machine, and Jack is yelling that time is running out—the Fracture is getting worse. Sofia points out that Paul has been to the end of time, that the outcome is not reversible. Beth convinces her to try to fix the machine...
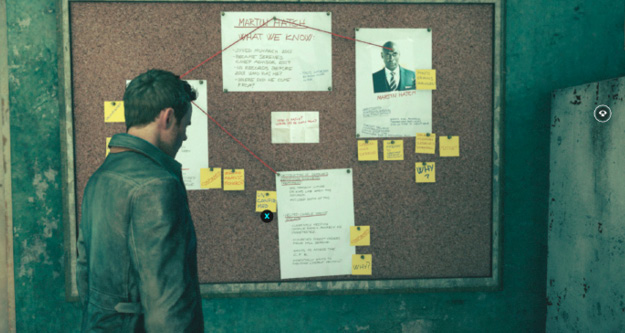
Beth wants to talk to Jack about the plan. Will’s video message said that Beth took the CFR—and maybe she did. They now have a Time Machine and they could travel back to July 4th, 2010.
Beth and Jack discuss whether or not they can trust Sofia Amaral—the way she looked at the countermeasure raised suspicion.
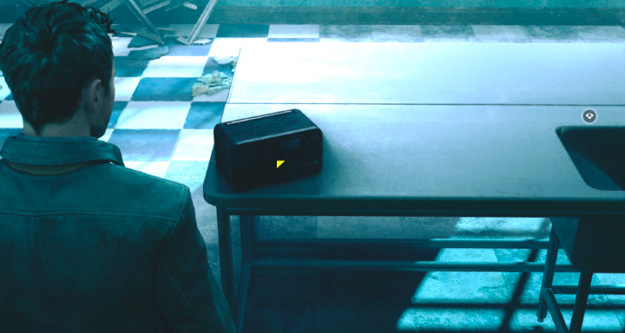
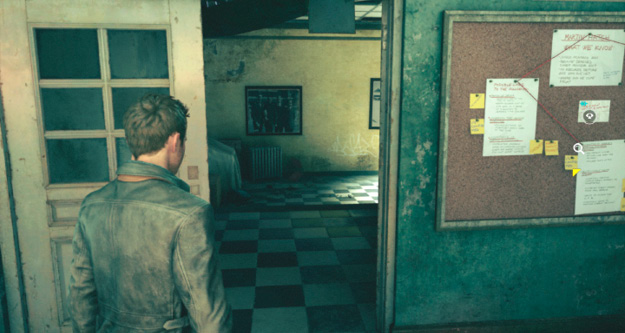
Jack returns to Beth, and together they head through the double doors and then downstairs.
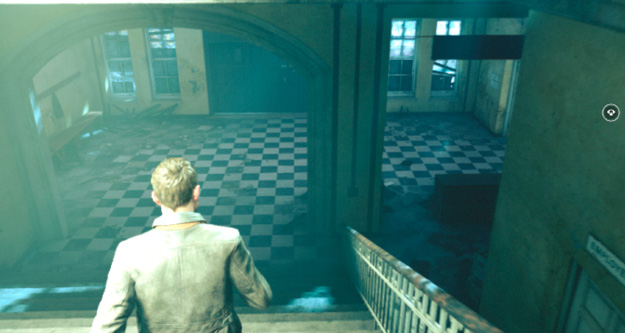
On their way, they discuss that Dr. Amaral seems to strongly believe that Paul Serene had been to the end of time. Beth doesn’t believe this would be possible, because otherwise trying to prevent it would be pointless. Jack wonders why that is and Beth believes, if true, that already would have happened.
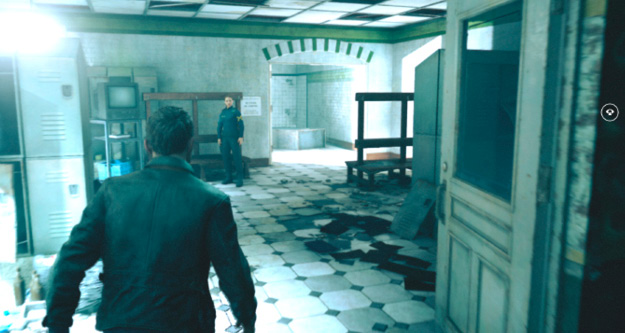
The two head downstairs and through the locker room. Jack then follows Beth to the pool area.
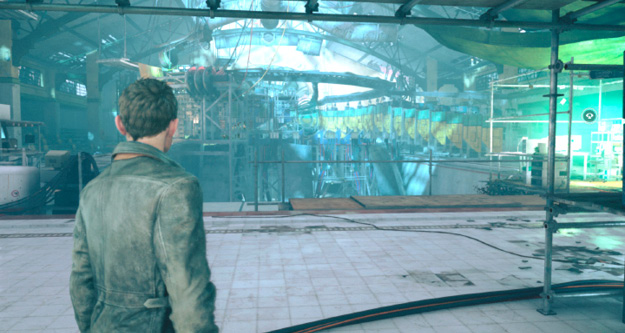
Will’s Time Machine is truly a sight to behold. For all its makeshift appearance, it is an amazing achievement by his brother to get this as far as he did.
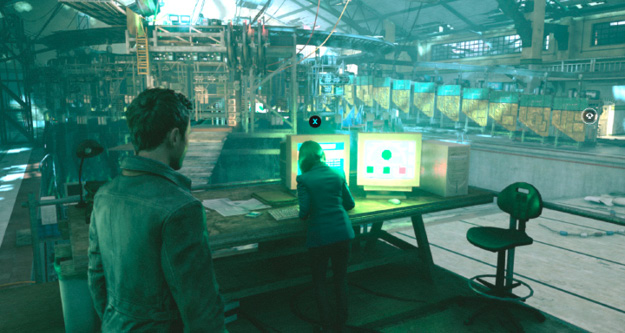
Inside the pool area, Jack heads straight to Dr. Amaral. When asked how it’s looking, the Dr. explains that it’s a really simple problem—the power relay is down and they have to find a way to set it up again.
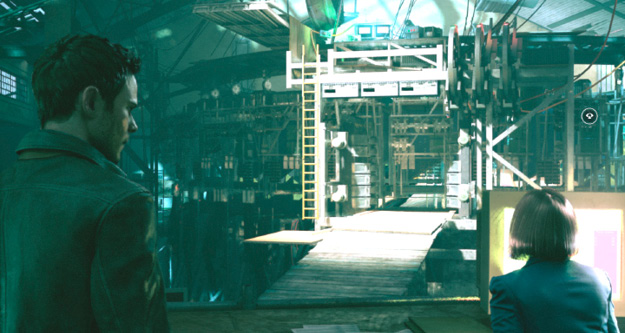
Sophia drops a ladder for Jack. He needs to reset the power supply for the Time Machine by accessing switches in the rafters. You can Interact with Sophia now for additional dialogue. What she says is Junction choice specific.
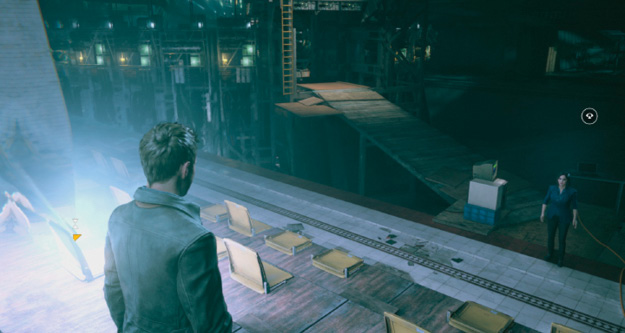
While on his way to help reinstate the Time Machine, Jack also senses a Chronon source and finds it near the seats, by the PC terminal in front of the ramp.
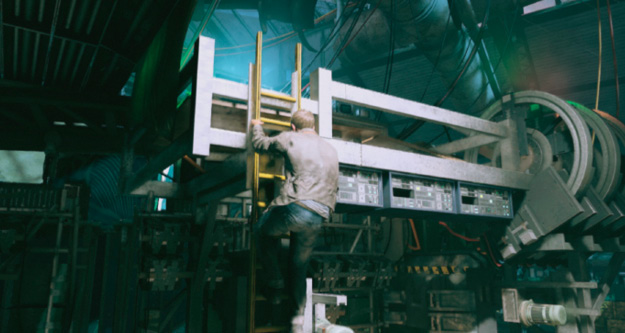
While he climbs up the ladder, Dr. Amaral explains that the error occurred earlier this morning, at 7 AM, when the machine was last activated. Beth is puzzled, as 7 AM is hours before they even got here.
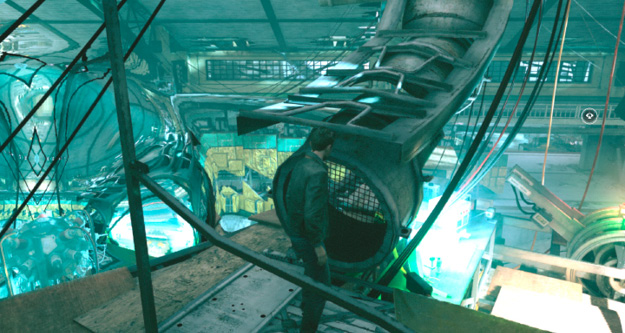
Jack reaches the switch control and encounters two red lights and one green one. Dr, Amaral instructs that he has to restore the power to the station with the red light before he reactivates the green. Both stations are located above the machine.
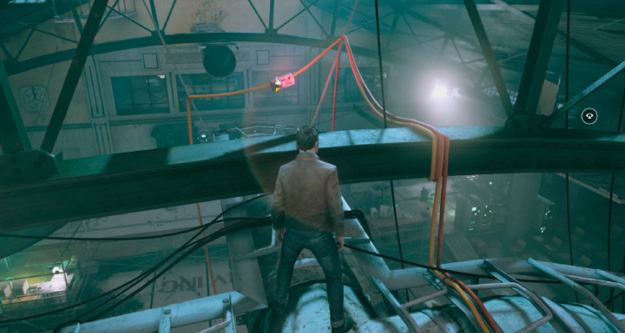
Heading up the ladder and climbing up the pipes, Jack finds a switch at the top center. Jack exclaims that the first red light has now turned green. Climb back down the ladder and head to the right side of the pool area to find Amy/Nick.
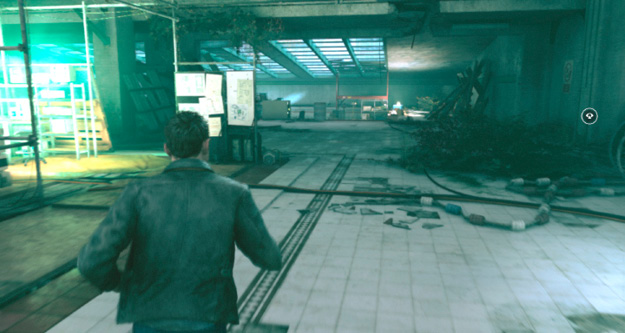
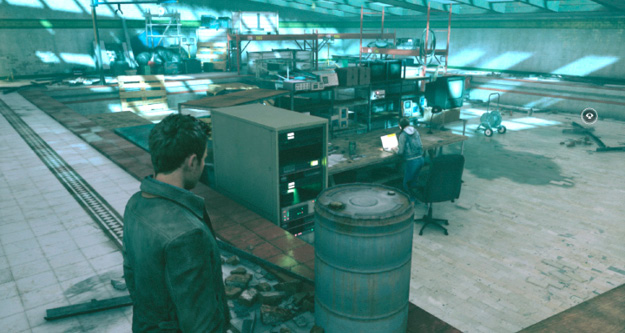
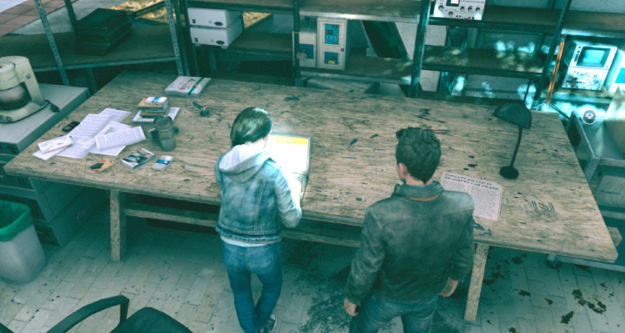
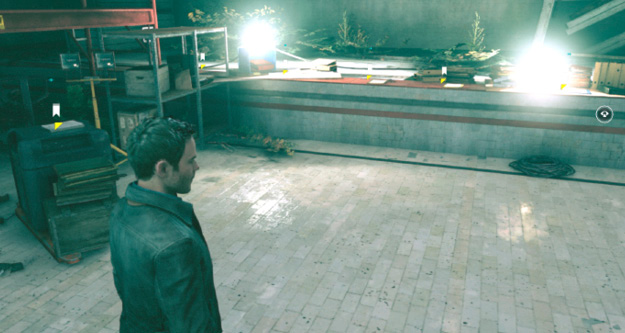
Turn around and Interact with each of the documents laid out; there are six in total so far.
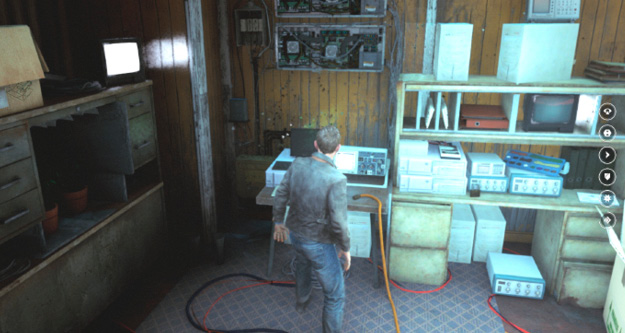
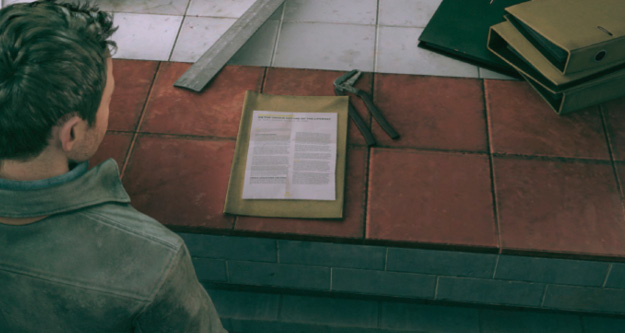
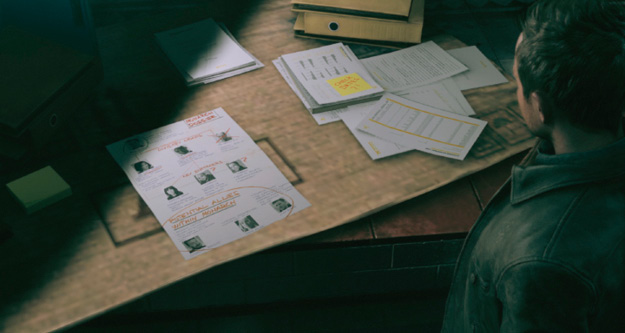
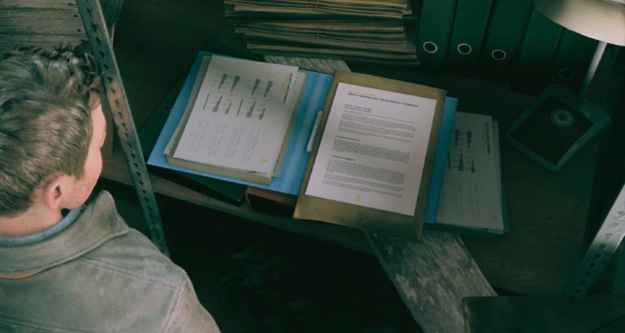
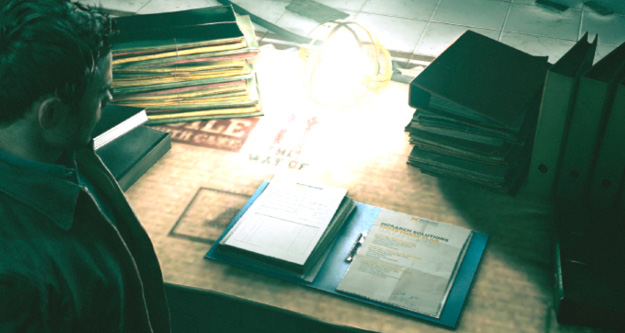

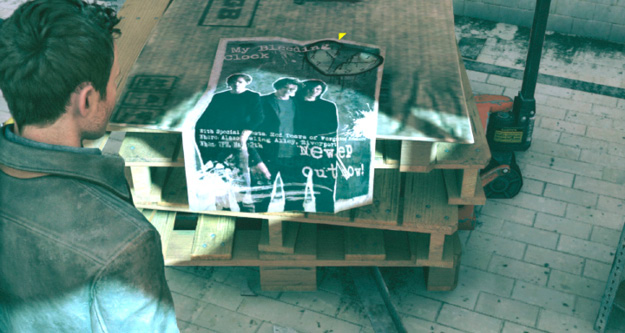
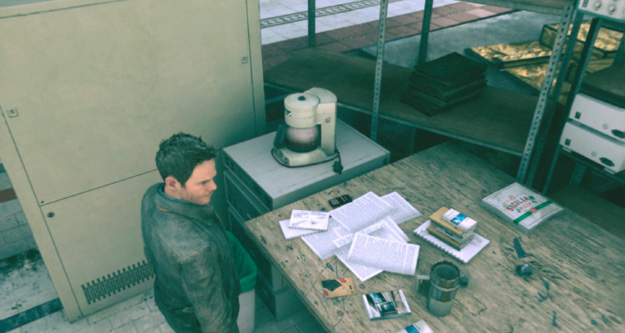
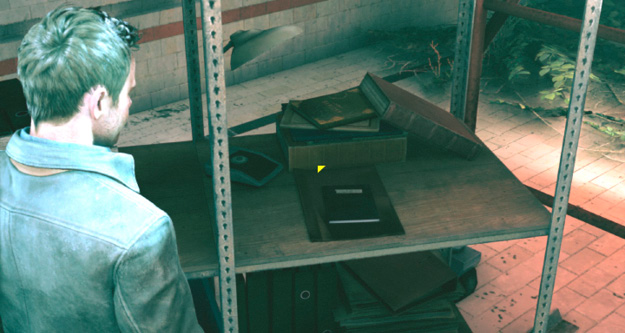
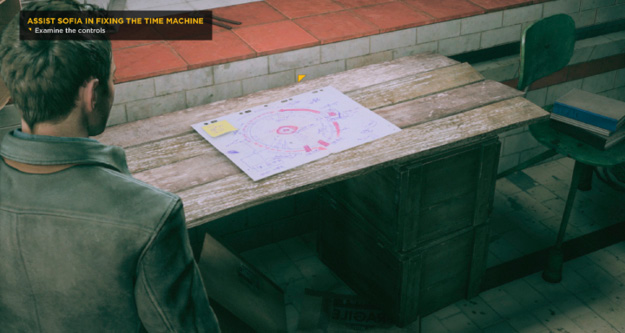
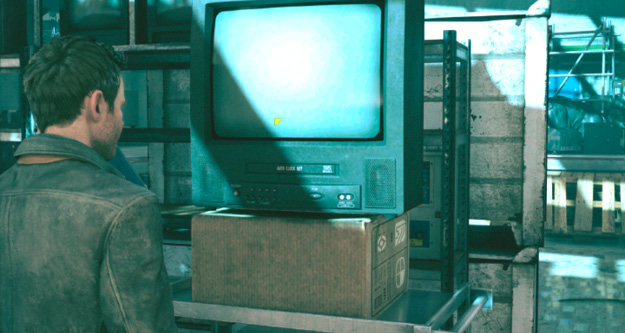
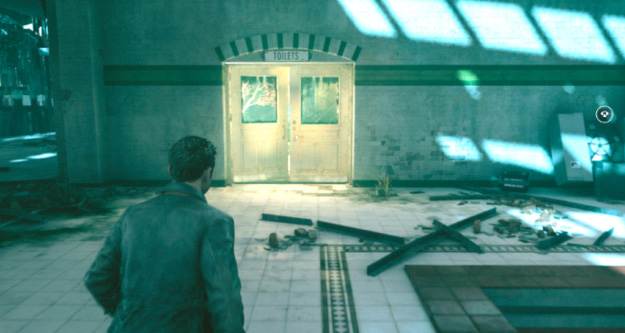
Jack is still focused on resetting the last power switch in order to the get the Time Machine functional again.
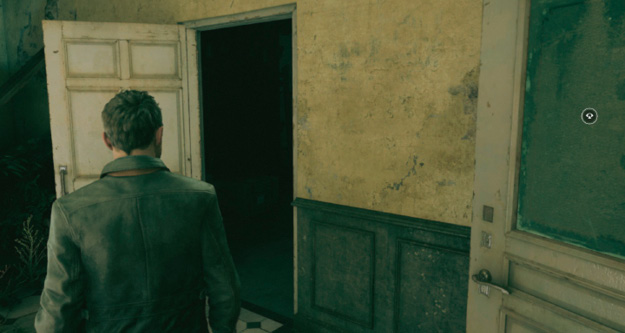
He exits the actual pool area, leaving through a door at the chamber’s far end. As he enters an unlit room, Beth comes running after him. She turns on the light and Jack reacts very surprised, as these items are all from their family home. Will’s kept everything.
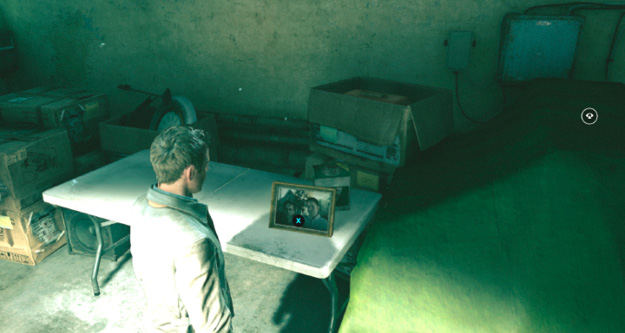
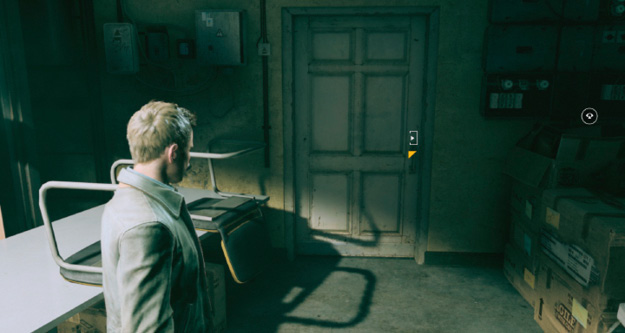
When they enter the next room, a cutscene plays. Beth is shocked by a picture on the wall that has her signature. She had never been here. As Jack starts to asks questions, she explains that in 1999, when she was eight, a woman had come to her ... she said she was from the future. She gave Beth details about events in the future, as well as a book with dates and events. That woman had been Beth.
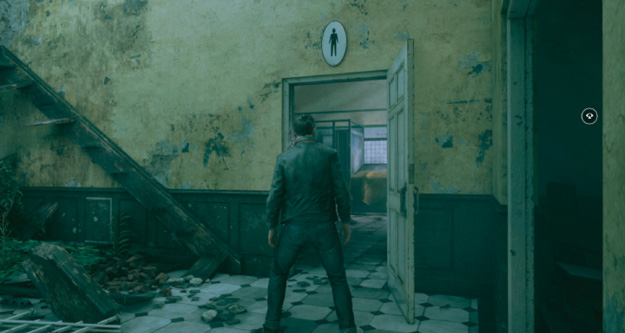
She explains that every date, every detail in the book has come true. Events can’t be changed, she is sure of it. Once the scene ends, the notebook is on the bed.
Jack looks at the wall image and realizes that it’s been Beth who has been painting all over the city.
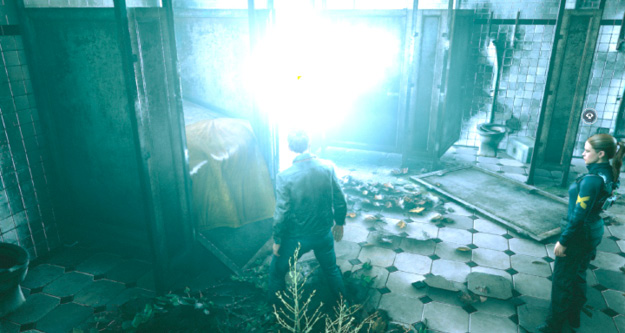
Beth keeps exploring and advances into the next room. Jack follows her and senses a Chronon source in the corner stall.
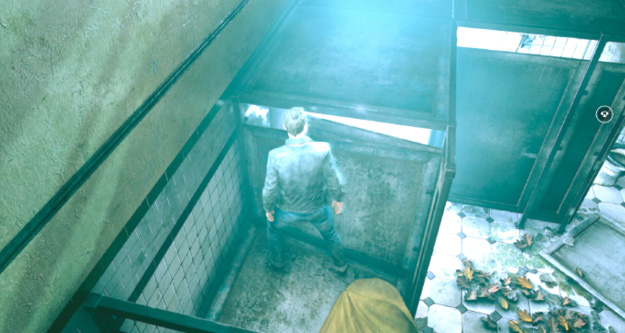
Jack looks at the stalls and feels that the one with the yellow tarp is climbable. He manages to climb up to the second floor and starts to traverse the room.
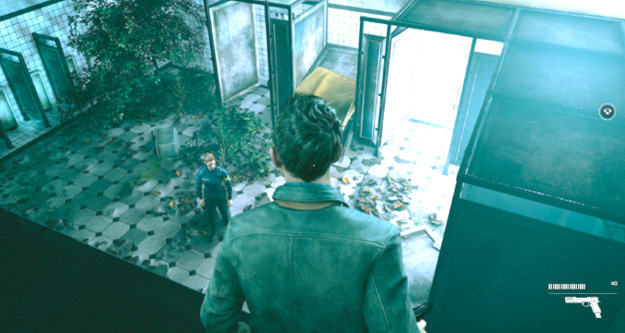
Beth is wondering why Jack’s brother would put maintenance controls at an elevated location like this. Jack’s only reply is that this is exactly the kind of question that would have never entered into Will’s mind when building this thing.
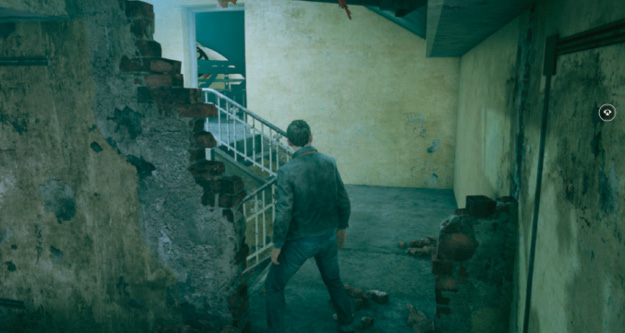
Jumping from stall to stall, Jack manages to make it around the entire room and reach a broken-down wall that allows him to access the staircase behind it. Jack runs up the stairs and then proceeds out to the pool area.
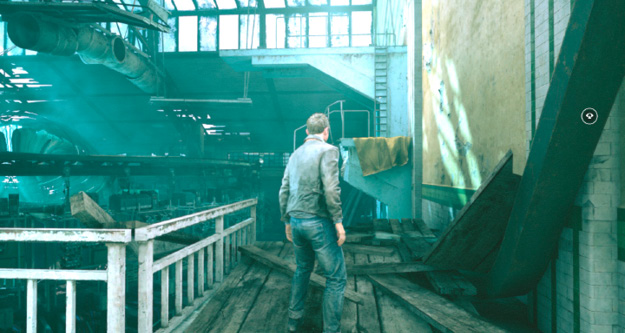
Jack navigates the upper level of a rickety balcony above the pool level.
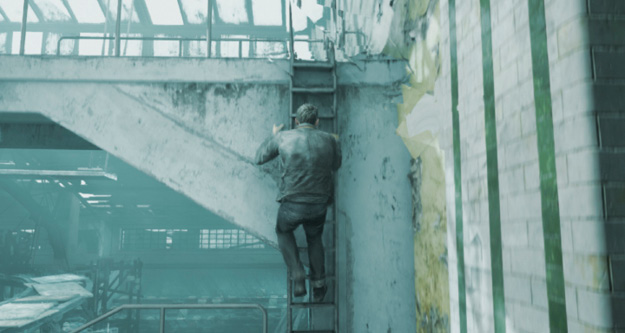
He takes a risky jump from a wooden plank to a yellow tarp-covered ledge. He then climbs up the stairs on the other side. It looks like this element used to be the pool’s diving board.
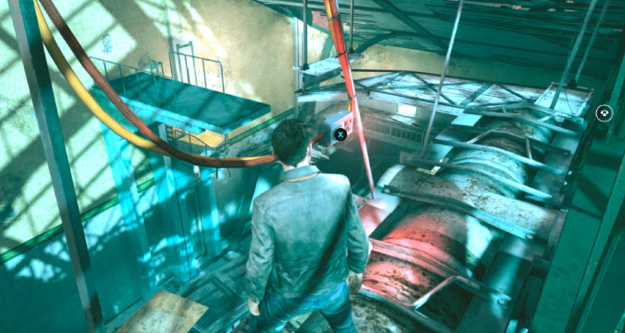
Jack makes another risky jump over a large gap … but he reaches the ledge ahead without any problem. He then continues up onto various pipes to activate the last switch.
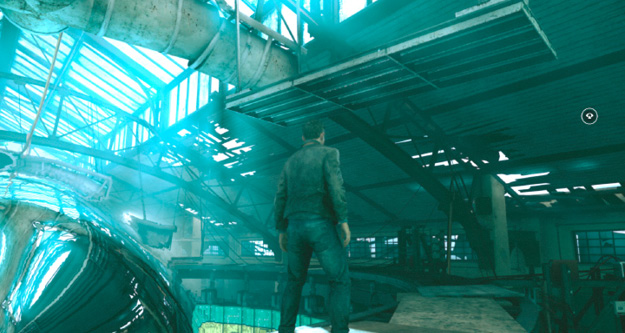
Jack exclaims that all the lights are green. He quickly descends from his elevated position by jumping on a maintenance platform below.
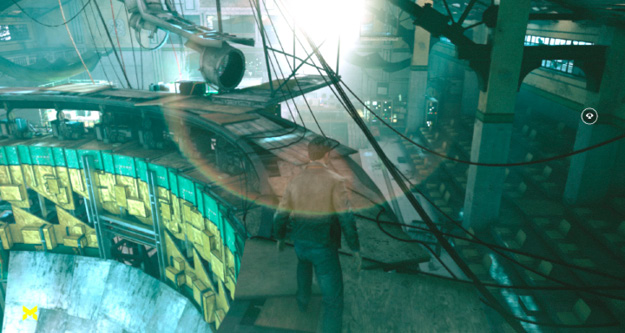
Jack jumps down again, this time on top of the corridor. He runs around the corridor ring back to the ladder that Sophia lowered for you.
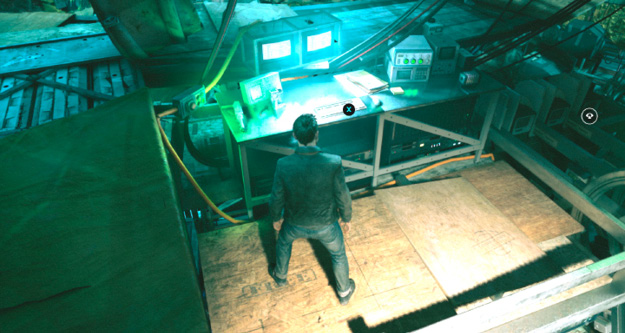
Given that all lights are green, Jack now activates the Time Machine. Within seconds, Dr. Amaral attests that the Chronon levels are stable and the diagnostics are positive. She believes this may actually work!
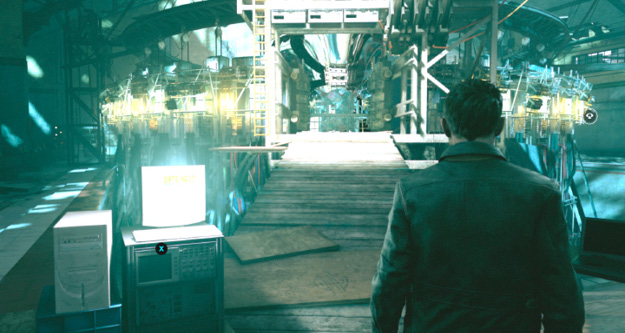
Jack sets the date: July 4th, 2010. Beth steps through the corridor and disappears. Jack doesn’t understand, but knows something went wrong. He asks Amaral where she sent Beth. Amaral says that she changed the date to protect the CFR—and that she also called Monarch to this location. It’s over! She says the CFR is needed for Lifeboat. Jack decides quickly, sets a new date, walks into the machine, and disappears as well.