
New Super Mario Bros 2 Guide Worlds World Six
World 6-Castle
 The first Star Coin is located along a secret path. Find the Invisible Block above the burner at Point 1, then use it to reach the hidden ledge to the right.
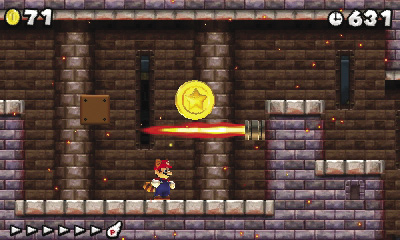
Follow the path to find the Star Coin near another burner. Wait for the flame to die down, and grab the Star Coin before the burner’s next burst.
 When you step on the Caterpillar Blocks at Point 2, they zigzag past the nearby burner. You only have a short window of time in which to collect the second Star Coin, so you need to move quickly. Wait for the flame to die down, then dash past the burner.
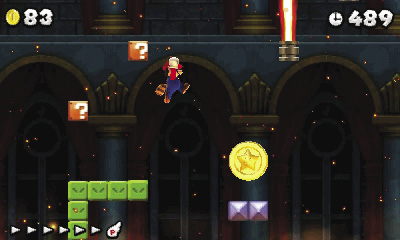
The Star Coin is floating above a small platform. Leap over to collect it, then return to the Caterpillar Blocks before they move out of reach.
Soon after you reach the Checkpoint Flag, the Koopalings arrive in their flying carriage. Each time the lights on the carriage begin to blink, take cover in front of an available wall. The bright flash that occurs after the fourth blink in each sequence will turn you to stone if you’re out in the open!
 The third Star Coin is floating at Point 4. To collect it, stand on the Donut Block directly above the Star Coin. When the Donut Block falls, it takes you straight to the Star Coin. After you collect it, jump to the nearby treadmill.

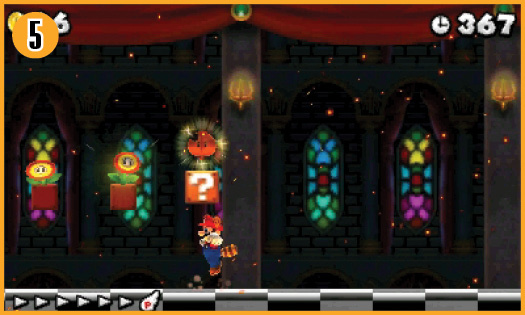
Each of the three ? Blocks at Point 5 contains a power-up. The Super Leaf is very useful during the coming encounter—make sure you grab it!
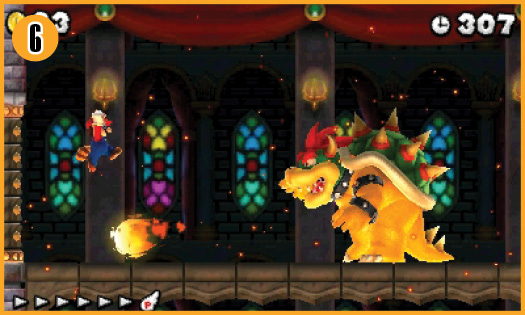
The first battle with Bowser is fairly simple. Stay back and dodge his projectile attacks. Bowser has a variety of attacks, but they’re all fairly easy to dodge.
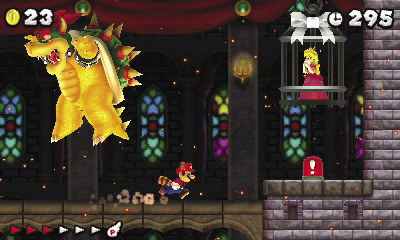
After a few attacks, Bowser squats down and jumps into the air. When he does, dash under him and stomp the ! Switch near the right wall. The floor gives way and Bowser falls out of the room.
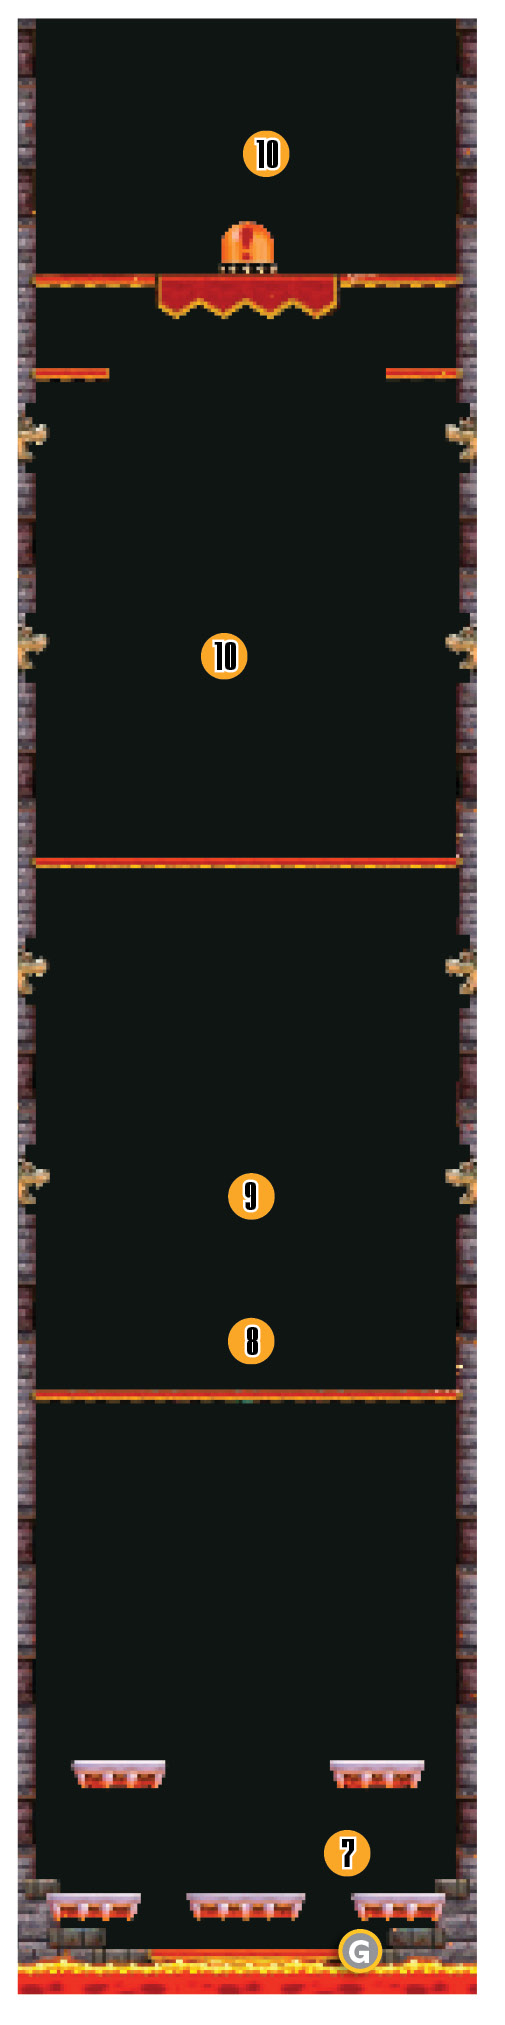
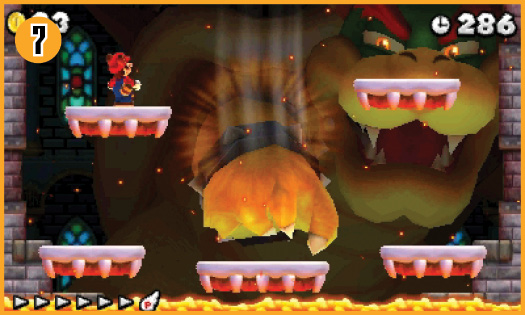
After his initial defeat, Bowser emerges from the lava bigger and angrier than ever. Super Bowser lets out a thunderous roar and the room begins filling with lava. As you jump between the floating platforms to stay ahead of the lava, pay attention to this massive enemy. When Super Bowser’s eyes light up, it means he’s locked on to you. Jump away from your current platform to avoid his swiping attack.
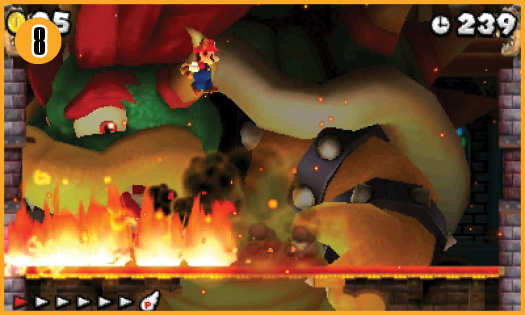
If you manage to stay out of the lava, the platforms eventually carry you to a walkway. When you reach Point 8, Super Bowser attacks with his flame breath. Jump over the flames and wait for the next batch of platforms to appear.
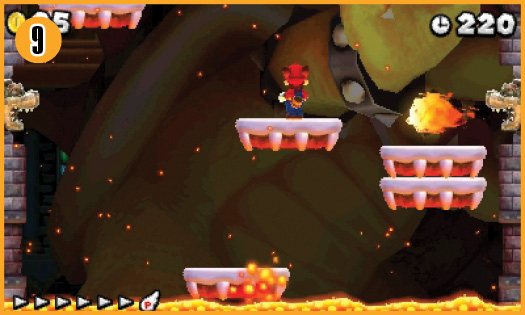
After Super Bowser’s second roar, you must once again use the floating platforms to stay out of the lava. This time, however, the Bowser sculptures along the walls shoot fireballs across the area. Dodge the fireballs, avoid Super Bowser’s swipe attacks, and jump between the platforms until you reach the next walkway.
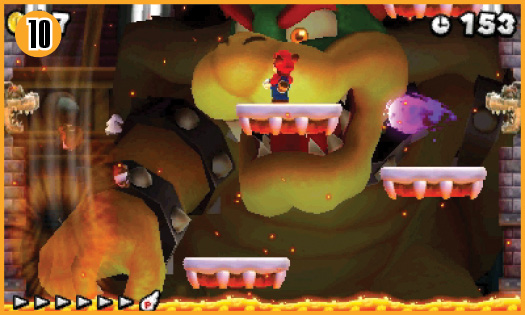
When you reach the second walkway, Super Bowser performs two flame breath attacks. Jump over both attacks and wait for the next batch of platforms to appear. The Bowser sculptures in this area shoot purple fireballs that home in on you, but the same basic tactics should keep you safe.
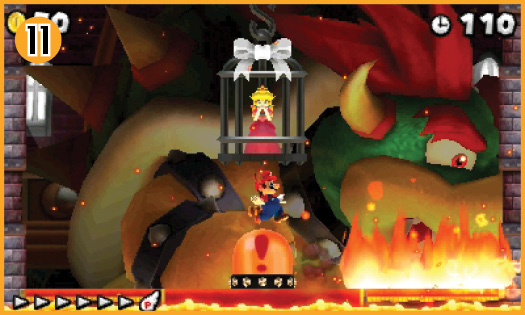
Jump between the platforms to stay out of the lava until you reach the final walkway. Jump over Super Bowser’s flame breath, then stomp the large ! Switch in the middle of the room to end the encounter and complete the level.