
New Super Mario Bros 2 Guide Worlds World Six
World 6-Boo House
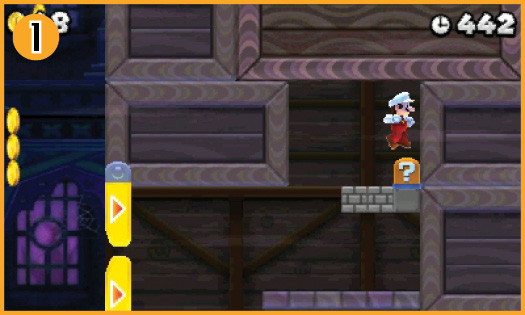
 One of the Blocks at Point 1 contains a ? Switch. When you stomp it, the platforms above you spread apart, revealing the path to the first Star Coin.
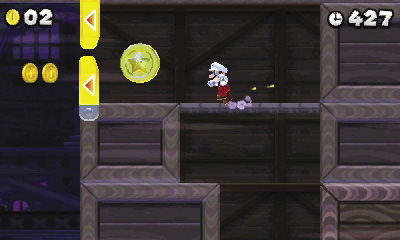
Follow the path up to the Star Coin, then pass through the hinged panels and drop back to the floor.
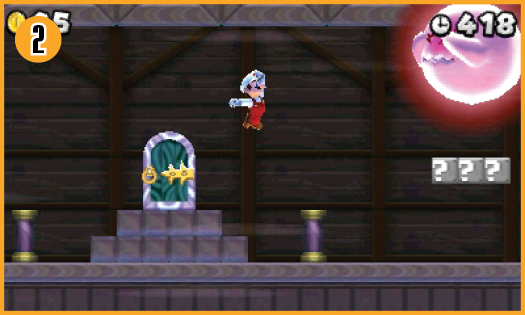
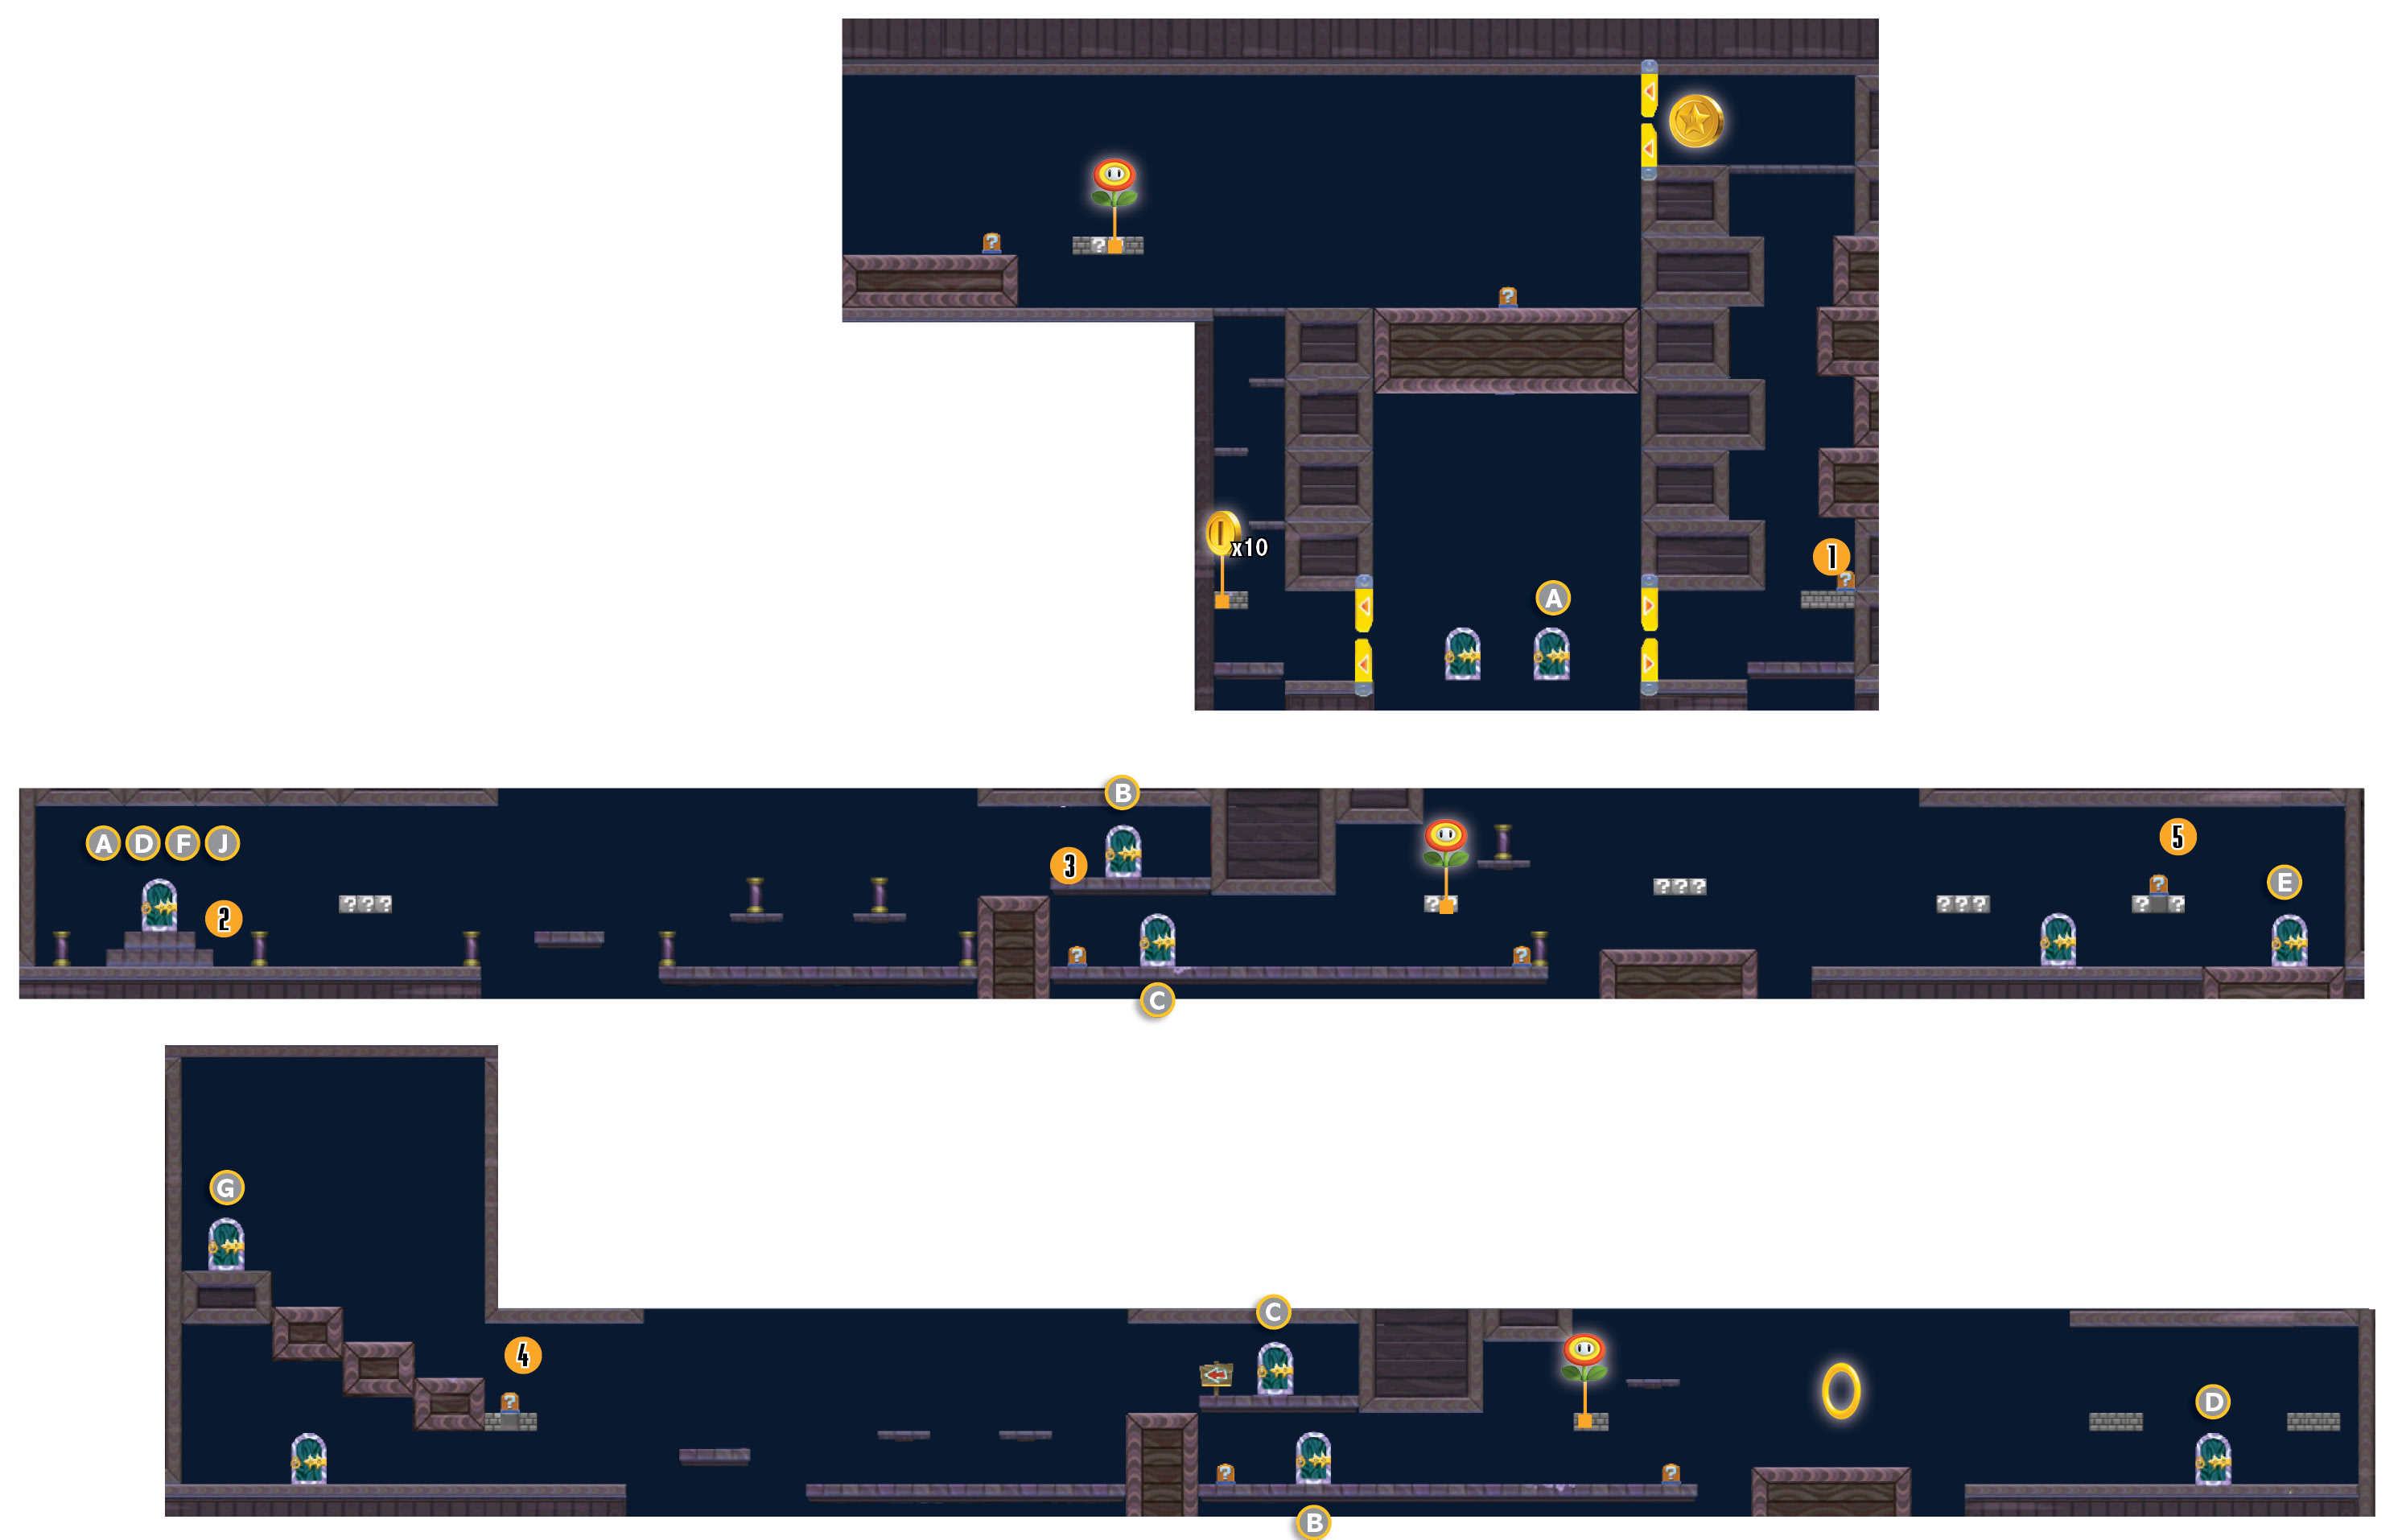
The level contains two very similar hallways—one populated by Big Boos, the other populated by normal Boos. As you explore each area, you’ll find that multiple doors lead you back to Point 2. The steps below the door and the nearby Big Boo make it fairly easy to recognize this spot.
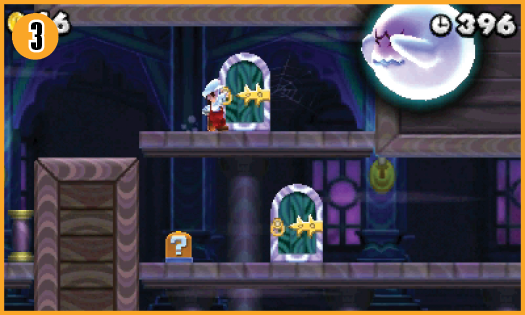
When you first reach Point 3, the raised platform prevents you from exploring the right half of the Big Boo hallway. Enter the accessible door to transition from the Big Boo hallway to the Boo hallway.
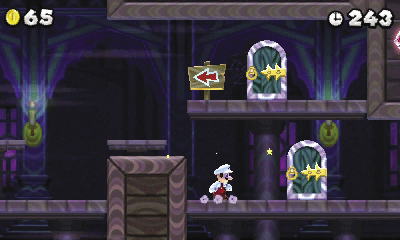
After you emerge from the lower door in the Boo hallway, use the ? Switch to lower the platform to the left. You can now explore the entire length of the Boo hallway. Enter the door above you to transition to the right half of the Big Boo hallway.
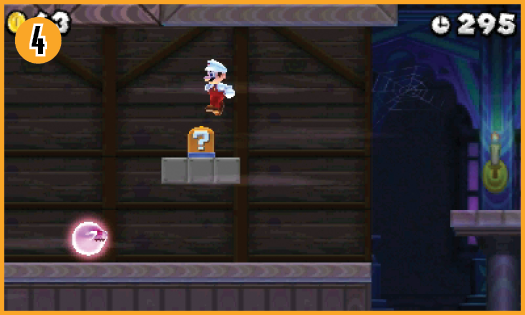
 To find the second Star Coin, hit the ? Switch at the left end of the Boo hallway. After the platforms drop down from the ceiling, follow them to find a door.
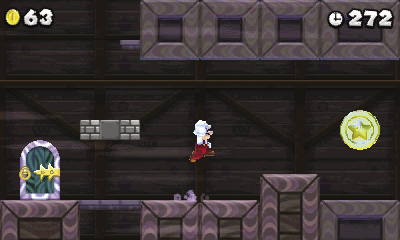
Pass through the door, then drop down and activate the ? Switch below you. The platforms to the right drop down to clear a path to the Star Coin.
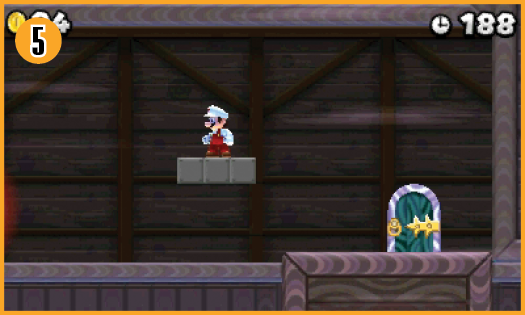
 To find the third Star Coin, activate the ? Switch at the right end of the Big Boo hallway. After the platform to the right sinks into the floor, pass through the revealed door.
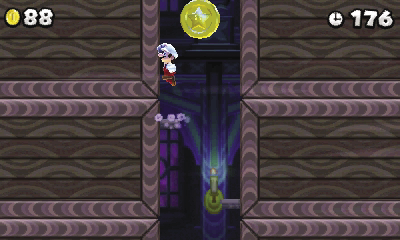
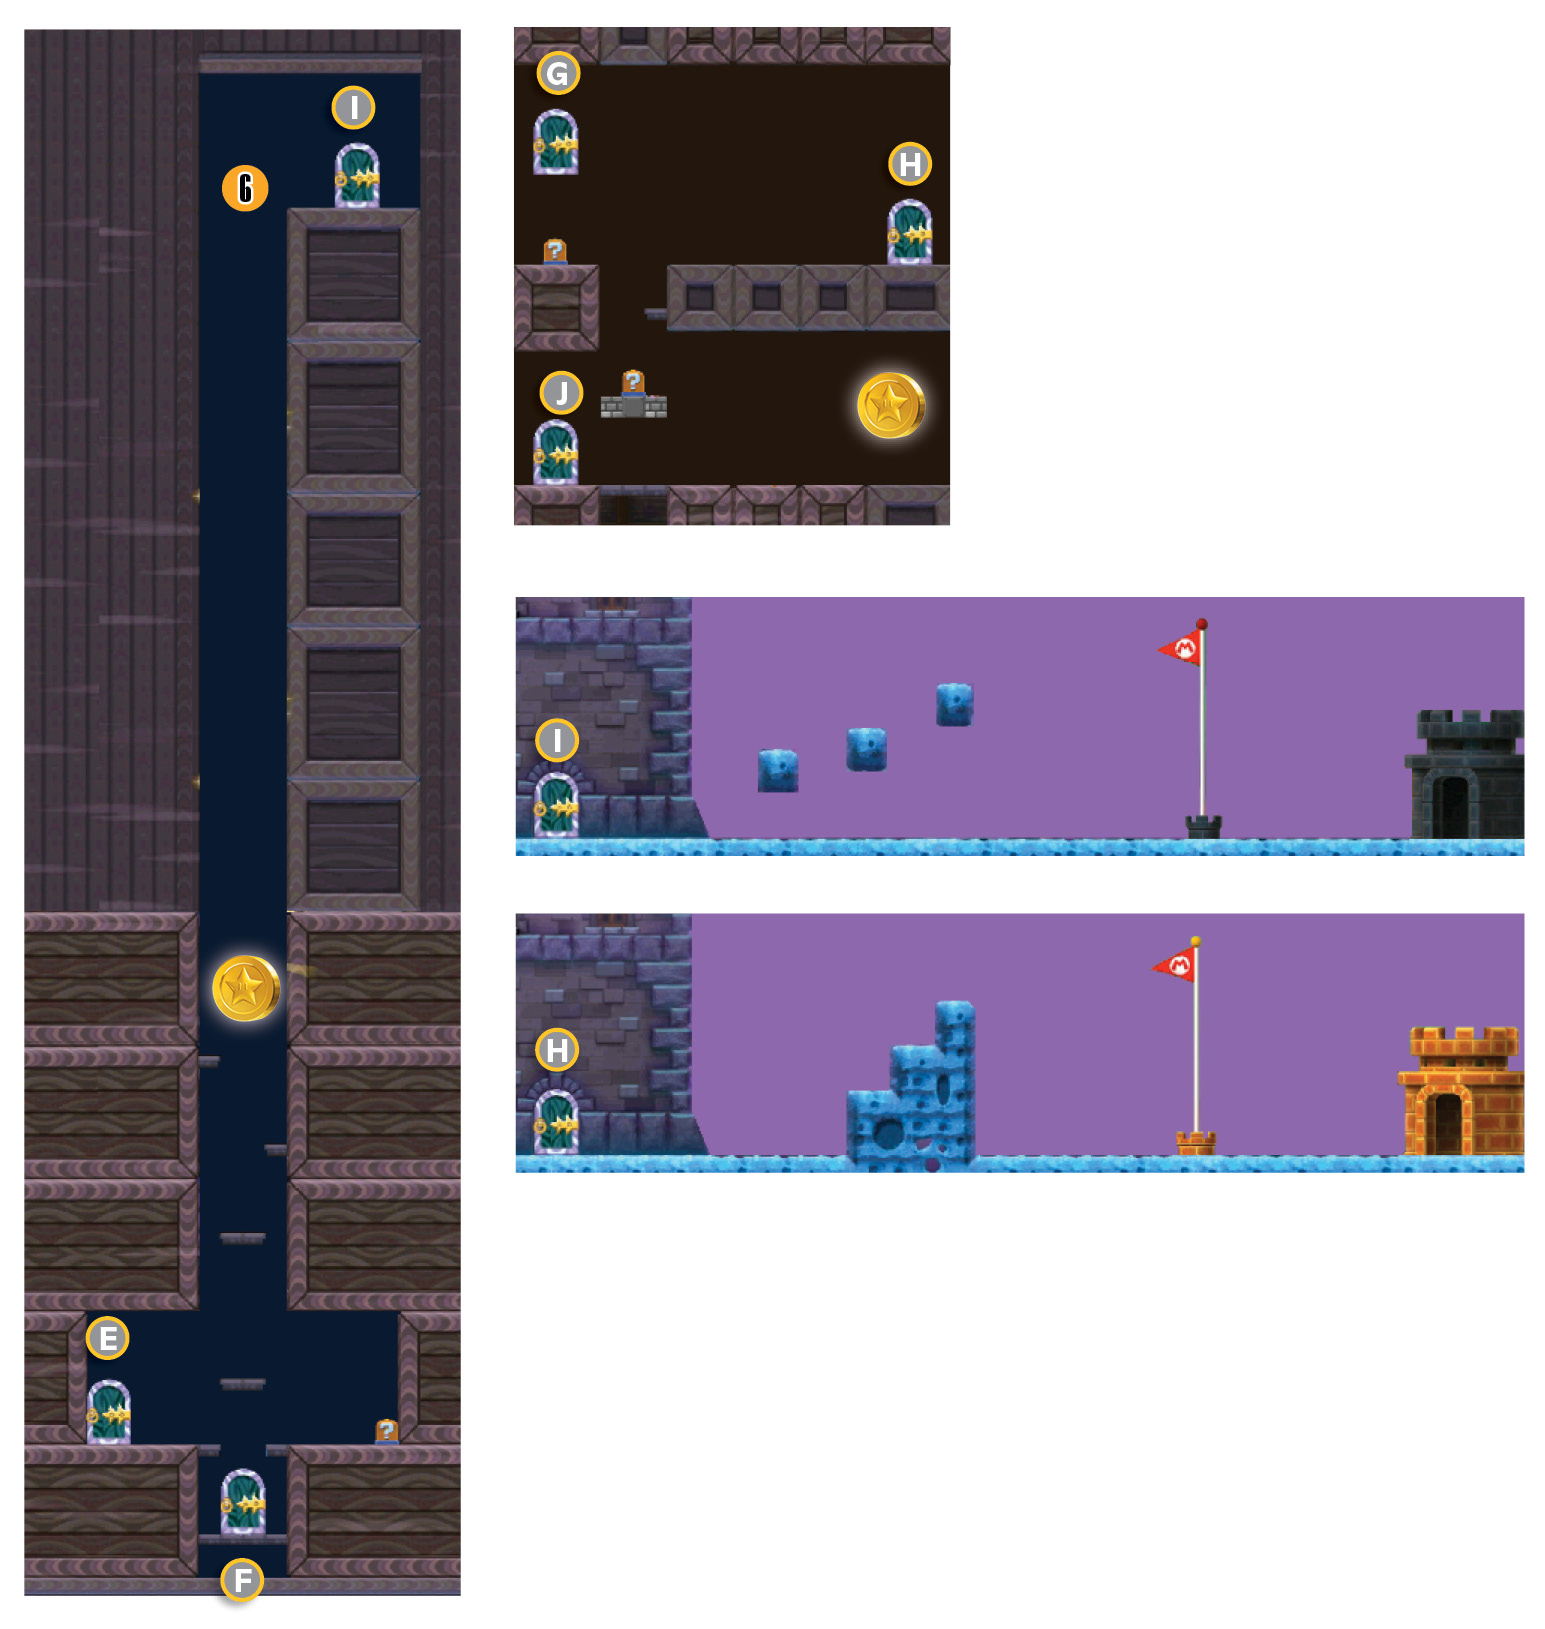
When you reach the next room, stomp the ? Switch to the right to rearrange the surrounding platforms. Perform a series of wall jumps to collect the Star Coin floating directly above you.
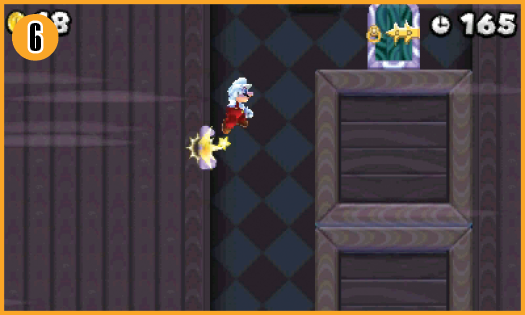
To find the secret exit, continue performing wall jumps after you collect the third Star Coin. The door at Point 6 leads outside. Head through the door and reach the secret Goal Pole to unlock the path to World 6-A.