
New Super Mario Bros 2 Guide Worlds World One
World 1-2
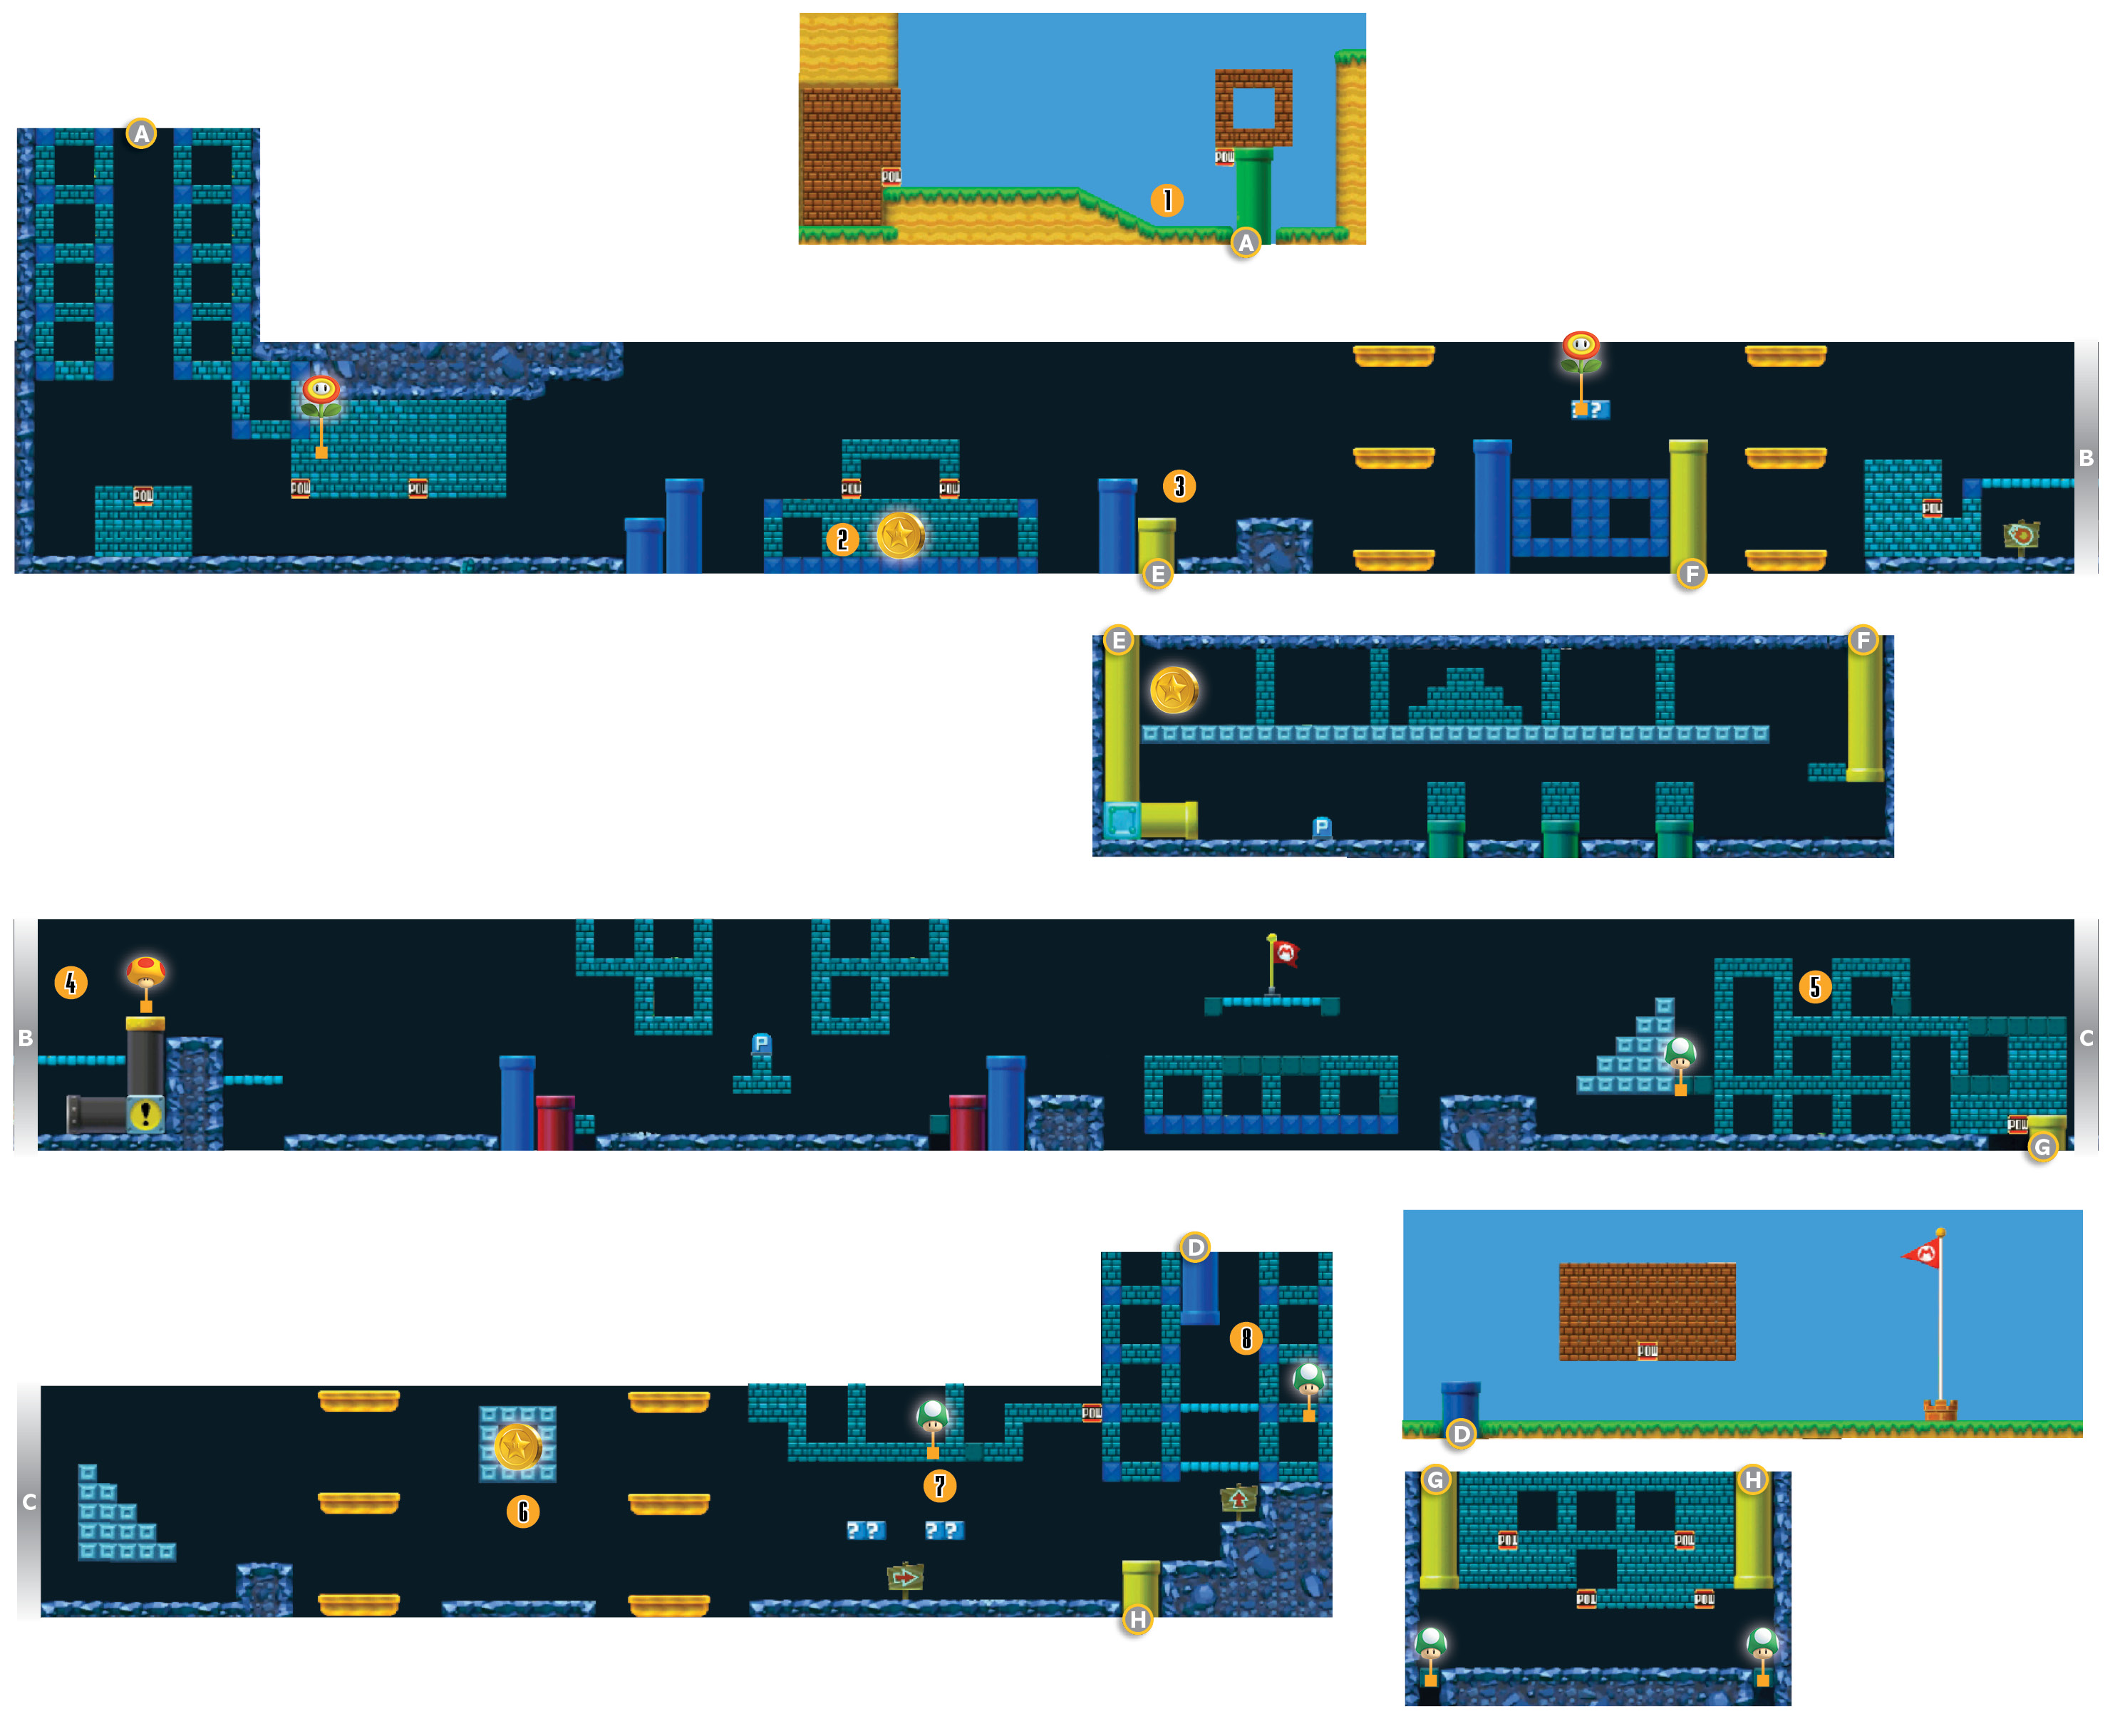
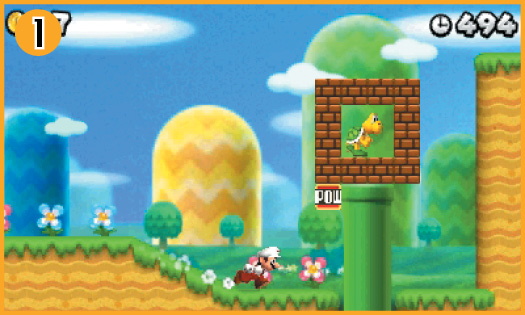
When the level starts, hit the POW Block at Point 1 to shatter the nearby Blocks and stun the Koopa.
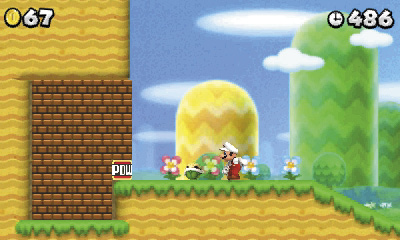
Before you enter the pipe, grab the Green Shell and throw it at the POW Block to the left. The impact shatters the nearby Blocks and reveals a stash of coins.
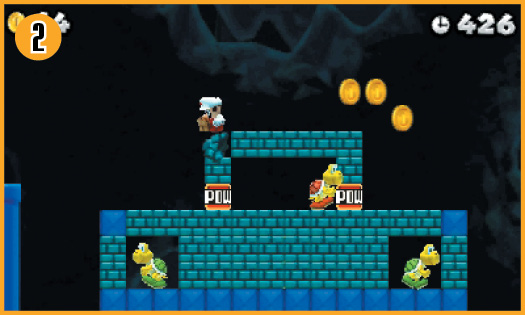
 The level’s first Star Coin is hidden behind the Blocks at Point 2. Ground pound down to each of the POW Blocks, or use a Koopa shell to hit them from the side.
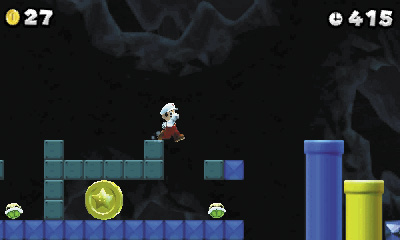
After you clear away all of the Blocks, drop down and grab the Star Coin below you.
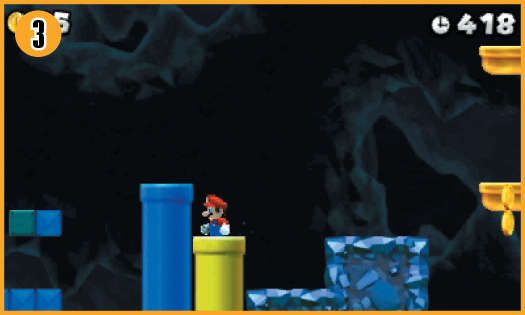
 To collect the second Star Coin, enter the yellow pipe at Point 3.
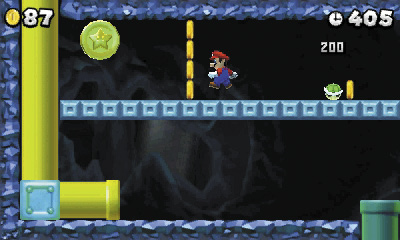
When you exit the pipe, use the P Switch to temporarily transform all of the Blocks into coins. Dash to the right, then jump to the upper platform. Dash back to the left to reach the Star Coin before the P Switch deactivates. If you dodge the Koopas, you should make it in time. If not, use a Green Shell to clear a path through the remaining Blocks.
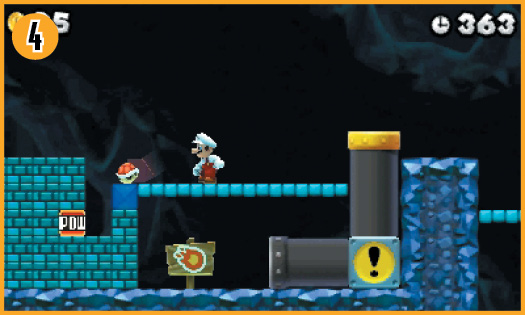
If you’ve managed to hang on to at least one Fire Flower, you can use the special ! Pipe at Point 4. Stomp the Koopa patrolling the area, then toss its shell into the POW Block to clear a path to the ! Pipe.
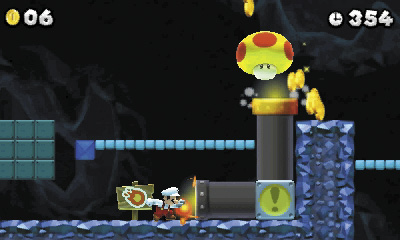
Toss fireballs into the pipe’s lower opening until a Mega Mushroom pops out of the top. Move quickly to grab the power-up before it falls down the nearby hole. When you become Mega Mario, use the powerful form to smash your way to the end of the level.
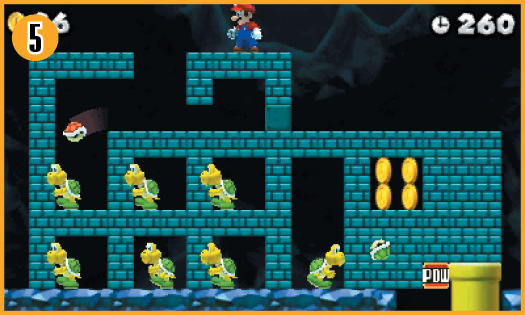
If you collected the Mega Mushroom, you should smash a path to the end of the area. If not, use the yellow pipe at Point 5 to enter a secret area. Stomp the Koopa patrolling the area above the pipe, then grab its shell and hop onto the blocks to the left. Toss the shell down through the gap in the Blocks. After several bounces, the shell hits the POW Block near the yellow pipe.
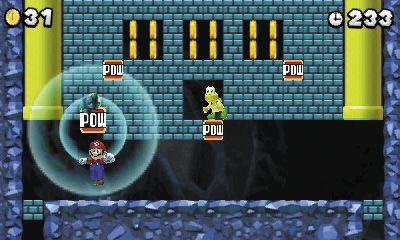
Pass through the yellow pipe to find a hidden area. Two POW Blocks are sliding back and forth across the room. Wait for the POW Block on the left to reach the left side of the room, then jump up to hit it. The shock wave causes a 1-Up Mushroom to emerge from the Block near the wall. Repeat the process on the right side of the room for a second 1-Up Mushroom!
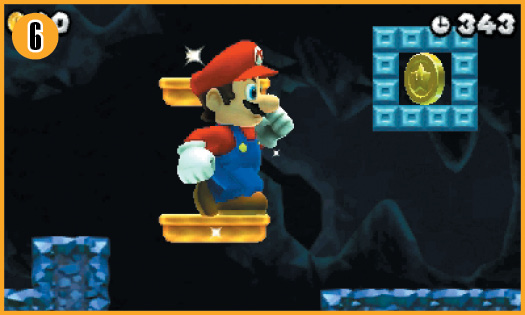
 To collect the level’s third Star Coin, use the Mega Mario form to smash through the enclosure at Point 6. If you didn’t collect the Mega Mushroom at Point 4—or if the Mega Mario form wears off before you reach the enclosure—you must revisit the level to collect this Star Coin.
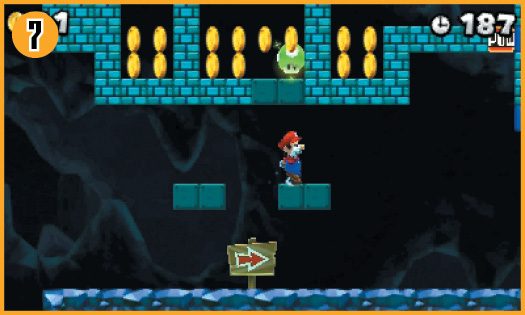
If you want to collect the 1-Up Mushroom at Point 7, don’t approach the area until the Mega Mario form wears off. Hop onto the second ? Block from the end, then jump up to reveal the 1-Up Mushroom. Jump up along the moving platforms to the left, and then leap onto the Blocks to collect it.
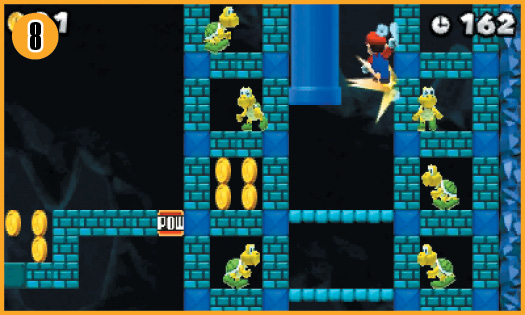
To collect the 1-Up Mushroom at the end of the path, you must approach the Block from above. Perform a series of wall jumps between the exit pipe and the nearby Blocks, then watch the Koopas below you.
Use one big ground pound to smash through the Blocks on the left half of the enclosure. If you time it properly, you should be able to clear out all three Koopas with one attempt. After you land, move right and jump up to reveal a well-earned 1-Up Mushroom.1