
New Super Mario Bros 2 Guide Worlds World One
World 1-1
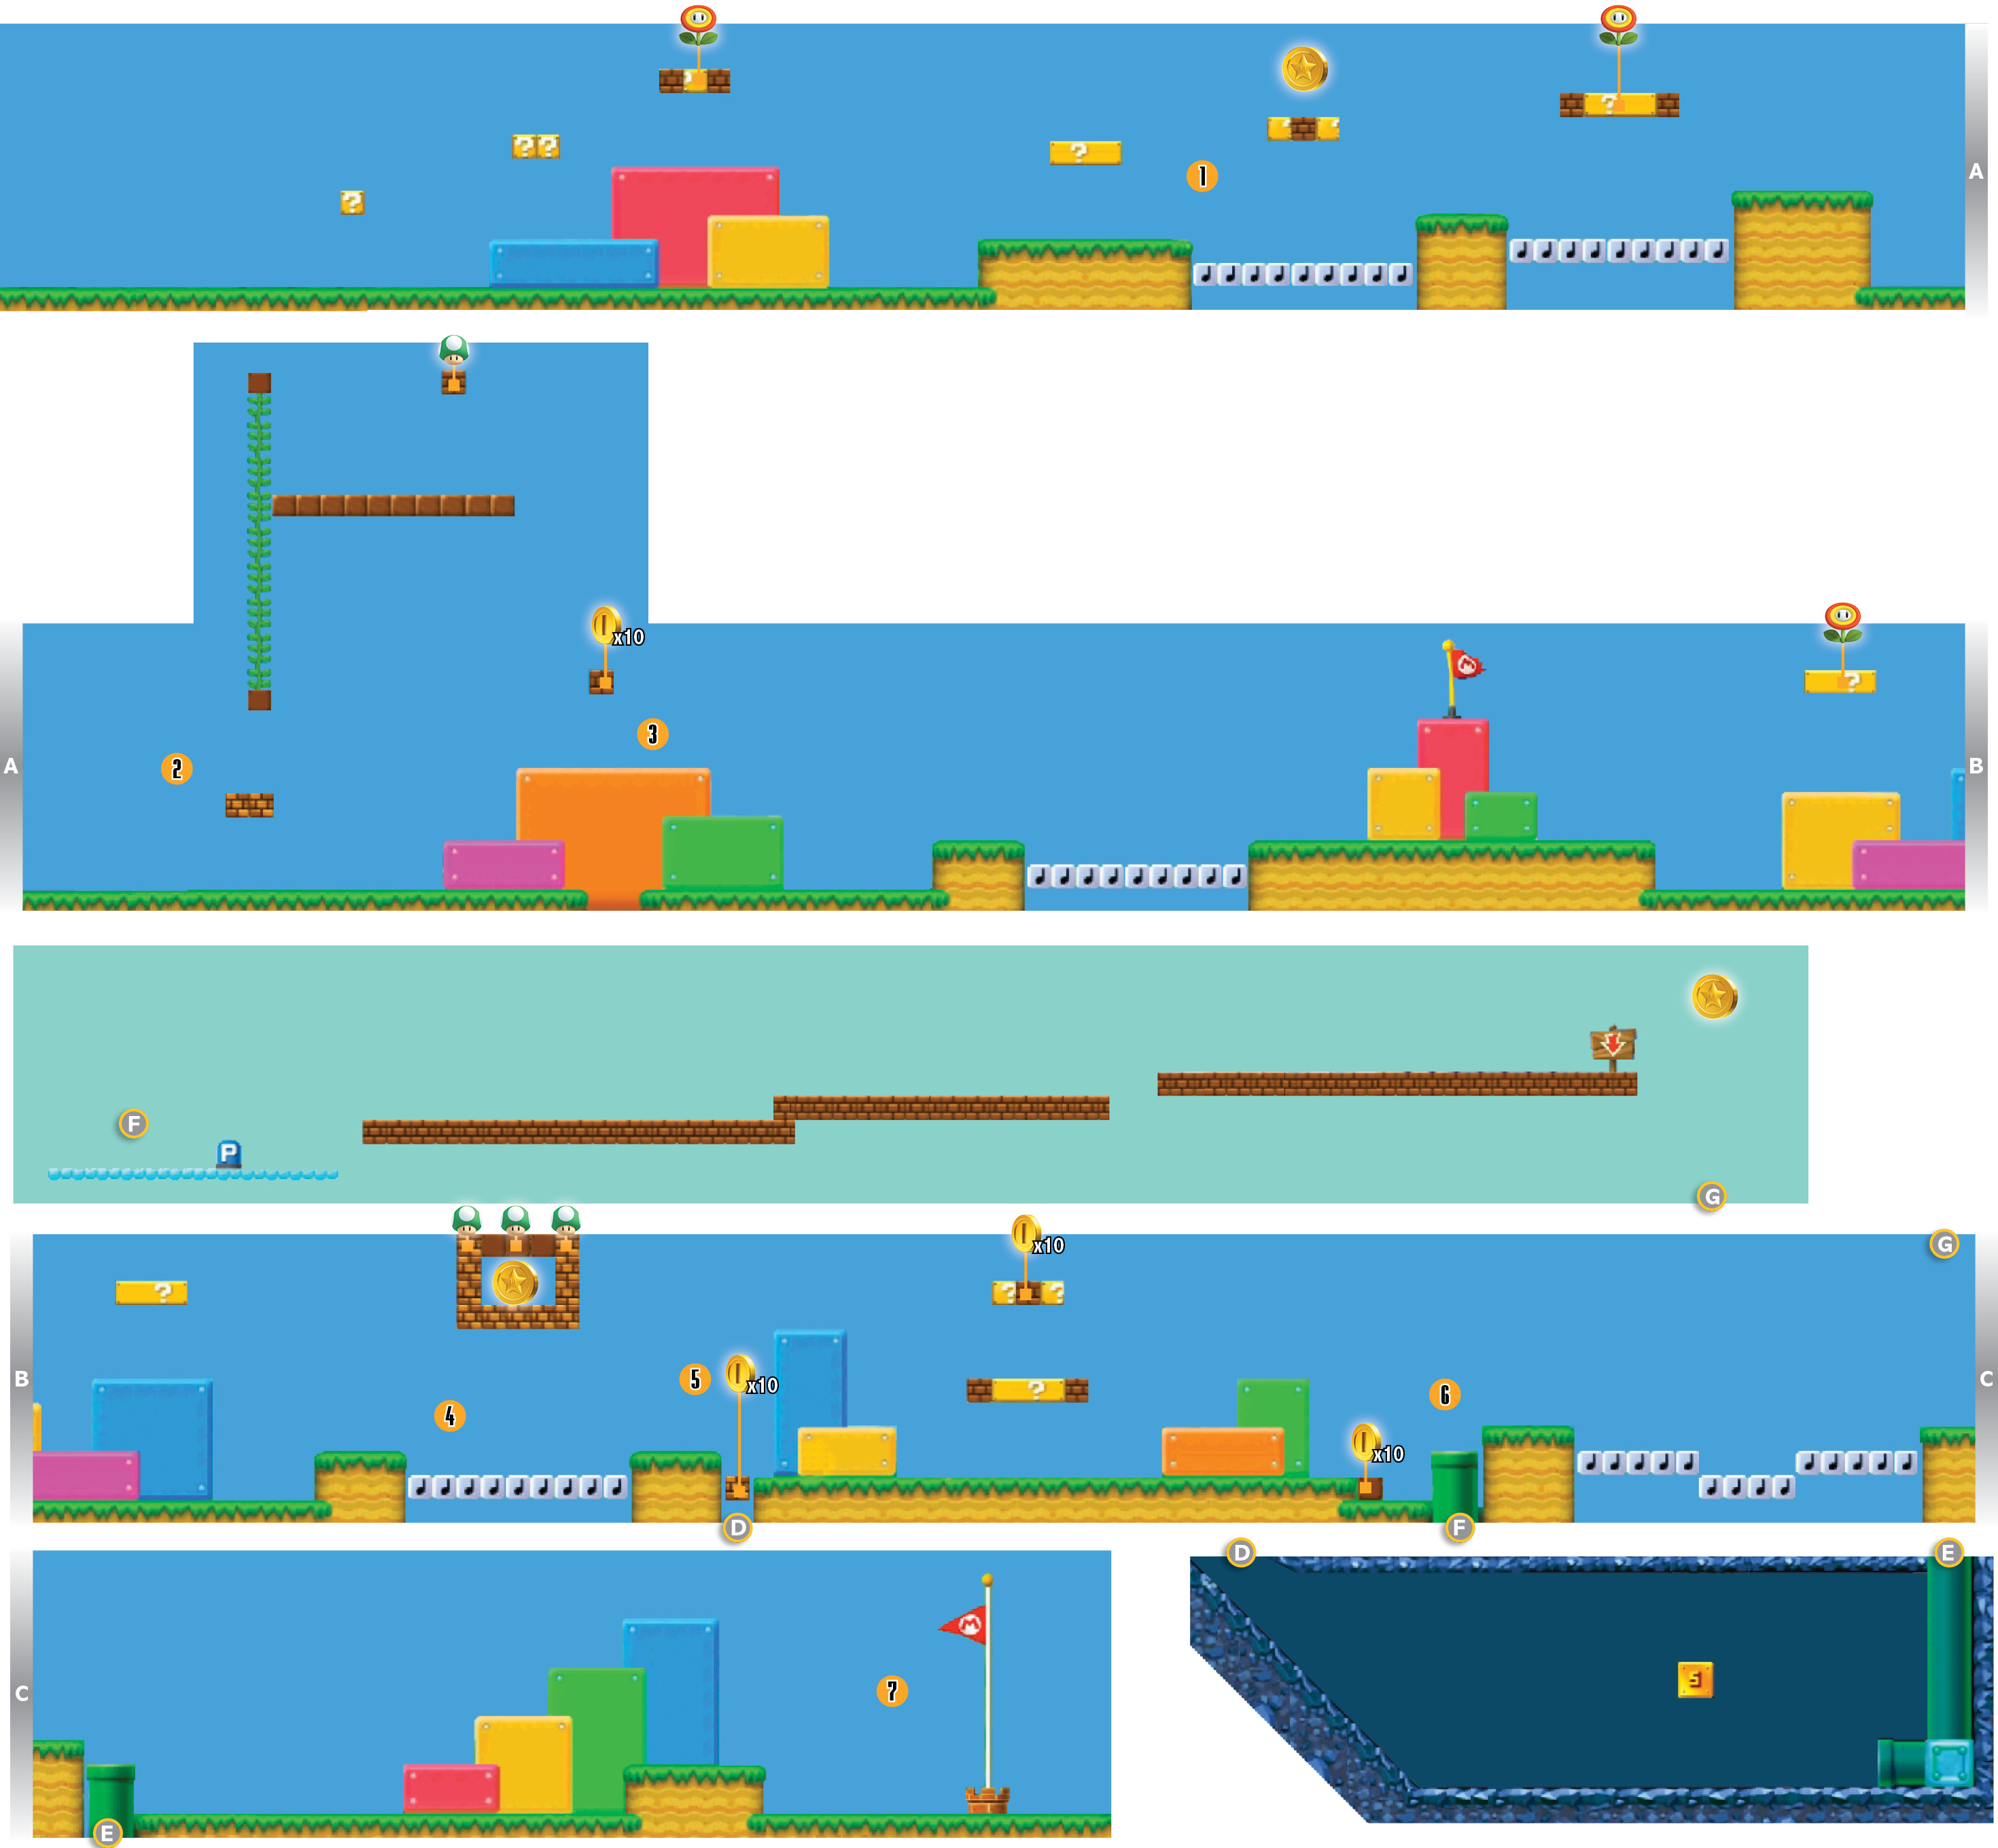
 The first Star Coin is easy to spot. When you reach the Note Blocks, use a well-timed jump to bounce up to the Star Coin.
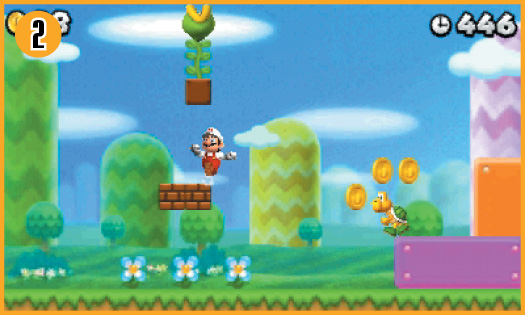
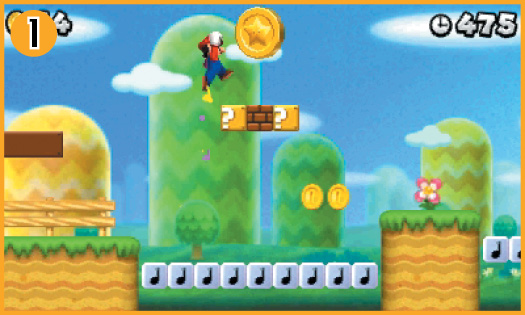
Hop onto the Blocks at Point 2 and jump up to reveal a Beanstalk hidden inside of an Invisible Block.
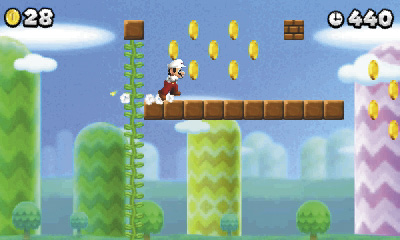
Climb up the Beanstalk to find a hidden area. Grab the nearby coins, then hit the Block to the right to reveal a 1-Up Mushroom.
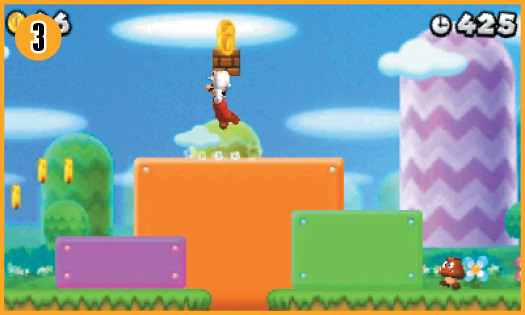
This level contains several 10-Coin Blocks, and you can earn a lot of extra coins if you convert all of them into Gold Blocks.
 The second Star Coin is high above the Note Blocks at Point 4. Use the Note Blocks to bounce up and clear a path through the Blocks above you.
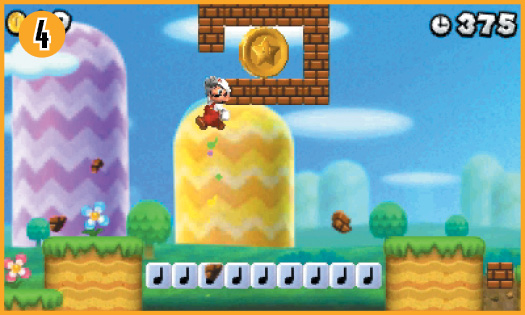
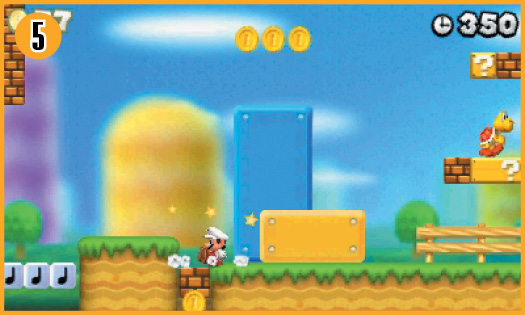
Use an extended ground pound attack on the 10-Coin Block at Point 5. If you extract at least 10 coins, you create a Gold Block and clear the path down to a hidden area.
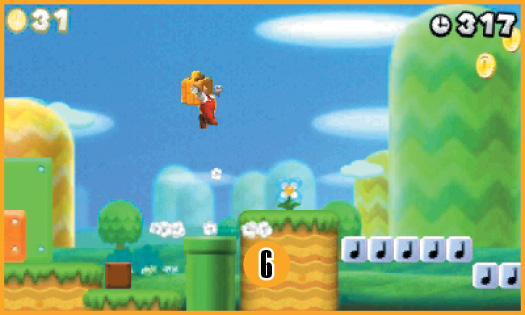
 Enter the pipe at Point 6 to launch yourself up to a hidden area.
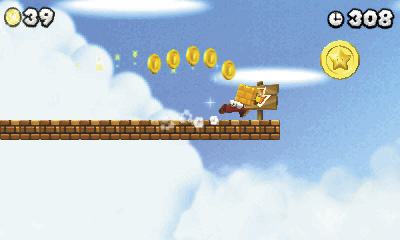
When you land, use the P Switch to convert the nearby coins into a long row of Blocks. Follow the trail of blue coins to the right, then jump through the Star Coin to grab it on your way back down to the ground. You only have a few seconds before the Blocks turn back into coins, so move quickly!
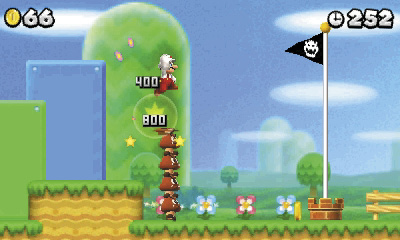
The Goomba tower near the end of the level makes it very easy to bounce to the top of the Goal Pole. However, you can earn an extra life if you stomp on all eight Goombas without touching the ground. If you do this, you can still reach the top of the Goal Pole—move back to the left, build up some speed, and jump along the colorful platforms. It takes precision timing, but it’s an important skill to learn.