
New Super Mario Bros 2 Guide Enemies
Common Critters
Goomba
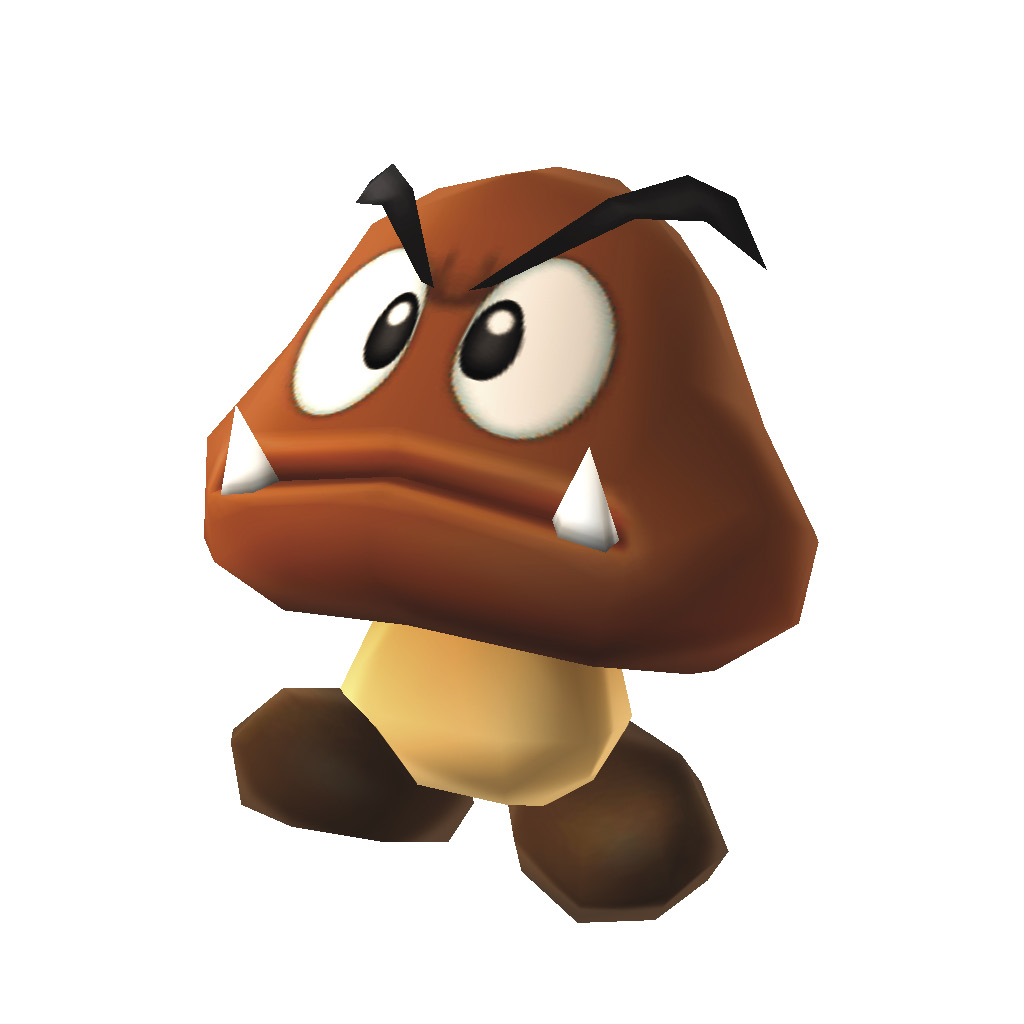
Goombas are one of the most common enemies encountered. To defeat them, simply jump onto their heads.
Goomba Tower
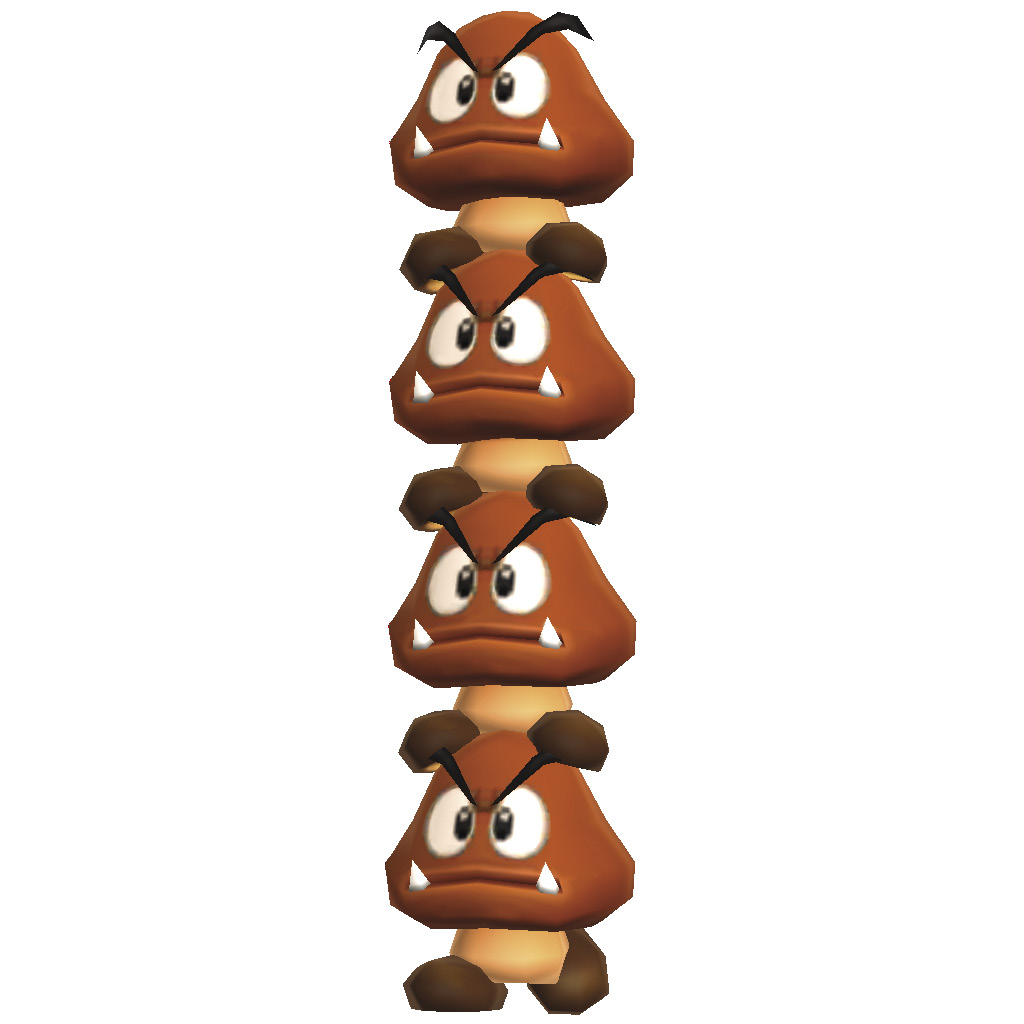
Goomba Towers behave just like regular Goombas, but they’re a bit tougher to stomp. Get to higher ground, hop onto the Goomba Tower, and stomp each enemy on your way down. If you line up your jump well, you can take out the whole stack before you hit the ground again!
Paragoomba
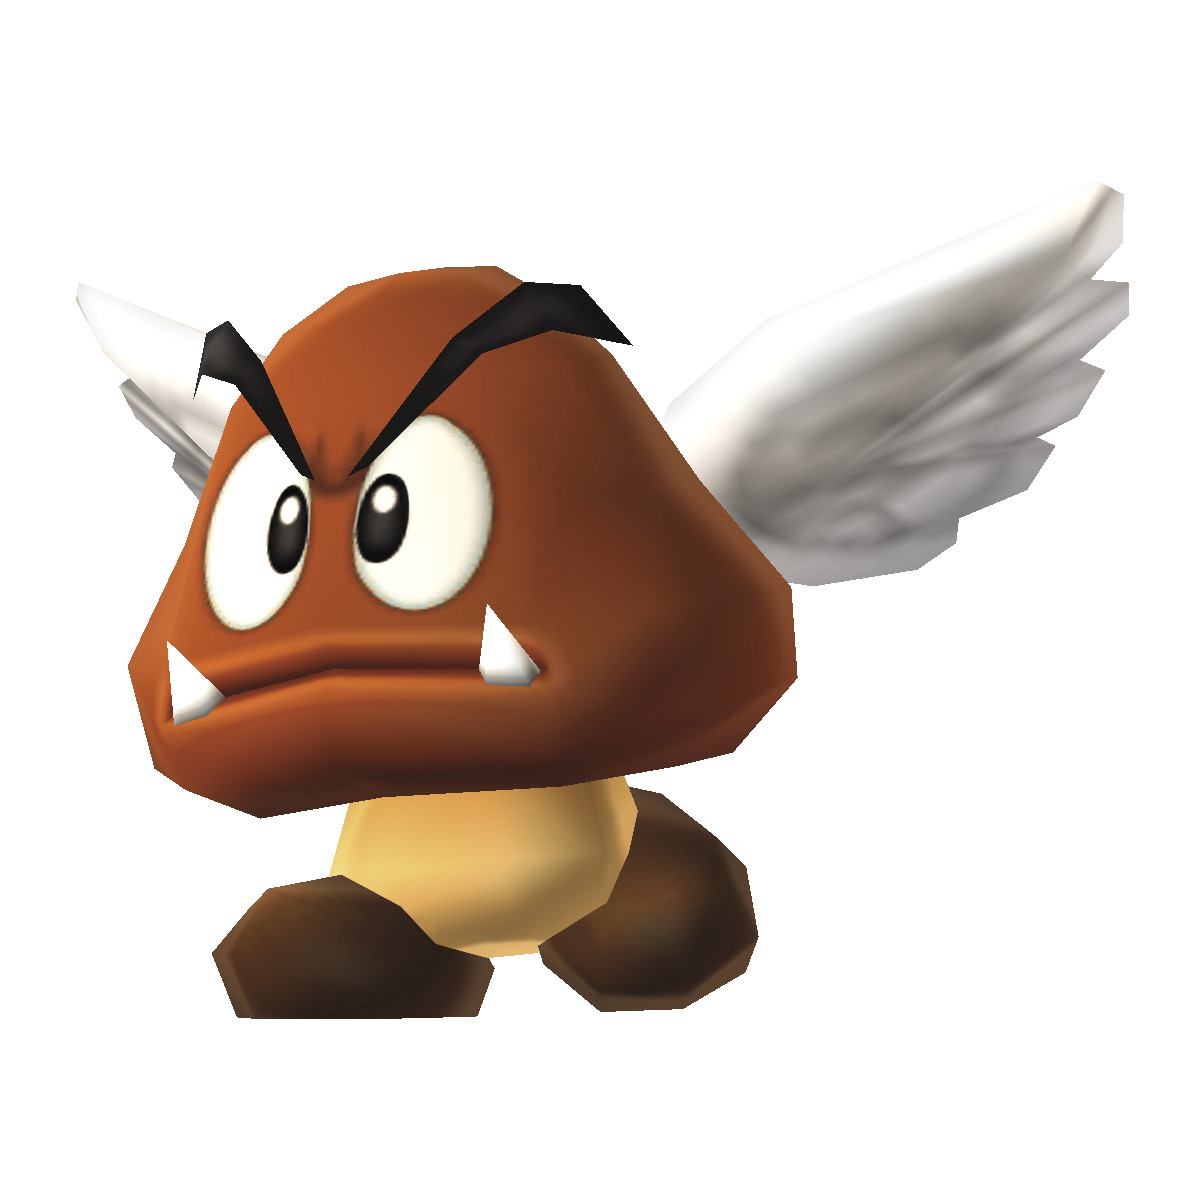
These flying foes take two hits to take out. Jump on it once to knock it out of the air, then stomp it a second time to finish it off.
Bone Goomba
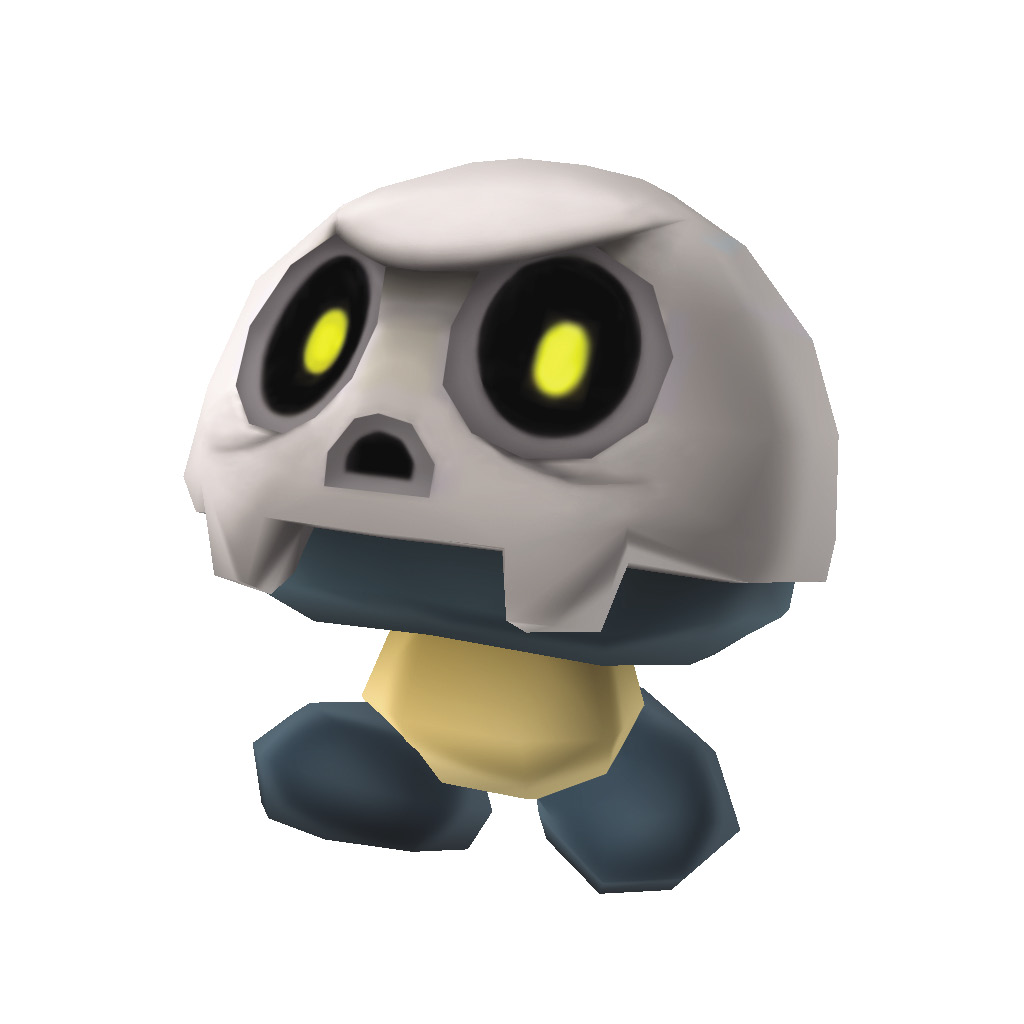
Don’t be fooled by their eerie appearance—Bone Goombas aren’t any tougher than their other varieties. You’ll find these fellows patrolling Towers and Castles. Just stomp them and move on.
Mini Goomba
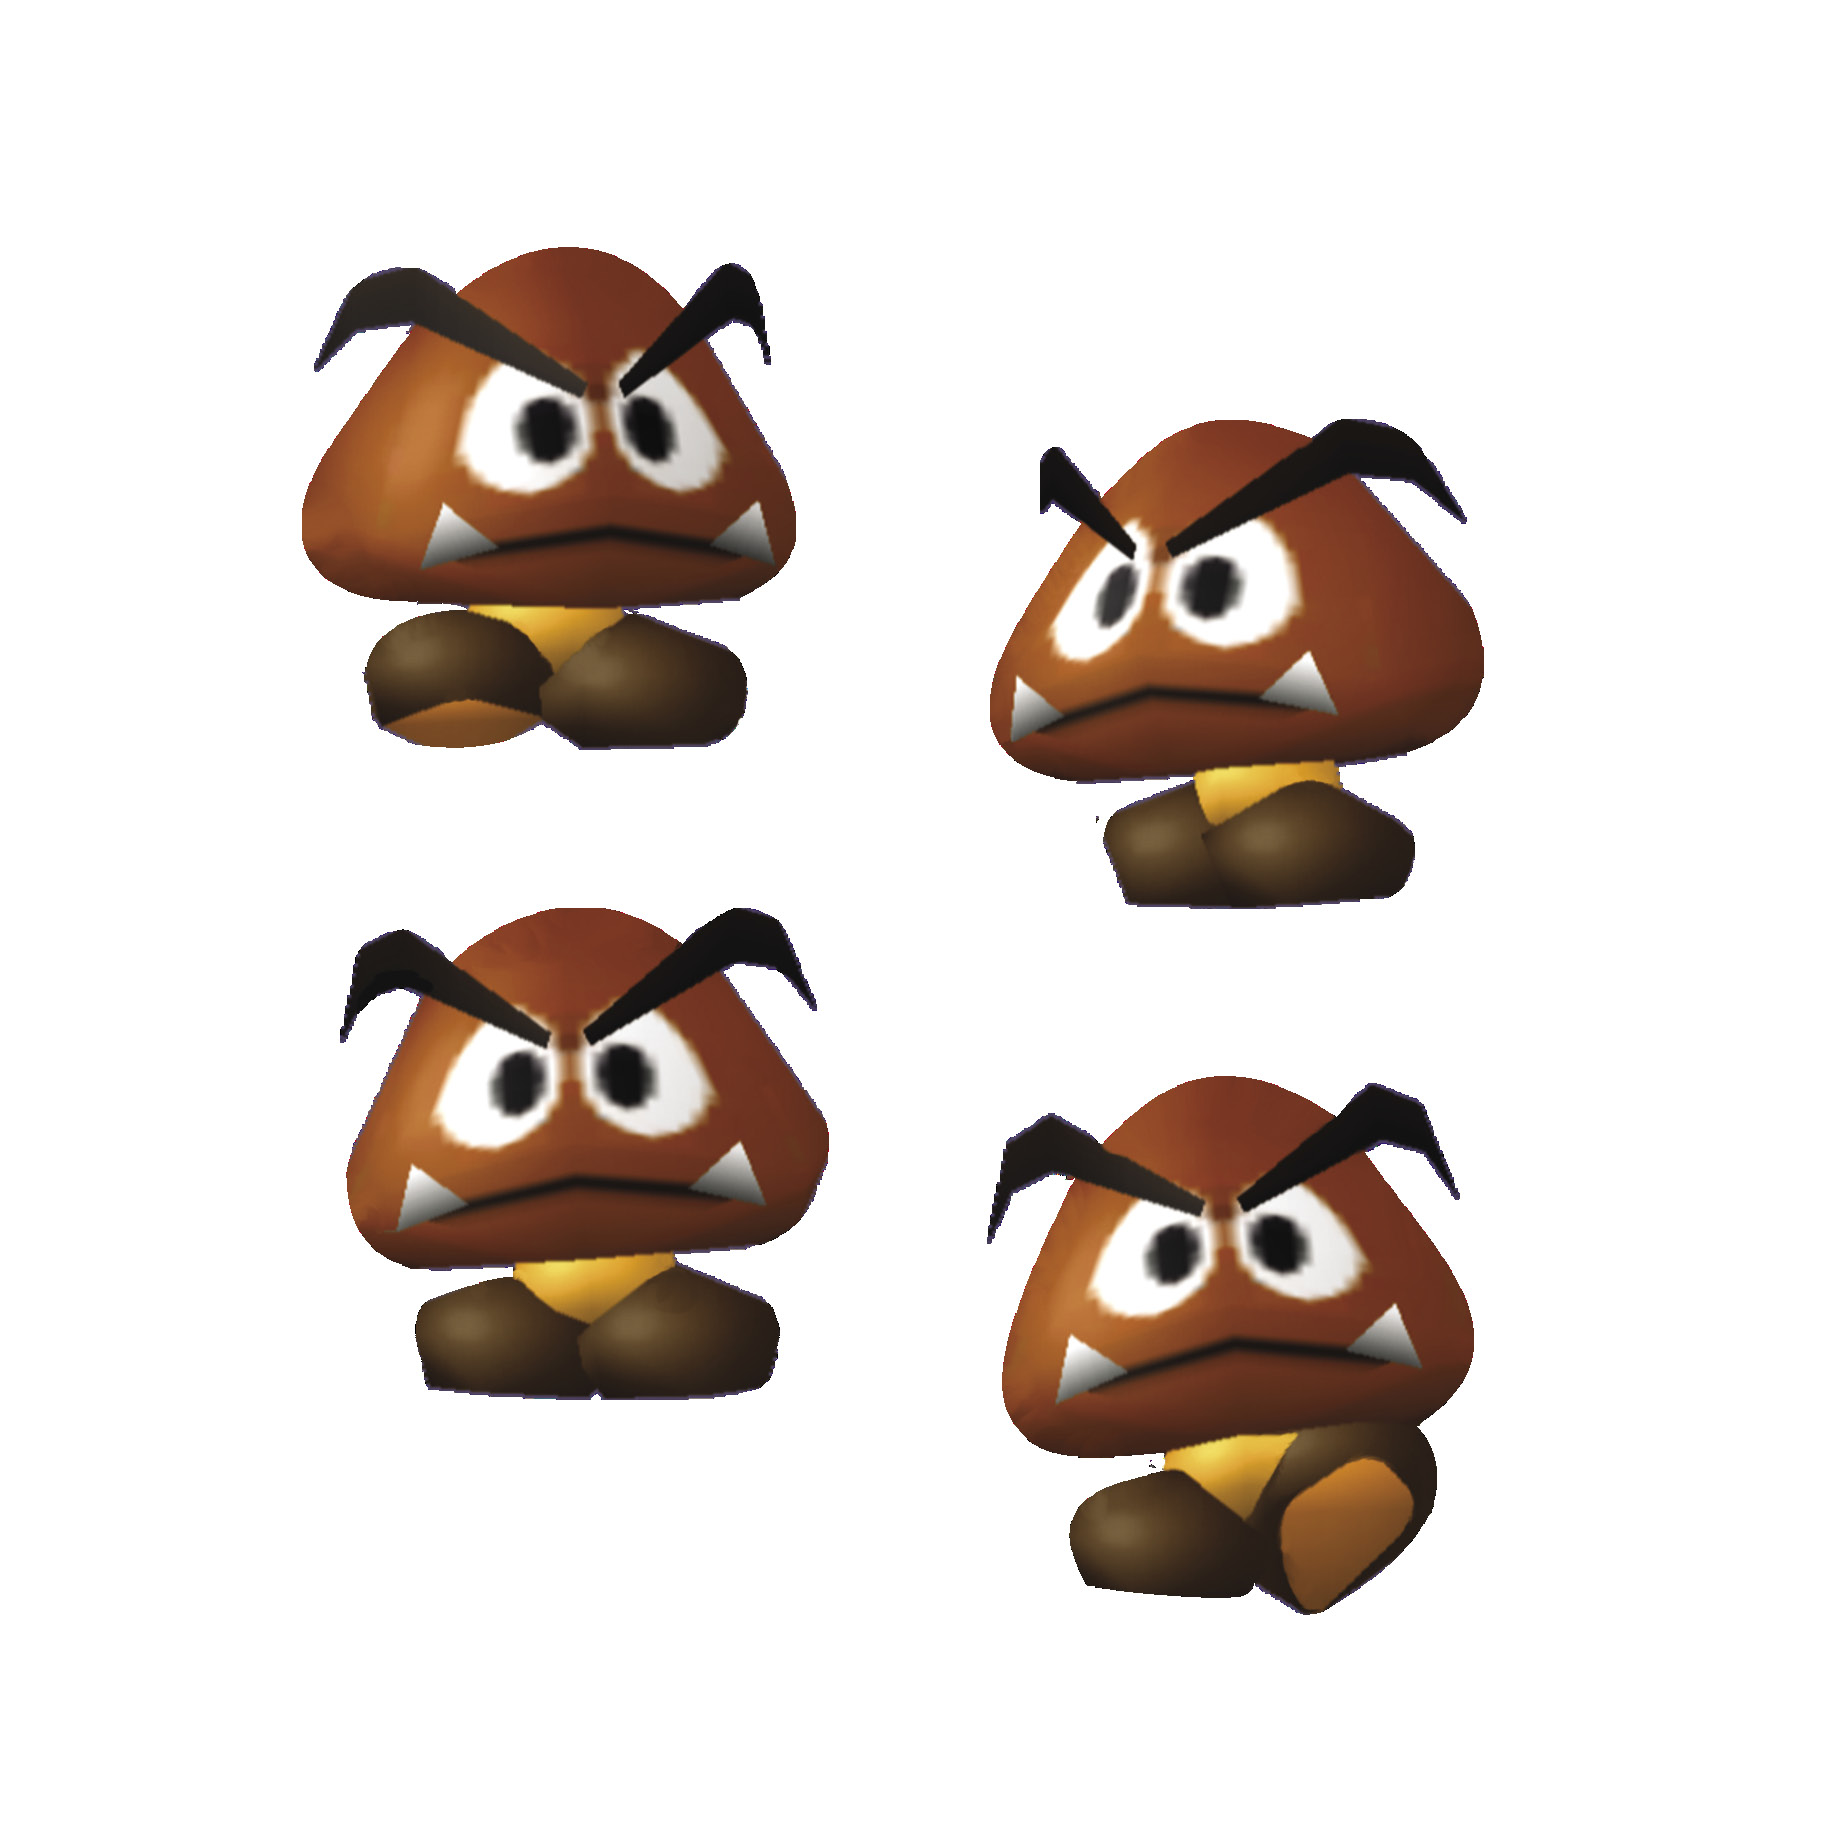
These pint-sized pests may not deal damage, but they just might be the most dangerous variety of Goomba! When a Mini Goomba climbs onto you, it severely limits your mobility. Perform a ground pound to shake these pests loose.
Koopa
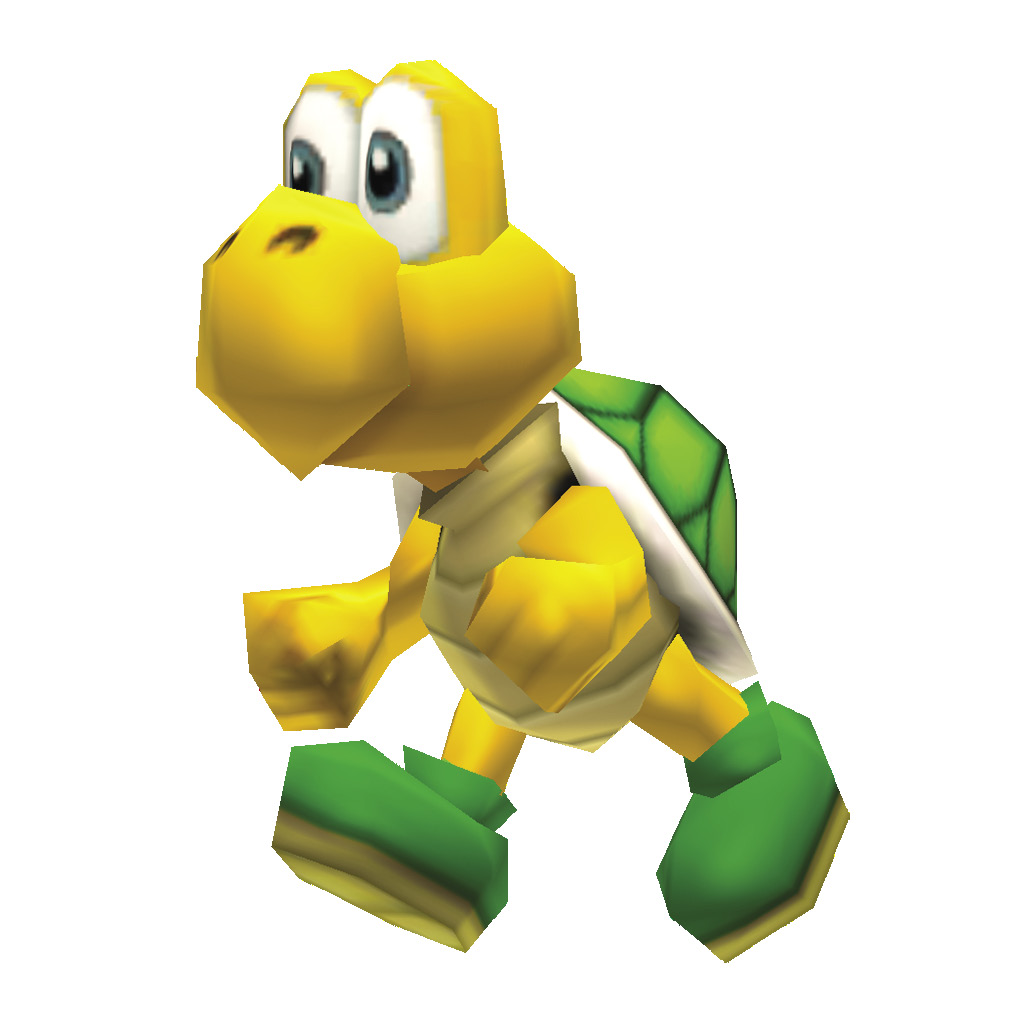
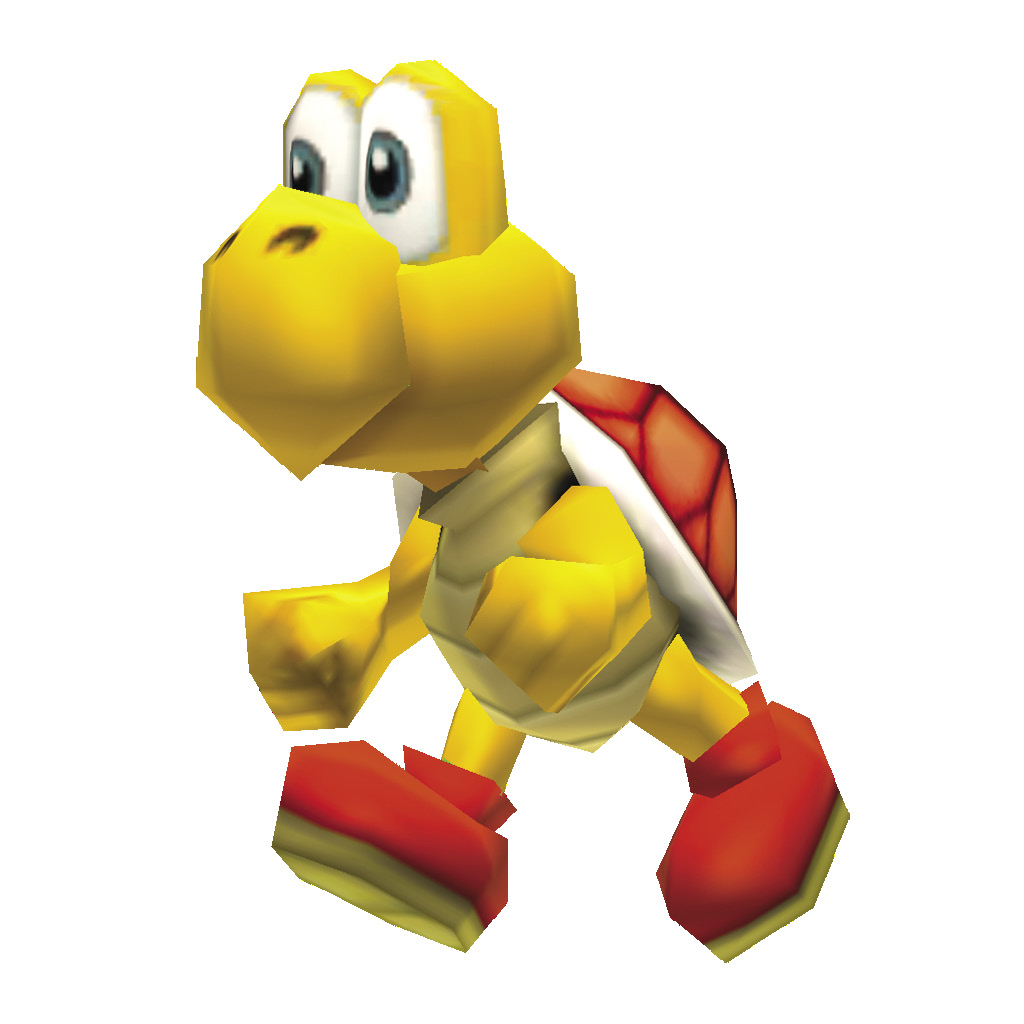
When you jump on a Koopa Troopa, it tucks into its shell. At this point you can either kick the shell, or pick it up to throw at Blocks, coins, or enemies. As you approach a Koopa, note the color of its shell. Green-shelled Koopas will walk right off of ledges, while red-shelled Koopas have the sense to turn back.
Koopa Paratroopa
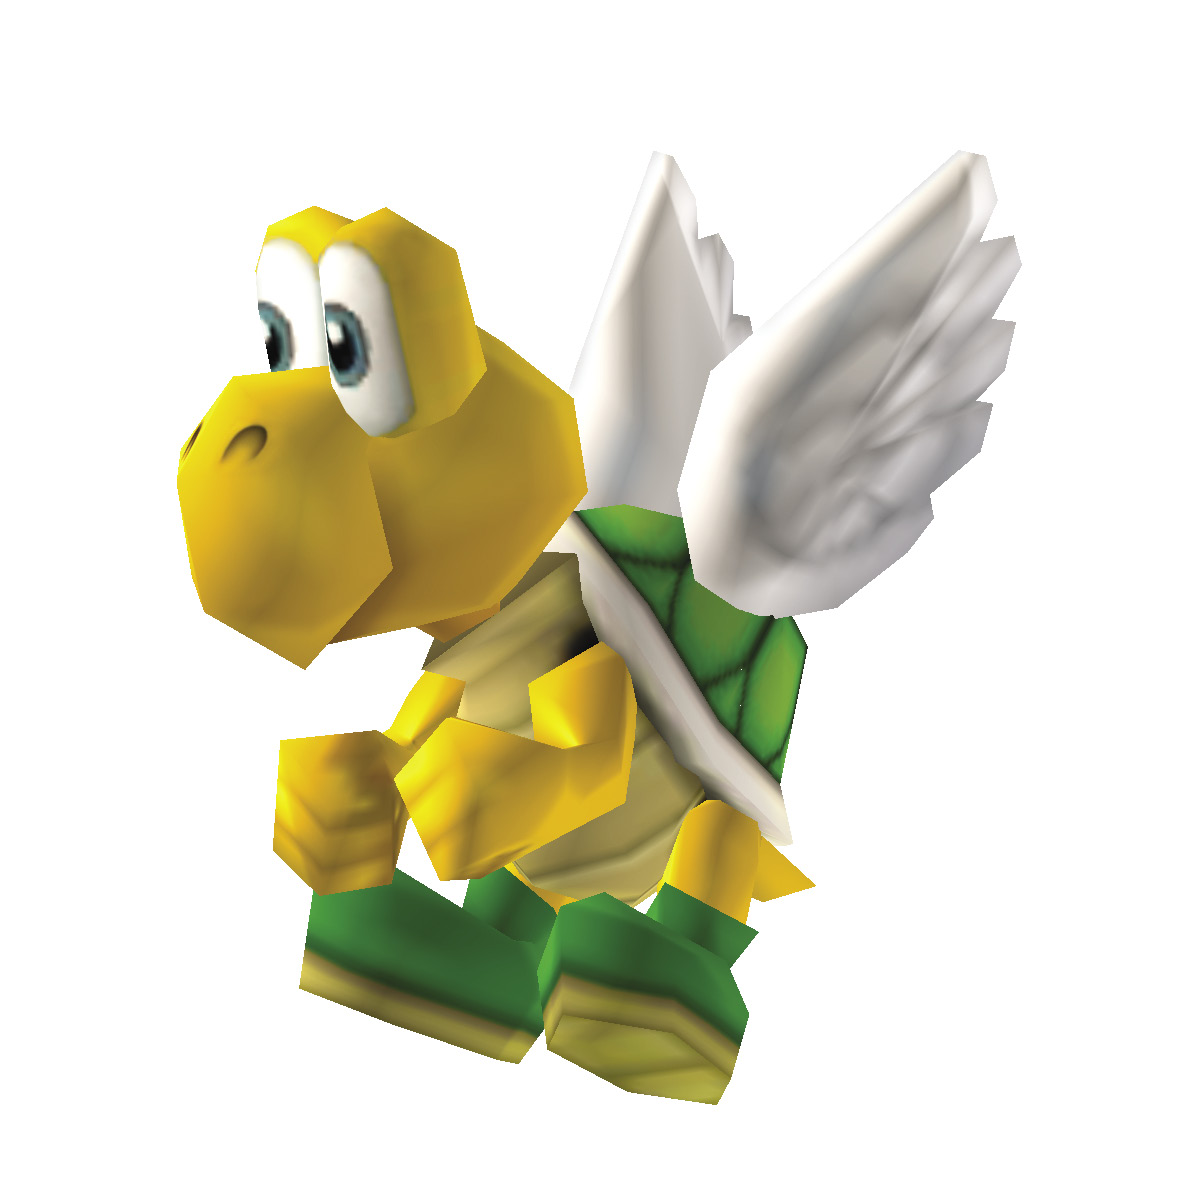
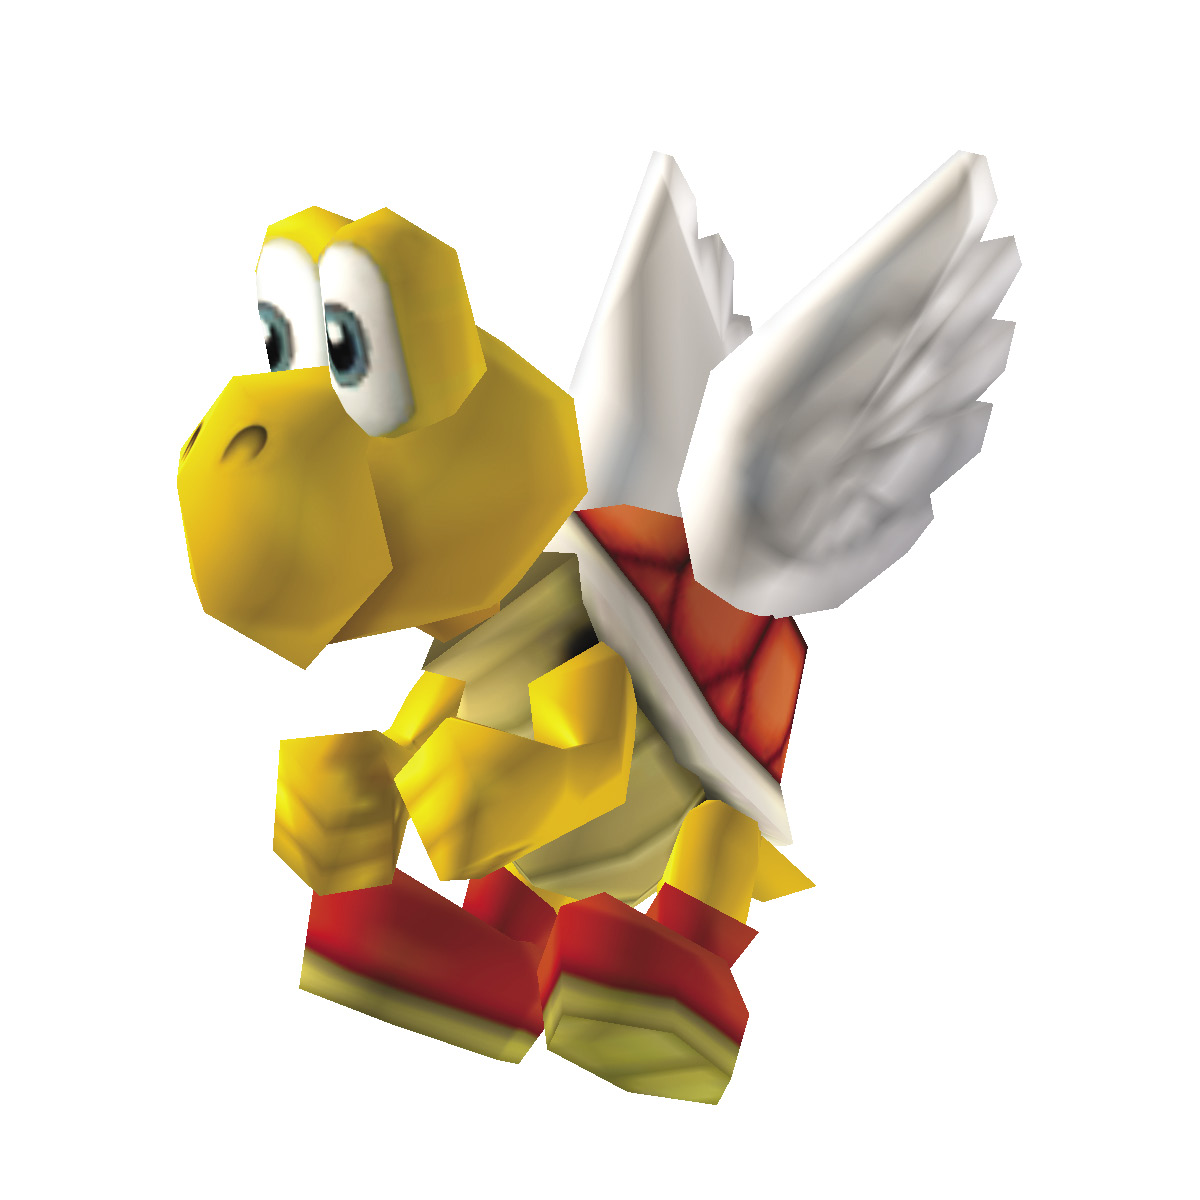
These enemies will take more than one jump to take out. Stomp them once to remove their wings, and then one more time to make them hide in their shell. After you knock a Koopa Paratroopa out of the sky, it behaves exactly like a normal Koopa.
The Bros.
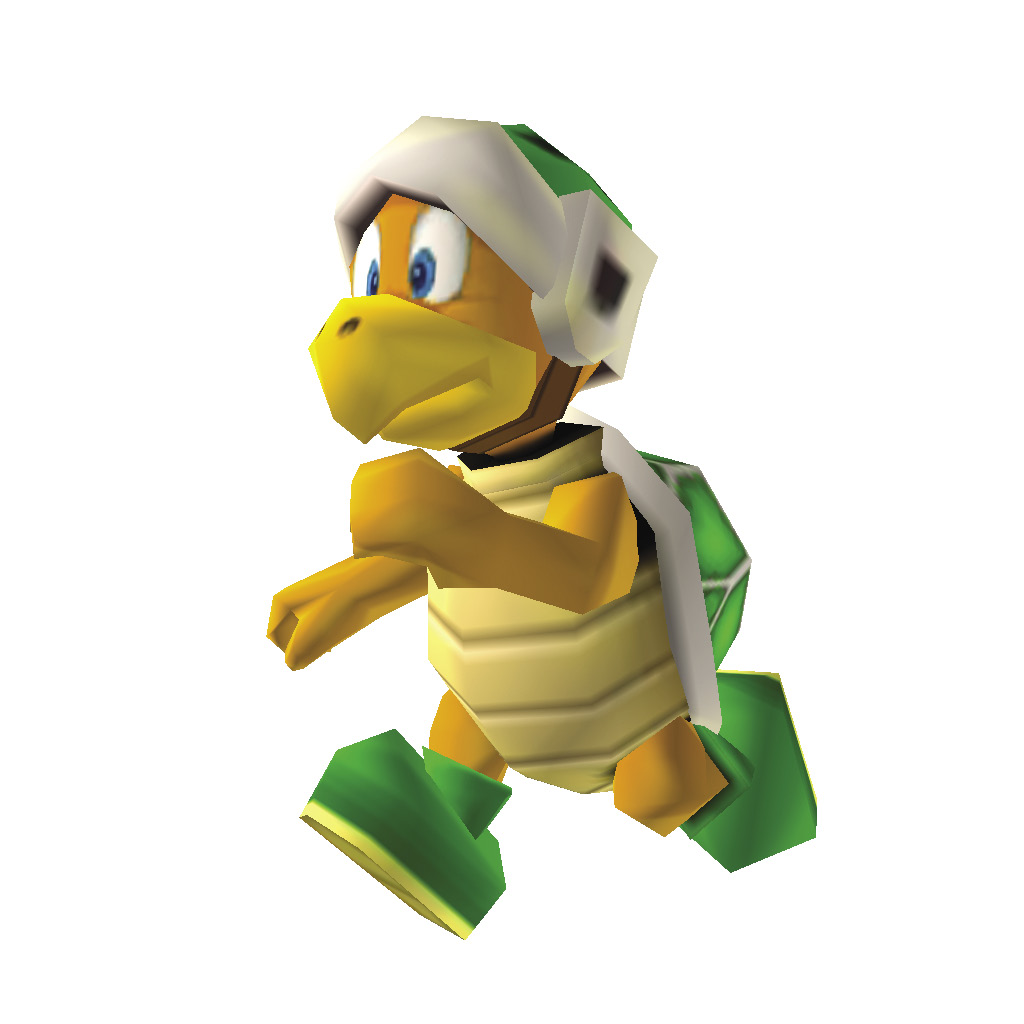
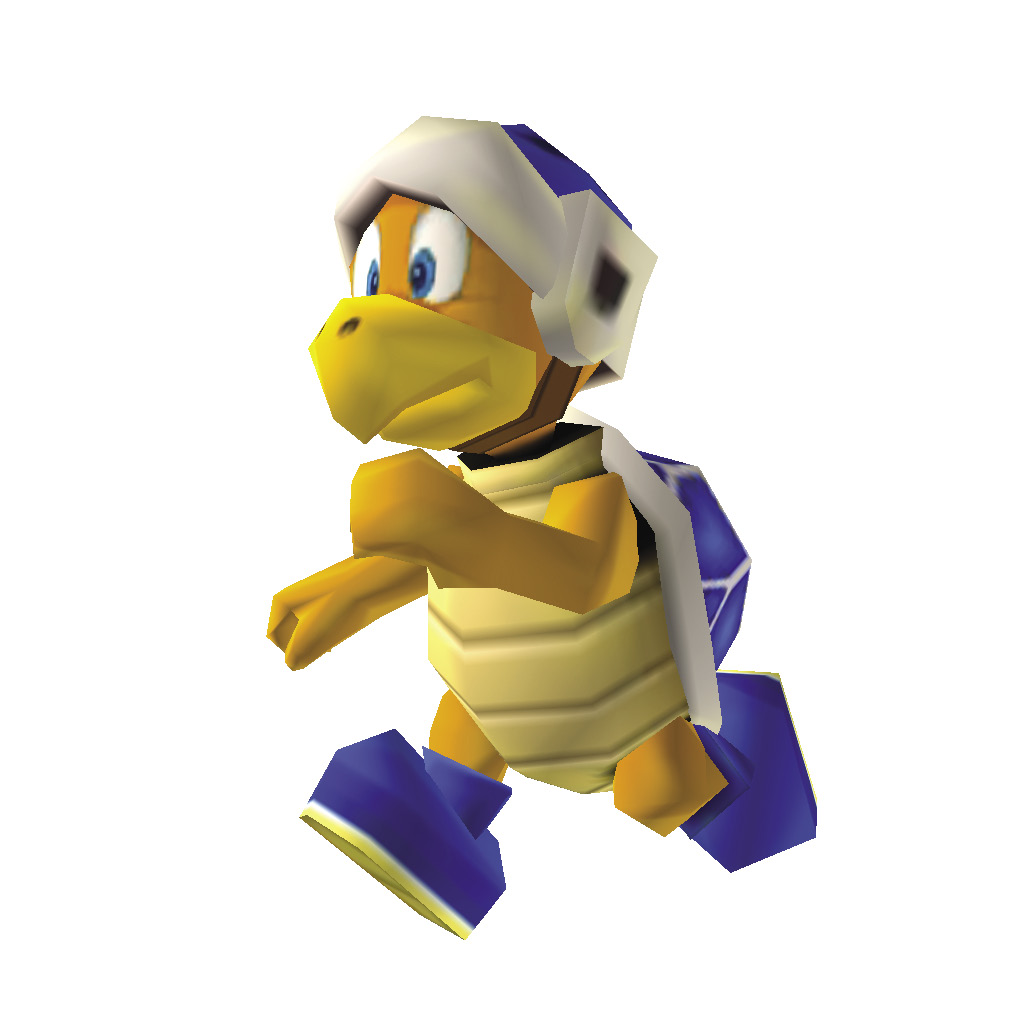
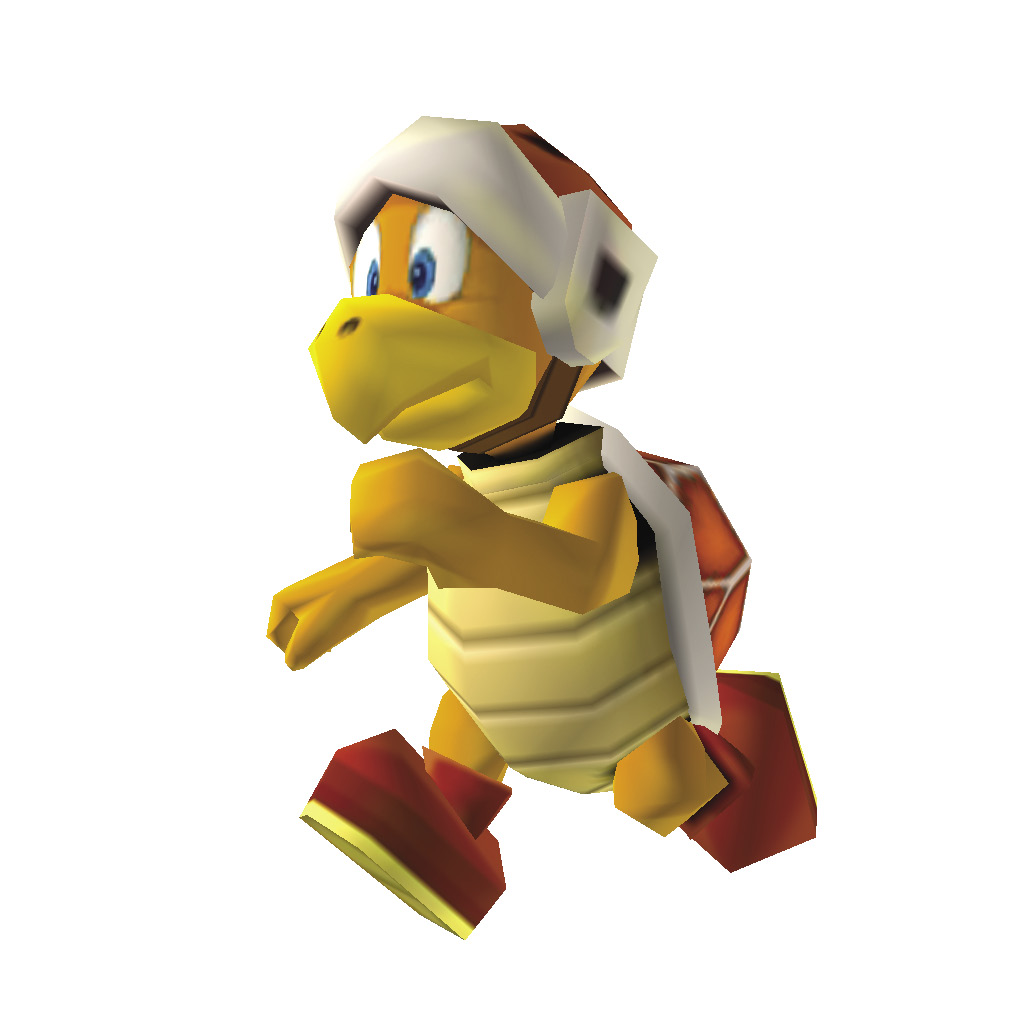
The Bros. are considerably more threatening than their Koopa counterparts. Most Bros. throw projectiles, making it fairly difficult to stomp their heads. It’s usually best to blast these baddies with your own projectiles. If find yourself without a suitable power-up, however, try to slip under them as they jump in the air. If the Bro happens to be standing on a Block, smash the Block to knock the Bro off its perch.
Sumo Bro
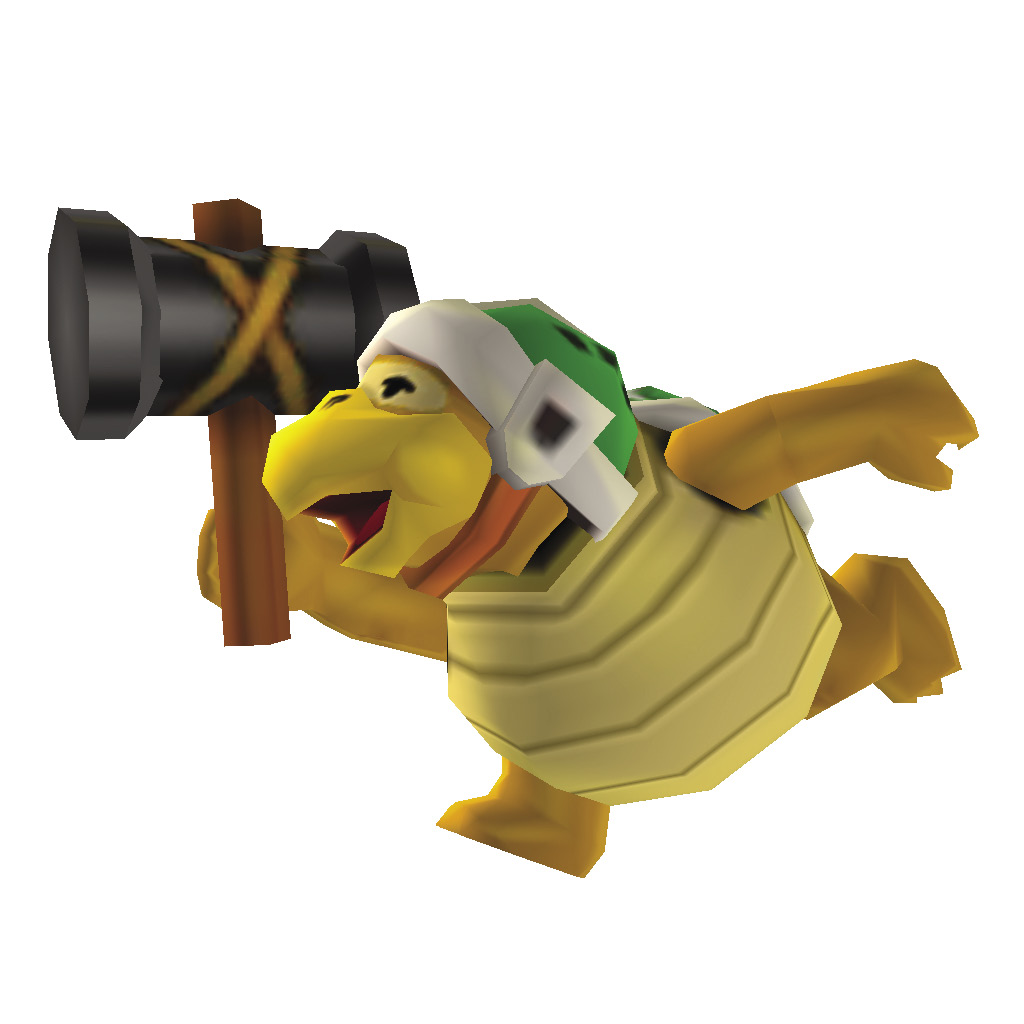
In addition to their projectile attacks, Sumo Bros. like to throw their weight around. Keep your eyes on a Sumo Bro when it jumps into the air—there’s a good chance it will slam down with a powerful ground pound. To avoid getting stunned, jump into the air just before the Sumo Bro lands.
Piranha Plant
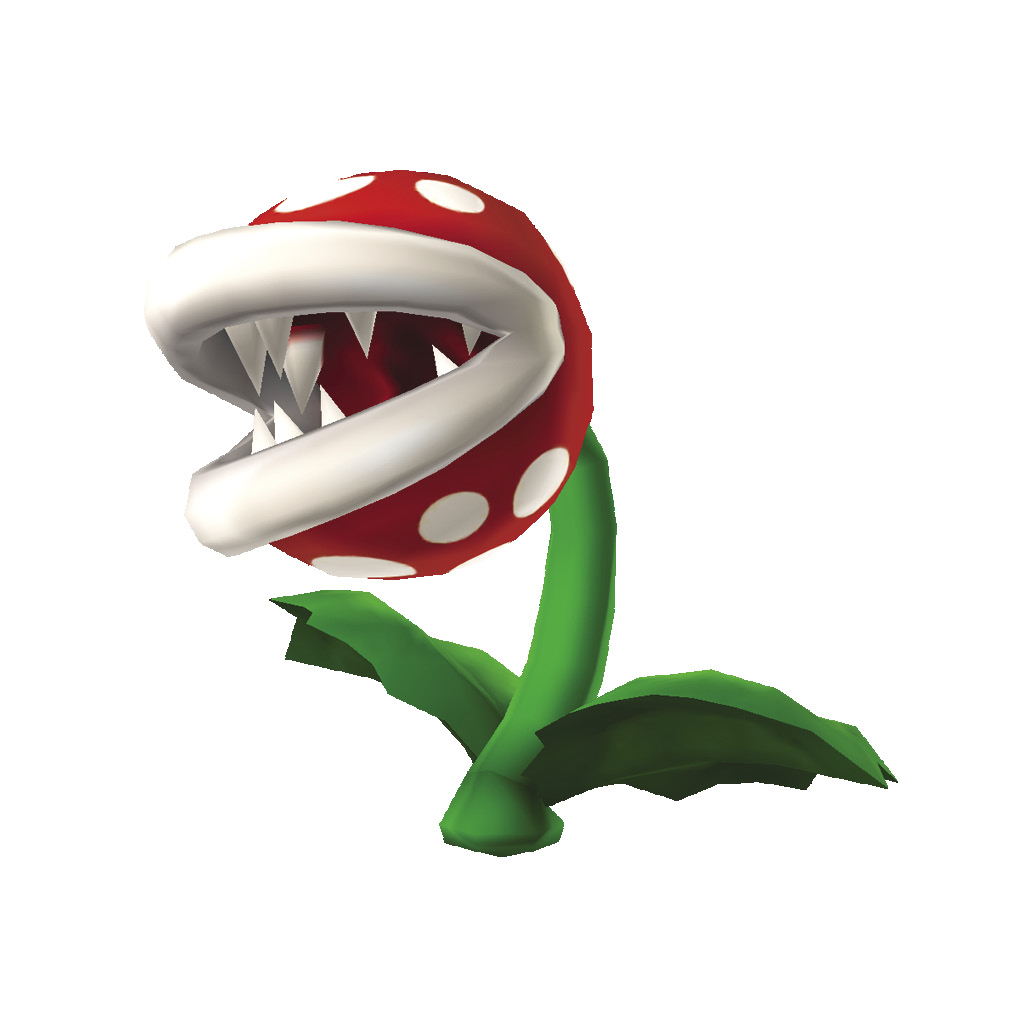
Don’t try to stomp these pipe-dwelling plants! Use a tail whip or fireball to knock a Piranha Plant out of its pipe—or simply wait for the creature to pull back into its pipe before you approach.
Big Piranha Plant
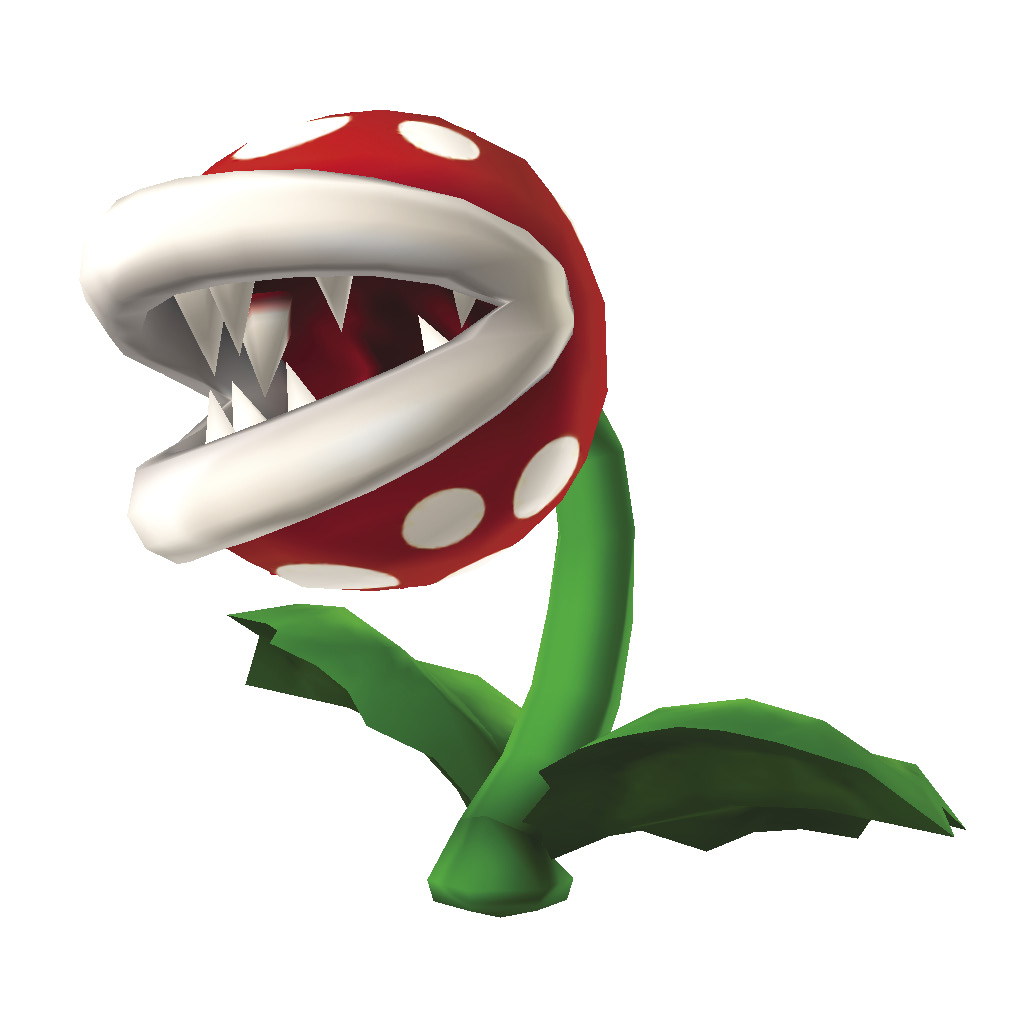
Big Piranha plants behave similarly to the smaller variety, but they’re not nearly as easy to slip past. If you don’t have a power-up capable of destroying one, look for a nearby Koopa. Even a Big Piranha Plant can’t stand up against a thrown shell.
Venus Fire Trap
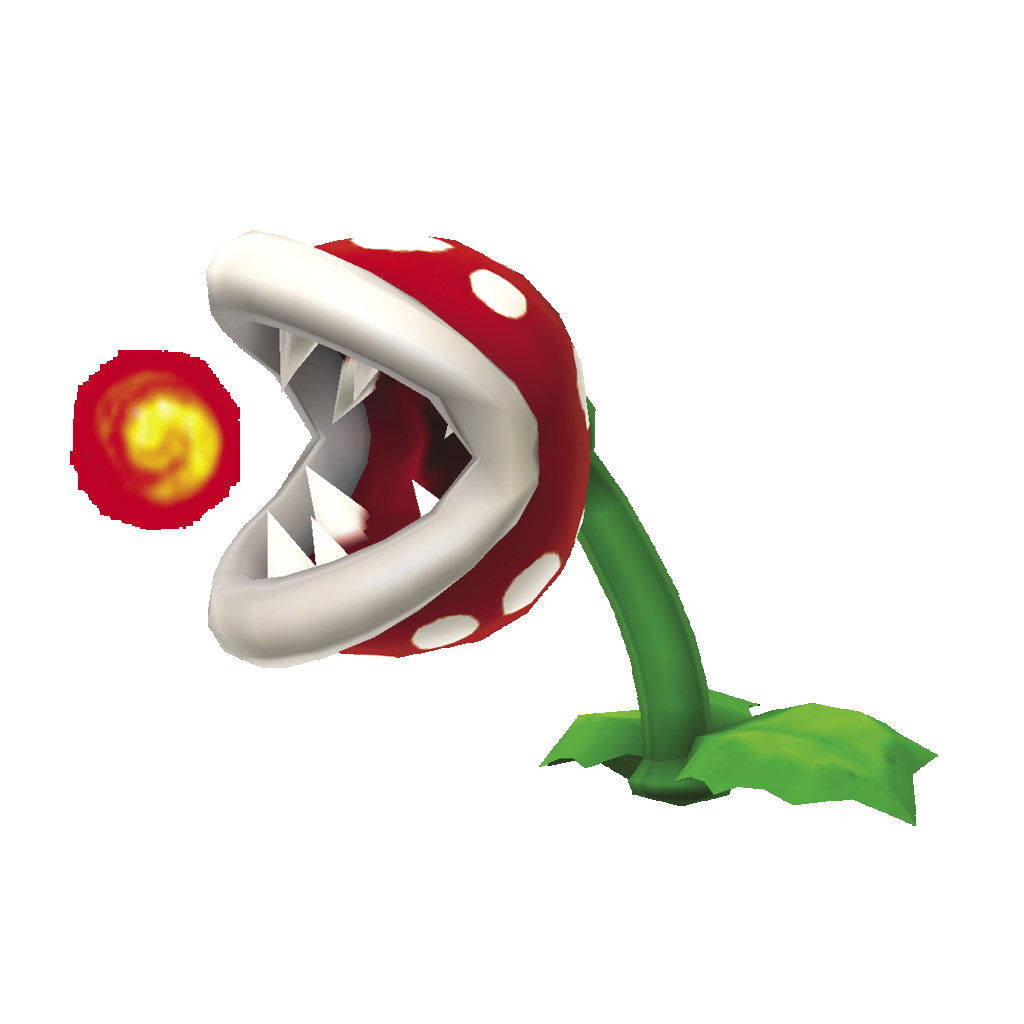
These aggressive enemies spit fireballs at you, and the fact that they tend to reside in pipes means they usually have the high ground! Your best bet is to dodge incoming fireballs as you close in on their position, then surprise them with a fireball of your own.
Big Venus Fire Trap
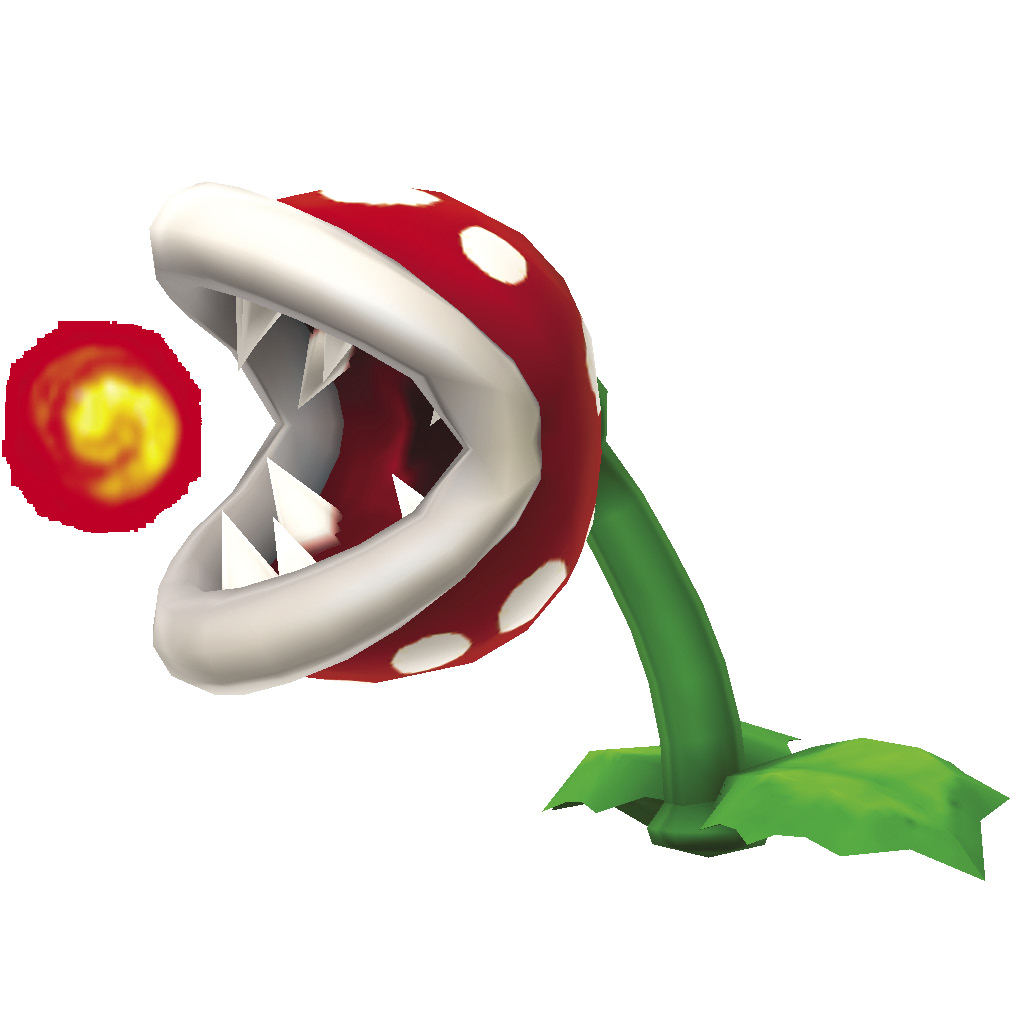
Once you’ve faced the smaller variety, you know what to expect from a Big Venus Fire Trap. To clear one from your path, shoot it with a few fireballs or toss a shell at it.
Bone Piranha Plant
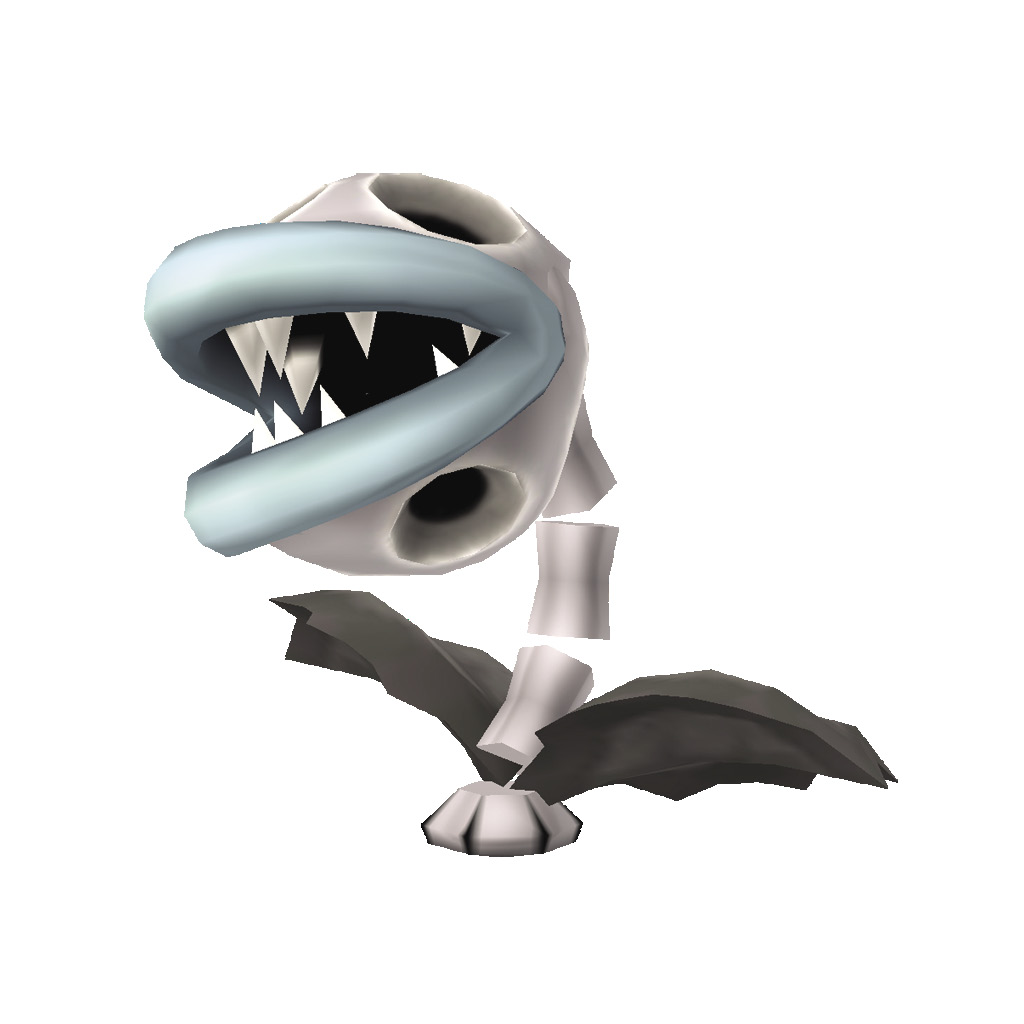
Bone Piranha Plants are immune to fireballs, but tail whips and thrown shells will clear them out in no time.
Big Bone Piranha Plant
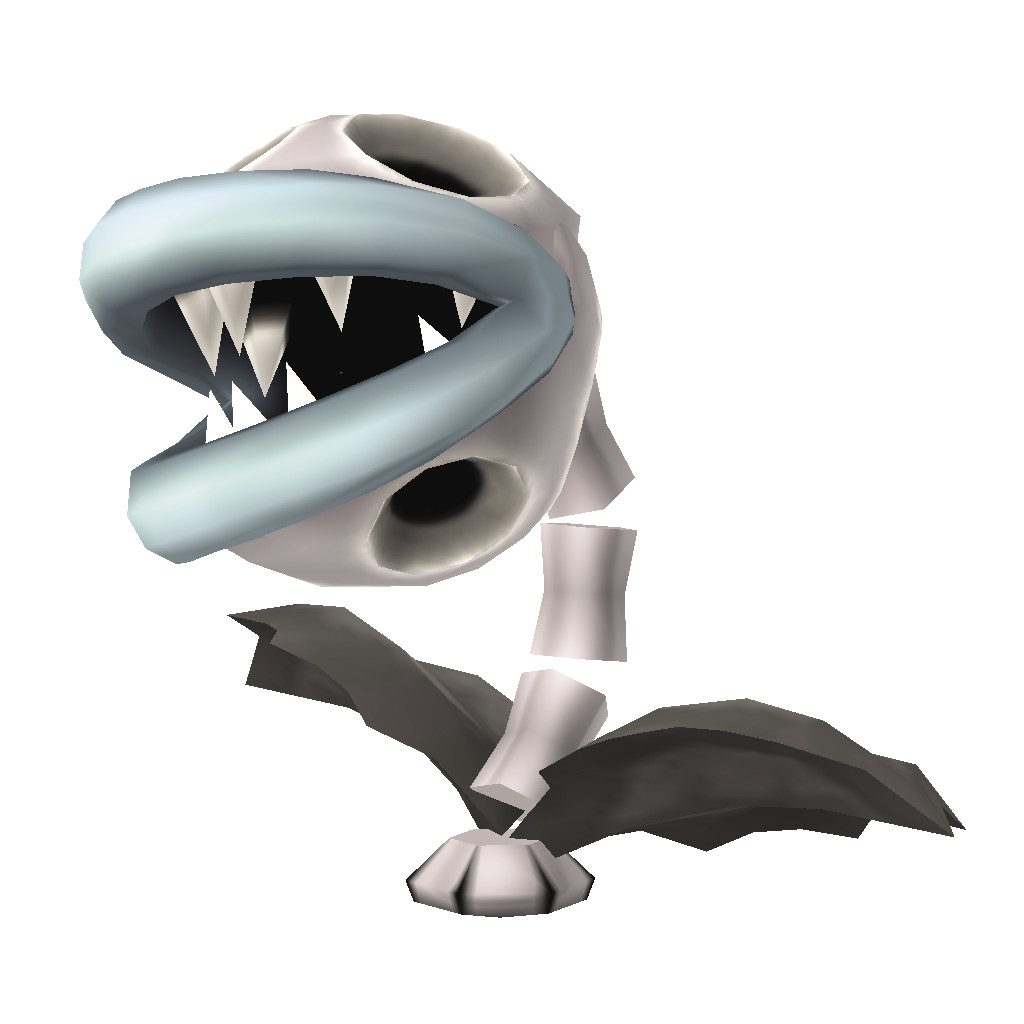
It can be difficult to gauge the range of a Big Bone Piranha Plant. Whenever possible, use a thrown shell to take them out from a distance.
Cheep Cheep
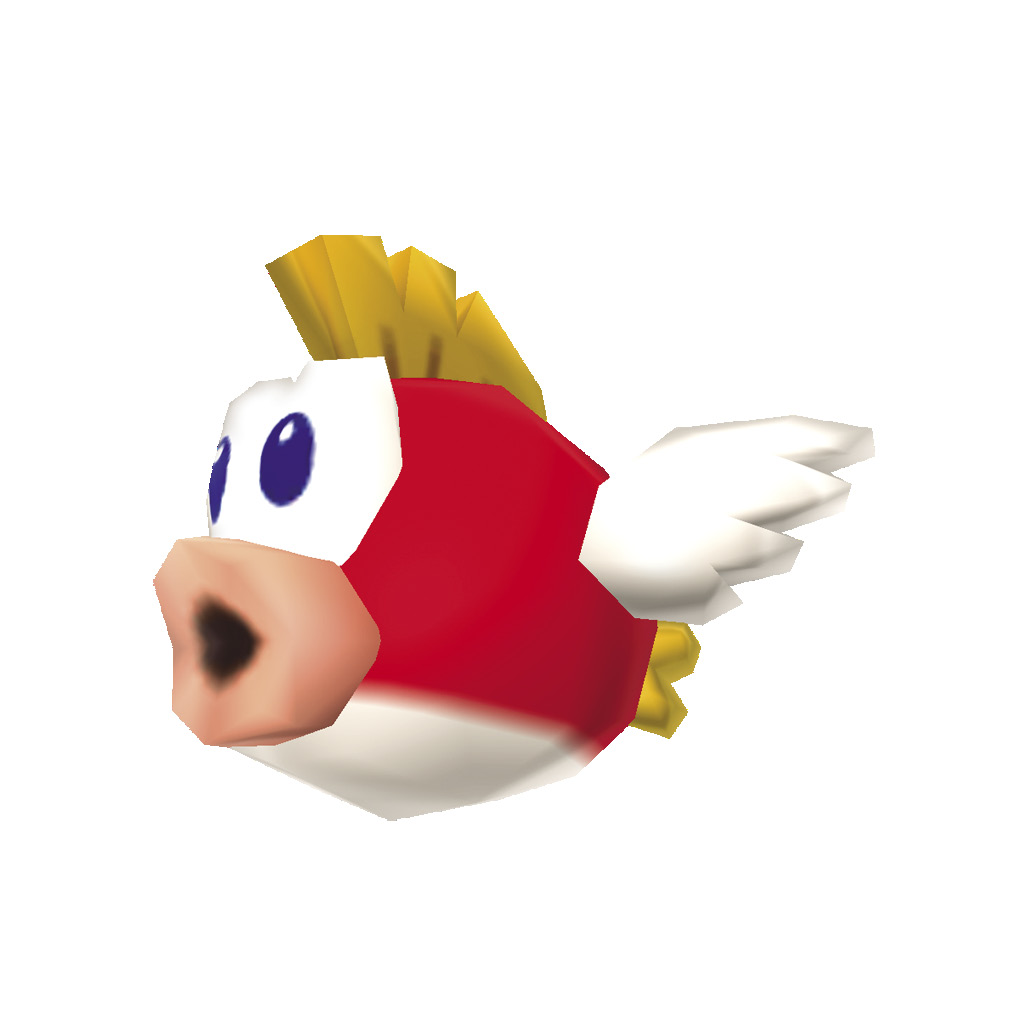
While underwater, Cheep Cheeps are slow moving and fairly passive. Clear them out with fireballs, or simply avoid swimming into them. When Cheep Cheeps breach the water’s surface, however, it can be difficult to predict when and where they’ll emerge. In these cases, stick to higher ground and stomp them as they leap up at you.
Big Cheep Cheep
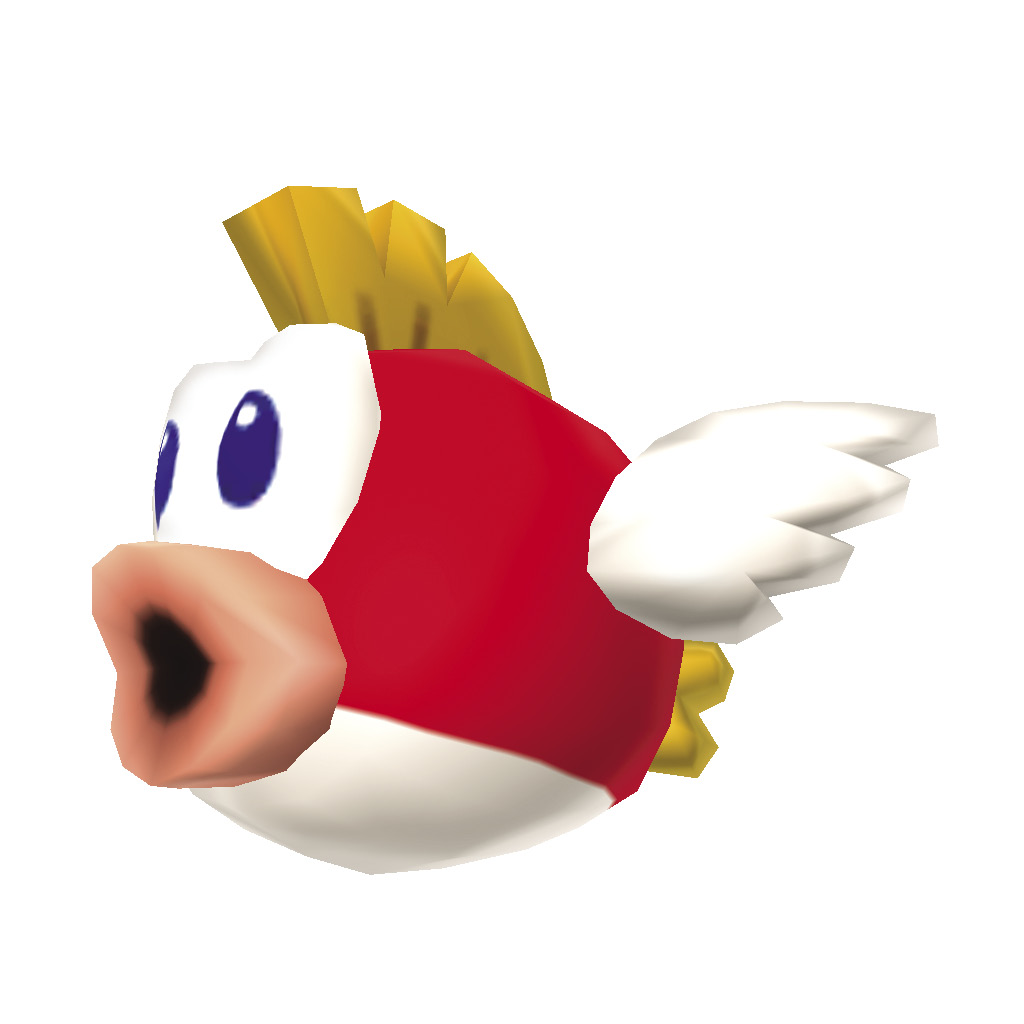
These oversized fish are like normal Cheep Cheeps—just bigger! Leave a little more space to get by them due to their size.
Deep Cheep
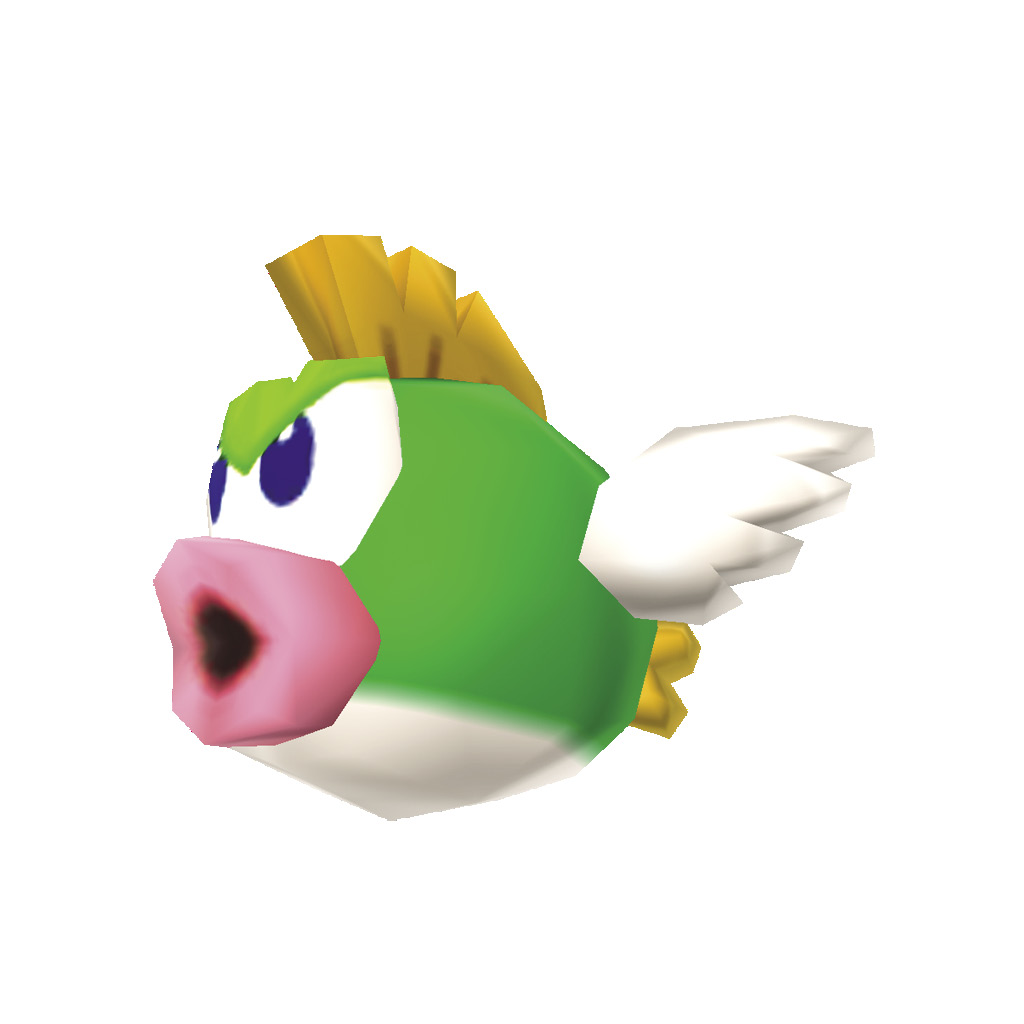
While a Deep Cheep may look similar to a Cheep Cheep, it actually has quite the temper and will swim after you. Use a fireball or tail whip to take care of this enemy, or swim away as fast as possible!
Big Deep Cheep
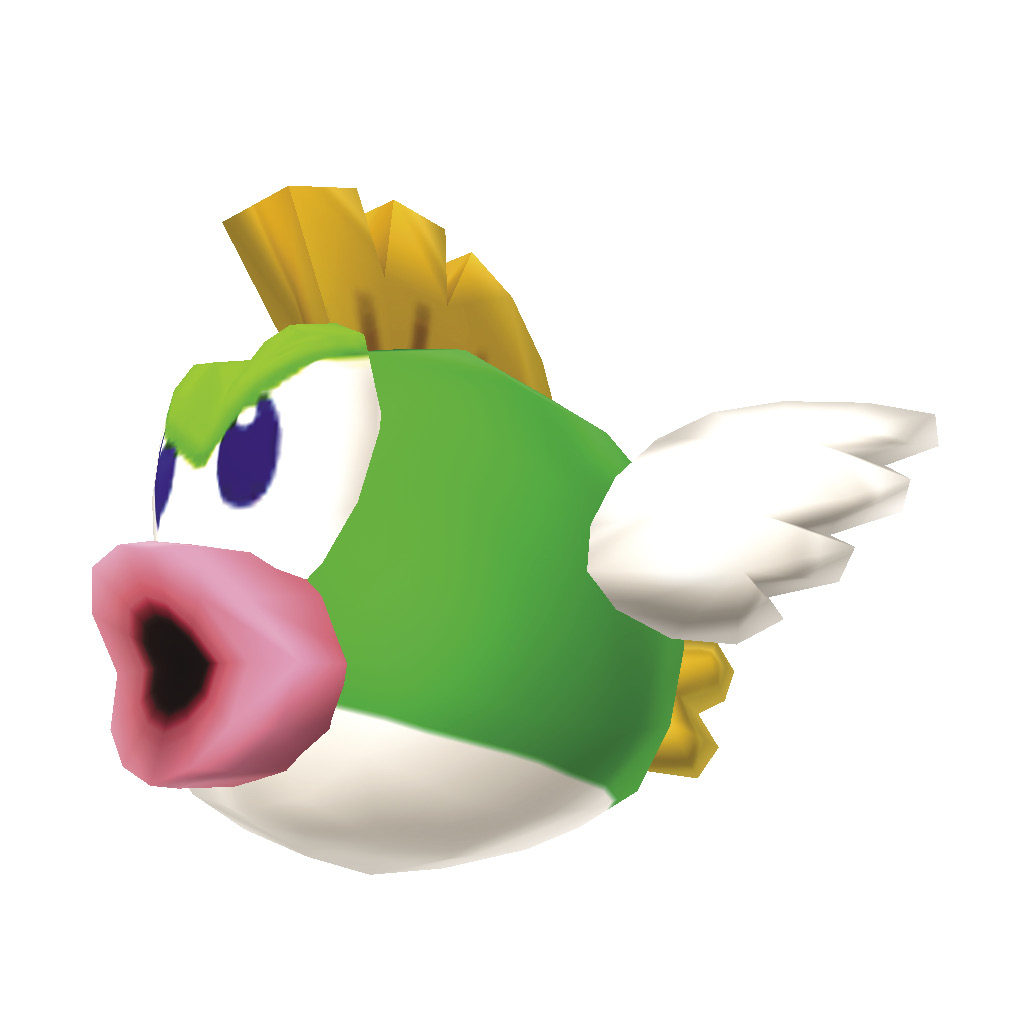
This nasty character behaves like normal Deep Cheep, but its larger size makes it much harder to dodge. Defeat them with a fireball, or avoid them all together.
Cheep Chomp
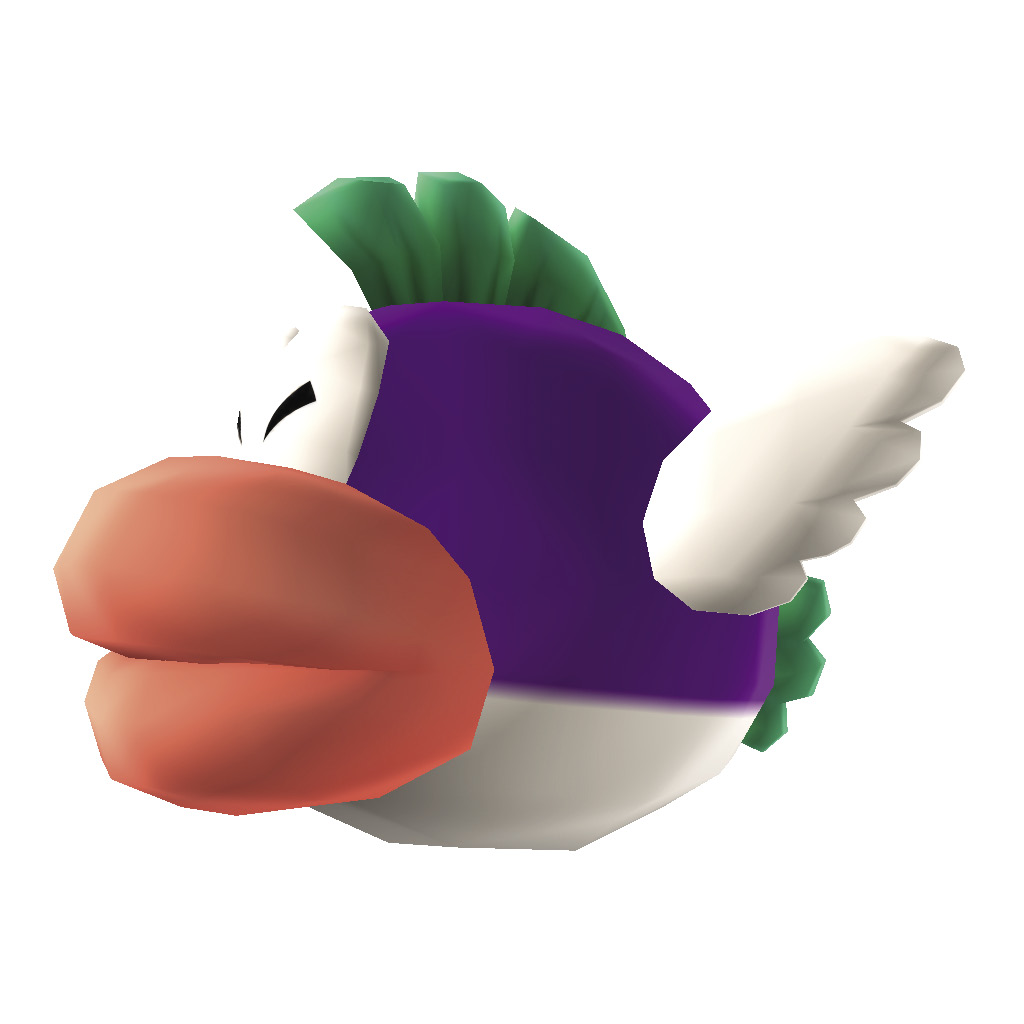
Keep away from this enemy. If you get too close it will swallow you whole and you’ll be defeated. Whenever possible, use a Fire Flower to take him out as he approaches.
Spiny Cheep Cheep
Like the Deep Cheep, this enemy will chase you around. The spikes on its back make it even more deadly, making it risky to try to use a tail whip against it. Swim away from this enemy or take it out with a fireball.
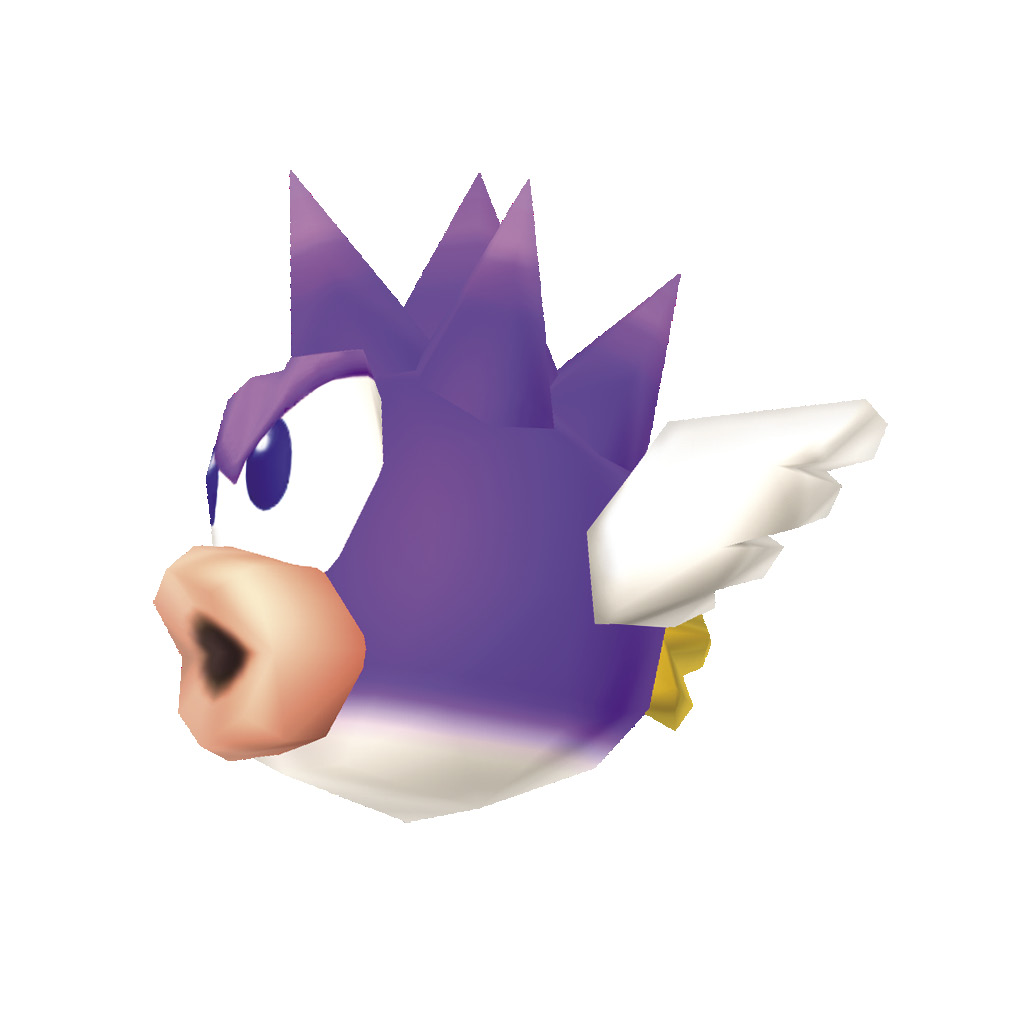
Porcupuffer
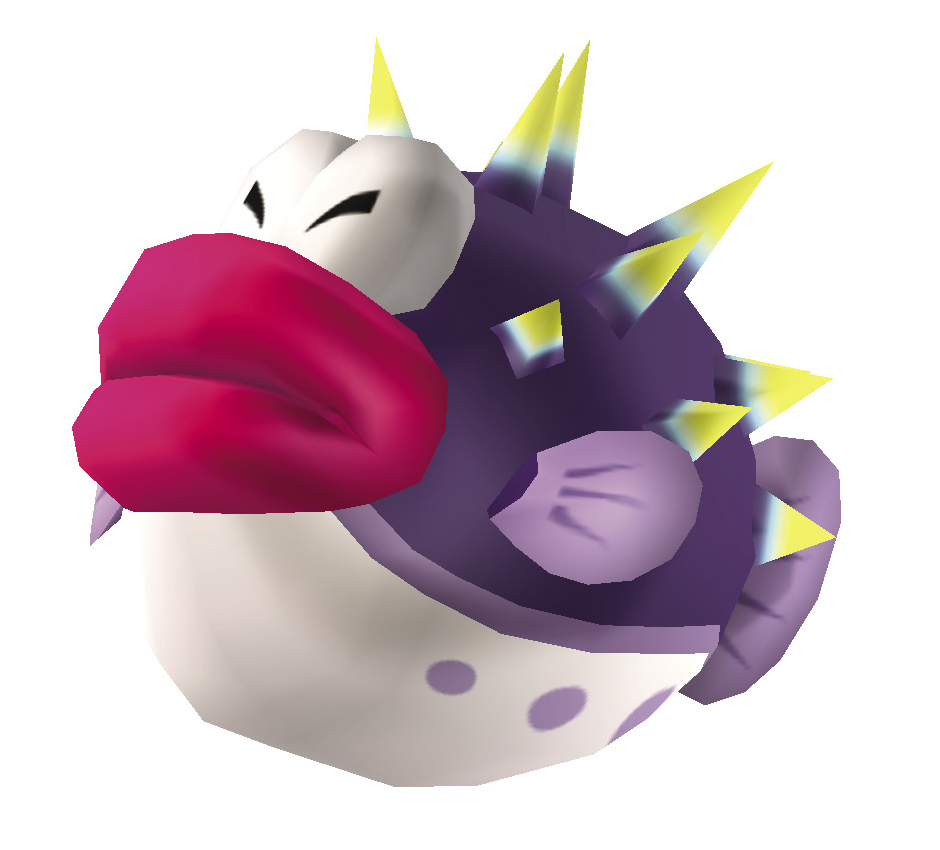
The Porcupuffer is one persistent enemy! These large fish swim along the water’s surface, snapping at you each time they pass by. You can defeat this enemy with a well-timed fireball, but it won’t be long before a new Porcupuffer takes its place.
Fishbones
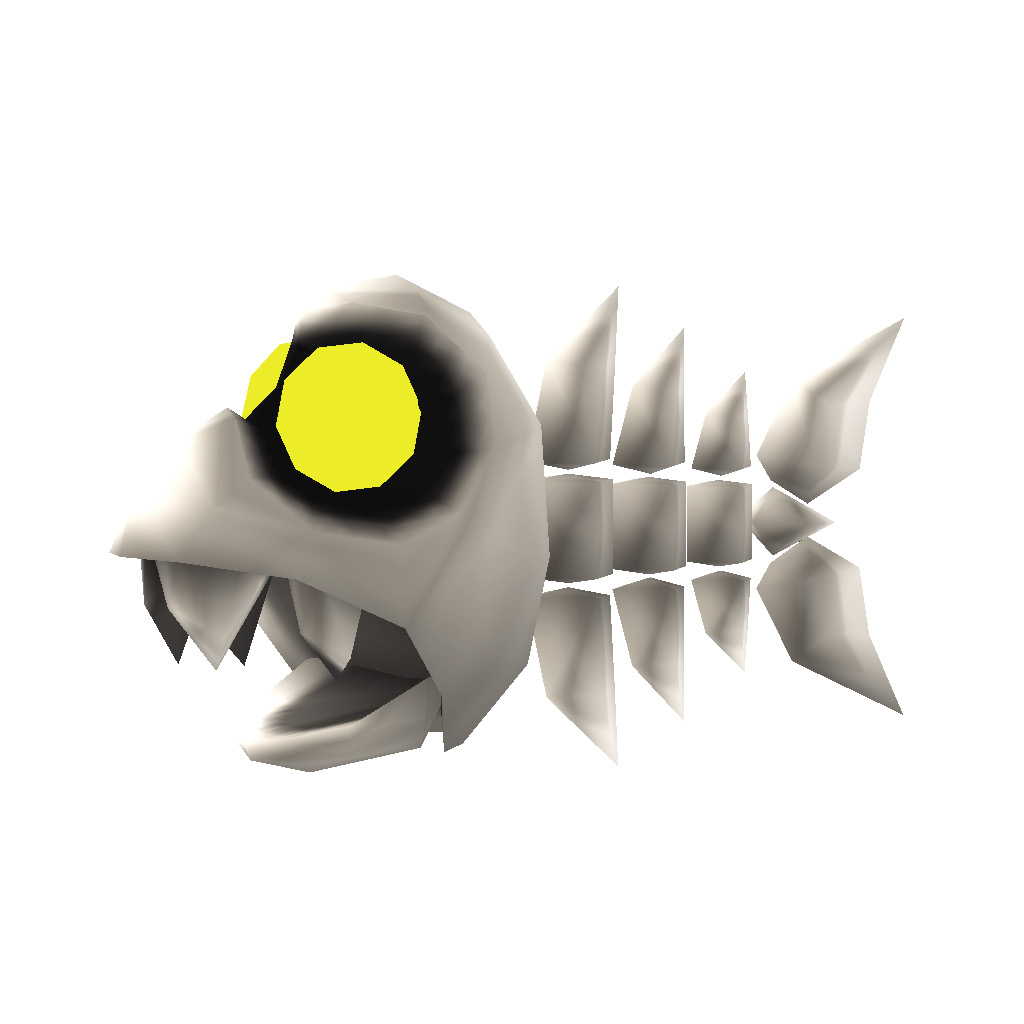
When a Fishbones spots you, it becomes enraged and charges you. It’s often best to turn its temper to your advantage! Wait near a wall until the Fishbones charges you, then dart out of its path just before it reaches you. You can even coax two different Fishbones to crash into each other.
Urchin
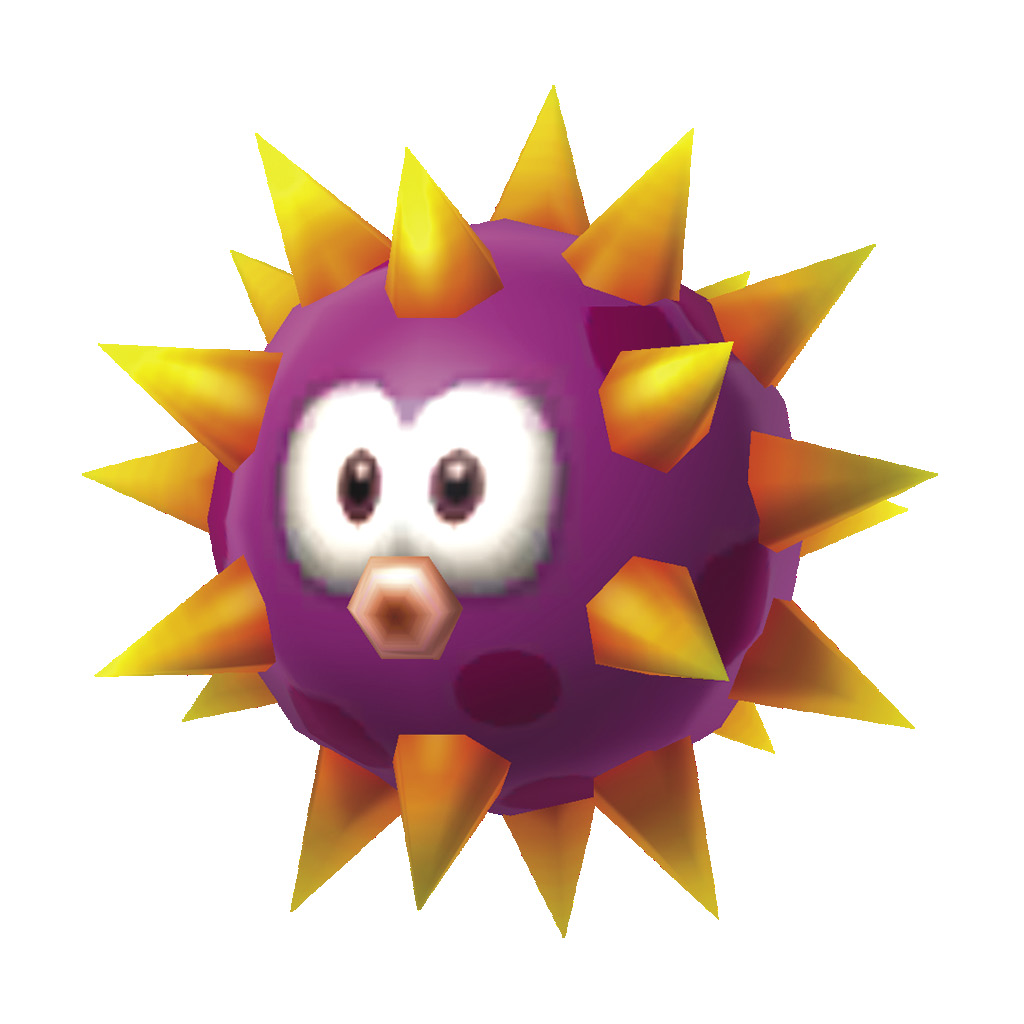
This enemy usually just stays in the same place, bobbing up and down. Don’t get too close to them though! Their spines will hurt you. Just swim by them carefully.
Small Urchin
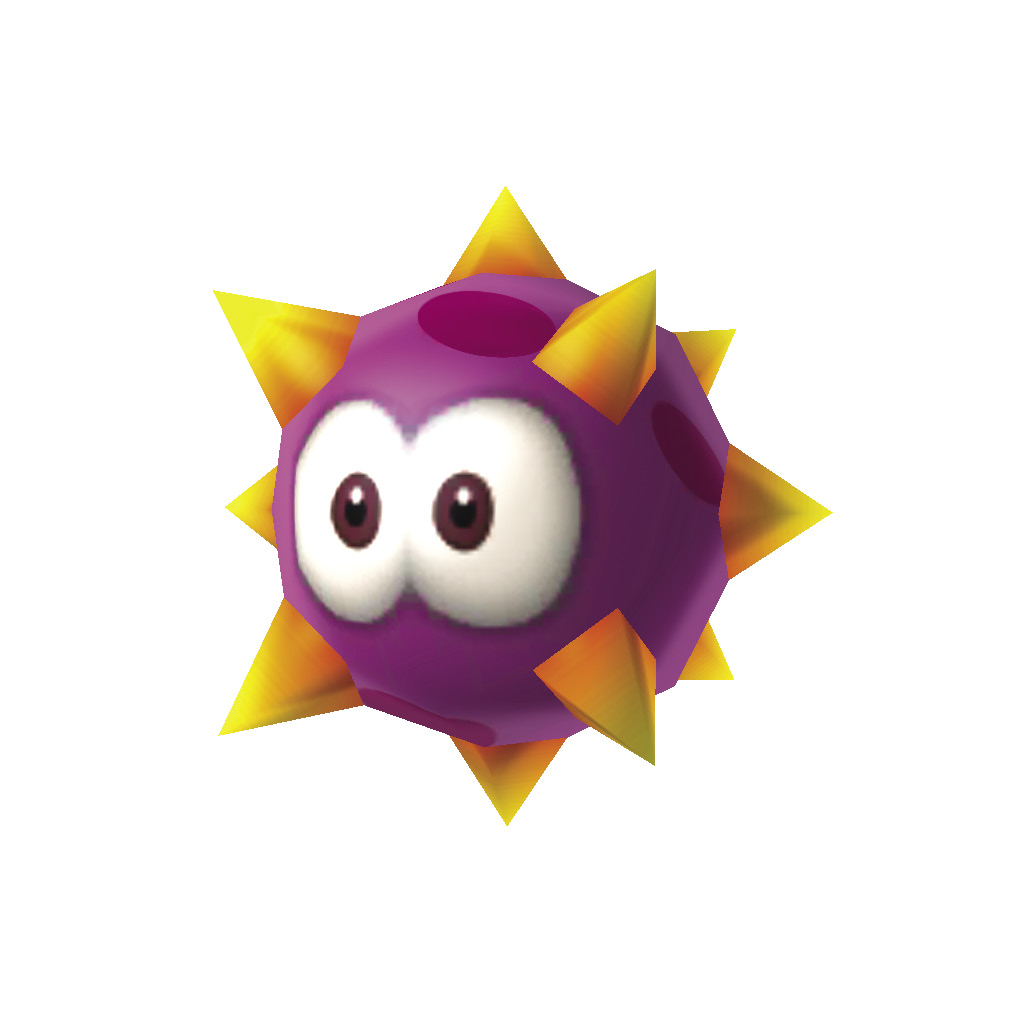
These little guys are just like their bigger cousins, but tend to appear in clusters. Swim around them and make sure not to get too close—those spines hurt!
Blooper
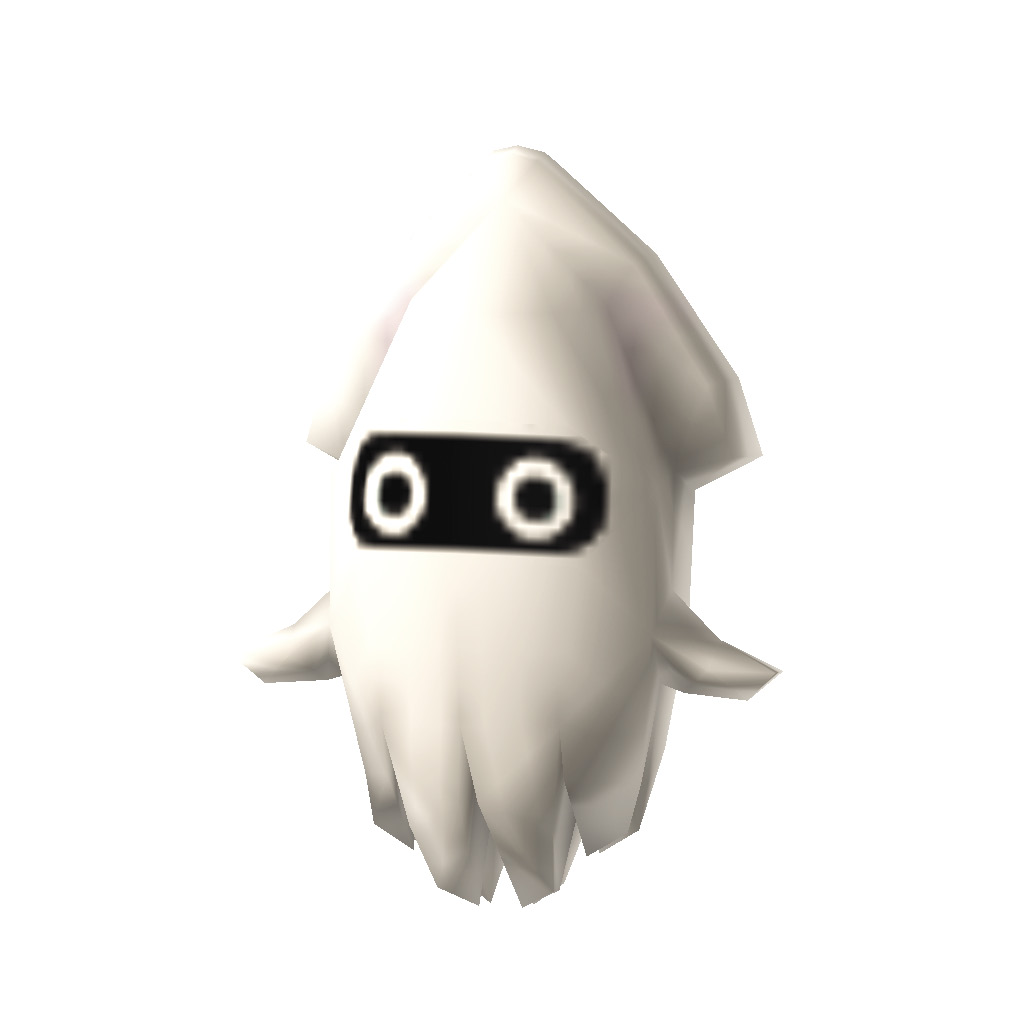
From a distance, Bloopers seem to be fairly passive. You’ll often spot these underwater creatures peeking out of pipes or floating aimlessly around the area. When you’re within range, however, a Blooper lunges toward you with a surprising burst of speed. These troublesome enemies swim around erratically, making it hard to avoid them in tight spaces. Keep your distance, or use a power-up to take them out.
Blooper Nanny
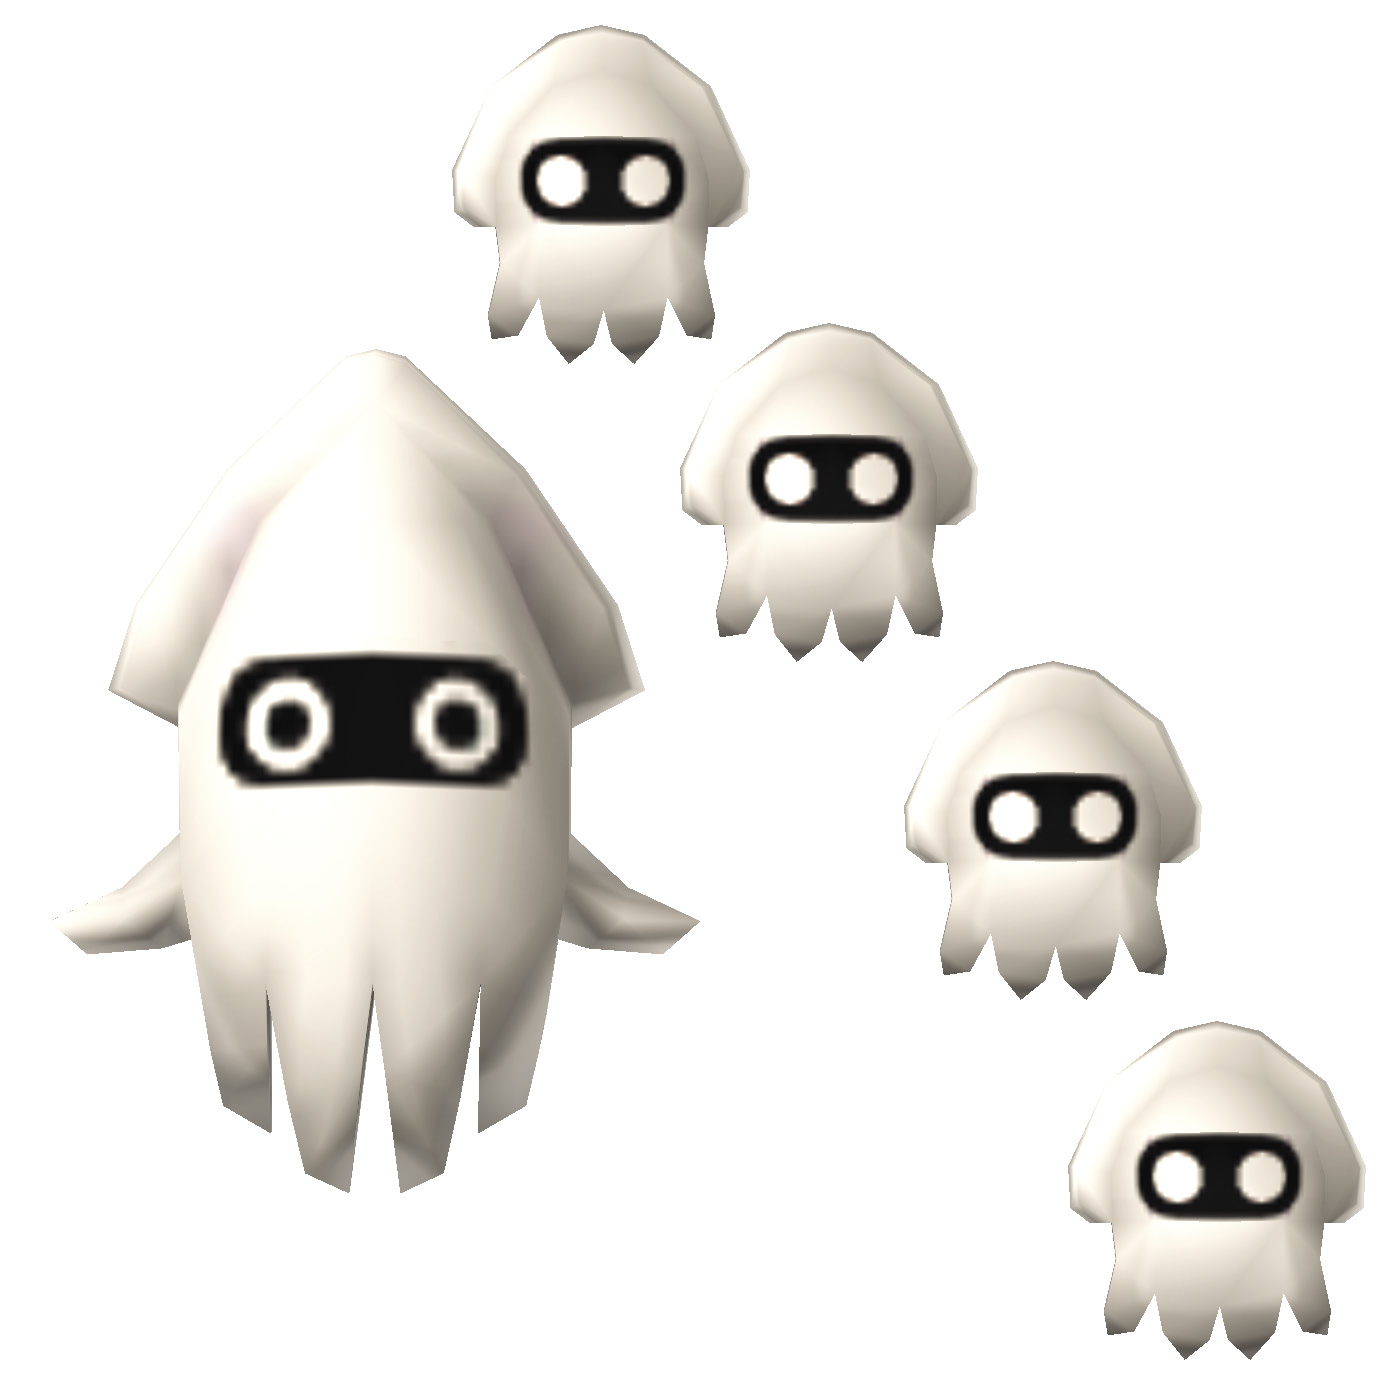
These Bloopers act similar to a normal Blooper, but have a small group of tiny Bloopers following them. The tiny Bloopers will latch on to you, slowing you down and making it difficult to get away. Take out the Blooper Nanny with a fireball or a tail whip, and the tiny Bloopers will go down with it.
Dry Bones
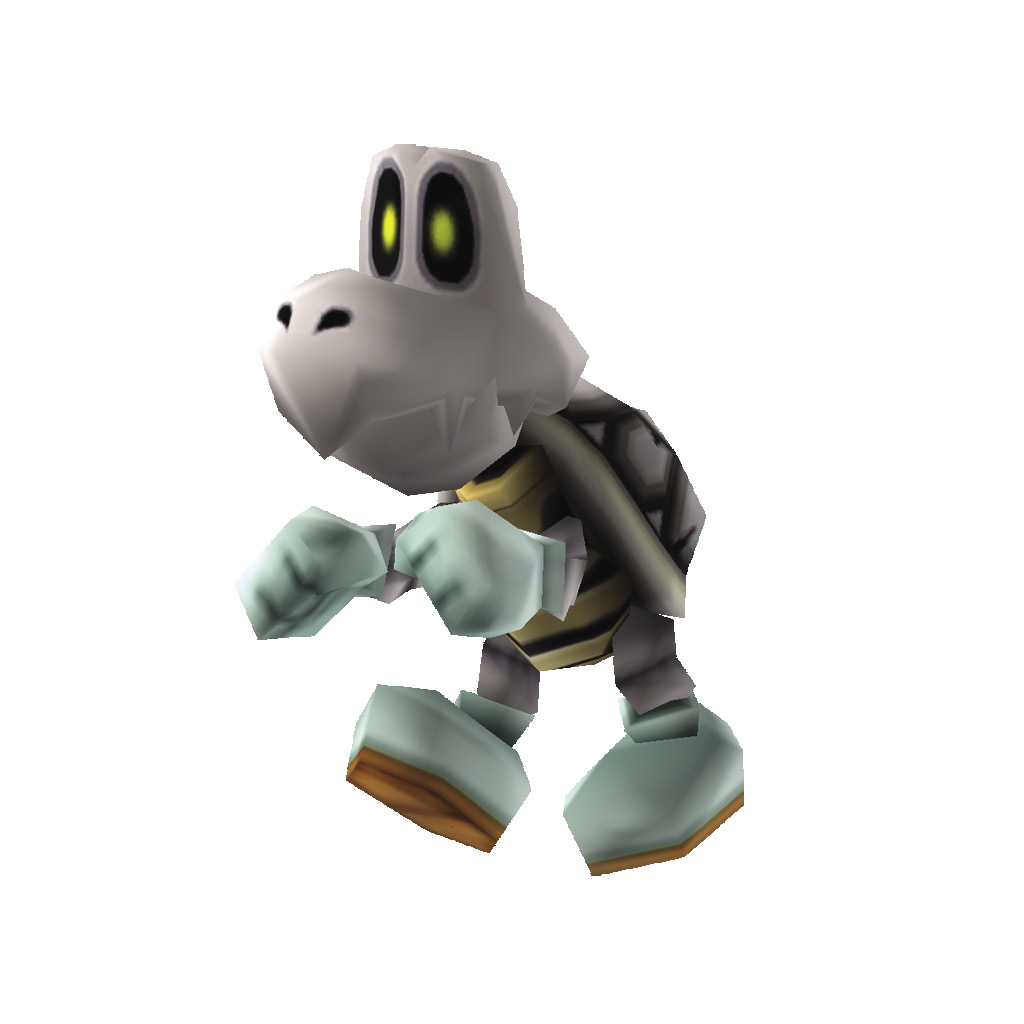
You can jump on a Dry Bones to make it crumble into a pile of bones, but this resilient enemy will reassemble itself in a matter of seconds. Make sure to jump on one if it is in your way, then move along before it gets back up!
Big Dry Bones
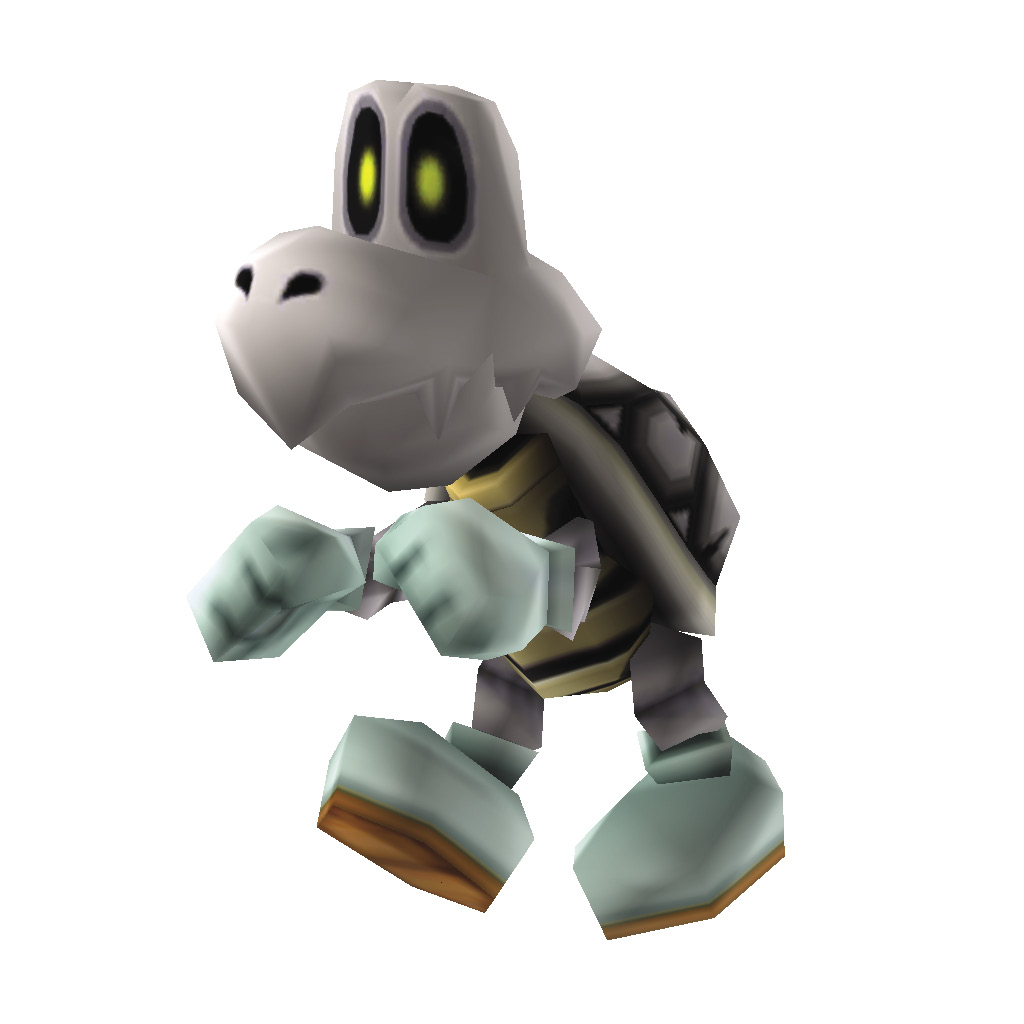
Big Dry Bones are formidable foes! When you stomp one, the impact does little more than rattle its teeth. Since they’re able to endure unlimited stomps, Big Dry Bones can sometimes be used to reach hidden objects. However, unless you have cause to linger, it’s usually best to hurry past these enemies. They can be knocked down to a pile of bones by a ground pound.
Boo
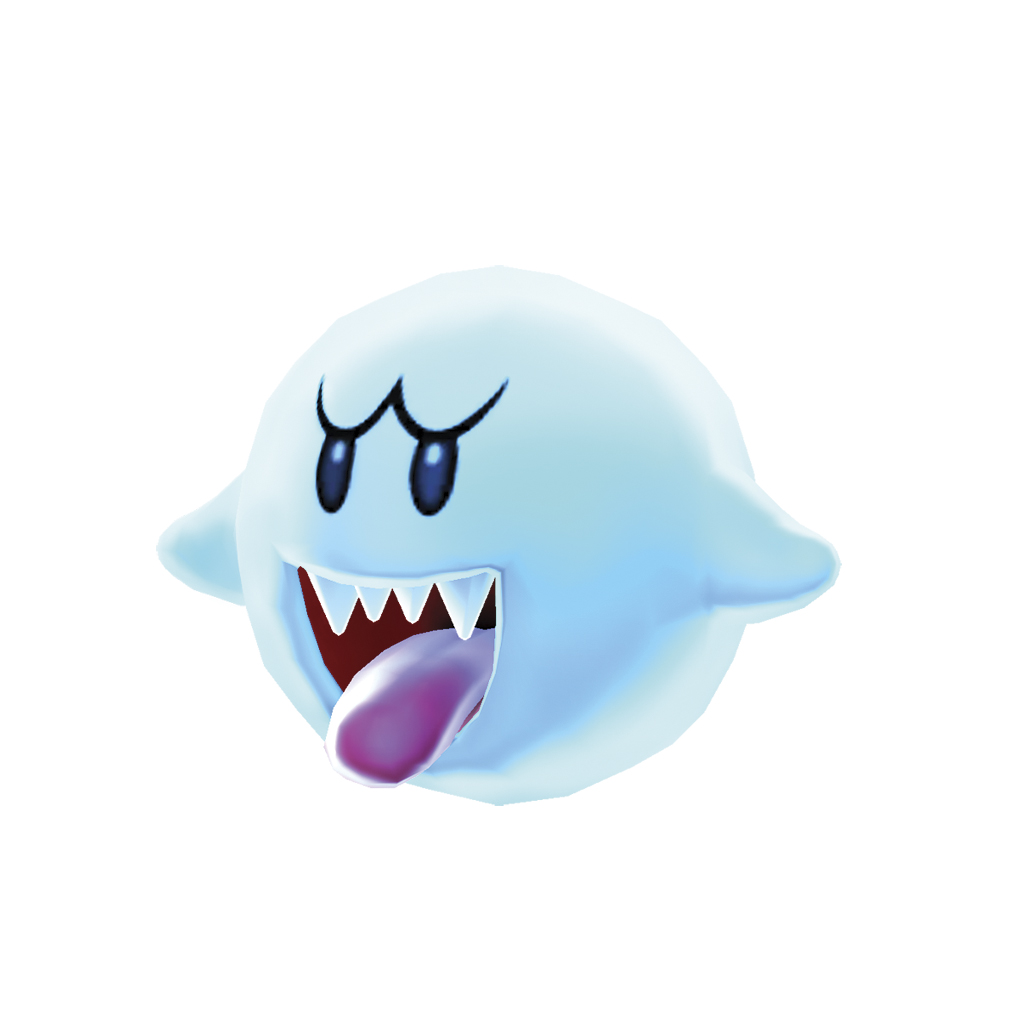
Boos are very sneaky, trying to catch up to you once your back is turned. To stop them from approaching you, simply turn towards them. They’ll cover their eyes and stay there until you turn your back to them again. You can clear them out if you happen to have a Super Star or Gold Flower, but it’s generally best to move along.
Big Boo
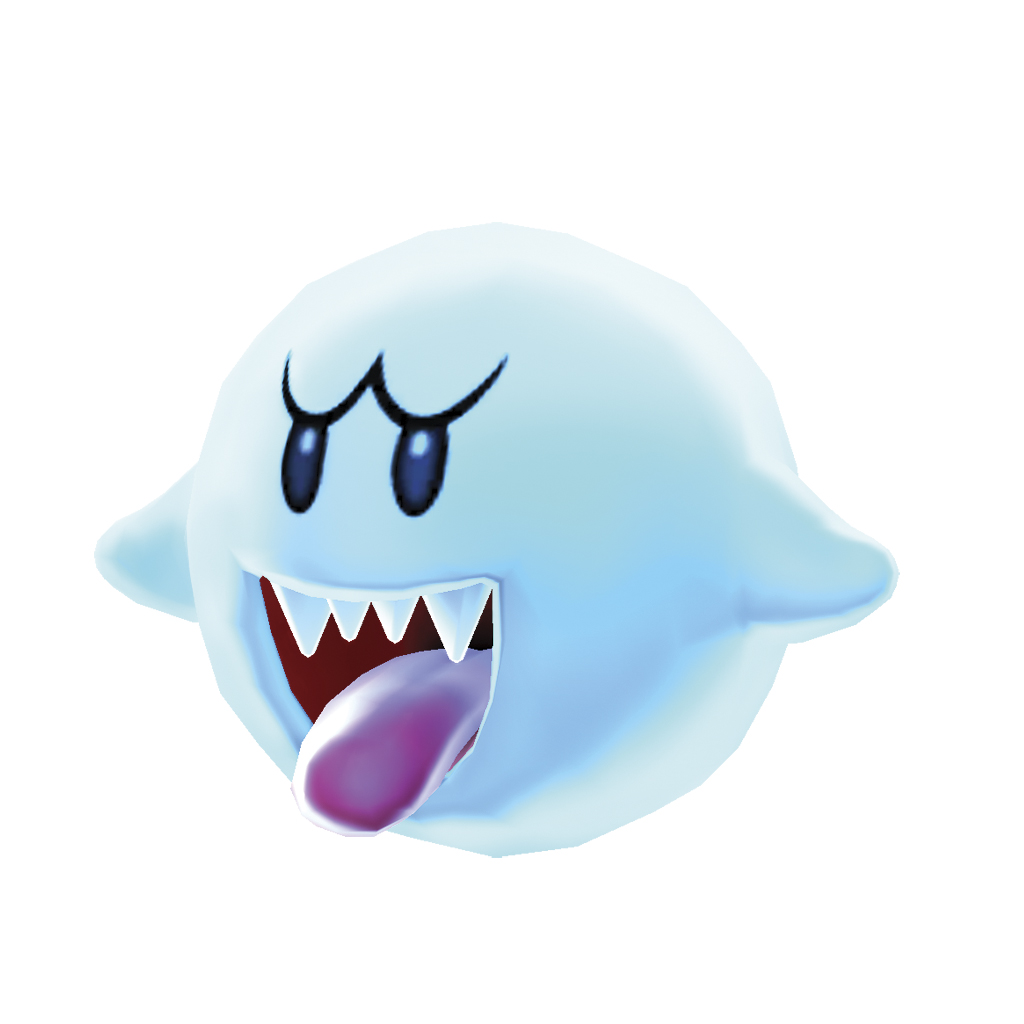
Big Boos act exactly the same as Boos, but being that they are so much bigger they are very hard to avoid! Your best bet is to just run away and face them when you need to stop moving.
Boohemoth

At first glance, the Boohemoth seems to behave much like a Boo, but this massive enemy is much braver. When you turn to face a Boohemoth, it covers its eyes. After a moment, however, it shuffles toward you.
Peepa

Peepa aren’t particularly aggressive, but they can certainly be a nuisance. You’ll often see these grinning ghosts carrying platforms or spinning in circles. Unless you have a Super Star or a Gold Flower, it’s best to consider Peepa as moving obstacles.
Bullet Bill
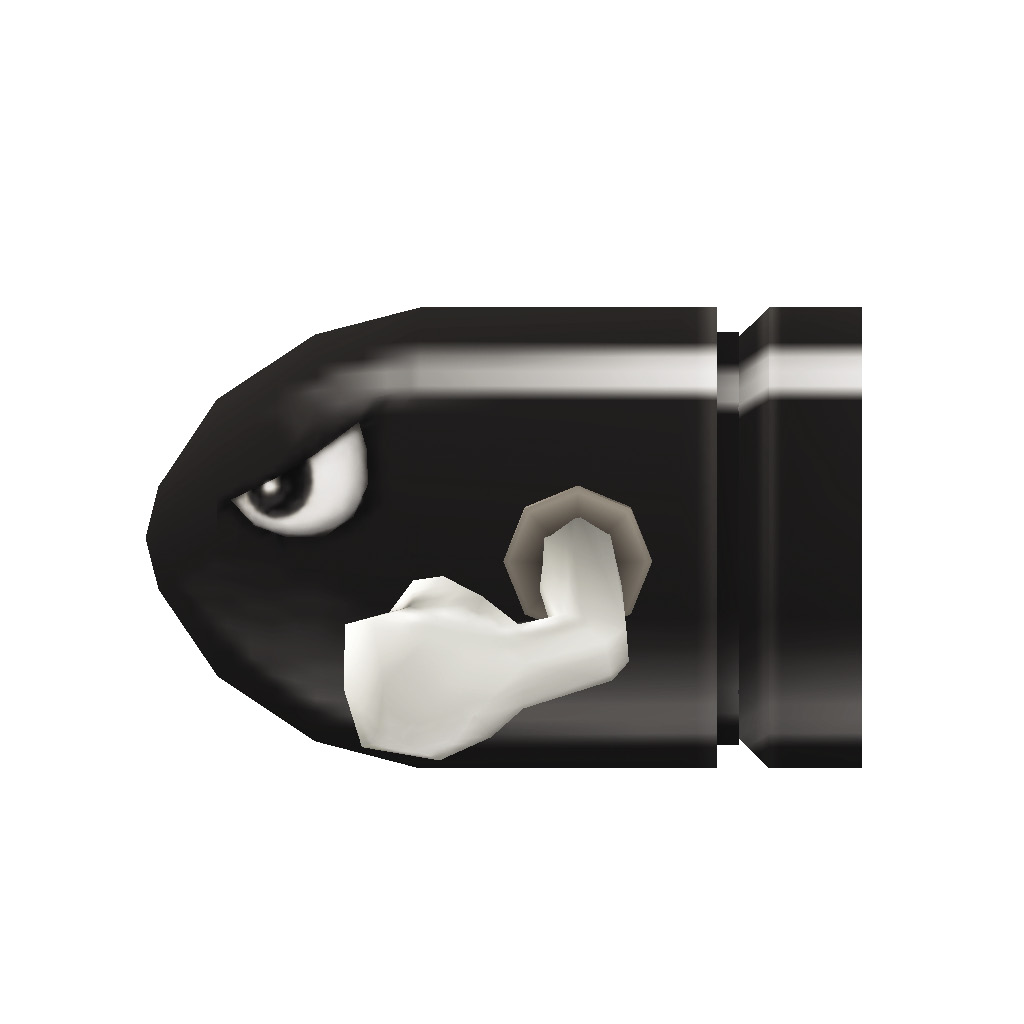
These enemies fly in a straight line across the area. Avoid them completely, or jump on top of them to take them out.
Banzai Bill
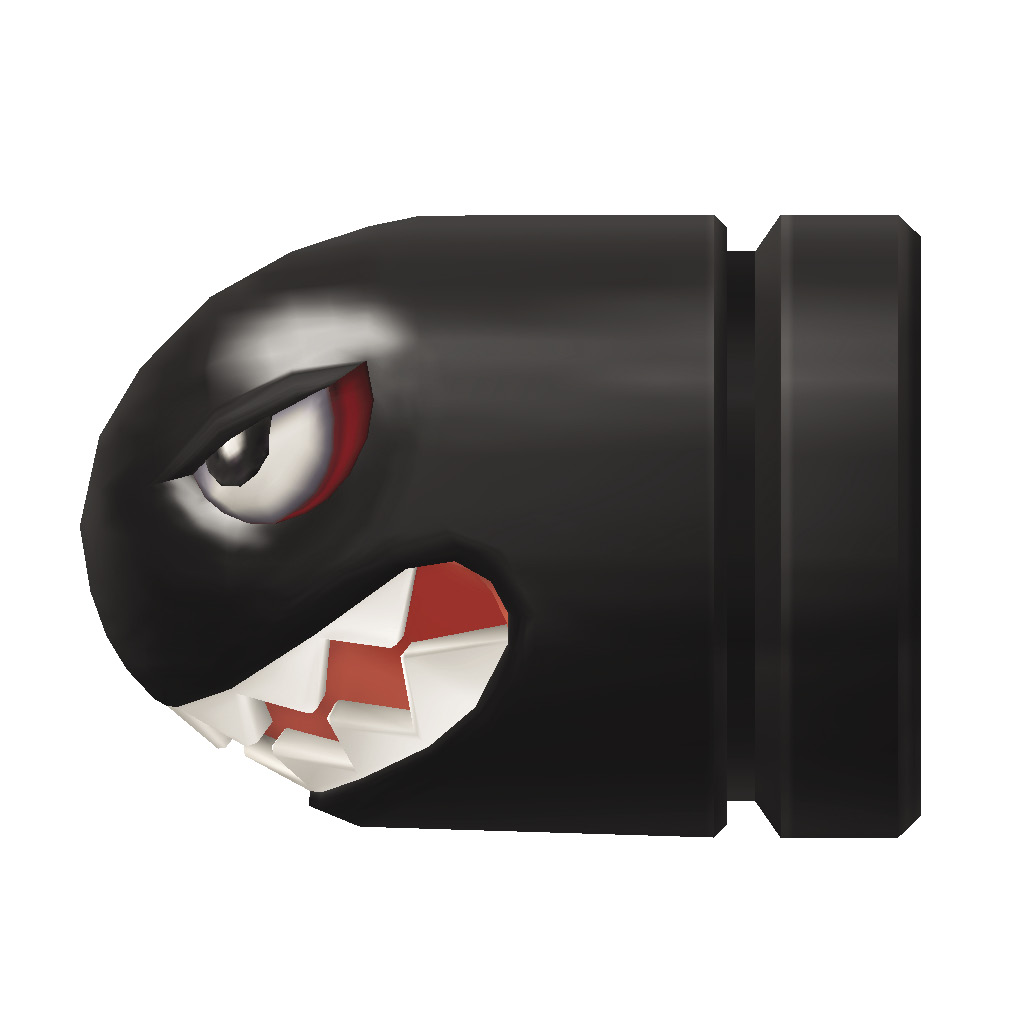
Banzai Bills are fairly similar to Bullet Bills, but their increased size makes them much more difficult to dodge. Banzai Bills are powerful enough to destroy any Blocks in their path, but a single stomp will knock them out of the sky.
Bob-omb
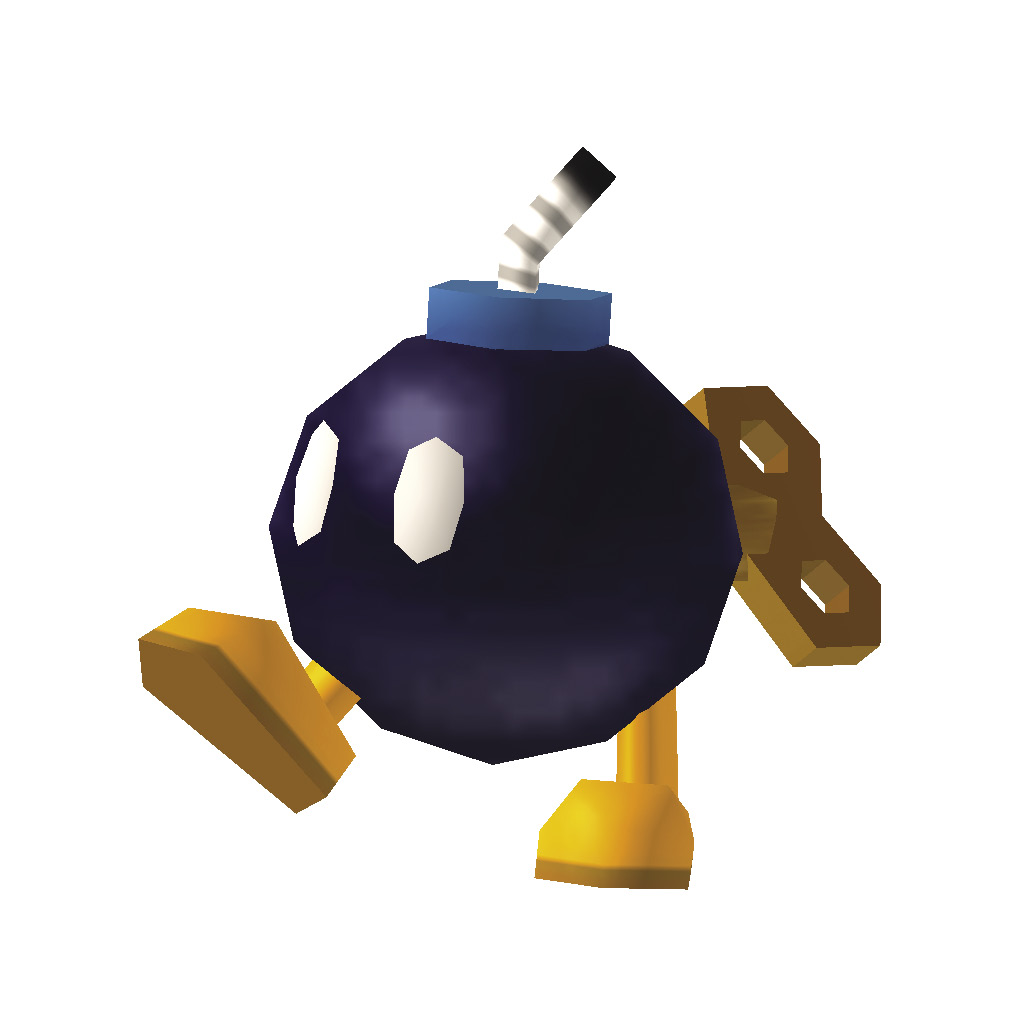
These explosive little enemies pack quite a wallop. Stomp a Bob-omb to light its fuse, then throw it at your intended target. When it explodes, the blast will deliver heavy damage to nearby enemies and objects.
Para-bomb
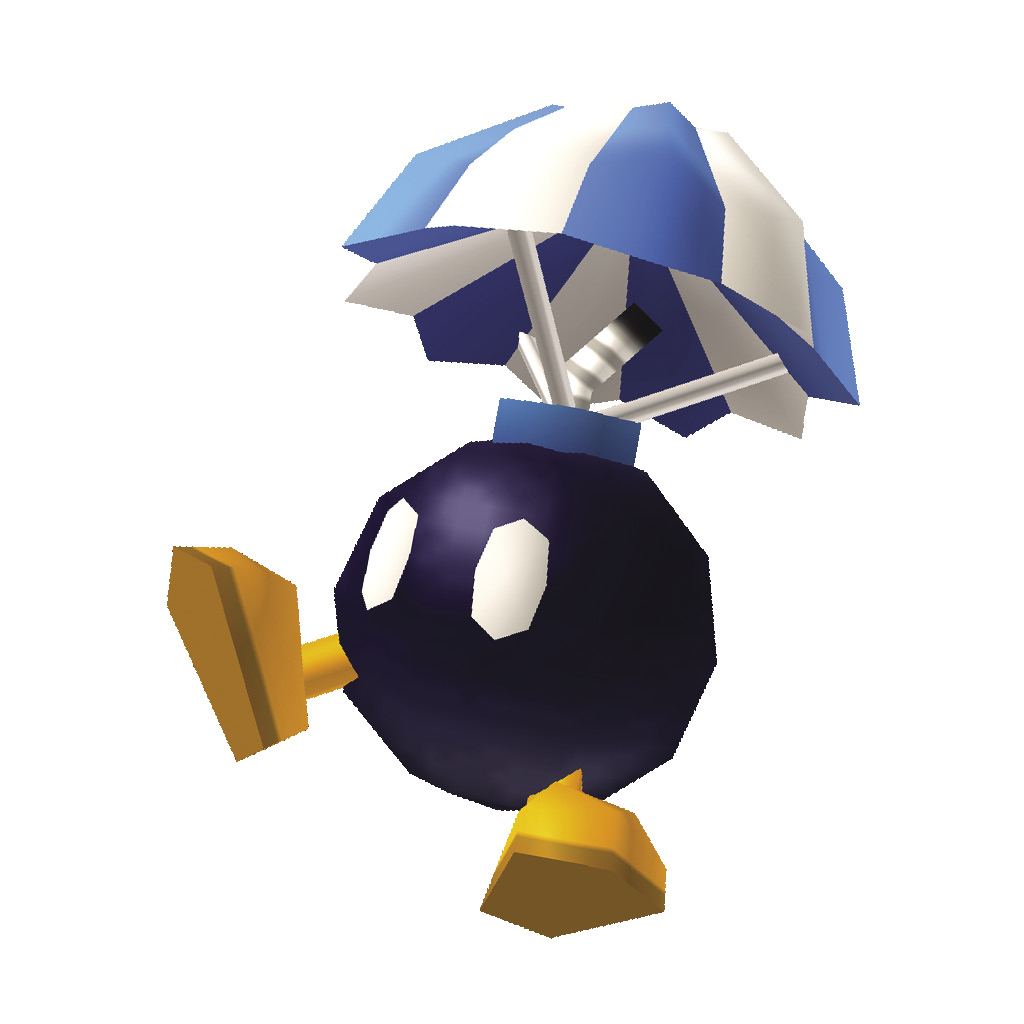
Para-bombs are Bob-ombs that parachute down to the ground. Stomp these enemies to remove their parachutes, but be careful! These enemies drift back and forth as they fall, which can make it difficult to time your jump.
Buzzy Beetle
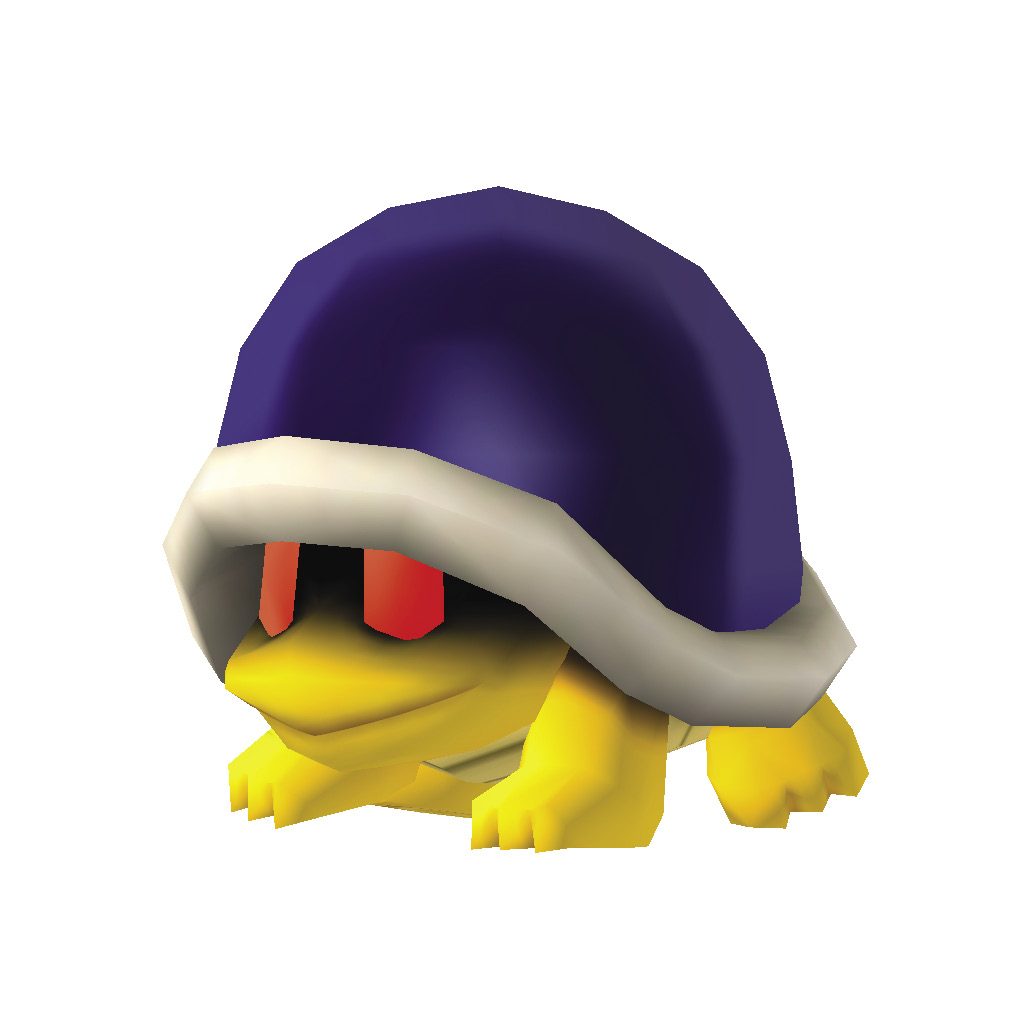
This is one tough enemy! Fireballs will not work at all against it; the best bet is to jump on it once, causing it to hide in its shell. Once it goes into hiding, kick the shell away.
Red Spike Buzzy
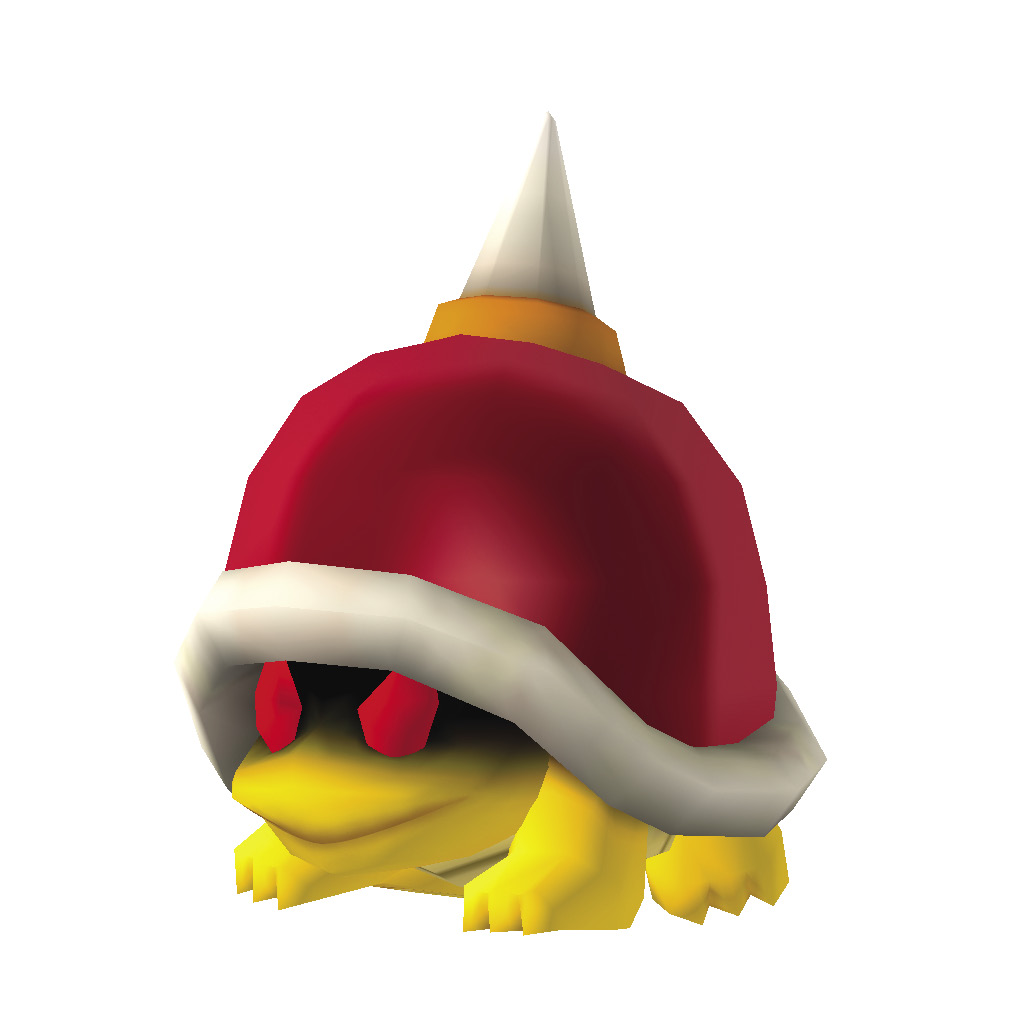
Red Spike Buzzies are very similar to the Buzzy Beetle, but due to the large spike on their back you can’t jump on them. Luckily, when you spot one of these enemies, there’s usually a Buzzy Beetle nearby. If you find one, stomp it and use its shell to clear out this enemy. If not, a well-timed tail-whip may be your best option.
Chain Chomp
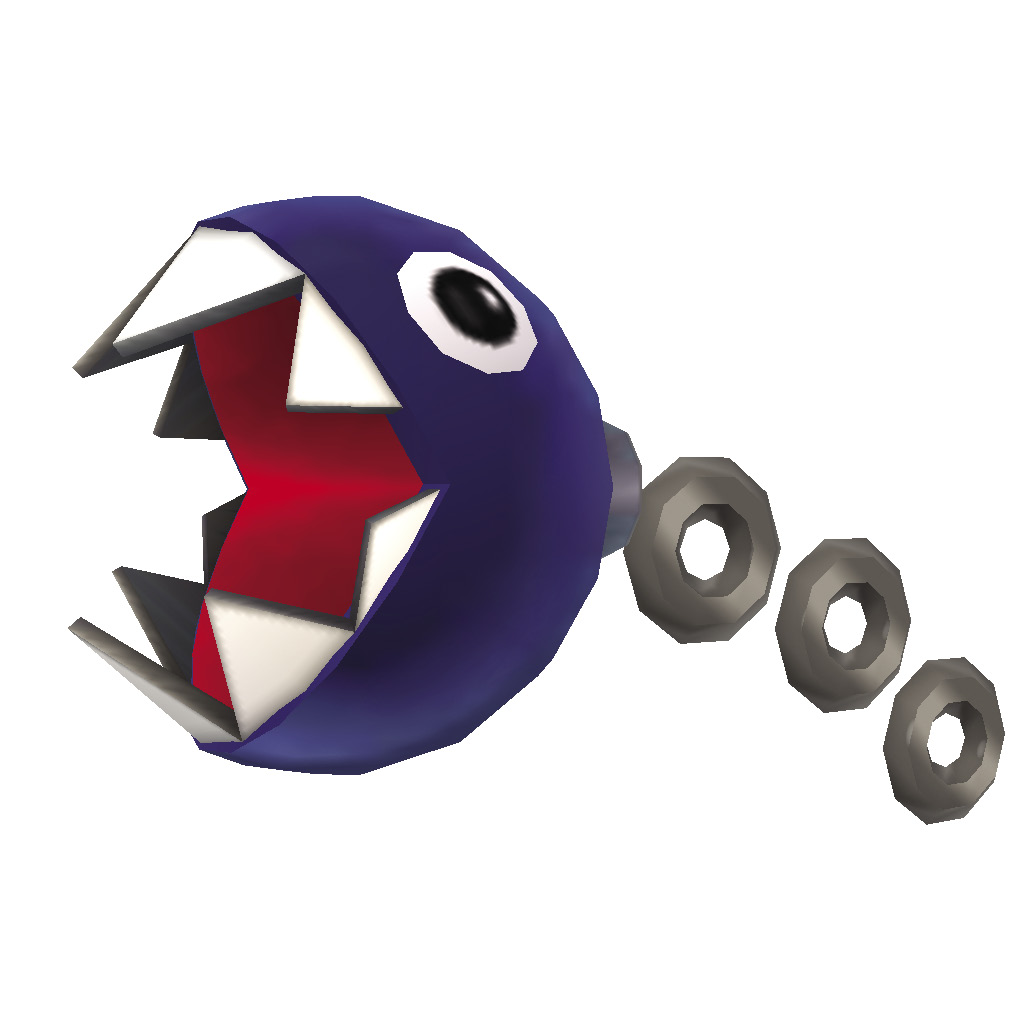
When you approach a Chain Chomp, it lunges at you. Luckily its chain limits the range of its attacks. Coax a Chain Chomp into attacking, then move out of its range. As it recovers from the lunge, slip past it or ground pound the stake that anchors it to the ground. If you drive the stake all the way into the ground, the Chain Chomp lunges away, destroying any Blocks or enemies along its path.
Flame Chomp
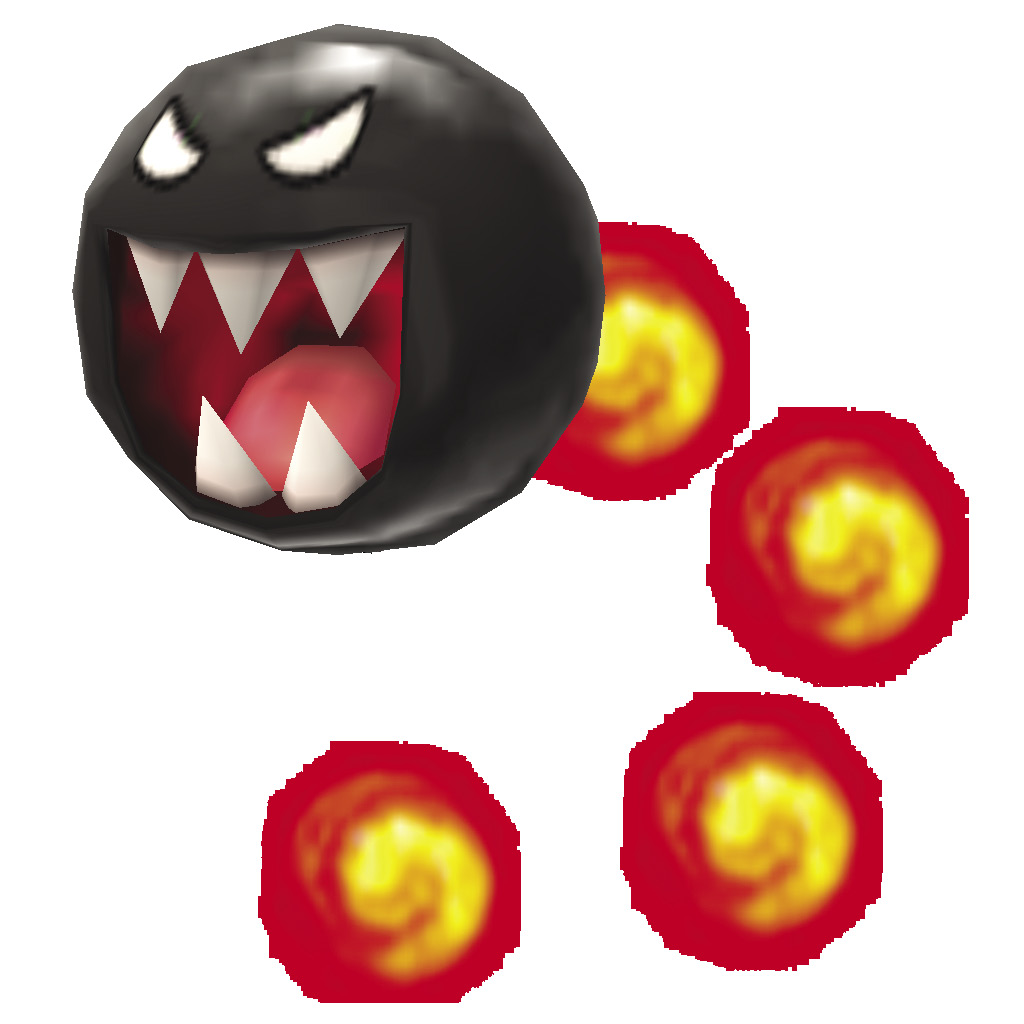
Flame Chomps aren’t nearly as tough as Chain Chomps, but they’re much more mobile. When a Flame Chomp attacks, dodge its fiery tail and stomp it out of the sky.
Amp
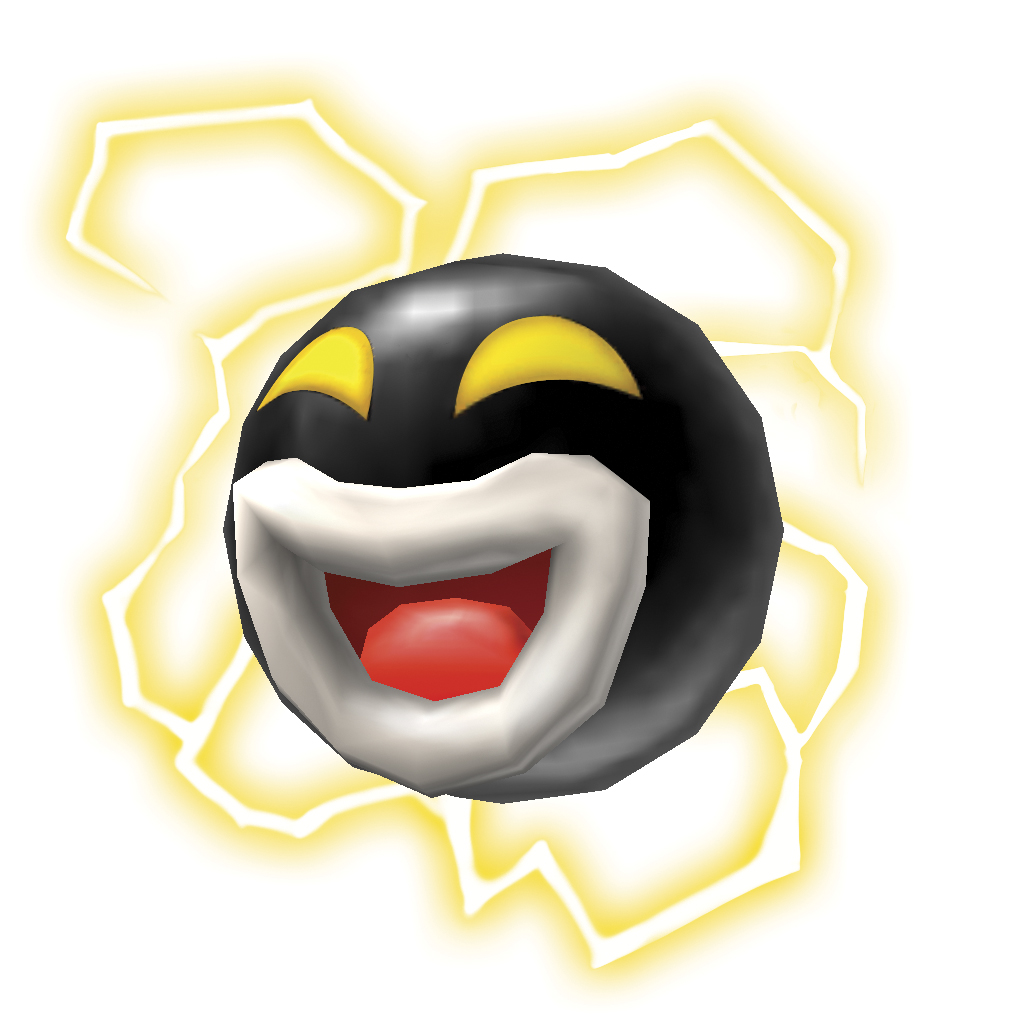
Unless you have a Gold Flower or a Super Star, it’s best to stay clear of an Amp. These creatures typically move along tracks, so just slip past them while the path is clear.
Fire Snake
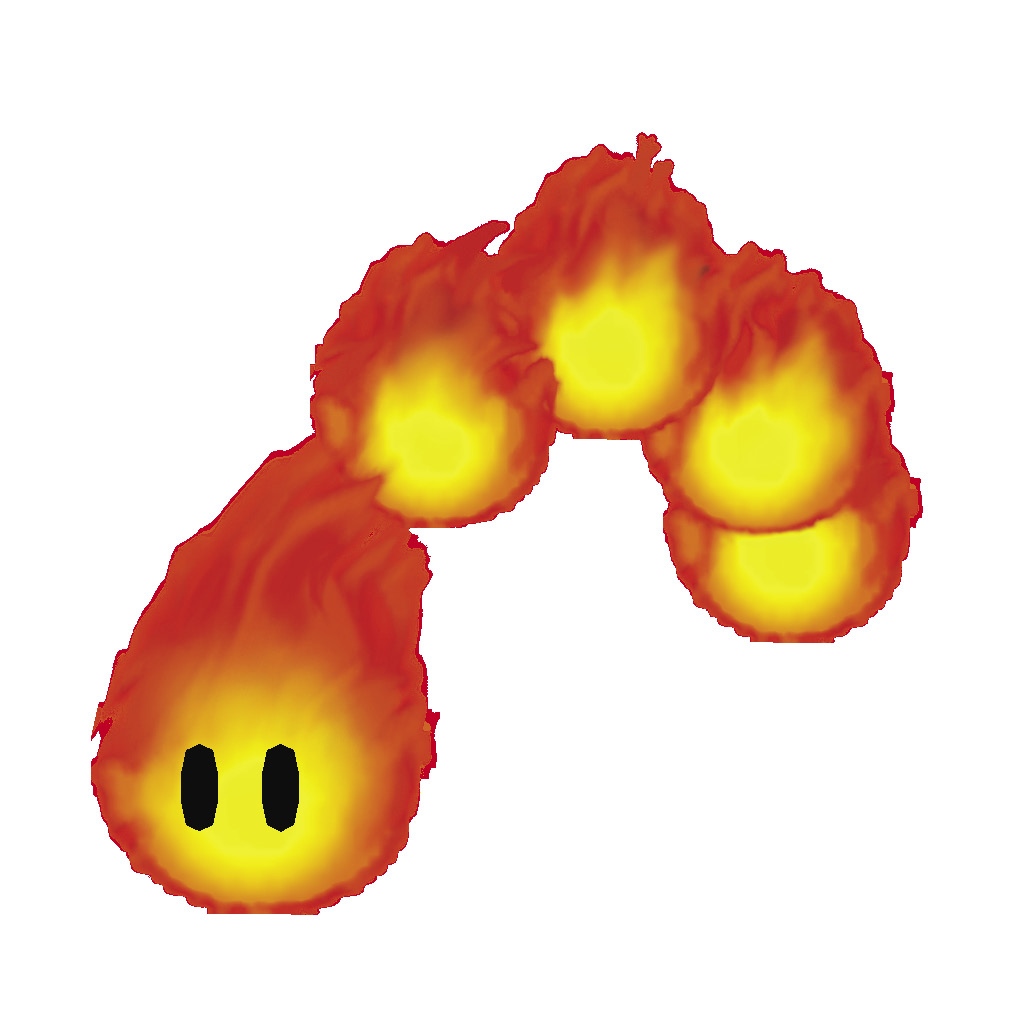
Once a Fire Snake spots you, it follows you around the area. Fireballs have no effect, and you certainly wouldn’t want to stomp one, but one tail whip is enough to send a Fire Snake packing.
Fuzzy
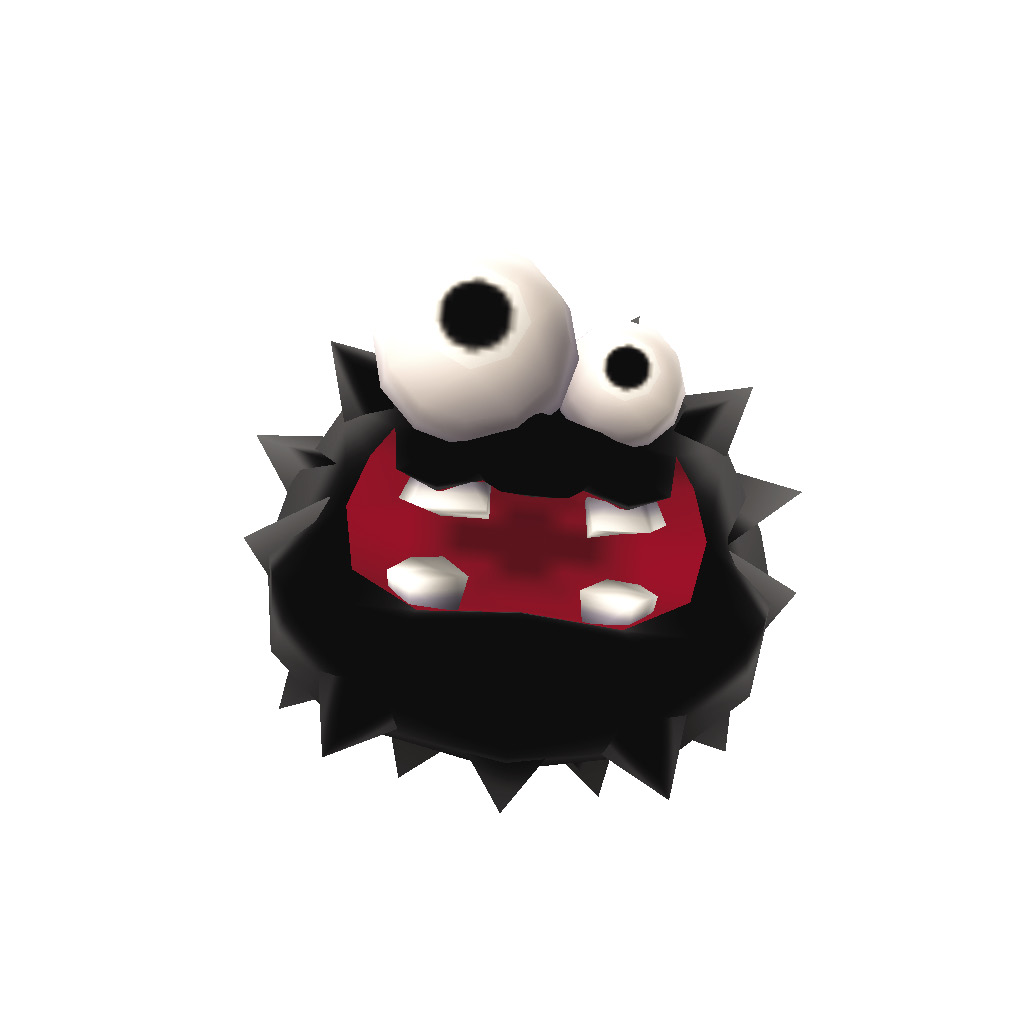
These wild-eyed enemies race back and forth along special tracks, so it’s fairly easy to anticipate their movements. Fuzzies generally appear in clusters. If there’s a POW Block nearby, try to activate it when several Fuzzies are in range. If not, use a Fire Flower to deal with one enemy at a time, or simply avoid them.
Big Fuzzy
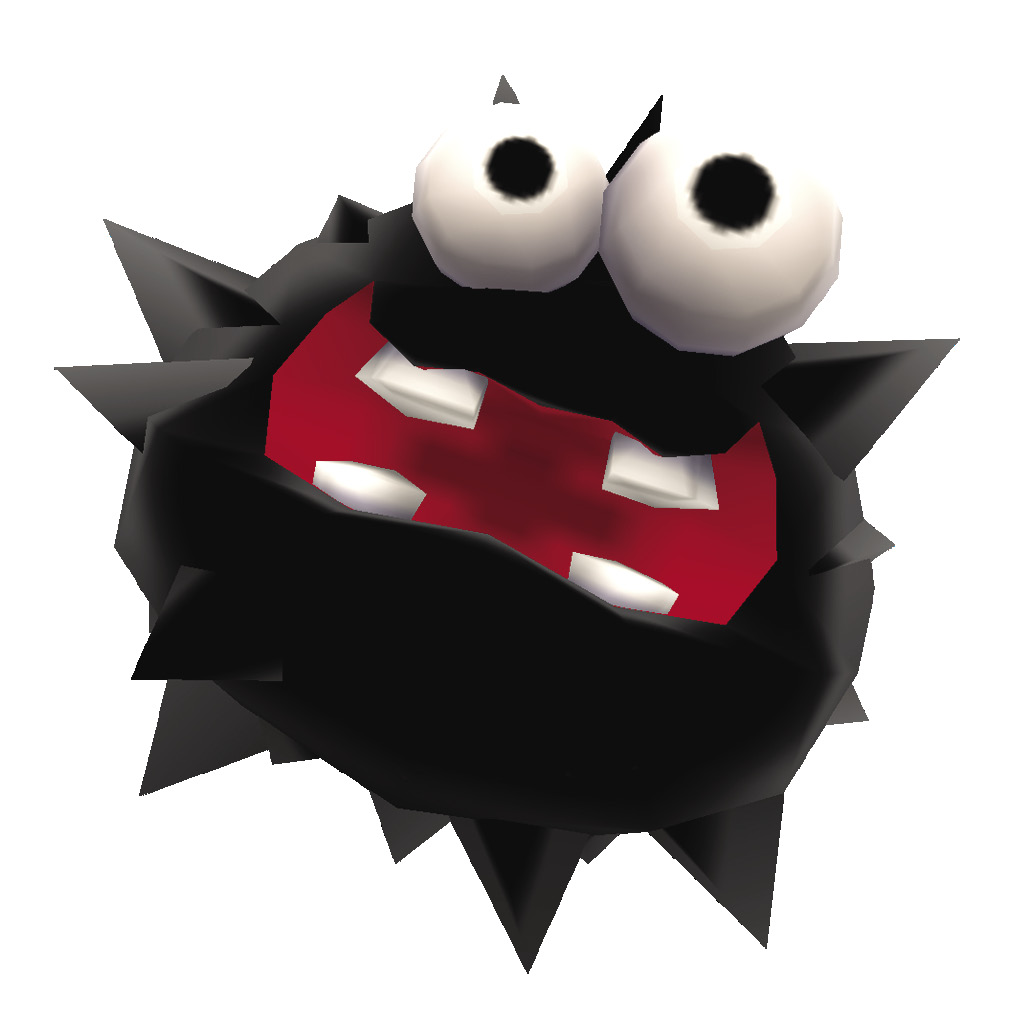
Big Fuzzies are essentially the same as their smaller counterparts, but their increased size makes it a bit trickier to slip past them. Whenever possible, use a POW Block or a suitable power-up to clear these enemies from your path.
Thwomp
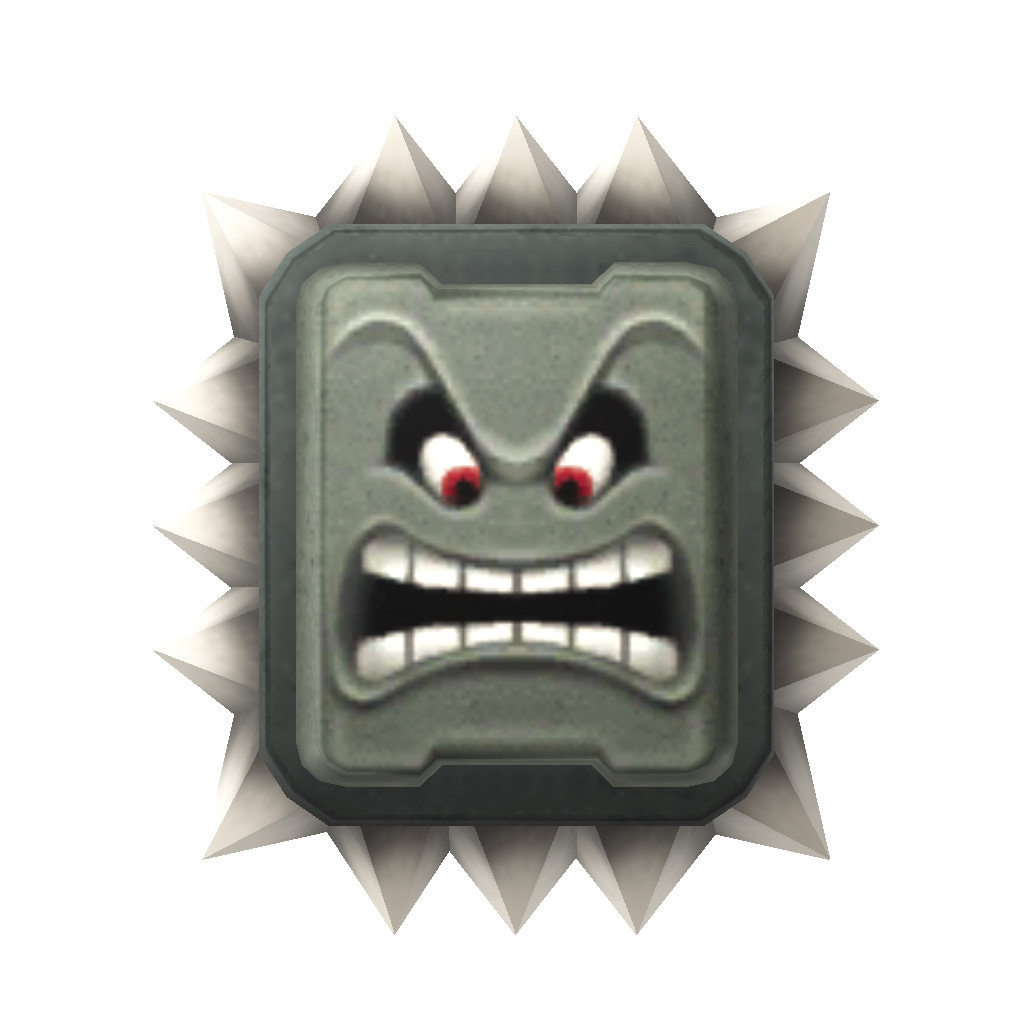
Thwomps slam into the ground as you get near them. As they rise back up to their starting positions, slip under them. Keep moving! Once the Thwomp reaches its original position, it slams back down to the ground.
Big Thwomp
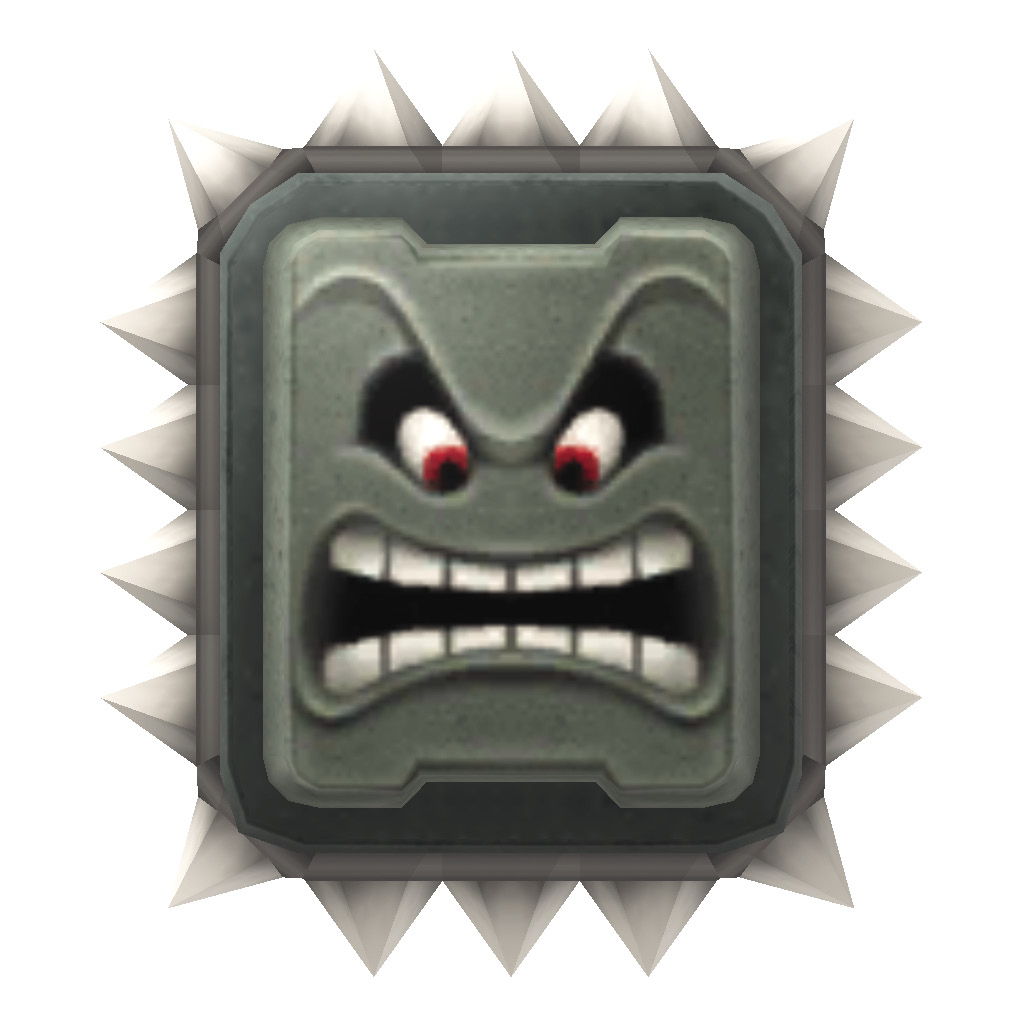
A Big Thwomp behaves much like a smaller Thwomp. Use the same tactics to get past one.
Whomp
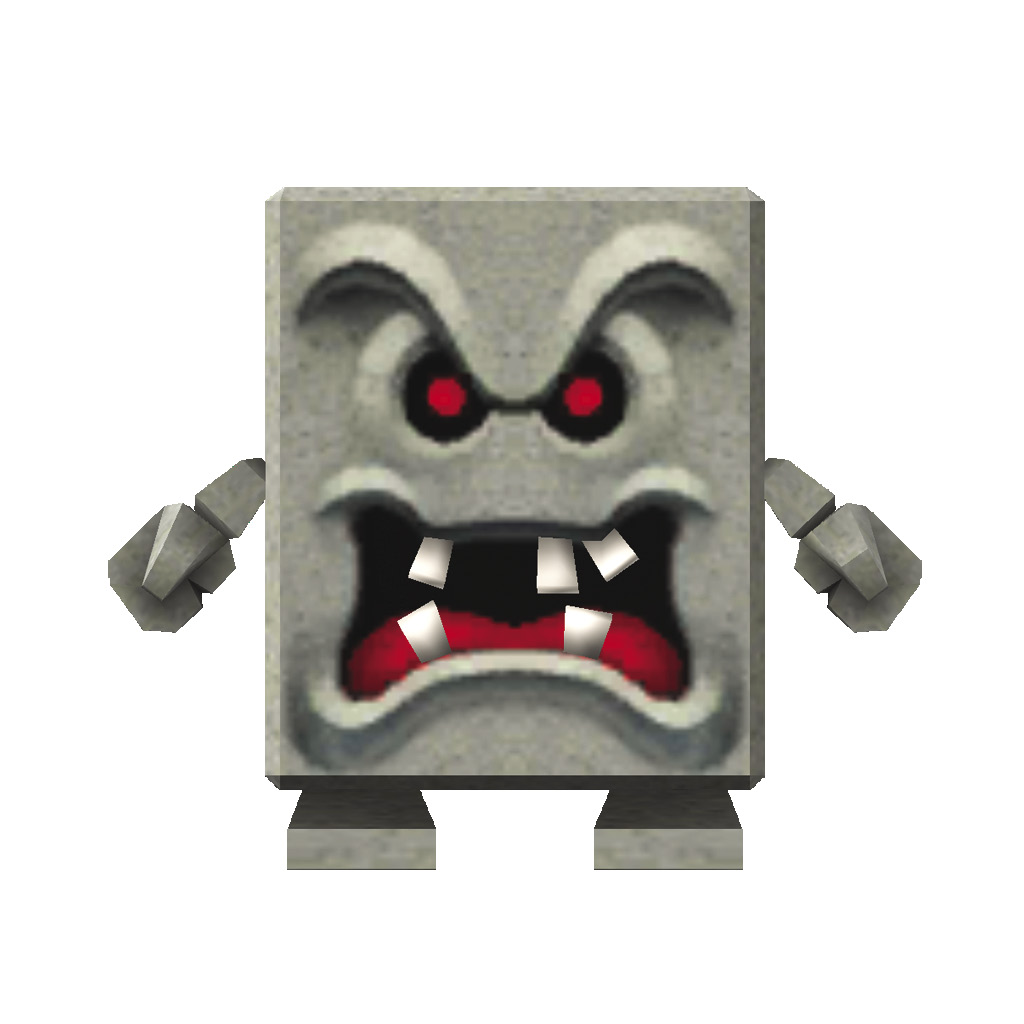
When you approach a Whomp, it leaps in the air and slams down on its own face. When it does, make sure you’re not in its way! After a Whomp slams down, hop onto its back and perform a ground pound.
Big Whomp
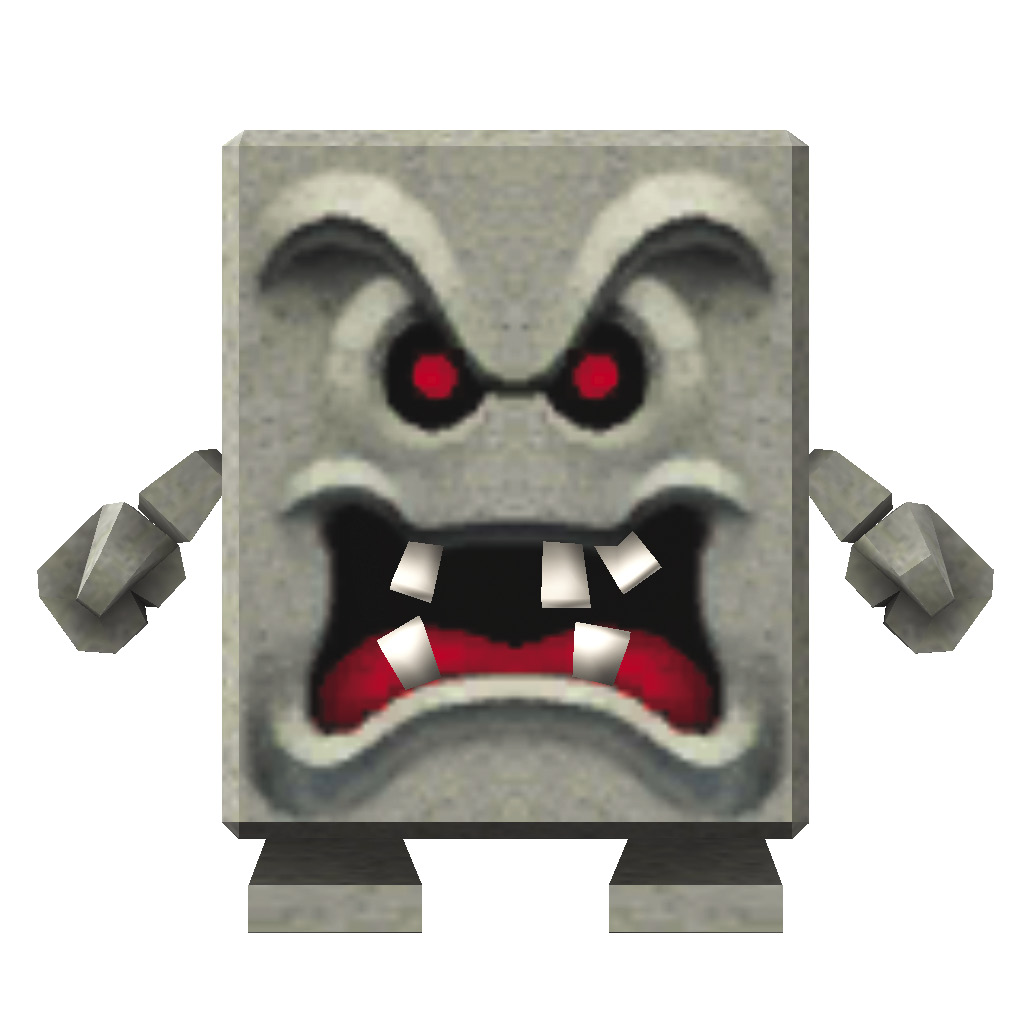
Big Whomps are very similar to the smaller variety, so it’s best to use the same strategy. Bait the Big Whomp into attacking, then hop on its back and shatter it with a ground pound.
Pokey
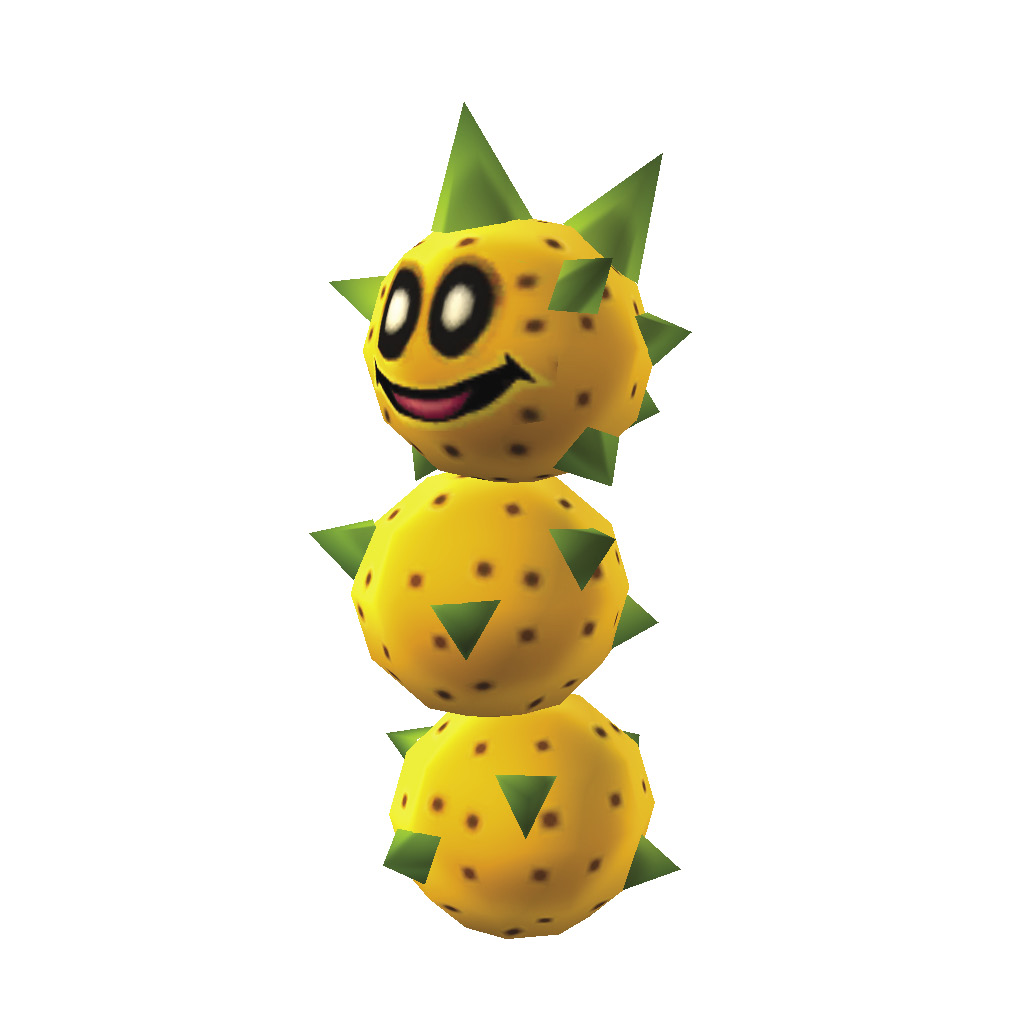
Pokeys may look friendly, but these prickly creatures are far from it. You can’t stomp a Pokey, so use a suitable power-up to deal with these enemies. Use a fireball or a tail whip to hit a Pokey’s head. If you attack anywhere else, this segmented enemy can survive multiple hits.
Wiggler
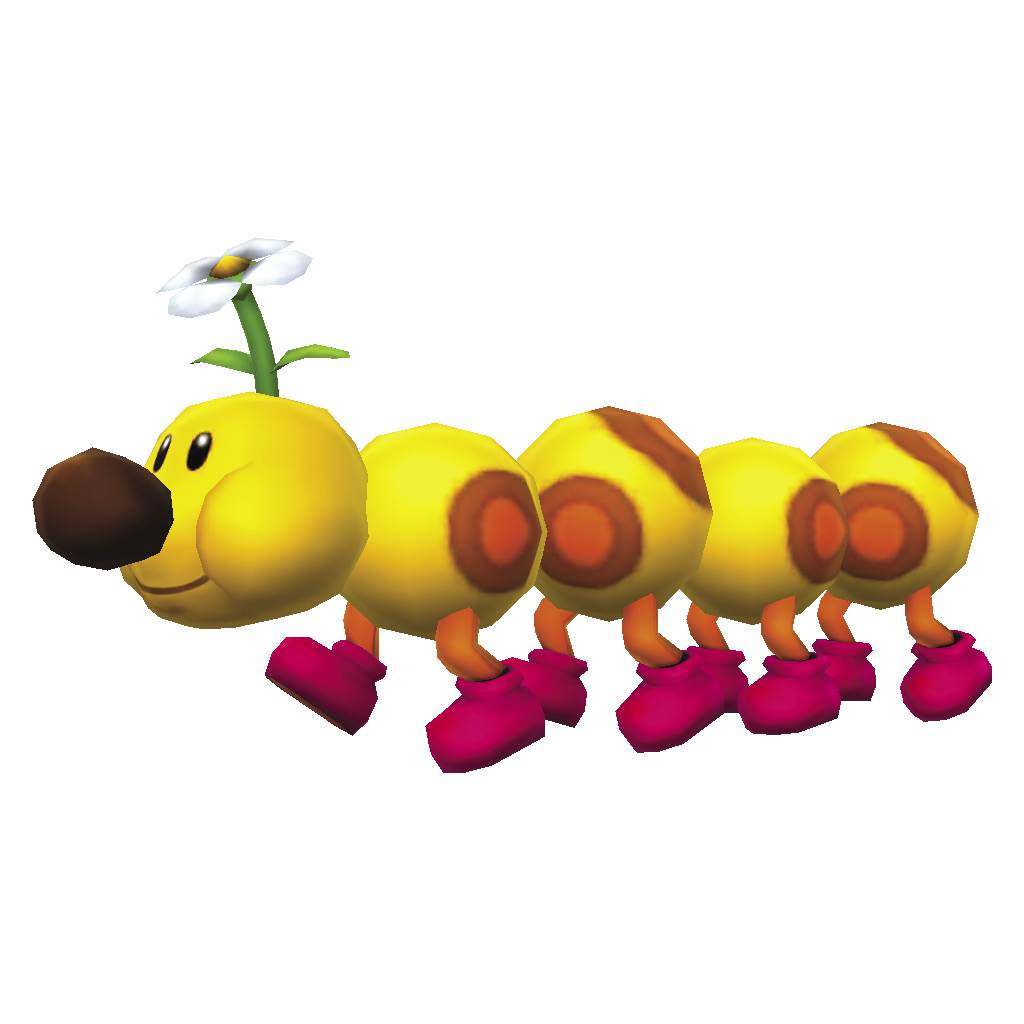
Wigglers are happy creatures as long as you leave them alone. If you stomp Wiggler, however, it becomes enraged. Use a tail whip or a thrown shell to defeat this enemy, or simply leave the area.
Swooper
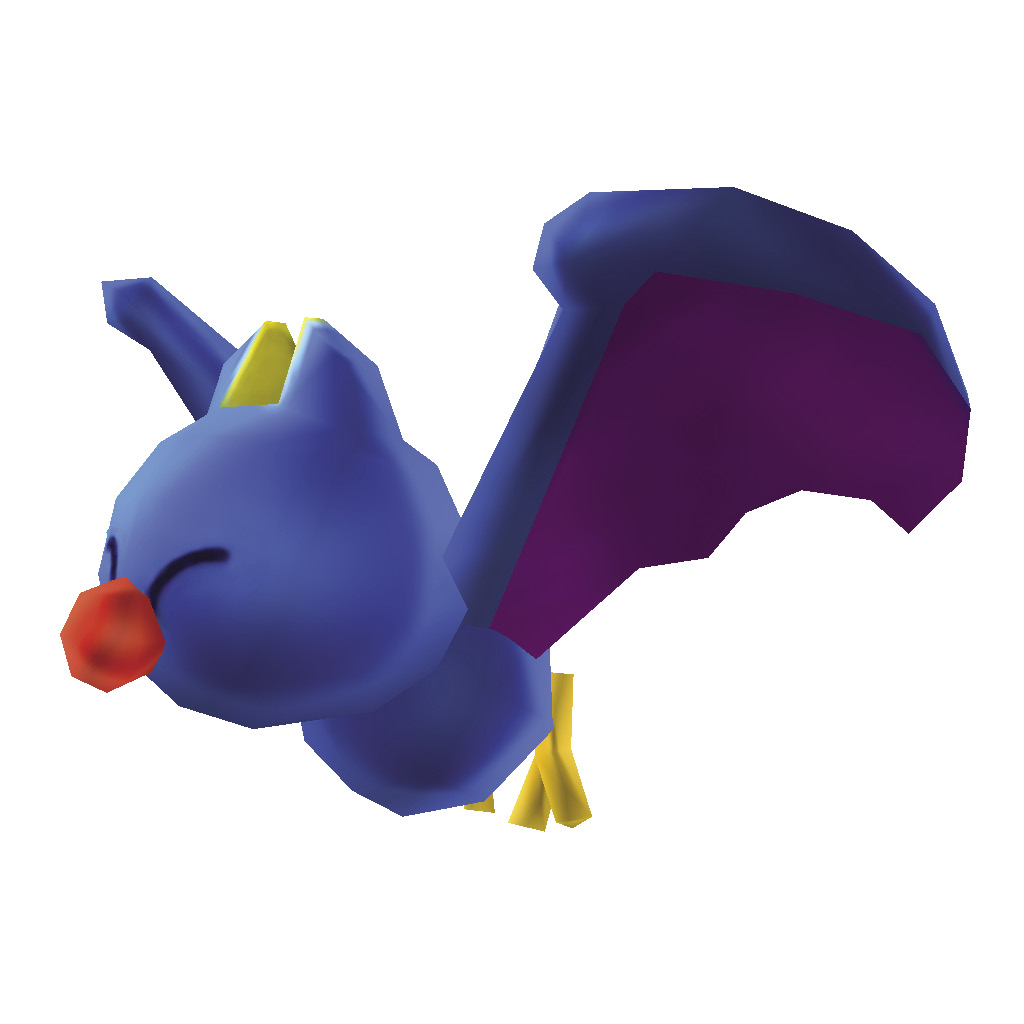
When you approach a Swooper, it drops down from its roost and swoops toward you. Once a Swooper begins its attack, however, it maintains its course. Dodge this enemy as it flies past you, or stomp it as it moves into range.
Crow
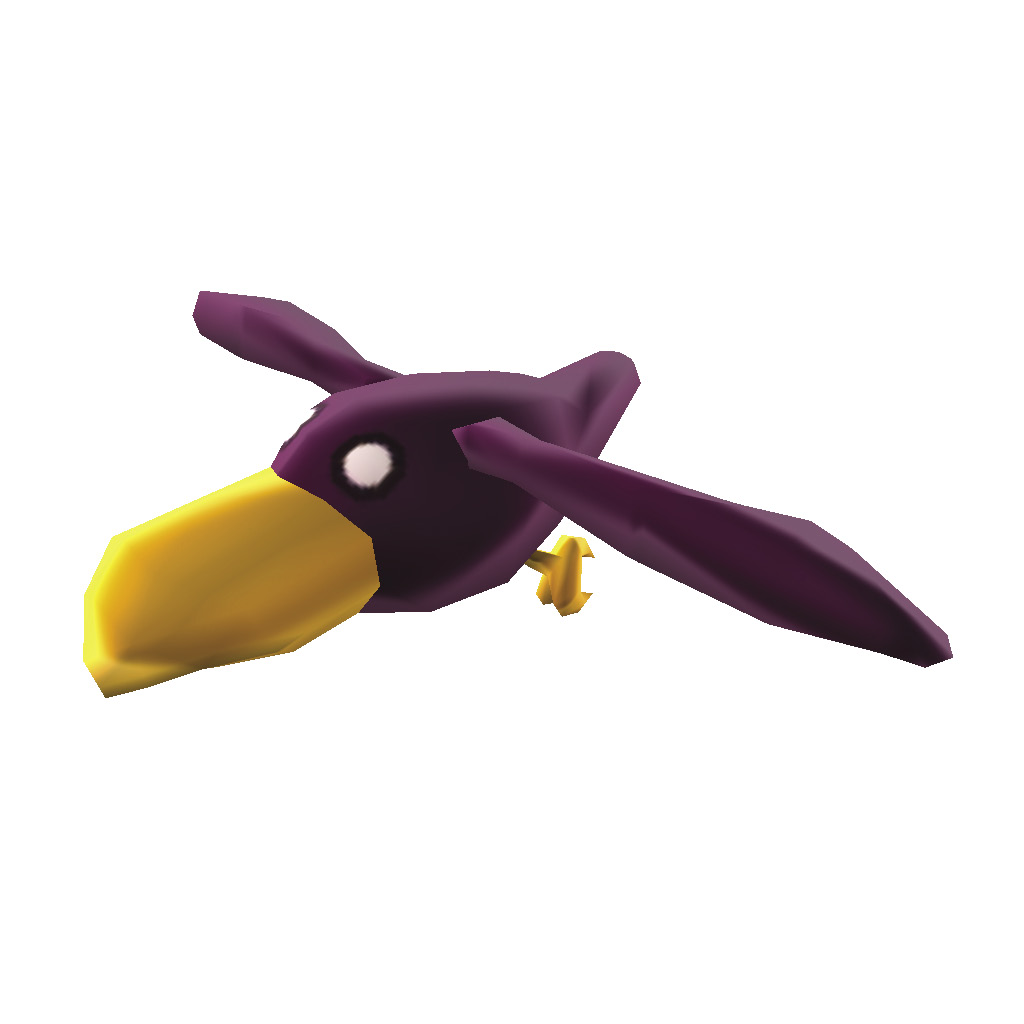
When a Crow spots you, it slowly circles the area above you, then it picks up its speed and dives right toward you. Stomp a Crow while it attacks, or jump out of the way and allow it to fly away.
Lava Bubble
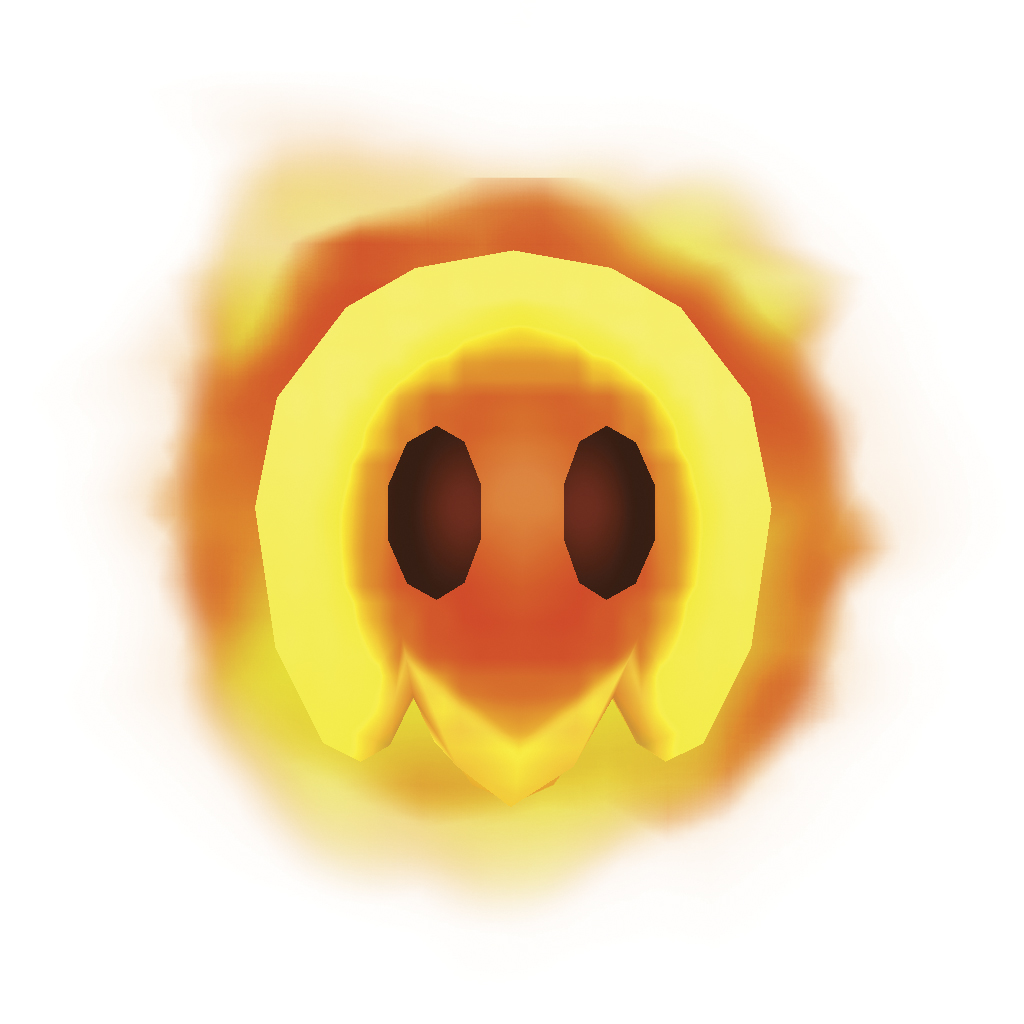
These creatures often jump out of lava areas, usually in timed increments. Once you have a sense of a Lava Bubble’s rhythm, it’s fairly easy to slip past it.
Coin Coffer
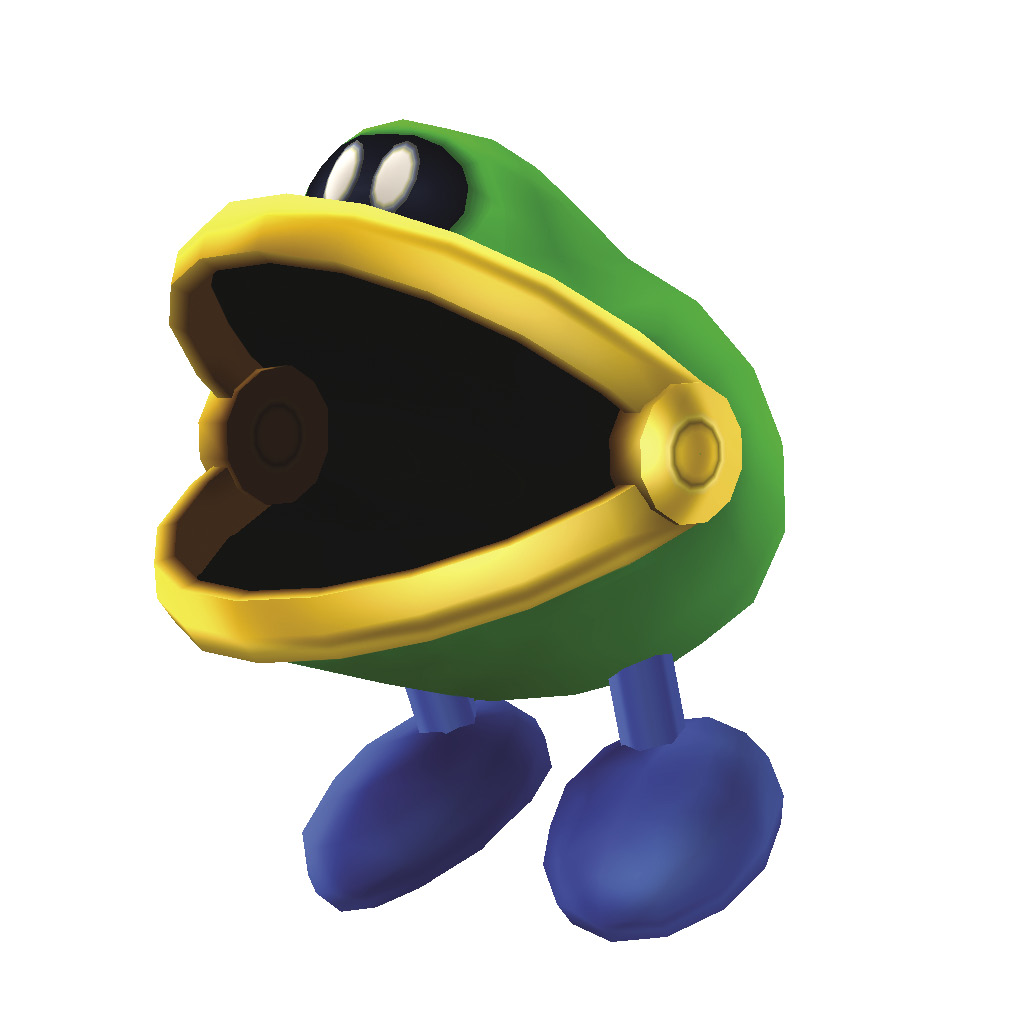
Occasionally, passing through a Red Ring causes a Coin Coffer to appear. When this happens, allow this strange creature to hop away, then scoop up the red coins it leaves in its path. You can also get all 8 red coins by defeating the Coin Coffer.
Lakitu
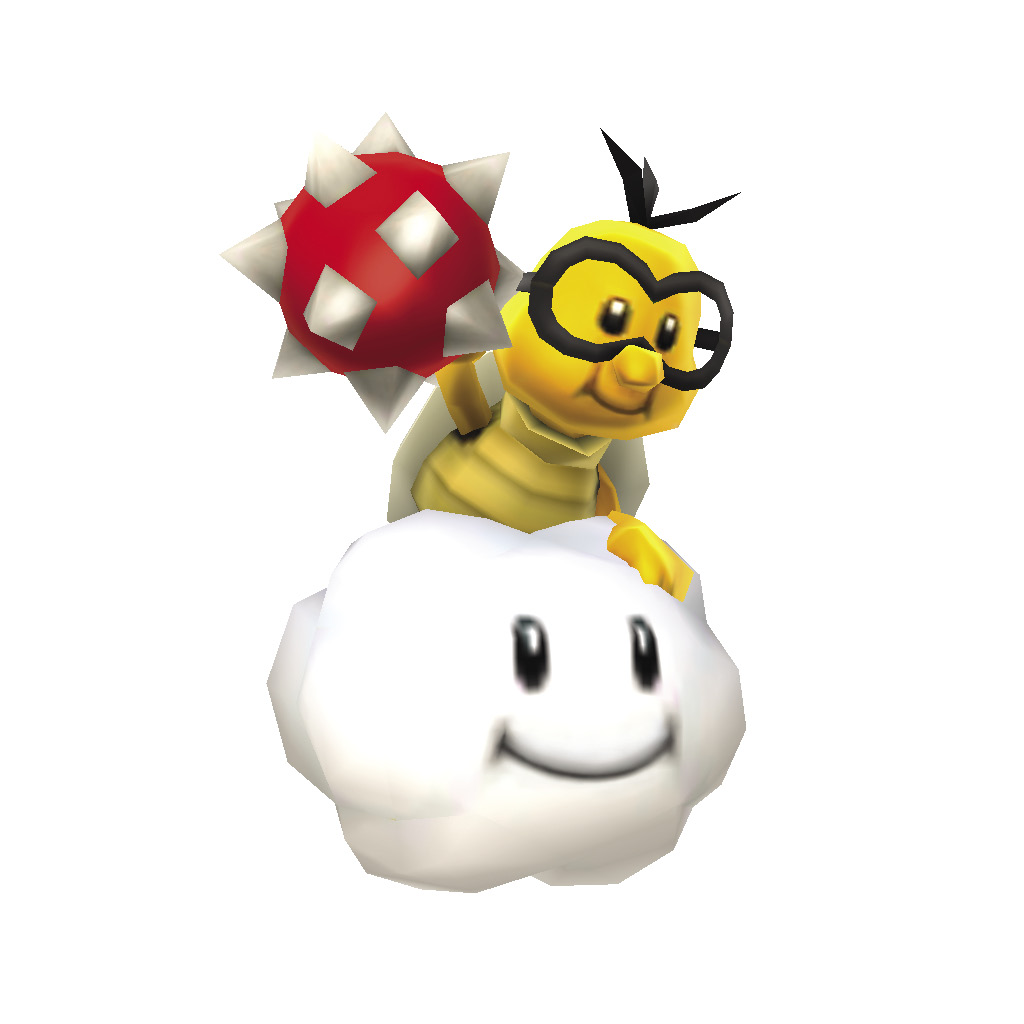
A Lakitu generally uses its cloud to stay out of reach, which can make it very difficult to land a successful attack—especially while you’re dodging the Spiny Eggs it throws at you! When a Lakitu attacks, head over to higher ground. If it follows you, stomp its head to knock it off of its cloud.
Spiny Egg

When a Spiny Egg lands on the ground, it hatches to reveal a Spiny. It’s usually best to stay clear of these spiky hazards.
Spiny
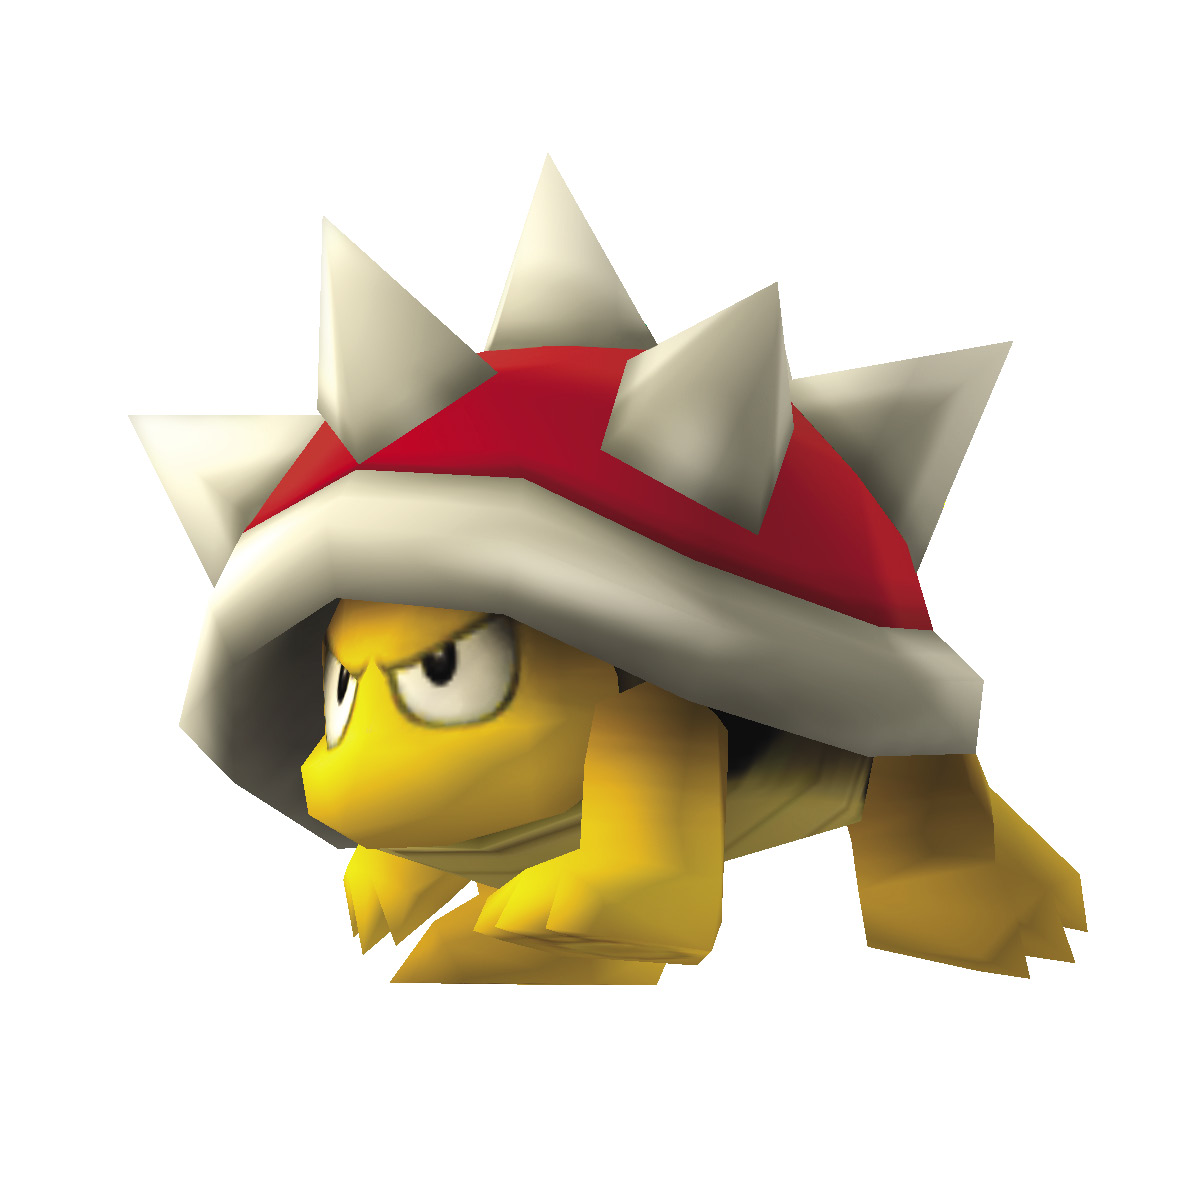
It won’t do you any good to stomp a Spiny. If you don’t have a suitable power-up, it’s best to avoid them. Fireball or Tail Whip is suitable to defeat Spinys
Spider
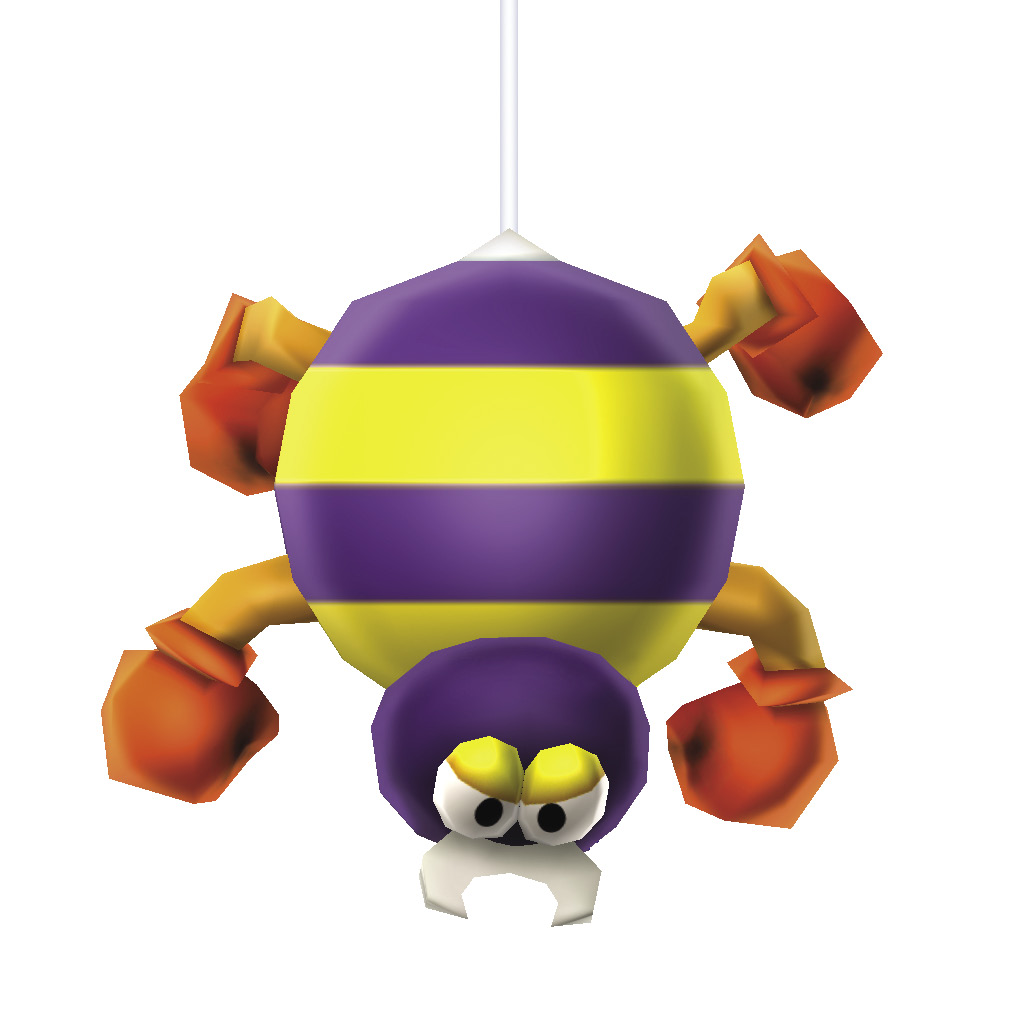
These dangling enemies can often be used to reach hidden areas and objects. Sometimes, however, they’re simply in the way. If a Spider is proving to be a pest, stomp it and knock it loose from its web.
Reznor
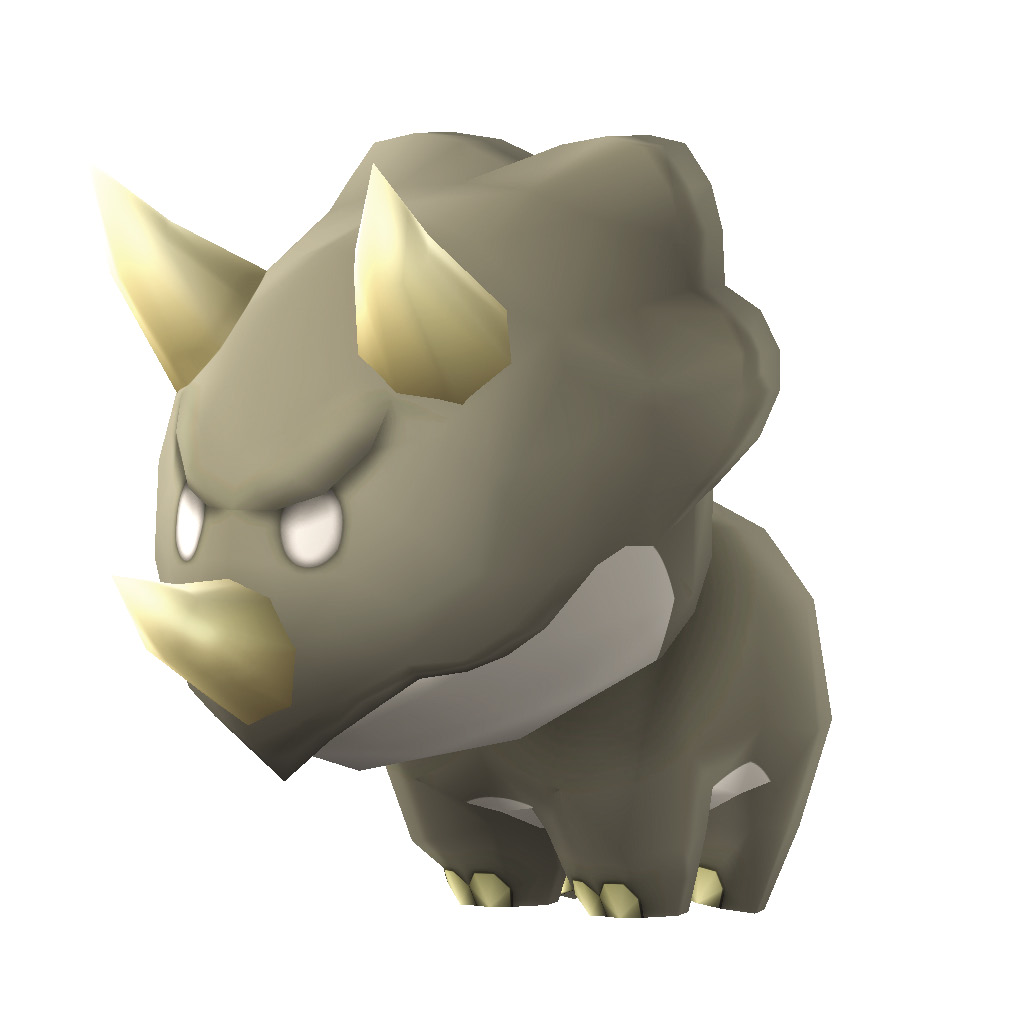
Each time you climb to the top of a Tower, you’ll find some fire-breathing Reznors in the final chamber. These creatures are always perched on ? Blocks. To defeat one, simply hit its ? Block and knock it out of the area.