
New Super Mario Bros 2 Guide Worlds World One
World 1-Castle
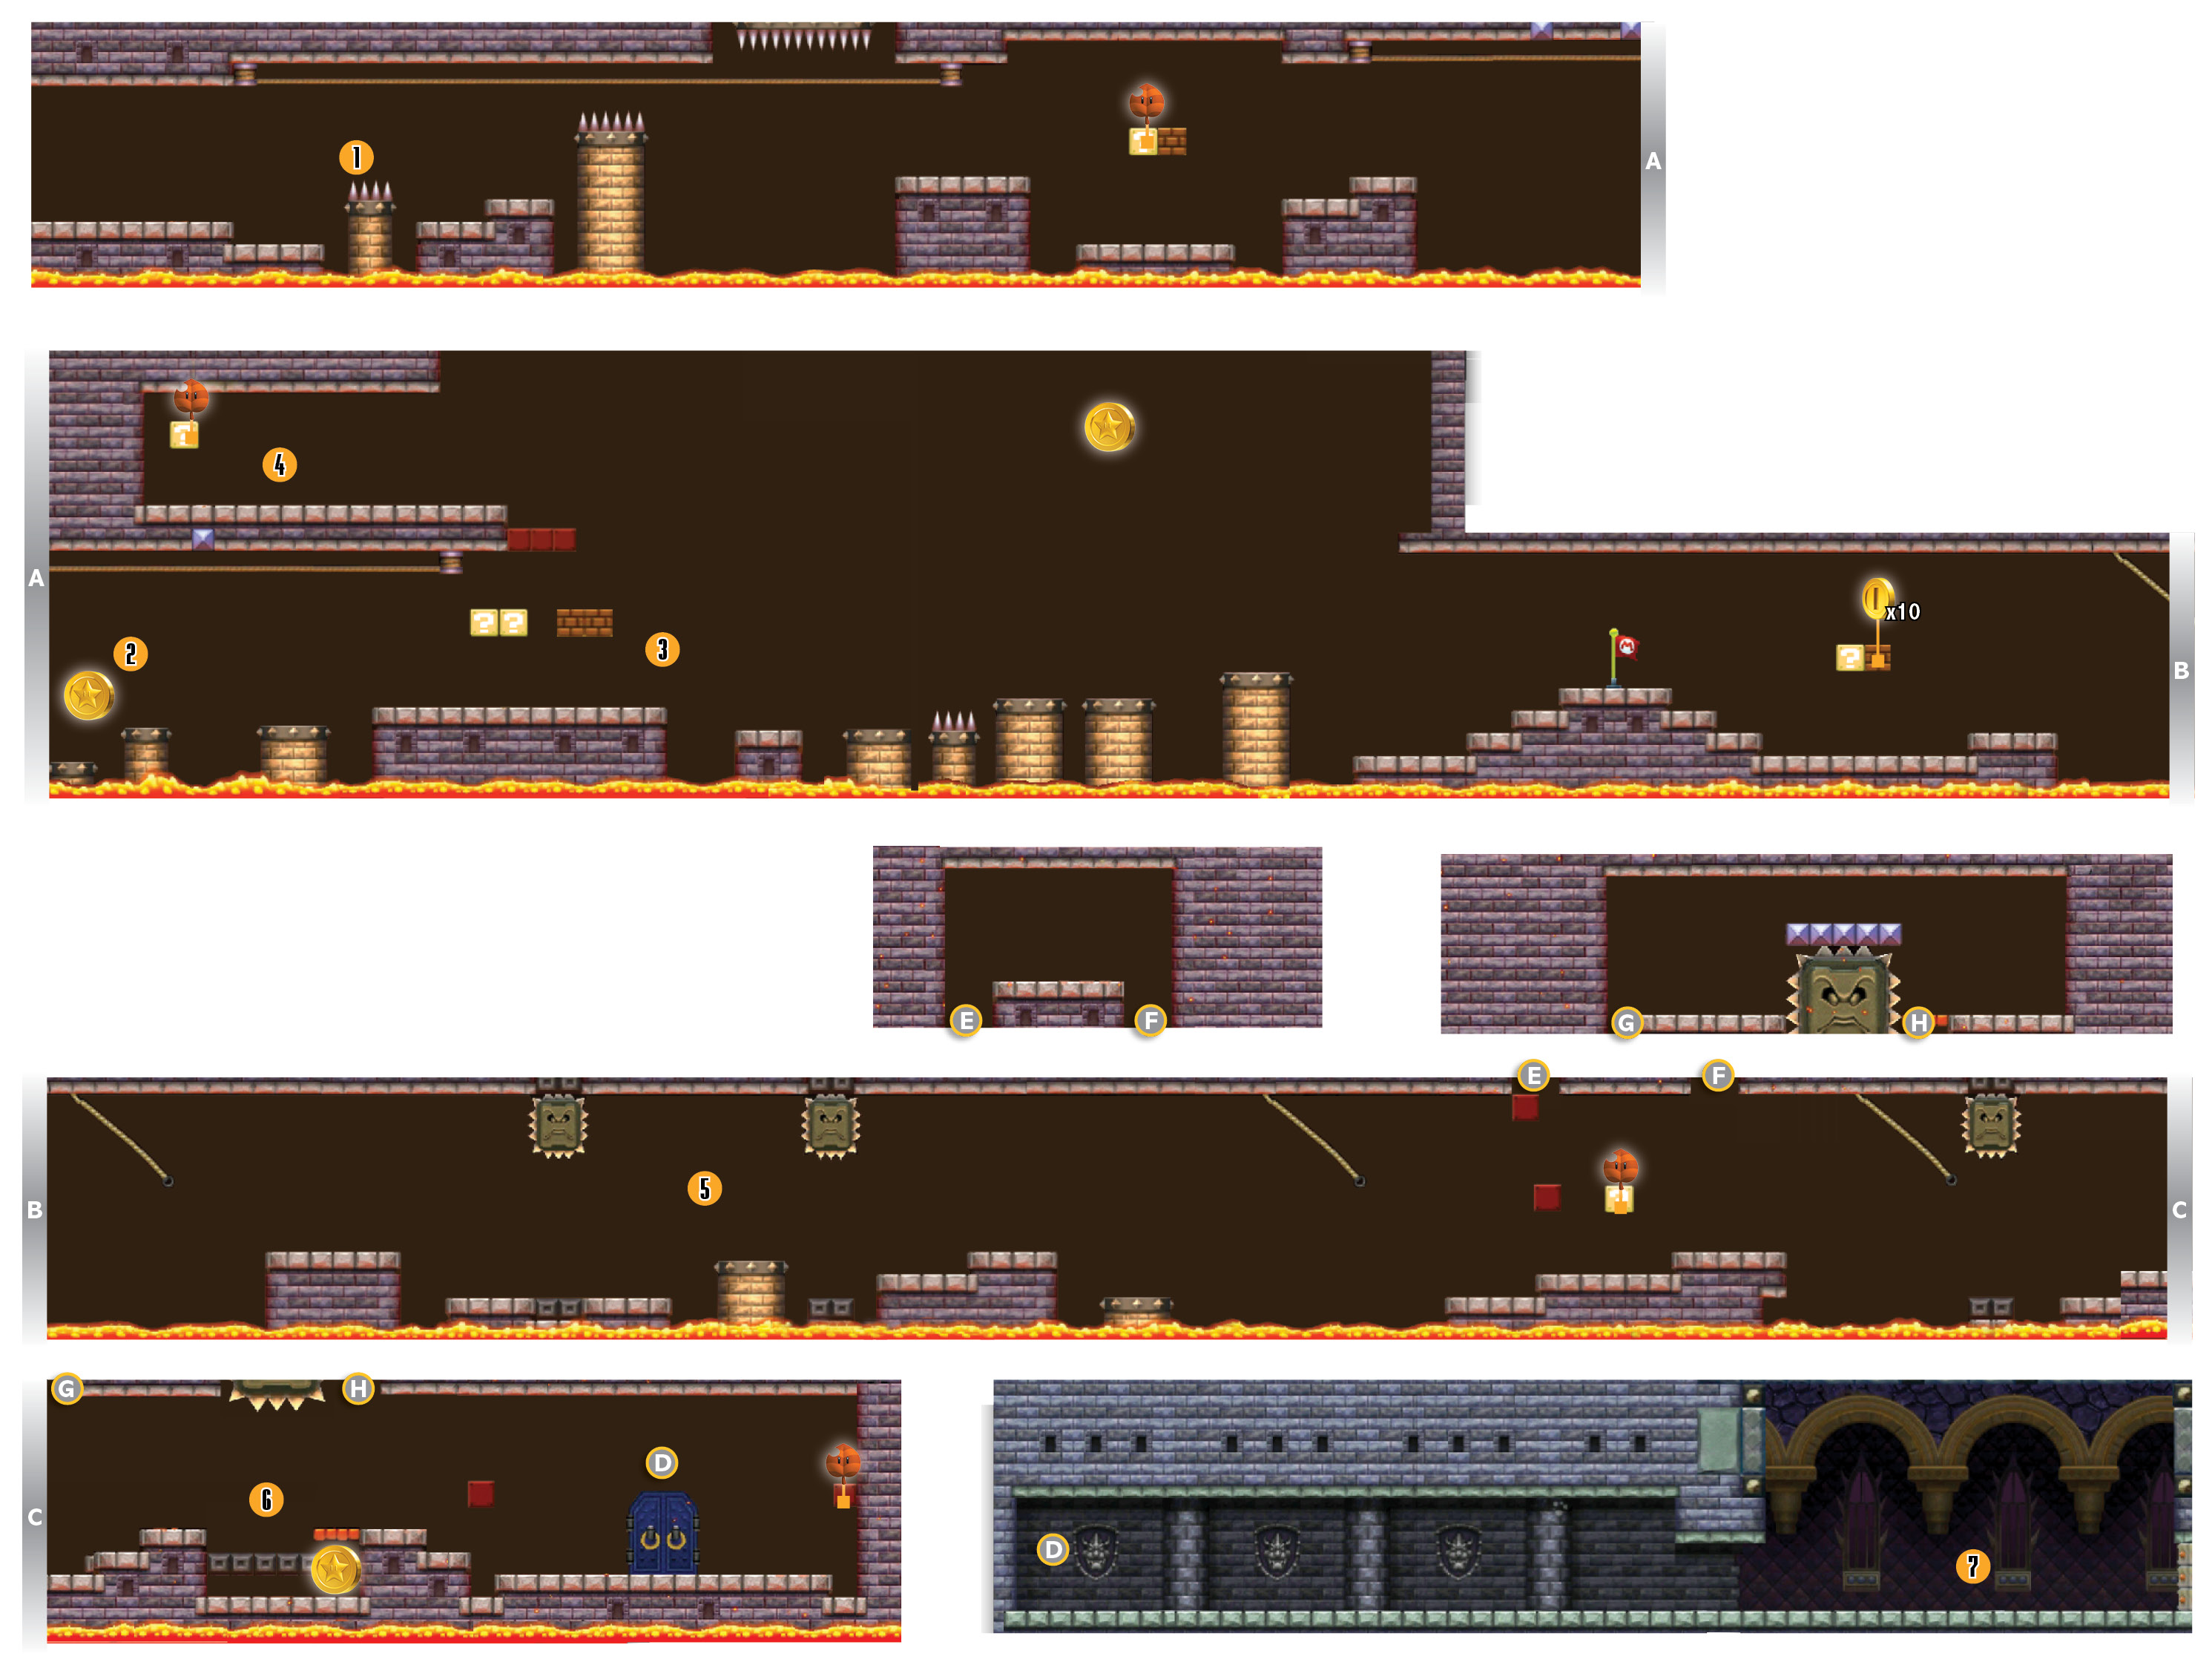
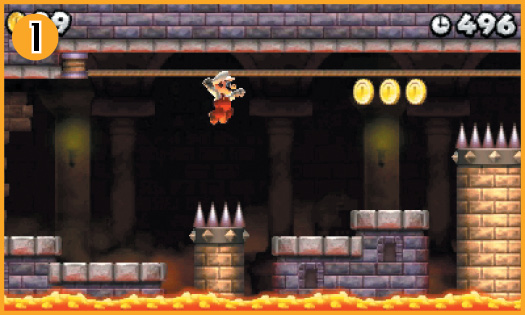
Use the ropes at the start of the level to move through the area. As you do, watch out for the spikes and Lava Bubbles that move in and out of your path.
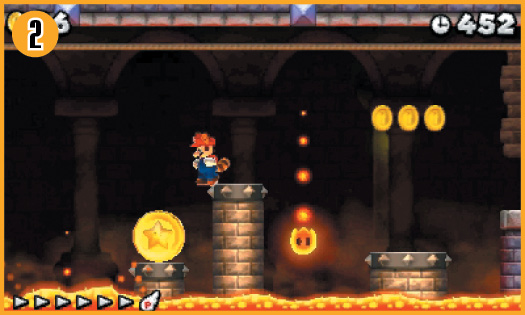
 The first Star Coin is floating just above the lava at Point 2. Wait for the platforms to emerge from the lava, then drop down and collect the Star Coin. Move quickly to return to the rope before the platforms vanish.
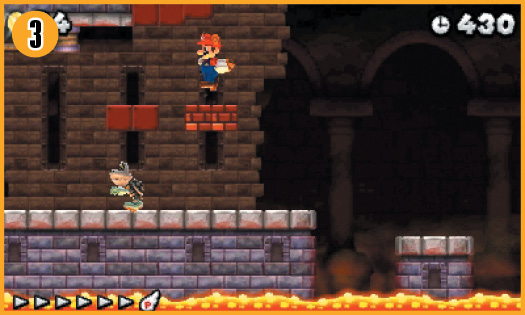
Hop onto the Blocks at Point 3, then jump up to reveal the Invisible Blocks above you—this creates a new platform that leads to a hidden ledge. Jump up to explore the area above you.
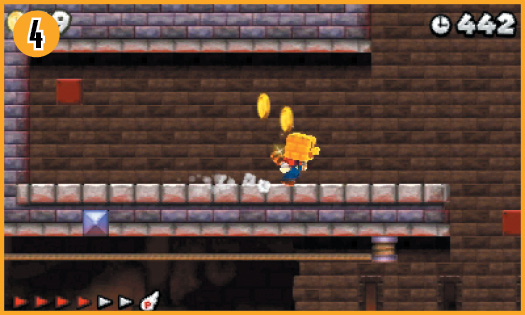
 To collect the second Star Coin, you need the Raccoon Mario form. Dash along the ledge to fill your Power Meter, then fly to the right.
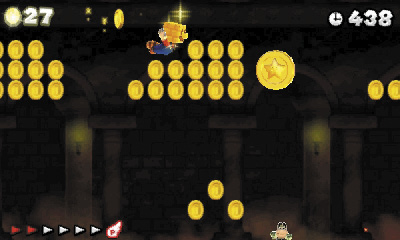
Follow the coins to the right and grab the Star Coin floating high above the lava.
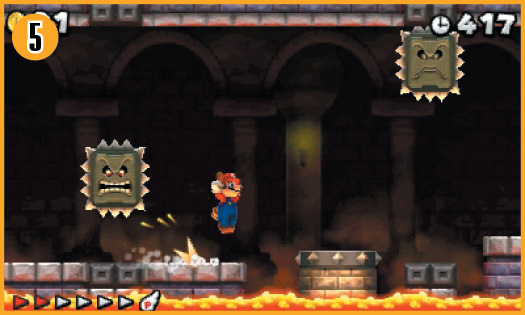
Watch out for the Thwomps near the end of the level. You can dash right under the first Thwomp, but the uneven platforms make it much more difficult to pass under the second one. Jump over the Thwomp when it slams down, or wait for it to move back toward the ceiling before you attempt to slip past it.
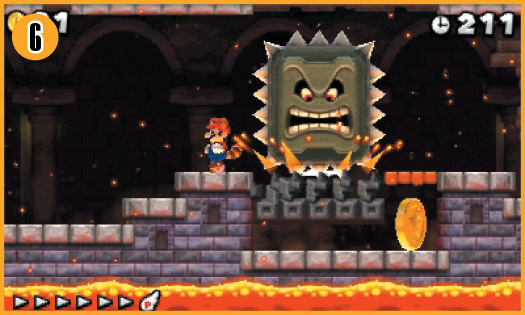
 When you reach Point 6, coax the Big Thwomp into attacking two times. As it recovers from its second attack, slip past the Big Thwomp and grab the Star Coin.
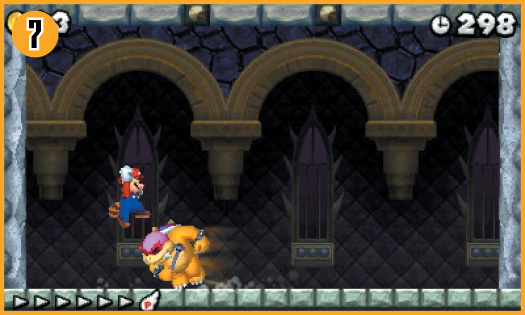
To defeat Roy Koopa, you must stomp his head three times. You can attack any time his head is exposed, but it’s best to do so while he’s stunned. Dodge his fireball attacks until he dashes toward you, then jump over him. When Roy charges into the wall, the impact leaves him temporarily stunned. Jump on his head before he recovers.
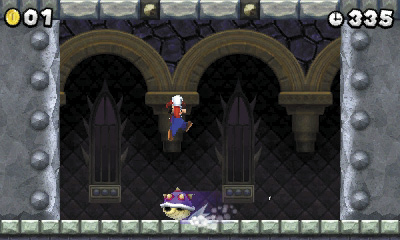
Each time you damage Roy, the walls move slightly closer together. When he recovers, Roy tucks into his shell and bounces around the room. Dodge the shell until Roy emerges from his shell, then repeat the process to stomp him again. Land three successful attacks to defeat Roy and unlock World Two.