
New Super Mario Bros 2 Guide Special Worlds Star World
Star-Castle
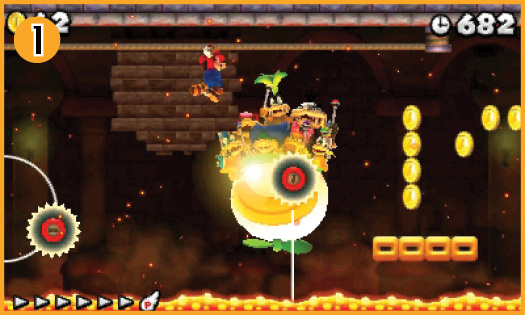
The Koopalings are back in their flying carriage, but you’ll find cover to be a bit more scarce this time around. When moving through particularly dangerous areas, stop and take cover in front of each available wall.
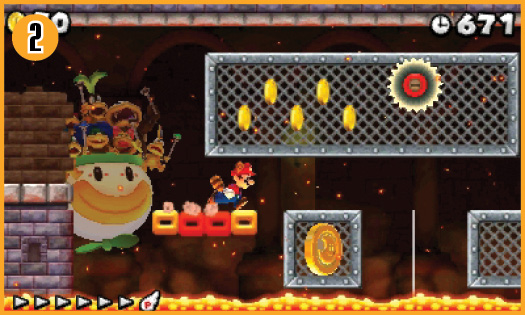
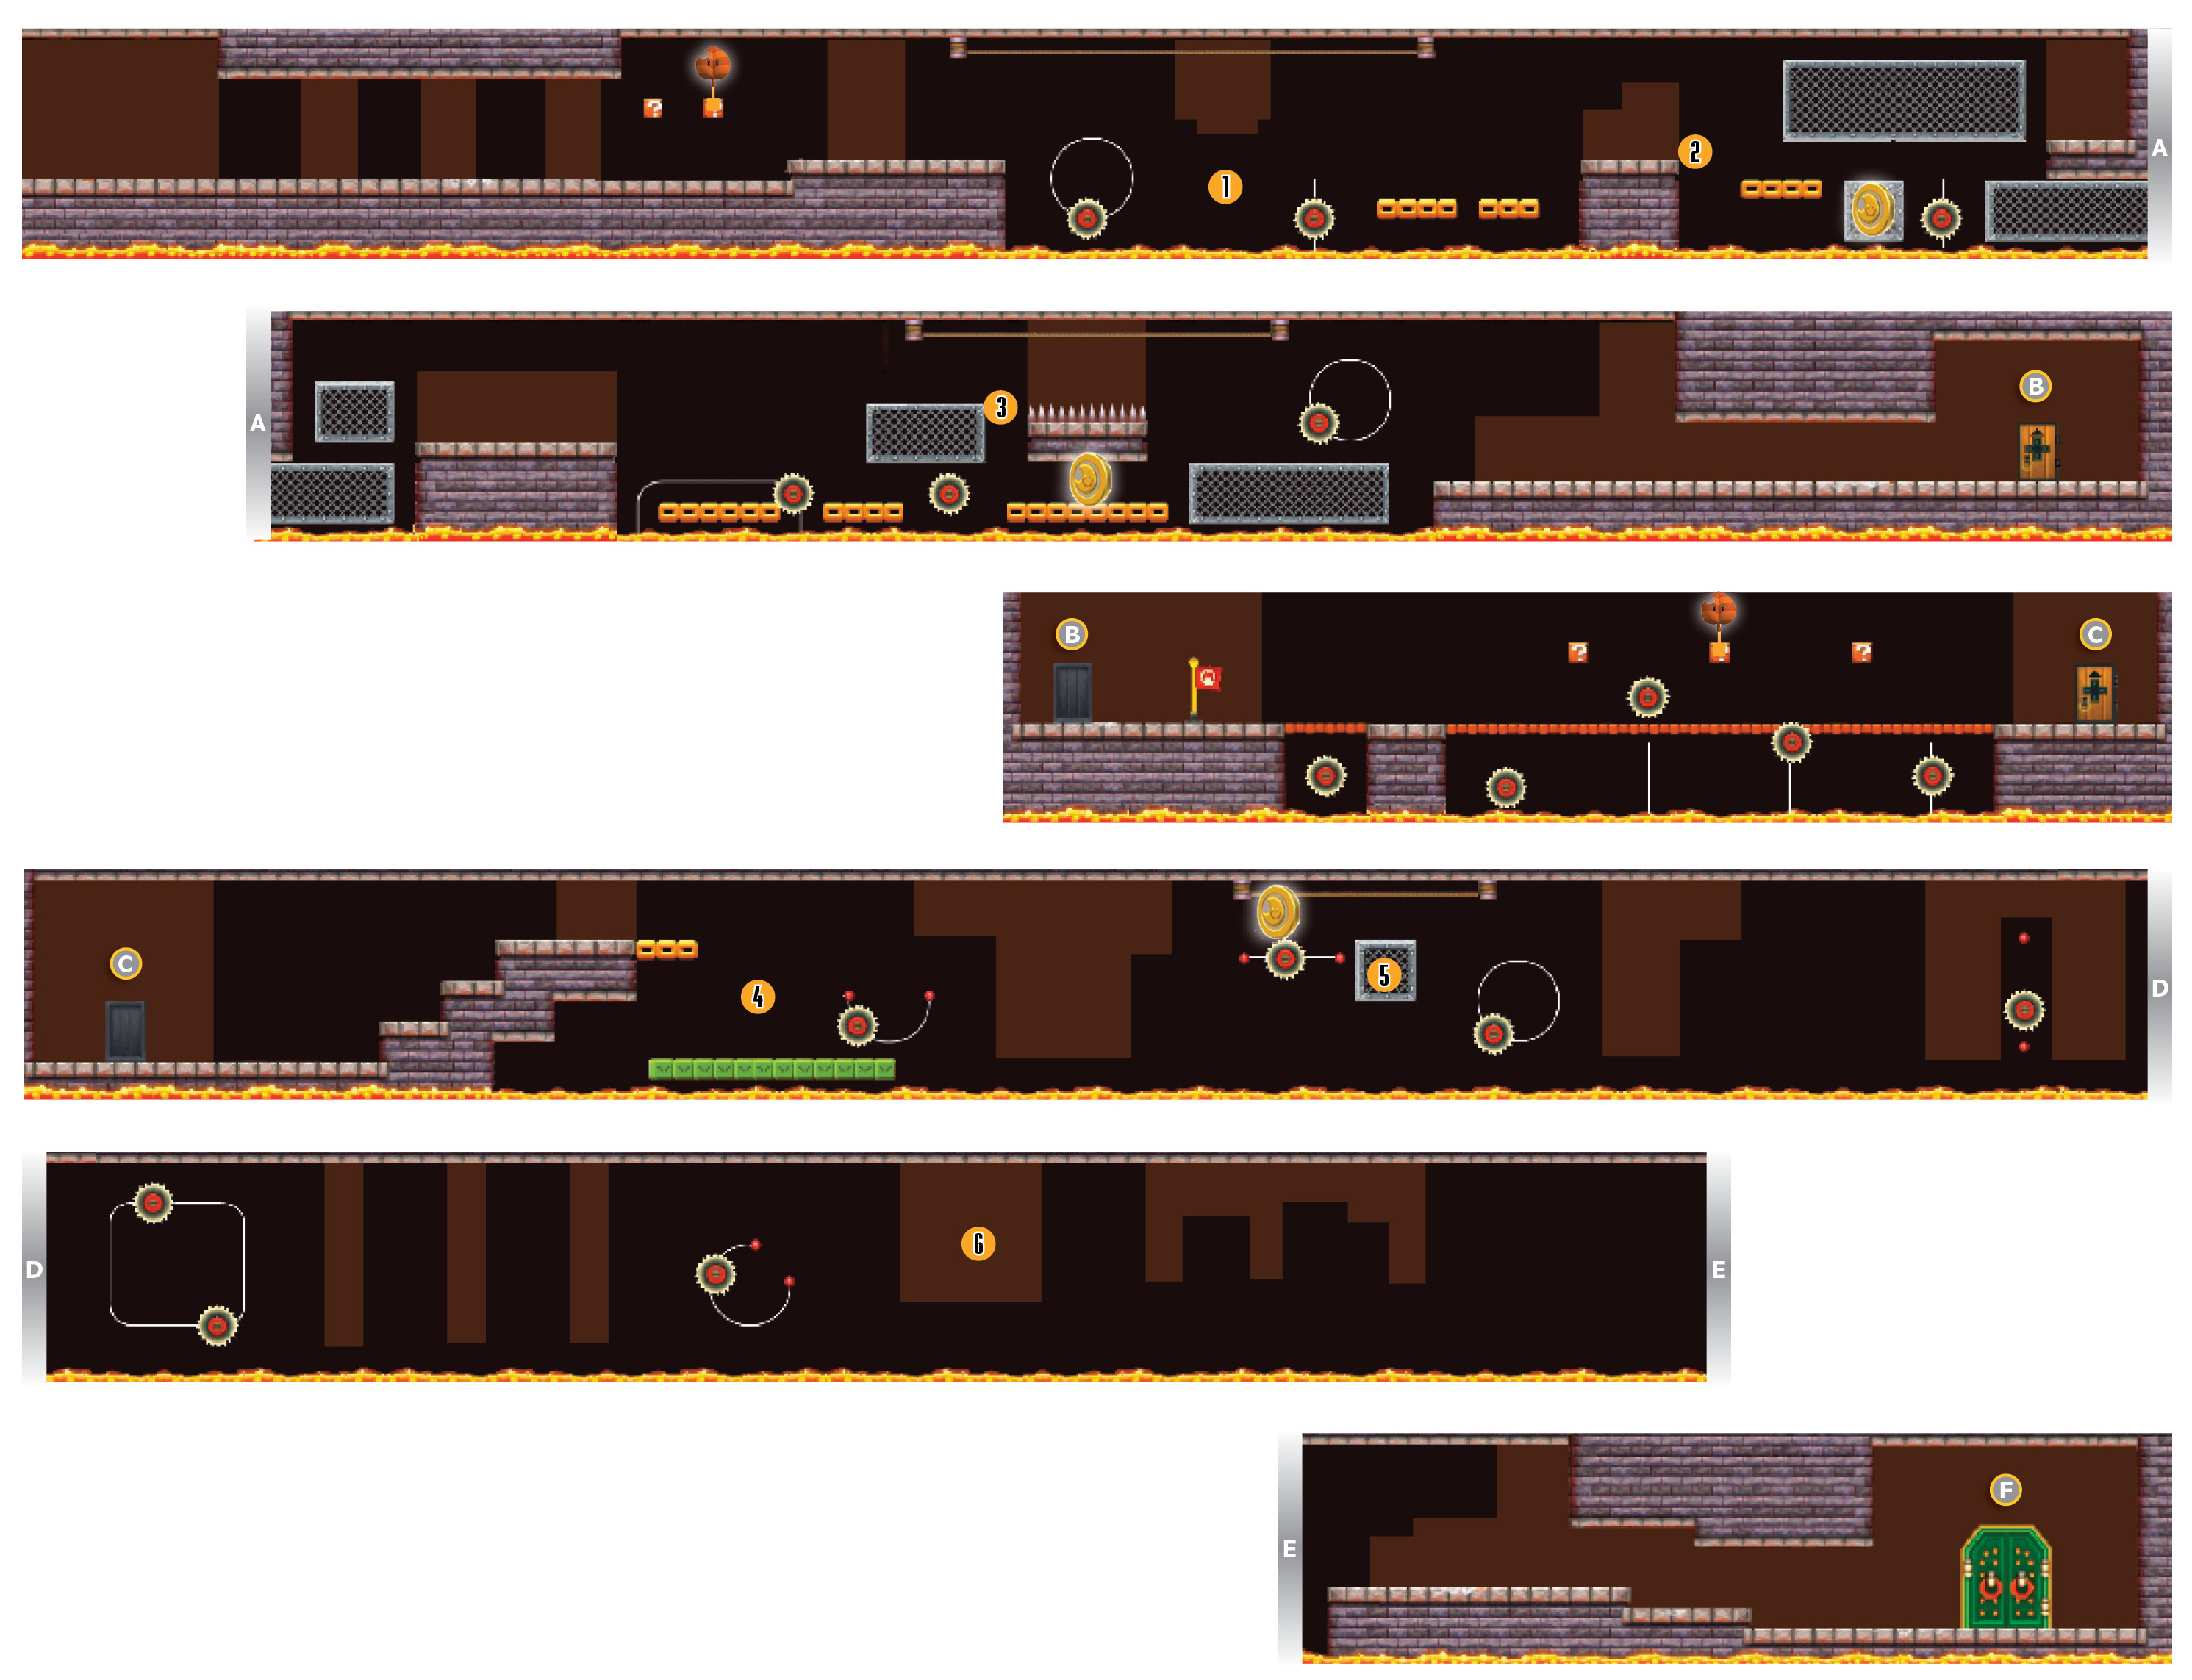
The first Moon Coin is floating in front of a small fence at Point 2. Wait for the flying carriage to emit a flash, then dash across the Donut Blocks and drop down to the Moon Coin. Grab on to the small fence, then jump up to the larger fence and continue through the area.
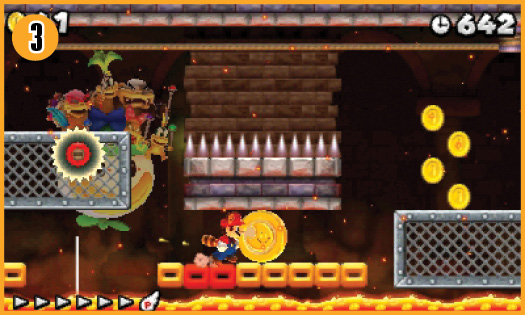
When you reach Point 3, wait for the flying carriage to emit its flash, then move out of cover and drop down from the rope. Dash along the Donut Blocks to grab the Moon Coin, then hurry to the next available wall. If you move quickly, you should make it back into cover before the next flash.
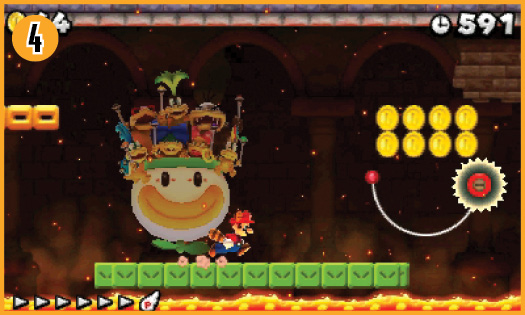
When you reach the Caterpillar Blocks at Point 4, they start moving over the surface of the lava. To reach the end of the area, you must keep pace with the Caterpillar Blocks, while still managing to avoid hazards and take cover from the flying carriage’s flashes.
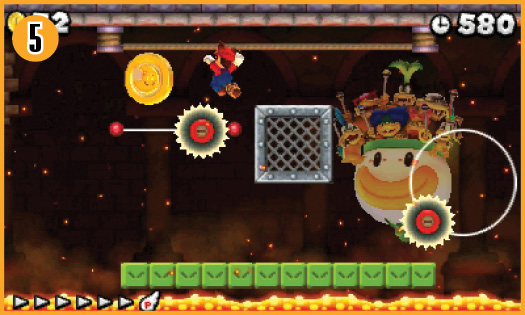
As you approach Point 5, hurry to the right edge of the Caterpillar Blocks. Grab the small fence and jump up to the rope. When you do, the Moon Coin appears to the left. Shimmy over and grab it, then hurry back down to the Caterpillar Blocks.
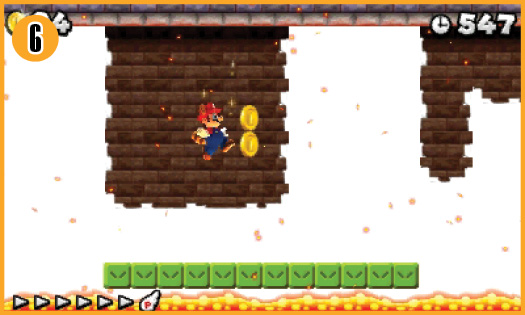
At Point 6, the only available cover is above you. To avoid being turned to stone, you must jump in front of the wall just as the flying carriage emits its flash. The carriage blinks four times before each flash—use this to time your jumps.
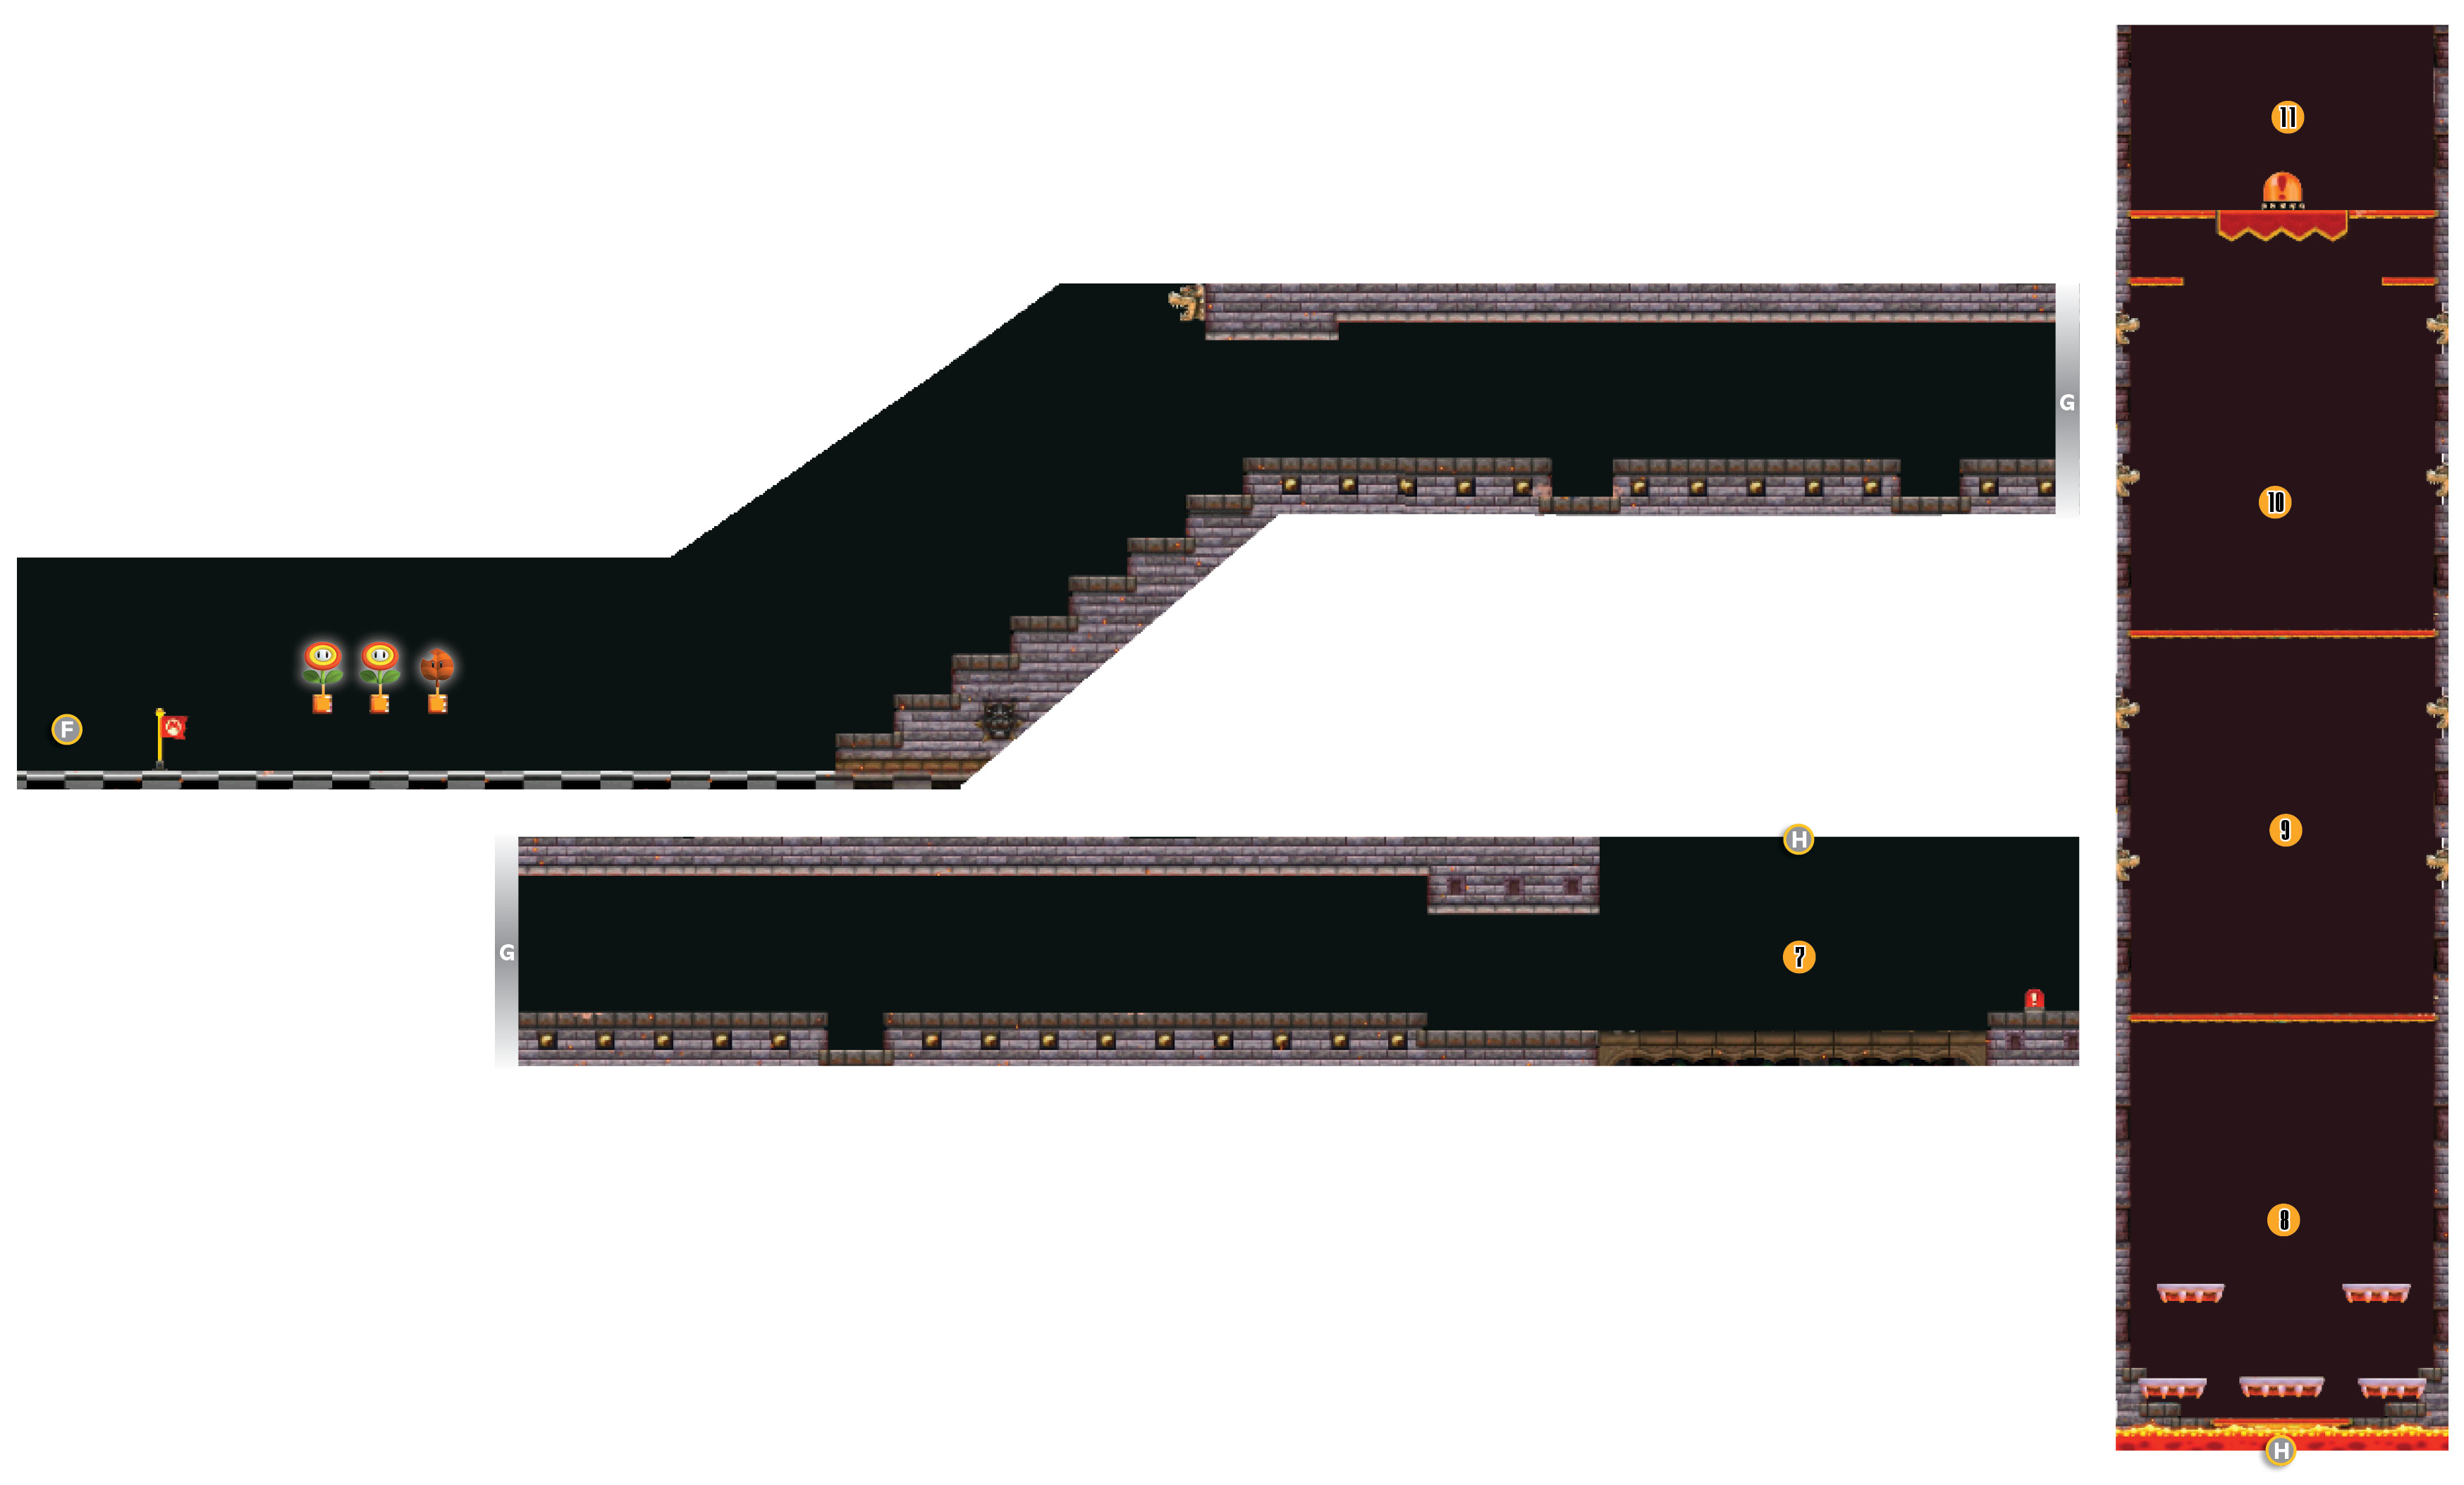
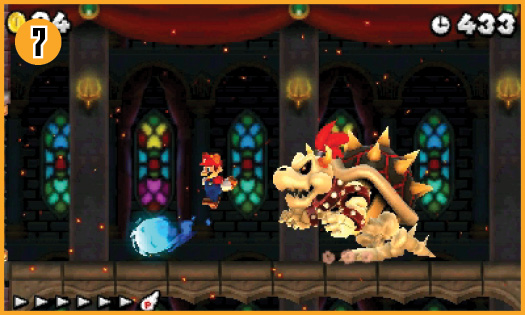
The battle with Dry Bowser is nearly identical to the battle with Bowser from World 6-Castle. When the encounter starts, keep your distance and dodge Dry Bowser’s attacks.
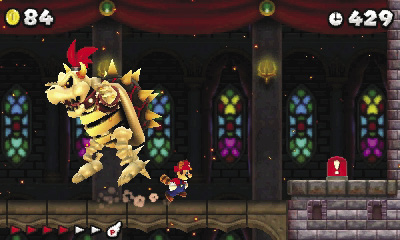
When Dry Bowser jumps into the air, slip past him and stomp the ! Switch near the right wall to drop your enemy into the lava.
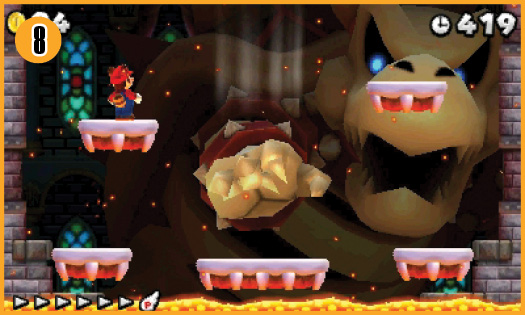
After the initial battle, a much larger version of Dry Bowser emerges from the lava. Use the floating platforms to stay out of the lava, and watch out for Big Dry Bowser’s swipe attack. When his eyes turn blue, it means he’s locked on to you. Jump away before he destroys the nearby platforms.
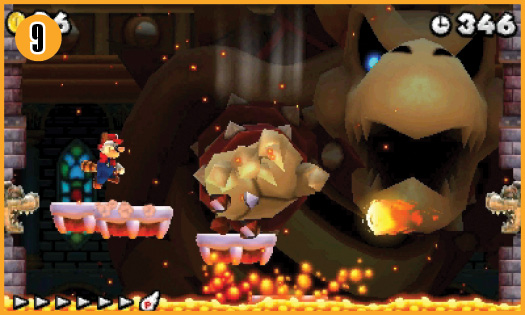
When you reach the first walkway, jump over Big Dry Bowser’s flame breath and wait for the next batch of platforms to appear. Move between the platforms to stay out of the lava, avoid incoming swipe attacks, and dodge the fireballs emerging from the Bowser sculptures along the walls.
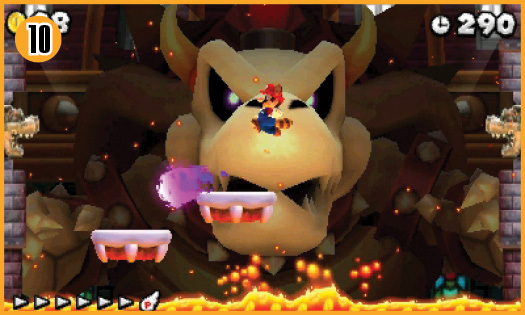
When you reach the second walkway, jump over Big Dry Bowser’s flame breath and wait for the next batch of platforms to appear. The Bowser sculptures in this area produce purple homing fireballs. Use the platforms to avoid hazards and stay out of the lava.
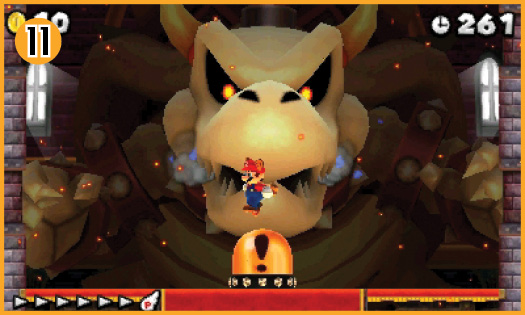
When you reach the third walkway, stomp the large ! Switch to defeat Big Dry Bowser and complete the level.