
Kid Icarus: Uprising Guide Walkthrough Chapter 9: Medusa’s Final Battle
Land Battle
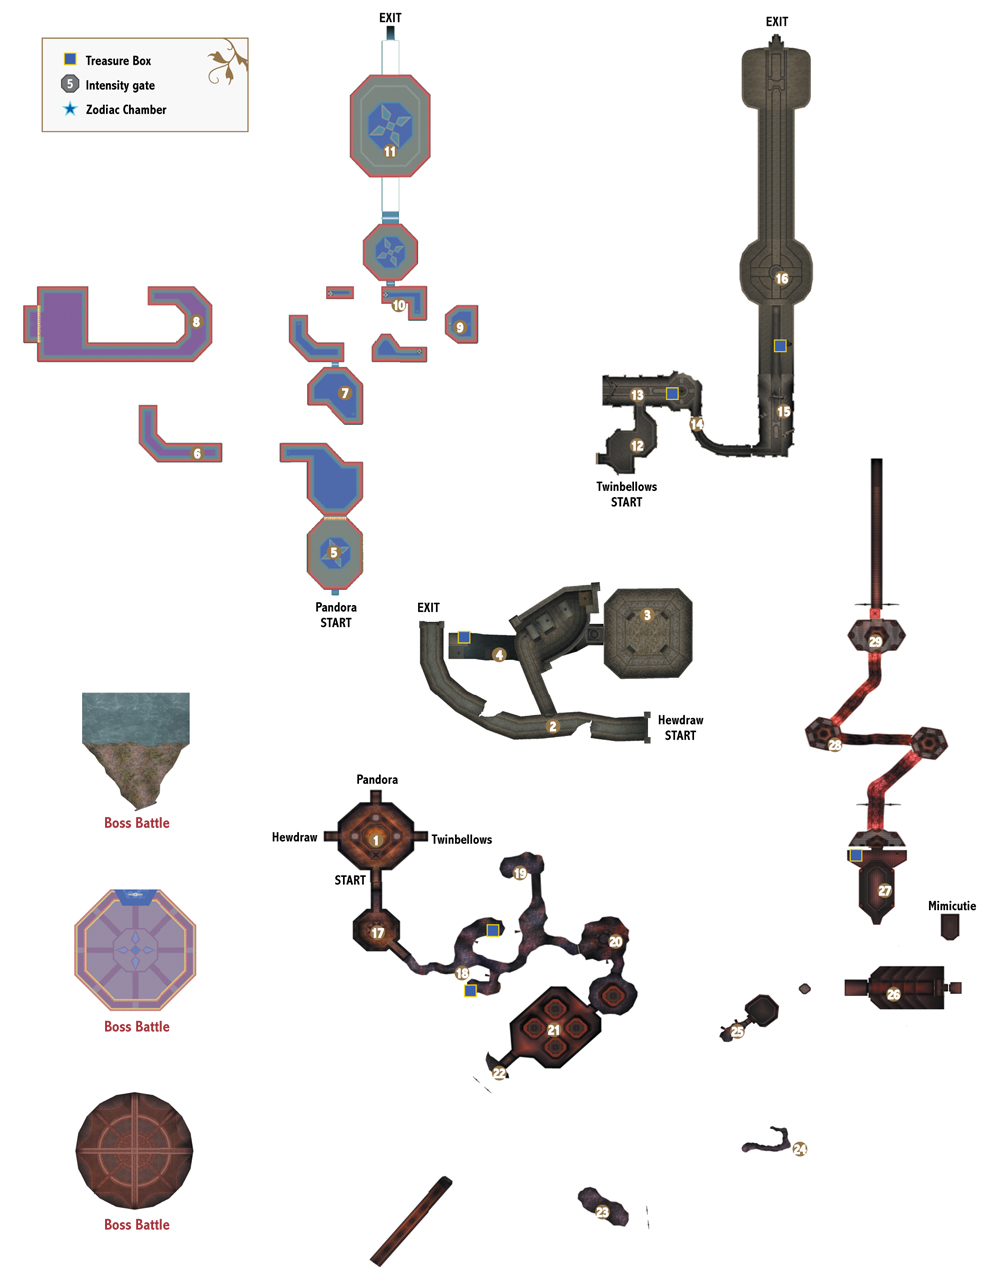
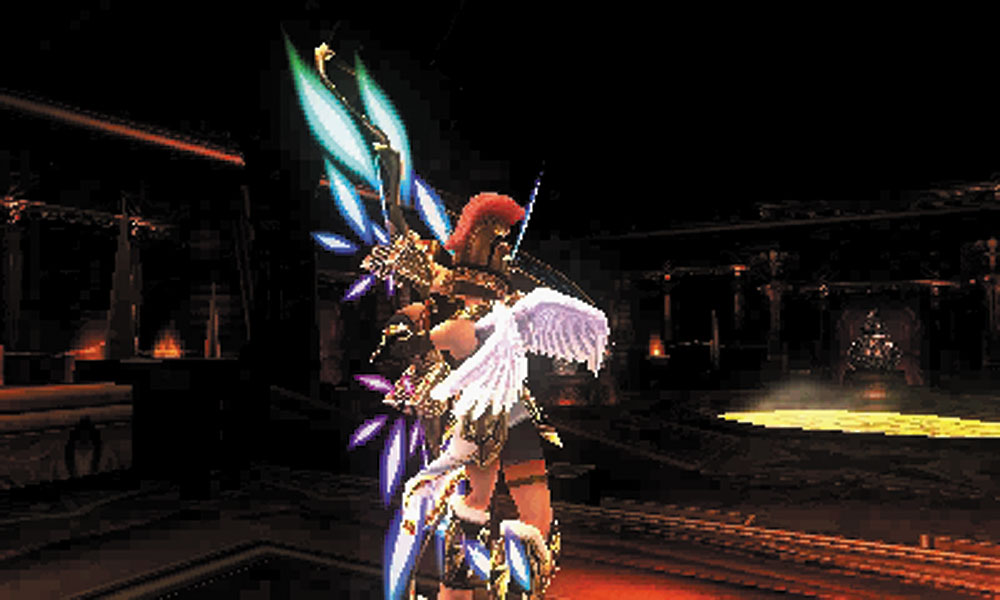
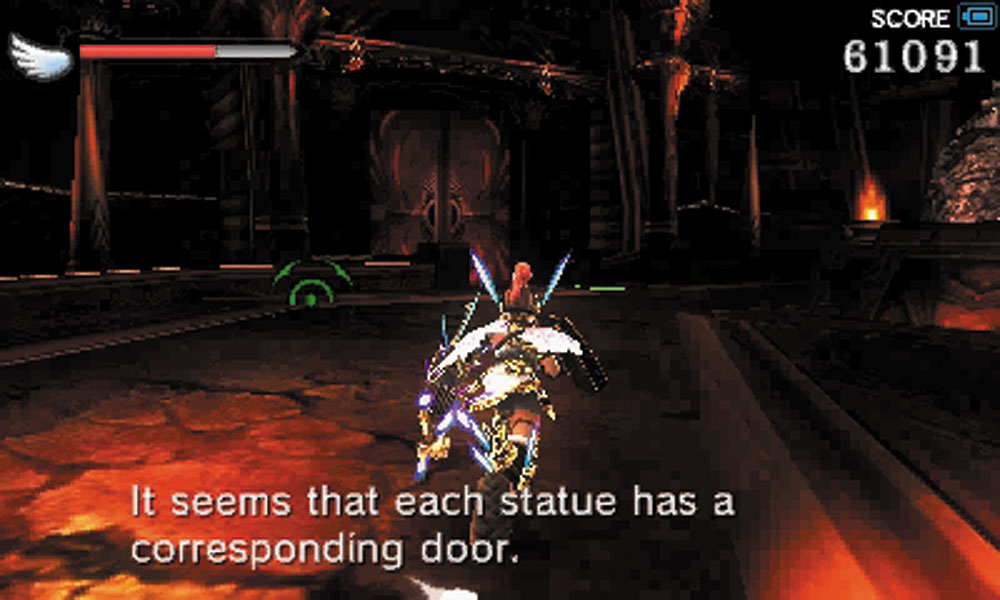
1. The first part of the castle is a room with three distinct doors. Each door has a statue representing a boss that you’ve already overcome: Twinbellows, Hewdraw, and Pandora. At the center of the room is a hot spring that you can use between each battle. Once you enter one of these doors, you will be transported to a small level that looks similar to the chapter in which you originally encountered each boss. There is no correct order in which to battle the bosses.
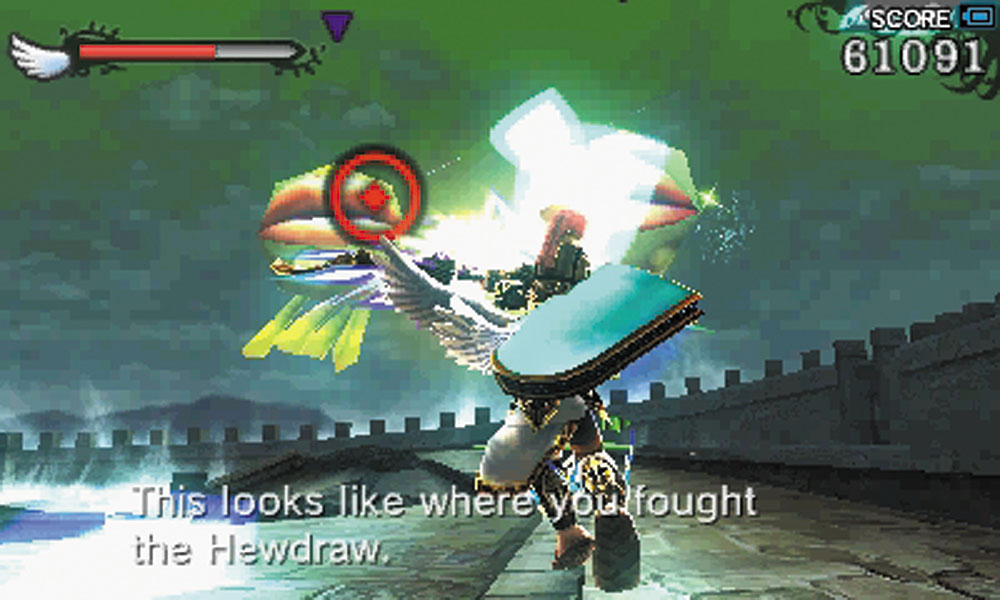
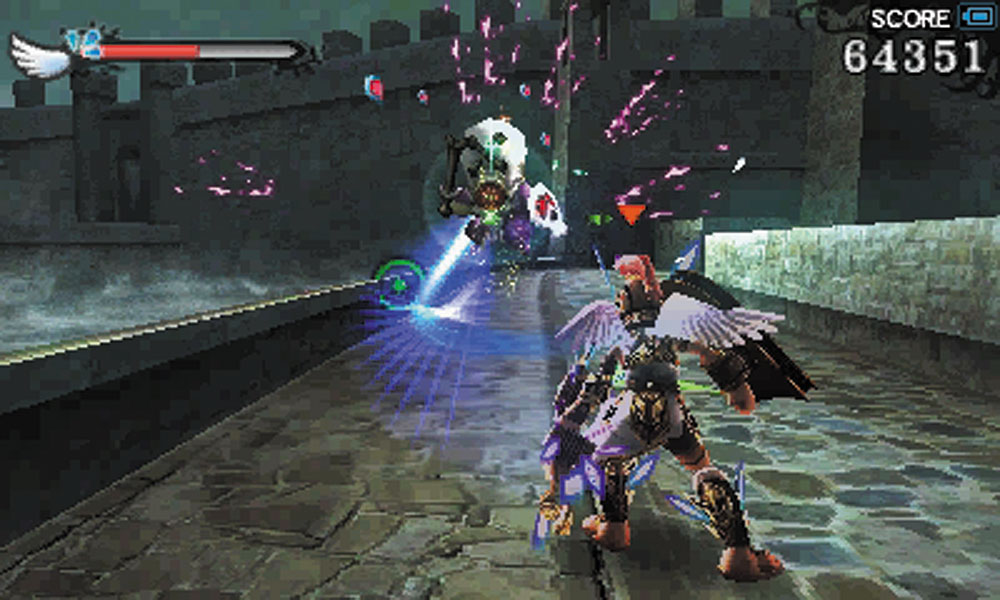
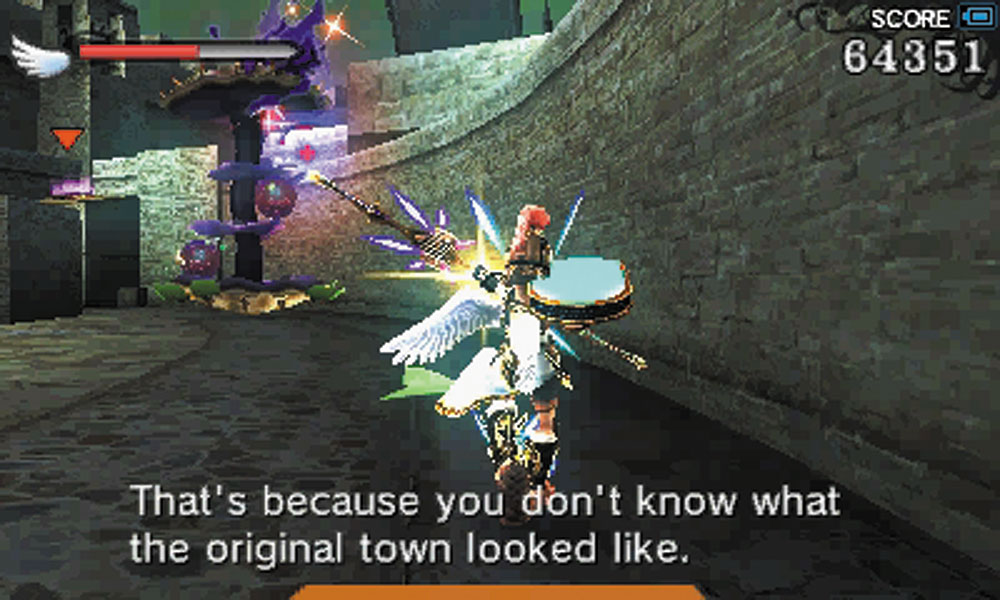
2. The Hewdraw stage starts off with Miks and Monoeyes in the air surrounding you. Take the side path that leads to a series of houses with jump pads on them, and eliminate the Skuttler and Mega Mussel on patrol here.
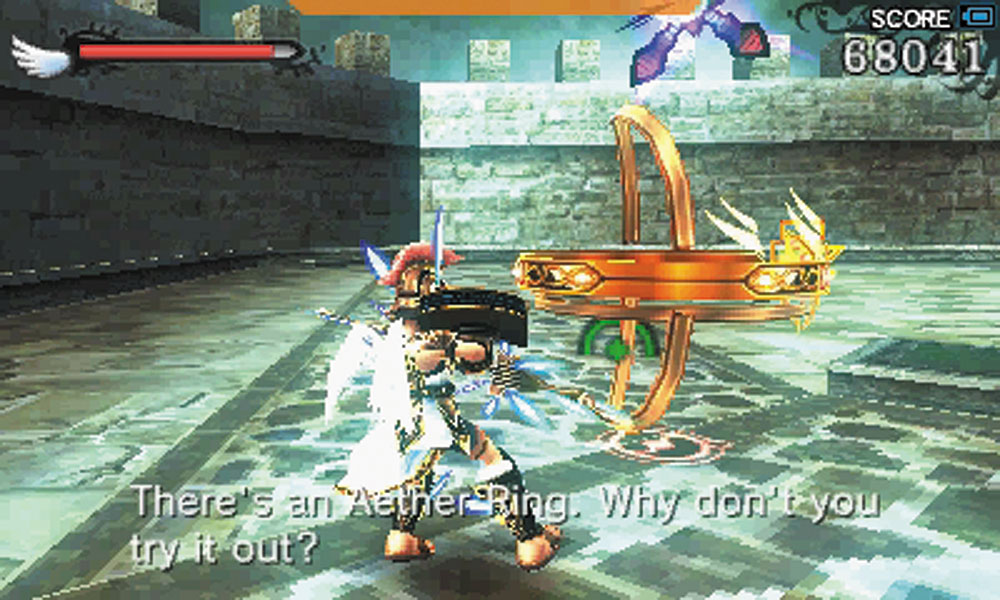
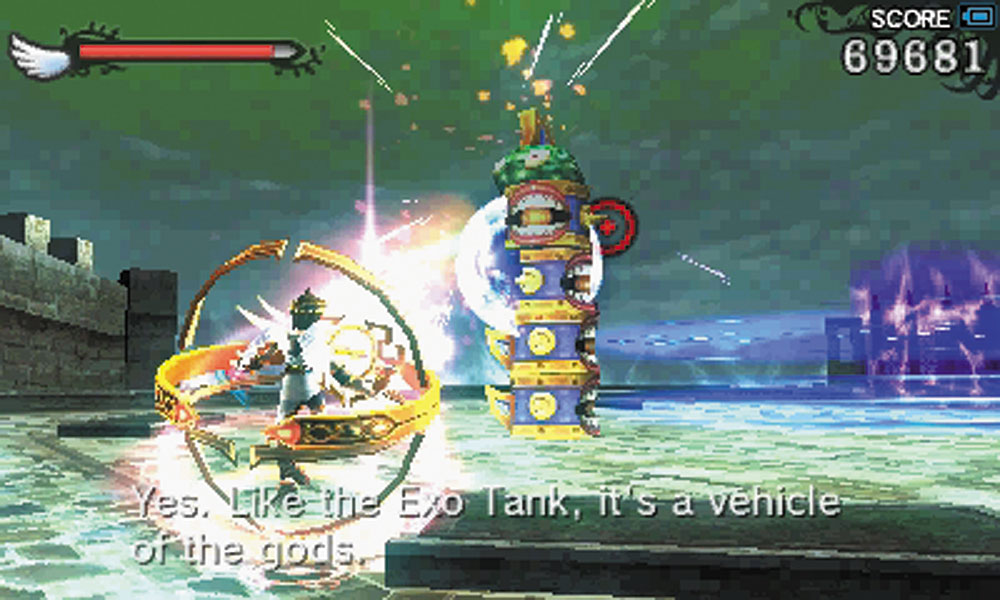
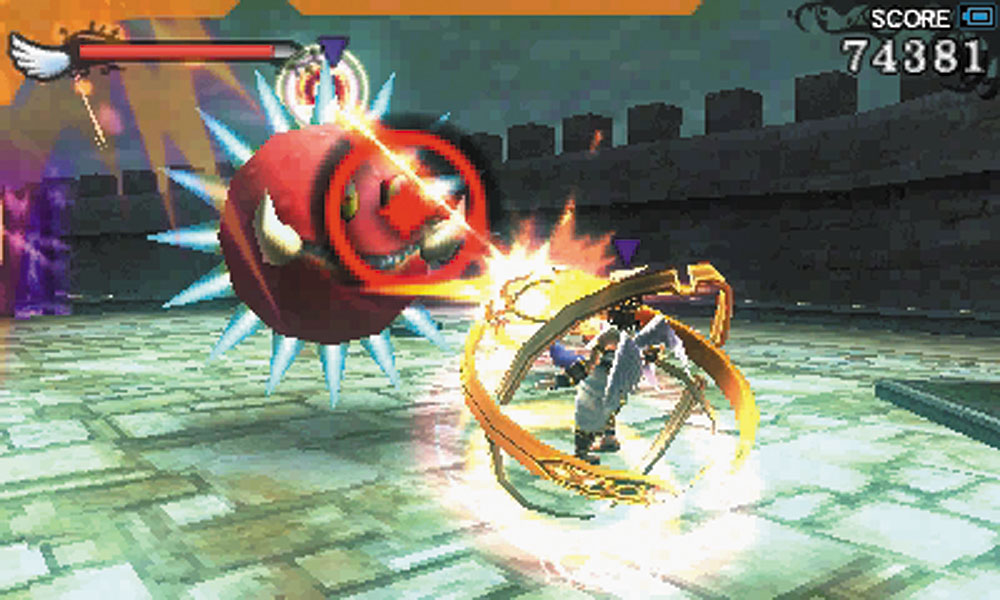
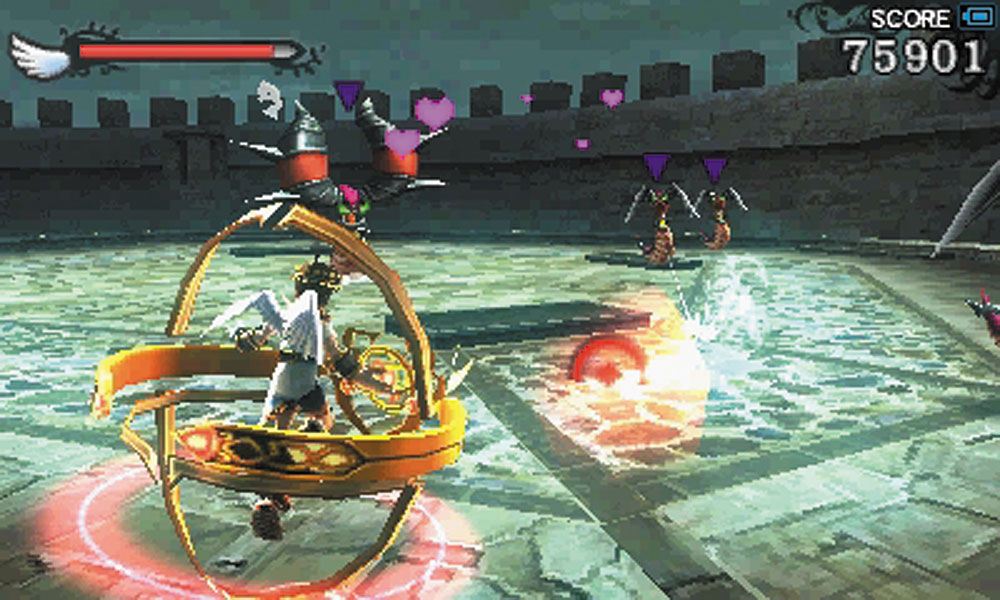
3. The Aether Ring vehicle can be tough to control, but the extra firepower will make short work of the enemies in this arena. Remember to use the shield ability on the Touch Screen to protect the Aether Ring from damage. If it survives this battle, you can take the Aether Ring into the sewers below.
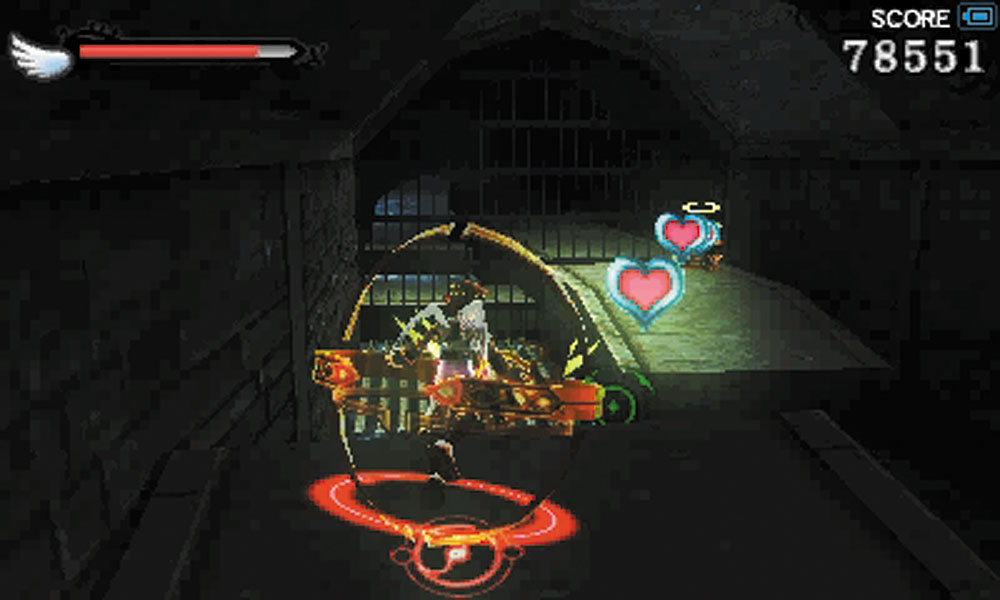
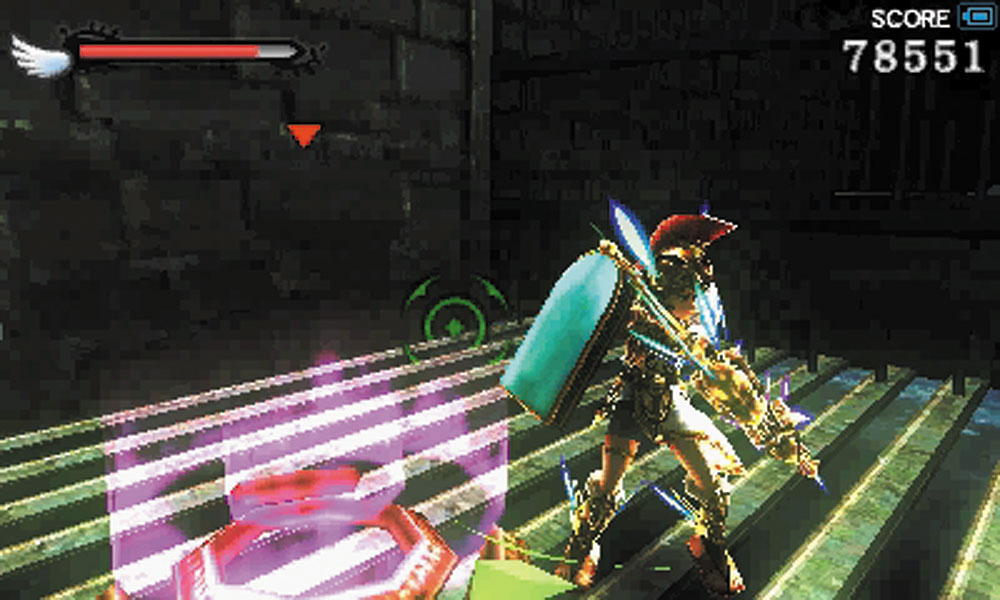
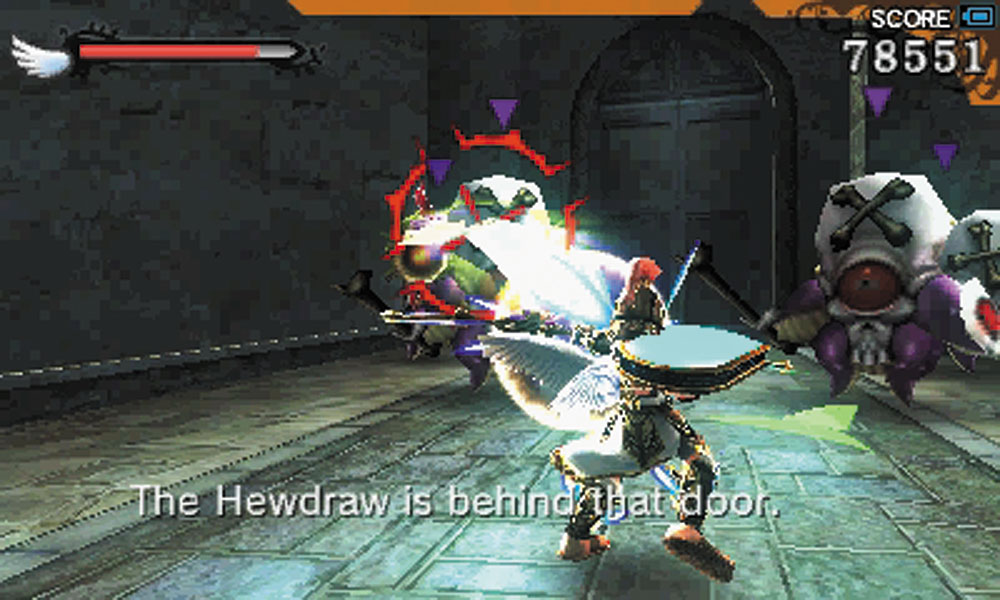
4. Palutena offers a prize if you can take the Aether Ring across the gaps in the sewers. Collect the Treasure Box, then take the jump pad back to the surface. A group of Skuttlers mounts a last-ditch defense of the gate leading to Hewdraw Reborn.
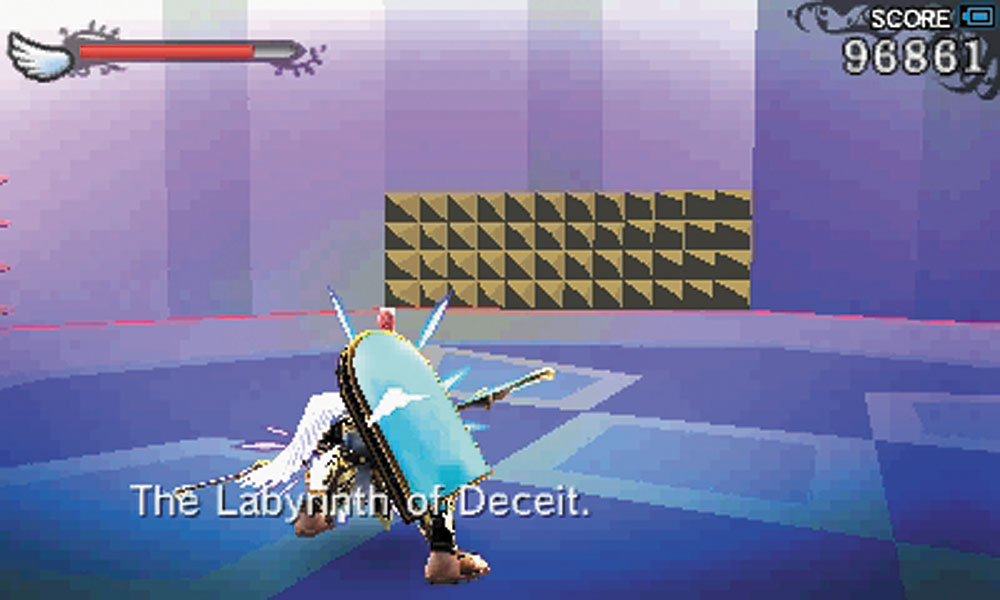
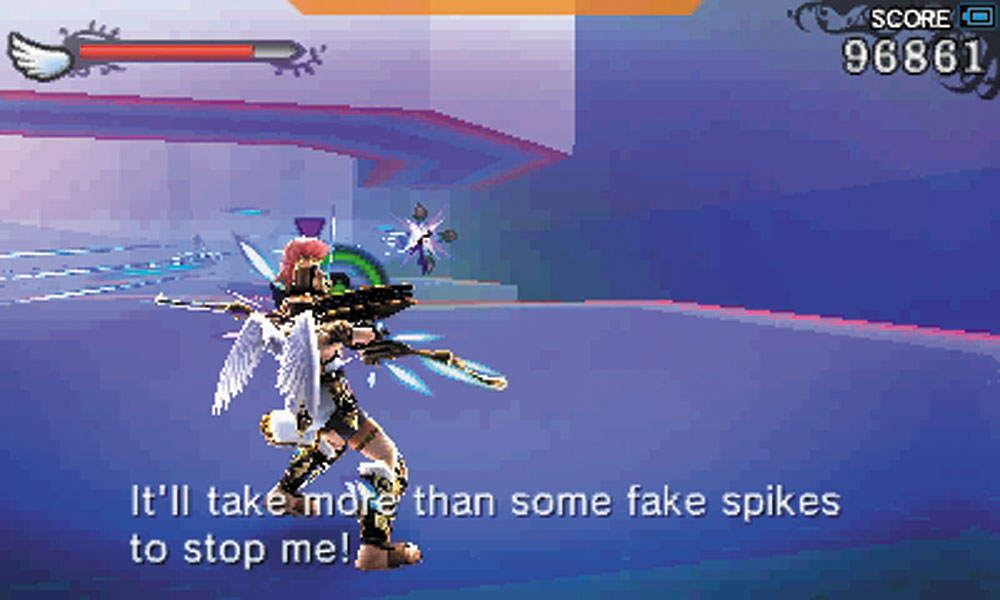
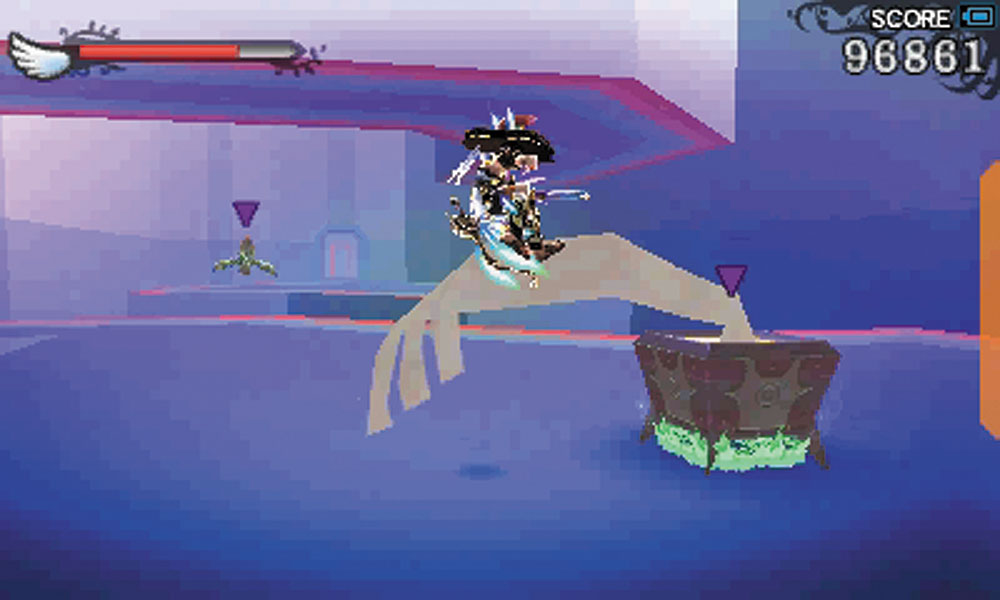
5. The recreation of Pandora’s Labyrinth of Deceit includes more optical illusions and mind-trickery. The first illusion is right where you start. The spiked wall directly in front of you at the start is actually fake. Walk through it and take on the Underworld troops on the other side. Look out for the Sinistew just past the fake wall.
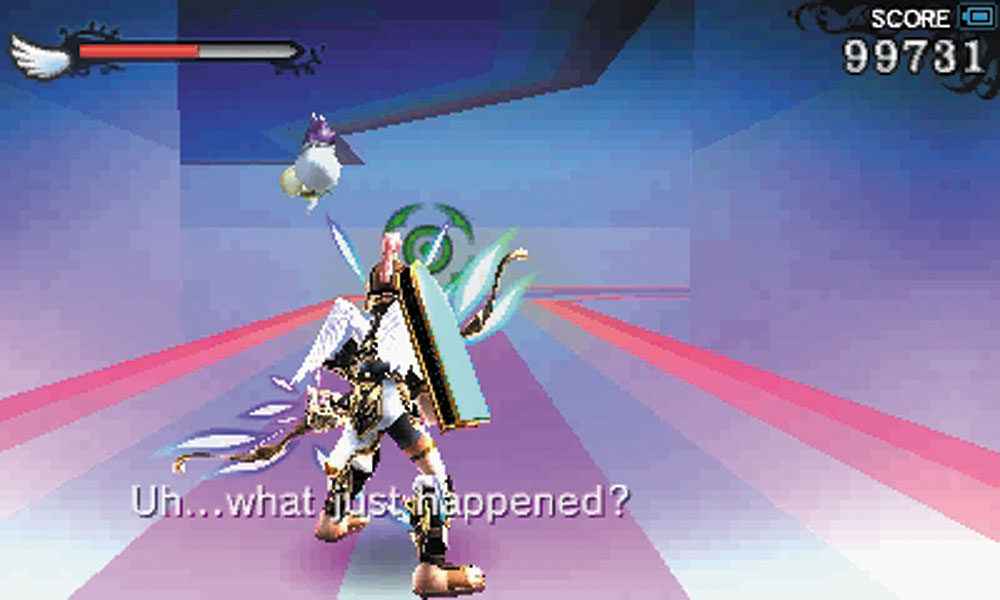
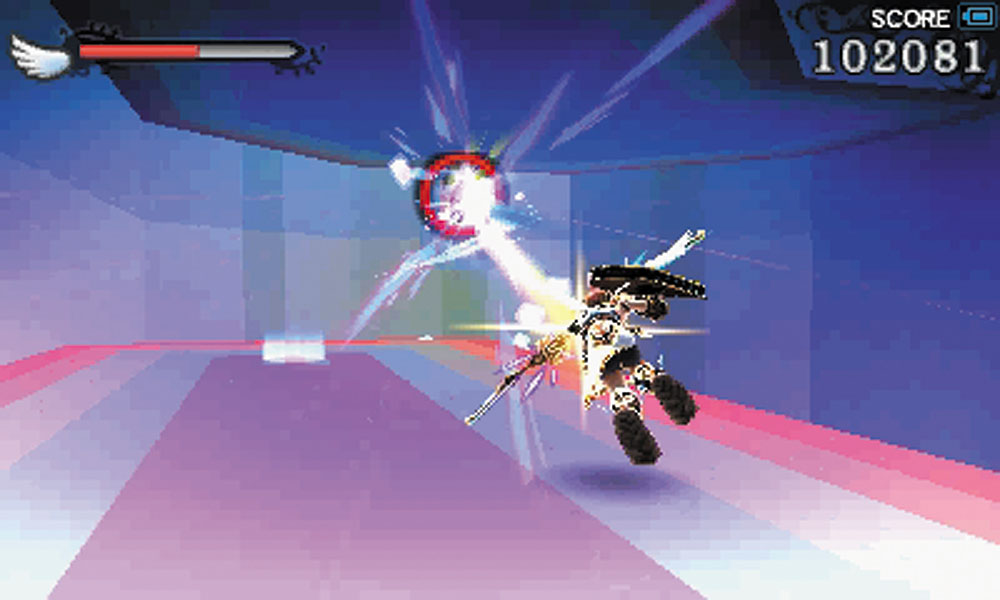
6. After destroying the enemies, a portal opens up and transports you to the rooftop. If you look up, you can see where you just were. Follow the path to the next portal.
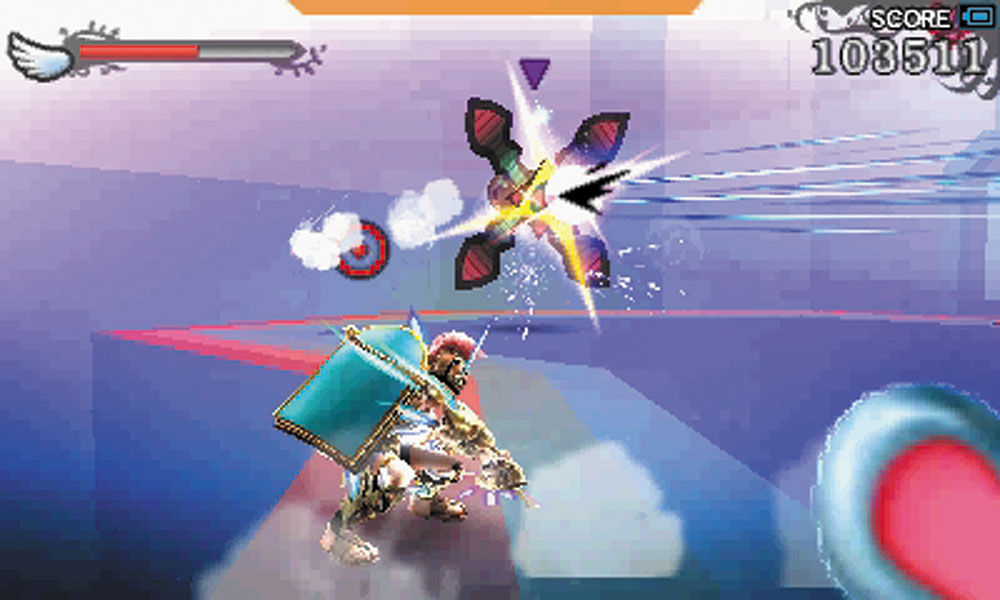
7. Gyrazers guard the exit to this area.
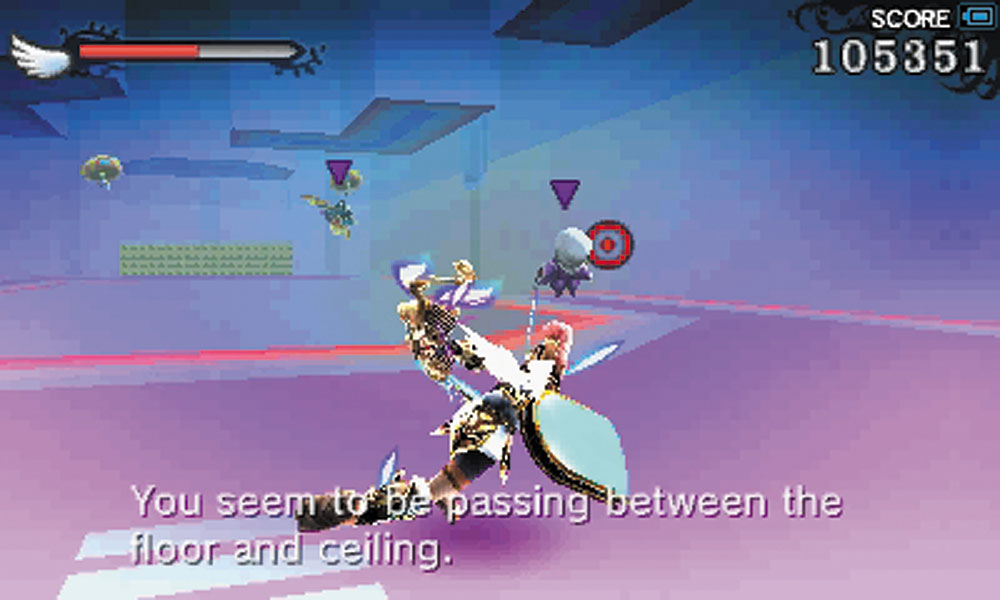
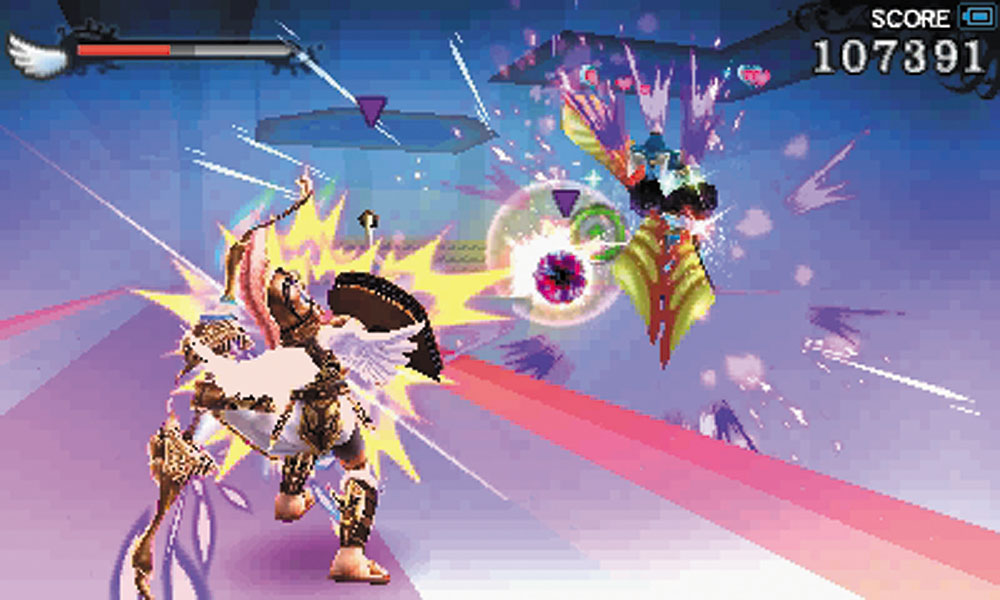
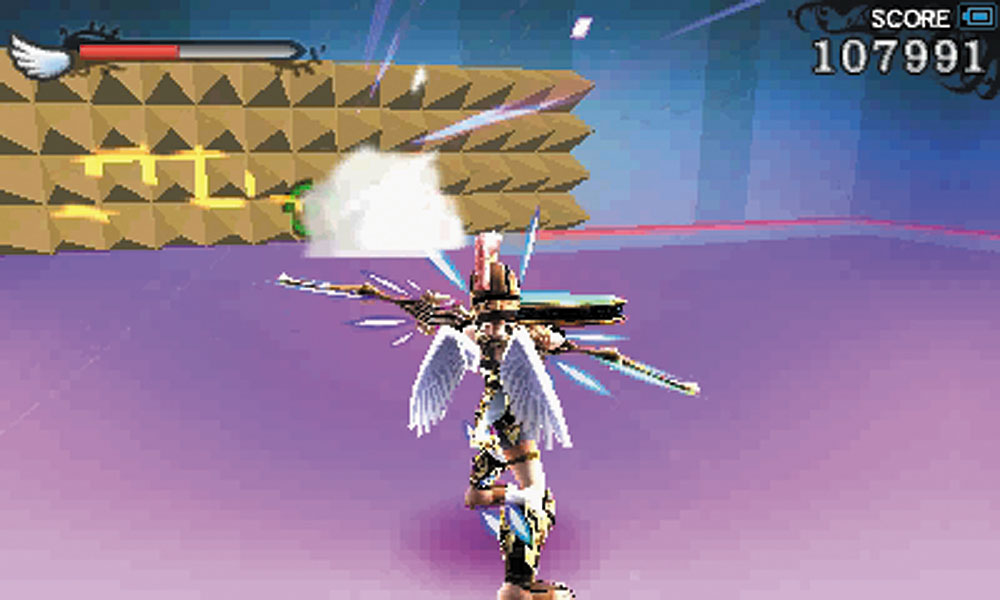
8. After another portal, you’ll see another spike wall in the distance, with Skuttlers, Daphnes, and Miks standing between you and it. The wall itself is another illusion that hides a portal.
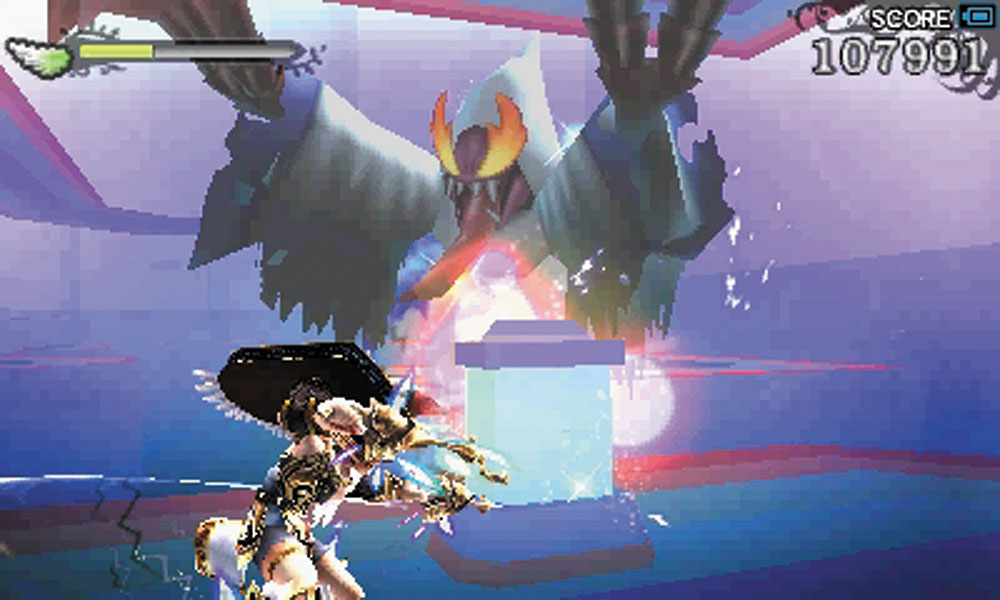
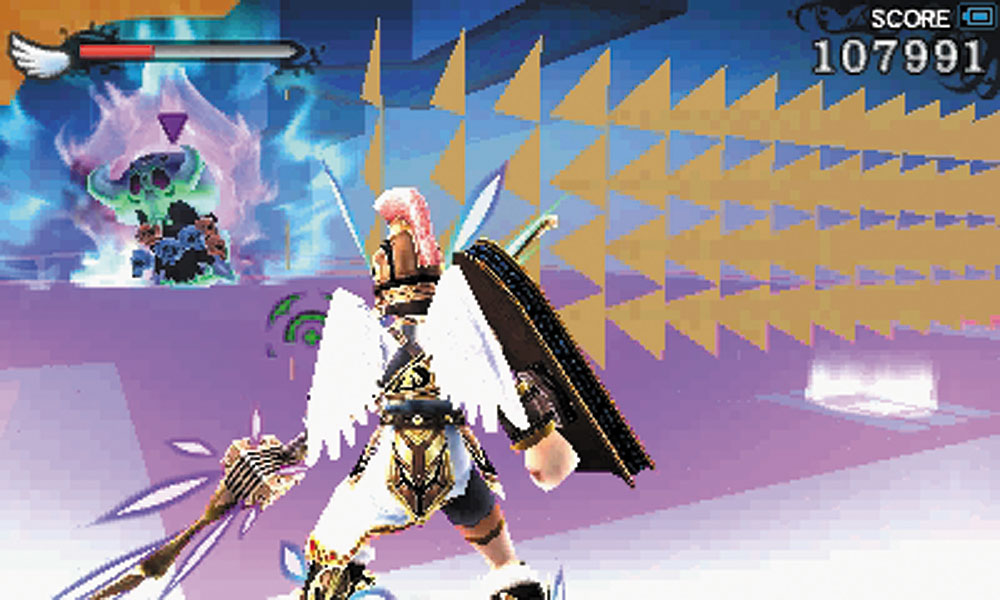
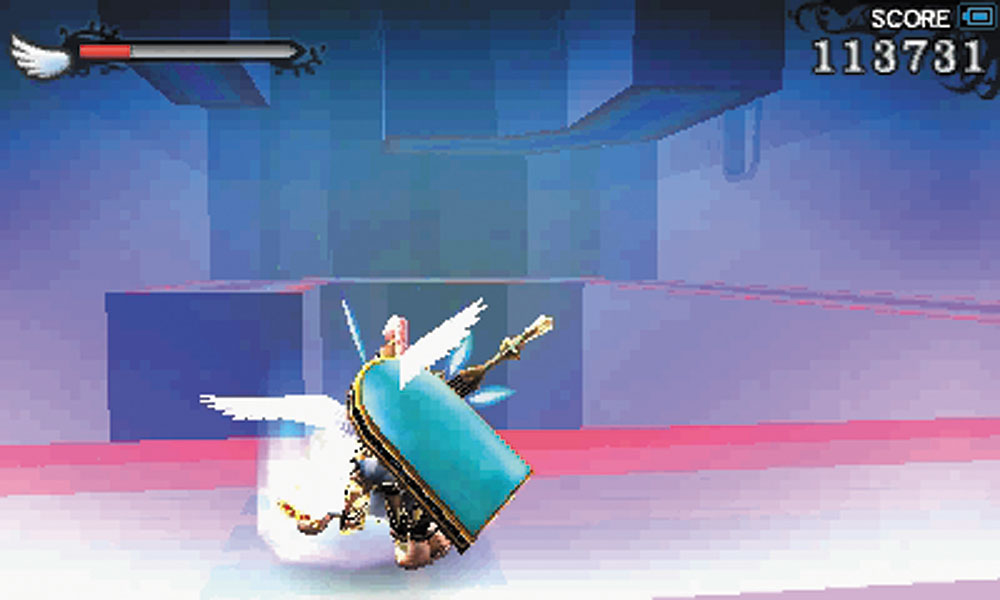
9. You’re getting close to Pandora now. Zurees greet you as soon as you step through the portal, protecting a switch that you need to hit. Eliminate the monsters, then hit the switch and pass back through the portal to end up back behind the spiked wall. Take out the Orne that has appeared and then take the new portal.
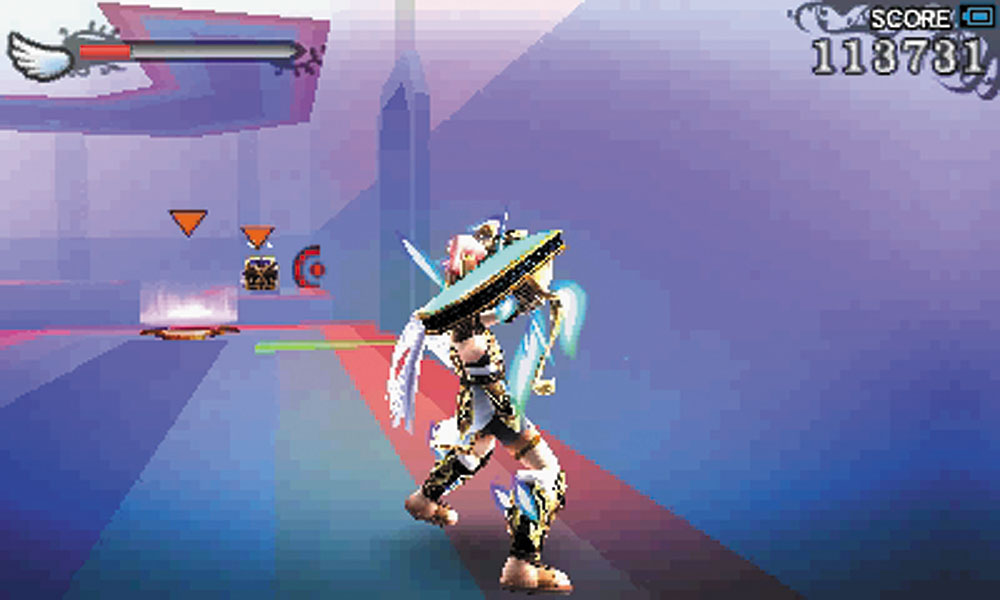
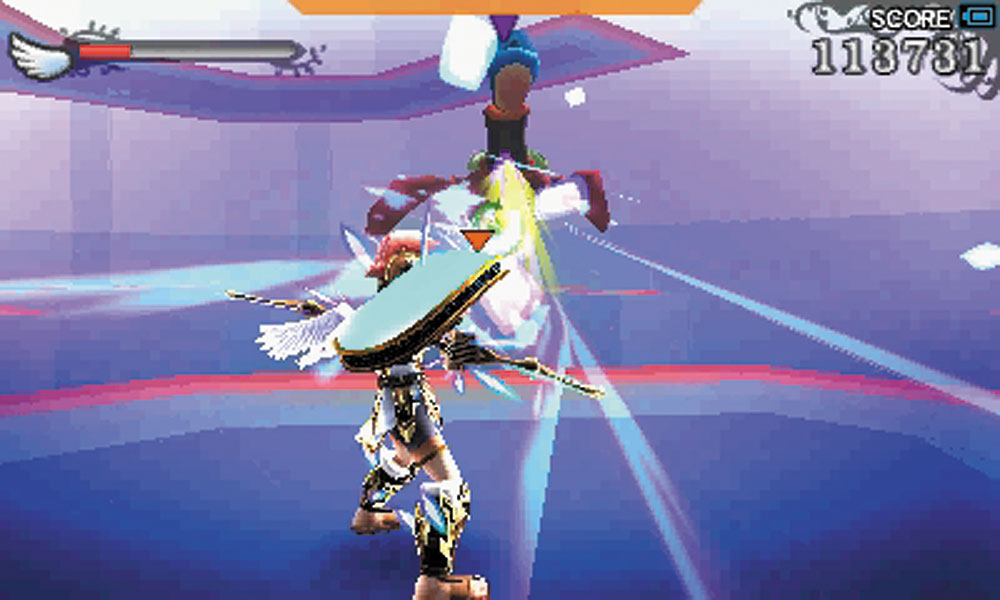
10. Make sure you take the jump pad over to the treasure, then follow the other jump pads back to the door.
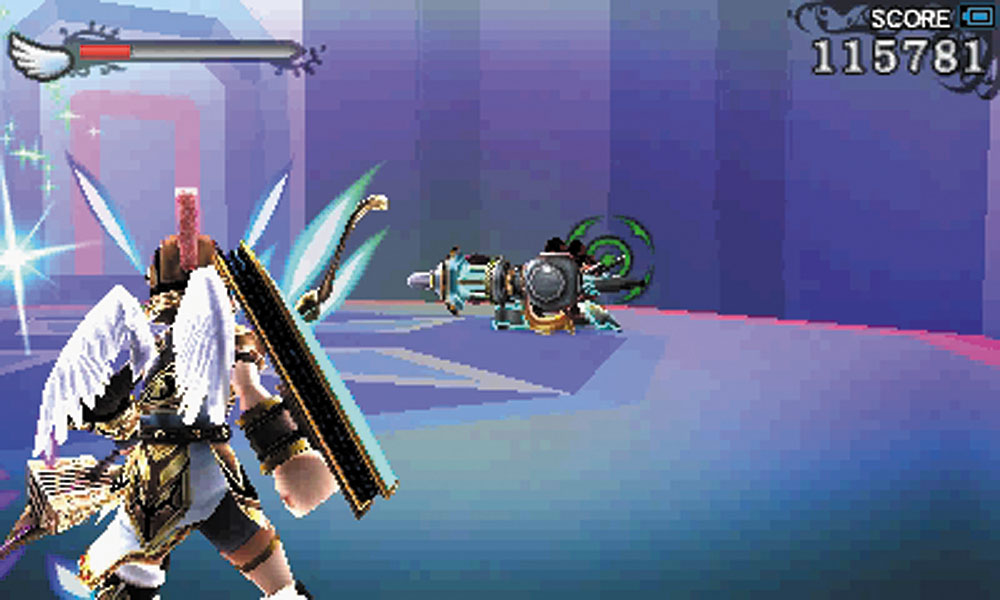
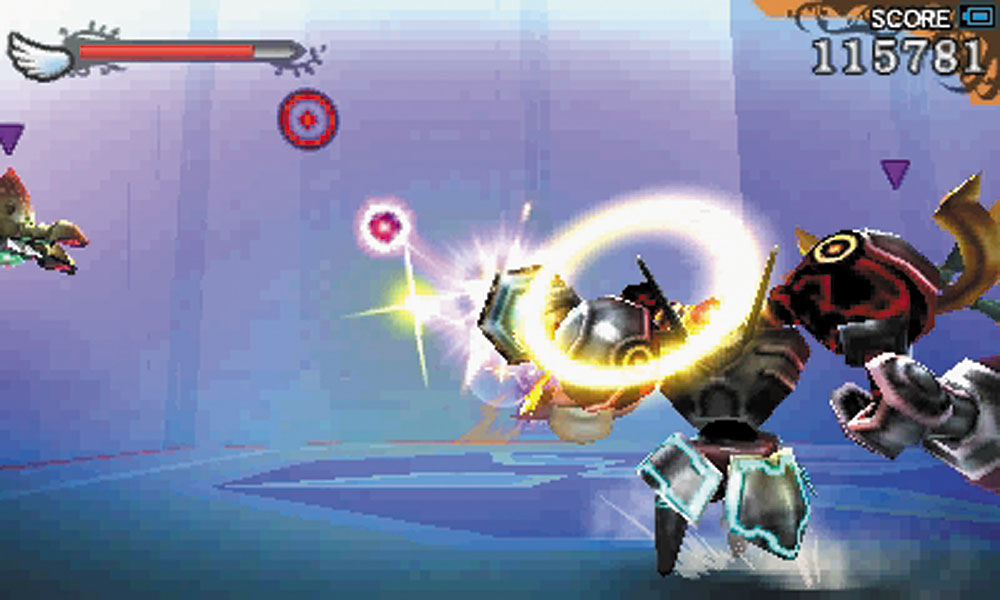
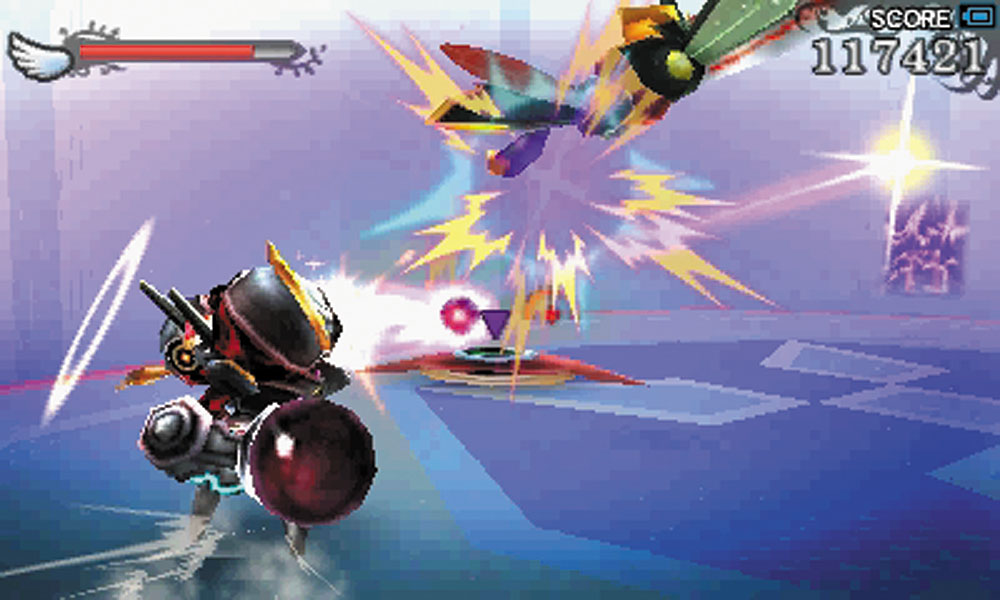
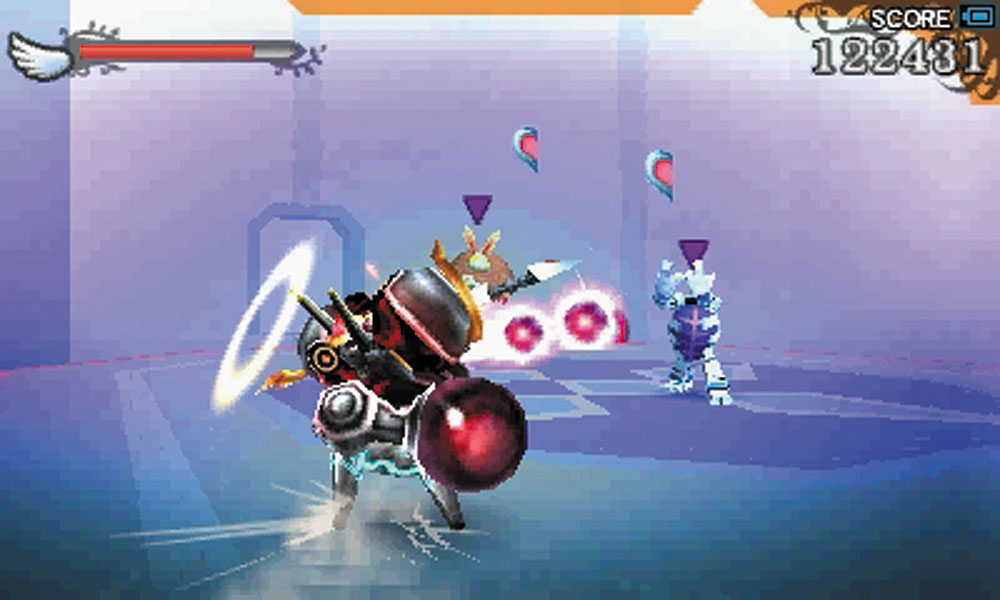
11. Cherubot time! Hop in, take the mech to the next room, and prepare to fight off a multi-wave assault. Gyrazers, Shrips, Nettlers, and even a Snowman attack you. After you beat the enemy, say your good-byes to the Cherubot, snag the Drink of the Gods, and charge ahead to do battle once more with Pandora!
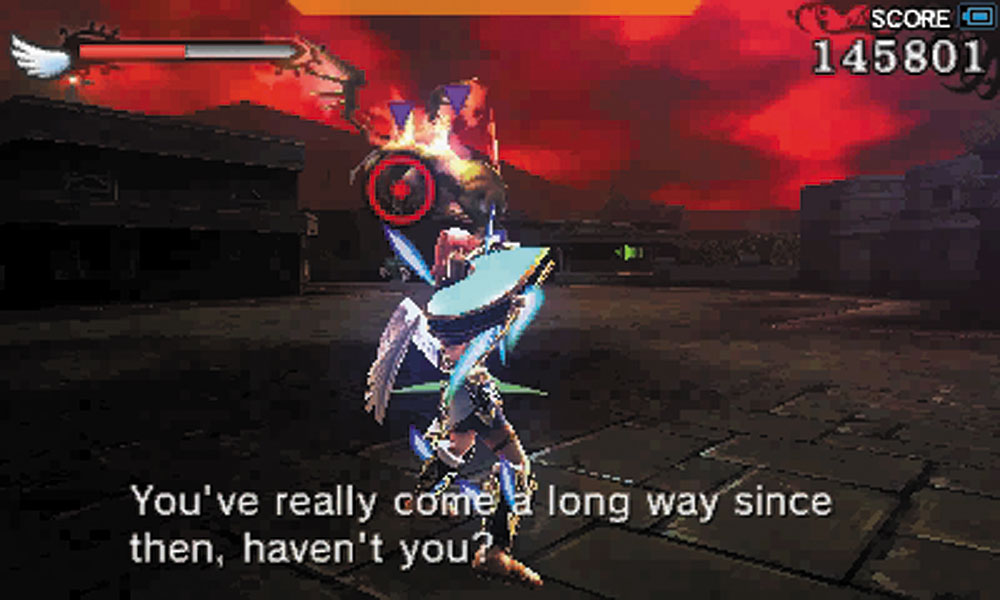
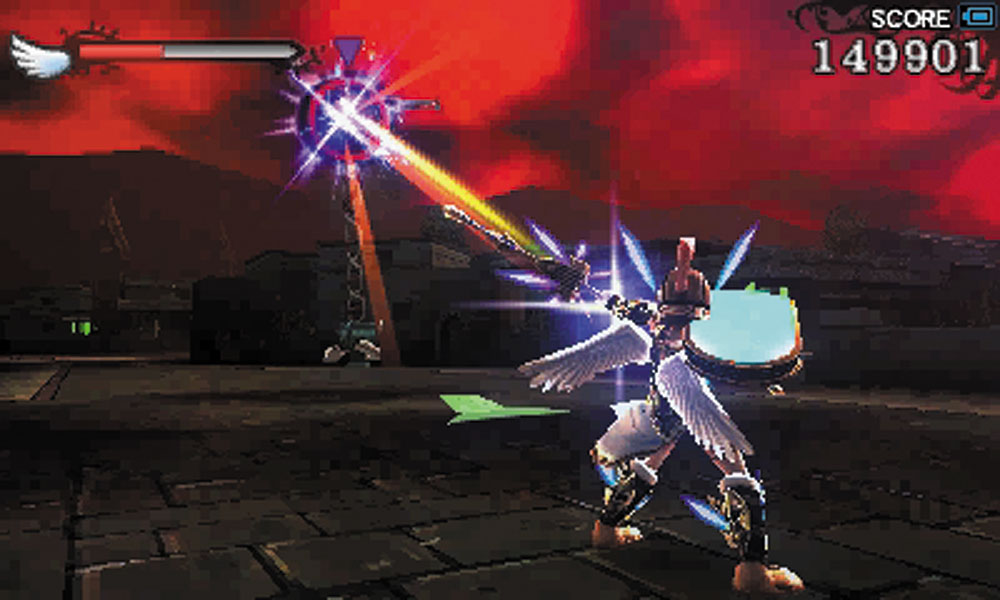
12. The route to Twinbellows is a twisted recreation of the first town Pit rescued in the first chapter, and it is much easier to navigate compared to the other two boss stages. Your first enemies are a Fire Wyrm and a Zurret.
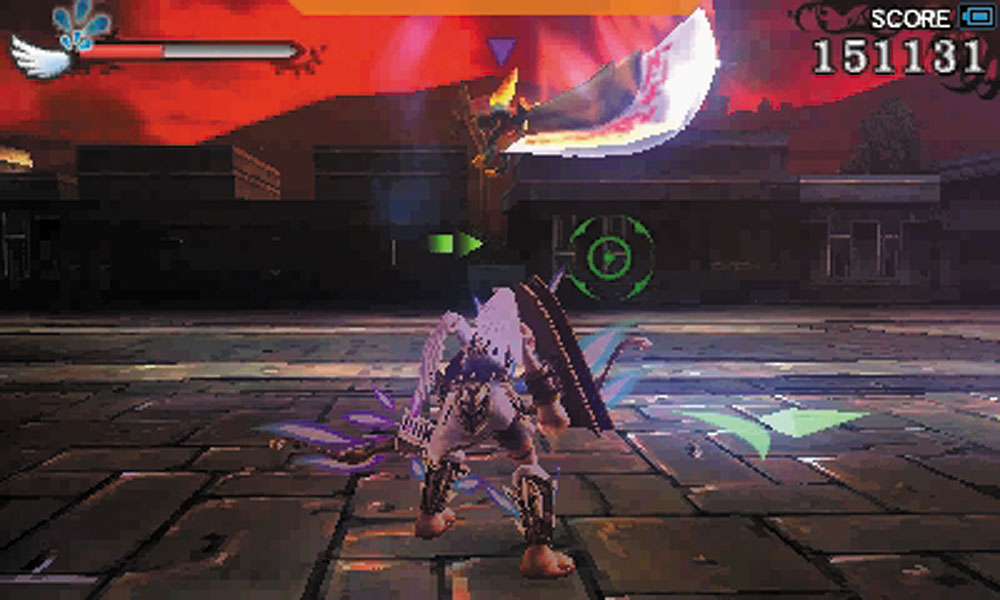
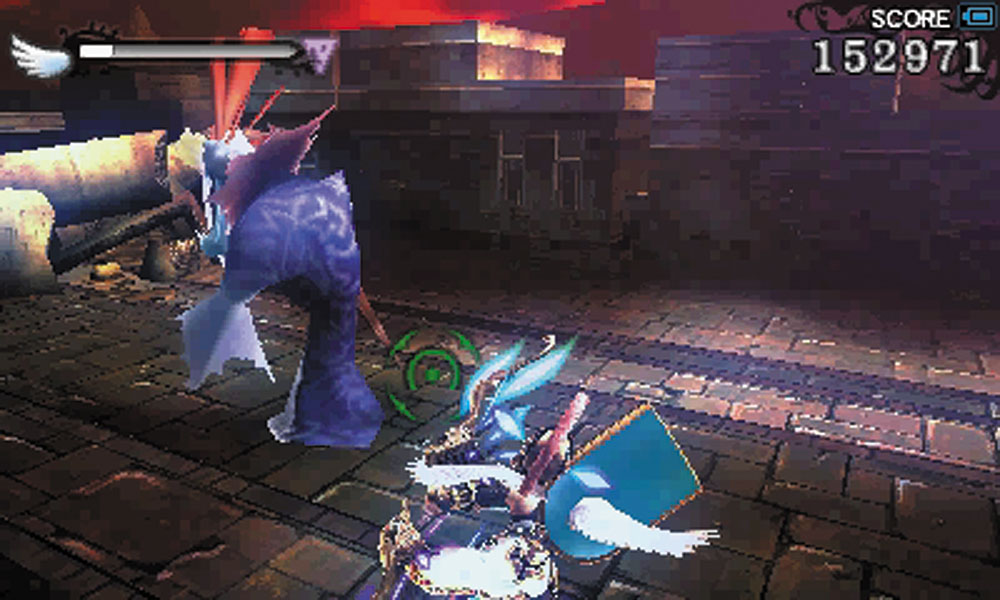
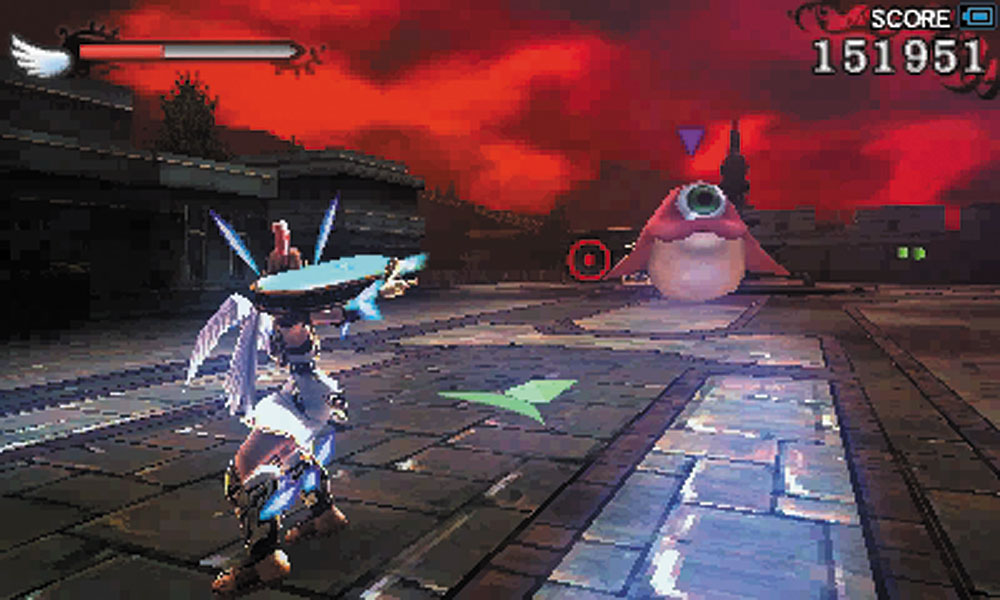
13. Shrips, a Nettler, and a Reaper protect the ruined fountain. A Treasure Box can be found nearby.
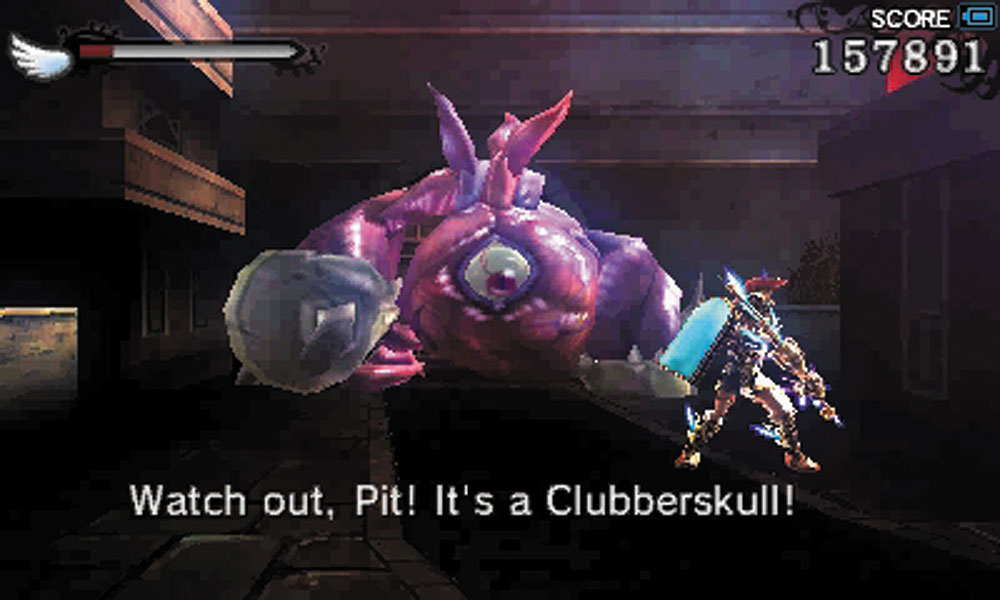
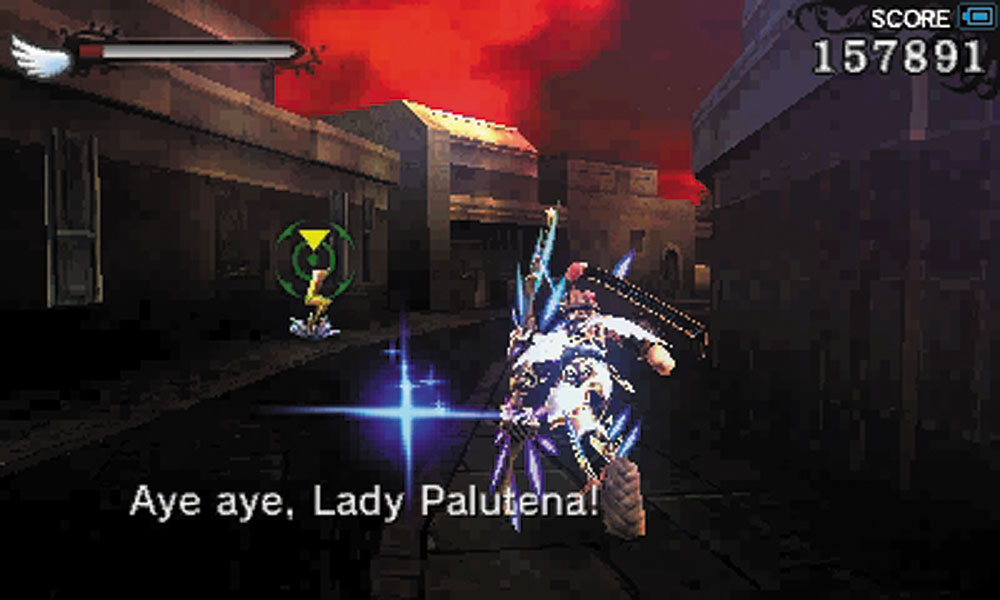
14. Facing a Clubberskull is bad enough, but having one chase you down this narrow alley can be an exercise in frustration. Do your best to evade its attacks and make your own counterattacks when you can. A Lightning of Judgment item can be found in the alley, so make use of it to weaken or kill the Clubberskull. If the first lightning strike doesn’t finish the job, you can pick up another Lightning of Judgment to try to finish the job.
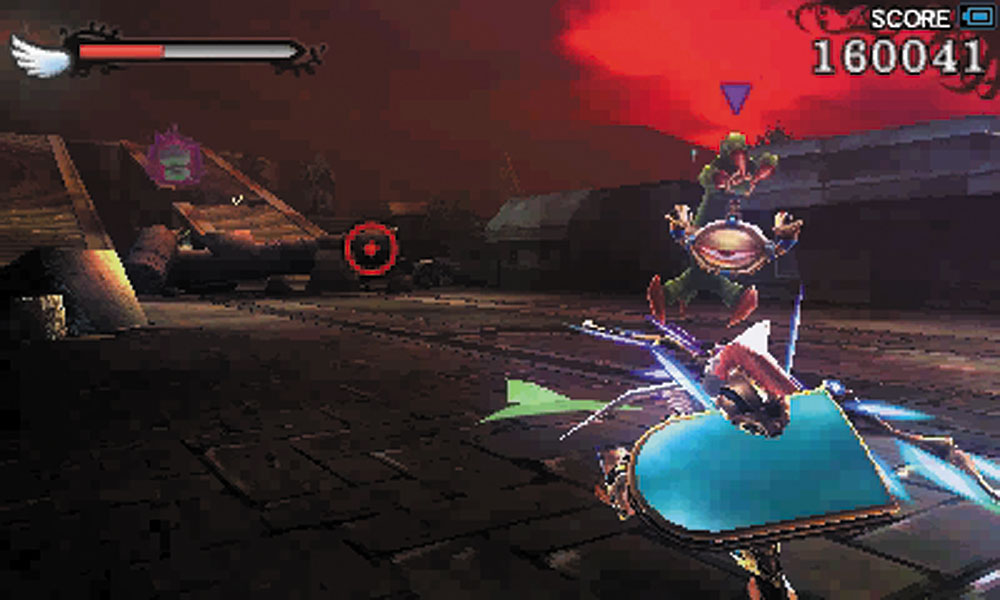
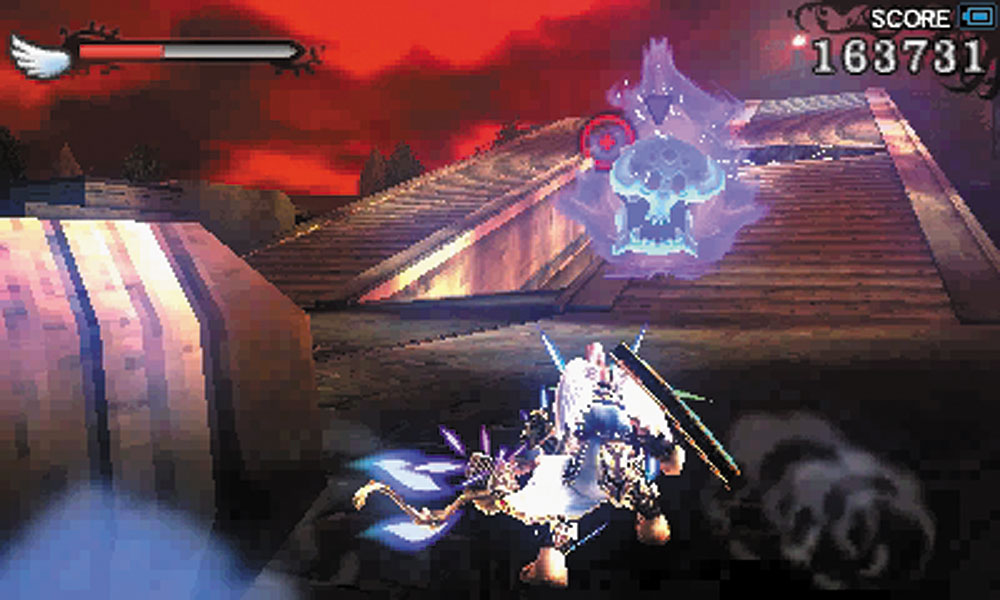
15. After the fight against the Clubberskull, your health may be low. Don’t let the Igniots here get the finishing blow on you. When you get to the stairs, destroy the Orne (if you have the Three Sacred Treasures equipped), and collect the Treasure Box on the right side of the stairway.
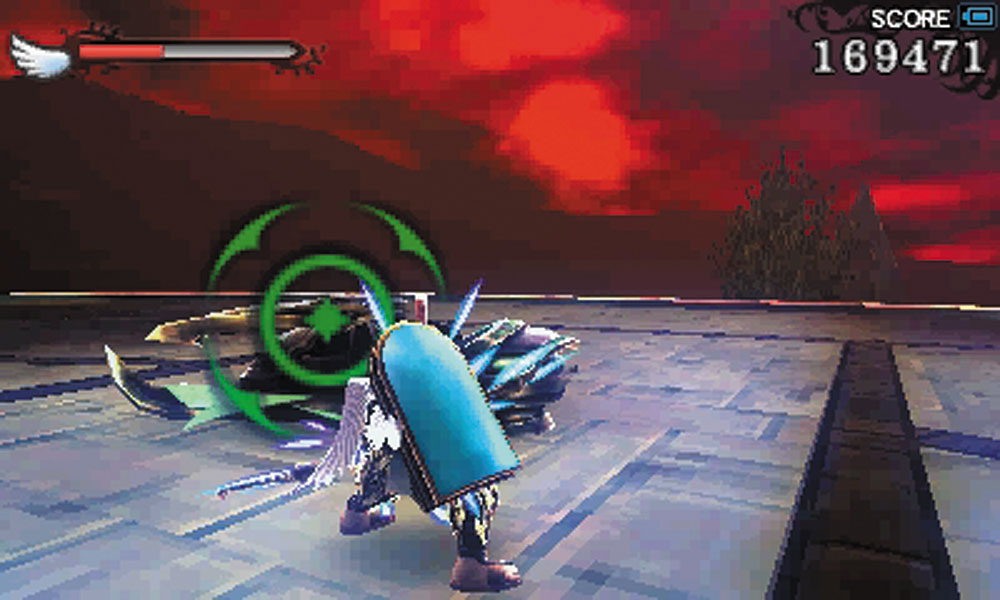
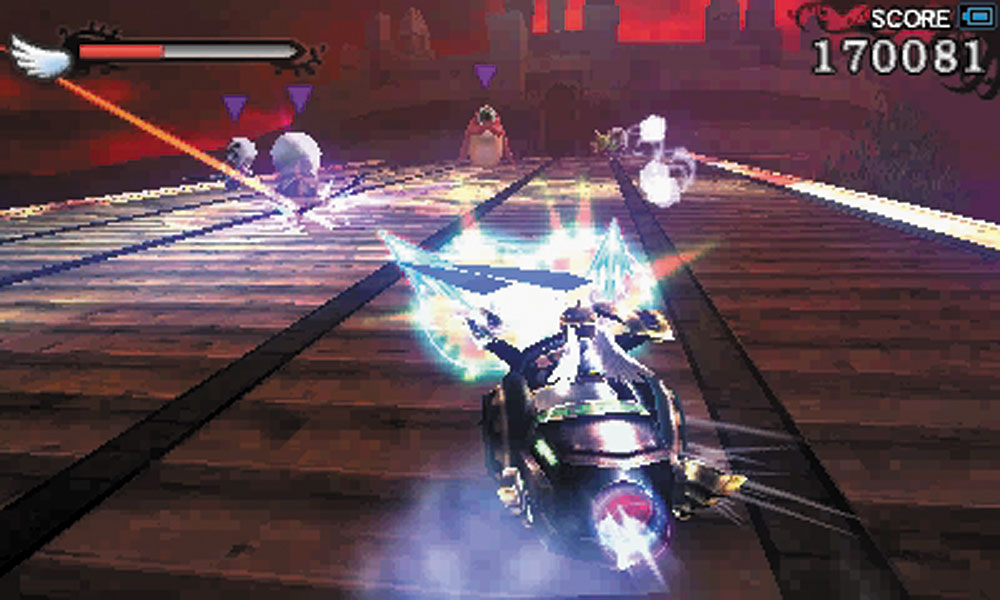
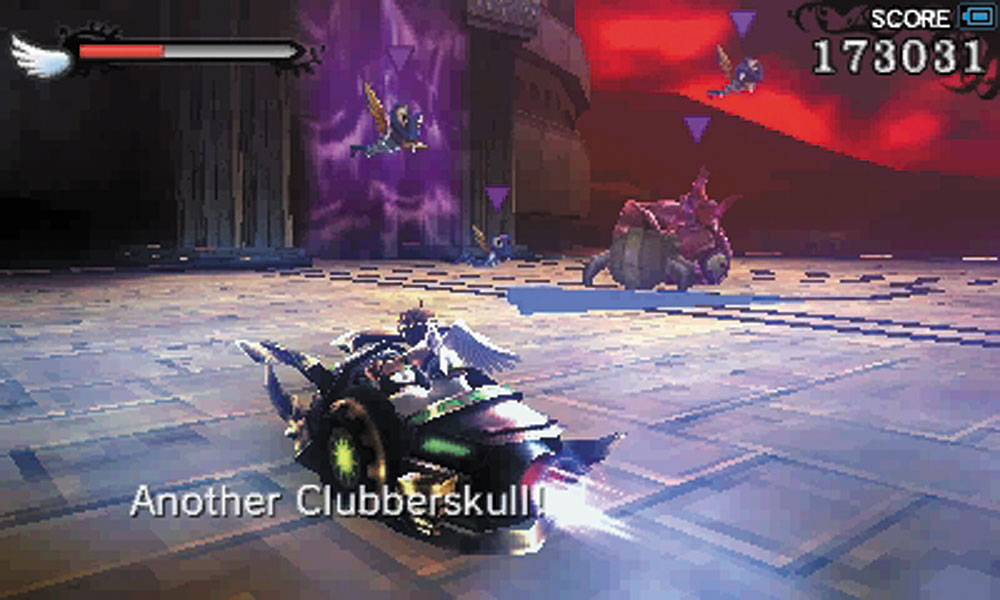
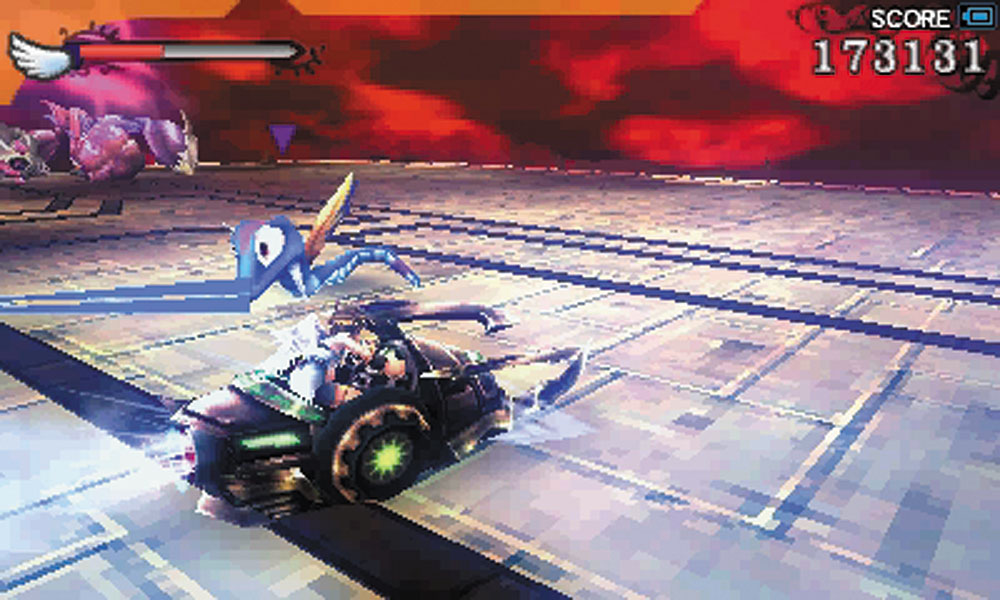
16. An Exo-Tank can be found here. Drive up the rest of the stairs and use it against all of the enemies that stand between you and your second fight against Twinbellows. It will not be easy, as another Clubberskull stands guard at the final door. Use the superior speed of the Exo-Tank to stay as far away as you can from it, and bombard it from afar.
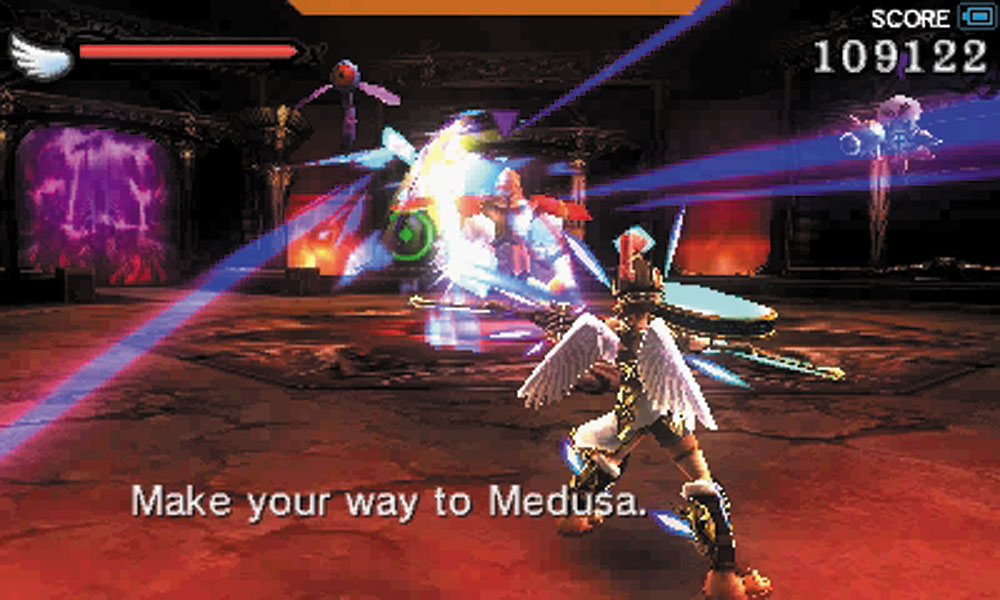
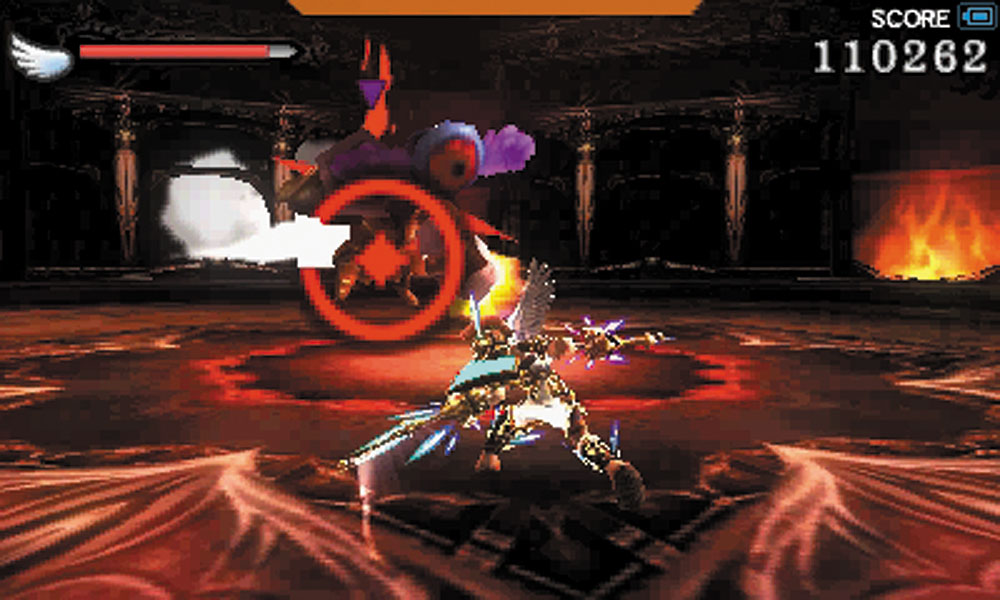
17. Don’t go into this room without being fully healed. This fight starts off with a Colin and Phil duo, who are supported by Skuttlers.
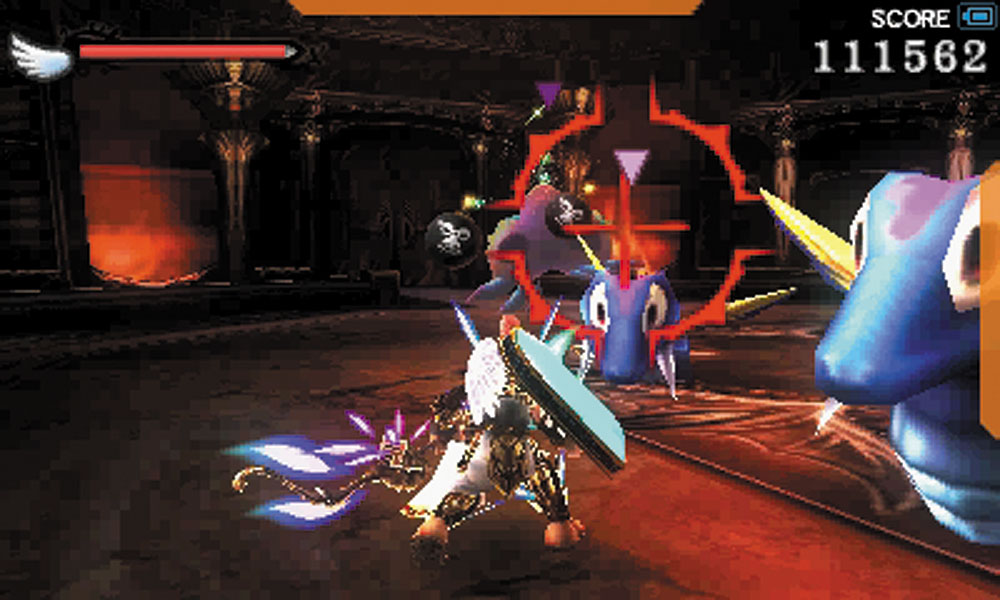
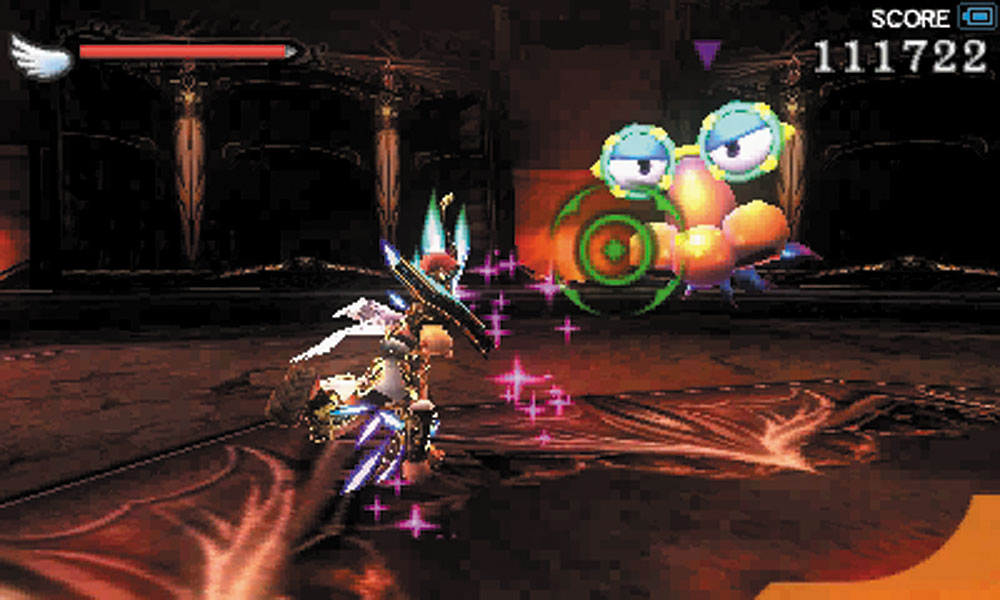
Shemums, an Igniot, and a Specknose attack for the second wave.
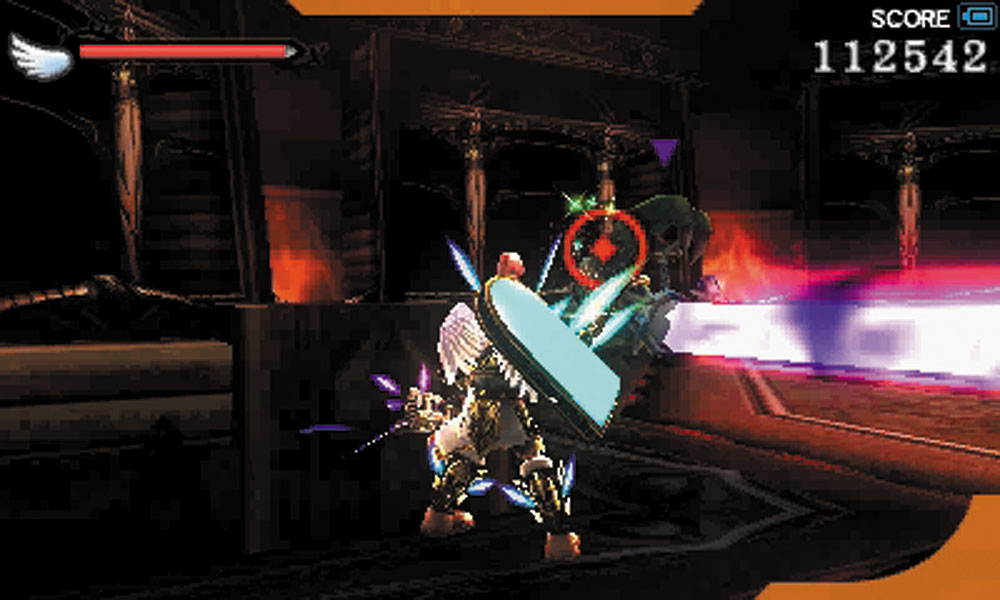
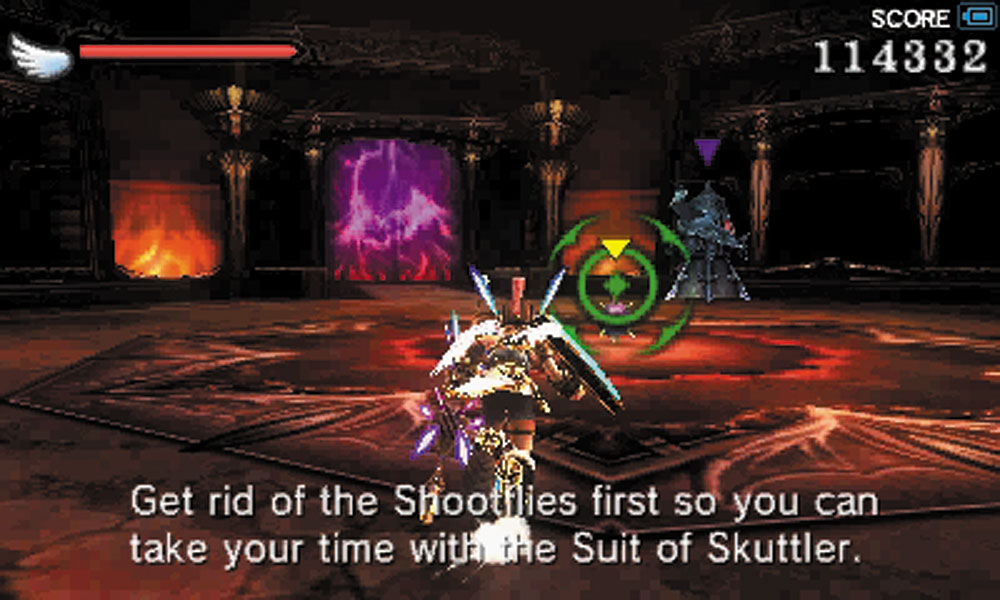
An Igniot, Handora, Suit of Skuttler, and a swarm of Shootflies make up the third and final wave. Take out the Igniot first before following Palutena’s advice to destroy the Shootflies. If you’re skilled in melee combat, you can leave the Shootflies for last so long as you remember not to shoot your weapon.
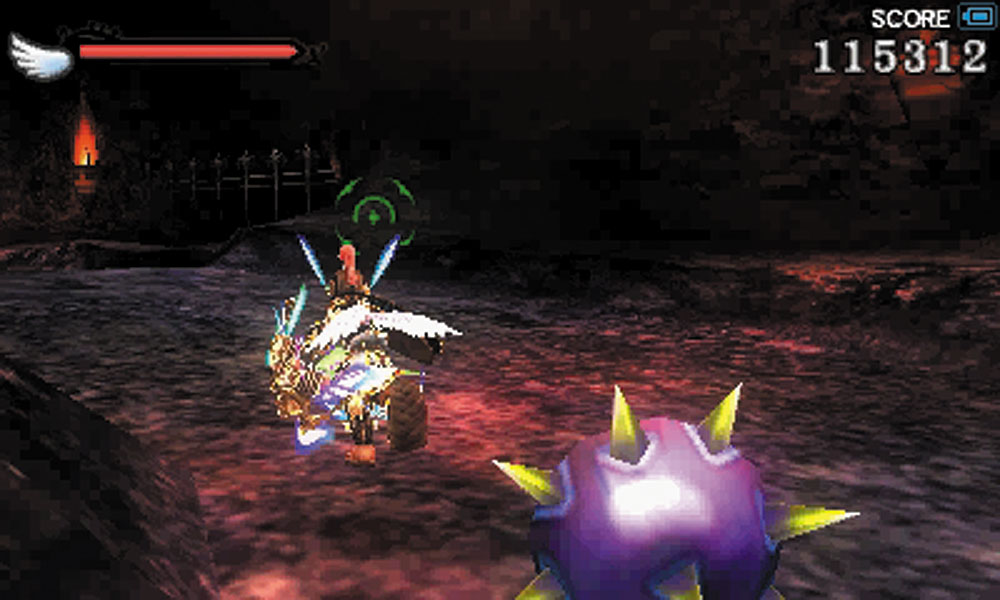
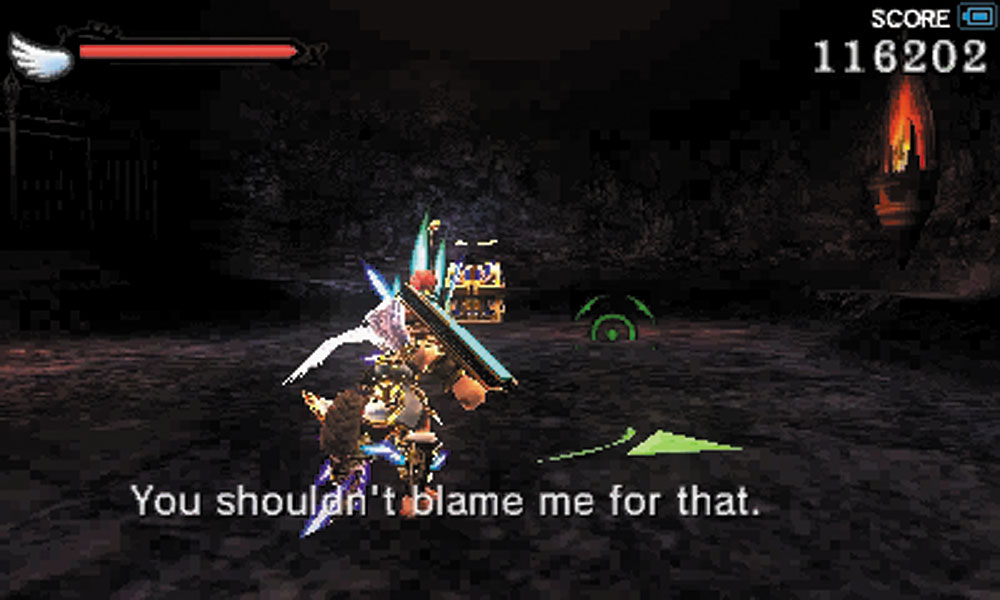
18. While exploring this next section, don’t miss out on the two Treasure Boxs. Watch out for the flame traps. Getting stuck in one can cost you a lot of health.
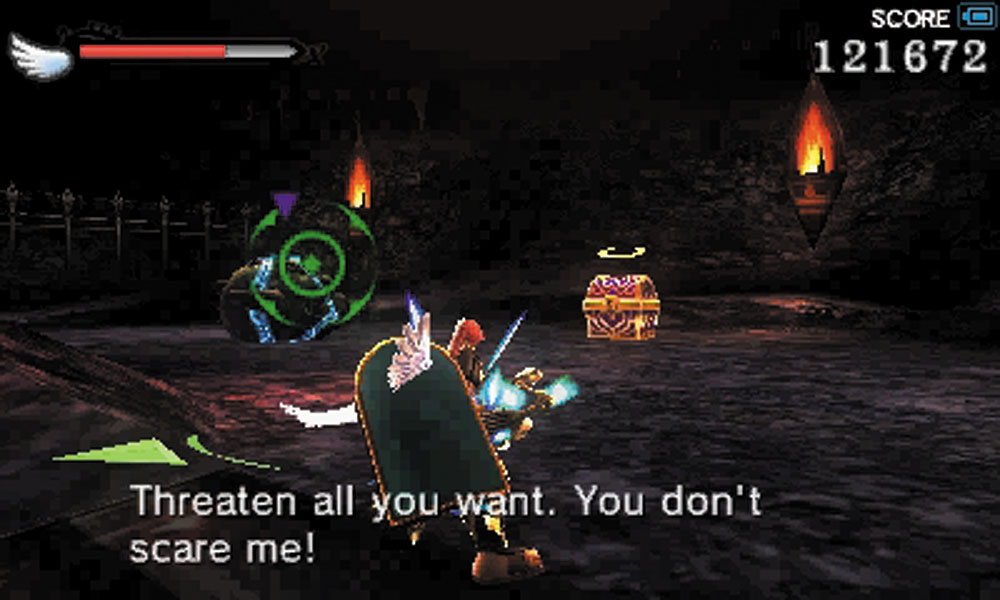
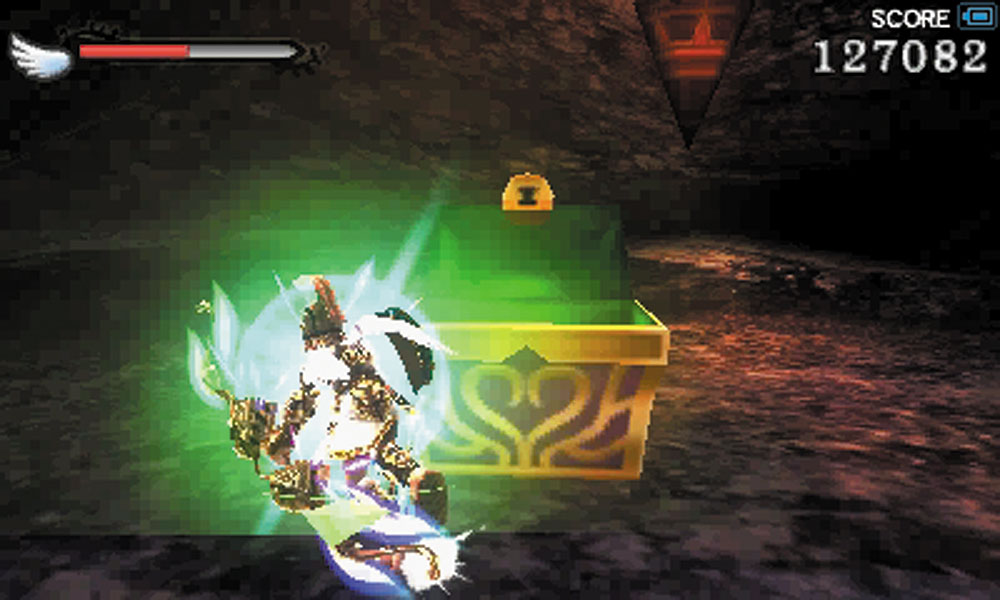
19. Clubberskull alert! This one sits dormant near a Treasure Box. The box is booby-trapped, so try to sprint past it to trigger the trap and do not remain close by while the trap goes off.
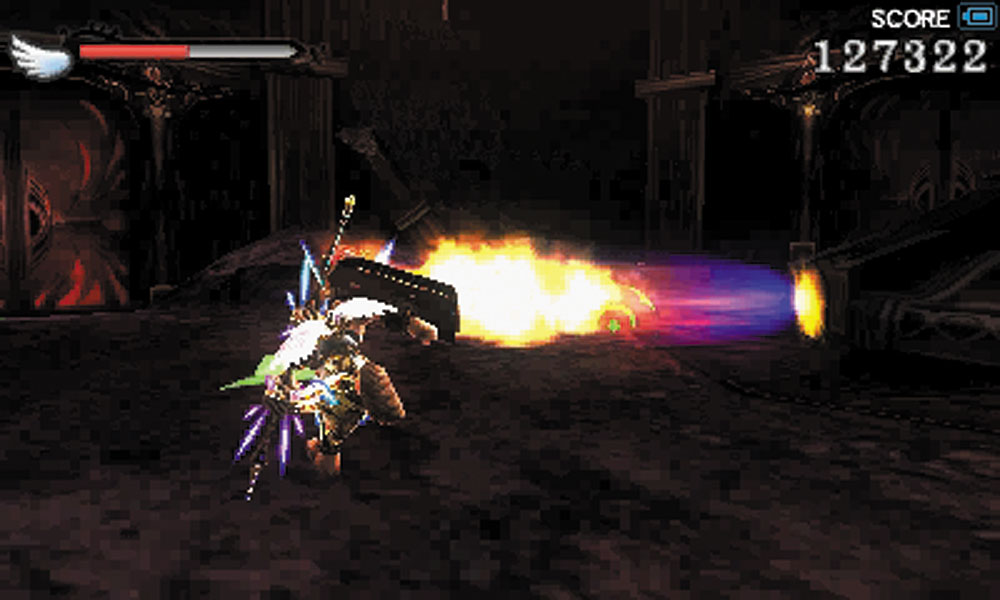
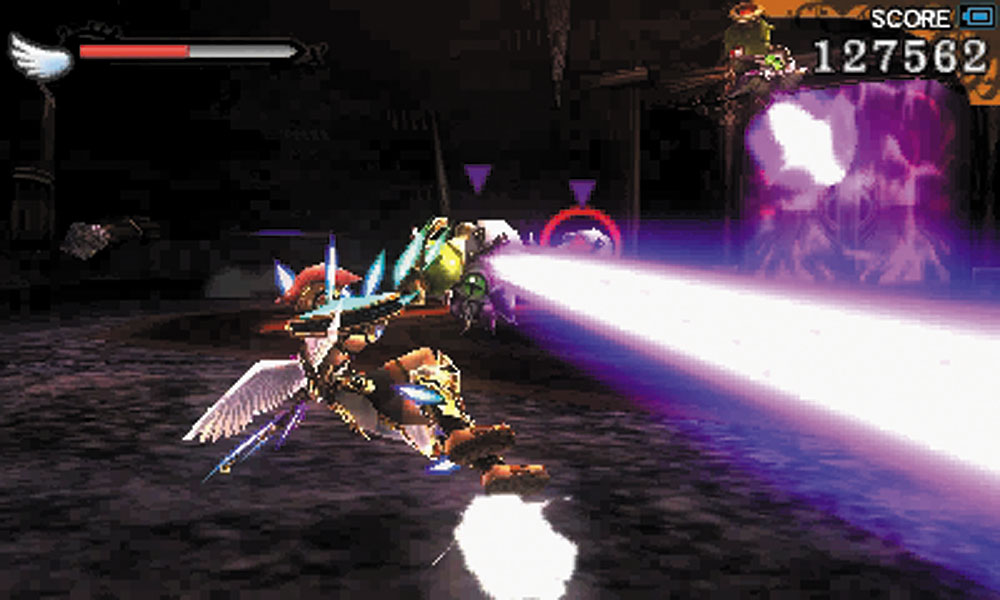
20. The rotating flame traps are easy to avoid with some patience. A convenient gap allows you walk between the flames safely to reach the next door. In the next room, Skuttlers, along with a Suit of Skuttler, try to ambush you.
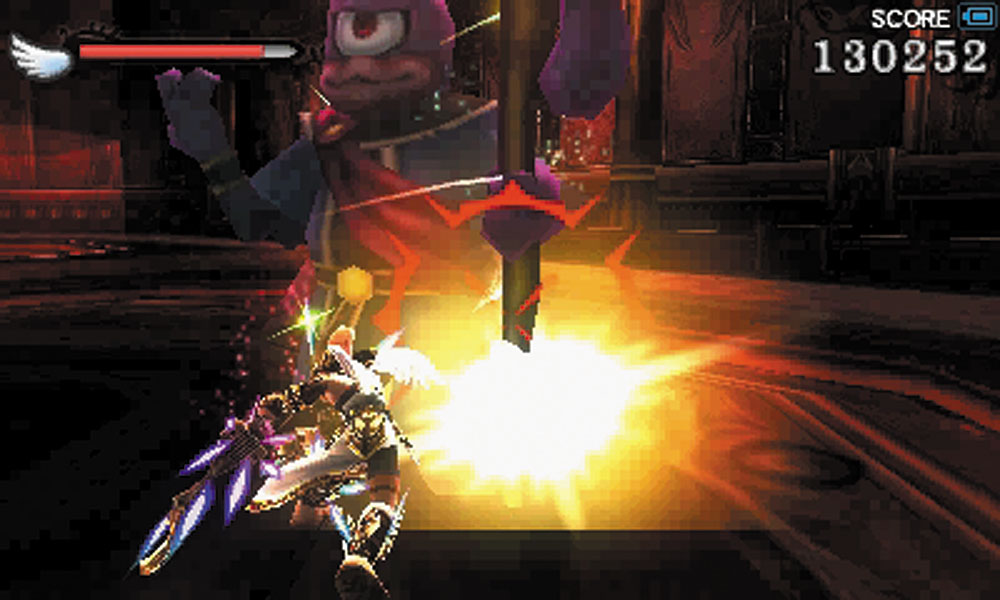
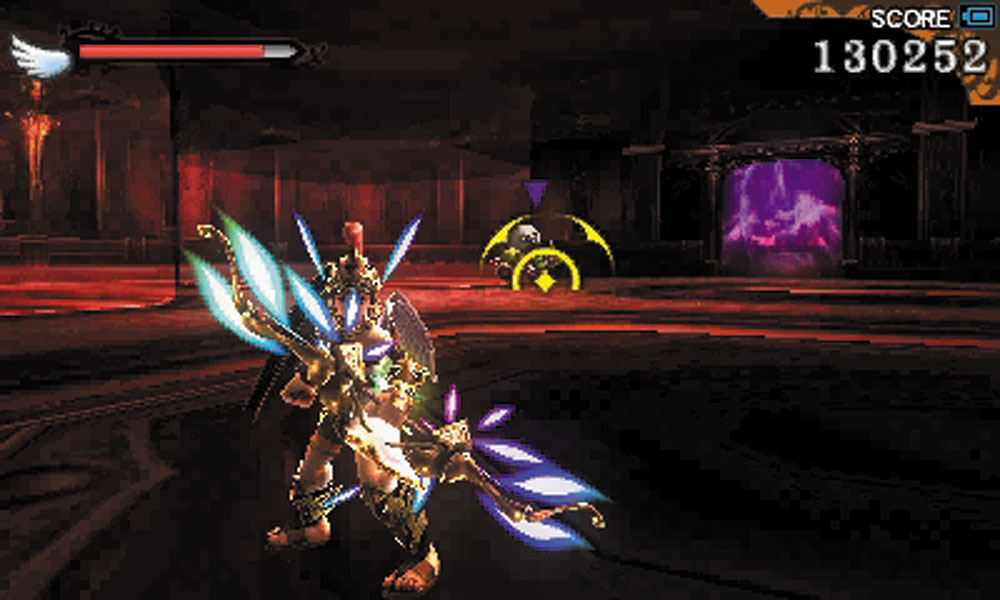
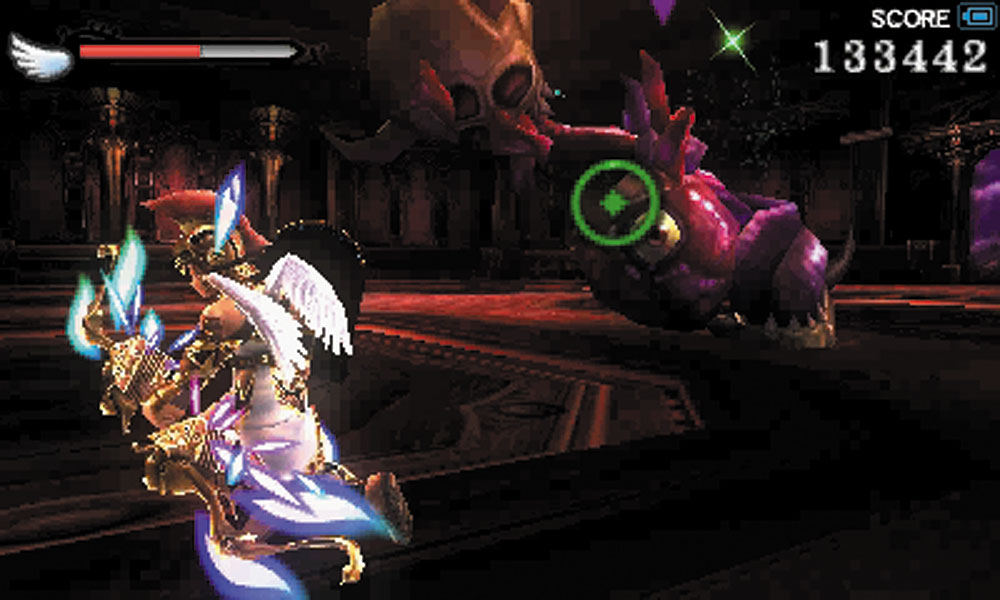
21. An Eggplant Wizard greets you within this chamber, followed up by a Skuttler and a Suit of Skuttler. The final enemy here is yet another Clubberskull, but it begins chained up. Make certain that no other enemy remains to interfere with your battle against this creature.
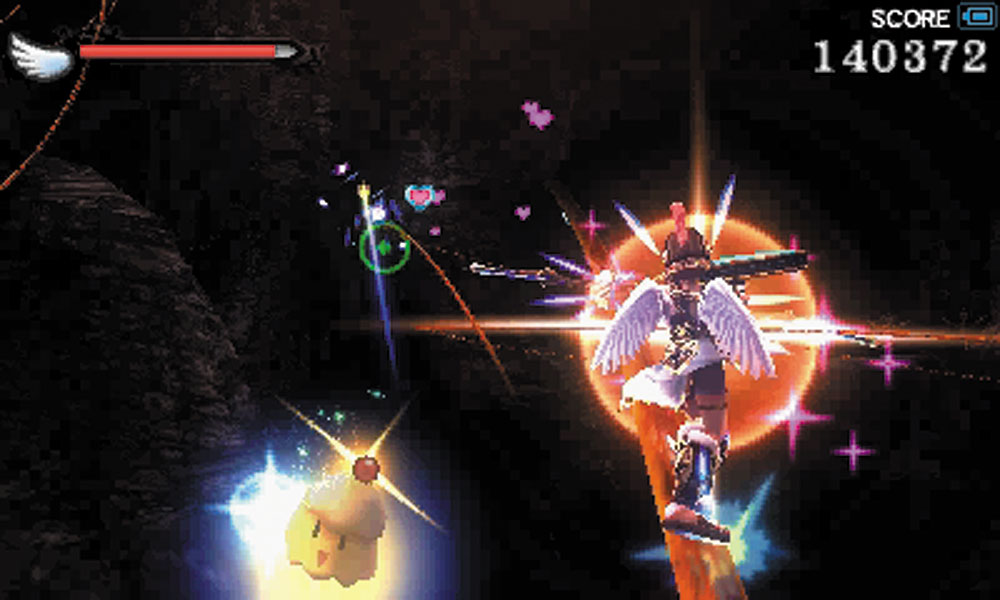
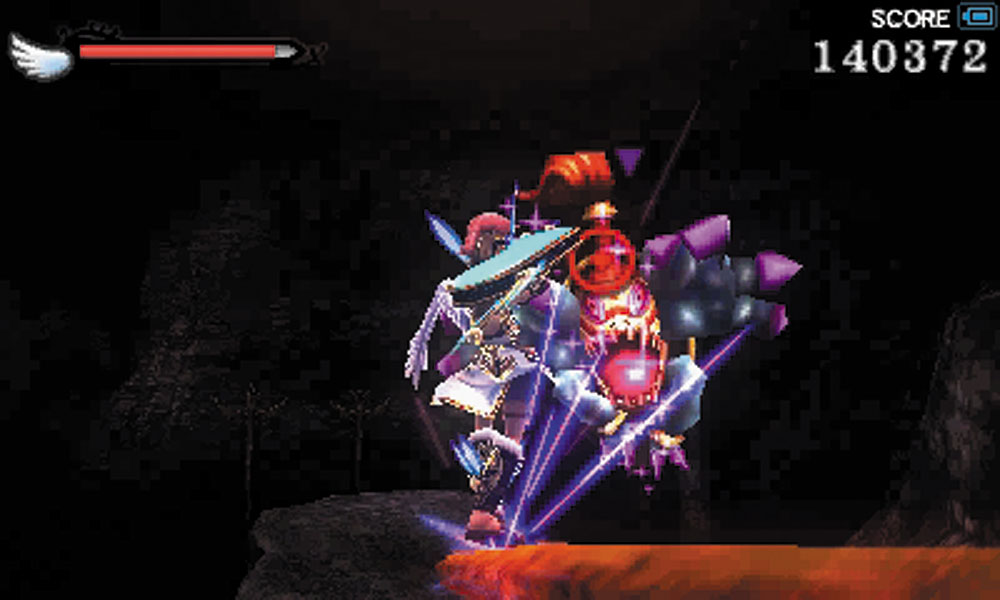
22. A grind rail ride begins here. Palutena says she had to get “creative,” and she wasn’t kidding. Stay alert and destroy any enemies you can see during the trip.
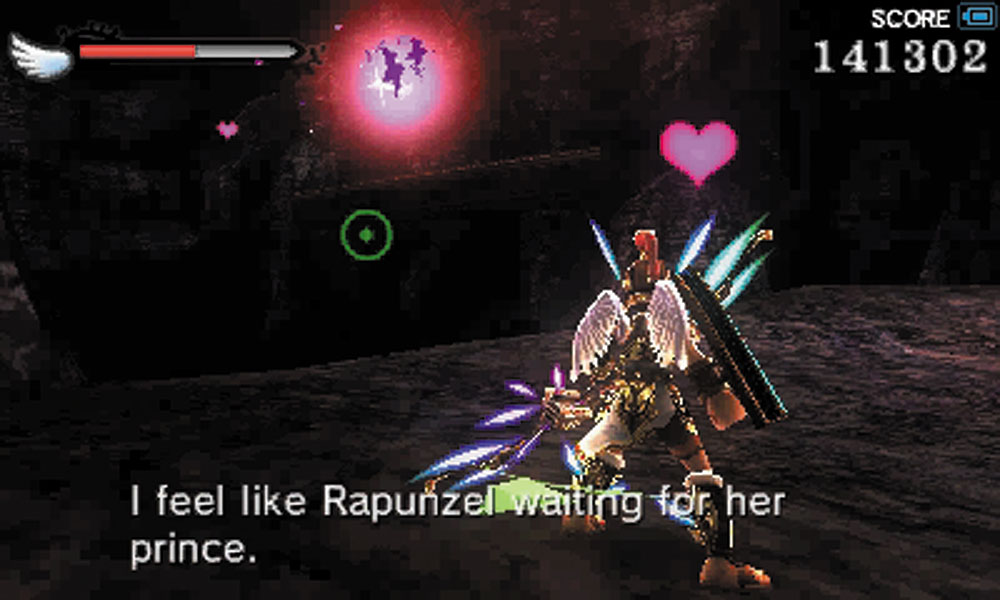
23. Shootflies surround this floating island stop, but they never stray within melee range. The next part of your grind rail trip begins here.
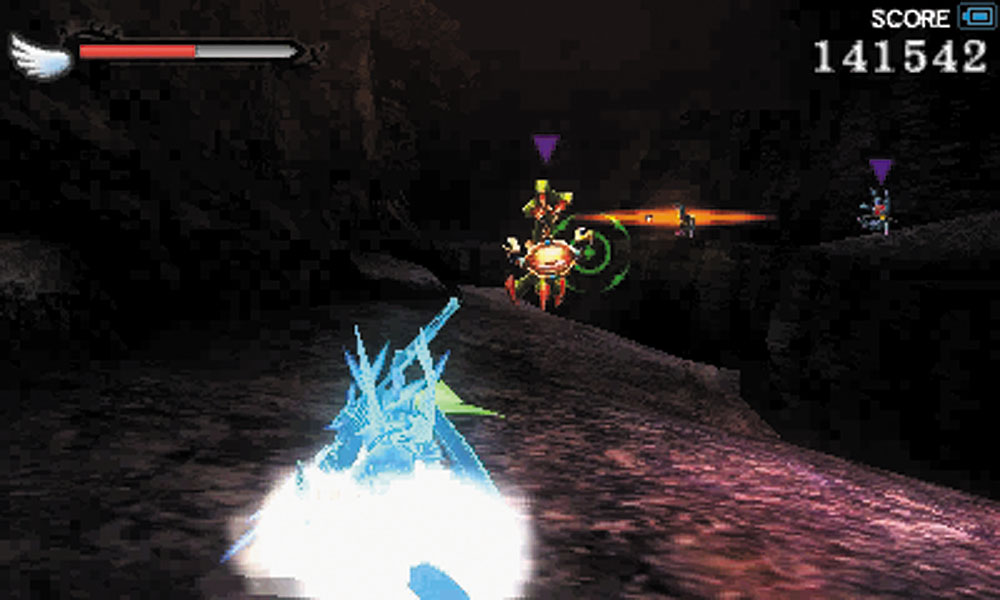
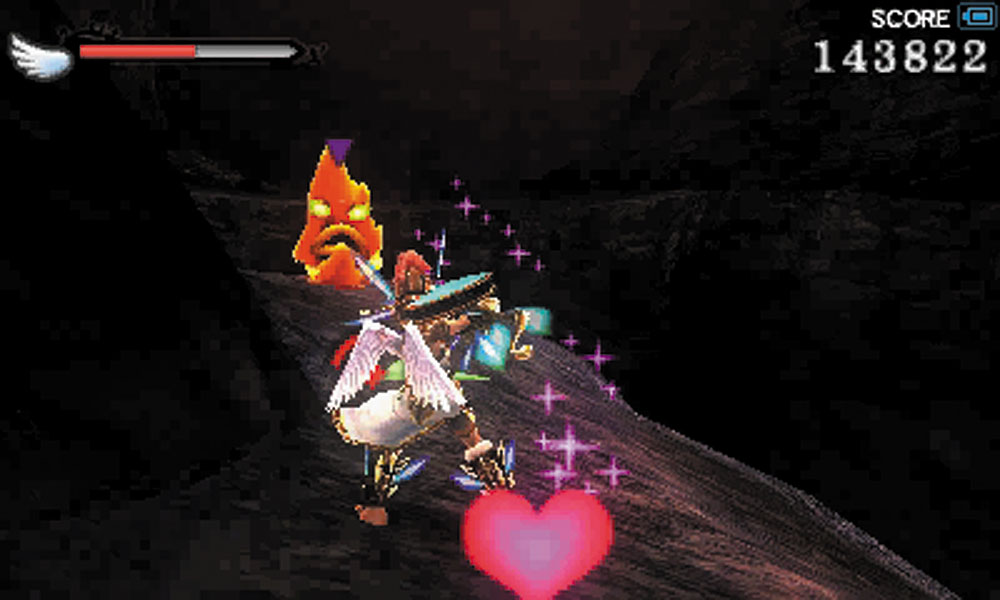
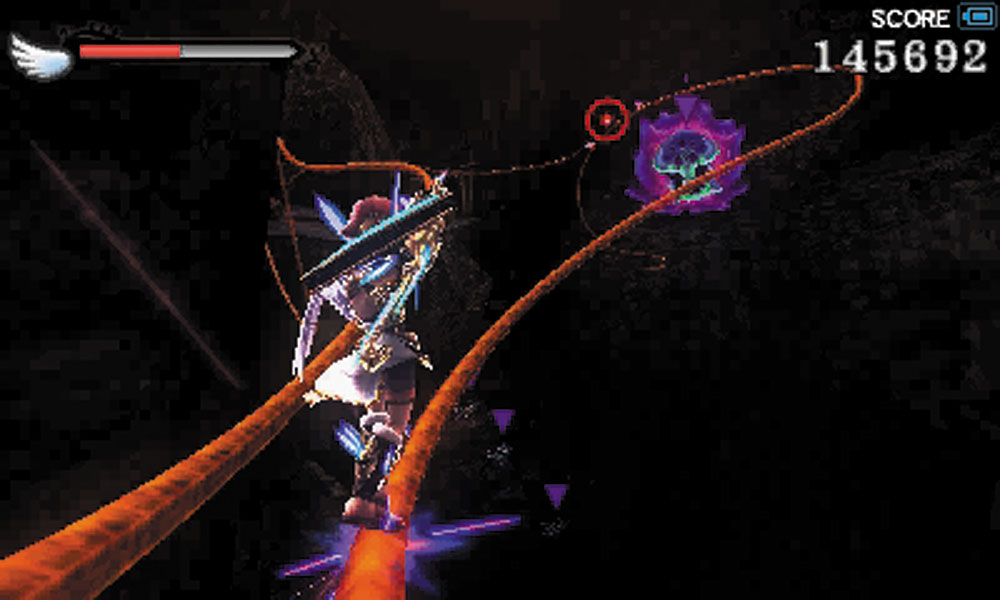
24. Another stop, this one is guarded by an Igniot, Handoras, Magmoos, and even a Skuttler. Move on to the next grind rail section.
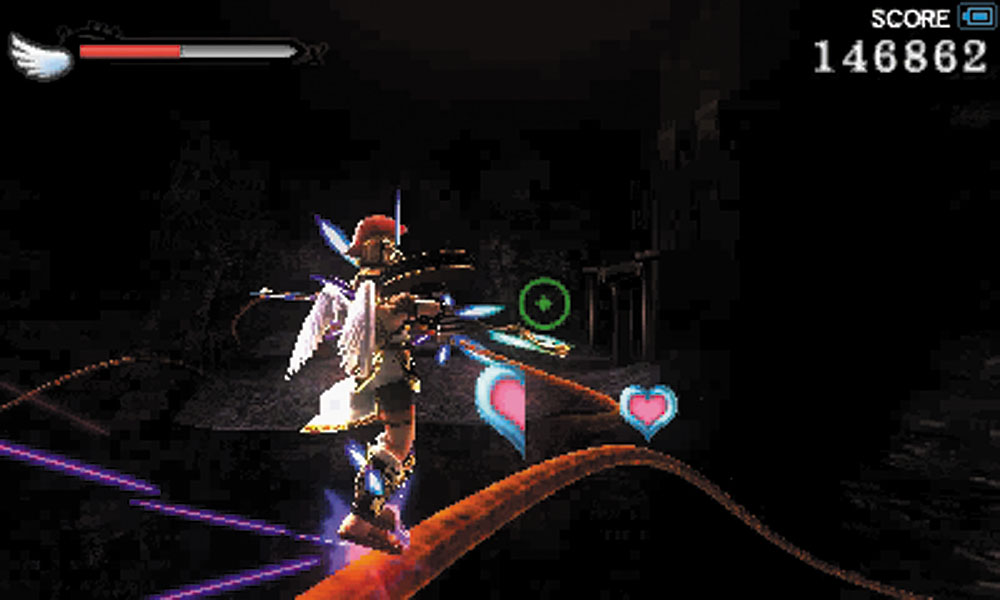
If you’re on this rail, as soon as you’re able to leap to the rail on your left, do it! Staying on this track will send you into the chasm below.
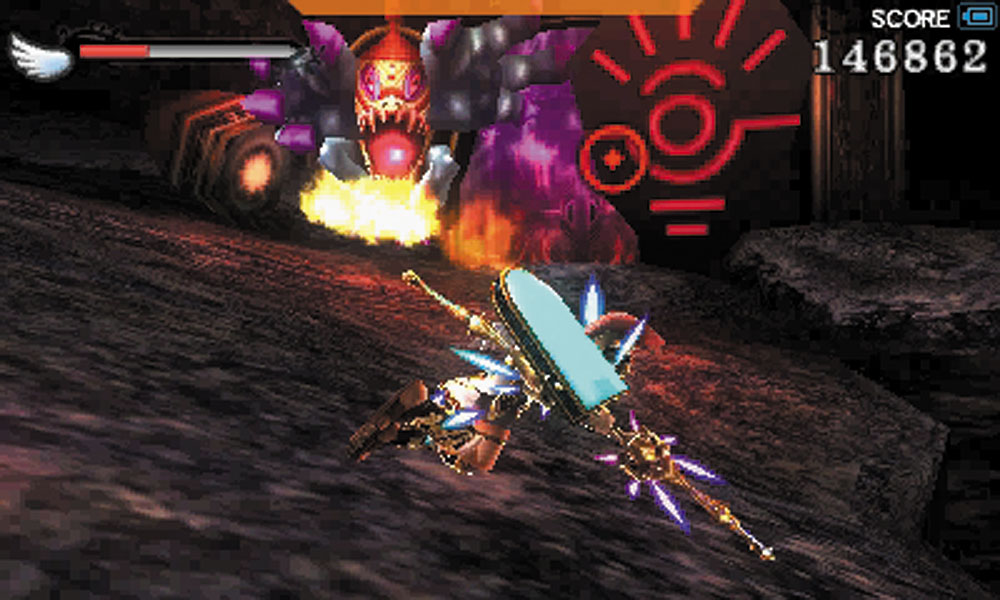
25. Two Boogities and two flame traps are here. Don’t get overzealous; just wait for a Boogity to expose itself and make certain you don’t run into any flames while fighting here.
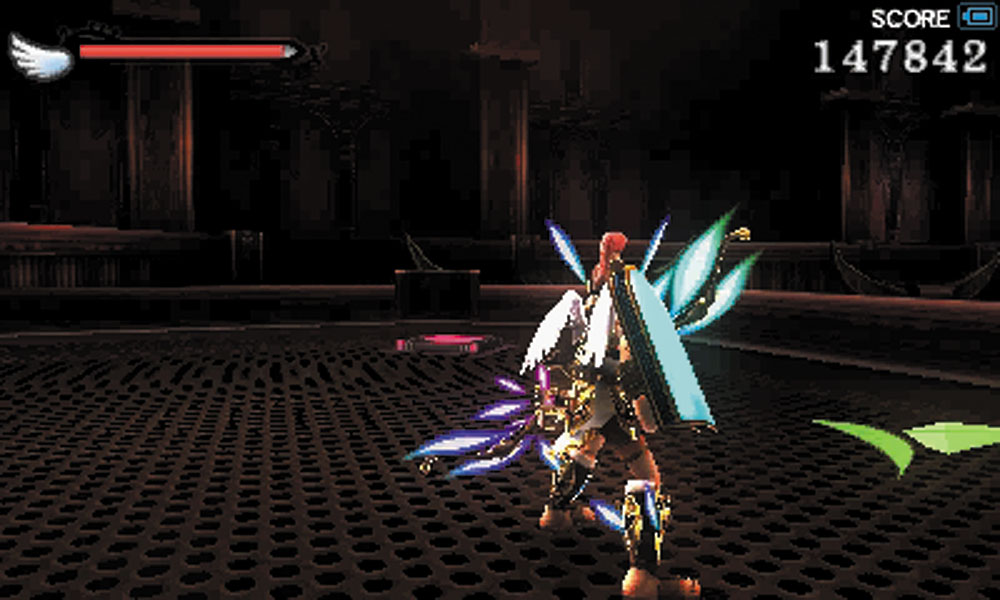
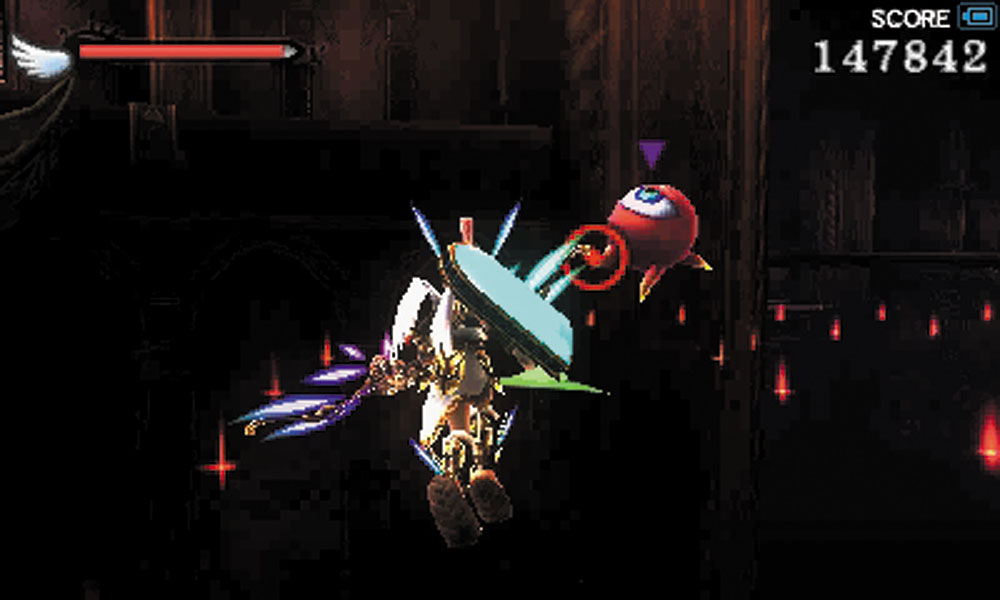
In the next room, stand on the purple switch to activate the lighting for a set of invisible walkways. While fighting on these platforms, try to destroy enemies before they even have a chance to fire, to minimize the risk that you accidently dodge right into the abyss.
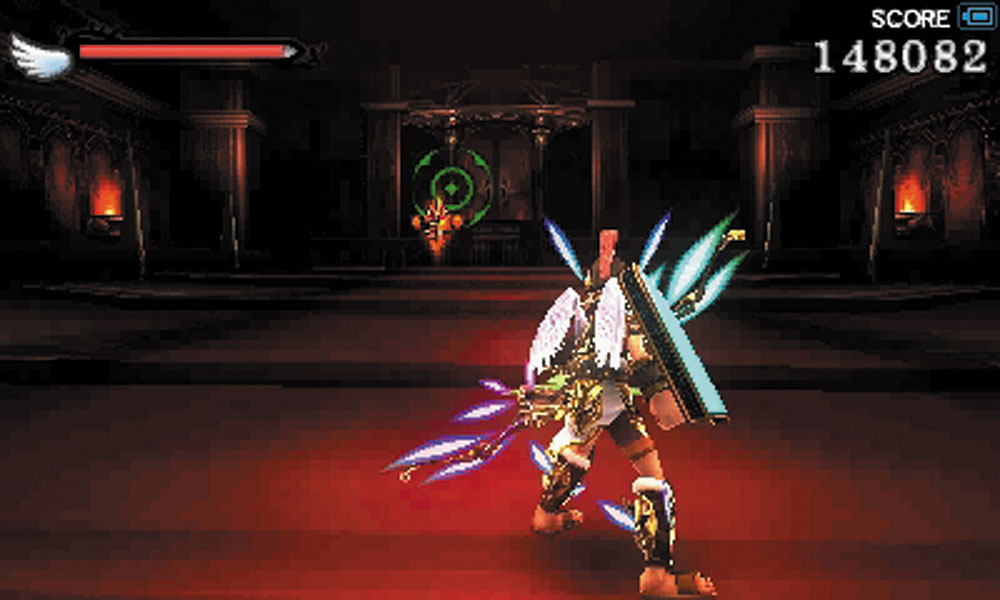
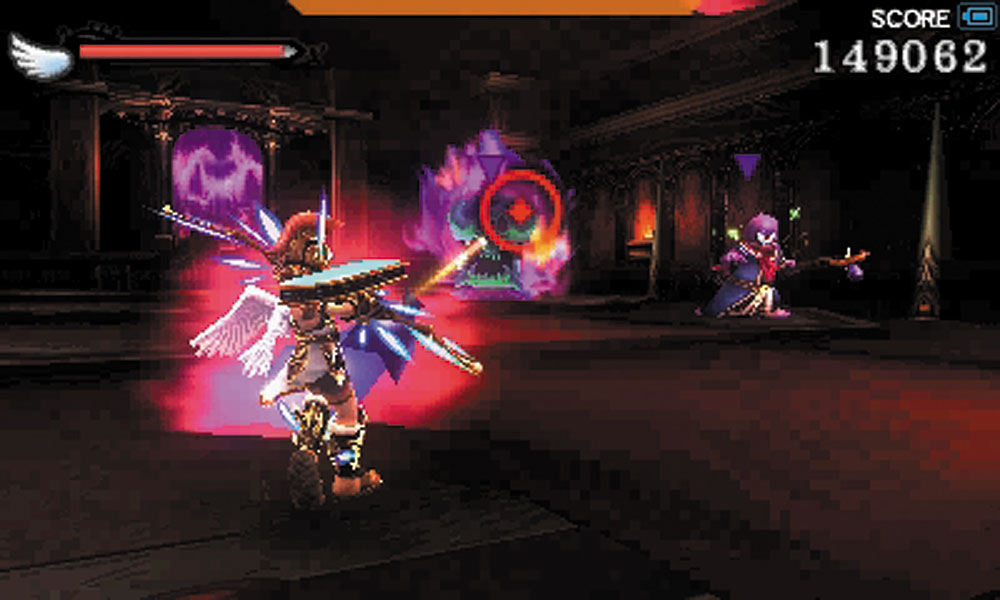
26. Take out the fiery crystal that appears at the center of this room to wipe out any baddies near it. Watch for an Eggplant Wizard and an Orne to appear here.
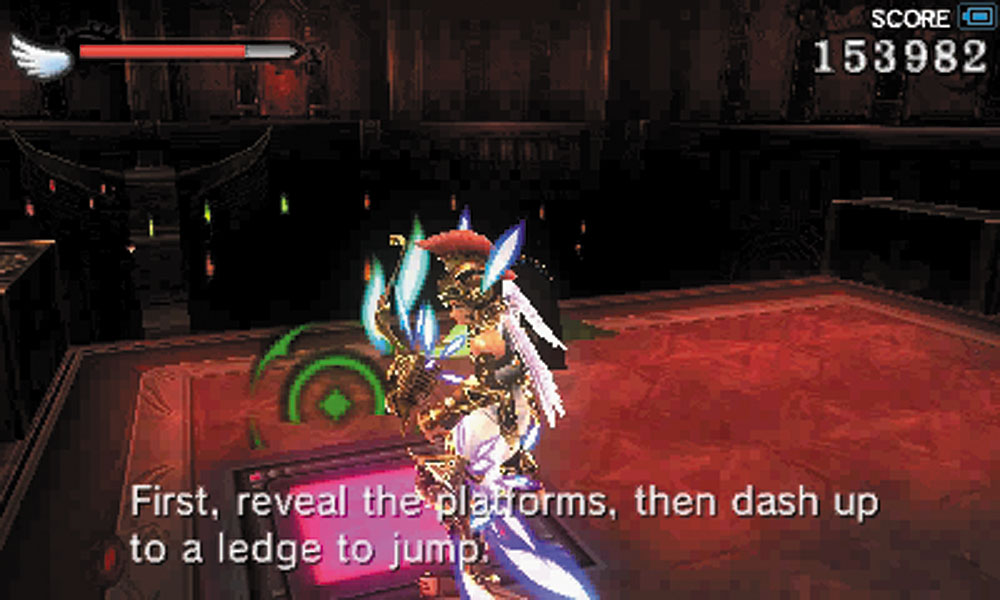
The next chasm must be crossed by jumping between the lighted invisible platforms. Look for the green lights on every platform, they will help guide where you must leap to.
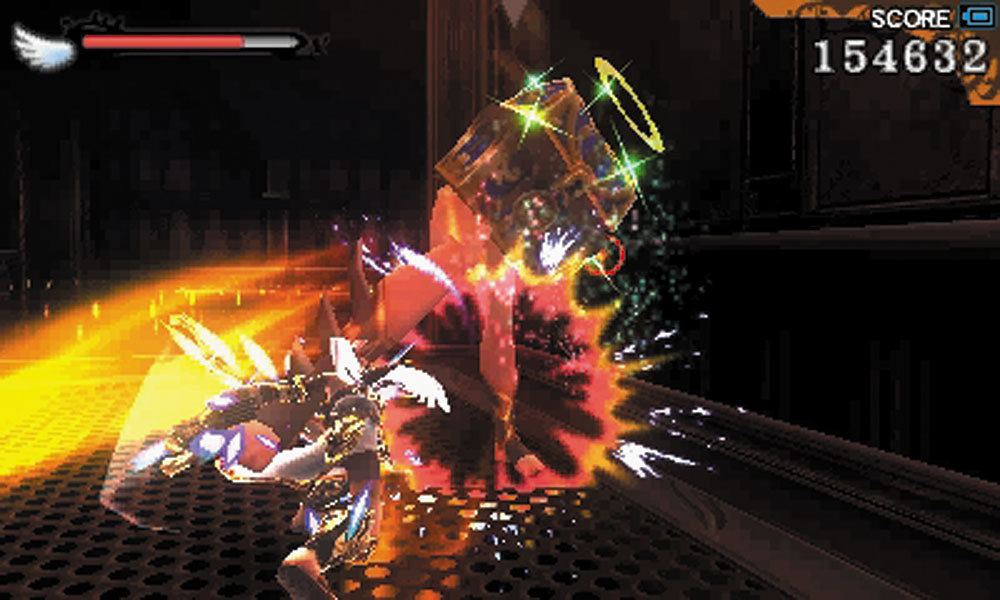
You may notice a Treasure Box on one of the visible platforms. It is best to ignore it; it’s a Mimicutie and this is not a safe place to fight one.
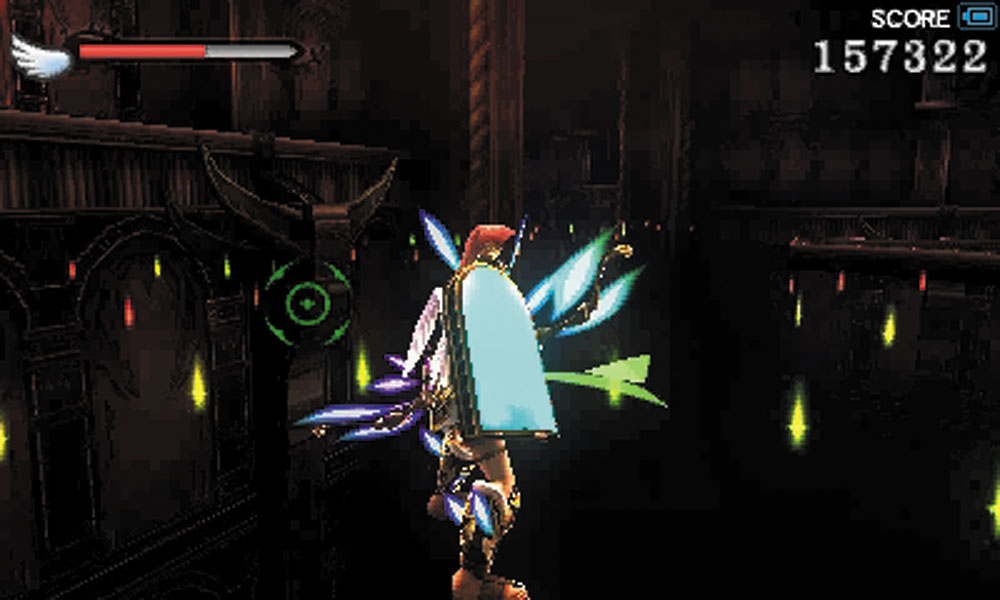
From the Mimicutie, you have more invisible platforms to traverse, but now the path seems to branch off. Go with the left set of platforms.
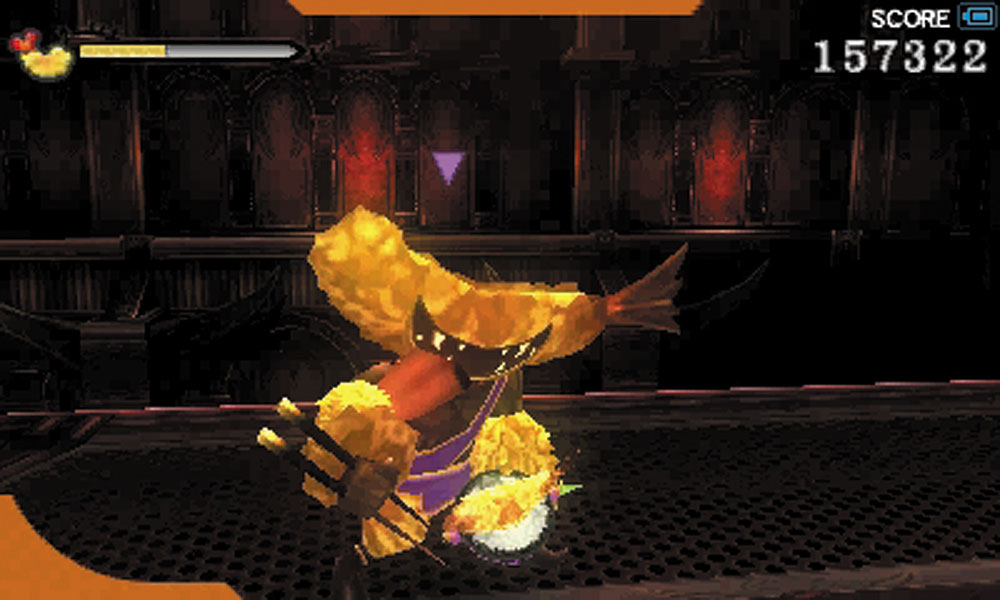
27. Meet your first Tempura Wizard! Where an Eggplant Wizard is an inconvenience, these are much more dangerous. If their magic hits you, you are turned into a walking piece of tempura. They then chase you down, and if they catch you, they eat you, instantly finishing you. Do whatever it takes to not get hit by their magic attacks!
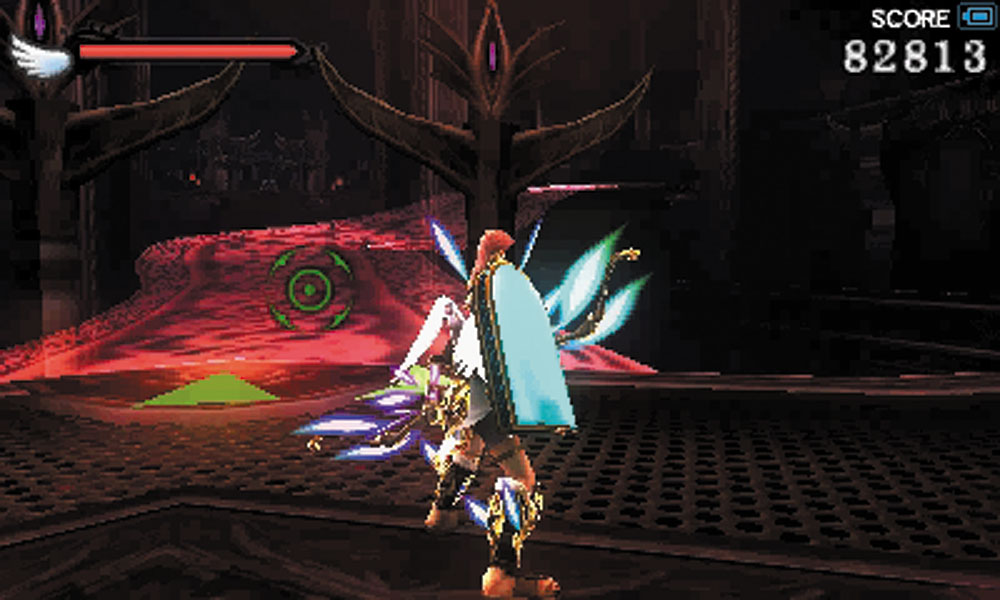
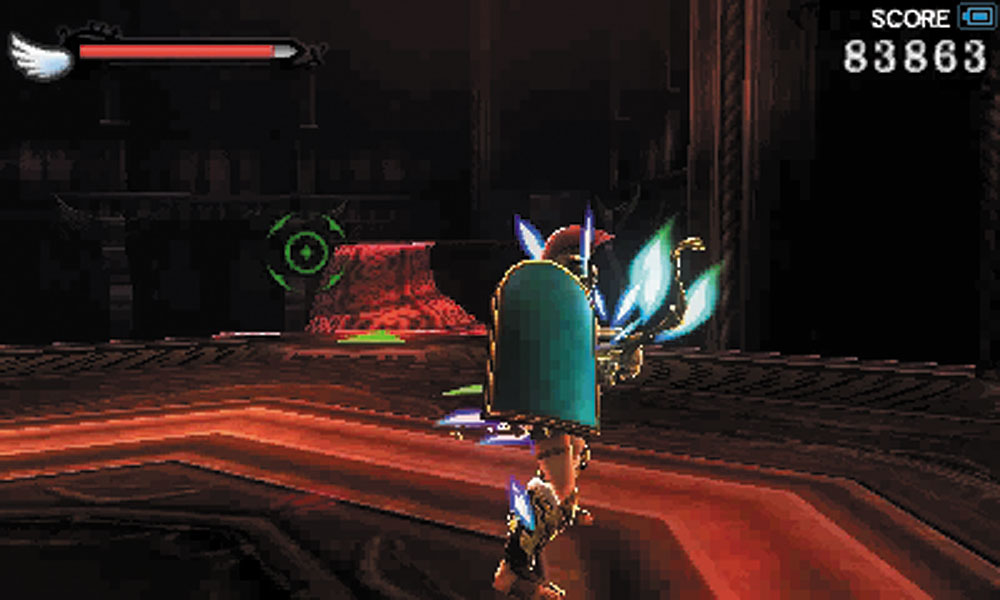
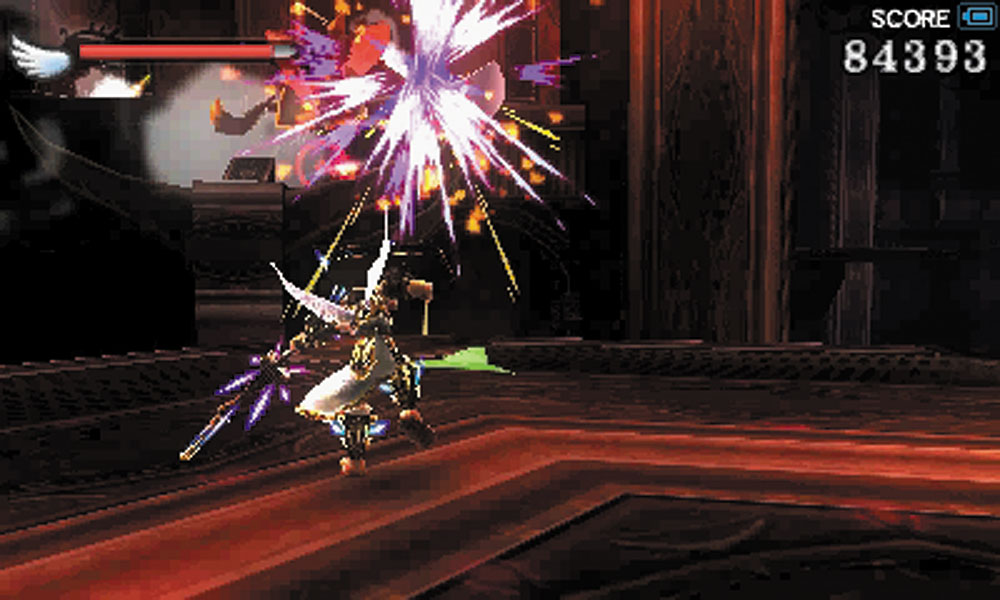
28. Almost there! At each platform, you are attacked by Underworld goons. When they are put down, a new bridge appears for you to take.
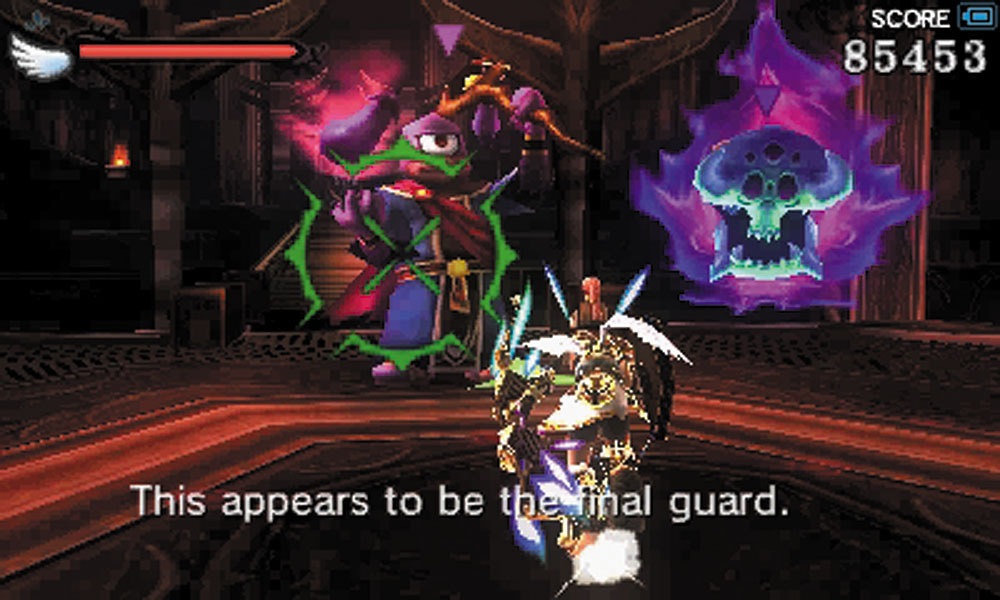
29. The last line of defense consists of an Eggplant Wizard, an Orne, and a new enemy: the Erinus. Take them down and the way to Medusa is clear!