
Kid Icarus: Uprising Guide Multiplayer Multiplayer
Multiplayer
Multiplayer
Multiplayer in Kid Icarus: Uprising can be played locally with friends in the same room, or it can be played online with a maximum of six players in every match. Multiplayer is accessed through the Together menu, which gives you the options for the Far Away online mode or the Nearby mode. There are two distinct game types: Free-for-All and Light vs. Dark.
Playing multiplayer against other human opponents or against the AI provides rewards that can go toward your total arsenal in both single- and multiplayer. Participating in and scoring points during a match gives you a handful of hearts, and can even reward players with a random weapon or special power. The more people you play with, the greater the value of the rewards.
Players are able to bring any weapon they have earned or created through weapon fusion into multiplayer, but even players with lower value weapons can’t be counted out. Powers can change the dynamic of any fight in a flash. Items are scattered throughout the maps and many of them will seem familiar from the single-player campaign. A new item, the Daybreak cannon, is also among the items found on the battlefield. Broken into three pieces, this super-cannon can shoot through entire levels, ignoring all terrain and instantly defeating anyone unlucky enough to be caught in the path of the blast. Matches can turn into a desperate scramble to deny a player with two parts of the cannon the third piece.
If you have created the match in the Nearby or the With Friends online mode, you have a plethora of options for both game types before the matches even begin. You’re able to select your weapons and what powers you intend to bring to the fight. For the matches themselves, you can determine what maps they take place in, the time limit, the difficulty of CPU opponents, item frequency, handicaps, and, for Light vs. Dark mode, you can determine the overall team health.
Game Modes
Free-for-All
As the name suggests, this mode is about total anarchy between six players. Alliances are temporary at best, and opportunism is the word of the day. This is a game type that stresses the importance of individual skill level, as well as the importance of your weapon’s strengths and special modifiers.
Scoring points in Free-for-All mode is simple: Defeat as many enemies as you possibly can, while avoiding defeat yourself. You gain points based on the value of the weapon your victim was wielding when you crushed them underfoot. When defeated yourself, you lose points from your own total based on a percentage of the value of your own weapon.
Match variables such as item frequency and player handicaps all come into play here. Your own level of aggression is often determined by your skill and your weapon of choice, but you may be less inclined to charge into a mass melee if you know that Smart Bombs are frequently available for anyone to toss into an unsuspecting group that is caught up in the moment.
Light vs. Dark
This is the defining mode of Kid Icarus: Uprising multiplayer. Teams of three players, Light Team against Dark Team, battle it out. When a player is defeated, the total
value of their weapon is subtracted from their team’s life total. When the life total of a team is fully depleted, the player whose defeat emptied their life bar
becomes an angel (Pit for the Light Team, Dark Pit for the Dark Team). The angel arrives with a random weapon, and the angel’s life total becomes their team’s
remaining lifeline.
Angels are typically faster and stronger than the regular soldiers on each team, but they aren’t invincible. In addition to damage they sustain themselves, if any other player on their team is defeated, the loss also takes health away from their angel’s total. When the angel on a team is defeated, the match is over.
Light vs. Dark caters to a wide variety of strategies for before and after an angel has appeared in the arena, both on the offense and on the defense. Some players will want to stick close to their angel and fanatically defend him. Others may want to split up and try to locate the Daybreak weapon pieces, either to use it or to deny the other team the use of it. The balancing act between aggression and defensiveness is what makes this mode as intense as it can be.
The weapon value system comes into play here in a big way. You don’t want a dirt-cheap weapon with few skills because you will not be effective at defeating other players. At the same time, you may not want to bring along the most expensive weapon you have at your disposal because your defeat will cost your team big time and potentially force your angel into play much sooner than you are ready for. It is inevitable that players interested in winning this game type will begin using the weapon fusion system to find the perfect middle ground of a highly effective weapon with the right modifiers that isn’t too valuable.
Windy Wasteland
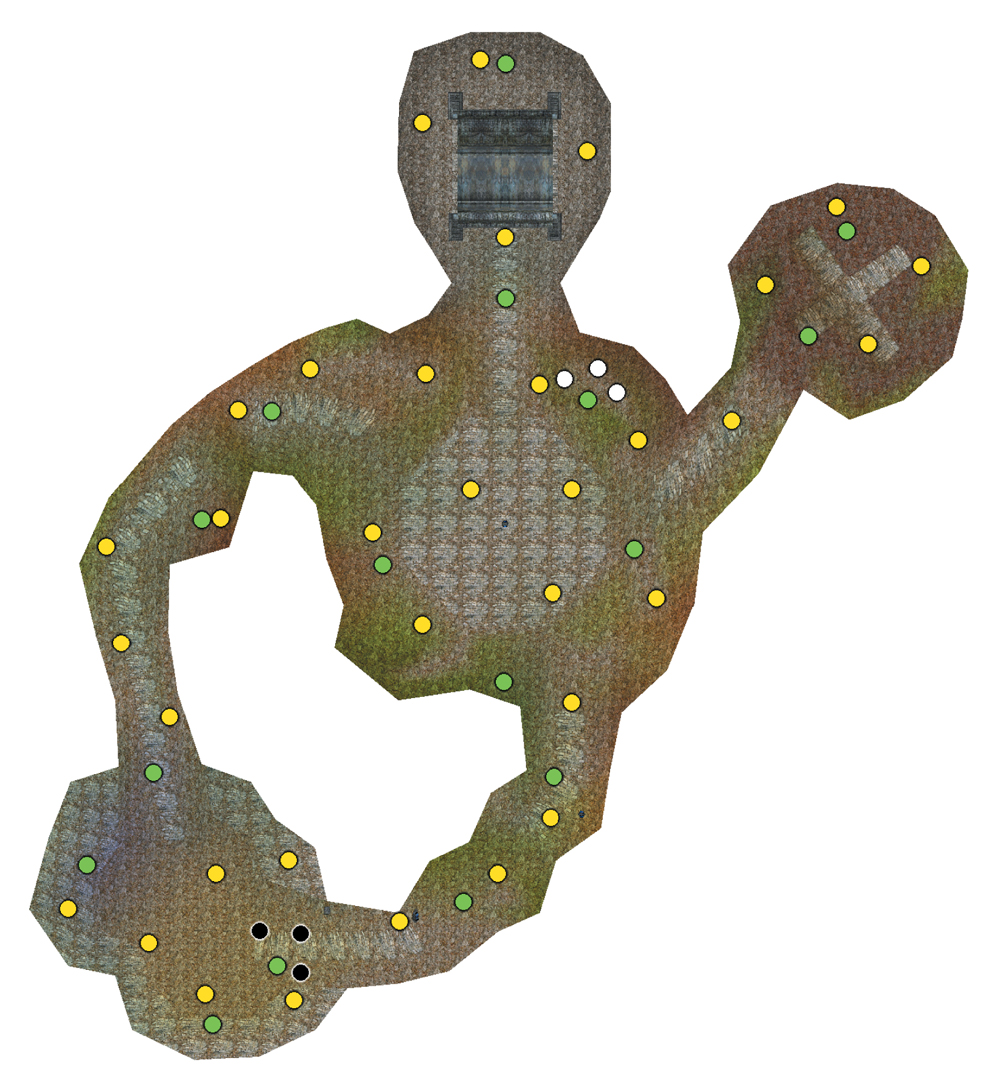
- White - Light Team Start Point
- Black - Dark Team Start Point
- Green - Respawn Point
- Yellow - Item Respawn Point
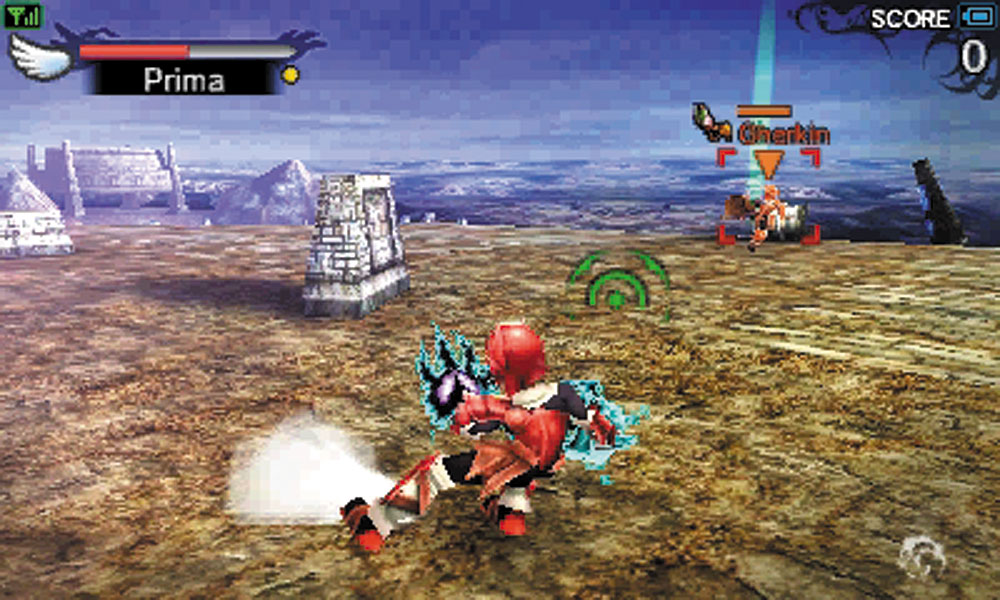
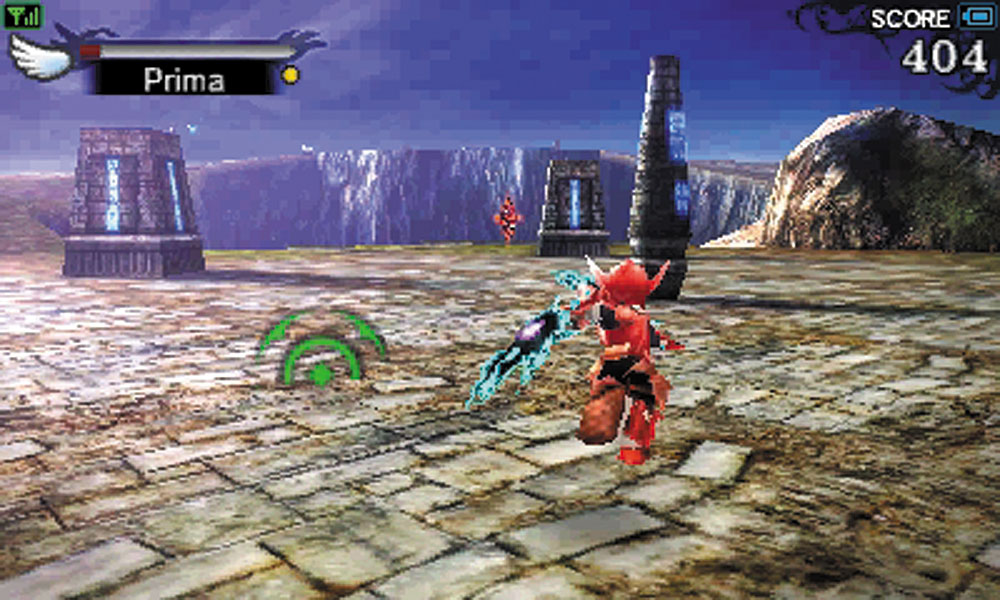
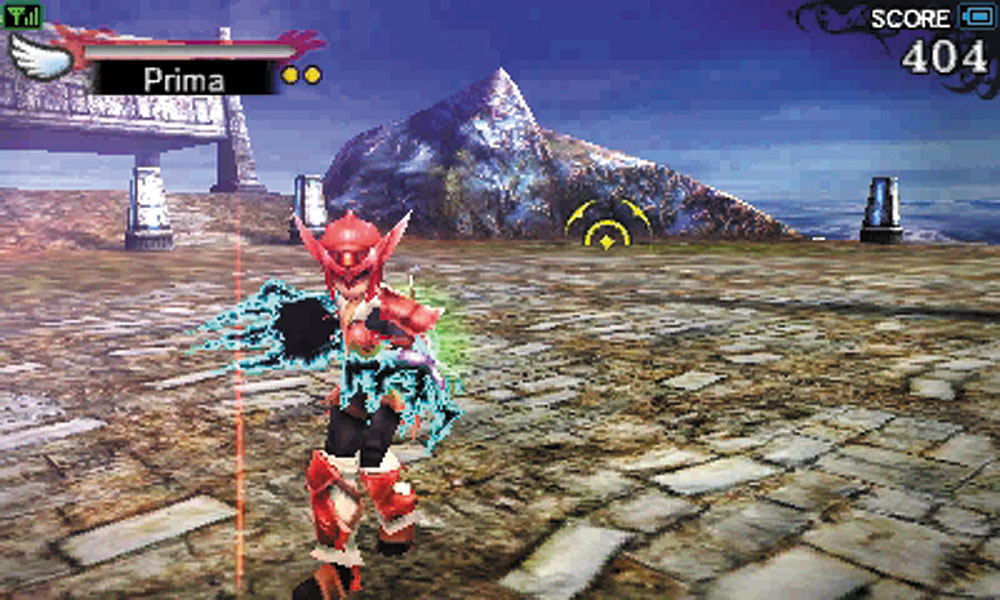
Windy Wasteland is a fairly open stage, so long-range weapons can be very effective here. Taking to the higher ground is a valid strategy that can give you the upper hand in the Light vs. Dark mode. This is very effective when trying to protect the angel on your team, but it’s not a perfect defensive strategy. Holding the central temple does put a roof over your head, but the Daybreak parts typically spawn outside of that structure.
Lava Basin
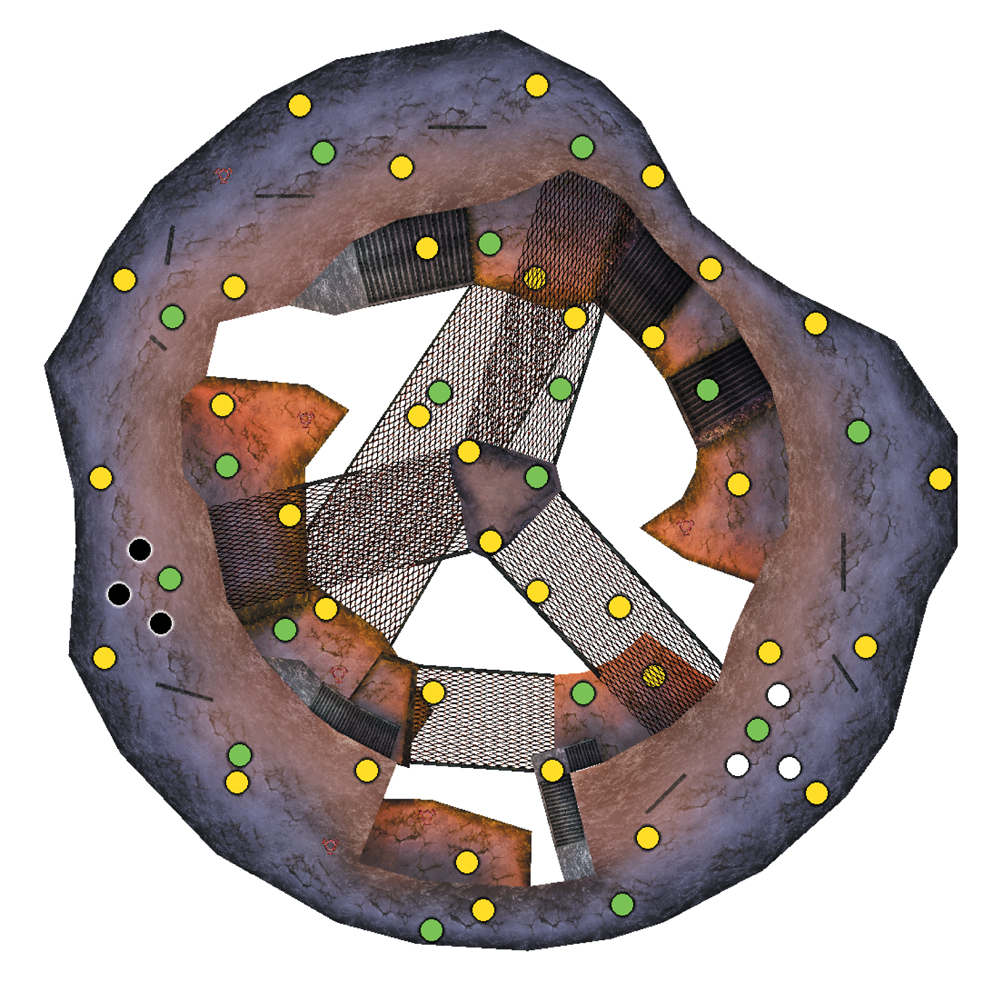
- White - Light Team Start Point
- Black - Dark Team Start Point
- Green - Respawn Point
- Yellow - Item Respawn Point
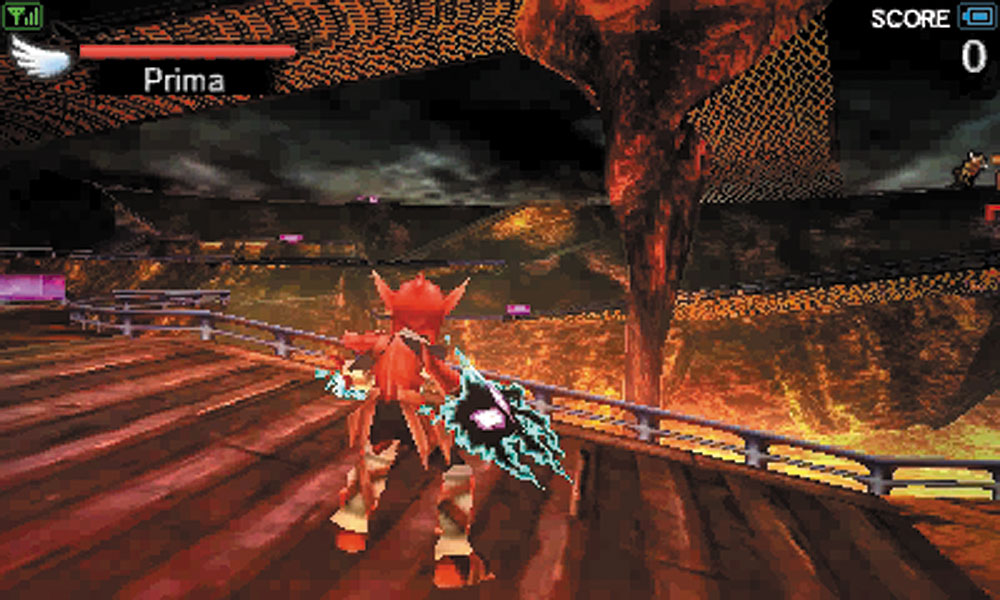
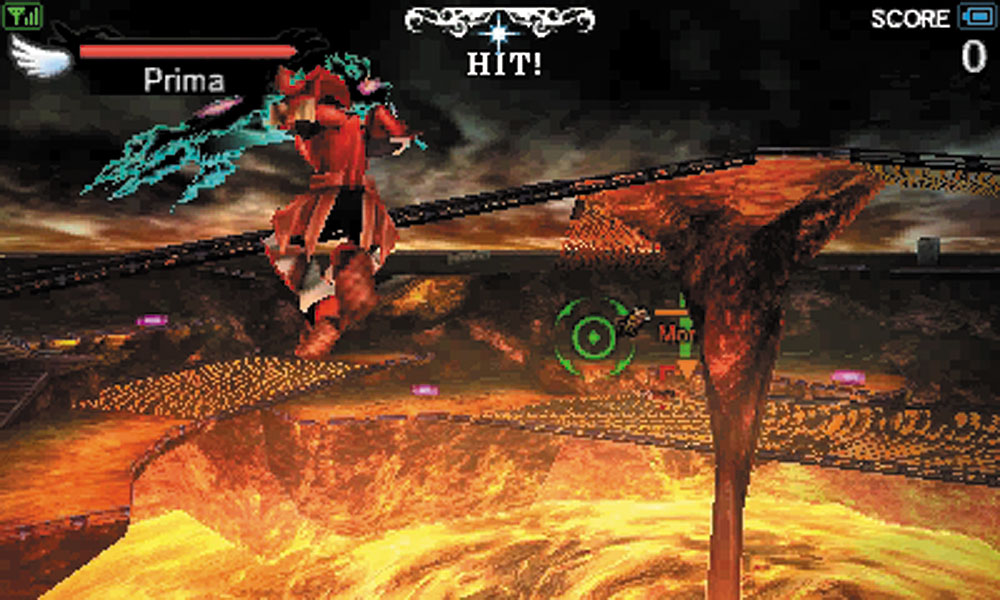
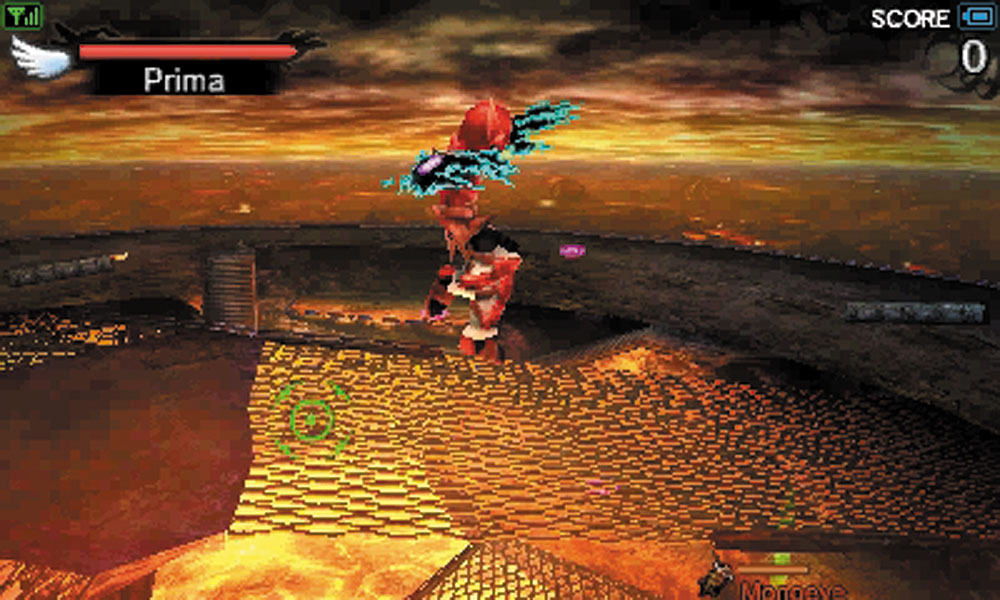
Lava Basin is a very dangerous stage to play on because you can be knocked into the lava so easily. If you knock someone off, it’s an instant defeat for them. It’s just as easy for you to be knocked off in turn, so be on guard at all times! There are a number of jump pads scattered across the map, which allow you to escape determined opponents and get away from the precarious bridges closest to the lava. One mean tactic is to set Land Mines near the jump pads, which can end up blasting unsuspecting players into the lava. Light vs. Dark mode on this map is particularly intense, as once the angels are on the field, everyone knows the quickest solution to that problem is off the nearest ledge.
Starlight Observatory
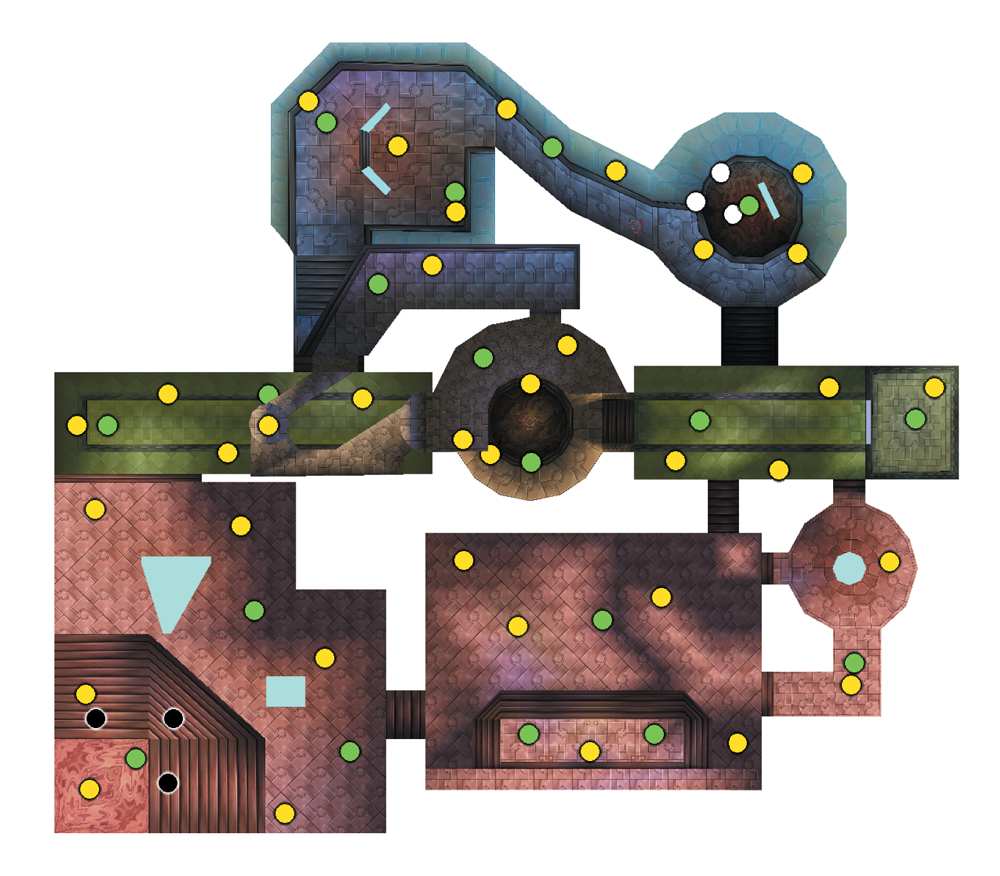
- White - Light Team Start Point
- Black - Dark Team Start Point
- Green - Respawn Point
- Yellow - Item Respawn Point
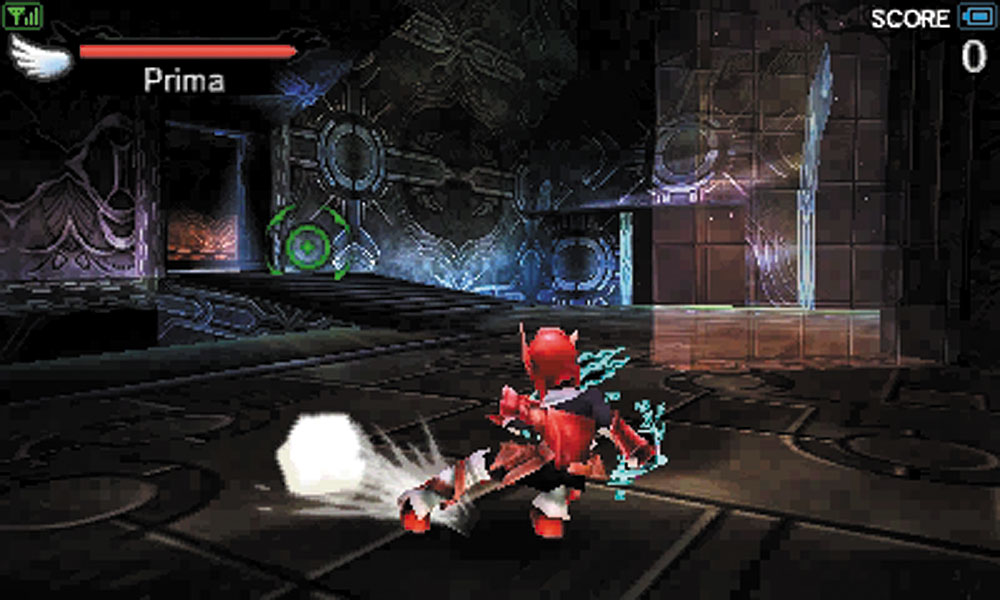
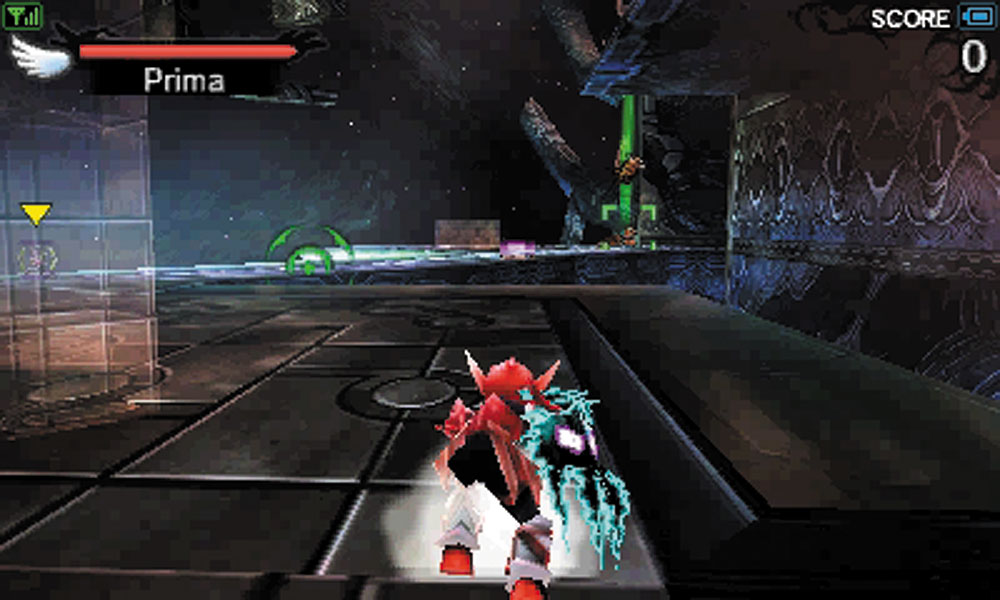
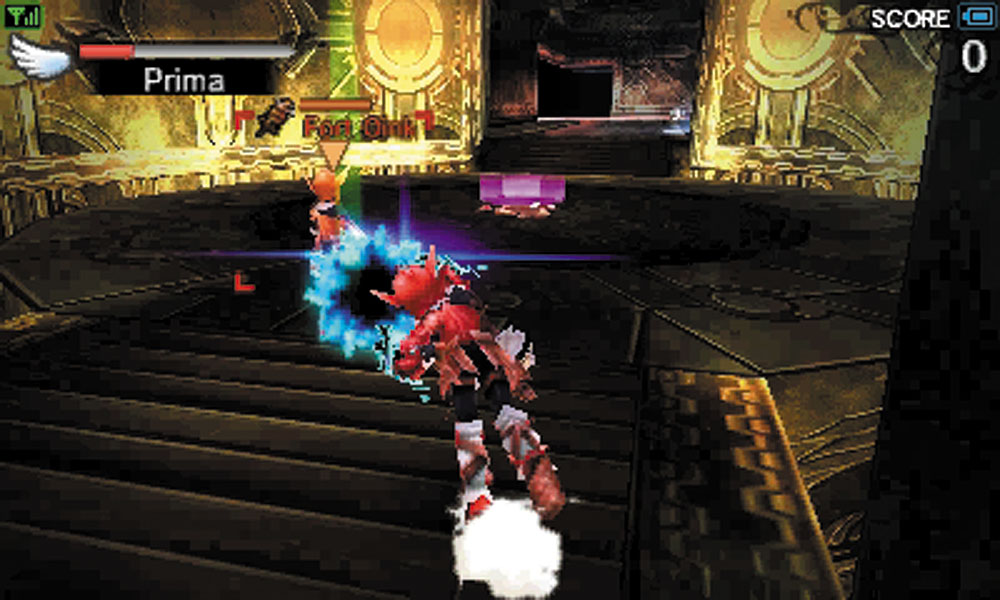
Starlight Observatory is composed of two levels, which makes it very difficult to keep track of where everyone is. If you are on the ground level and find yourself getting attacked, be sure to look up and make sure that the enemy is not above you. There are also plenty of corners to hide around, making close-quarter weapons very deadly on this stage. Because of the various paths that lead through both levels of this map, Light vs. Dark matches here tend to be fought on the run, as there are few safe spots to try to hole up in.
Ancient Fortress
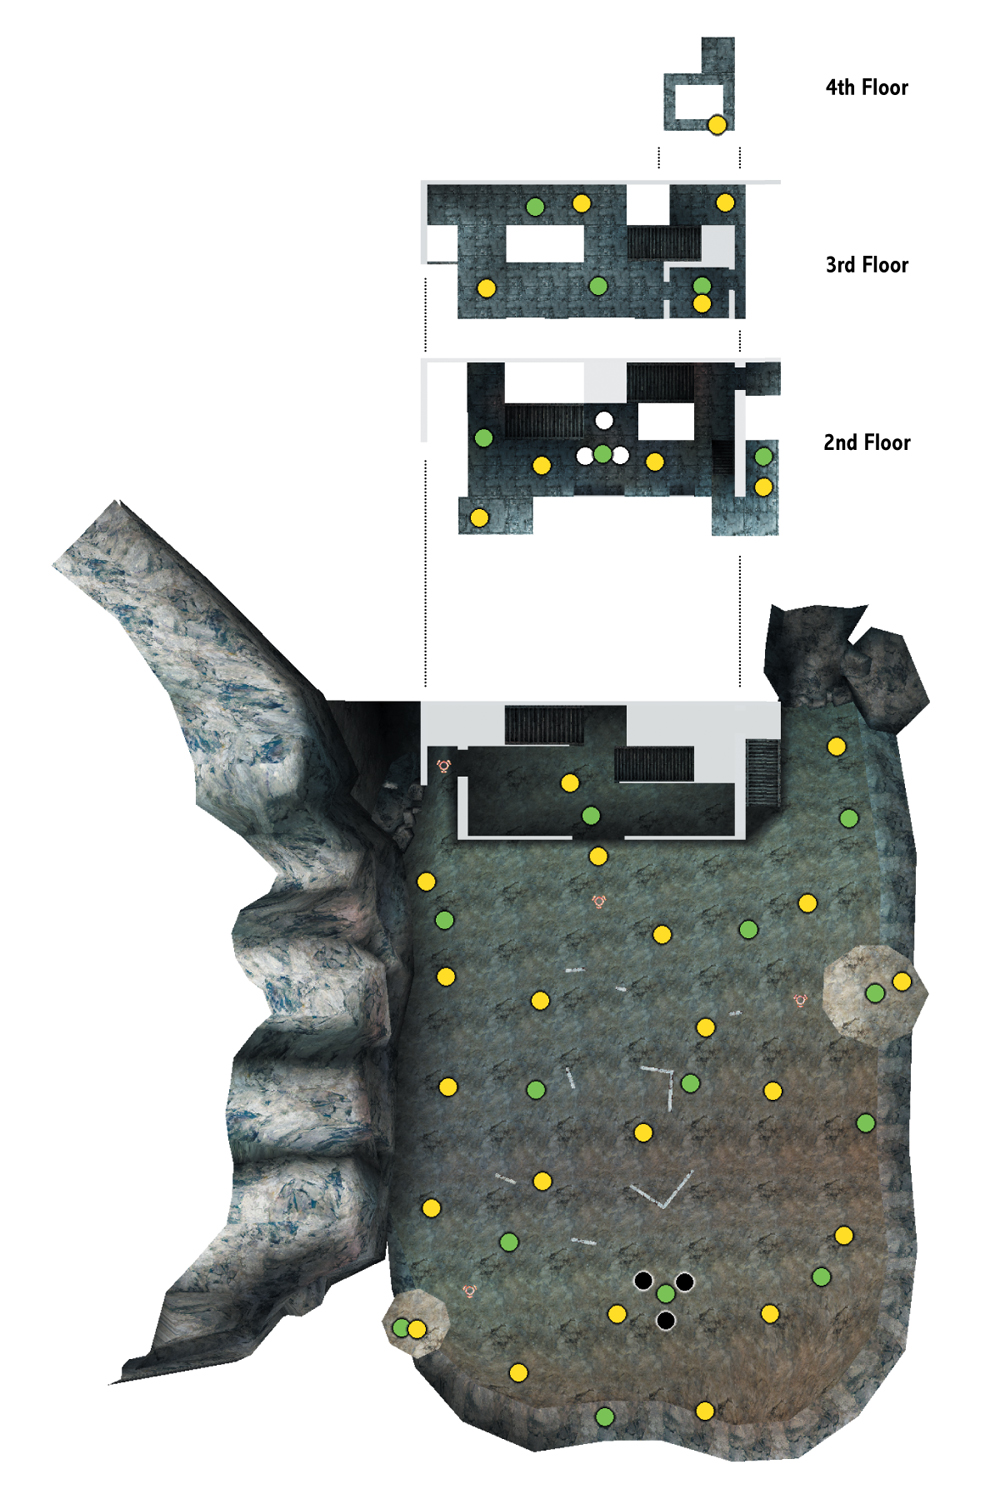
- White - Light Team Start Point
- Black - Dark Team Start Point
- Green - Respawn Point
- Yellow - Item Respawn Point
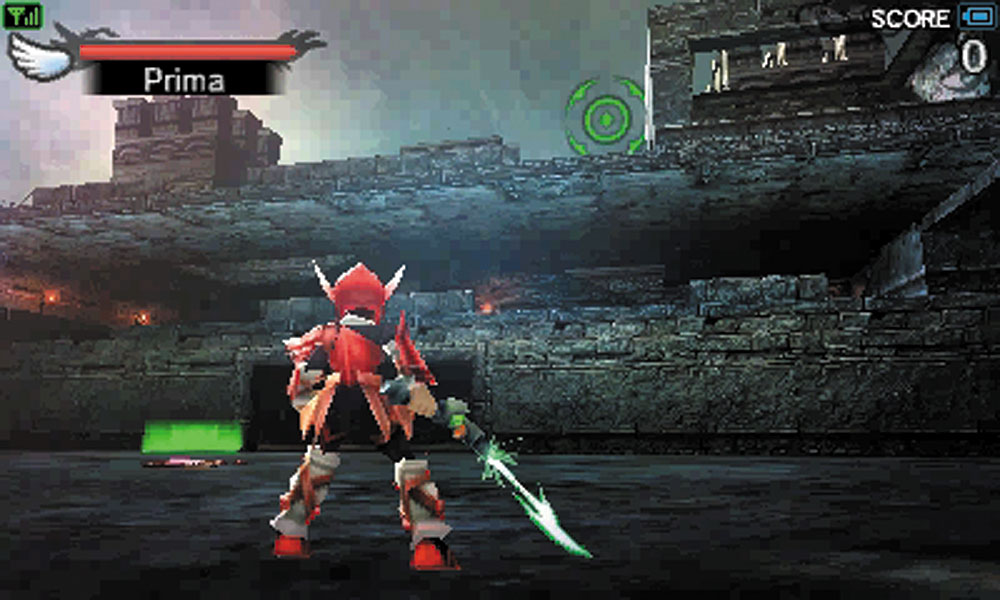
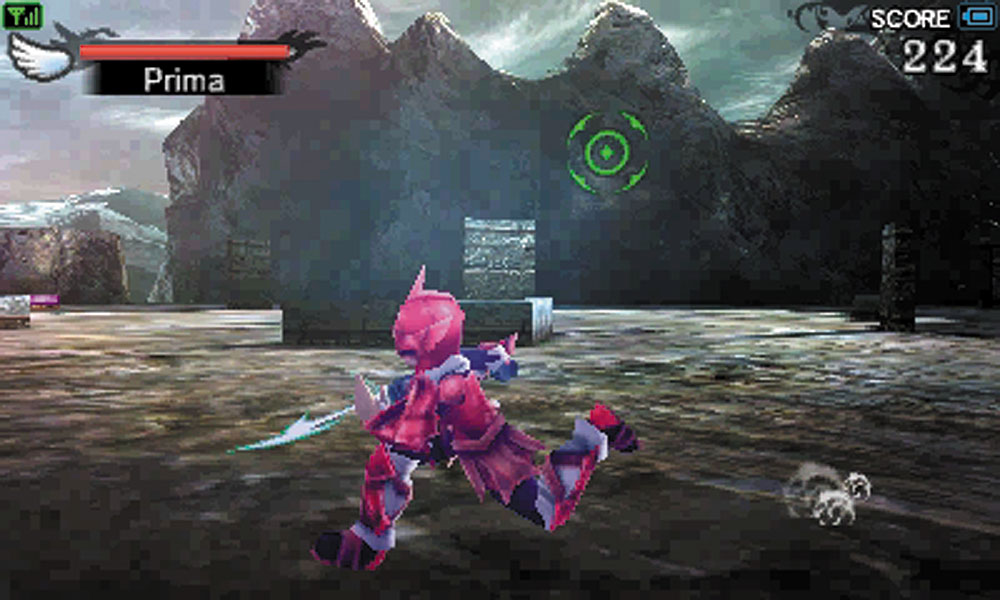
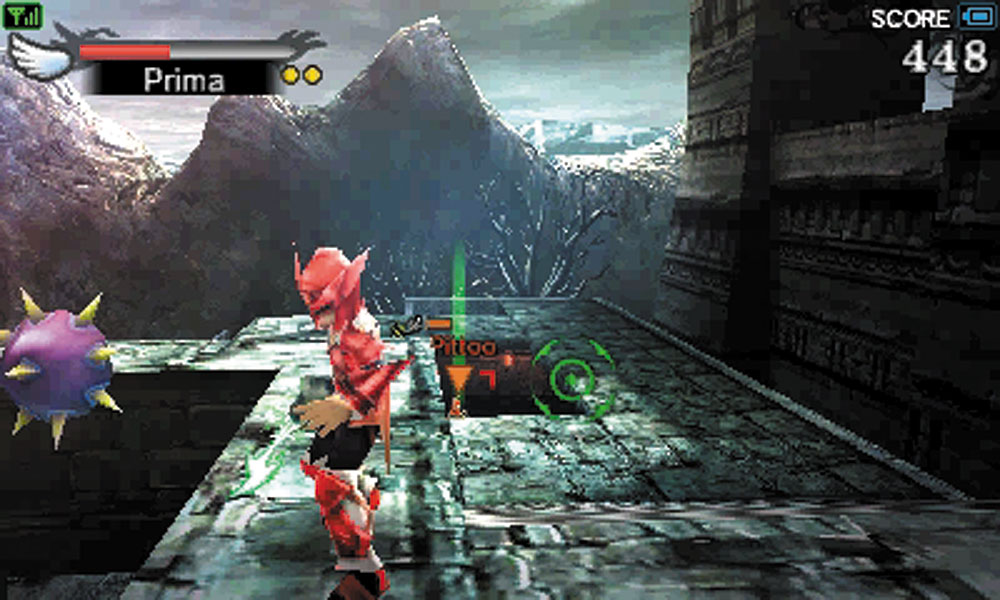
An important note is that the Light Team starts inside the large fortress, while the Dark Team starts out in the open field area. Firing a Mega Laser at the start of the match can catch the opposing team off guard, doing some early damage and giving your team an edge. The close quarters of the fortress itself encourage a wide variety of close-quarters tactics, but are also a great inspiration to an opportunistic player with a powerful area-of-effect item. As dangerous as the fortress can be, the open field in front of it is arguably worse. There is very little cover scattered throughout it—a sniper’s ideal terrain.
Twilight Stratosphere
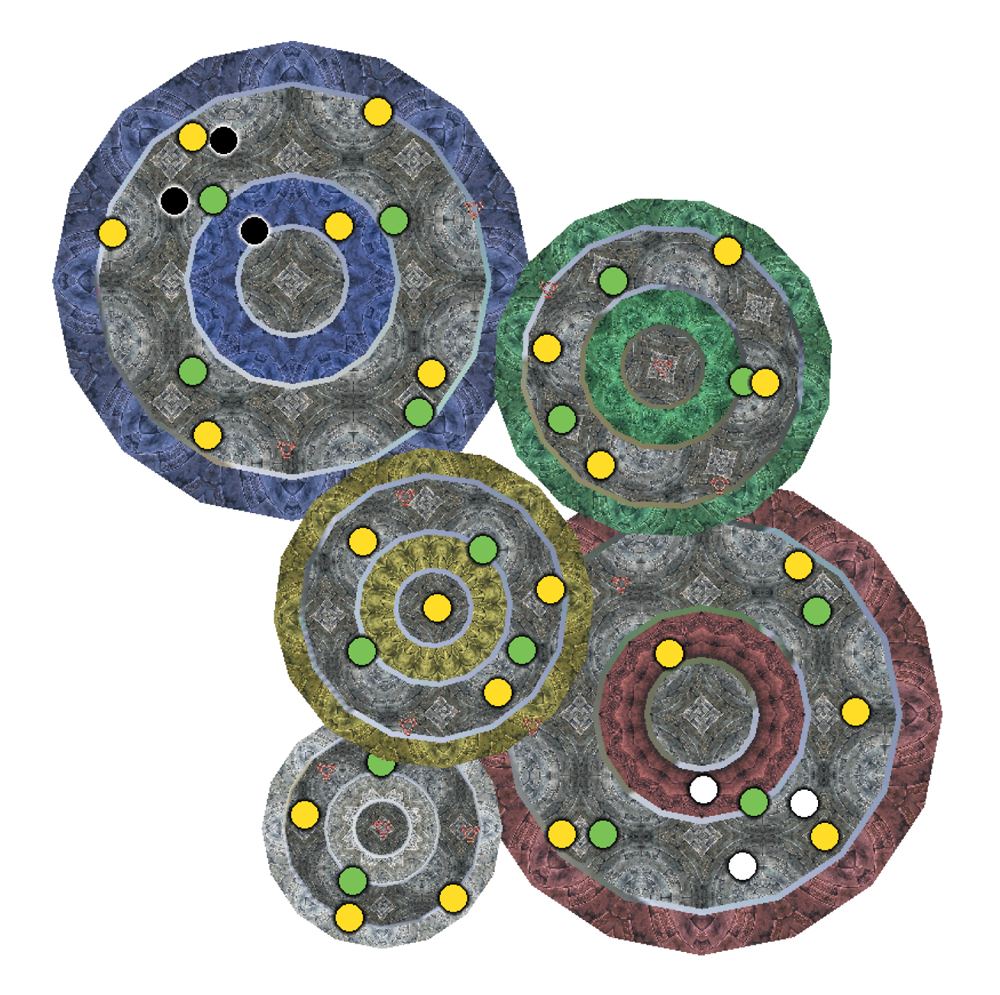
- White - Light Team Start Point
- Black - Dark Team Start Point
- Green - Respawn Point
- Yellow - Item Respawn Point
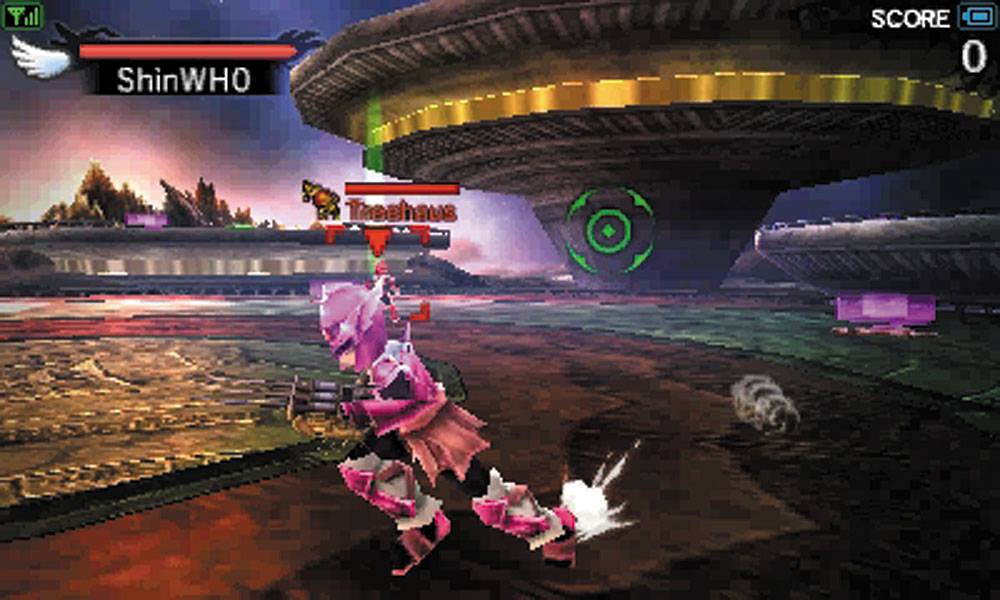
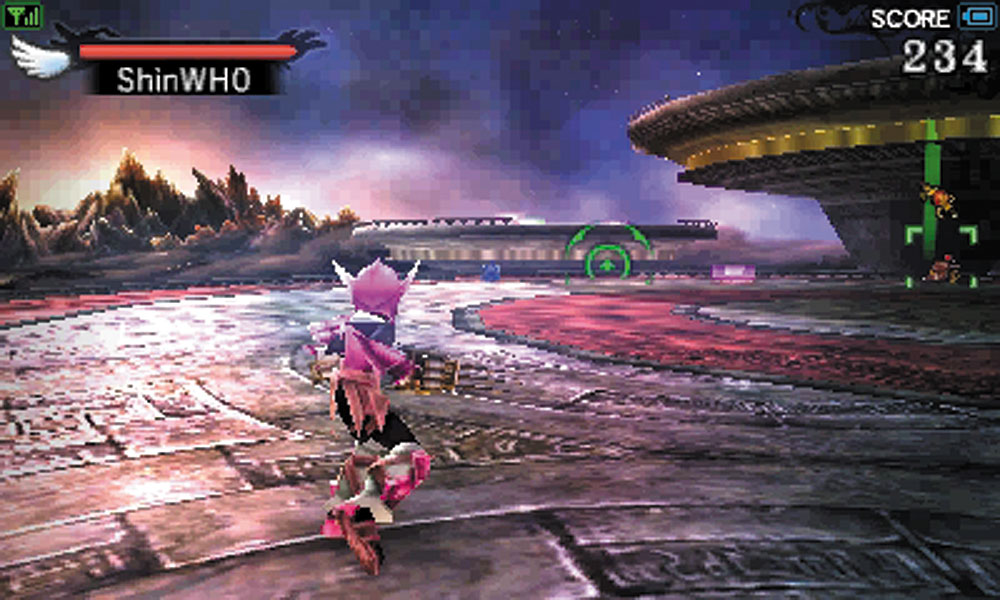
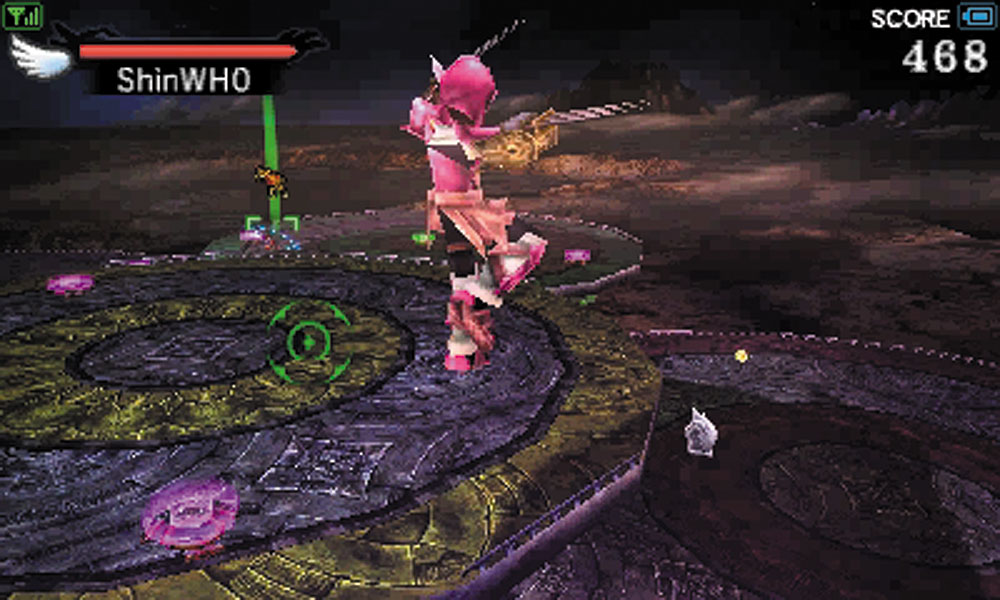
Twilight Stratosphere is a stage composed of circle platforms of varying sizes. Green and purple jump pads allow you to travel to each platform by stepping on them. The green jump pads launch you very high into the air, giving you a quick getaway if needed. The purple jump pads simply bounce you up to the next highest platform near you. Twilight Stratosphere encourages mobile tactics. If you’re not using the jump pads to get around quickly, you run the risk of being flanked. However, the uppermost platform can be a good base of operations for a team in Light vs. Dark. Observant teams can punish the opposing players the moment they land on the upper platform from using a jump pad.
Desert Tomb
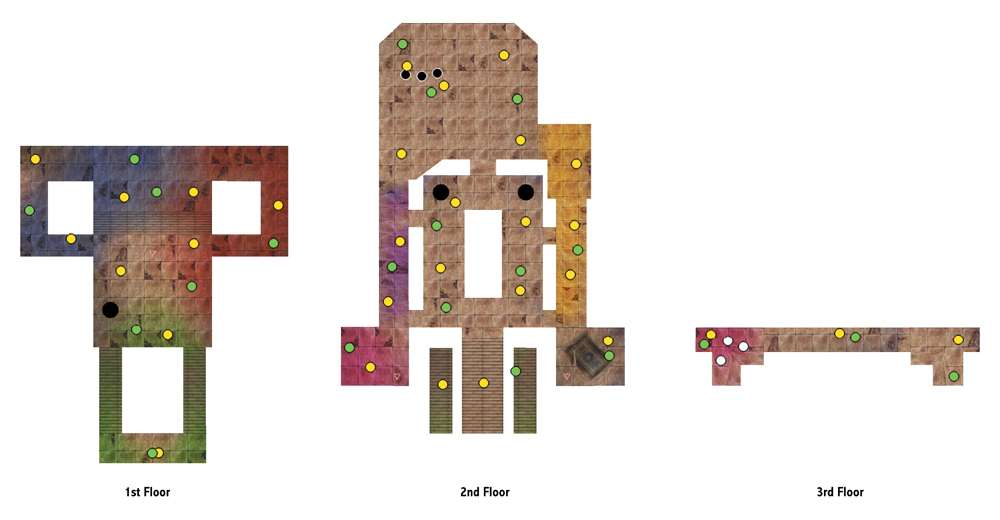
- White - Light Team Start Point
- Black - Dark Team Start Point
- Green - Respawn Point
- Yellow - Item Respawn Point
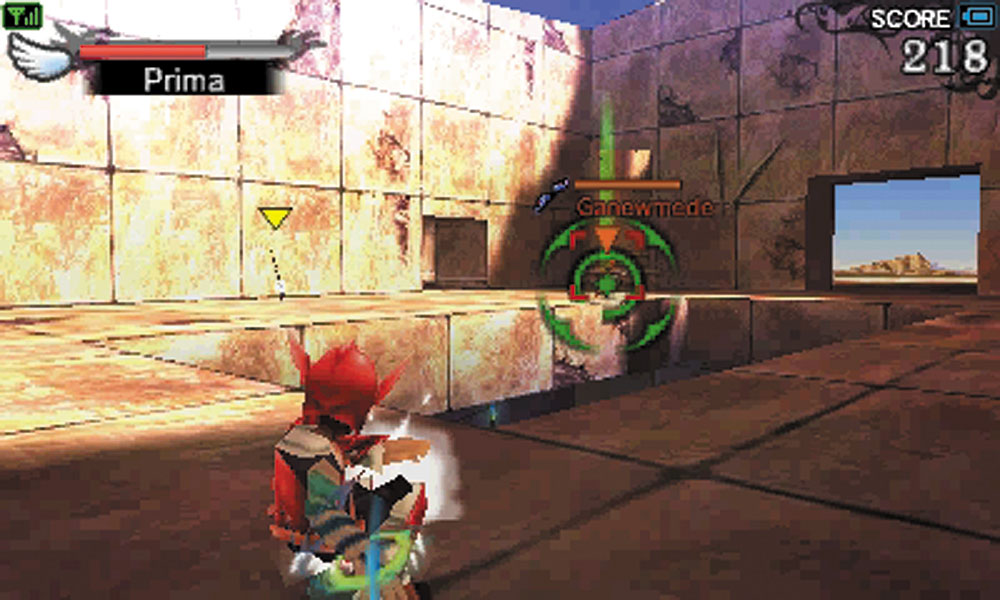
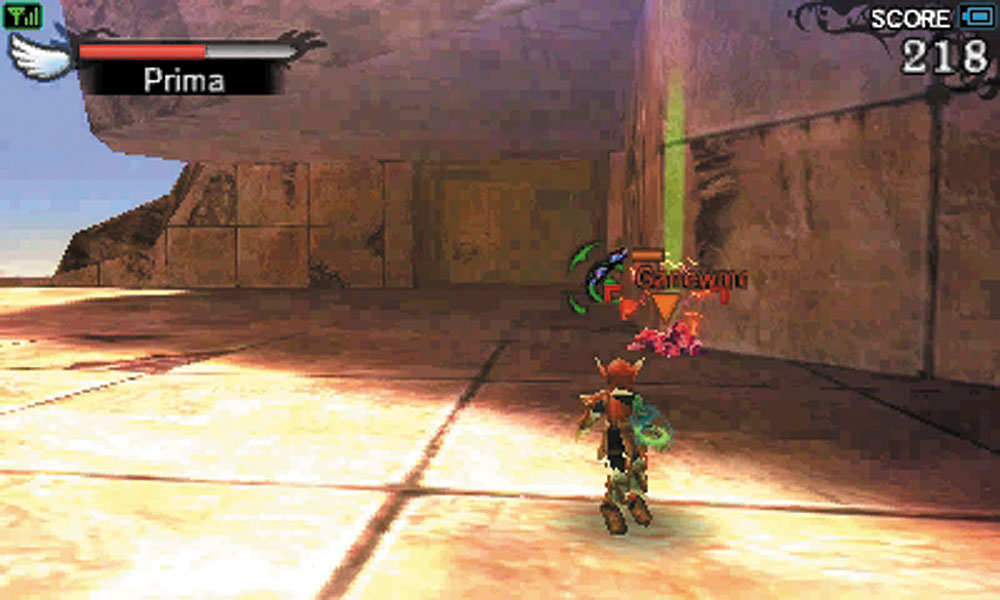
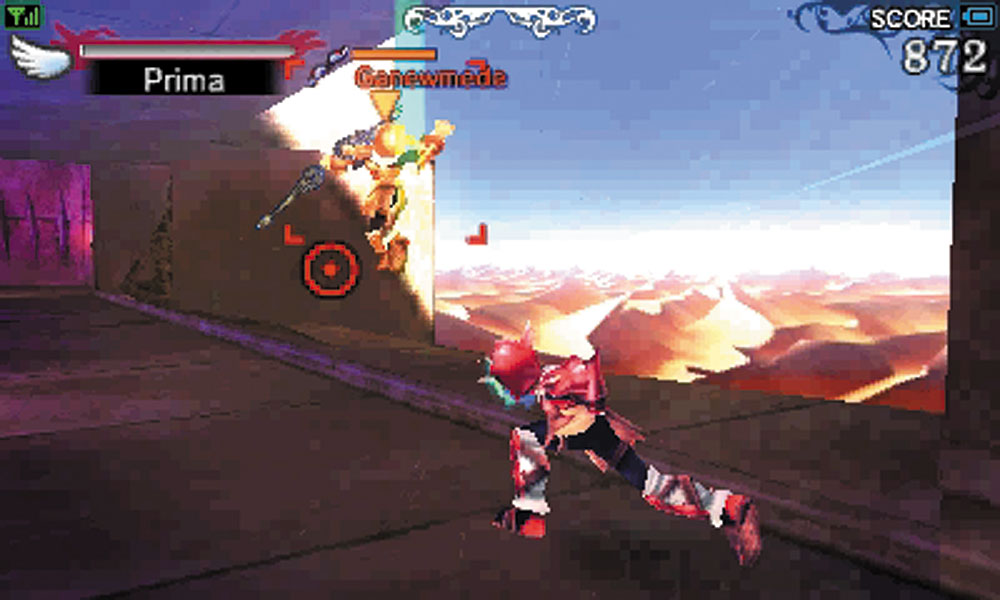
Desert Tomb is a great stage for close combat weapons due to its narrow passageways and corners to hide in. The multiple levels in the stage make it very easy to get the drop on an opponent from above, or from below via a series of jump pads. The upper level of the Desert Tomb is more open than the lower level, with large courtyards that feed into the main areas the tomb. These courtyards have almost no cover, so if you’re caught by opponents in those areas, you’ll have to make a break for the center of the tomb if you’re looking for shelter.
The central chamber has a smaller upper level accessible via jump pads. It has a clean line of sight on almost the entire middle level. This is a great place for snipers to position themselves.
Rail Temple
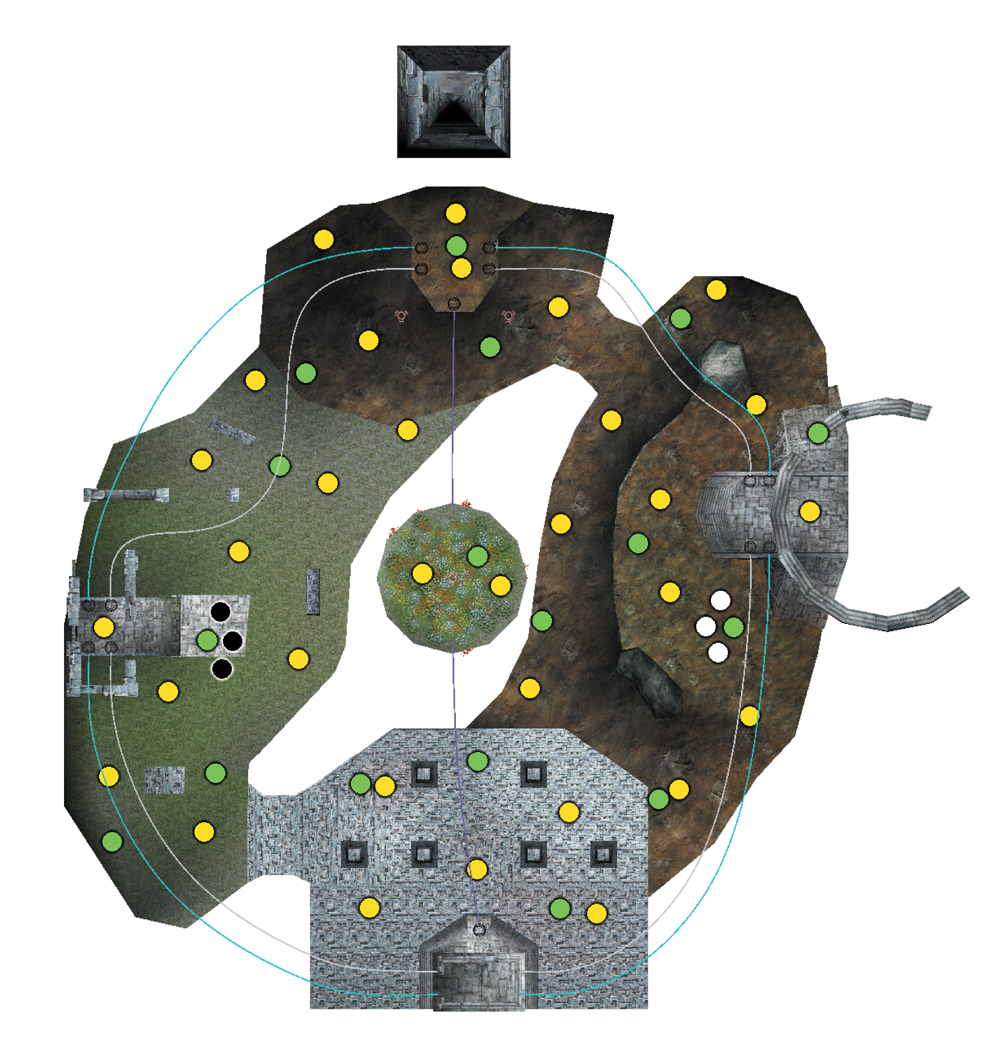
- White - Light Team Start Point
- Black - Dark Team Start Point
- Green - Respawn Point
- Yellow - Item Respawn Point
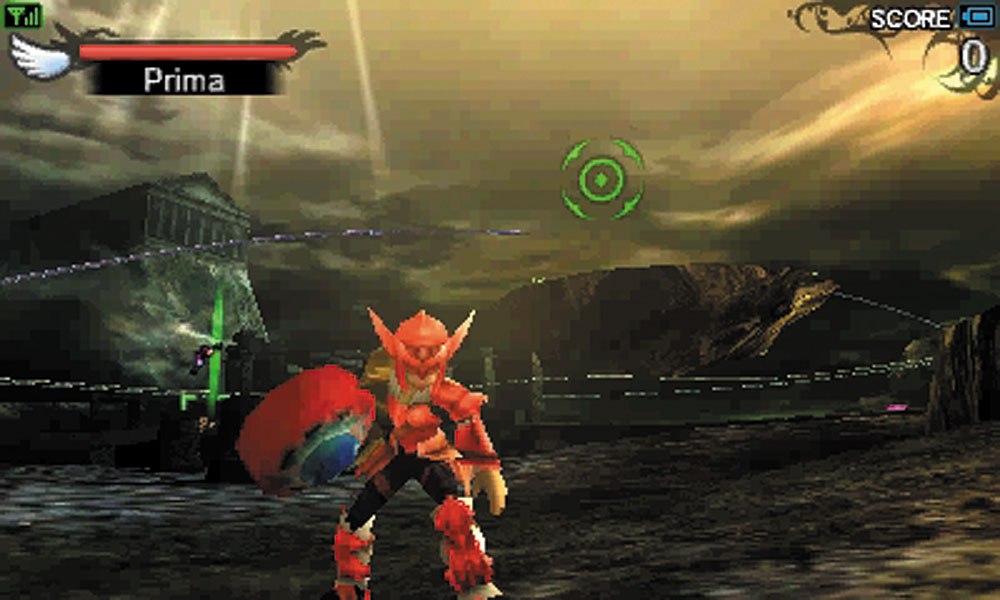
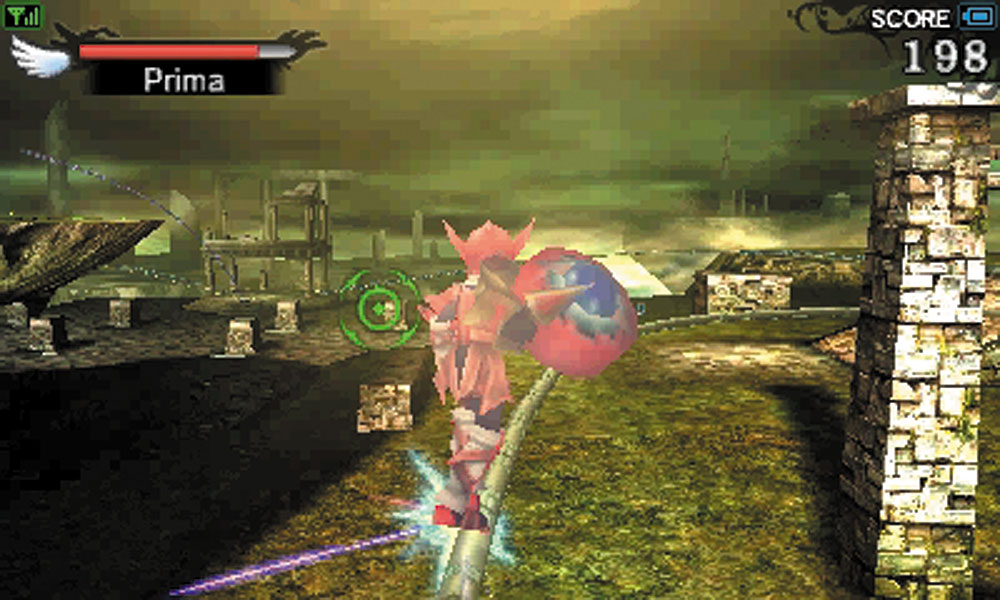
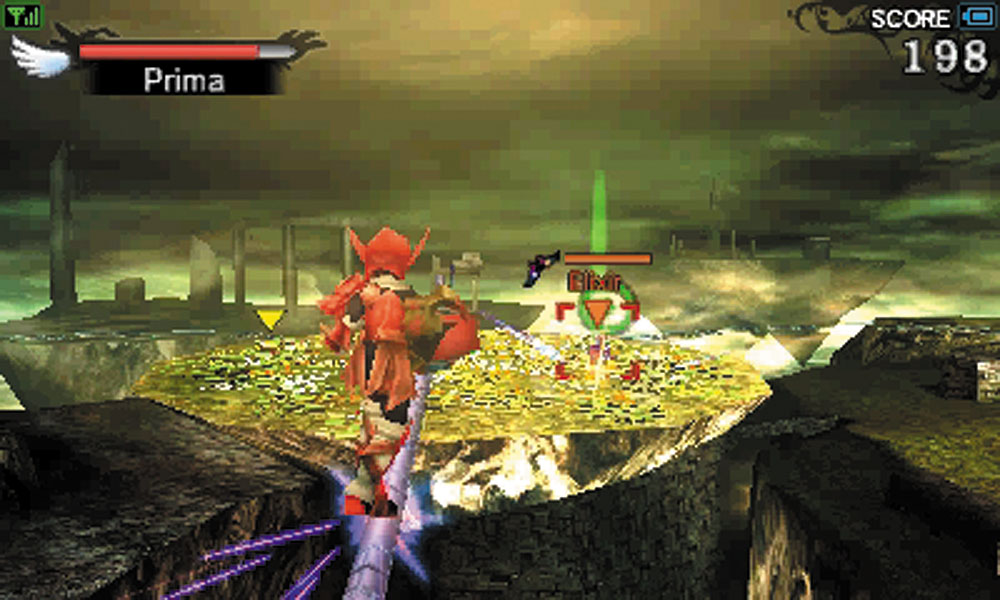
Set up as a large circle, the Rail Temple map is defined by the system of grind rails that run a circuit around the side of the map. These rails provide speedy transport throughout the map, which allows skilled snipers a tough-to-counter moving perch over larger battles. During Light vs. Dark battles, the rail system can allow skilled angels a brief reprieve from hostile attacks. They can quickly relocate if they come under fire.
At the center of this large stage is a chasm with an island floating above it. This small perch has good sight lines on the entire outer edge of the Rail Temple and a jump pad that can be used for a quick escape. Don’t become too attached to the rail system, as a crafty player can be lying in wait at the end of a track.
Cave of Spirits
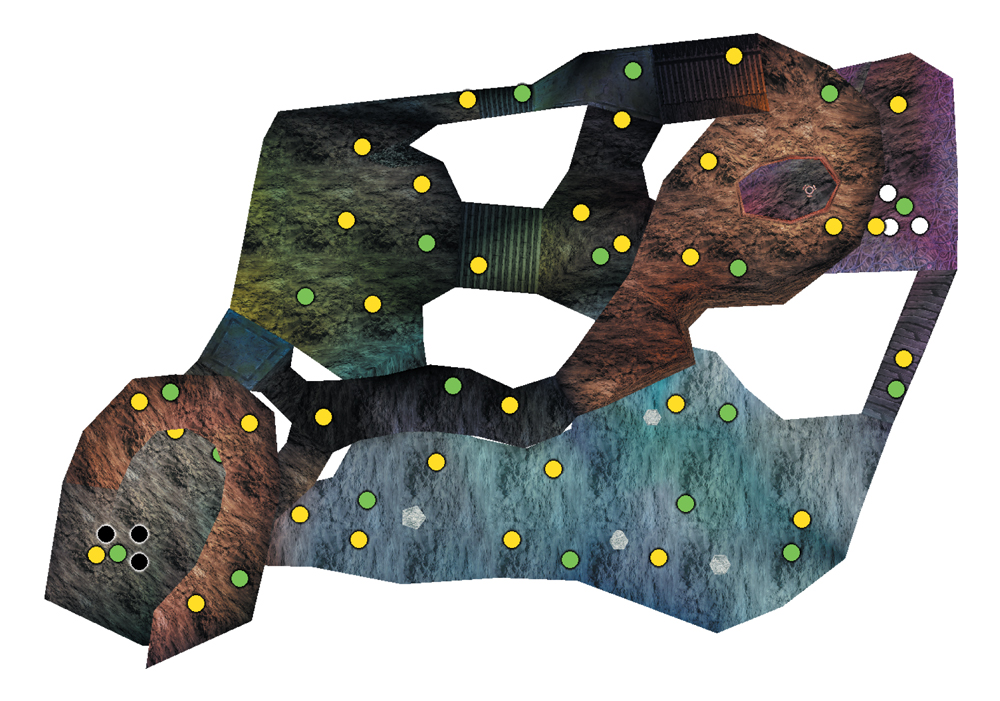
- White - Light Team Start Point
- Black - Dark Team Start Point
- Green - Respawn Point
- Yellow - Item Respawn Point
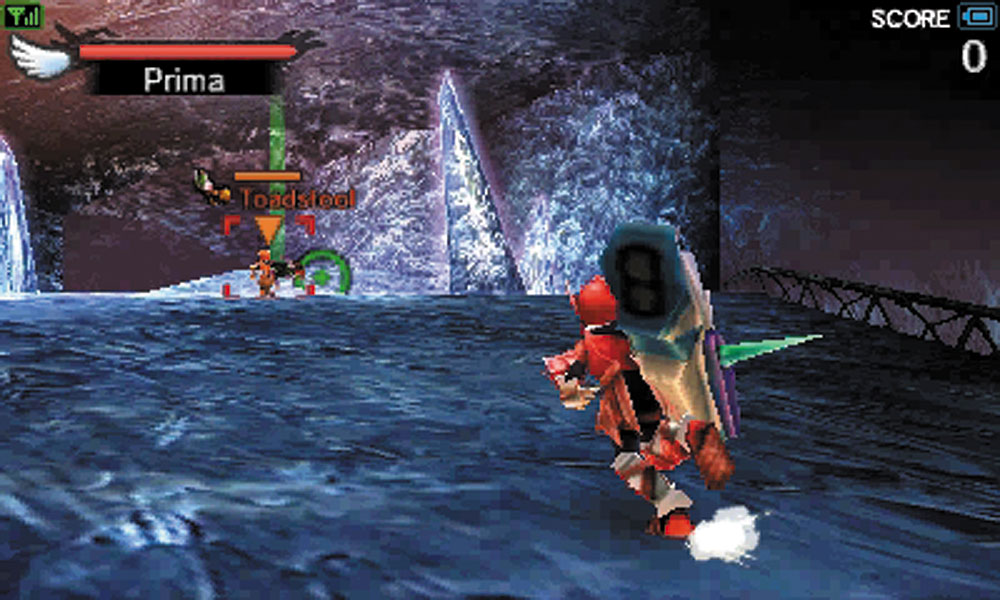
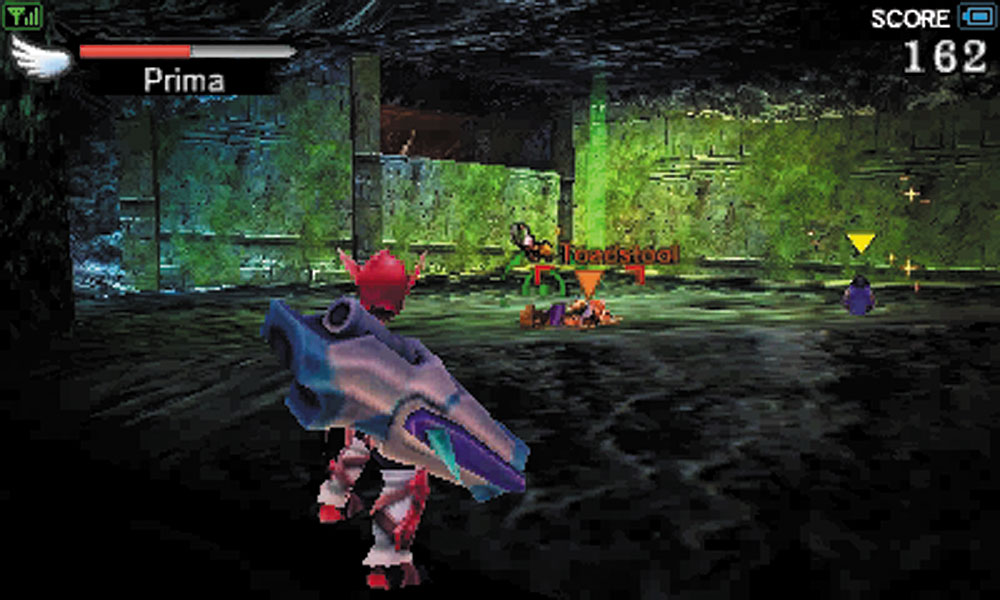
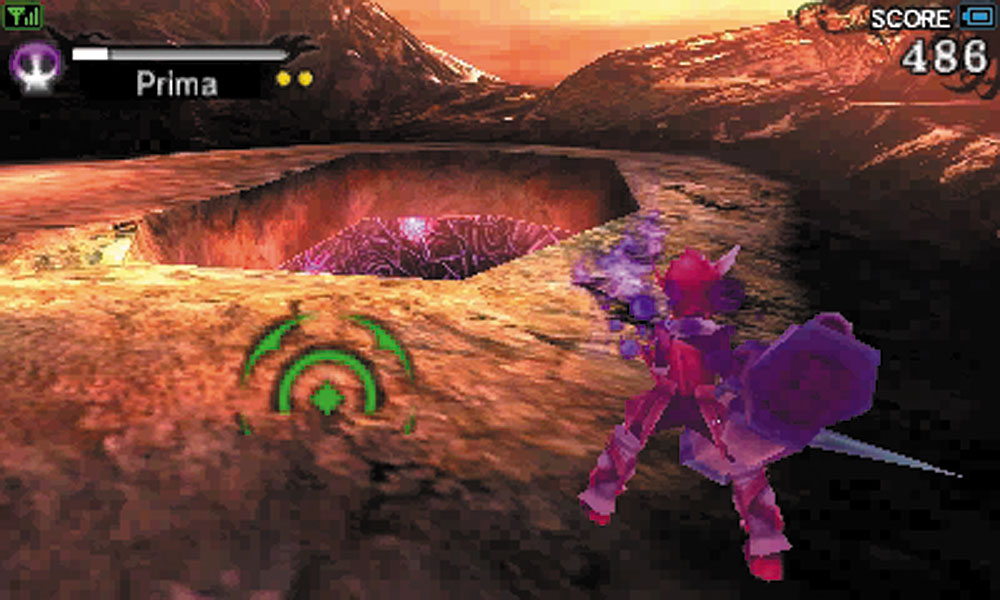
The Cave of Spirits is a stage that is almost completely underground, but that doesn’t mean it’s all close quarters. There are wide-open caverns to fight in with very little cover. Dodging is very important when playing on this stage since you will have almost nothing to hide behind the majority of the time. The interconnected nature of all the tunnels and chambers provides many opportunities to flank inattentive or stubborn players who are trying to hole up in a single location.
There are two outdoors locations in the Cave of Spirits. From these areas, it is possible to drop down into the lower areas of the map, and can be a good way to ambush players.
Forgotten City
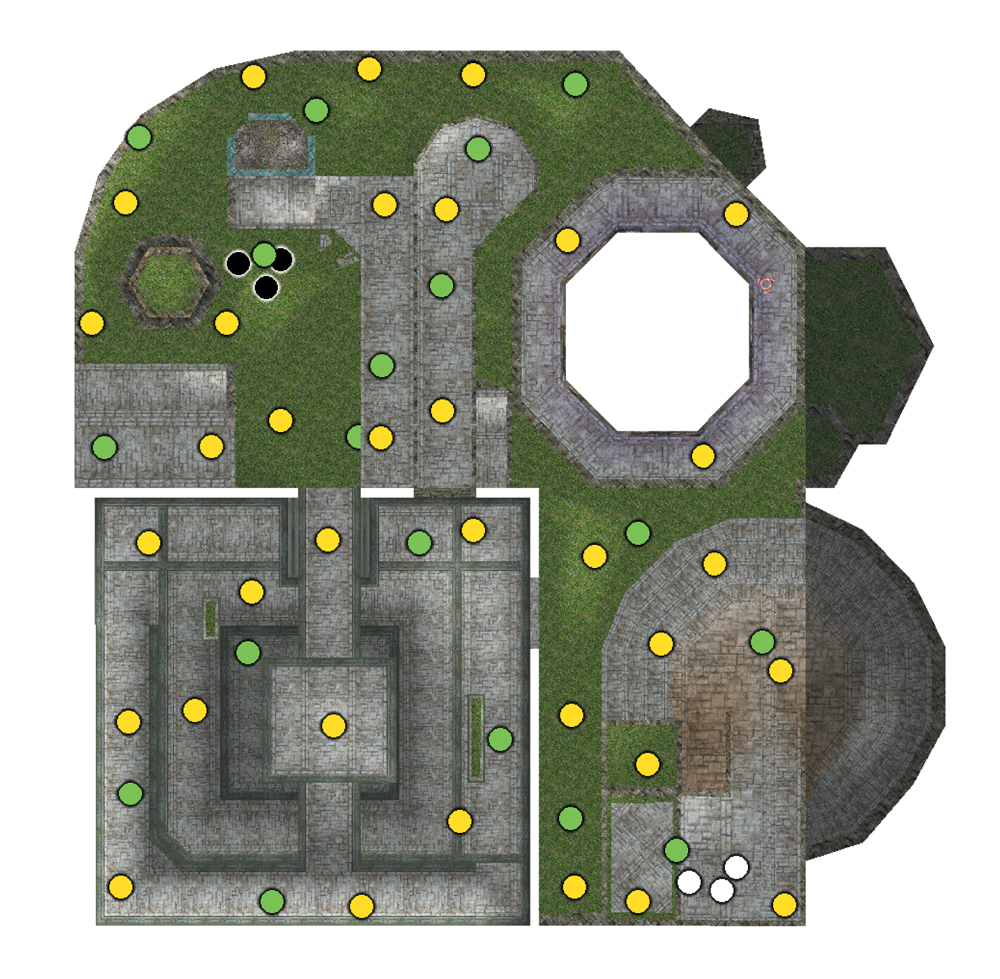
- White - Light Team Start Point
- Black - Dark Team Start Point
- Green - Respawn Point
- Yellow - Item Respawn Point
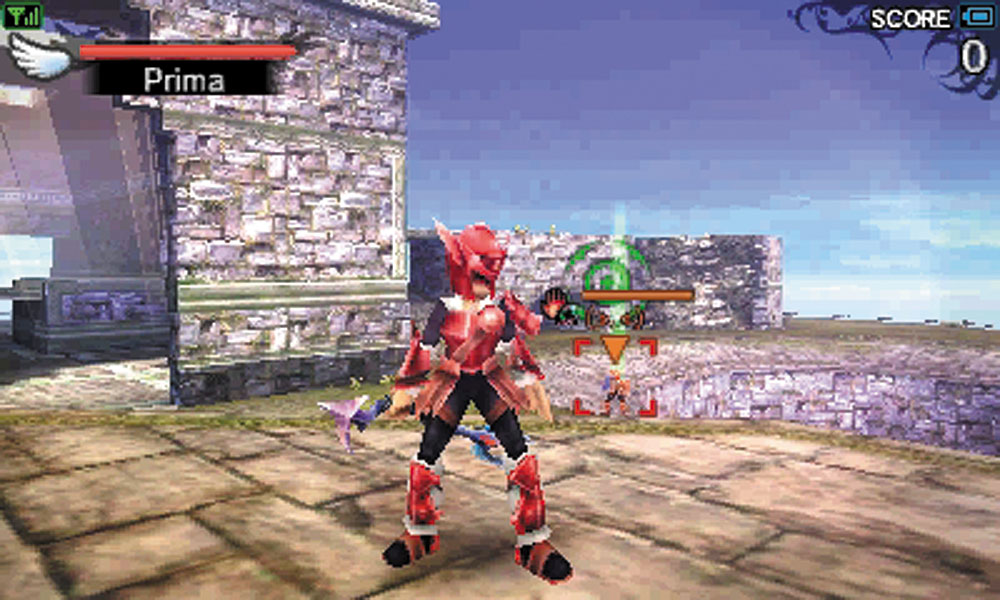
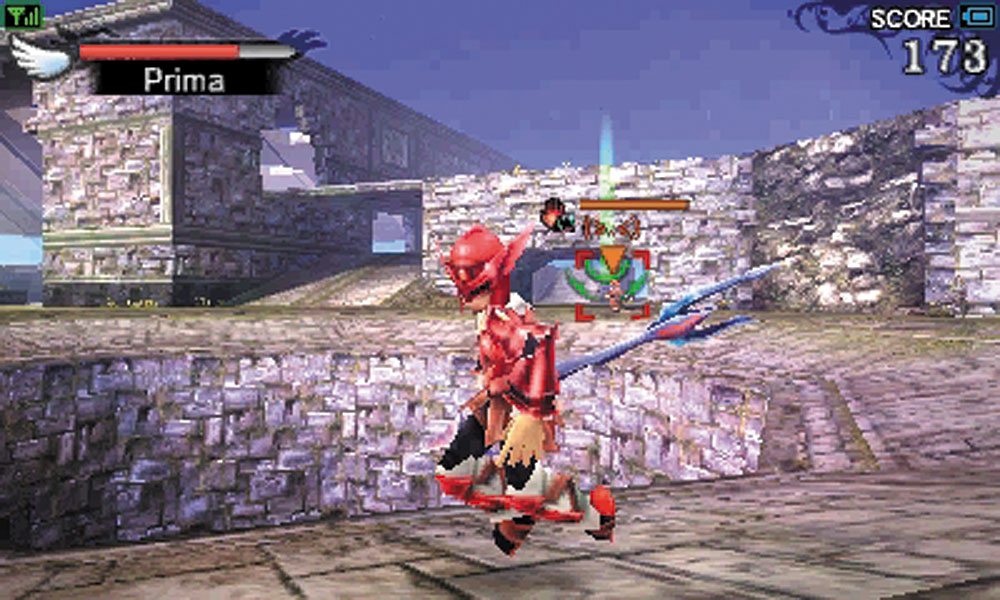
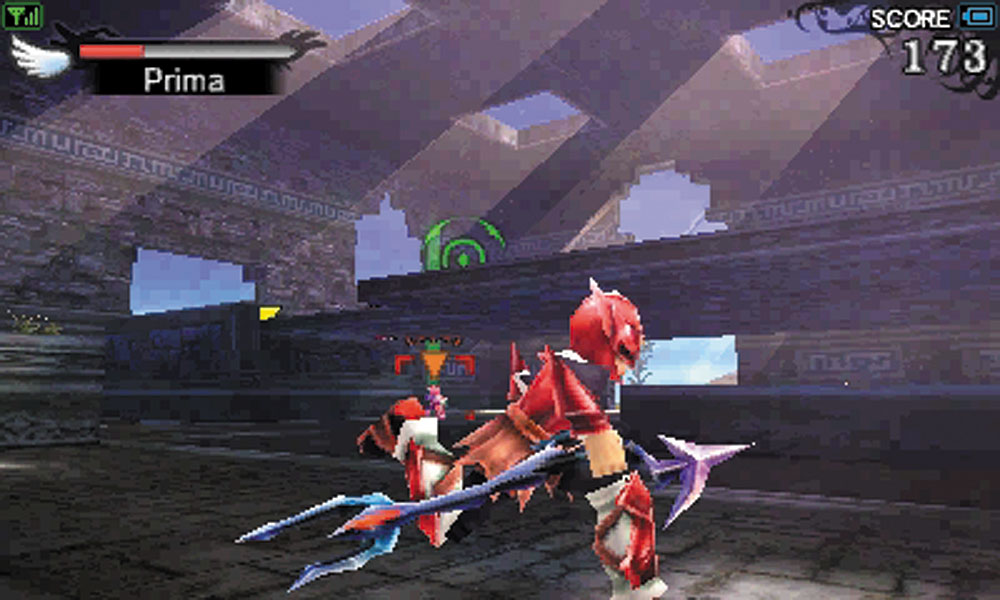
This stage has a wide variety of settings, such as a giant hole to knock opponents into, higher ground to fire down on foes, and a large room with quite a bit of cover. If you do find yourself fighting near the giant hole, be sure to try to knock enemies into it to instantly defeat them. The winding walkways in the main structure of the Forgotten City provide ample locations for sniping players on the ground level, but are not so protected that players with the higher ground are safe from reprisal. The outdoor locations are fairly open, which can favor ranged combat, but speedy players equipped with claws also have fewer obstacles to worry about, and have little trouble closing the distance.
Spiral Tower
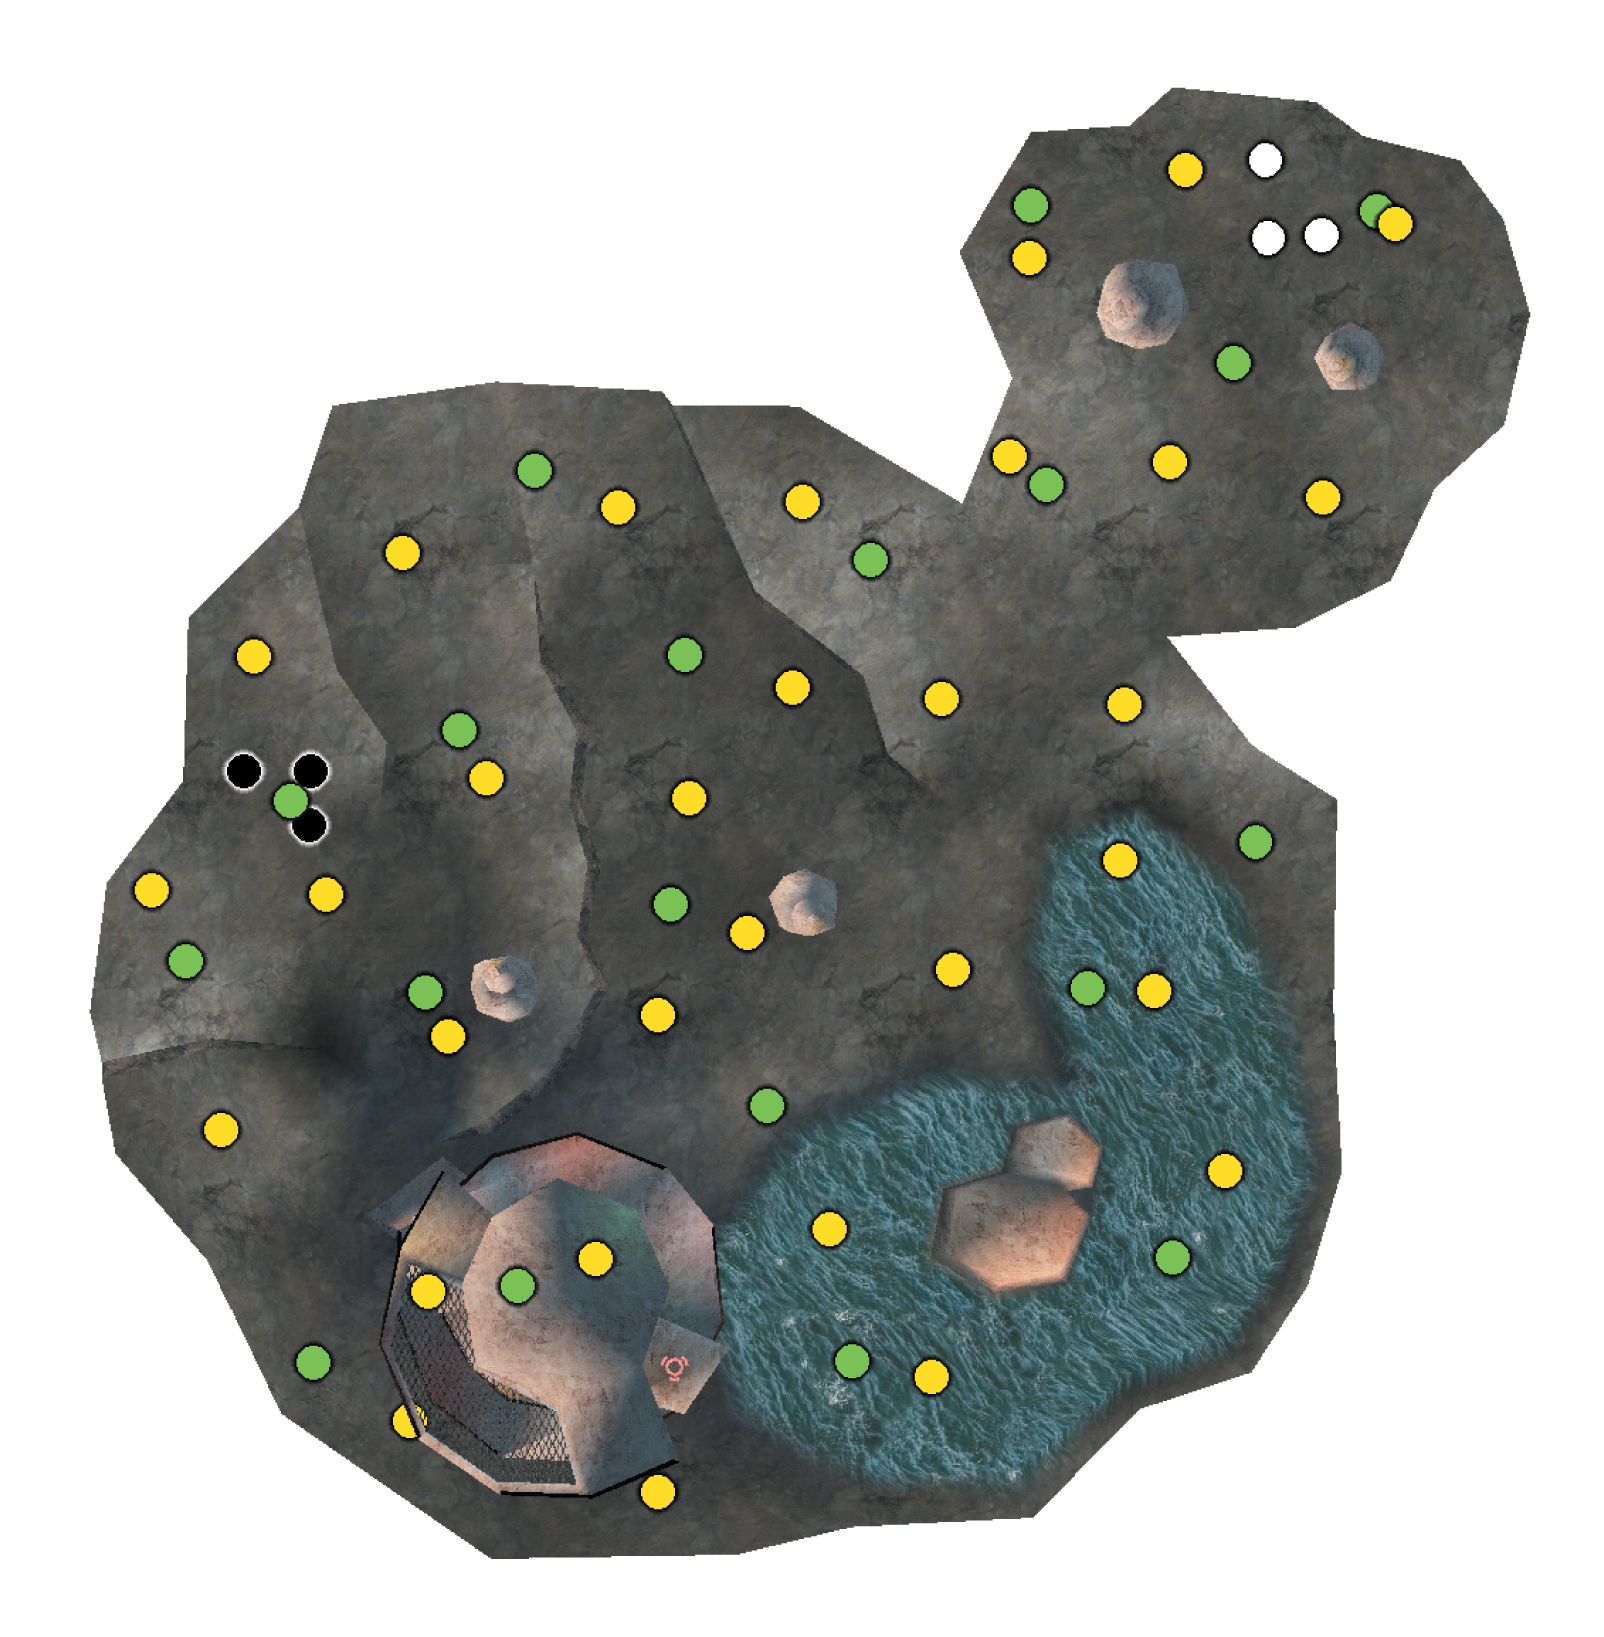
- White - Light Team Start Point
- Black - Dark Team Start Point
- Green - Respawn Point
- Yellow - Item Respawn Point
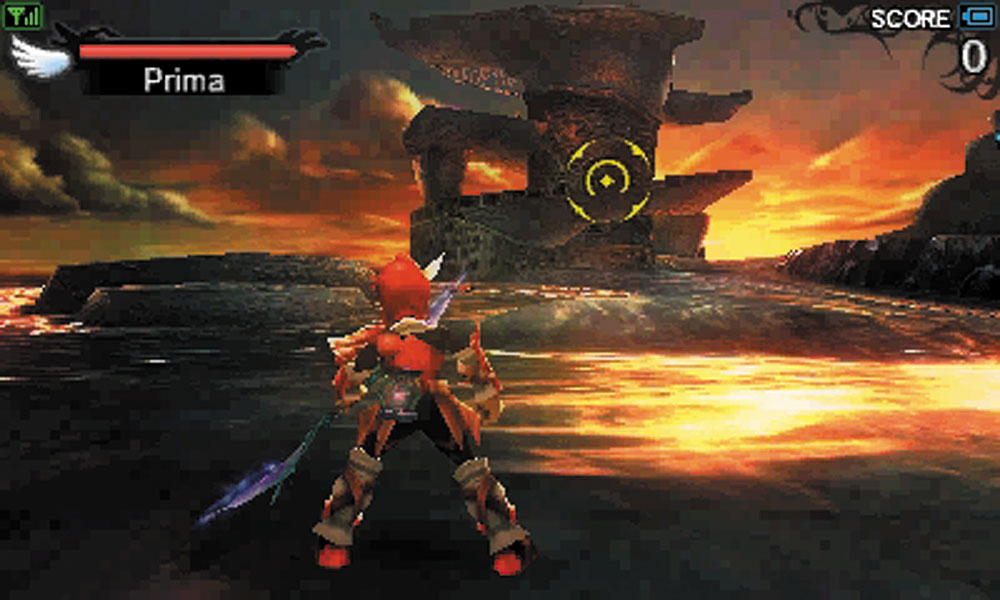
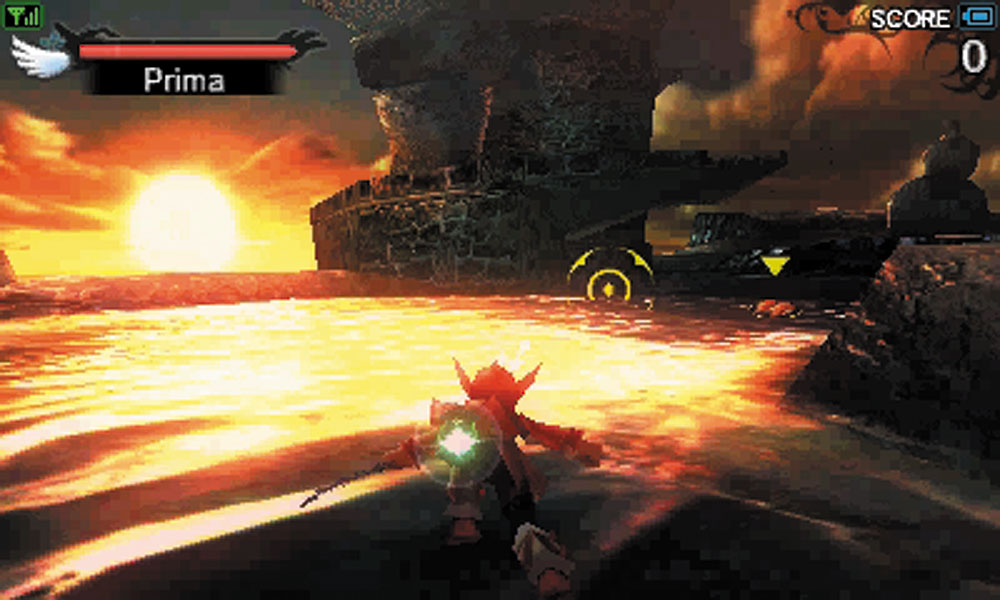
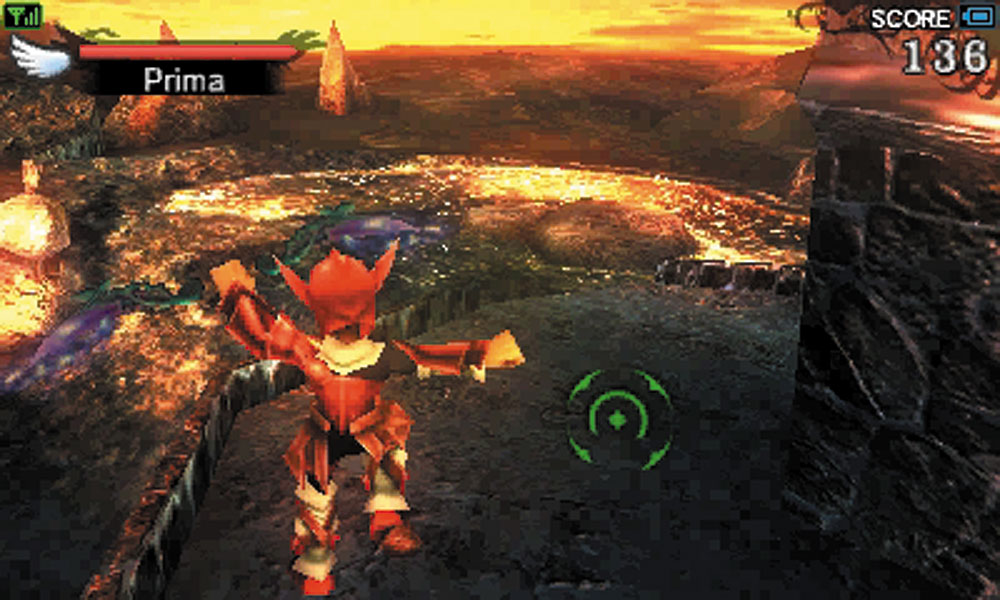
The Spiral Tower stage is a wasteland of uneven terrain and a single spiraling tower. The tower is the key point to try to fight from due to its having the higher ground advantage, and also due to the extra cover that it provides. If you find yourself fighting out away from the tower, you can still use the uneven terrain to get some cover from your enemies’ attacks. While the tower itself is highly defensible under normal circumstances, there are some considerations to keep in mind. The small size of the tower makes it easy for players equipped with the Mega Beam power to cover large swaths of the tower in deadly fire. If the Daybreak is assembled by a team outside of the tower during Light vs. Dark, the building can become a very bad place to be, as a well-placed shot can cover almost the entire rooftop.
Large Arena
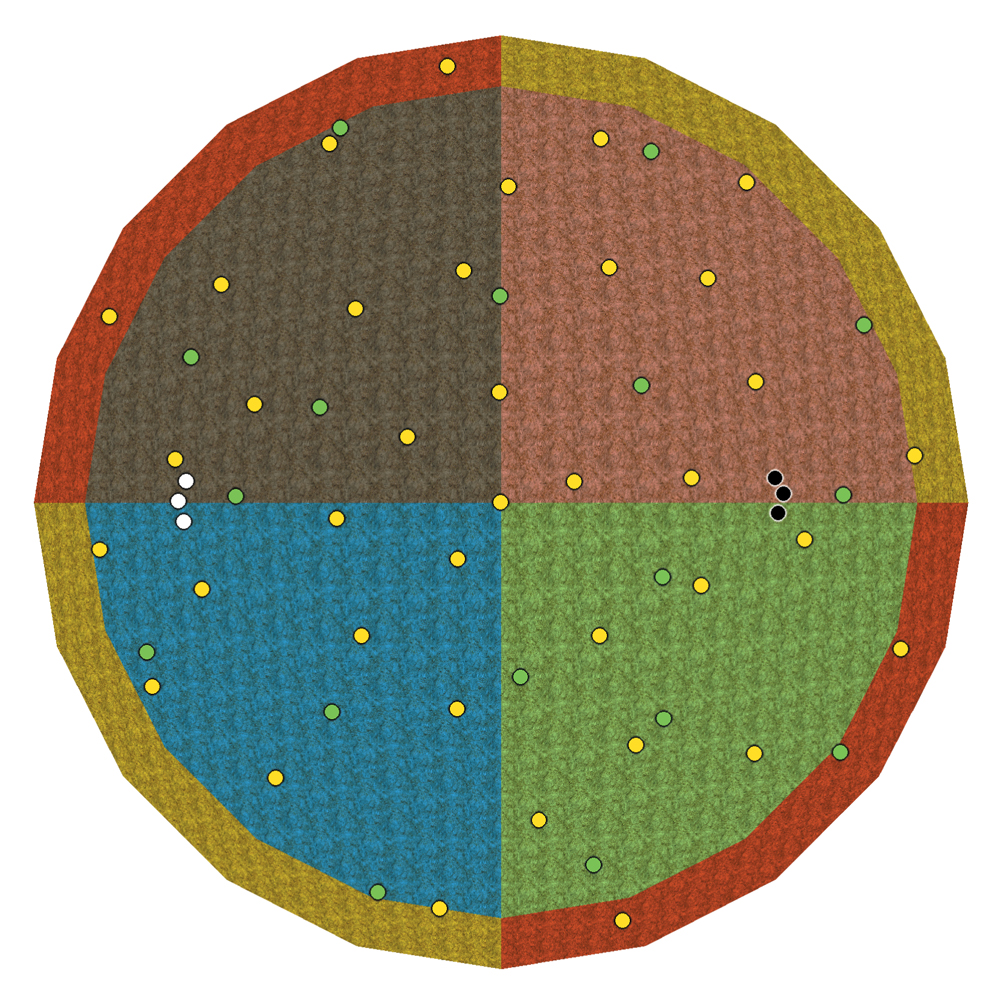
- White - Light Team Start Point
- Black - Dark Team Start Point
- Green - Respawn Point
- Yellow - Item Respawn Point
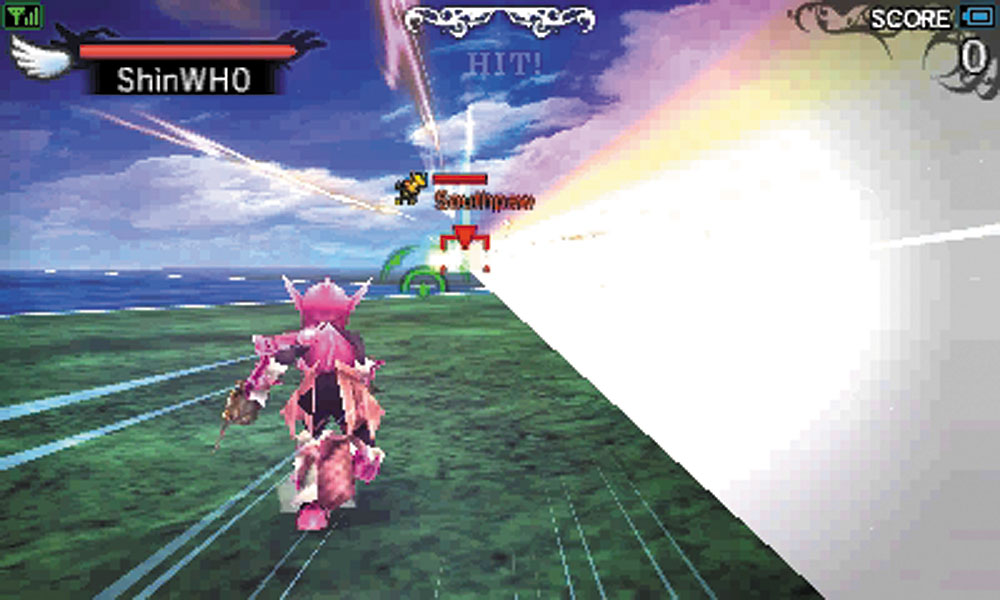
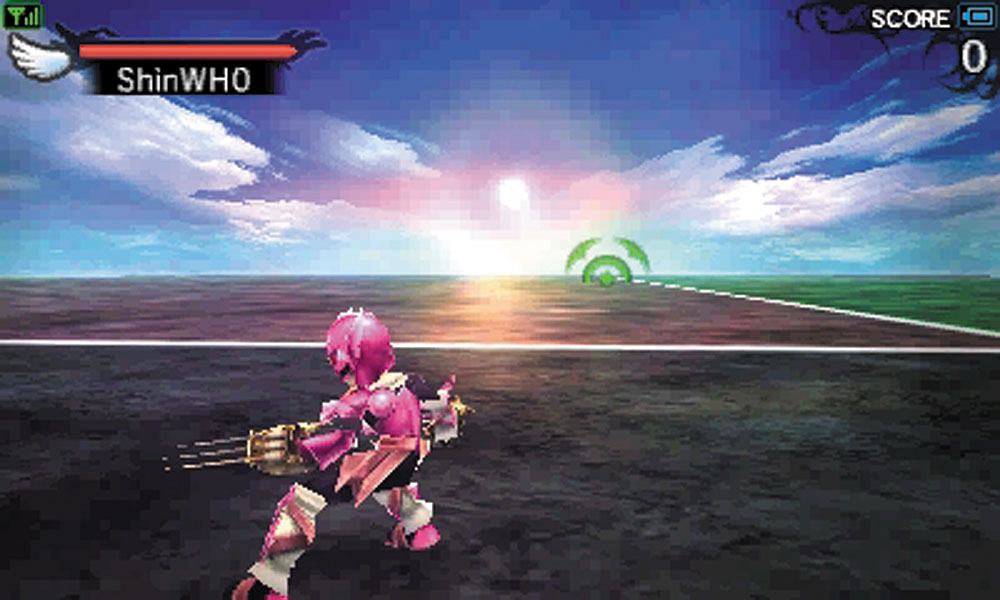
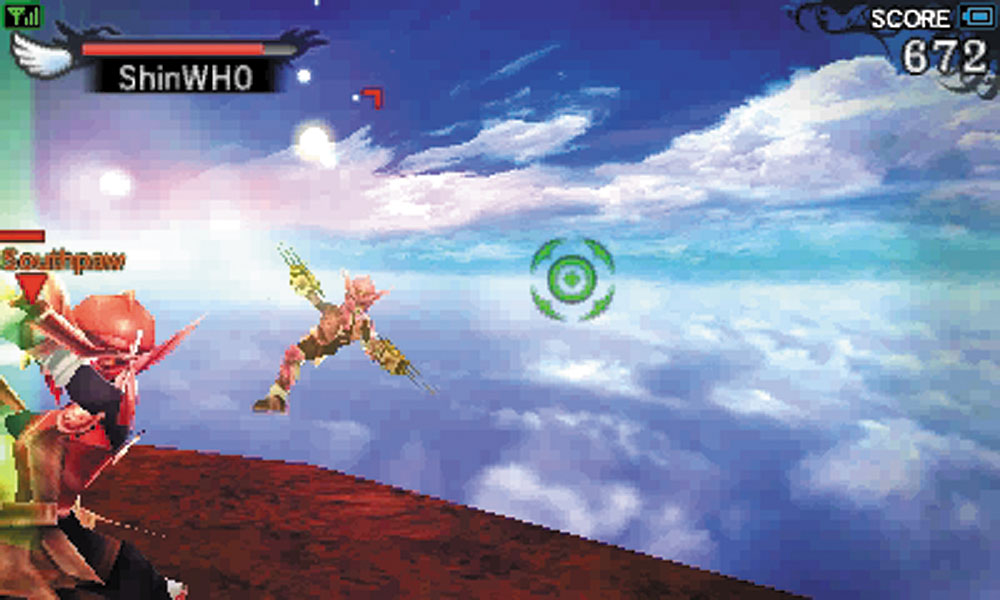
The Large Arena stage is a very large circle to battle on. There is no cover on this stage, and if you fight near the edges you can be knocked off and instantly defeated. Since this stage is so large, long-range weapons can have an advantage here if you have good aim. At the same time, the sheer size of the arena makes it possible for skilled players to dodge just about everything a long-ranged fighter can throw their way as long as they see it coming. Light vs. Dark battles in the Large Arena are interesting affairs. Barring any Powers that prevent it, every player can always know where everyone else is at any given time.
Small Arena
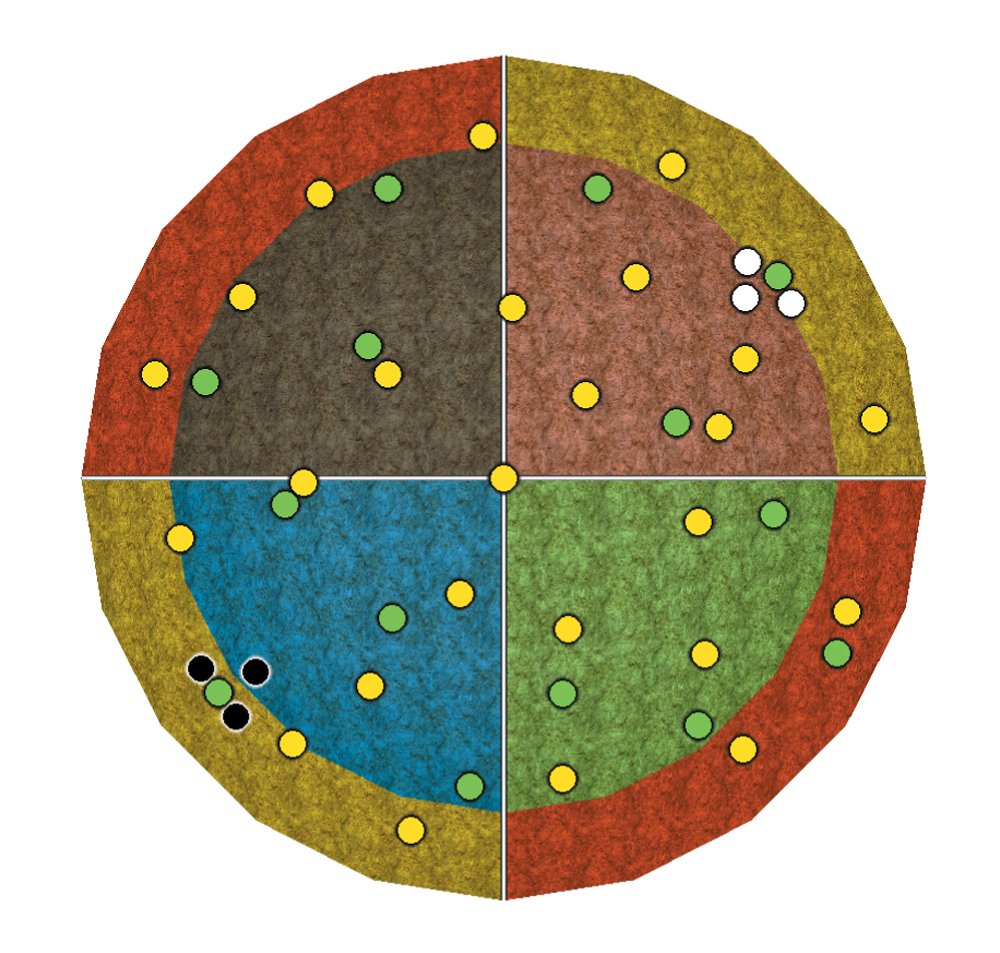
- White - Light Team Start Point
- Black - Dark Team Start Point
- Green - Respawn Point
- Yellow - Item Respawn Point
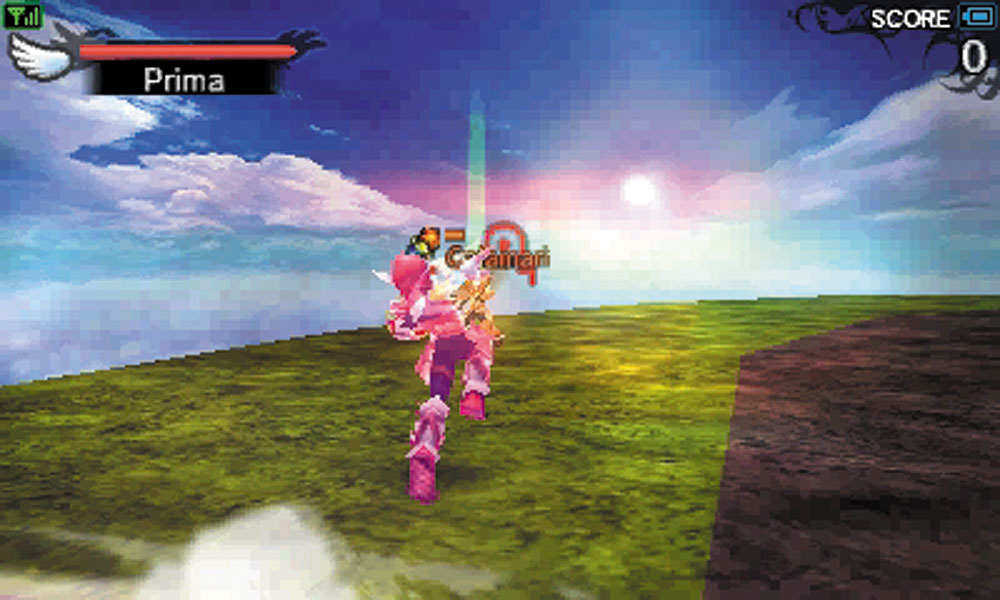
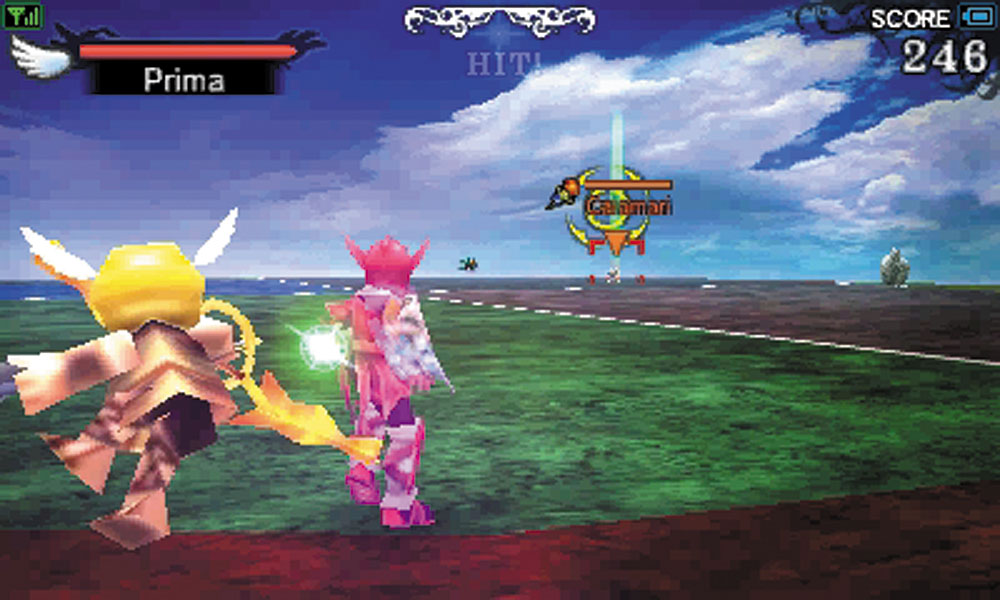
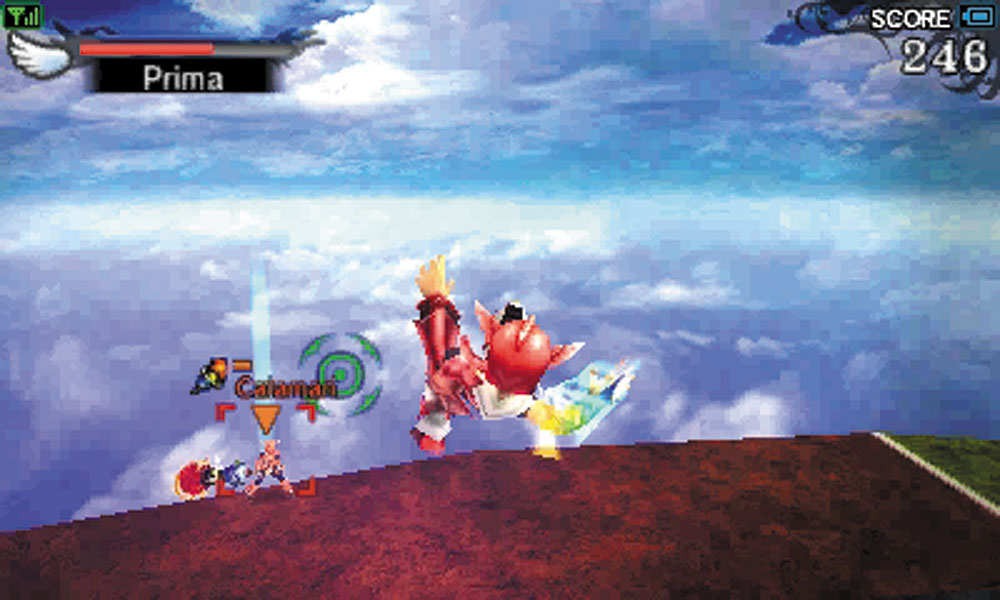
This stage may look exactly the same as the Large Arena at first glance, and in a way it is, just much smaller. This can change which weapon you’ll want to take into battle, since sitting back at range and shooting may not be the best option. Just like the Large Arena, you can be knocked off of this stage, so take care not to get too close to the edge. Even if you are careful, there are power ups and weapon bonuses that increase the distance players can be knocked back. If you notice a player taking advantage of such bonuses, do what you can to know where they are at all times.