
Kid Icarus: Uprising Guide Walkthrough Chapter 7: The Seafloor Palace
Land Battle
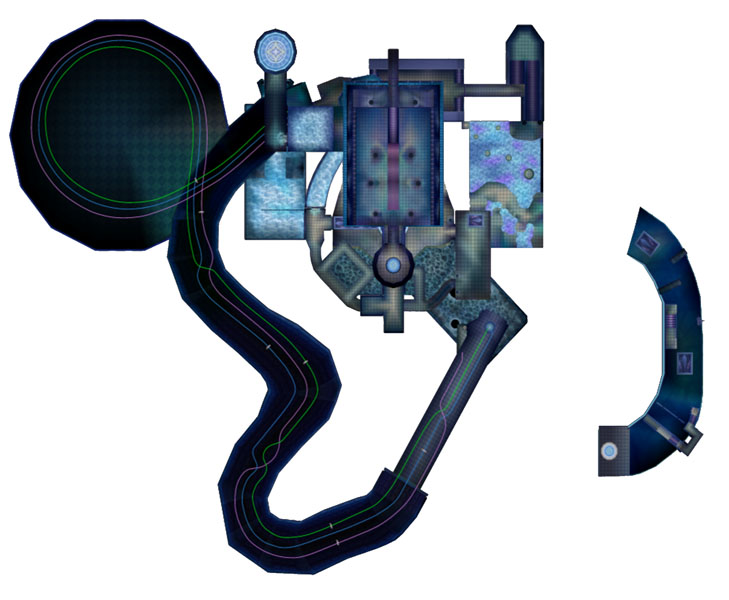
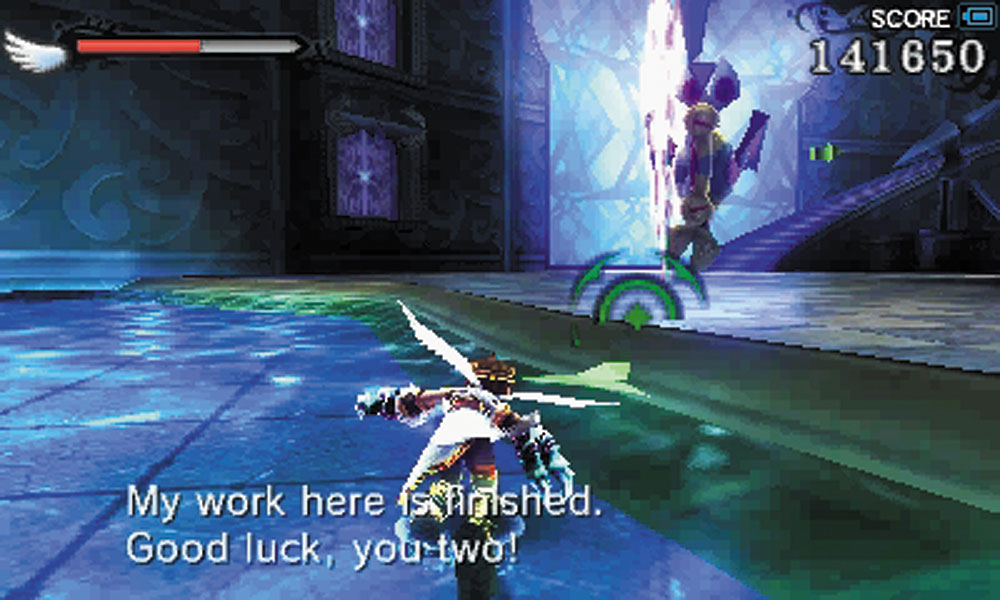
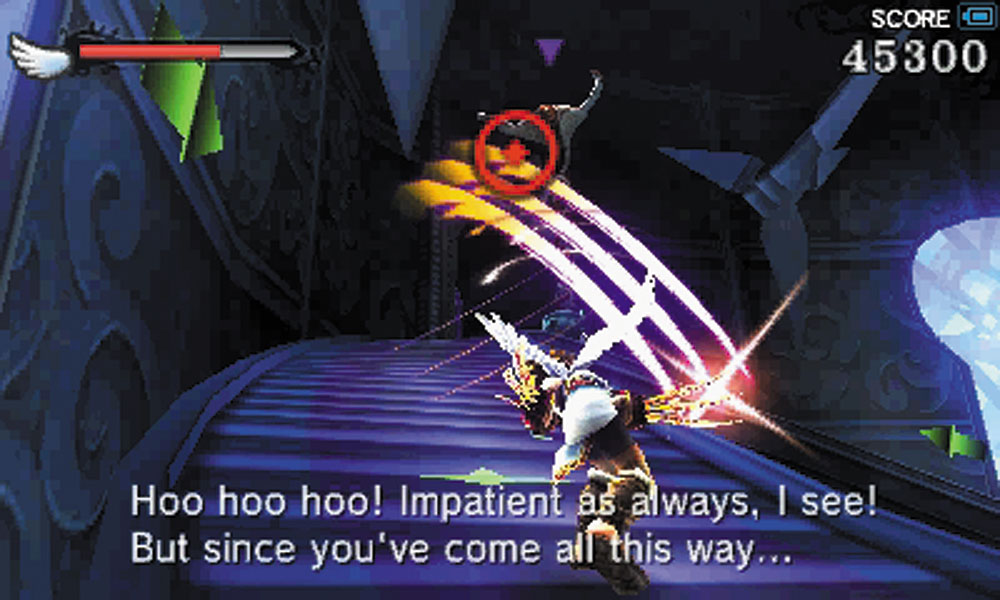
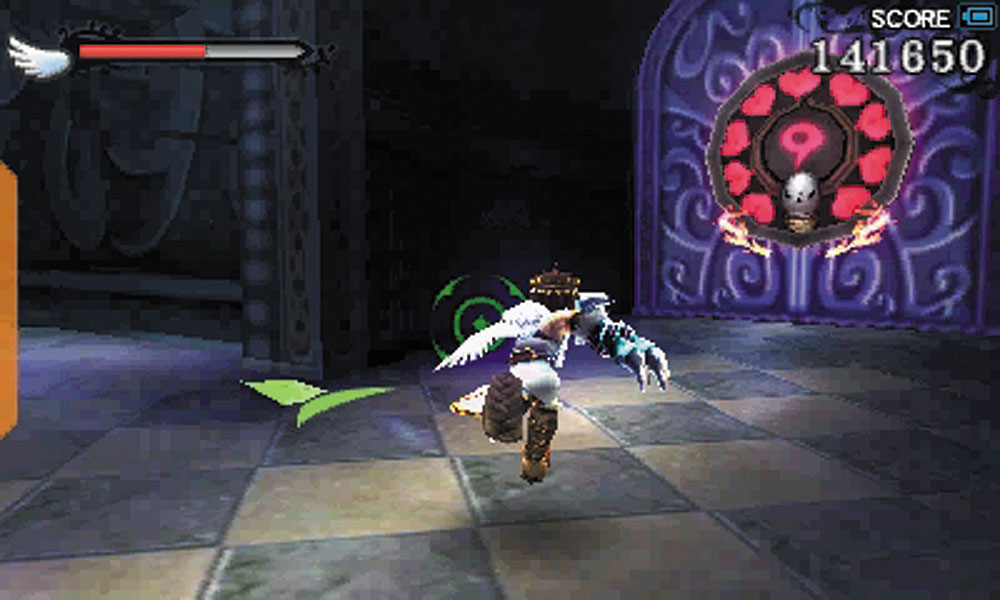
1. The first room you appear in already has you being targeted by Wave Anglers. If you’re low on health coming in from the Air Battle, pick up the nearby food supplies. This room also contains the Level 9 Intensity gate for players who managed to survive that particular trial in the Air Battle. Once you clear the room, you can climb the stairs and move on, or if you’re at Intensity level 9, you have another option.
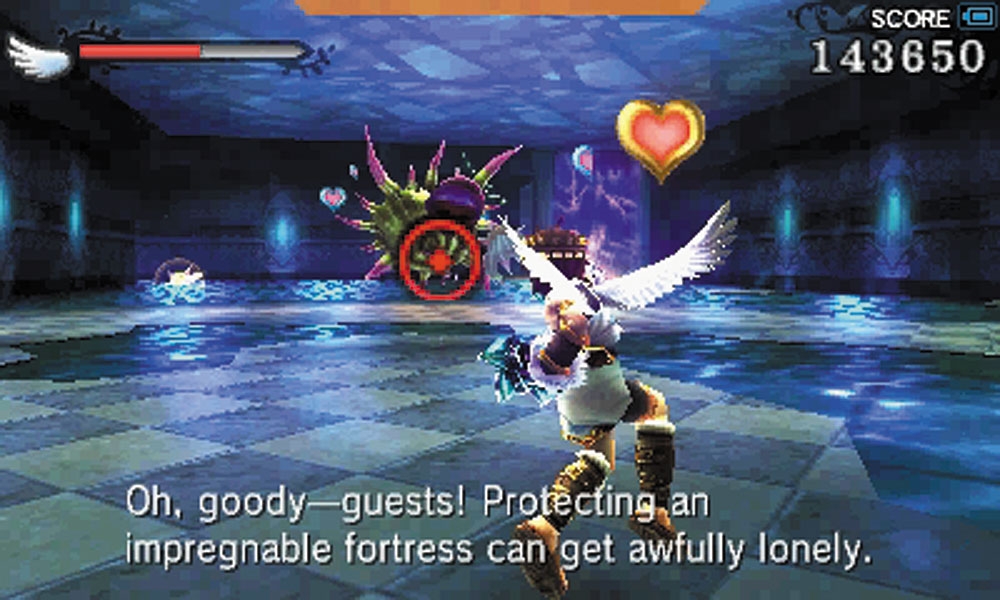
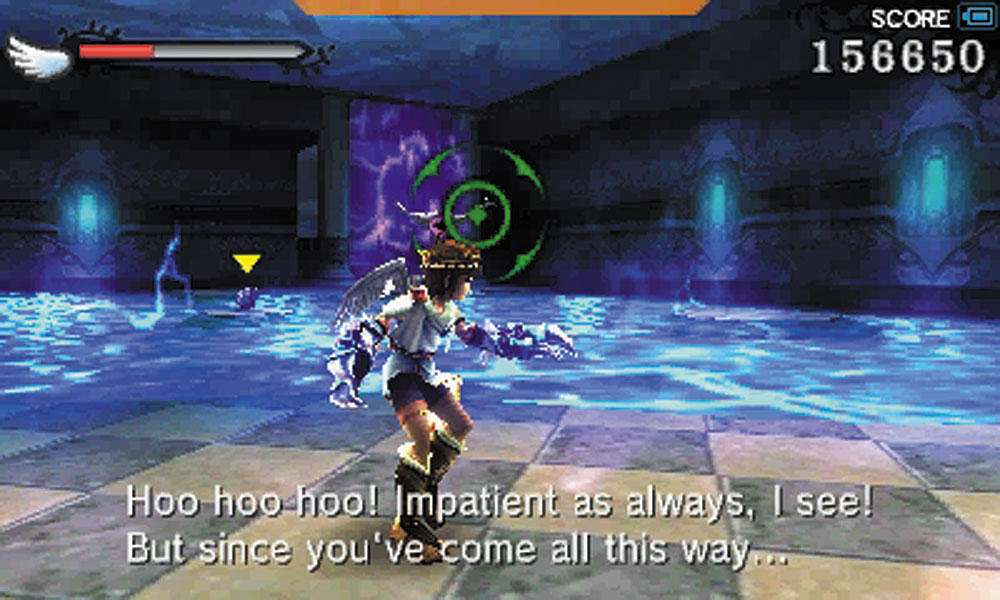
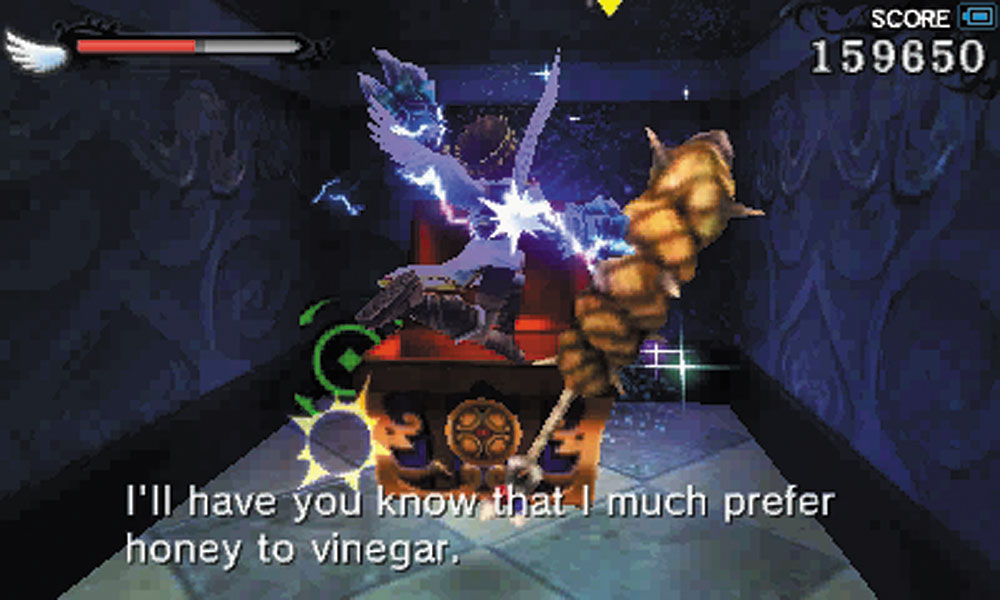
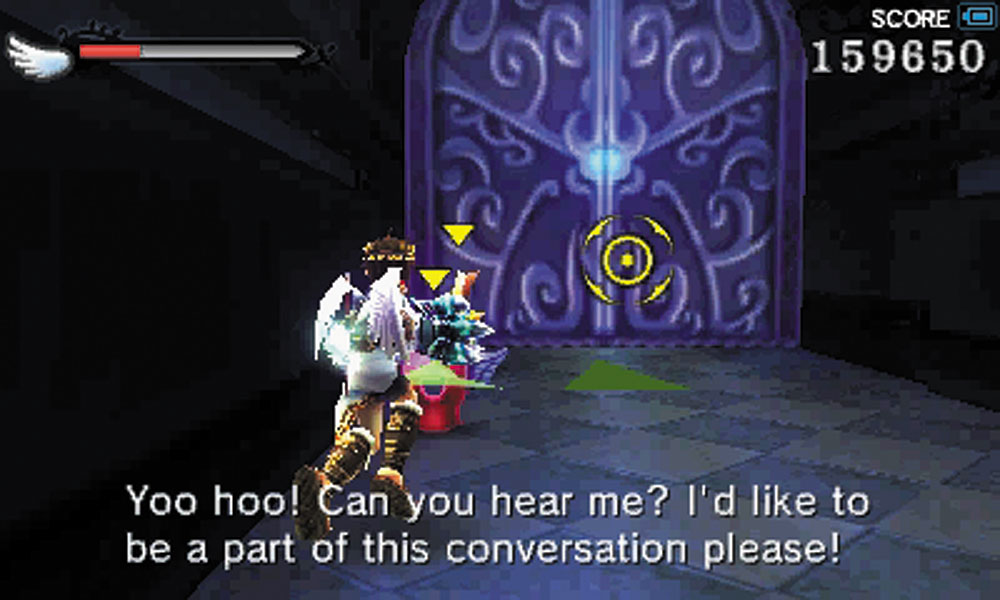
2. Beyond the Intensity gate, players can collect their treasure reward if they are able to defeat the group of enemies waiting for them in this room. There is one serious catch: A large portion of the floor routinely becomes electrified, and the Shelbo that starts in this room will constantly try to pull you into that danger zone until it is dealt with. Once the Shelbo is out of the picture, the Handoras and Zurrets become less of a challenge to deal with. After looting the room, you can climb another set of stairs to the next floor. You’re rewarded with a Drink of the Gods and a Lightning of Judgment. Use that to make short work of the next wave of enemies.
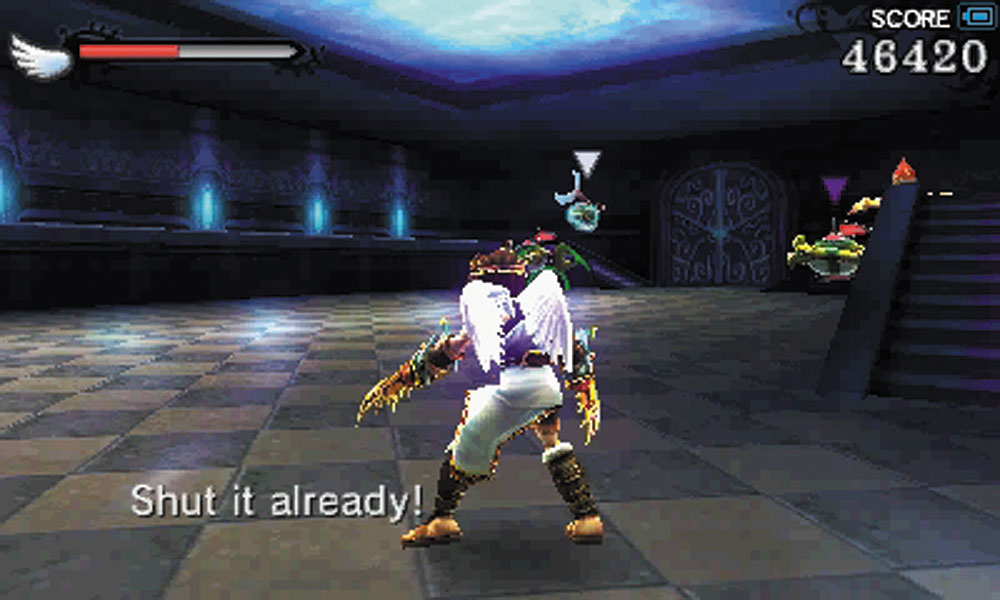
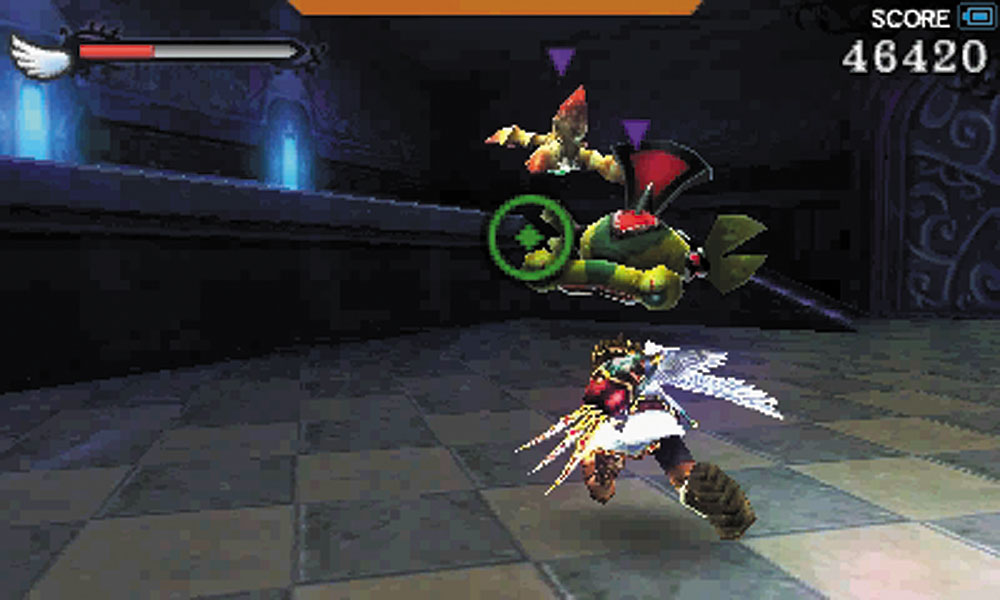
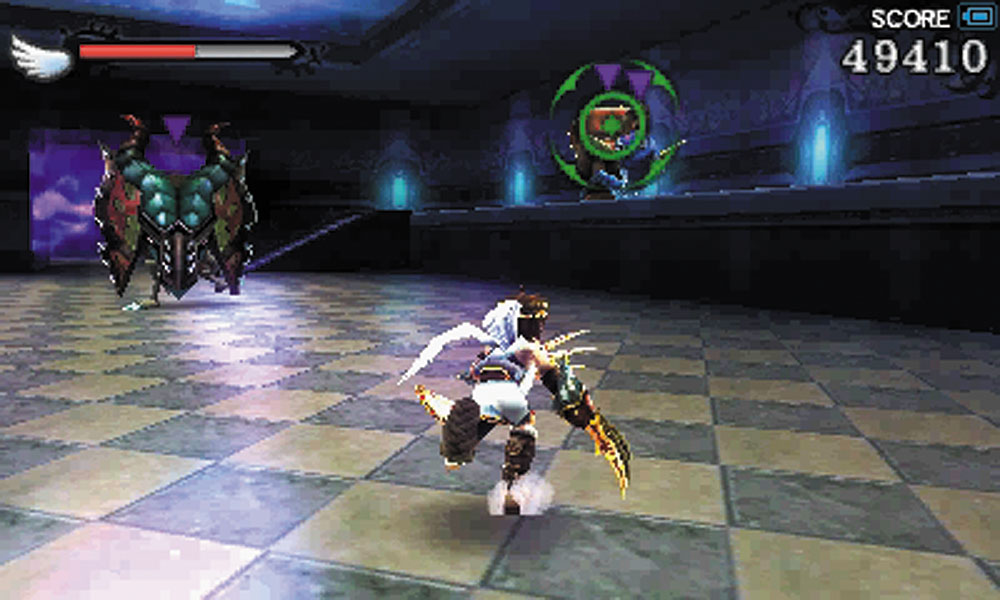
3. Wave Anglers and Gyrazers open the enemy ambush here. After you deal with them, two jars appear, spawning Shemums, while an Armin tries to hold down the center of the room. For the second wave, make killing off the Shemum pots the first priority. Their poison can potentially do more damage in the long run.
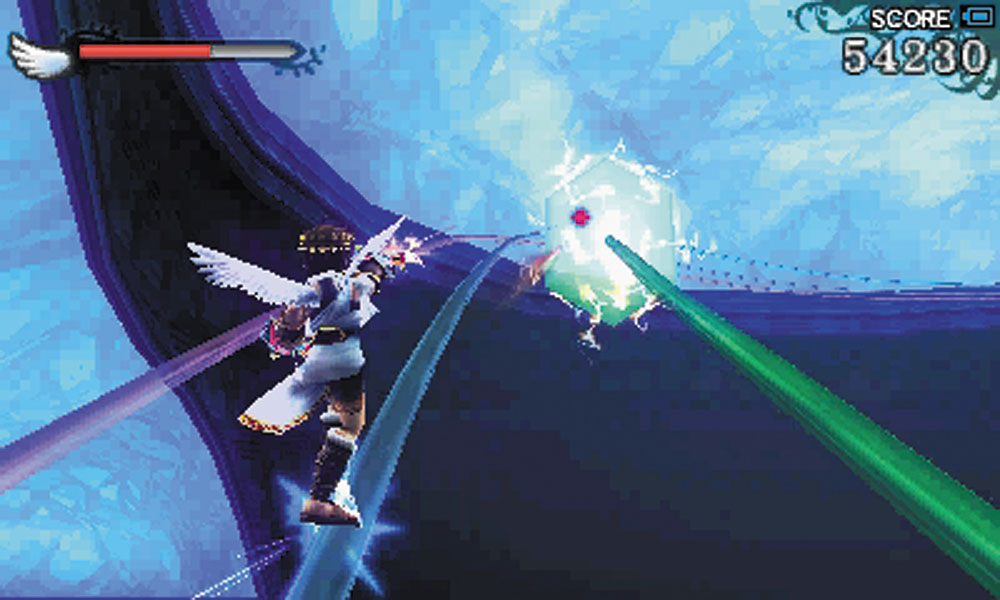
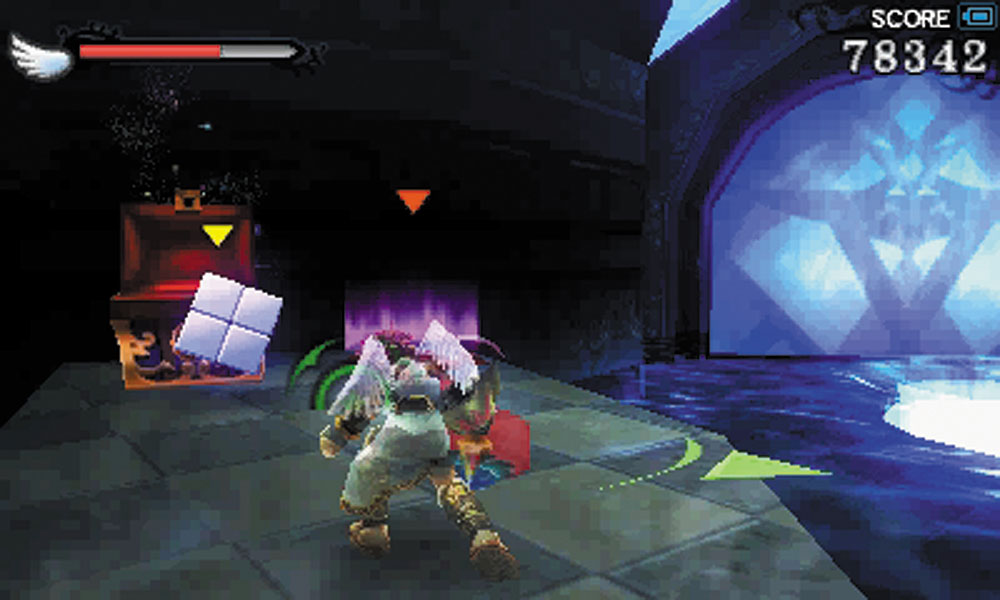
4. The three grind rails here all take you to the next section of the temple, but only the red rail leads to a Treasure Box. It isn’t safe just to follow a single rail the whole time, as electric barriers will appear on each track, forcing you to switch between rails. Remember that the only time you can switch rails is if they are close enough to each other.
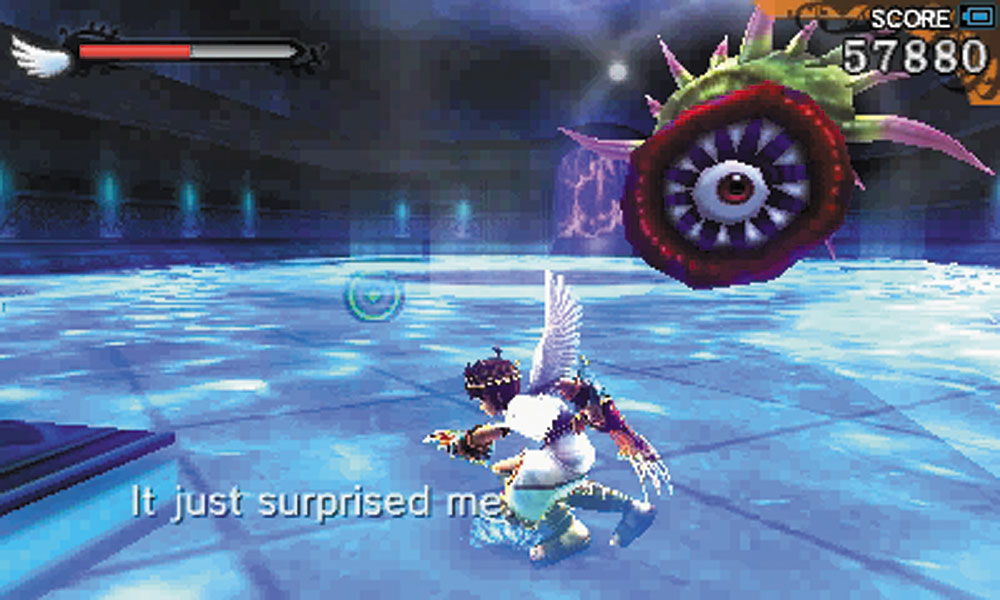
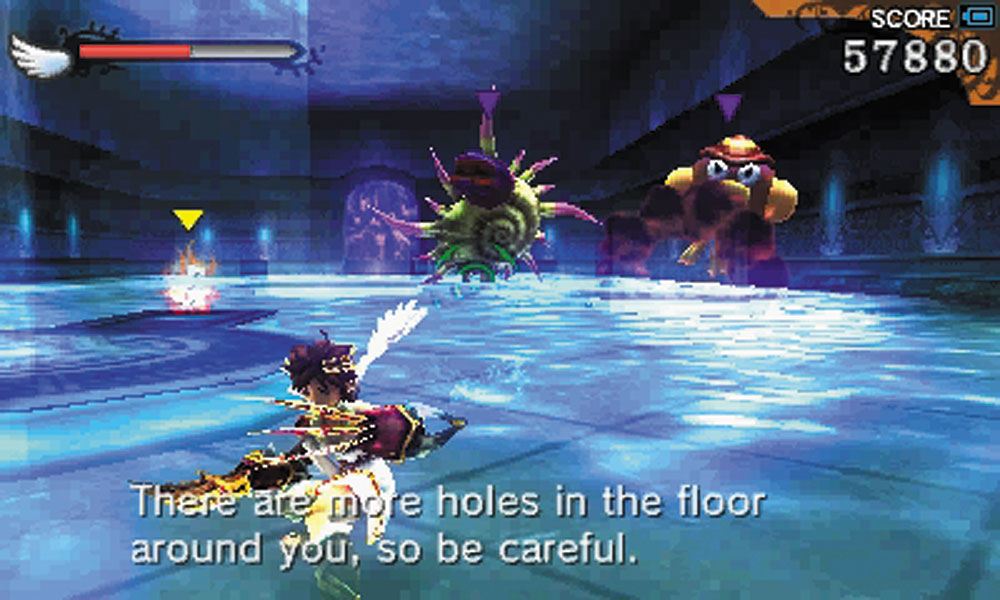
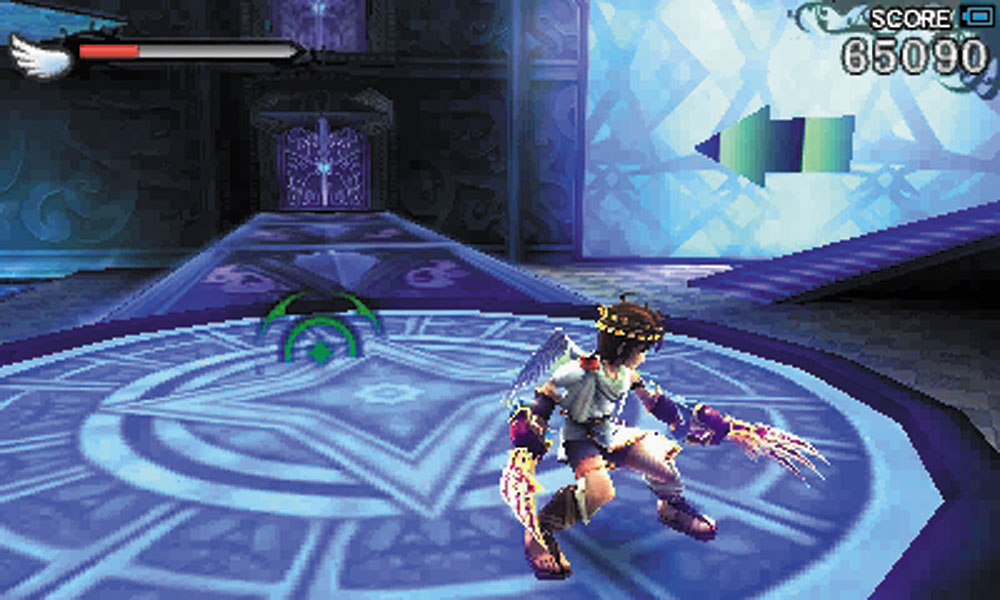
5. After the rail ride, you’re dropped down into another room where the floor is full of drainage holes for the water on the floor. If you get close to one of the holes, the current will pull you close; falling into the drains will cost you health. The Shelbo in the room is especially dangerous, as its suction attack can drag you into one of the drains. Octos also use the drains as cover from your attacks. Clearing the room grants access to an elevator that returns you back to the beginning of the temple, with a new route to take. Clear out all of the newly spawned Underworld goons before taking the new path.
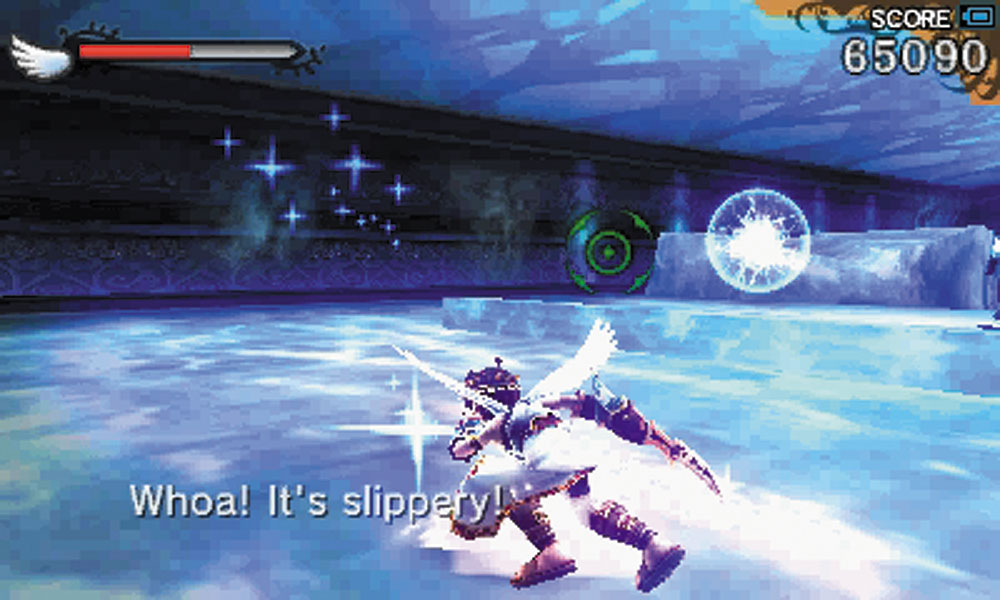
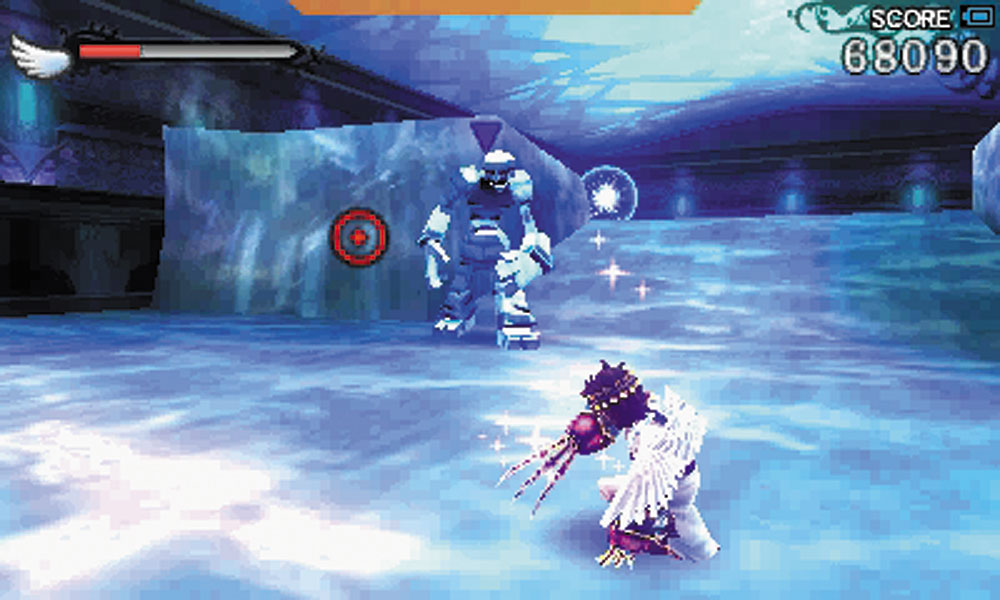
6. An icy floor in this room makes it tough to fight the two Snowmen near the exit. Do what you can to avoid being caught in their ice beams. You’re frozen in place, but continue to take damage from the beams until they subside. If both catch you on higher Intensities, you might very well be finished before they let up.
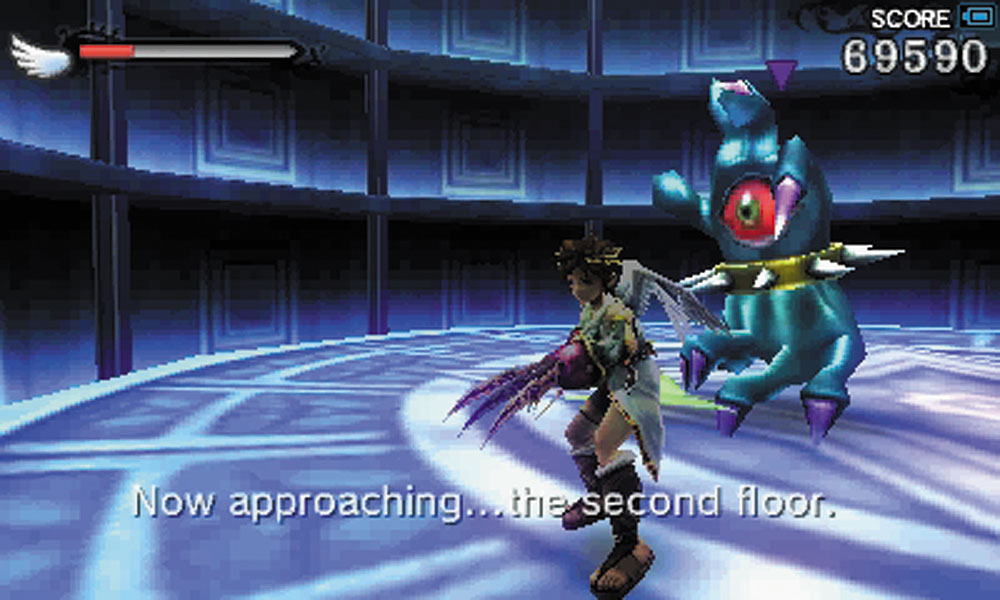
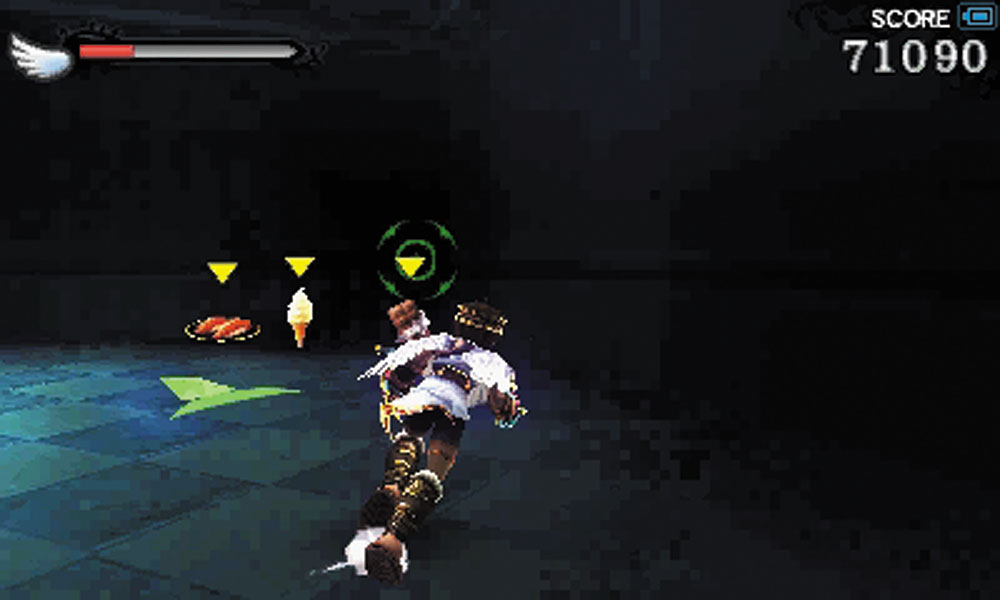
7. The icy room leads to an elevator. The ride up is not peaceful, as a pair of Handoras are trying to get the drop on Pit. Once you reach the third floor, food appears near the exit.
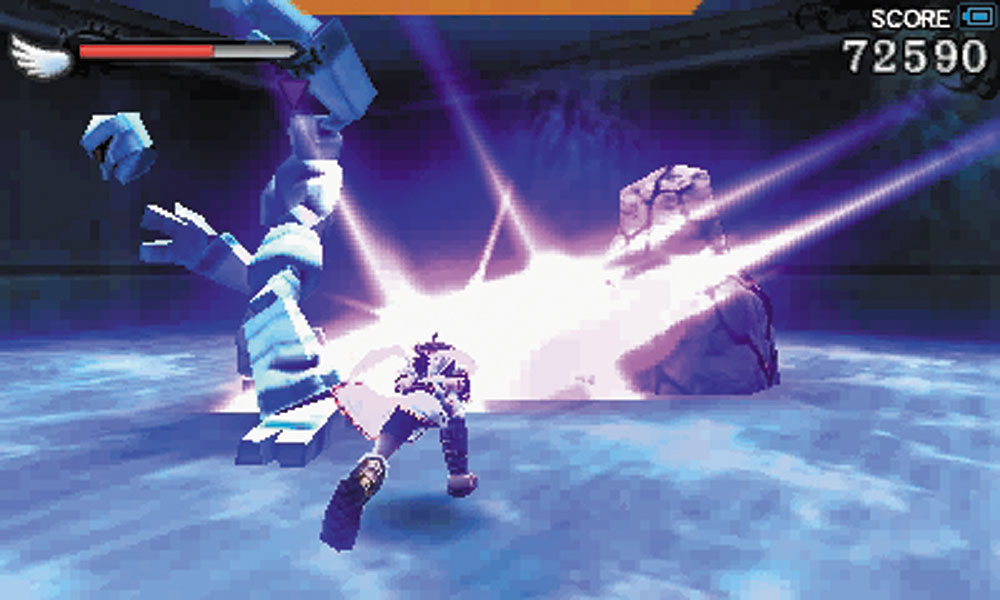
Another icy room houses a pair of Snowmen. Fortunately, a Flame Card is also located in the room, and it can help melt them down in short order. There is also a Rock Bomb near the center of the room that can instantly destroy the Snowmen if they are close enough.
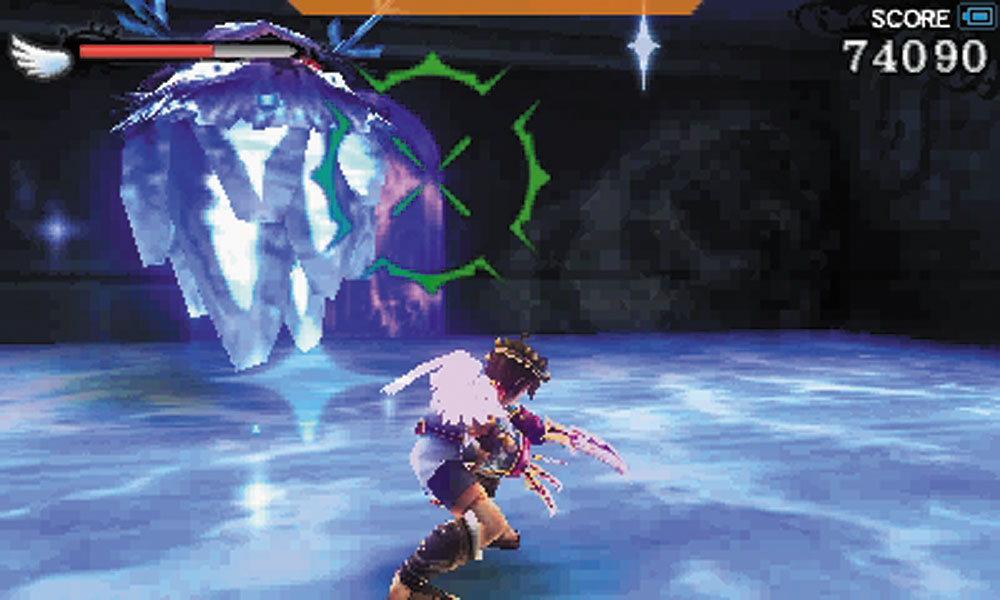
After the Snowmen are defeated, a Frozum appears. Don’t give it a chance to start channeling the cold—the effect will fill the entire room, freezing Pit while causing damage.
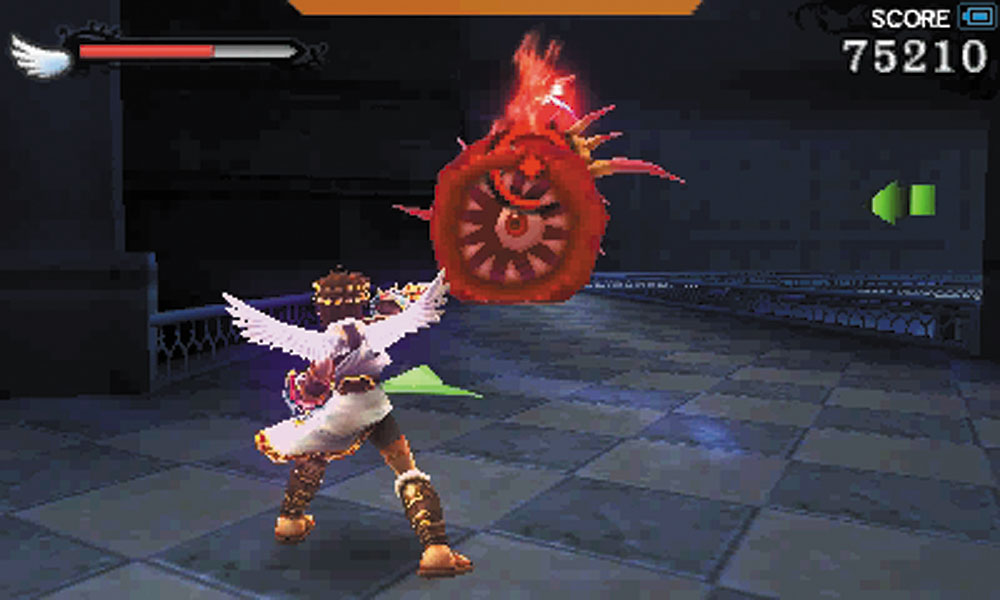
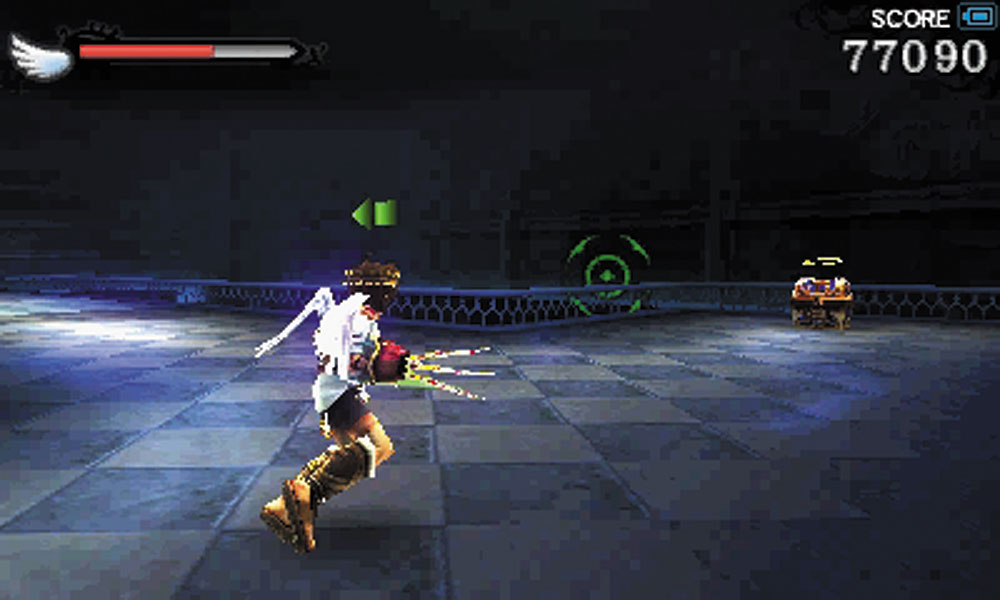
Now, on a walkway three floors above the starting area, you’re attacked by a Shelbo. To the left of the Shelbo is a small side room, but we’ll get back to that. If you push past where the Shelbo was, you might notice two boxes you can grab.
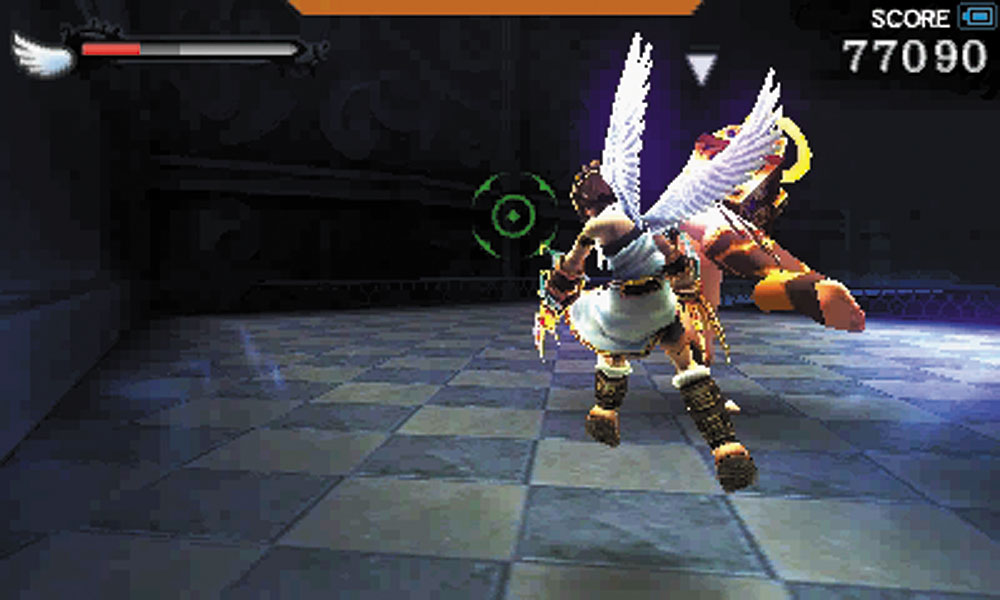
The closest of them is actually a Mimicutie! Stay away from it. The street fighting techniques at its disposal are devastating at close range.
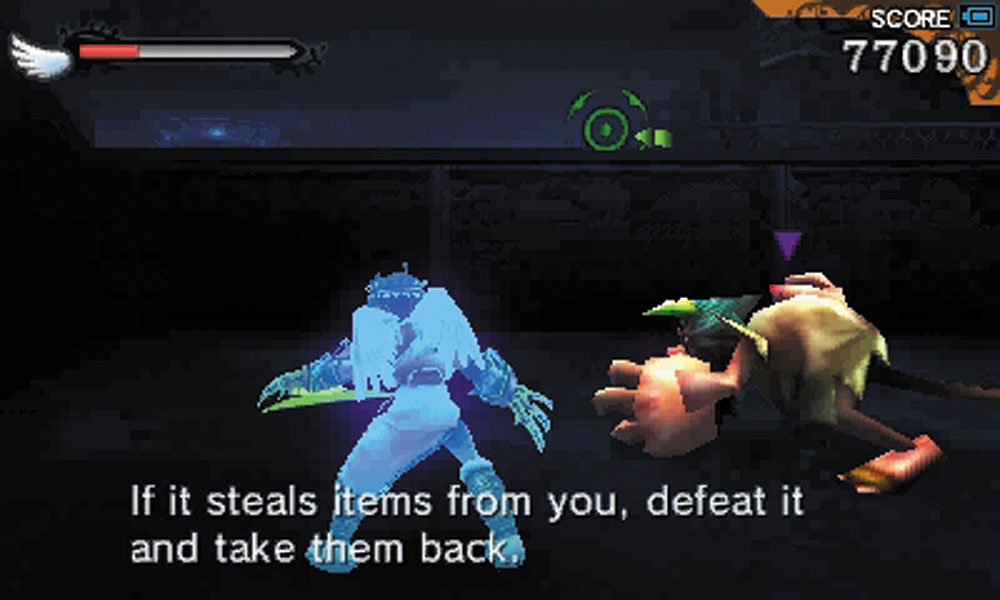
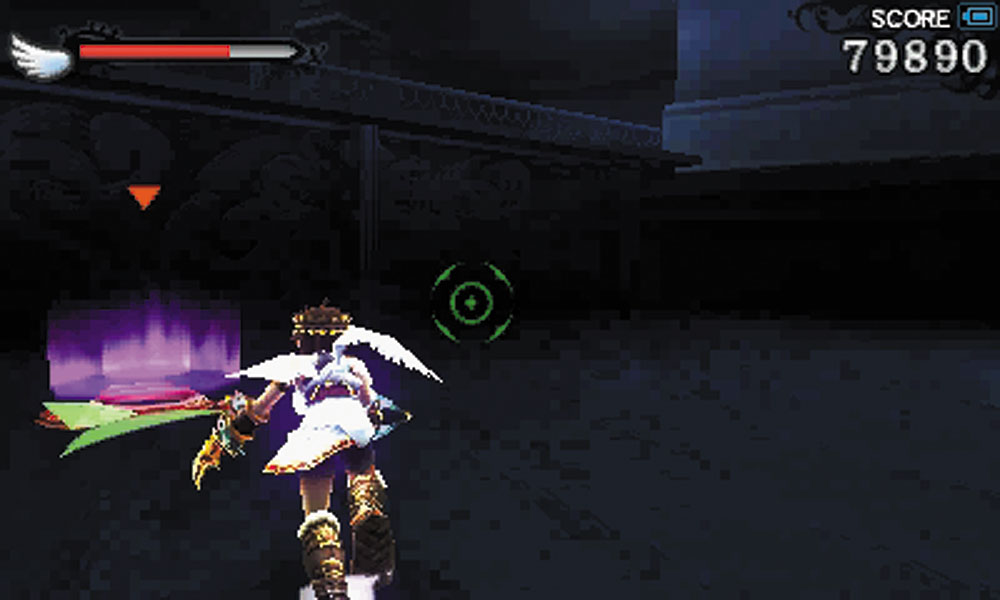
In this case, Pit was not so ready for the Mimicutie, and was kicked into the side chamber, where you must fight a Pluton and some Shemums. After they are done for, food and a jump pad will appear, taking you back to the walkway.
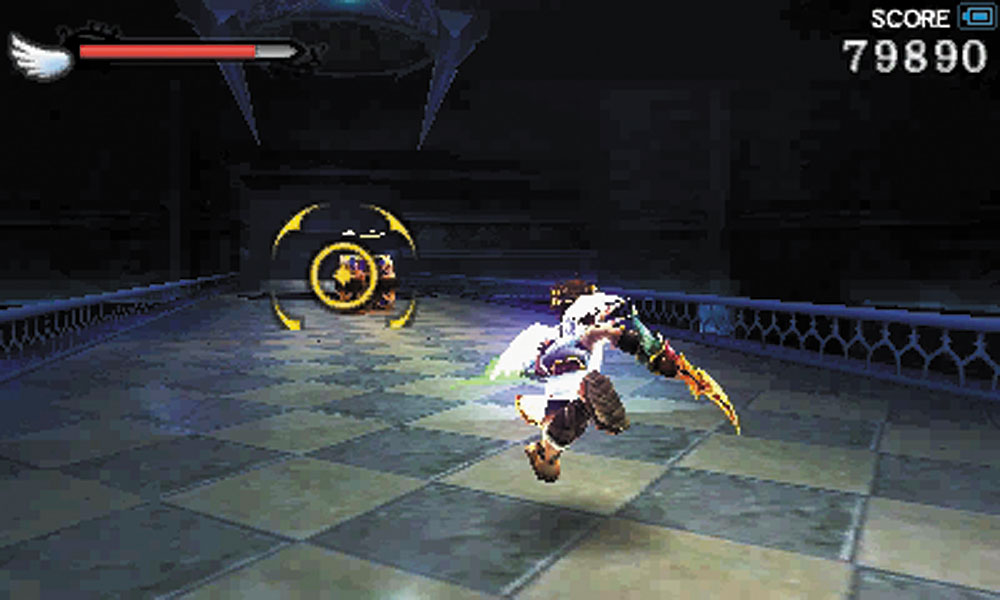
The other chest is out in the open on the bridge.
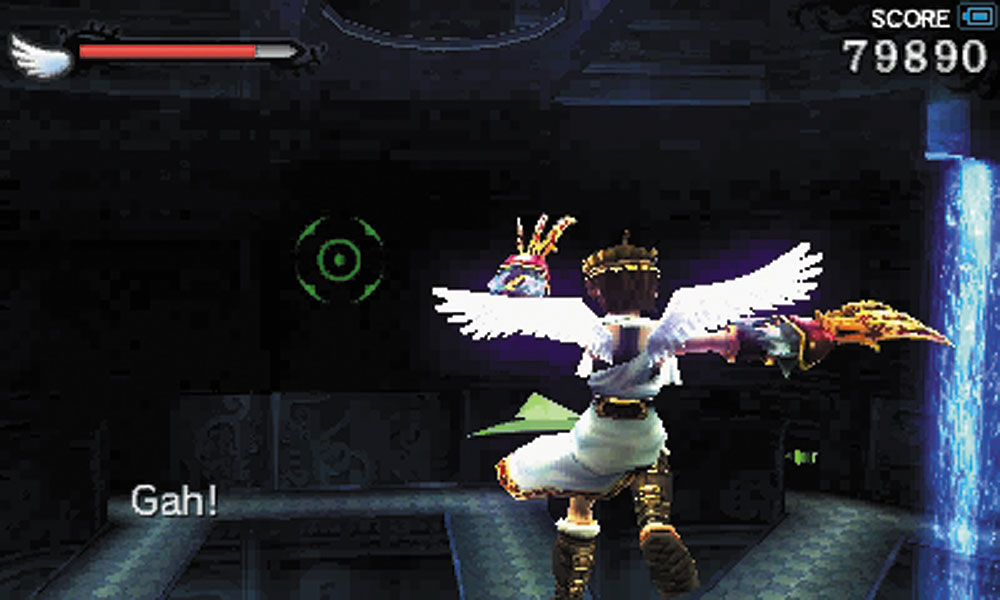
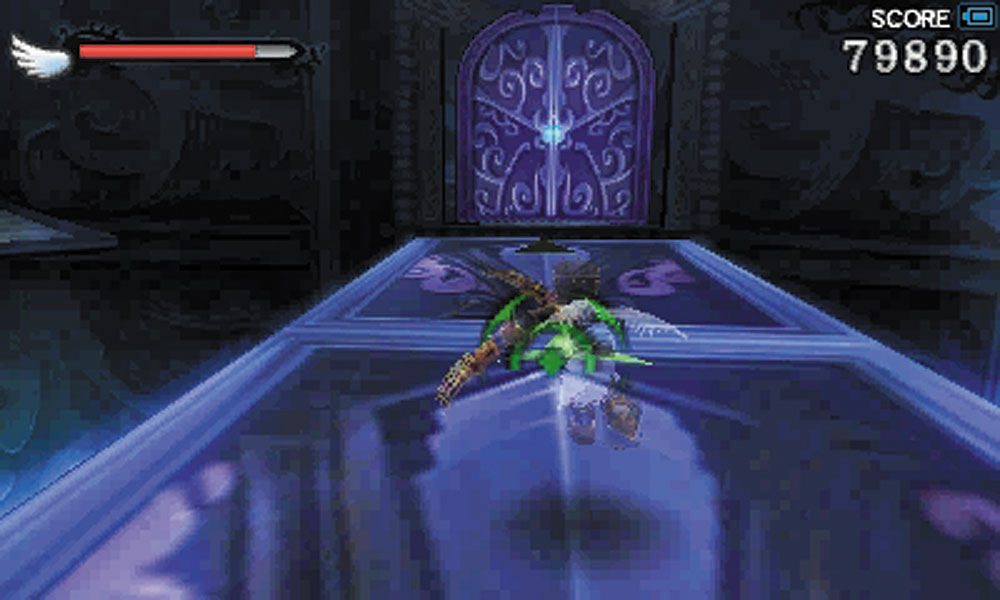
But a trap door denies you the goods and you fall down to the second floor. Cross the bridge and go through the door.
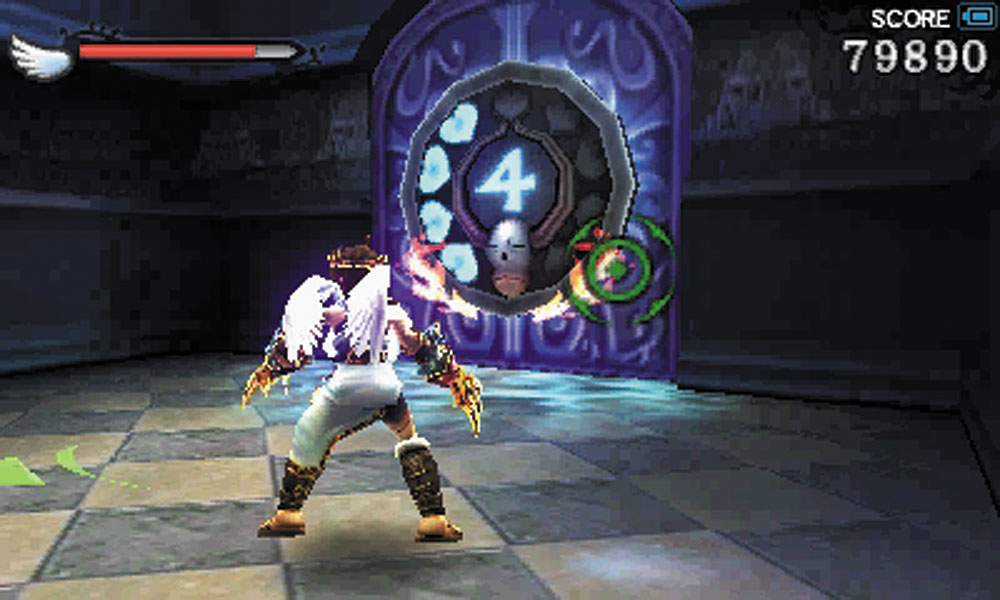
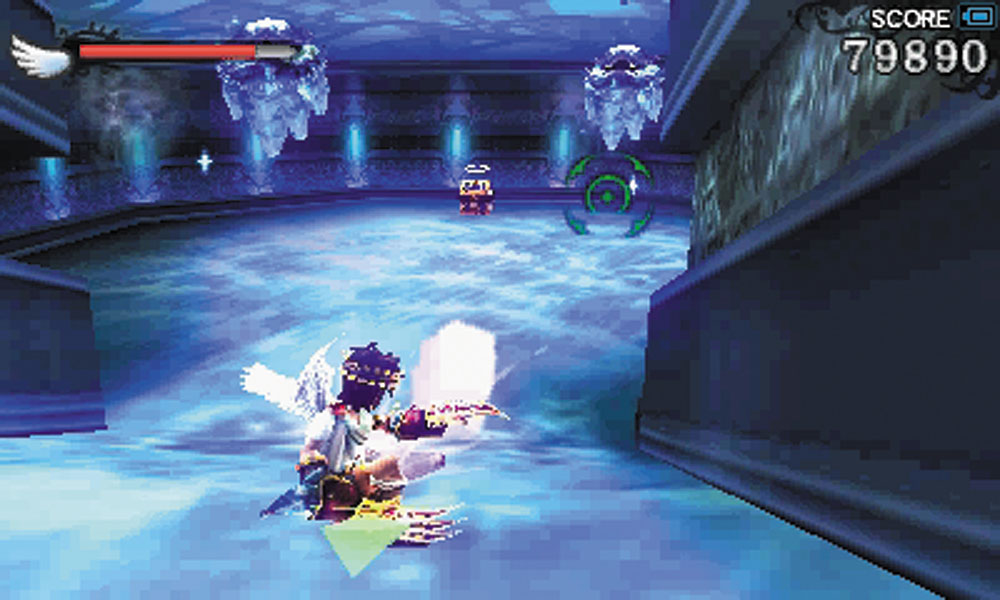
8. A Level 4 Intensity gate guards an icy slope into a room with a pair of Frozum guarding some treasure. An electric sphere also orbits the room. You may be tempted to stay on the slope to snipe the Frozum, avoiding their area of effect ice spells.
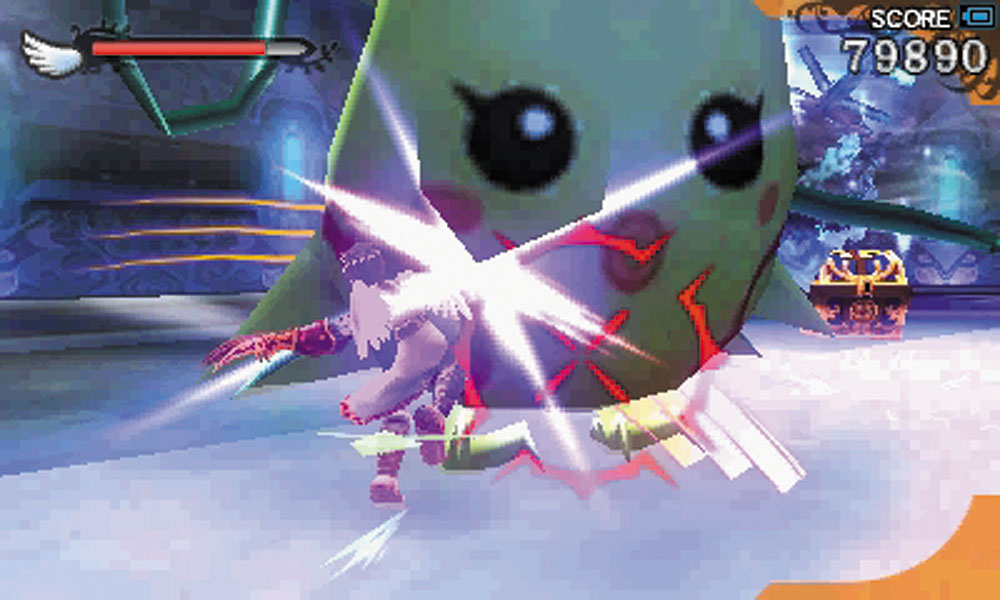
A Bumbledrop spawns on the slope near the gate entrance and can potentially knock you right into the Frozum just as they are casting their spells. Ignore the Bumbledrop until you’ve taken out the Frozum first! After all the enemies are cleared out, collect your Treasure Box and head back up the slope.
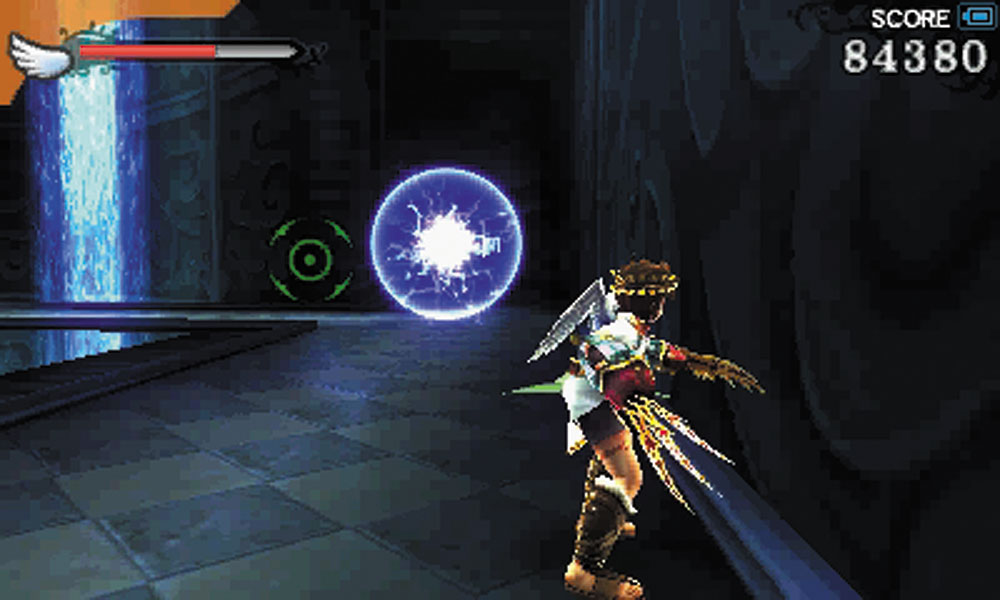
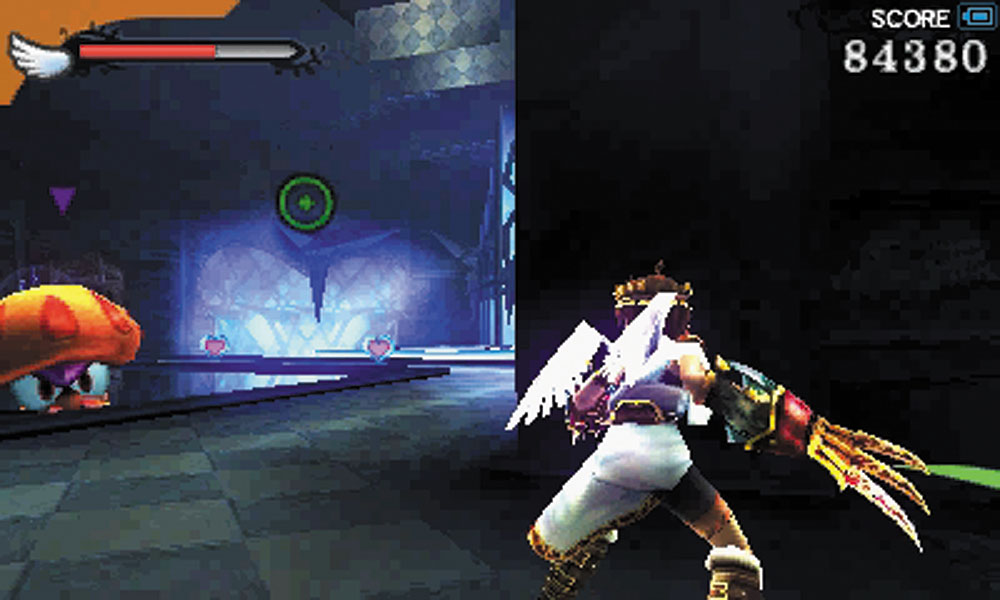
9. Two electric sparks and two Commyloose protect the smaller walkways that are filled with hearts.
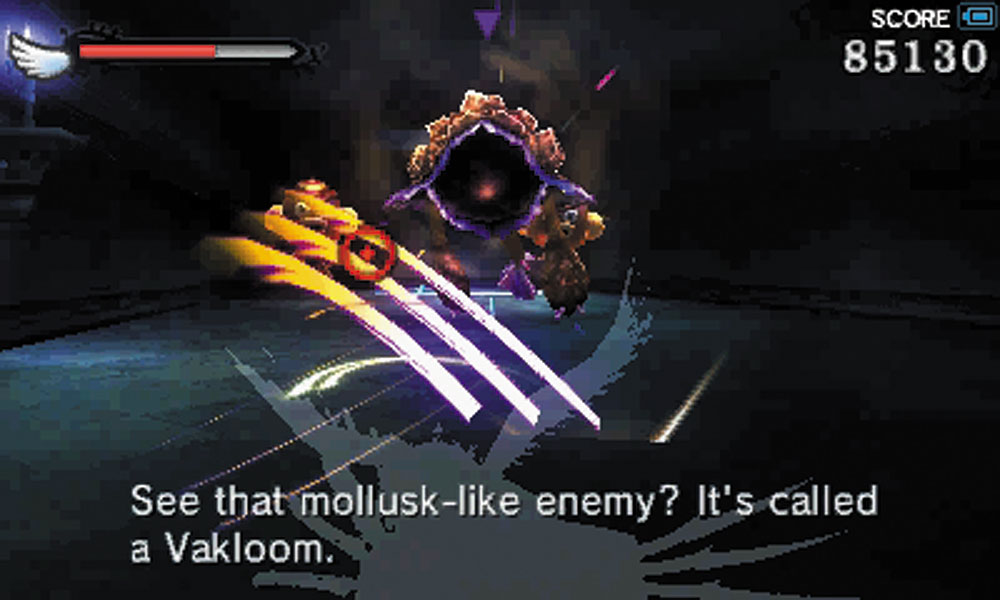
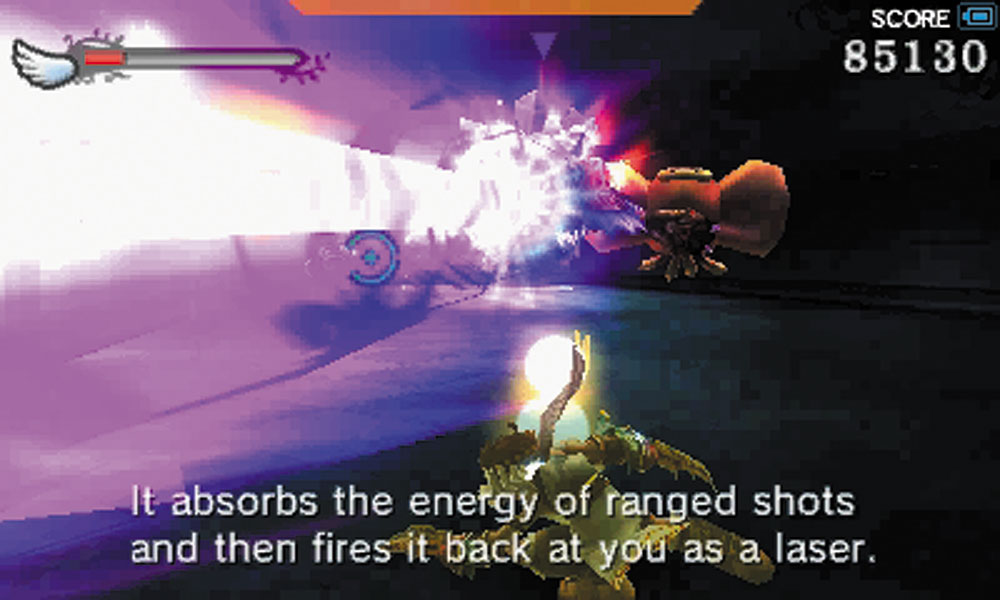
10. Vaklooms cannot be hurt until they fire their superlasers from their mouths, but the only way to get them to fire is to shoot them until they have absorbed enough of your attacks. Try clearing out the Octos in the room first, just to avoid complications.
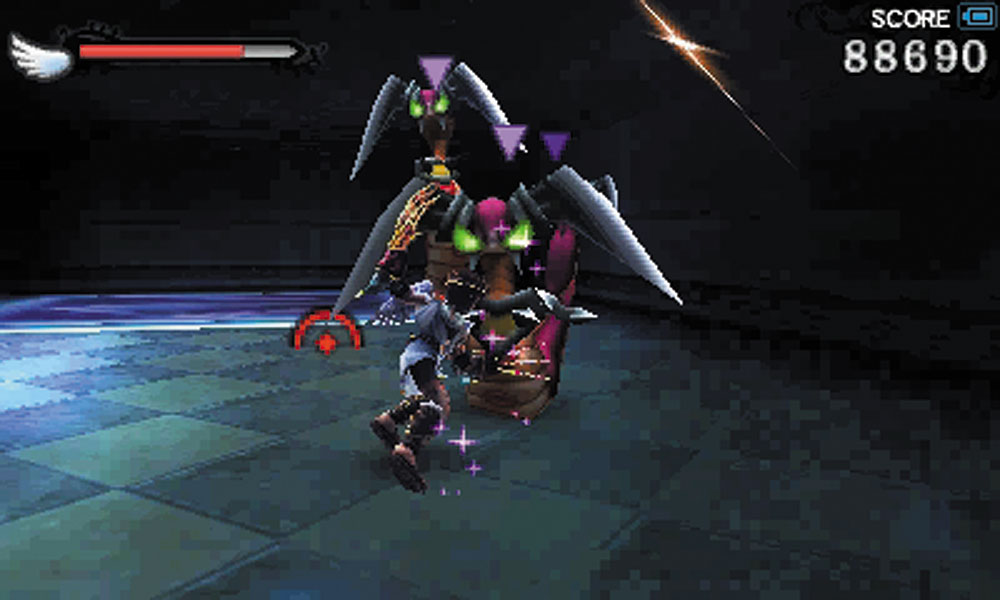
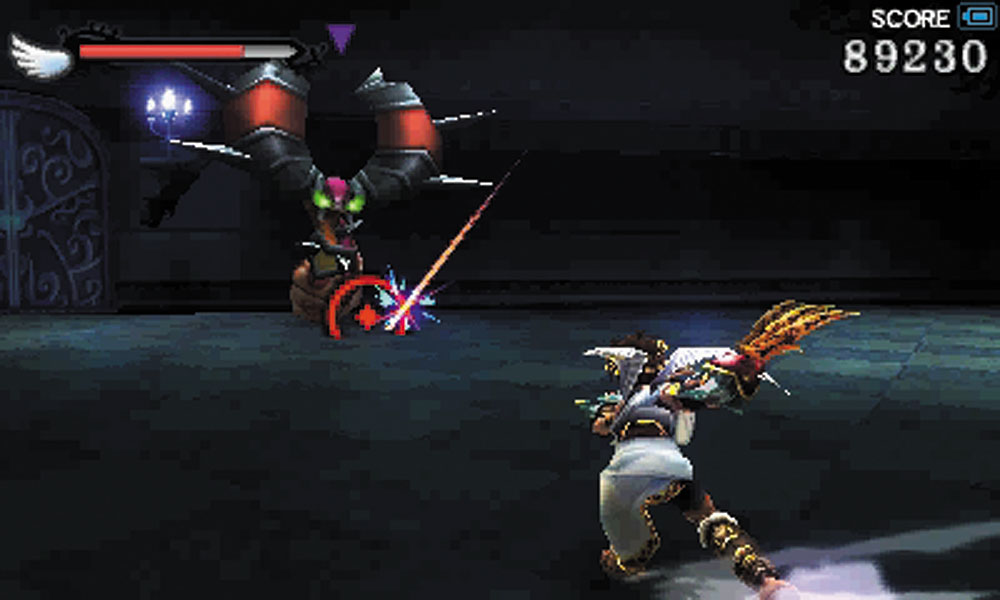
After the Vakloom is destroyed, Ziks and Zaks appear. These snakelike foes are fast and have a pack tendency to follow the largest of the group during an attack, the Zik. If you kill the Zik, all of the Zaks will panic and try to flee. Take the elevator out of the room.
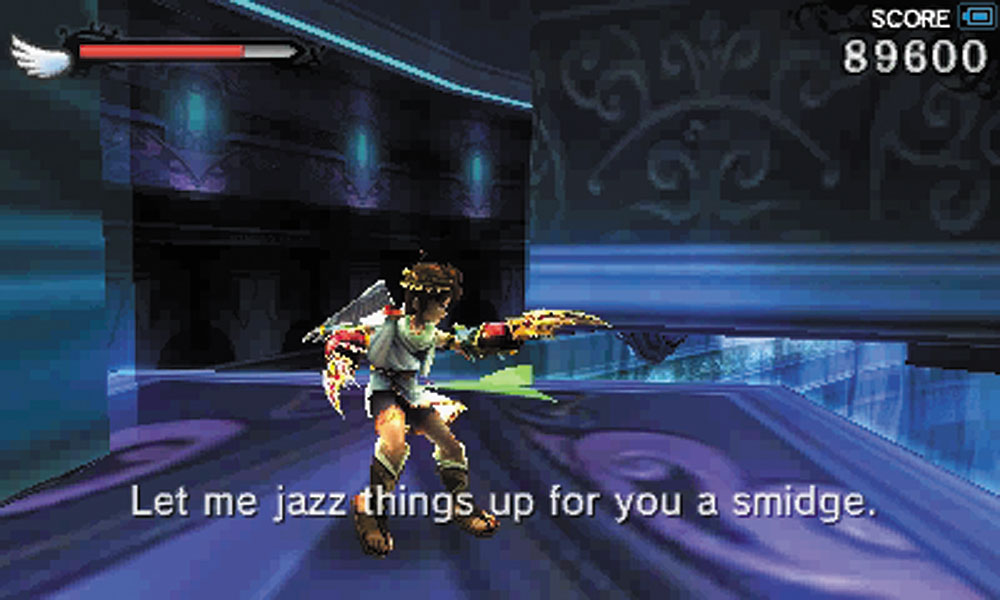
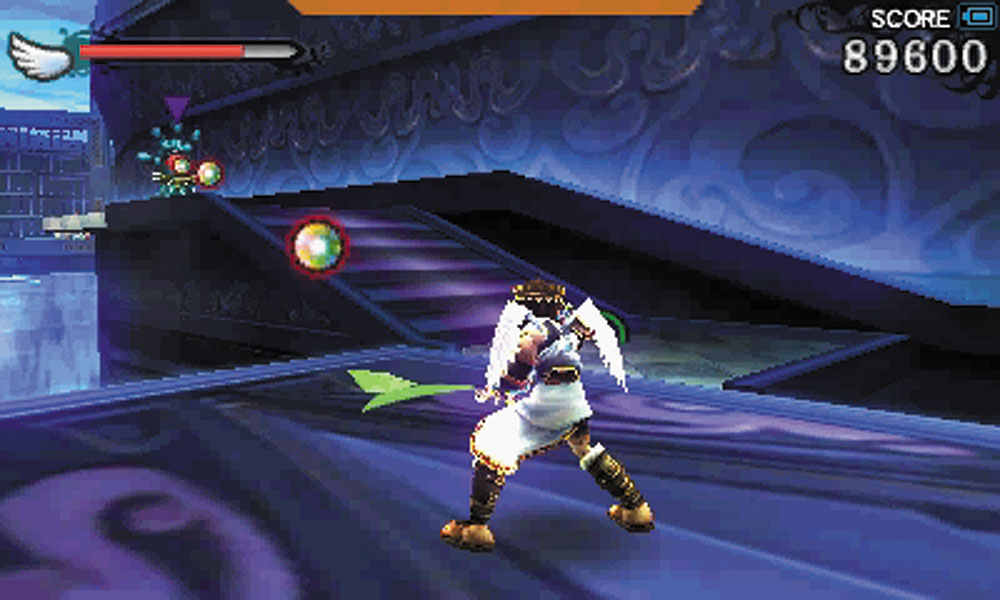
11. The elevator turns into a moving platform that slowly traverses this next section. Falling off the elevator, or any of the ledges, will cost you health and place you back at the start of the corridor to run the gauntlet from the beginning. Your first major obstacle is a gust of cold air. To avoid it, climb onto the ledge across from the air vent and wait for the platform to pass it before jumping back aboard.
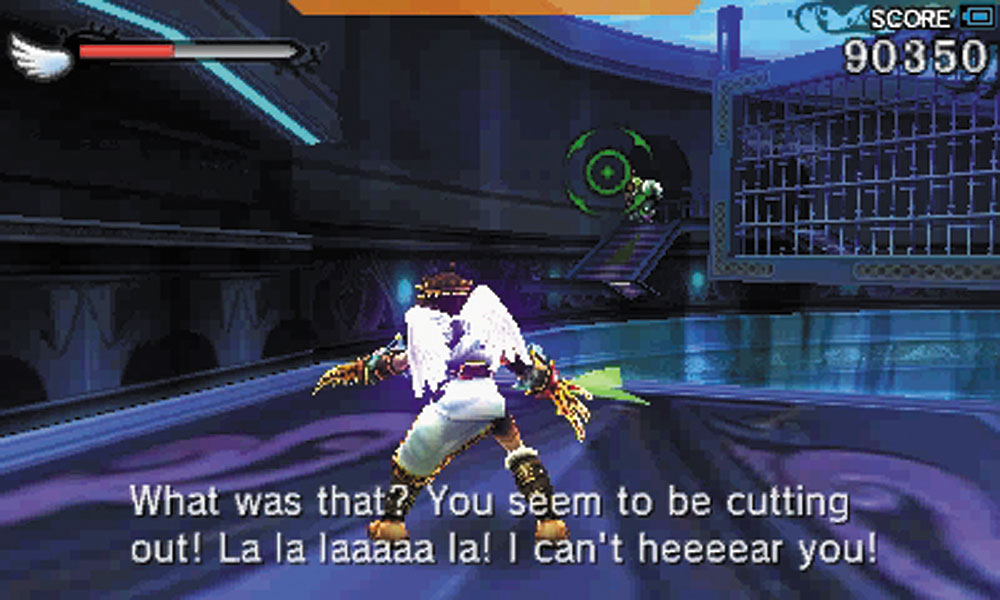
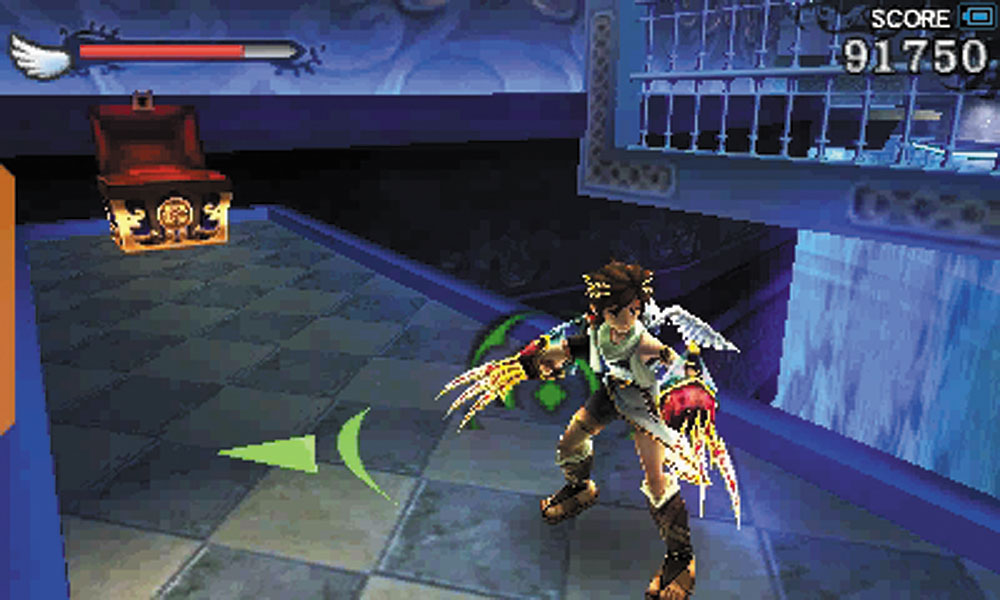
The trip to the next ledge is a bit more dangerous. A Skuttler will try to snipe at Pit from afar. Don’t get overzealous with the dodging, you stand a better chance of just falling off the platform. Use smaller movements, and countersnipe the Skuttler when you’re in range. Climb onto the ledge and take the Treasure Box. If you miss your original platform, another one will arrive in several seconds.
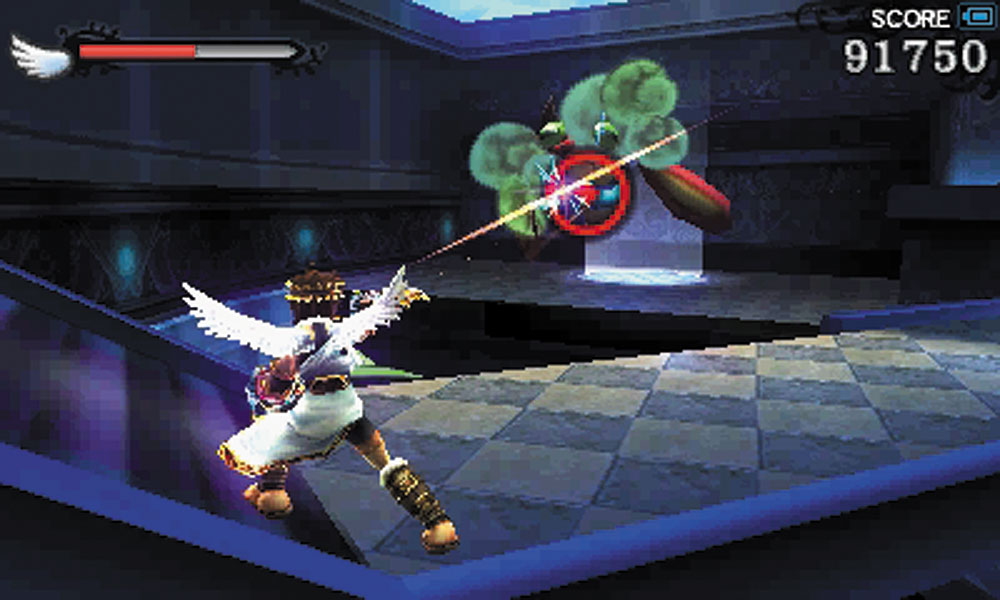
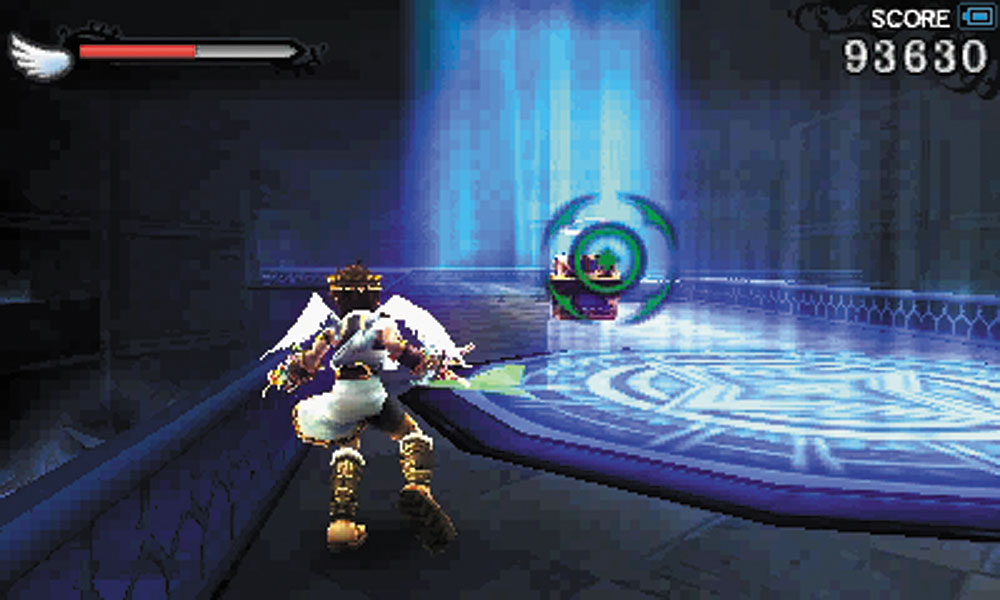
12. Watch out for the Bluster guarding the exit to this room. It’s best to take it out before you jump back onto the moving platforms. The exit will warp you back to the third floor, on the opposite side of the bridge where the trapdoor was triggered. Collect the box before entering stepping onto the elevator.
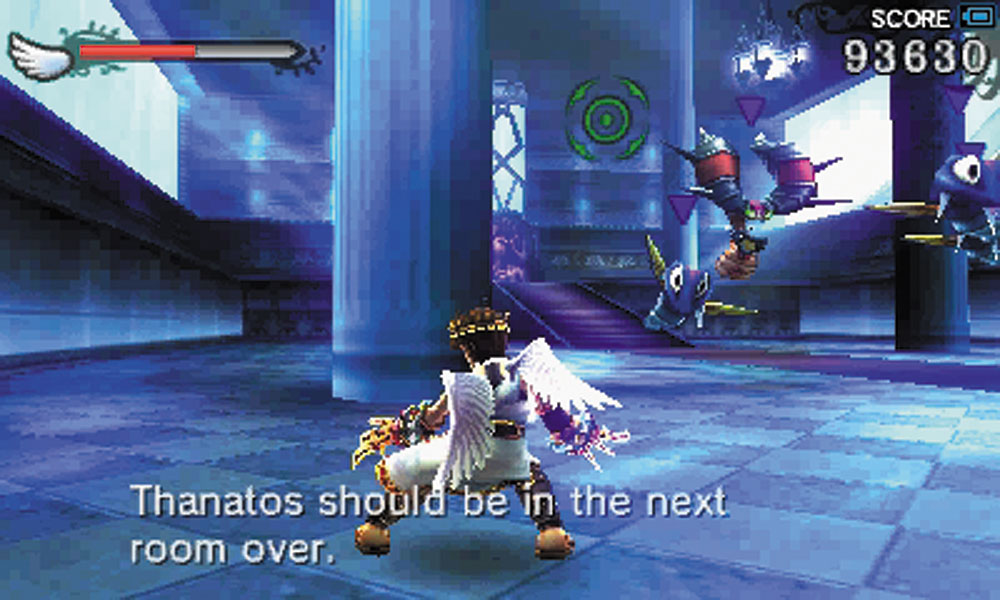
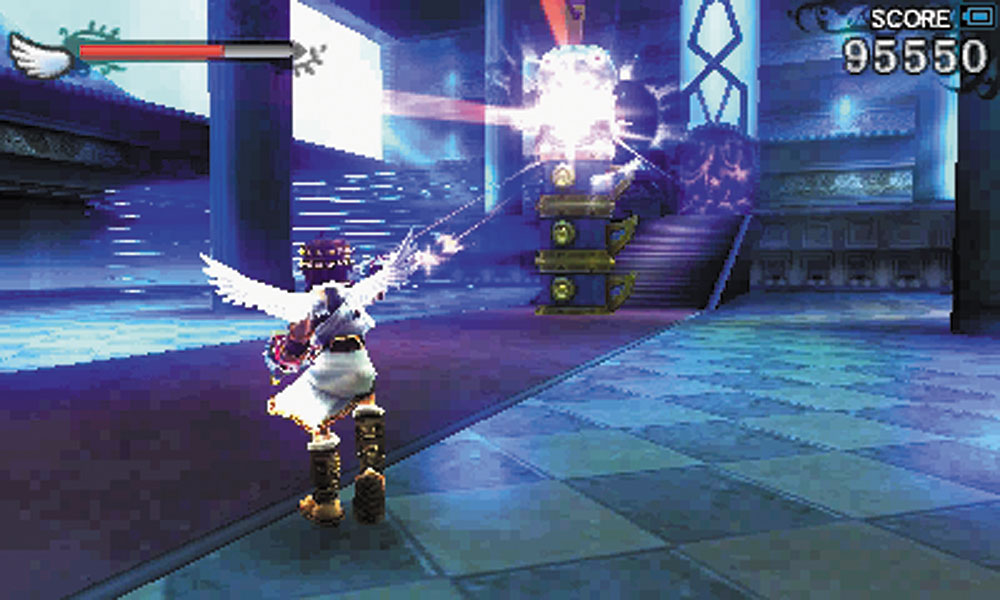
13. Finally, you’re at the door to Thanatos’s chambers, but the Underworld still has one more fight to give you before you can take on the boss. Ziks, Zaks, and Shemums swarm you as you enter this hall. After they are destroyed, a Stackjaw bursts into the center of the room, flanked by Skuttlers.
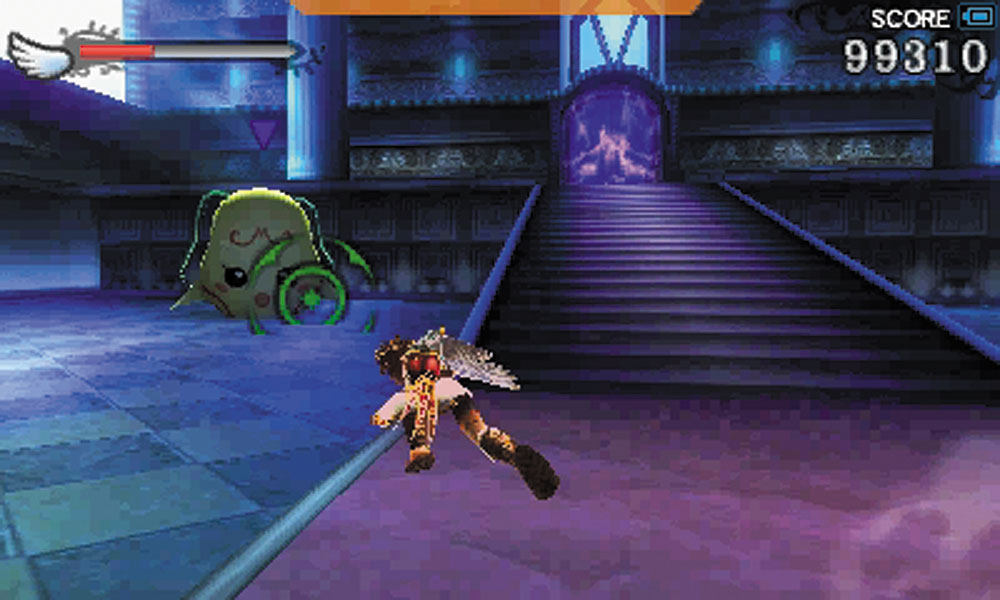
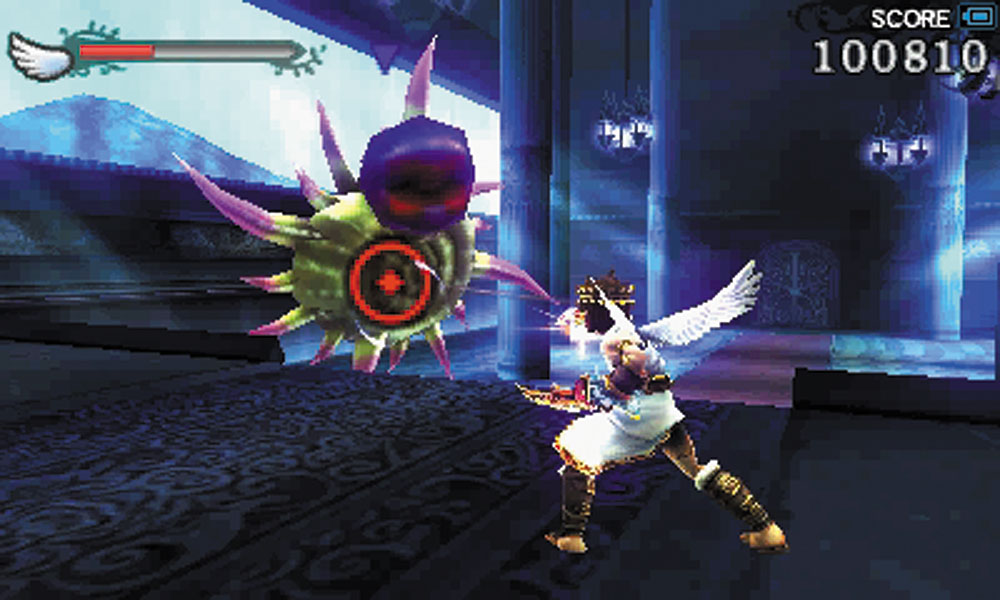
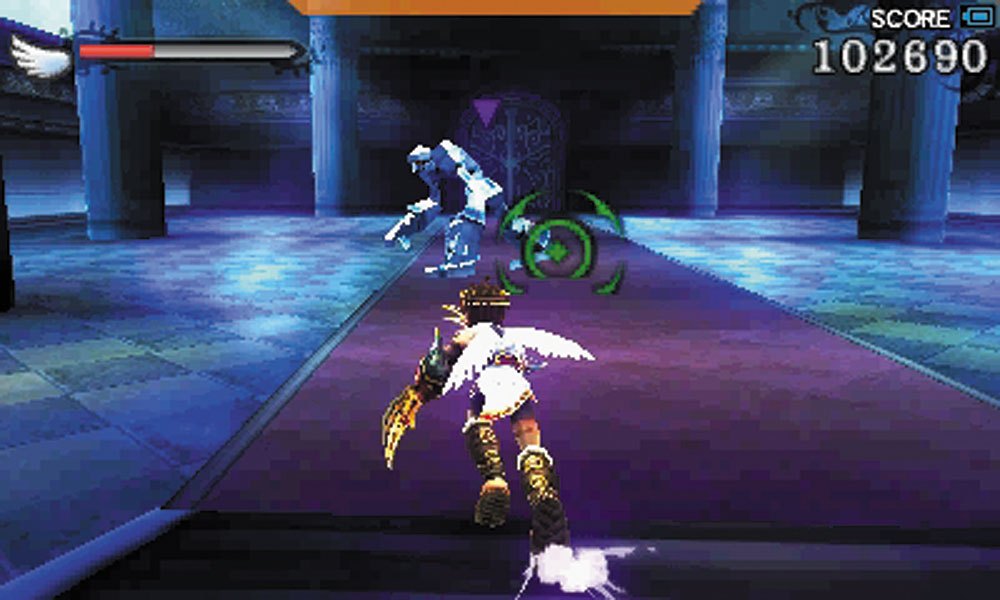
A Bumbledrop and Shelbo join in, followed by a Snowman, a Frozum, and a Mega Mussel. After the last monster falls, the door to Thanatos is unsealed. Collect the Drink of the Gods and proceed through the unsealed door.