
Kid Icarus: Uprising Guide Walkthrough Chapter 19: The Lightning Chariot
Land Battle
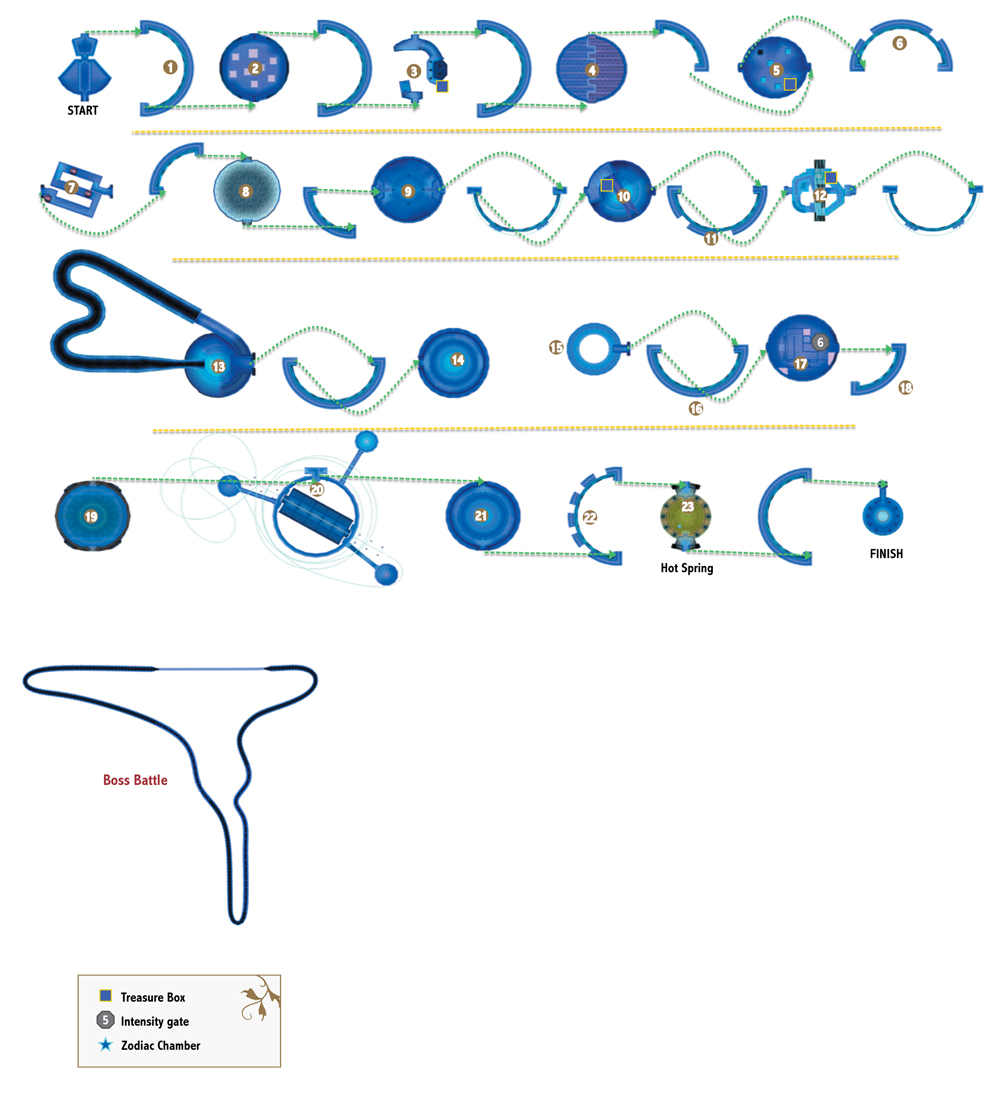
This is the single longest Land Battle in the entire game. While there are other endurance tests to come, this chapter is arguably the hardest to clear at higher Intensities due to the sheer size of the tower. There’s a lot of time from start to finish to find ways to screw up. You really need to pace yourself, as healing items aren’t exactly common, and the Underworld Forces going to be playing hardball.
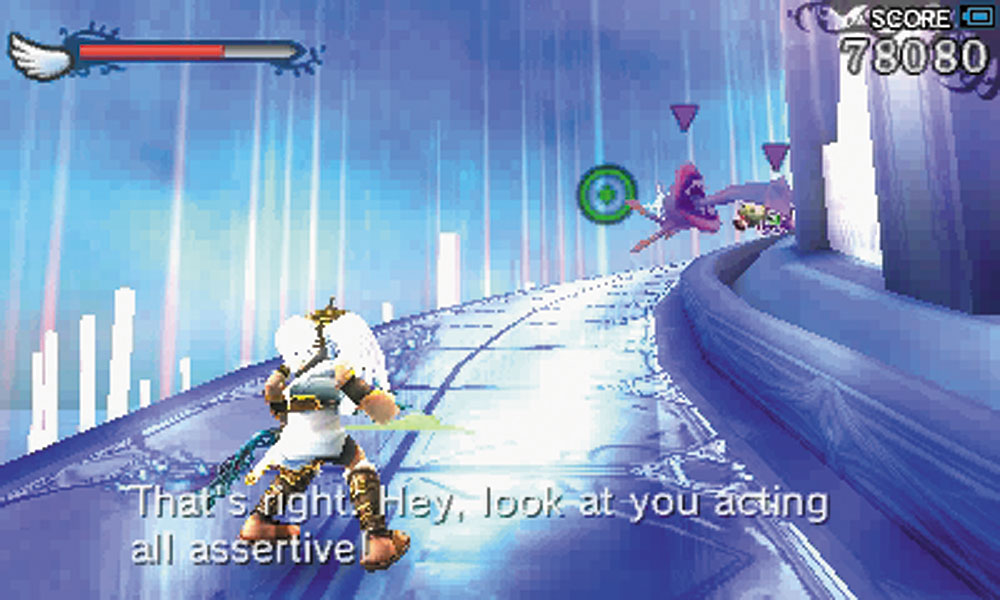
1. Get used to the pattern of the tower: a winding walkway up to the room, often involving facing down attacks by the Underworld Army, followed by a room with another battle or trial of some kind. Repeat this until you reach the top. If you’re trying to snag the Treasure Hunt achievement for beating this chapter under a certain time limit, hopefully you will have brought a weapon that improves your running speed, and you’re also very good at running past your enemies.
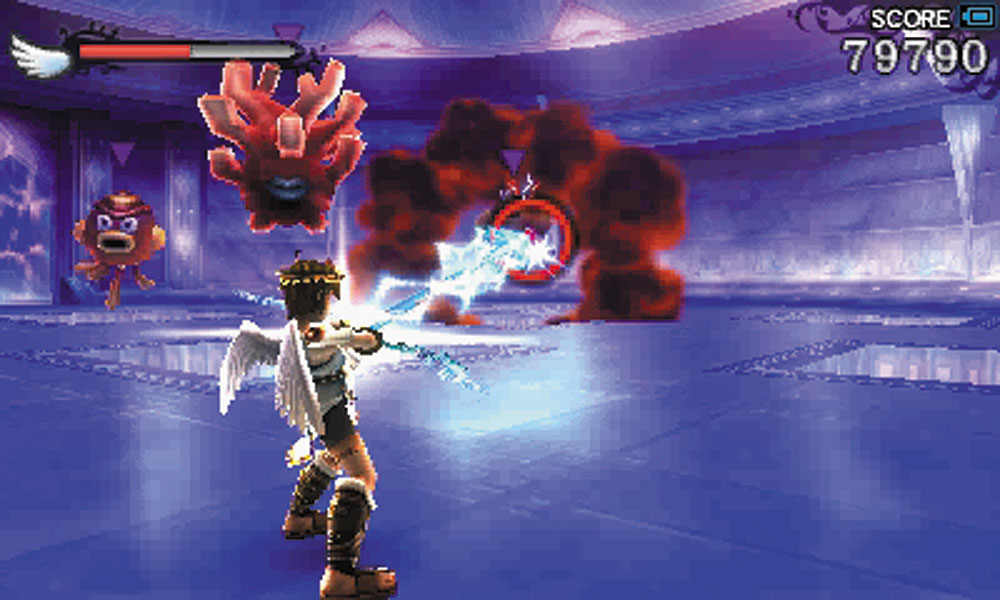
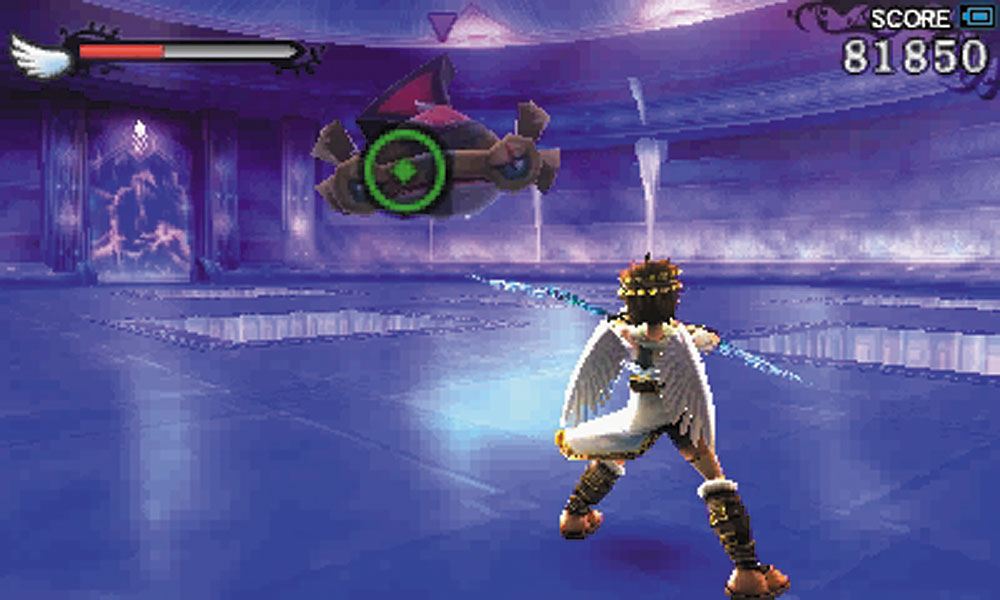
2. This room contains a series of pits, with Octos and Corals hopping out of them to attack. A Wave Angler and a swarm of Miks appear after the first group is defeated.
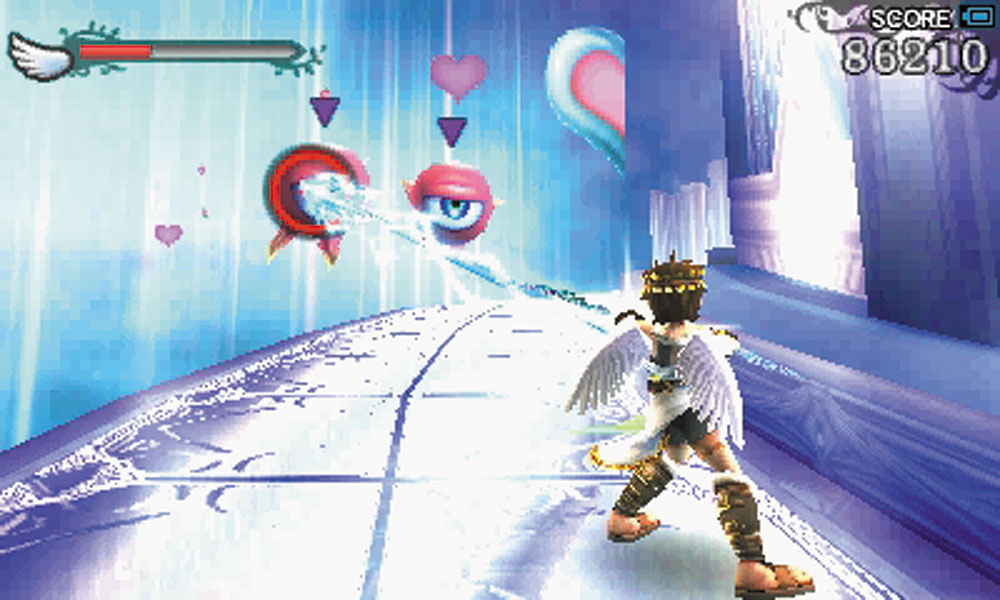
3. You must cross a bottomless pit on a small moving platform. A team of Skuttlers and a Ganewmede attack from an elevated perch on one side of the room. You can fall off the moving platform, so watch your footing. Try to avoid shooting the Ganewmede until you get to the other side of the room because the spiked balls it counterattacks with are tough to avoid with everything else that the Skuttlers are doing. Once you cross the chasm, you can leave this room even without destroying all of the enemies. Defeating all of the enemies within this area spawns a Treasure Box.
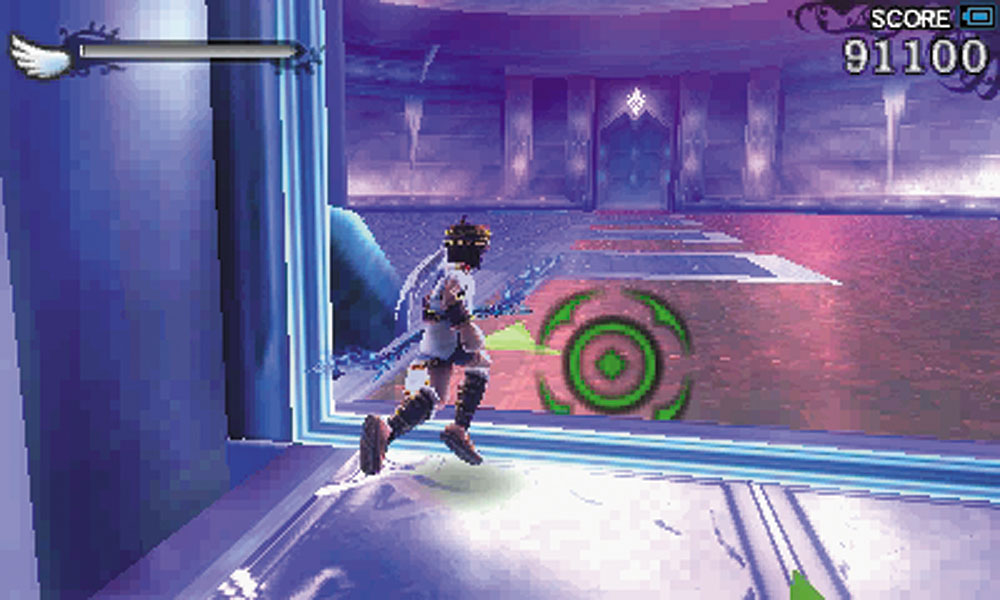
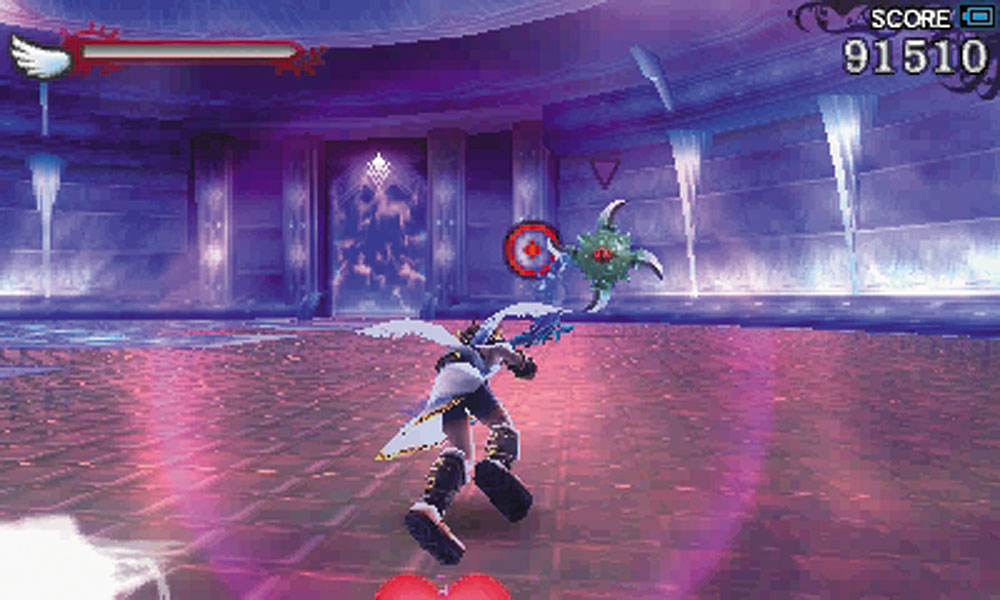
4. You can find Speed Boots before entering this room, and for good reason. At any given time, half of the floor here is electrified, alternating halves at regular intervals. The extra speed will help you get to safety, while also helping you fight the Splins that appear here.
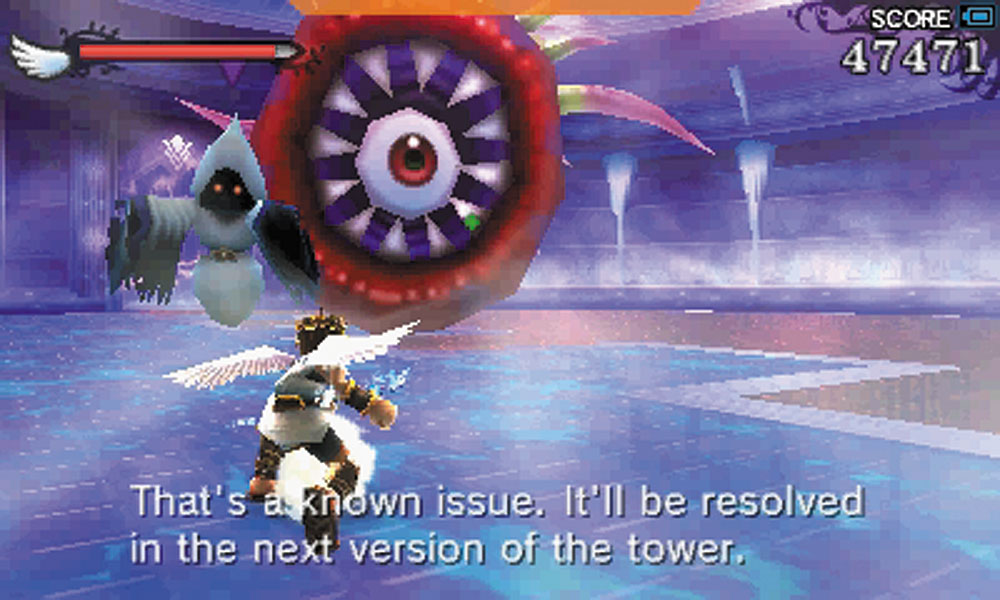
A Shelbo and Zuree also appear on this floor. The Shelbo is particularly bad due to its suction attack that can potentially drag you to the electrified half of the ground.
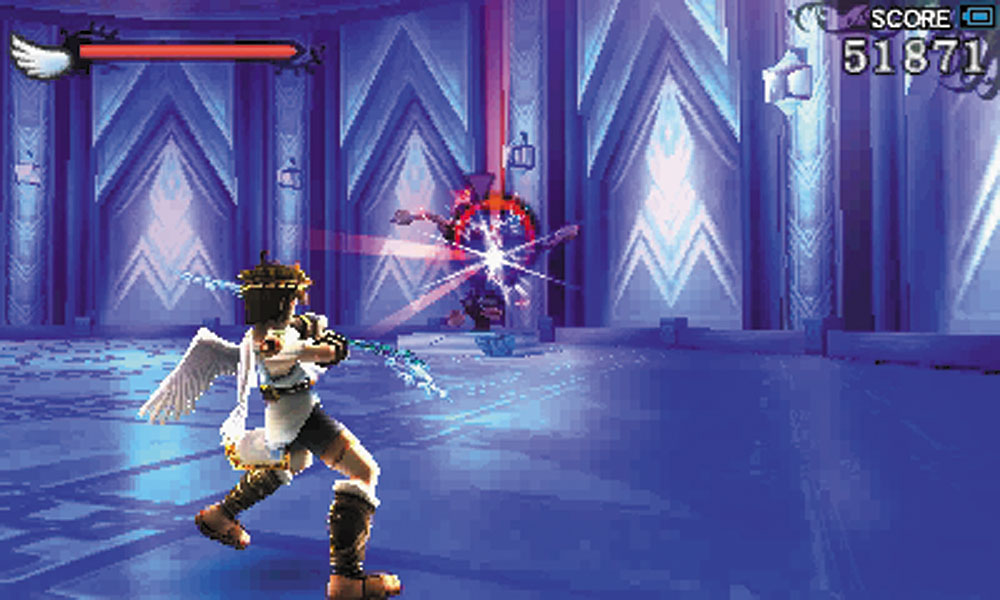
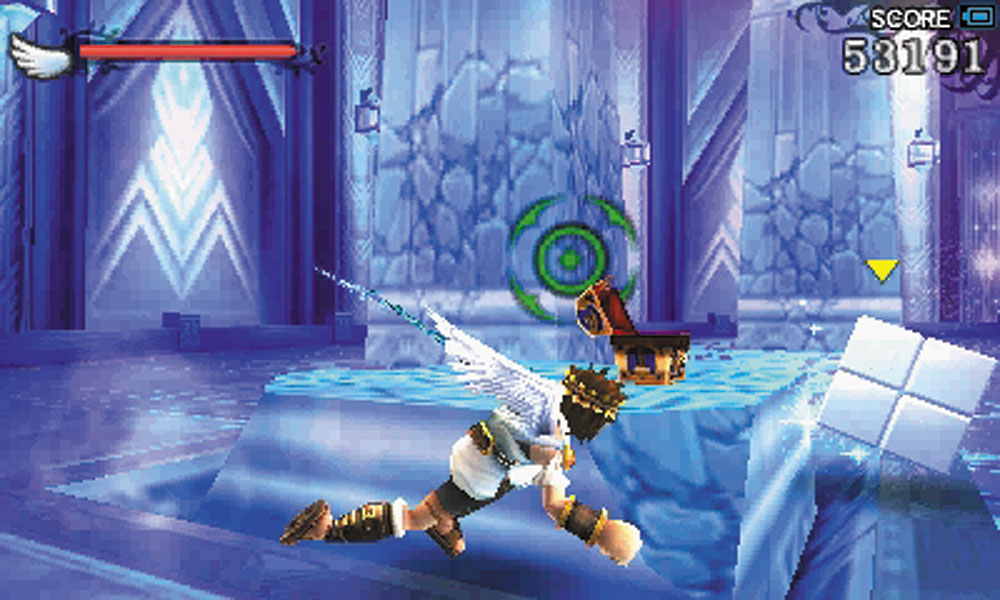
5. The pillars in this room must be destroyed to bring two Zurrets here down to your level. A treasure box can be found atop one of the pillars.
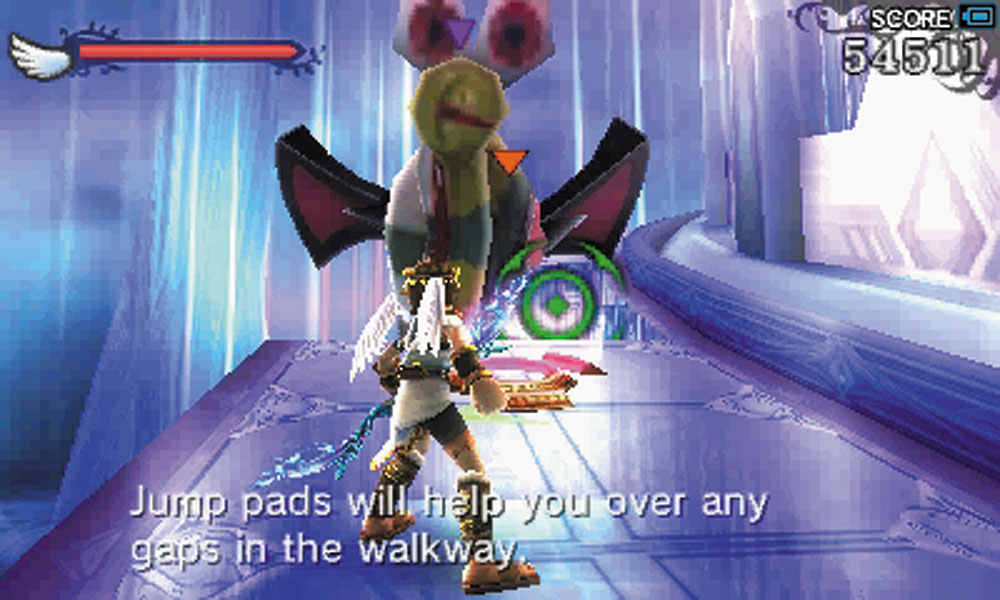
6. This walkway is guarded by Wave Anglers, who try to interfere with your jump pad-assisted leaps.
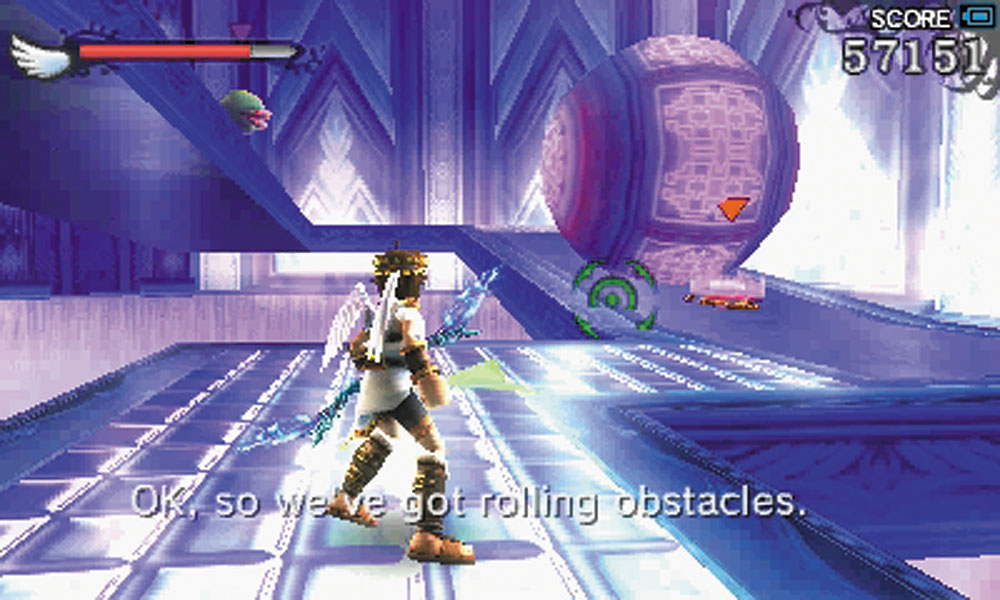
7. The walkway in this room is equipped with jump pads for a reason: boulders roll through the area. A trio of Miks also patrol along the edge of the chamber.
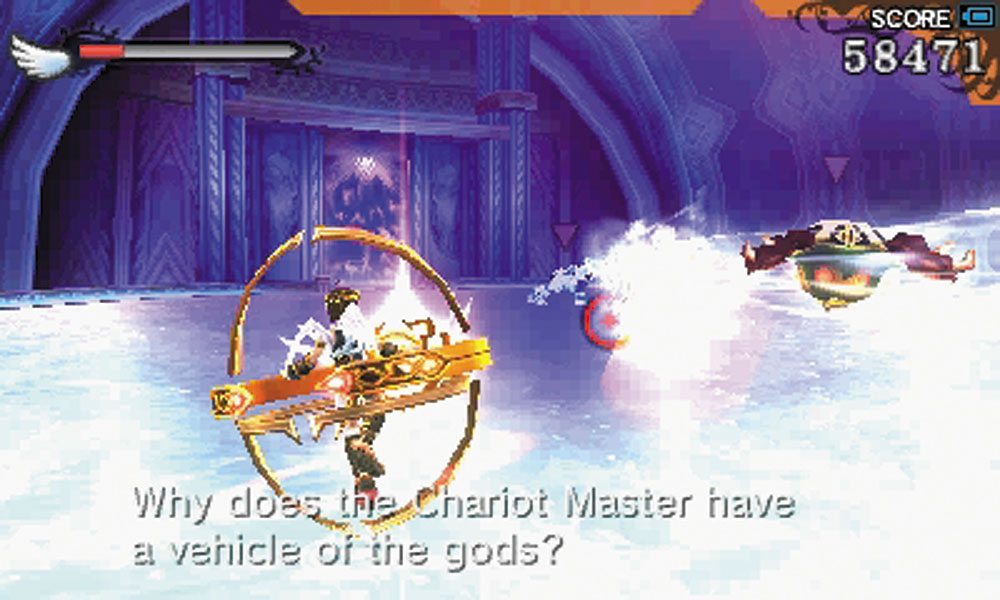
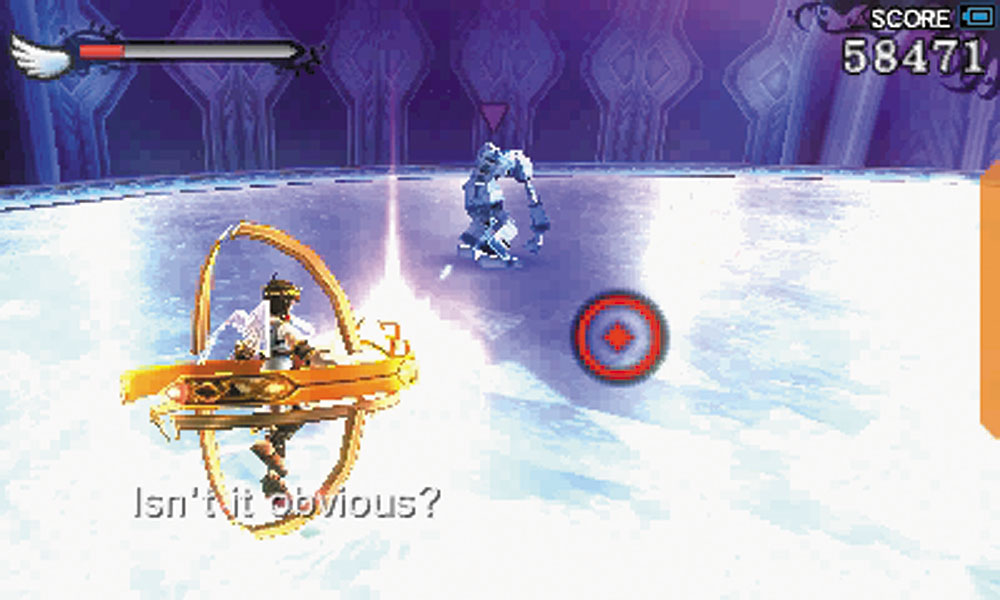
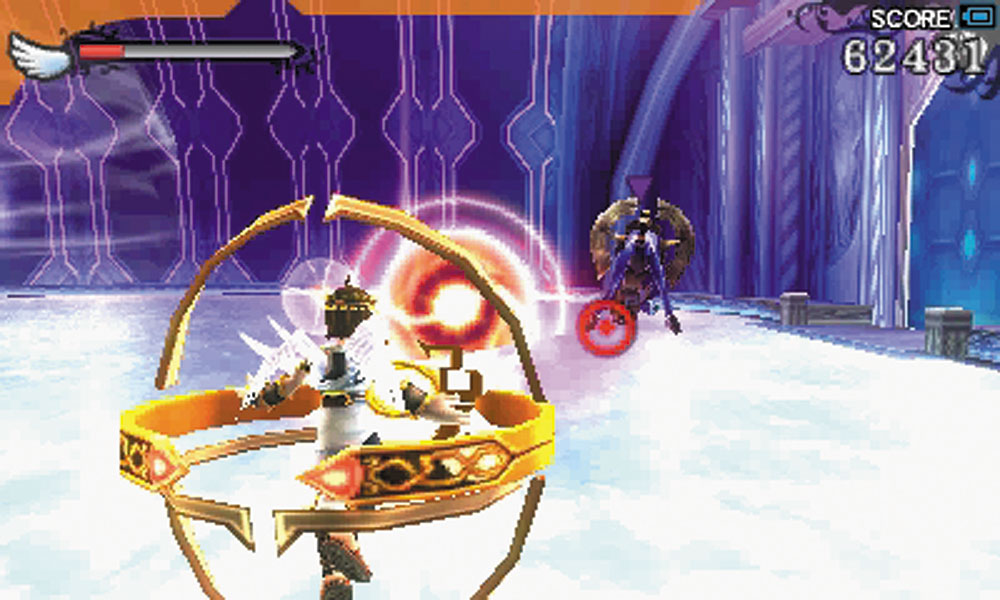
8. Before you enter this room, you can pick up an X-Bomb at the door. However, you may not have much call to use it, as an Aether Ring is found in this area. The floor is covered in ice, so you’ll want to use the vehicle to make the battle here easier to manage. A Snowman, Tortolunk, Leox, and a Frozum make up the enemy force here.
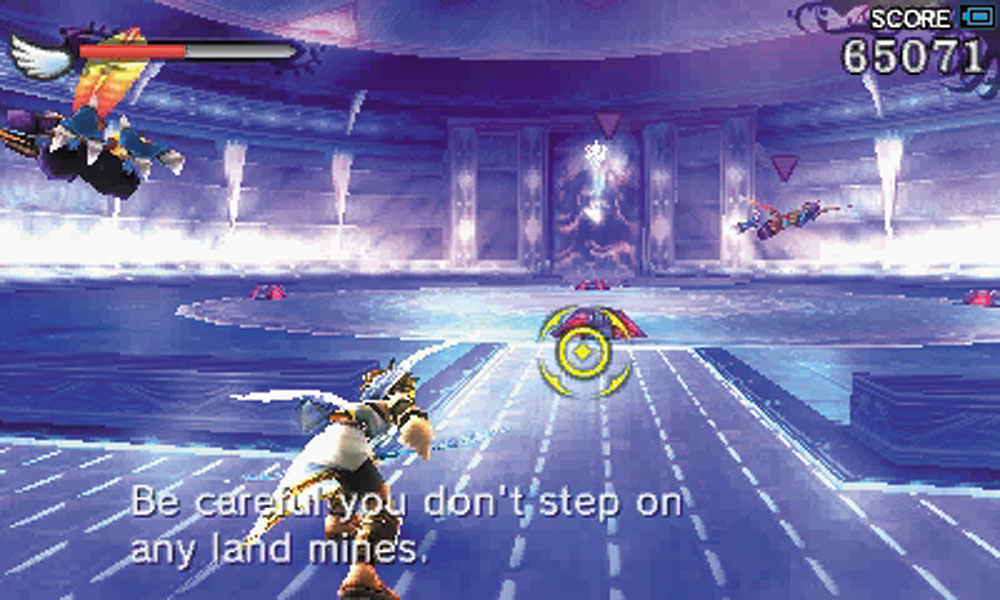
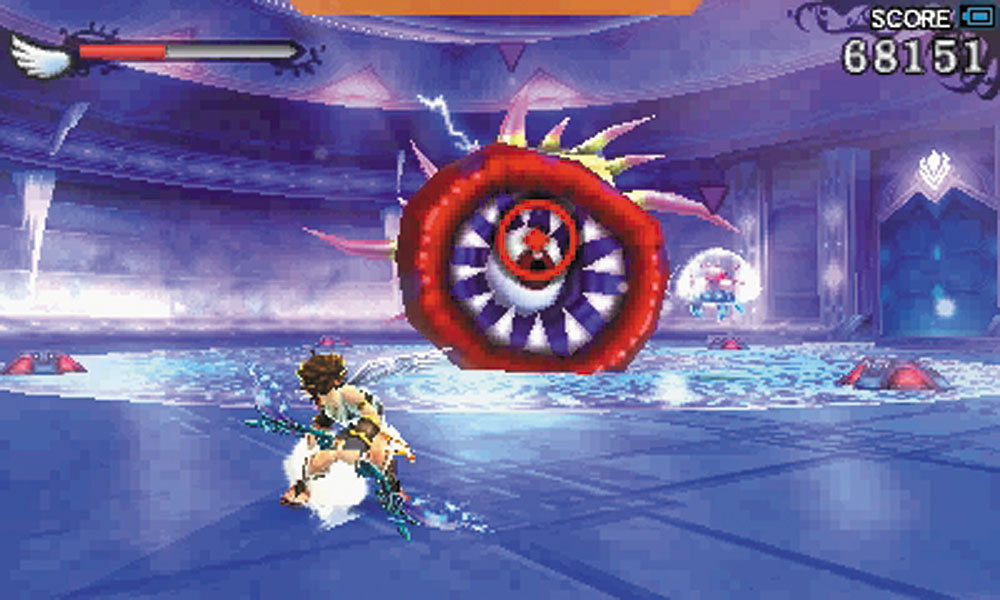
9. The four land mines in the center of the room are simple enough to avoid while fighting off the first wave of Syren. When the Shelbo appears, make sure its suction attack doesn’t drag you into one of those explosives.
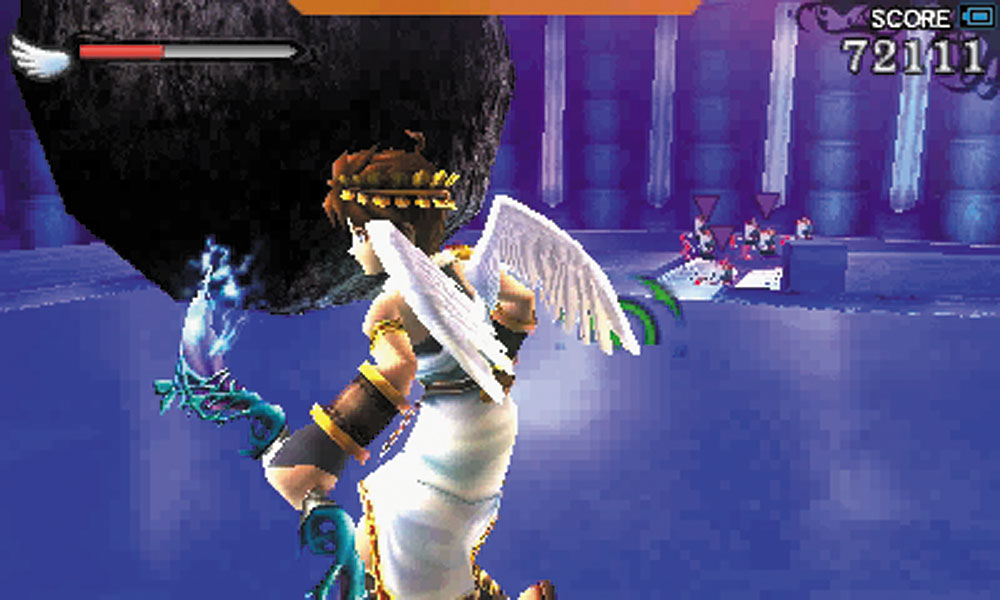
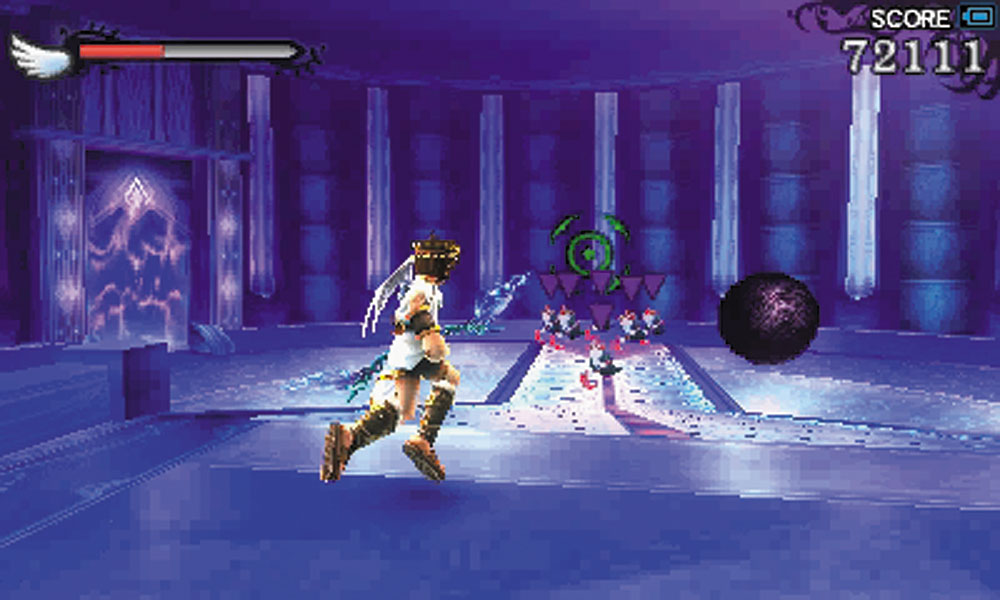
10. A group of Reapettes are arranged in a formation that begs for them to be bowled over by the massive boulder atop the ramp. All of the Reapettes must be destroyed before you can proceed. The catch here is that once you hit the boulder, it will never stop bouncing off the walls. This can make running for the exit a bit tense.
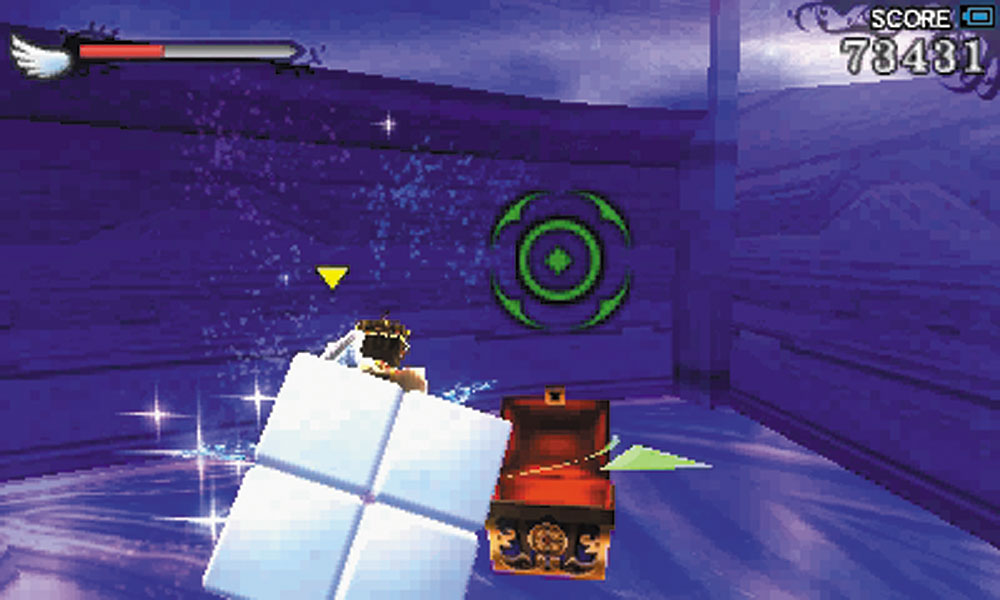
There’s a treasure box that can be found in this room, in the small alcove to the right of the ramp the boulder started on.
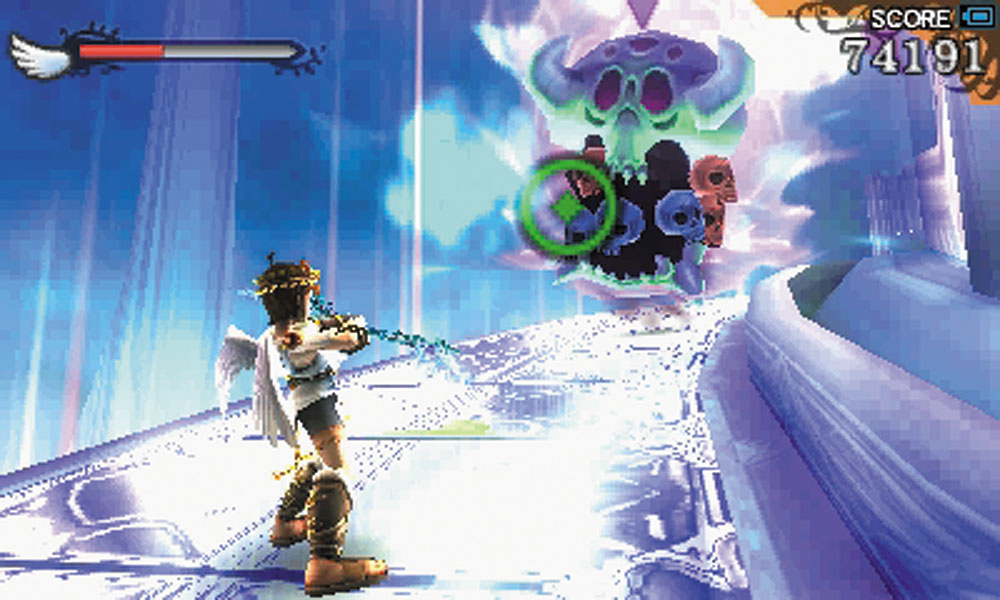
11. As you chase the Belunka up this set of jump pad gaps, it drops off a pair of Skuttlers. The third enemy it deploys is an Orne, so don’t get complacent and run headlong into it!
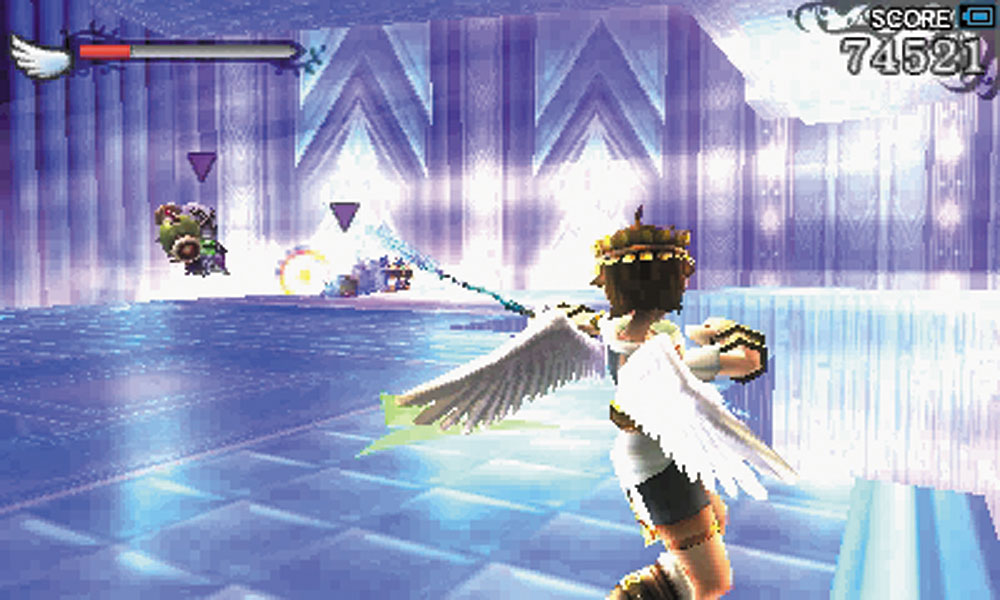
12. This room. THIS room. Take a thin and slippery walkway, sprinkle a dash of Underworld goons, and add a windstorm that constantly blows through the center of the room and threatens to knock you into a bottomless pit, and you have one of the more frustrating sections in the entire tower. Don’t be surprised if you actually die in this room the first time you try to pass it.
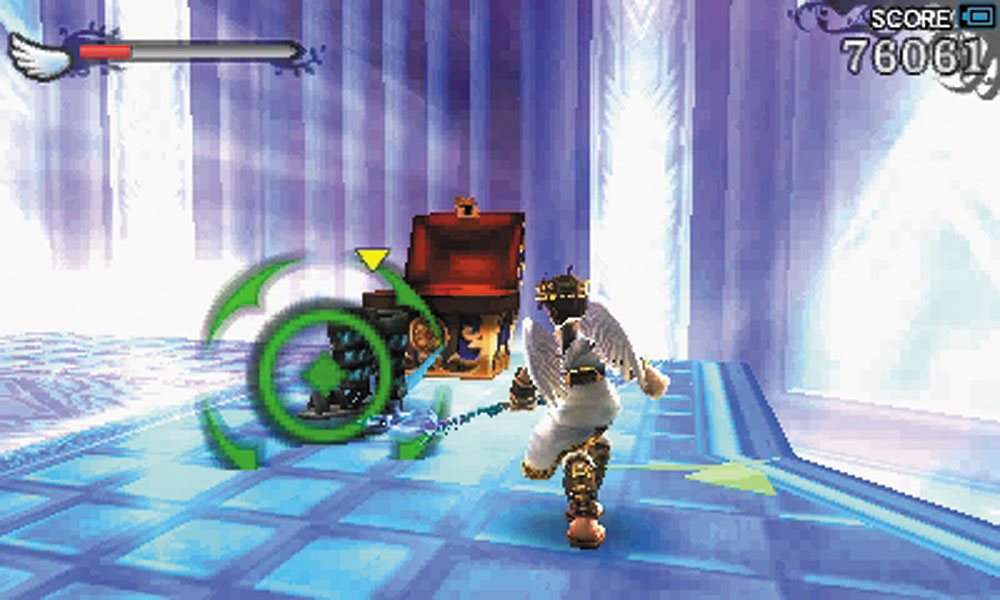
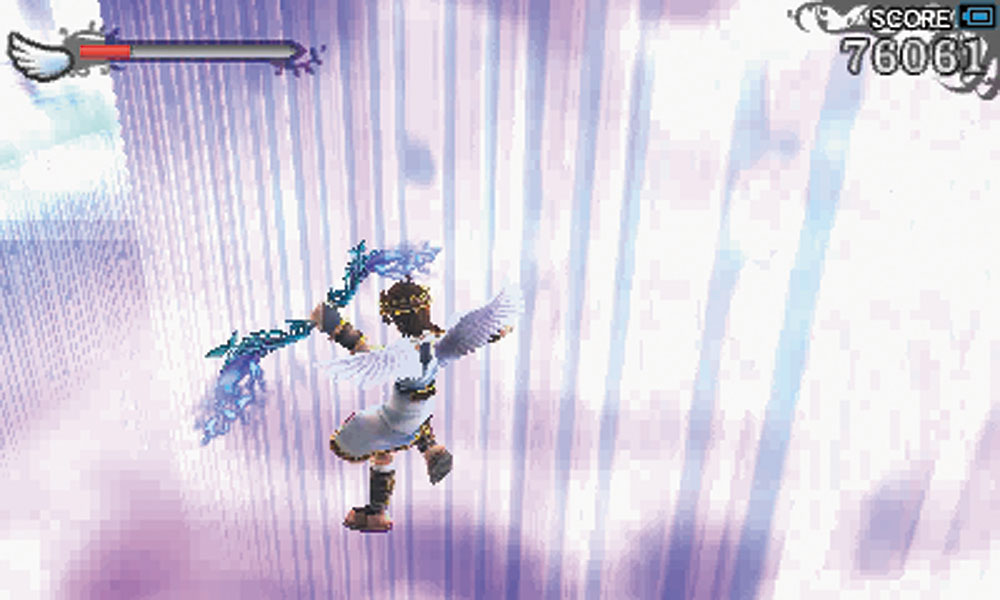
The first treasure box contains Speed Boots, and it’s recommended that you DON’T pick them up. If you do, wait for the effect to wear off before continuing. There’s enough to worry about in here without having to also deal with the extra speed sending you slipping into the abyss.
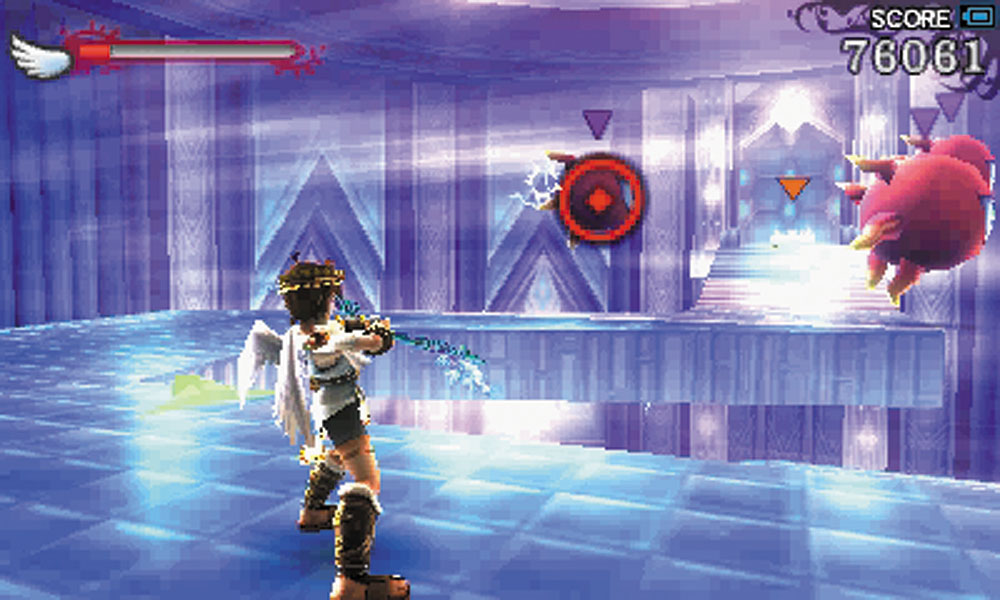
When you get to the second level of this chamber via a jump pad, a swarm of Monoeyes appears near the exit. Destroy them all before attempting to proceed, as their shots can knock you off the walkway. Remember, every time you fall here, you lose health and have to start from the room entrance! Fortunately, in a show of some mercy, food is placed near the exit to help restore some of your health.
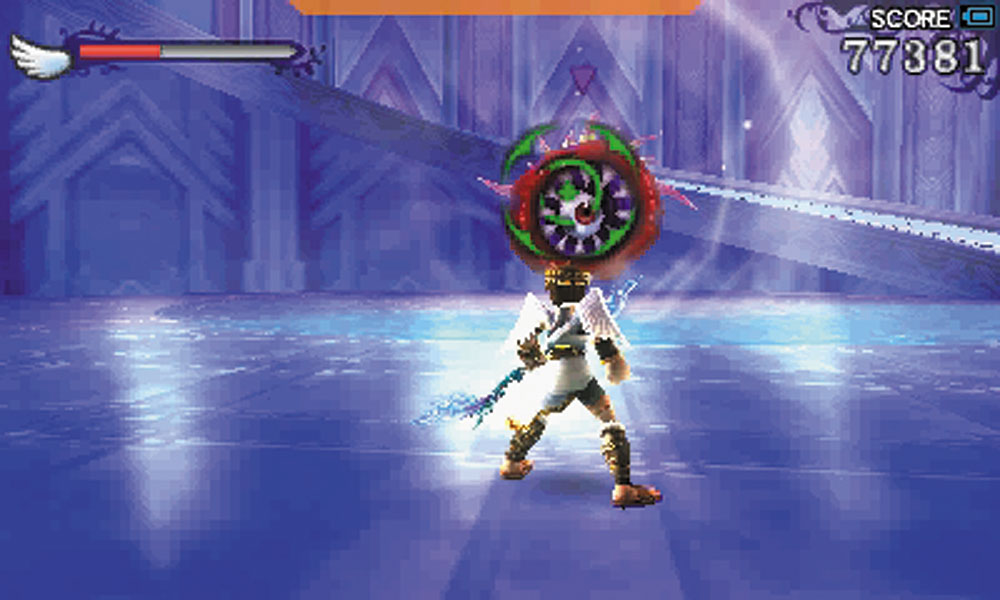
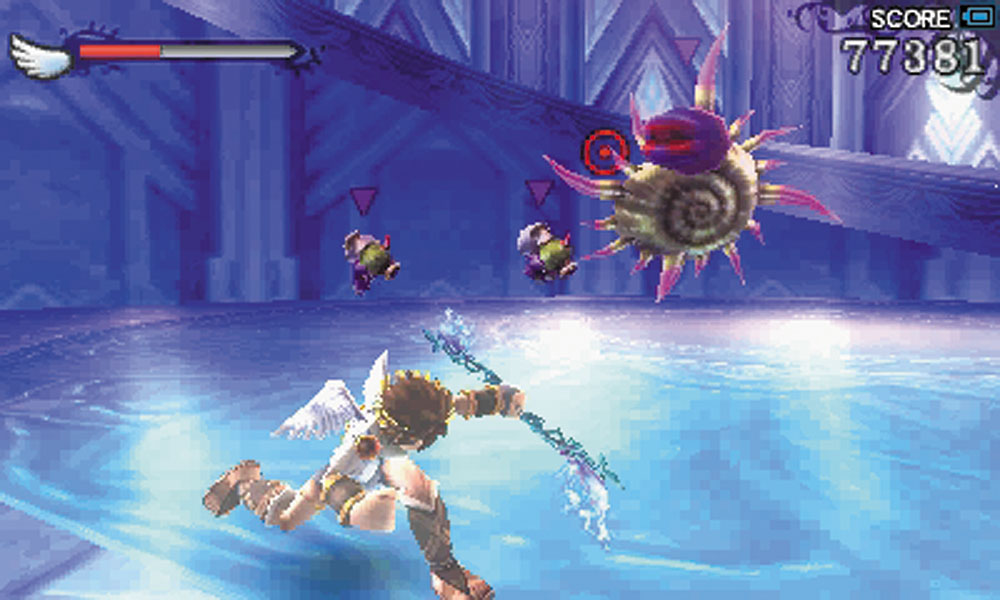
13. A Shelbo and a team of Skuttlers attack when you arrive at this floor.
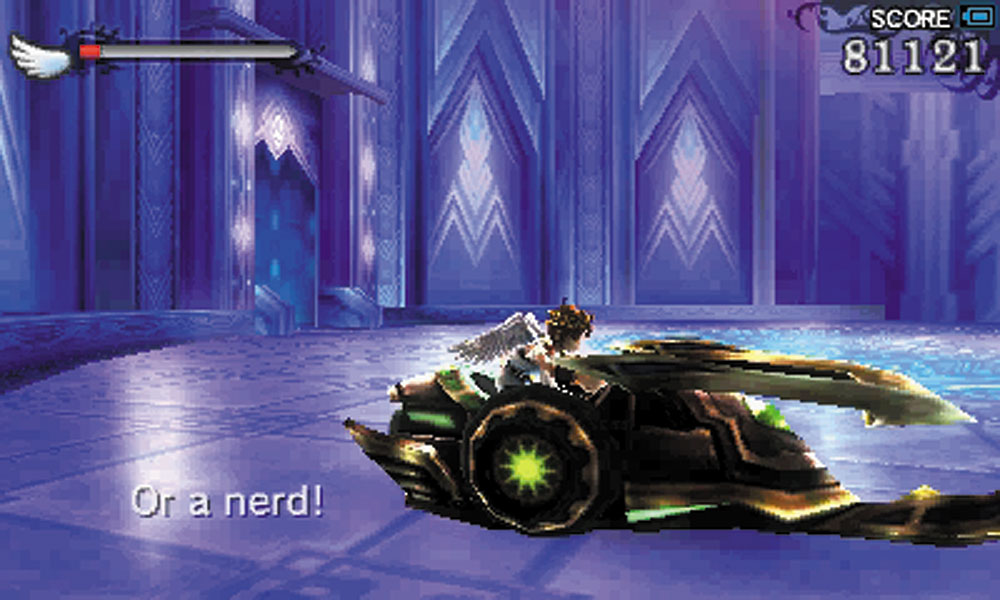
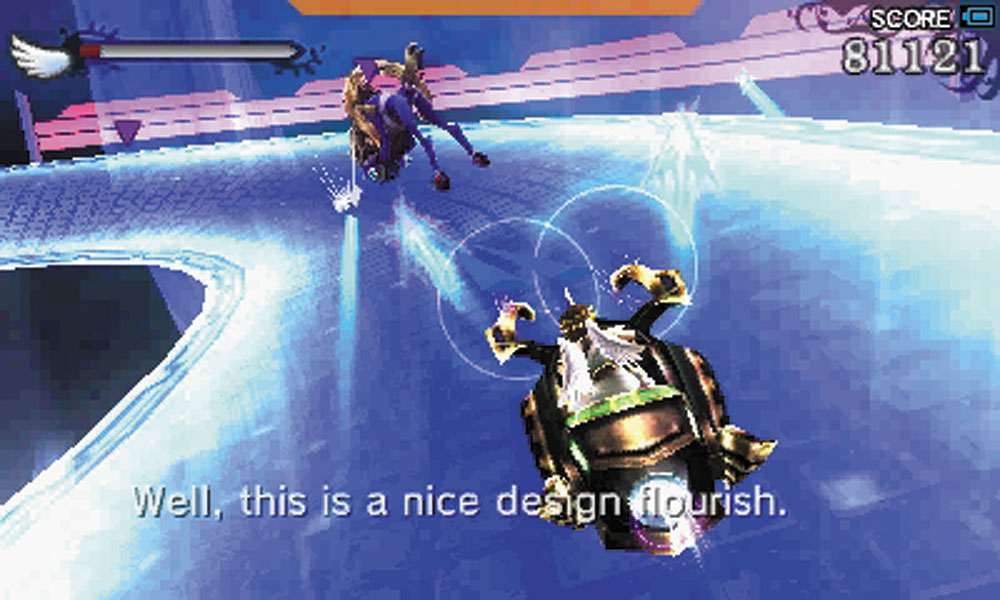
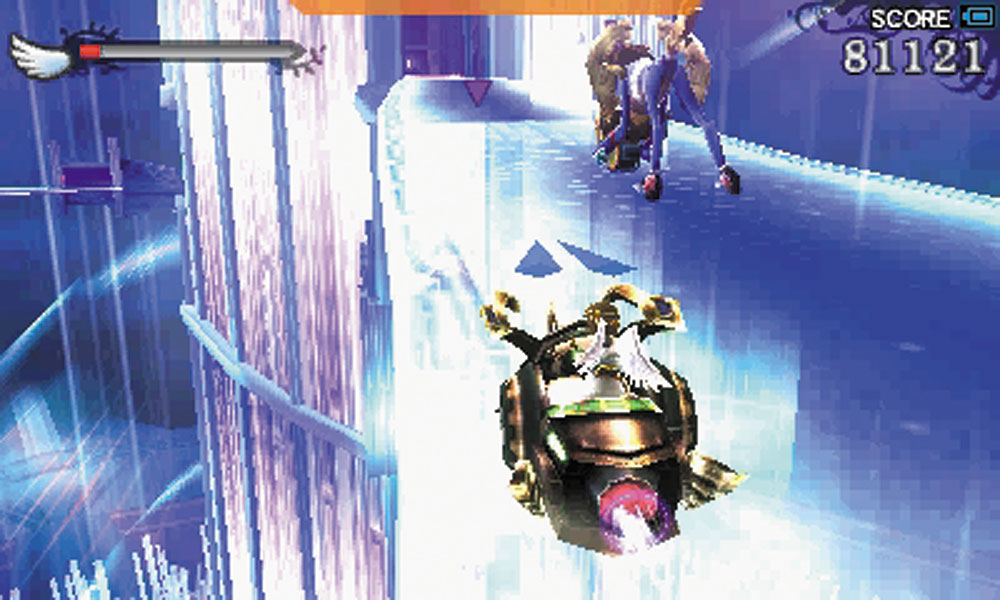
When the enemy is out of the way, an Exo-tank appears. You must drive it up the unlocked ramp until you reach a part of the track that contains no safety guard rails. There’s no reason to rush during the turns!
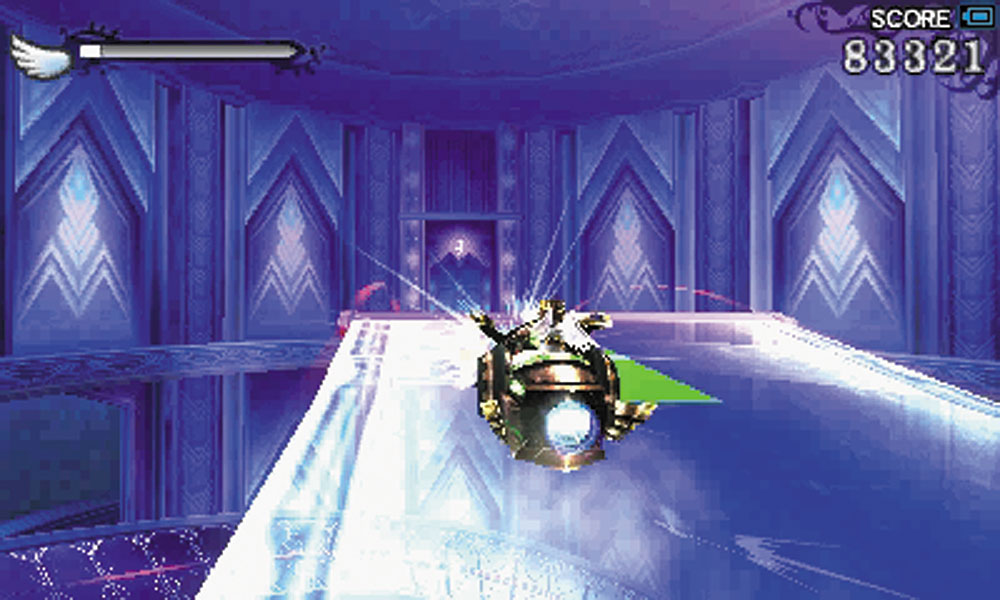
During the final stretch, use the Exo-tank boost to clear the jump to the exit door.
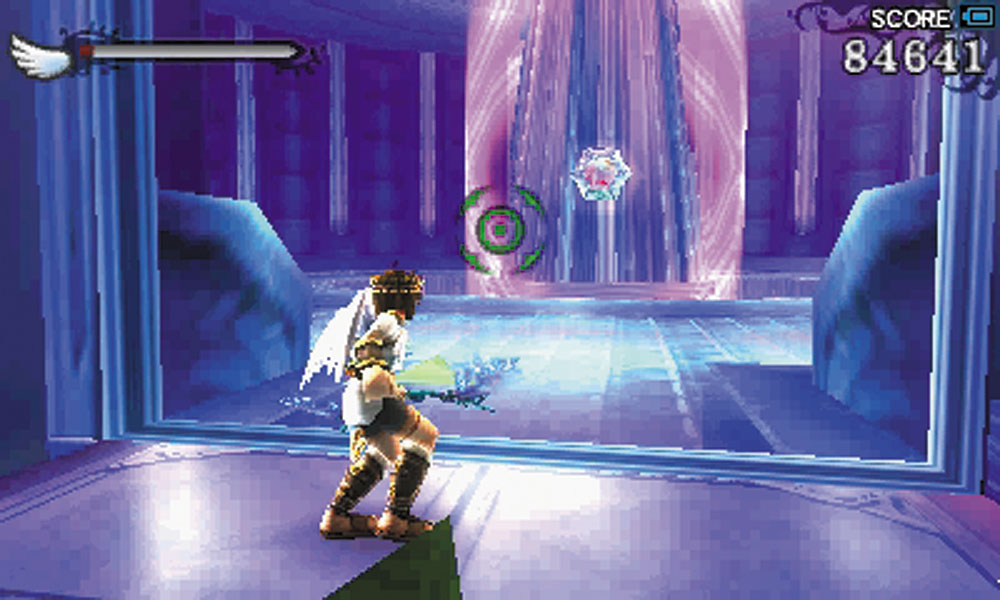
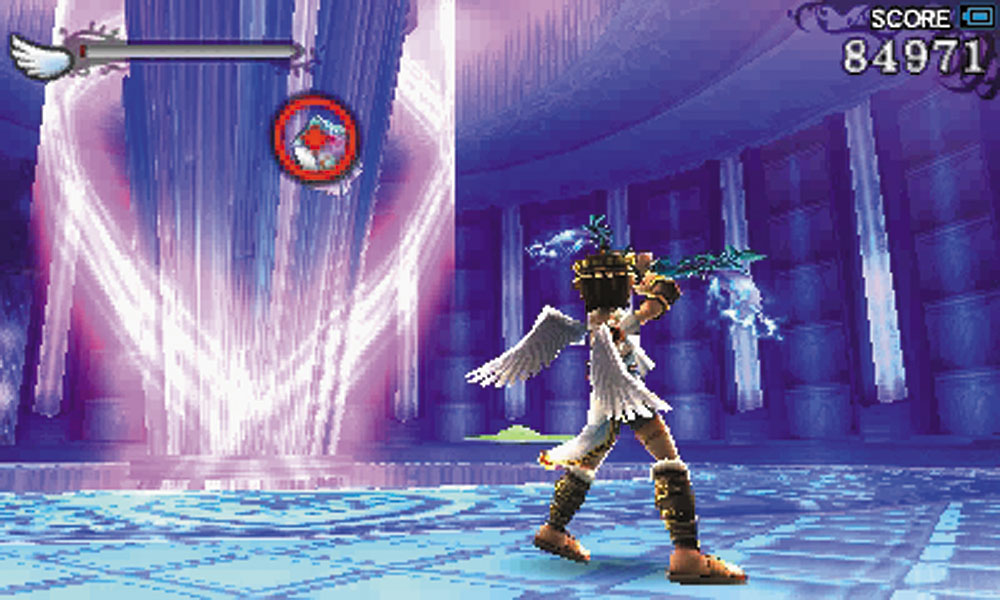
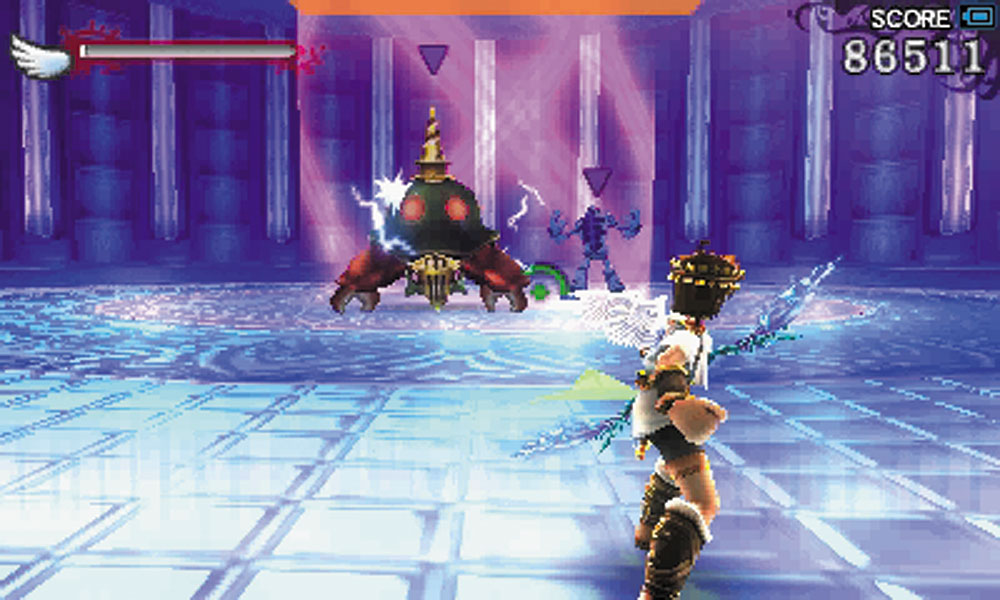
14. The central pillar in this room has a series of targets that must be destroyed. Each destroyed target lowers the pillar down one level.
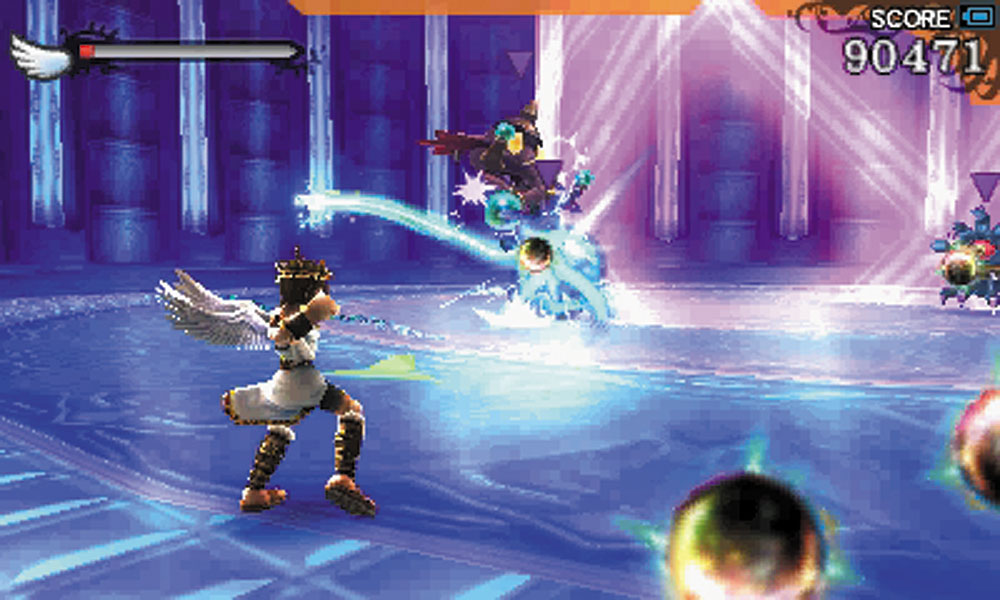
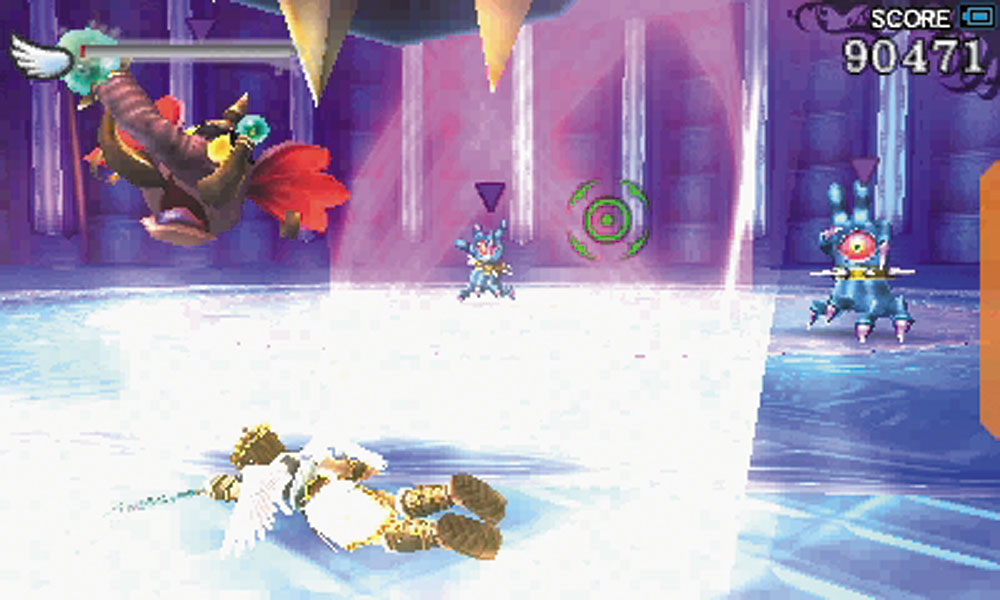
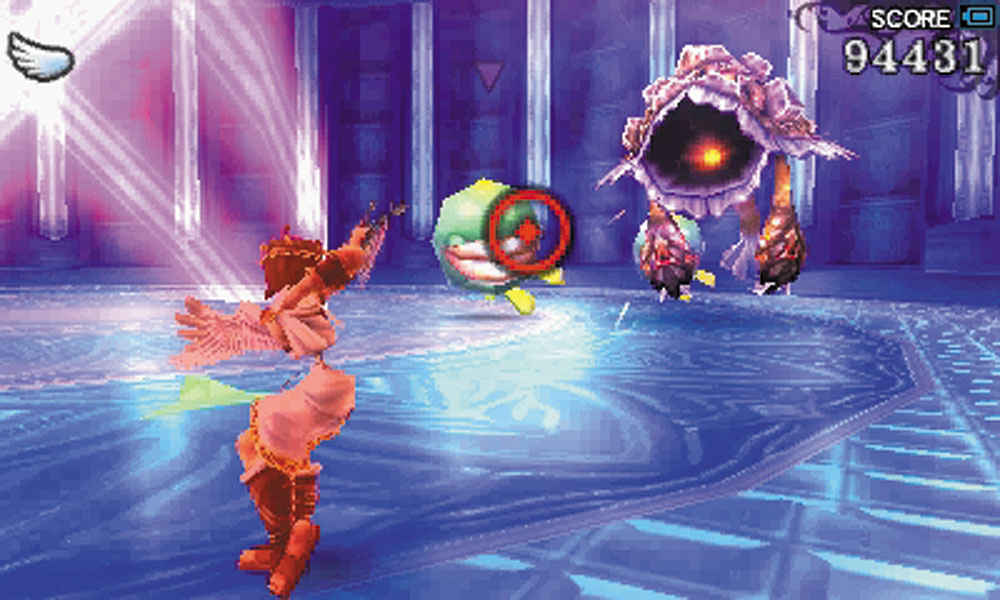
The last target allows a portal to the next section of the tower to appear, but you still need to contend with a Tortolunk and a Snowman. Once they are destroyed, Handoras and a Snong attack. Finally, a wave of Miks and a Vakloom descend onto the field. Once they are all destroyed, a Drink of the Gods appears near the portal. You’re halfway to the Lightning Chariot. Yes, only halfway.
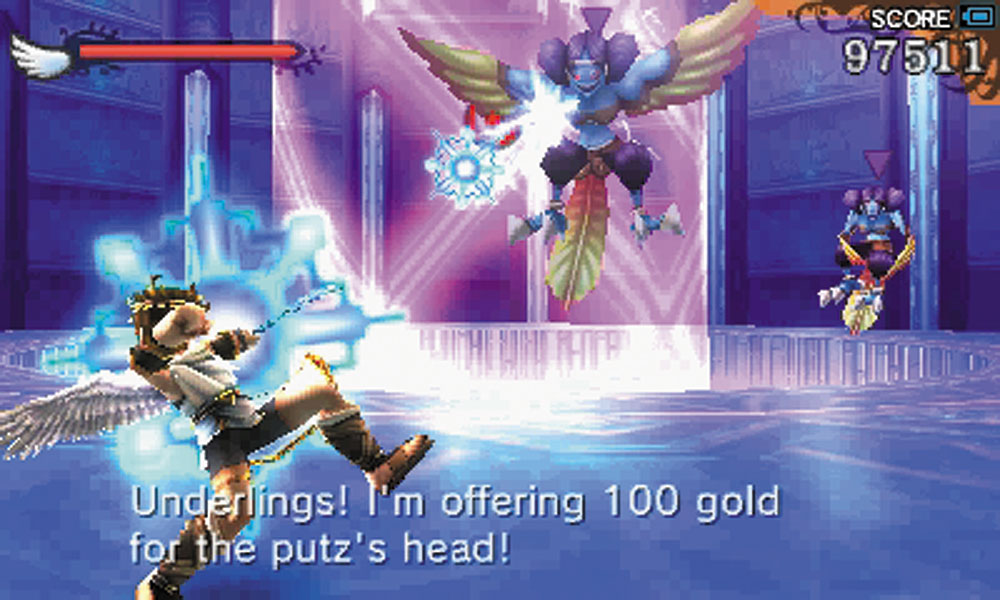
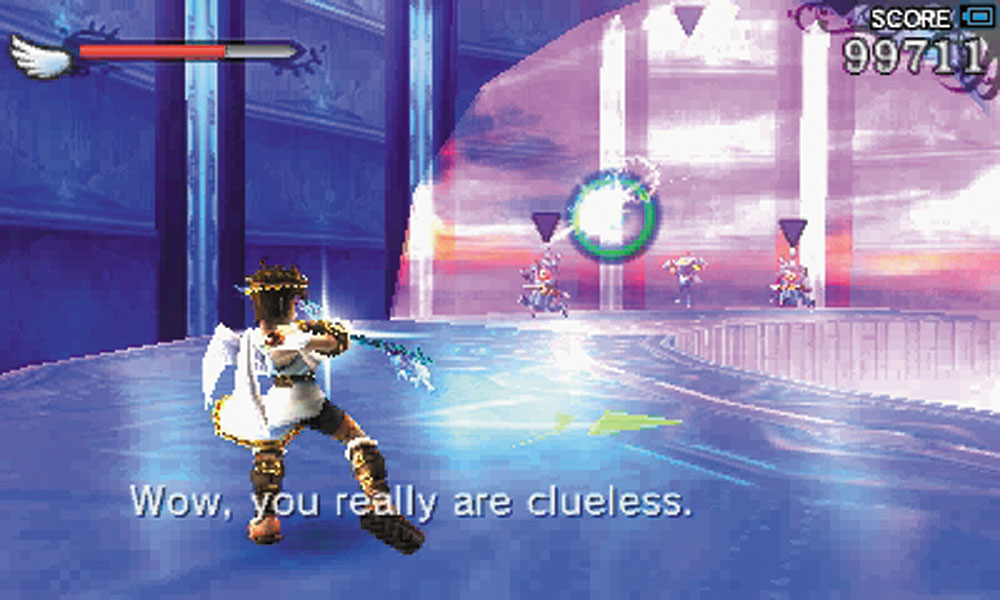
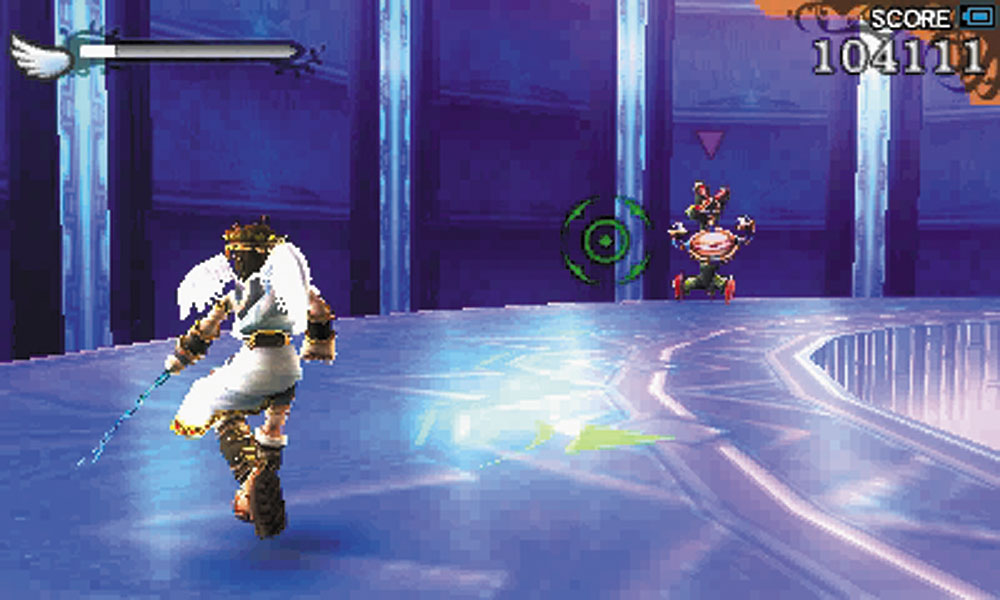
15. Syren attack as soon as you arrive at this next section of the tower, followed by a Shildeen and a pair of Handora. An Igniot and a Mik appear for the third group of enemies. You can fall off the edges of the ring you battle on here, so be careful. After you’re clear, take the new jump pad to the exit of this room.
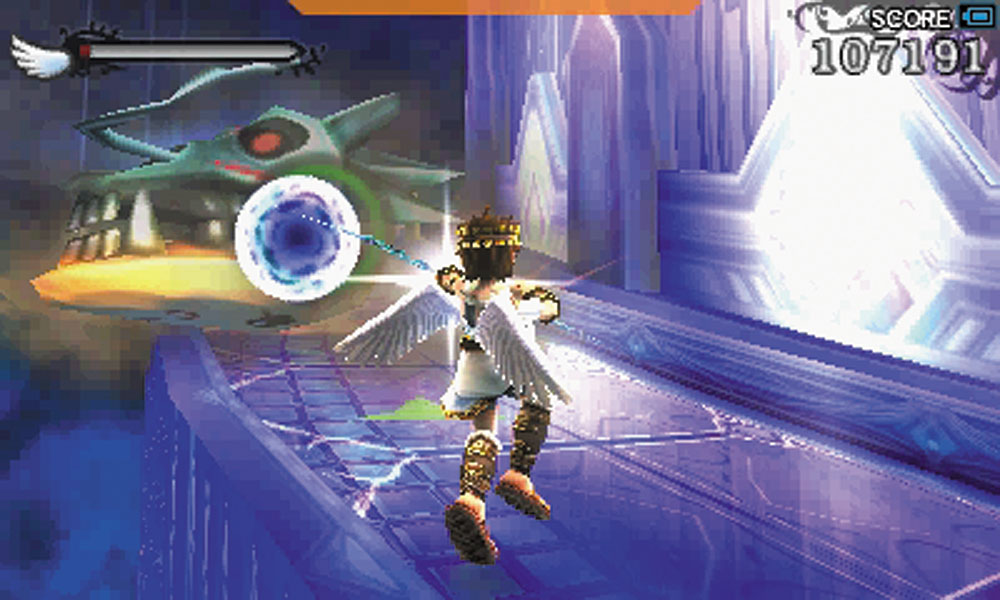
16. Two Bumbledrops protect this walkway, and can be rather dangerous as a duo. Try to engage them one at a time.
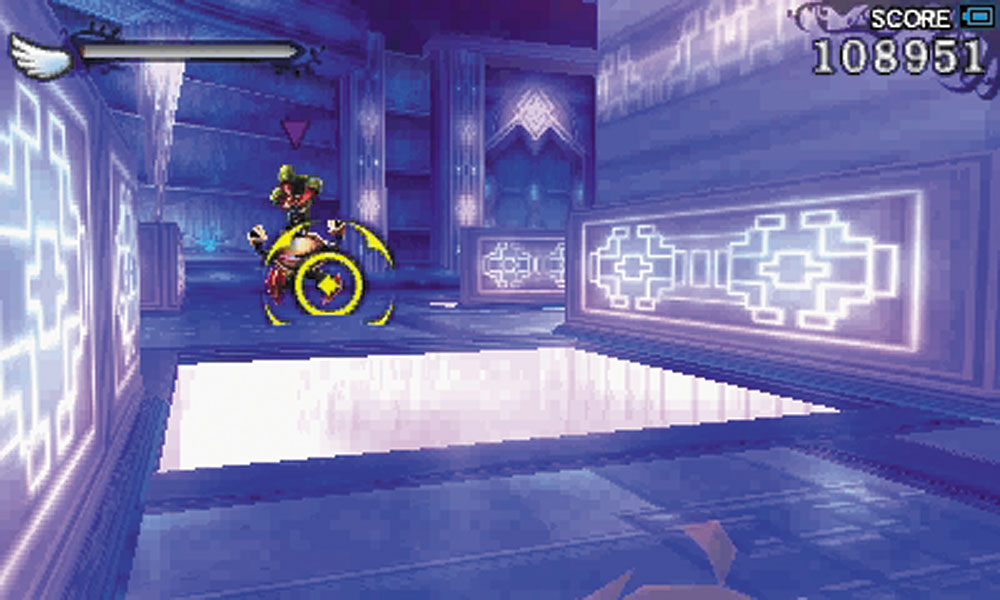
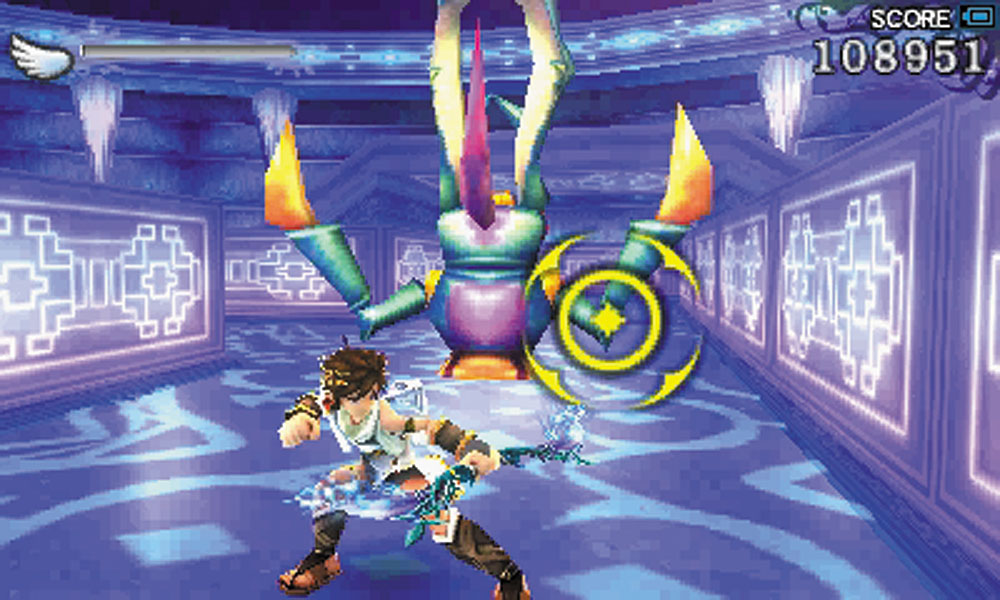
17. This small maze punishes blind haste. You can easily fall into a pit or walk into an Igniot’s line of sight. Girin also hide in the floors here. Preserve your health by paying attention to the floor and making sure you know what is on the path you’re about to turn down.
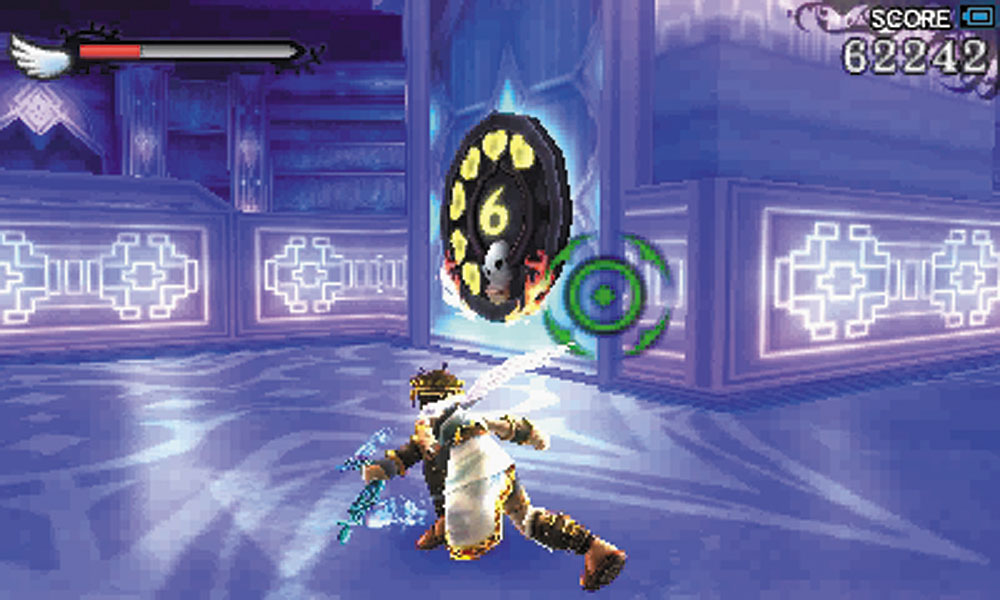
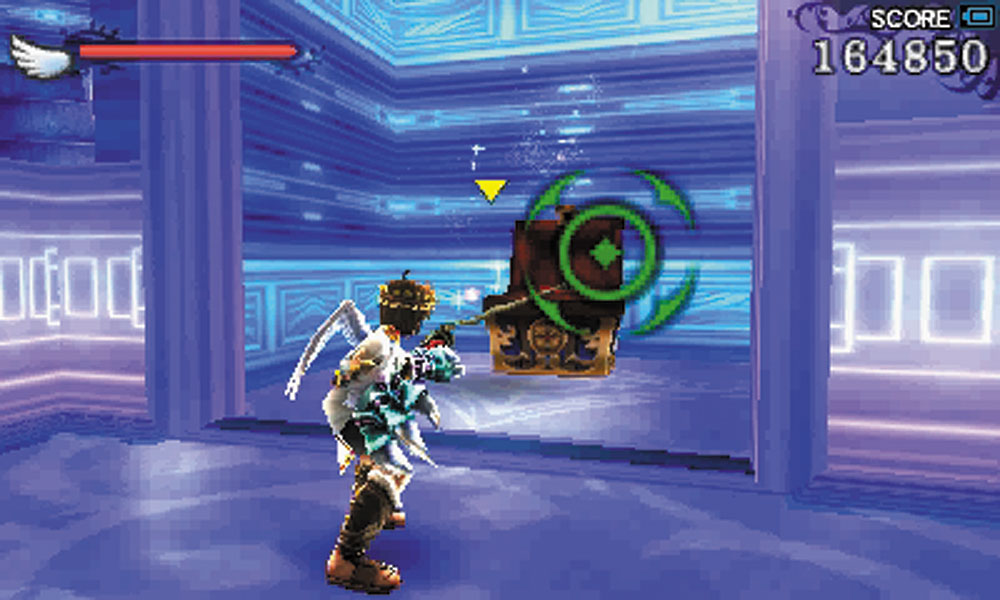
A Level 6 Intensity Gate is in this room, granting access to a treasure box.
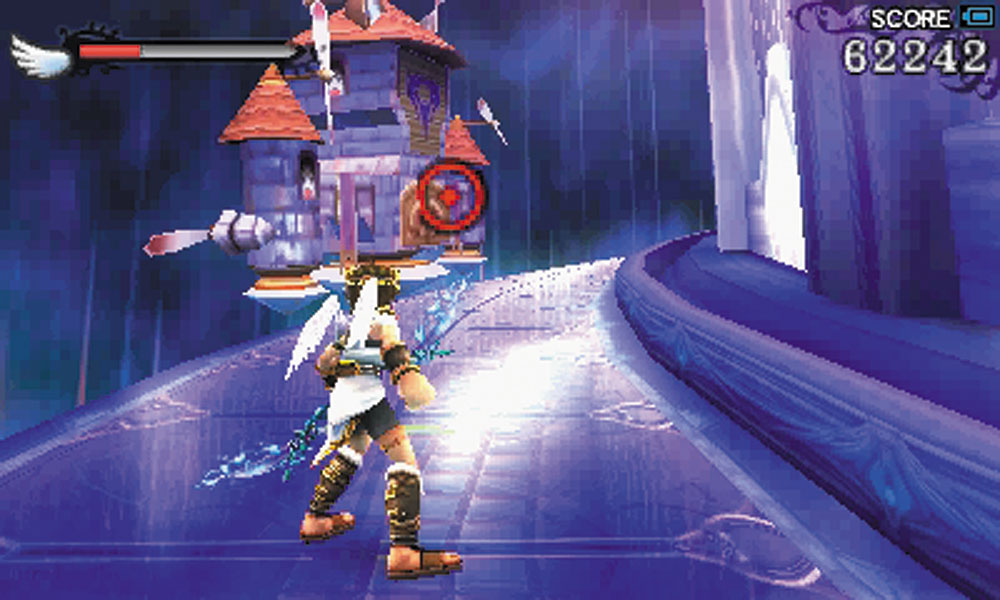
18. The Fort Oink on this ramp will be spitting out Skuttlers to try to distract you from it. Destroying it will cause an X-Bomb to appear in front of the door to the next room.
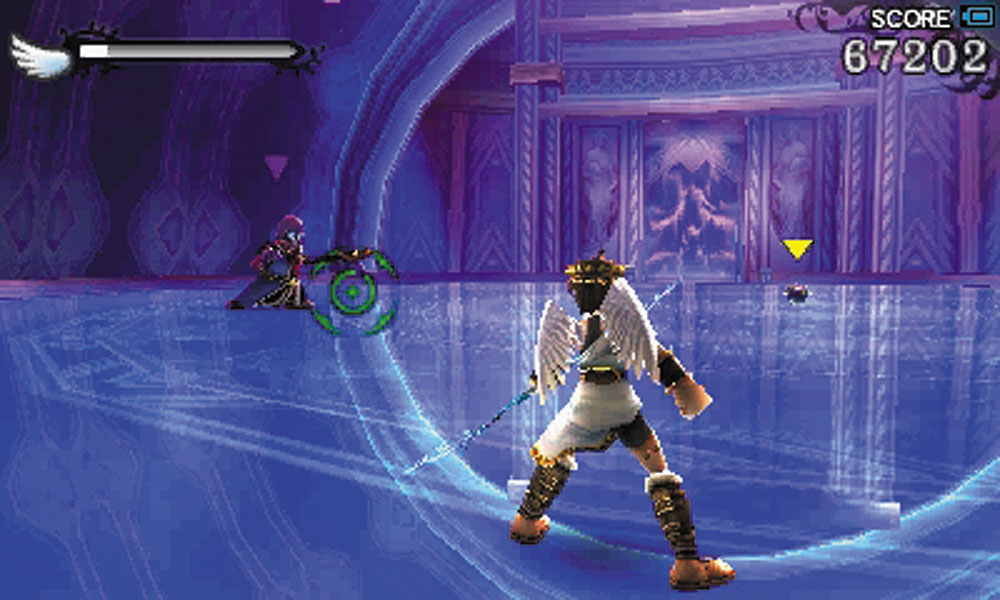
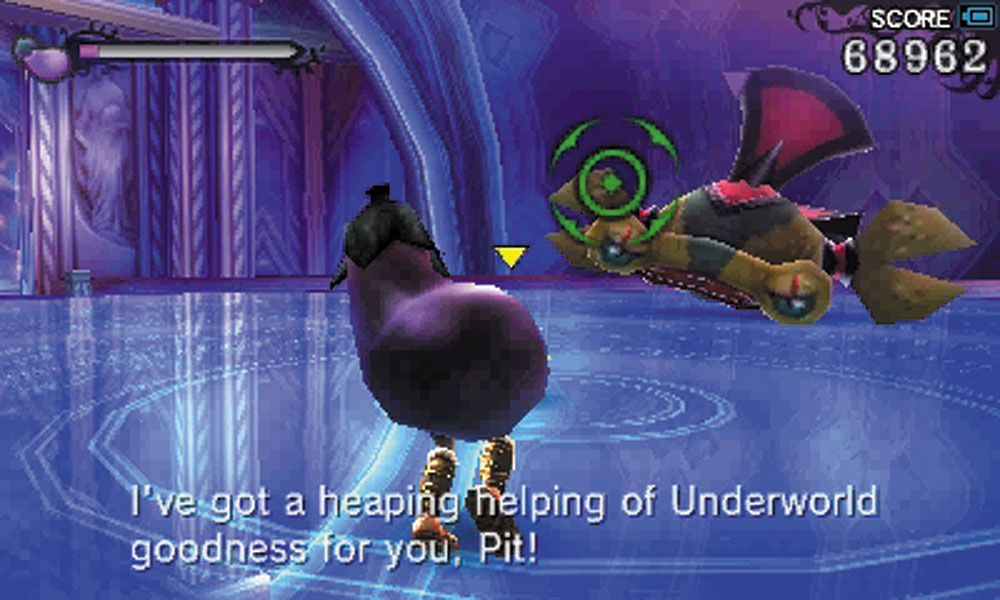
19. If you did pick up the X-Bomb, the Eggplant Wizard that starts off on this floor can be destroyed quickly. A Wave Angler appears after the wizard is beaten.
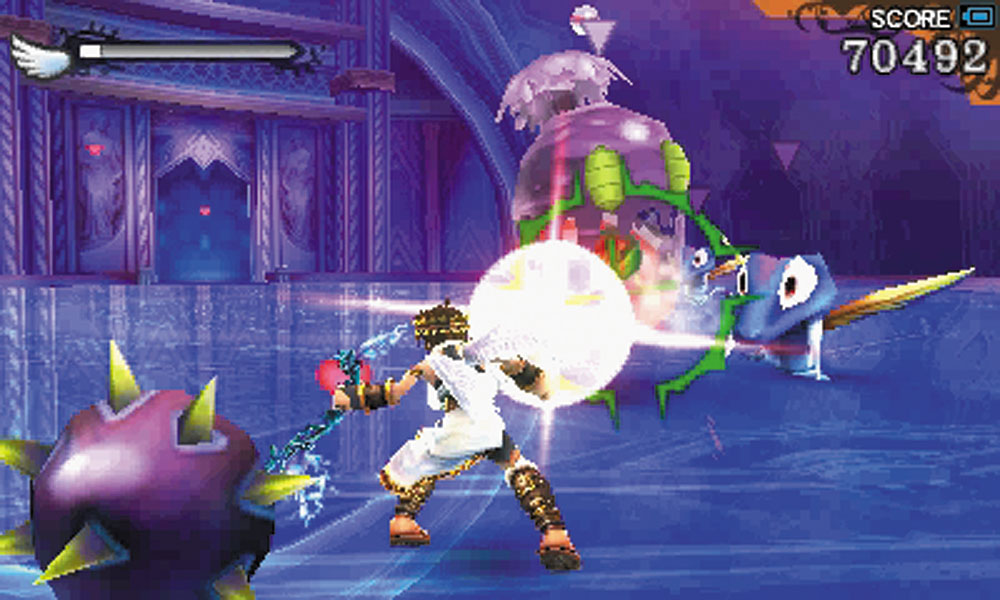
The third enemy set consists of Shemums and a Guttler, Try to kill the Guttler before it eats too many Shemums and becomes a major threat. A Smart Bomb appears during this wave to help deal with this group.
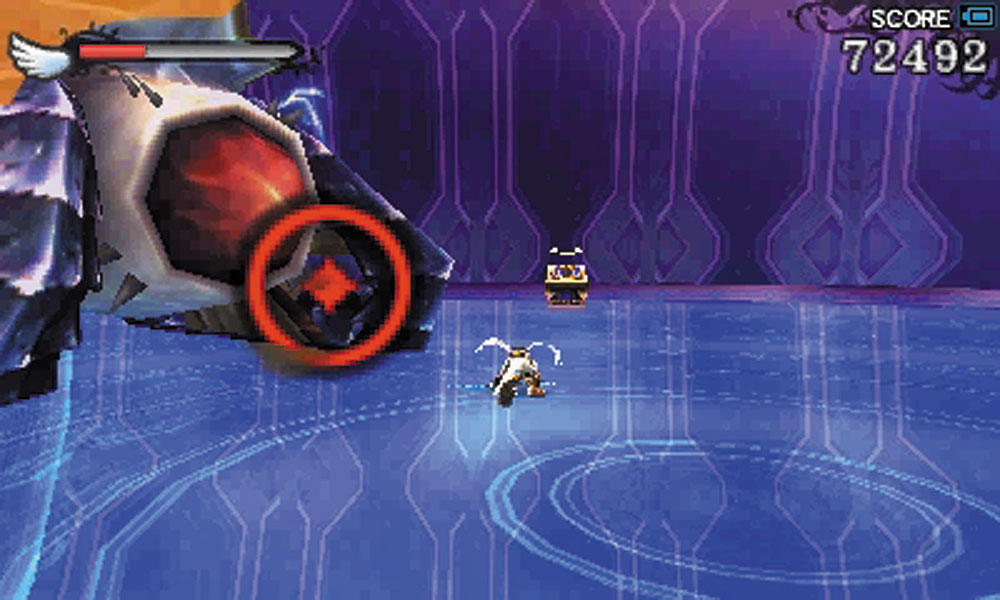
A Crawler, Skuttlers, and a team of Pluton thieves are the fourth wave. Try not to let the Plutons steal your hard-earned treasures. It’s almost worth it to focus on them first, as long as you keep moving you’re relatively safe from the Crawler’s firepower.
Survive all of this, and a Drink of the Gods appears near the exit. You have to be getting close to the top of this tower, right?
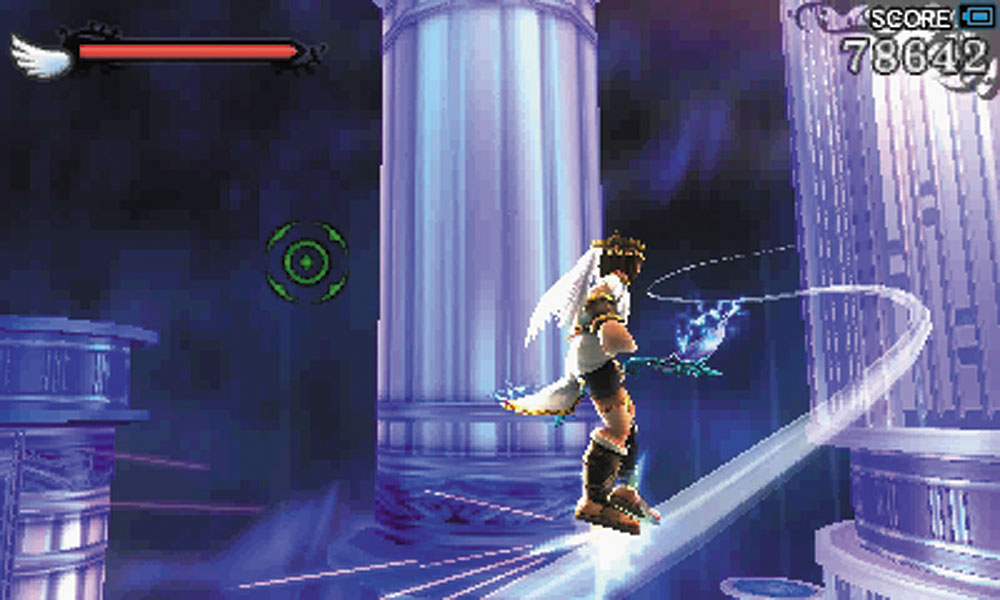
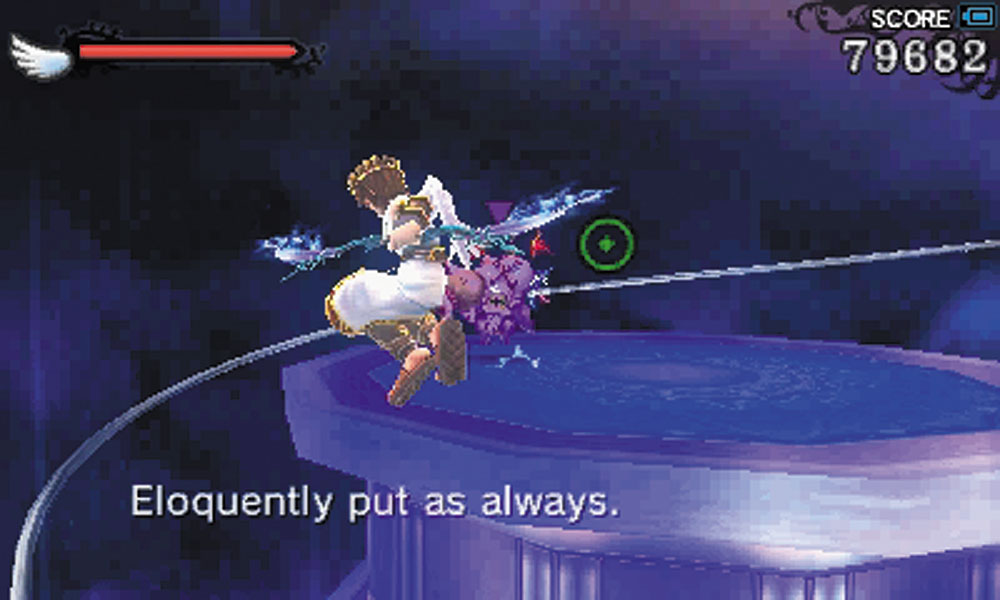
20. This grind rail ride is probably a welcome sight after climbing up the majority of the tower. Take out as many enemies as you can during the climb.
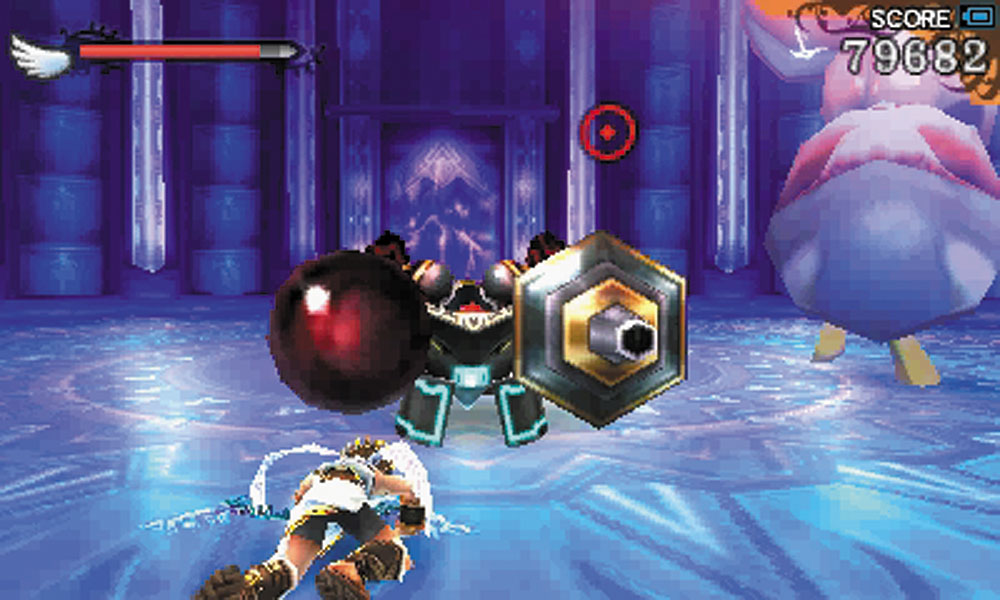
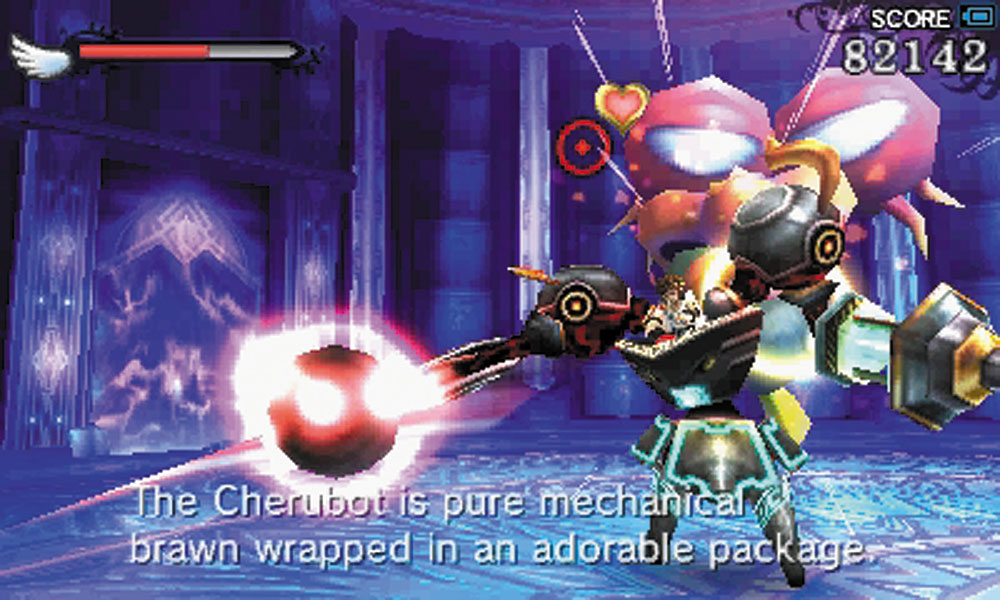
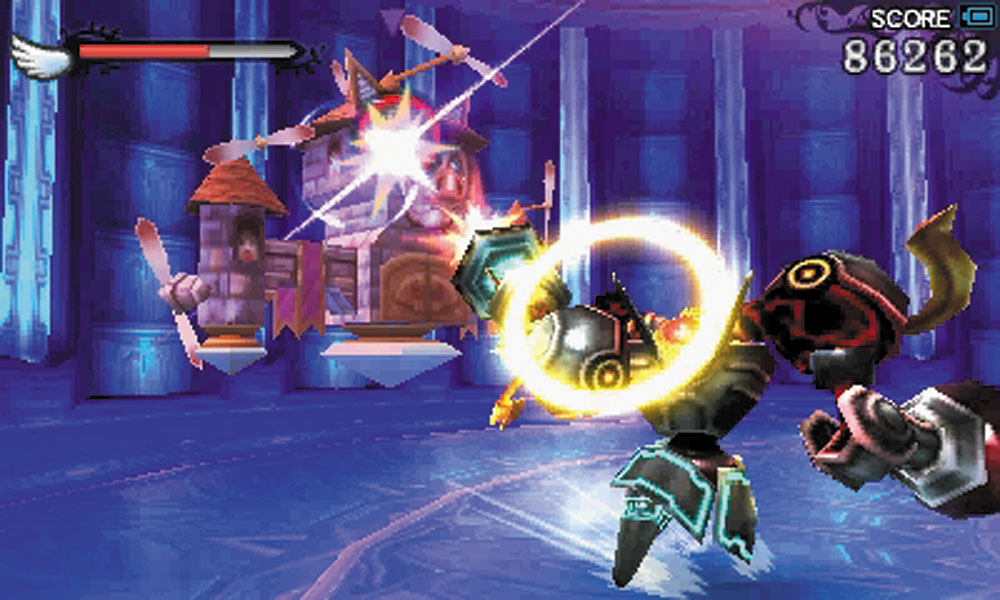
21. A Cherubot is at the center of this room, much to the dismay of the Underworld forces. Take it and let nothing survive. The last foe of this room is another Fort Oink, but when faced with the power of the Cherubot, it should fall in short order. Viridi promises to you a special gift on the next floor.
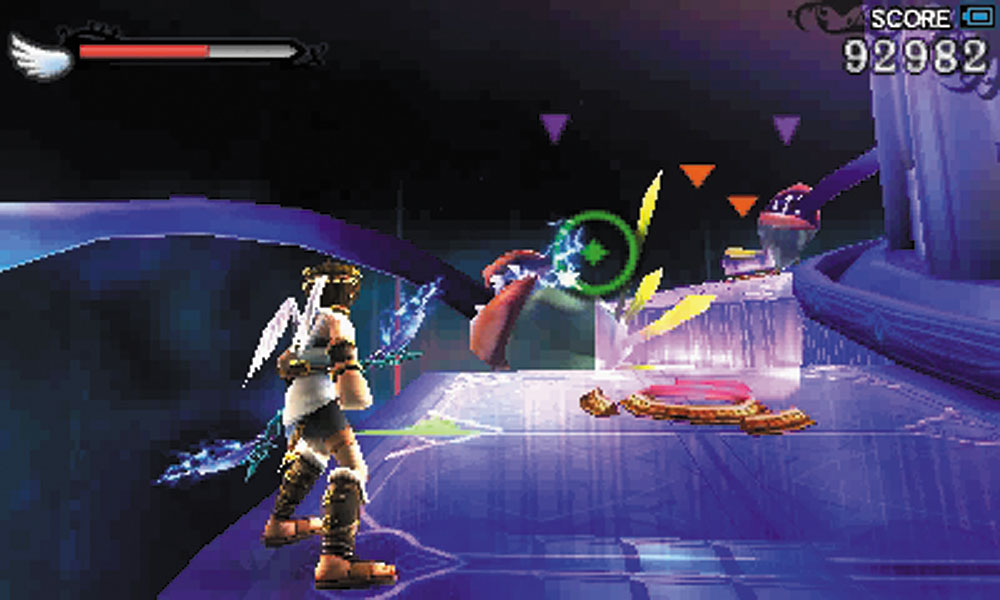
22. The gaps between jump pads are guarded by Miks. Don’t let them have free shots on Pit, and take them out before making each jump.
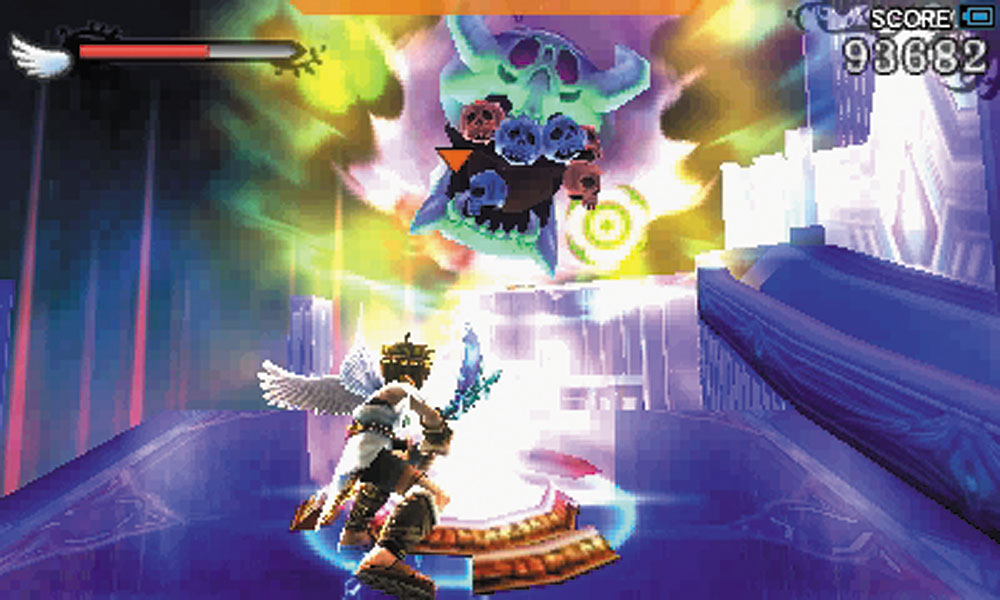
The last gap hides an Orne. Just keep moving!
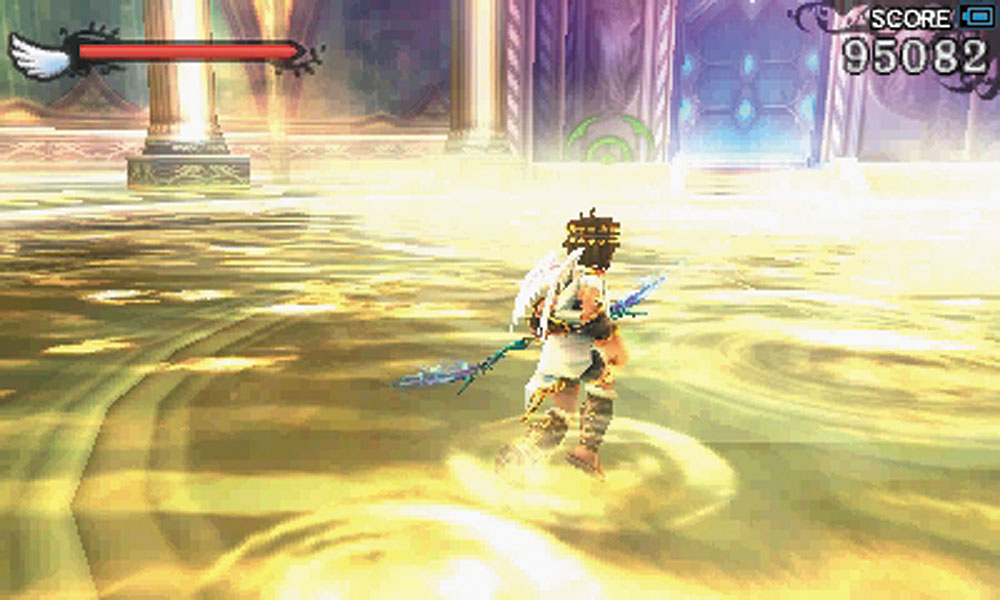
23. Viridi’s gift is a hot spring. A Bumbledrop is also enjoying the refreshing waters, so be sure to show it the business end of your weapon. After the recharging at the hot spring, make your way up one last ramp to reach the portal that takes you to the Chariot Master. You’ve made it to the top!