
Kid Icarus: Uprising Guide Walkthrough Chapter 24: The Three Trials
Land Battle
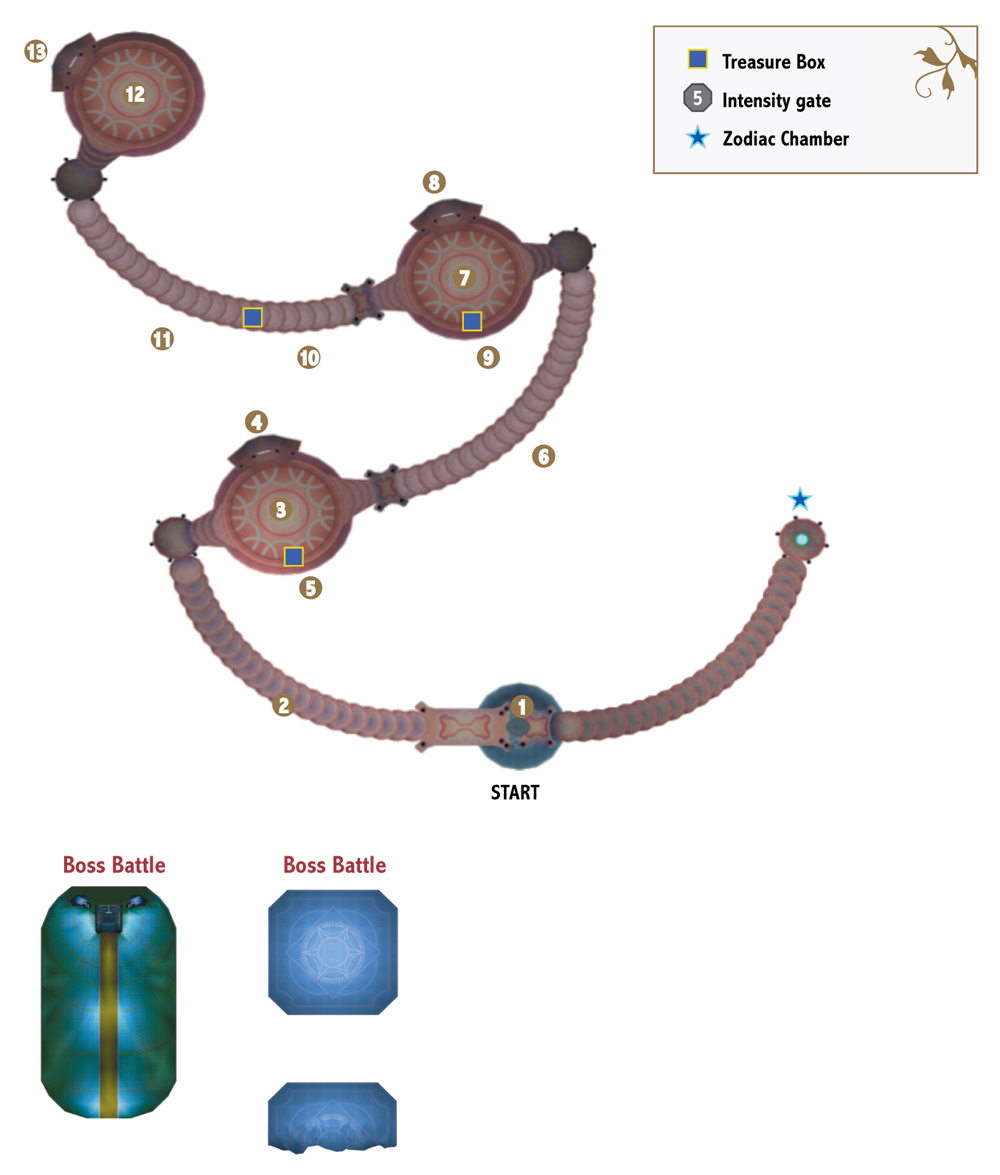
You’re about to find out that the “Three Trials” is a bit of a misnomer. You must fight multiple boss battles before you even get to the final boss of the chapter. You could even argue that the fighting leading up to each door in Dyntos’s workshop before the boss fights begin could be considered a trial by itself. You have already fought and defeated many of these foes before, and your experience is your biggest advantage. While some of the fights present new twists, for the most part, you can refer to previous chapters in this walkthrough to brush up on tactics. Anything new will be called out here.
1. You arrive in Dyntos’s workshop in a circular room. Stand in the center to take an elevator up to the start of the Three Trials.
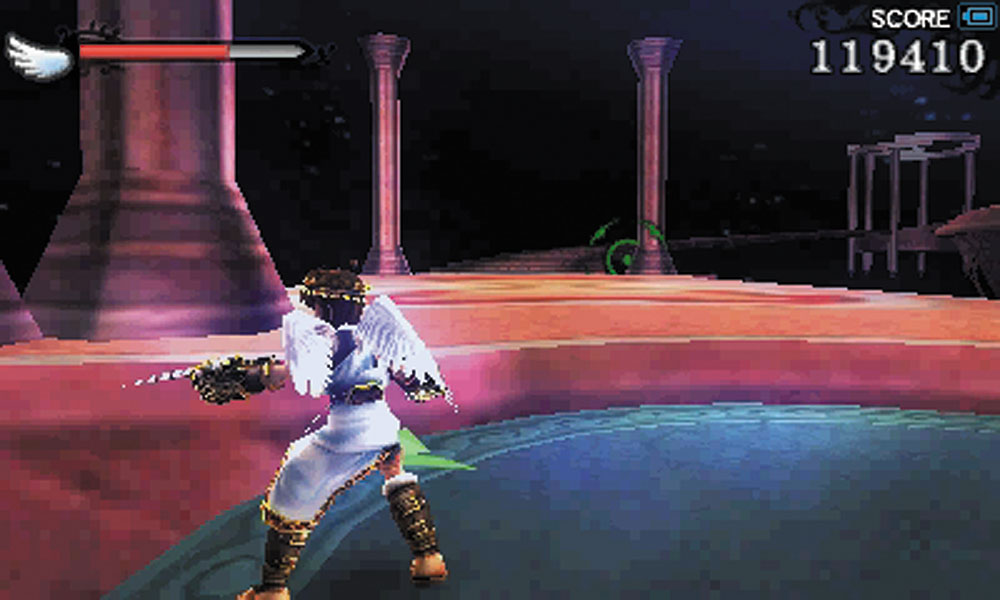
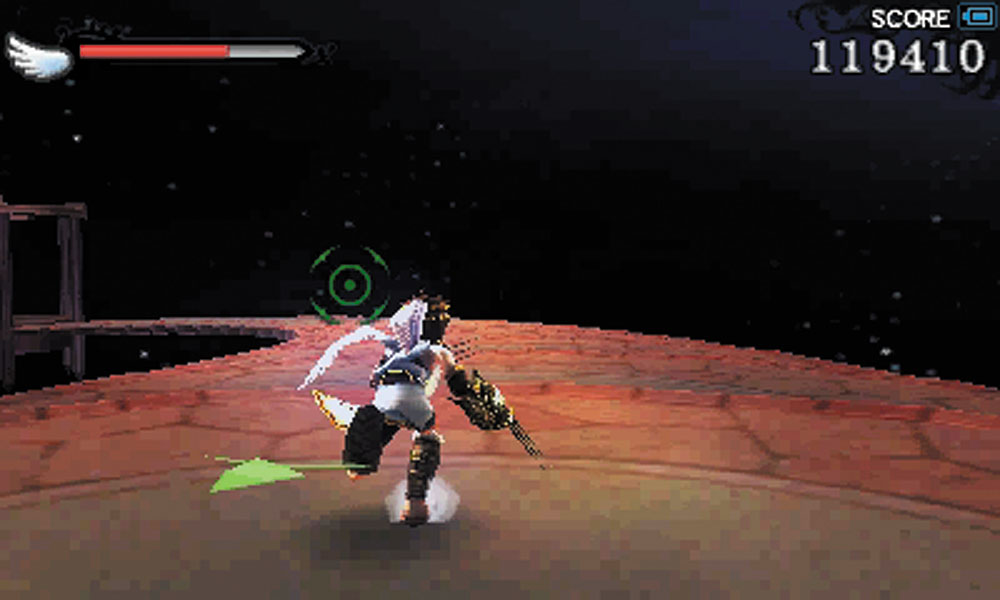
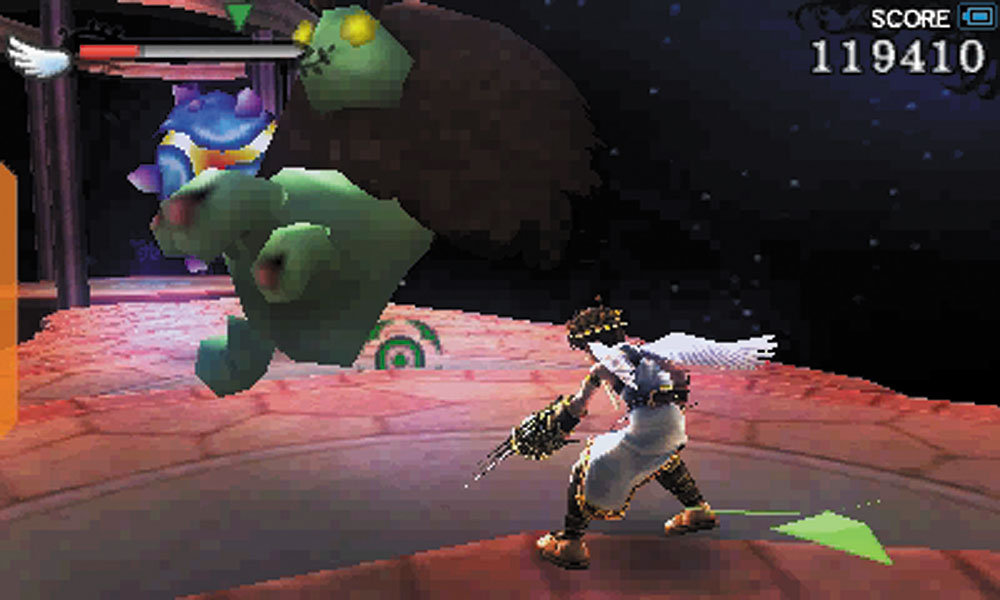
Before you go in the direction Palutena tells you to go, take the stairs in the opposite direction. You meet resistance from a Gloomerang and a pair of Trynamites.
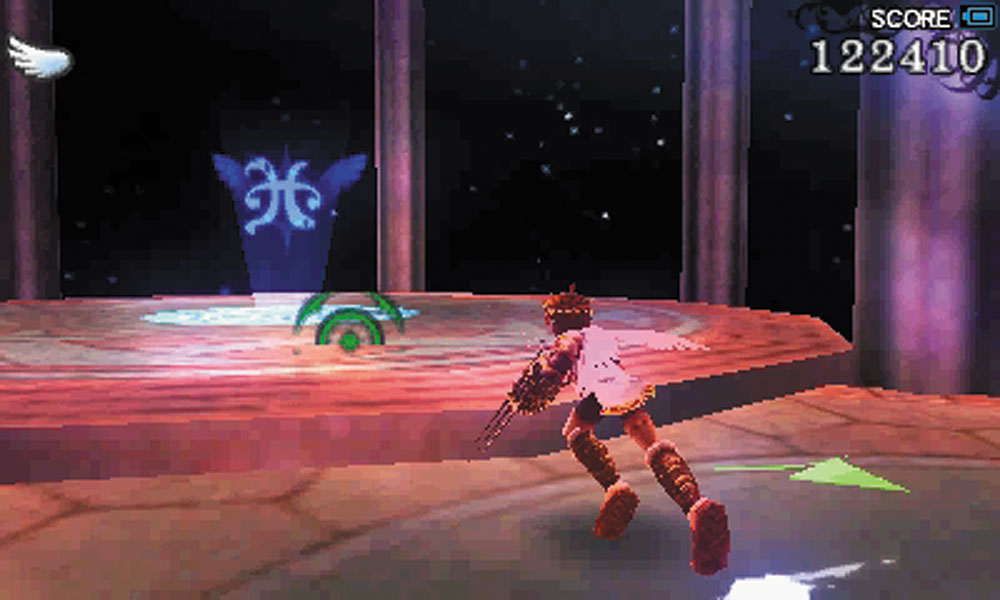
Beyond them the portal to a Zodiac weapon awaits.
2. Between every major platform, the long staircases are the sites of enemy ambushes. As with the battles leading up to the fight against the Chaos Kin, you will see enemies of every variety from all of the various factions you have fought.
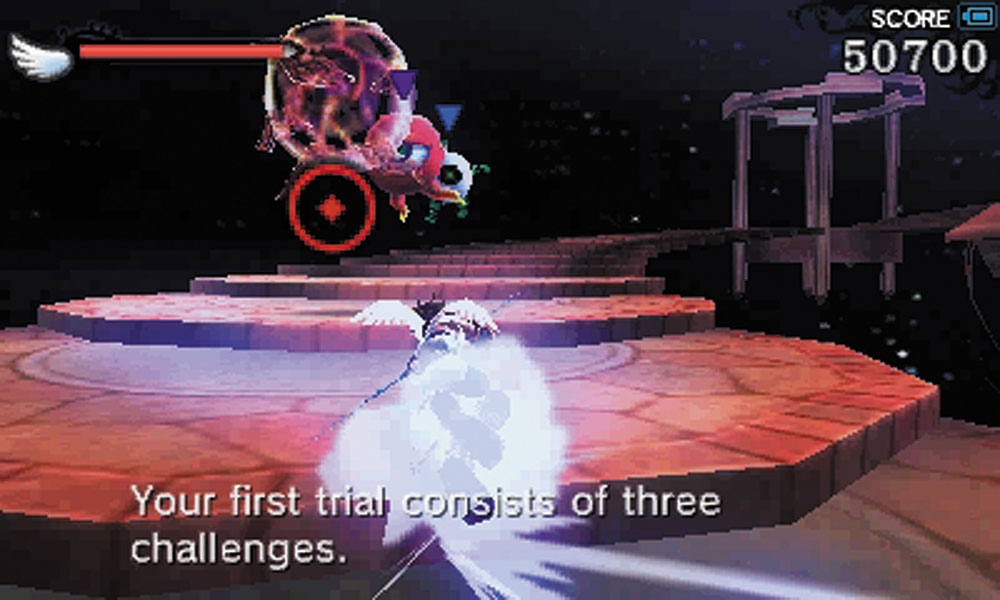
Here you see all three versions of the Monoeye.
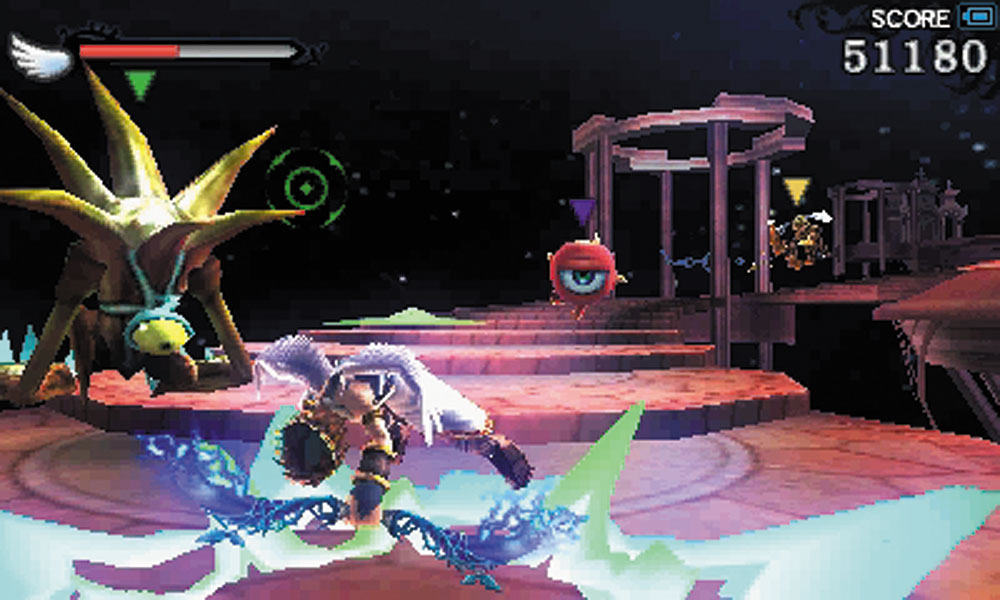
And here, an Urgle, Monoeye, and centurion.
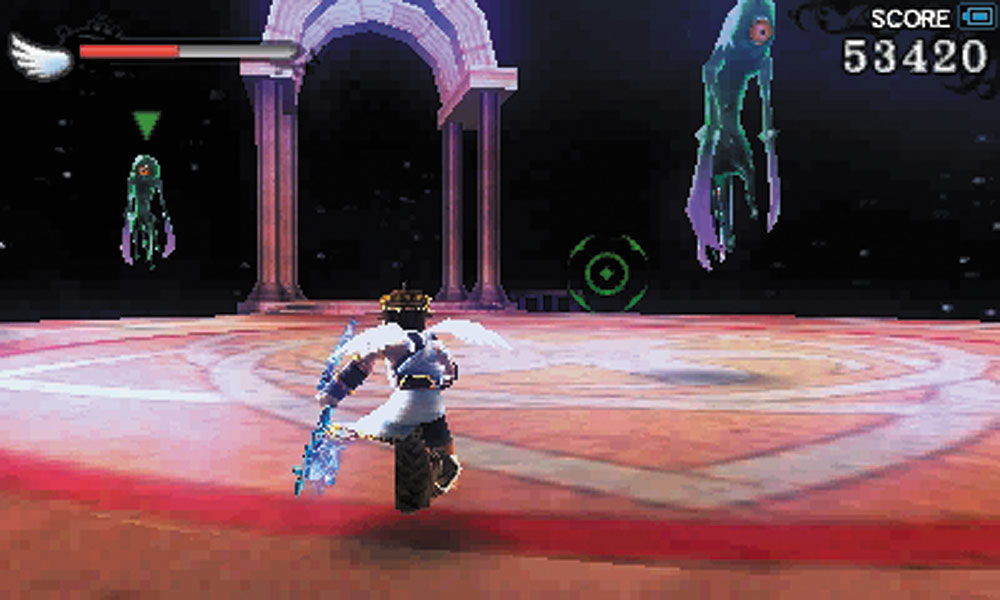
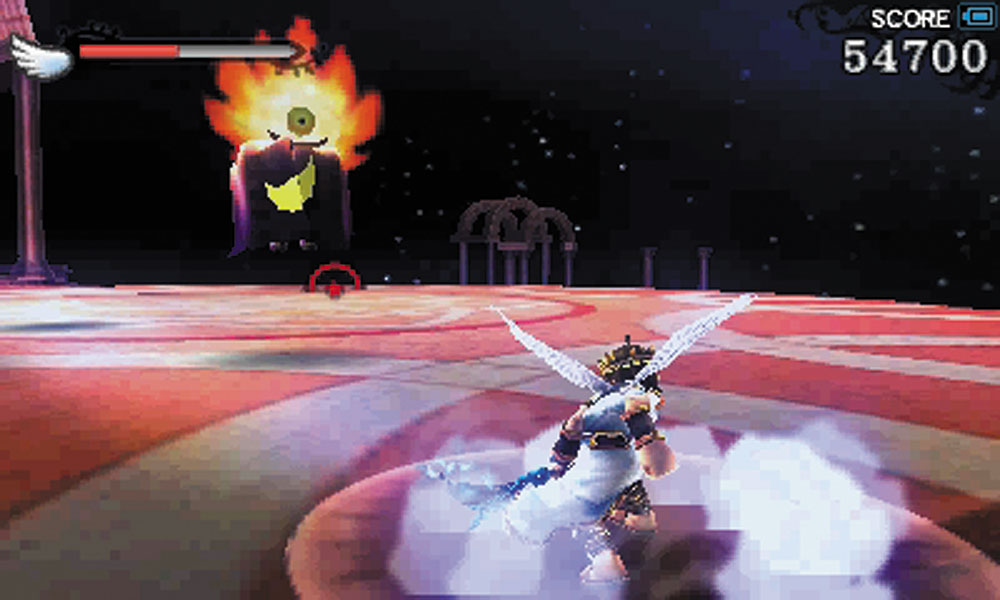
3. Three Flages meet you on this platform, supported by a Captain Flare. Once this group is defeated, the sealed door is unlocked.
Boss Battle: The Immortal Phoenix
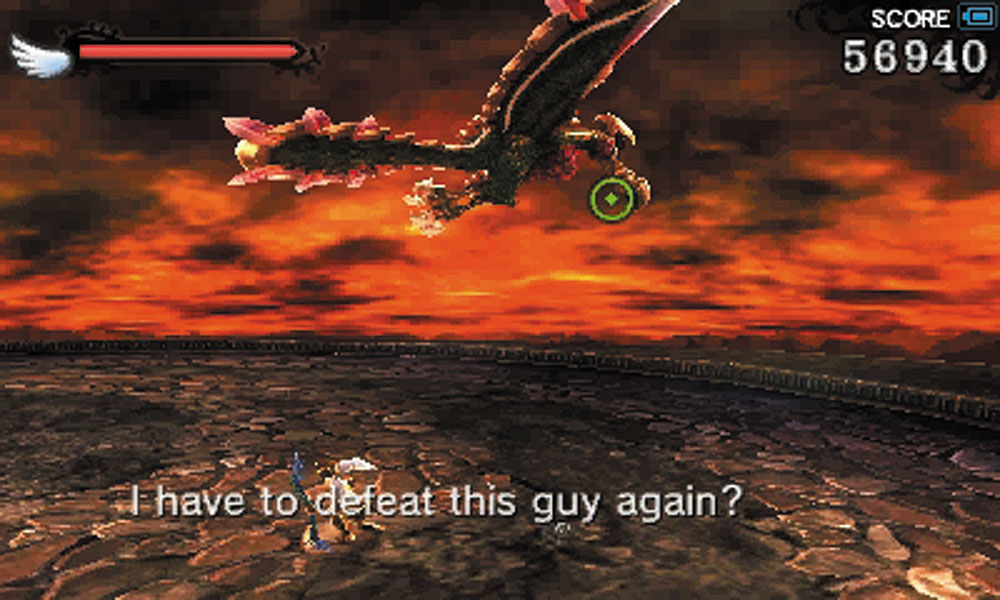
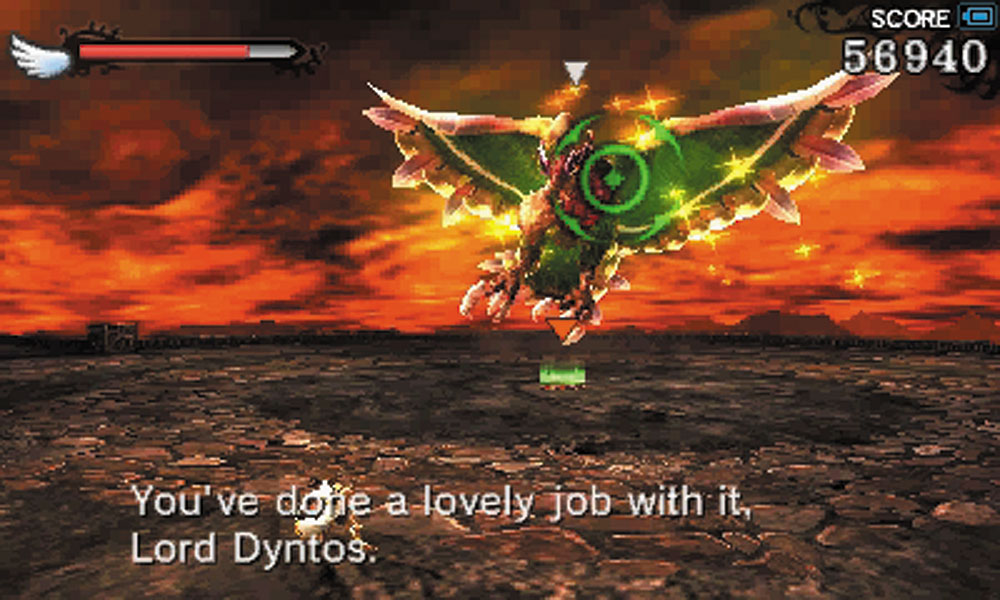
4. The Phoenix returns for this boss battle. He’s learned no new tricks since your last encounter, but he could be a bit more aggressive and dangerous overall if you’ve been ramping up the Intensity since you saw him last. If you look around the arena, you might find a Boom Spear, a powerful throwing weapon that can do pretty severe damage to the Phoenix from just about anywhere in the arena.
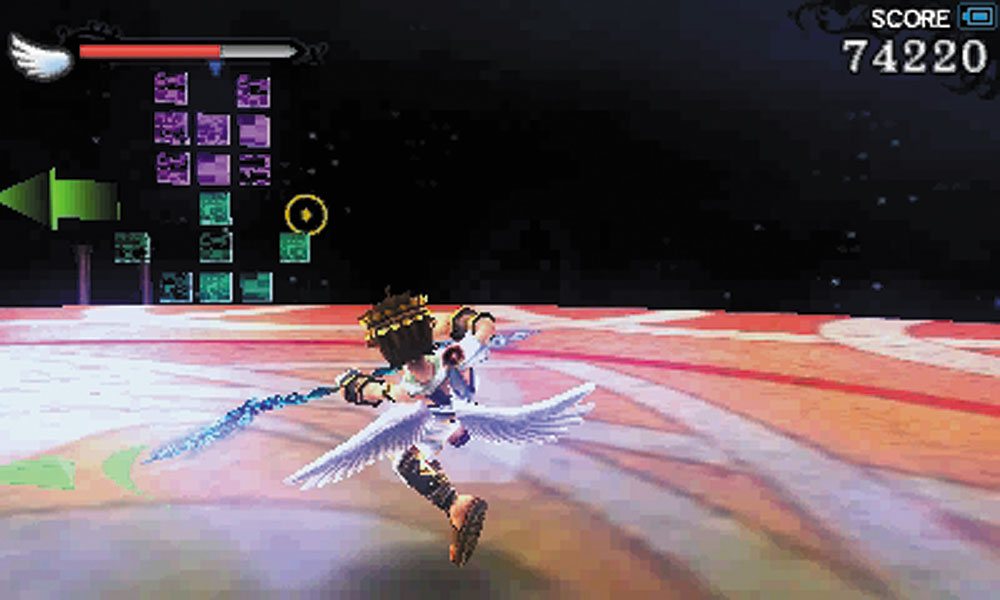
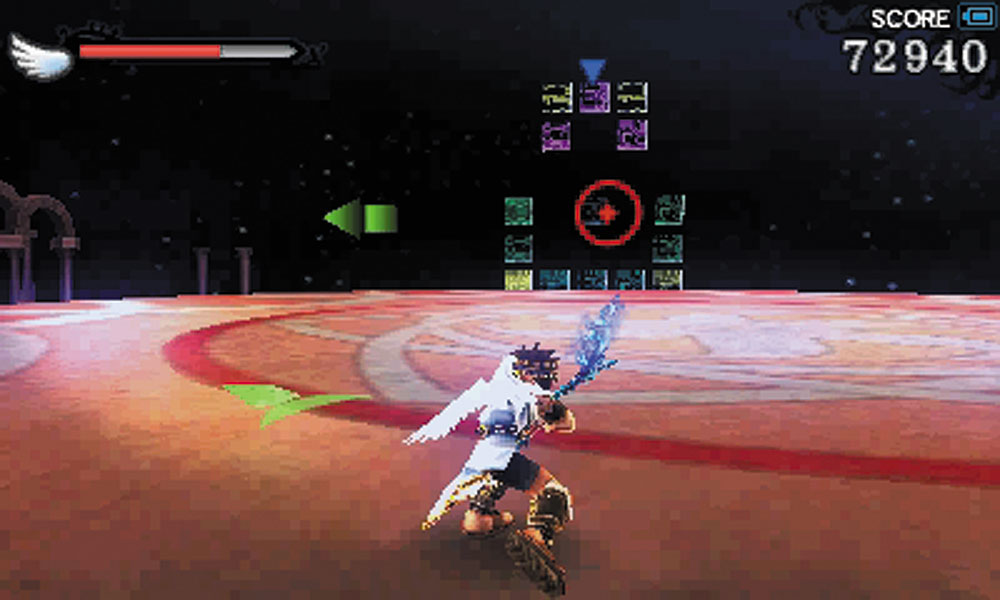
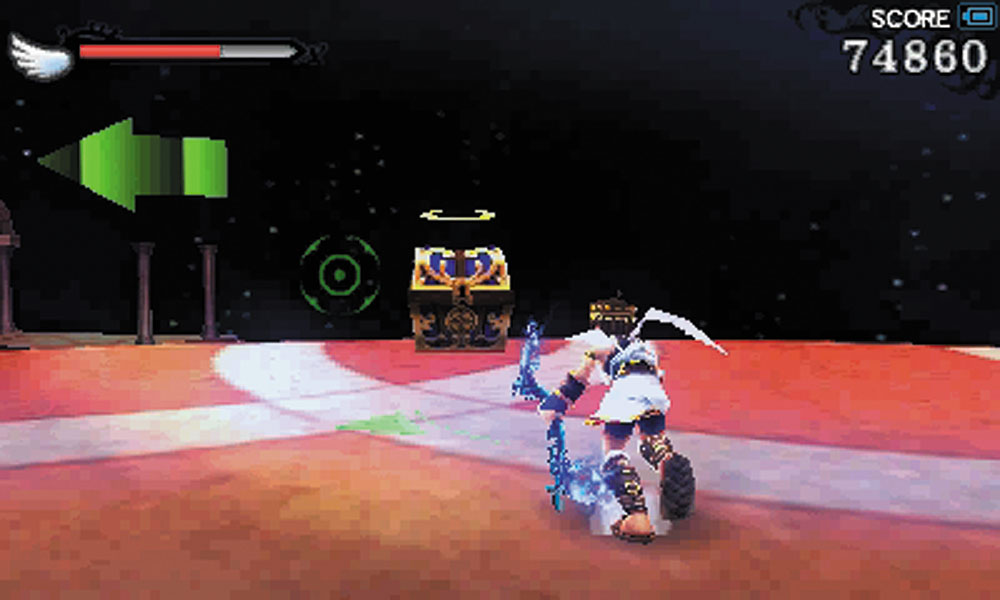
5. After defeating the Phoenix again, a new stairway opens up to the next platform. Before you follow it, take a look in the direction from which you exit the boss room. You’ll notice a Plixo changing into different patterns and shapes. Destroy it, and then two more Plixos appear. If you destroy these, a Treasure Box will appear.
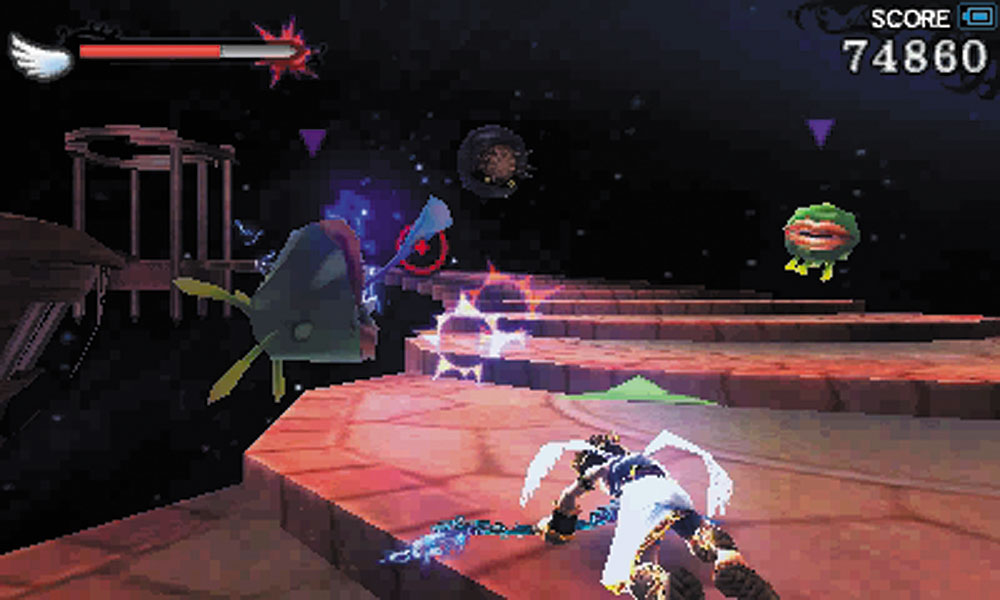
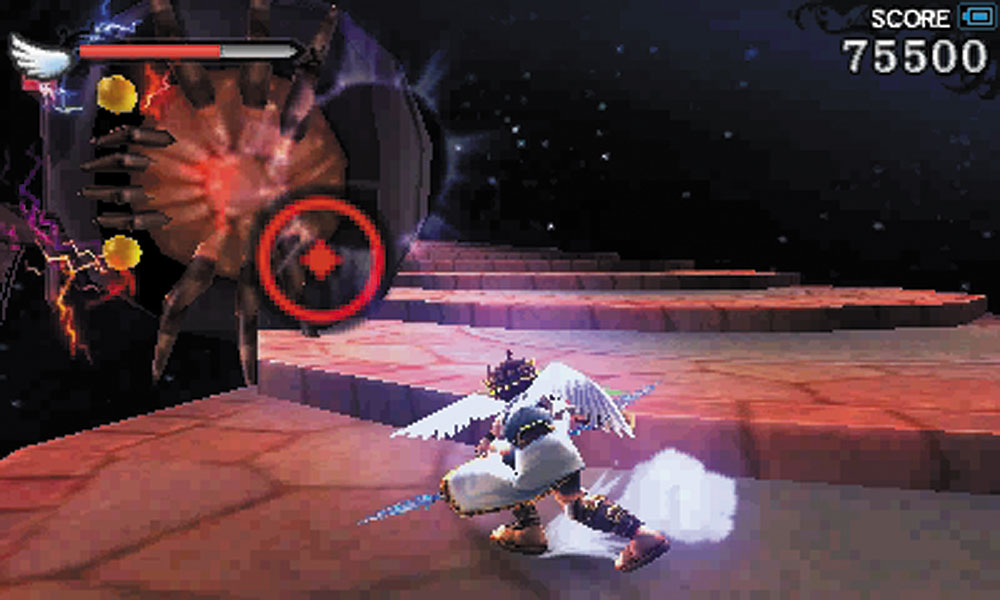
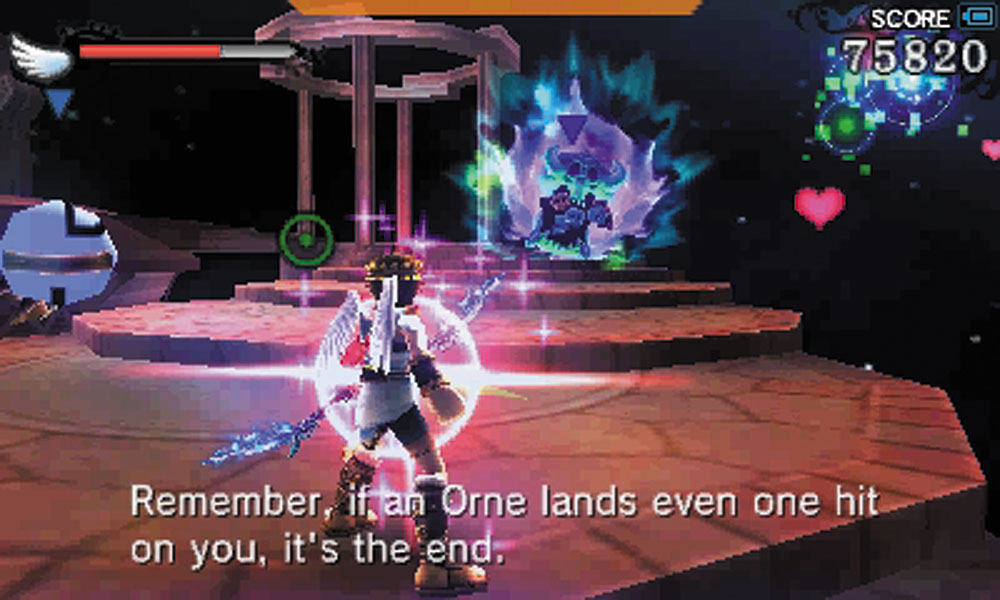
6. The second stairway trip is no more peaceful than the first. The major threat here is the appearance of an Orne. It’s almost best if you just skip the enemies and run for the next platform. Fighting next to an Orne is not very fun when you have relatively little room to maneuver in.
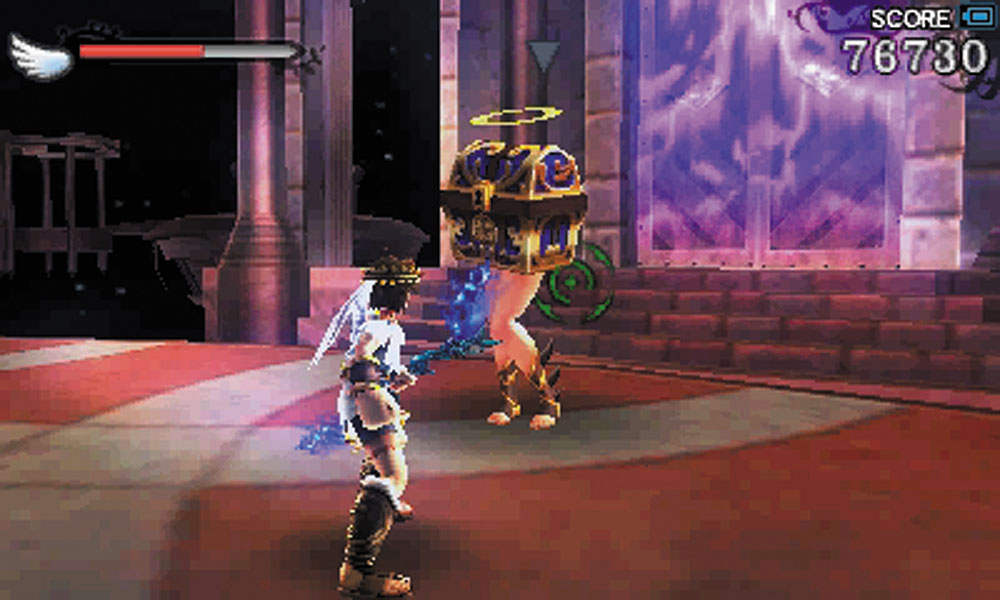
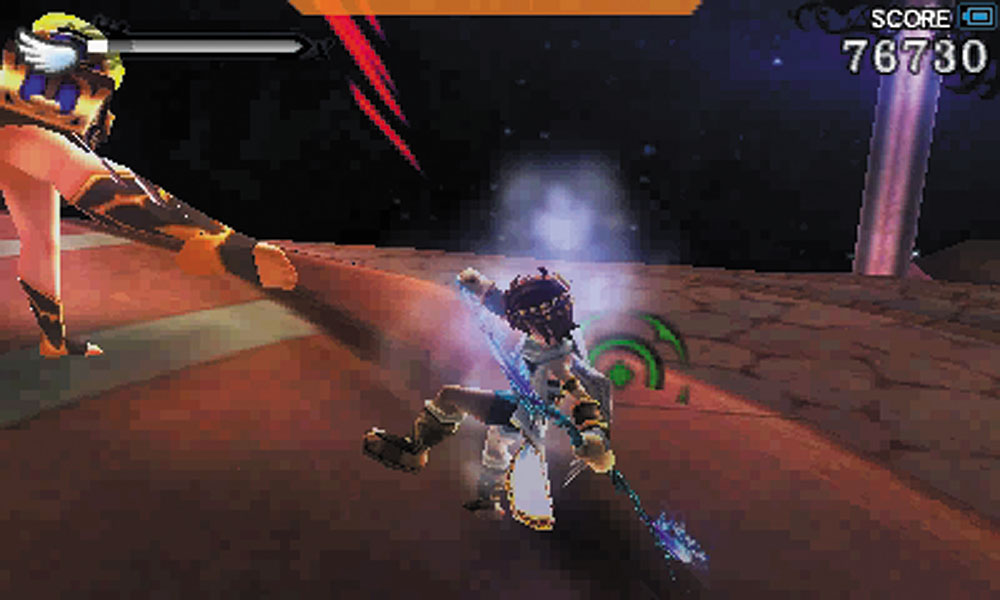
7. Are you an expert at fighting Mimicuties? You’re about to find out because this platform is home to three of them. At the center of the area, Bumpety Bombs drop down to attack. Before engaging the Mimicuties, it’s best to destroy the bombs until they stop spawning. Then tackle each Mimicutie one at a time.
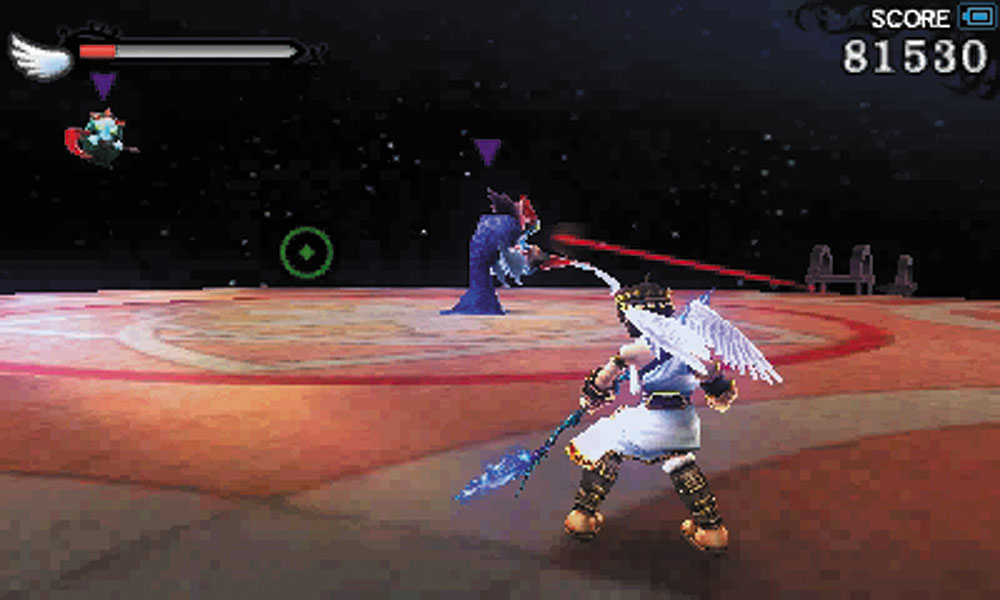
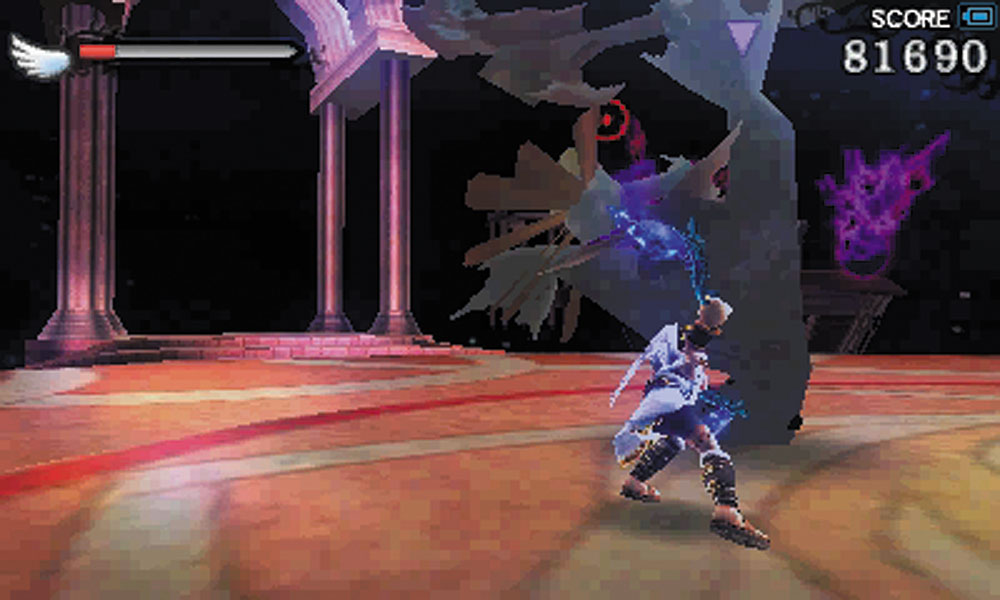
After you defeat the Mimicuties, a Reaper takes the stage. Fortunately, a Medusa Head item can be found near the sealed door, and properly placed, it can turn the Reaper to stone, thereby minimizing its threat. Once the Reaper has been beaten, the door is unsealed.
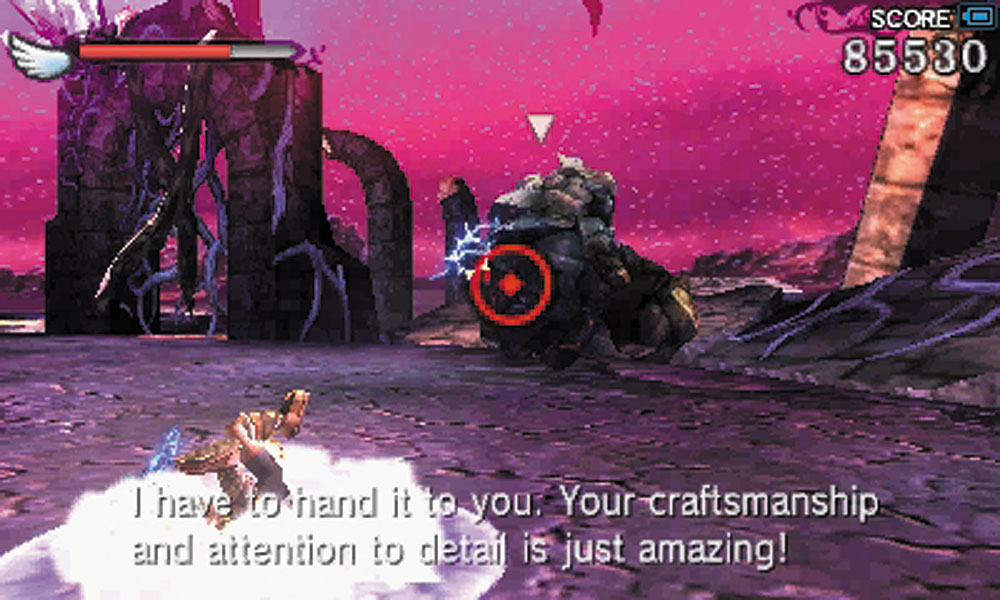
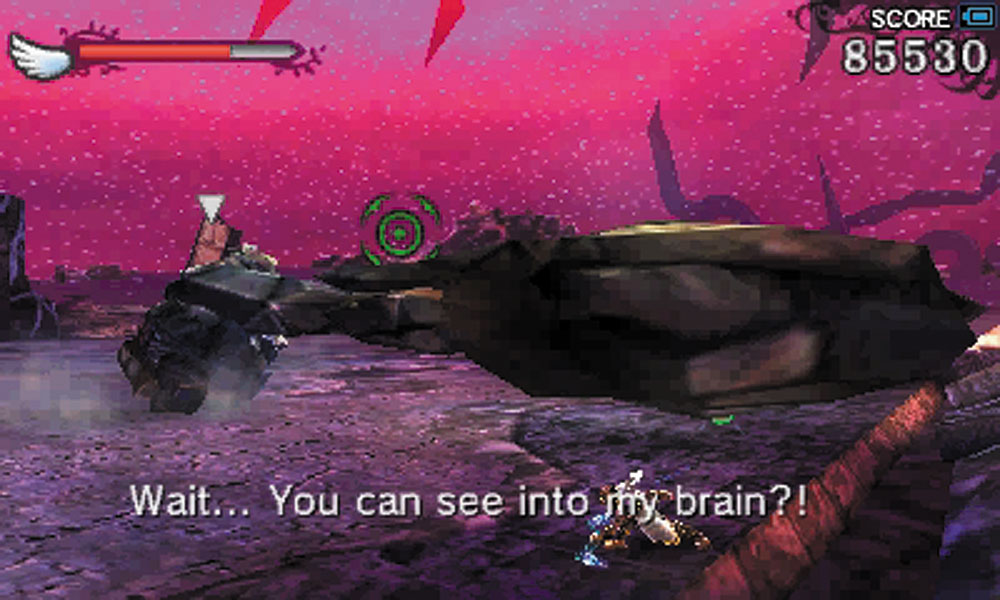
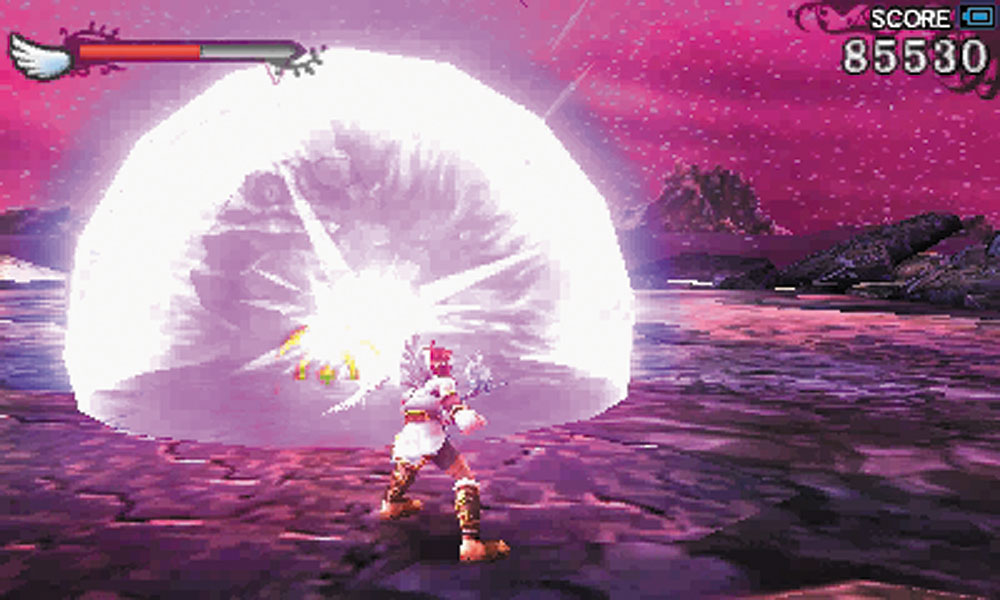
8. Through the second door, you meet with Cragalanche once again. He retains his full arsenal and the weak spot on his rear. A Smart Bomb can be found in the arena to help soften him up a bit.
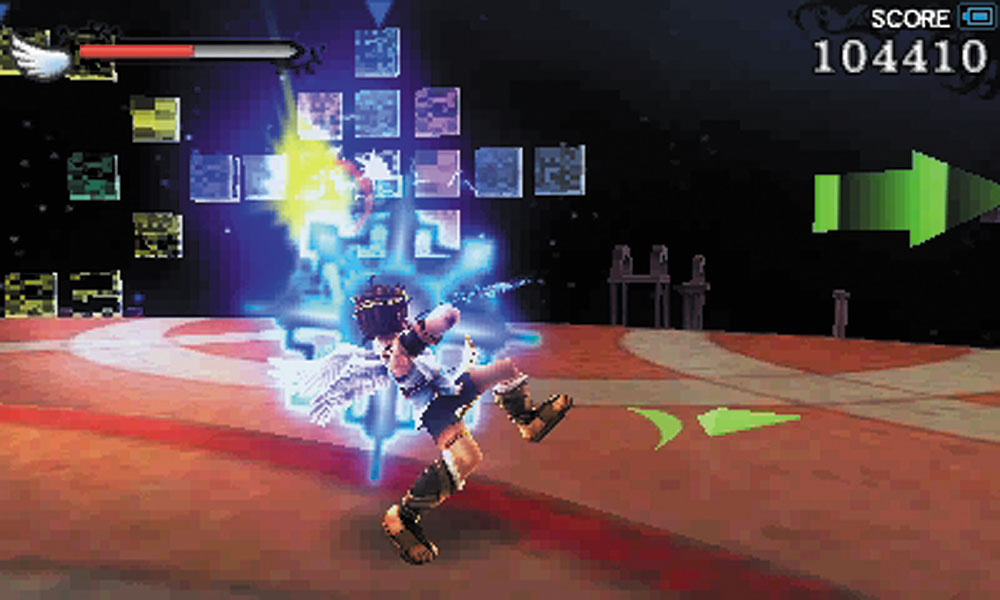
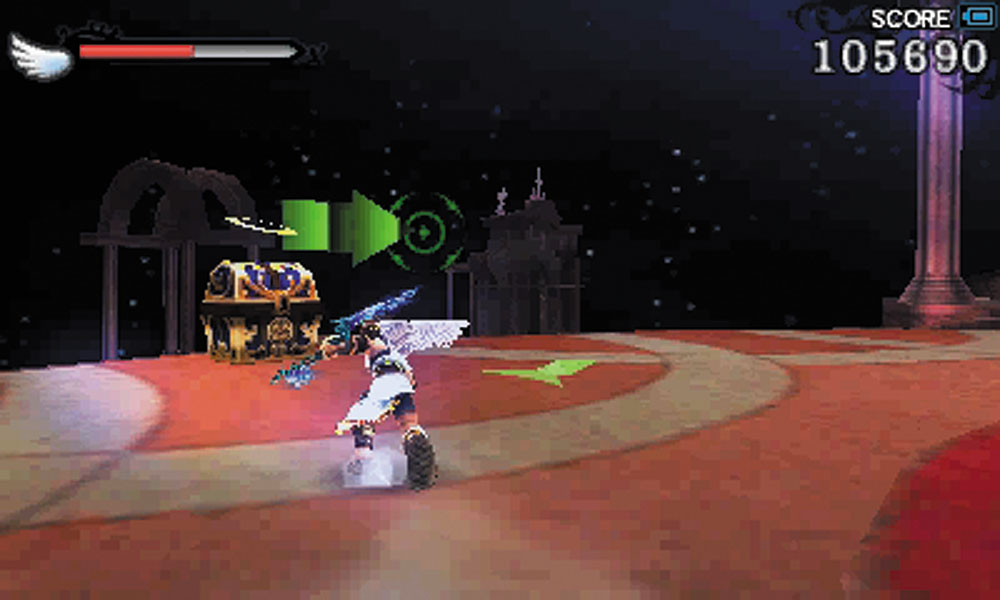
9. Another group of Plixo can be destroyed at the edge of this platform after Cragalanche has fallen. This causes a Treasure Box to appear.
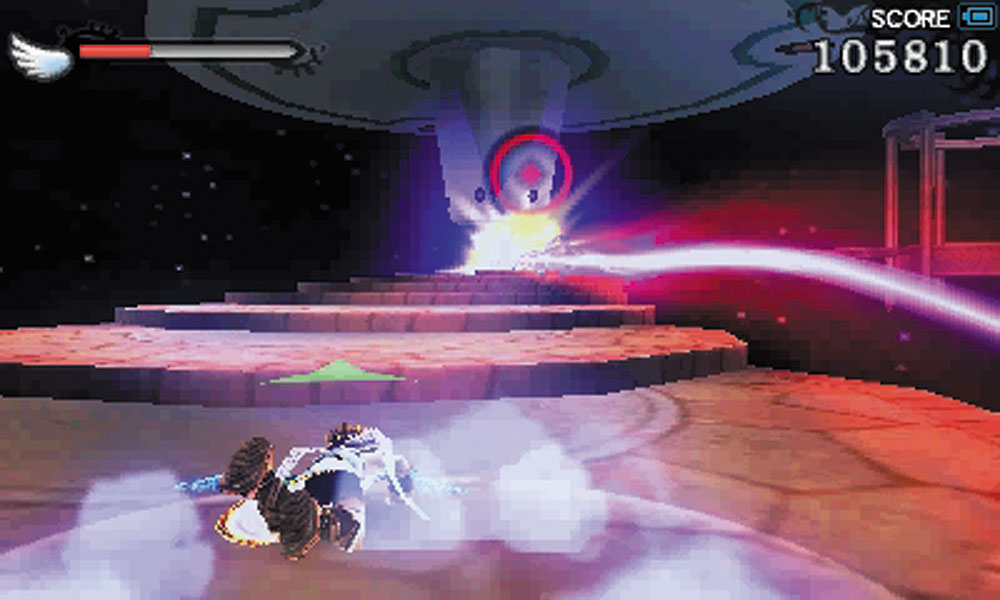
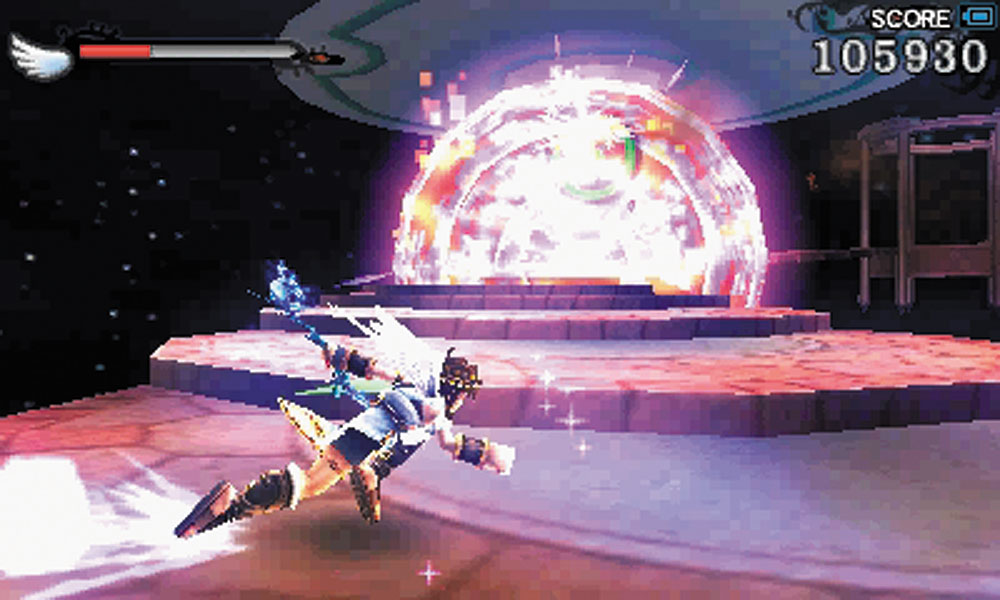
10. The Dohz you encounter when starting on this stairway drops bombs onto the platform as it zips back and forth, bombarding you with lasers. If you shoot this bomb, the ensuing explosion can damage the Dohz.
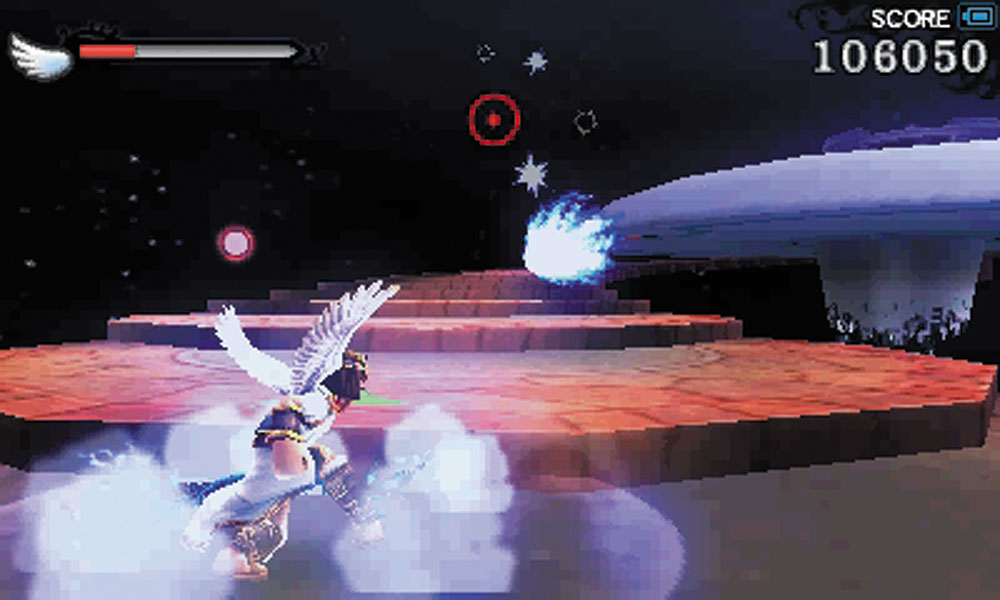
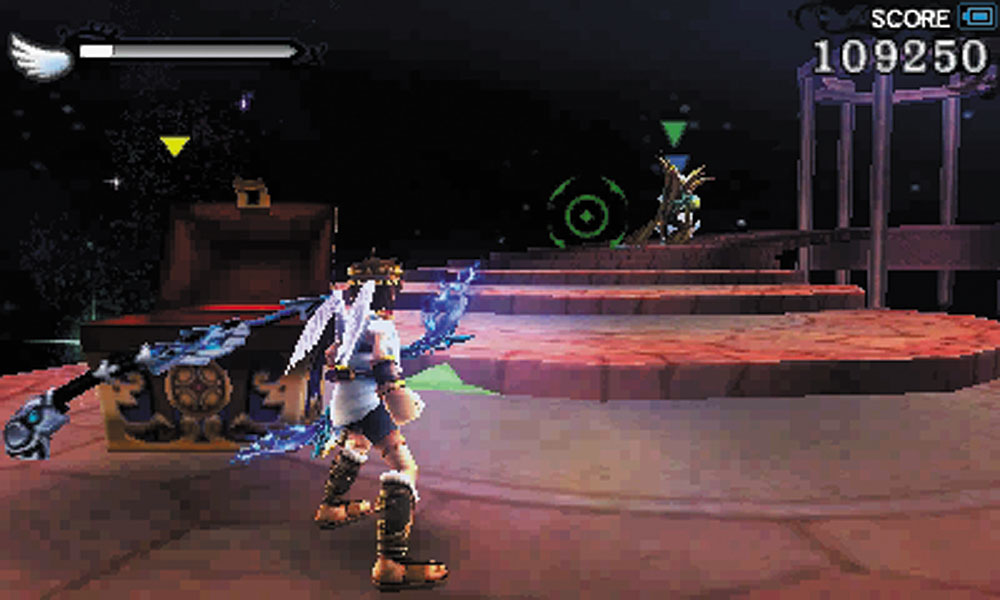
After you do enough damage to the flying saucer, the bomb dispenser becomes wrecked and the Dohz steps up its laser barrages. You’ll have to use your weapon to finish the job. This summons a Treasure Box.
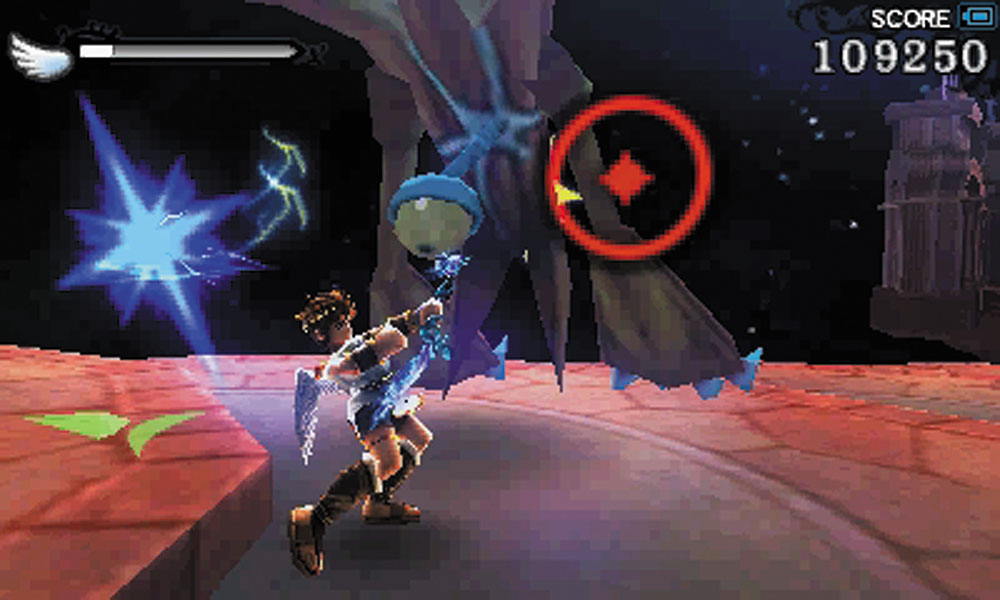
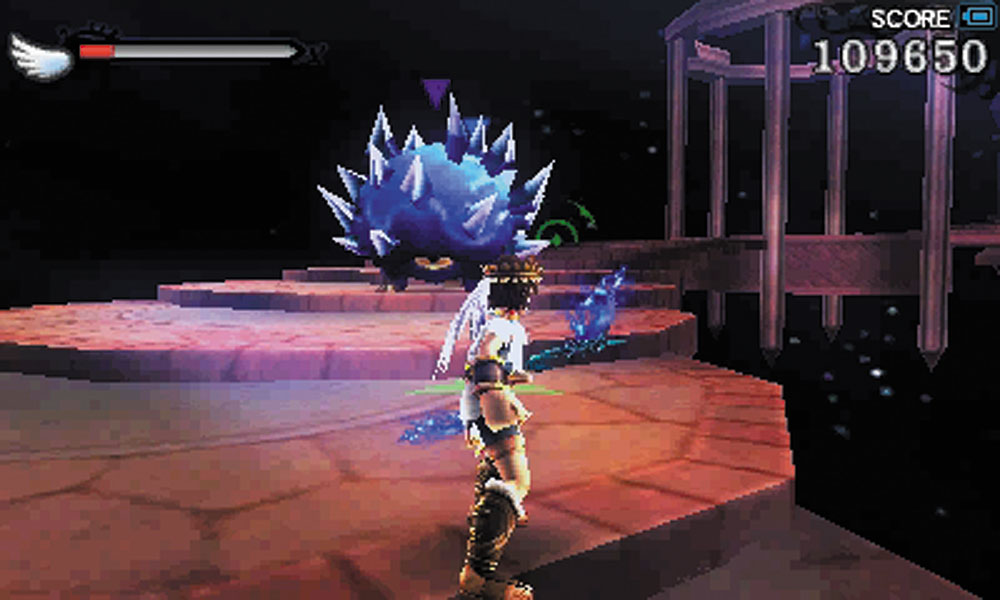
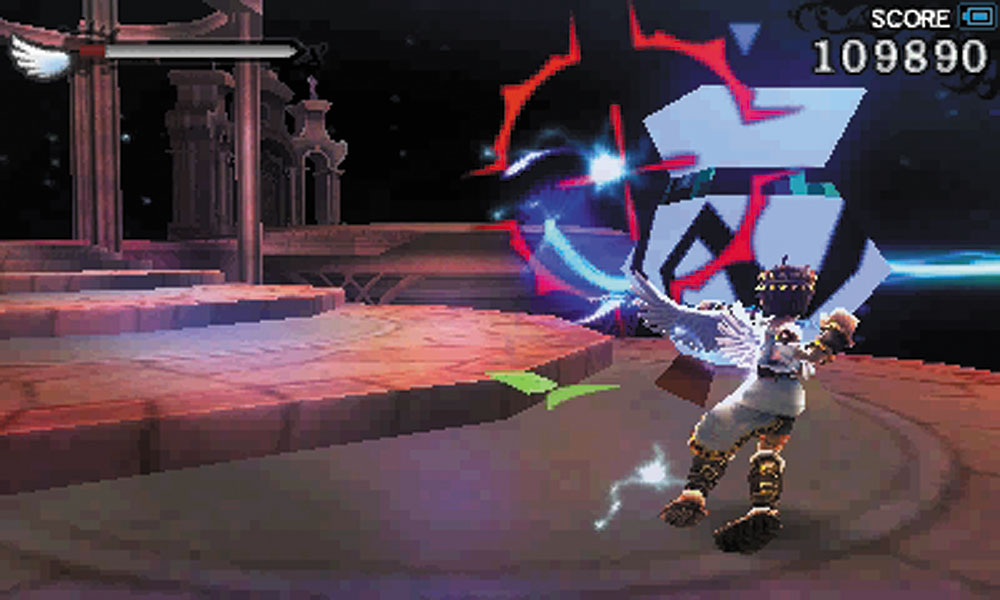
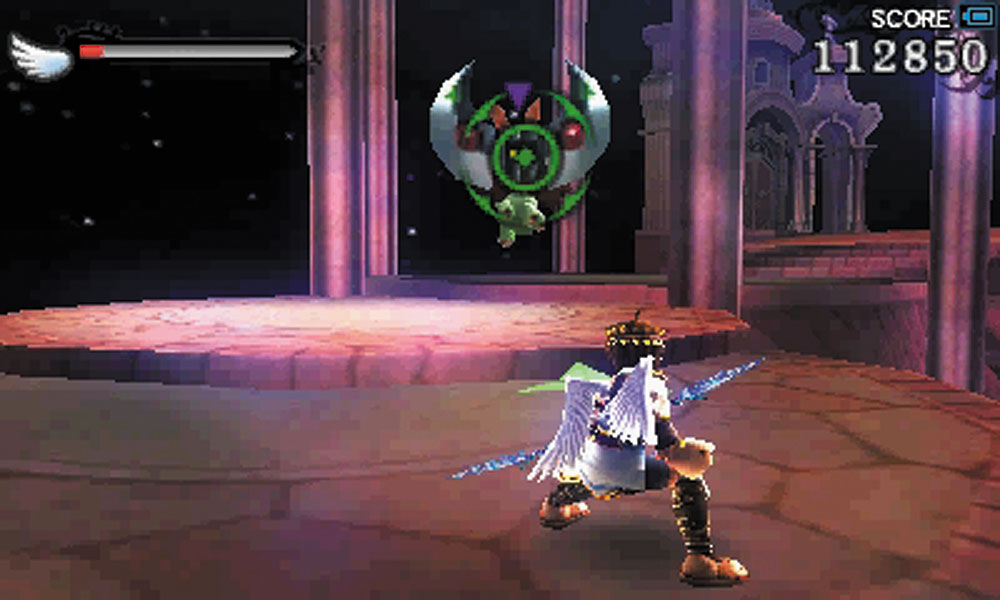
11. After the Dohz is destroyed, an Aurum jar appears and produces different types of enemies, such as an Urgle or a Porcuspine. Try to get in close to destroy the jar as quickly as possible. At the top of the stairs, a Gloomerang also appears.
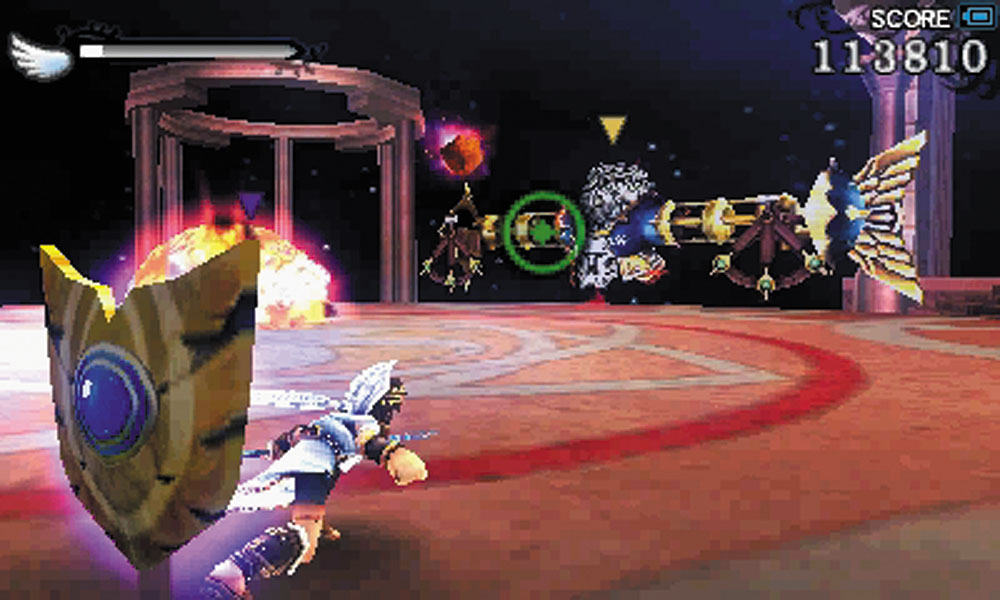
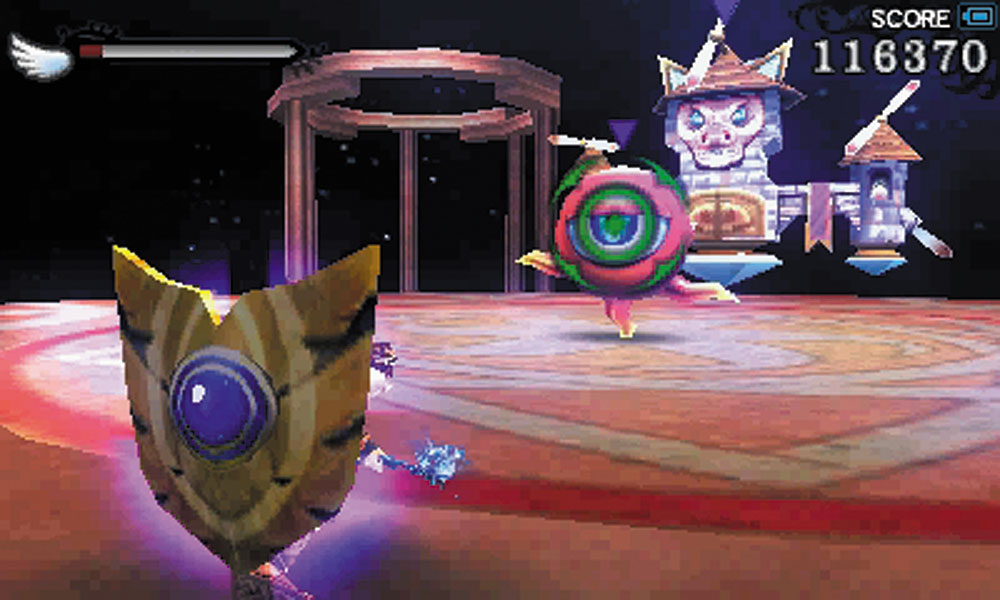
12. The battle on this platform starts with a Juggernaut that is supported by Monoeyes. After the Juggernaut is destroyed, a Fort Oink takes its place.
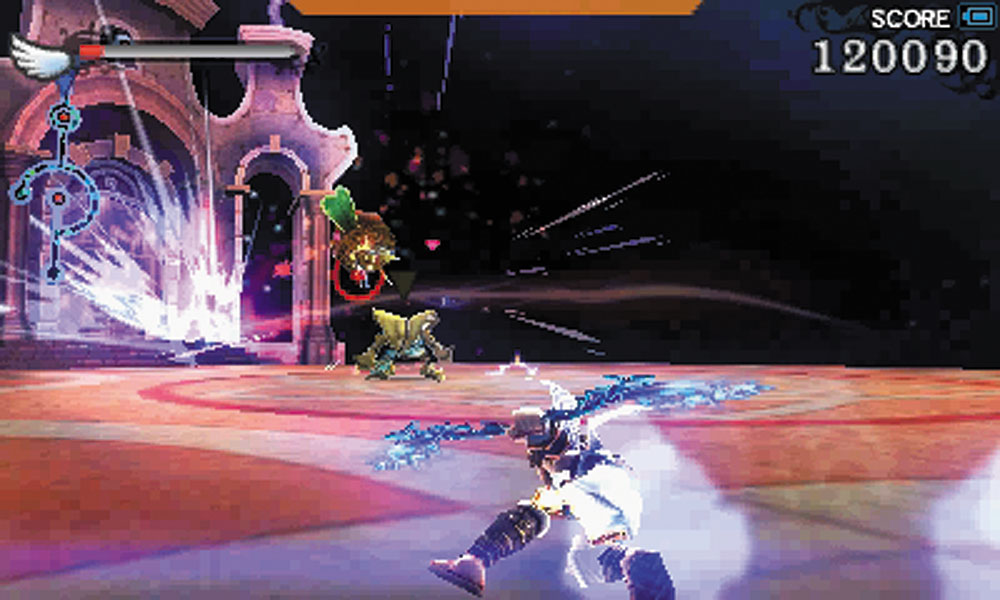
A Claxis, Space Pirate, and a Nutski replace the Fort Oink in battle.
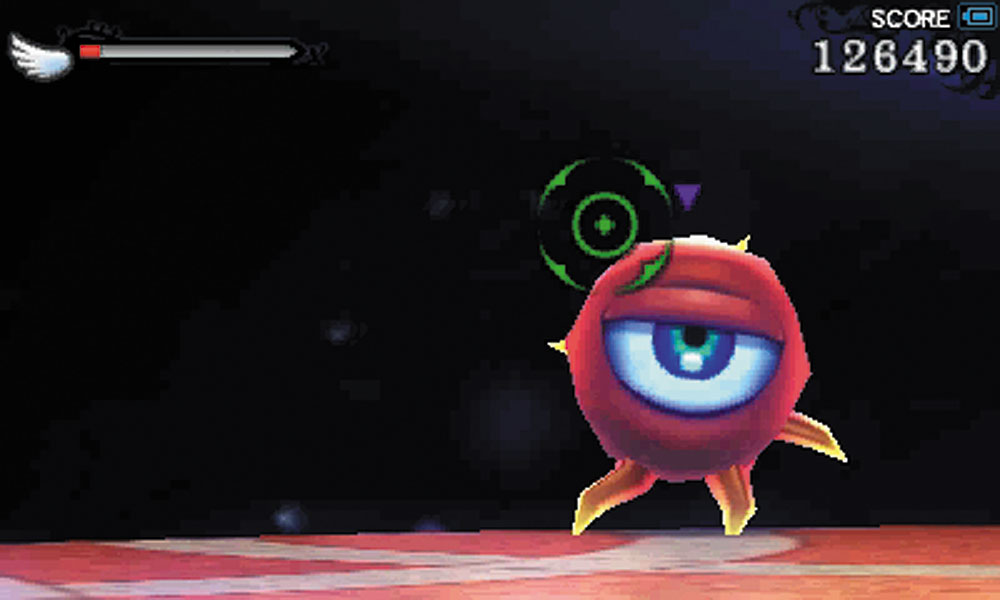
Finally, there’s this Monoeye, which looks no different from other Monoeyes you’ve seen, but it acts VERY different. It’s faster, bobbing and weaving between attacks, and attacks more aggressively. If there’s enough distance between you and it, the Monoeye might actually dodge your homing attack with alarming frequency. Also, it has much more health than your average Monoeye.
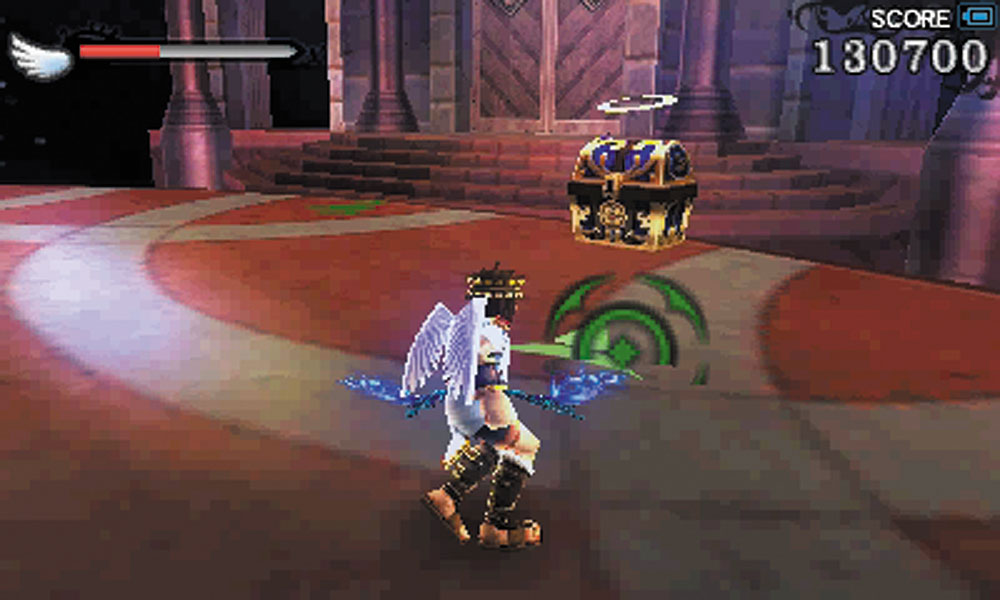
Once the area is cleared, the door to the next boss is unsealed. A Treasure Box also appears.

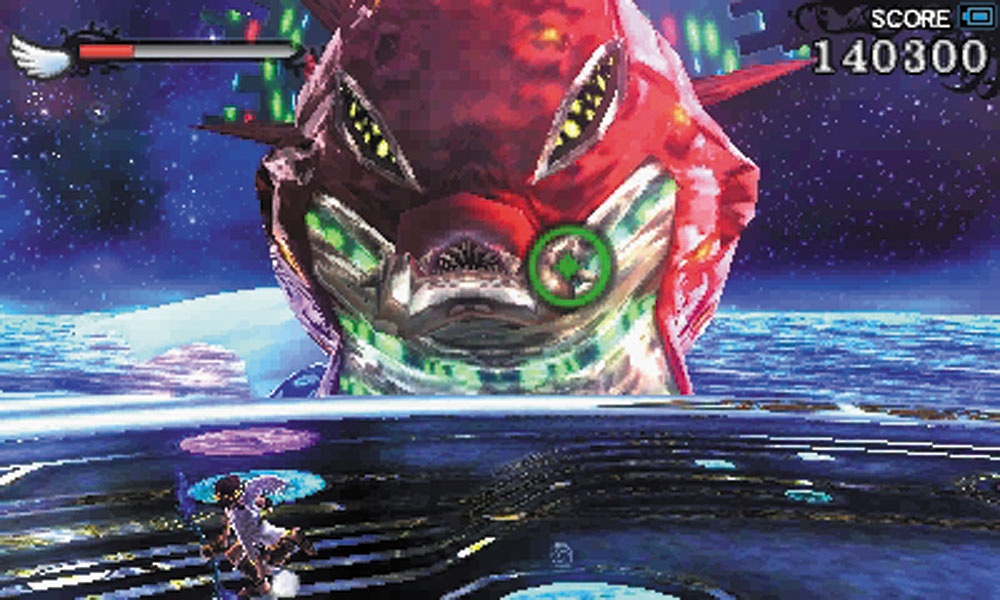
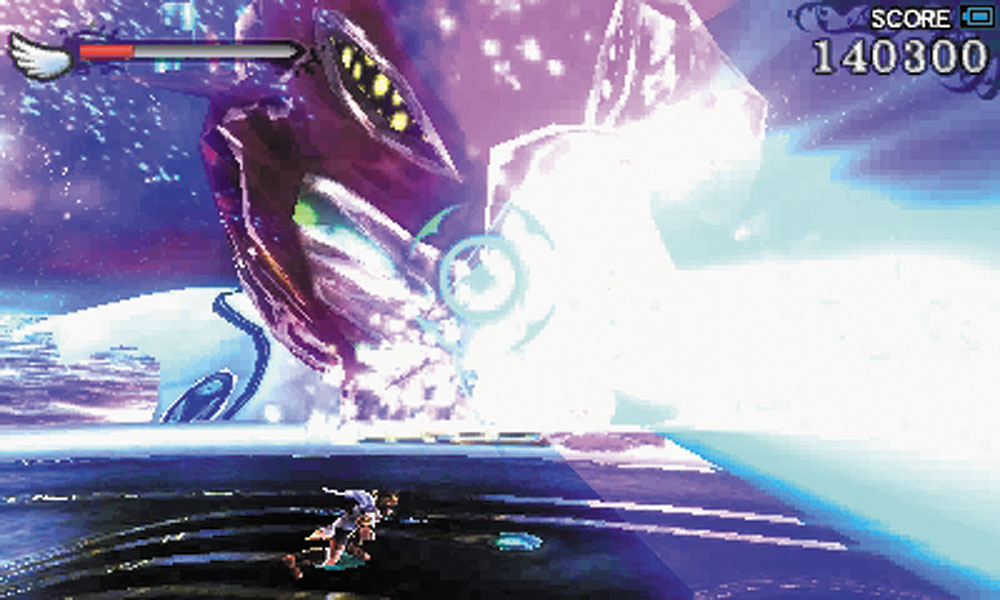
Boss Battle: Galactic Fiend Kraken
13. The Kraken returns behind door number three, and it’s as big and nasty as ever. Grenades can be found on deck, but it is probably best to conserve those for the second phase of the battle, after you have beaten the tentacles.
After the Kraken is defeated, a Drink of the Gods appears in the arena. Dyntos has even more trials in store for you. This is where the fun truly begins.