Prima Games eGuides
primagames.com Browse Redeem a code Help
Kid Icarus: Uprising eGuide
Sign in My Guides

Sign in or create an account

We'll email you a link. No password needed, and if you don't have an account yet, the link makes one.

By creating an account or signing in, you agree to our Terms of Service and Privacy Policy.

Have a password?

Had an account on the old eGuides site, or a code from a printed guide? Help and troubleshooting

Sign in with a password

By signing in, you agree to our Terms of Service and Privacy Policy.

Check your email

A sign-in link is on its way. It works once and expires in 15 minutes. Open it and you're in, with an account if you didn't already have one.

Contents

  • Essentials
    • How to Play

      • Moving

      • Dash

      • Dodge (Land Battle)

      • Dodge (Air Battle)

      • Dash-Around (Land Battle)

      • Recovery

      • Aiming

      • Changing Direction

      • Attacking

      • Dash Attacks

      • Switching and Using Powers (Land Battle)

      • Special Attack (Air Battle)

    • Features and Modes
      • Solo

      • Together

      • StreetPass

      • Vault

      • Options

      • AR

      • How To Play 

    • Weapons and Powers

      • Weapon Fusion

      • Weapon Types and Fusion Charts - Bows
      • Weapon Types and Fusion Charts - Palm
      • Weapon Types and Fusion Charts - Staff
      • Weapon Types and Fusion Charts - Blade
      • Weapon Types and Fusion Charts - Orbitar
      • Weapon Types and Fusion Charts - Cannon
      • Weapon Types and Fusion Charts - Claw
      • Weapon Types and Fusion Charts - Club
      • Weapon Types and Fusion Charts - Arm
      • Powers
    • Enemies

      • Enemies

  • Walkthrough
    • Chapter 1: The Return of Palutena

      • Air Battle

      • Land Battle

      • Boss Battle: Twinbellows the Ferocious

    • Chapter 2: Magnus and the Dark Lord

      • Air Battle

      • Land Battle

      • Boss Battle: Dark Lord Gaol

    • Chapter 3: Heads of the Hewdraw

      • Air Battle

      • Land Battle

      • Boss Battle
: Hewdraw Reborn

    • Chapter 4: The Reaper’s Line of Sight

      • Air Battle

      • Land Battle

      • Boss Battle: Great Reaper

    • Chapter 5: Pandora’s Labyrinth of Deceit

      • Air Battle

      • Land Battle

      • Boss Battle: Pandora, Goddess of Calamity

    • Chapter 6: Dark Pit

      • Air Battle

      • Land Battle

      • Boss Battle: Dark Pit

    • Chapter 7: The Seafloor Palace
      • Air Battle
      • Land Battle
      • Boss Battle: Thanatos, God of Death
    • Chapter 8: The Space Pirate Ship

      • Air Battle

      • Land Battle

      • Boss Battle: Space Pirate Captain
      • Galactic Fiend, Kraken

    • Chapter 9: Medusa’s Final Battle

      • Air Battle

      • Land Battle

      • Boss Battle: Medusa, Queen of the Underworld

    • Chapter 10: The Wish Seed

      • Air Battle

      • Land Battle

      • Boss Battle: The Immortal Phoenix

    • Chapter 11: Viridi, Goddess of Nature

      • Air Battle

      • Land Battle

      • Boss Battle: Cragalanche the Mighty

    • Chapter 12: Wrath of the Reset Bomb

      • Air Battle

      • Land Battle

      • Boss Battle: Reset Bomb Pod

    • Chapter 13: The Lunar Sanctum

      • Air Battle

      • Land Battle

      • Battle Battle: Arlon the Serene

    • Chapter 14: Lightning Battle

      • Air Battle

      • Land Battle

      • Boss Battle: Lightning Flash Phosphora

    • Chapter 15: Mysterious Invaders

      • Air Battle

      • Land Battle

      • Boss Battle: Aurum Core

    • Chapter 16: The Aurum Hive

      • Air Battle

      • Land Battle

      • Boss Battle: Aurum Generator

    • Chapter 17: The Aurum Brain

      • Air Battle

      • Land Battle

      • Boss Battle: Aurum Pyrrhon

    • Chapter 18: The Ring of Chaos

      • Land Battle

      • Boss Battle: Pit’s Body

      • Air Battle

    • Chapter 19: The Lightning Chariot

      • Air Battle

      • Land Battle 

      • Boss Battle: Chariot Master

    • Chapter 20: Palutena’s Temple

      • Air Battle

      • Land Battle
      • Boss Battle
: Goddess Palutena
    • Chapter 21: The Chaos Vortex

      • Air Battle

      • Land Battle 

      • Boss Battle: Chaos Kin

    • Chapter 22: Scorched Feathers

      • Air Battle

      • Boss Battle: Pandora

      • Boss Battle: Amazon Pandora

    • Chapter 23: Lord of the Underworld

      • Air Battle

      • Land Battle

      • Boss Battle: Hades’ Heart

    • Chapter 24: The Three Trials

      • Air Battle

      • Land Battle 

      • Boss Battle: Gaol and Magnus

      • Boss Battle: Goddess Palutena

      • Boss Battle: Pseudo-Palutena

      • Boss Battle: Great Sacred Treasure

    • Chapter 25: The War’s End

      • Air Battle

      • Boss Battle: Hades, Lord of the Underworld

  • Multiplayer
    • Multiplayer
      • Multiplayer

Kid Icarus: Uprising Guide › Walkthrough › Chapter 9: Medusa’s Final Battle


Air Battle
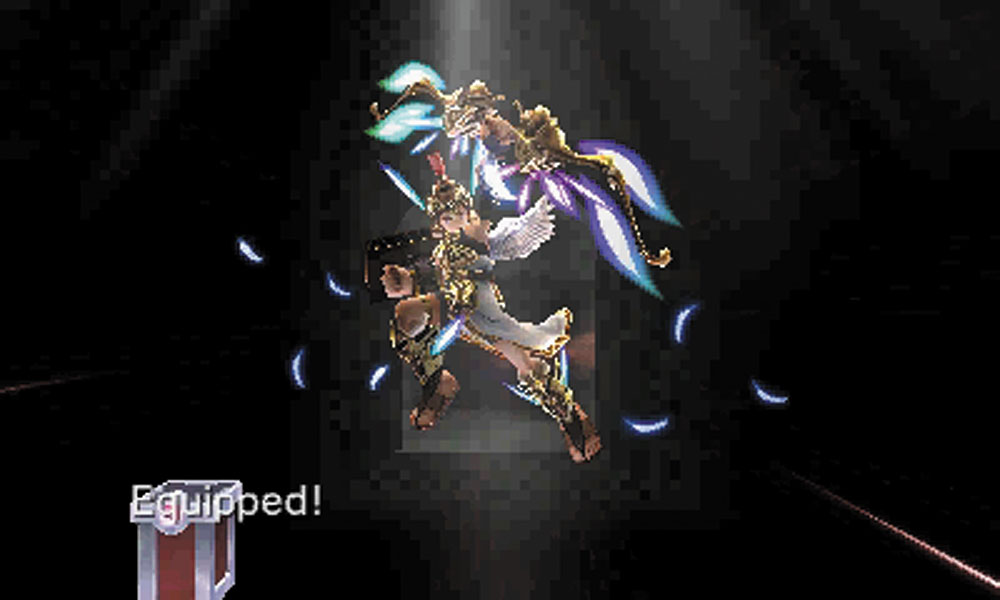

This is it. The final confrontation with Medusa. Equipped with the Three Sacred Treasures, you may start to feel a little overconfident, just like Pit. The regular rapid fire blasts make short work of most enemies, and the charged shot homes in on anything on screen for a short period of time.
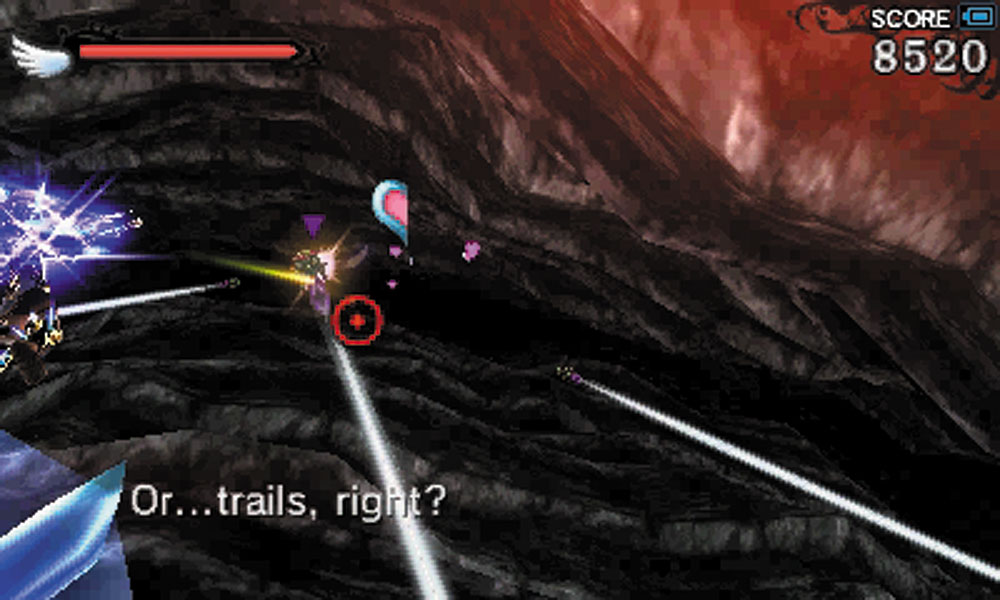
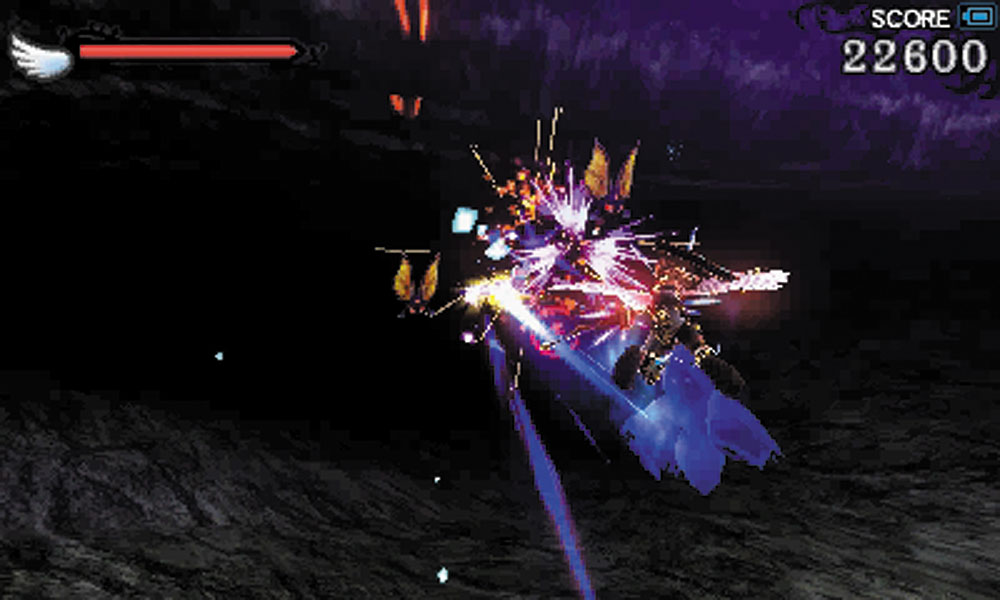
As soon as you dive into this ravine, be very careful. The Trailtails alone are not very dangerous. It’s the Shootflies that you should be afraid of. They react to ANY shooting on your part, ramming into you at high speed. Complicating things are the other enemies that float into view and try to take their own shots. Melee them if you can, and if you do shoot, try to make it a charge shot that is aimed at the Shootflies and hope that you destroy them all before they rush you. Or you could use a Special Attack.
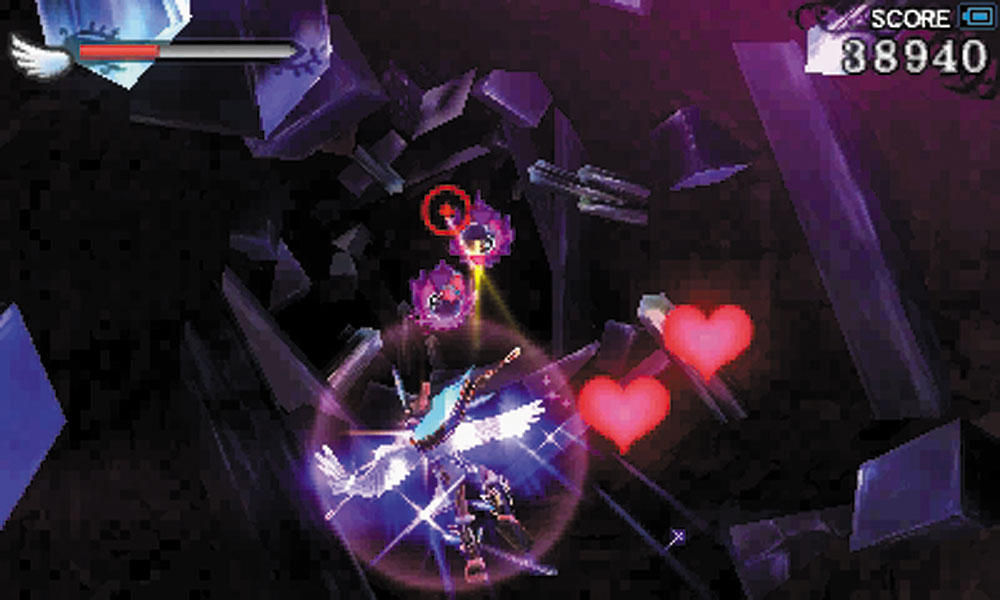
Ornes will try to make lethal contact with Pit in the passage at the bottom of the ravine, but the Arrows of Light can destroy them utterly.
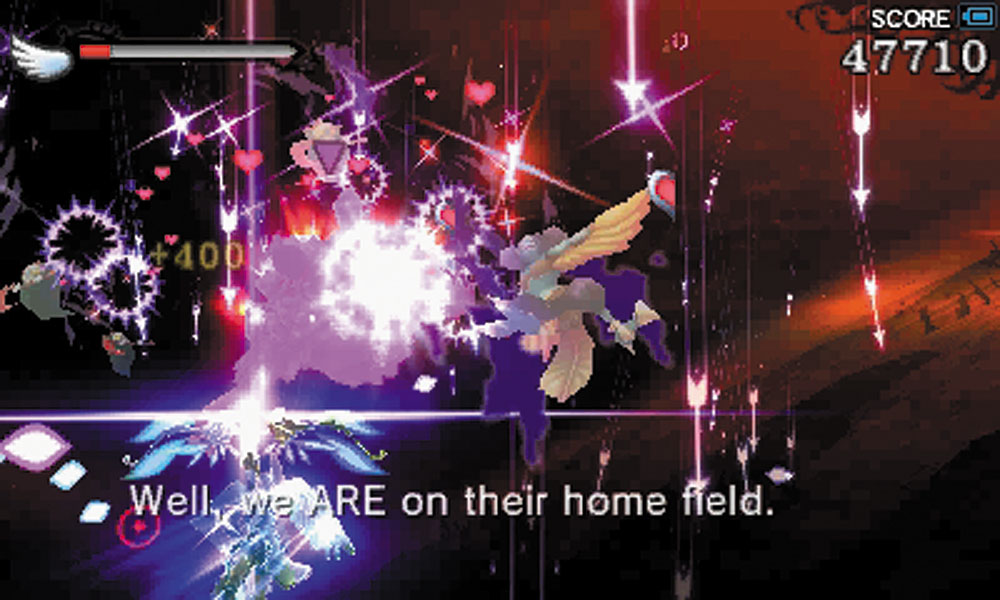
Note

If you're replaying this stage, it is possible to choose not to equip the Three Sacred Treasures, which makes parts like this a little more difficult.

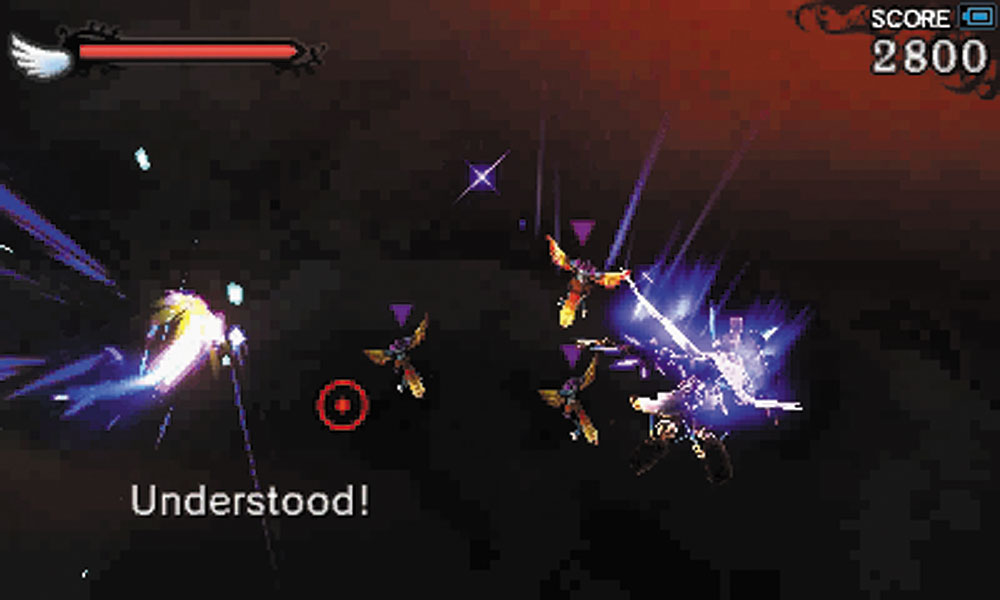
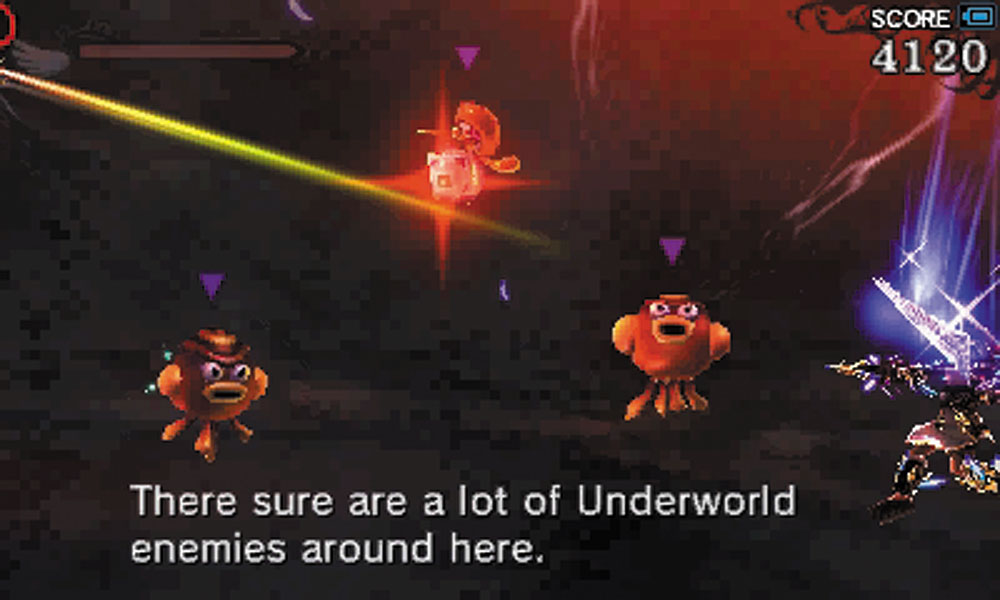
Thanatos's Underworld Key shines brightly and you’re thrust into the Underworld. Syrens and Monoeyes greet you upon arrival, with a Vakloom providing support. Return the greeting with a Special Attack, if you can.
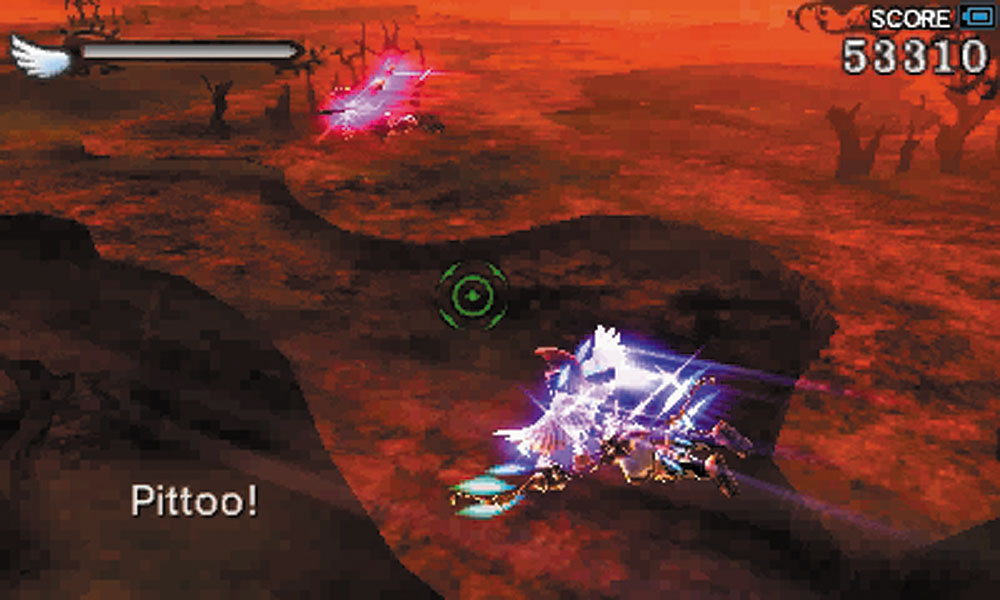
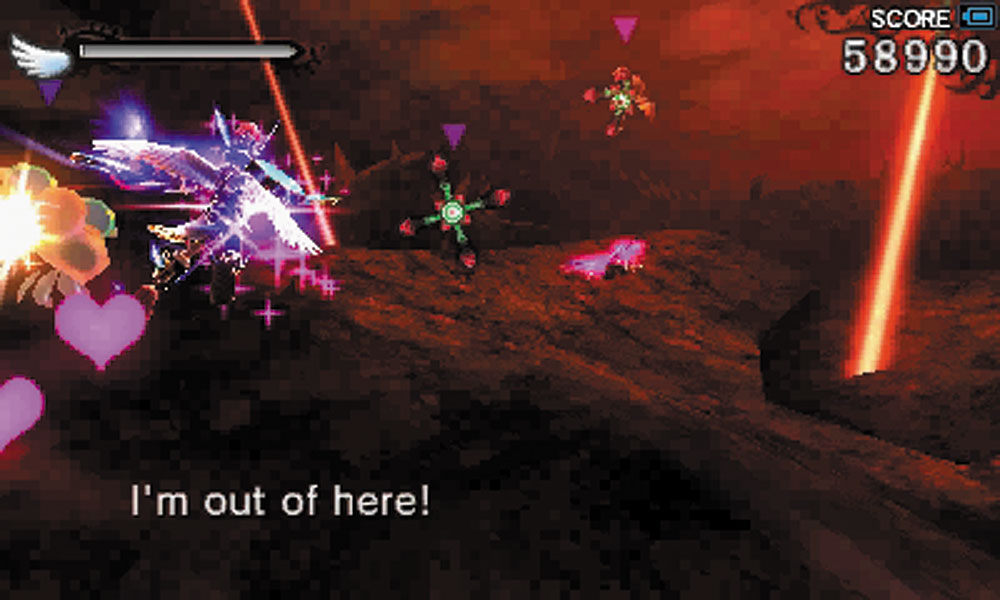
Suddenly, a ray of light blasts a group of foes from off-screen. It’s Pittoo! Despite not acting like he wants to help, he seems determined to destroy as many Underworld Army troops as possible.
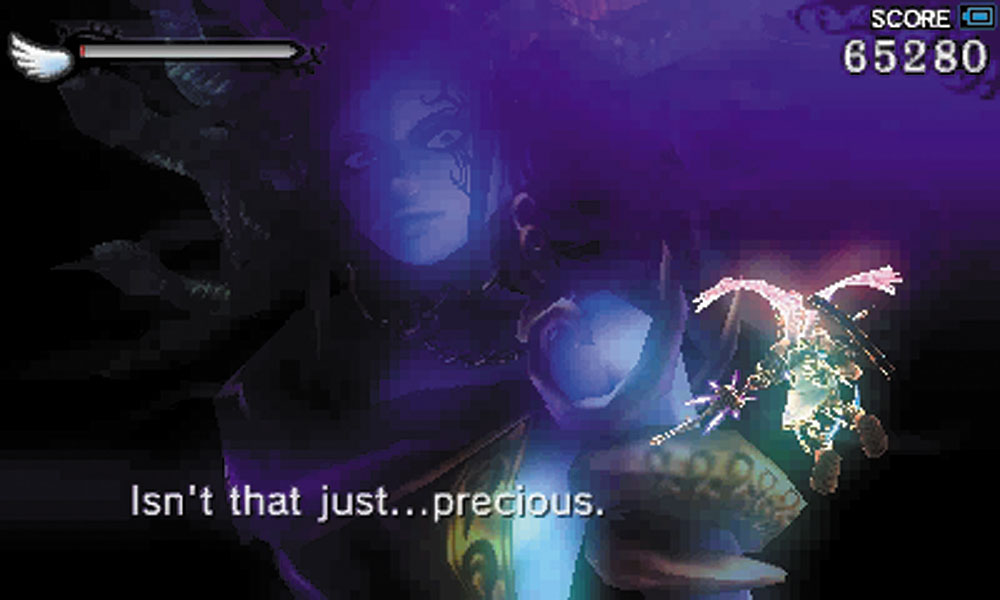
Medusa shows herself to taunt Pit once more, but she’s not joining the fight just yet.
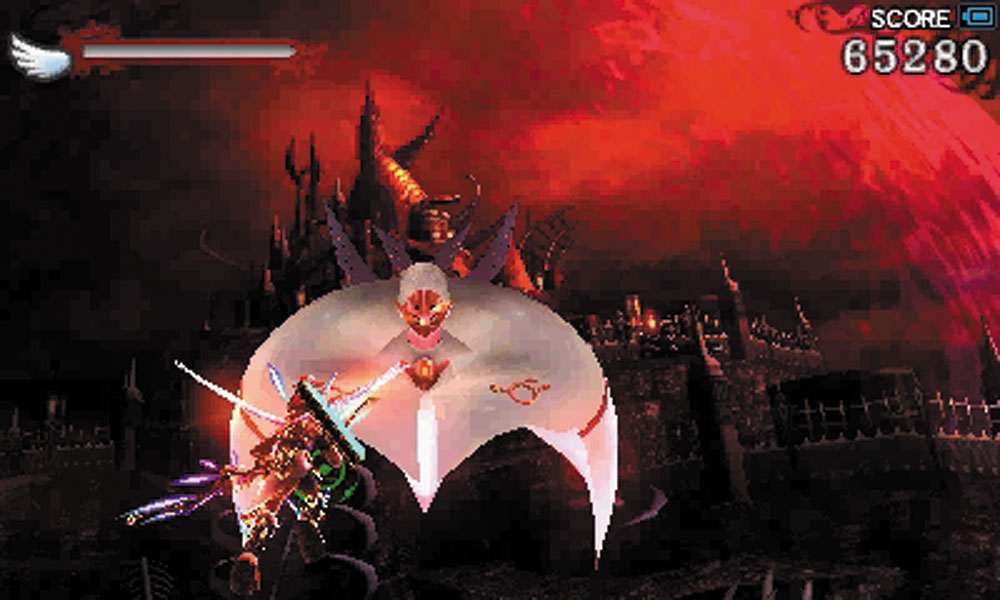
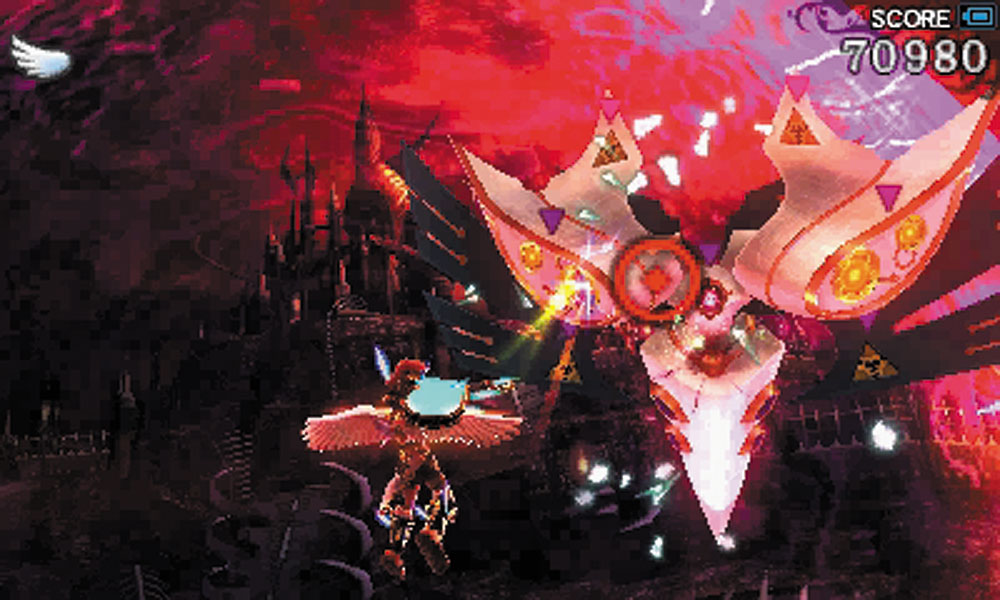
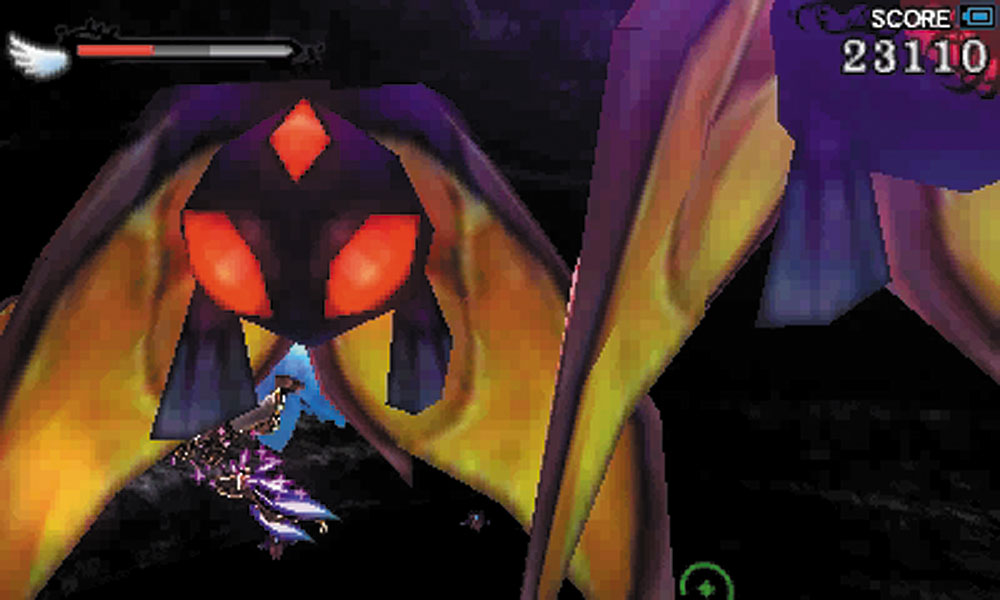
The Underworld Gatekeeper floats into view and begins to unload its impressive arsenal at Pit. As long as you keep moving and pay attention, despite the sheer variety of weapons at its disposal, you can avoid the worst of what the Gatekeeper has to offer. The rapid-fire Arrows of Light tend to lock onto the Underworld Gatekeeper’s weak points, so use that to determine whether or not you’ve missed a spot. Eventually, the guardian will fire emerald shields at Pit constantly in an effort to protect itself...
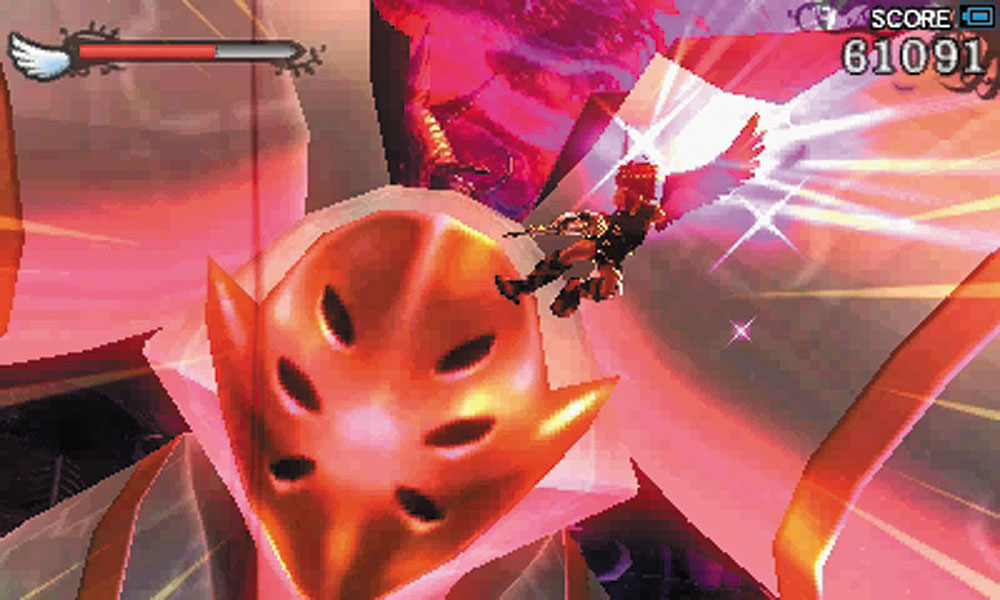
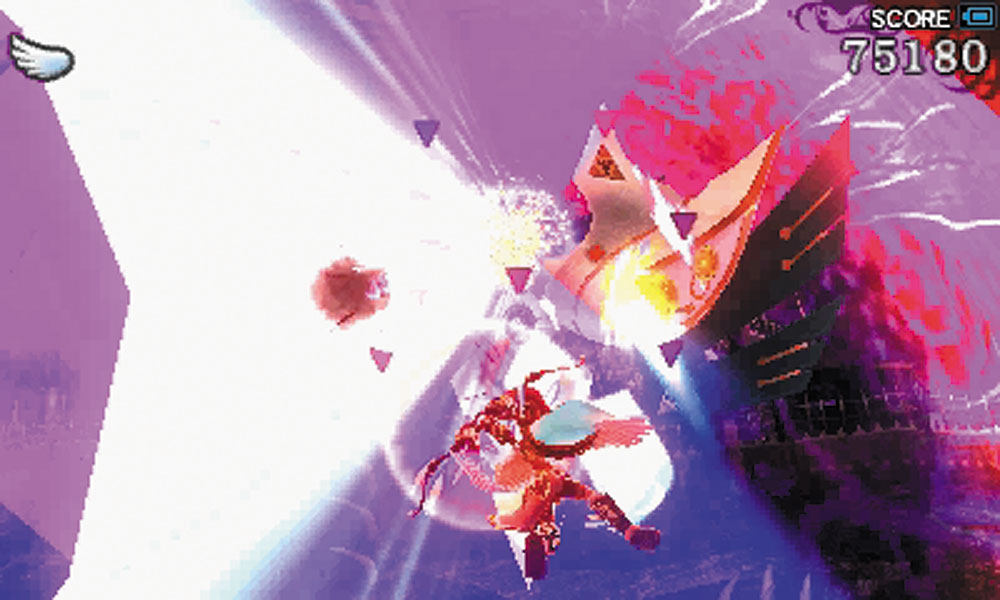
Only to receive a solid boot to the head from Pittoo, who STILL wants to pretend to have no true interest in helping out Pit or Palutena. With the Gatekeeper no longer an issue, Pit heads straight for the Underworld Castle.

Keep reading with a free account

The first 3 sections of Kid Icarus: Uprising are open to everyone. An account opens the rest of it, and every other guide in the archive. It's free, and there's nothing to buy.

Bought guides on the old Prima Games site? Your account and every guide you own moved here, so there's nothing to buy again. Sign in.

Create a free account Or browse our free guides

PreviousGalactic Fiend, Kraken
 NextLand Battle