
Kid Icarus: Uprising Guide Walkthrough Chapter 11: Viridi, Goddess of Nature
Land Battle
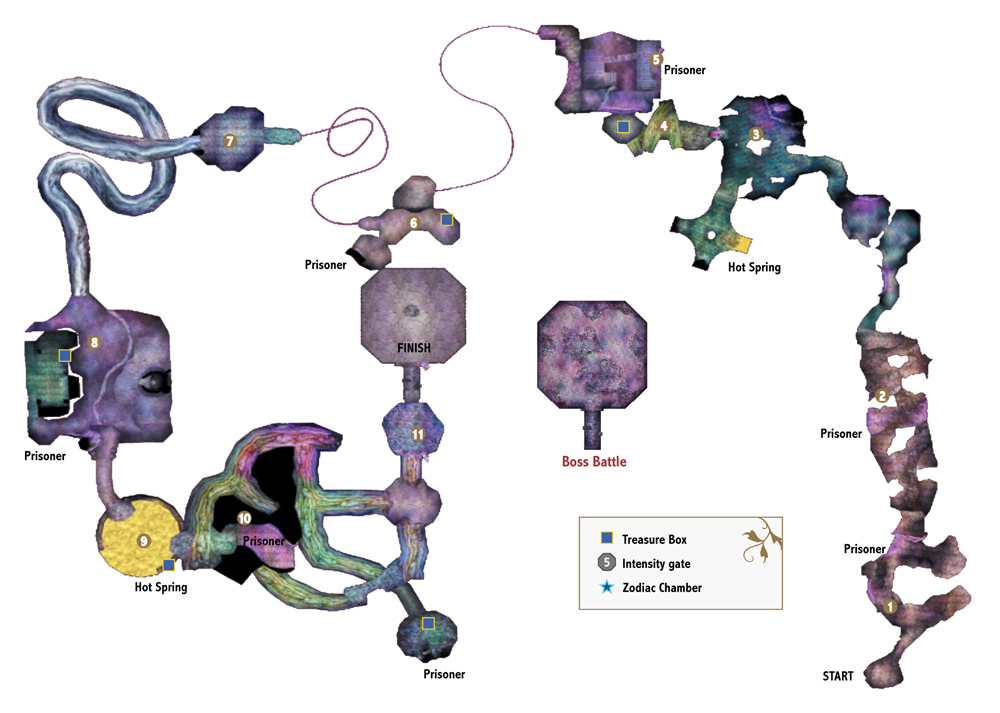
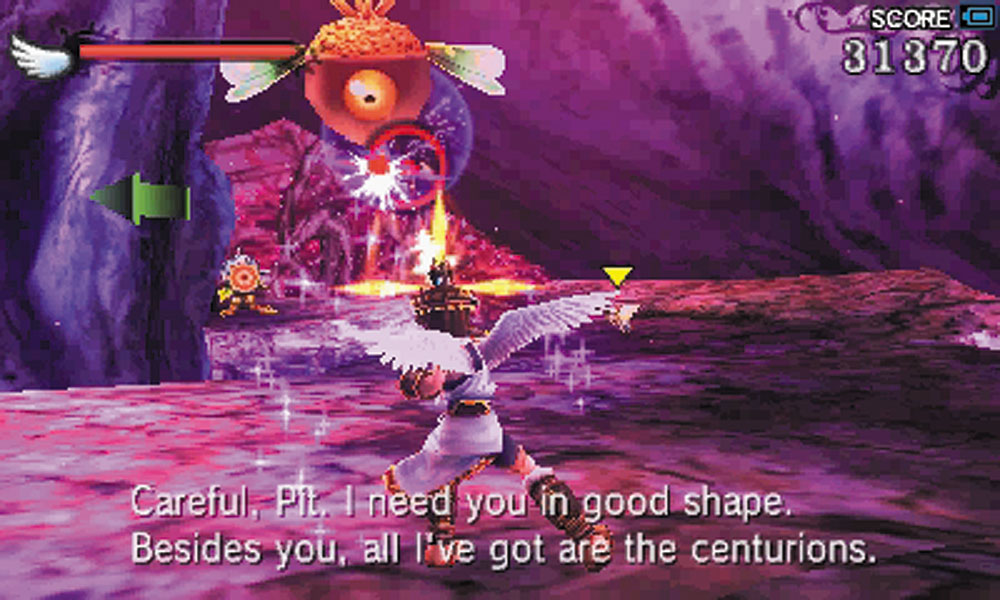
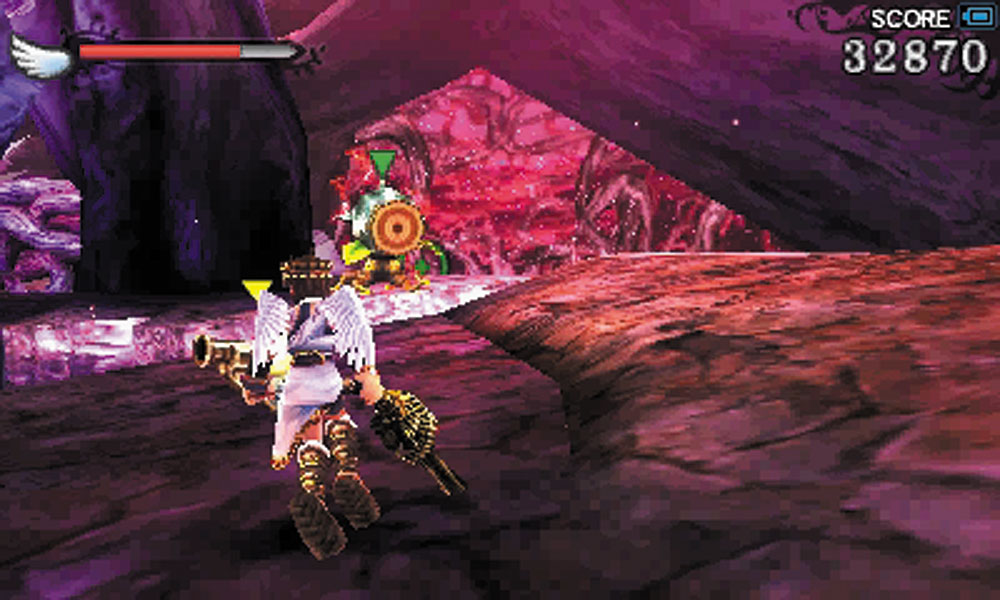
The reset bomb has filled the whole area with the Forces of Nature. Be ready for a tough fight.
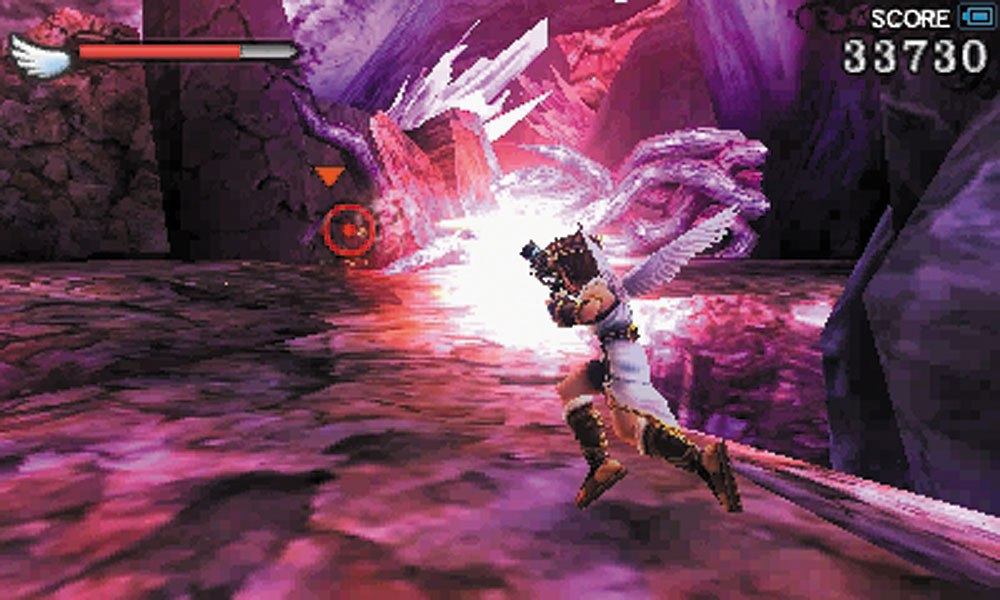
1. Nutskis and Pew Pews greet you at the start of this Land Battle. During the fighting, be on the lookout for human soldiers who survived the reset bomb and are now imprisoned by vines. Shooting the vines is enough to free the people.
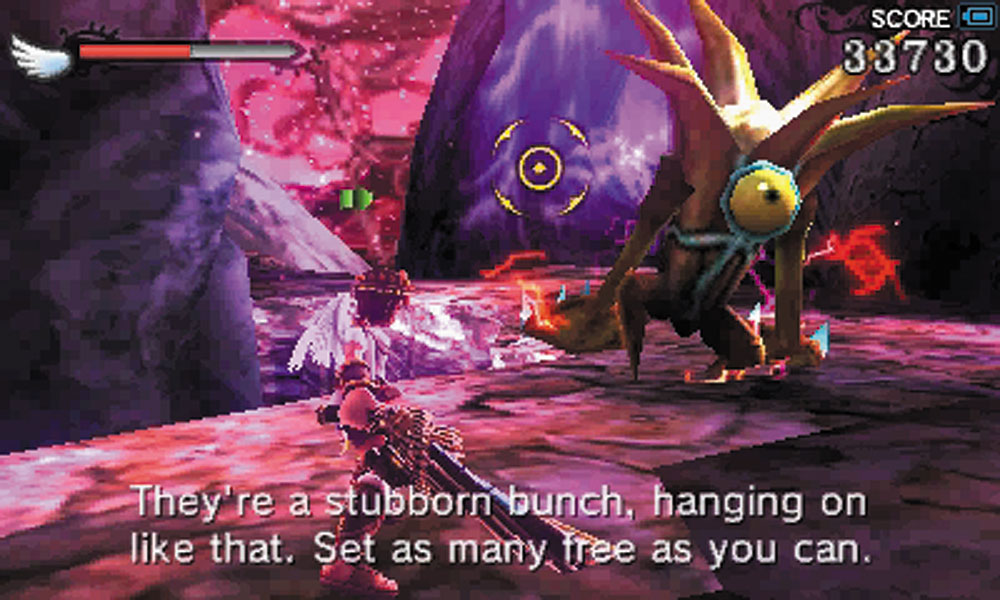
Urgles hit hard and are incredibly fast when they rush you. It is a good idea to take a weapon capable of paralyzing opponents, an effective tactic against Urgles.
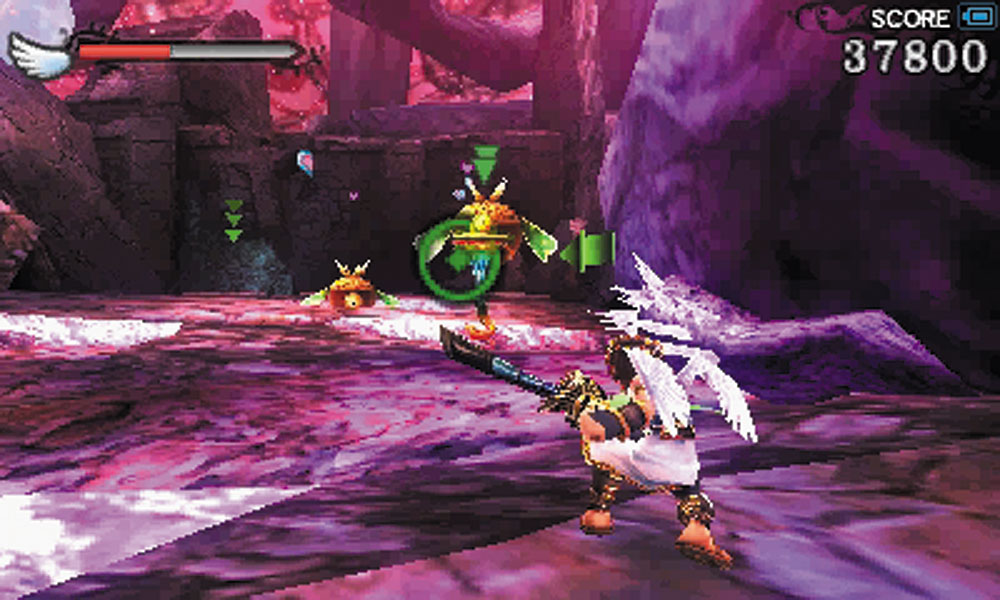
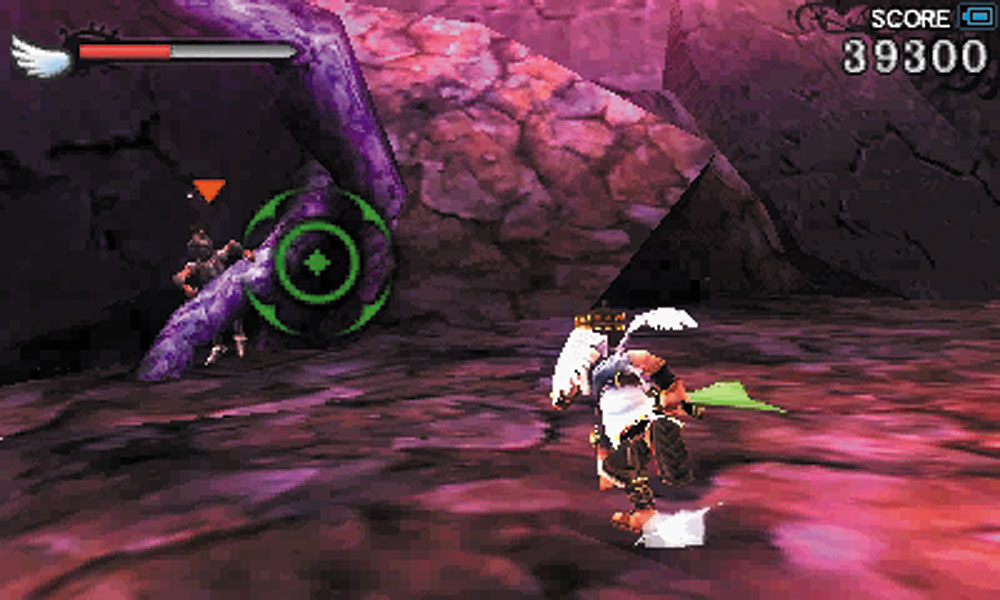
2. Another soldier can be rescued here. He’s guarded by another swarm of Nutskis and Pew Pews. Dibble Dops also join the fray here, lobbing projectiles similar to water balloons at Pit.
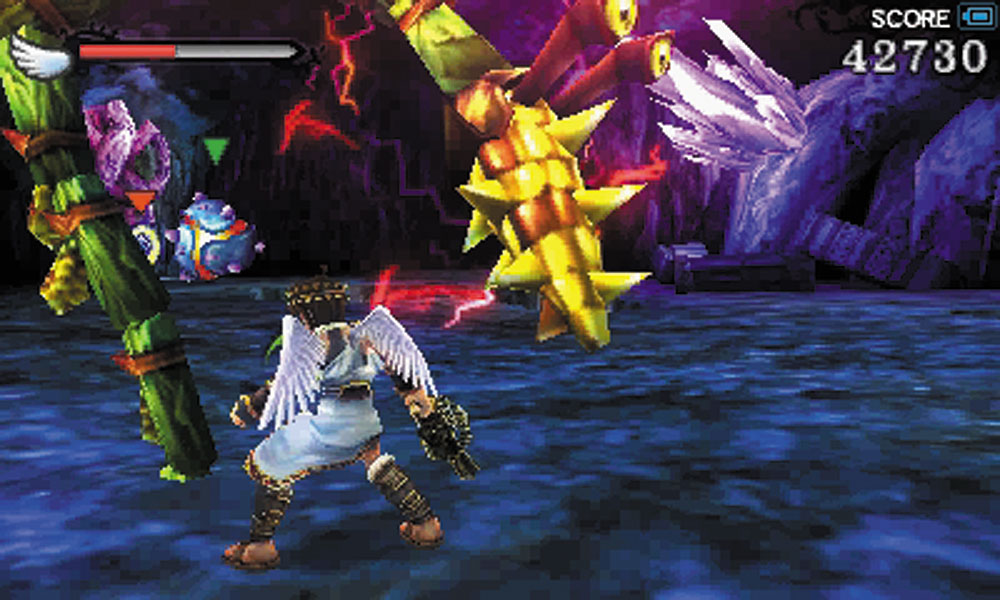
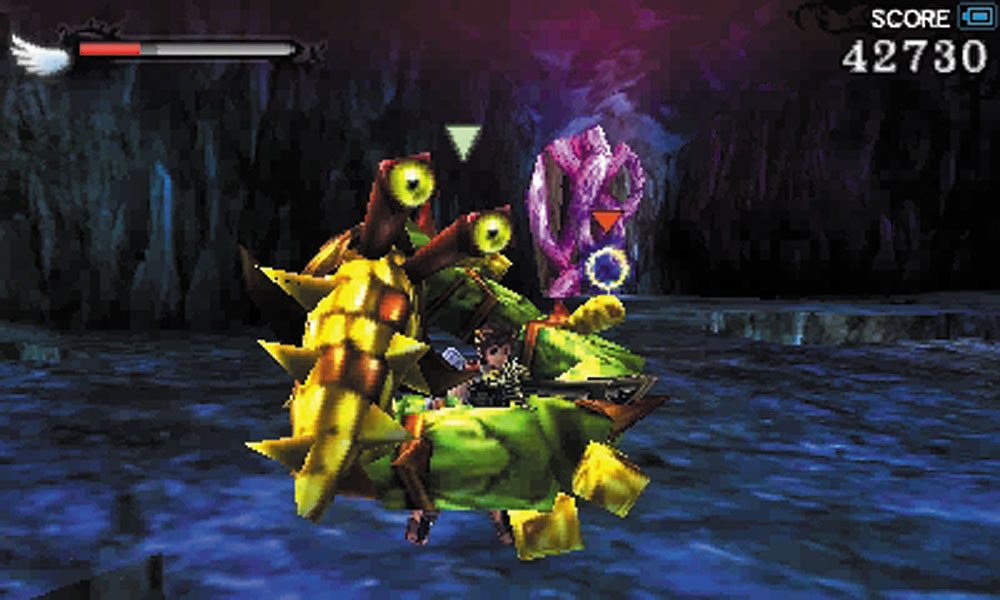
3. This room is guarded by a pair of Hugworms. They burrow quickly through the ground and if they get a hold of Pit they begin squeezing the life out of him. They can be incredibly vicious, so be ready to evade them if they rush you. After clearing out the enemies here, take advantage of the hot spring if you need it.
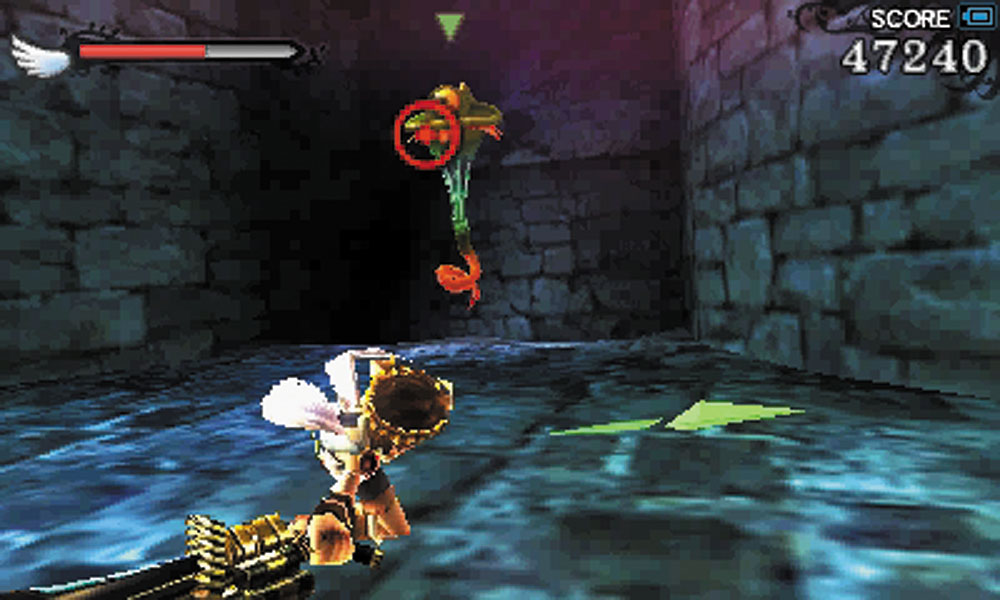
Look out for the Dibble Dops guarding the spring.
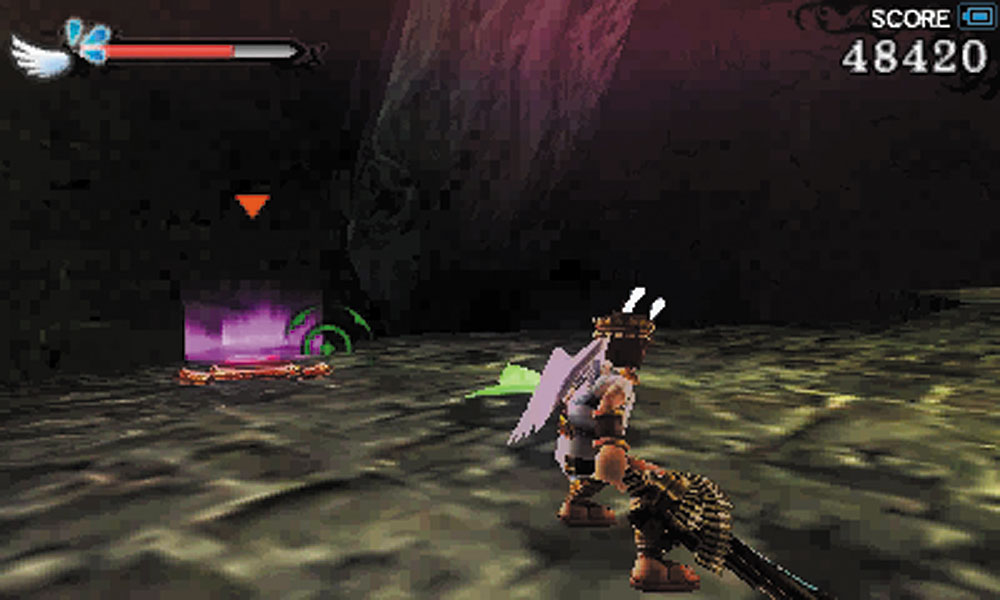
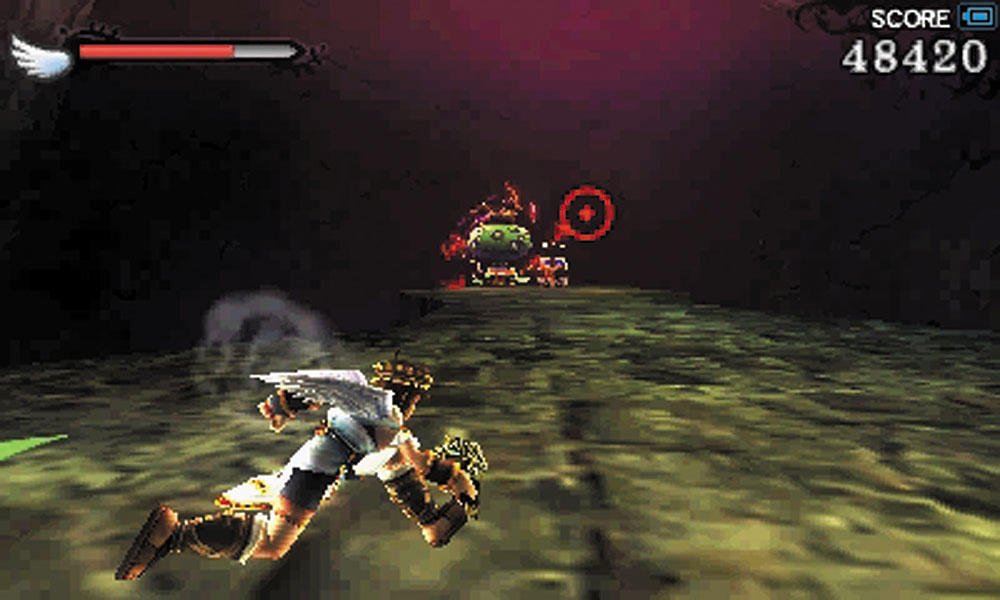
4. Don’t take the jump pad straight away. Make sure to grab the Treasure Box first. A Toxiecap does try to guard it. Beware of its poison bombs; they have a huge blast radius.
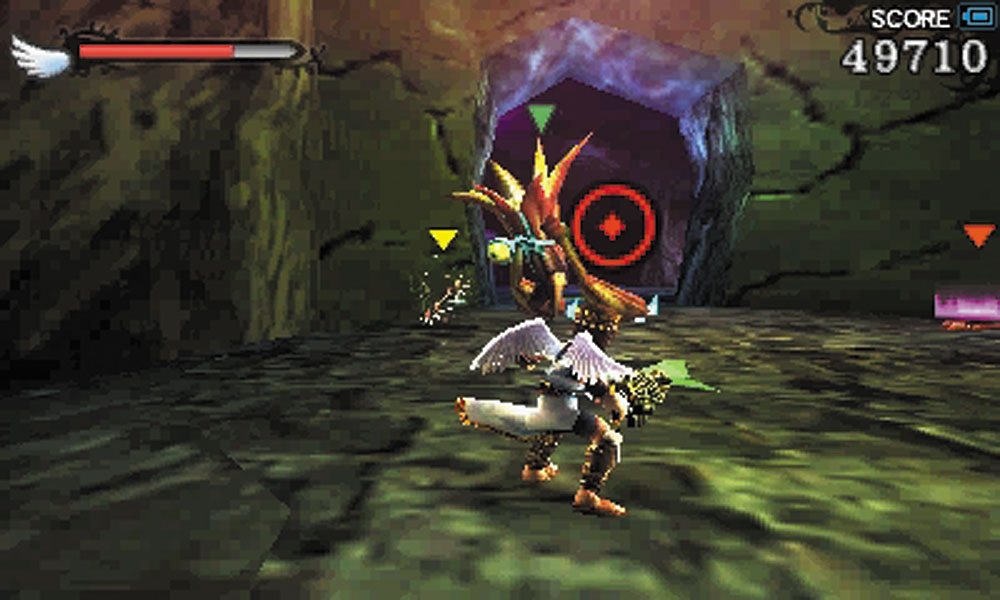
An Urgle ambushes you after the box is collected.
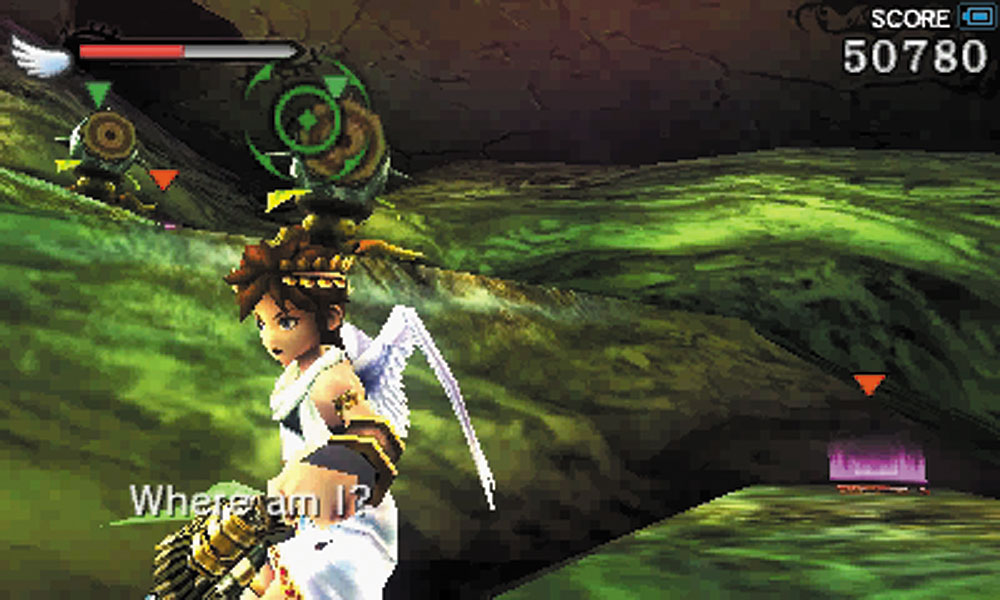
The first jump pad takes you up to a series of roots that you need to use jump pads to navigate. Take out the Pew Pews before you make your jumps.
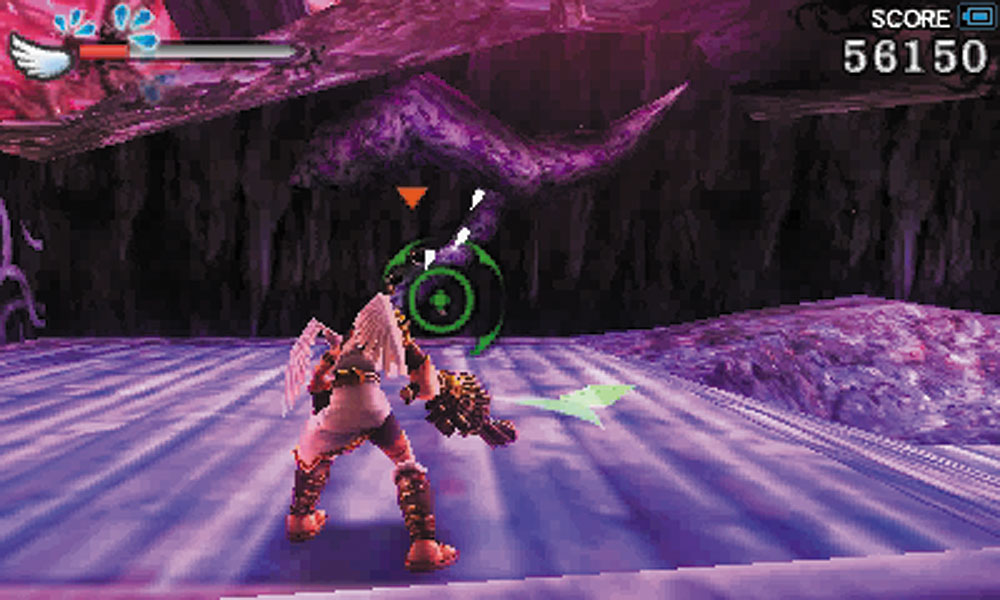
5. Don’t miss this human soldier during your haste to clear out this room of enemies.
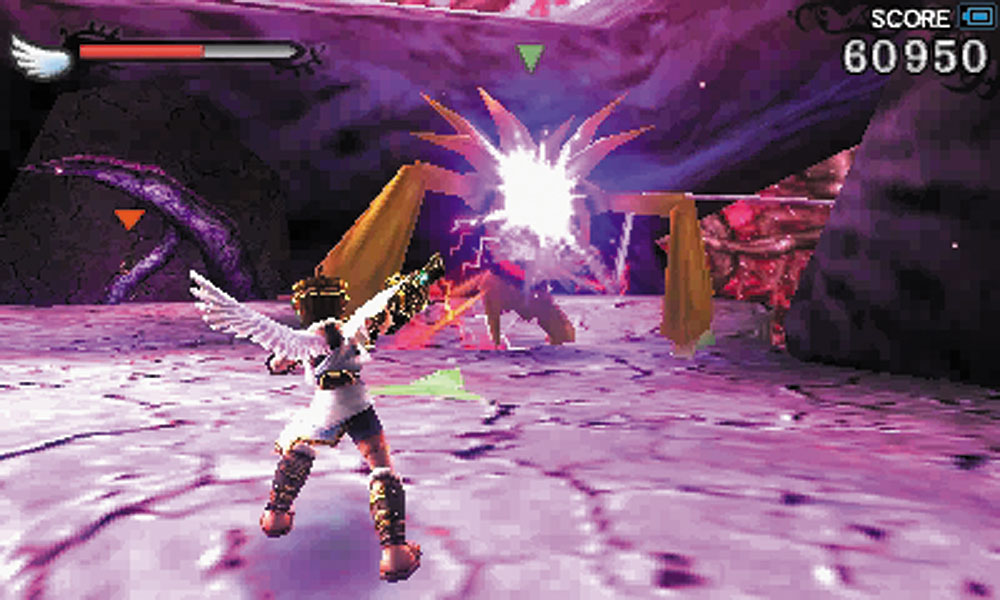
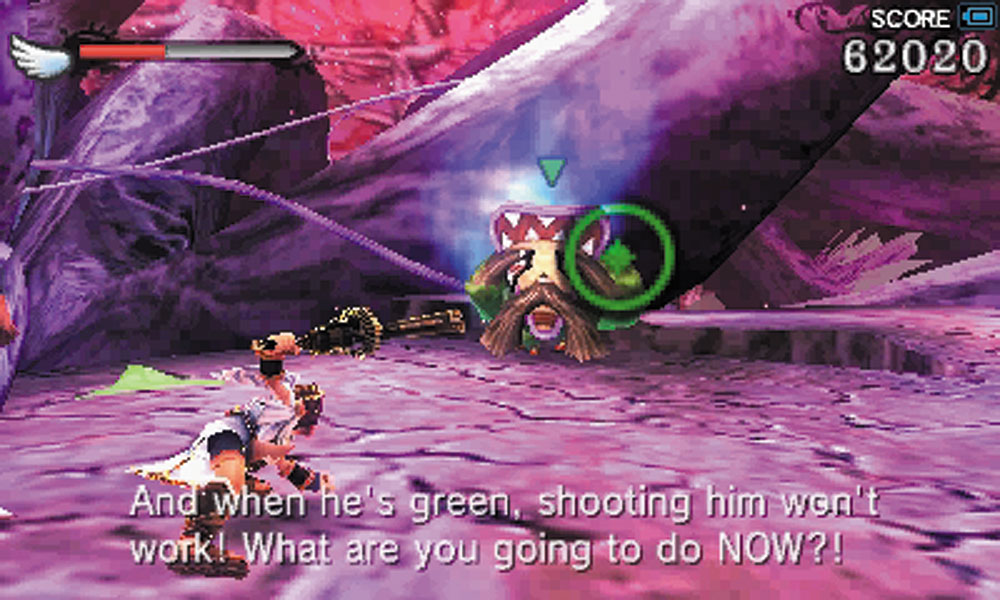
6. This island contains another captured human who is guarded by an Urgle. When the Urgle is beaten, a Jitterthug takes its place. Jitterthugs switch between green and red. When they are green, ranged attacks have no effect, and when they are red, melee is useless. Change your tactics accordingly. A Treasure Box in this area contains a Grenade, if you need the extra firepower. Once the area is cleared and the soldier is safe, take the next grind rail.
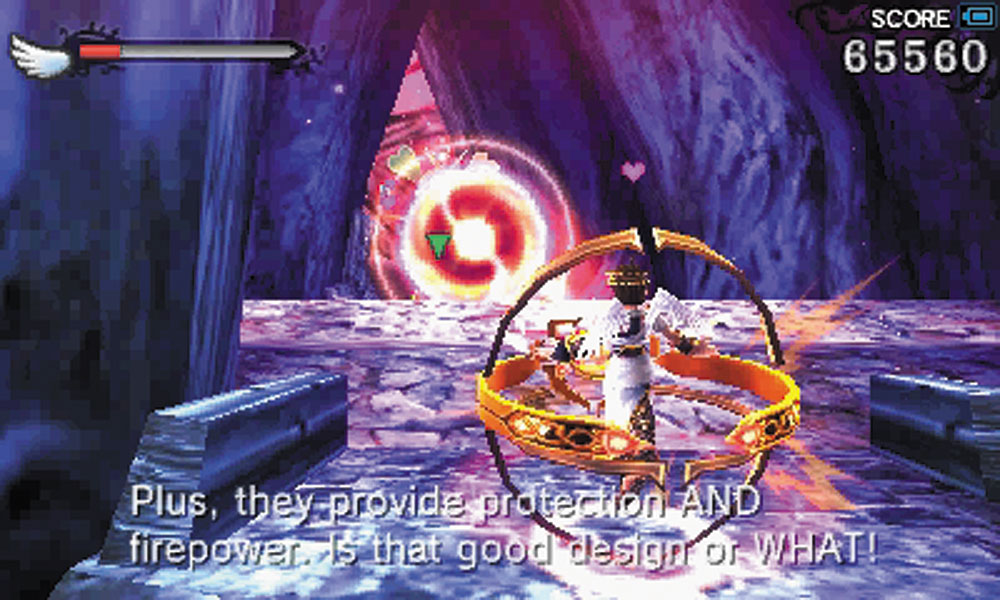
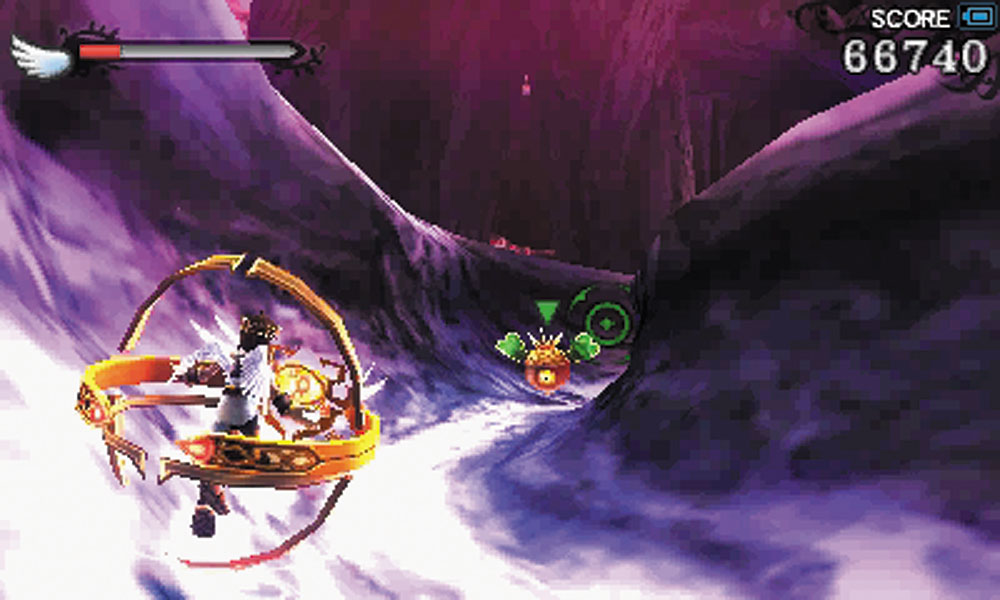
7. Take the Aether Ring once you get here and use it to take on the Forces of Nature as you follow the all-natural, 100 percent organic half-pipe into the heart of the forest.
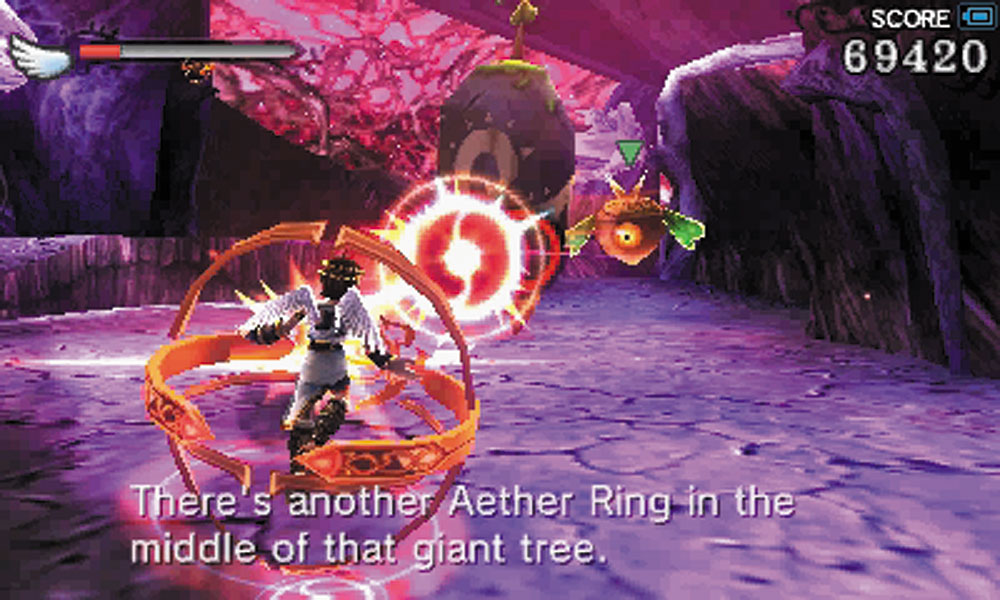
8. Be careful around the Boom Stomper; it can destroy your Aether Ring very quickly. Fortunately, there is another in the area if you need a replacement.
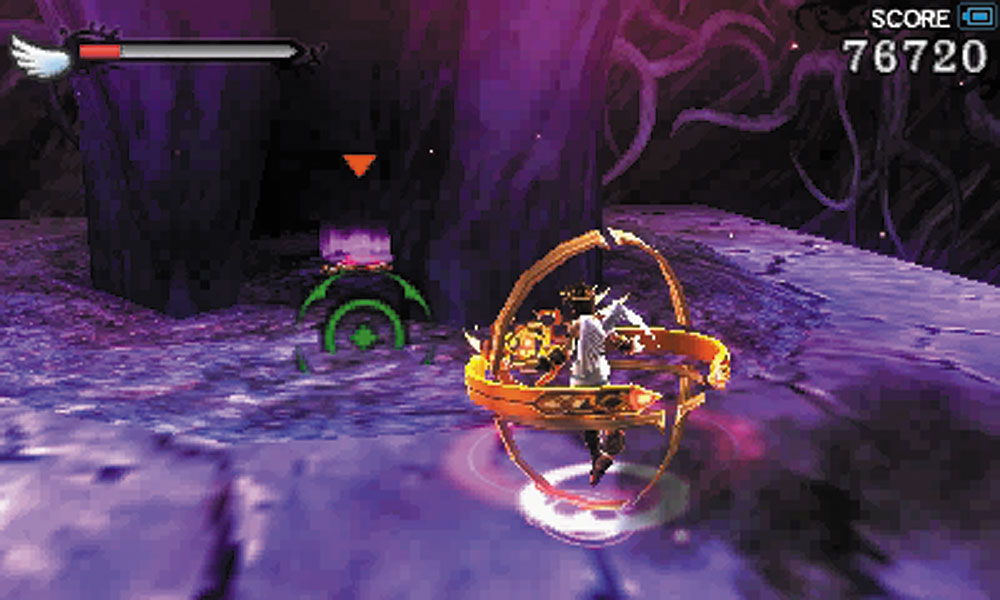
Just take the jump pad inside this tree and you’ll find the second Aether Ring.
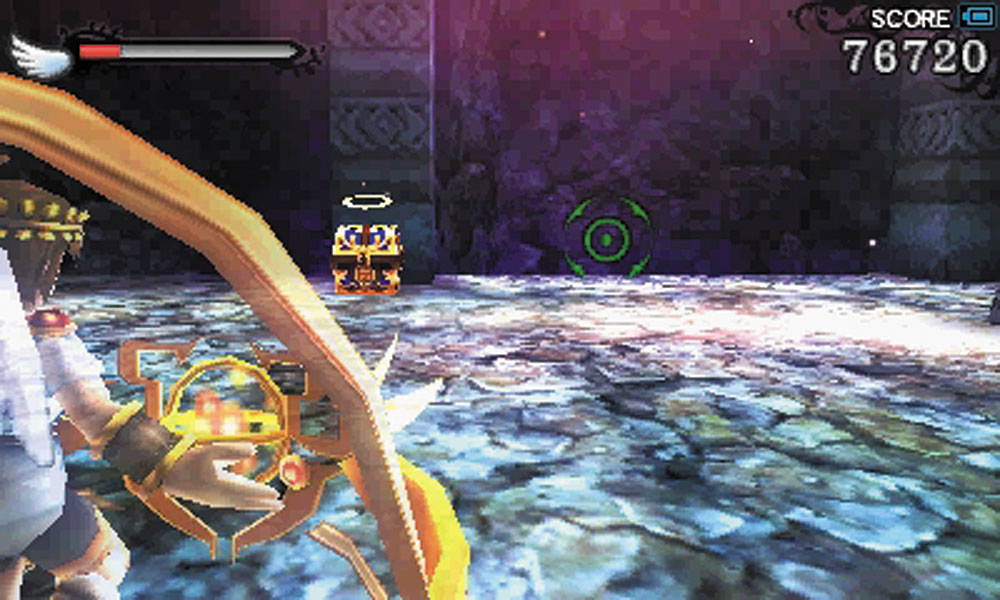
Before taking the jump pad out of this area, make sure to locate the Treasure Box.
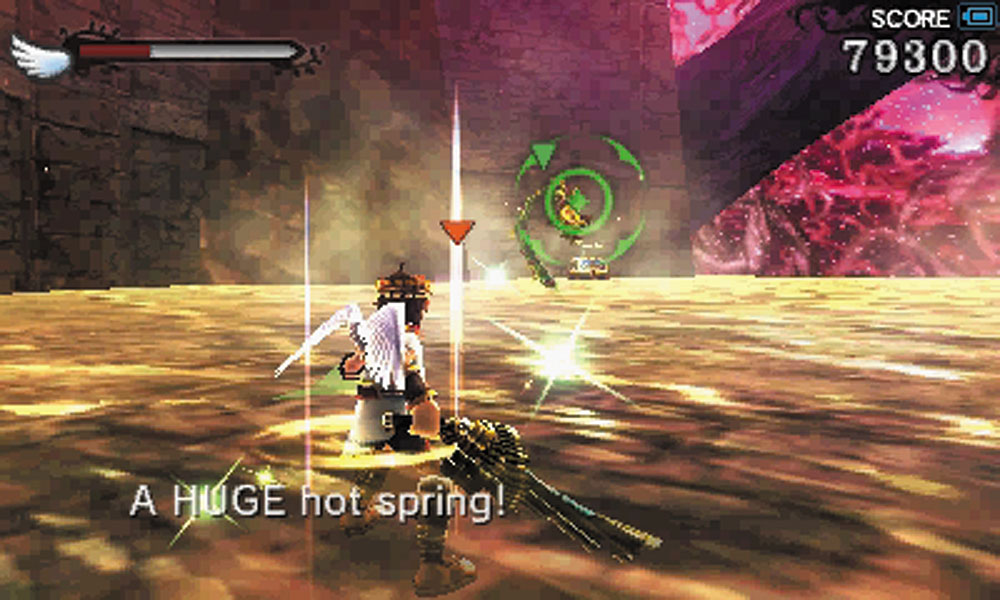
9. The hot spring here also has a Hugworm, so don’t get too relaxed. Be careful about running toward the walls close to the Treasure Box, there is a jump pad you might not see that will take you into the next section. You can’t get back into the hot spring once you take the jump pad.
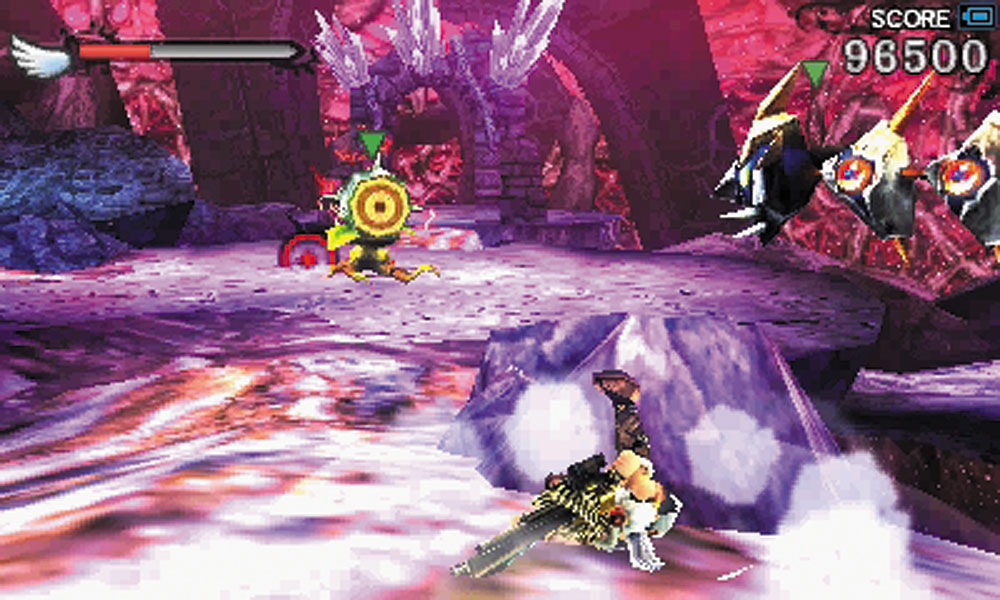
10. Palutena calls this a maze for a good reason. It’s easy to get turned around in here. There are two more human prisoners trapped in the maze, along with some treasure, so there is a good incentive to explore.
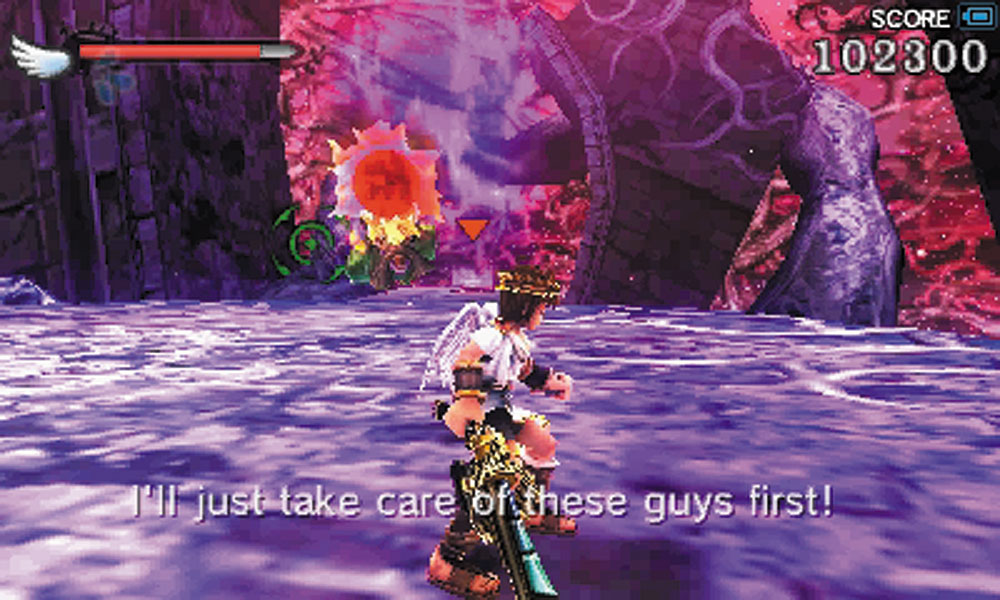
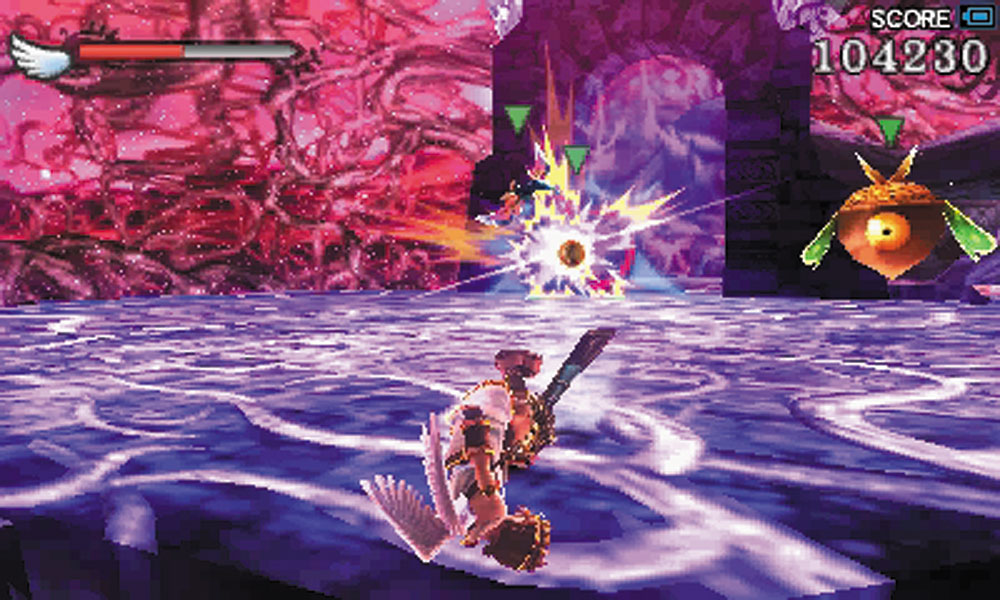
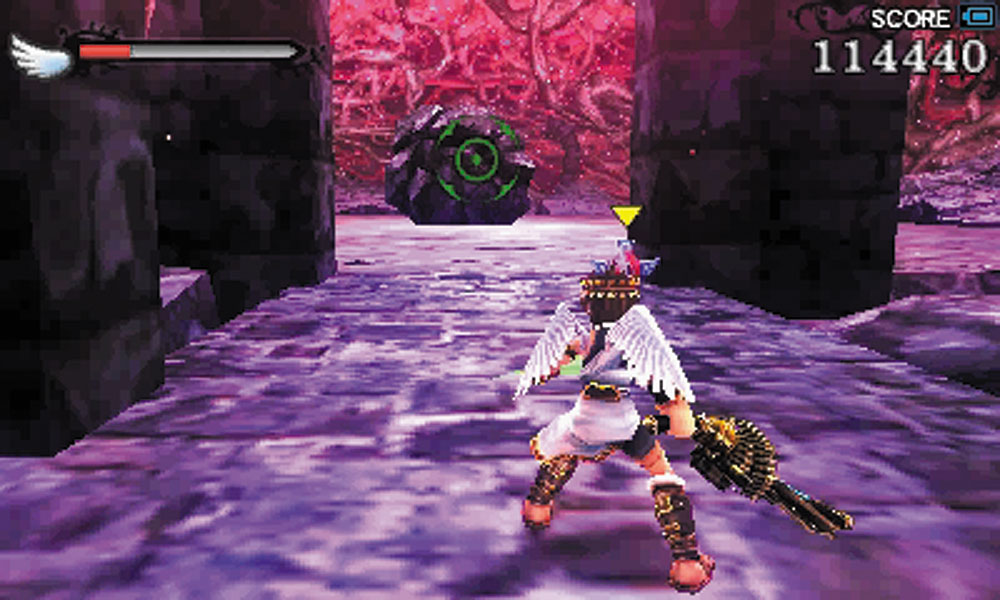
11. You’re close to Cragalanche when you are sealed into this room, facing down a Jitterthug. Its defeat summons Zerts, Nutskis, and a Blader.
Two more Bladers and a Boom Stomper are the third wave of reinforcements here. Survive this encounter and then take the jump pad down to Cragalanche’s lair. Don’t forget to take the Drink of the Gods before you charge in.