
Kid Icarus: Uprising Guide Walkthrough Chapter 2: Magnus and the Dark Lord
Land Battle
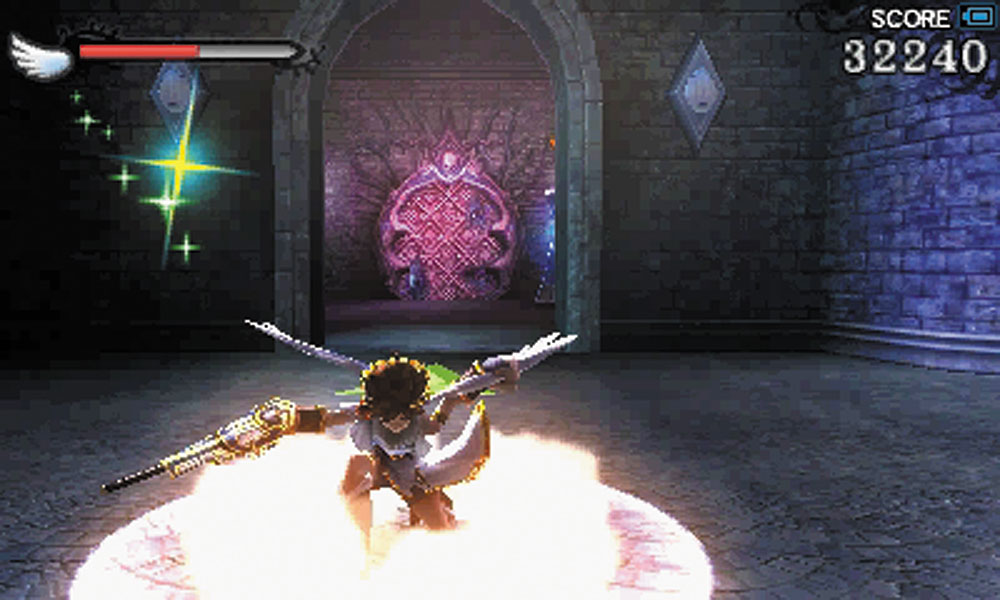
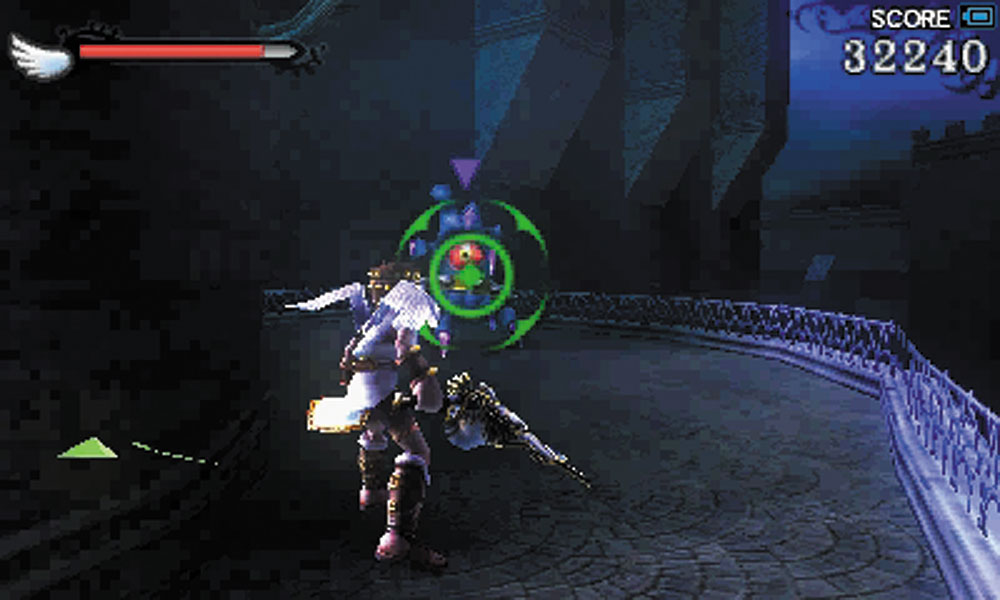
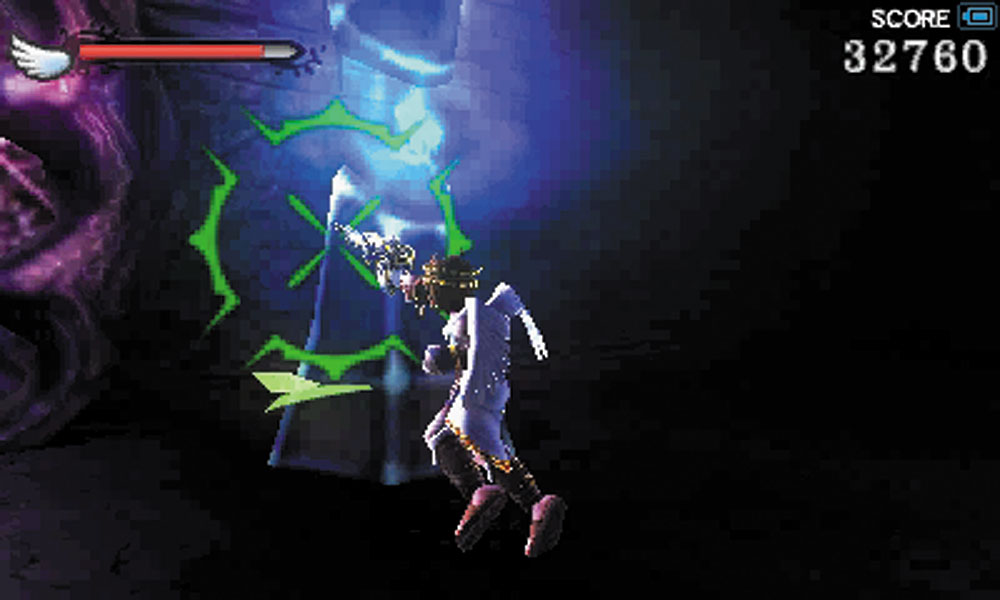
The balcony Pit lands on is blessed with food from the goddess, so grab it if you’re in need before going deeper into the castle. Watch out for the Handora to the right of where you start. Head inside and strike the switch with your weapon to open the way into the castle. Drop down the hole beyond this door.
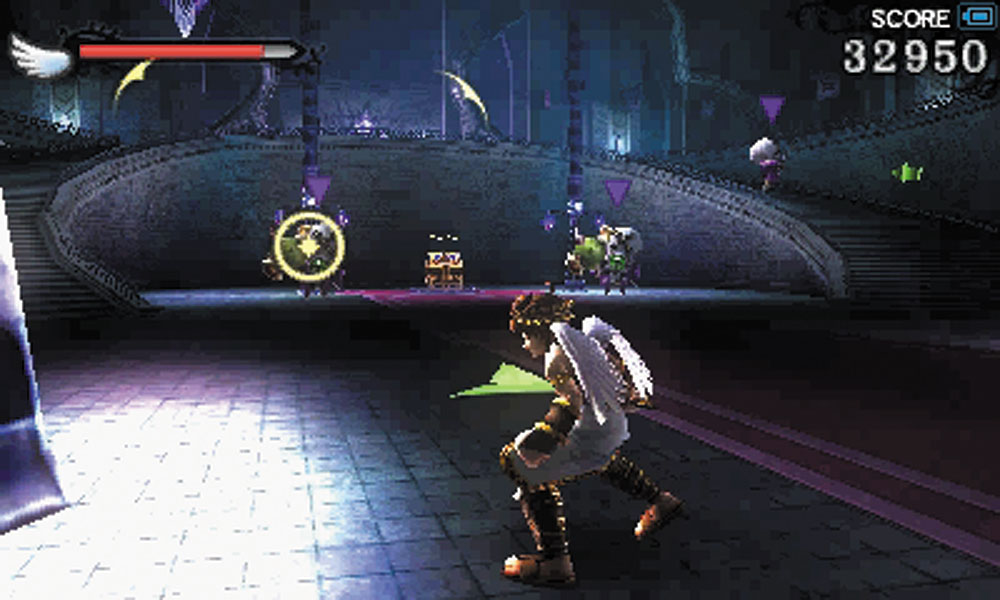
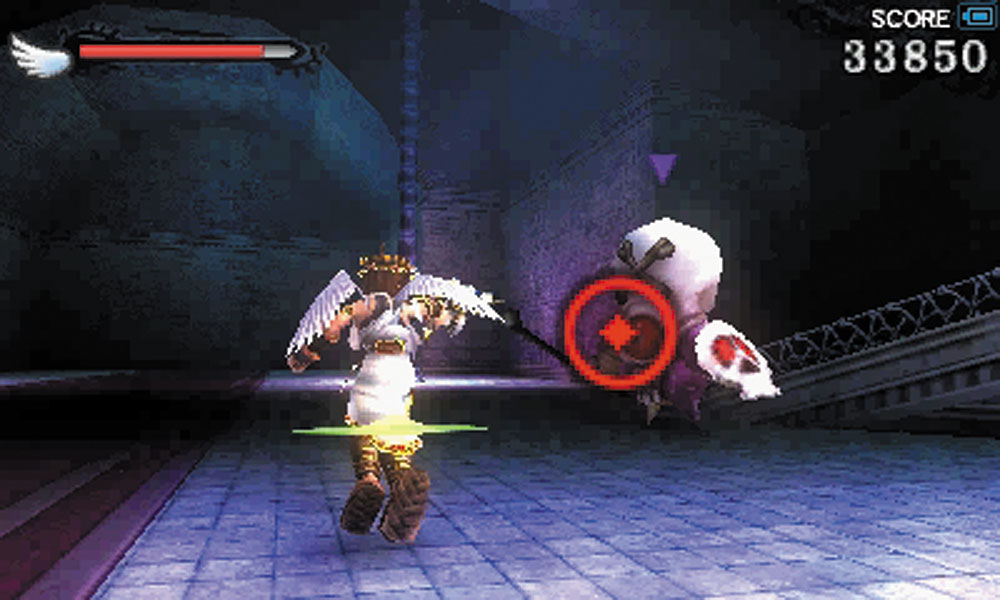
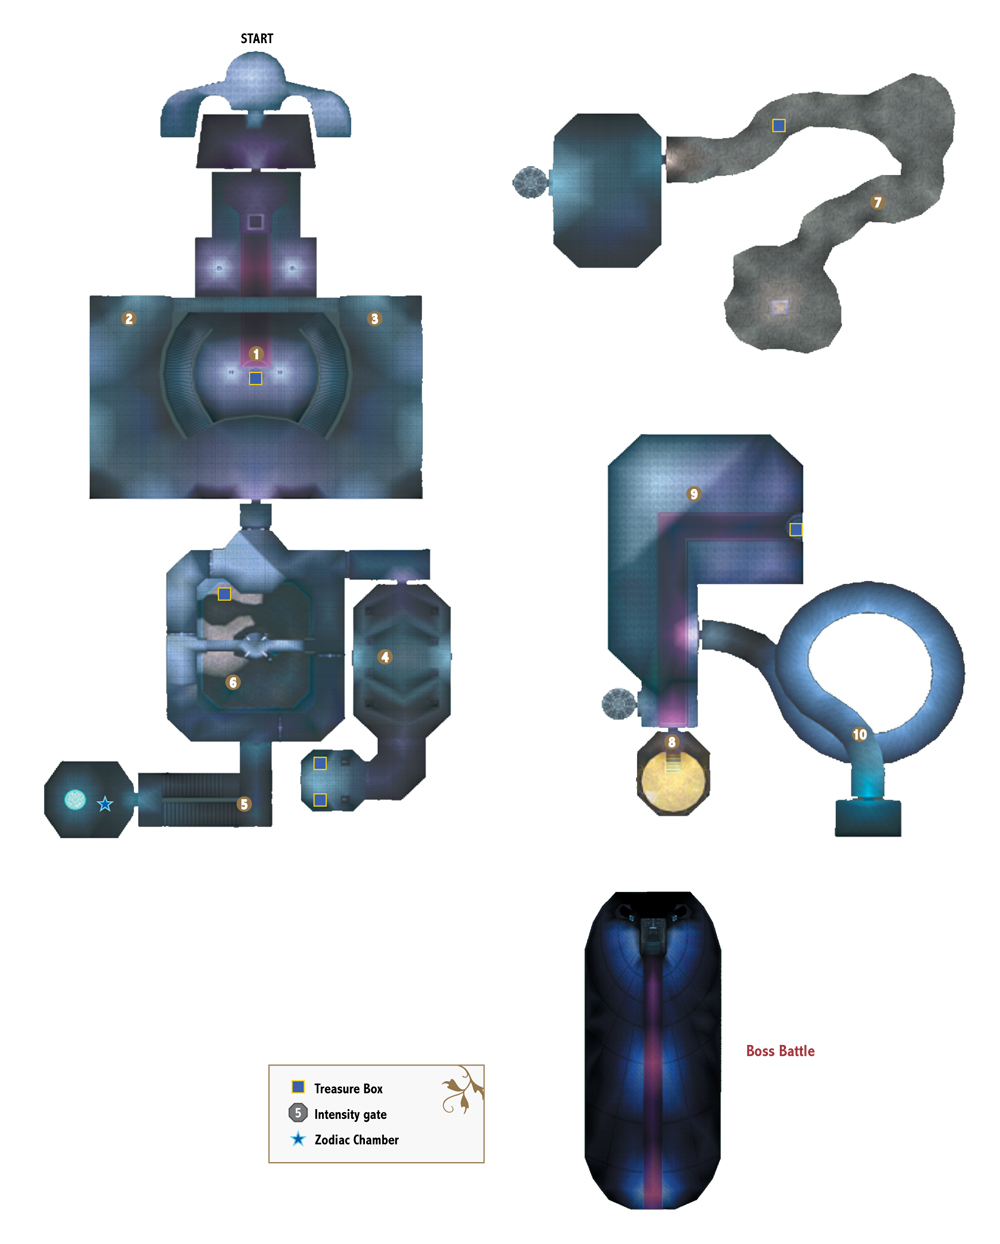
1. Drop down the hole beyond the first door, and you’ll arrive in a grand hall. A Treasure Box, flanked by Skuttler Cannoneers, appears between the two stair cases leading up to the next floor. More Skuttlers will come down those stairs to attack you. To exit this chamber you must hit two switches.
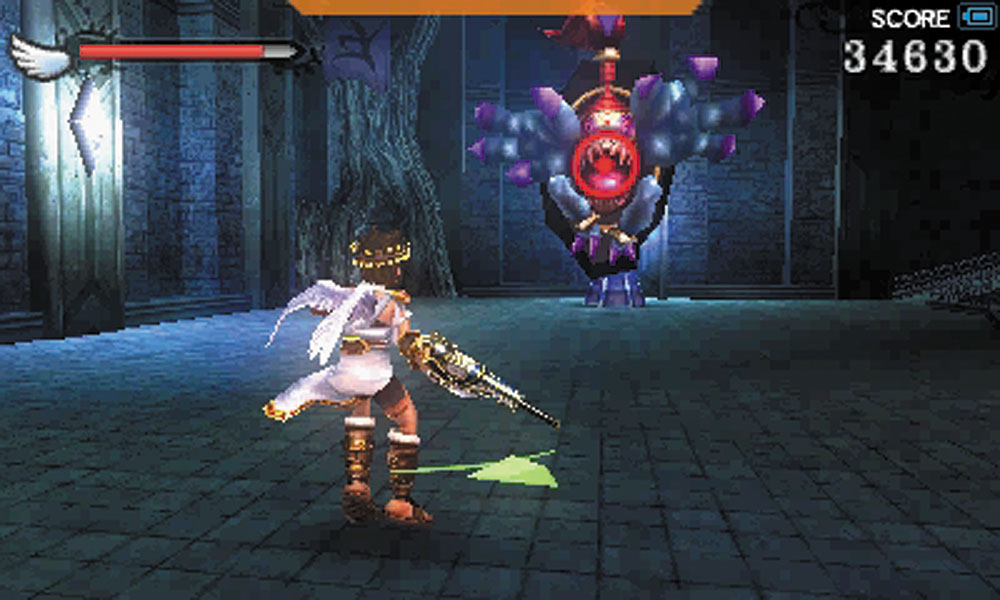
2. One switch is guarded by a Boogity.
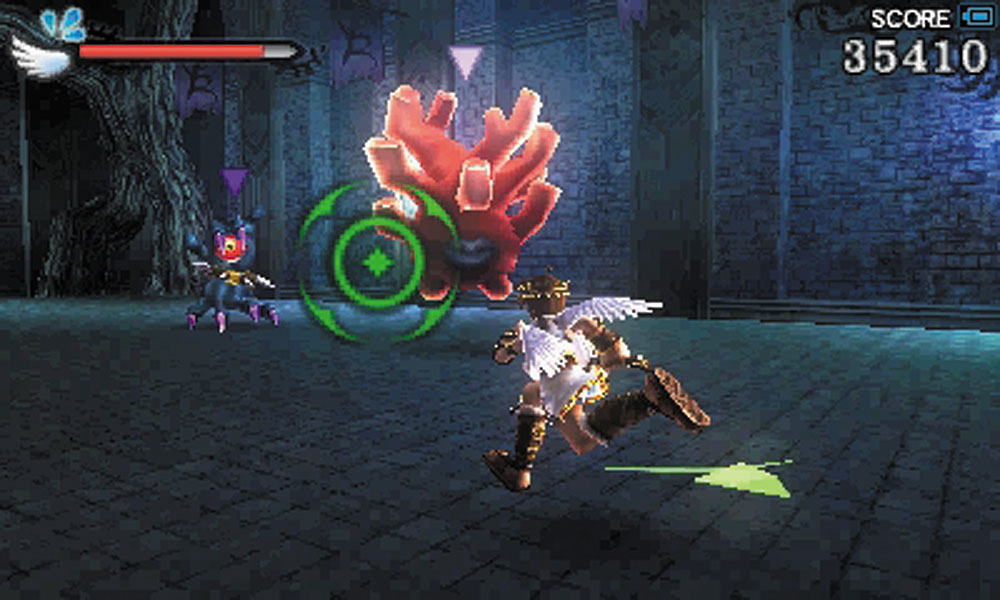
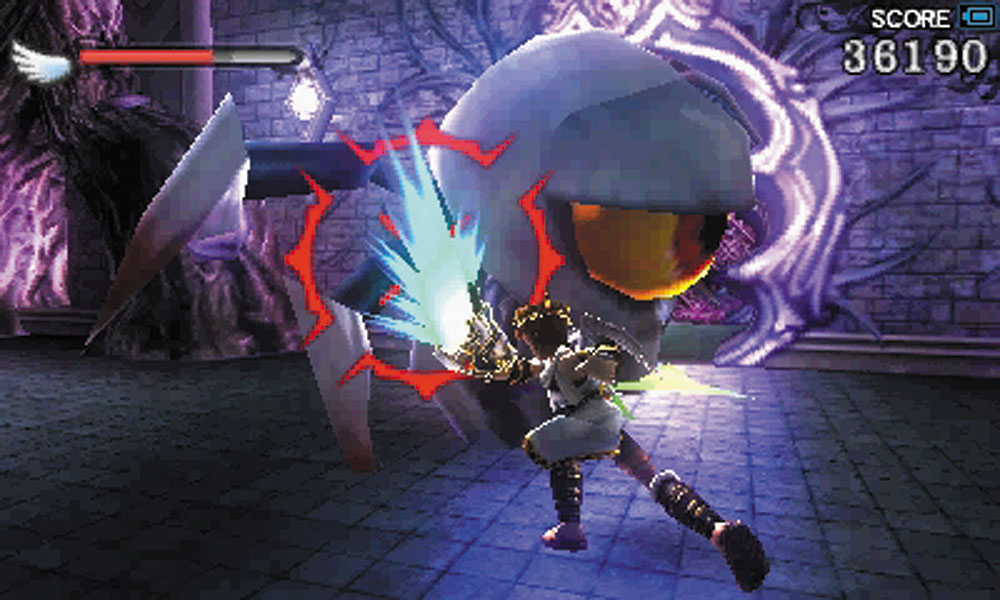
3. The other switch is guarded by a Handora and a Coral. A bridge between both switches is patrolled by a Monolith. After you hit the switches, you must contend with a Ganewmede that blocks the exit from this room.
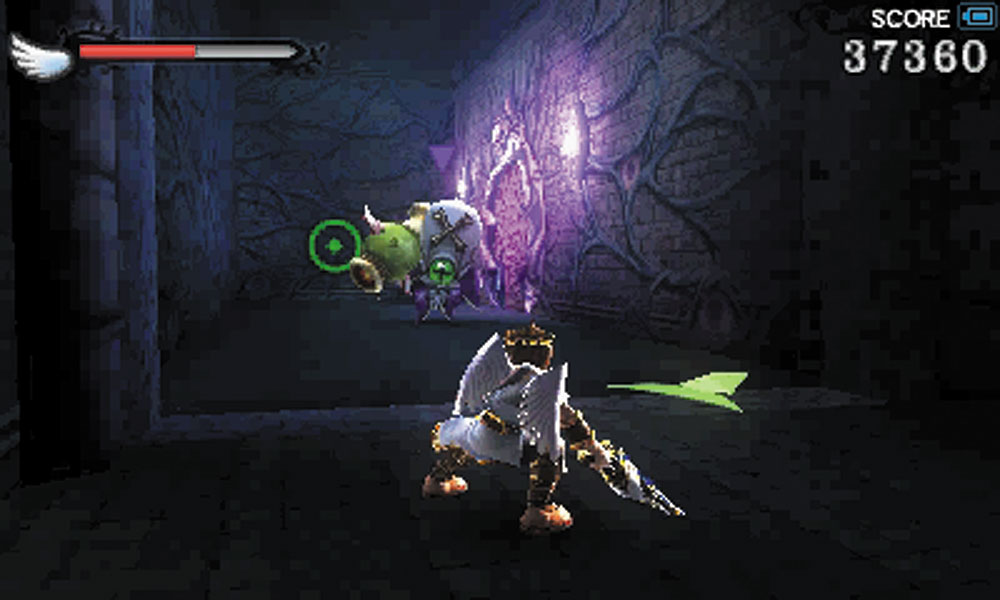
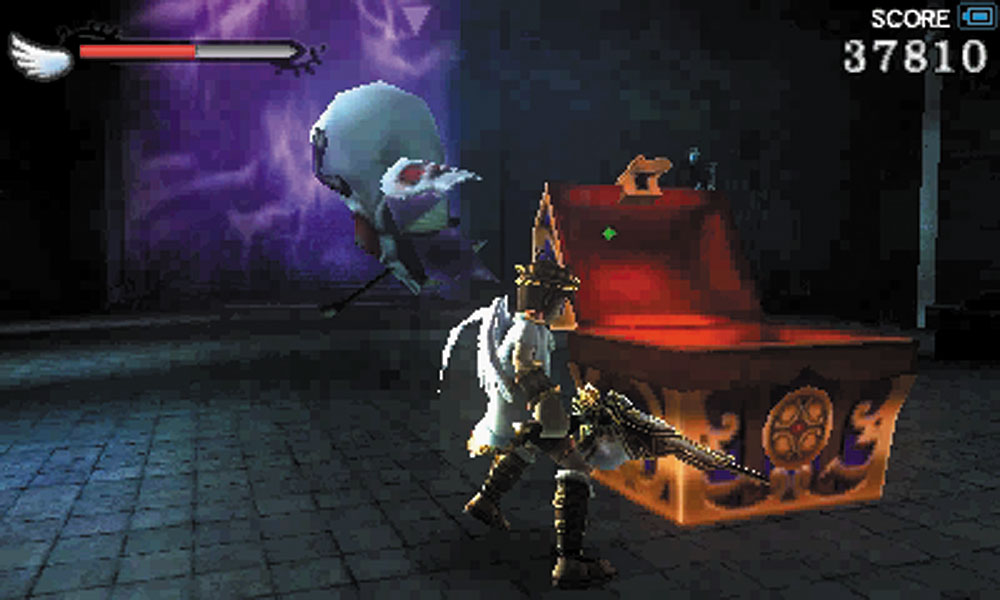
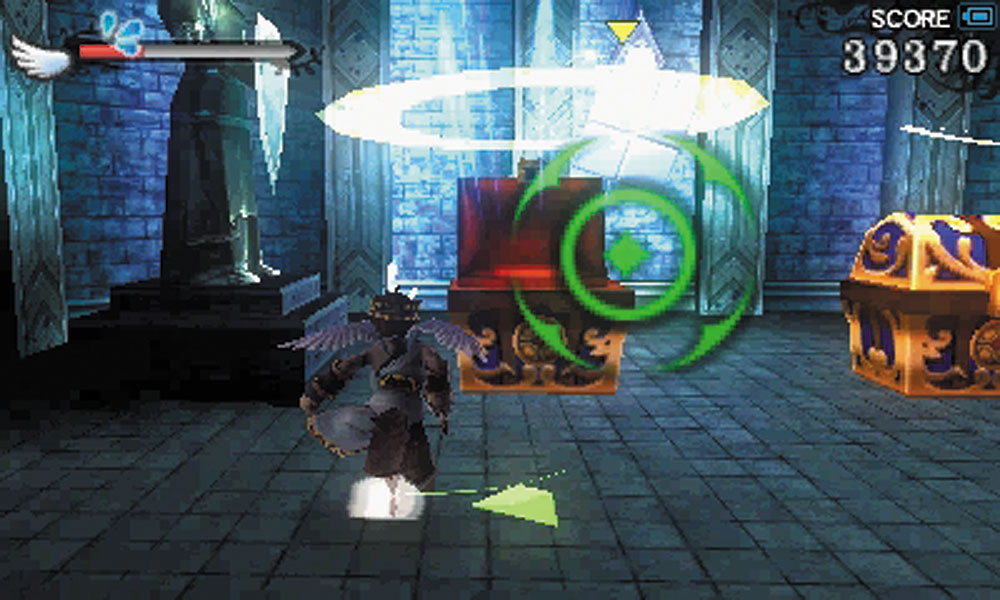
4. As you exit the grand hall, Palutena informs you of treasure to your left, so explore in that direction to find a side chamber. There, you are ambushed by more Underworld goons as soon as you try to open a Treasure Box. Beat down these Skuttlers, then go deeper into this room to claim your prize. More goons turn up to try to stop you after you’ve collected your loot, but if you clear them out, food will appear near the exit to help you recover from the fights.
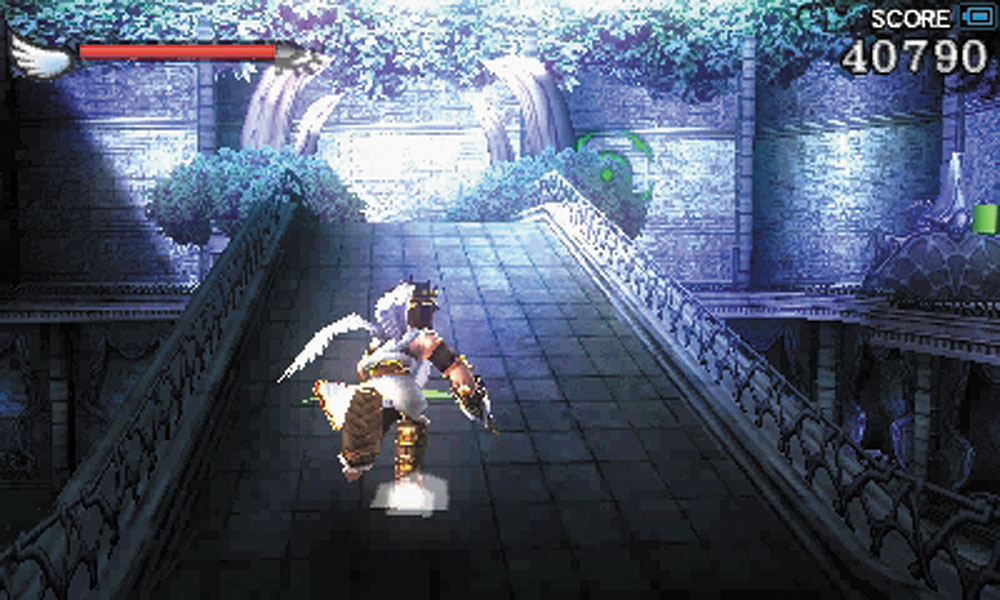
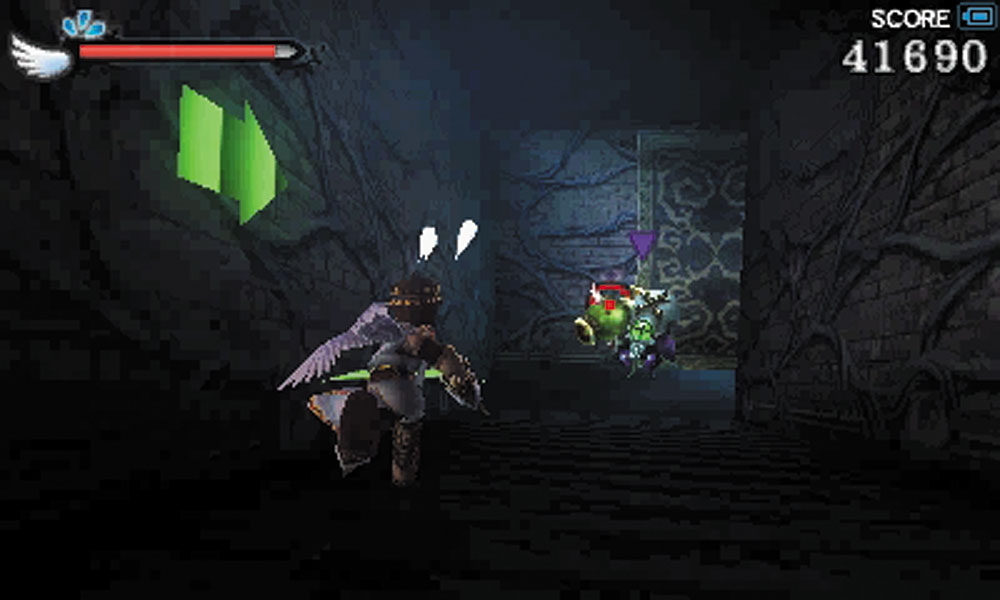
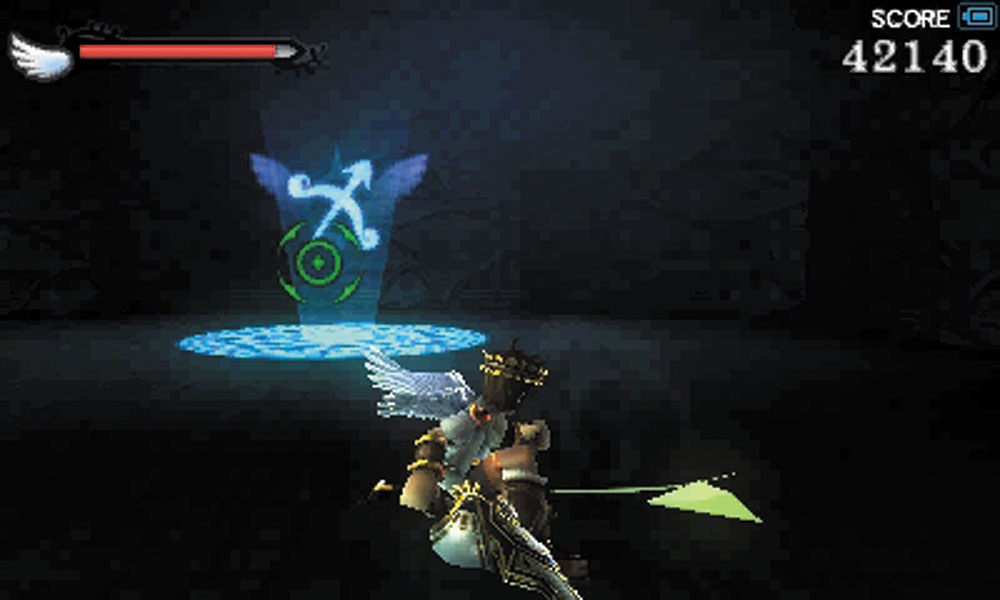
5. Now cross the bridge into the next section. A stairwell takes you lower into the castle depths. A Skuttler Cannoneer protects a passage hidden by a wall drape. This passage leads to your first Zodiac weapon of the game. Continue down the stairs.
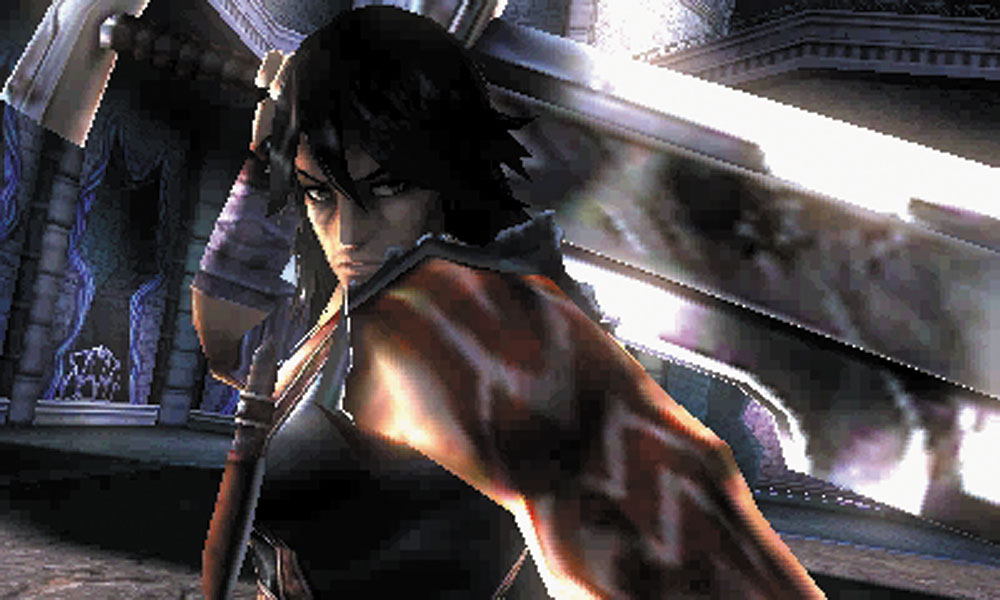
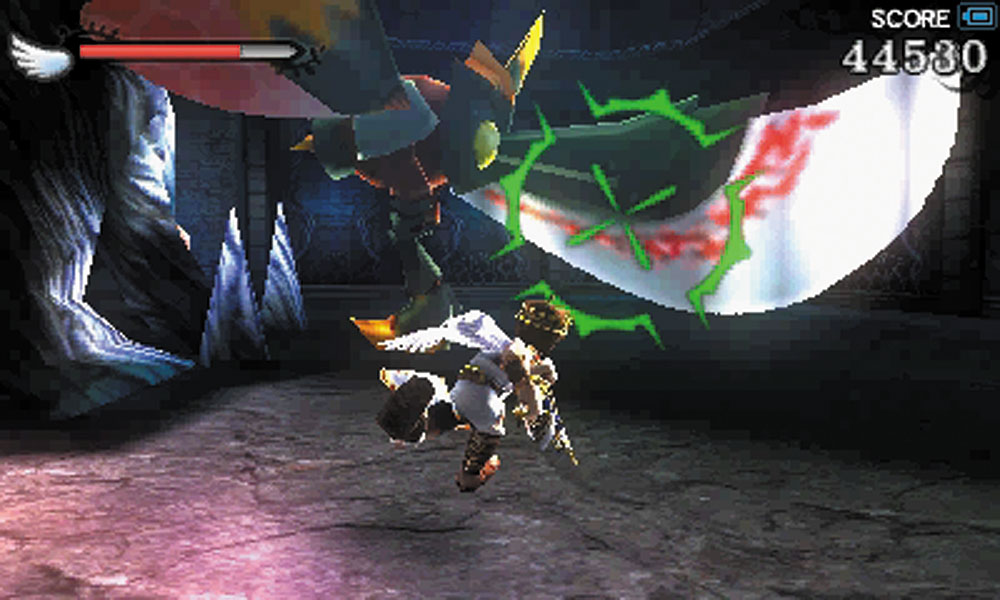
6. As soon as you enter this room, you’re introduced to the human mercenary, Magnus. He has single-handedly infiltrated the castle and his immense strength is making short work of the Underworld Army troops. He explains he’s here for the reward for taking Gaol down, and despite his questionable morals, Palutena instructs Pit to help him. This is one of the largest battles yet, so pace yourself and don’t get reckless. Eventually, the enemy is driven away, and you get a Treasure Box for your efforts. Continue to follow the arrows down another hole.
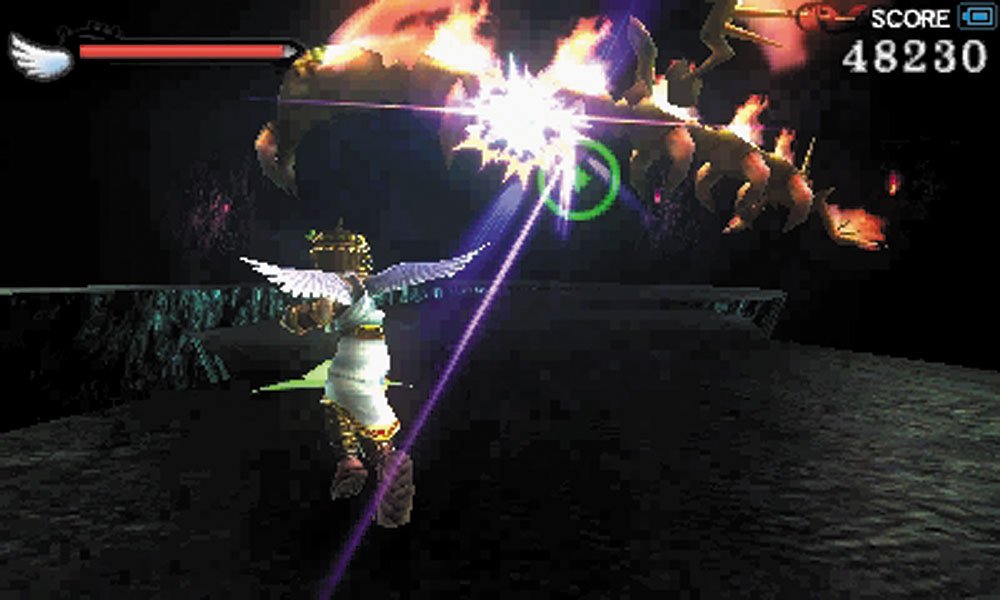
7. The real danger on this twisting path is the enemy. A Fire Wyrm floats around the bridge, barraging you with flames. Between you and Magnus, any ground forces are easily beaten, giving you plenty of free shots at the Fire Wyrm.
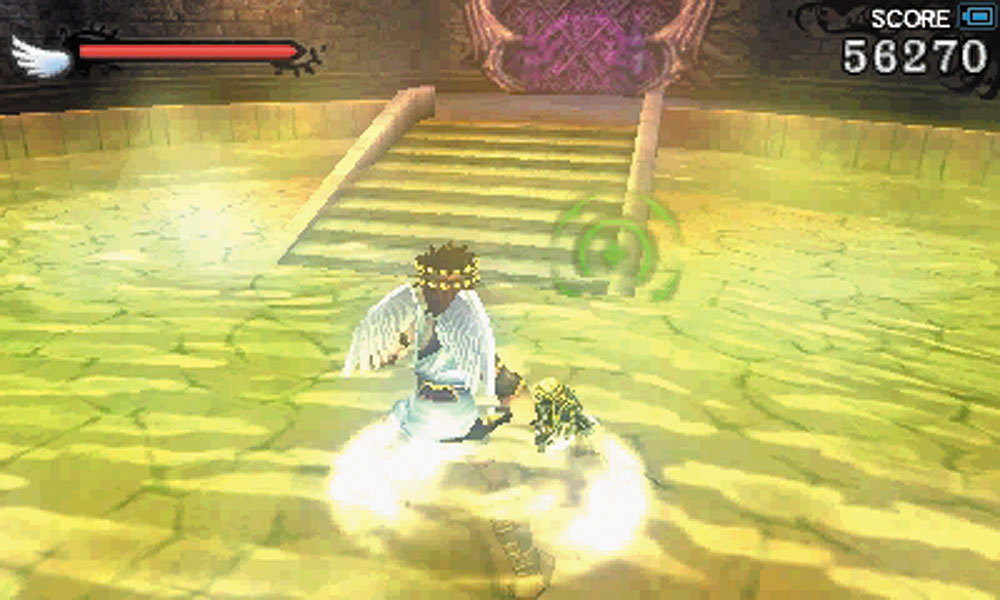
8. The room after the winding path is where another Skuttler ambush awaits. After you cut through this, an elevator becomes accessible. Enter it, and when you exit it, you’ll be on a rooftop with two doors. Take the one to your right to enter a health-restoring hot spring.
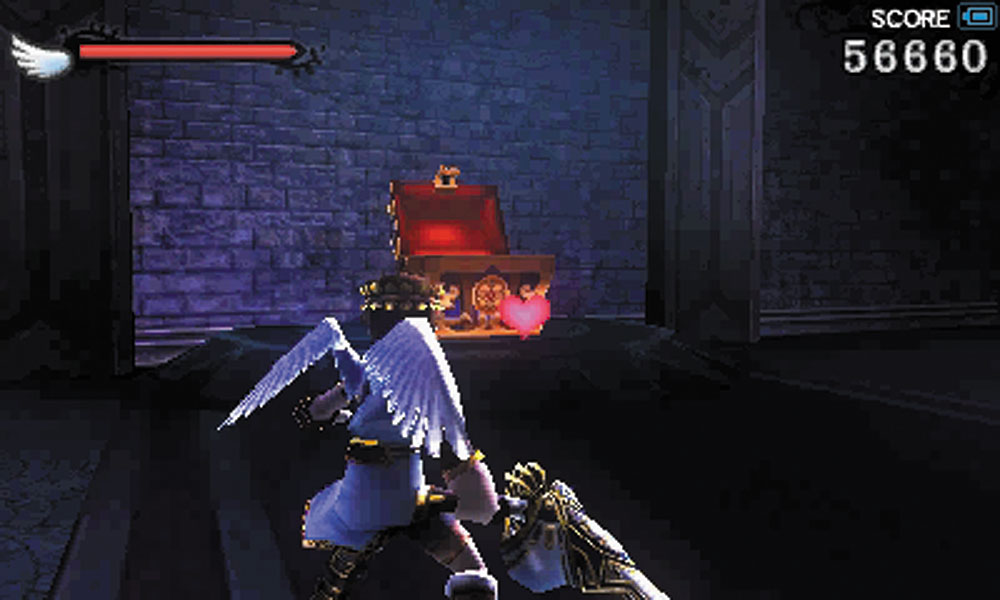
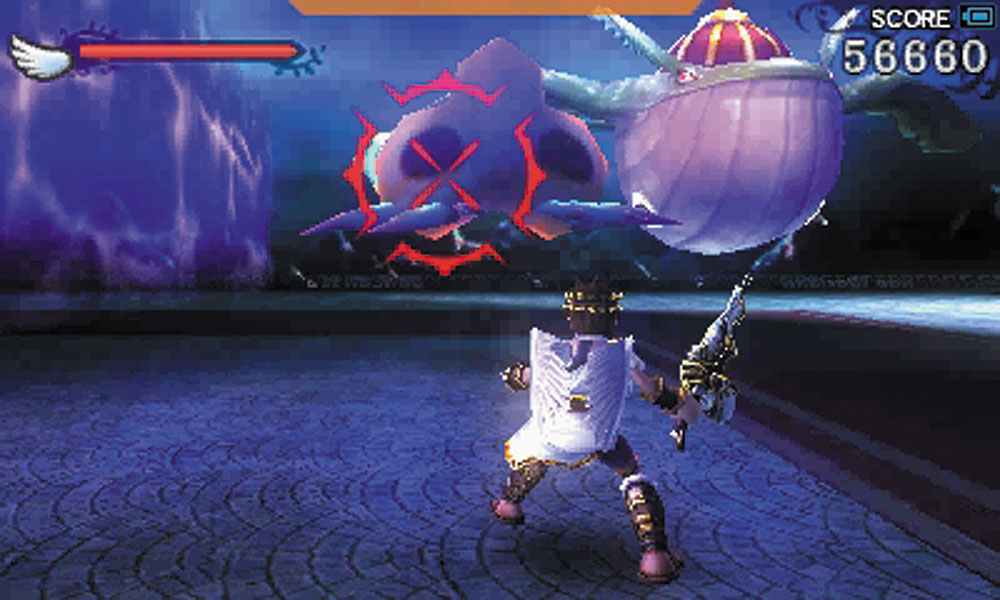
9. The other door remains locked, but the red carpet leads to a Treasure Box that Magnus rightfully declares to be a trap. If you approach the box despite the warnings, you trigger an ambush. You have to beat this ambush to unseal the door leading further into the castle. A Belunka and a Specknose start this party, and a second wave of enemies appears as soon as they are taken care of.
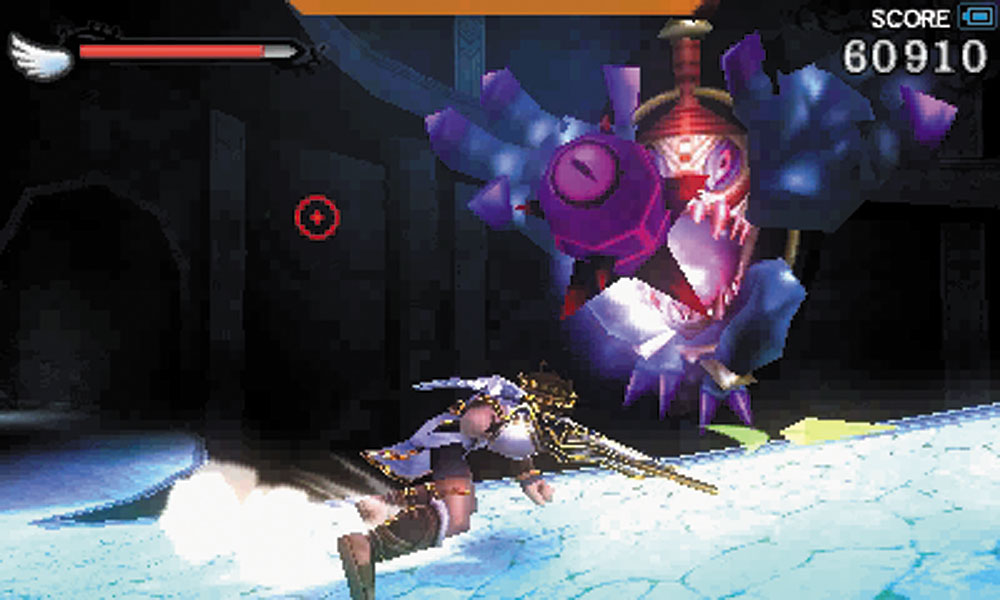
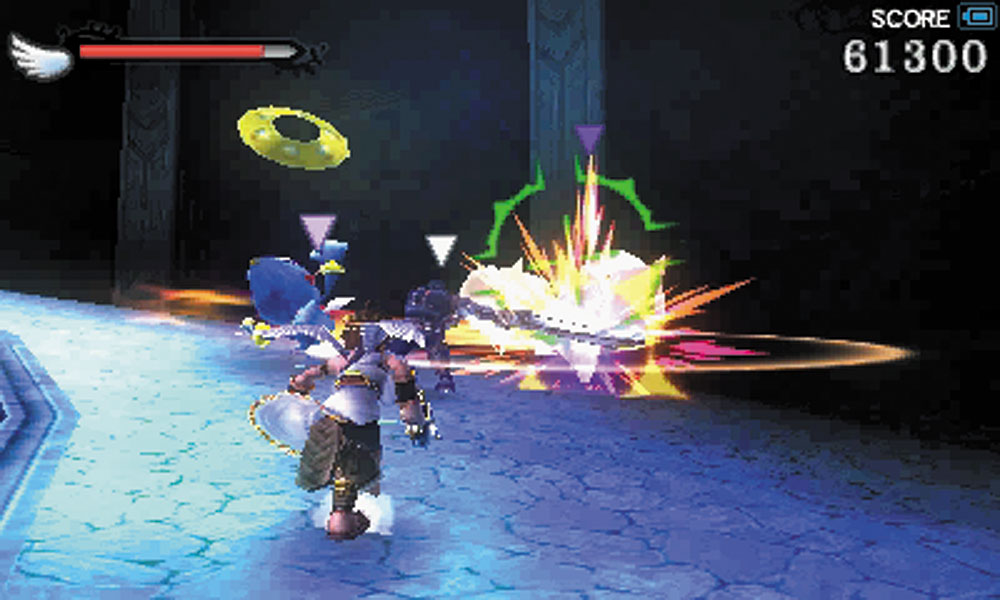
10. The newly unsealed door leads to a long spiraling passage that guides you up the tower. You’ll be attacked by a variety of foes the whole way up. Among them are Shildeens, smaller blue baddies that project force fields that allow the enemy to take potshots at you while preventing you from getting to them. Once that shield goes down, Pit and Magnus can shred the Shildeens quickly. This passage is the final stretch. Once you reach the top, a Drink of the Gods awaits you: You’re at Gaol’s front door.