Prima Games eGuides
primagames.com Browse Redeem a code Help
Kid Icarus: Uprising eGuide
Sign in My Guides

Sign in or create an account

We'll email you a link. No password needed, and if you don't have an account yet, the link makes one.

By creating an account or signing in, you agree to our Terms of Service and Privacy Policy.

Have a password?

Had an account on the old eGuides site, or a code from a printed guide? Help and troubleshooting

Sign in with a password

By signing in, you agree to our Terms of Service and Privacy Policy.

Check your email

A sign-in link is on its way. It works once and expires in 15 minutes. Open it and you're in, with an account if you didn't already have one.

Contents

  • Essentials
    • How to Play

      • Moving

      • Dash

      • Dodge (Land Battle)

      • Dodge (Air Battle)

      • Dash-Around (Land Battle)

      • Recovery

      • Aiming

      • Changing Direction

      • Attacking

      • Dash Attacks

      • Switching and Using Powers (Land Battle)

      • Special Attack (Air Battle)

    • Features and Modes
      • Solo

      • Together

      • StreetPass

      • Vault

      • Options

      • AR

      • How To Play 

    • Weapons and Powers

      • Weapon Fusion

      • Weapon Types and Fusion Charts - Bows
      • Weapon Types and Fusion Charts - Palm
      • Weapon Types and Fusion Charts - Staff
      • Weapon Types and Fusion Charts - Blade
      • Weapon Types and Fusion Charts - Orbitar
      • Weapon Types and Fusion Charts - Cannon
      • Weapon Types and Fusion Charts - Claw
      • Weapon Types and Fusion Charts - Club
      • Weapon Types and Fusion Charts - Arm
      • Powers
    • Enemies

      • Enemies

  • Walkthrough
    • Chapter 1: The Return of Palutena

      • Air Battle

      • Land Battle

      • Boss Battle: Twinbellows the Ferocious

    • Chapter 2: Magnus and the Dark Lord

      • Air Battle

      • Land Battle

      • Boss Battle: Dark Lord Gaol

    • Chapter 3: Heads of the Hewdraw

      • Air Battle

      • Land Battle

      • Boss Battle
: Hewdraw Reborn

    • Chapter 4: The Reaper’s Line of Sight

      • Air Battle

      • Land Battle

      • Boss Battle: Great Reaper

    • Chapter 5: Pandora’s Labyrinth of Deceit

      • Air Battle

      • Land Battle

      • Boss Battle: Pandora, Goddess of Calamity

    • Chapter 6: Dark Pit

      • Air Battle

      • Land Battle

      • Boss Battle: Dark Pit

    • Chapter 7: The Seafloor Palace
      • Air Battle
      • Land Battle
      • Boss Battle: Thanatos, God of Death
    • Chapter 8: The Space Pirate Ship

      • Air Battle

      • Land Battle

      • Boss Battle: Space Pirate Captain
      • Galactic Fiend, Kraken

    • Chapter 9: Medusa’s Final Battle

      • Air Battle

      • Land Battle

      • Boss Battle: Medusa, Queen of the Underworld

    • Chapter 10: The Wish Seed

      • Air Battle

      • Land Battle

      • Boss Battle: The Immortal Phoenix

    • Chapter 11: Viridi, Goddess of Nature

      • Air Battle

      • Land Battle

      • Boss Battle: Cragalanche the Mighty

    • Chapter 12: Wrath of the Reset Bomb

      • Air Battle

      • Land Battle

      • Boss Battle: Reset Bomb Pod

    • Chapter 13: The Lunar Sanctum

      • Air Battle

      • Land Battle

      • Battle Battle: Arlon the Serene

    • Chapter 14: Lightning Battle

      • Air Battle

      • Land Battle

      • Boss Battle: Lightning Flash Phosphora

    • Chapter 15: Mysterious Invaders

      • Air Battle

      • Land Battle

      • Boss Battle: Aurum Core

    • Chapter 16: The Aurum Hive

      • Air Battle

      • Land Battle

      • Boss Battle: Aurum Generator

    • Chapter 17: The Aurum Brain

      • Air Battle

      • Land Battle

      • Boss Battle: Aurum Pyrrhon

    • Chapter 18: The Ring of Chaos

      • Land Battle

      • Boss Battle: Pit’s Body

      • Air Battle

    • Chapter 19: The Lightning Chariot

      • Air Battle

      • Land Battle 

      • Boss Battle: Chariot Master

    • Chapter 20: Palutena’s Temple

      • Air Battle

      • Land Battle
      • Boss Battle
: Goddess Palutena
    • Chapter 21: The Chaos Vortex

      • Air Battle

      • Land Battle 

      • Boss Battle: Chaos Kin

    • Chapter 22: Scorched Feathers

      • Air Battle

      • Boss Battle: Pandora

      • Boss Battle: Amazon Pandora

    • Chapter 23: Lord of the Underworld

      • Air Battle

      • Land Battle

      • Boss Battle: Hades’ Heart

    • Chapter 24: The Three Trials

      • Air Battle

      • Land Battle 

      • Boss Battle: Gaol and Magnus

      • Boss Battle: Goddess Palutena

      • Boss Battle: Pseudo-Palutena

      • Boss Battle: Great Sacred Treasure

    • Chapter 25: The War’s End

      • Air Battle

      • Boss Battle: Hades, Lord of the Underworld

  • Multiplayer
    • Multiplayer
      • Multiplayer

Kid Icarus: Uprising Guide › Walkthrough › Chapter 24: The Three Trials


Boss Battle: Great Sacred Treasure
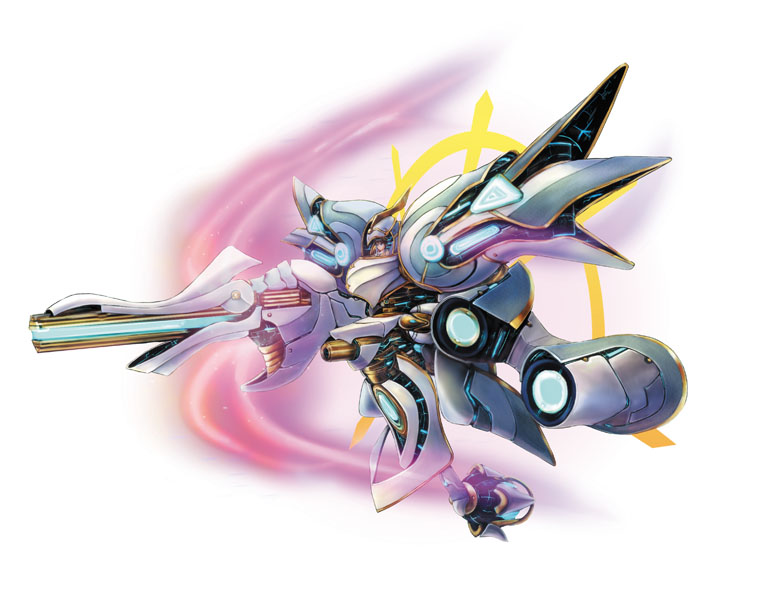

Health Range
Min Health Max Health
400 2000

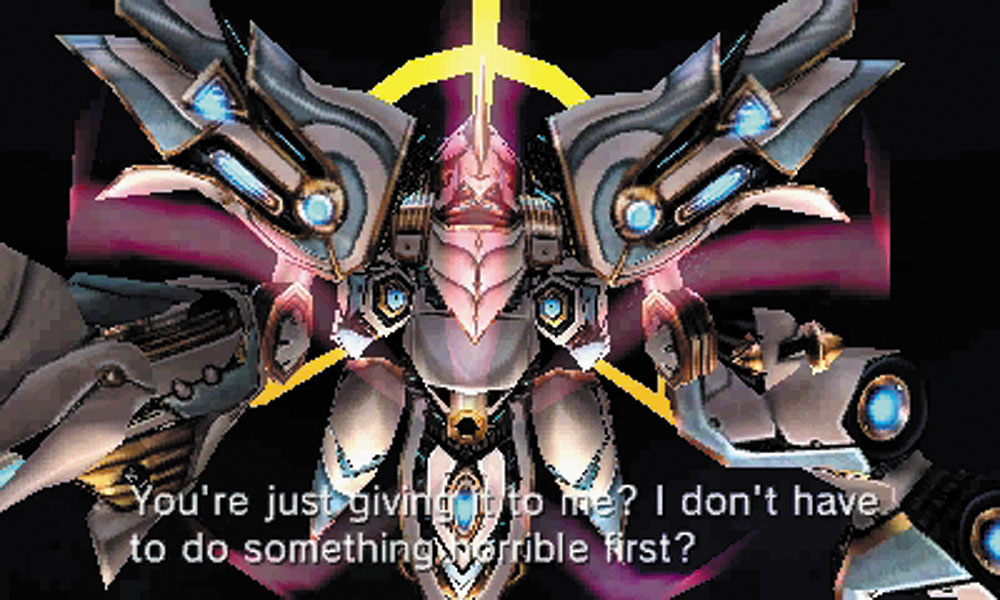
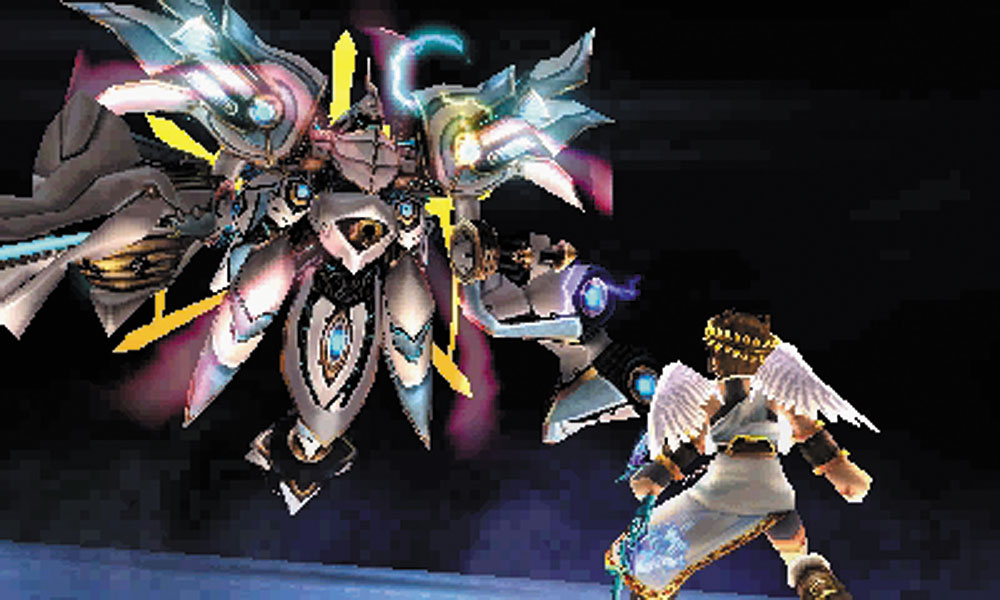
The true boss of this chapter is the very weapon you have sought to receive from Dyntos, the Great Sacred Treasure. A transforming, giant mech equipped with the latest weapons Dyntos has invented, it is designed to take on and go beyond the impossible. It is the first and last word on firepower. It’s also aiming all of that firepower directly at you. Fortunately, you do get a Drink of the Gods before this fight begins.
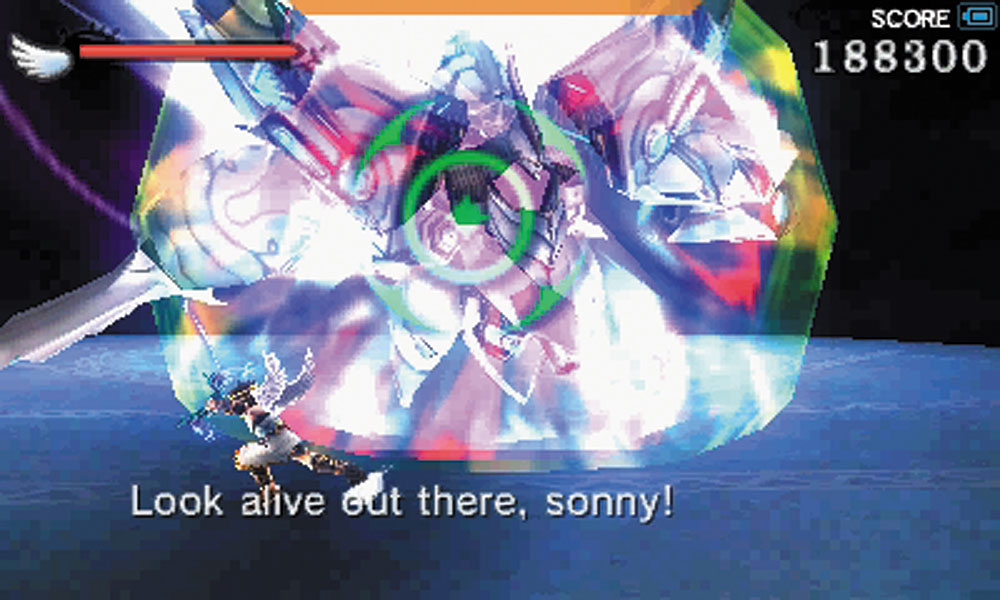
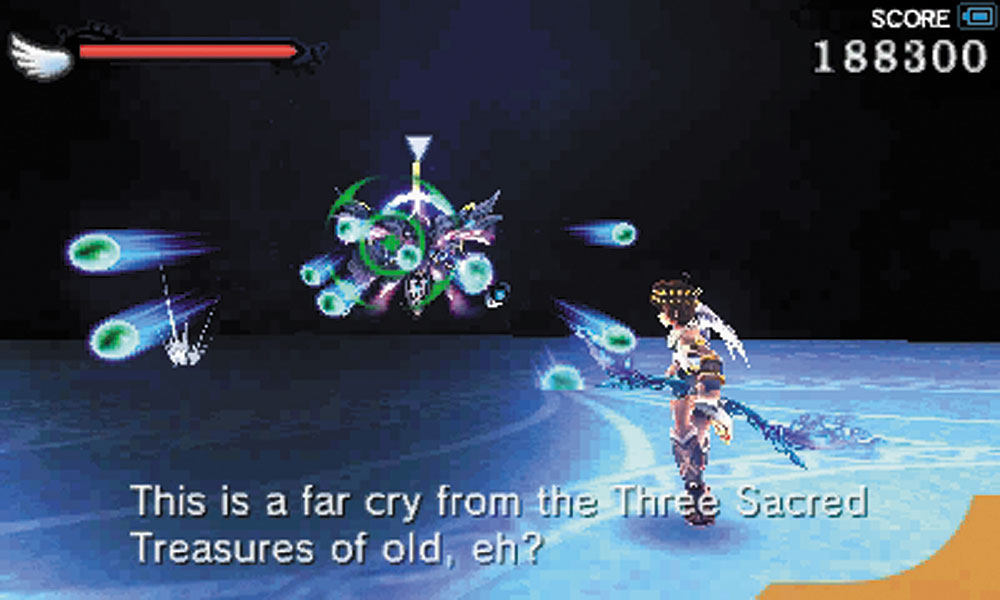
The Great Sacred Treasure has a wide variety of attacks it can use for this fight, some of which you may not even get to see unless you are playing on the higher Intensities. A common attack it uses is simply to fly at high speed toward Pit, while generating a magic barrier. This can be dodged fairly easily. It also tries to fire a scattershot of energy blasts from afar.
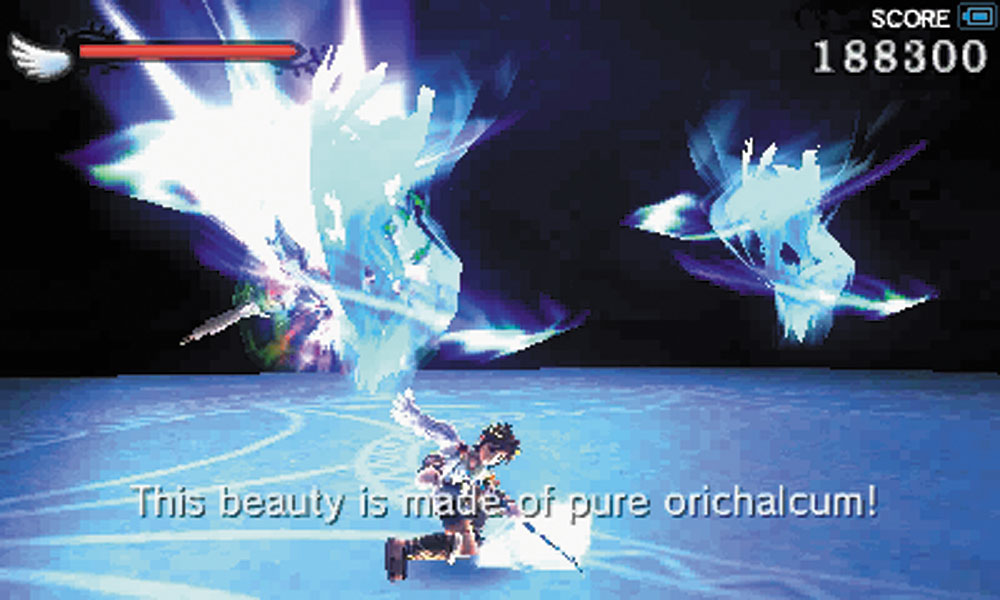
The machine can cast out a trio of whirlwinds that move in a wave pattern at you.
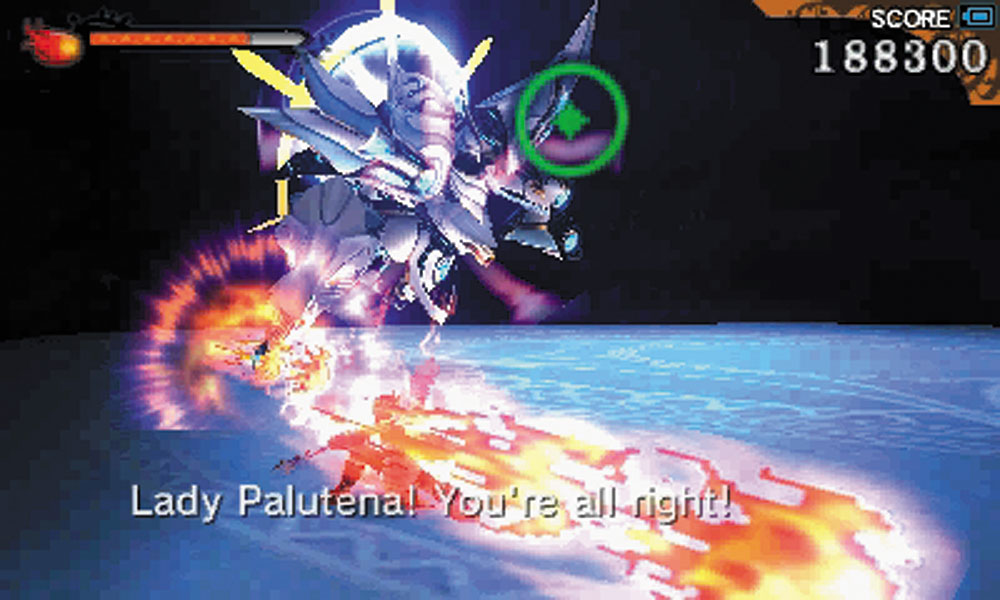
It can use its main rifle to fire a blast that sets you on fire.
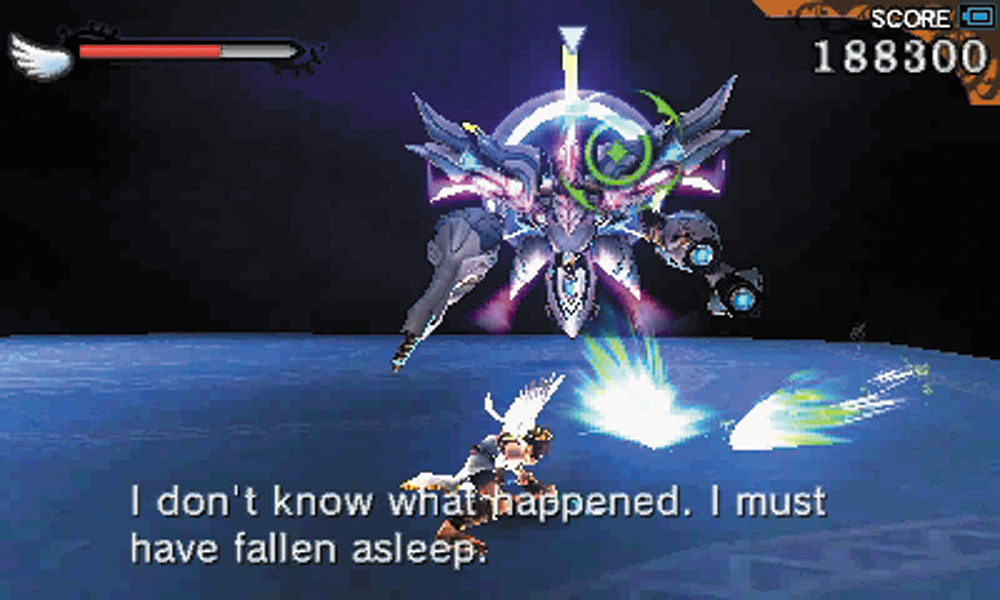
It can summon a set of homing shock waves that follow you along the ground.
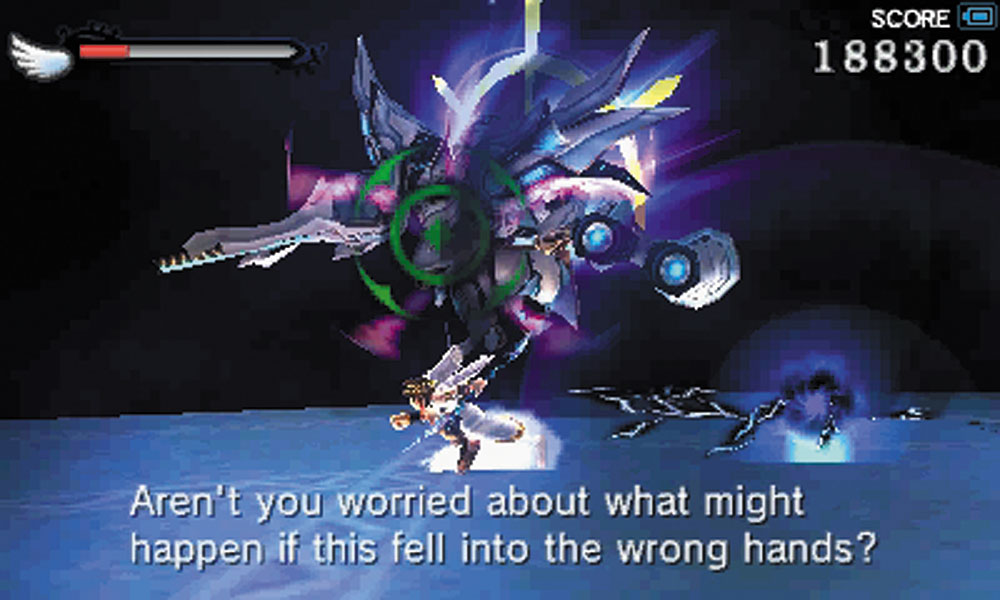
It’s even able to cast a gravity field that pulls you into position for the Great Sacred Treasure to hit you with any of its other attacks. Even touching the field causes electric damage to you.
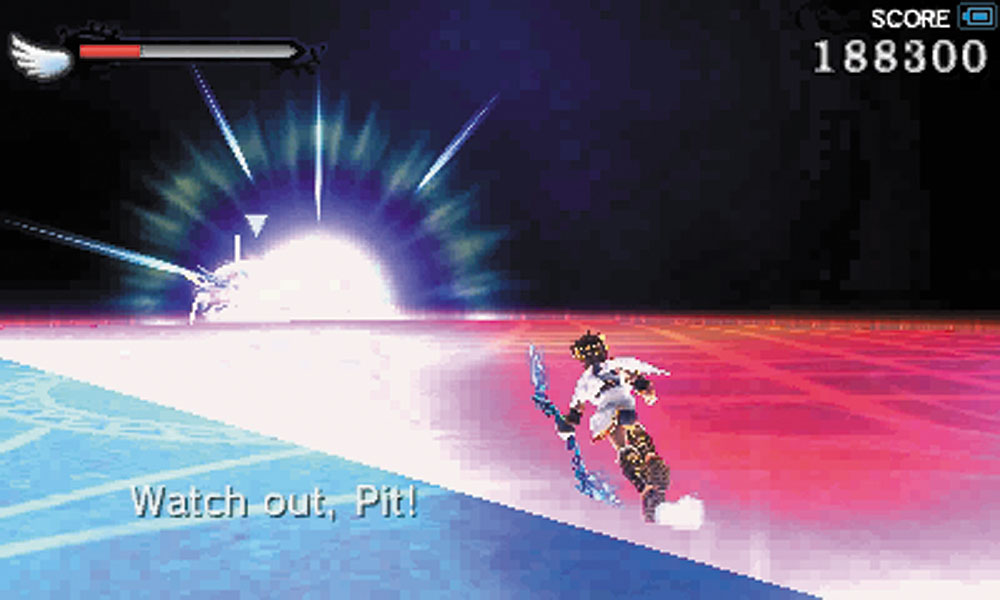
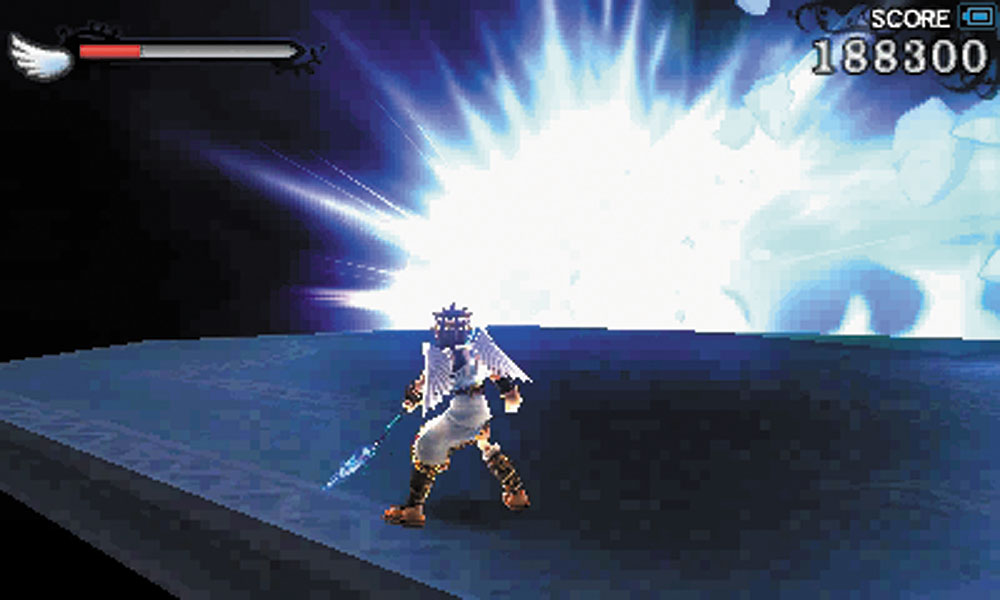
But the real showstopper here is the Great Sacred Treasure’s main gun attack. When it flies to the edge of the battlefield, shining brightly, and a red indicator spreads across the ground, do NOT be anywhere within that red field.
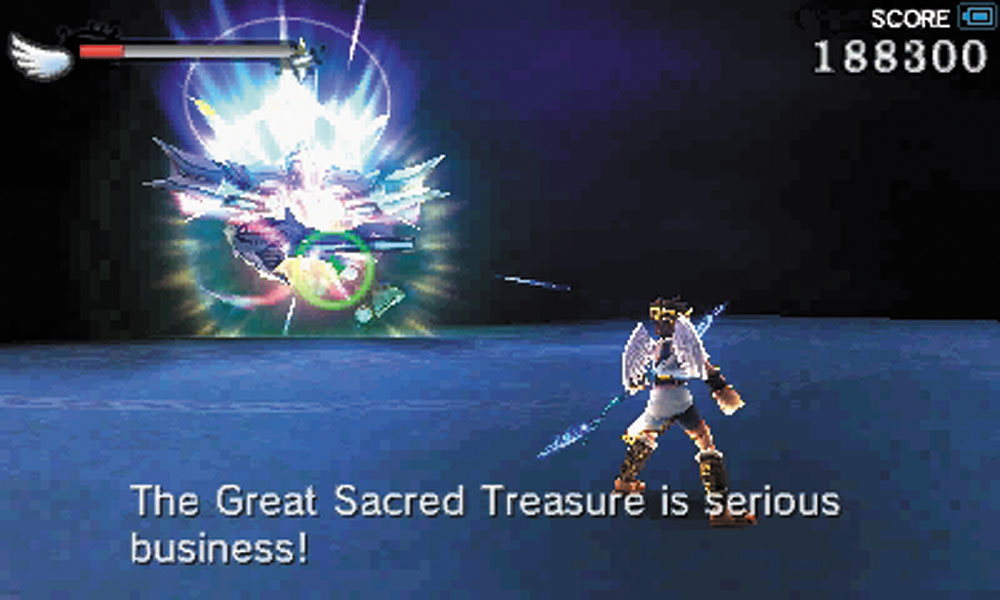
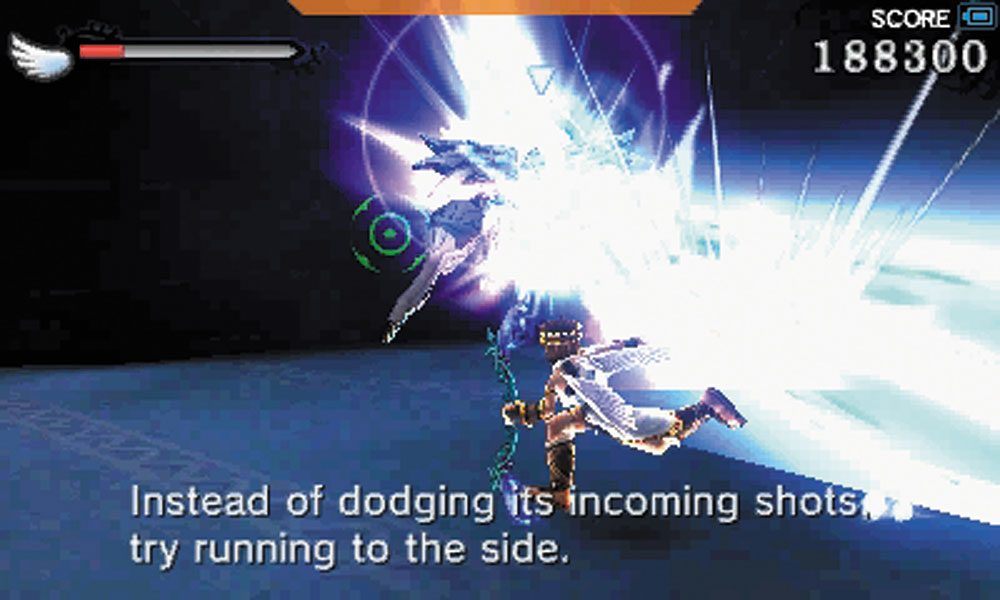
After firing the main gun, the Great Sacred Treasure also starts using a much smaller version of that attack, which is telegraphed by its hovering in place, with an energy field gathering around it. It then fires a laser beam that carves straight across the battlefield.

In addition to all of this firepower, the Great Sacred Treasure is amazingly fast and maneuverable for its size, able to avoid homing shots with ease. Occasionally, it teleports to your side, or even behind you, while avoiding your attacks. The mech seems to have an answer for your every possible move, so you’ll have to play defensively and take the shots you can without putting yourself at too much risk.
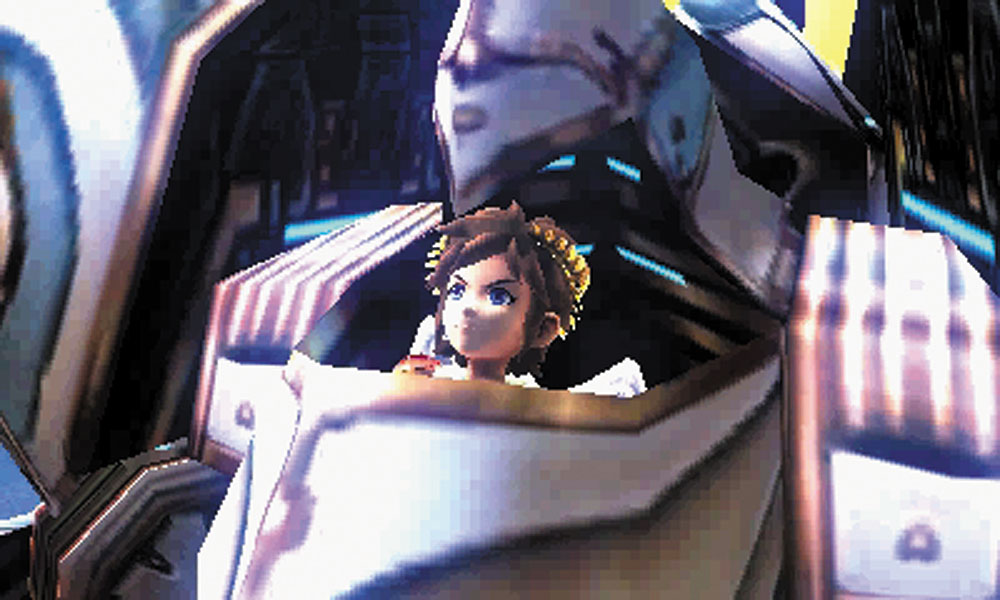
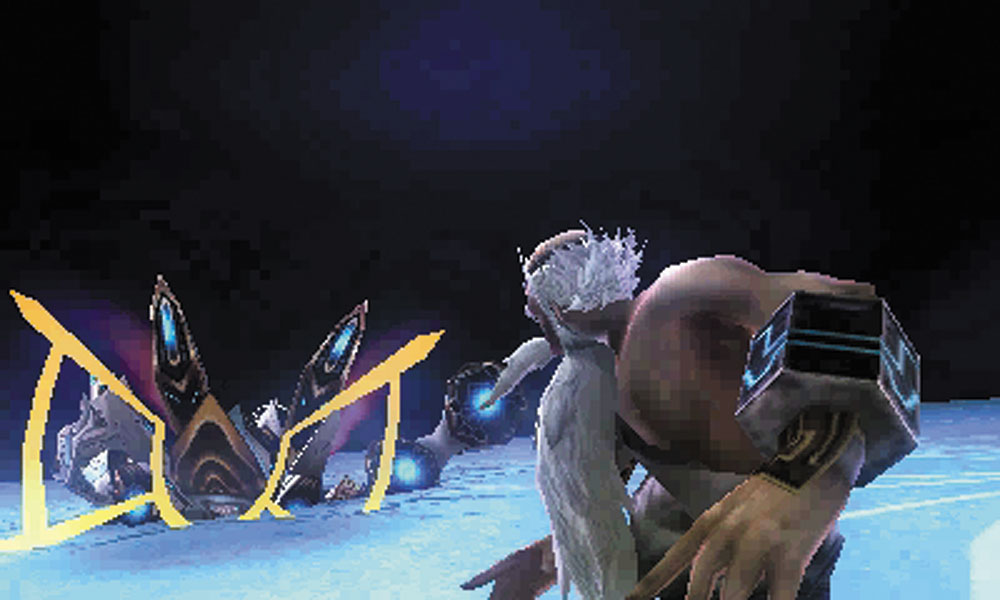
If you manage to survive the onslaught and win, this ultimate weapon is yours for the taking. With your preparations complete, there is nothing left to do but to go straight after Hades himself.

Keep reading with a free account

The first 3 sections of Kid Icarus: Uprising are open to everyone. An account opens the rest of it, and every other guide in the archive. It's free, and there's nothing to buy.

Bought guides on the old Prima Games site? Your account and every guide you own moved here, so there's nothing to buy again. Sign in.

Create a free account Or browse our free guides

PreviousBoss Battle: Pseudo-Palutena
 NextAir Battle