
Kid Icarus: Uprising Guide Walkthrough Chapter 4: The Reaper’s Line of Sight
Land Battle
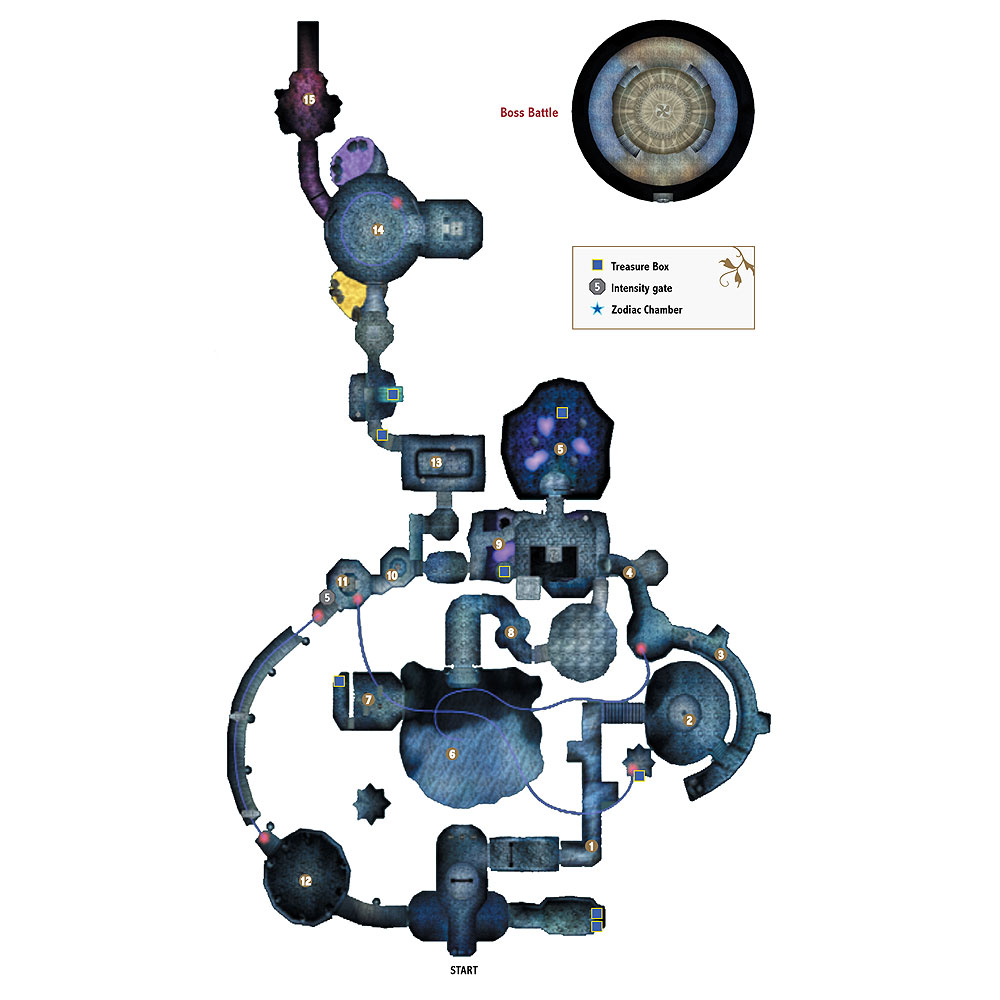
The Reaper Fortress makes an early impression, starting you directly in front of a giant guillotine. Collect any food you need by breaking the bottles at the entrance, and travel down the open corridor to the right.
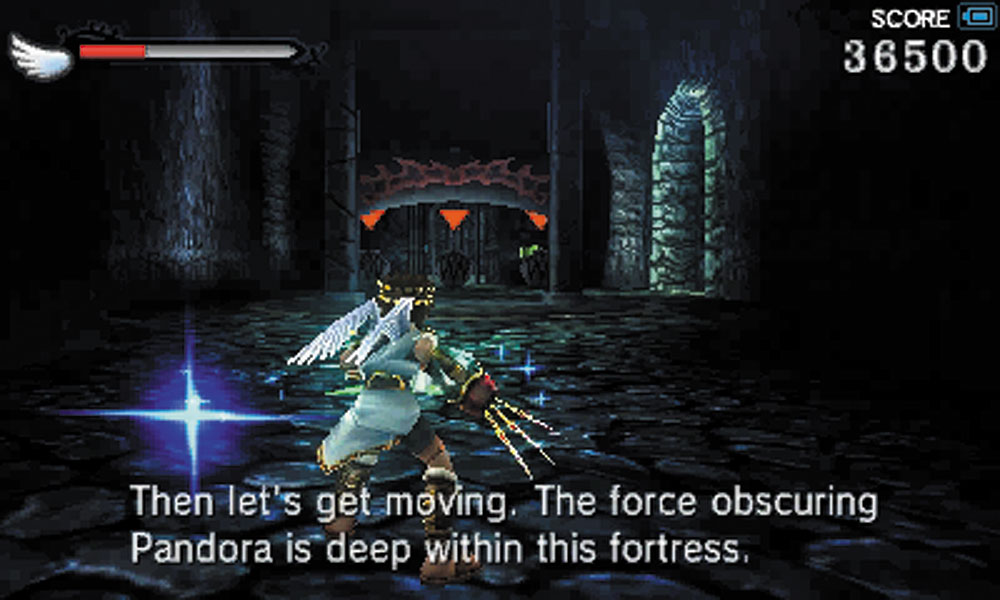
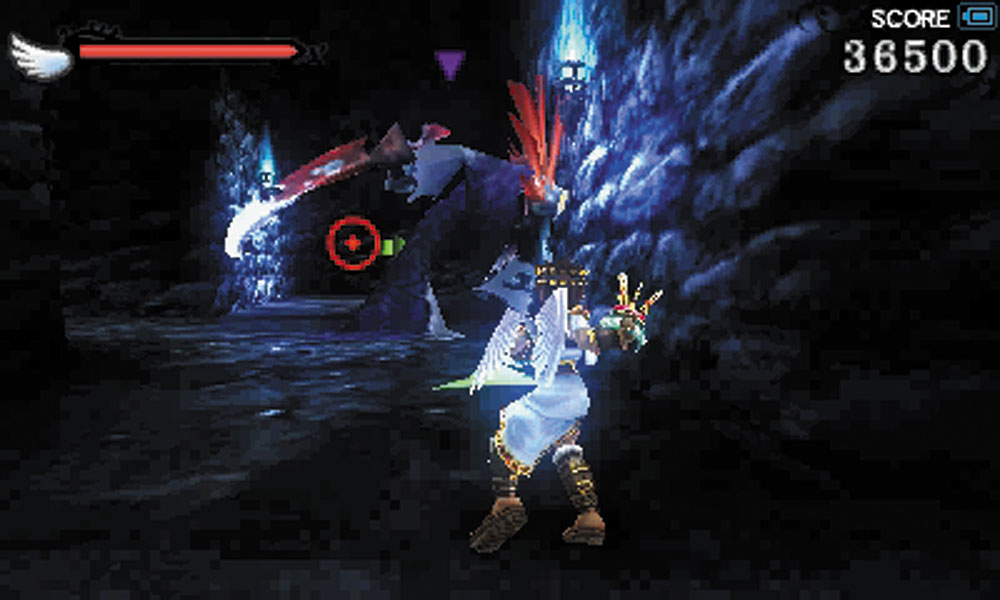
1. Reapers usually patrol slowly on set paths, projecting red laser sights from their eyes. Should they spot Pit or be disturbed by him in some way, they go berserk, chasing him down with their scythes and summoning Reapettes to attack. You can sneak past this Reaper, but if you’re feeling brave, you can go toe-to-toe with it.
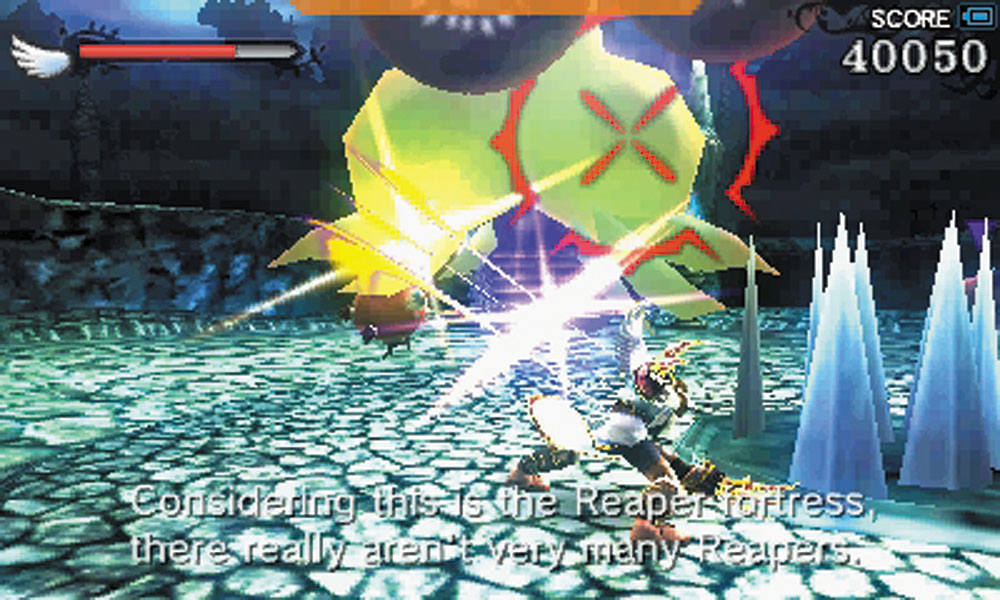
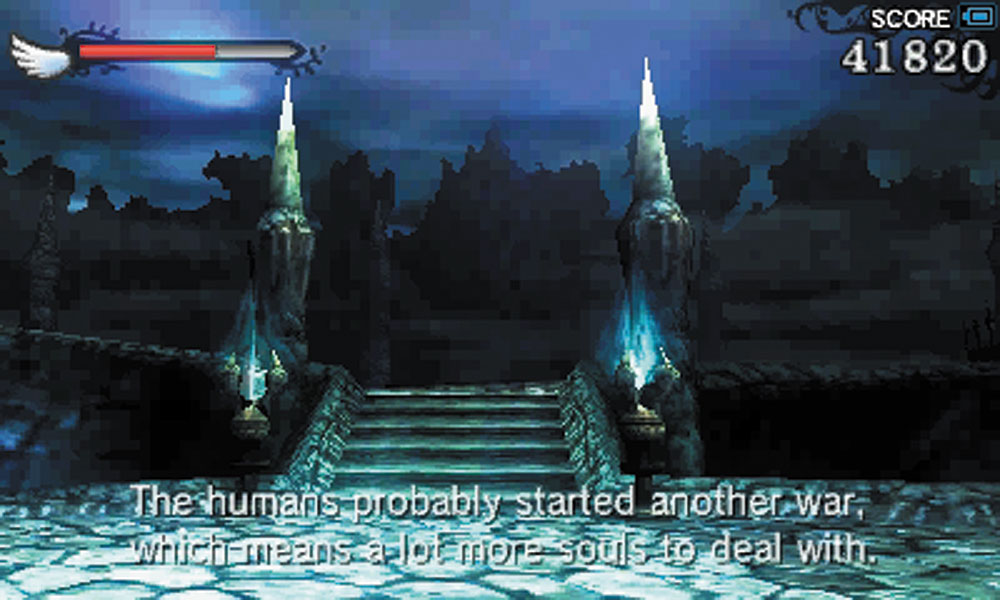
2. Watch out for the spikes at the center of this area. They shoot out as you get close, and enemy attacks can knock you into this trap. After the enemies are destroyed, the gate seals are released.
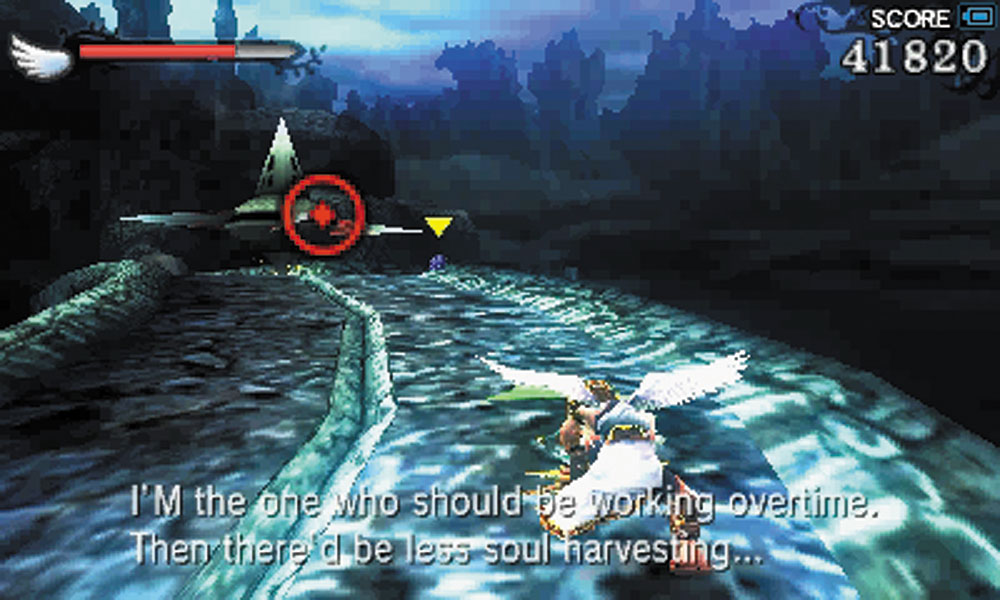
3. A spinning blade patrols this path. Use the side platforms to avoid it.
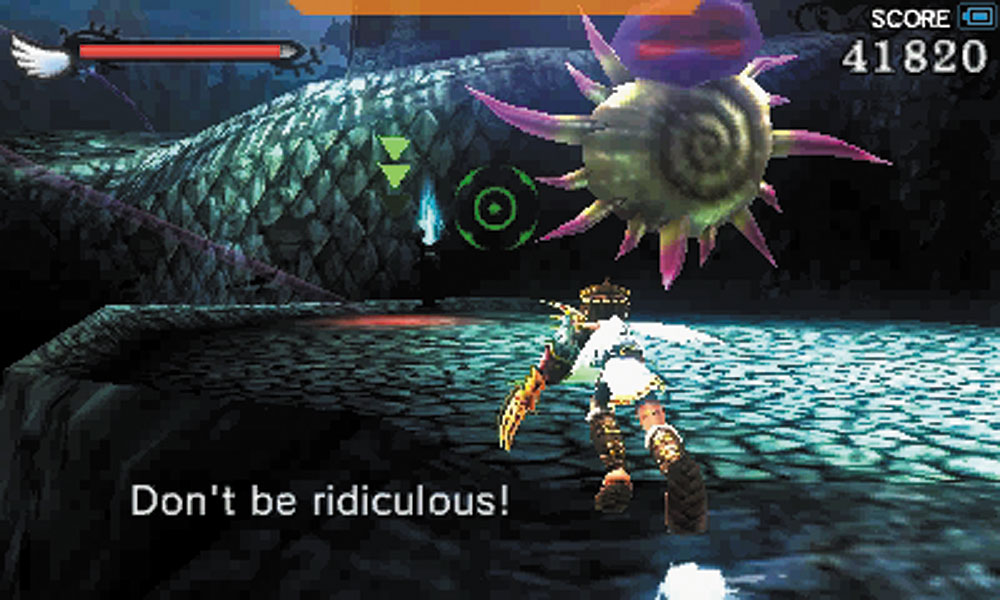
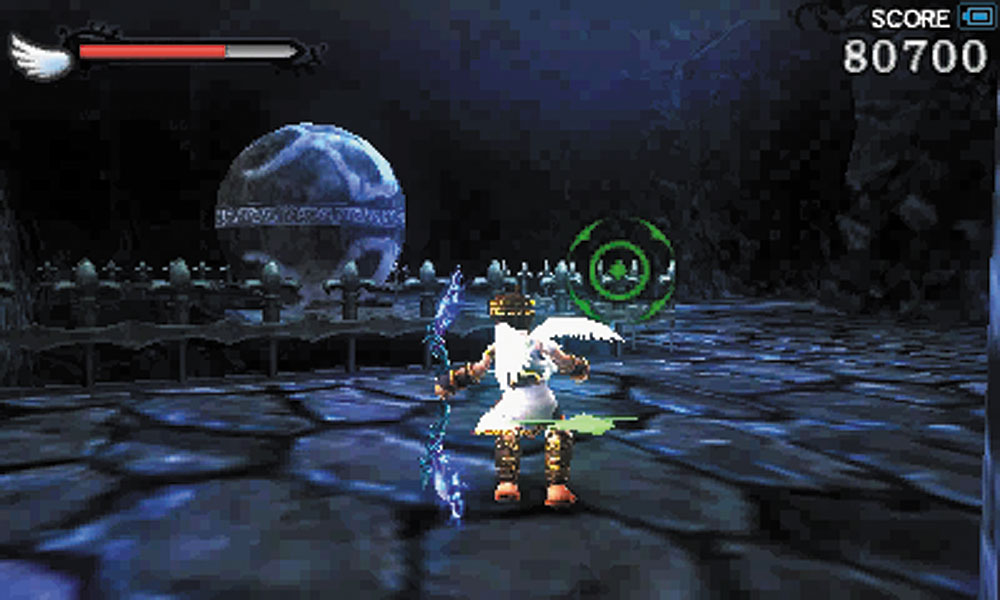
4. Don’t jump onto the grind rail immediately, as you can’t come back once you do! Eliminate the Shelbo, then check the side path leading to a large boulder. Destroying the boulder grants access to a secret room that contains a large stone sphere. Knock that into the abyss. It will come in handy later.
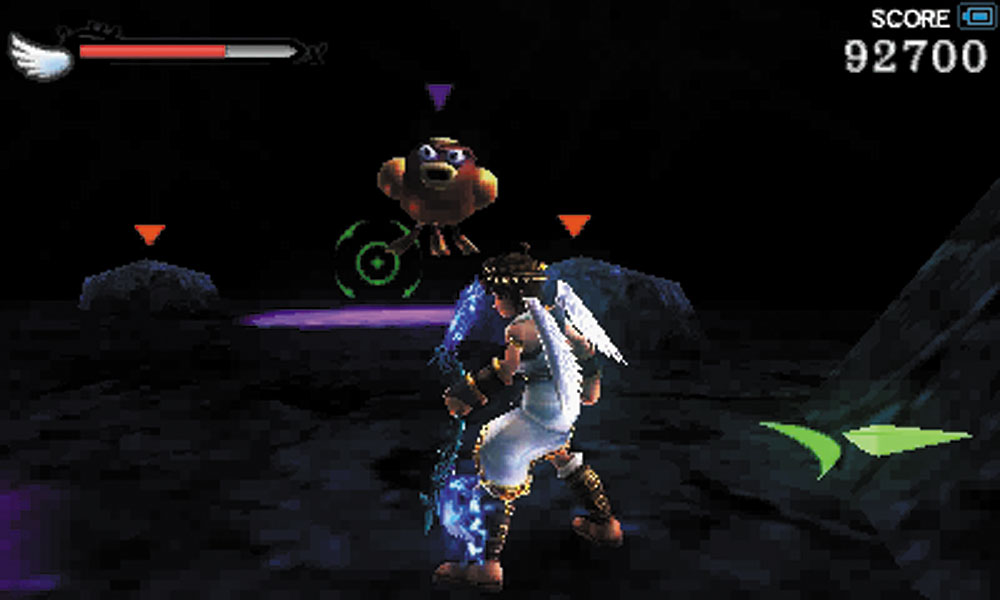
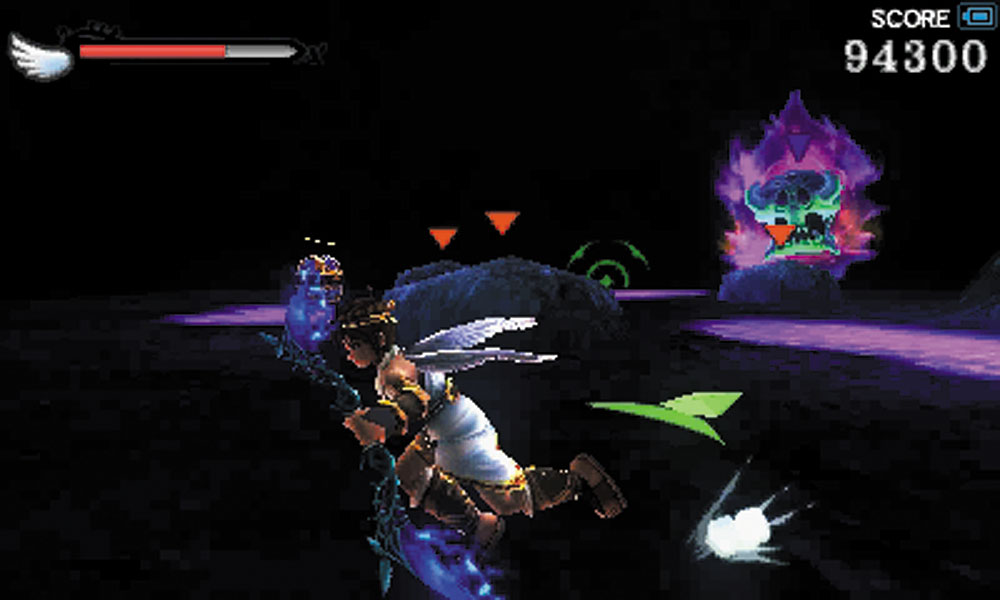
5. Across from the stone sphere in the hidden room is a ledge. You can drop down into a chamber filled with breakable stones, poisonous pools, a Treasure Box, and a number of enemies, including an invulnerable Orne. The Orne guards the Treasure Box, so you’ll need to draw it away and then sprint for the box. This is much easier to do if the other enemies are destroyed. After collecting your loot, destroy the stones in the room to find the jump pad that will take you to safety.
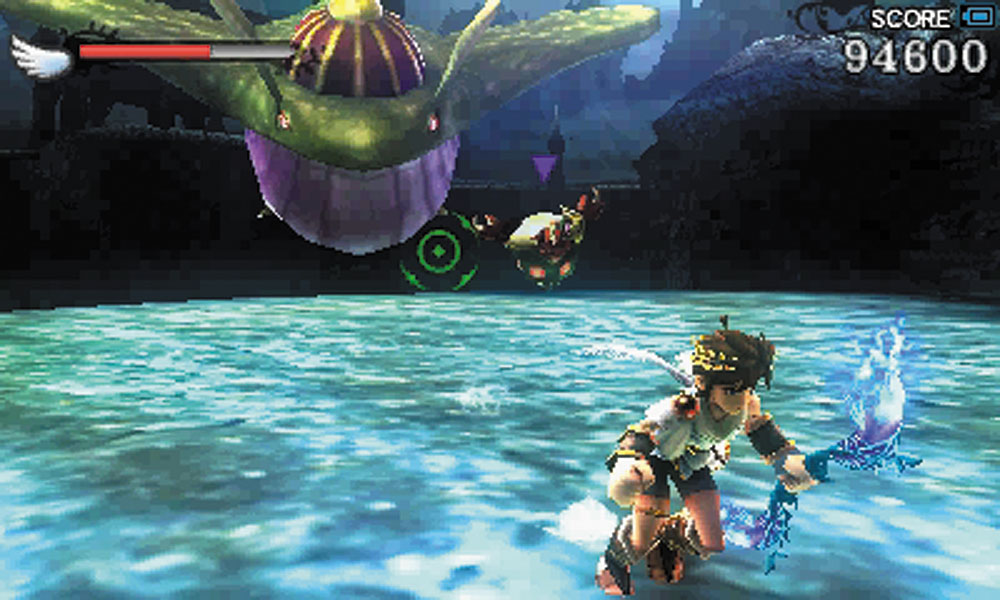
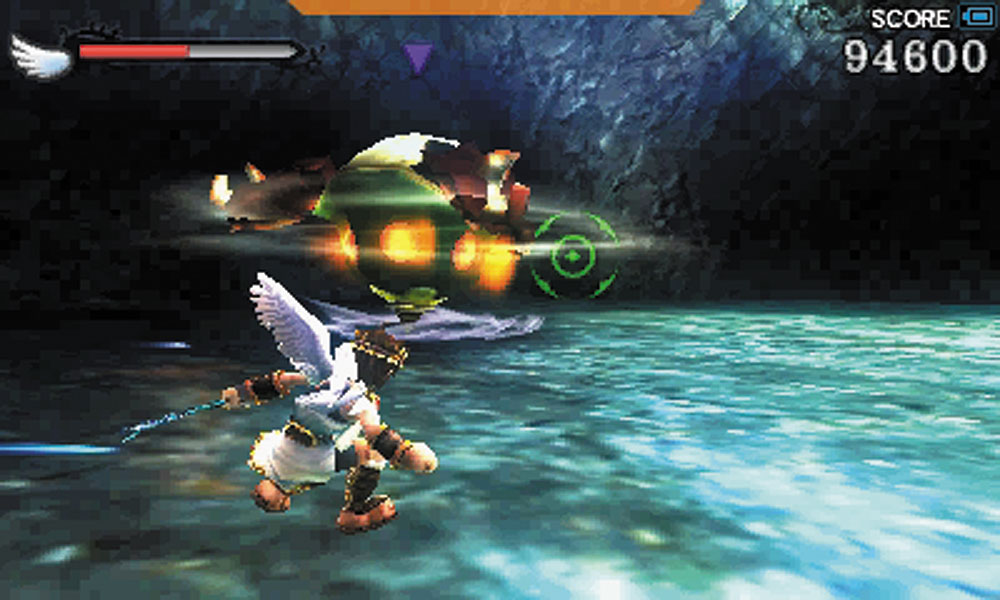
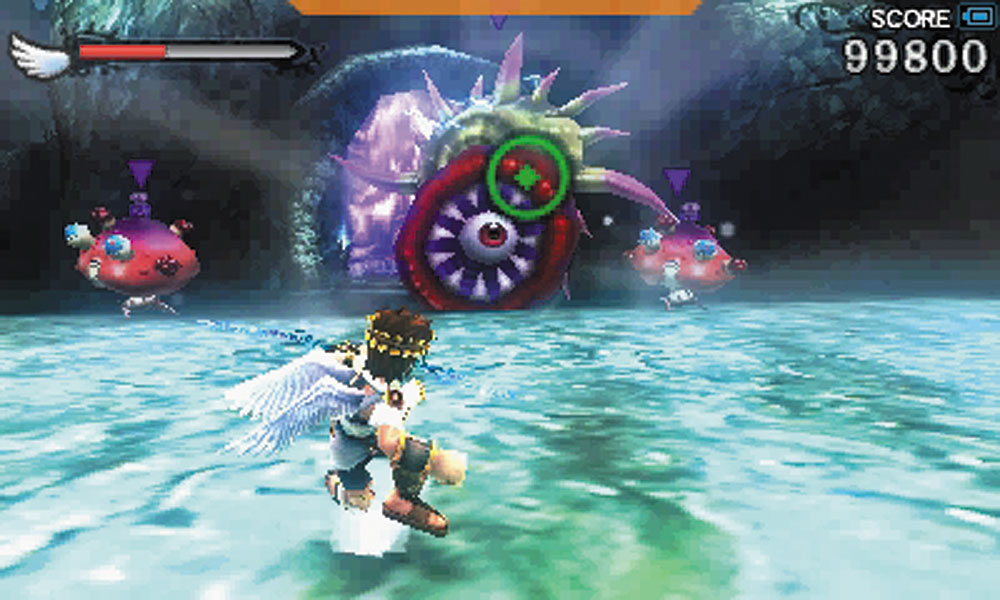
6. The grind rail takes you to a clearing where a Belunka and Tortolunk attack. Destroy the Tortolunk first, then focus on the Belunka. A Shelbo drops once the first monsters are defeated and killing it will unseal all of the nearby doors. Don’t immediately follow where the guiding arrows tell you to go, explore the other areas first.
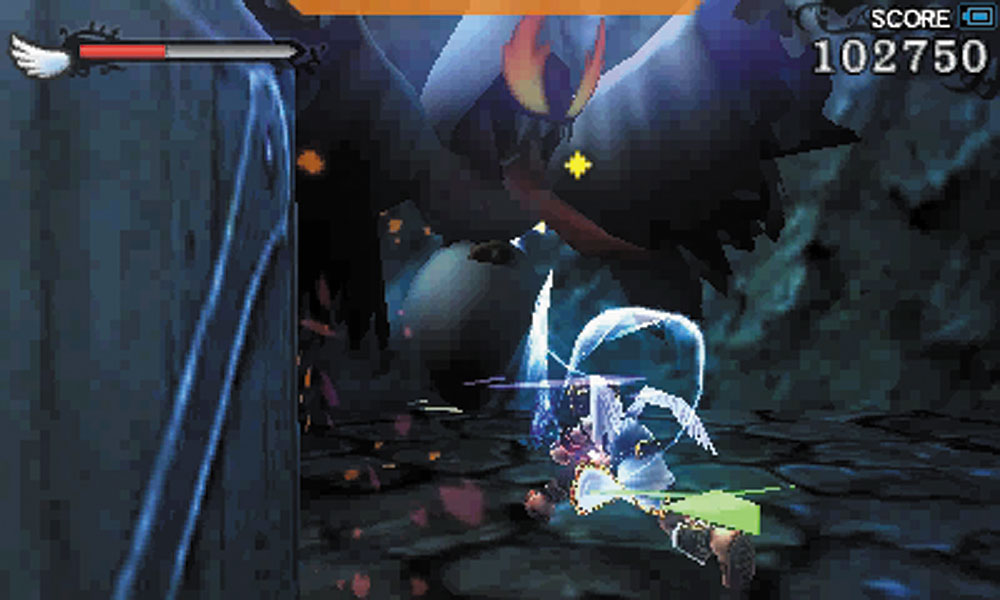
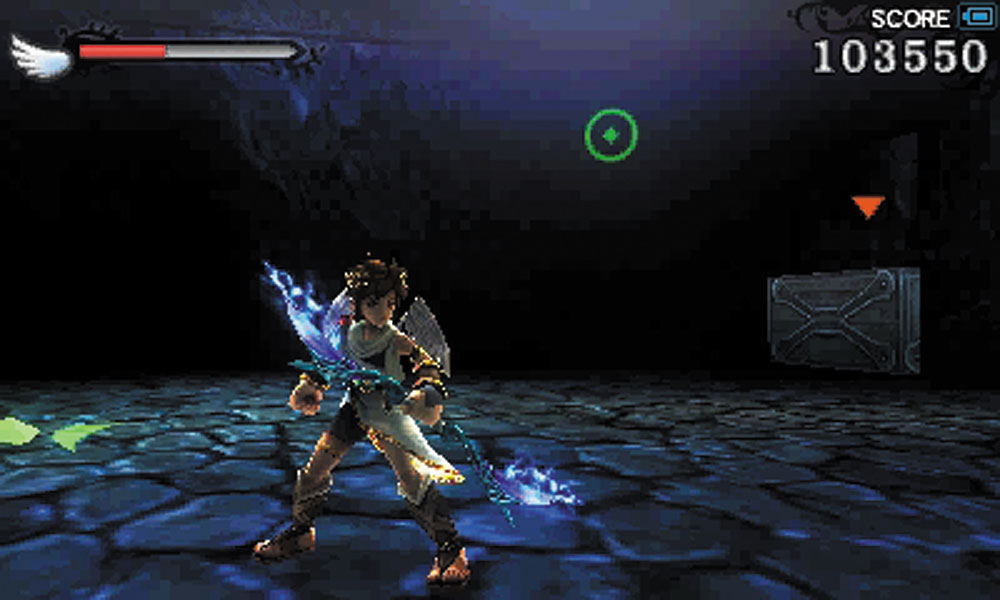
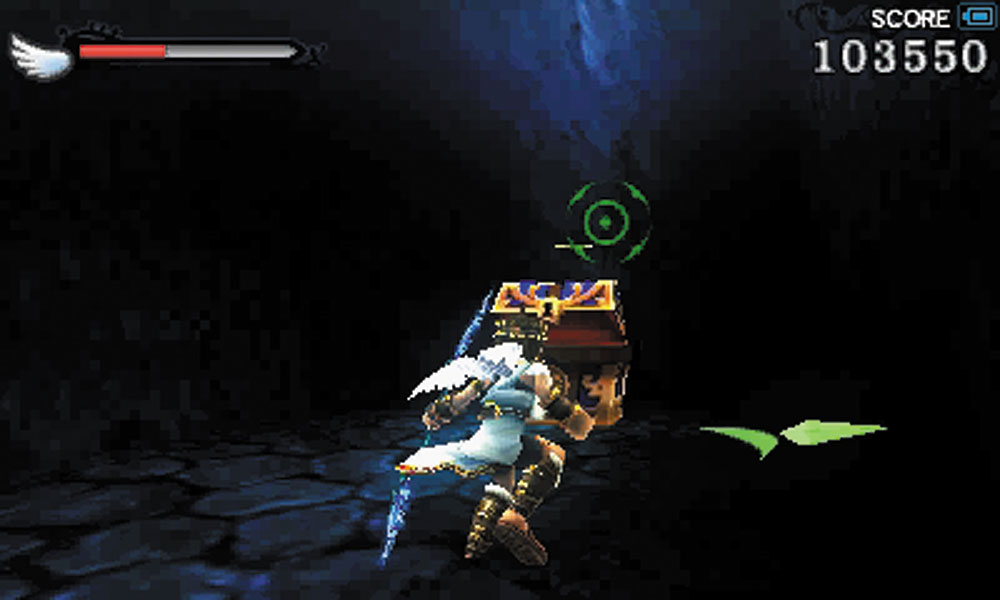
7. This side room is filled with breakable coffins. It’s also filled with Zurees. Destroy everything in the room to give yourself room to maneuver while fighting the ghosts, then check out the storage area that’s hidden by a coffin to find a Treasure Box.
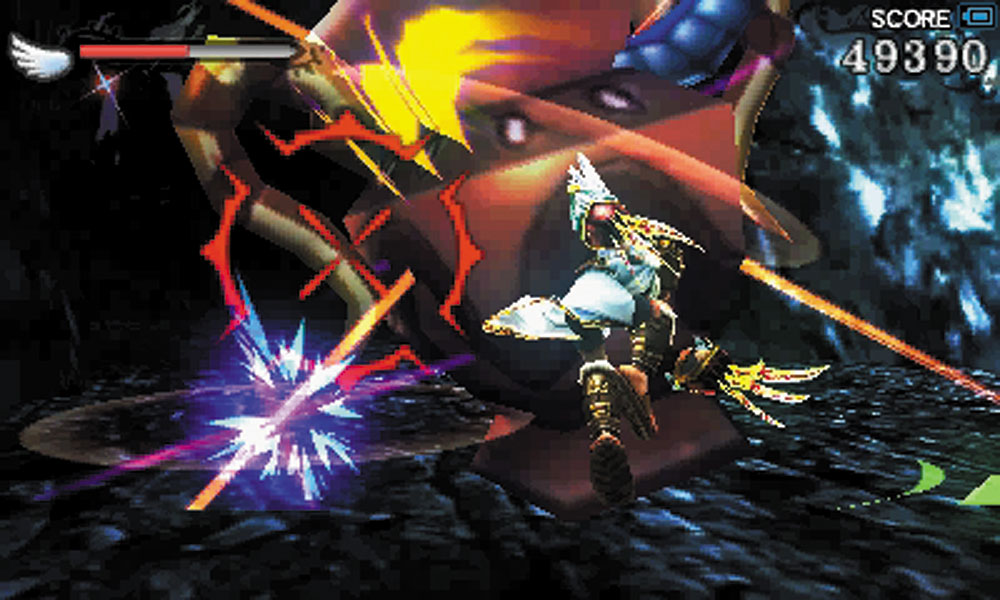
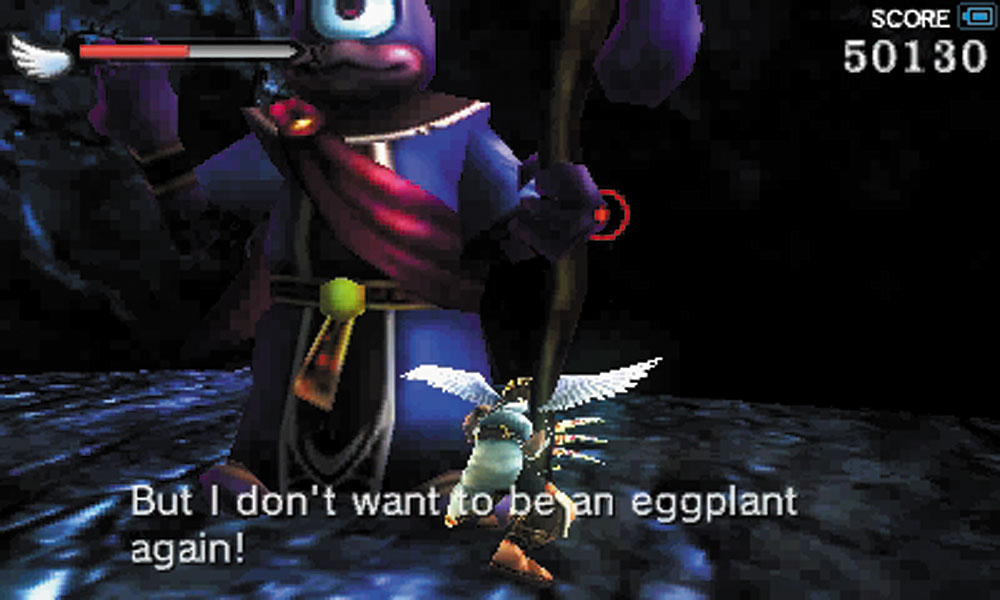
8. This passage is filled with Shemums and a jar spawning them. In the following room, you come across an Eggplant Wizard. Getting hit by their spells turns you into a walking eggplant, so do everything you can to avoid getting hit.
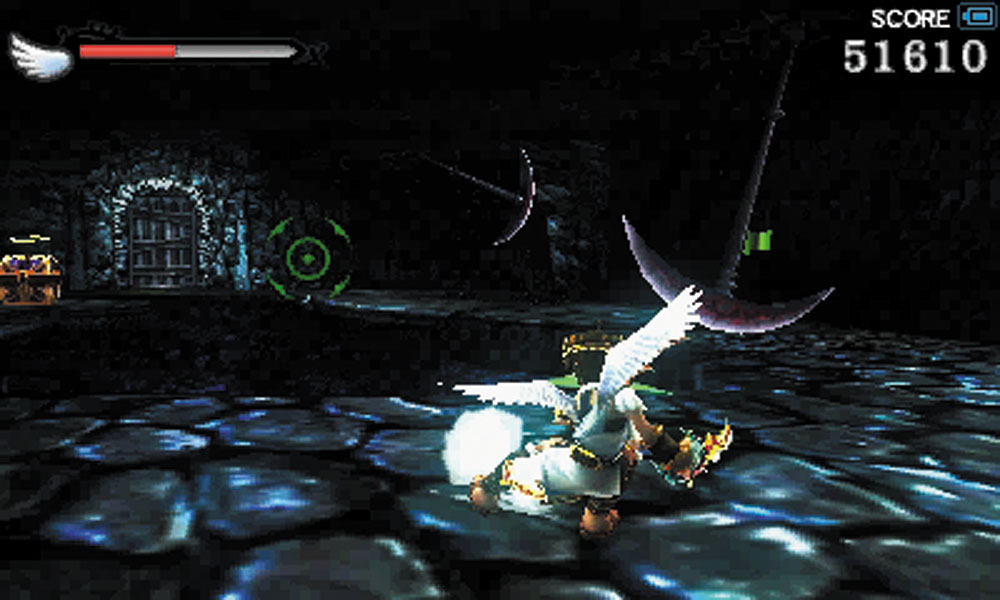
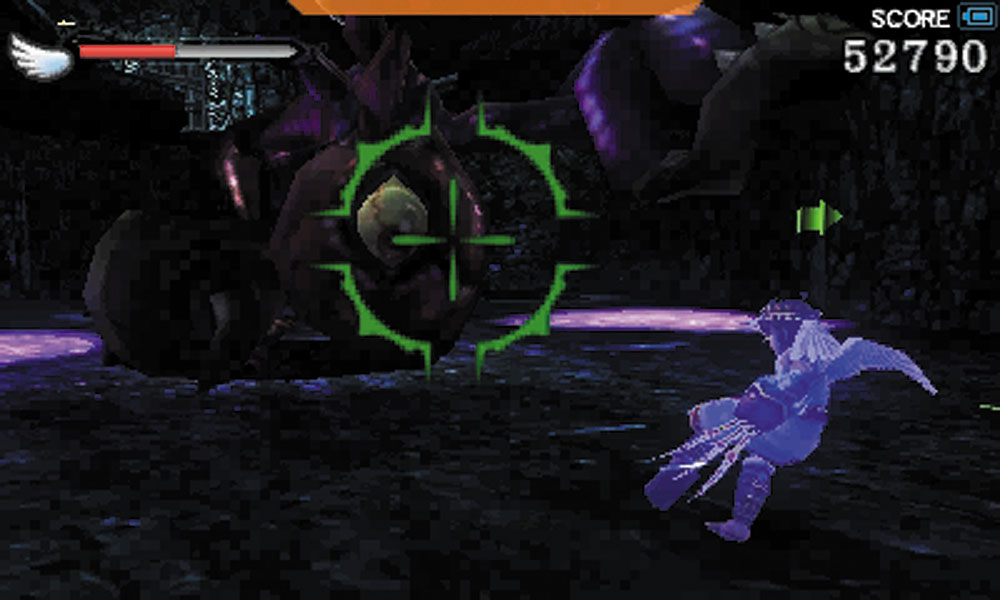
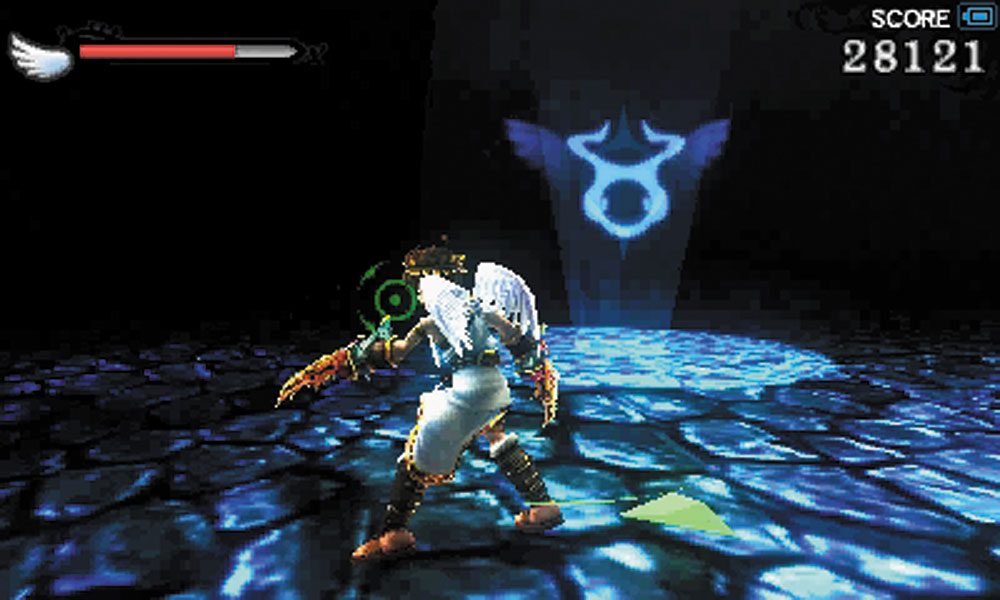
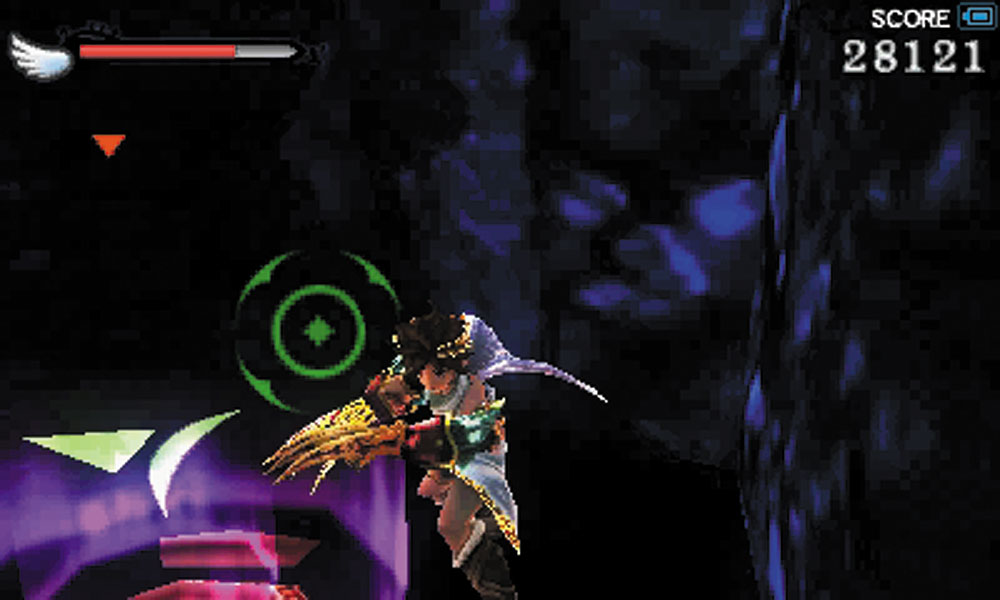
9. After the room with the Eggplant Wizard, you cross onto a bridge where scythes are swinging across one side, while a gap denies access to a ledge with a Treasure Box. If you hit the stone sphere from before, you can cross over to the box—just make sure the moving wall doesn’t knock you into the area below.
If you do fall into the lower area, be careful while fighting the Zurees. Poison ponds are all over this area, as well as a number of spike pits. More importantly, however, is the fact that there is a Clubberskull in the room. It starts off chained up, so if you’re cautious you don’t have to fight it. If you do awaken it, be ready for a serious fight and don’t be too surprised if you lose. On any Intensity, Clubberskulls hit hard, taking huge chunks of health while sending Pit flying.
One of the holes in the floor is actually a secret passage and a means of escaping the Clubberskull. Look for the hole emitting a white glow. It also leads you to a portal with a Zodiac Chamber!
In the Clubberskull room, there is a jump pad near the hole used to get to the Zodiac weapon. This boosts you back to the bridge. Cross it while evading the scythes and get out of this nightmarish room.
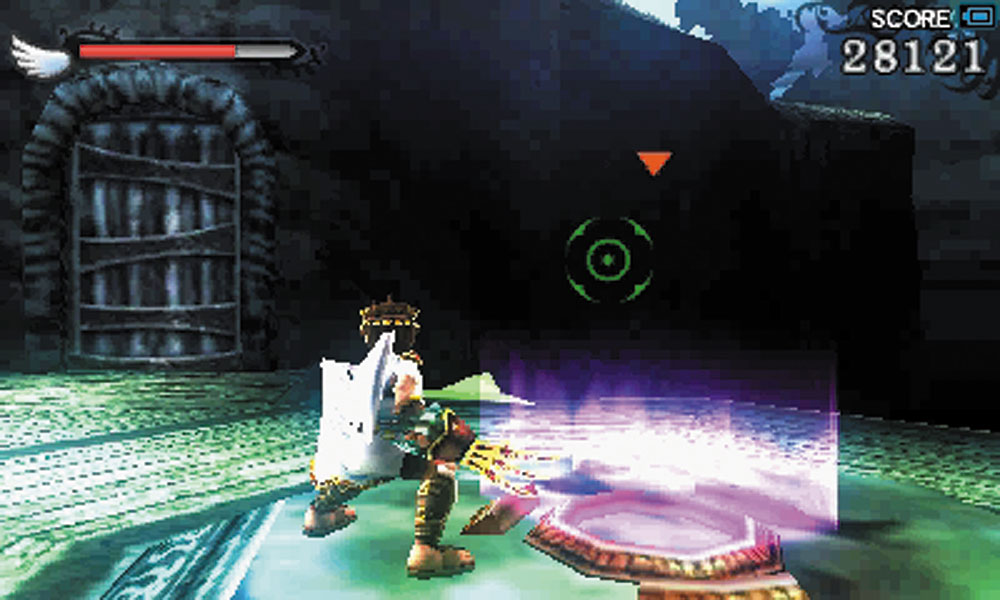
10. Do not immediately take the jump pad you see. Instead, pass through the door just beyond it. An elevator takes you to the top of a tower where a Level 5 Intensity gate can be opened. Come back to this jump pad once you have finished exploring.
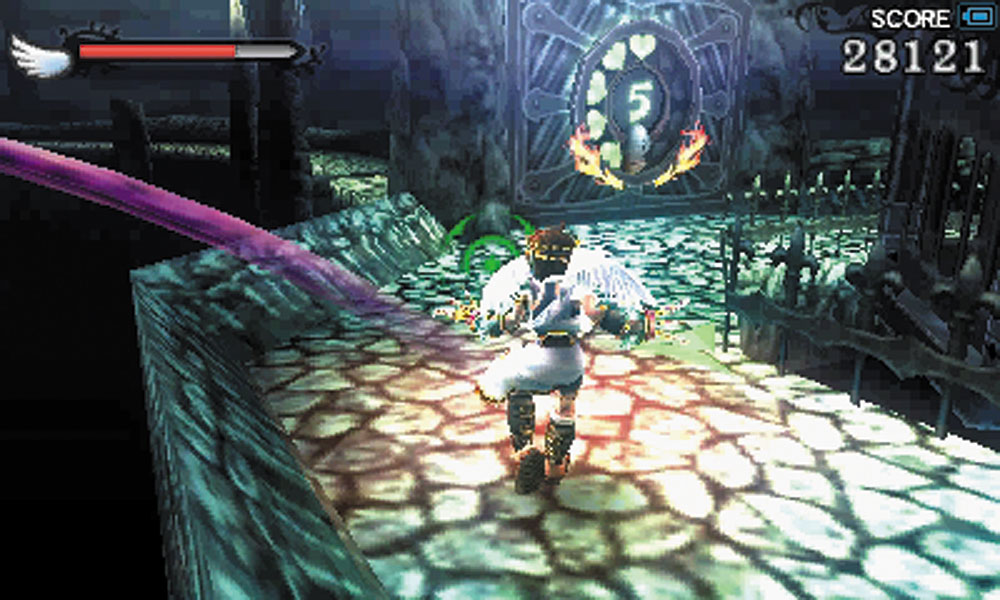
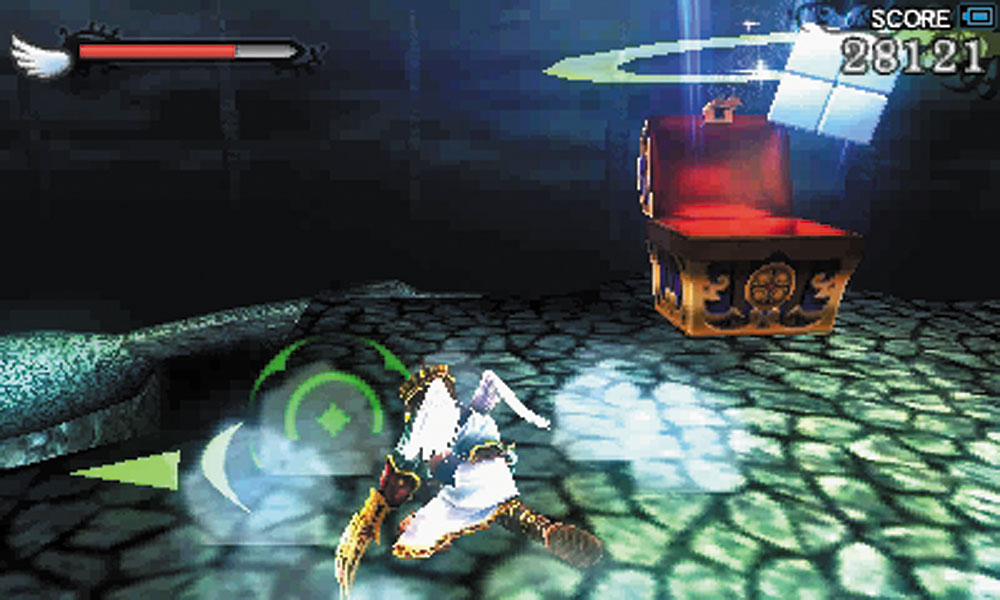
11. Next to the Intensity gate, a grind rail can take you to another distant platform where a Treasure Box can be collected.
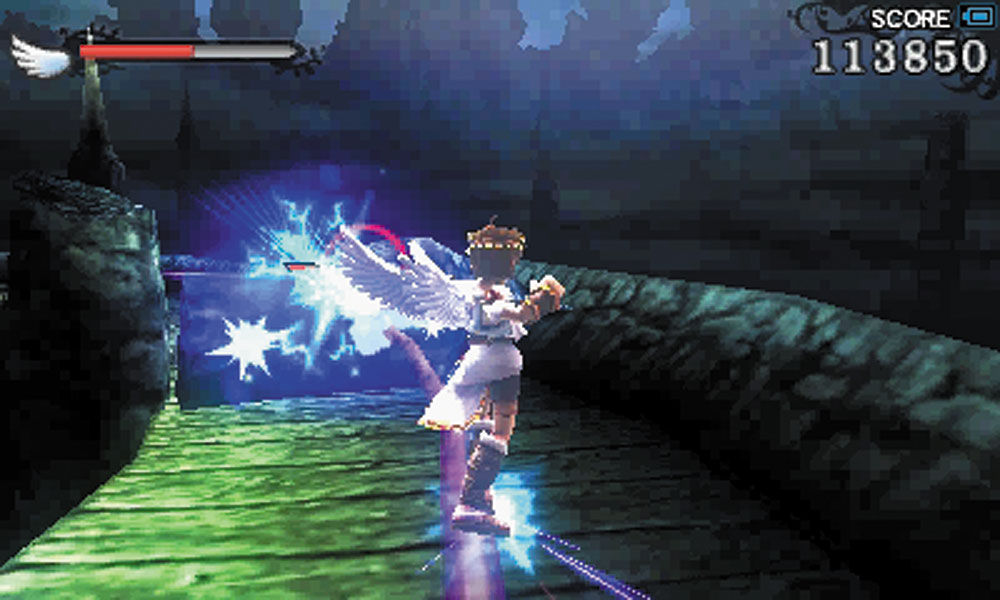
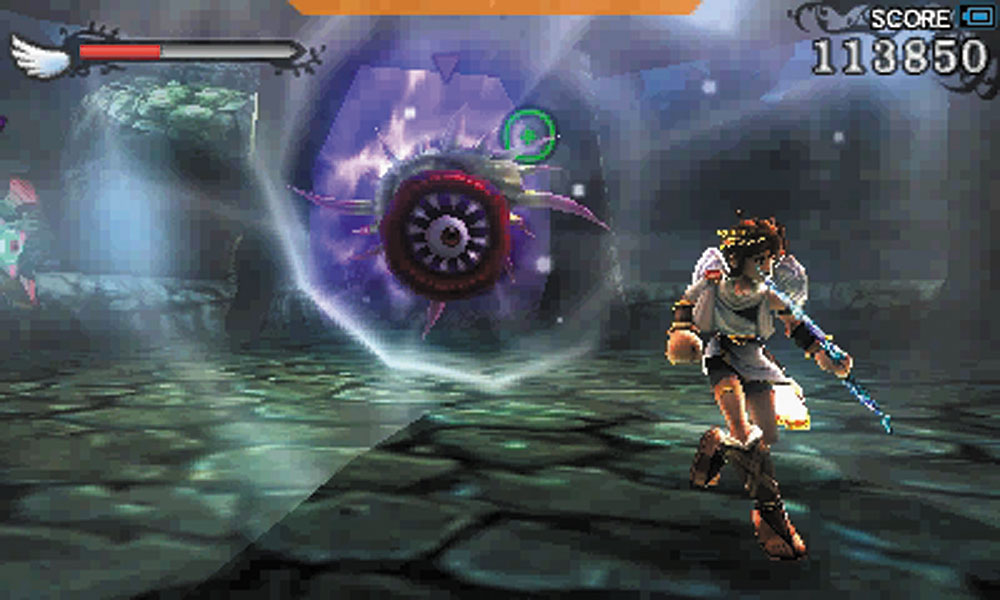
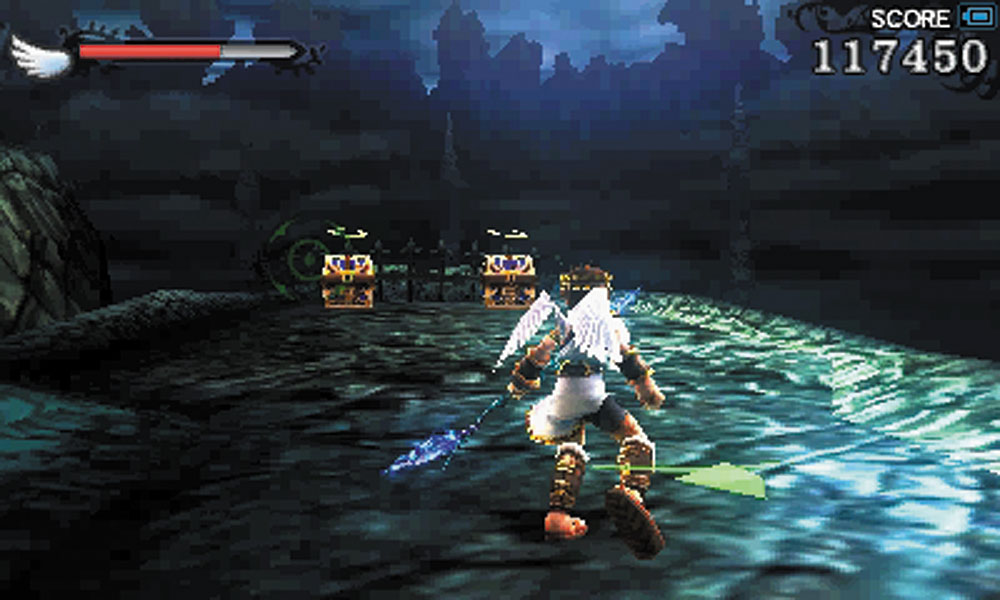
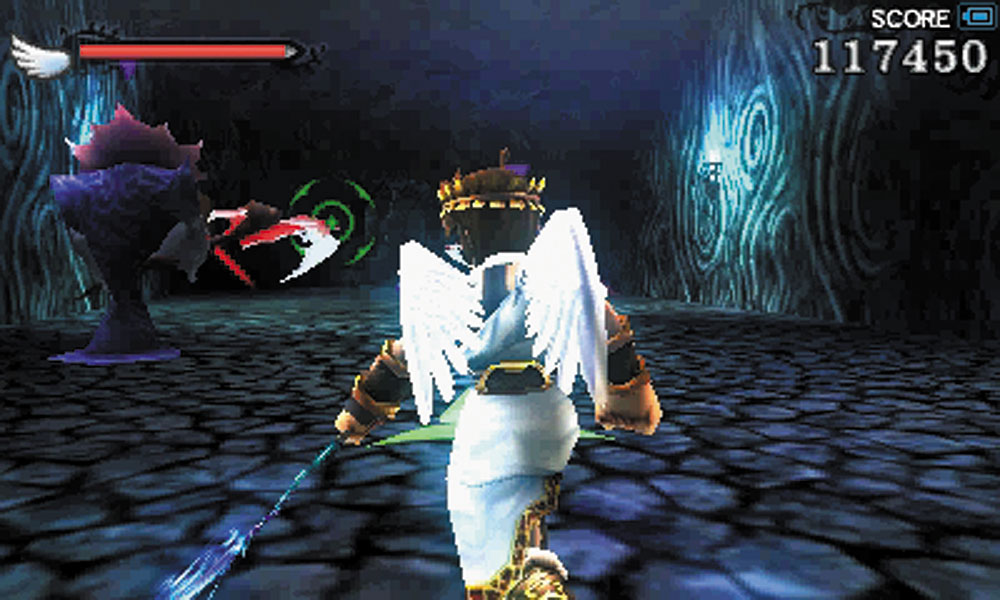
12. The Intensity gate guards a grind rail. There are obstacles in the way that can harm you if you hit them, so destroy them before you get too close. The rail leads to a small arena where you will be ambushed by a Shelbo and Gyrazers. After destroying them, continue down the long passage to reach a pair of Treasure Boxs. Reapers then appear in the once-empty passage. Evade or destroy them. If you just want to continue forward, ignore all the enemies that appear and take the grind rail back to the elevator.
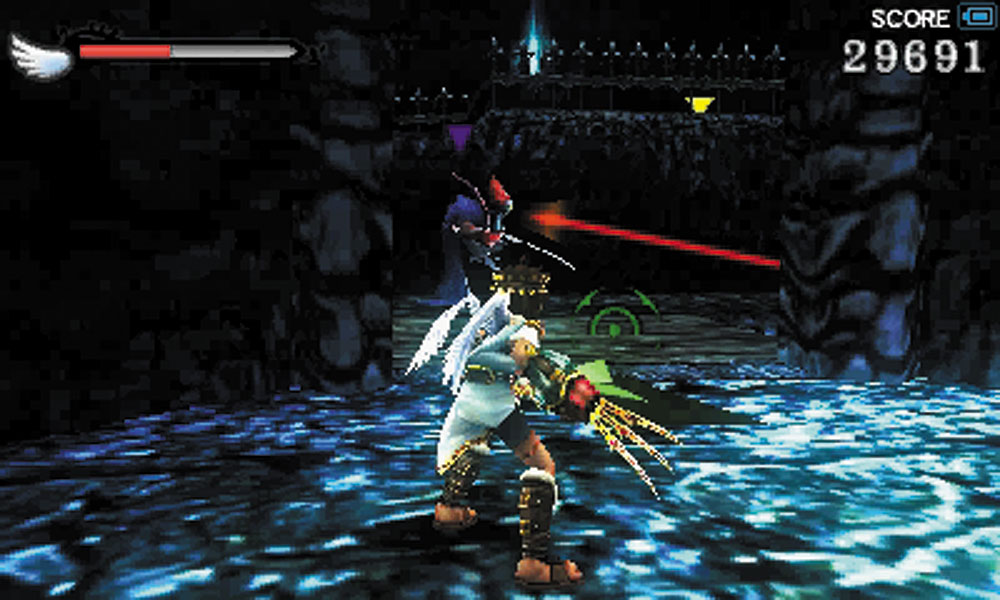
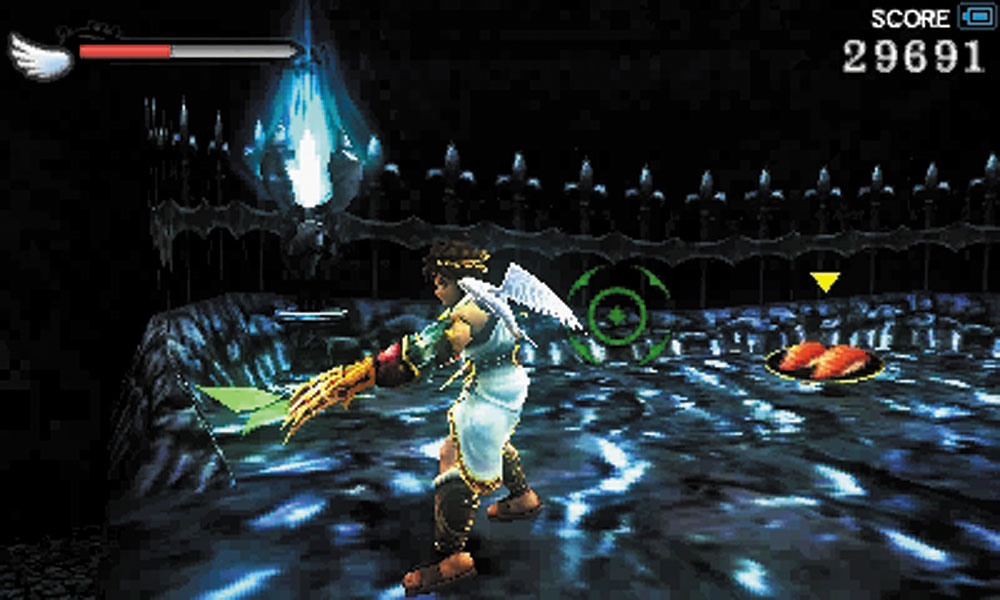
13. A pair of Reapers patrols this room. Use the jump pads to sneak past them if you want, as well as to snag food if you need it. The exit to the room is blocked by a breakable crate. You enter a small room with another hole to drop down.
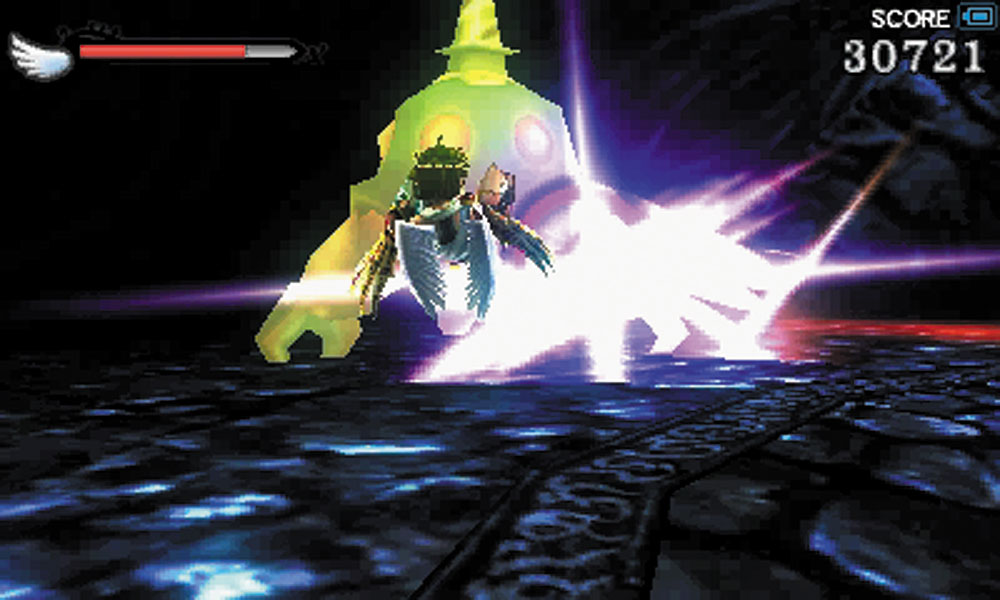
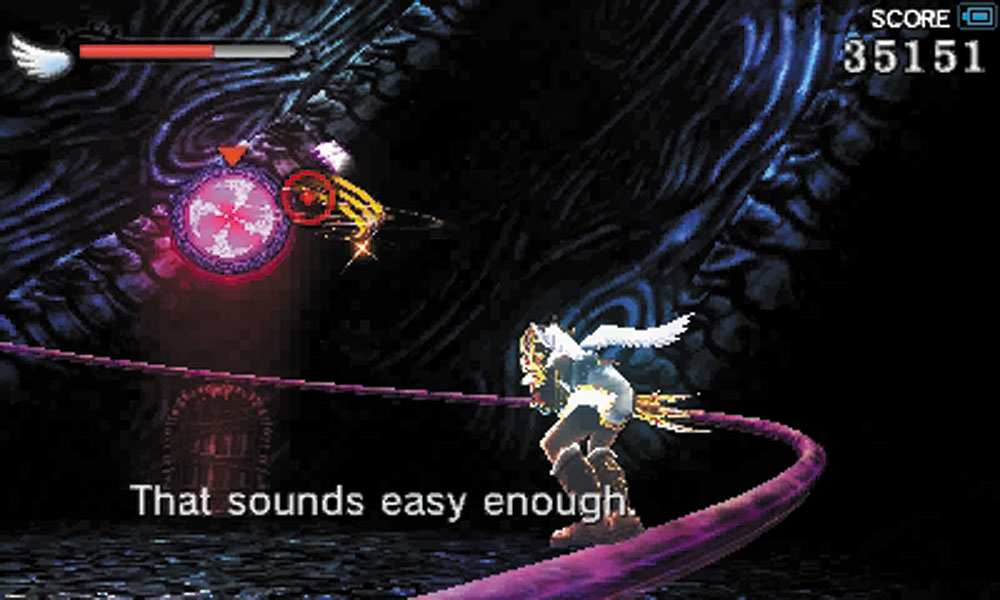
14. This room seems like a dead end, but enemies soon drop down from above to attack. After you defeat them, Palutena creates another grind rail. The catch is that you need to shoot a series of switches on the way up to the top of the room to finish the rail. Take the elevator after leaving the rail.
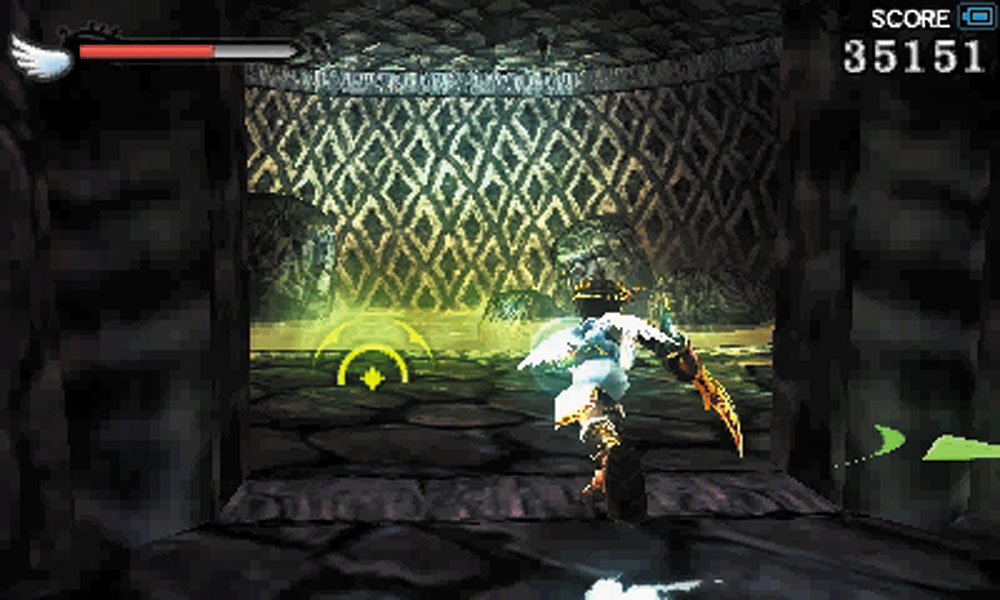
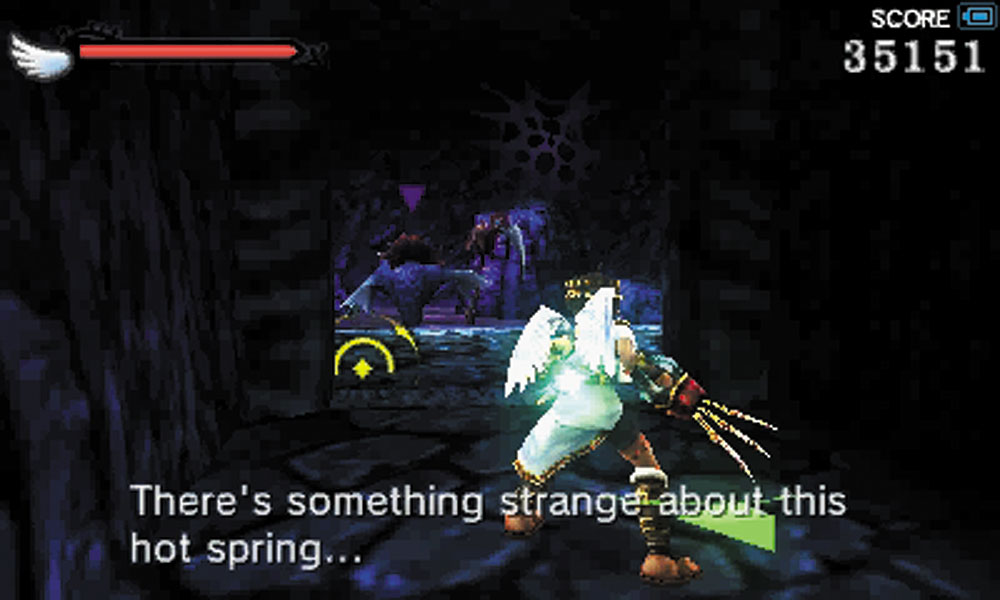
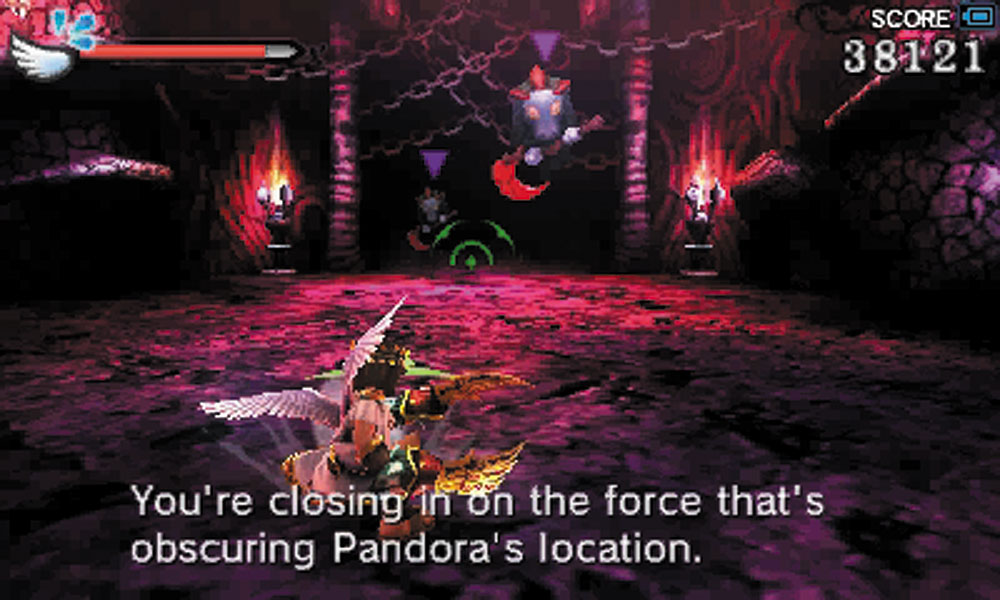
15. After exiting the elevator, you are in a room with three distinct passages. The left passage contains a hot spring that will fully restore Pit’s health; the right passage contains a poisonous spring that will not and it also houses a Reaper. The central passage takes you past a series of guillotine traps, leading to the exit of this chapter and the start of the boss encounter.