
Kid Icarus: Uprising Guide Walkthrough Chapter 14: Lightning Battle
Land Battle
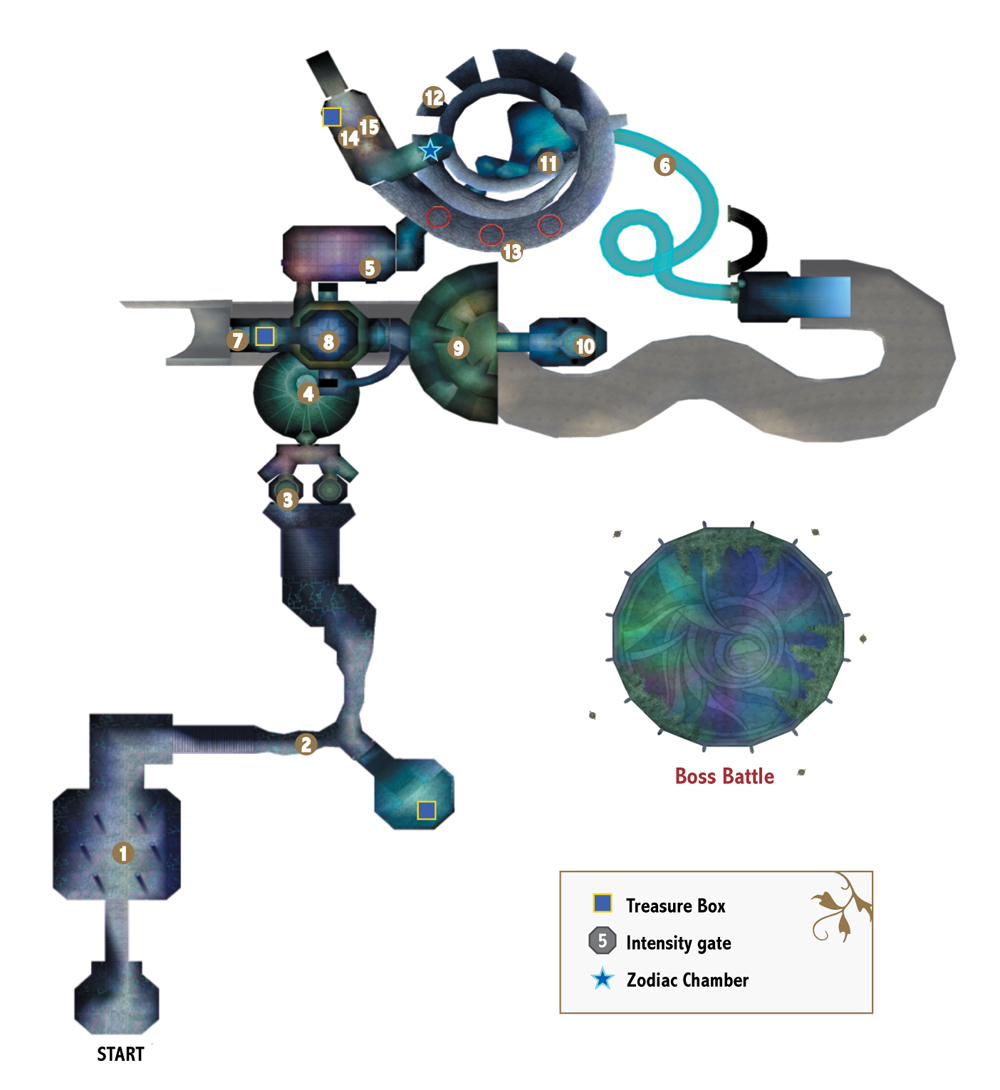
With Phosphora occupying the temple, long dormant defenses have come back online, bolstered by the Forces of Nature.
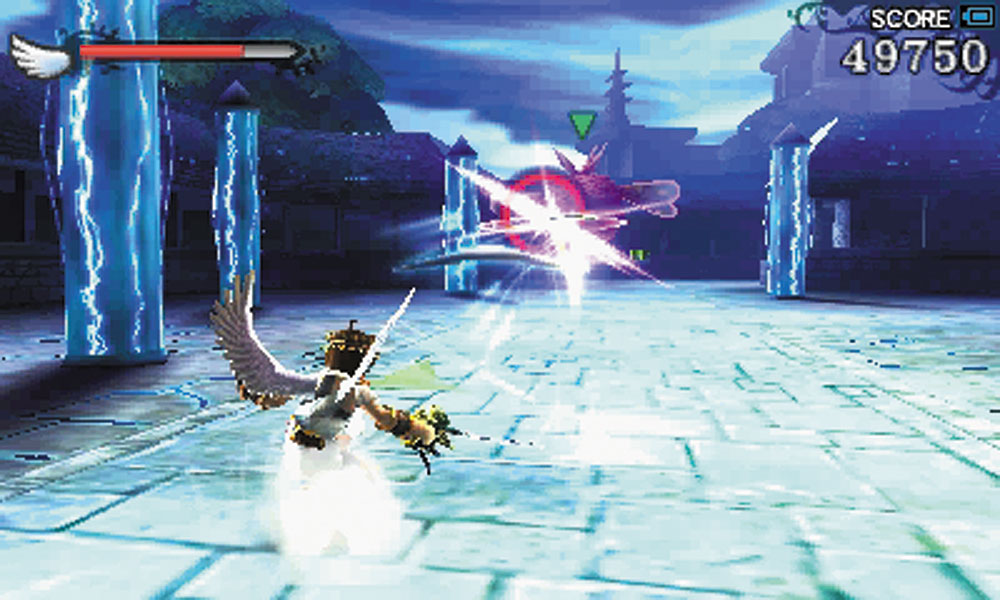
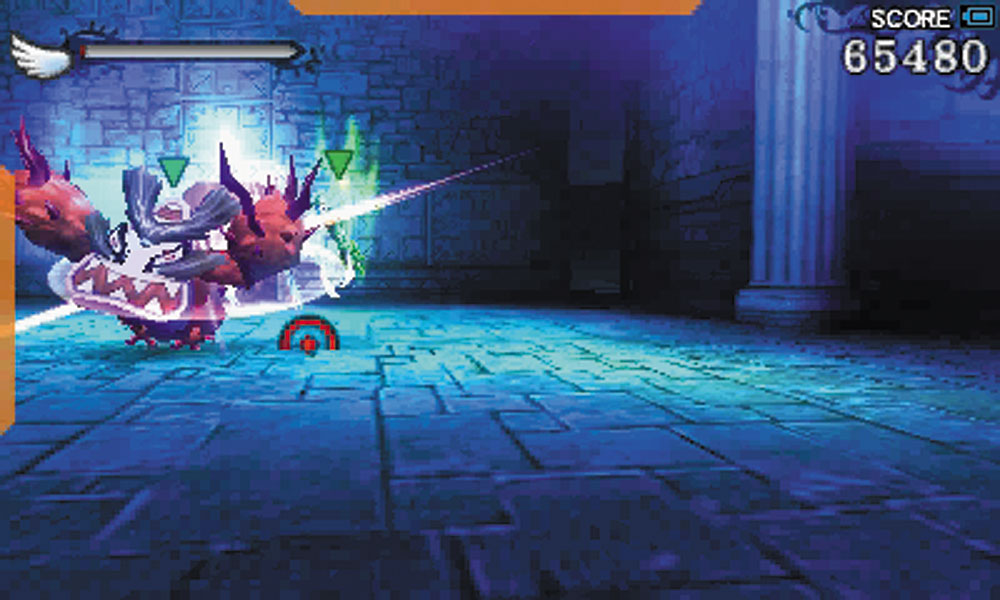
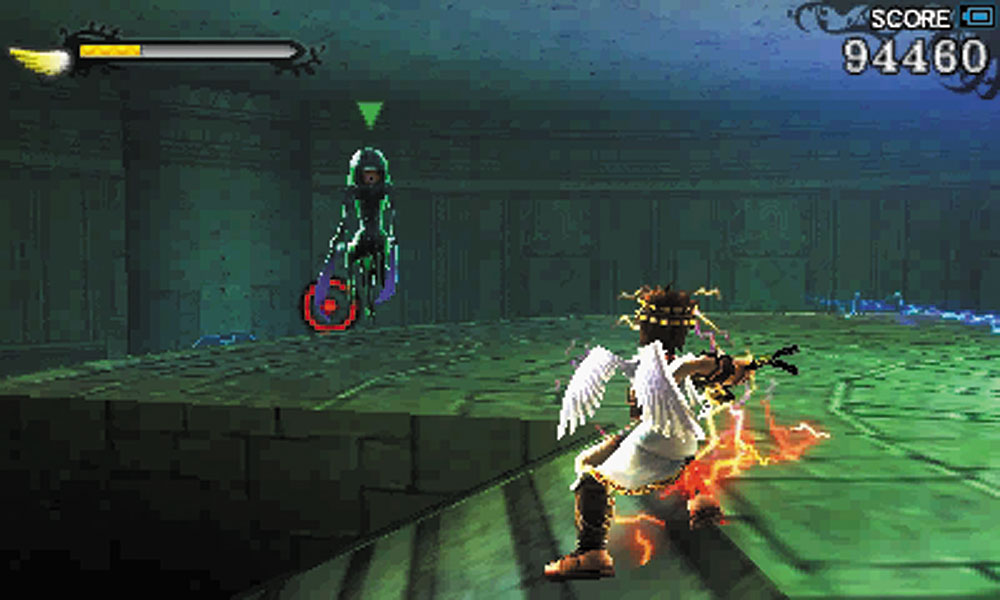
1. A taste of things to come, the pillars of this courtyard are electrified, making it vital that you watch your position while fighting the enemy.
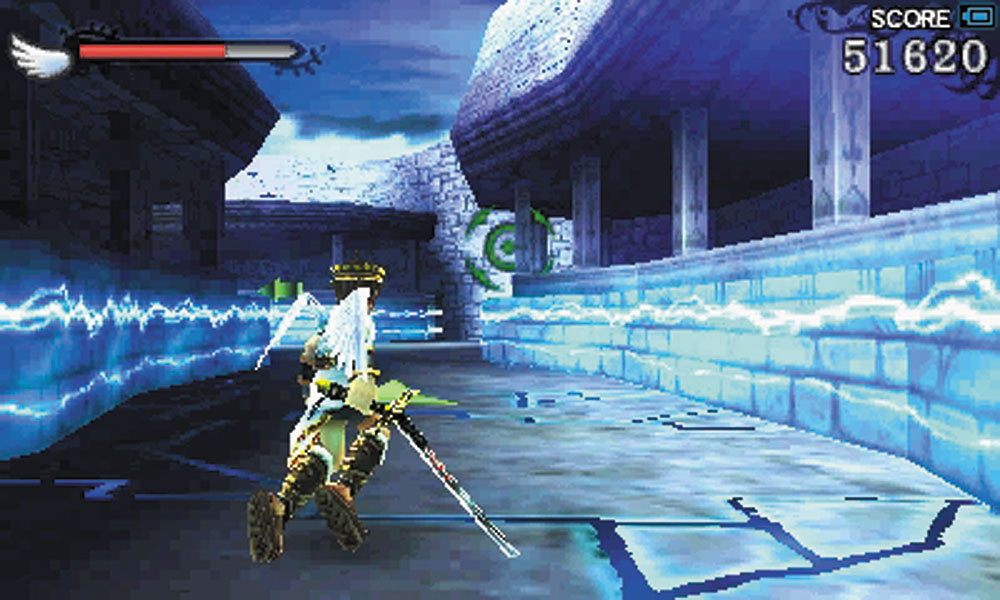
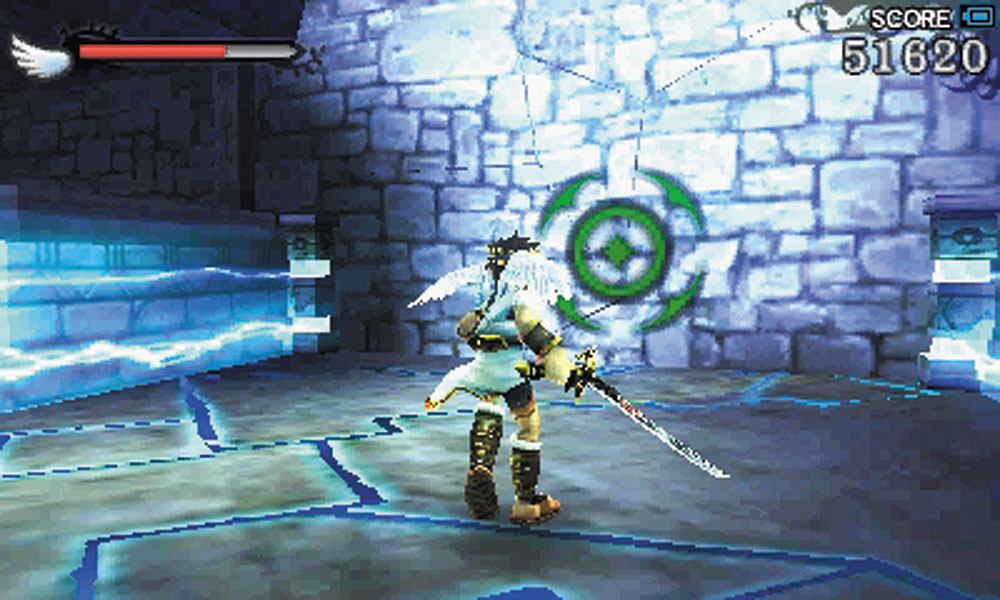
2. The walls here are also electrified, save for a spot you can break through with your weapon.
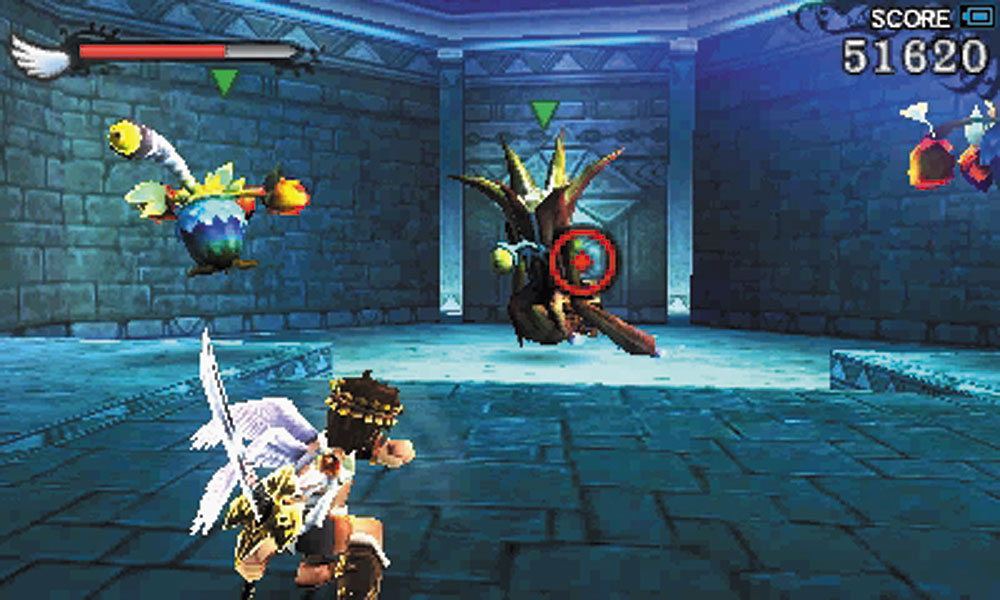
Beyond the broken wall, two Cacaws and an Urgle ambush you. Defeat them and collect the Treasure Box.
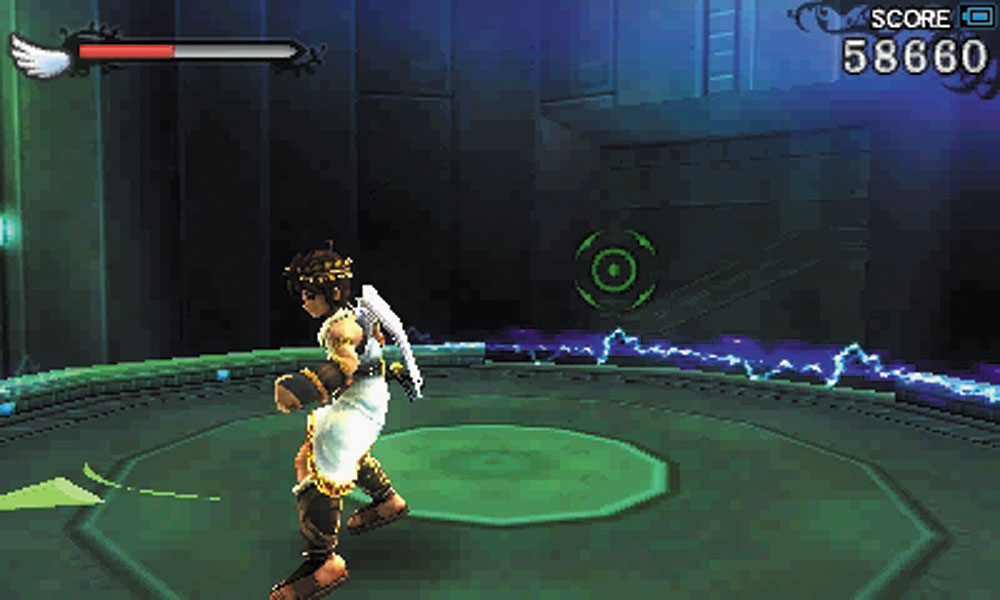
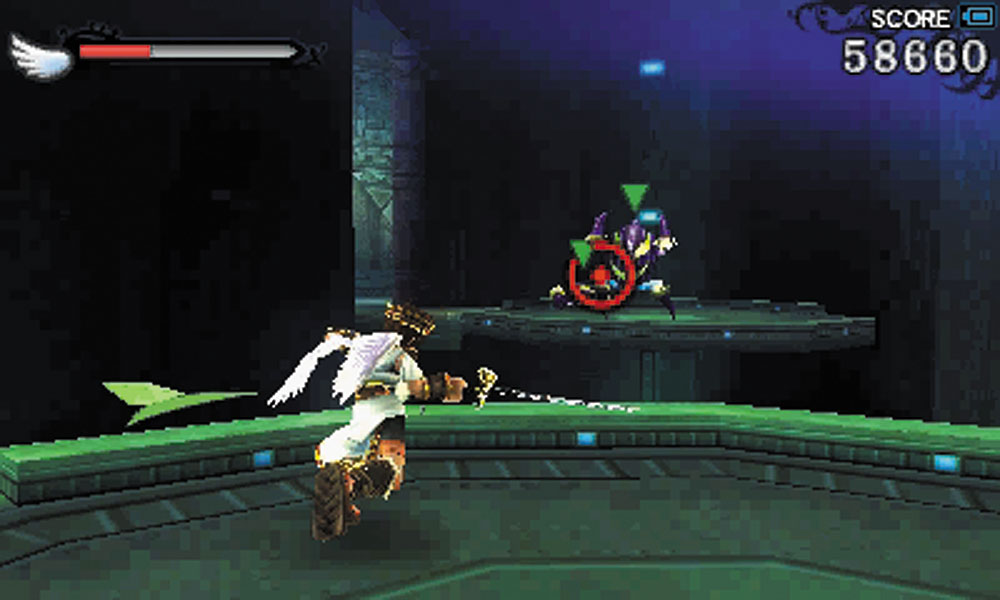
3. The elevator here has harmful electric barriers. As it reaches the top floor, Skreetles attack you from another elevator across from yours. Take them out, then use the jump pad to keep moving forward.
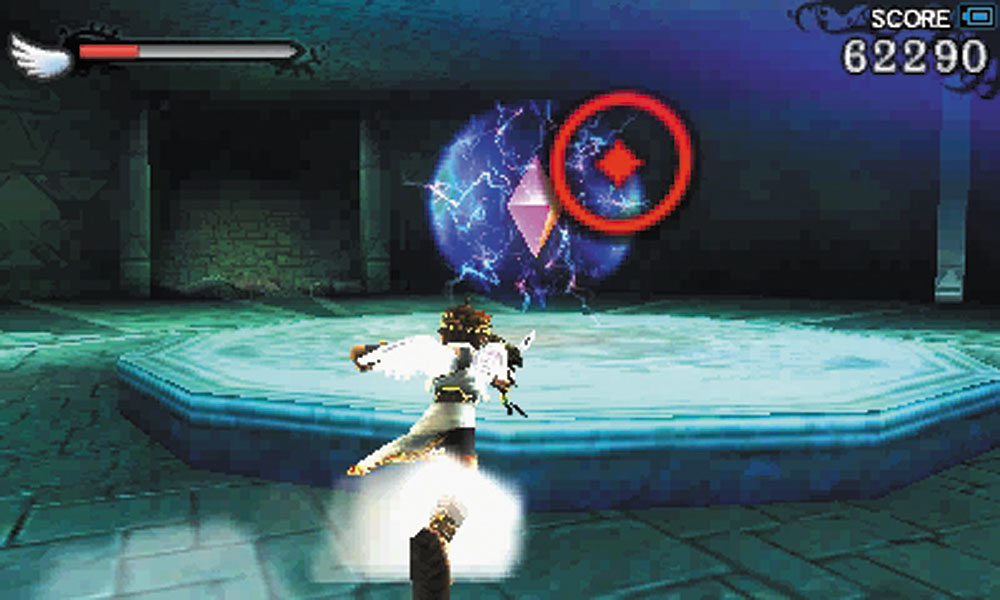
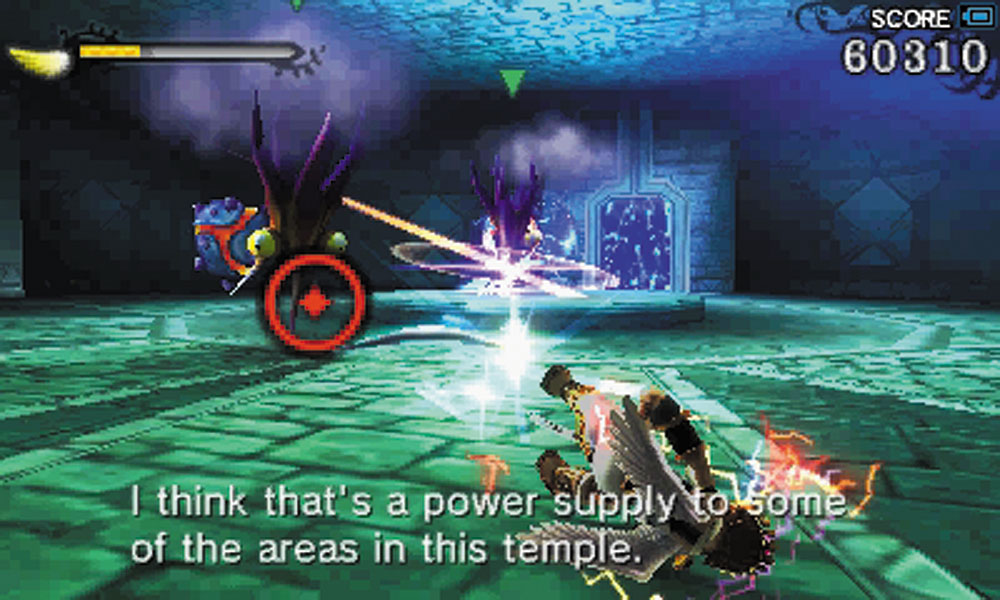
4. Zerts, Nutskis, and Trynamites protect an electric crystal that provides power to the rest of the temple. You need to destroy it and take the enemies out to proceed.
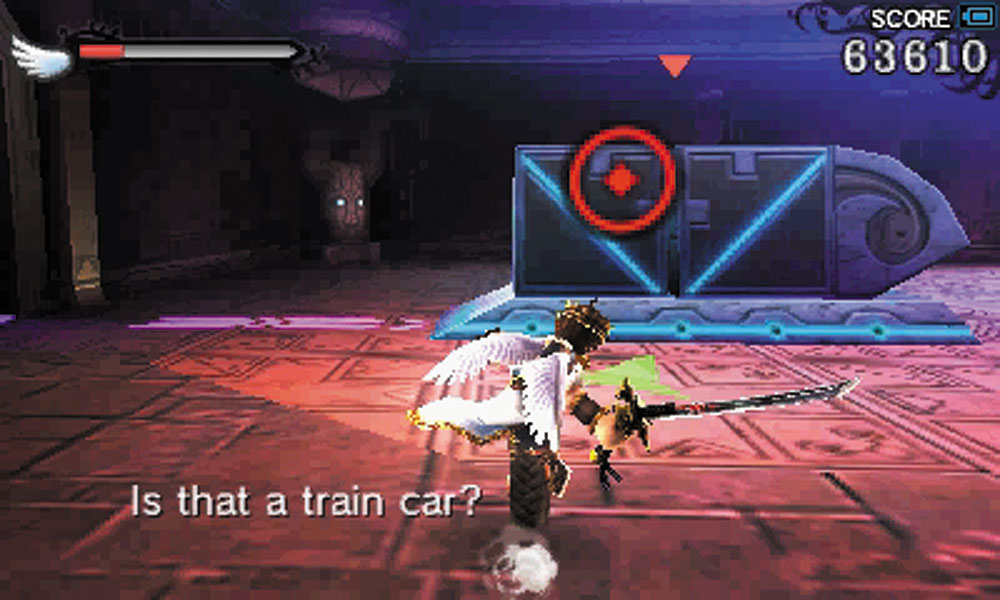
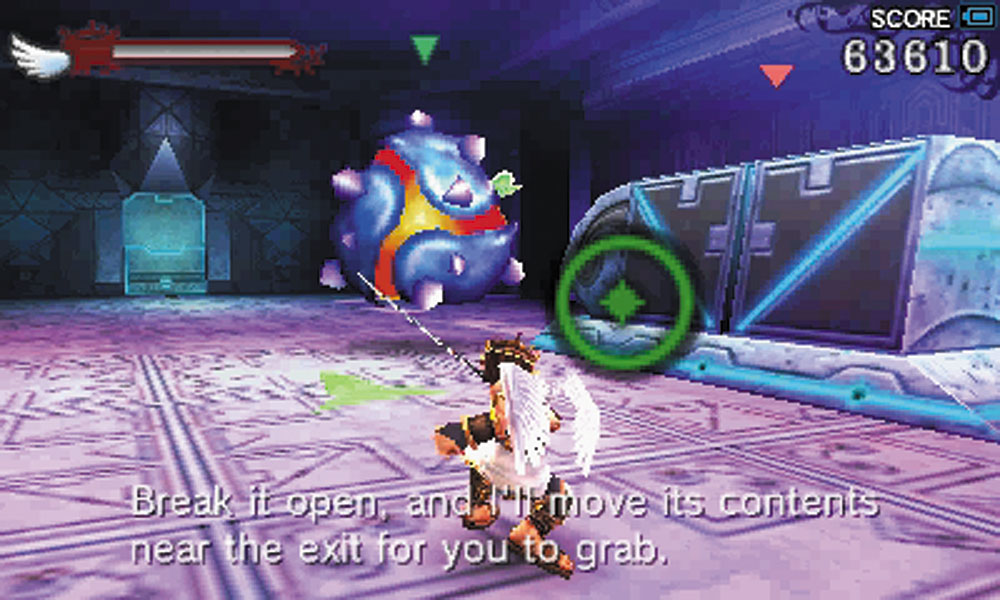
5. In the next set of rooms, train cars follow a set of glowing tracks. They don’t attack you, but destroying them gives you access to bonus items. The first train car travels slowly and is easy to destroy. Trynamites and Nutskis act as its guards.
05n-00037.bmp
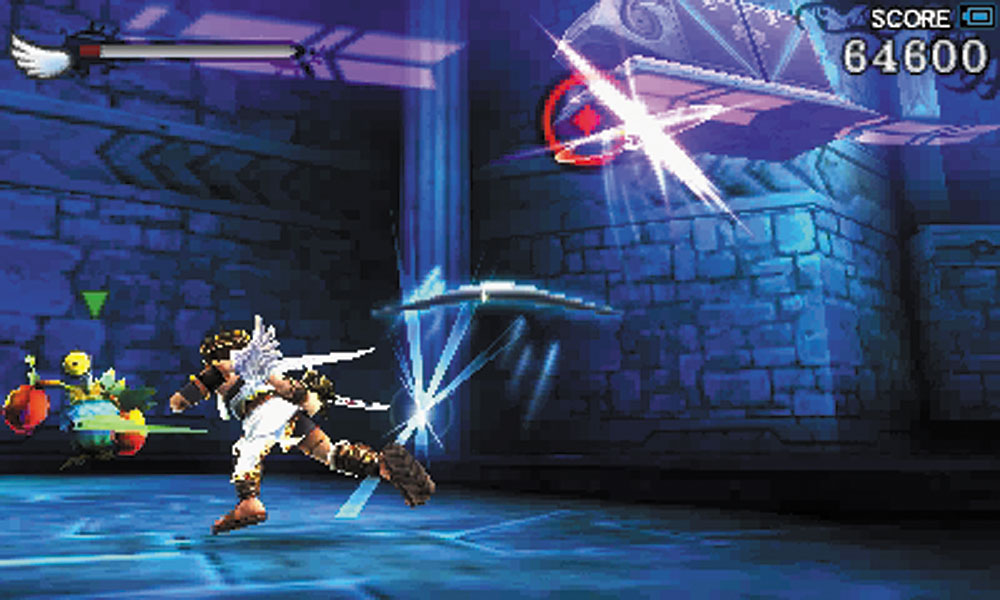
The second train car follows a track separated from where you stand. You’ll be jumping down a series of ledges in pursuit of it. A Cacaw, a Jitterthug, and a Flage await you on the lowest ledge.
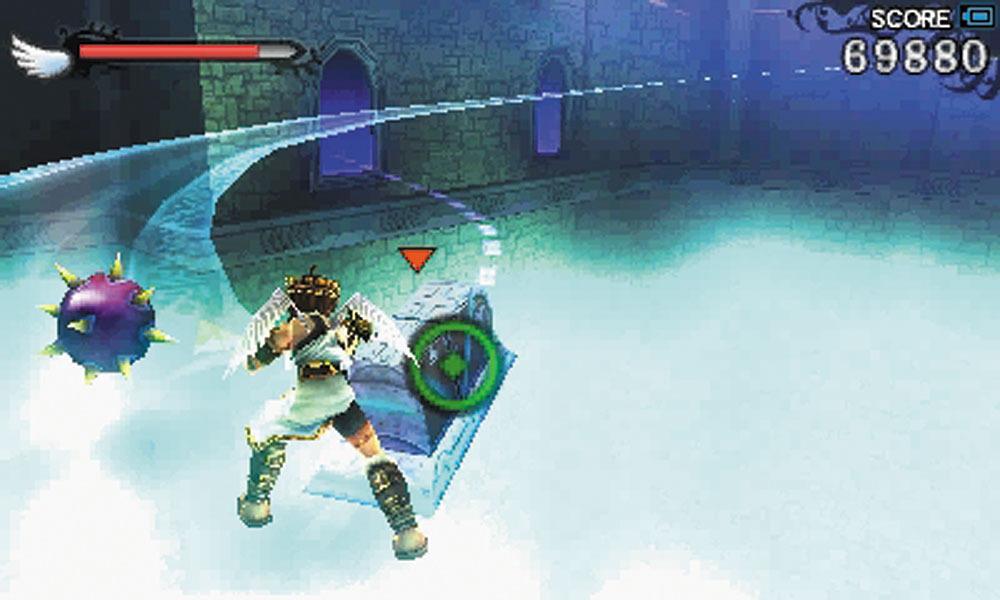
6. This transparent walkway allows you to track the third train car easily while you are dealing with the enemy. Take it out, and a weapon will drop close to the exit of this room.
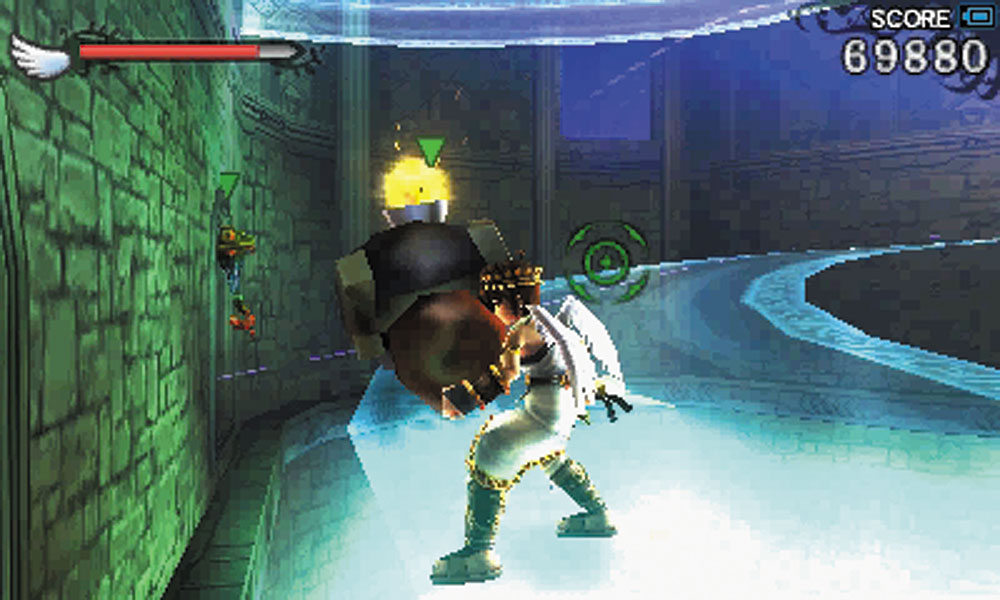
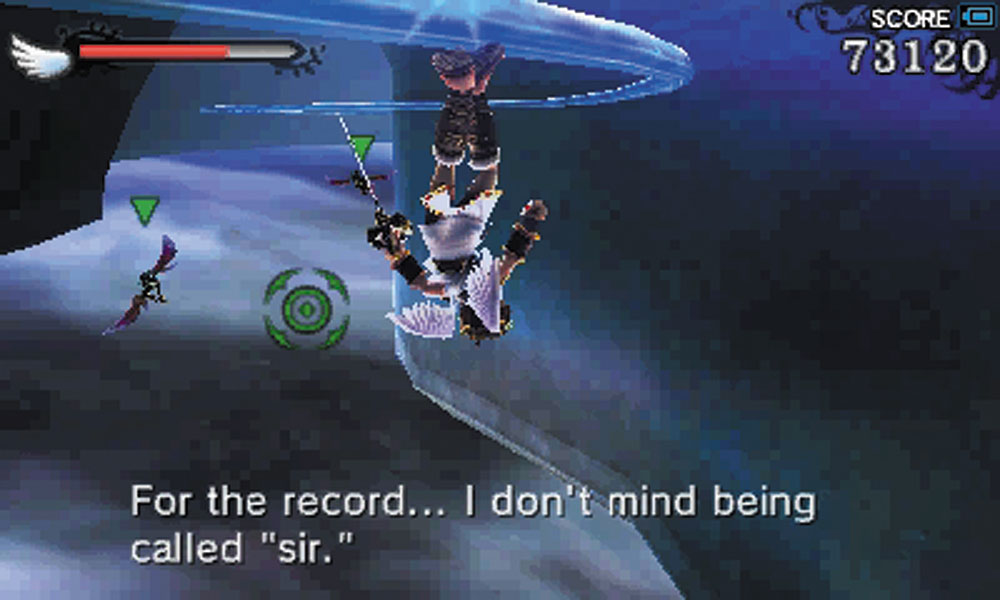
Watch out for Bumpety Bombs on the walkway. At the end of this path you take a grind rail to the next part of the temple.
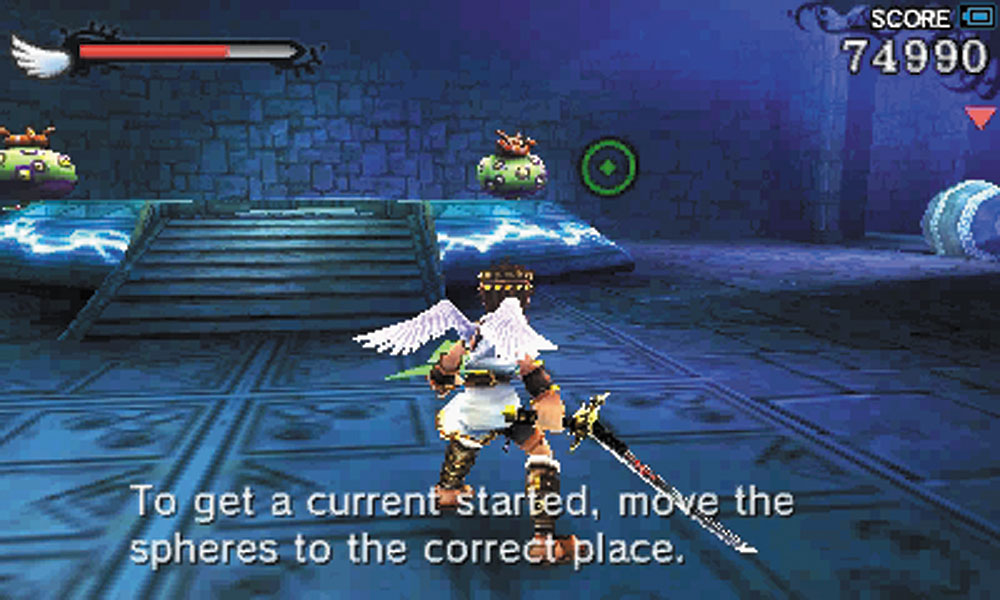
7. This room requires you to push a set of spheres into position, thereby powering up the air current flowing through the center of the room so that you are able to access the next part of the temple. Toxiecaps and an Urgle are your first opponents here.
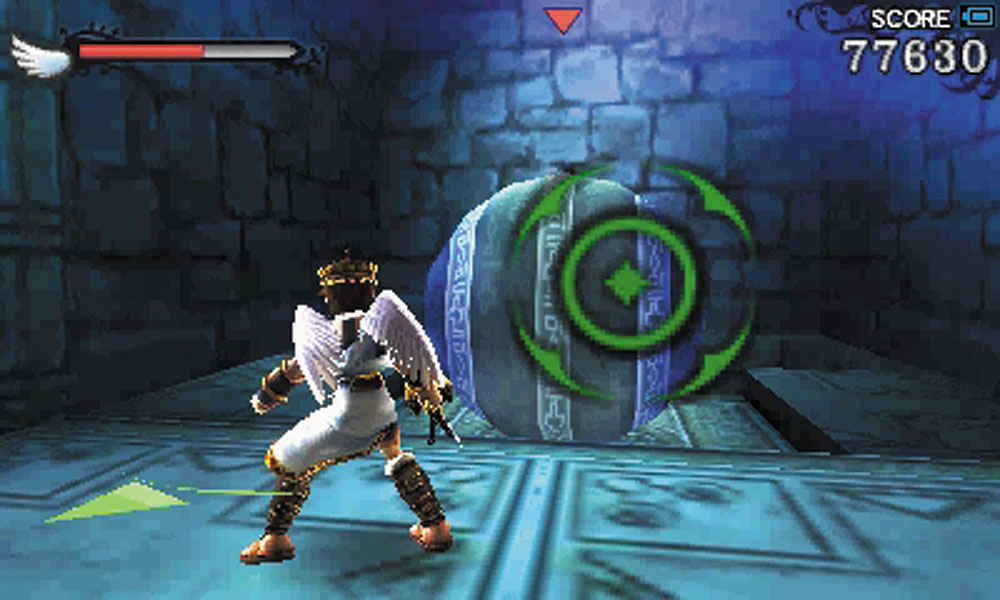
Simply hit the spheres to knock them into position. The first two can be found on either side of the air current.
05n-00045.bmp
A third can be found by following a small tunnel. It’s protected by a Skreetle.
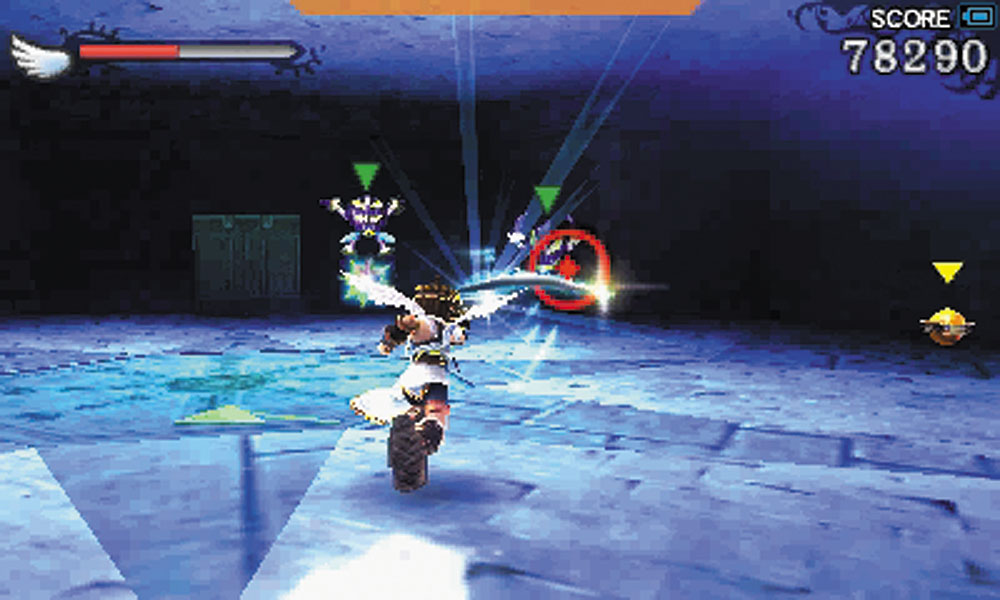
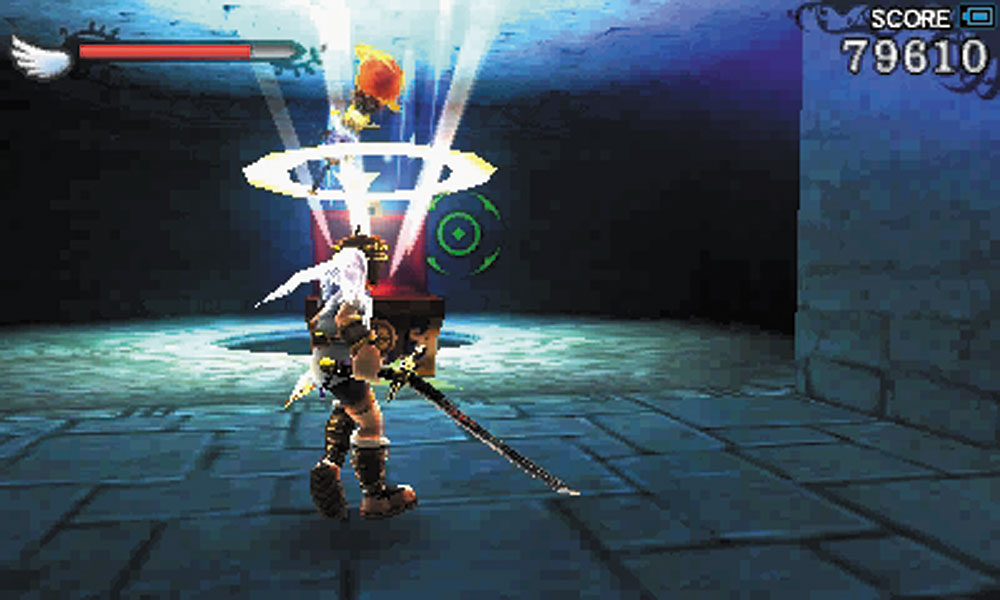
Having all three spheres pushed into position gives you the strongest possible air current and takes you into a special room containing a Treasure Box and some crates that can be broken open for food.
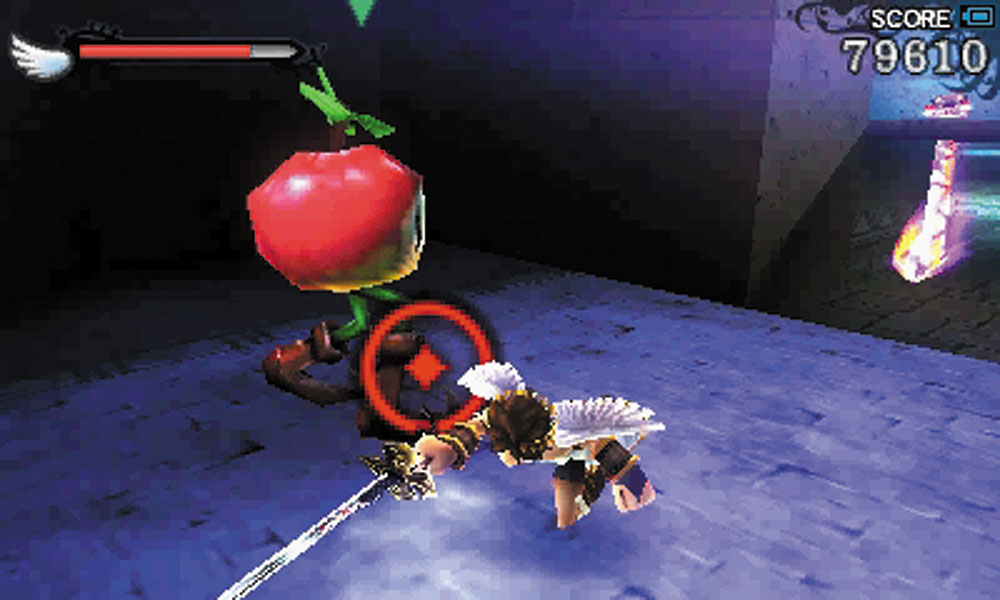
The hole behind this box drops you down onto a Clobbler.
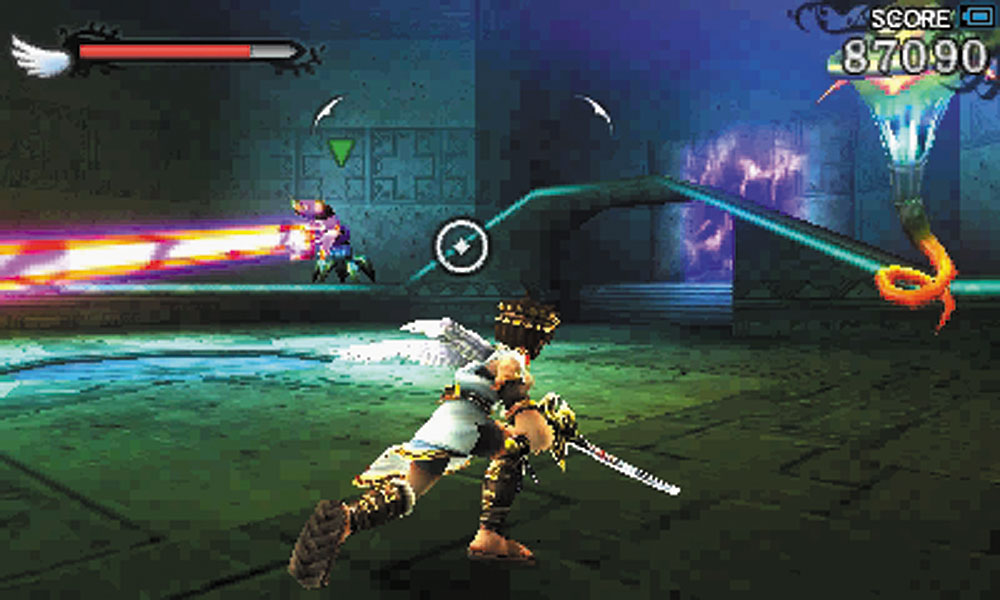
8. Lethiniums sweep this room with their lasers, while Dibble Dops bombard you from above.
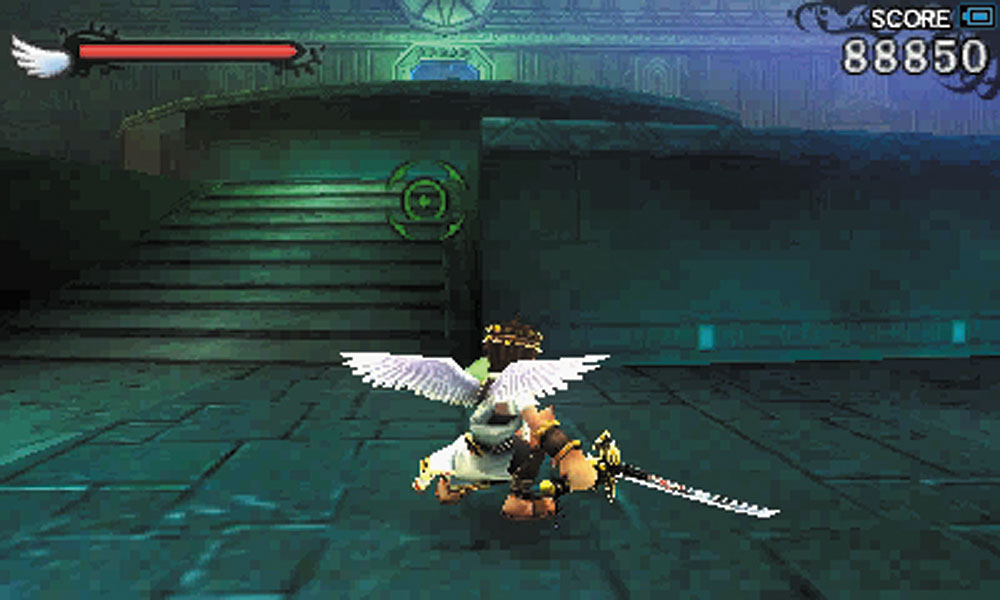
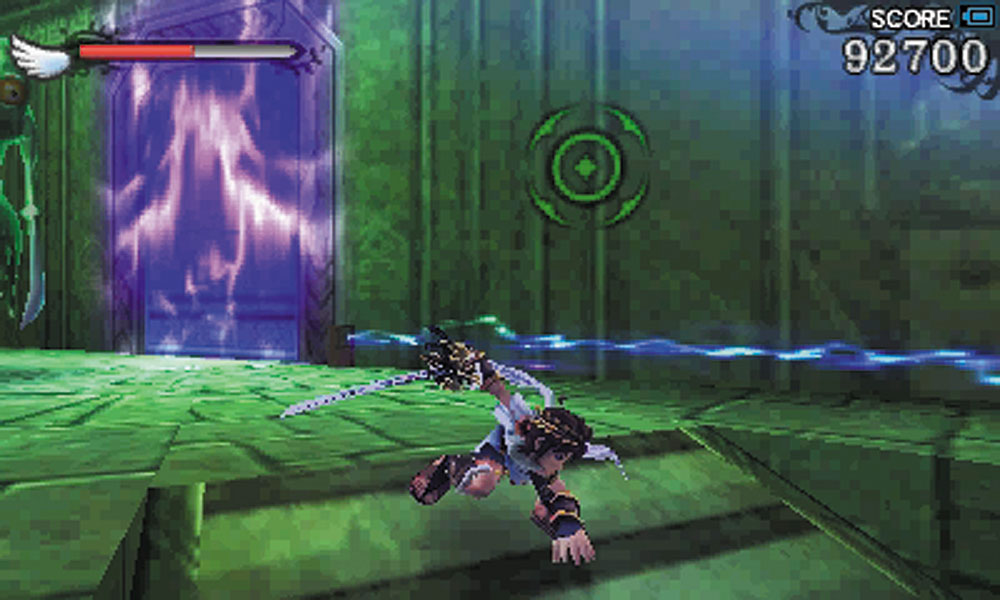
9. The climb up the sets of stairs and ledges is complicated by the enemy presence, as well as the electric beams that sweep across each level of this room. The top ledge leading to the exit has its own electric beam, making a battle there a risky proposition. Once the enemy is destroyed, the electric beams stop and you’re able to escape.
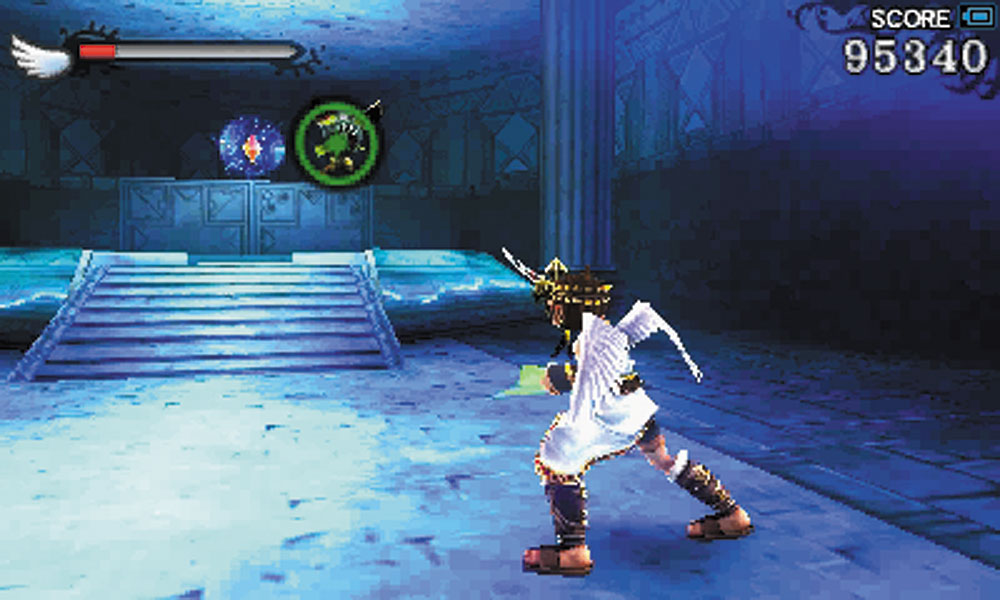
10. Another electricity crystal must be destroyed here. After this, drop down the hole in this room to take another grind rail to the next part of the temple. You’re almost to Phosphora!
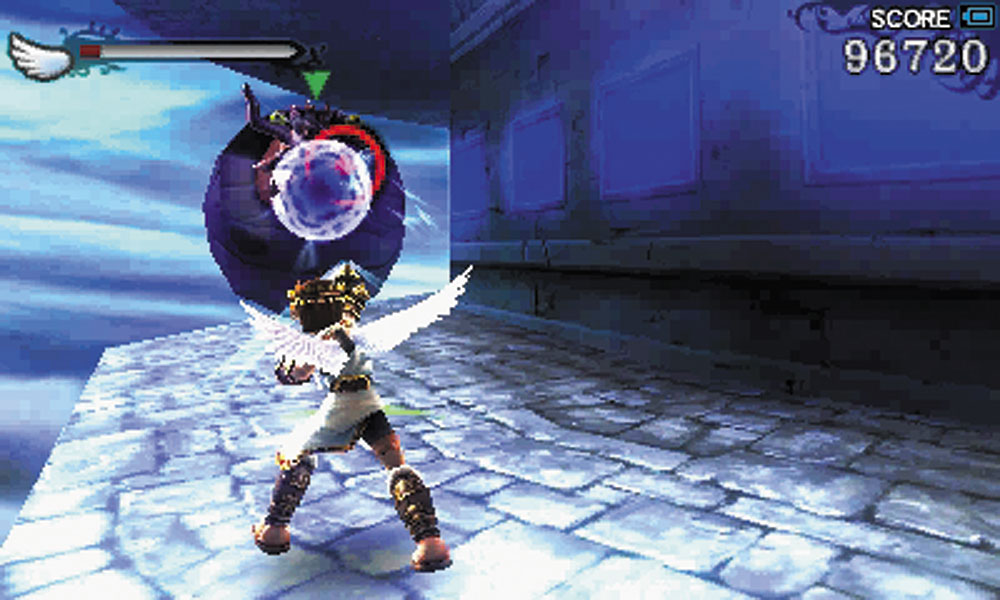
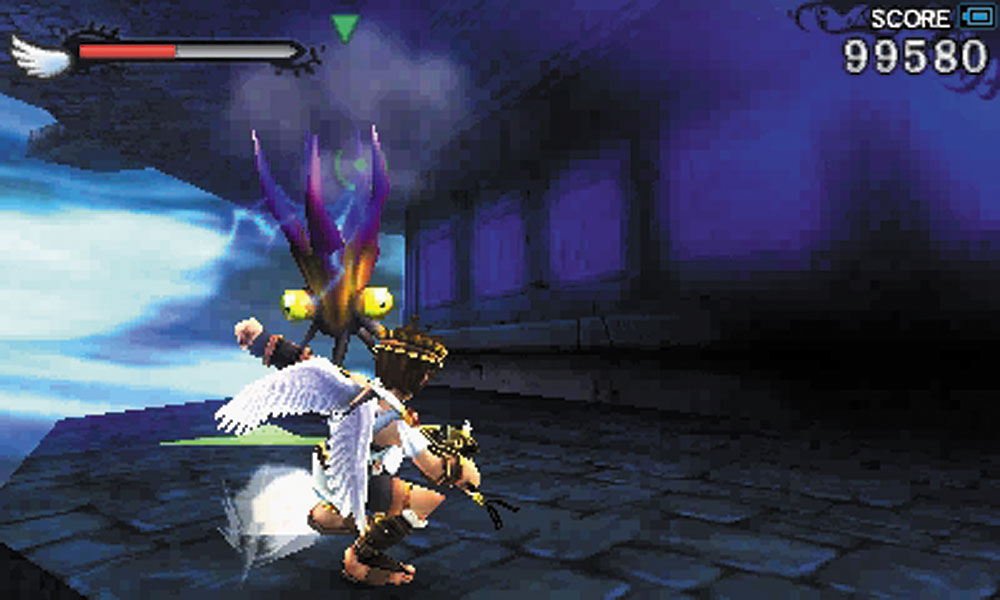
11. This winding pathway up to the temple’s center is as dangerous as Palutena says. There isn’t much room to maneuver, which makes enemies like the Megonta a real pain.
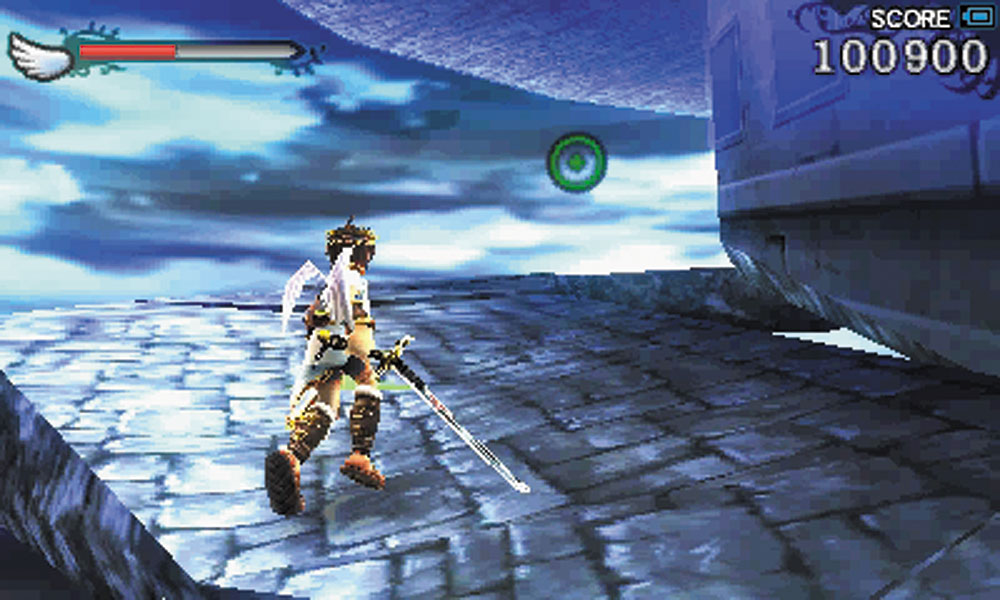
Part of the path is cracked and it begins to collapse underneath Pit. Stay on the move!
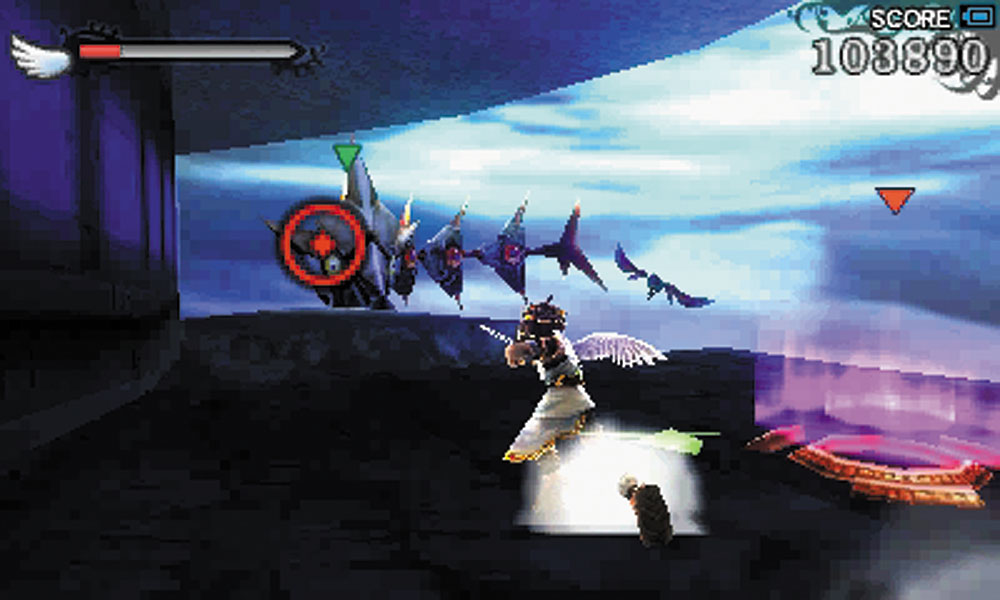
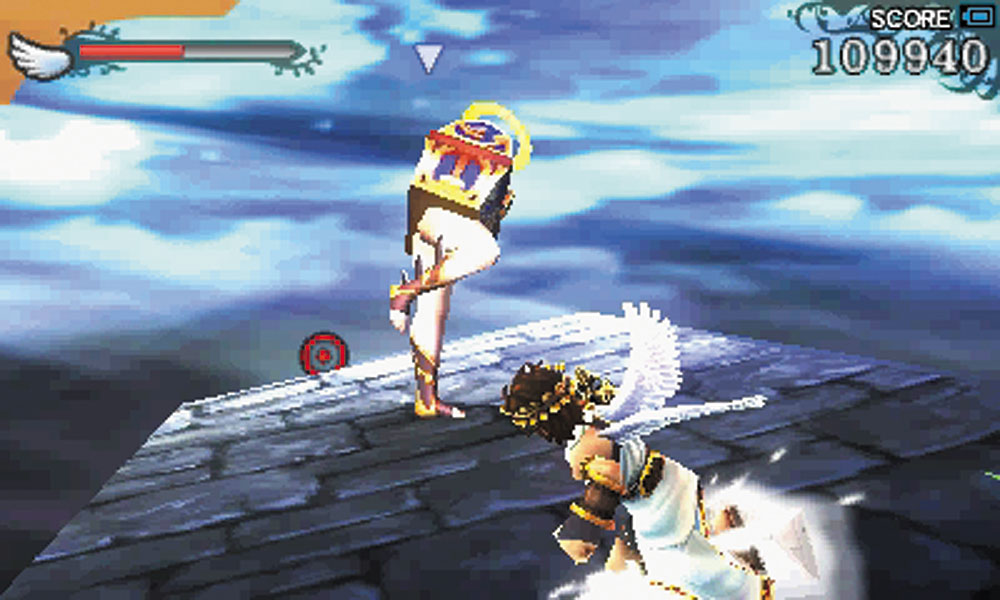
12. When you reach the part of the trail that requires you to use jump pads to proceed, you’re also attacked by a Lurchthorn and a Blader. If you’re trying to hurry, they can be ignored. Just past the jump pad gauntlet, two Mimicuties try to surprise you.
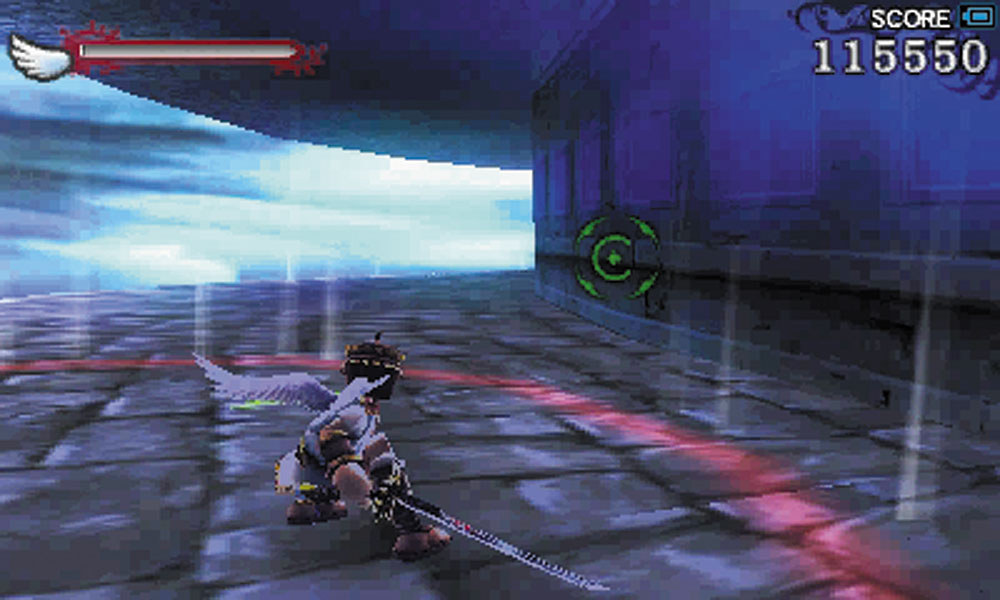
13. A devious trap has been placed for Pit here. Look carefully at the ground as you move past this point. You might notice air currents racing upward from ground. Standing in those currents causes a red circle to form, and if you stay in that area for too long, the ground drops out from underneath you.
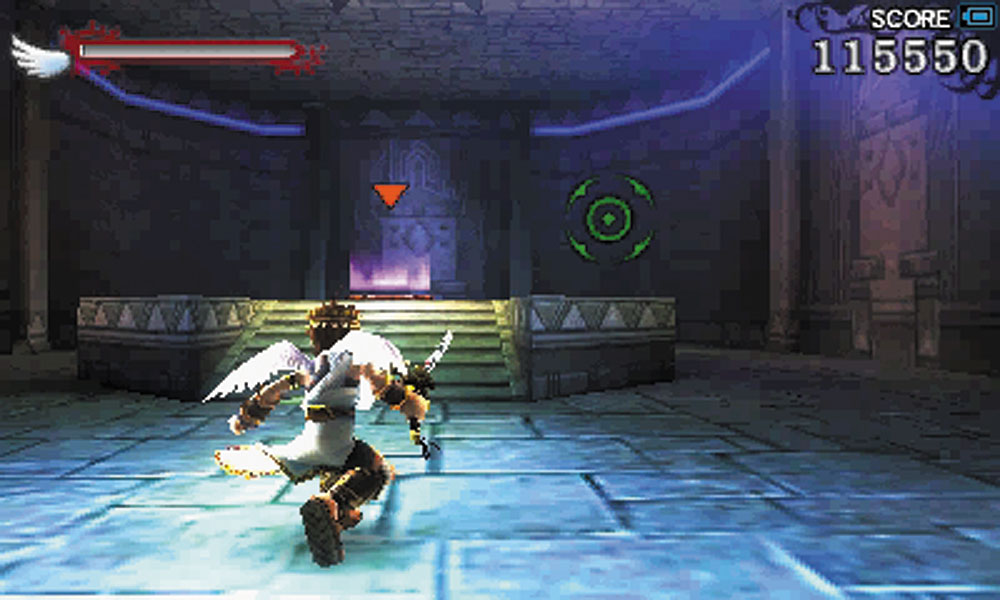
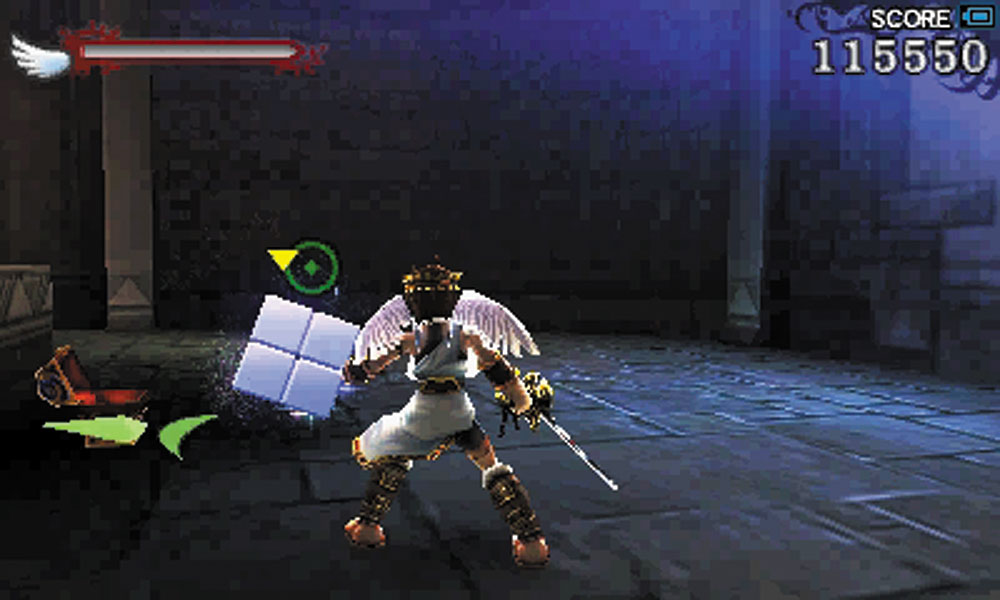
14. At the top of this winding way, a jump pad leads to the last room of the temple. Before you take the jump pad, check behind its podium to find a Treasure Box.
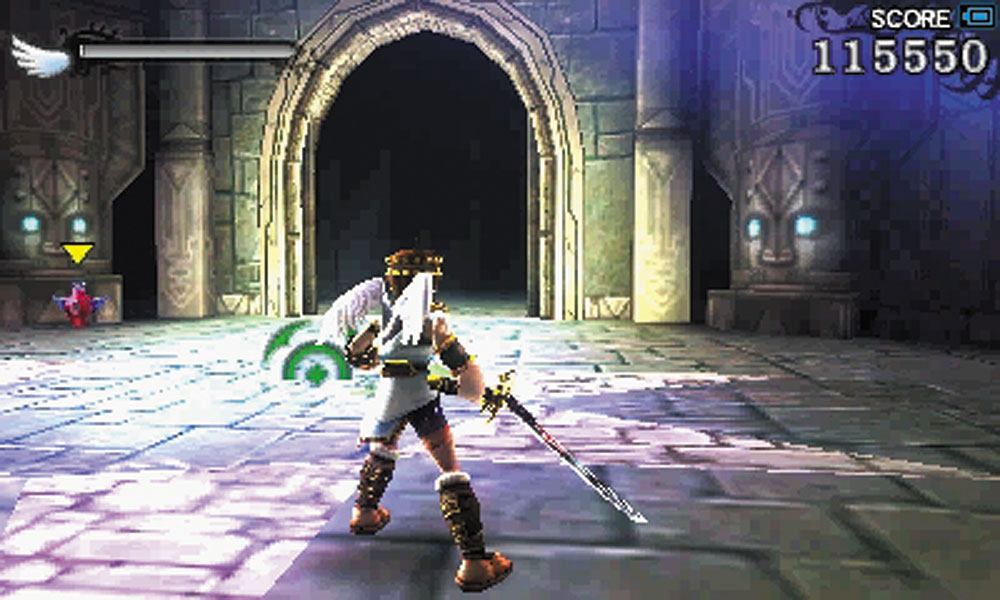
15. The door to Phosphora is here, but before you confront her, check the room thoroughly. You’ll find the portal to a Zodiac Chamber, but an electric barrier stands between you and it, and there is no switch anywhere in the room to disable the trap.
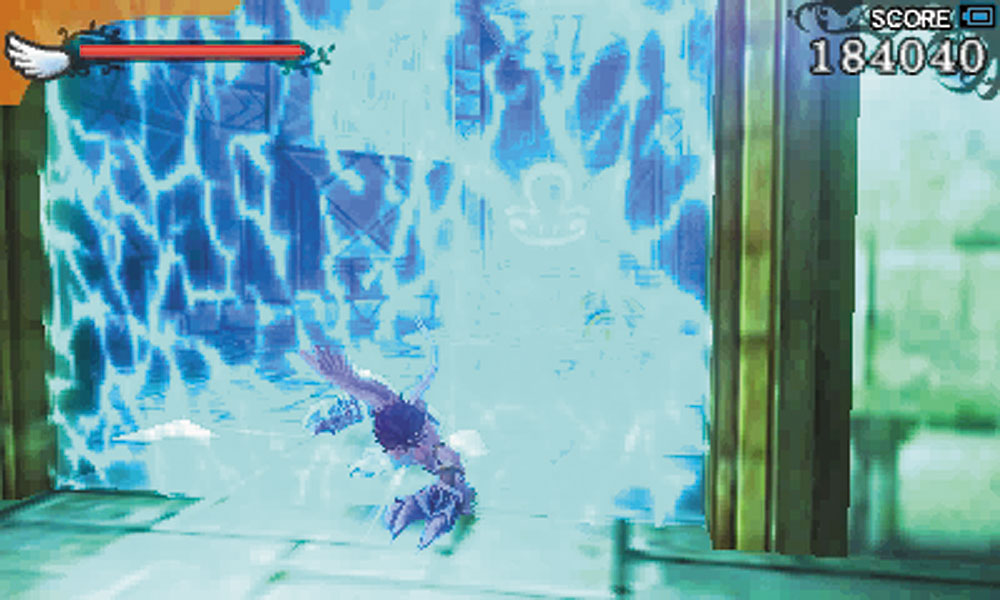
Just dodge through the barrier. You’ll have to be close to the barrier to do it. If you’re at the right range, flicking the Circle Pad at the barrier will have Pit dodge through it.
With that business out of the way, it’s time to go have a nice chat with Phosphora.