
Kid Icarus: Uprising Guide Walkthrough Chapter 6: Dark Pit
Air Battle
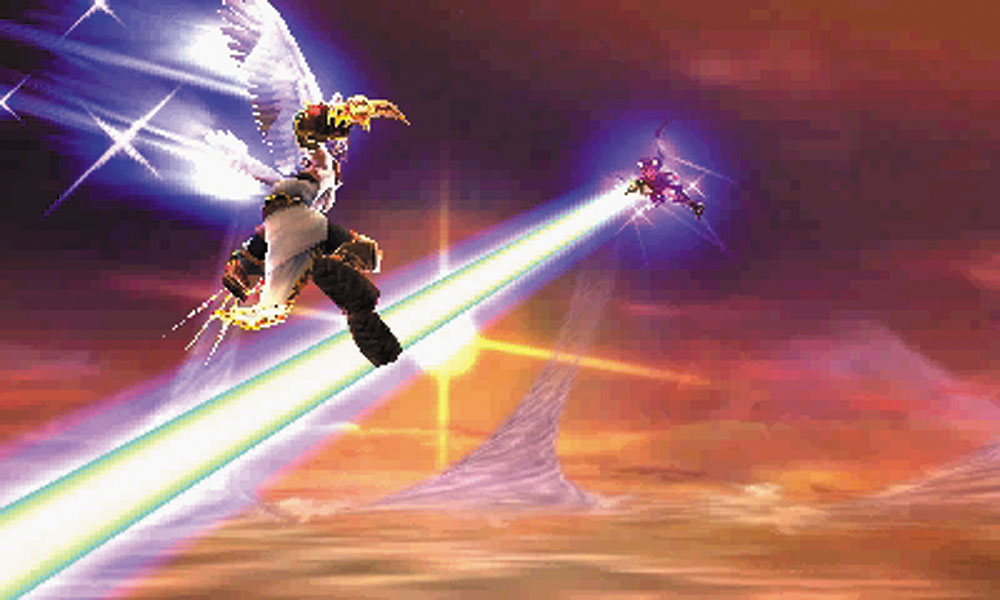
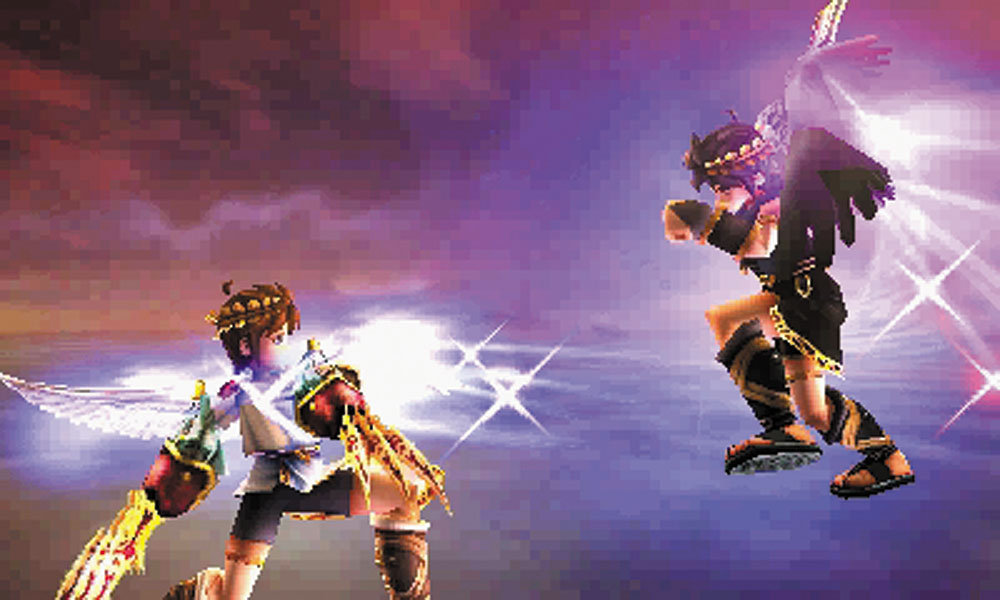
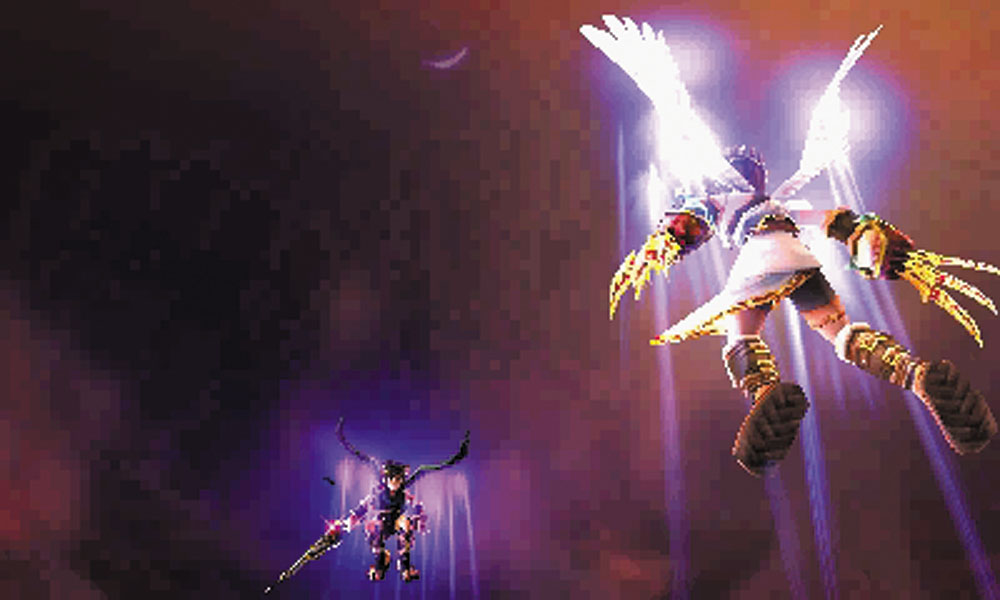
Dark Pit wastes no time, ambushing Pit the moment he steps through Palutena’s passageway. After a heated exchange, Dark Pit breaks free, beginning a wild chase through the skies, and eventually through legions of Underworld Army troops.
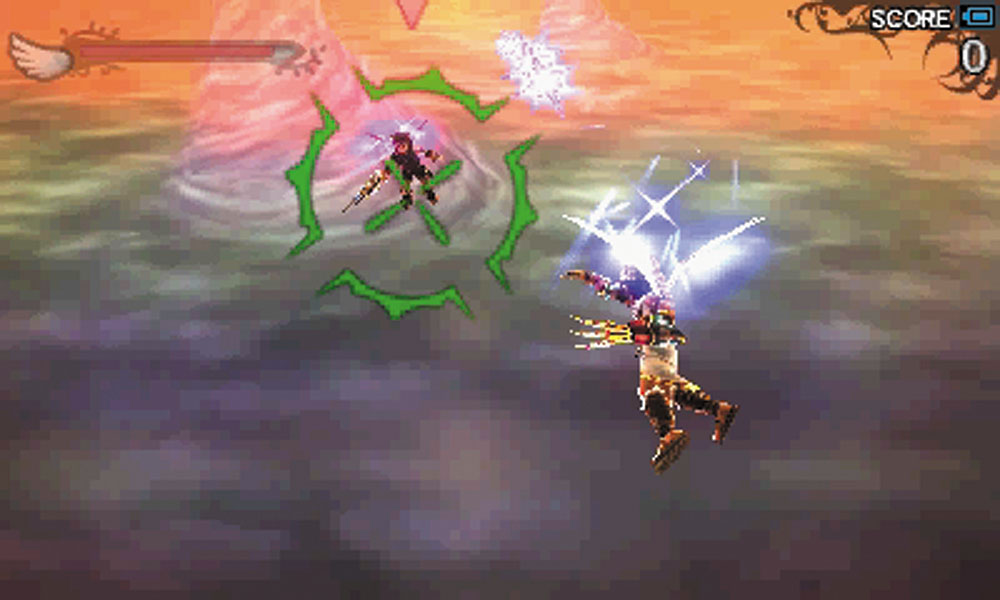
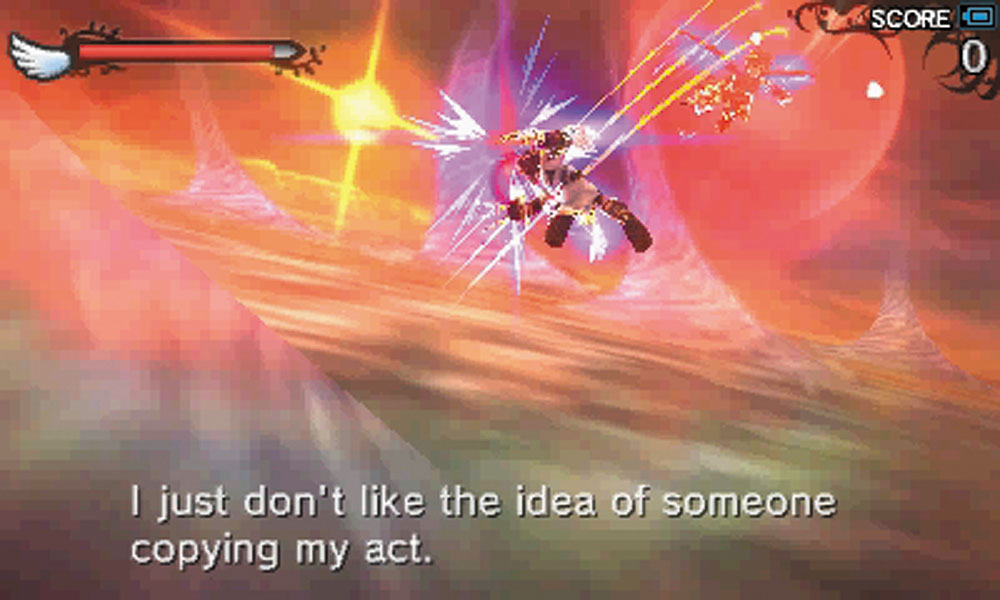
At first, it’s a simple duel. Dark Pit is an agile target who is difficult to draw a bead on. He quickly shifts between close-range and long-range combat. Keep the pressure on him as best you can. When he gets close, make sure you’re pounding him with melee attacks. When he falls back to snipe at you, dodge his shots and respond with charged blasts. You can even break out your Special Attack if you’d like. You’ll know you have done enough damage when he staggers and gives up some hearts.
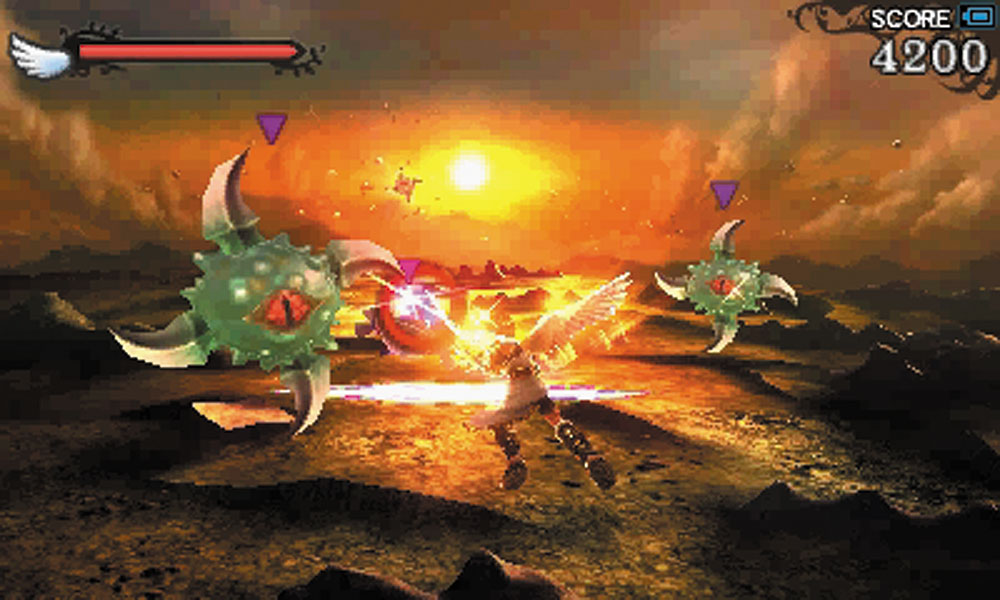
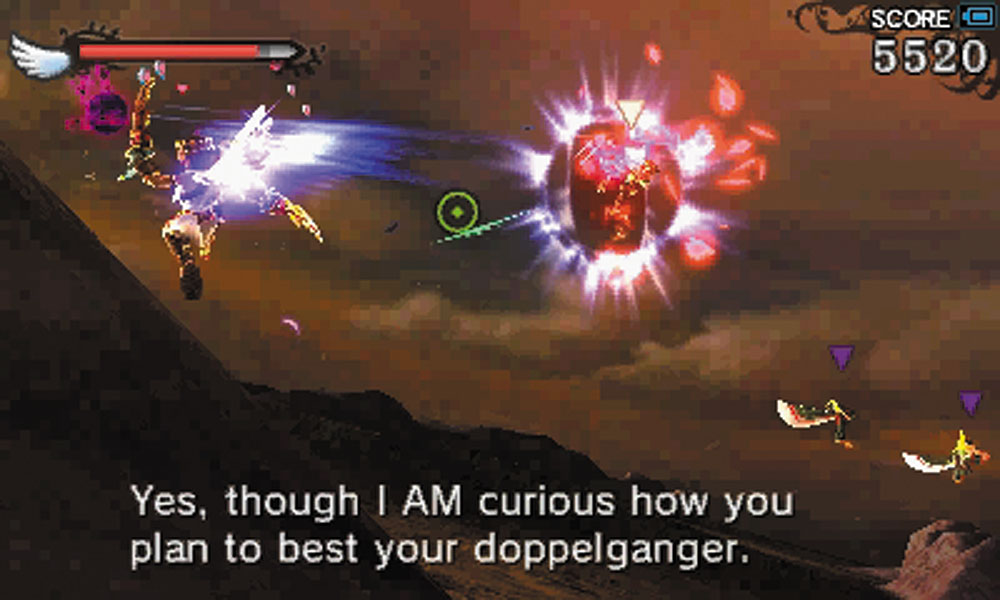
Eventually, Dark Pit has had enough of the battle—for the moment—and he flees below the clouds. Pit doggedly pursues his twin and finds himself suddenly facing down a determined Underworld offensive. Splins and Shrips are among the first to join in the fun. While all of this is going on, Dark Pit will swoop in throughout the entire battle to take a few cheap shots, so always keep an eye on Pit’s position and be ready to make emergency dodges if necessary.
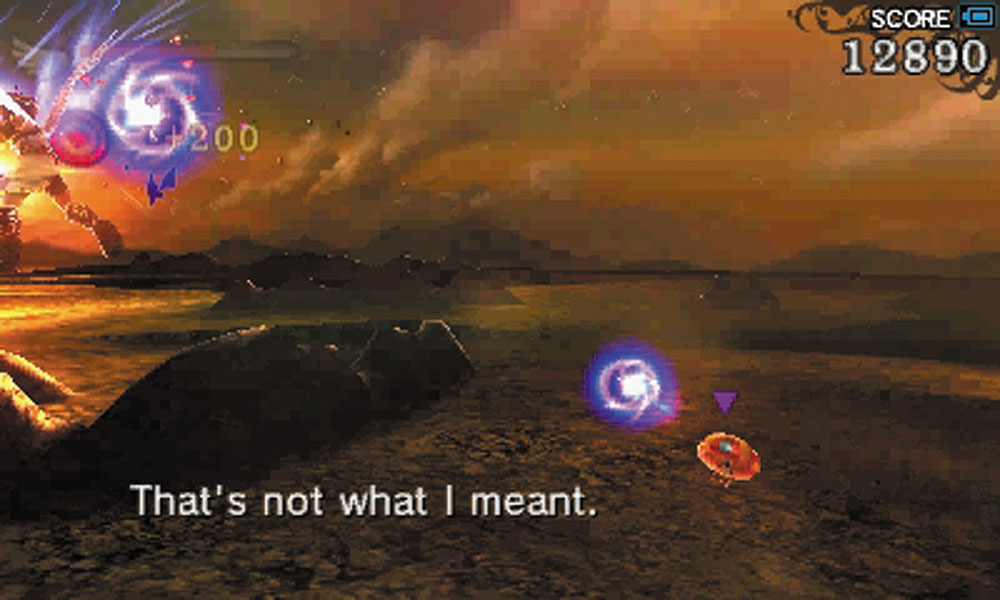
Watch for Paramush to be dropping in while you’re busy with larger and faster targets. They’re slow enough that you can easily pick them off and keep the skies a bit clearer.
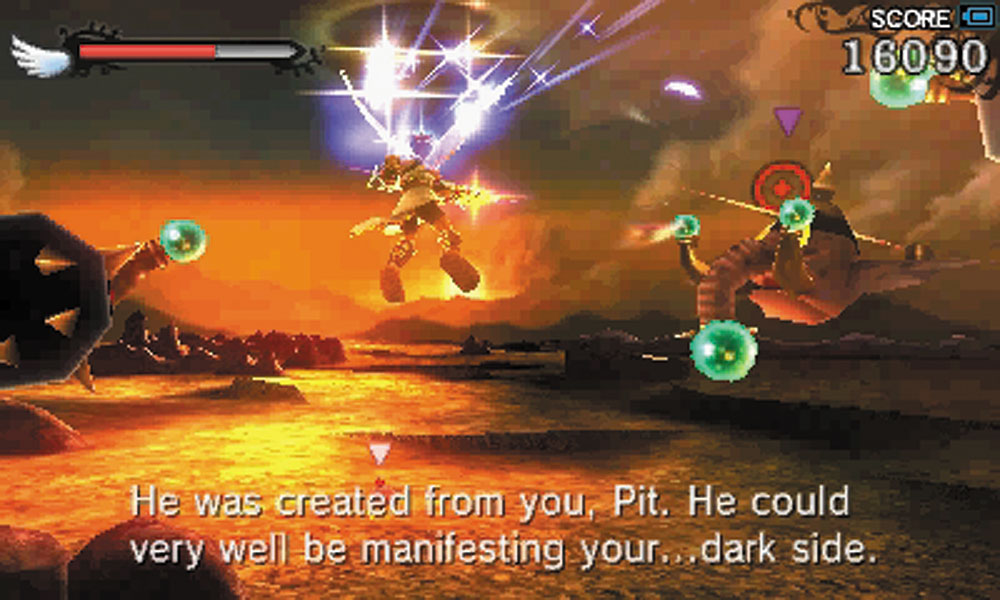
When you see the Snong appear, do whatever it takes to finish it off as quickly as possible, going even so far as to drop a Special Attack on it. Its fists home in on Pit and cause heavy damage when they strike. All it takes is a moment’s distraction for the fists to land a solid hit.
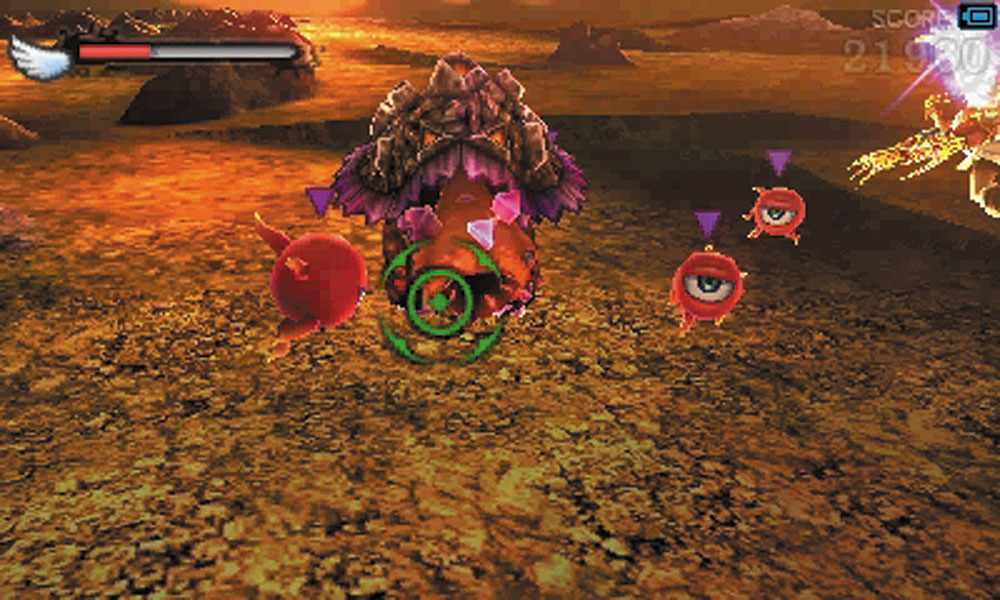
Watch out for the Vakloom as well. Force it to unleash its beam attack by letting it absorb your shots, then continue to fire on its head while it recovers. If you’re feeling overwhelmed by other enemies while taking down the Vakloom, a Special Attack can help.
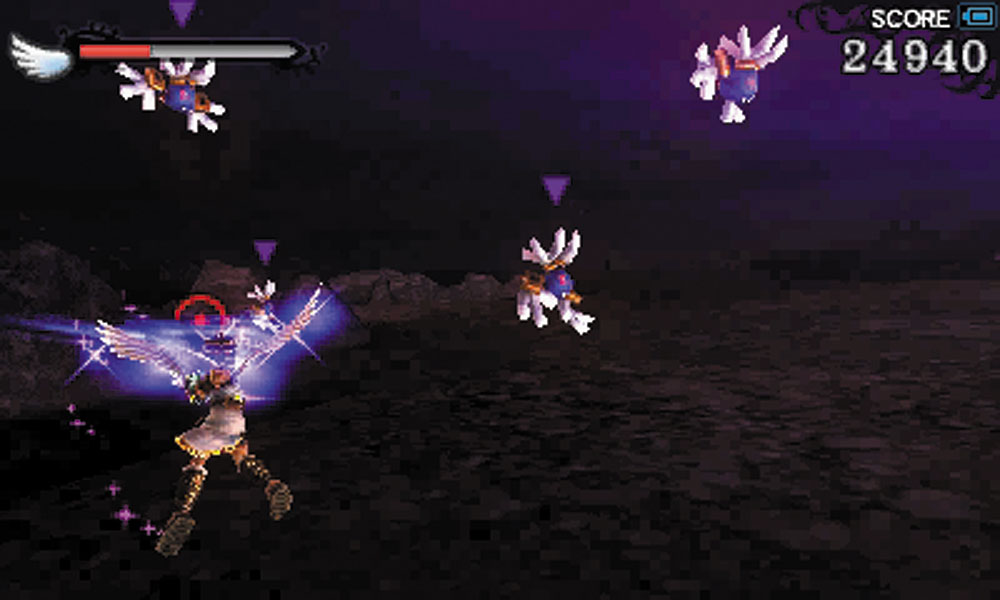
Yet another threat seen in this Air Battle, a swarm of Petribombers, tries to move in close to you. Taking them out will result in a damaging explosion, so try to make sure you do them in from afar.
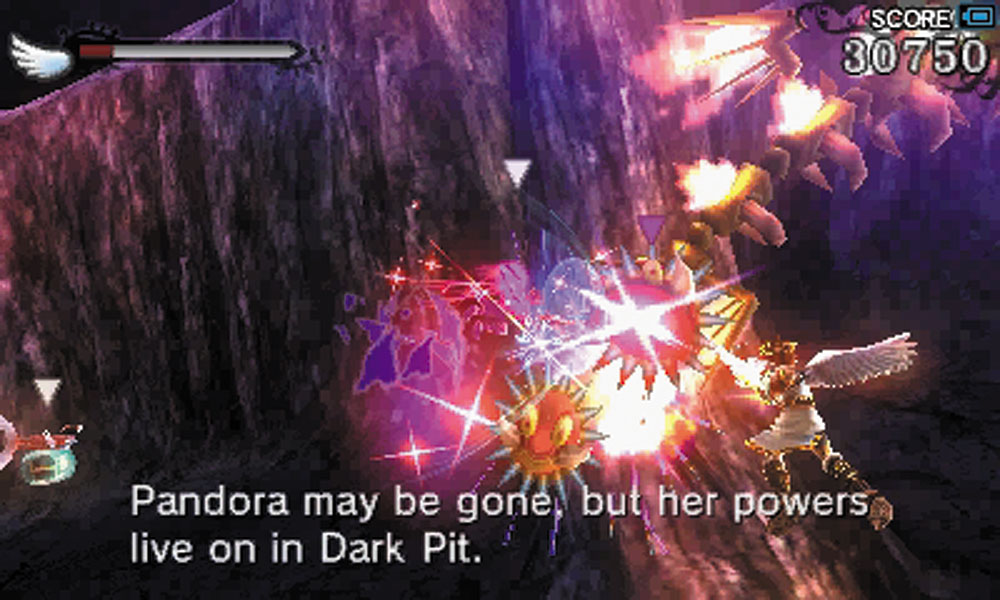
You’ll come across some recovery orbs as you enter a ravine, and there’s a good chance that you’re probably hurting for them by now.
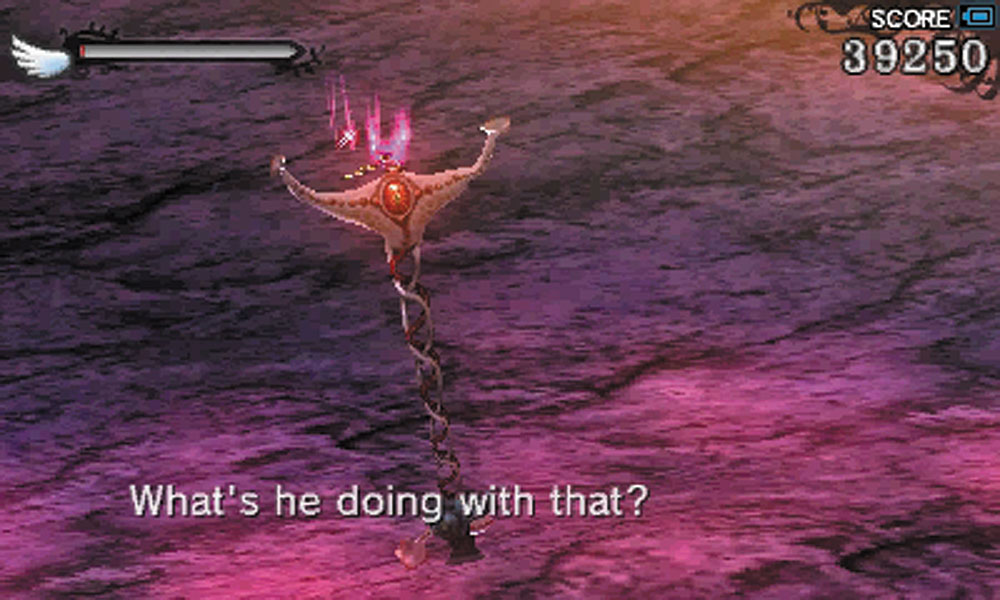
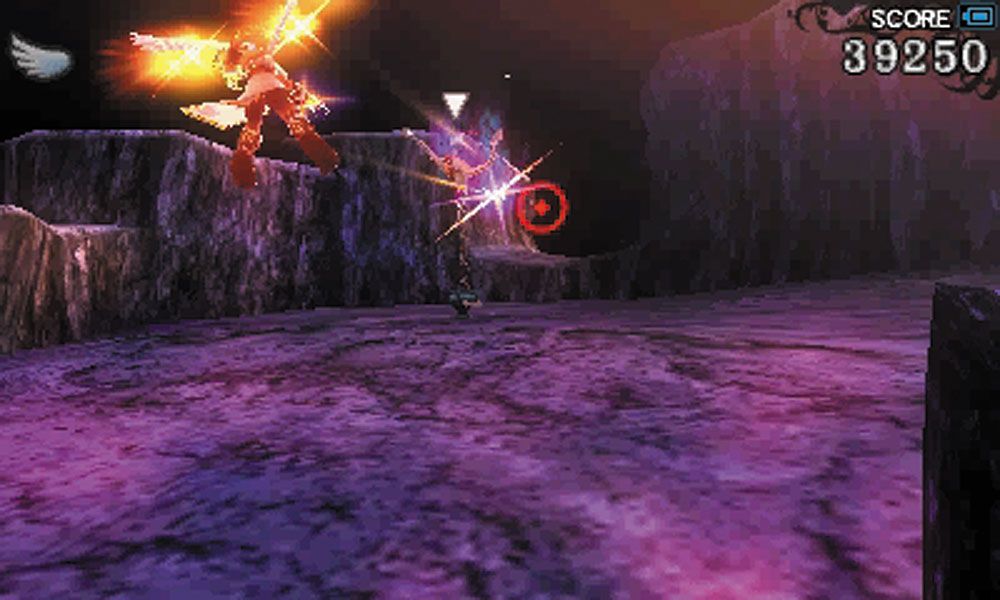
Eventually, Dark Pit commandeers a Zurret, and uses it as a sniping platform. Try to keep yourself out of his sight, using any terrain Palutena parks you near to save yourself some grief. Eventually, you move in close enough to take out his makeshift weapon, and Dark Pit will once more flee to safety. A last wave of enemies tries their luck as you pursue him, but once you get past them, you take the fight to the ground.