
Kid Icarus: Uprising Guide Walkthrough Chapter 10: The Wish Seed
Land Battle
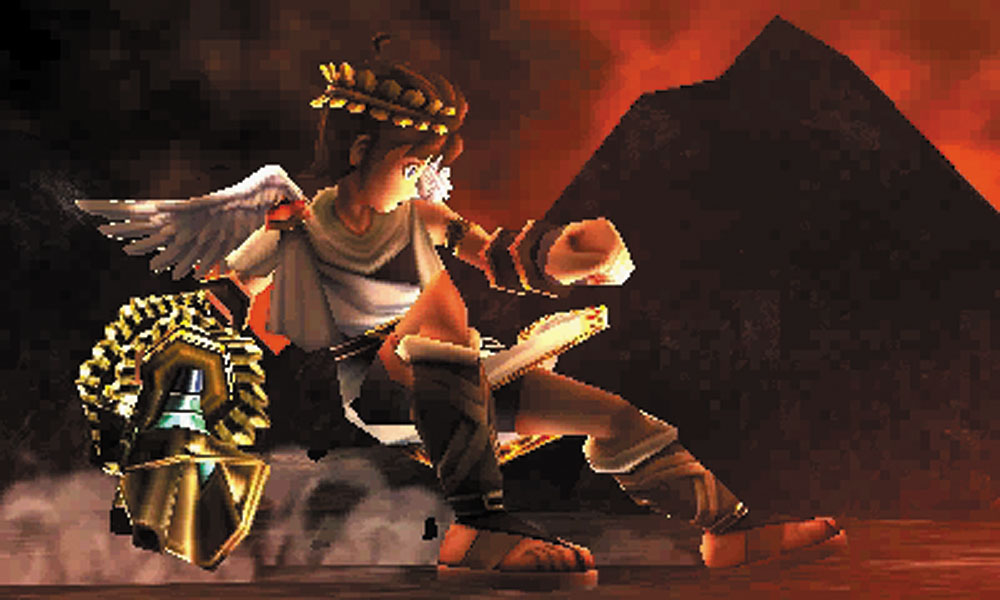
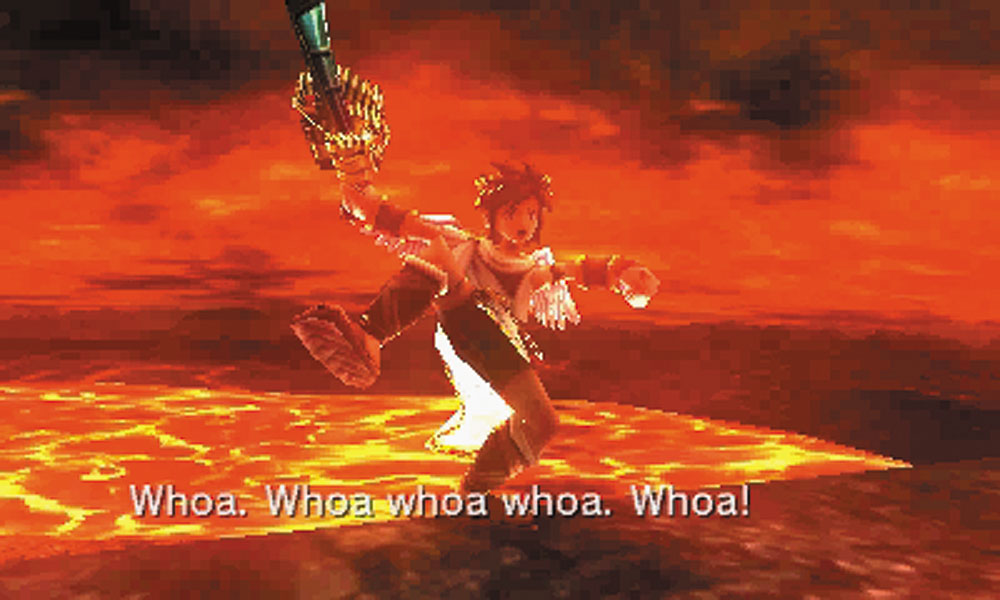
After a precarious landing, Pit now finds himself in a race to the Wish Seed, and the Underworld Army has a head start. The first lesson you’ll learn very quickly is to avoid touching the magma! Many battles require you to show some finesse while fighting close to the stuff. If you dash around without paying attention, you could be taking a lot more damage than you would if you were more careful.
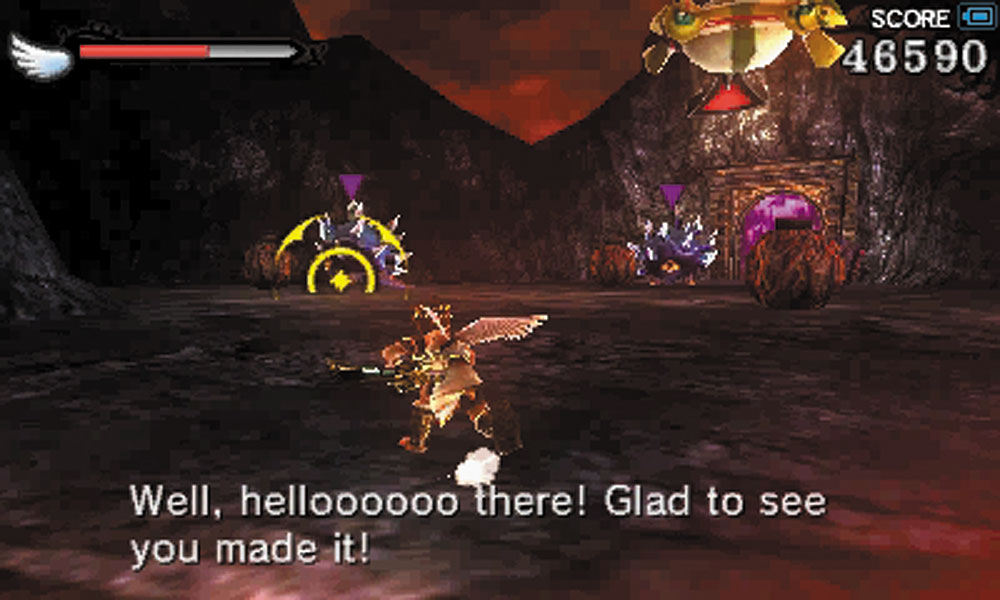
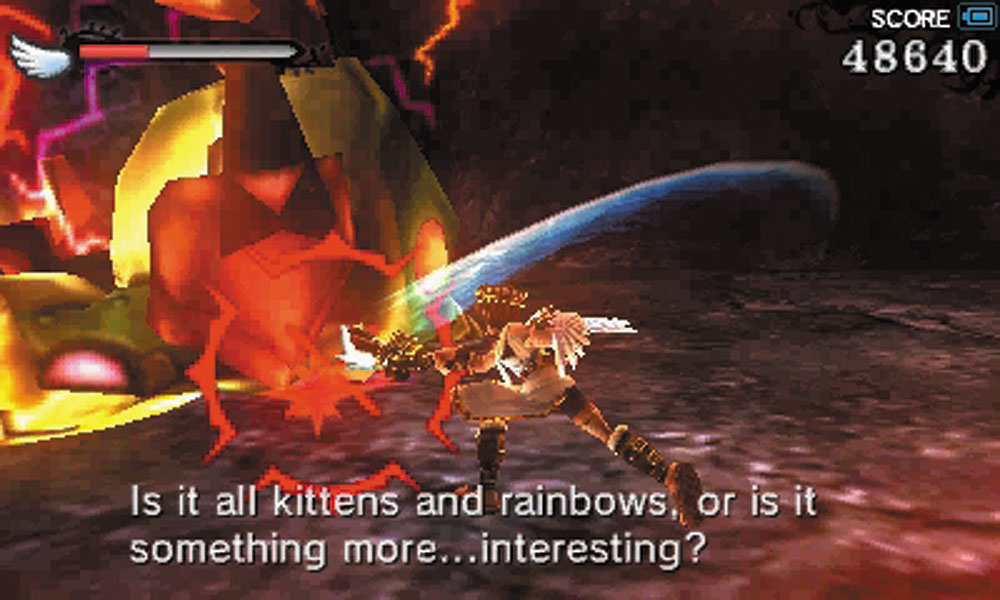
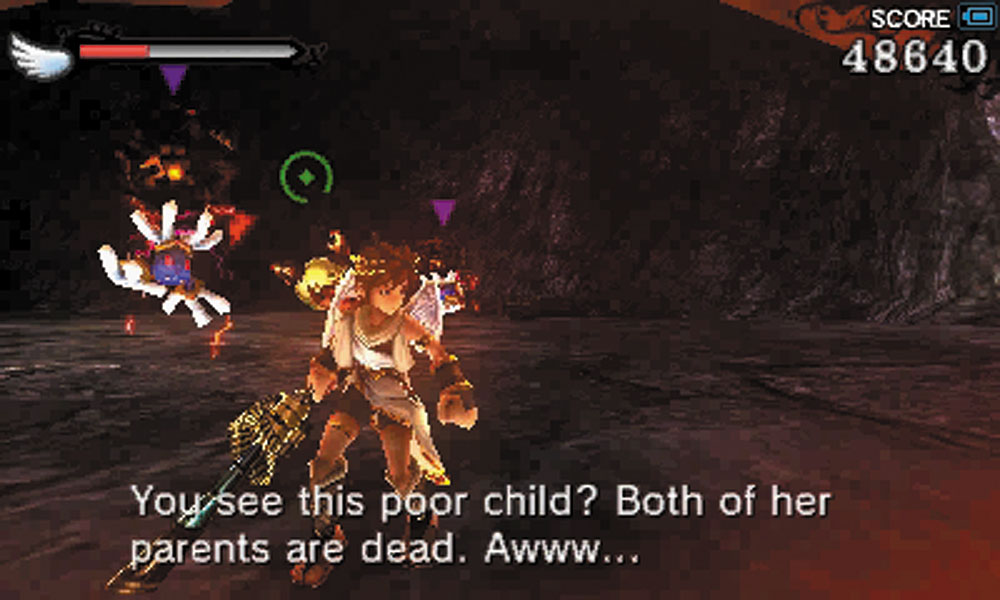
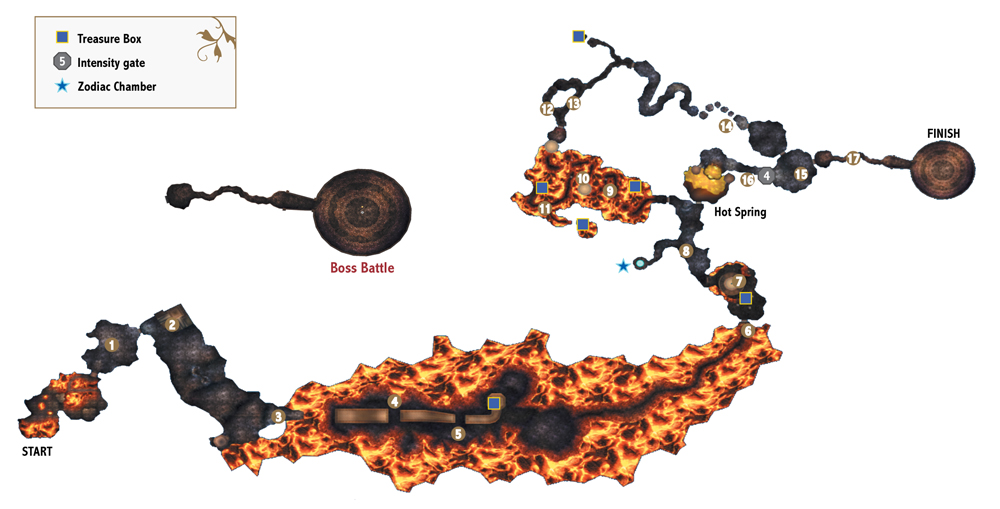
1. This is an ambush consisting of Porcuspines, Wave Anglers, a Tortolunk, and a group of Petribombers. You can make this battle much easier by shooting the explosive jars that are scattered throughout the room—just take care not to get too close to the blasts.
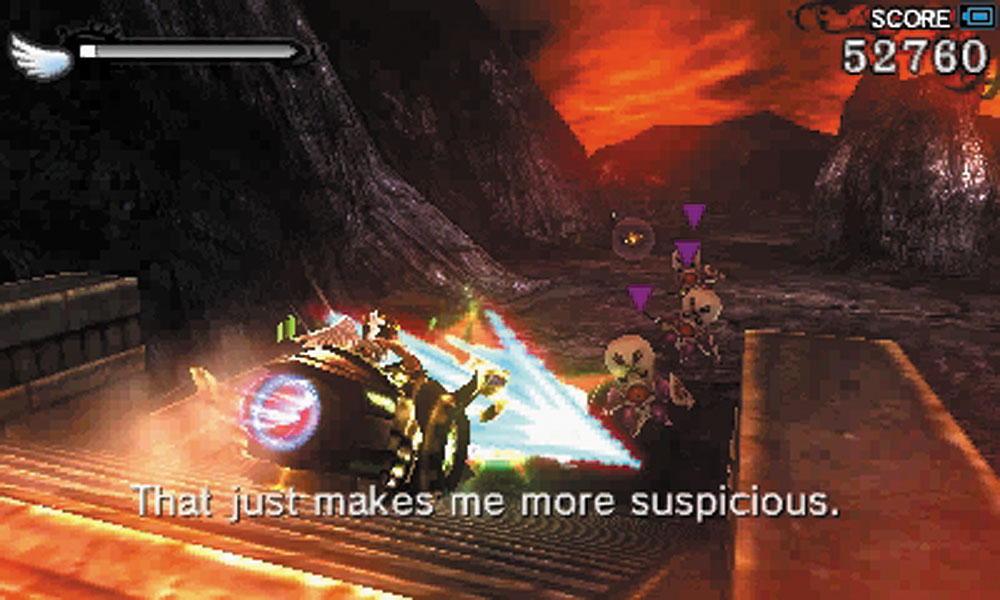
2. Grab the Exo-Tank here. You’ll need it to grab a pair of Treasure Boxs and it also makes the first section of this Land Battle go by a little faster.
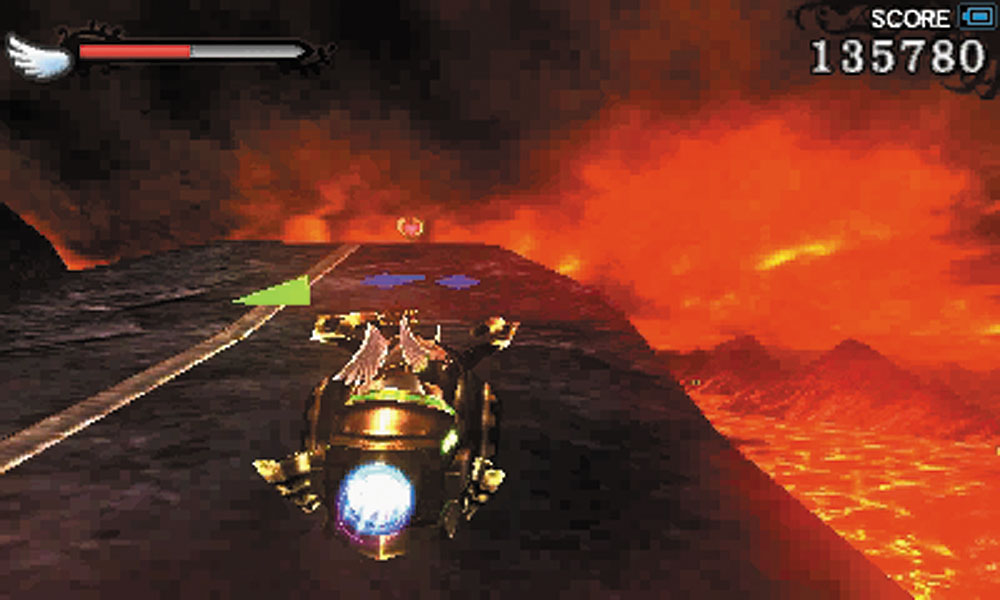
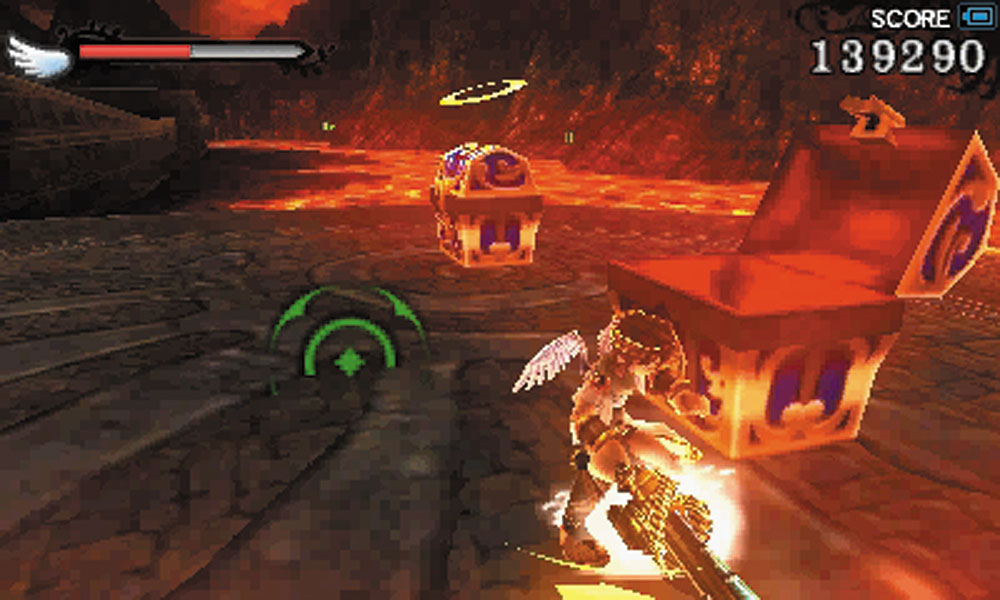
3. For this set of three jumps, make sure you’re lined up straight on with the first ramp. Wave Anglers try to interfere with your jumps, but the Exo-Tank ploughs through them with great ease. You will probably want to use the Exo-Tank boost for the first two jumps. For the third, do not boost. You should have enough speed to land on the last platform just fine. Slow down, exit the Exo-Tank, and collect your two Treasure Boxs. Then retrieve the Exo-Tank and continue following the main road if you want to keep moving.
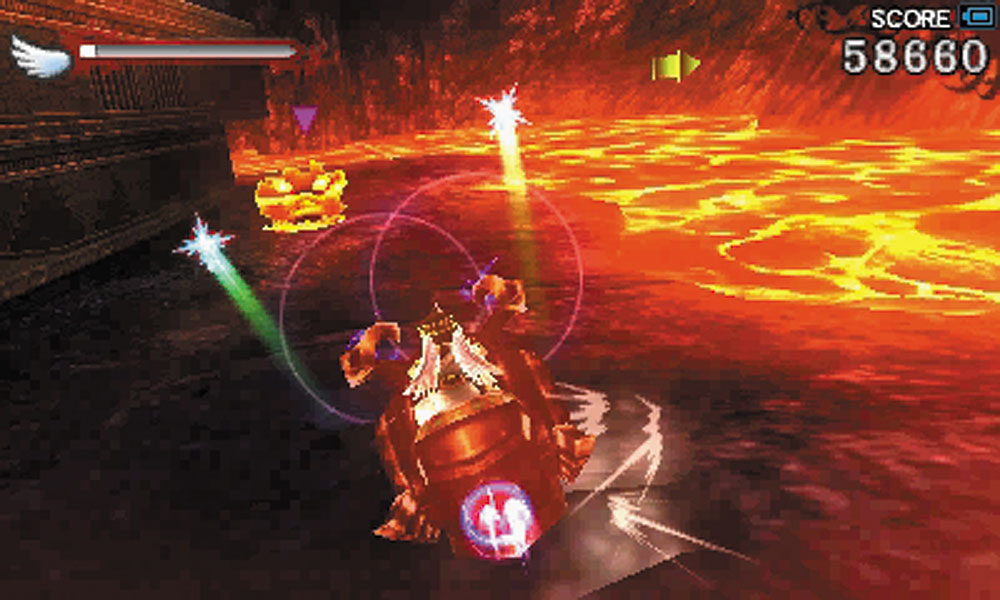
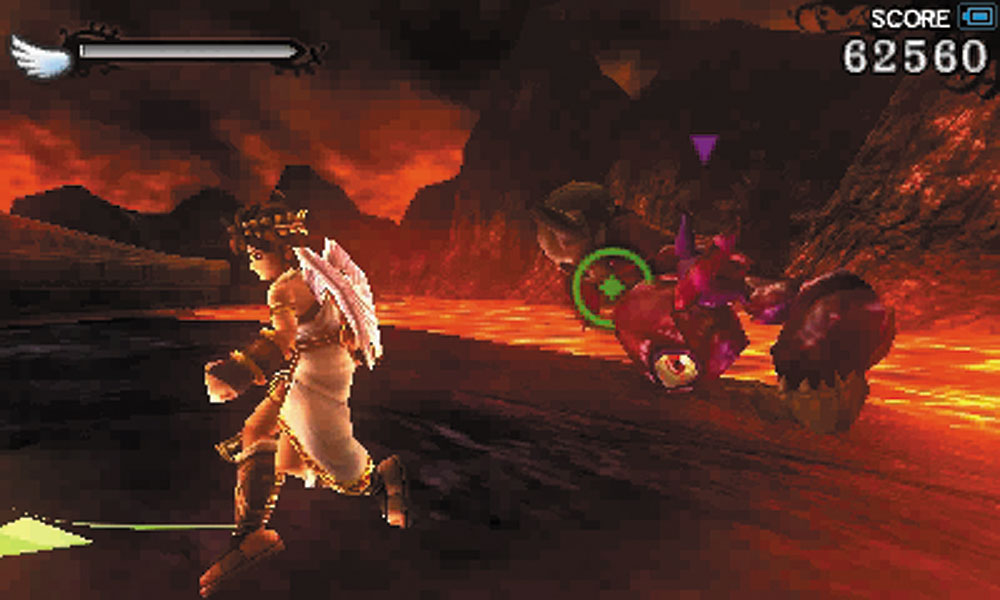
4. If you are not in a hurry, the area surrounding the ramps is a place where Magmoos can be found and the Exo-Tank can run them all over. The extra hearts aren’t a bad benefit; just beware of a chained Clubberskull close to the platform where the two Treasure Boxs are located.
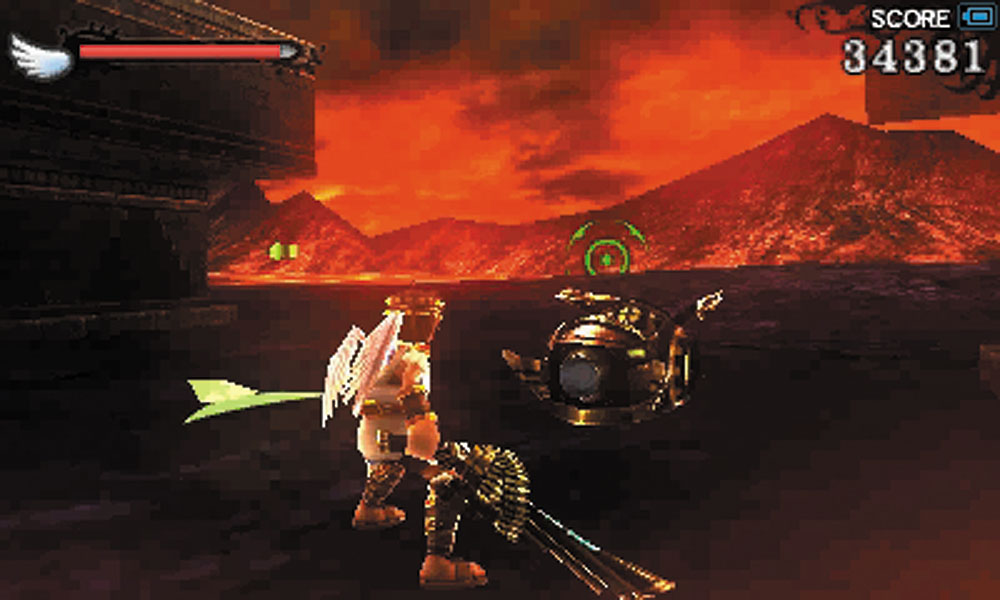
5. Should you be defeated in this area, a spare Exo-Tank can be found here.
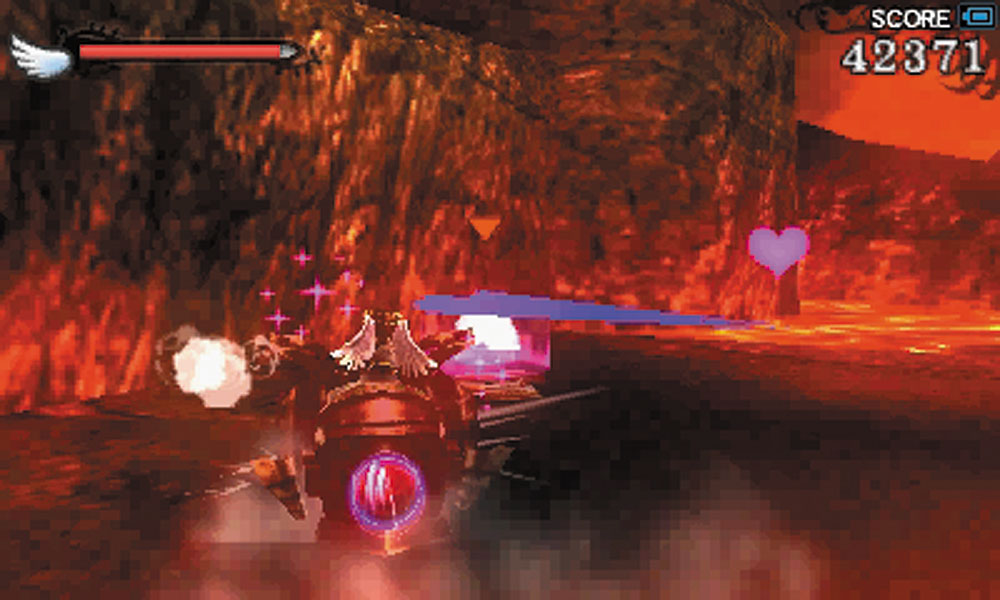
6. The Exo-Tank must be abandoned here in order to proceed.
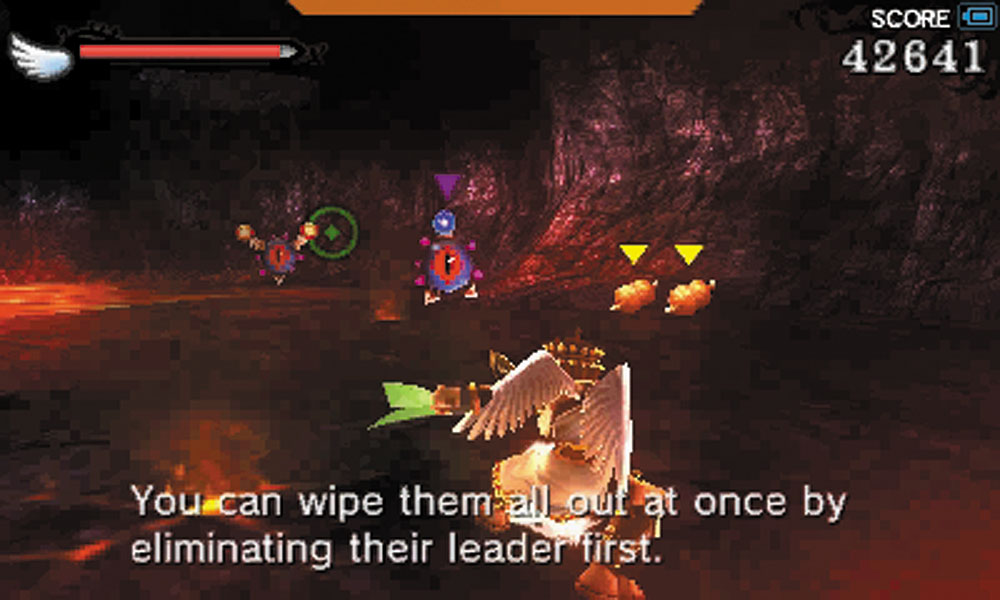
7. Remoblams and Remoblamlings are the first opponents of this room. Remember to hit the Remoblams first to make the Remoblamling explode in concert with them.
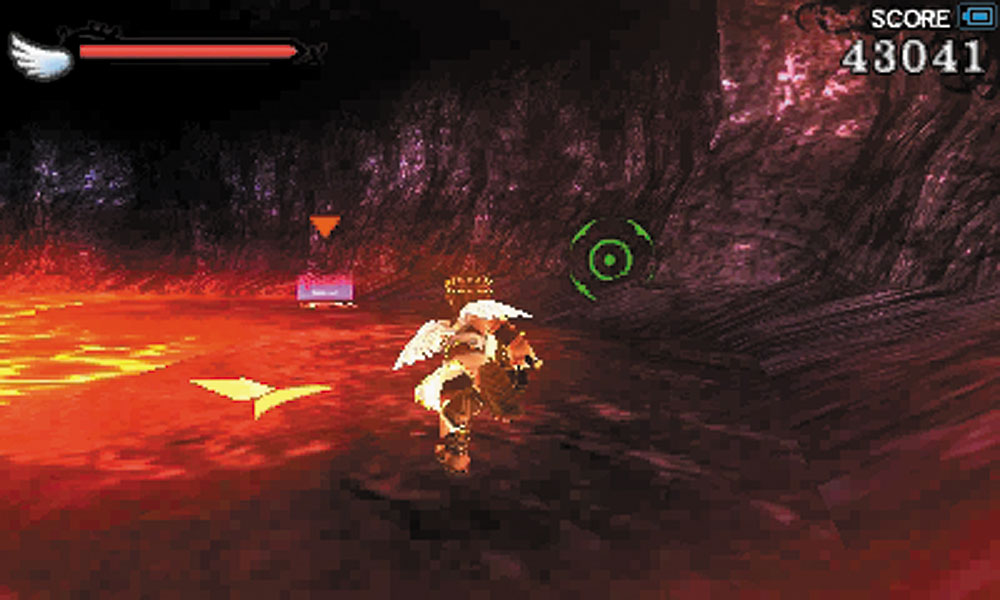
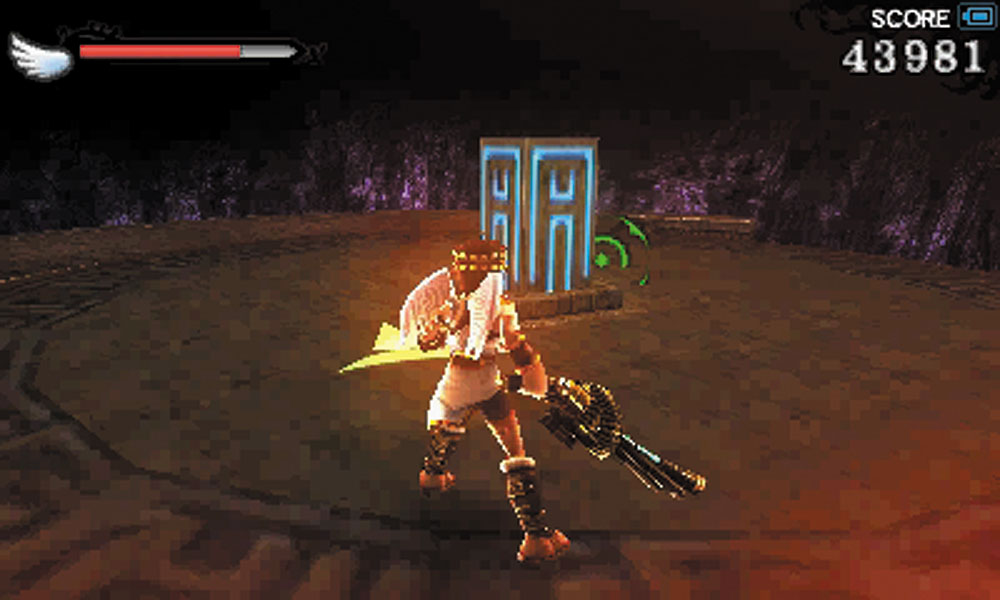
Take the jump pad to the room above the lava and you’ll find a large statue with stairs leading up to a large switch. Hit the switch to make the statue descend into the lava, providing you with safe passage to the next area.
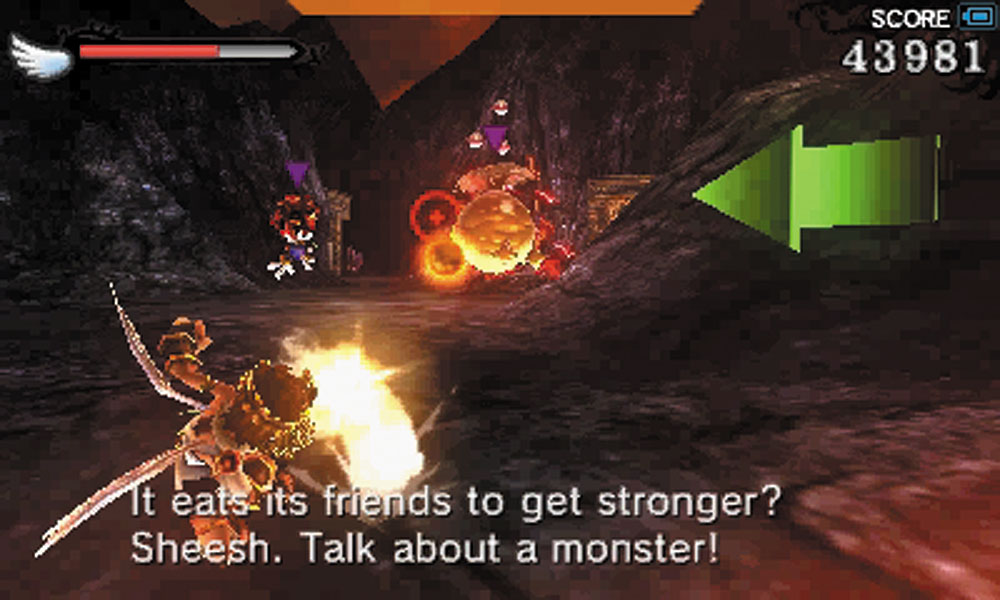
8. The Guttler in this area is consuming Petribombers to get stronger. Be aggressive and try to destroy it before it grows to full size, or you could have a serious problem.
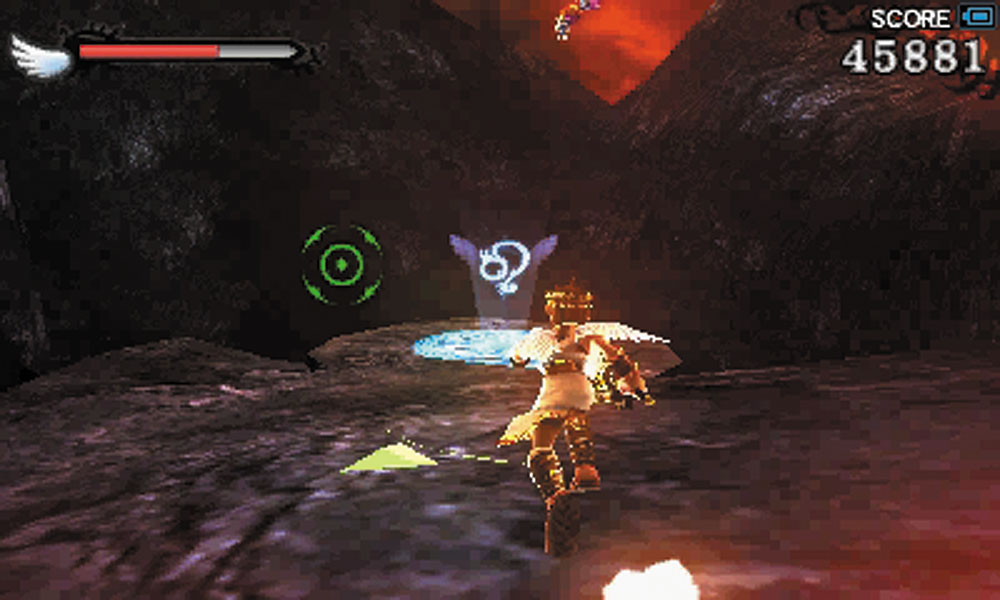
After clearing out the enemies here, take the side path to find a Zodiac Chamber.
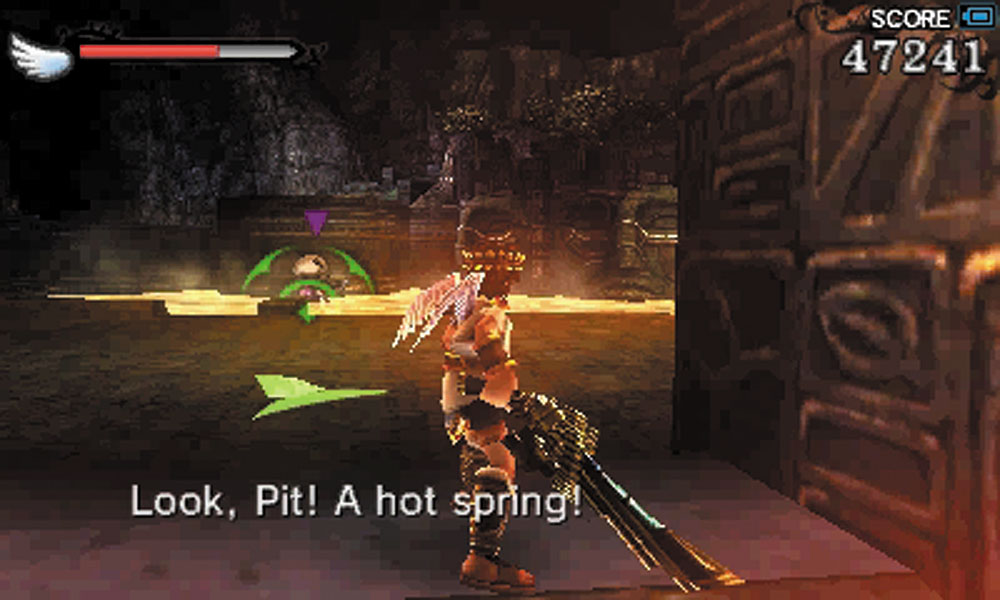
This area also includes a hot spring to restore your health! Take advantage of this, as the next section is dangerous.
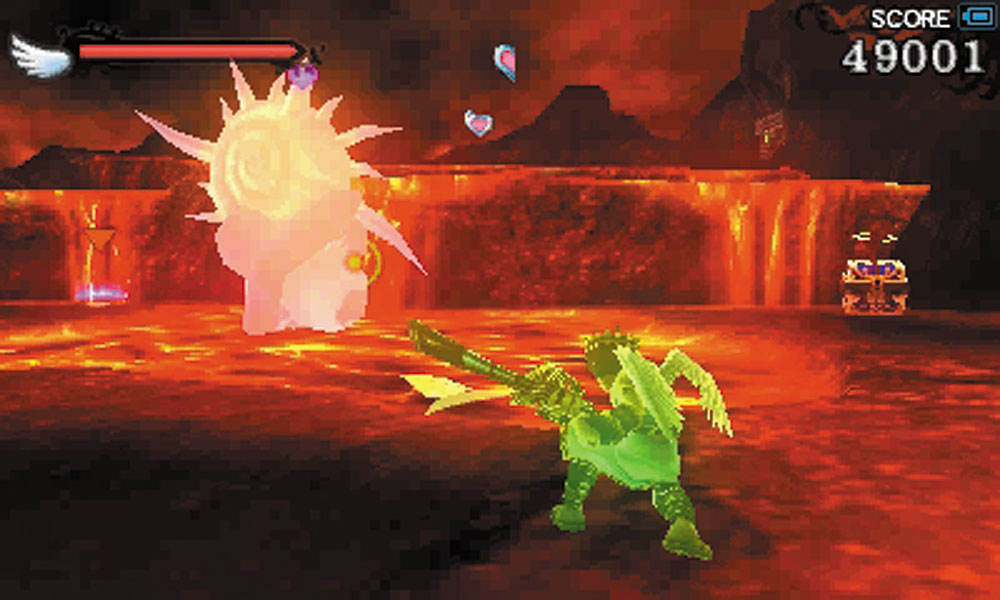
9. There’s a lot of fighting to be done in this area, and not a lot of safe space to do it in. The paths are thin and are dotted with magma geysers. Enemy encounters here can be quite tense due to the fact that you are surrounded by lava most of the time and have little room to maneuver.
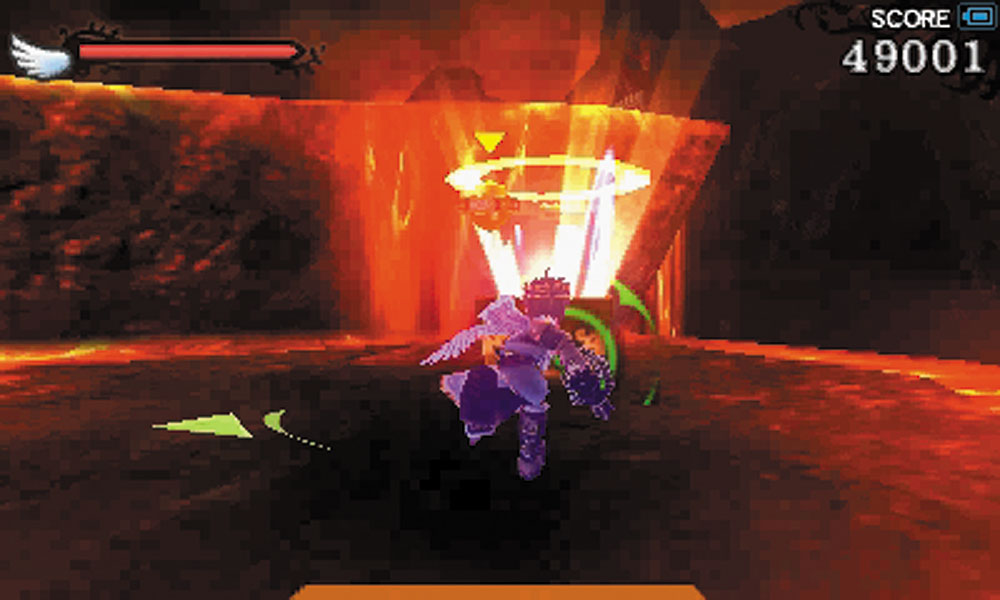
The Treasure Box near the start of this section contains a Grenade. Try to defeat the Gloomerang that appears once the box is opened without wasting the Grenade right away.
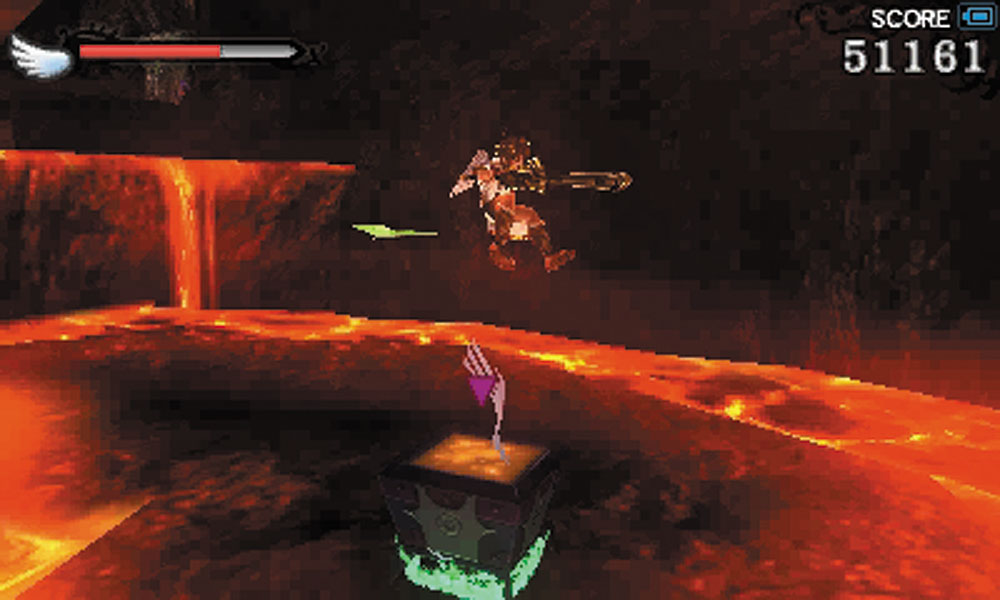
After the first jump pad, look out for a Sinistew on the main path. Its grab attack can cause significant damage.
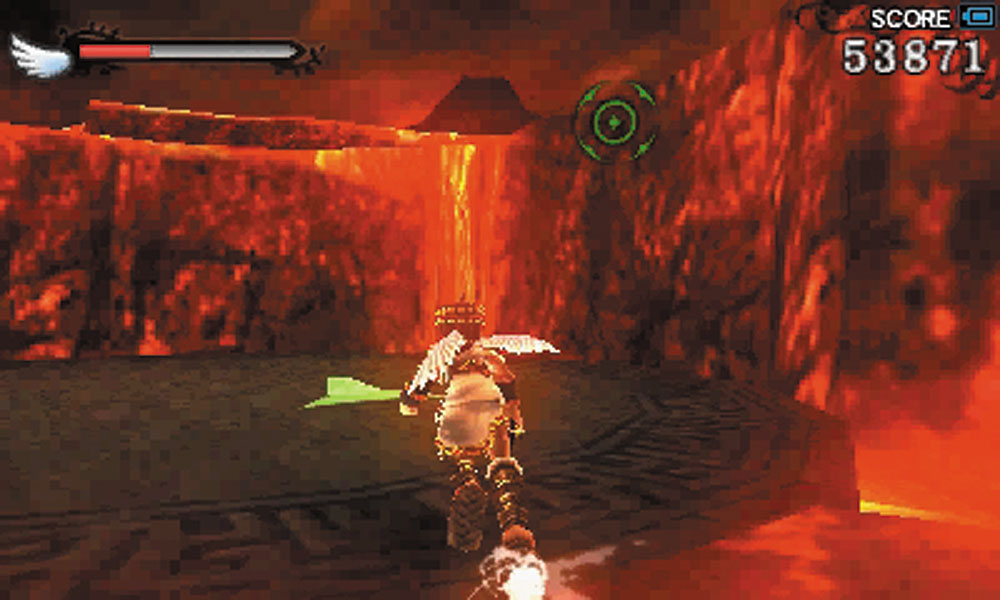
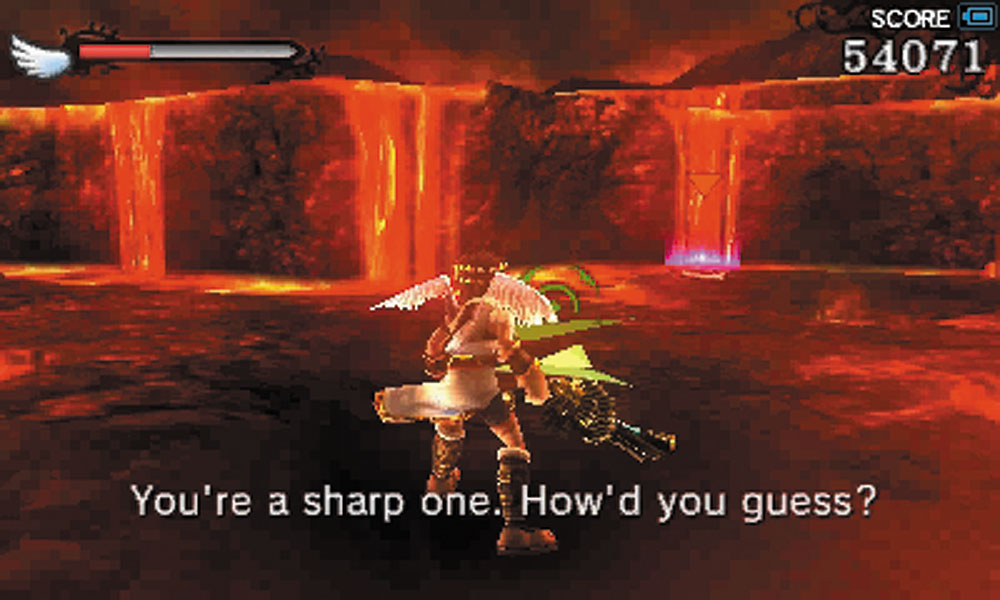
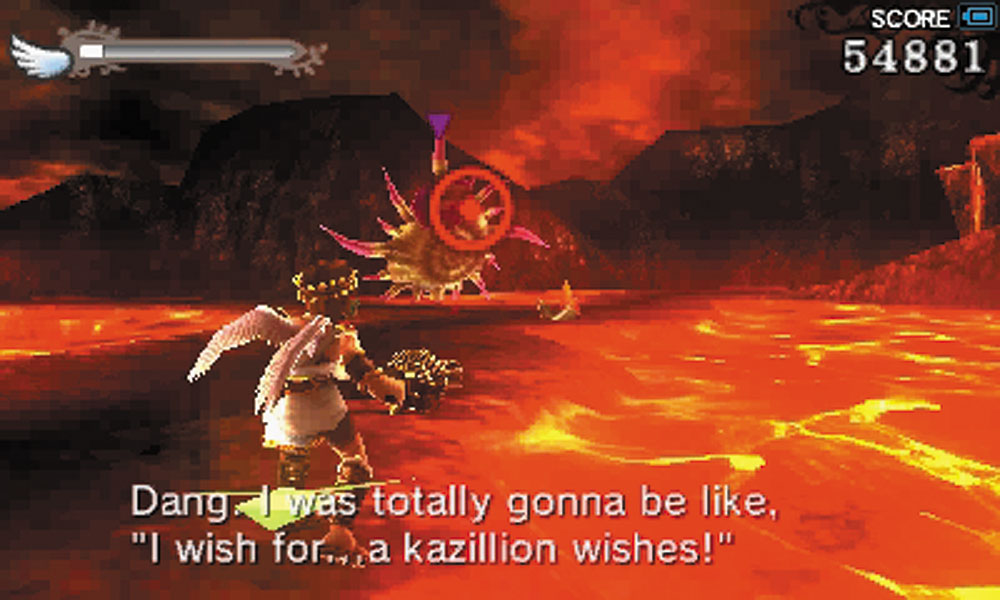
10. A basic rule of thumb in Kid Icarus: Uprising is to always go opposite to where the game initially tells you to go. After the first circular platform takes you up one level, follow the path away from the jump pad. You’ll encounter a Shelbo and a Girin on this route.
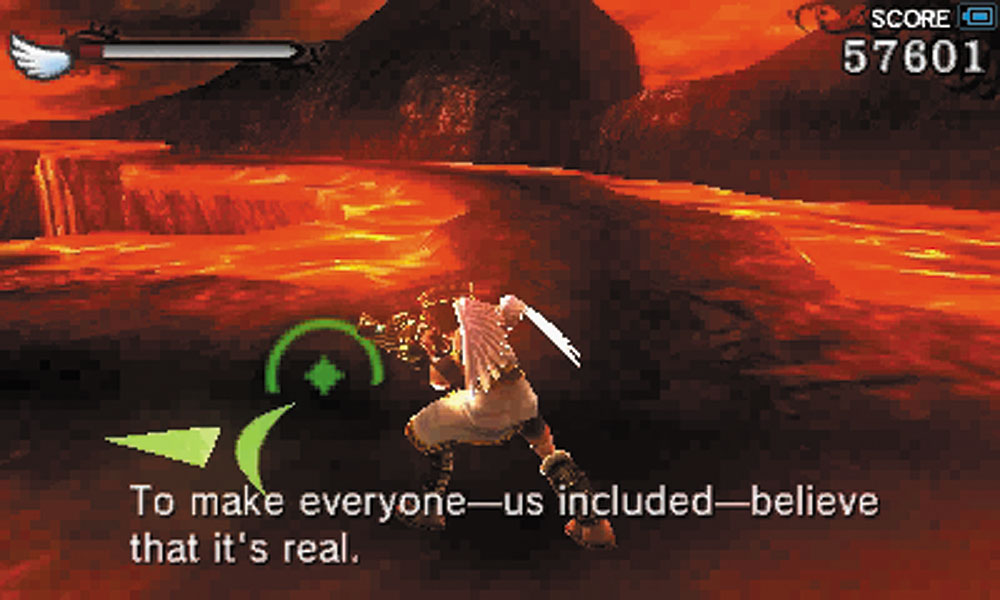
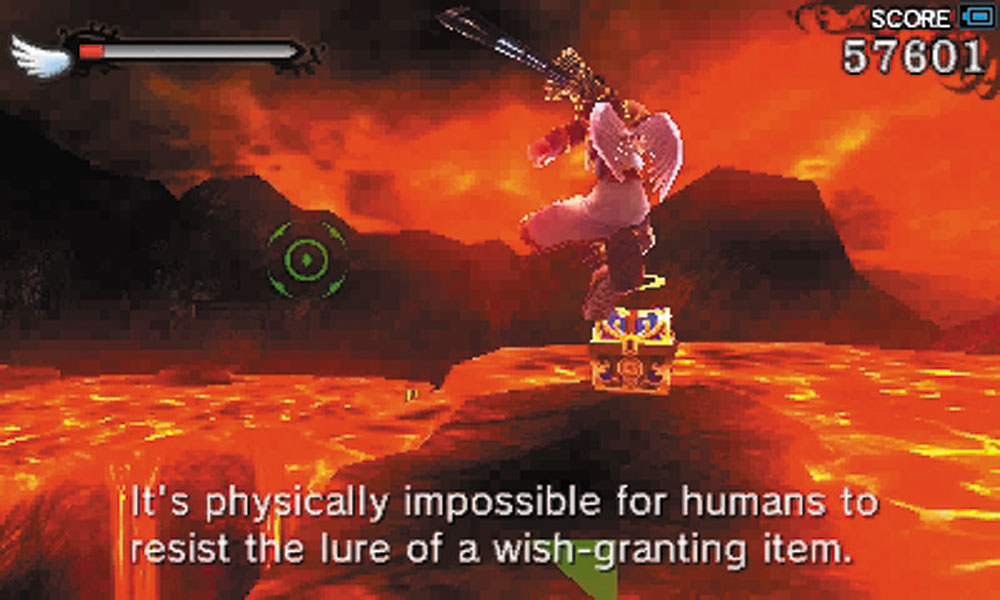
11. After those two monsters are beaten, take the side path until you see a Treasure Box sitting atop a stone spire. Jump across the gap to retrieve it.
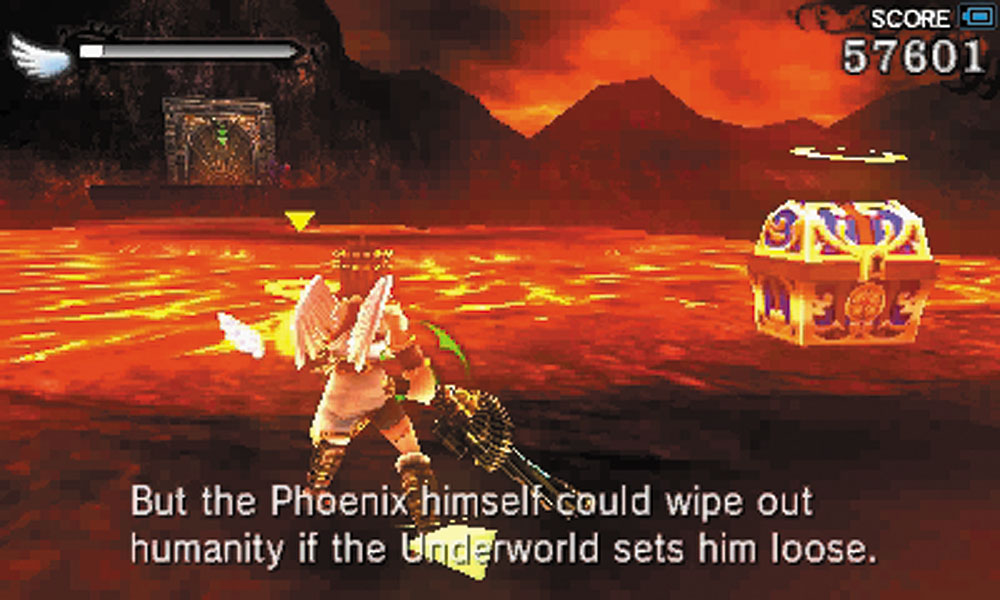
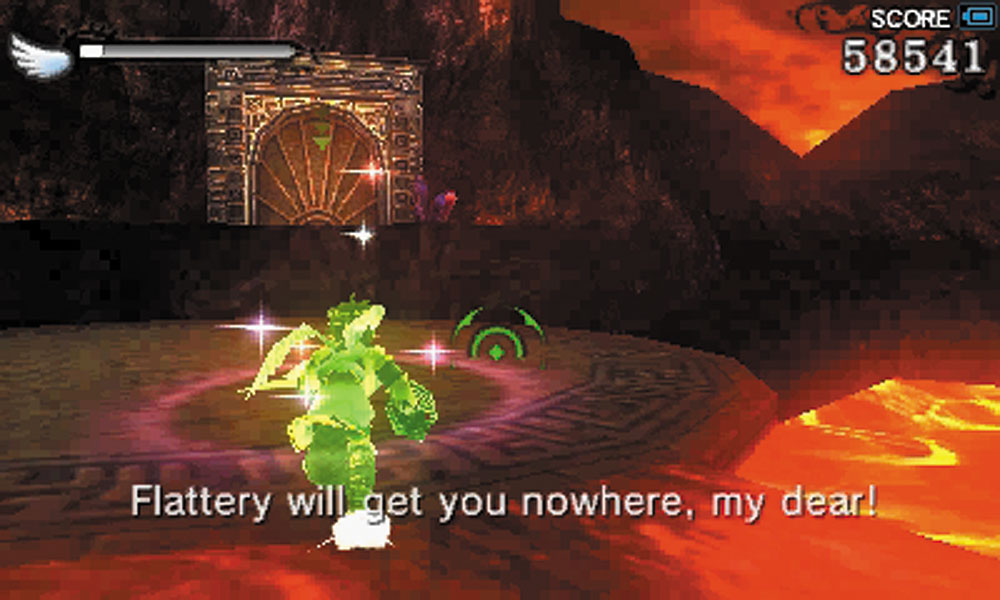
Another box is close by. Follow the stone ramp up to it to snag a Grenade and a Power-Up Drop that will allow you to cross the lava to reach the next elevator.
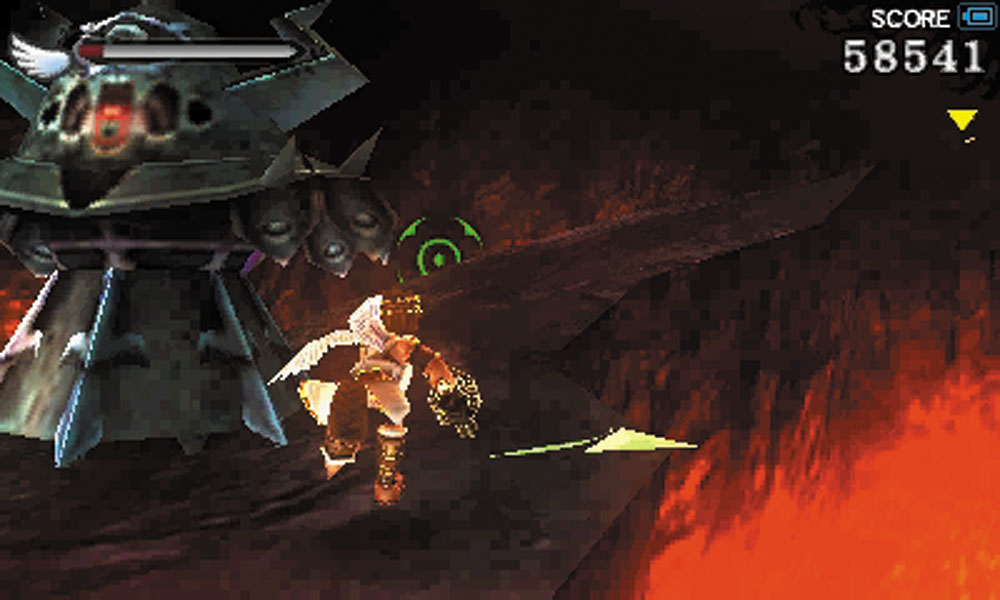
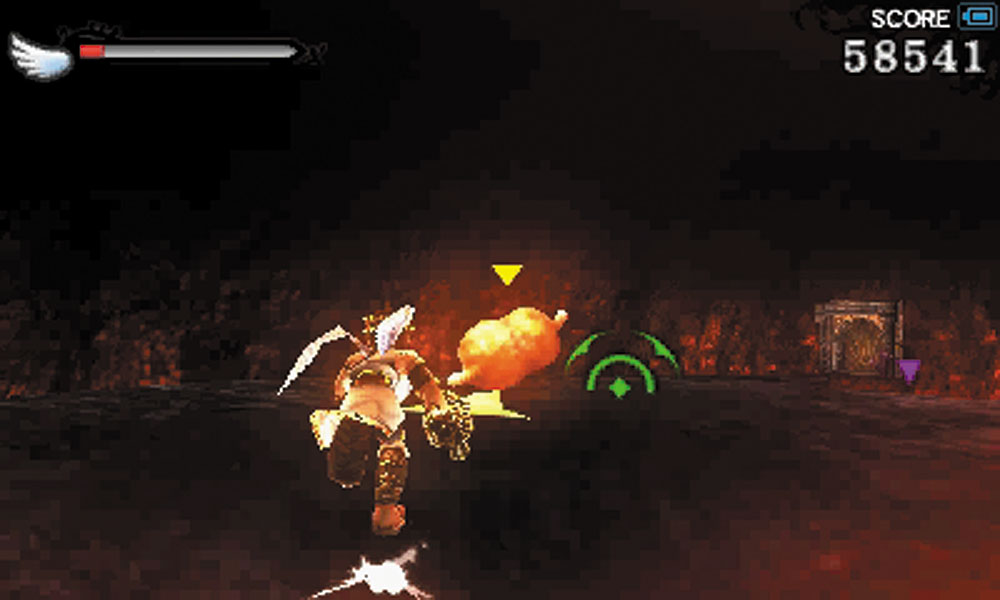
12. A Suit of Skuttler stands in the path leading to some food. It’s easier to just run past the Suit of Skuttler rather than to fight it on such a narrow path.
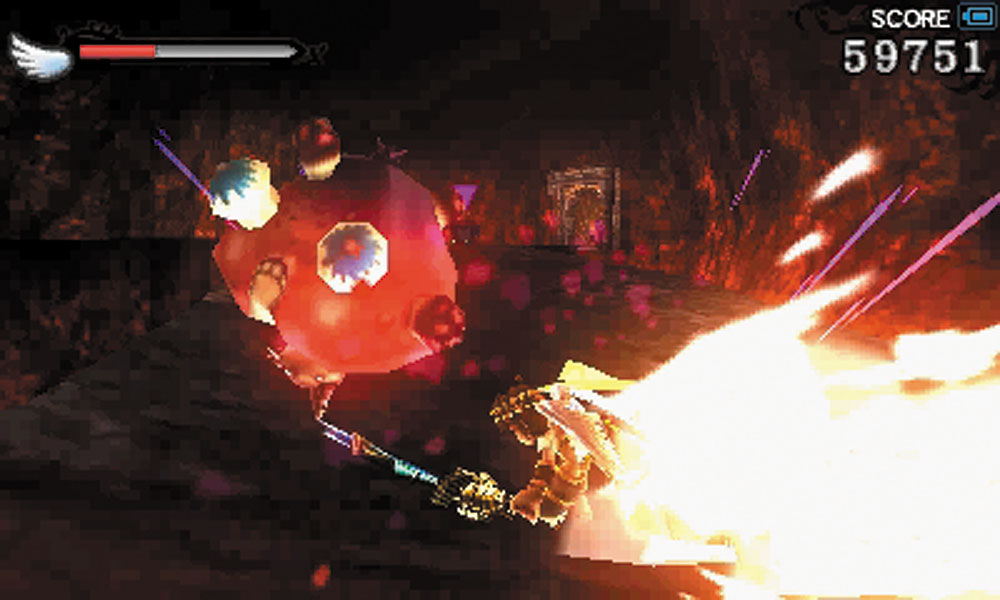
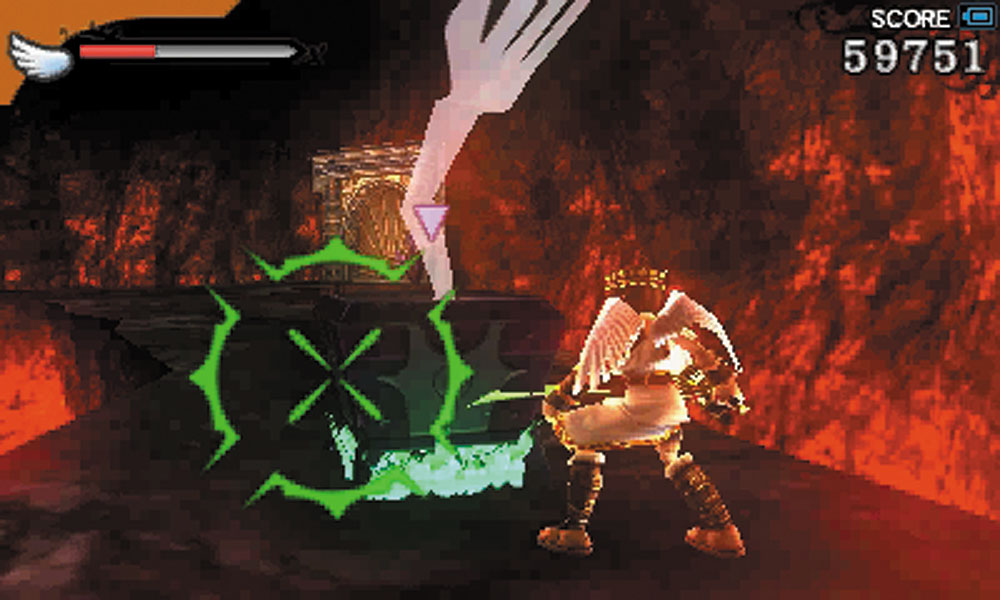
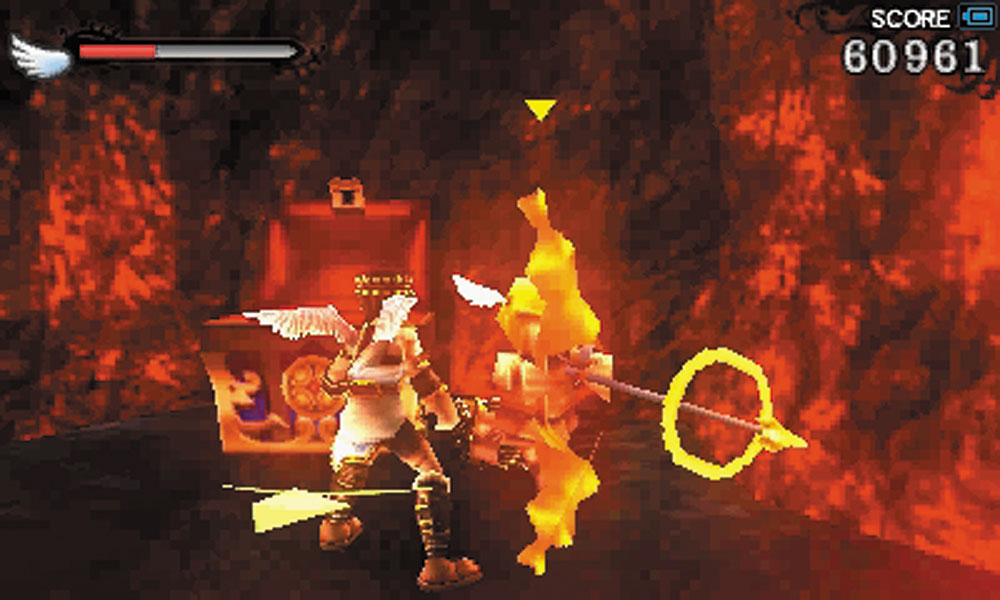
13. Shulms appear here. Remember to melee them to prevent their poisonous explosions. A little further down, a Sinistew lies in wait. Don’t forget to collect the Treasure Box in this room before heading out the door.
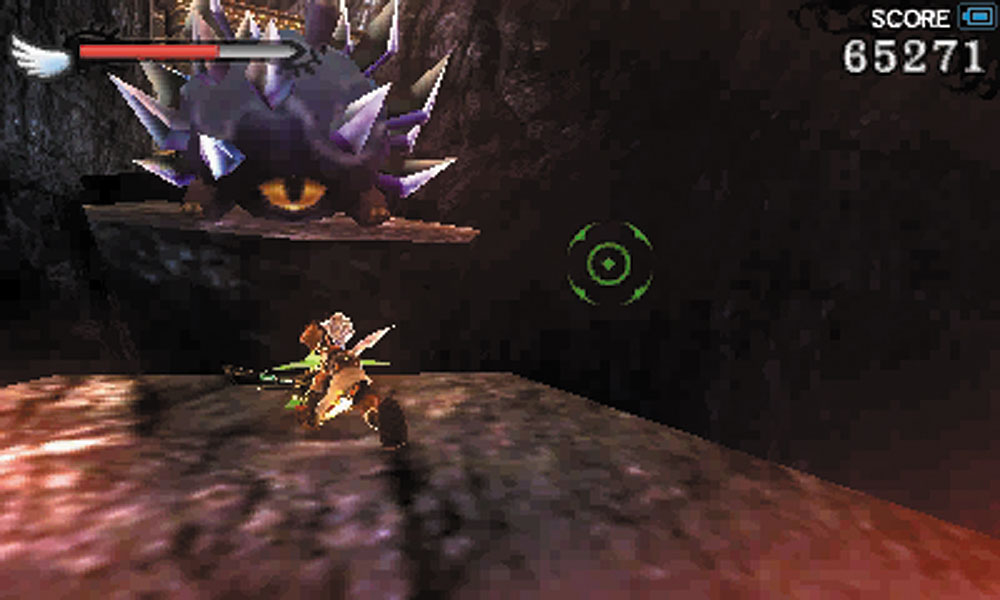
14. The Porcuspine here is placed to interfere with your jumps across the platforms. Engage it from a distance.
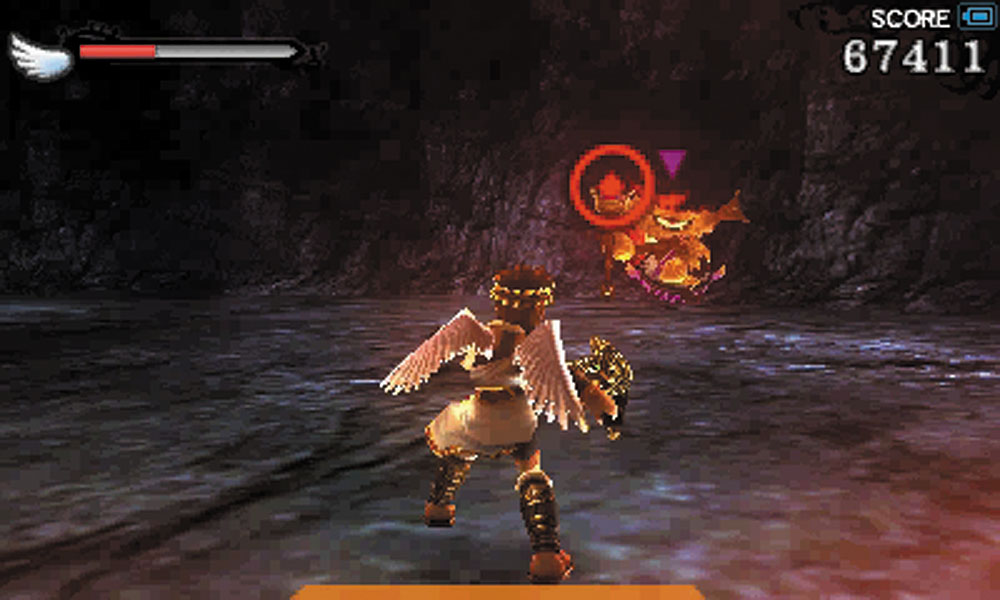
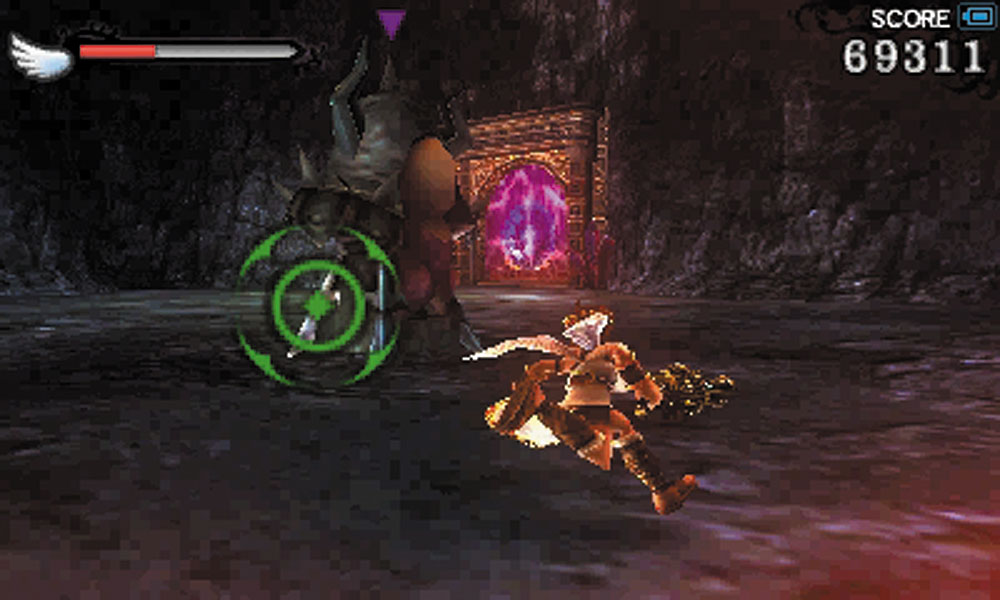
15. Tempura Wizard! Make this guy your first priority, then go after the Suit of Skuttler.
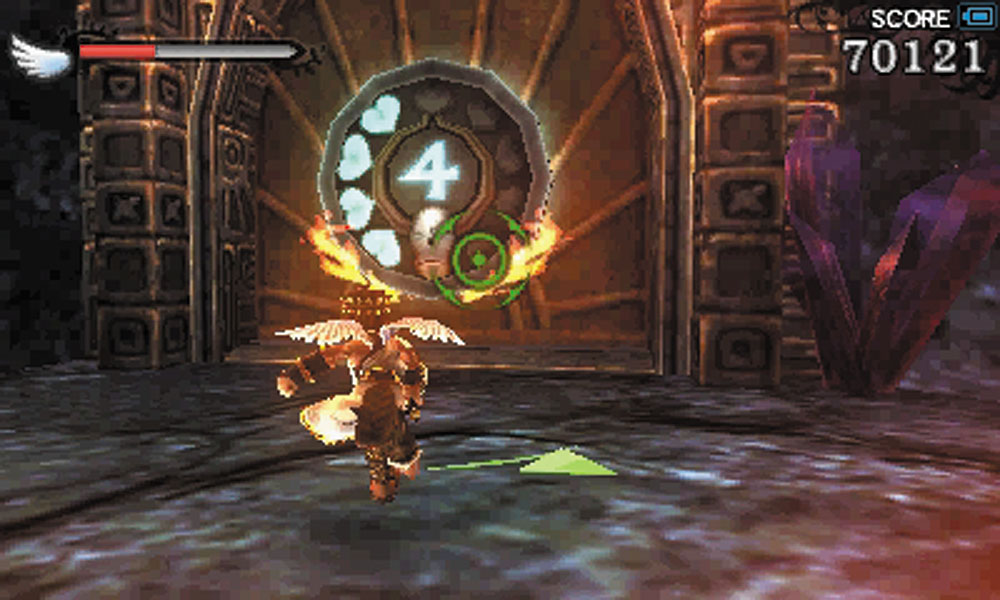
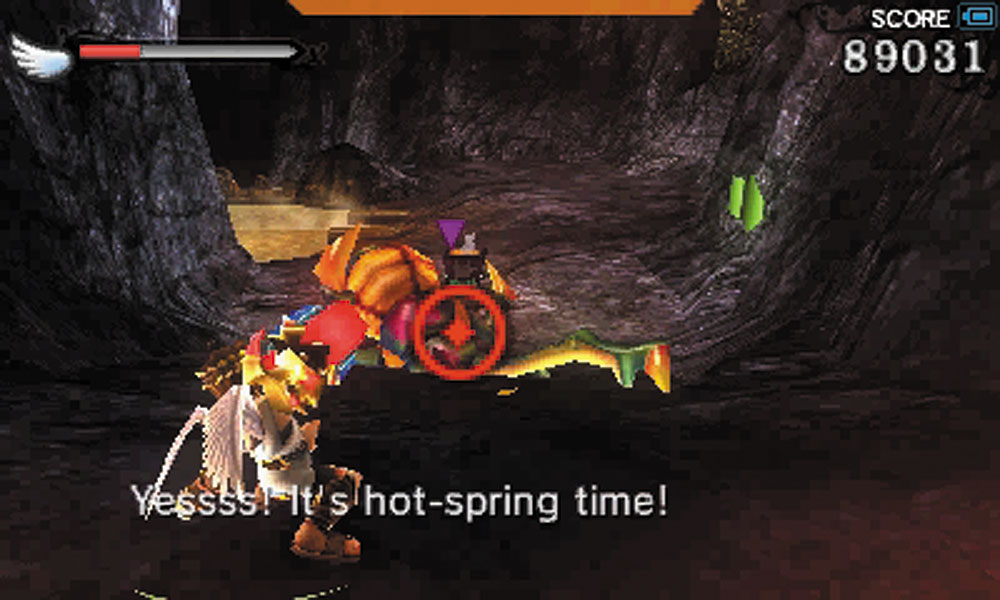
16. If you’re playing at Intensity level 4, you can access the second level of the hot spring you passed earlier in the level. The way to the healing waters is defended by a Girin and a Sinistew.
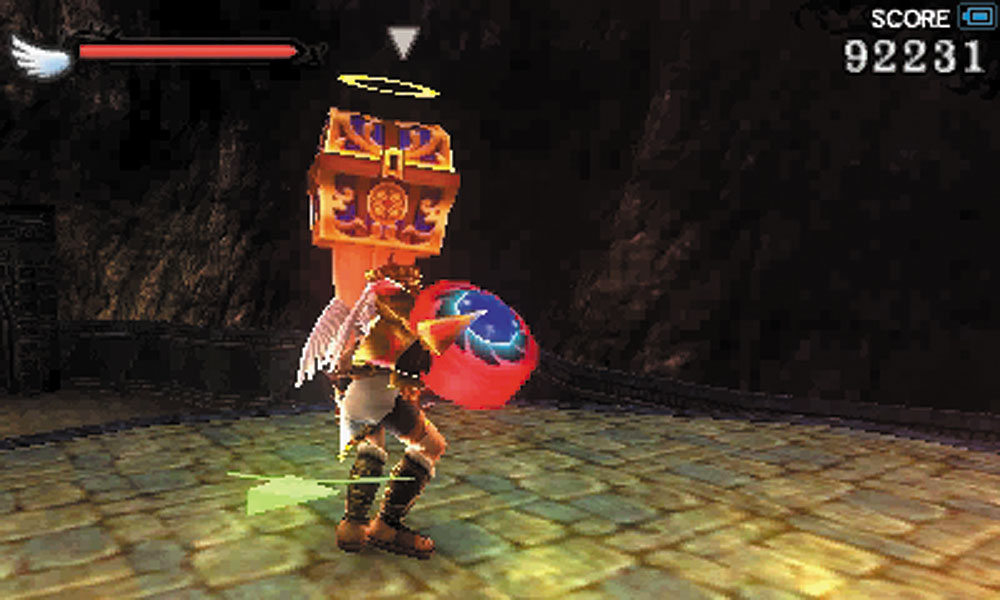
Next to the hot spring is a Mimicutie. It can drop a weapon upon defeat, so consider taking it on if you’re hunting for gear.
17. The last stretch to the Phoenix is defended by Wave Anglers, a Porcuspine, Petribombers, and a Skuttler. Once they are overcome, collect the Drink of the Gods and prepare to fight the Phoenix!