
Kid Icarus: Uprising Guide Walkthrough Chapter 21: The Chaos Vortex
Land Battle
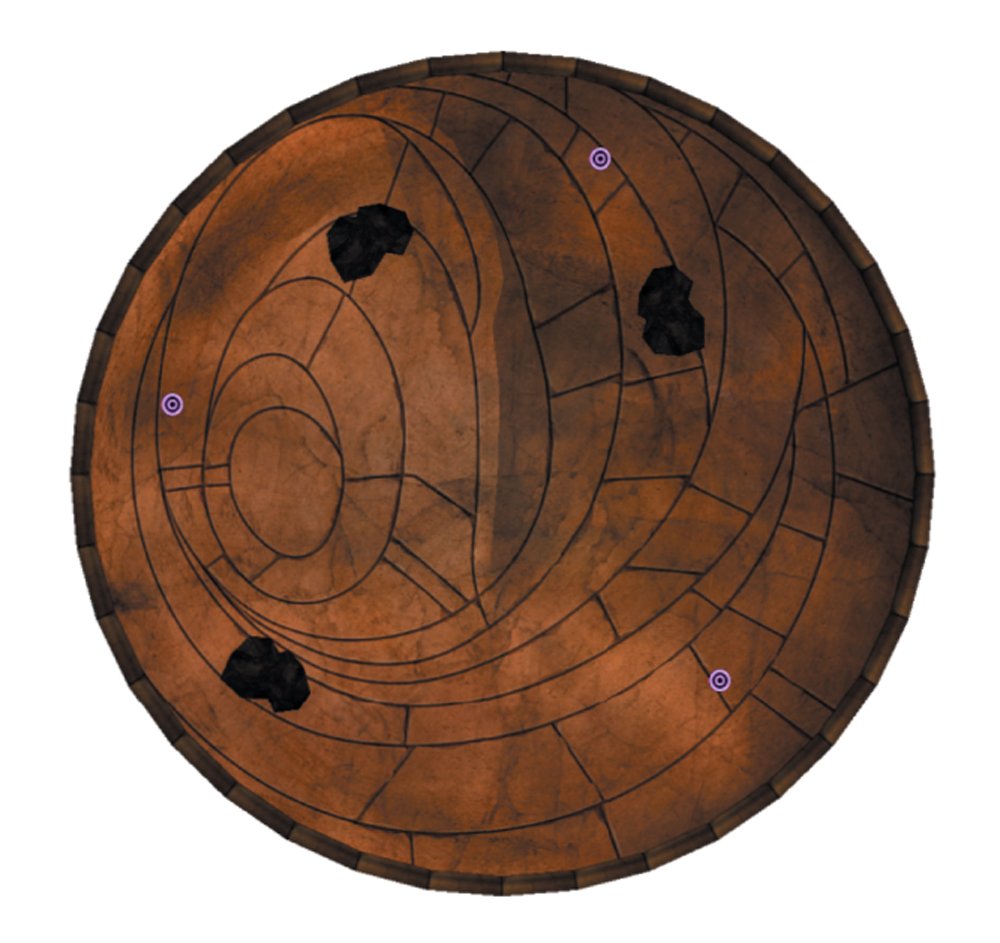
This is a unique land battle. There are no special treasures to find, no secret passages to unlock, and no switches to hit. Standing between you and the Chaos Kin are thirteen waves of enemies. You have seen all of them before, but never all at once, and never working together for a goal such as this. The platform is ringed with jump pads to help avoid the enemy. This is a test of both your combat skills and your weapon. The faster you can get through a wave, the less time you’ll have to make mistakes that will compound each other. You’ll occasionally be awarded food or a Treasure Box throughout each wave, but don’t rely on miracles to get through this fight.
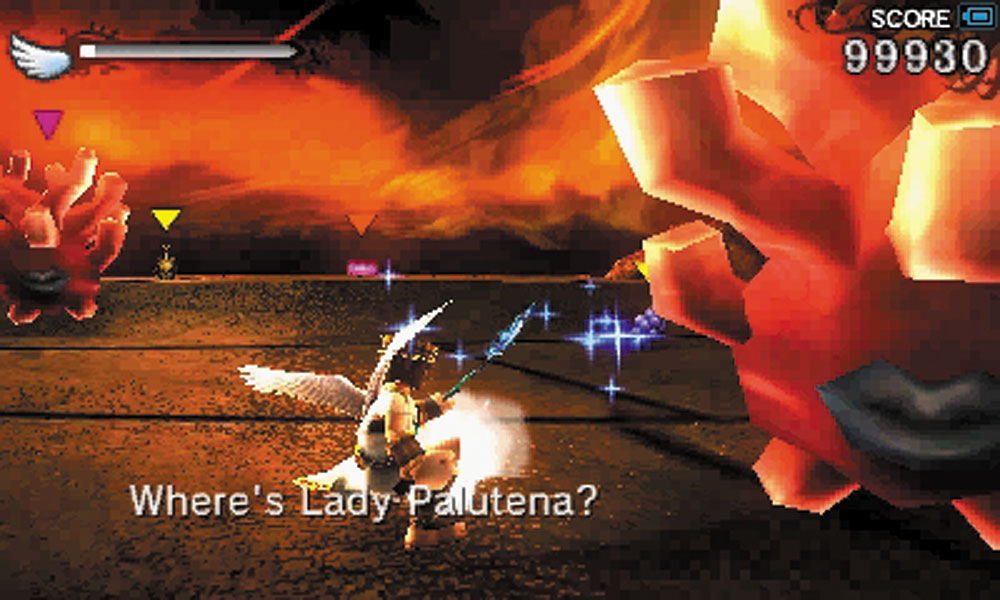
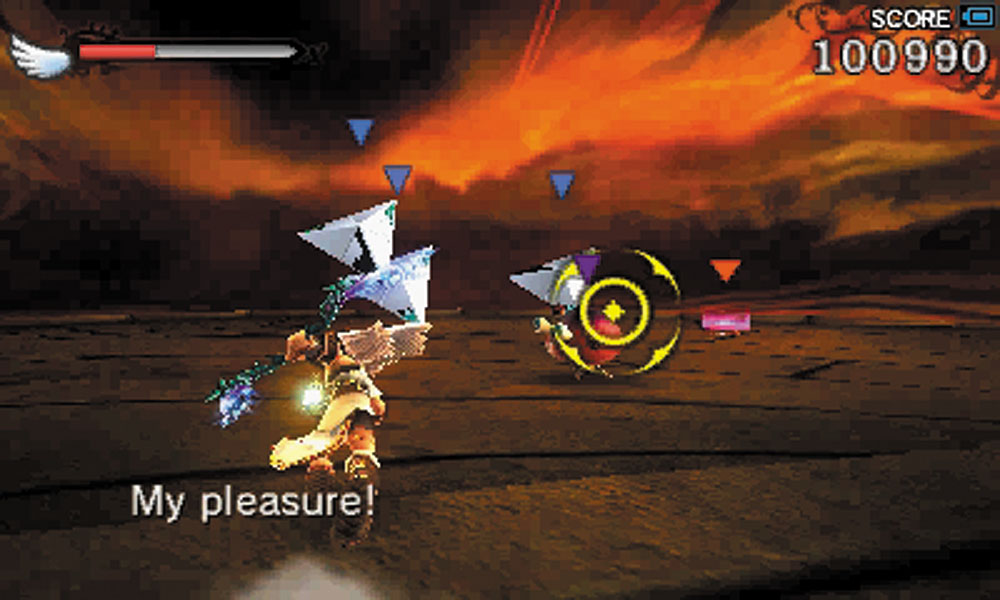
The first wave is just a taste of what is to come. You probably arrive with less than full health, so before you engage the enemy, locate some of the fruit dropped on the ground. Be especially careful around the Shulms, when they die they release a toxic cloud, and you can’t afford the extra damage it causes.
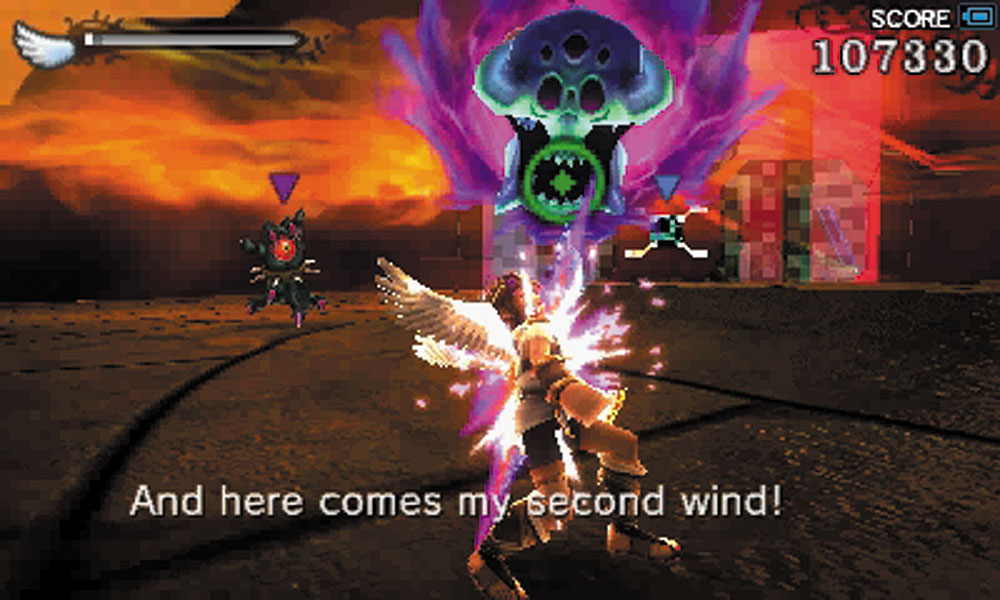
The second wave begins with an Orne that patrols the center of the island. Always try to know where it is while you are fighting the rest of the enemies. If it touches you, the fight is over. Defeat the surrounding Rezdas to take it out.
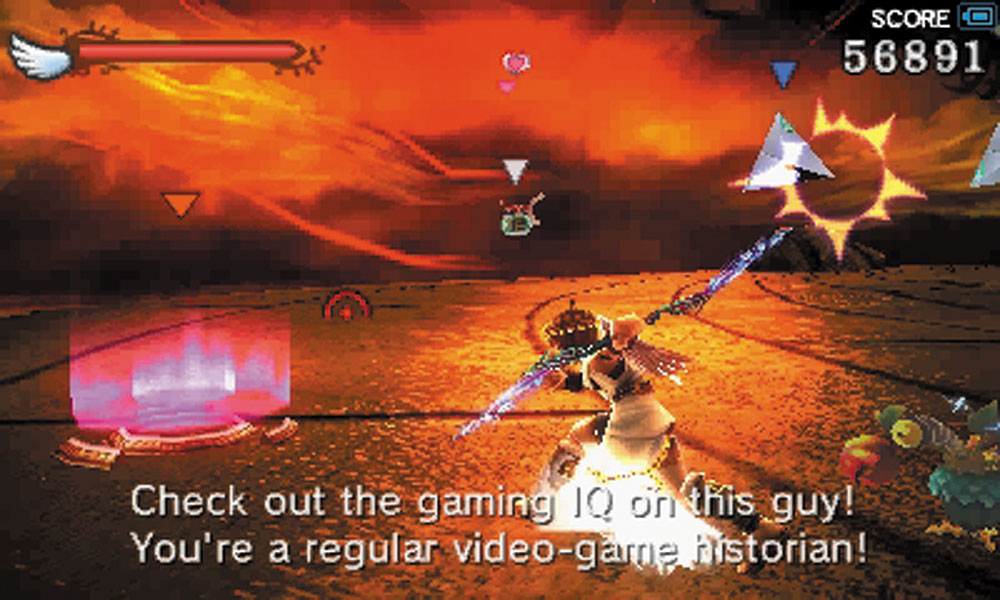
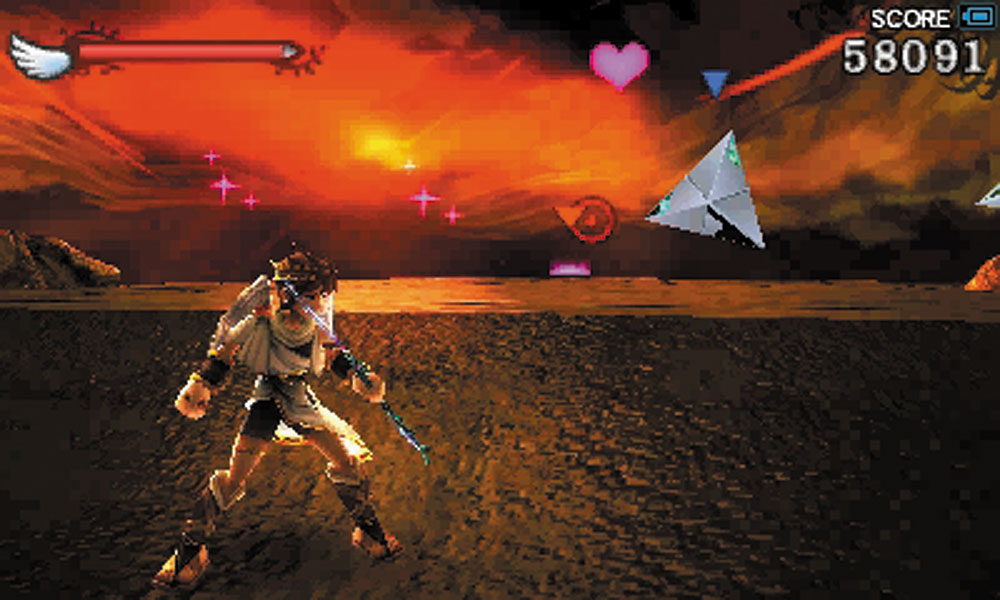
Wave three is filled with Tribytes and Cacaws. The confusion effect they can inflict can be quite frustrating to deal with.
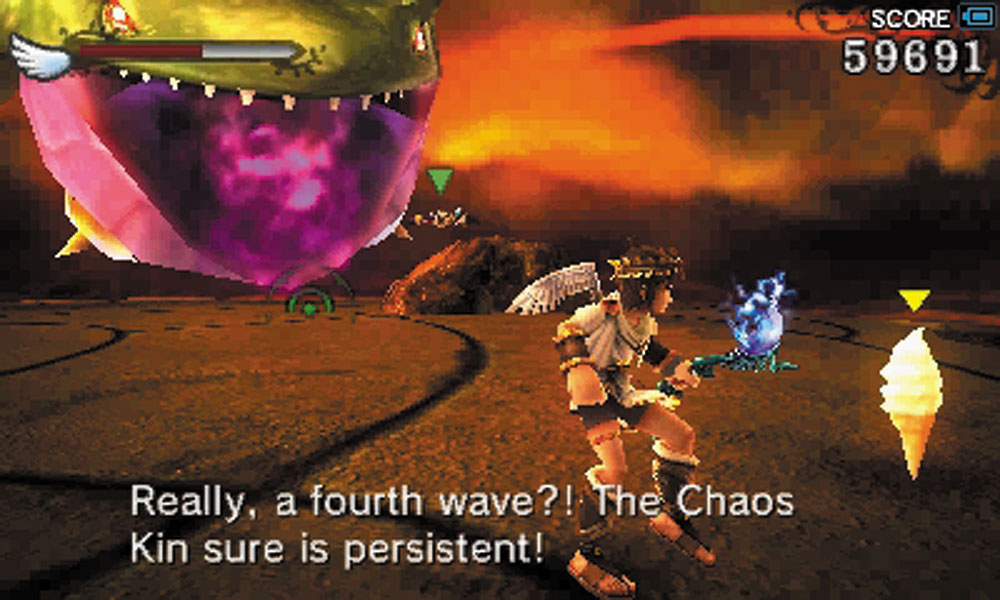
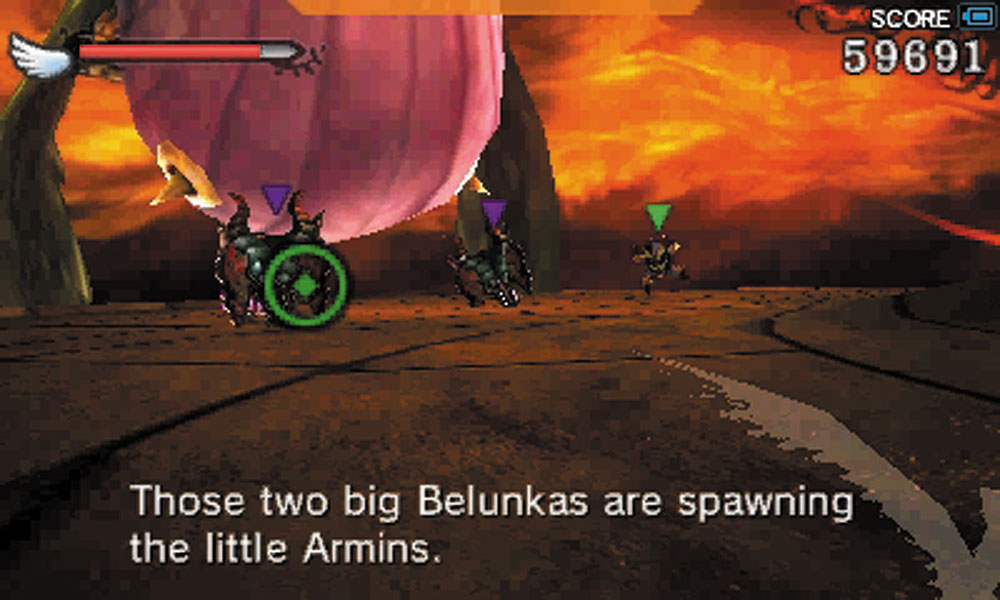
Two Belunkas arrive to start the fourth wave, spewing out Armins and Skreetles as they orbit the island. Try to bring down the Belunkas first, then focus on the Armins. Remember that the Armins have armor that protects them from nearly any frontal assault, and therefore are most vulnerable to attacks from the side. Some food arrives to heal any damage you may have sustained up to now.
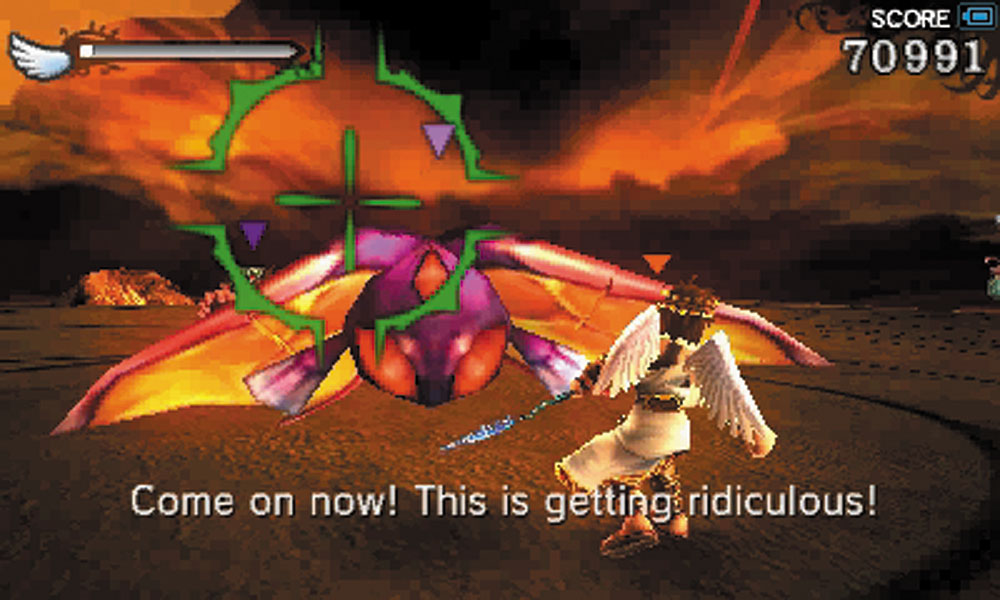
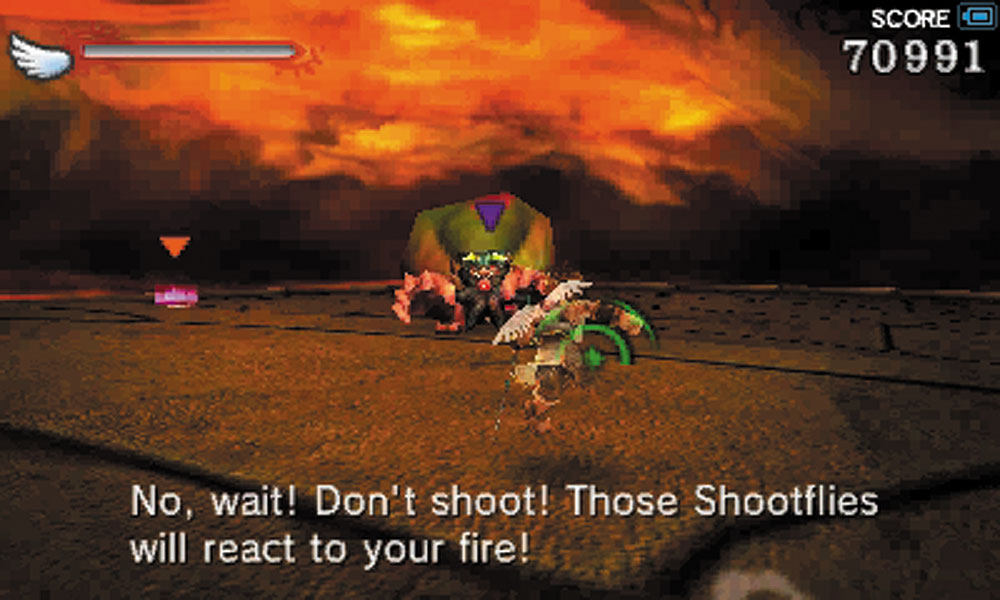
The fifth wave sends a Pluton out to steal anything you may have acquired and, more dangerously, a swarm of Shootflies. Rely on melee combat as much as possible to avoid triggering the Shootflies to ram you, as they hit very hard.
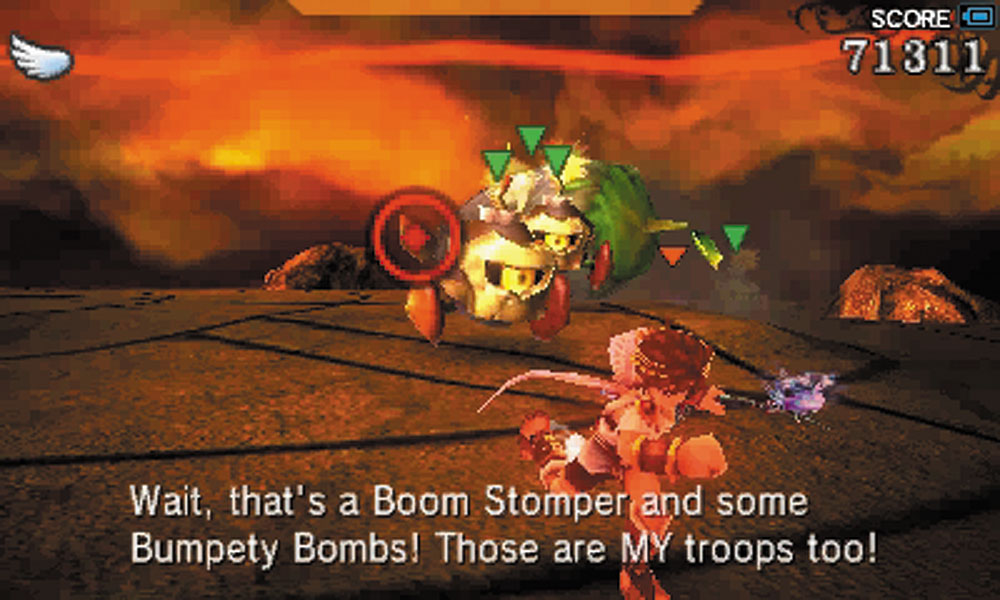
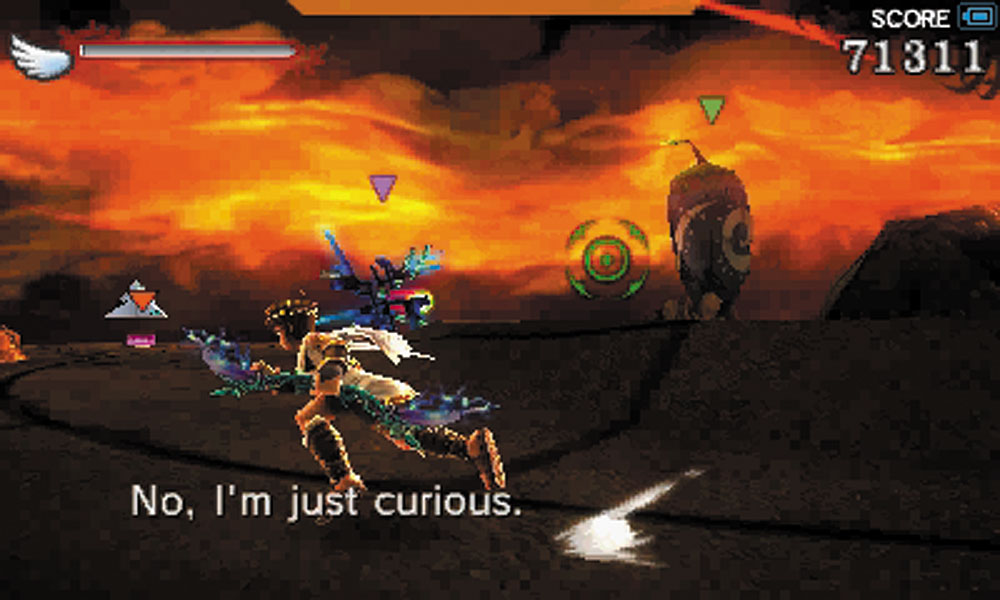
Viridi complains that wave six includes Boom Stompers and Bumpety Bombs. Concentrate on keeping the bombs away first, then the other enemies, such as the Sio, then take out the Boom Stomper.
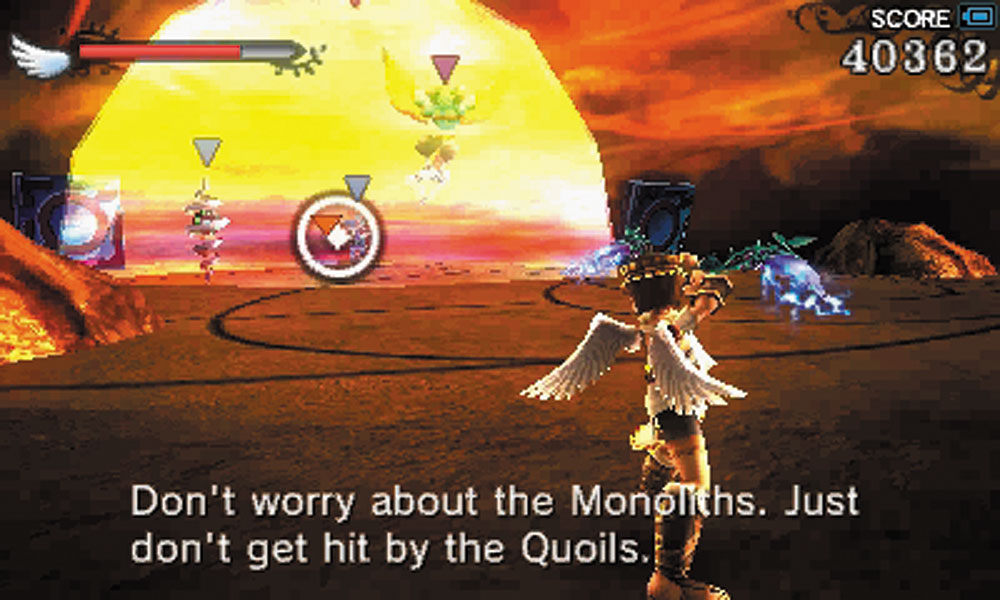
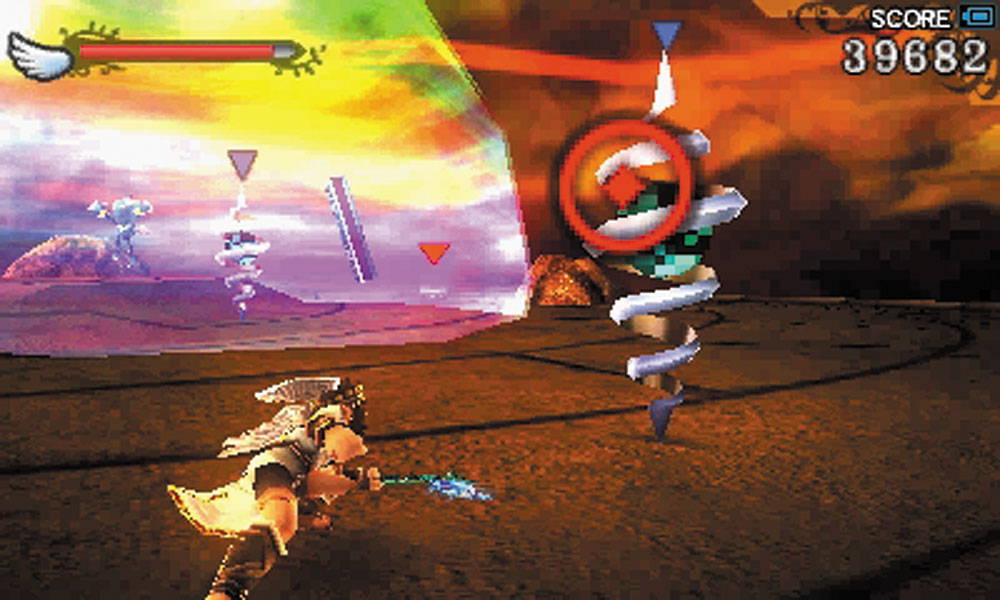
A Shildeen sets up a shield at the center of the island for wave seven, while the perimeter is patrolled by Monoliths and Quoils. The Quoils are particularly annoying with their ability to spin Pit around in circles on contact. Take out the Shildeen, then go after the rest of the wave.
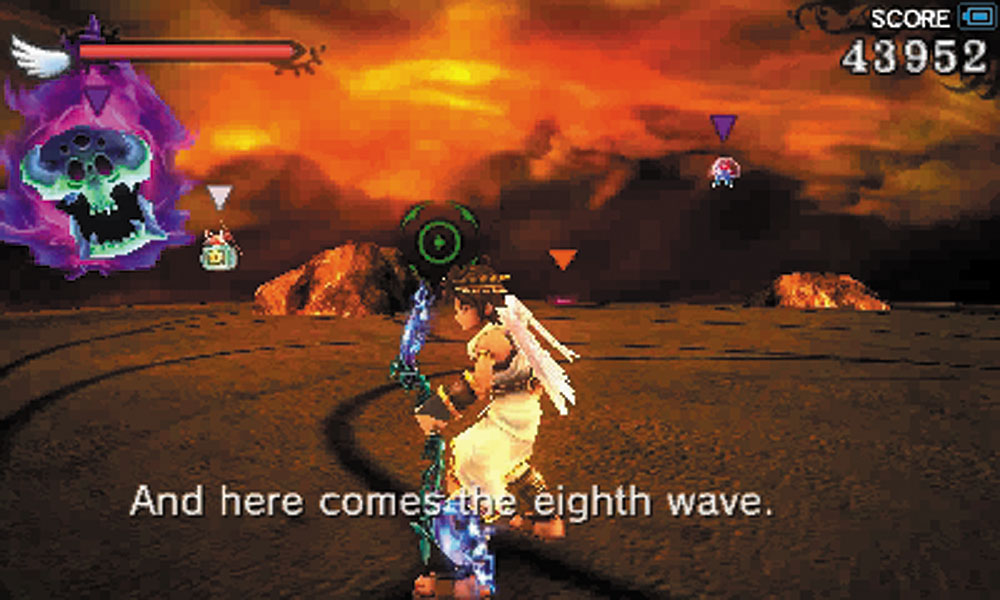
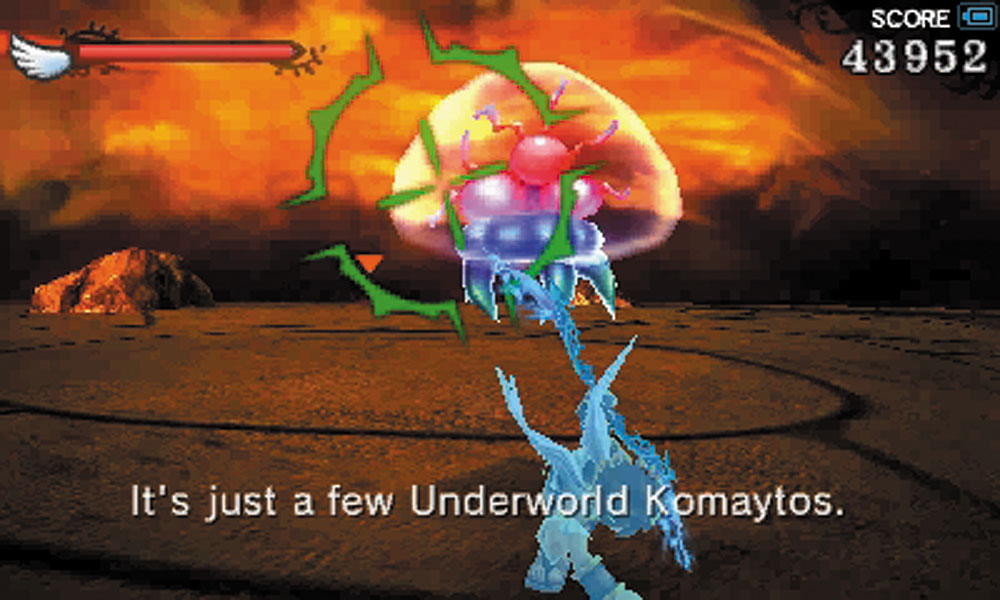
A group of Komaytos, followed by an Orne arrive for wave eight. A Zuree also haunts the island, trying to sneak up on Pit during the fighting. As always, know where the Orne is at all times while trying to deal with the other baddies.
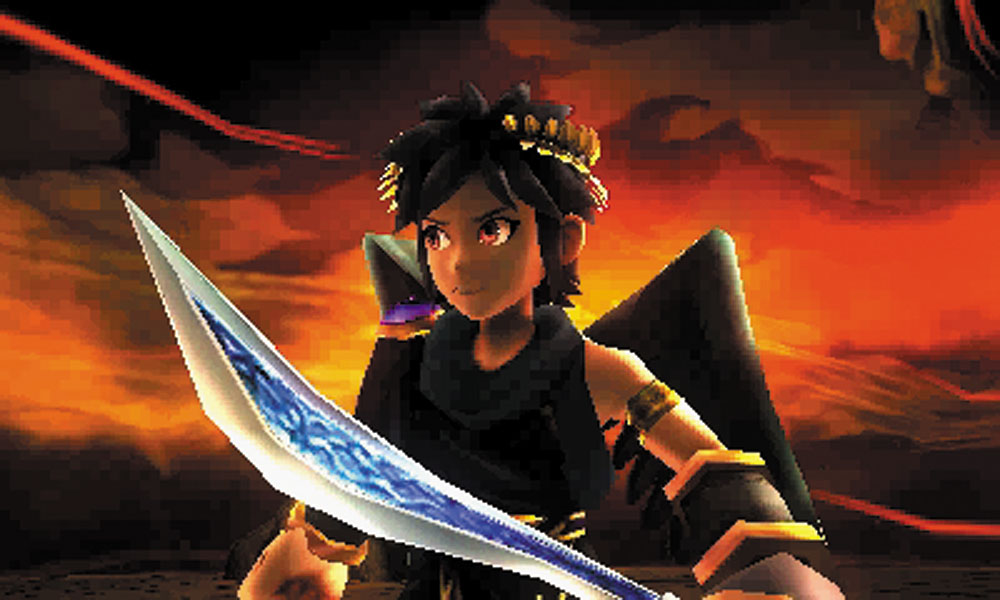
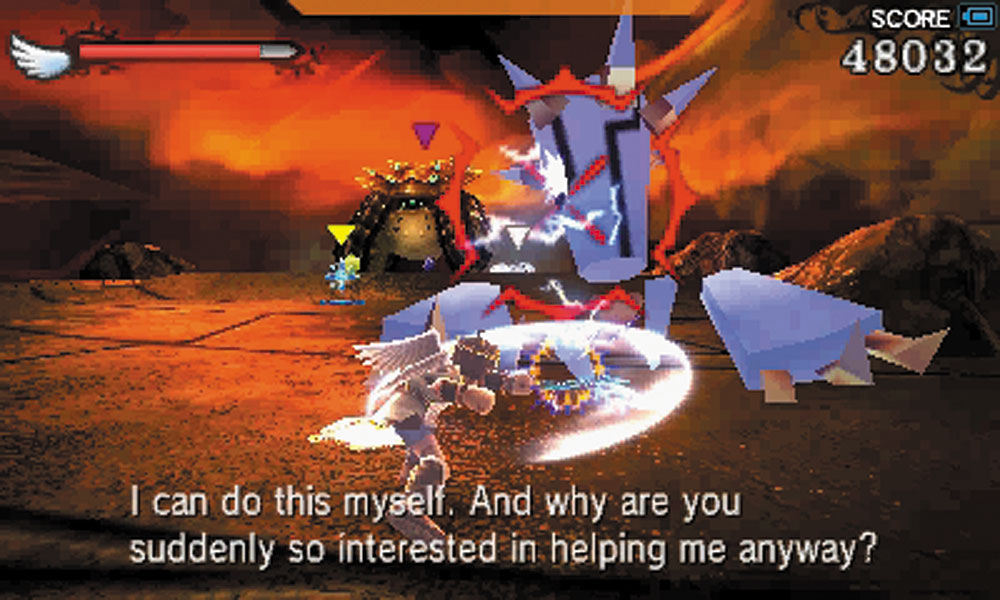
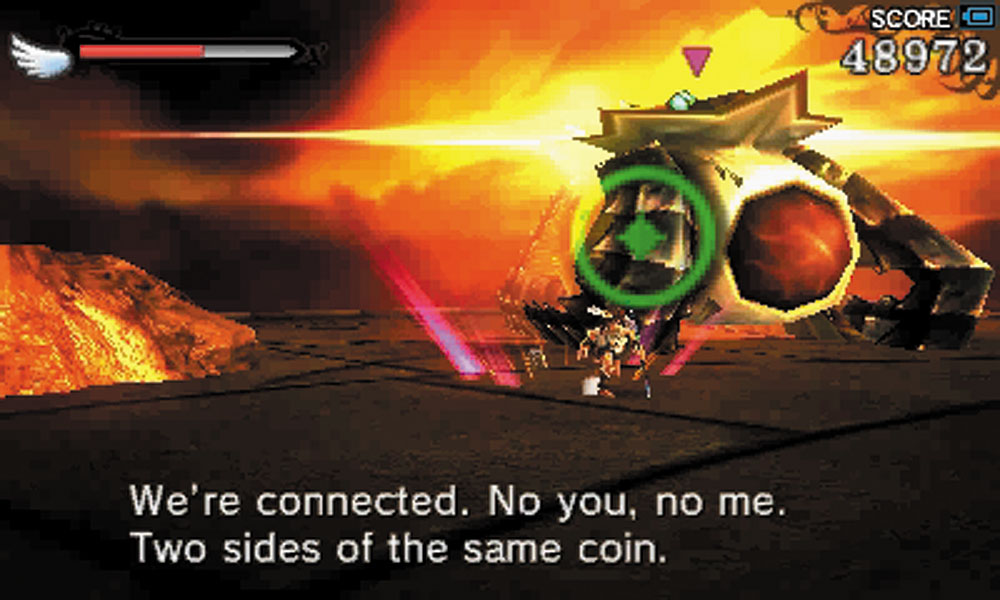
Feeling the burn yet? The ninth wave approaches, but you’ve got help in the form of Dark Pit, and just at the right time! Crawler tanks, Aurum Urgles, and standard Urgles also join the reunion. Fortunately, you can also pick up an Ice Card, which will freeze the Urgles if they get too close to Pit. Unfortunately, it does not last too long. Try to get rid of the tanks as quickly as you can, their area-of-effect shots and sheer size can interfere with your fight against the Urgles.
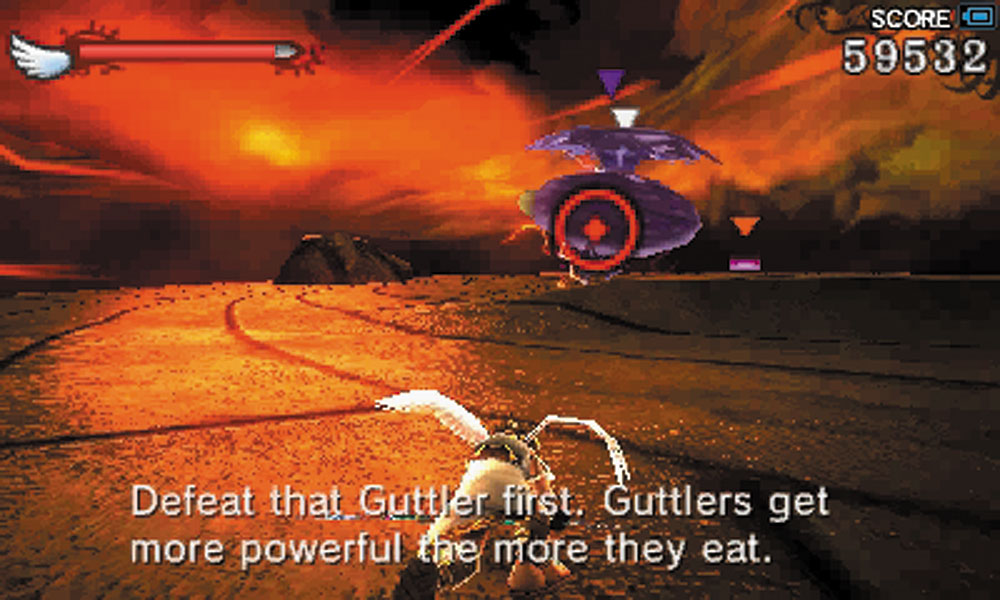
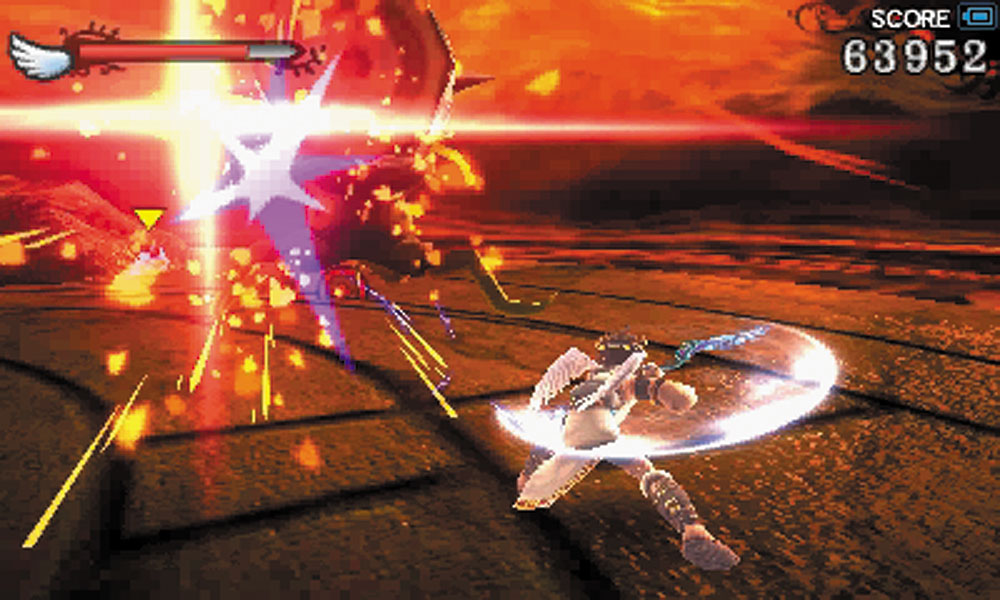
A Guttler marks the start of the tenth wave and it should be the priority target. Every other enemy on the field can become a meal for it, thereby exponentially increasing its size and strength.
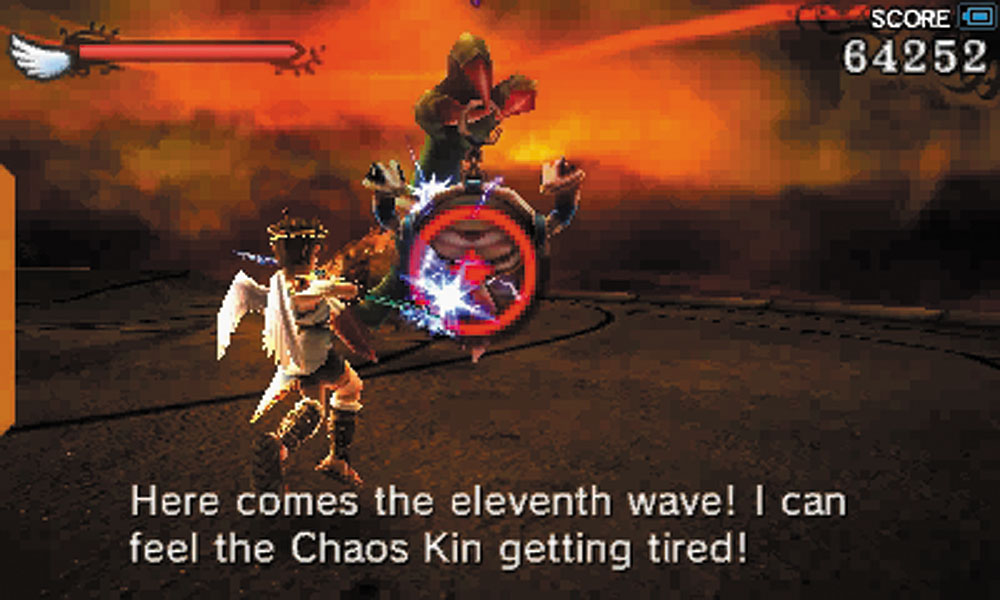
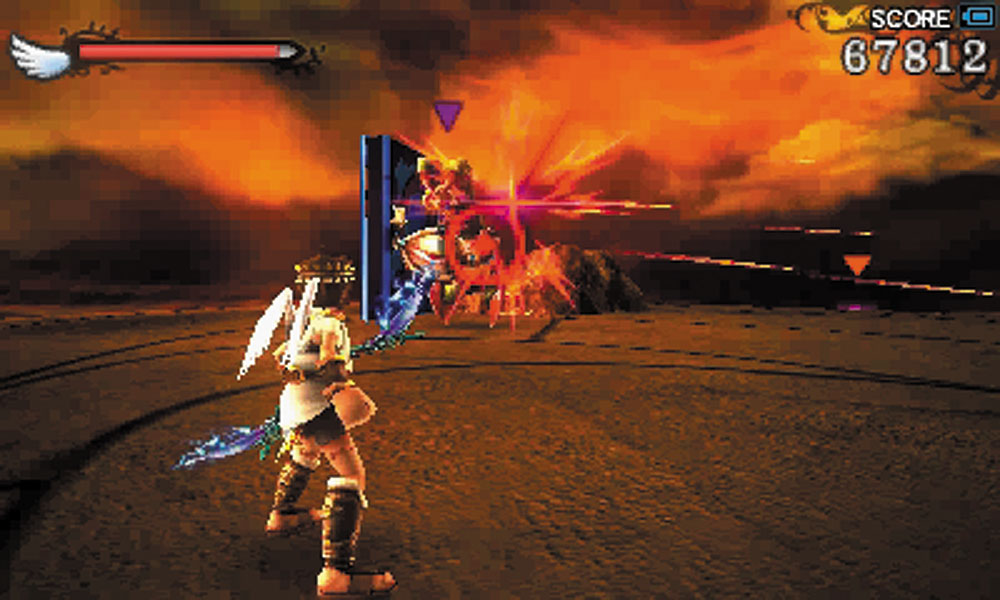
Hopefully you’re not getting exhausted just yet. Wave eleven starts off with Igniots and Gyrazers—a dangerous combination. Focus on the Igniots first to neutralize the threat of their petrifying lasers, then tear into everything else. Some of the Igniots are protected by Monoliths orbiting around them. Time your shots and stay on the move to avoid having them lock on to you.
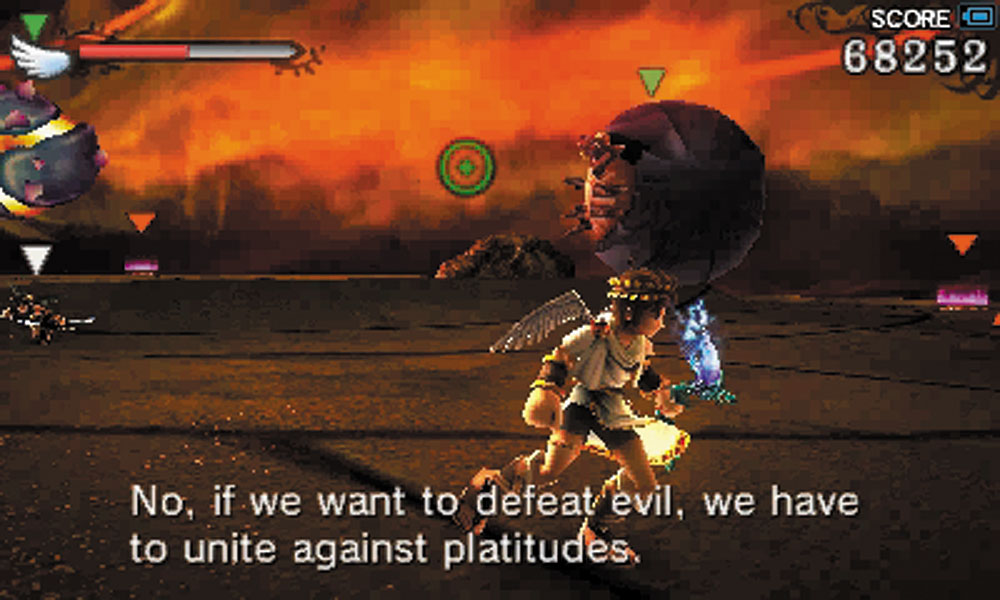
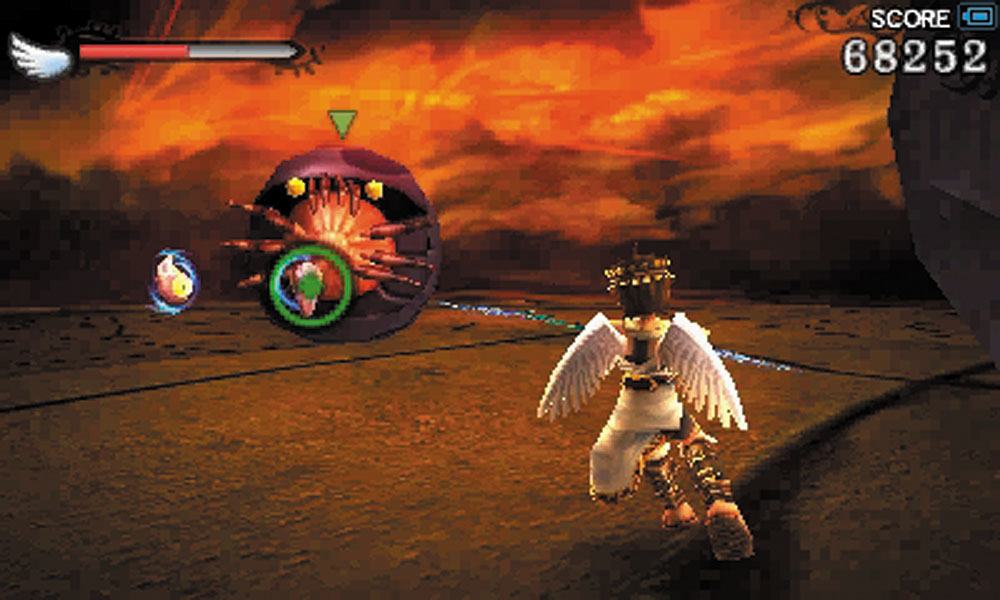
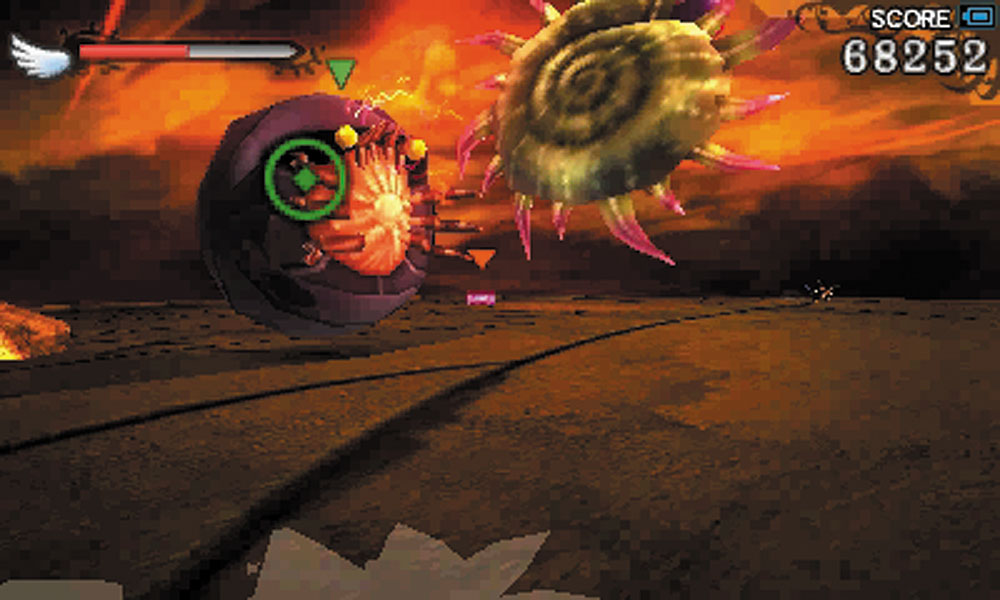
Wave twelve consists of Megontas bouncing along the perimeter of the island, while Trynamites fly around the arena bombarding you with the shrapnel of their explosions. The Megontas can be difficult to hit. You must stand in front of them while hitting them with ranged attacks. Complicating matters, a Shelbo drops into the arena as soon as the first Megonta is defeated. Switch your focus to the Shelbo so that you can eliminate the threat of its suction attacks early.
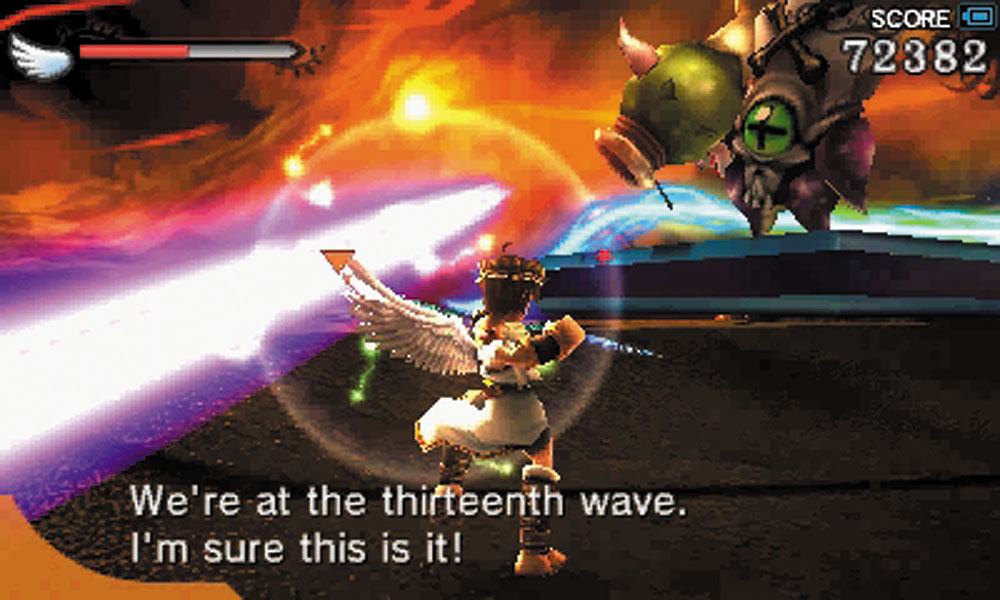
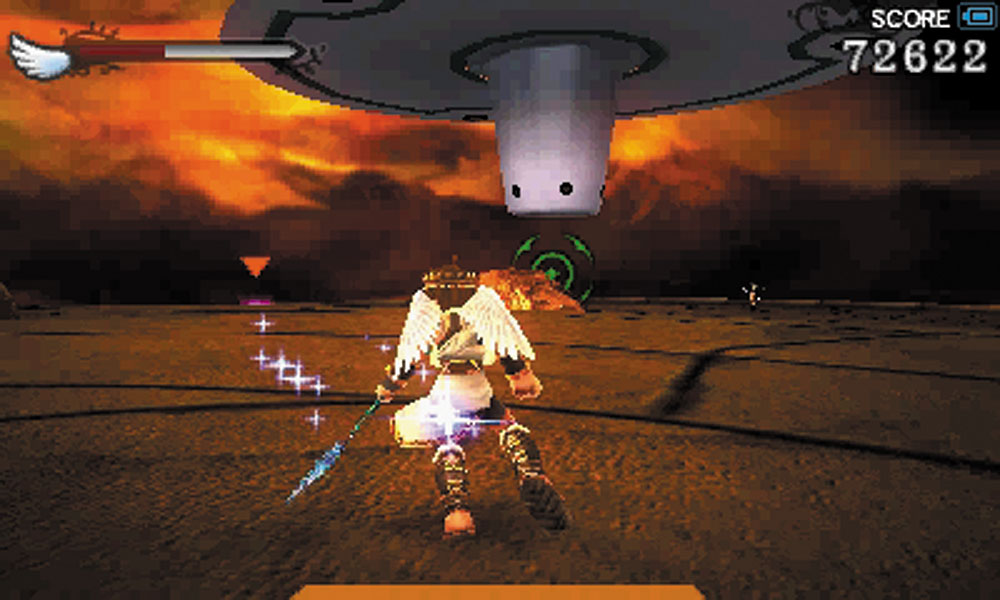
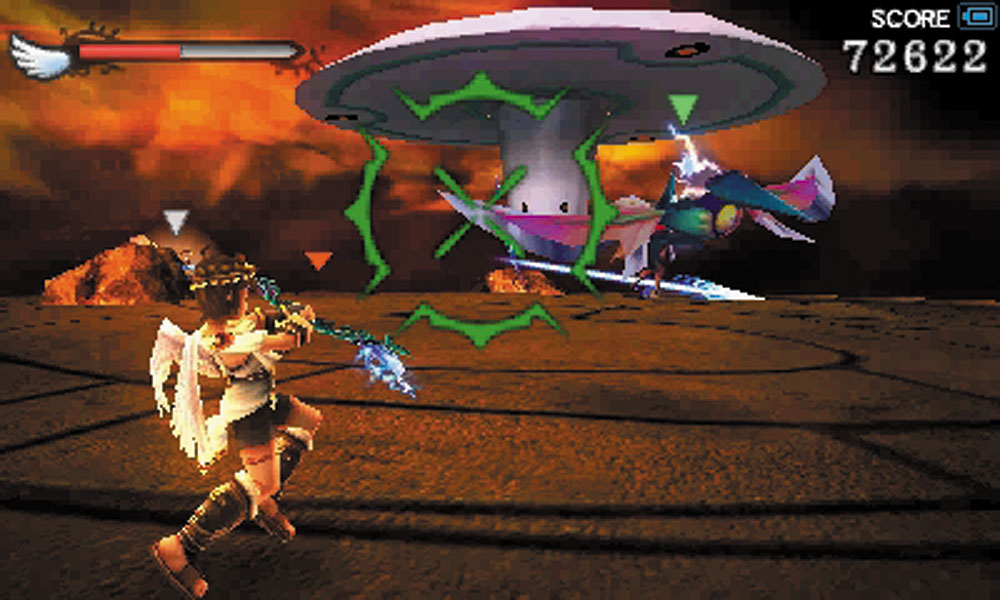
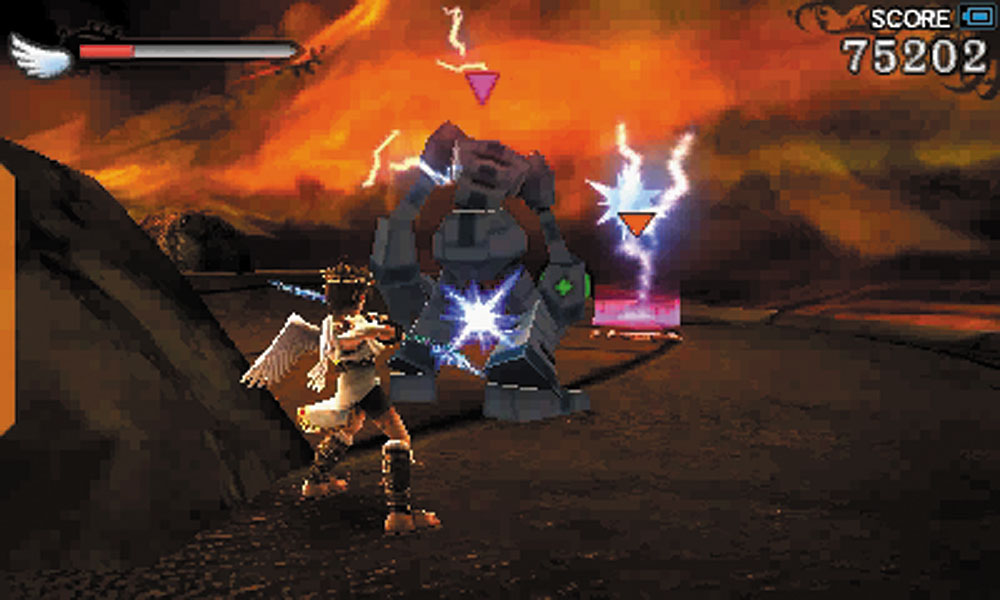
The thirteenth and final wave opens with Skuttlers riding Monoliths around the island, blasting you with their laser cannons. Once they’ve been dealt with, a Dohz appears overhead, bringing with it Snowmen and Bladers. Dodge the beam shots that the Dohz fires and make taking it down a priority. With that, the gauntlet is complete. The Chaos Kin moves to do battle with you personally.