
Kid Icarus: Uprising Guide Walkthrough Chapter 3: Heads of the Hewdraw
Land Battle
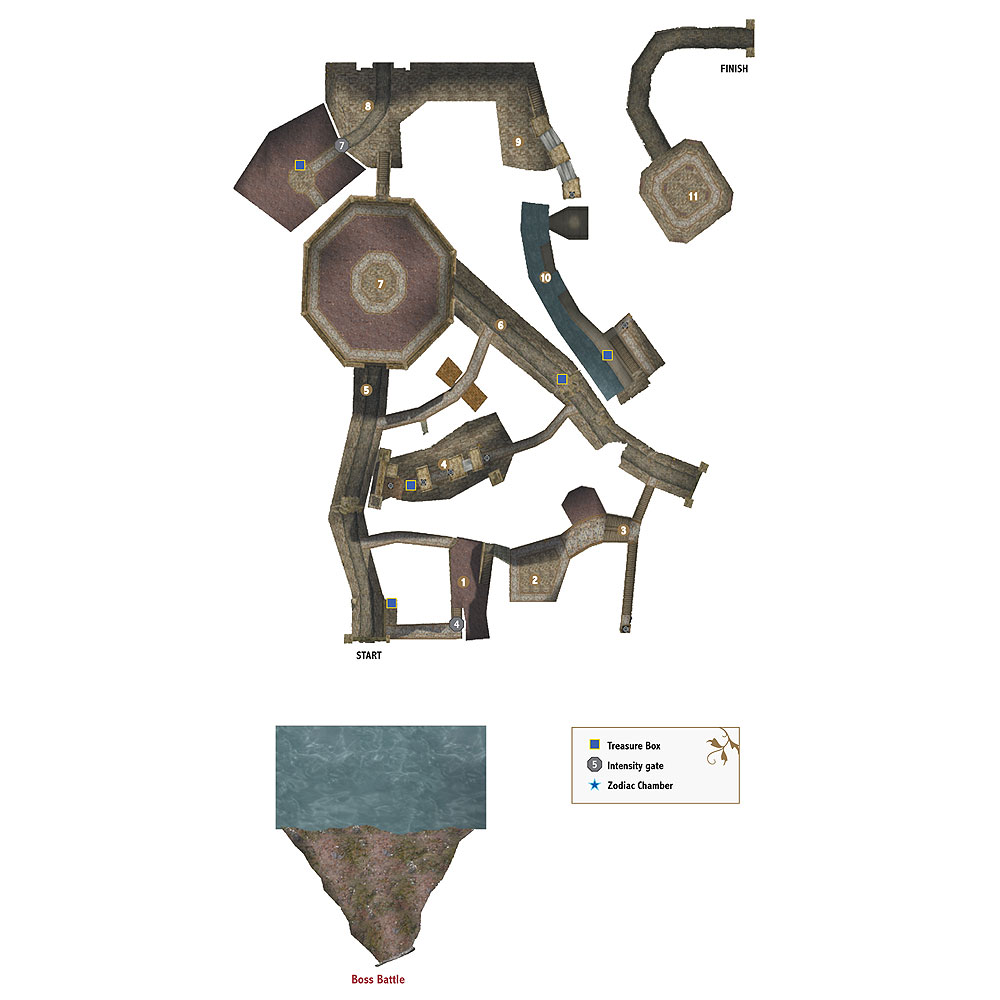
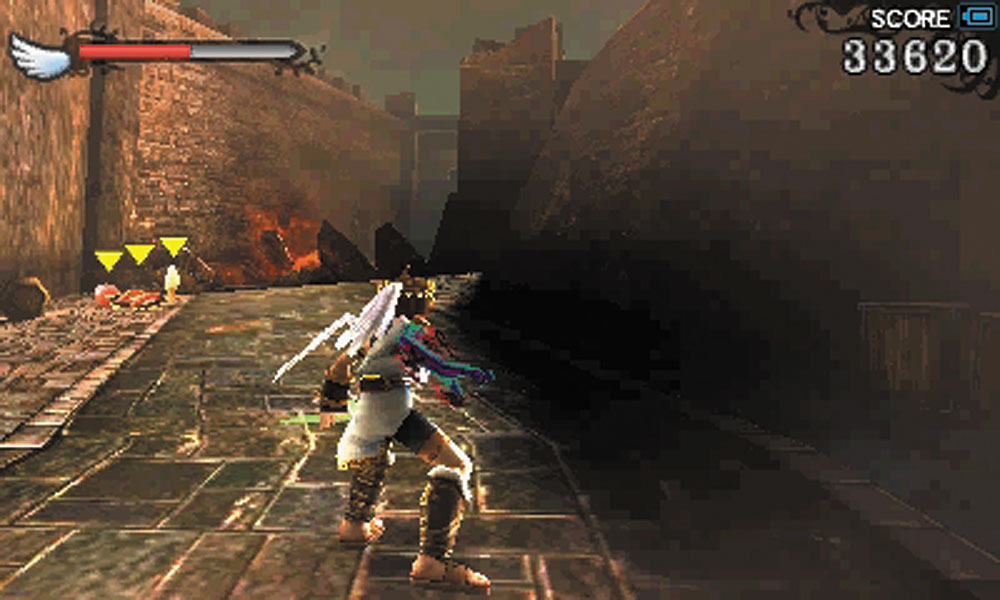
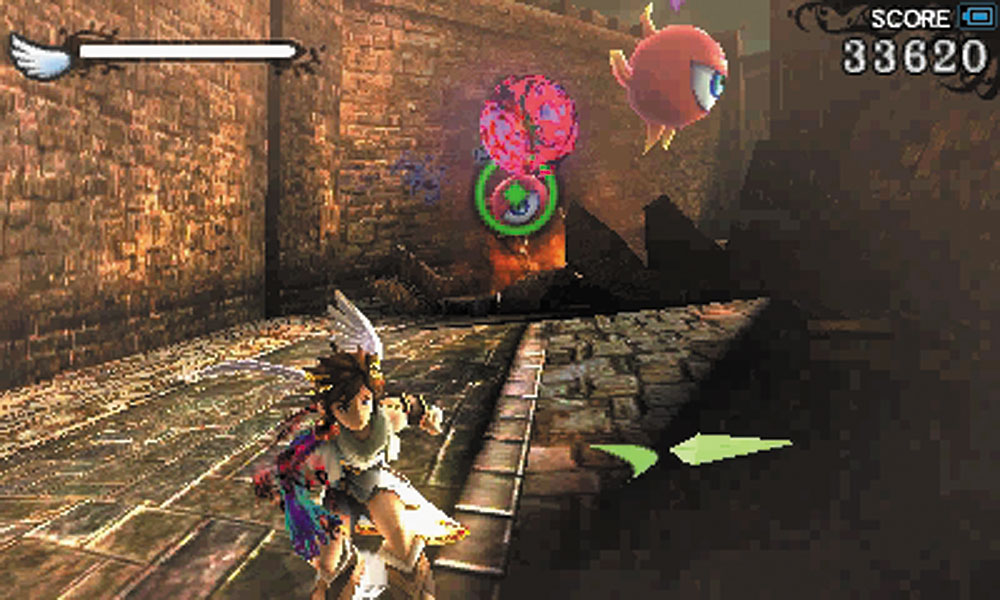
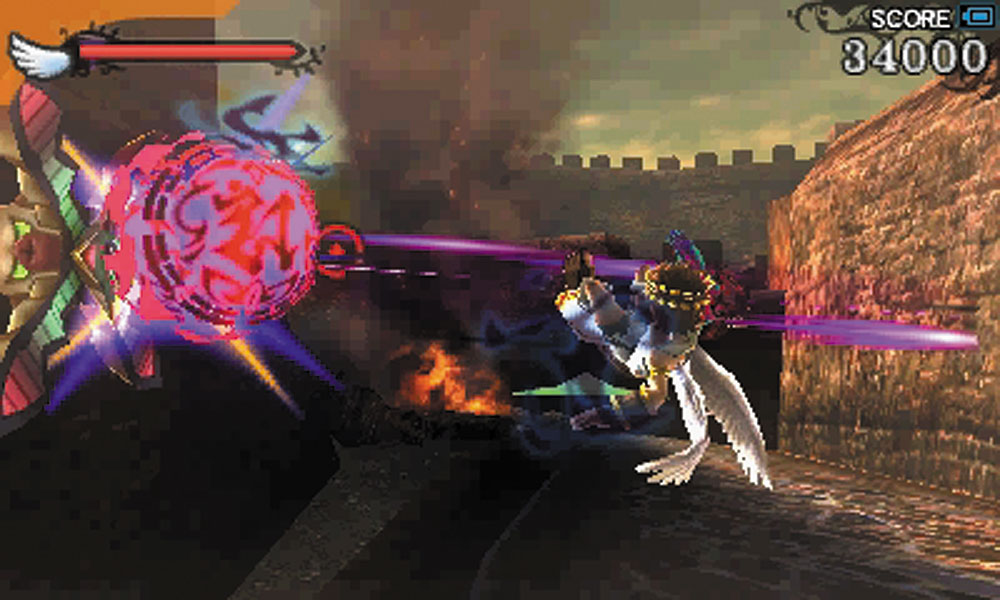
The two Hewdraw heads are somewhere within the crumbling city. Gather the health near the starting location and begin the hunt.
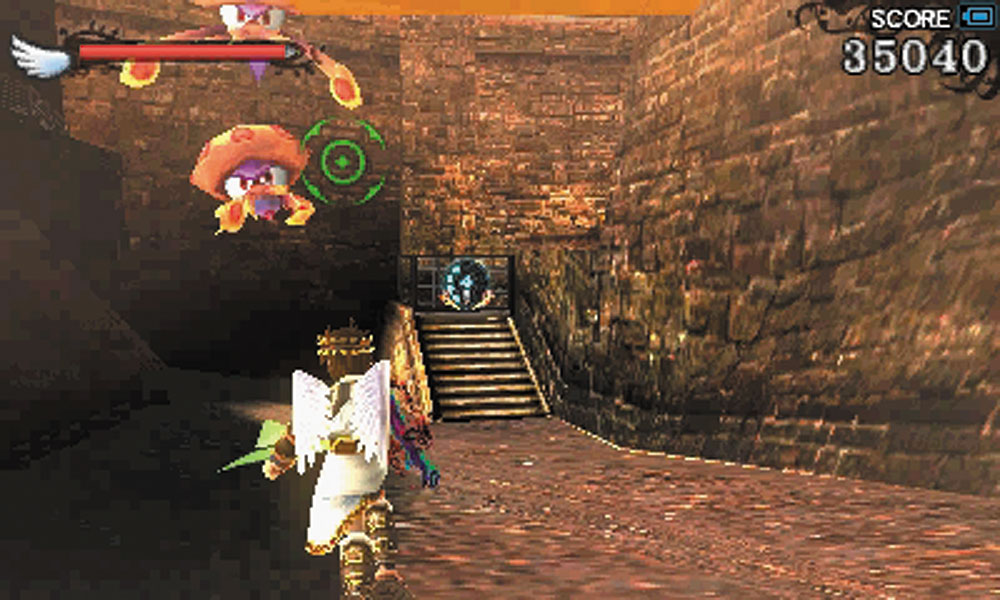
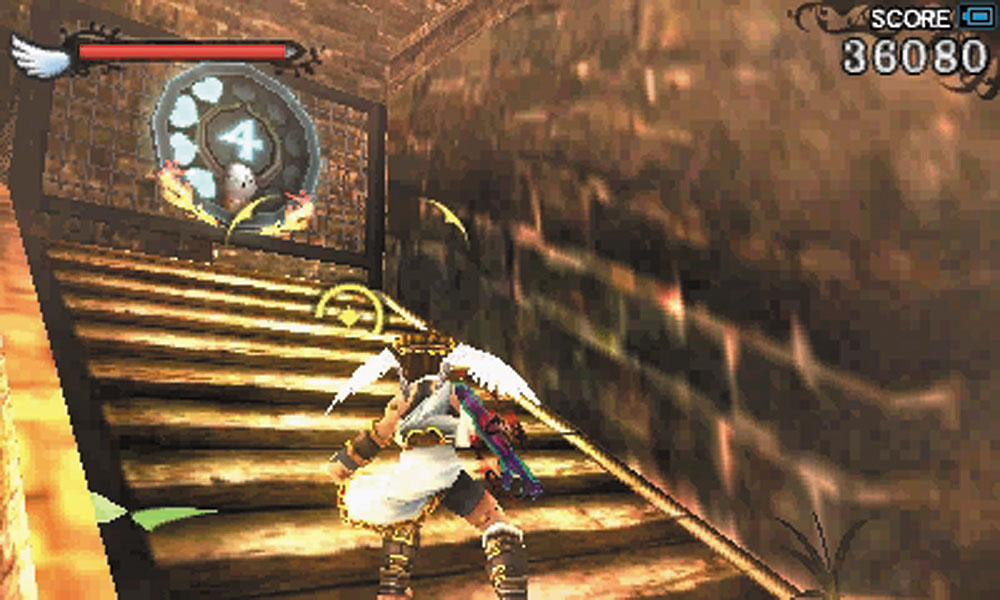
1. A Level 4 Intensity gate can be found very close to the starting position. Opening it leads to a Treasure Box that overlooks Pit’s landing spot.
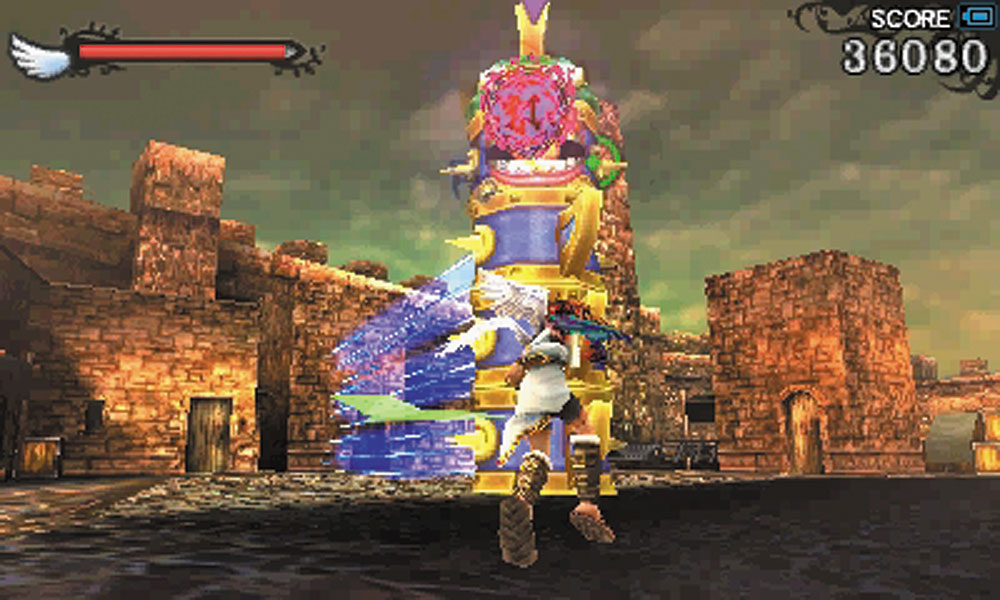
2. A Stackjaw sprouts up here. Remember that it is possible to dodge through their curtain of laser fire. Destroy its head and it will lose one layer. Keep destroying the heads that appear until the monster is completely destroyed.
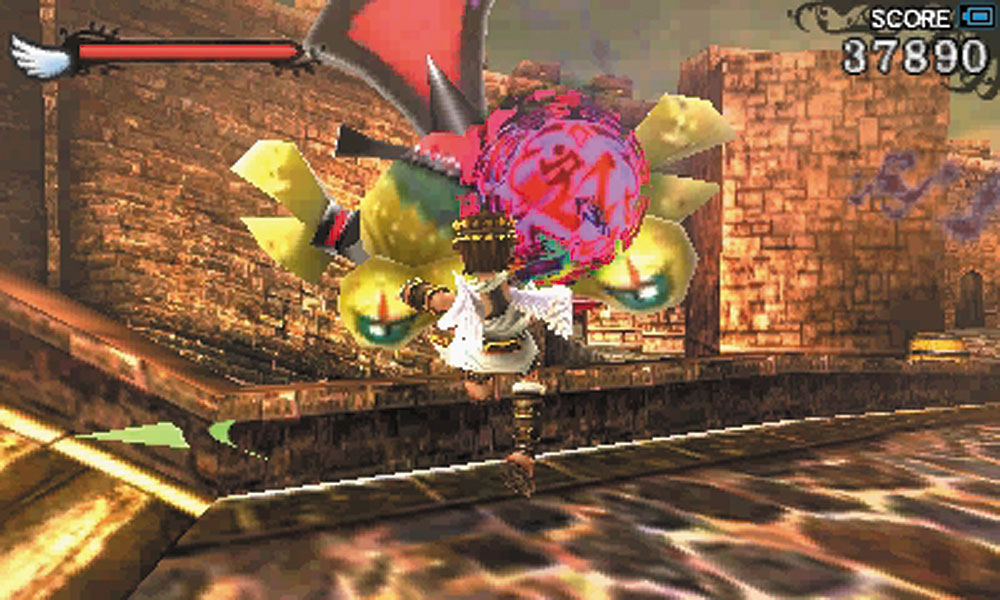
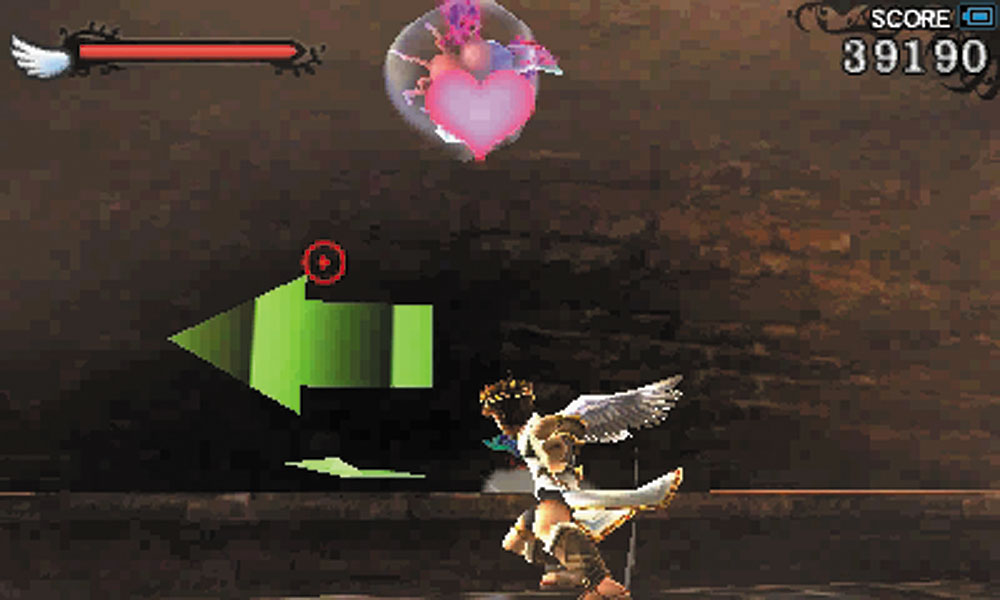
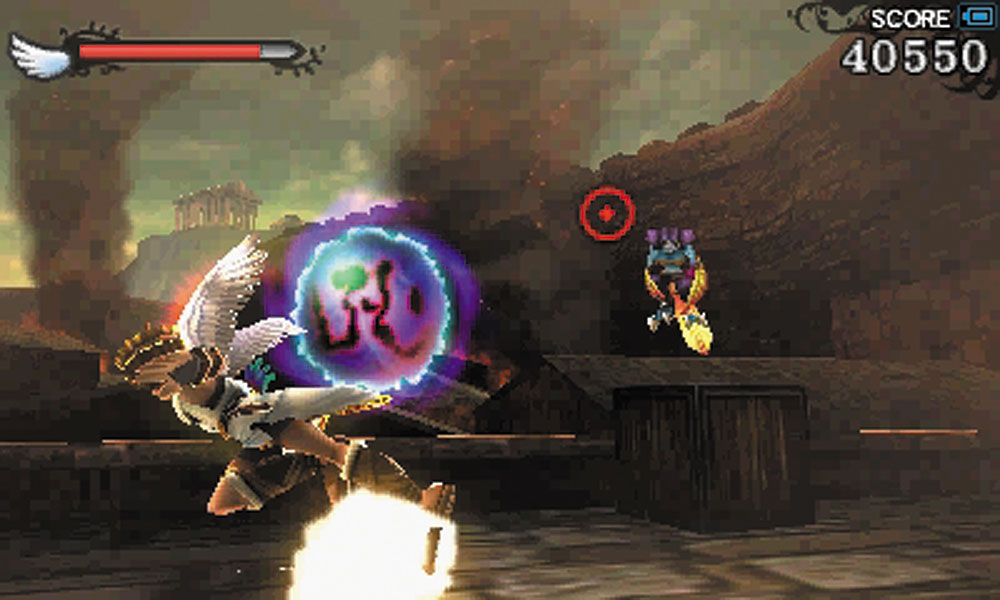
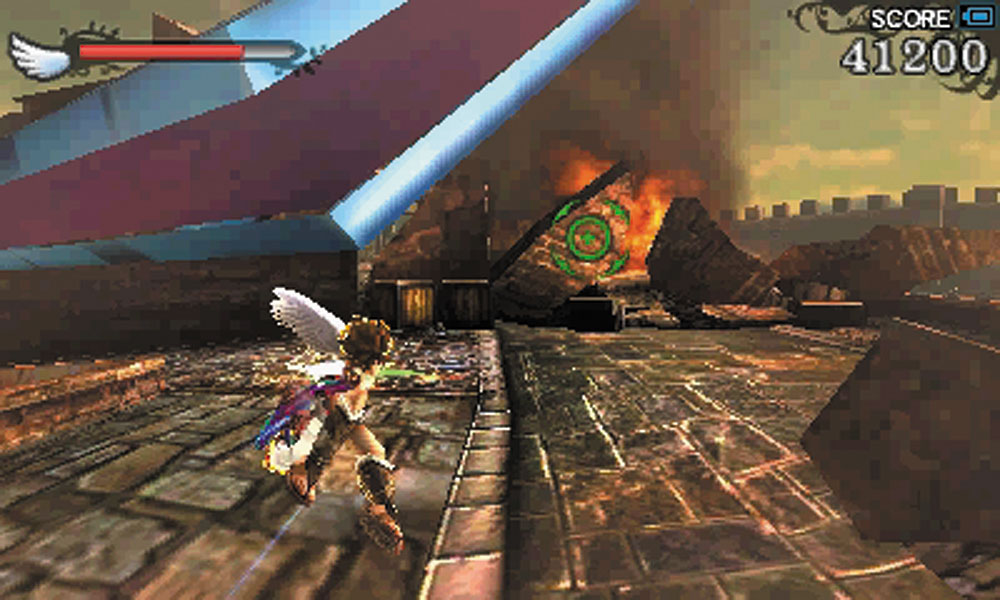
3. This path is guarded by Komaytos, Syrens, and a Wave Angler. The dead end in the direction opposite to where the guidance arrow points only leads to a Monoeye playing with a jump pad at the bottom of a well. A Monolith hovers over the correct path.
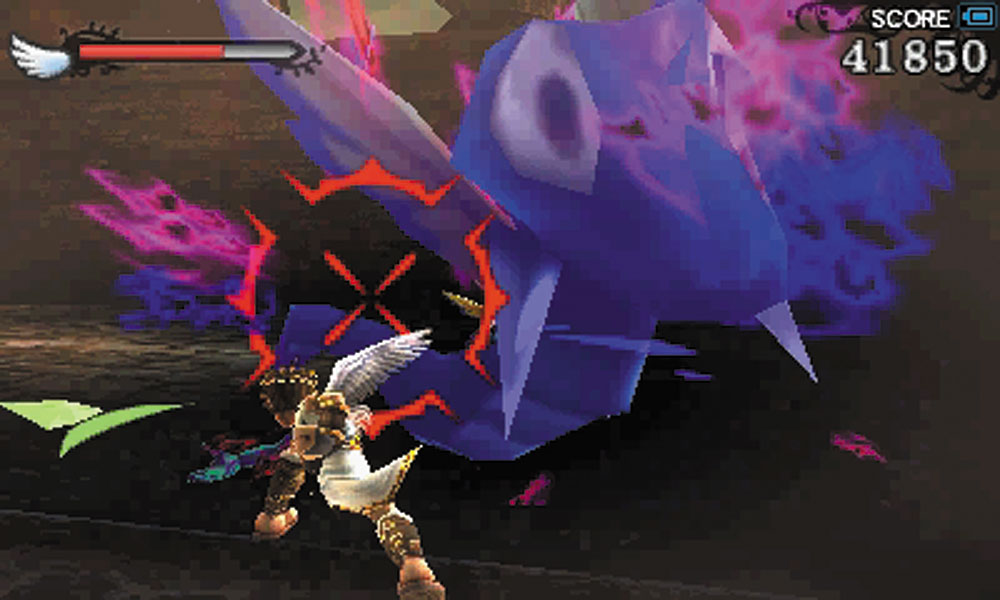
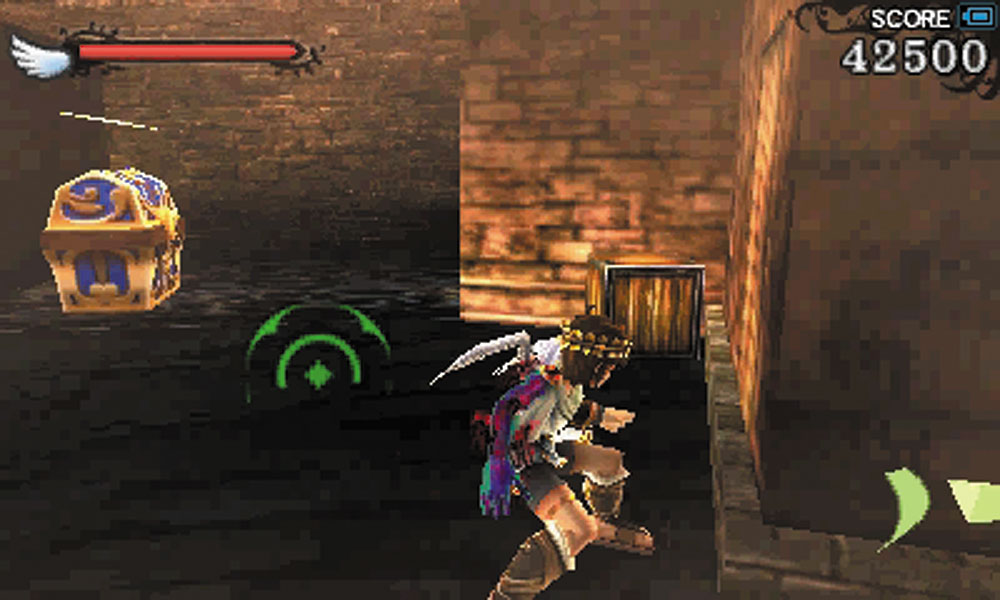
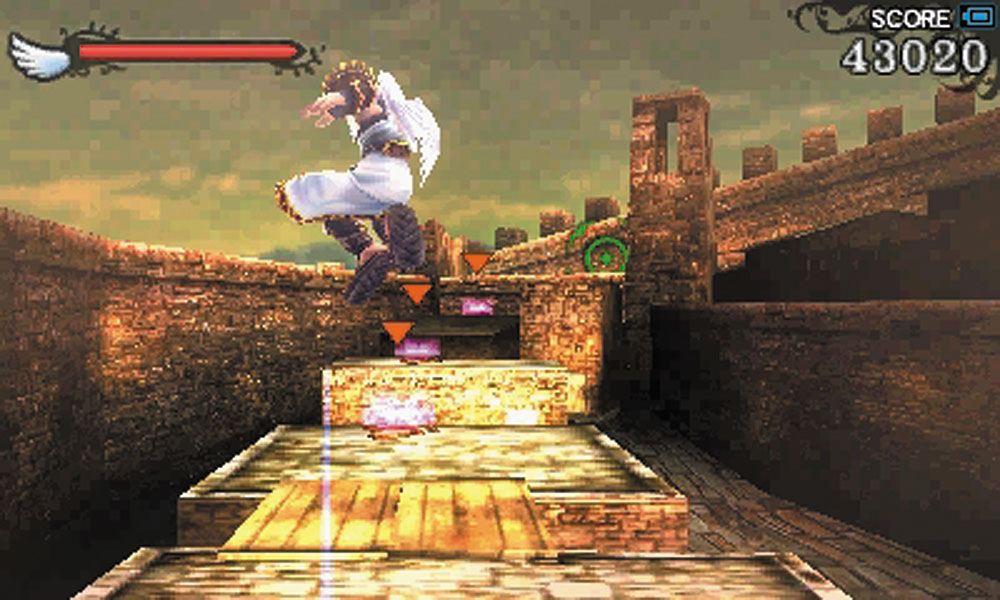
4. Don’t be too hasty and use the jump pads here as soon as you see them. Destroy the Shemums in the area, then check behind the smaller buildings for a Treasure Box.
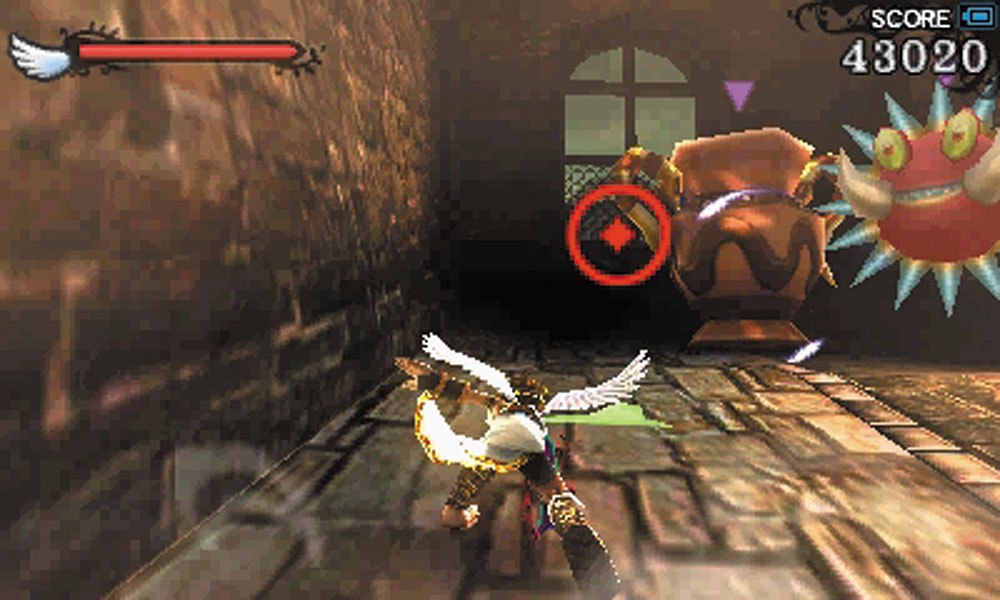
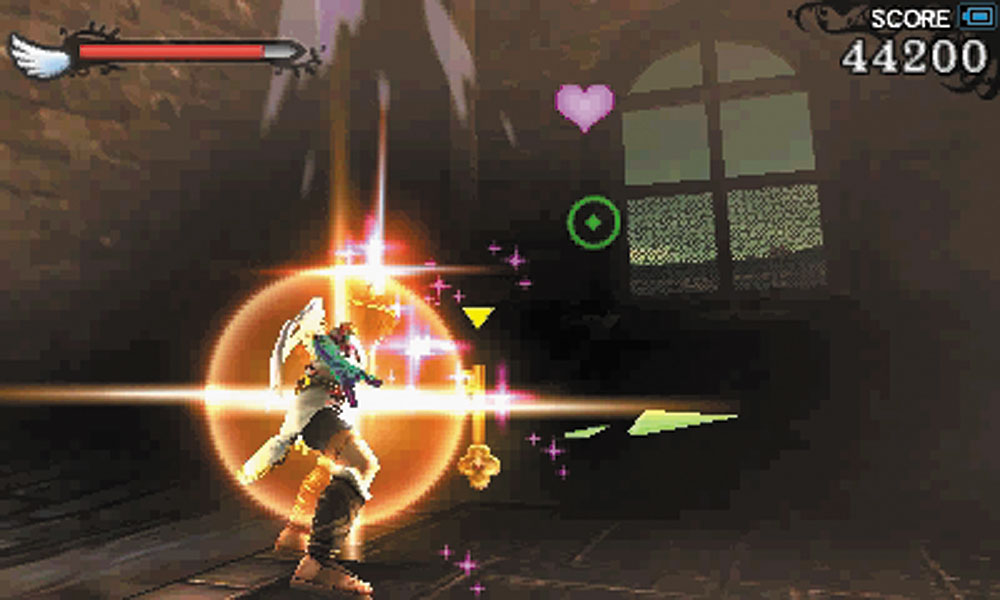
5. Destroy the jar generating the Shemums as well as the Minos. You need the key to access the colosseum.
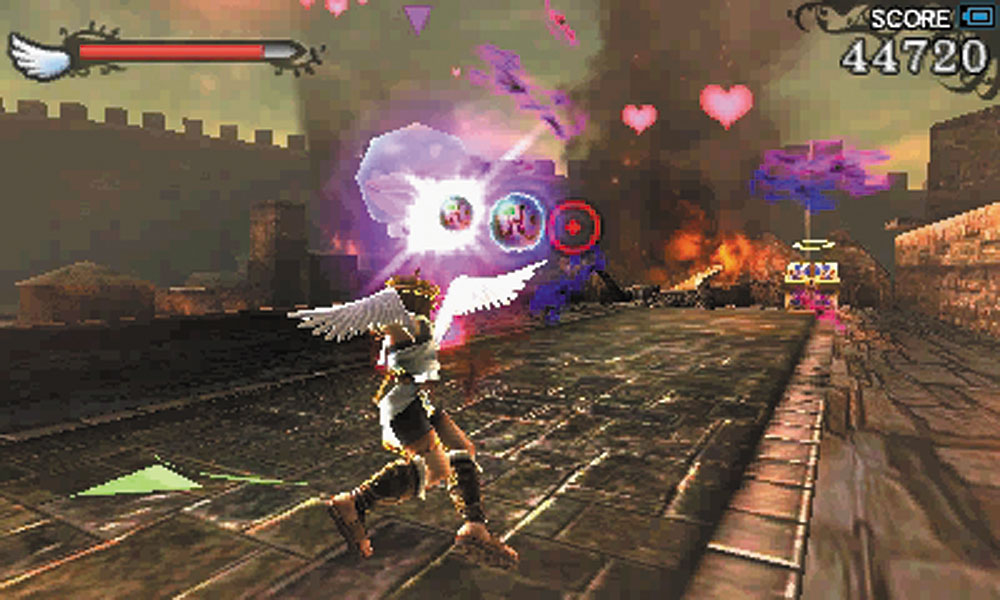
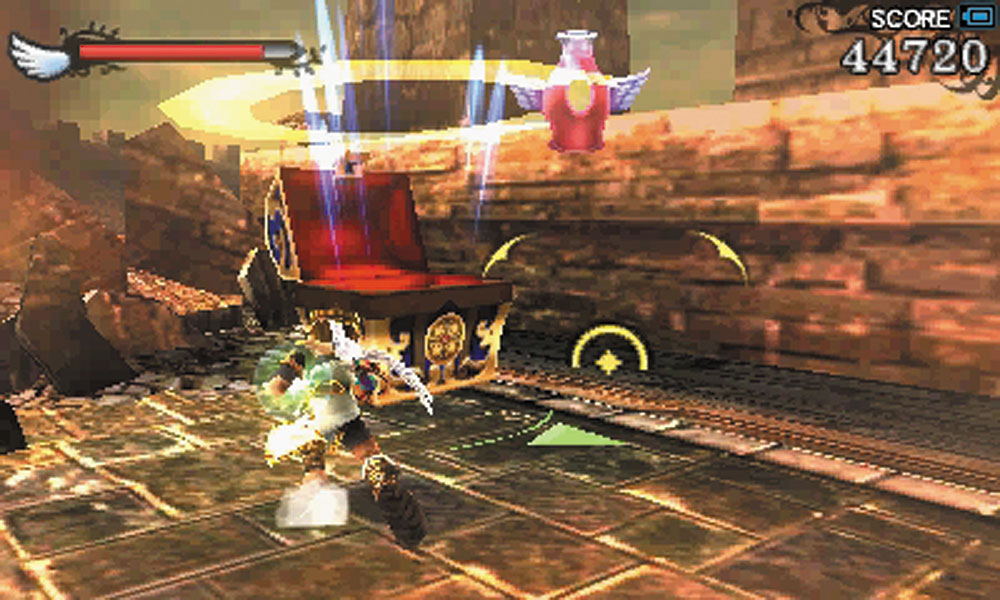
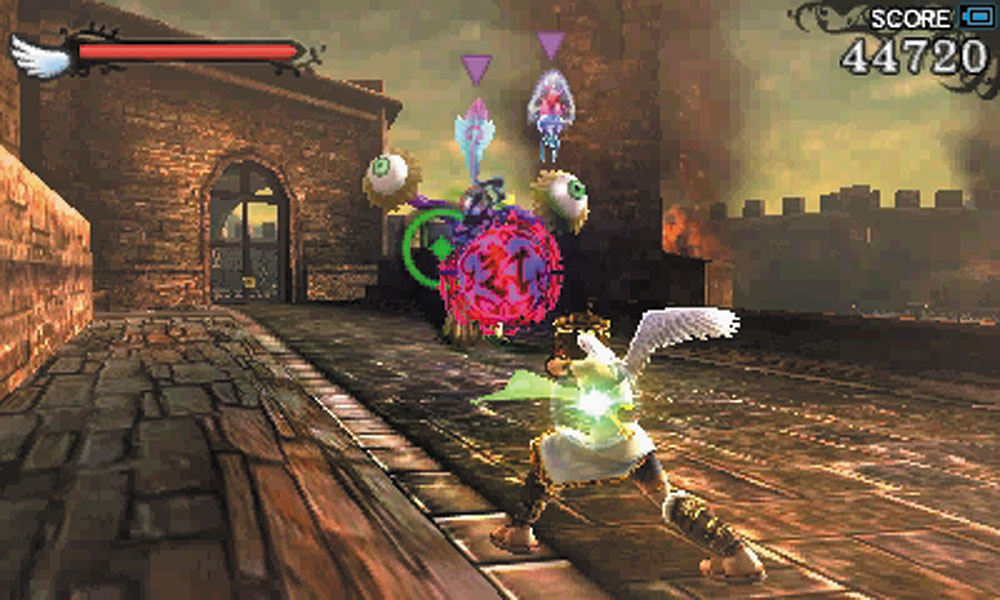
6. Evade or destroy the group of Miks. Explore the pathway in the direction opposite to the coliseum to find another Treasure Box. A Merenguy, a Fire Wyrm, and a group of Komaytos ambush you after you collect the box. The Merenguy automatically focuses the camera on himself, making it difficult for you to fight off the other enemies. Destroy the Merenguy before trying to fight the other monsters.
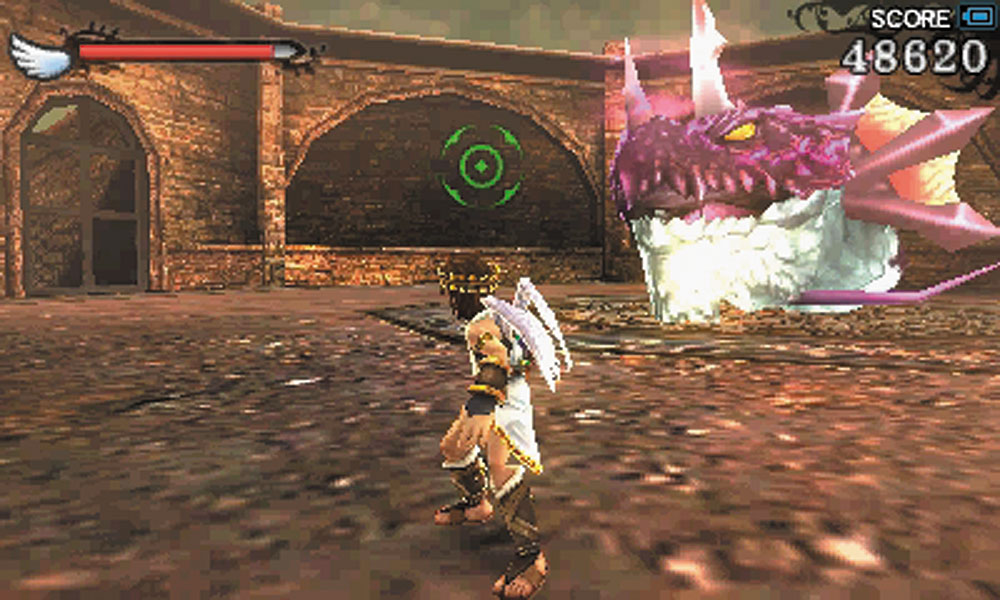
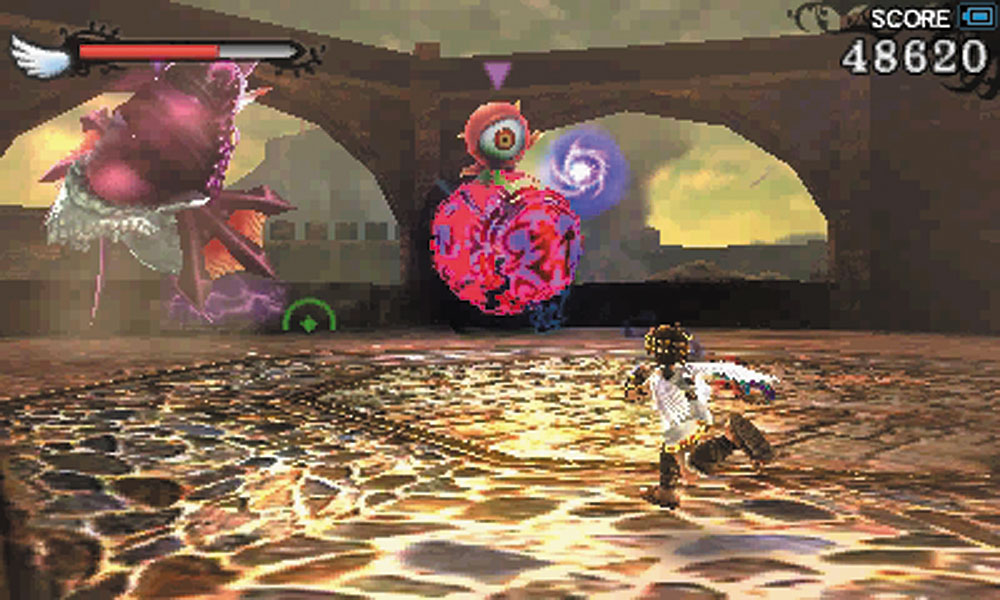
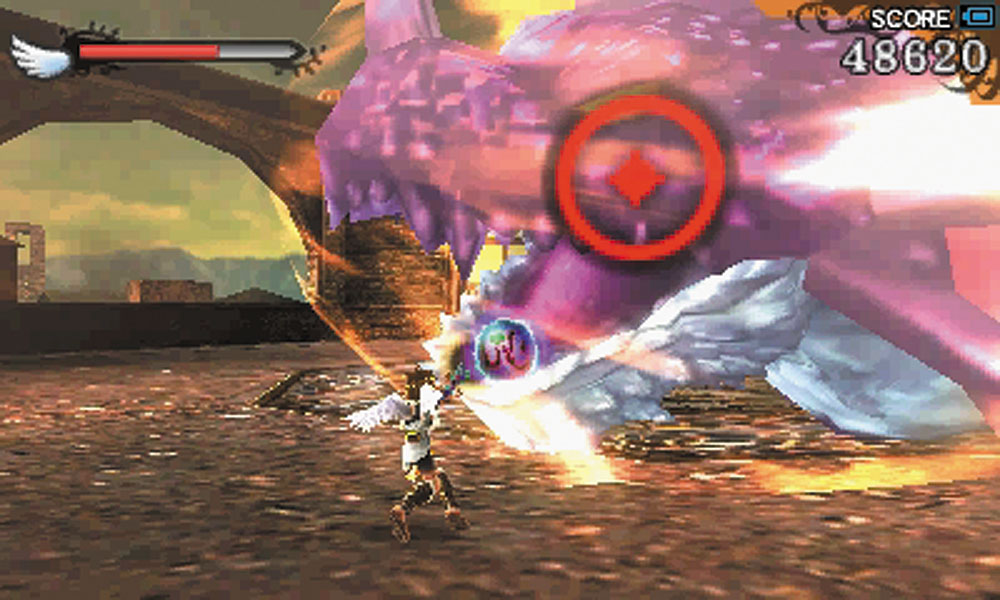
7. When you enter the arena, do not stand in the very center. This is where a Hewdraw head lands to confront you. Monoeyes and Gyrazers also descend into the arena, but try not to get too distracted by them. The Hewdraw head is quite fast for being just a head. It is able to charge at Pit and cause heavy damage. It is possible to melee the head, but generally it’s a lot safer to just concentrate on evading it and blasting it from a safer distance. Once the head is defeated, the other monsters quickly retreat and the way to the next area is opened.
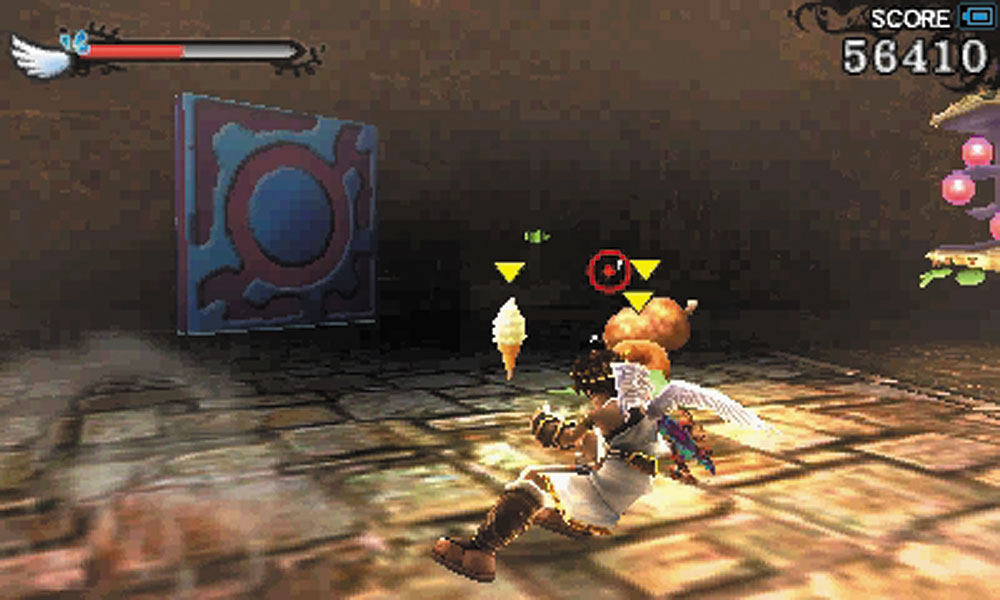
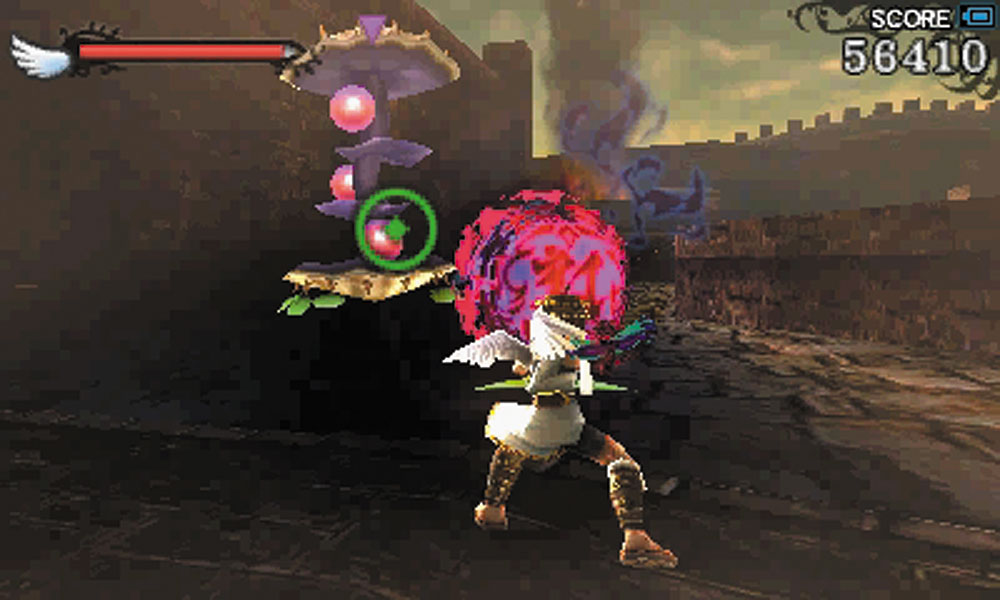
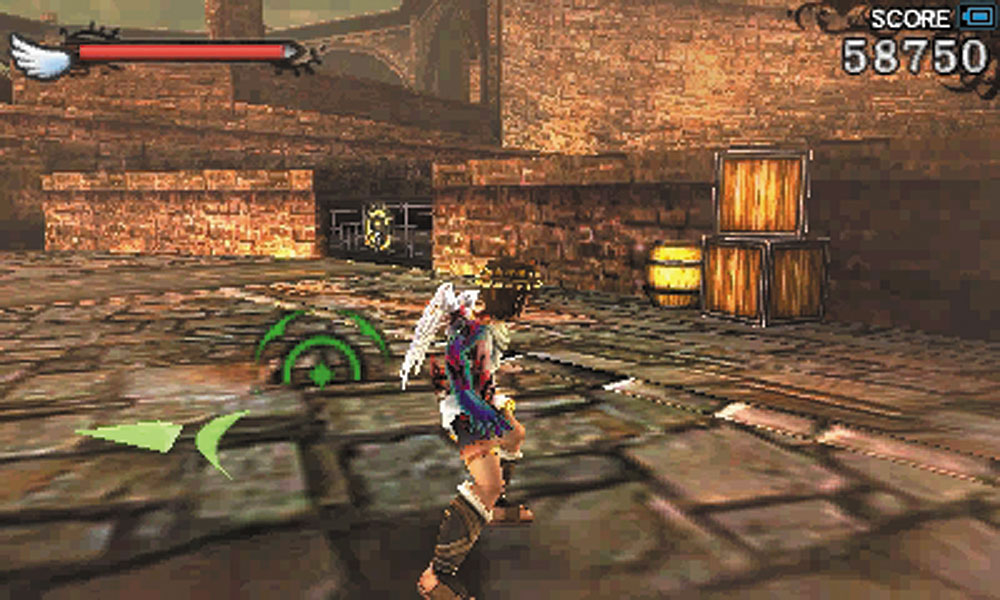
8. A Monolith whirls around the center of this courtyard. As you approach it, food will appear near it. In the direction you need to travel, a Mega Mussel stands guard. If you are playing on Intensity level 7, an Intensity gate can be opened in this area, leading to another Treasure Box.
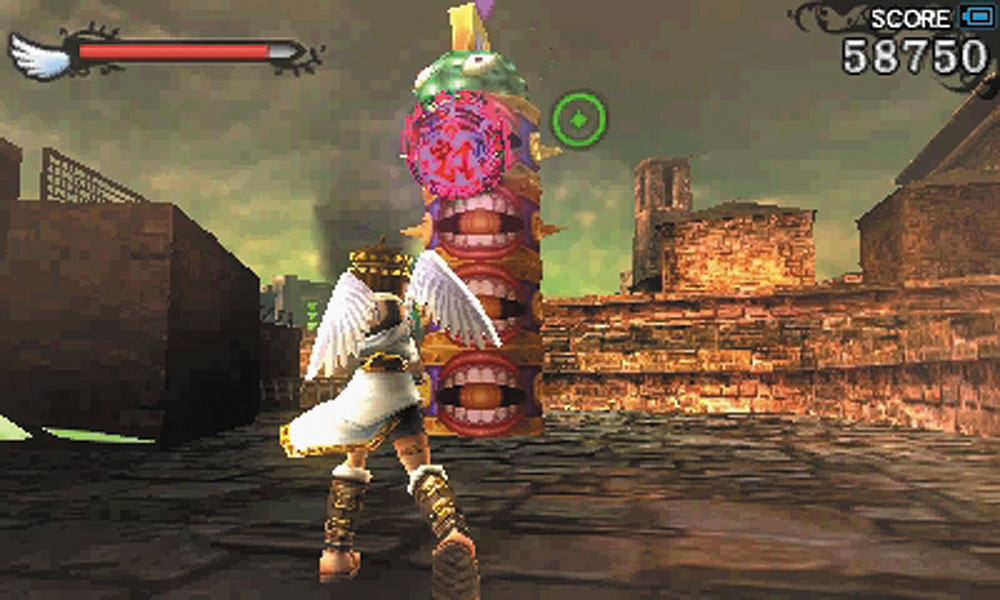
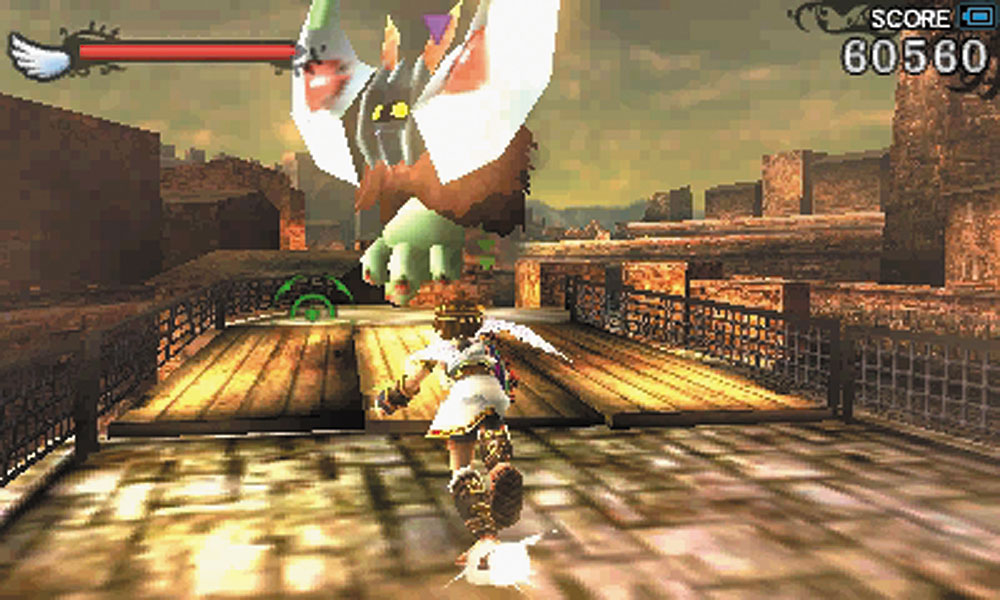
9. Another Stackjaw appears here. Eliminate it, then climb the stairs near it. While crossing the wooden bridges, a Gloomerang blocks your path. Destroying it will cause a jump pad to appear, which will launch you into a well.
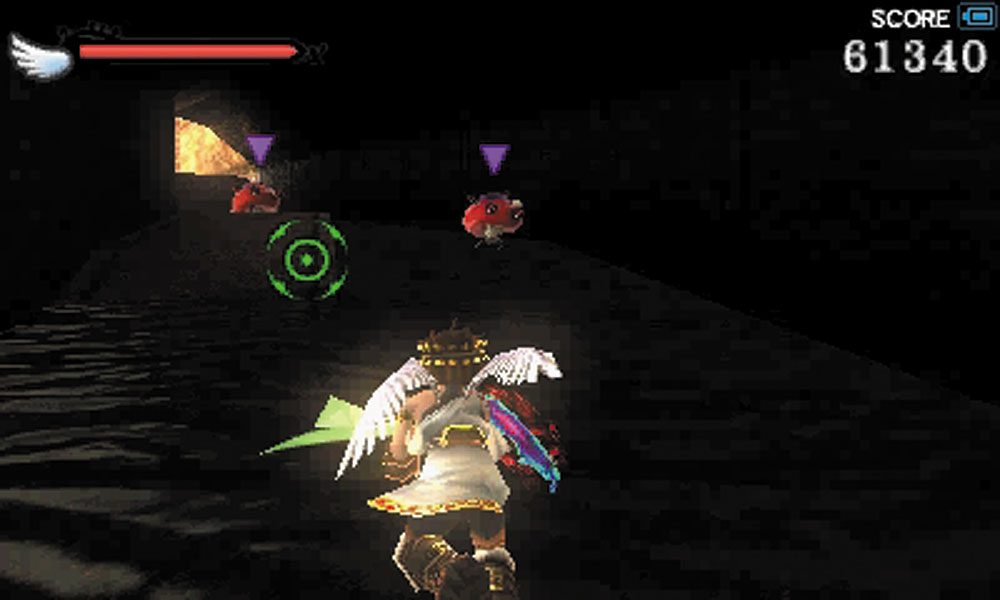
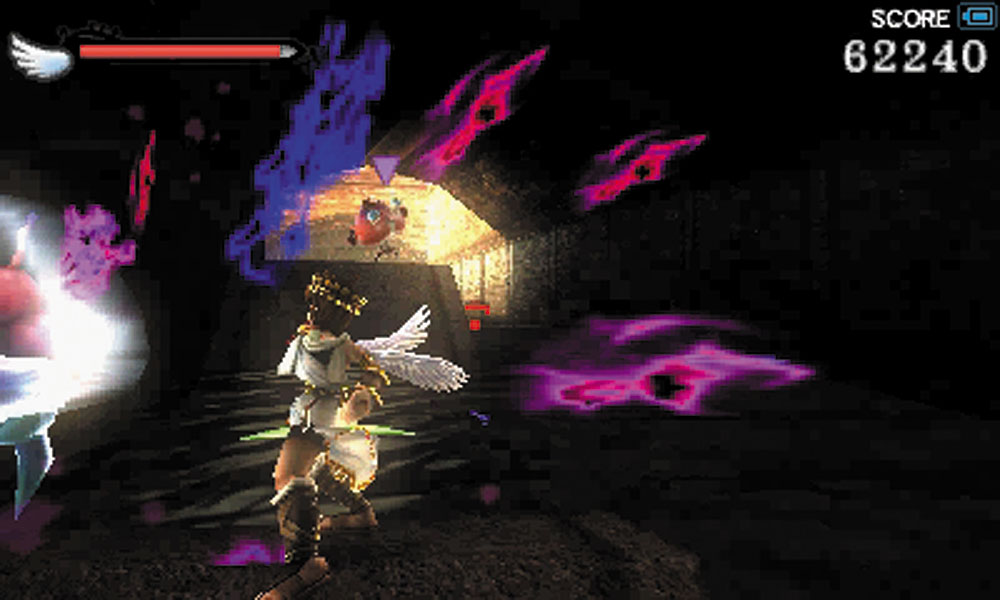
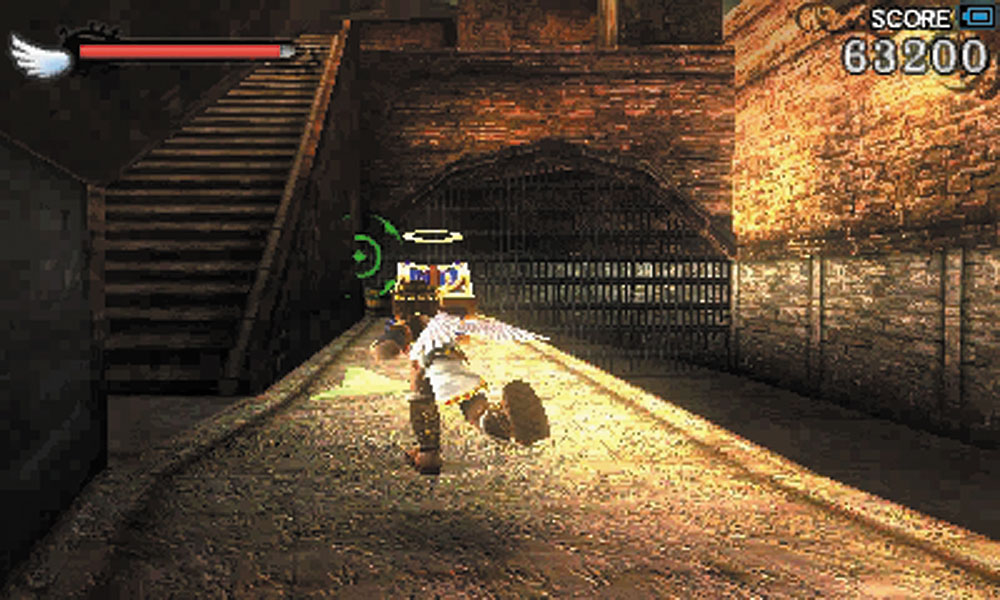
10. Shulms appear inside the well. Shooting them from a distance causes them to explode into a poison cloud. Melee attacks prevent that explosion. Clearing out this area of enemies rewards you with a Treasure Box. Climb the stairs to find another jump pad.
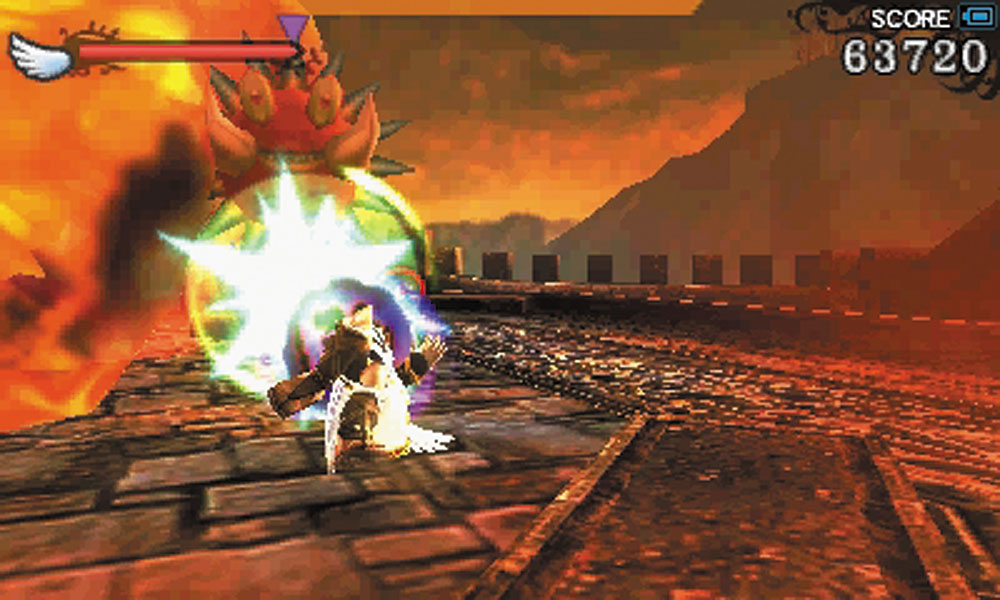
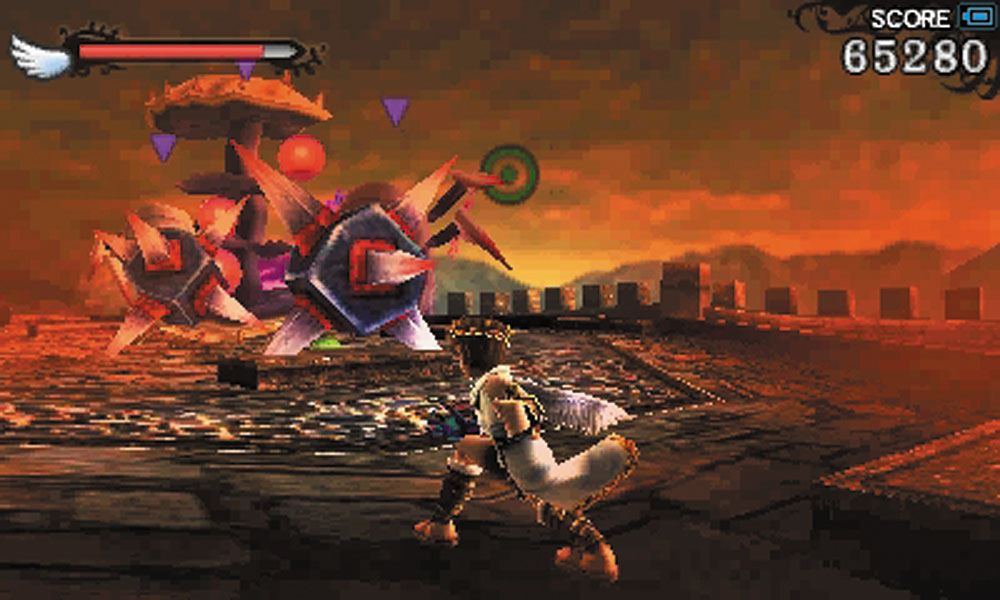
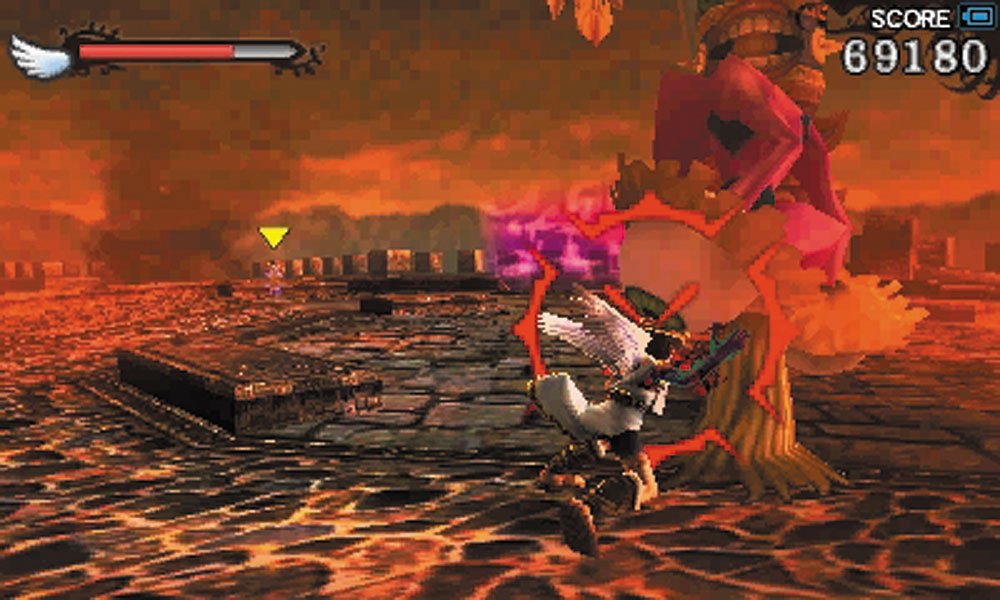
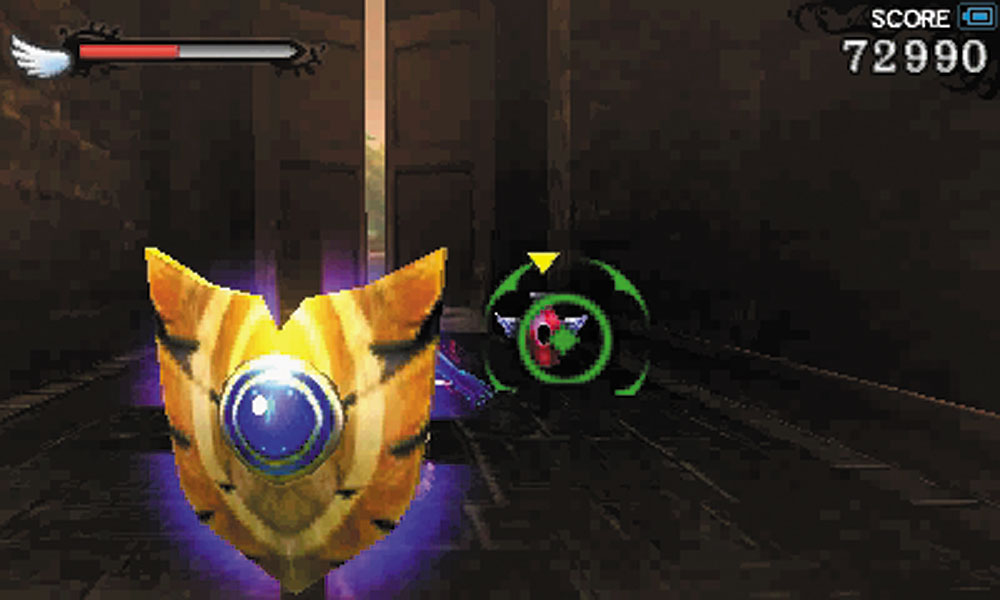
11. As soon as you land, on this platform, the way out is sealed and Underworld troops launch an attack in waves that include a Daphne, a Mega Mussel, a pair of Ganewmedes, a Merenguy, and another Stackjaw. This can be a be a tough fight, so look around the battlefield for any Grenades you can use. As soon as all of enemy waves are beaten, the path leading to the boss opens. Collect the Drink of the Gods and move on to the waiting Hewdraw head.