
Kid Icarus: Uprising Guide Walkthrough Chapter 5: Pandora’s Labyrinth of Deceit
Land Battle
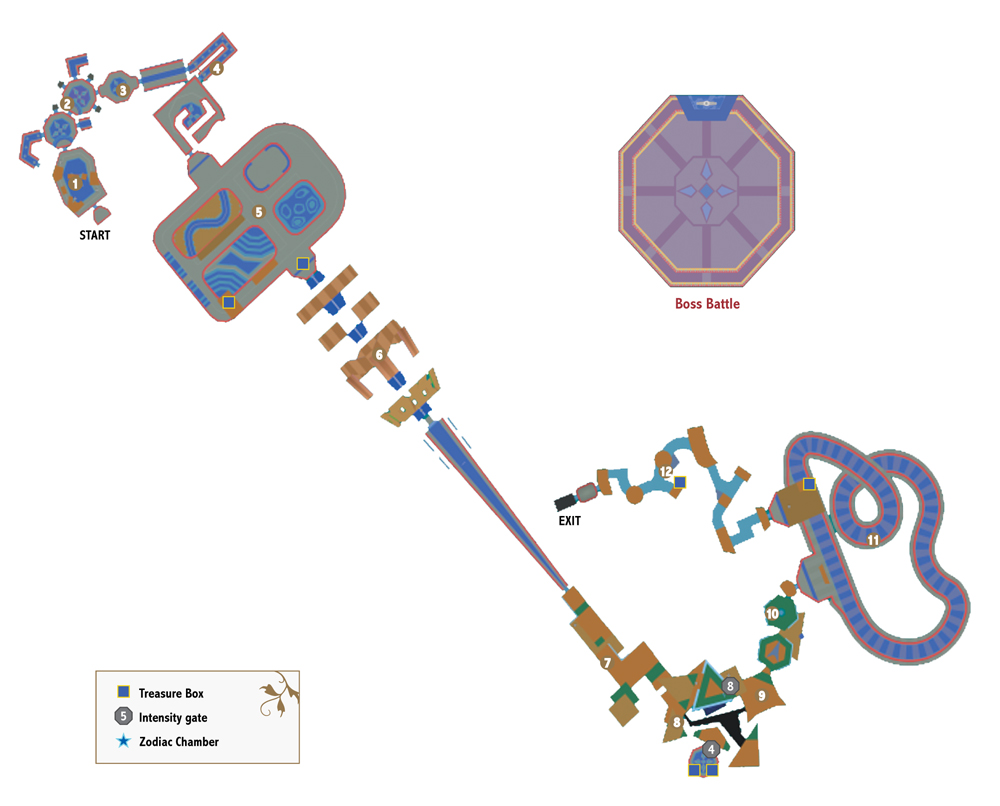
The Labyrinth of Deceit has already tried to throw Pit for a loop several times before he even landed. Expect more optical illusions and other trickery as you plunge into its depths.
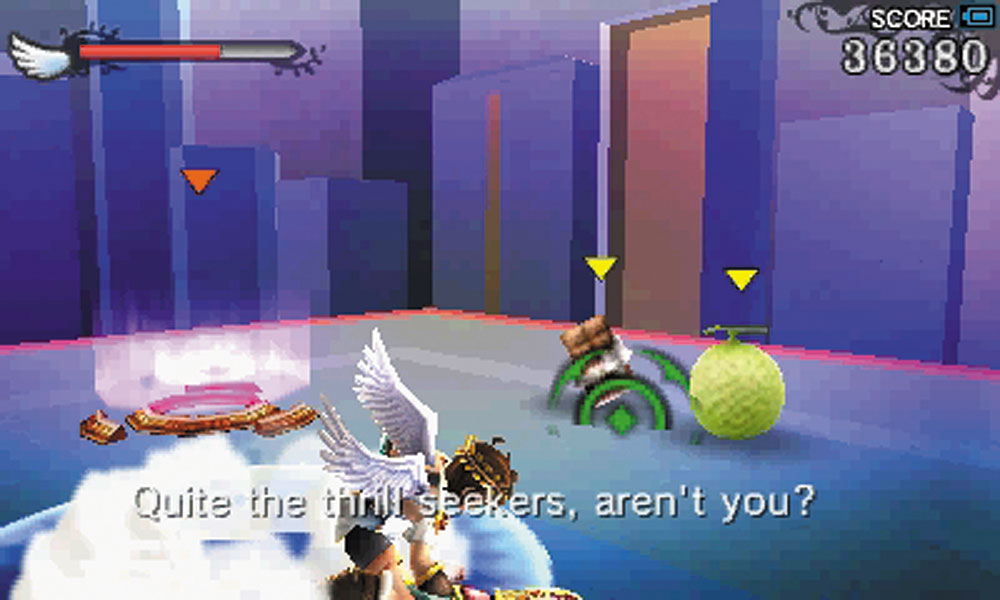
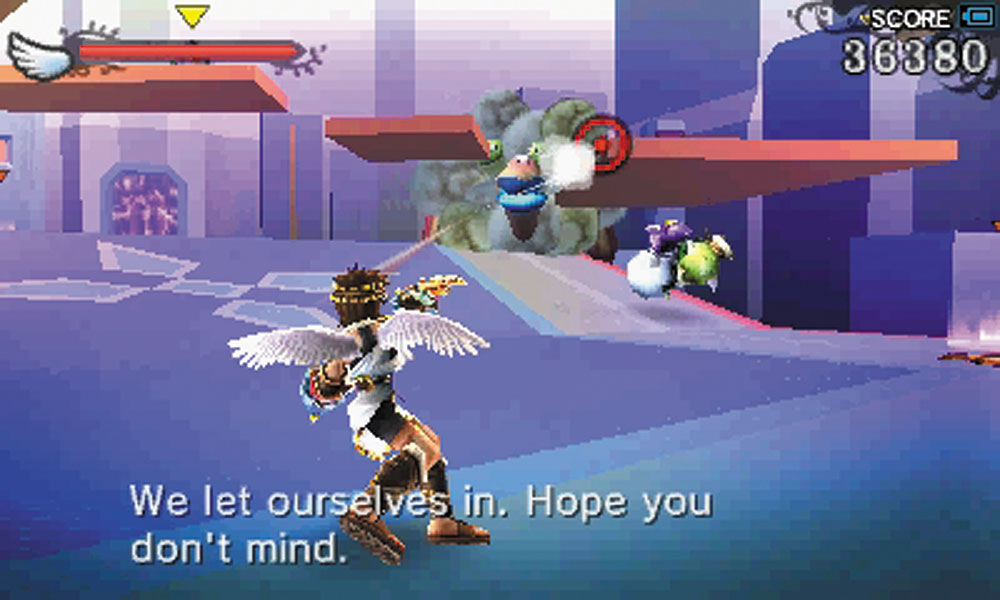
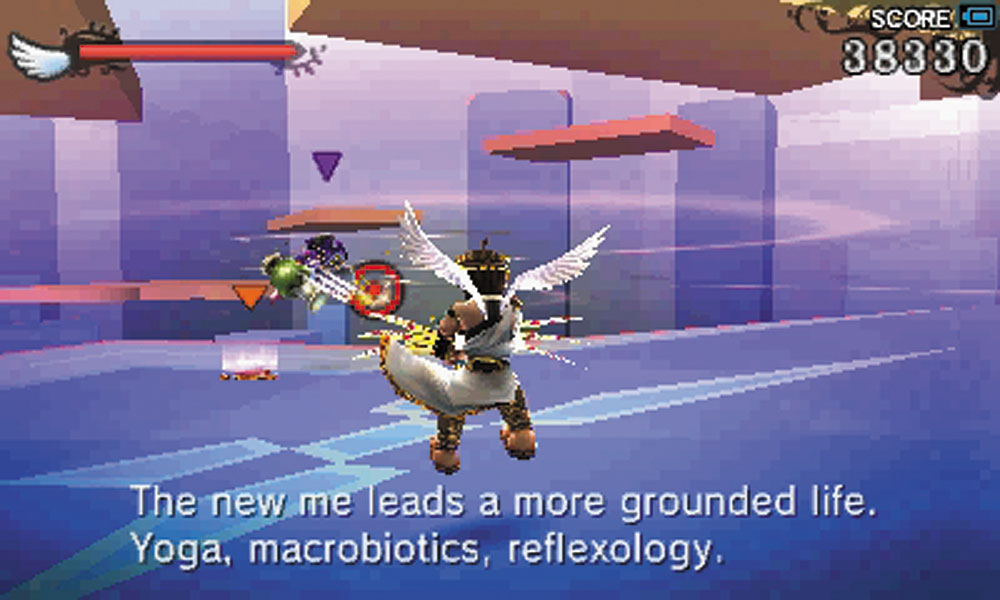
1. The room directly after the first door contains food to regenerate health with, so don’t waste any special items to heal yourself right away. Skuttlers and a Bluster are the first to greet you in the labyrinth. Jump pads in the room can take you on top of the floating platforms, where a Poison Card can be collected.
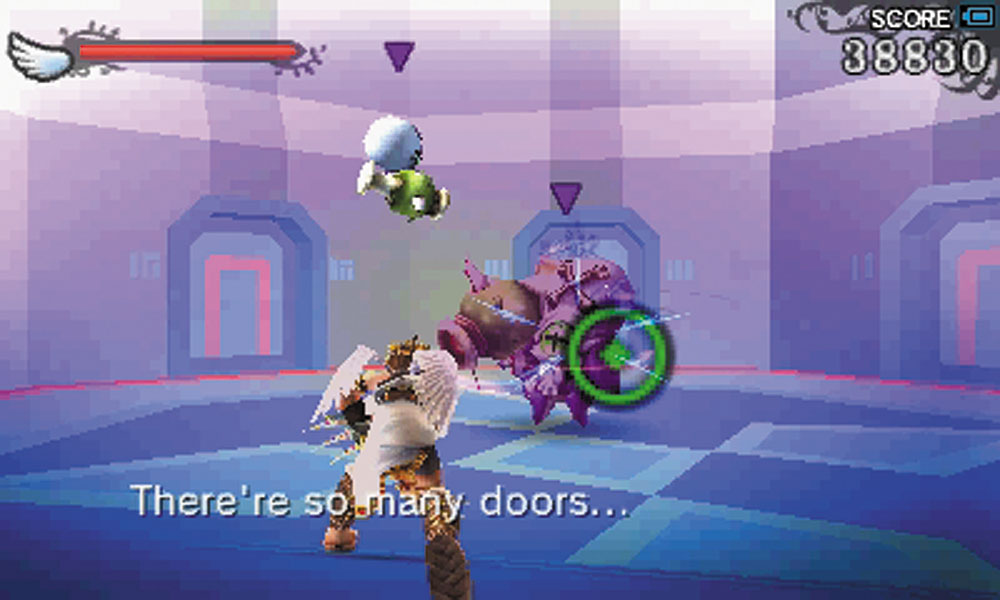
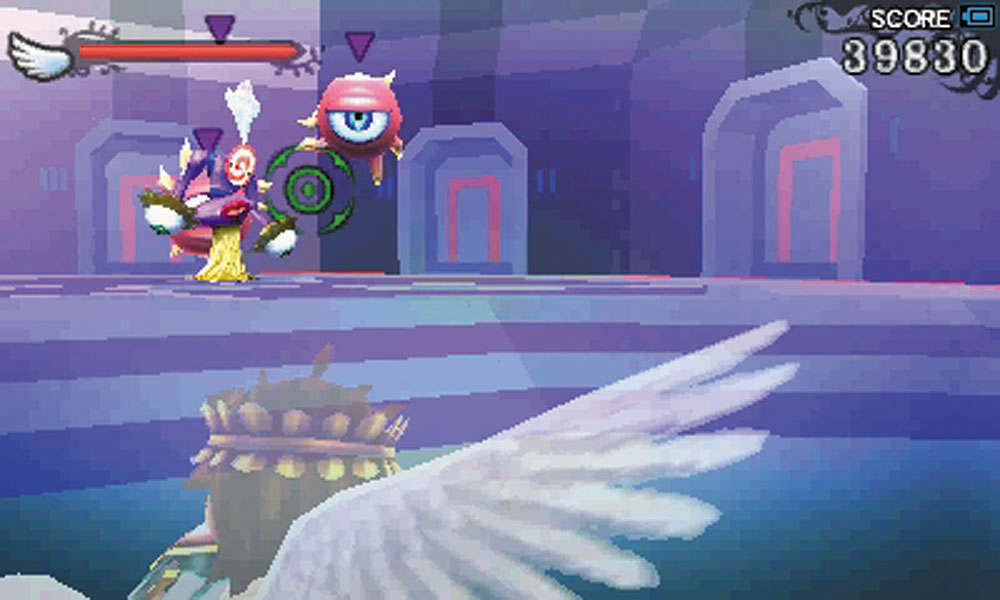
2. The next two rooms each have five doors, but only one door in each room allows you to push farther into the labyrinth. The correct doors are marked “II.” The incorrect doors sometimes send you on a loop back to where you started, or may even contain a bottomless pit. Many other doors will make a warning tone before swinging open to try to hit you. It’s possible to evade that.
The two door rooms contain a mix of Skuttlers, Monoeyes, and Miks. A Merenguy is part of the enemy ambush in the second door room.
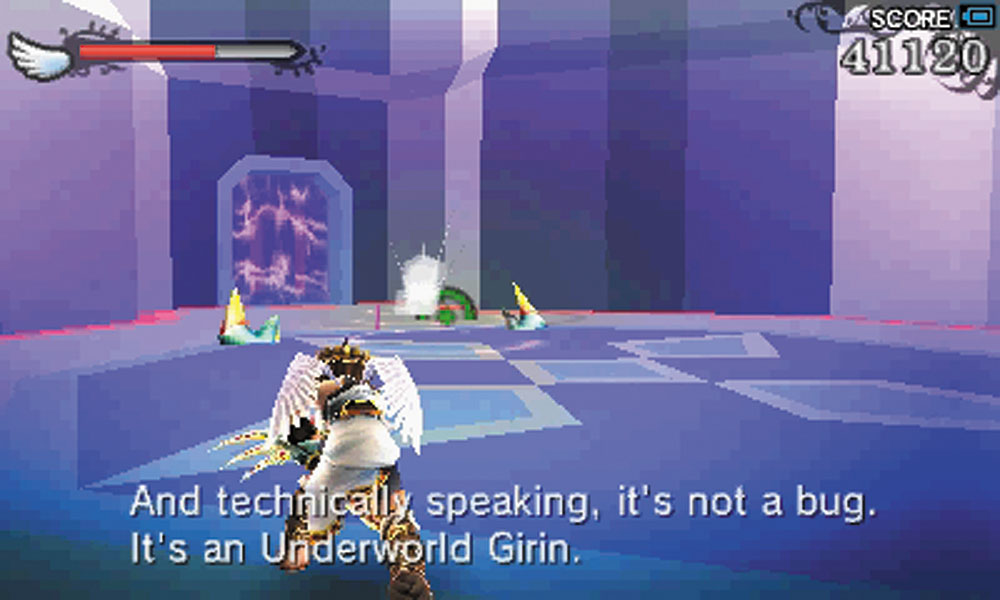
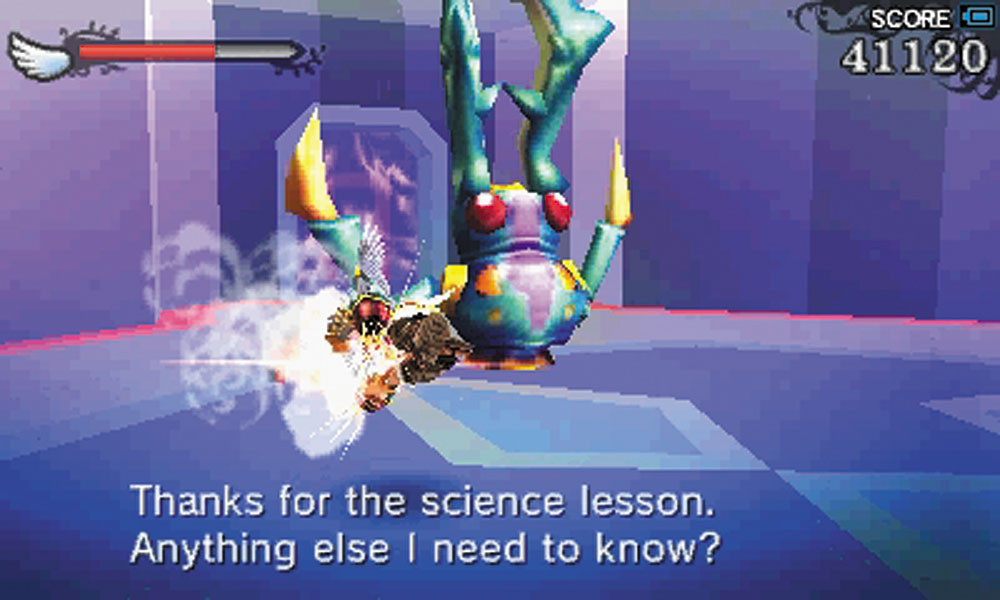
3. A Girin is burrowed in the floor, waiting for you to get close before it strikes. The best way to grab its attention is to shoot at its claws. When it leaps up to strike, use a melee dash attack to stun it. Destroying it will bring a Skuttler and a pair of Miks to attack.
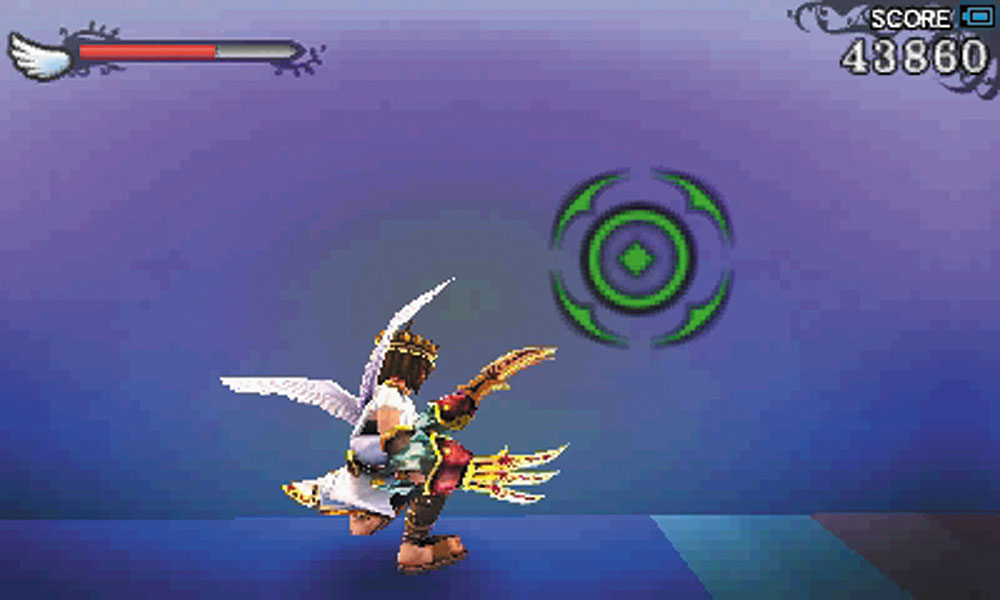
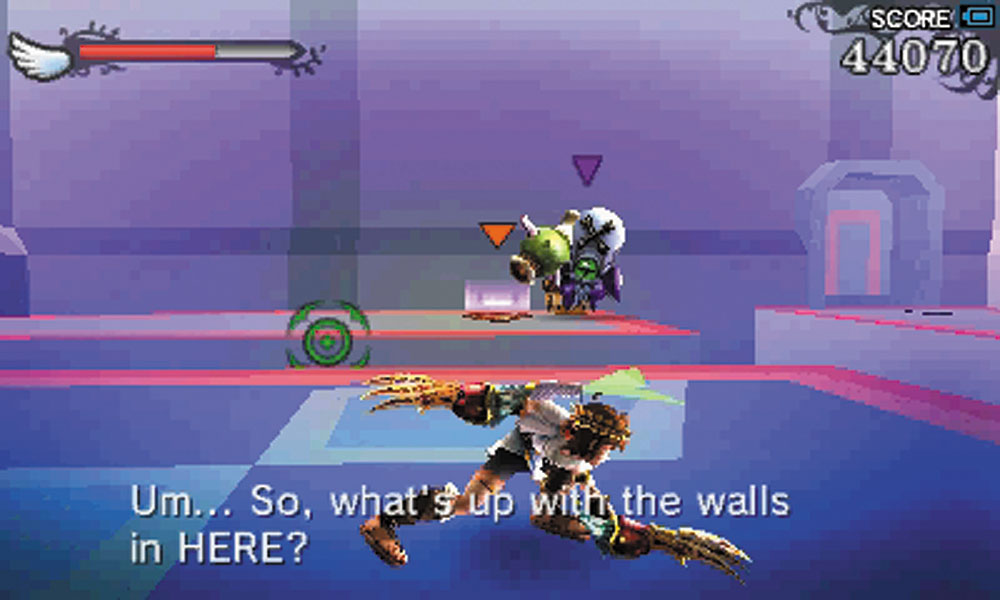
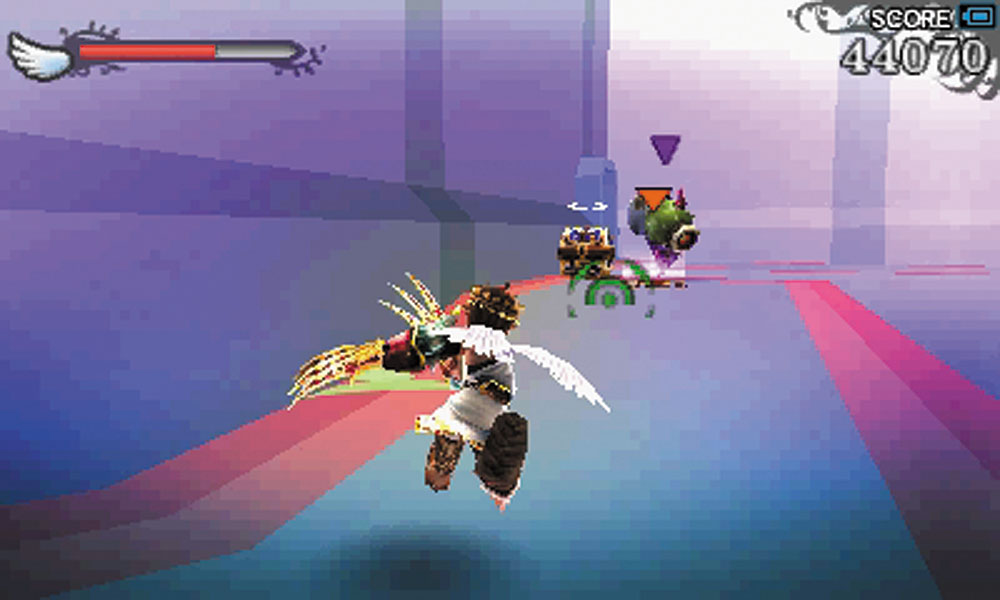
4. After the Girin room, you enter a section of the labyrinth where the walls move of their own accord. When you reach the U-shaped room, make sure you have enough time to slip into the next hallway before the moving walls crush Pit. Beyond this, the next room greets you by having a Skuttler open fire on you from across a seemingly impassable chasm. Wait for the walls to move and reveal a roundabout path to the Skuttler and the Treasure Box it protects.
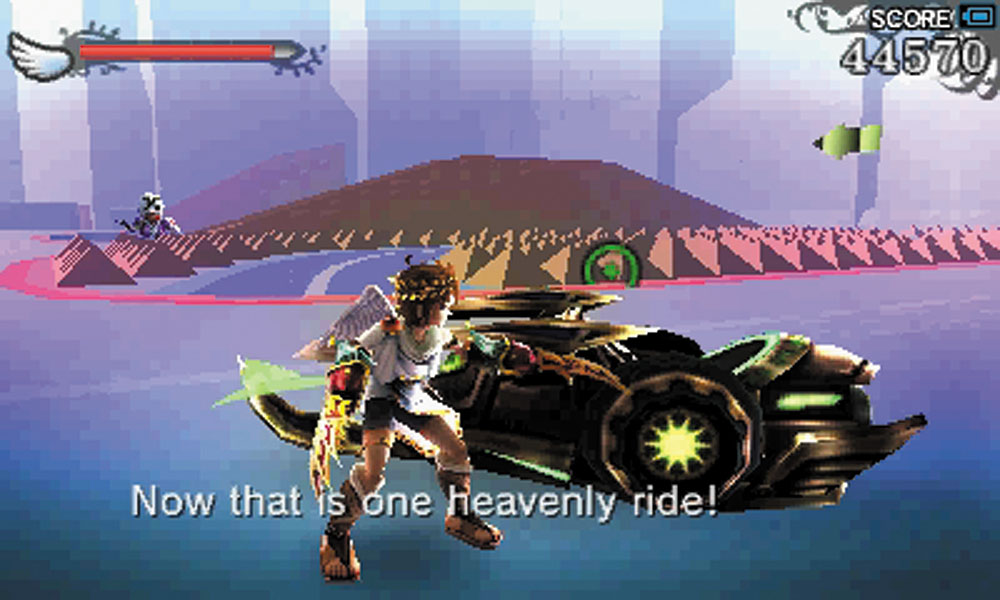
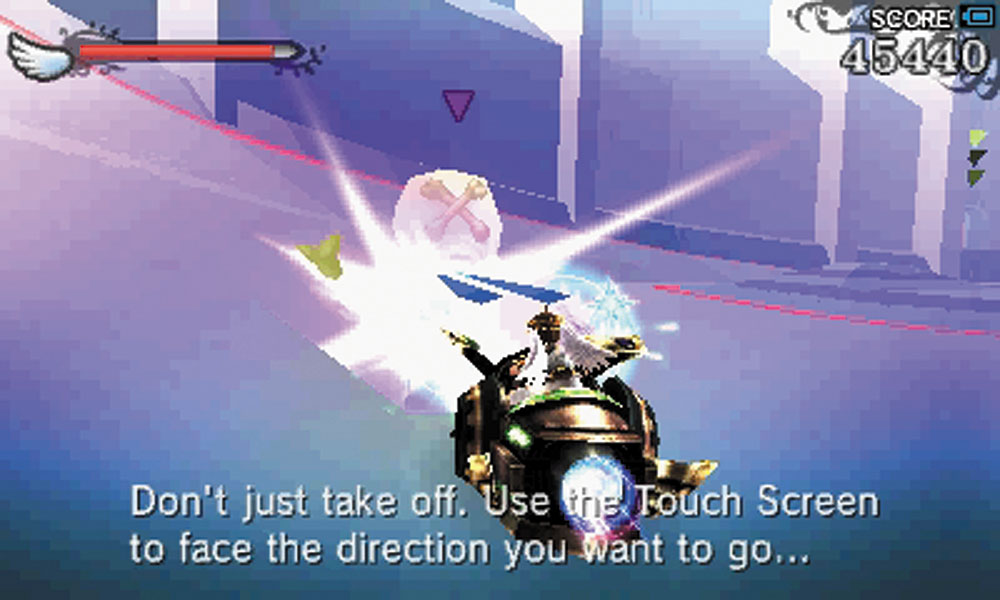
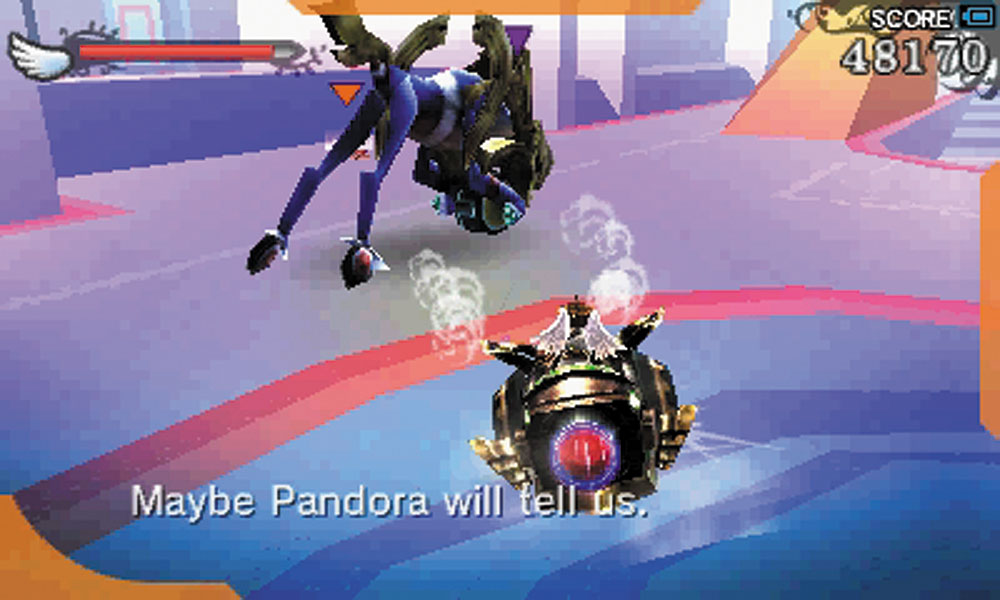
5. After the moving walls rooms, an Exo-Tank and a convenient test track on which to drive it are next. Hop in and practice driving it around. Skuttlers and Leox are wandering the racetrack. If you eliminate them all, a Treasure Box will appear next to the room’s exit. Before you leave, be sure to snag a second Treasure Box from a raised platform by using the Exo Tank to boost as you jump off the ramp on the track.
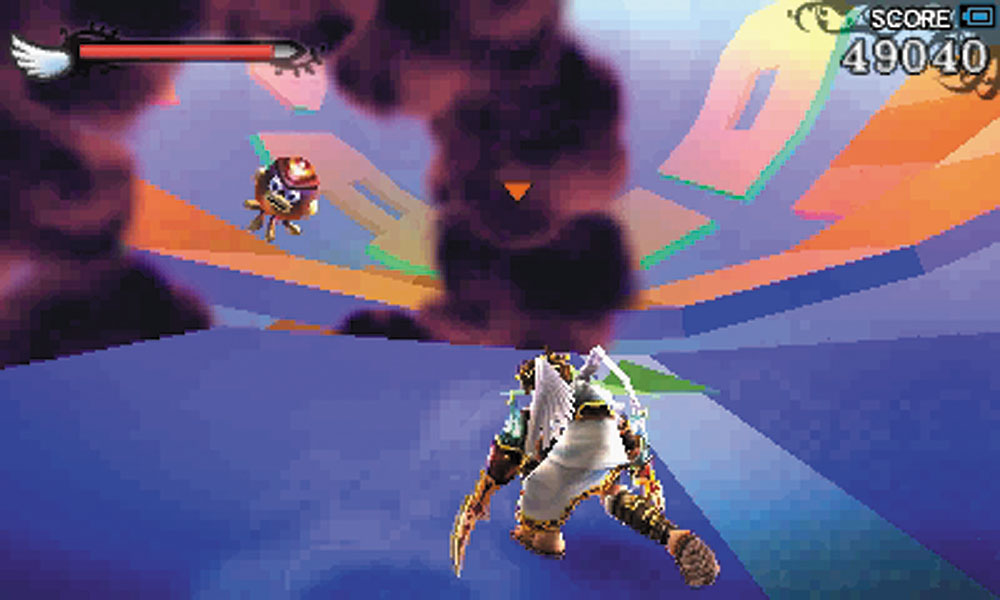
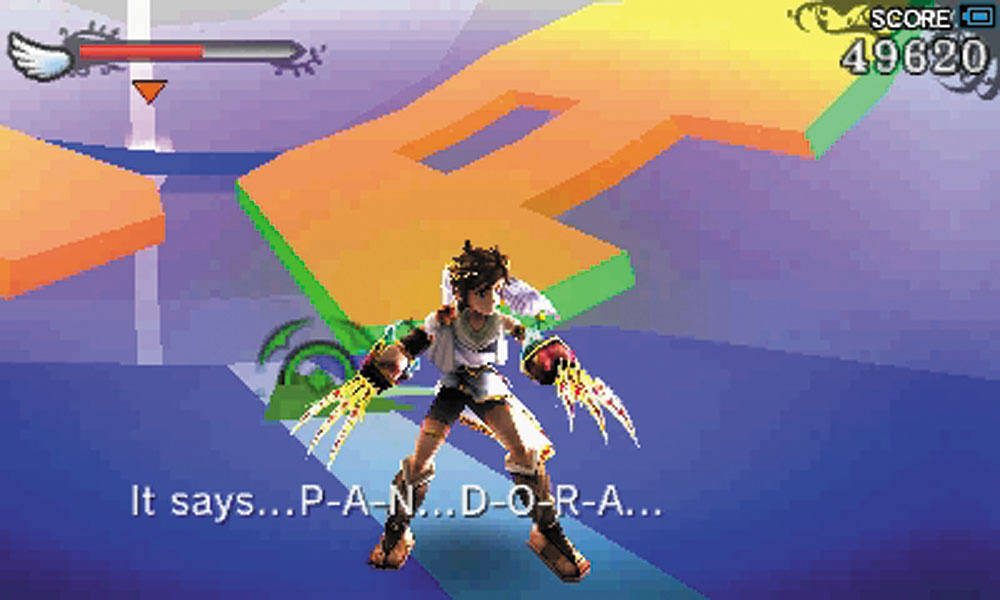
6. The rotating platforms in this next room can be reached by leaping across the gaps. Wait until you see green siding on the rotating platforms before dashing at them. Pit will automatically leap for you. Complicating this is a group of Octos that fire their poisonous gas cloud rings at Pit. Try to take them out before you make any jump attempts.
The more difficult-looking jumps in this room are just before the exit, as the platforms spelling out “Pandora” can deceive you with how close or far they appear to be.
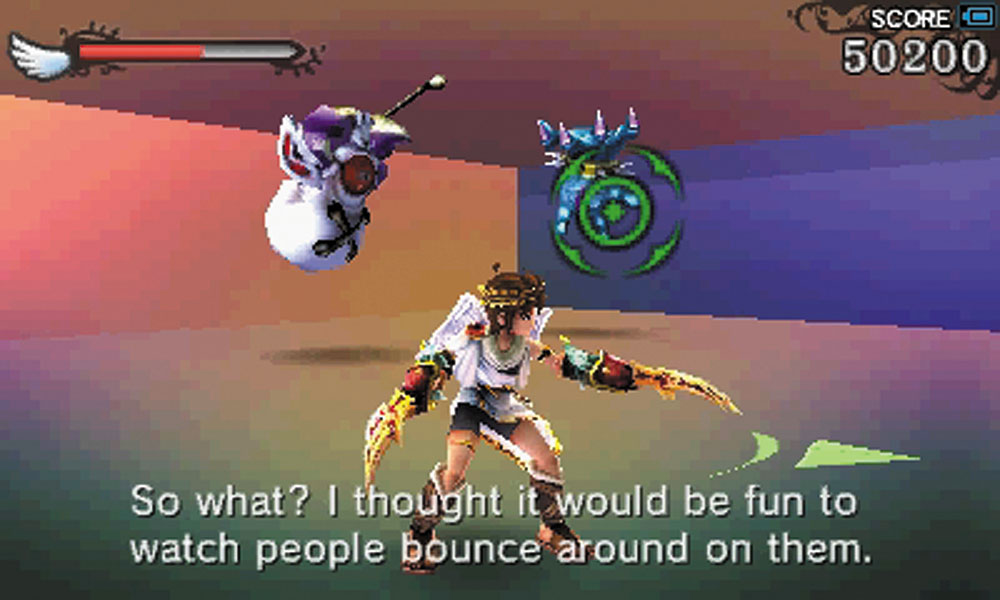
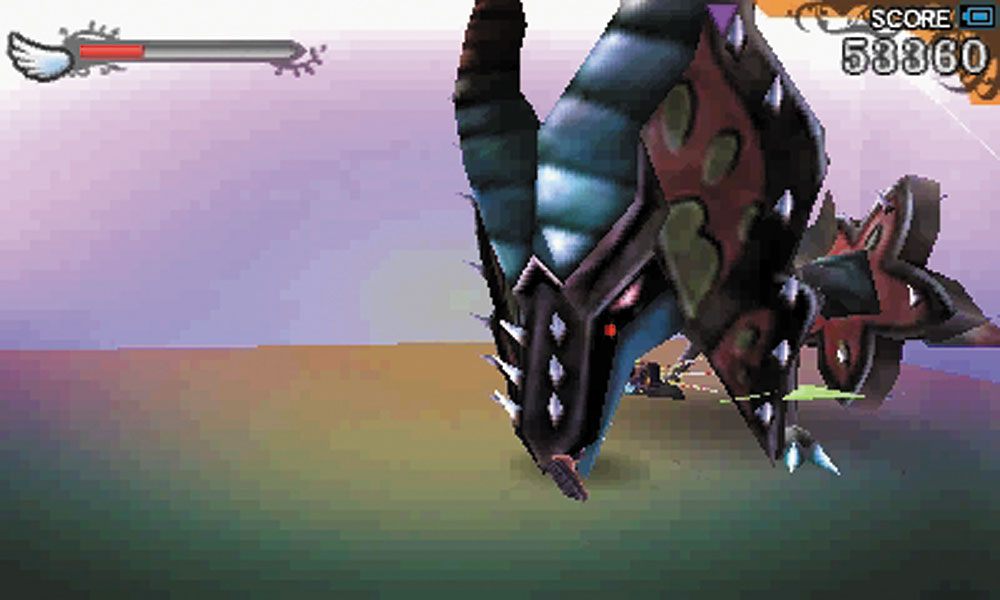
7. The trampoline room is quite dangerous because all of these platforms sit over a chasm. Pit loses a large chunk of health with each fall, and once you bounce off a trampoline, you can’t simply turn on a dime in midair. Watch out for enemies, such as Skuttlers, Monoeyes, or Armin, that try to knock you off.
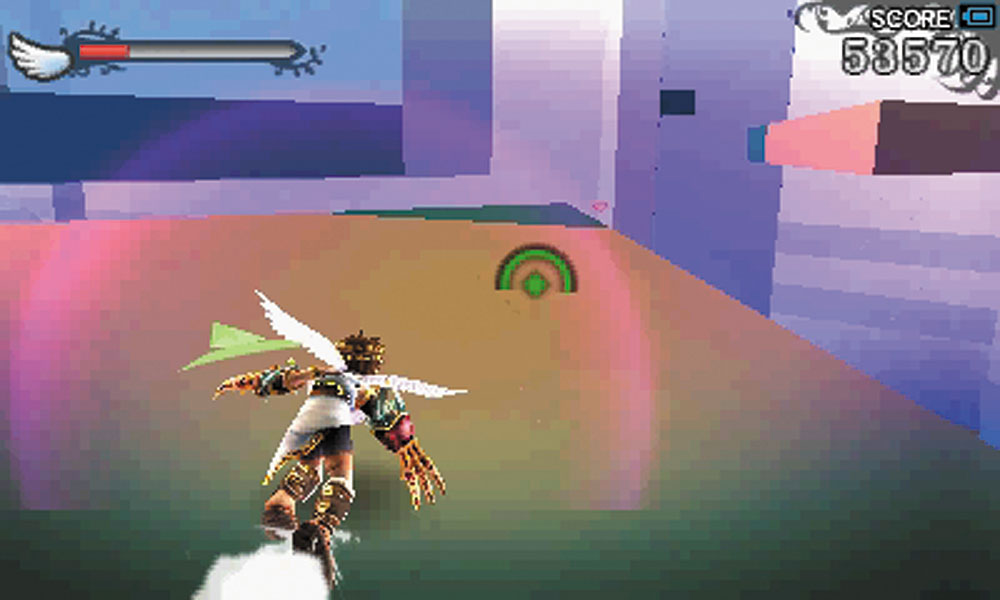
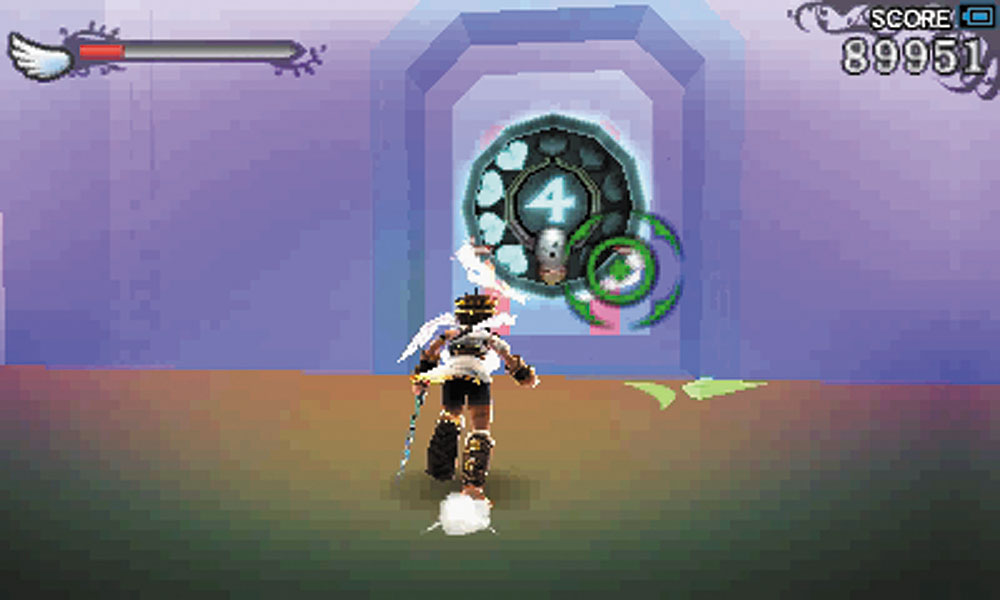
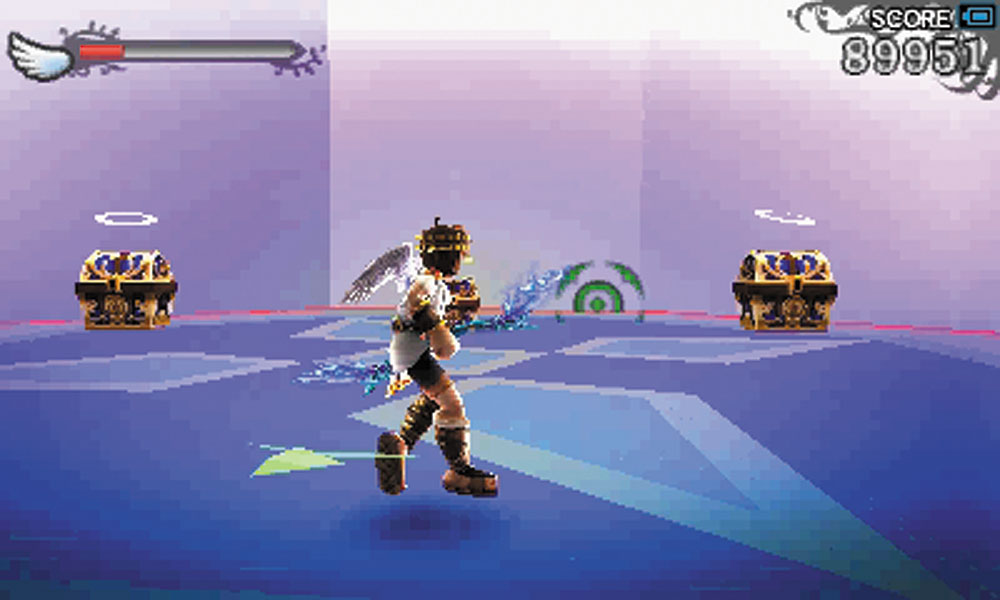
8. When you reach this point, you’ll notice the platform has two trampoline corners. If you use the right corner to reach the platforms floating in that direction, you’ll be on the side path that leads to a Level 4 Intensity gate. There are three Treasure Boxs inside. The center is a trap, while the two flanking it contain a random item. You can select only one box; the others vanish.
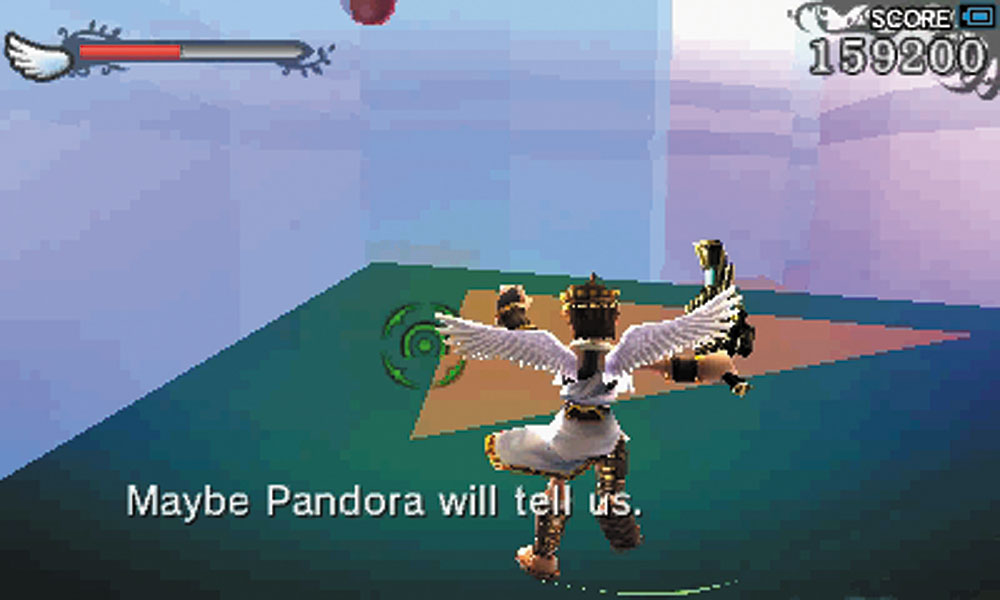
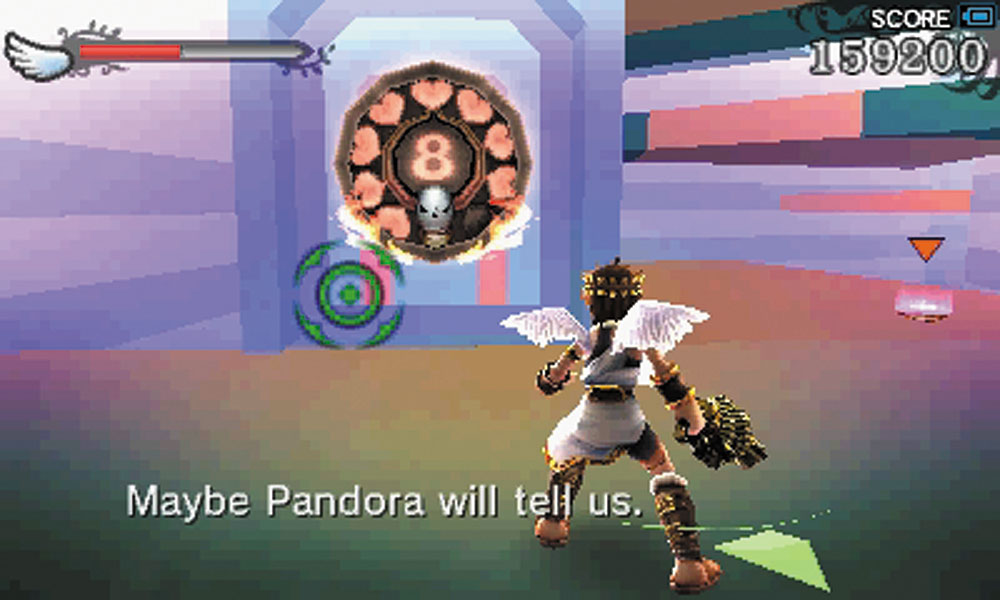
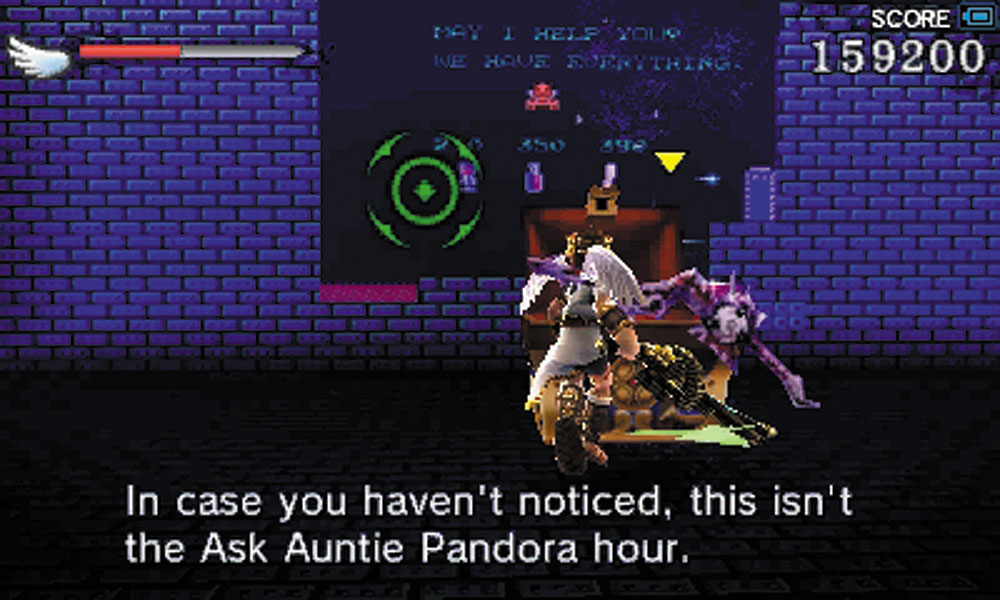
9. If you’re playing on Intensity 8 or higher and you’ve made it this far, there is another Intensity gate in this chamber for you. Notice on the map the triangular platform where all of the edges are a trampoline pad? If you land underneath it from the platform marked 9, the gate is hidden underneath the triangle pad. Inside is another Treasure Box, as well as a neat reference to the original Kid Icarus game.
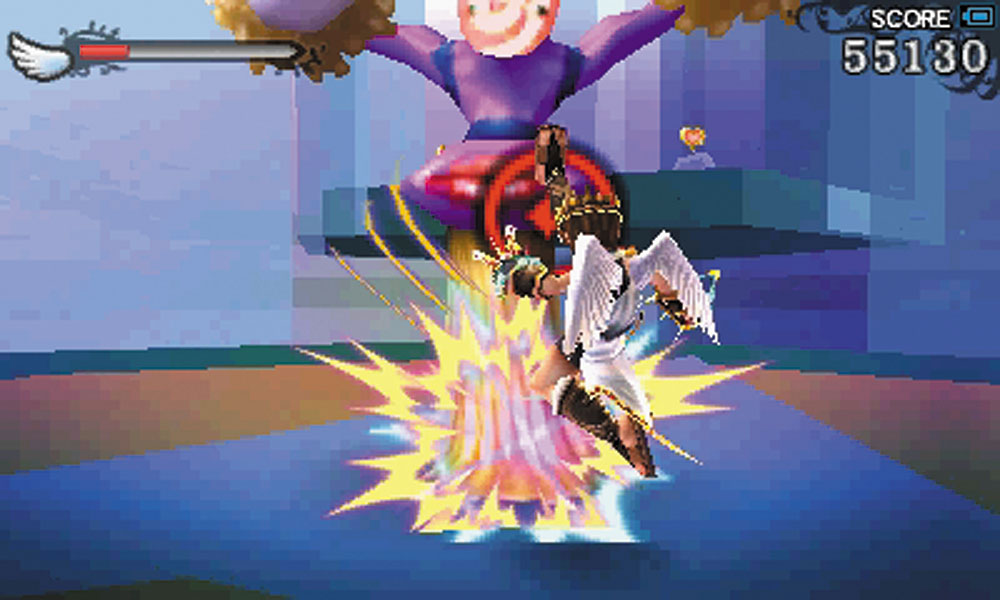
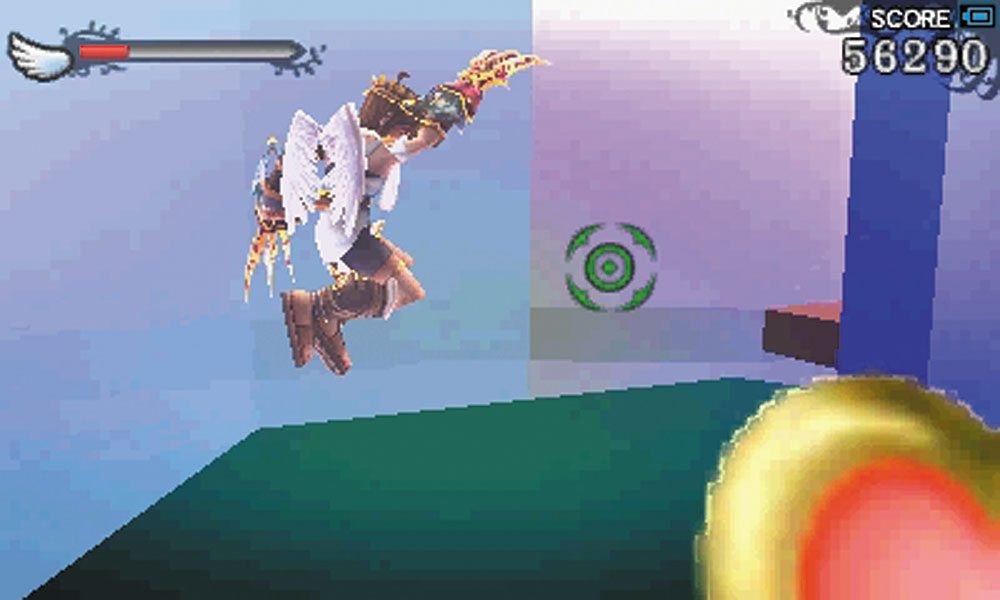
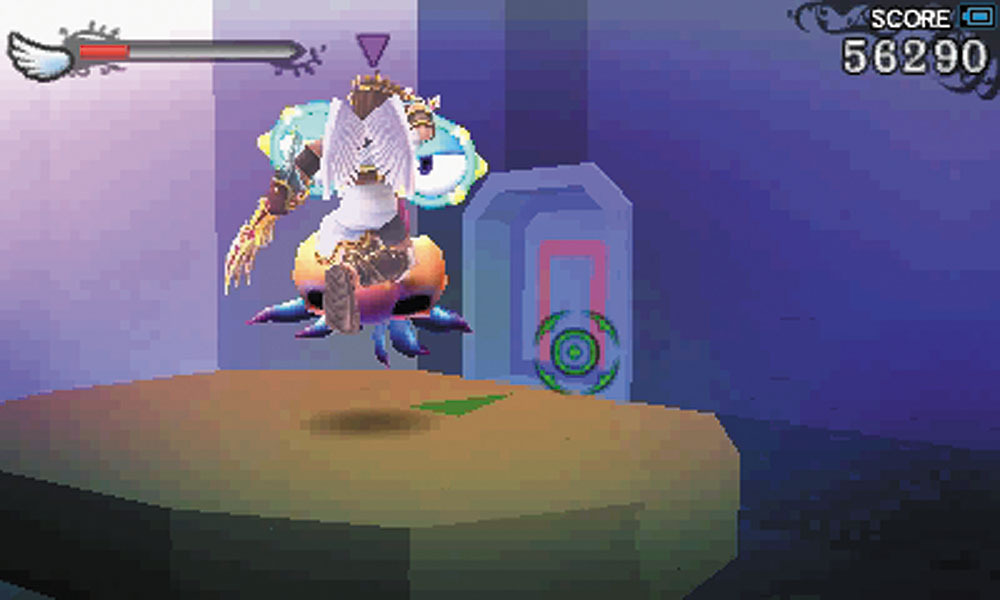
10. Exiting the trampoline room can be difficult. You don’t have a lot of control in midair after bouncing off one of the pads, and you are harassed by various enemies. Every fall into the abyss adds up very quickly. For the last set of jumps, do what you can to clear out the monsters first before trying your luck. It helps to carry as much momentum going forward as possible.
The last platform before exiting this room is particularly nasty. A Specknose guards the door, and can shoot you in mid-bounce, sending you potentially into the chasm. Worse still, the trampoline pad just before it has a Monolith orbiting around, which may force you to move faster than you are prepared for. Try to destroy the Specknose, then build some speed by bouncing around the pad before you try for the exit. Phew!
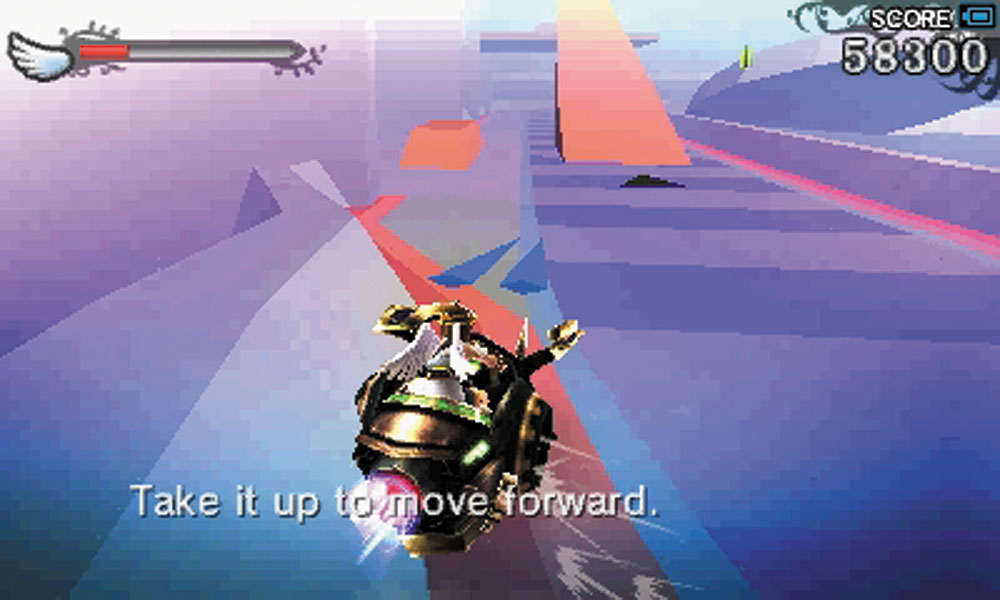
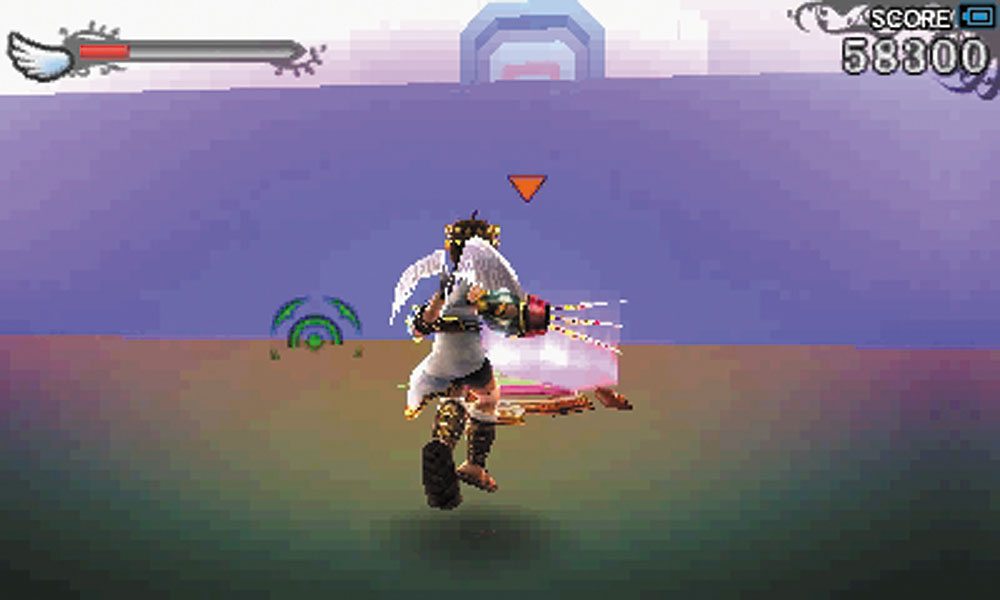
11. After that last room, the second Exo-Tank racetrack feels like a walk in the park. Follow the course and blast anything that gets in your way. After the first lap, a ramp appears at the starting line. Use the Exo-Tank boost launch yourself up to the platform above.
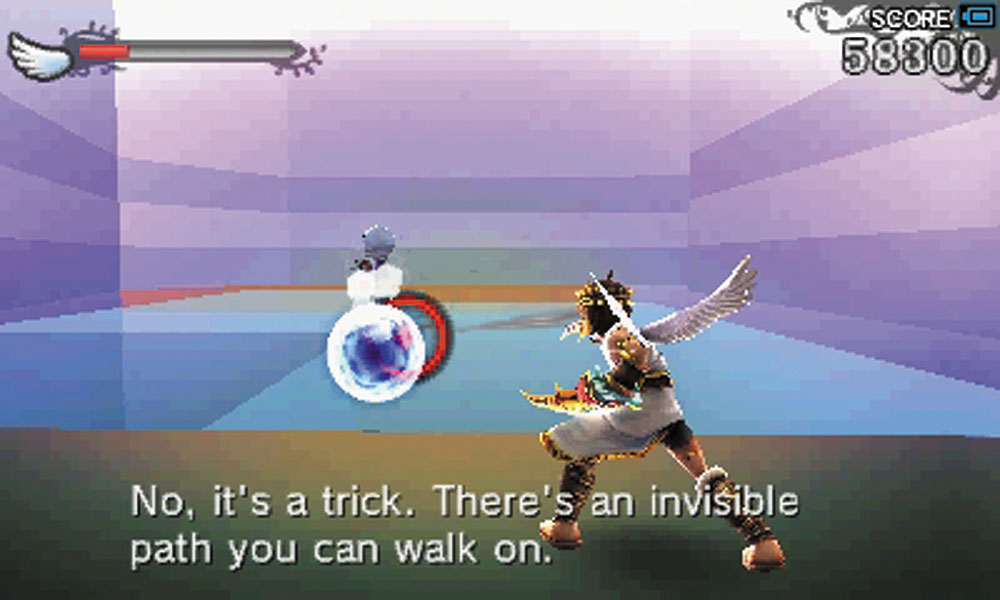
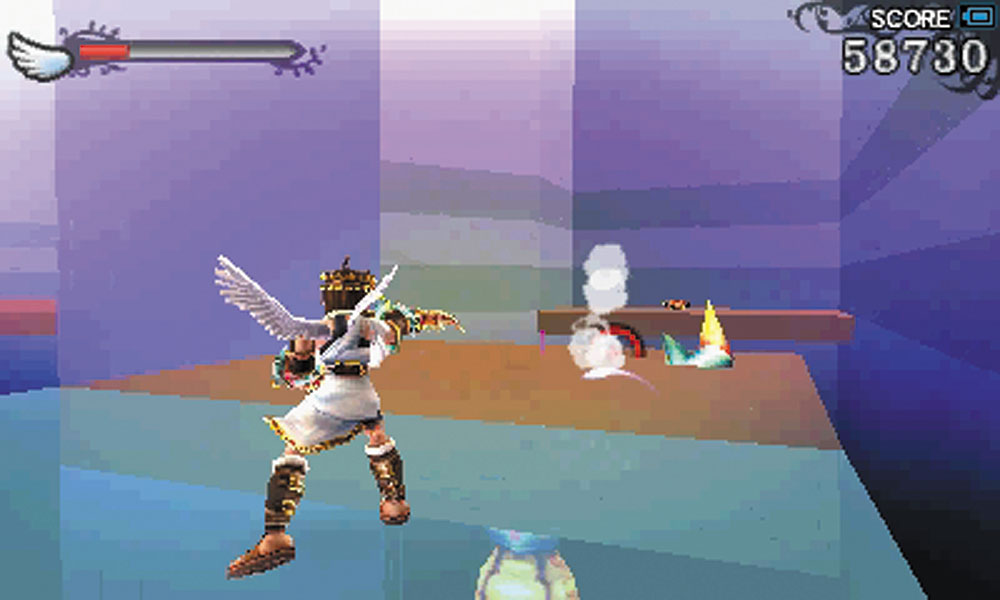
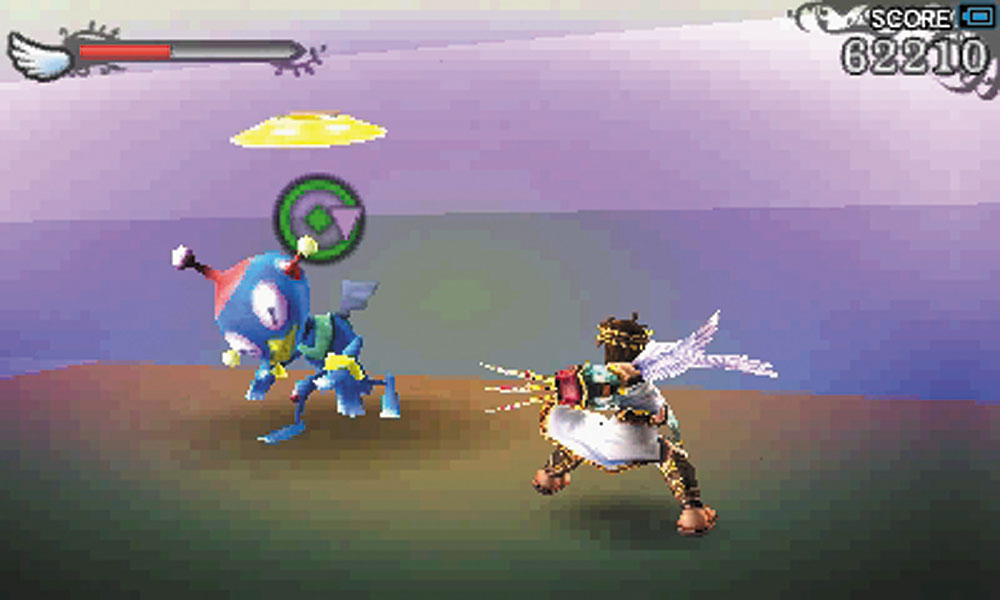
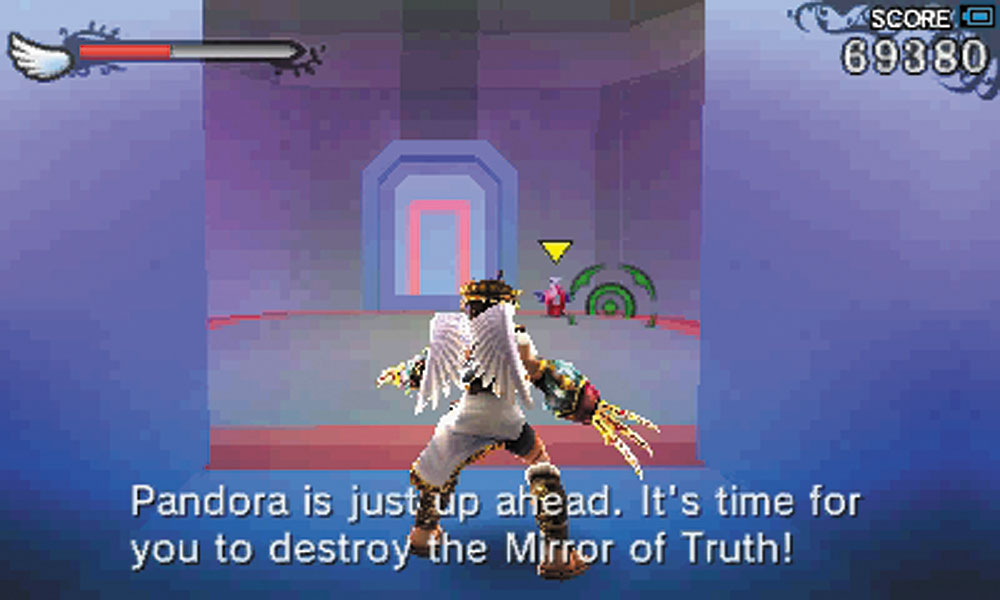
12. This last room is filled with invisible walkways. As a rule, every time you’re about to leave solid ground in this room, shoot at the chasm directly in front of Pit. The invisible path you shoot at will fade eventually, but you can continue to shooting at it to keep it revealed. Skuttlers, Girin, even Shildeen will try to block your path.
There is a Treasure Box in this room, but it is protected by an Orne, and getting past it can be difficult, given how thin the invisible walkways are. After traversing this area, you are at the door leading to Pandora and the Mirror of Truth.