Prima Games eGuides
primagames.com Browse Redeem a code Help
Kid Icarus: Uprising eGuide
Sign in My Guides

Sign in or create an account

We'll email you a link. No password needed, and if you don't have an account yet, the link makes one.

By creating an account or signing in, you agree to our Terms of Service and Privacy Policy.

Have a password?

Had an account on the old eGuides site, or a code from a printed guide? Help and troubleshooting

Sign in with a password

By signing in, you agree to our Terms of Service and Privacy Policy.

Check your email

A sign-in link is on its way. It works once and expires in 15 minutes. Open it and you're in, with an account if you didn't already have one.

Contents

  • Essentials
    • How to Play

      • Moving

      • Dash

      • Dodge (Land Battle)

      • Dodge (Air Battle)

      • Dash-Around (Land Battle)

      • Recovery

      • Aiming

      • Changing Direction

      • Attacking

      • Dash Attacks

      • Switching and Using Powers (Land Battle)

      • Special Attack (Air Battle)

    • Features and Modes
      • Solo

      • Together

      • StreetPass

      • Vault

      • Options

      • AR

      • How To Play 

    • Weapons and Powers

      • Weapon Fusion

      • Weapon Types and Fusion Charts - Bows
      • Weapon Types and Fusion Charts - Palm
      • Weapon Types and Fusion Charts - Staff
      • Weapon Types and Fusion Charts - Blade
      • Weapon Types and Fusion Charts - Orbitar
      • Weapon Types and Fusion Charts - Cannon
      • Weapon Types and Fusion Charts - Claw
      • Weapon Types and Fusion Charts - Club
      • Weapon Types and Fusion Charts - Arm
      • Powers
    • Enemies

      • Enemies

  • Walkthrough
    • Chapter 1: The Return of Palutena

      • Air Battle

      • Land Battle

      • Boss Battle: Twinbellows the Ferocious

    • Chapter 2: Magnus and the Dark Lord

      • Air Battle

      • Land Battle

      • Boss Battle: Dark Lord Gaol

    • Chapter 3: Heads of the Hewdraw

      • Air Battle

      • Land Battle

      • Boss Battle
: Hewdraw Reborn

    • Chapter 4: The Reaper’s Line of Sight

      • Air Battle

      • Land Battle

      • Boss Battle: Great Reaper

    • Chapter 5: Pandora’s Labyrinth of Deceit

      • Air Battle

      • Land Battle

      • Boss Battle: Pandora, Goddess of Calamity

    • Chapter 6: Dark Pit

      • Air Battle

      • Land Battle

      • Boss Battle: Dark Pit

    • Chapter 7: The Seafloor Palace
      • Air Battle
      • Land Battle
      • Boss Battle: Thanatos, God of Death
    • Chapter 8: The Space Pirate Ship

      • Air Battle

      • Land Battle

      • Boss Battle: Space Pirate Captain
      • Galactic Fiend, Kraken

    • Chapter 9: Medusa’s Final Battle

      • Air Battle

      • Land Battle

      • Boss Battle: Medusa, Queen of the Underworld

    • Chapter 10: The Wish Seed

      • Air Battle

      • Land Battle

      • Boss Battle: The Immortal Phoenix

    • Chapter 11: Viridi, Goddess of Nature

      • Air Battle

      • Land Battle

      • Boss Battle: Cragalanche the Mighty

    • Chapter 12: Wrath of the Reset Bomb

      • Air Battle

      • Land Battle

      • Boss Battle: Reset Bomb Pod

    • Chapter 13: The Lunar Sanctum

      • Air Battle

      • Land Battle

      • Battle Battle: Arlon the Serene

    • Chapter 14: Lightning Battle

      • Air Battle

      • Land Battle

      • Boss Battle: Lightning Flash Phosphora

    • Chapter 15: Mysterious Invaders

      • Air Battle

      • Land Battle

      • Boss Battle: Aurum Core

    • Chapter 16: The Aurum Hive

      • Air Battle

      • Land Battle

      • Boss Battle: Aurum Generator

    • Chapter 17: The Aurum Brain

      • Air Battle

      • Land Battle

      • Boss Battle: Aurum Pyrrhon

    • Chapter 18: The Ring of Chaos

      • Land Battle

      • Boss Battle: Pit’s Body

      • Air Battle

    • Chapter 19: The Lightning Chariot

      • Air Battle

      • Land Battle 

      • Boss Battle: Chariot Master

    • Chapter 20: Palutena’s Temple

      • Air Battle

      • Land Battle
      • Boss Battle
: Goddess Palutena
    • Chapter 21: The Chaos Vortex

      • Air Battle

      • Land Battle 

      • Boss Battle: Chaos Kin

    • Chapter 22: Scorched Feathers

      • Air Battle

      • Boss Battle: Pandora

      • Boss Battle: Amazon Pandora

    • Chapter 23: Lord of the Underworld

      • Air Battle

      • Land Battle

      • Boss Battle: Hades’ Heart

    • Chapter 24: The Three Trials

      • Air Battle

      • Land Battle 

      • Boss Battle: Gaol and Magnus

      • Boss Battle: Goddess Palutena

      • Boss Battle: Pseudo-Palutena

      • Boss Battle: Great Sacred Treasure

    • Chapter 25: The War’s End

      • Air Battle

      • Boss Battle: Hades, Lord of the Underworld

  • Multiplayer
    • Multiplayer
      • Multiplayer

Kid Icarus: Uprising Guide › Walkthrough › Chapter 13: The Lunar Sanctum


Battle Battle: Arlon the Serene

Health Range
Min Health Max Health
304 1400

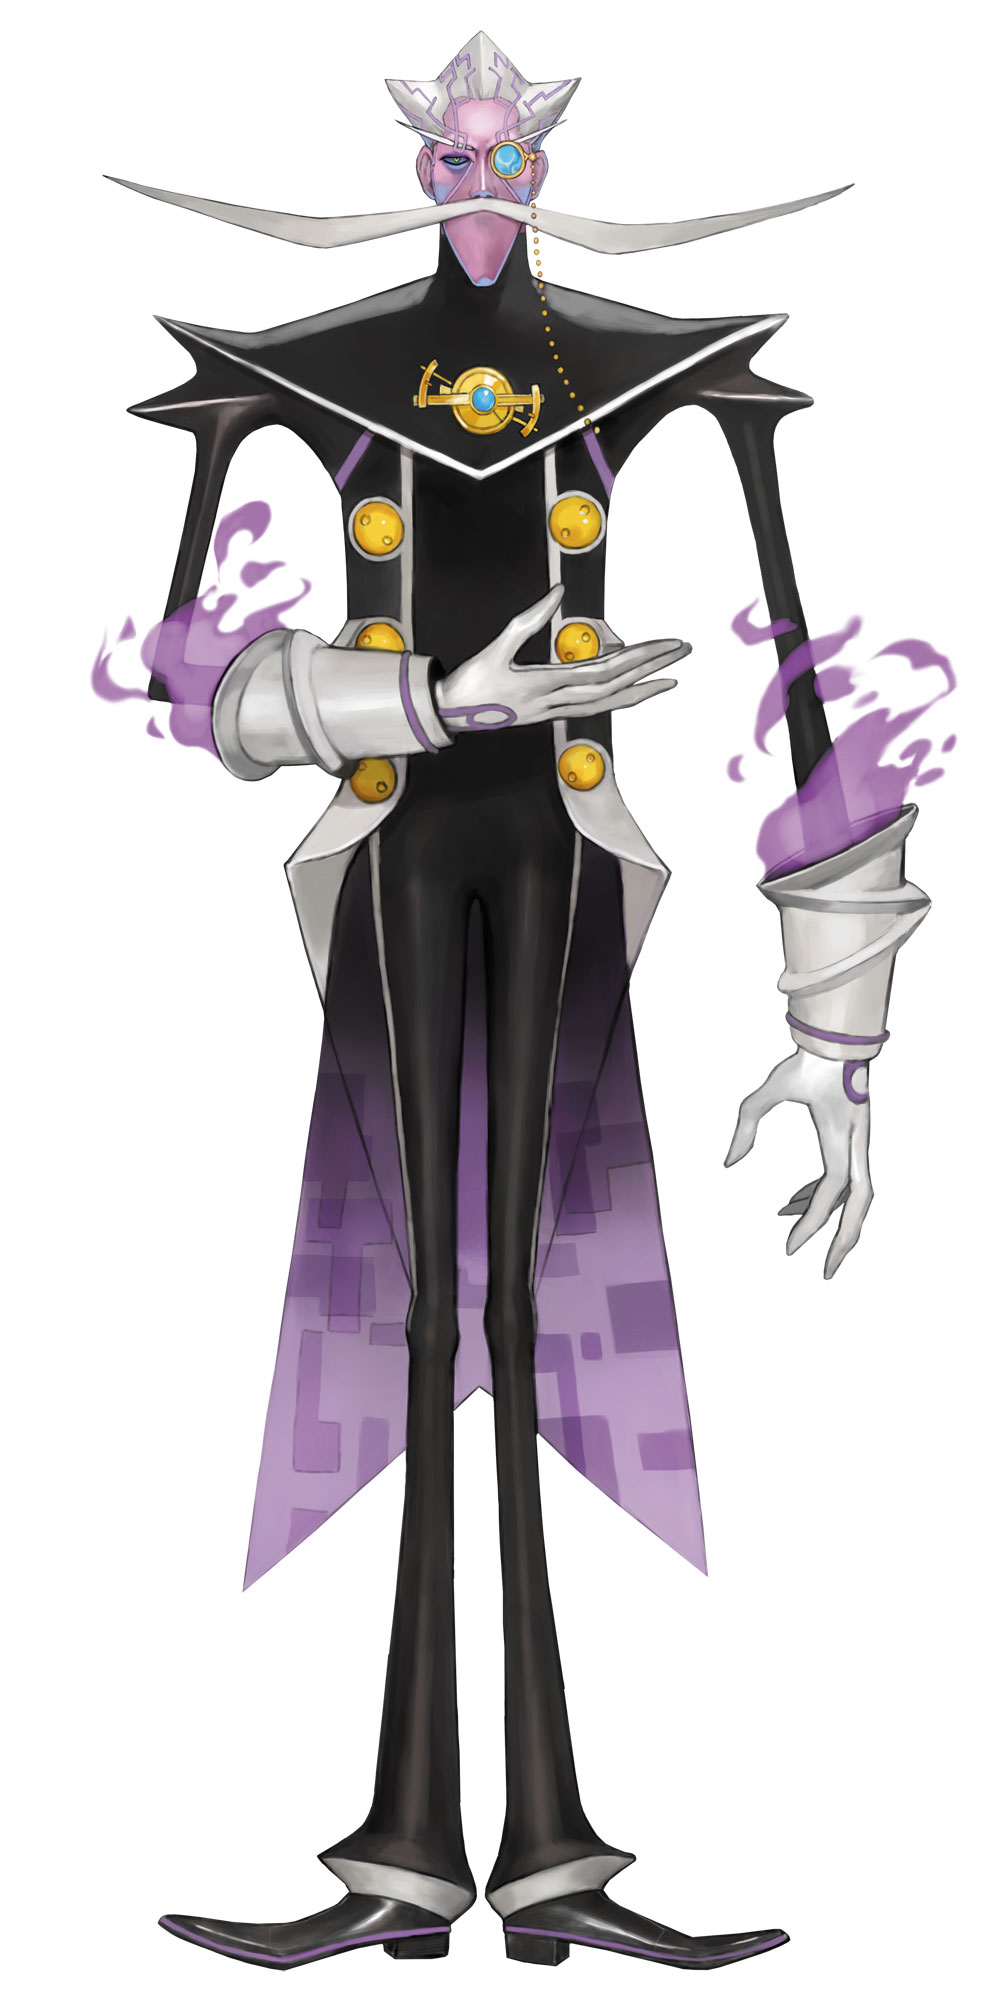
Arlon the Serene’s veneer of politeness hides a graceful and powerful fighter.
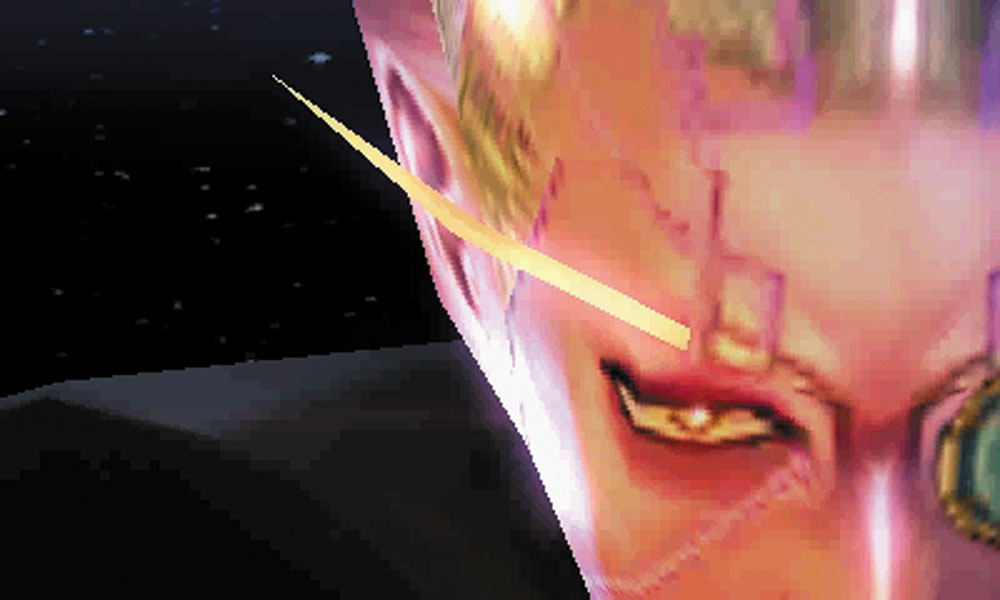
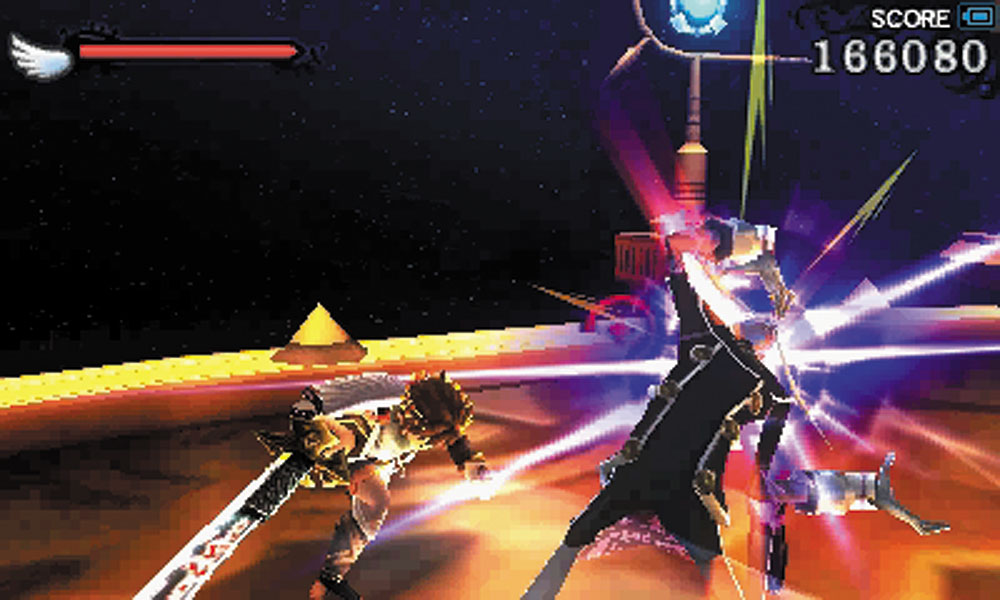
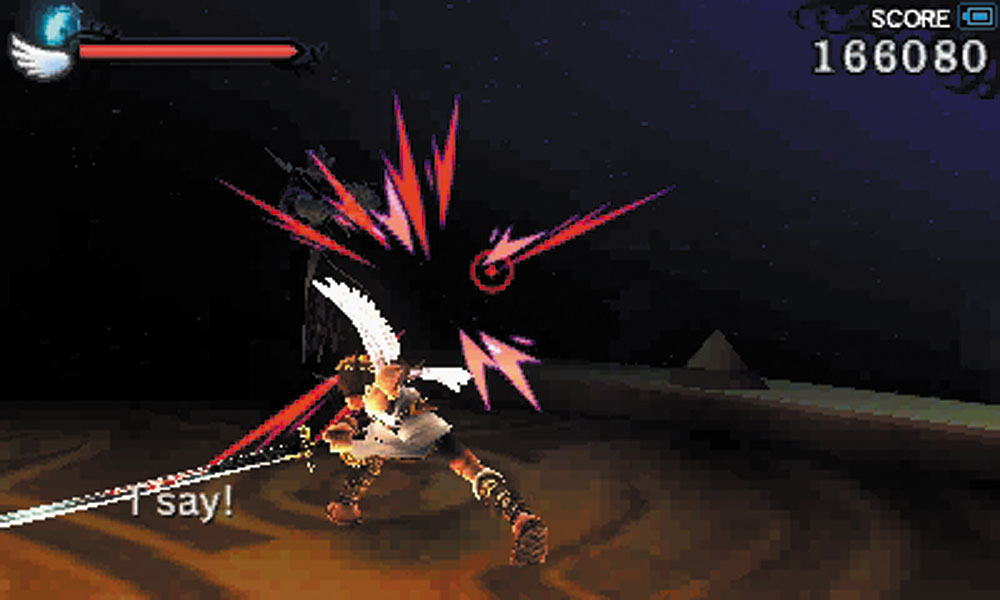
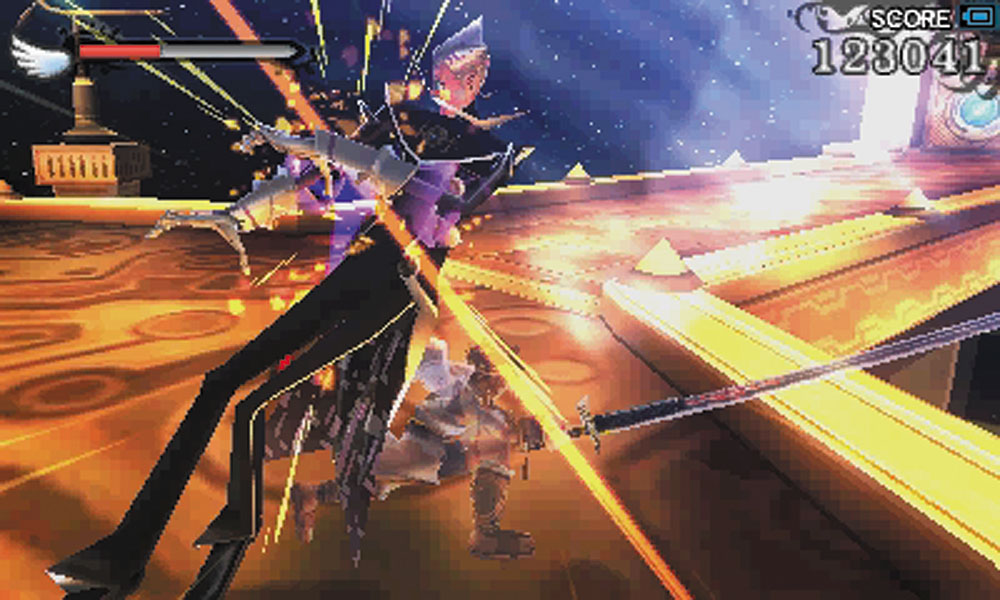
He typically skates just above the surface of the arena, casually firing magic blasts. Rush Arlon while dodging his attacks. Enough ranged or melee hits will temporarily stun him, allowing you to get some free hits on him until he recovers.
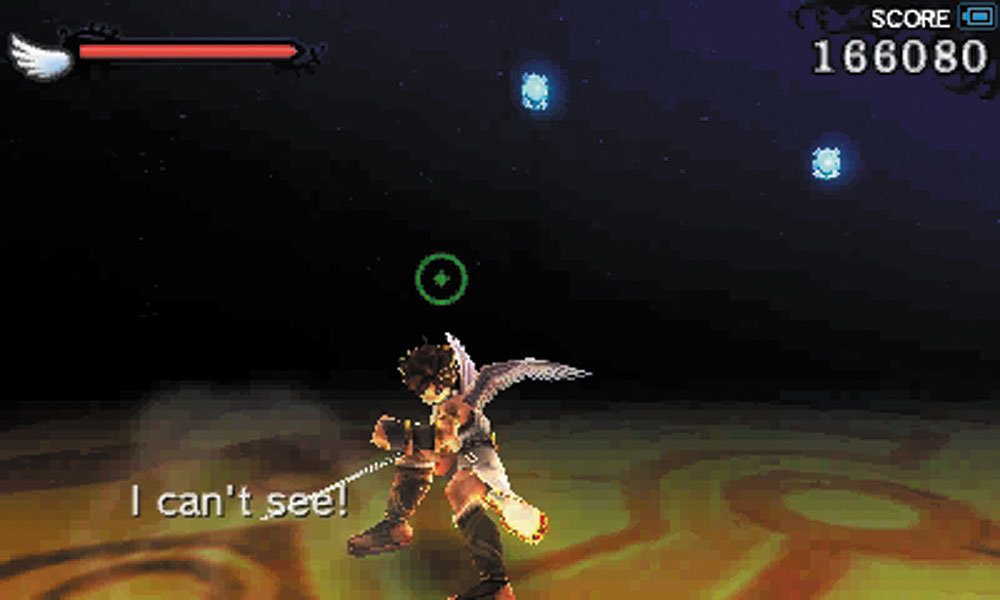
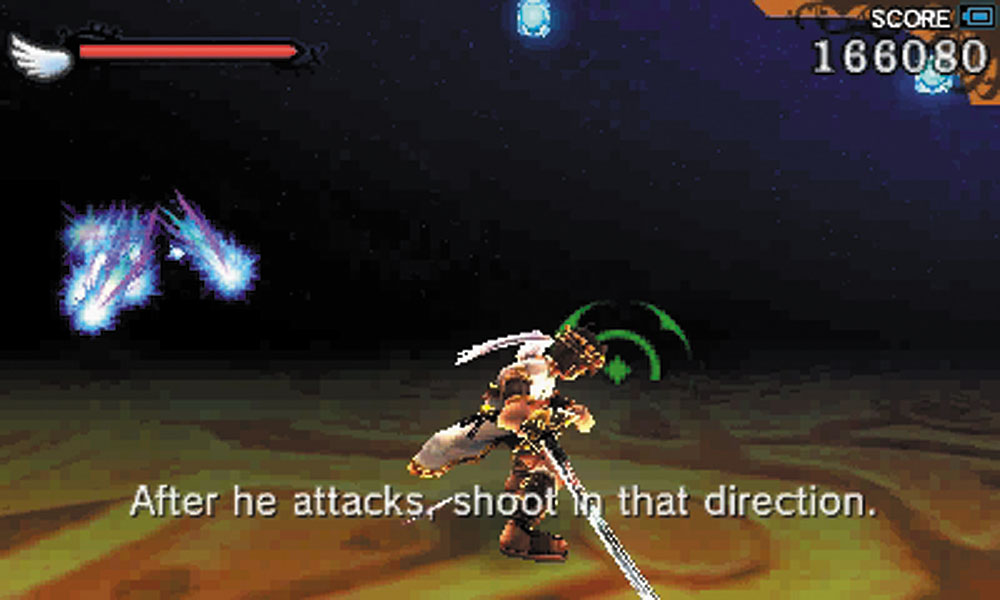
Arlon employs deceptive tactics during this duel. He’ll darken the arena and retreat into the distance, making it difficult to track him or evade his attacks. If you look closely enough, you might be able to pick out his silhouette moving in the darkness, and you can try shooting him or charging at him for more melee punishment.
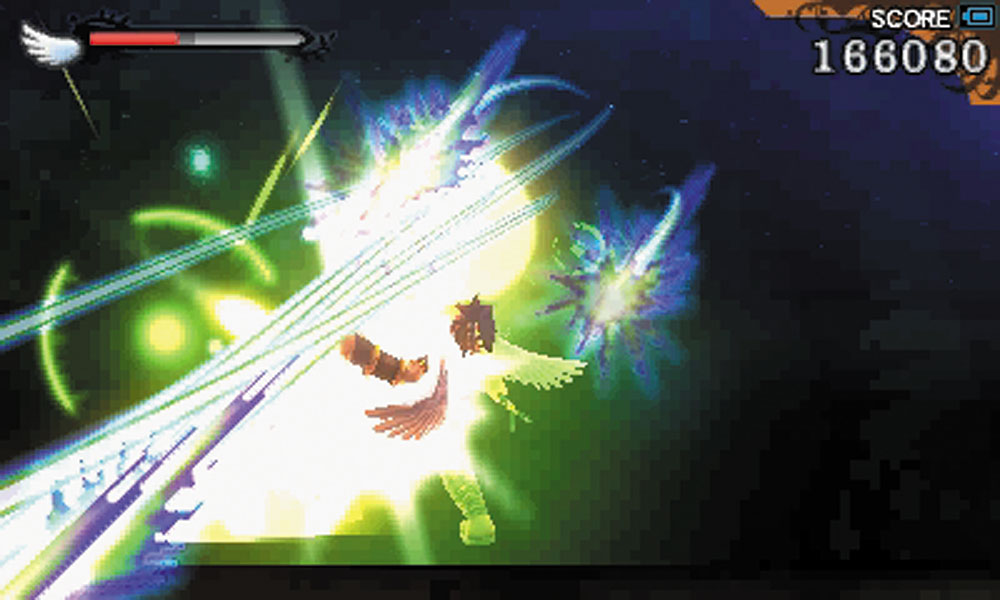
When Arlon says he is going to reveal his true power, take this seriously. This marks the second phase of the fight. Arlon is now faster and more aggressive than before. Under the cover of darkness, he once more strikes from the distance with a rain of high-speed homing beams. You do not want to get hit by this barrage, and failing to dodge one of the shots usually means many others will hit you.
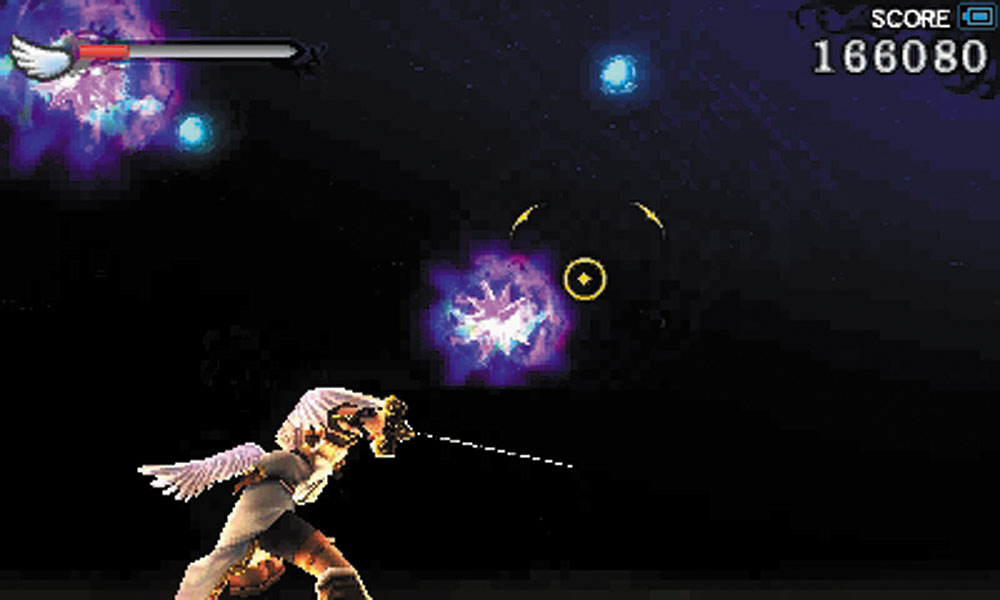
He also casts large purple flames that slowly fall to the floor. These act as powerful land mines. Try to shoot them from a distance.
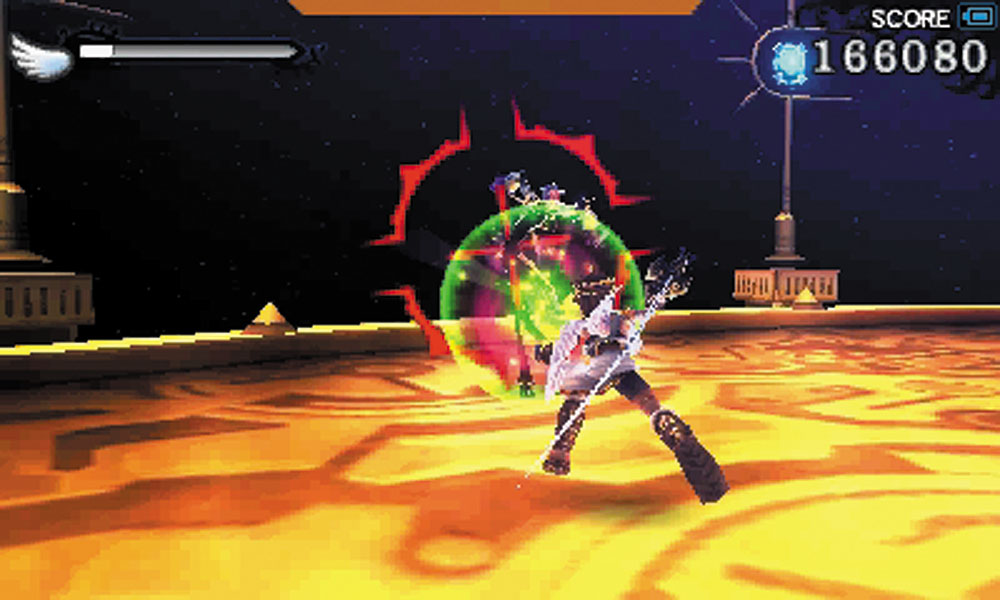
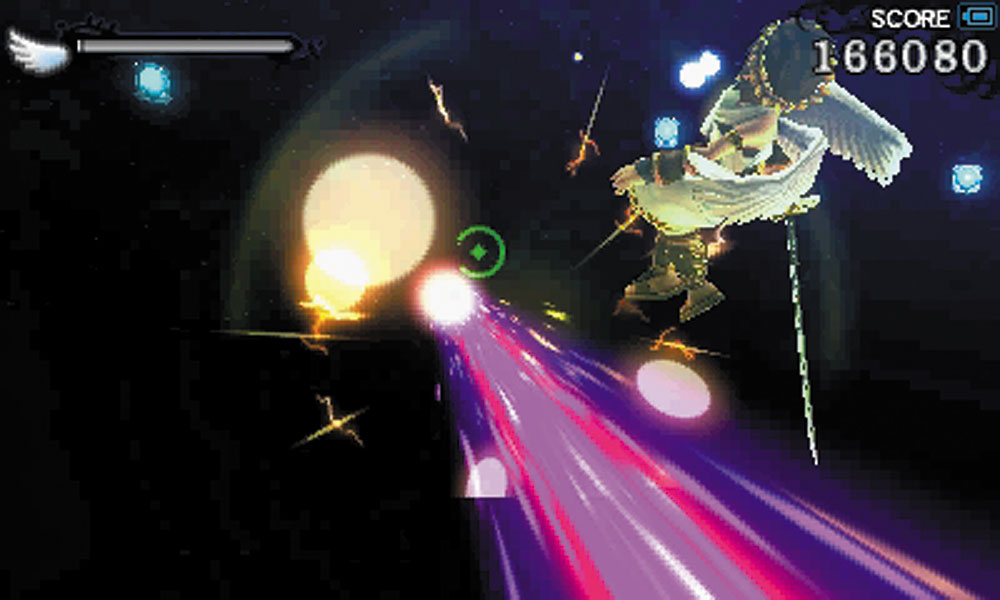
Think twice before just charging blindly at Arlon. If you notice a glowing green sphere hovering before him, don’t melee him! He will knock you back across the arena, and then unleash a devastating beam attack.
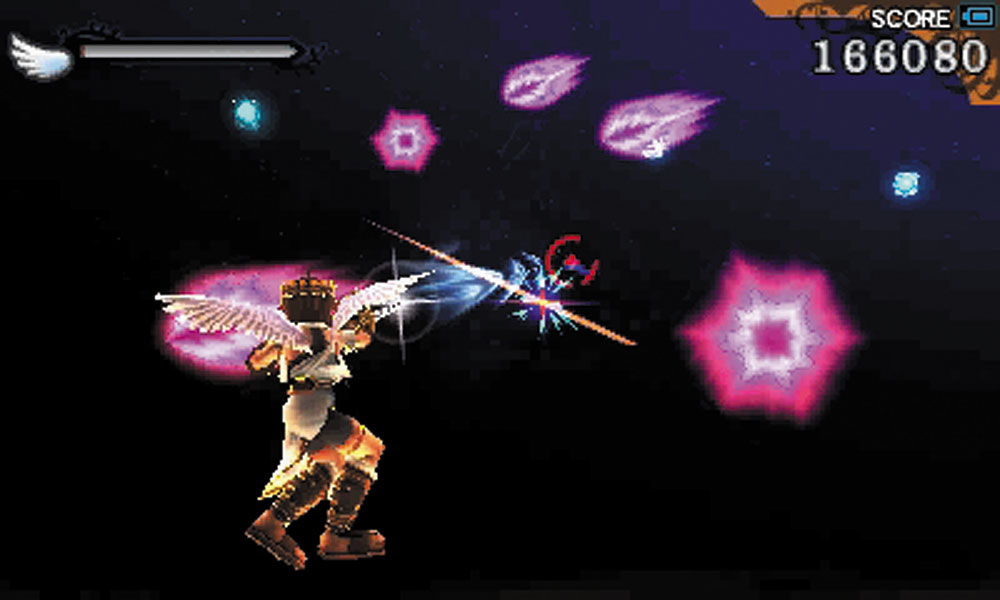
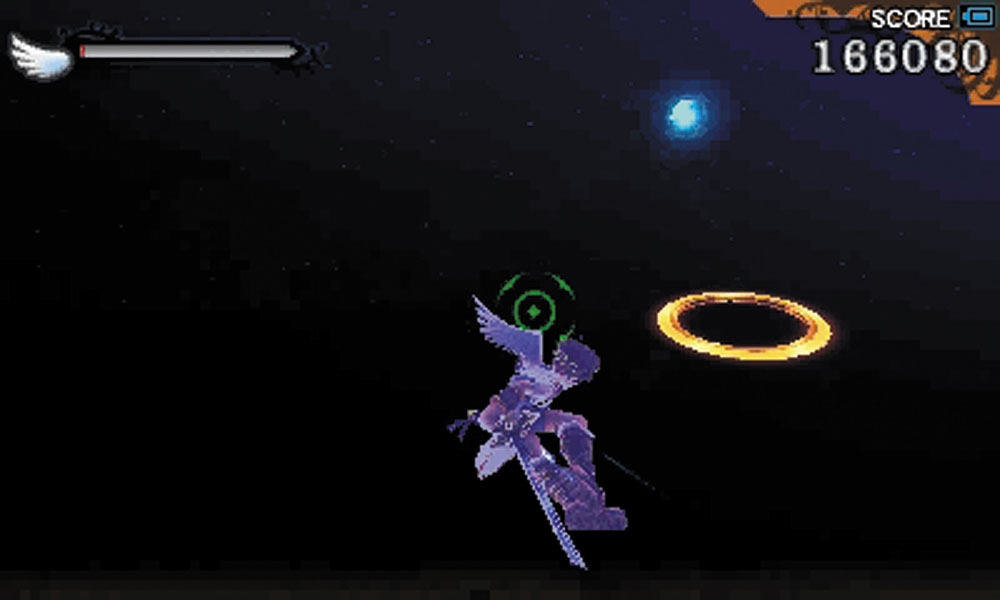
Remember that he can be stunned through ranged shots and melee strikes, despite his extensive ranged arsenal. When darkness falls, it’s not a bad idea to constantly shoot, if only to locate him. If you surprise him with a charged shot, that might be enough to stun him.
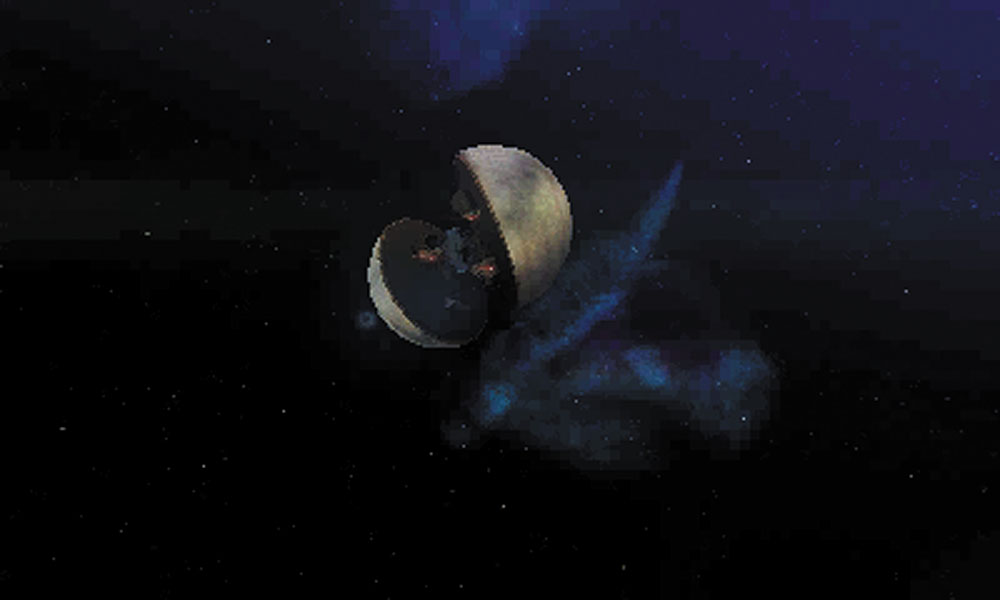
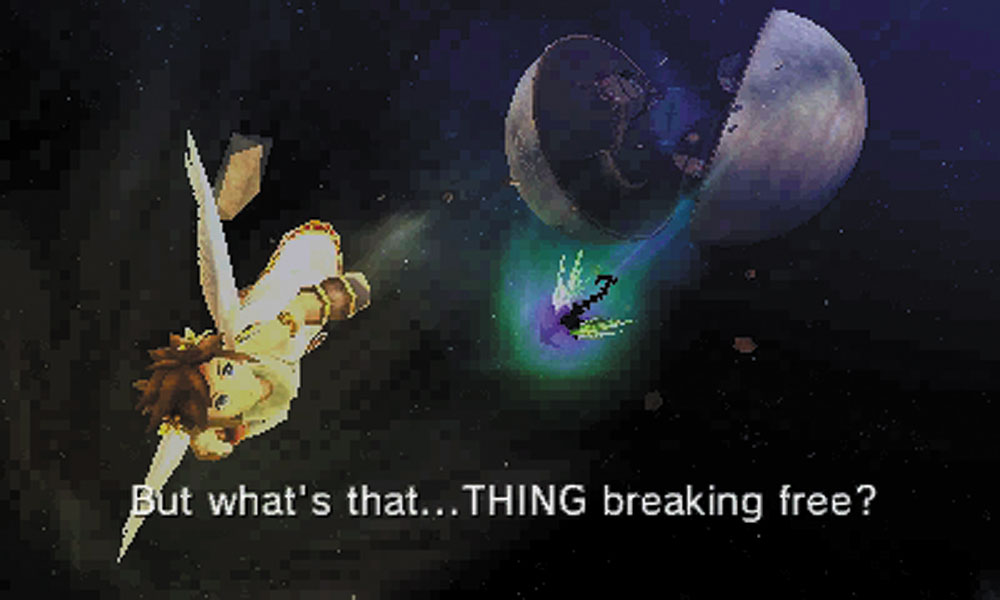
Viridi is not going to be pleased with the fact that her technological terror was insignificant when compared to the power of an angel. Something escapes the sanctum’s wreckage, but there is no time to investigate that right now.

Keep reading with a free account

The first 3 sections of Kid Icarus: Uprising are open to everyone. An account opens the rest of it, and every other guide in the archive. It's free, and there's nothing to buy.

Bought guides on the old Prima Games site? Your account and every guide you own moved here, so there's nothing to buy again. Sign in.

Create a free account Or browse our free guides

PreviousLand Battle
 NextAir Battle