
Kid Icarus: Uprising Guide Walkthrough Chapter 15: Mysterious Invaders
Boss Battle: Aurum Core
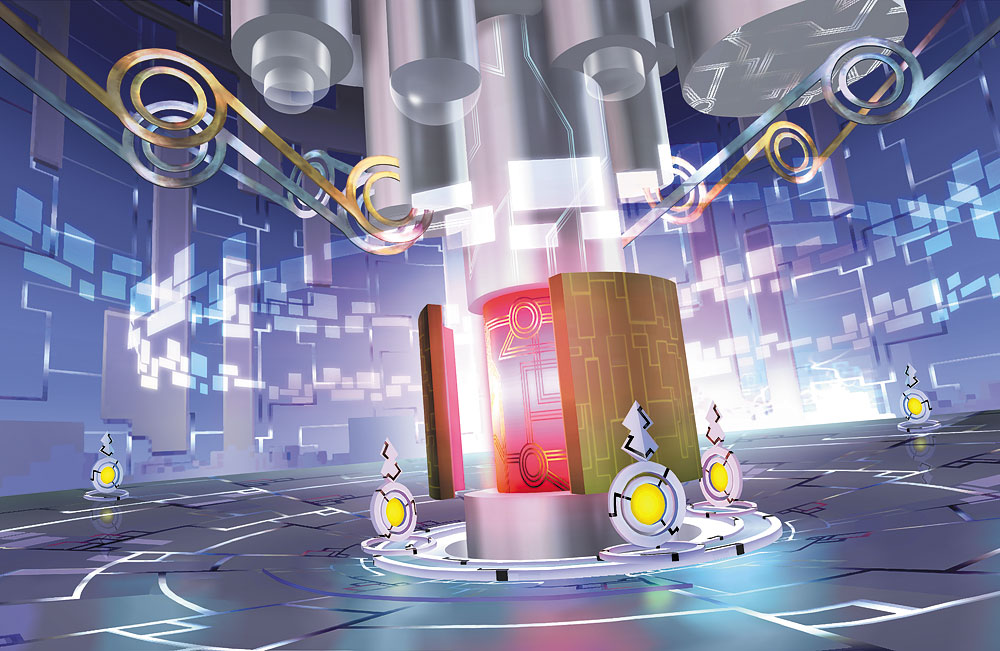
| Health Range | |
|---|---|
| Min Health | Max Health |
| 276 | 1104 |
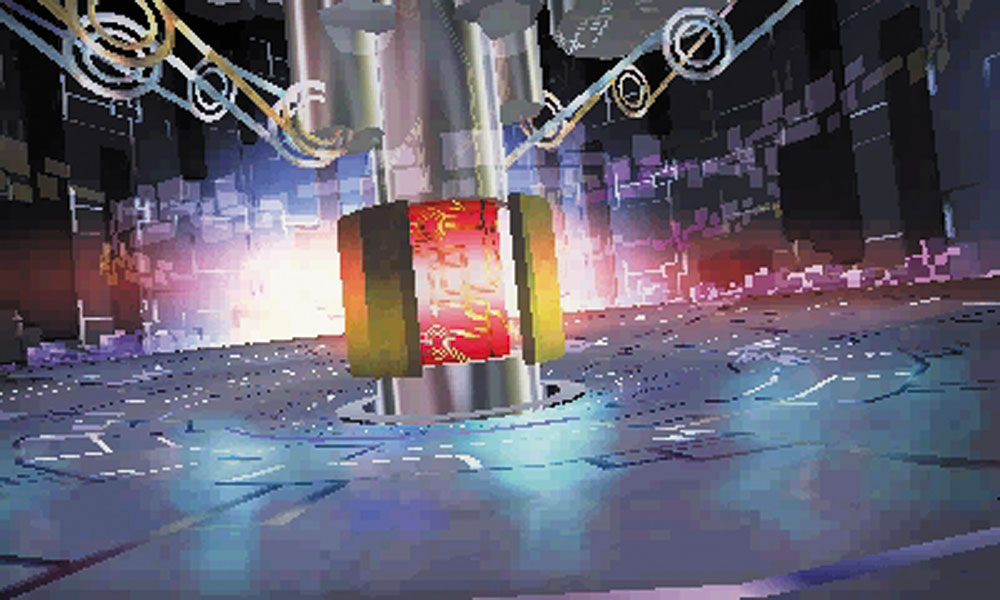
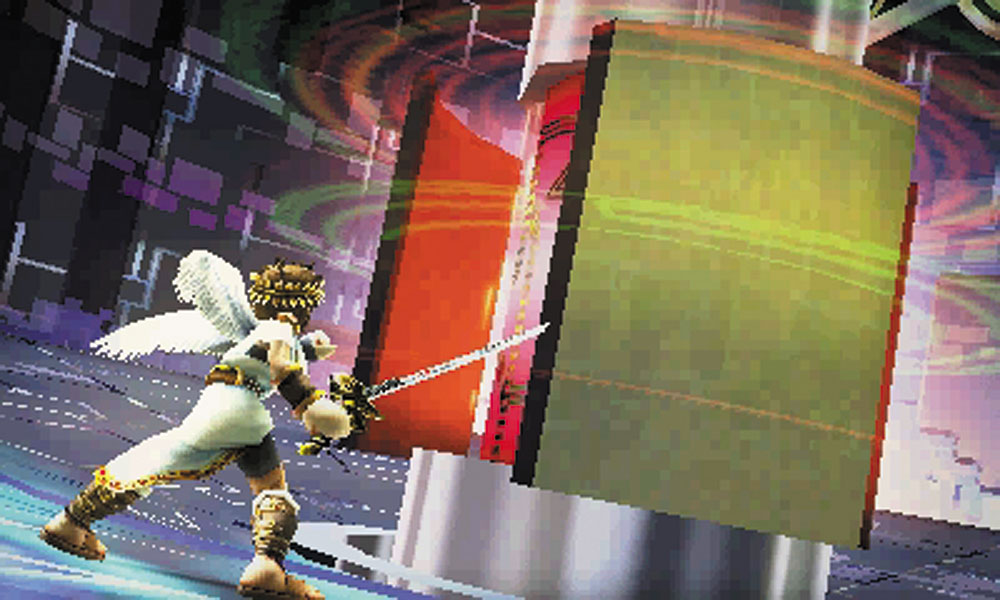
After the fast-paced, adrenaline-soaked battle with Phosphora, the Aurum Core is much less intimidating. Protected by a rotating set of impenetrable barriers, the core otherwise starts off seemingly undefended.
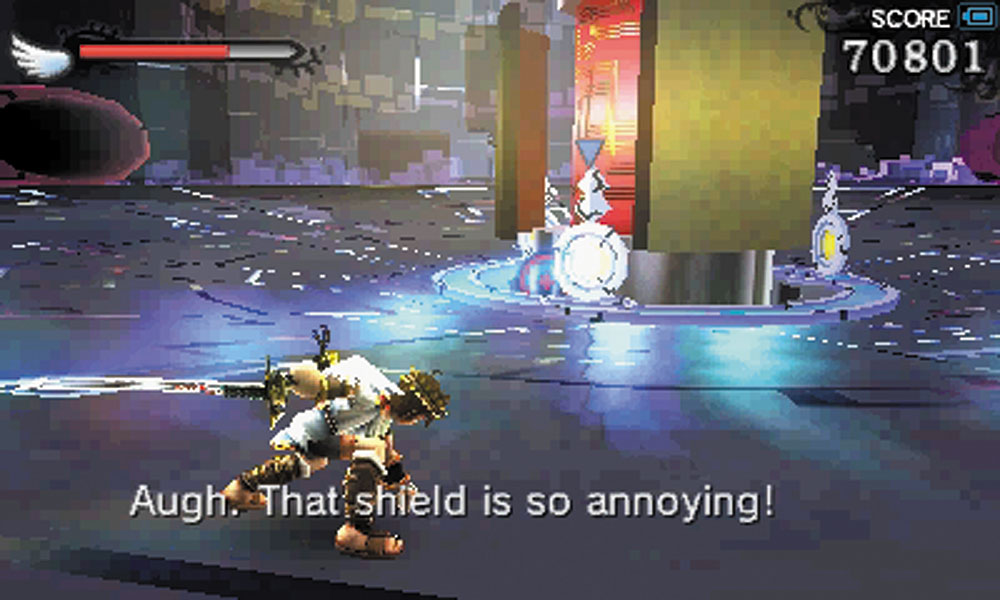
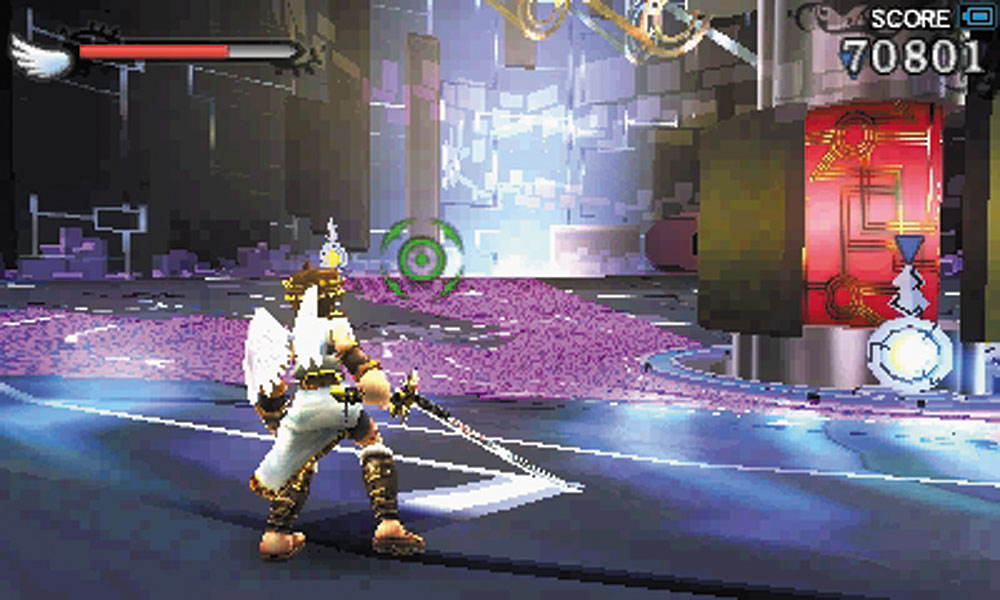
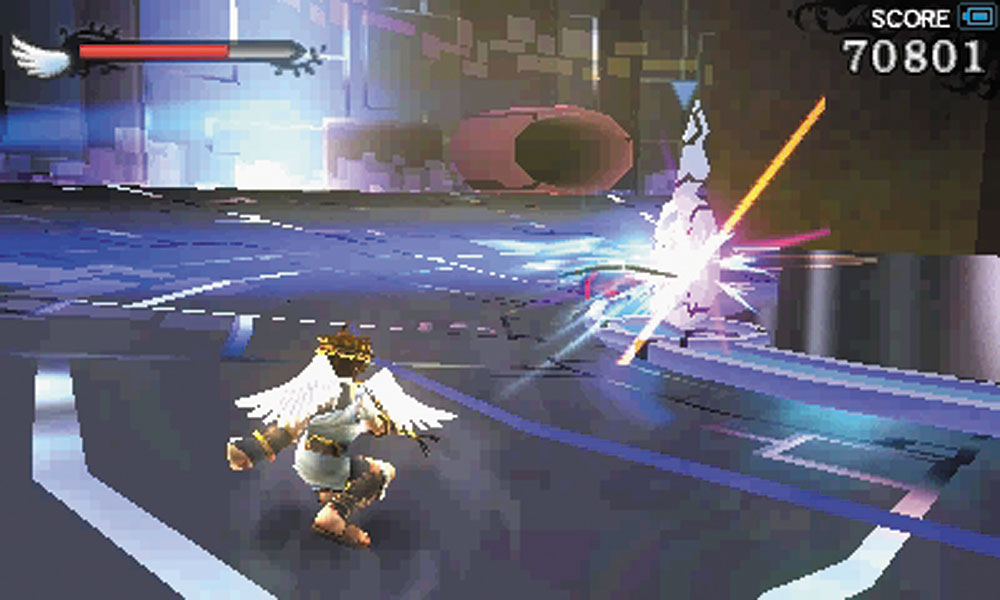
Of course, when the battle begins, the defenses make their presence felt. A series of constantly regenerating turrets line the core and the walls to the room and fire energy blasts at Pit. The floor also becomes a weapon, with sections of it glowing. Touching those glowing panels results in a bit of a shock.
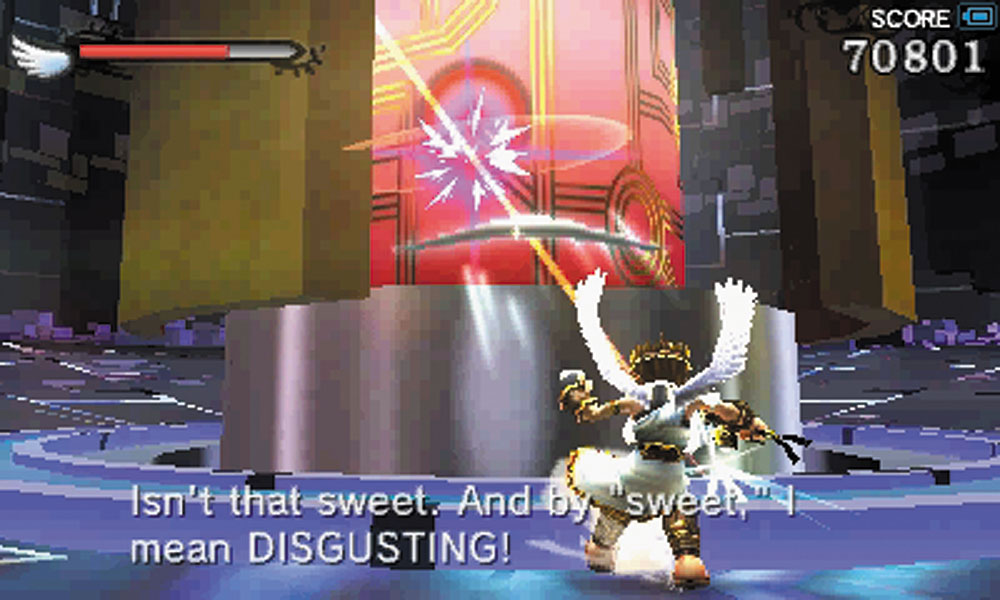
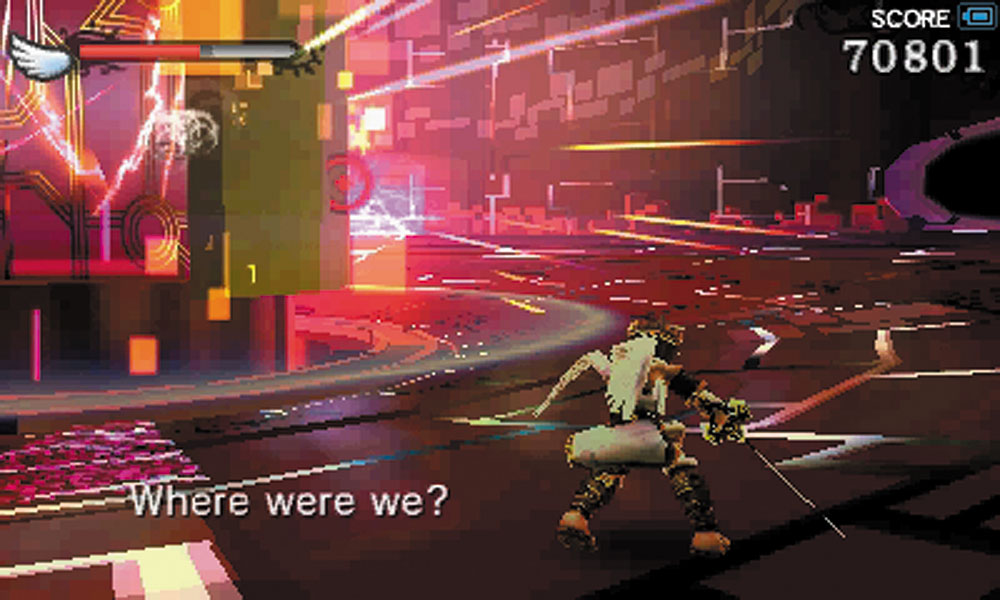
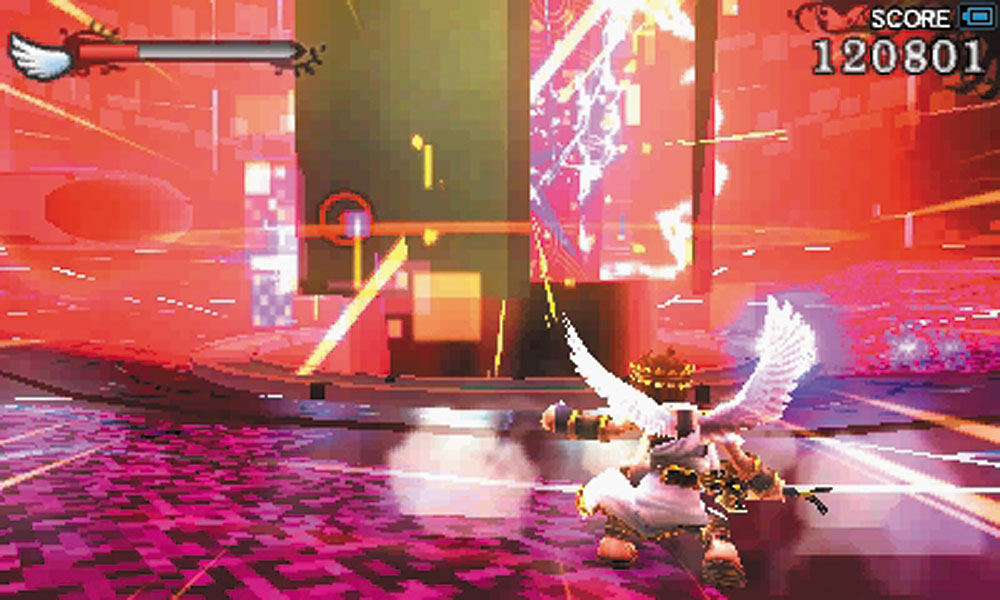
It’s a smart bet to clear out as much of the defenses as you can before laying into the core, if only to avoid having to deal with too much incoming fire. Even without turrets, the core can still fight back by exerting a gravity field that pulls you closer to it, where it can then discharge its energy as an attack. Beyond heeding these warnings, the Aurum Core battle is about patience and attentiveness. Shoot the core when you have an opening, don’t allow Pit to stray onto any of the electrified panels, and try to keep the defense turrets to a minimum and you should be fine.

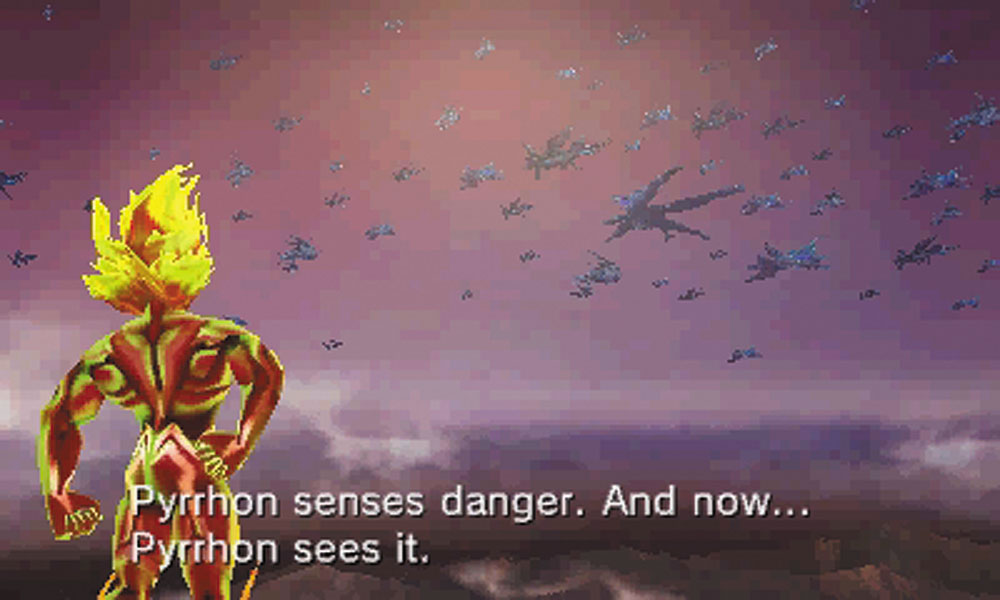
After destroying the core, the island it powered predictably begins to collapse back toward the planet. Pyrrhon rescues Pit from the dying ship, but it’s clear that the battle is far from over.