
Kid Icarus: Uprising Guide Walkthrough Chapter 13: The Lunar Sanctum
Land Battle
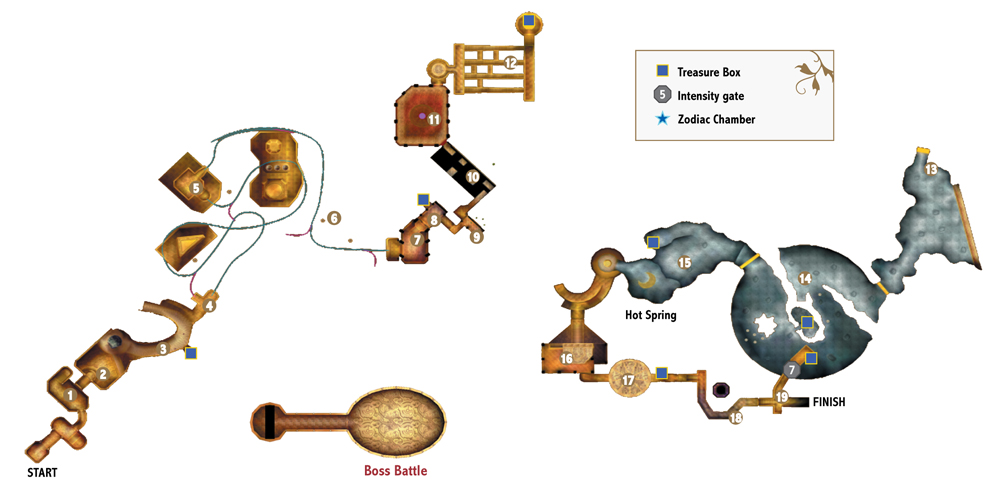
The Lunar Sanctum is rather posh for a battle station. You’ll soon find that Arlon’s love of living in luxury is matched by his love of deceptive tactics.
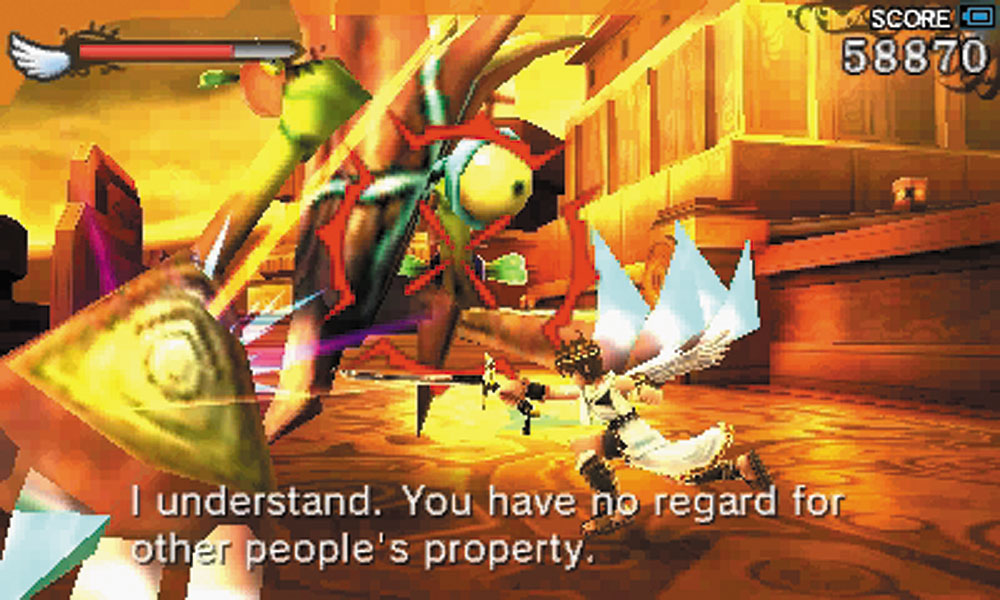
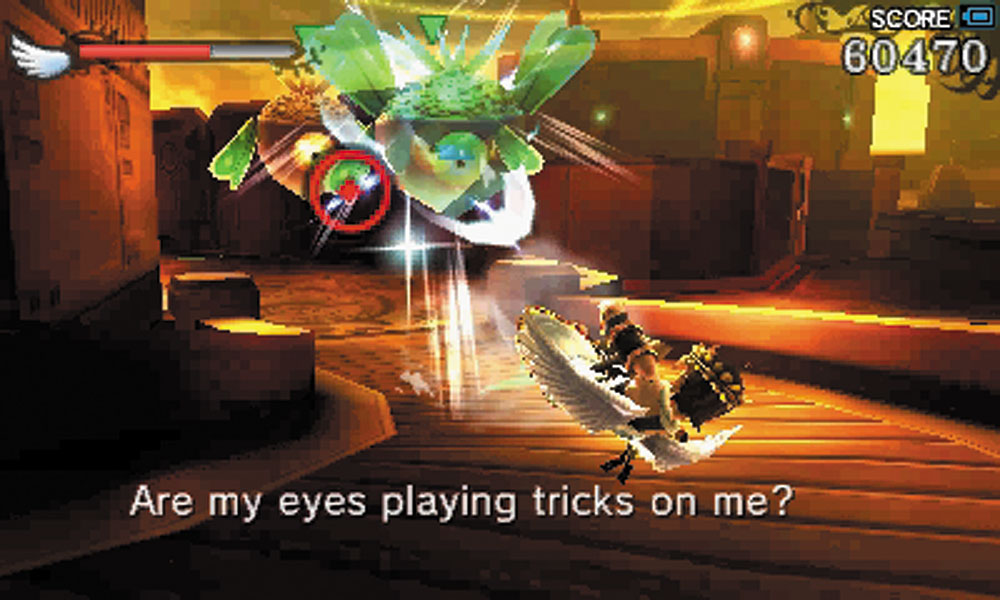
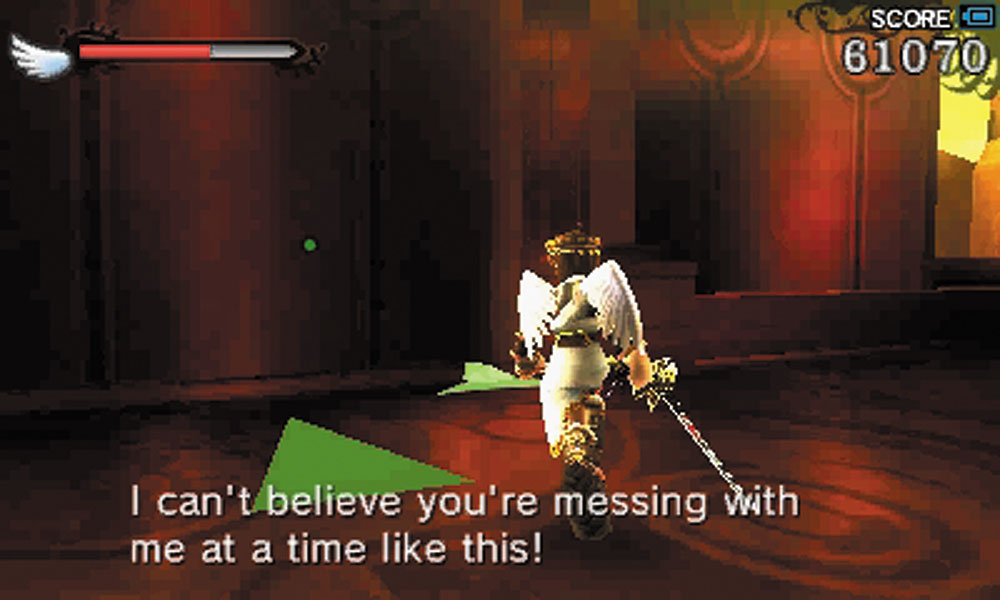
1. You’re immediately greeted by an Urgle, Nutskis, and Pew Pews in this section. Among them, holographic projections of enemies dart about, trying to confuse you. If at any point you are lost, look for Palutena’s guiding arrows that point out the false wall.
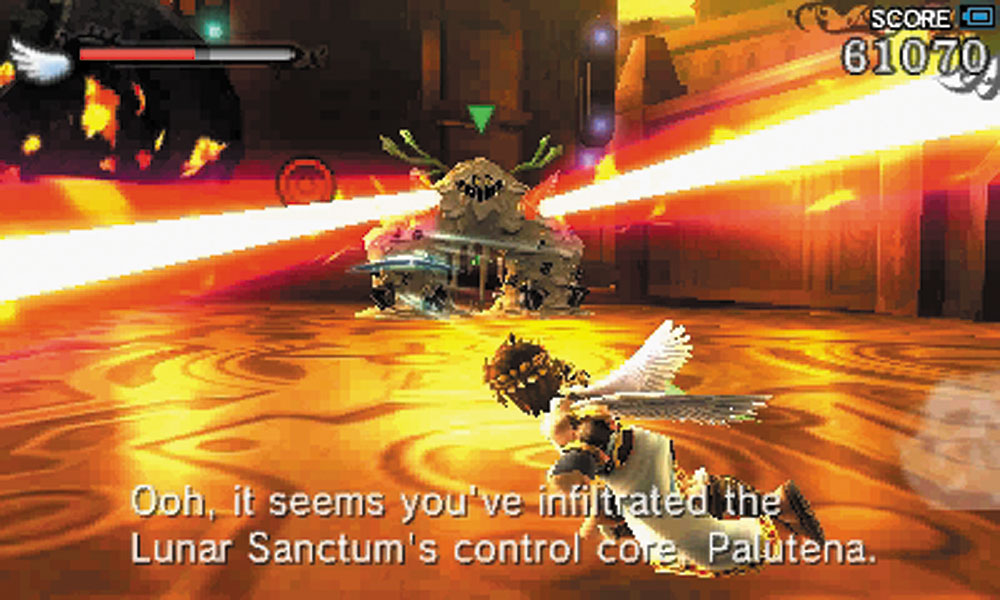
2. A Mudrone attacks just as you enter the room. Remember you need to kill these three times before they are truly finished.
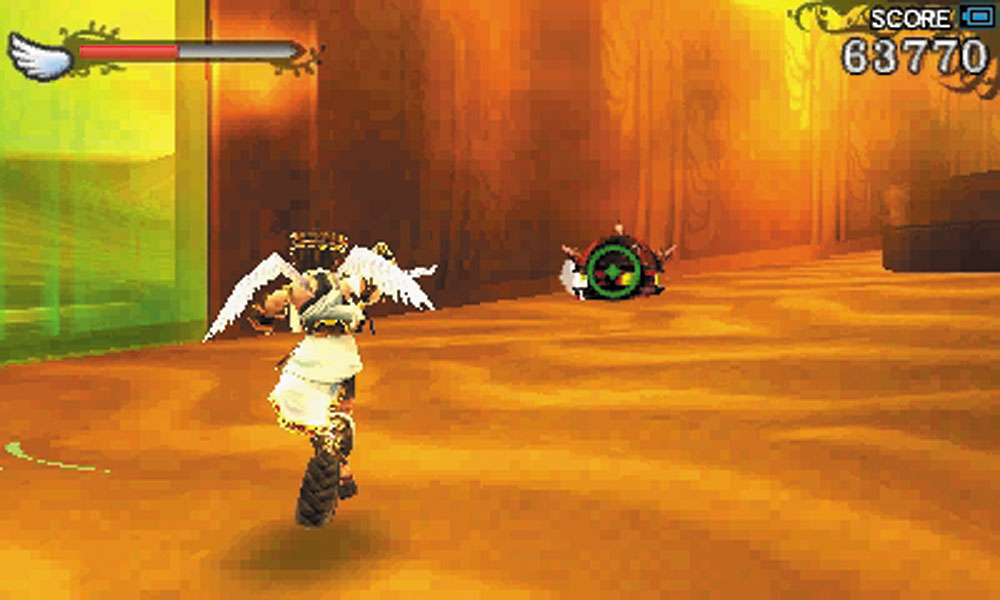
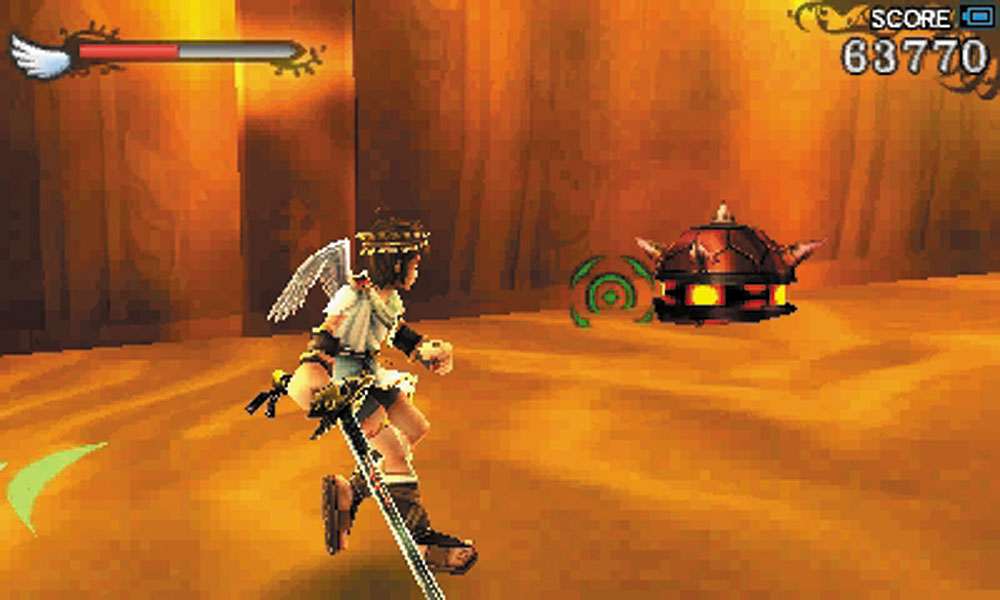
3. The flowing sand here makes it easy to miss the false wall. It’s on the right side of the slope, just past the first mine.
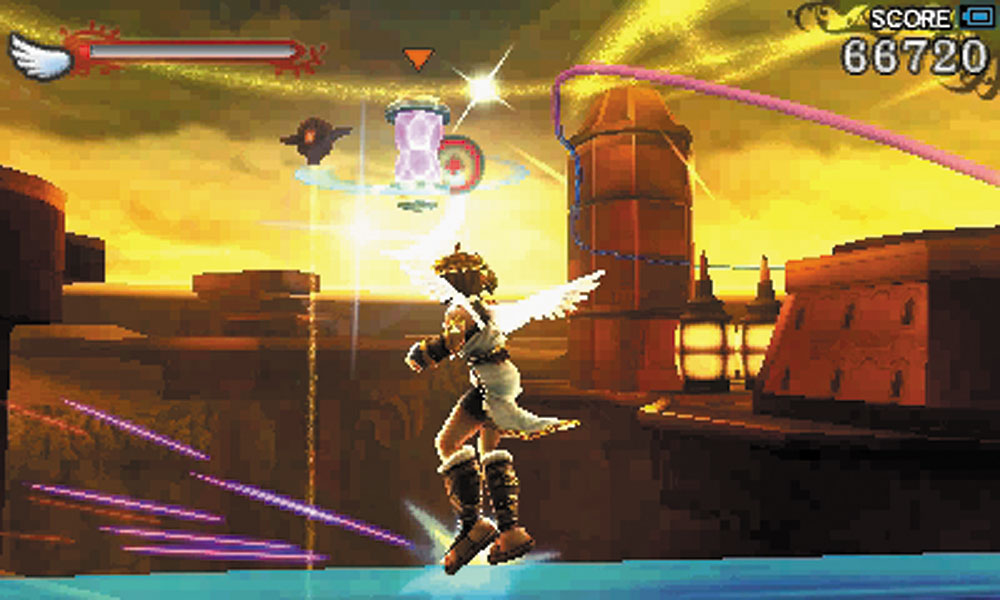
4. The grind rails here are controlled by a series of switches. To avoid a trip into the chasm, make certain you shoot the first two switches, turning them blue.
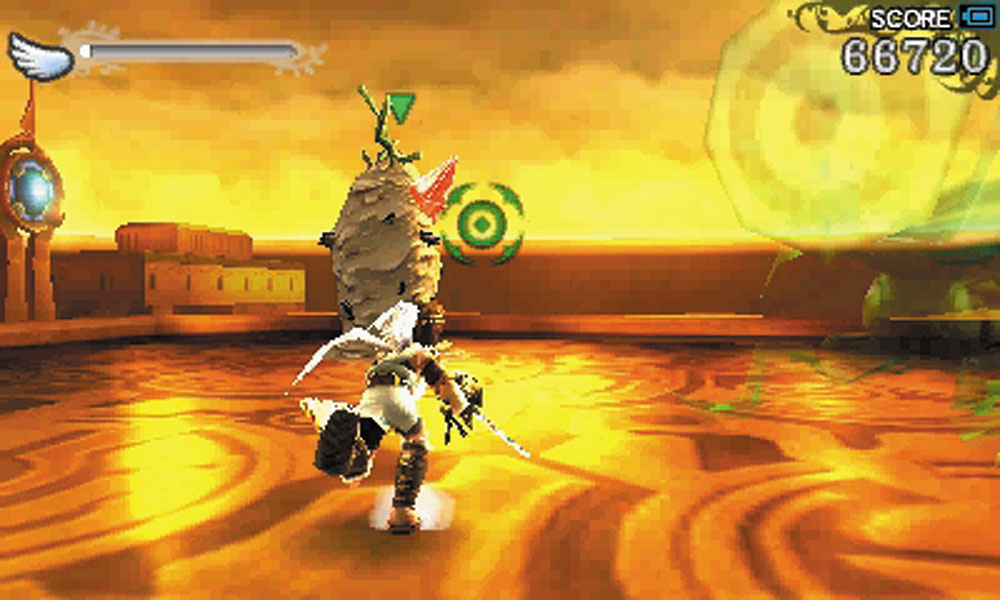
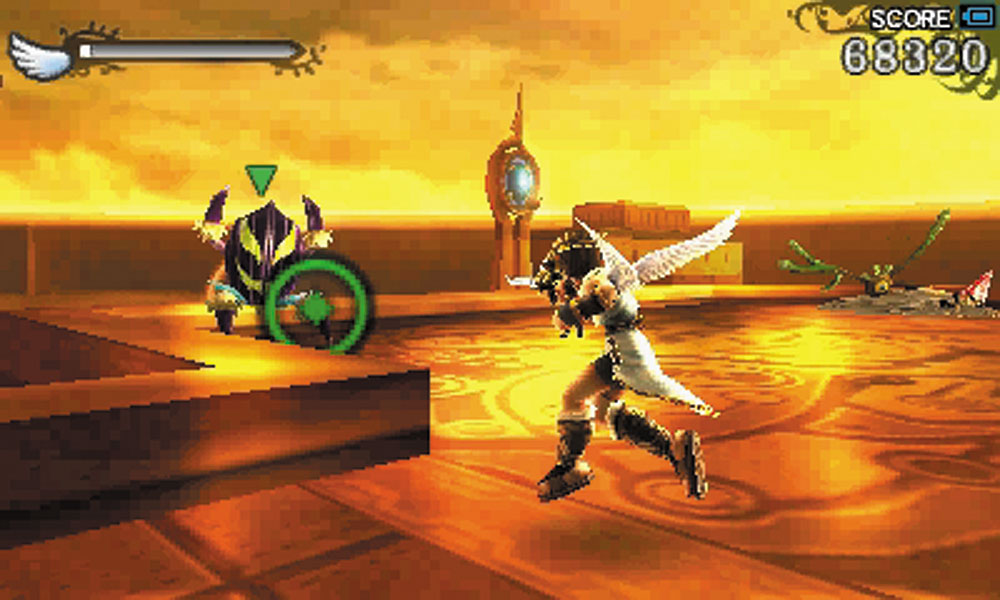
5. A Mudrone, a Skreetle, and a Dibble Dop attack you on this rest stop between grind rails.
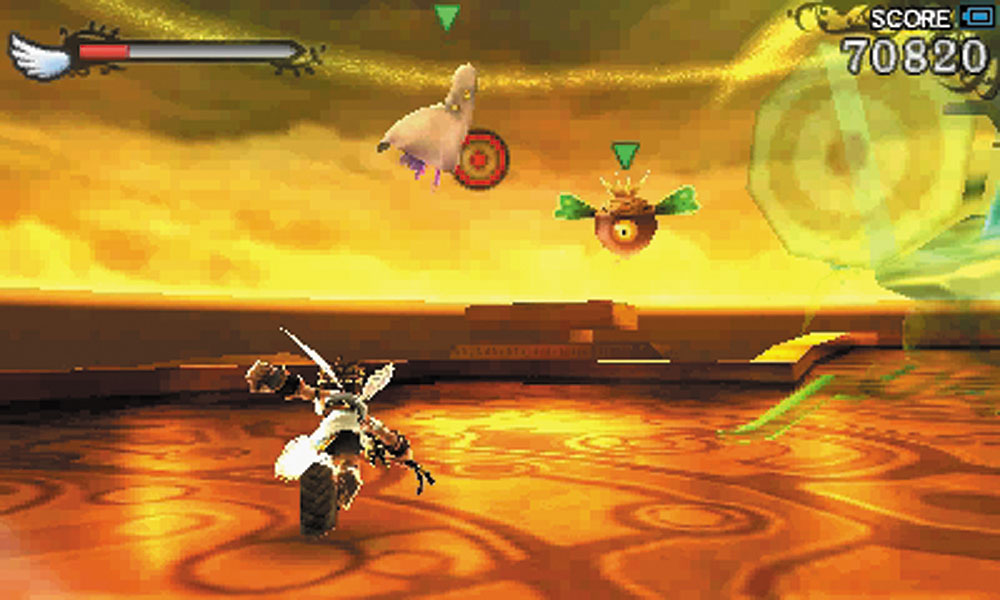
After the initial ambush, a Pew Pew, a squad of Nutskis, and a shield-generating Mahva appear. Destroy all the enemies to access the second grind rail.
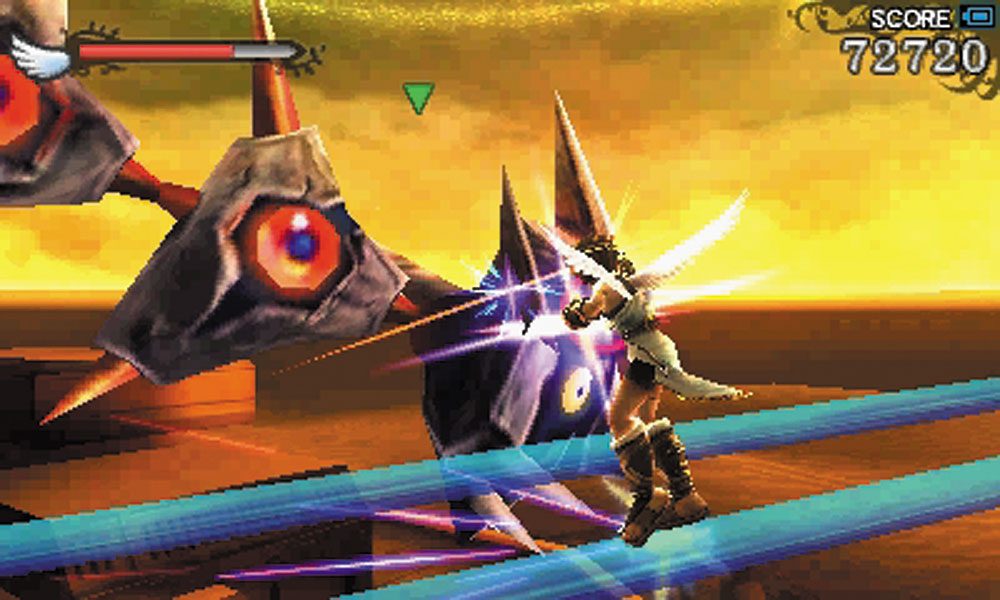
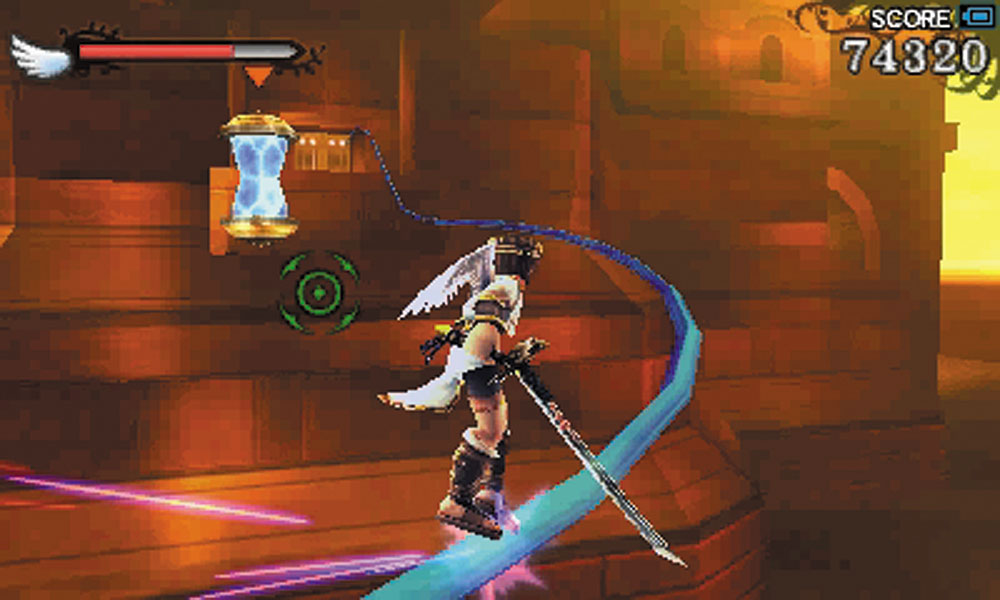
6. The second rail tries to pull some tricks on you. Make sure you switch rails the first time it is possible. With the two crystal switches on this rail, you need to shoot only the first switch. The second is already turned blue, and shooting it will cut off the rail and send you into the abyss.
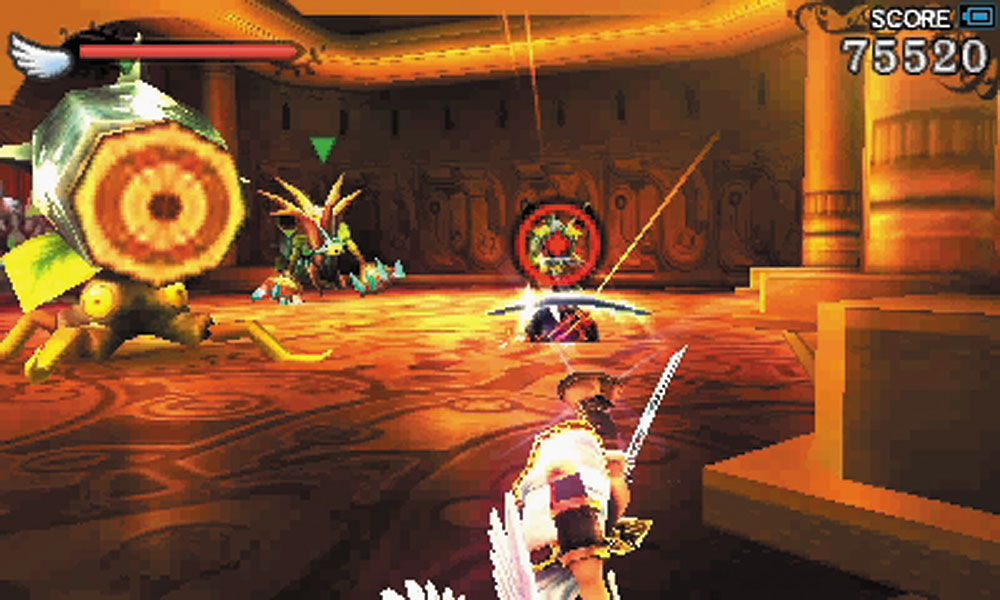
7. A Toxiecap attacks as you enter here. A second wave includes an Urgle and a pair of Pew Pews.
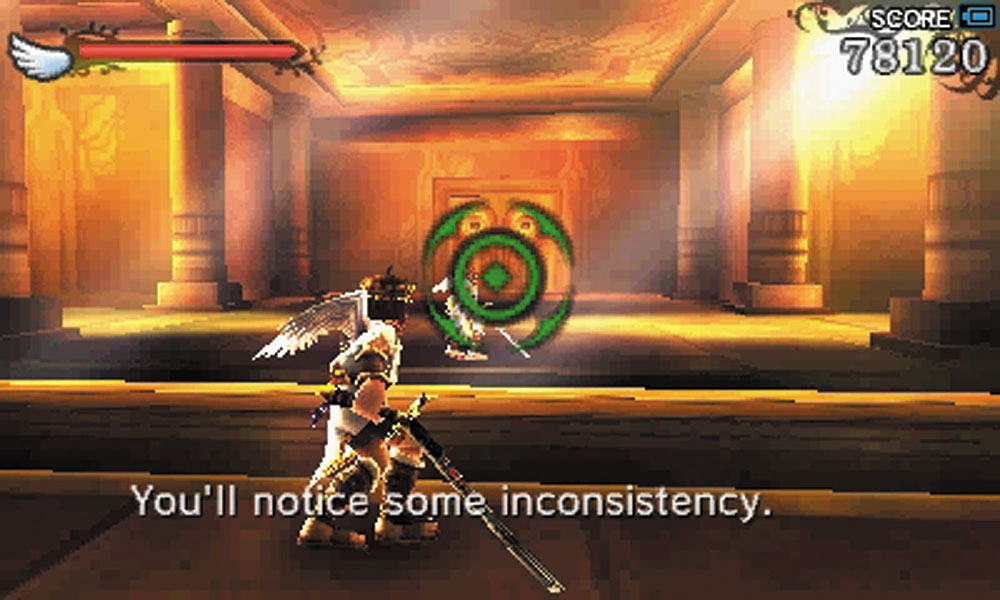
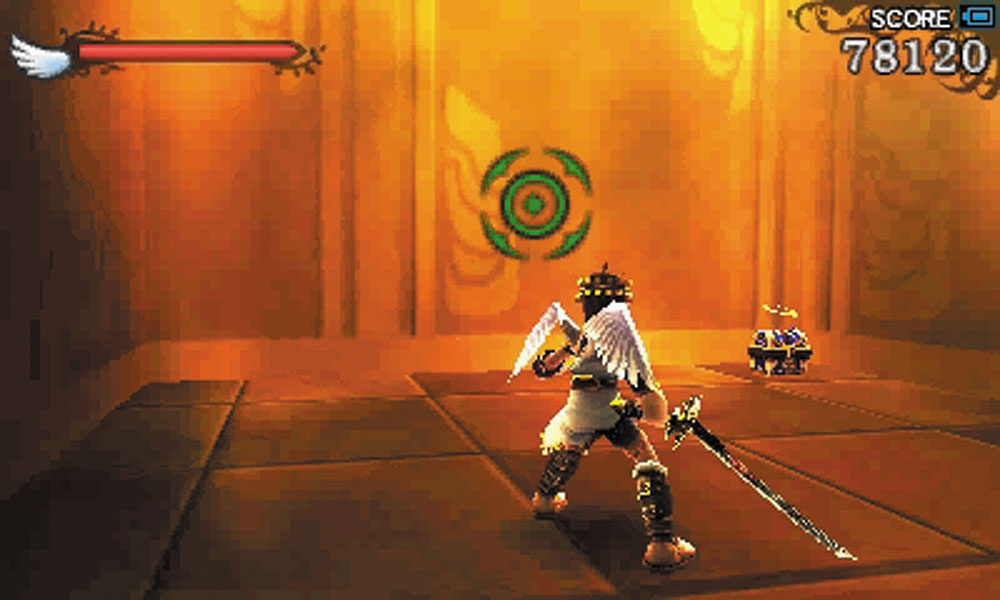
8. This is the first of the mirror rooms. The mirror shows you what the room is actually supposed to look like. The reflection shows you a hidden side room with a small Treasure Box, as well as the way forward.
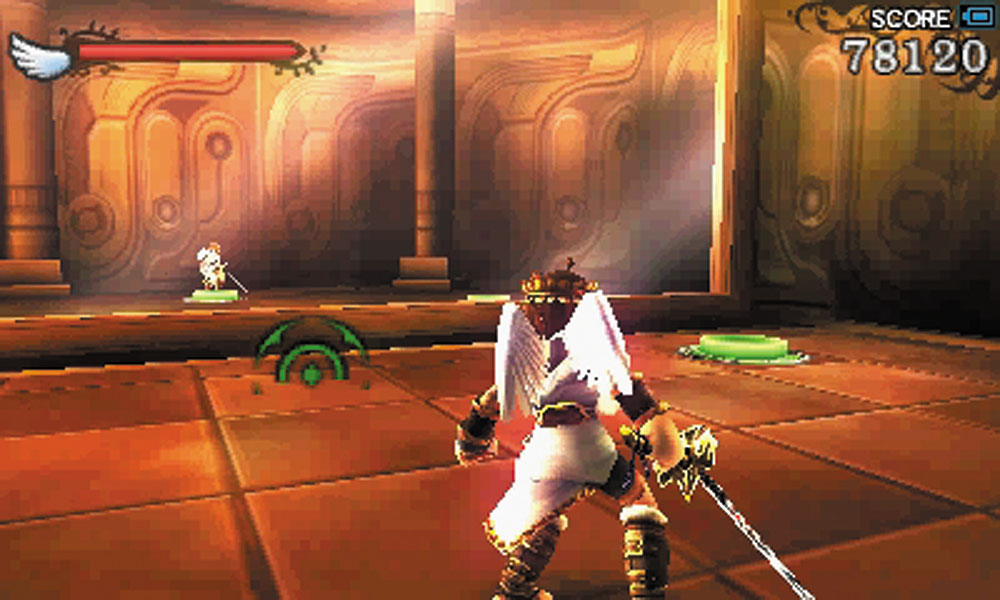
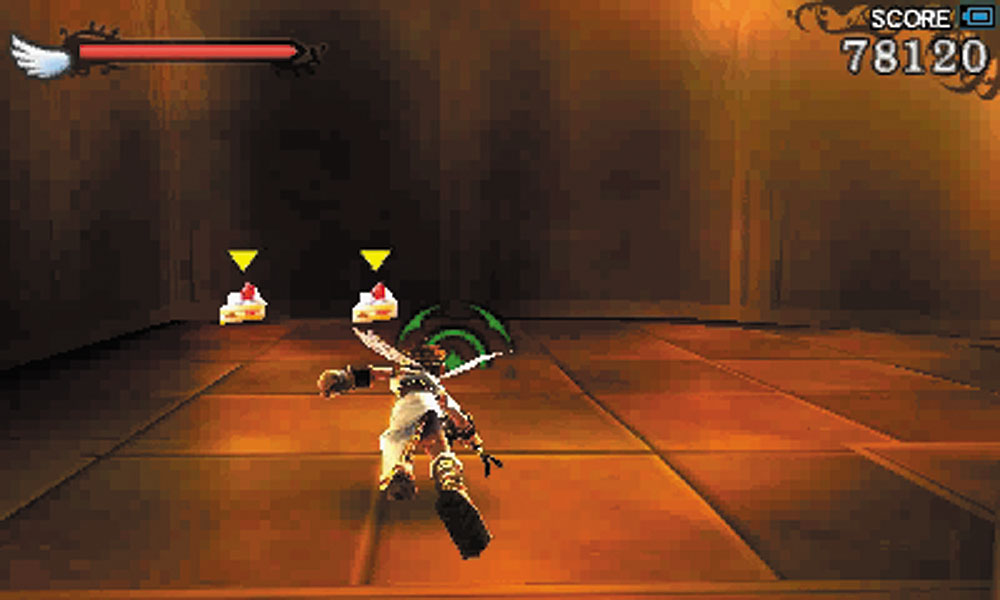
9. The mirror here reveals the location of an invisible switch. All three switches in this room must be depressed to move forward.
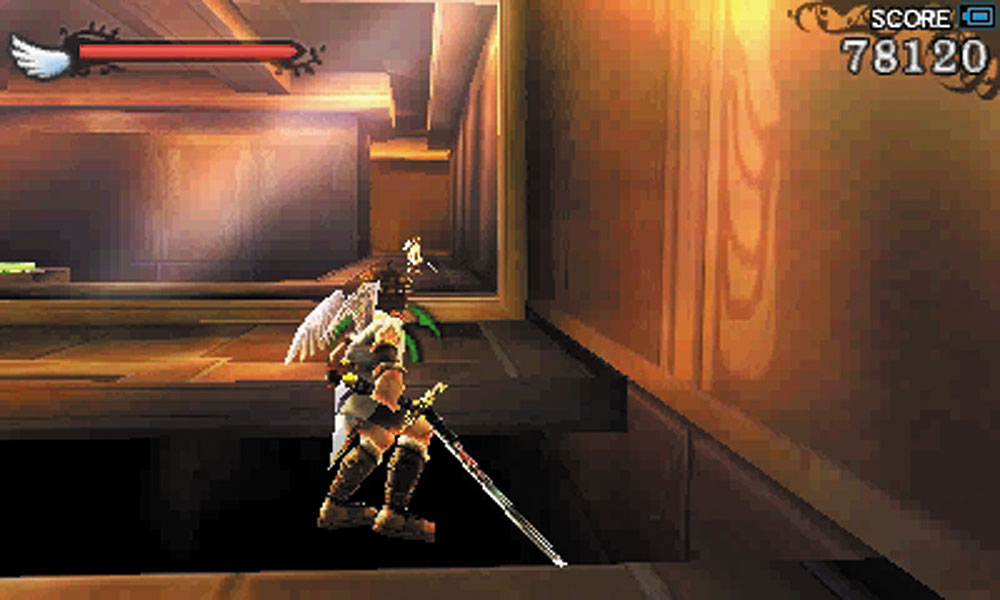
10. The last of the mirror rooms has you following invisible paths using the mirror. It can be tough to judge your exact position over the pit with the reflection. Rushing through here isn’t advisable, unless you are certain you know where you need to walk.
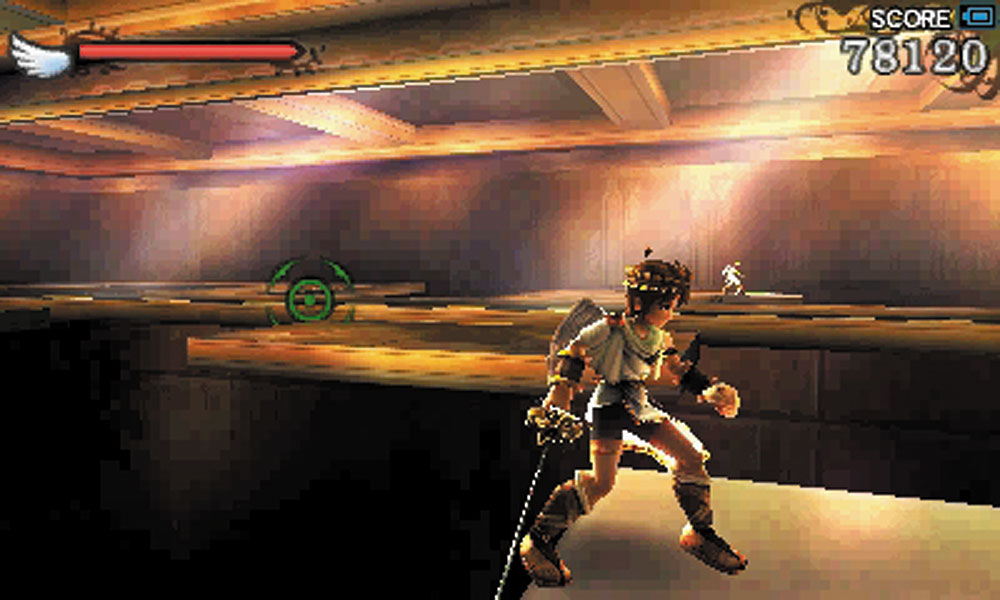
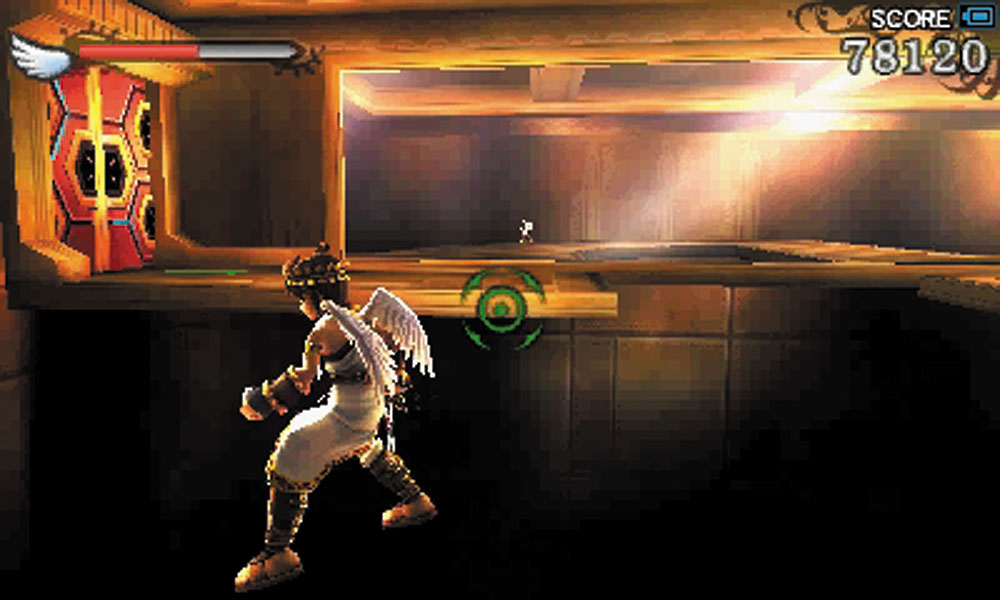
Your goal in this room is to step on the invisible switch near the center of the room. This unlocks the door to the control center.
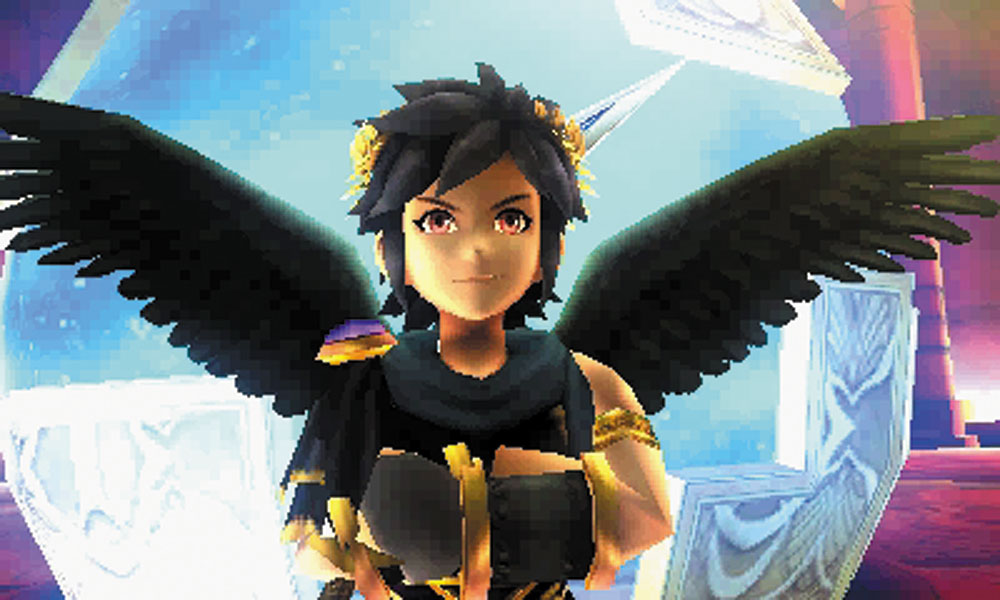
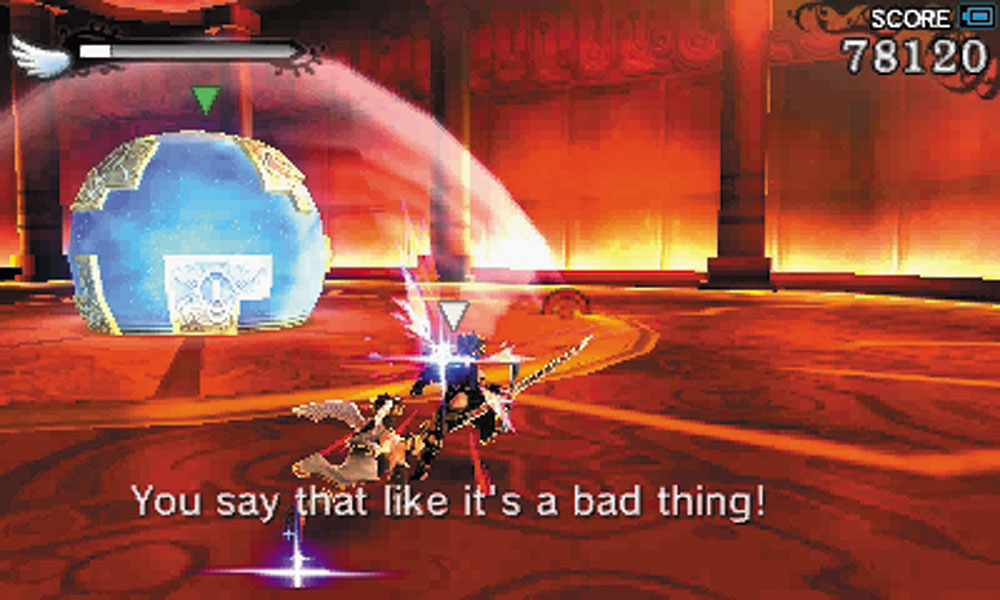
11. And now, a Dark Pit duel! Armed with a bow, the twin tries to stay at mid-range, allowing his homing arrows to do the heavy lifting. Last-second dodges can throw off his projectiles. Fight using the strengths of your chosen weapon.
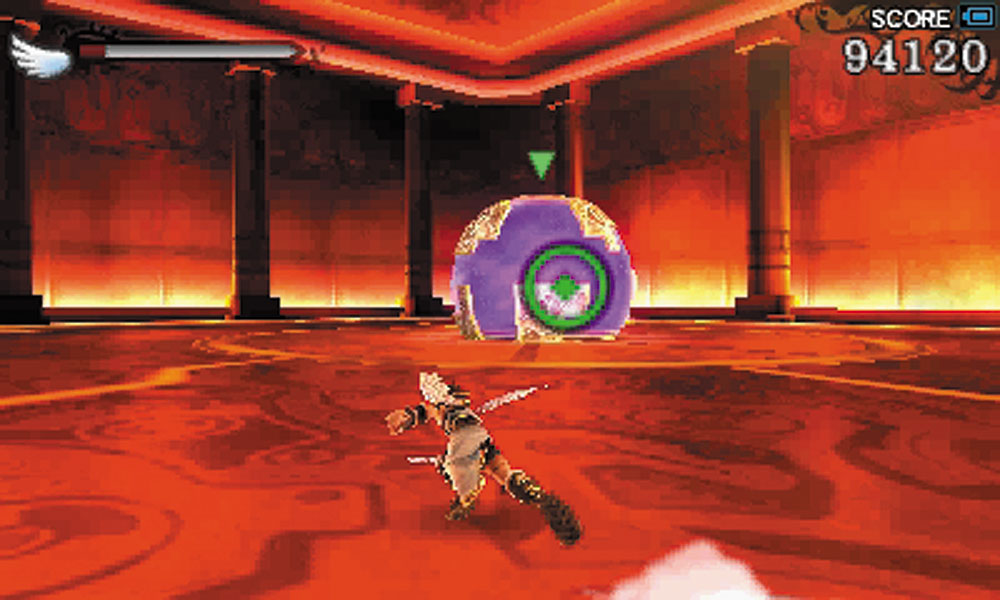
After Pittoo is beaten, attack the Lunar Sanctum Control Center. Its not entirely defenseless, when the sphere takes damage, it will lob explosives at the attacker. After it is destroyed, you can move on. A Drink of the Gods can be found near the exit of the control center.
The Lunar Sanctum Control Center will lob explosives at its attacker when it is attacked. This is true for both the player and Dark Pit. The text should be changed to reflect this.
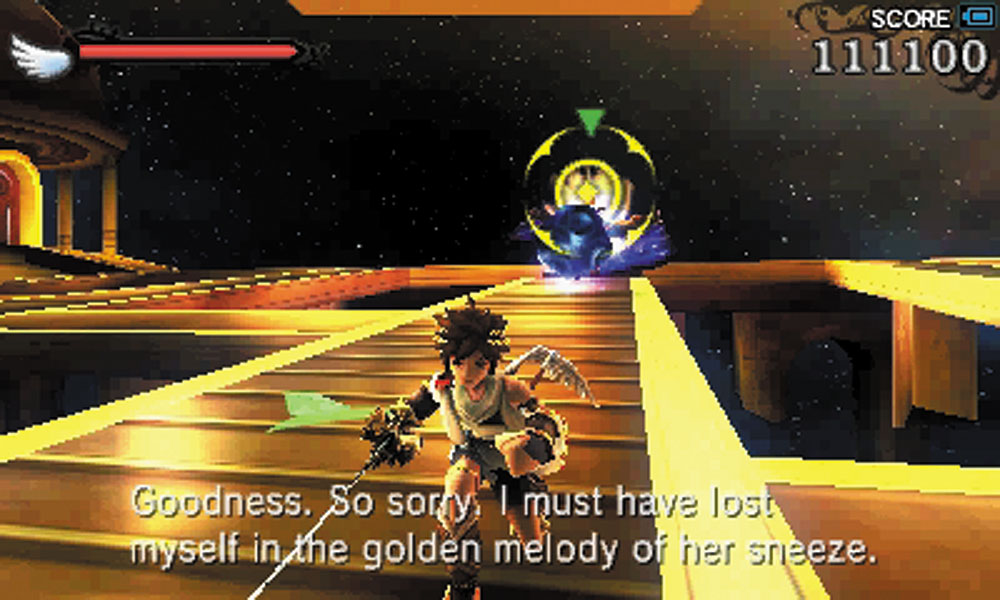
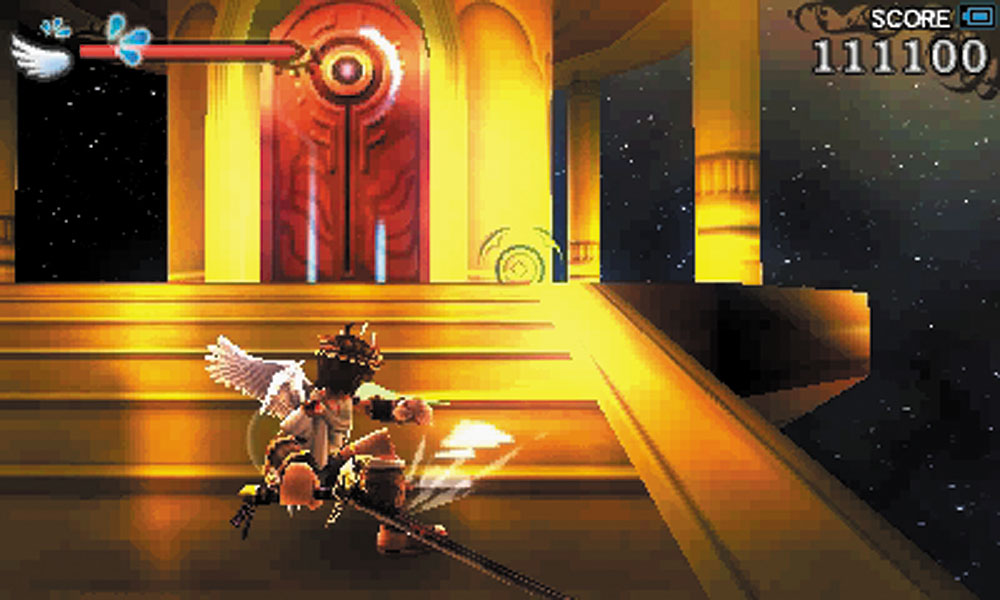
12. After a short elevator ride, you come across this network of thin walkways. Nutskis and Pew Pews hold court here, with a Captain Flare showing up later as a reinforcement. Don’t dawdle here for long—meteors crash down onto the walkways, hitting friend and foe alike. The exit here transports you to the outer surface of the Lunar Sanctum, but before you go, check behind the door for a small Treasure Box.
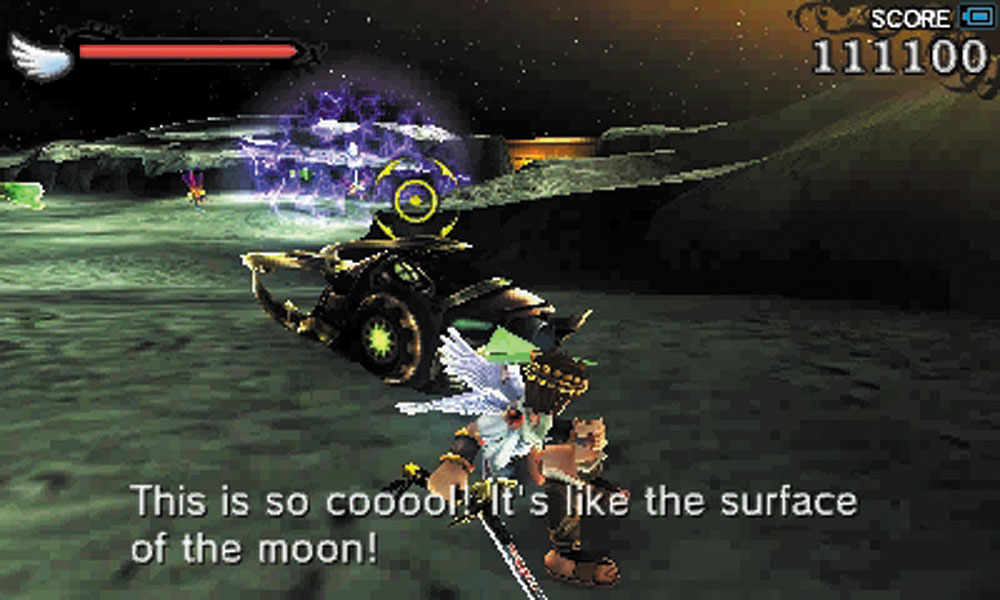
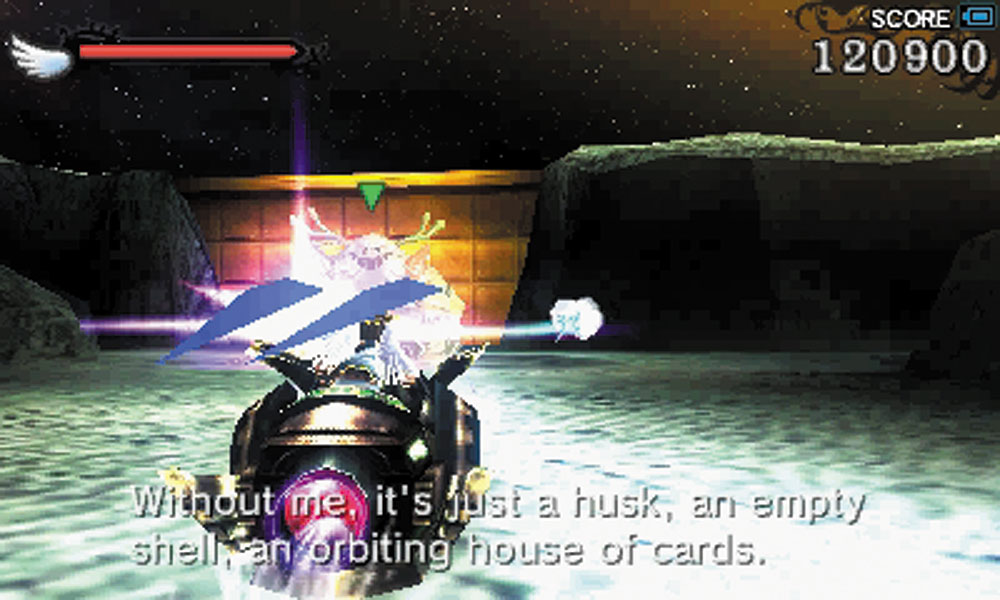
13. An Exo-Tank can be found here. Try to keep it alive for as long as possible. Its cannons and speed can make this next section easier.
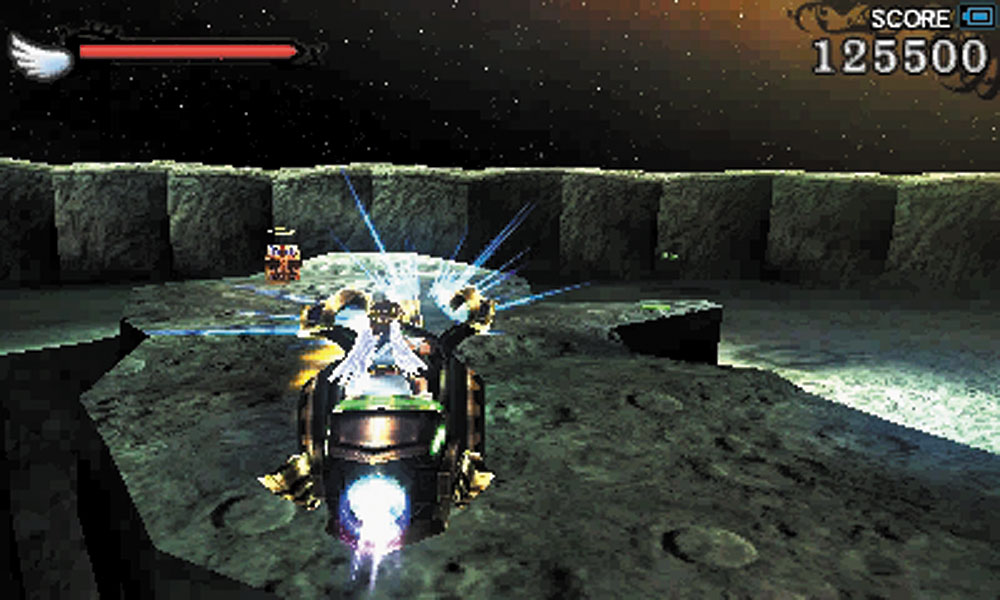
14. Take the ramp that points to the plateau at the center of this section to capture a Treasure Box.
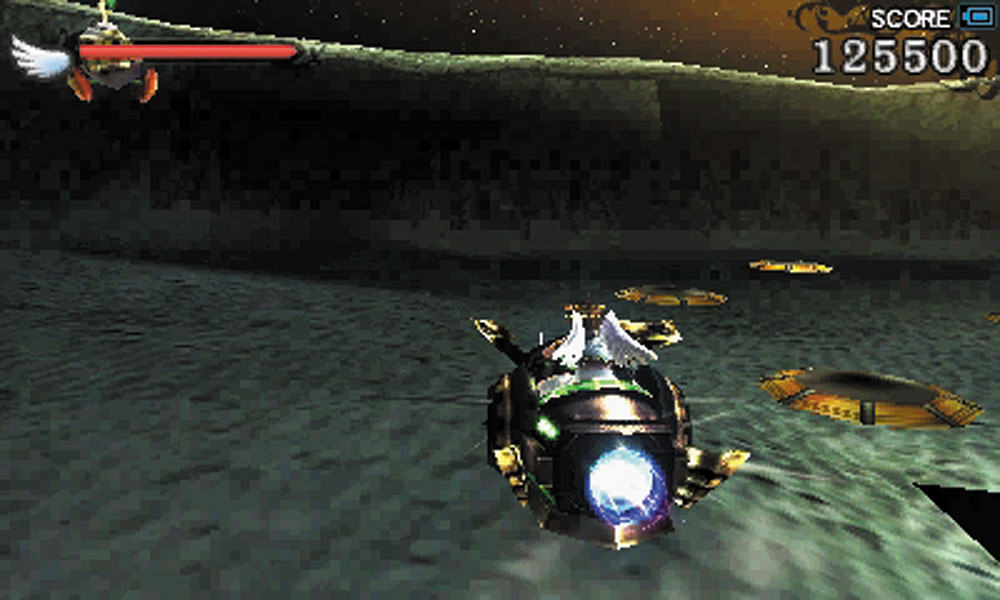
Scattered throughout this part of the Sanctum are laser emitters. They can destroy your Exo-Tank very quickly, so try to avoid sliding into them.
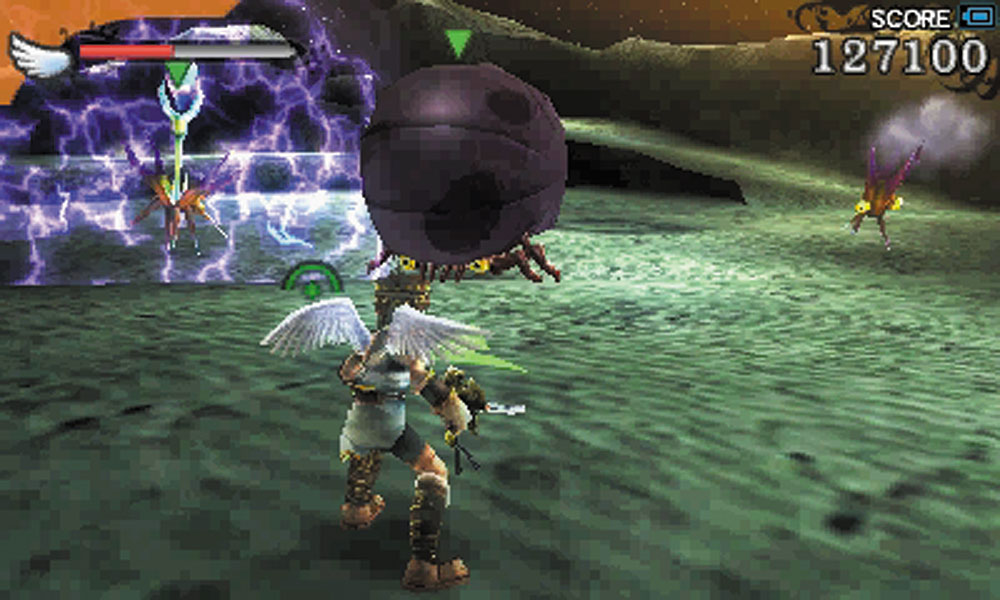
15. A Megonta and two Zerts are here. If you still have the Exo-Tank, you can knock the Megonta onto its back by driving into its head. From there, you can dismount the tank and blast at its belly with your weapon.
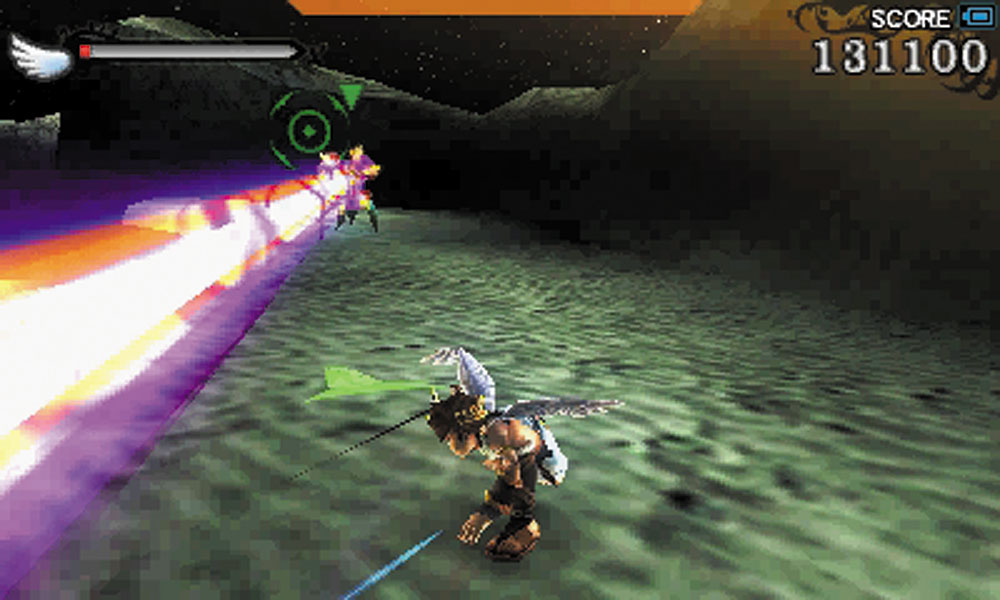
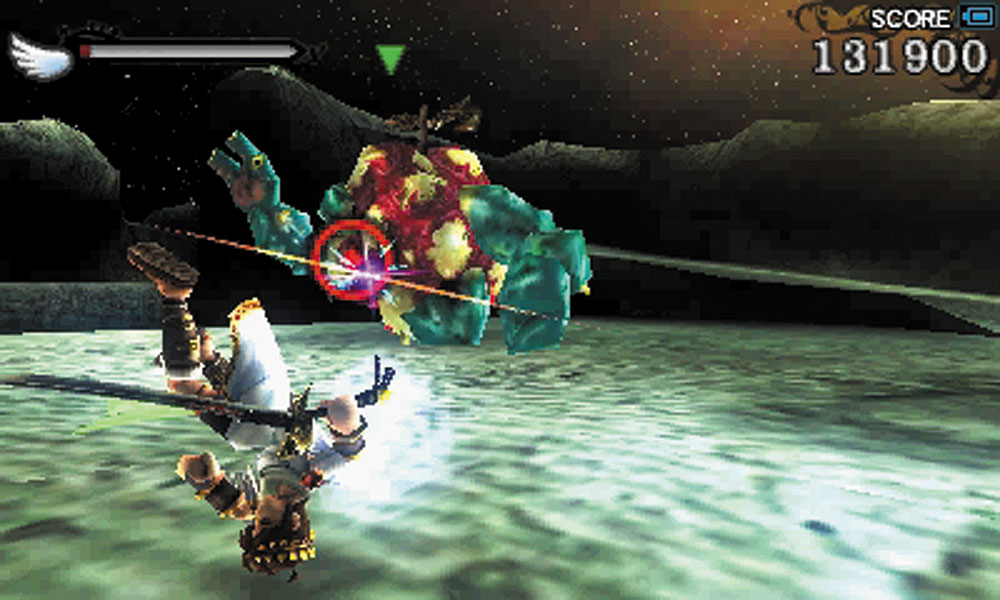
A Clobbler and a Lethinium arrive next. Destroy the Lethinium first before taking on the Clobbler. As soon as you hit the Clobbler, it transforms into a raging beast on par with a Clubberskull for strength.
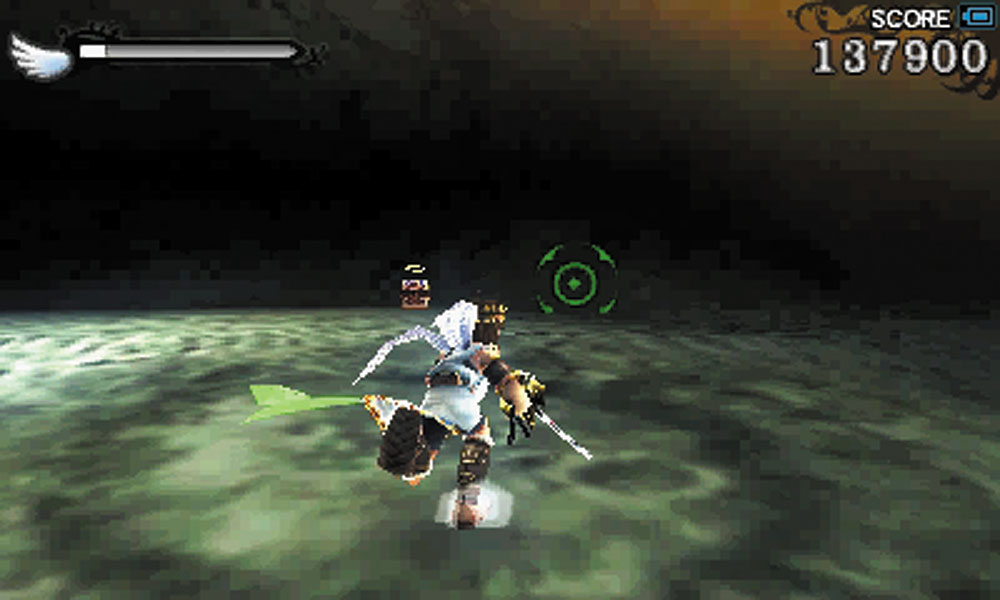
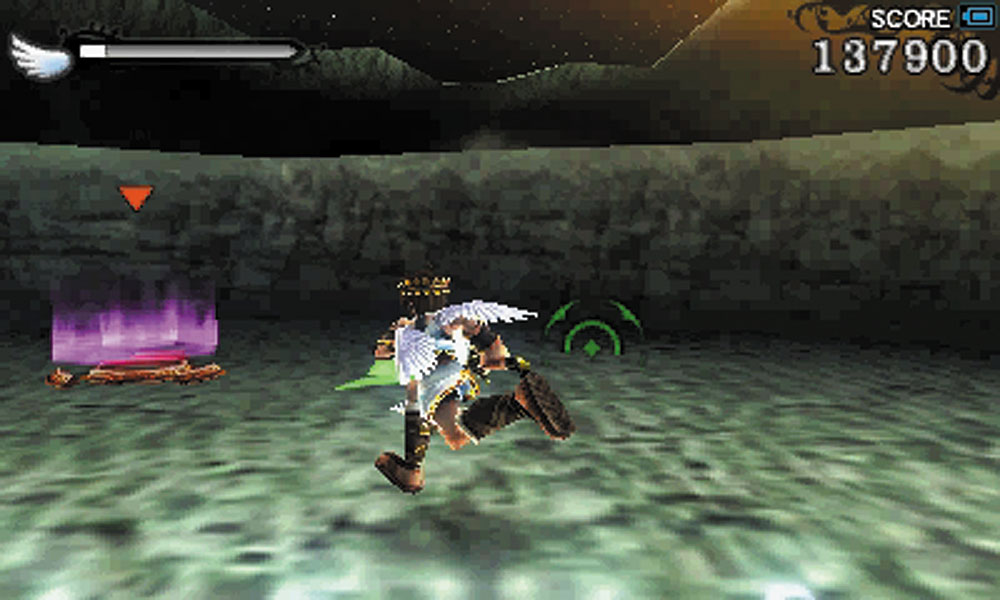
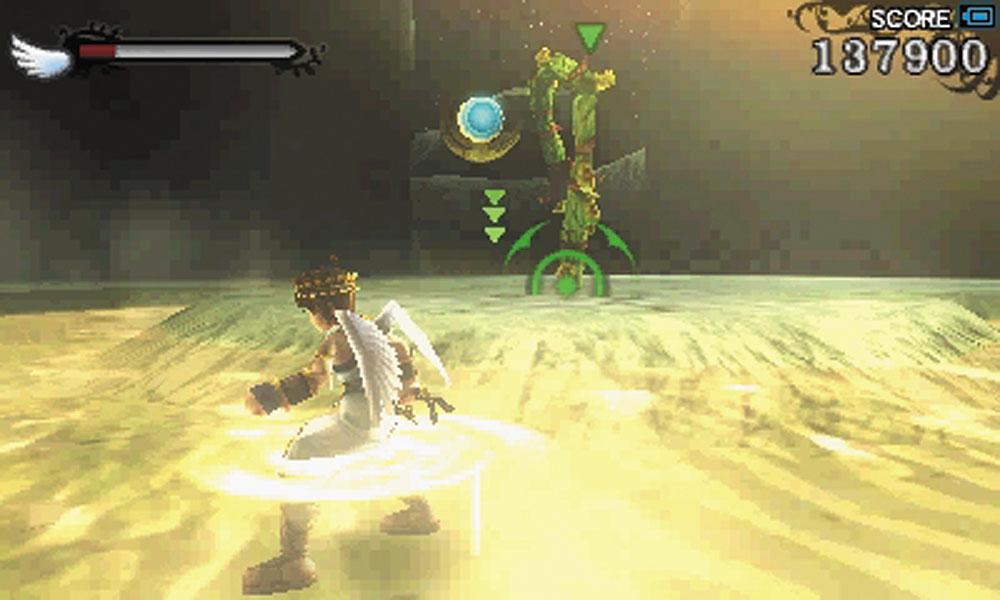
After these foes are defeated, collect the Treasure Box at the top of the ramp, then use the jump pad to launch yourself to a convenient hot spring. Beware the Hugworm that guards the spring.
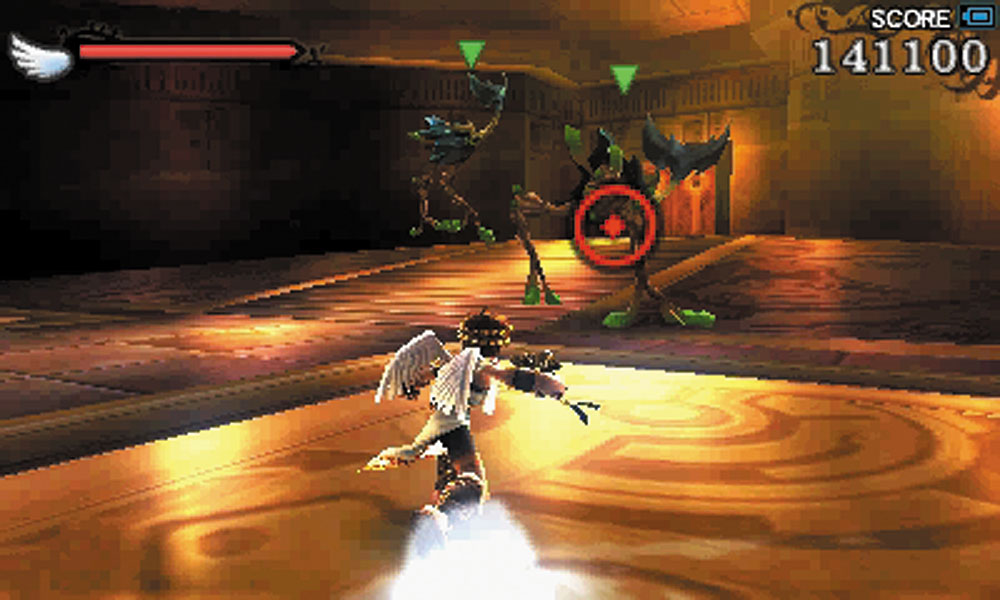
16. Two Meebas guard this room. After they are defeated, activate an elevator to the next area.
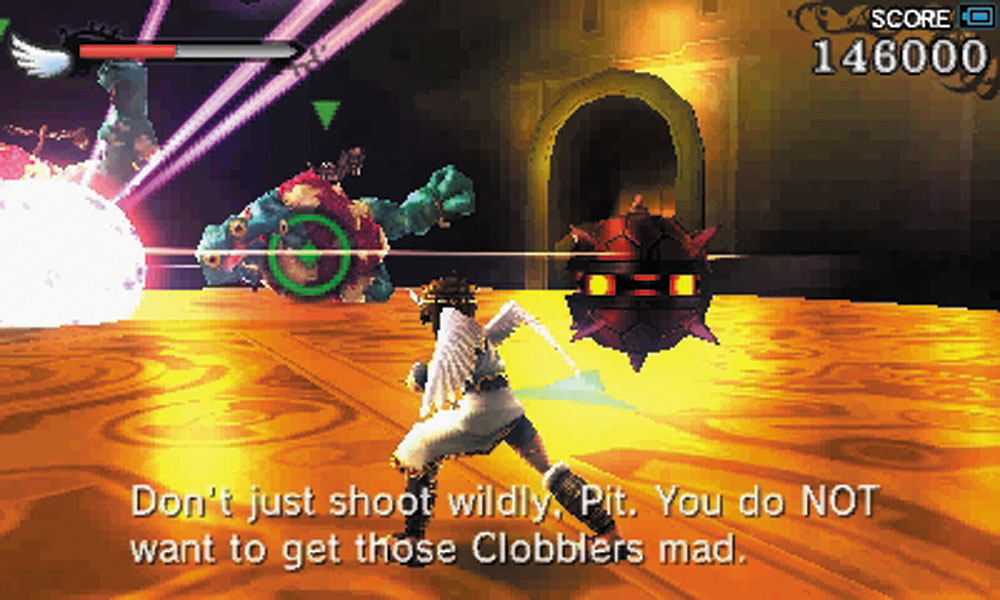
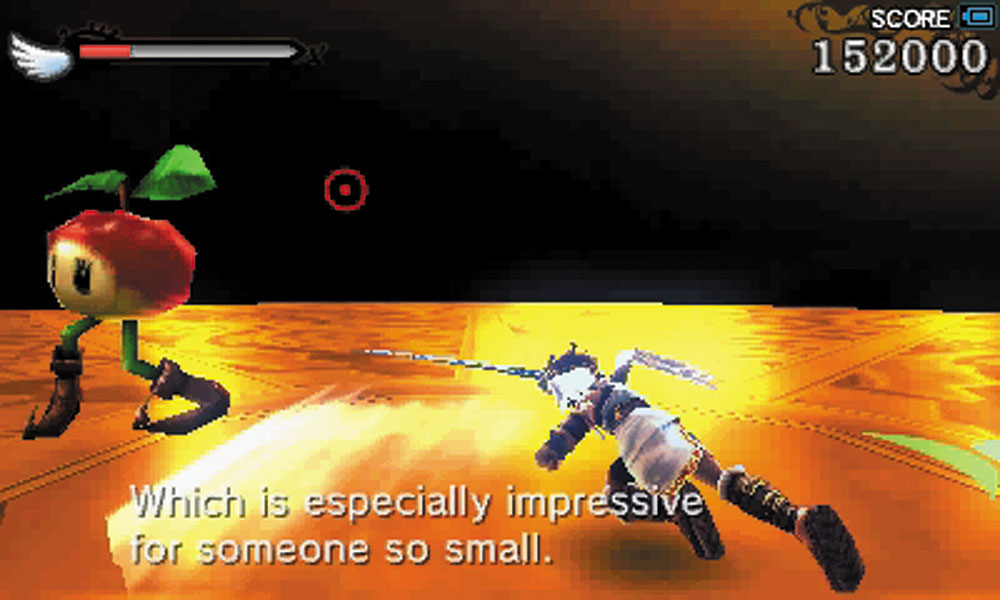
17. The Clobbler pair on this rotating platform can be a huge headache. Defeating them both does grant you a Treasure Box, so it is be worth the effort for completionists. Trigger one Clobbler to transform, then lure it into the mines on the platform. If the mines don’t finish the creatures off, you can wait for them to calm down and try to finish them with melee attacks to their smaller form.
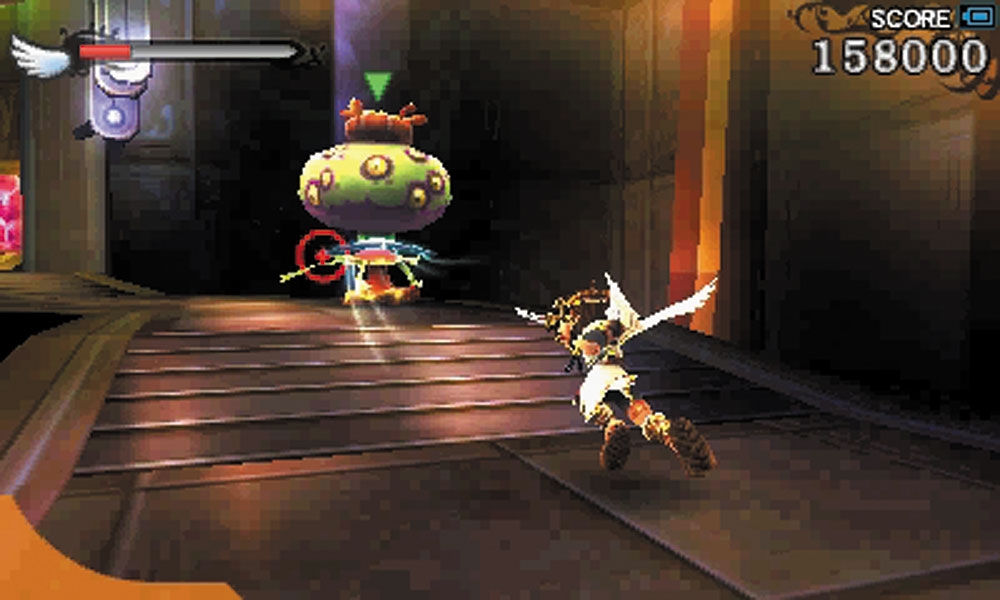
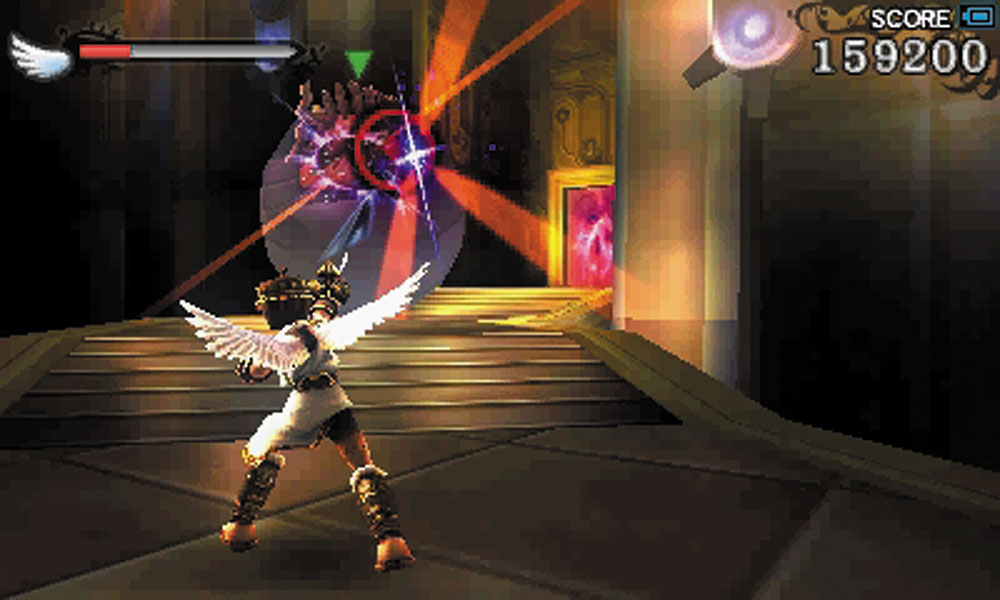
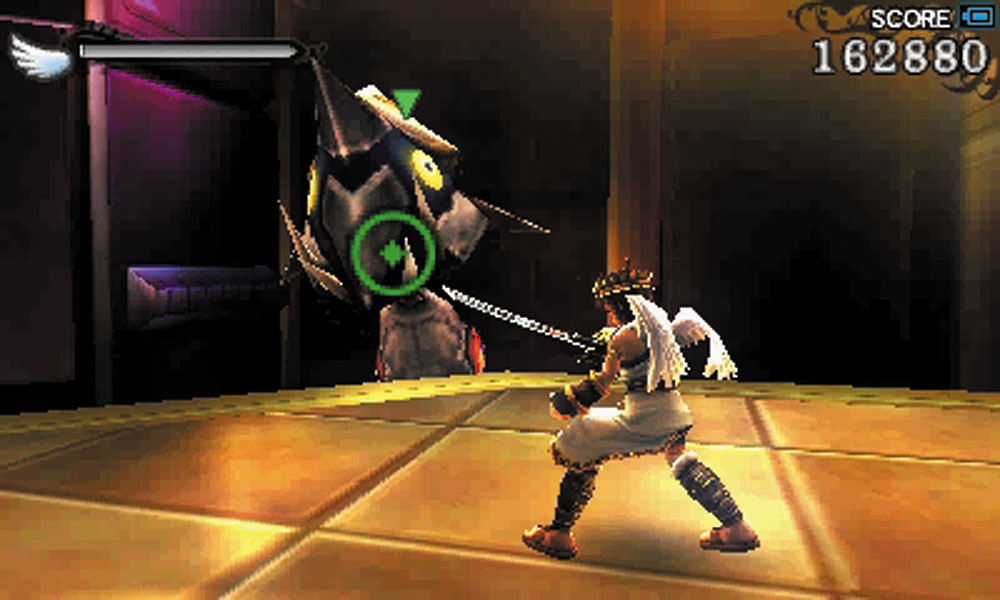
18. To leave this walkway, you need to defeat a Toxiecap, a Megonta, and a Lurchthorn.
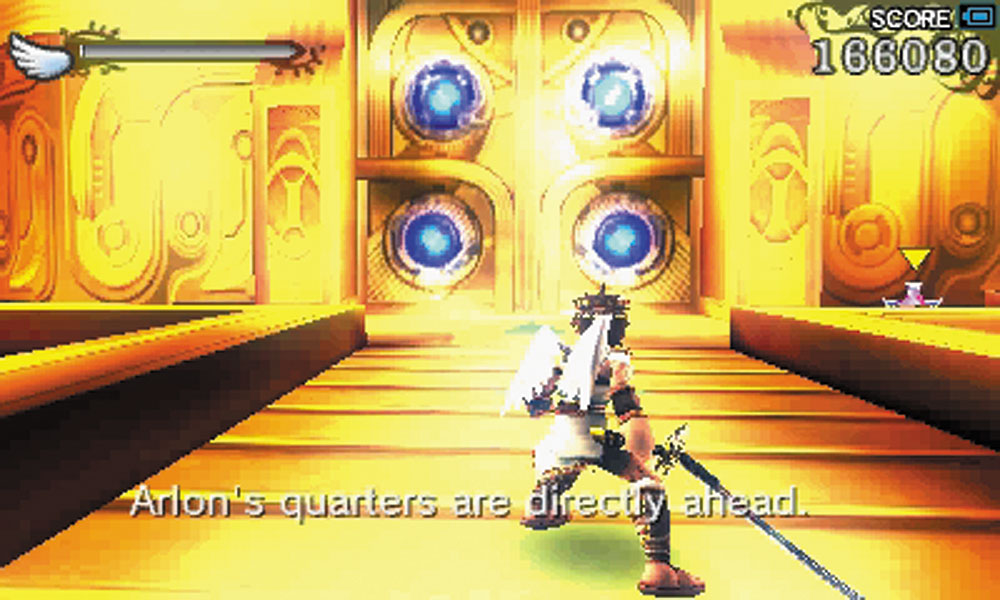
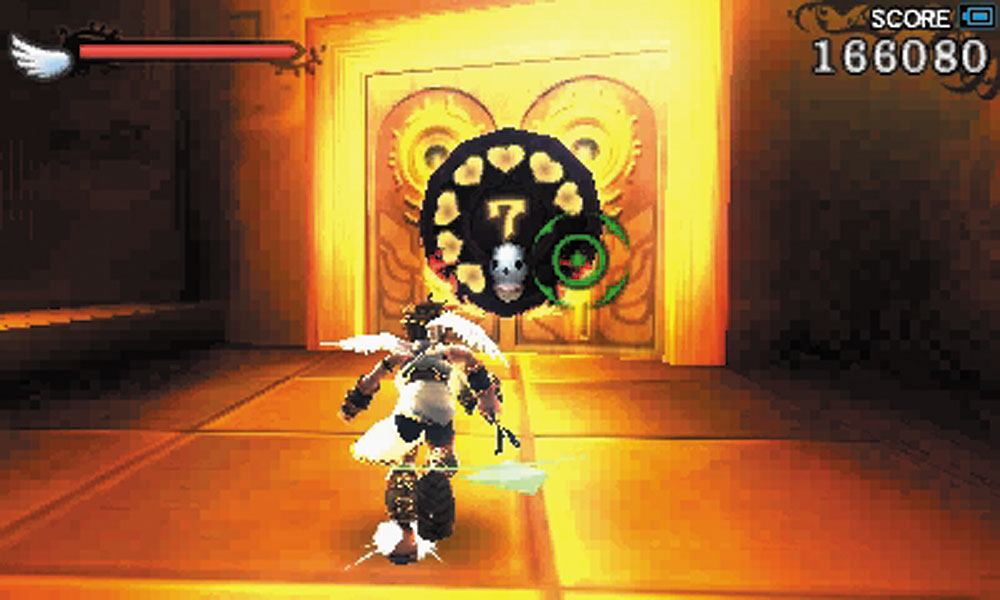
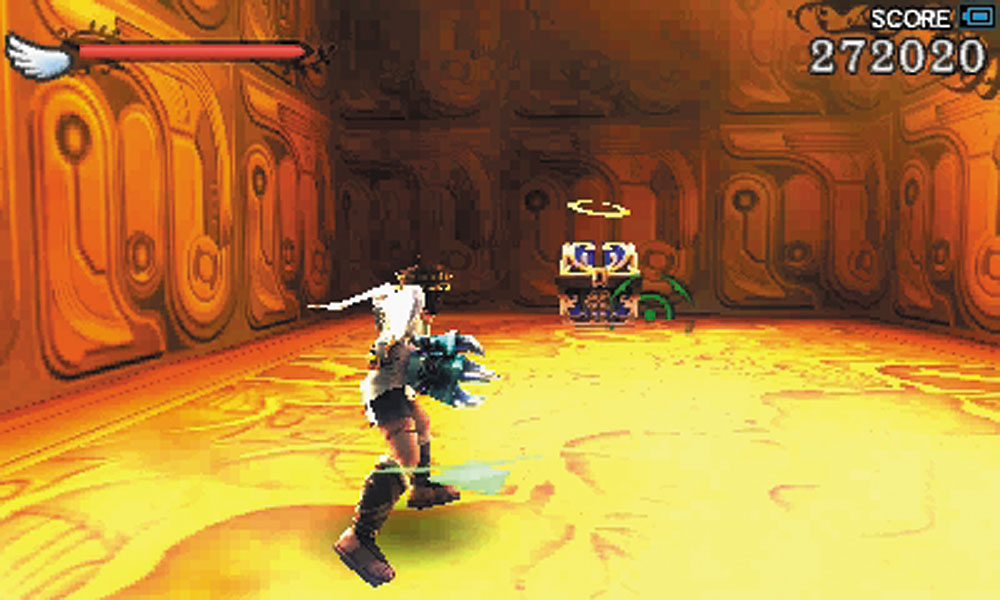
19. Arlon is very close by, but players on Intensity level 7 or higher should take a detour to the right to open an Intensity gate for another Treasure Box.