
Kid Icarus: Uprising Guide Walkthrough Chapter 16: The Aurum Hive
Land Battle
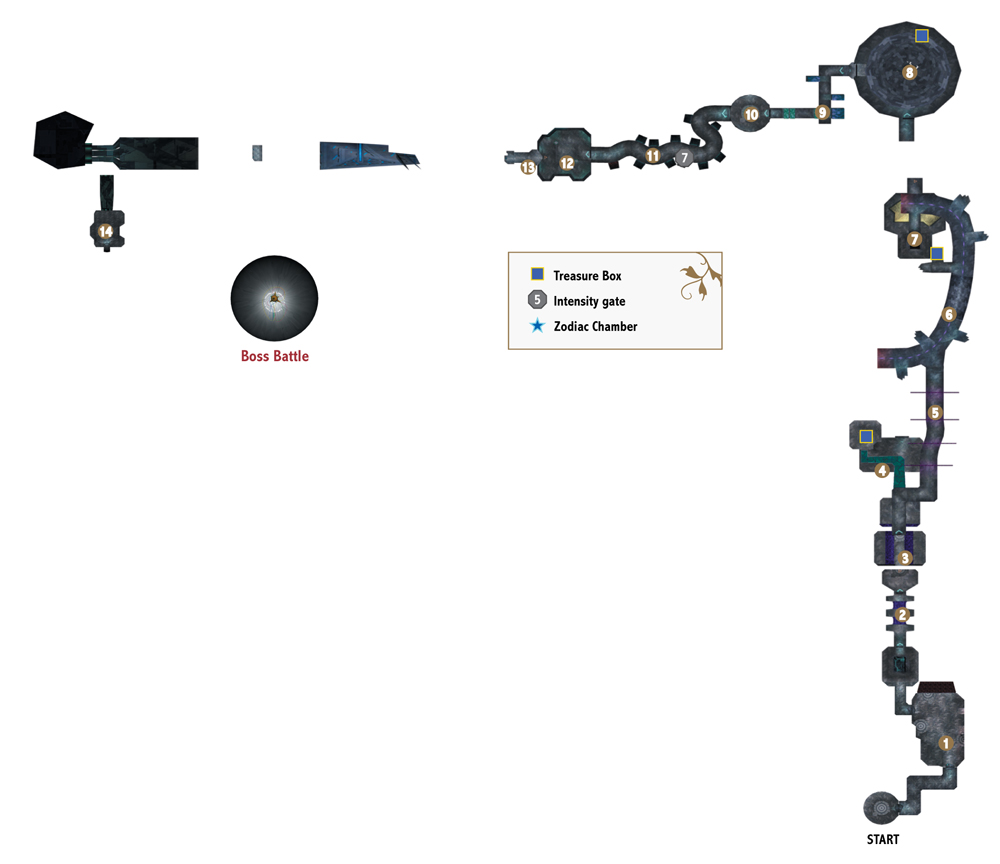
The Aurum Hive’s main generator is the primary target, and they know Pit is coming. You’ll see more Aurum versions of familiar Underworld and Nature goons mixed in with the usual Aurum assortment.
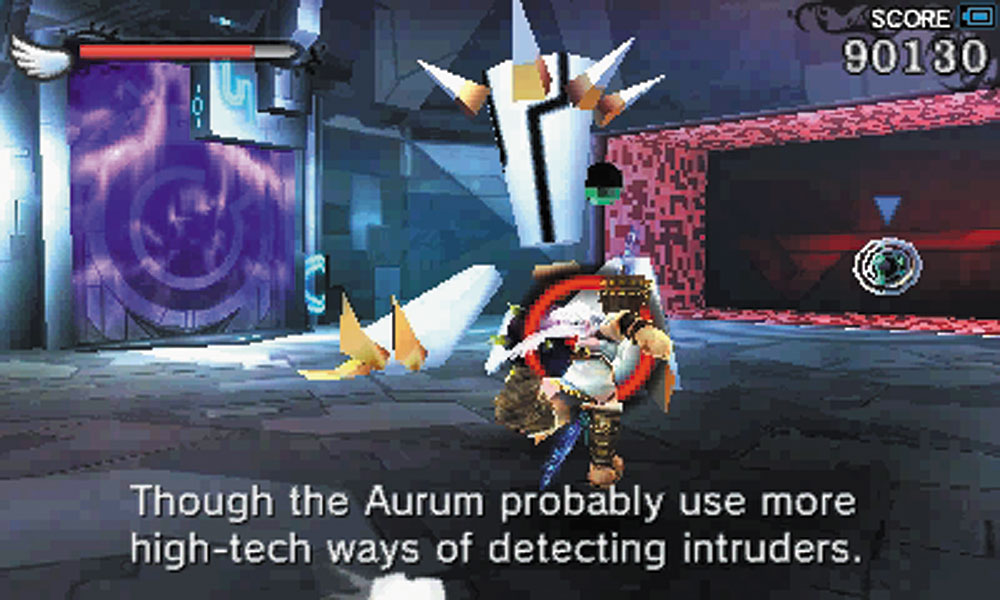
1. An alarm sounds as soon as you step into this room and you’re attacked by an Aurum Urgle.
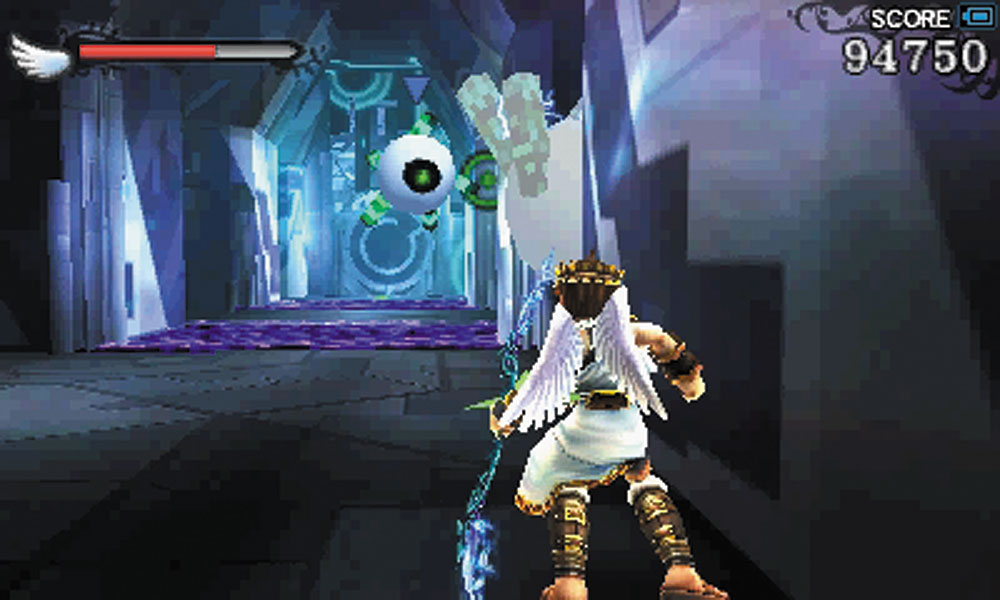
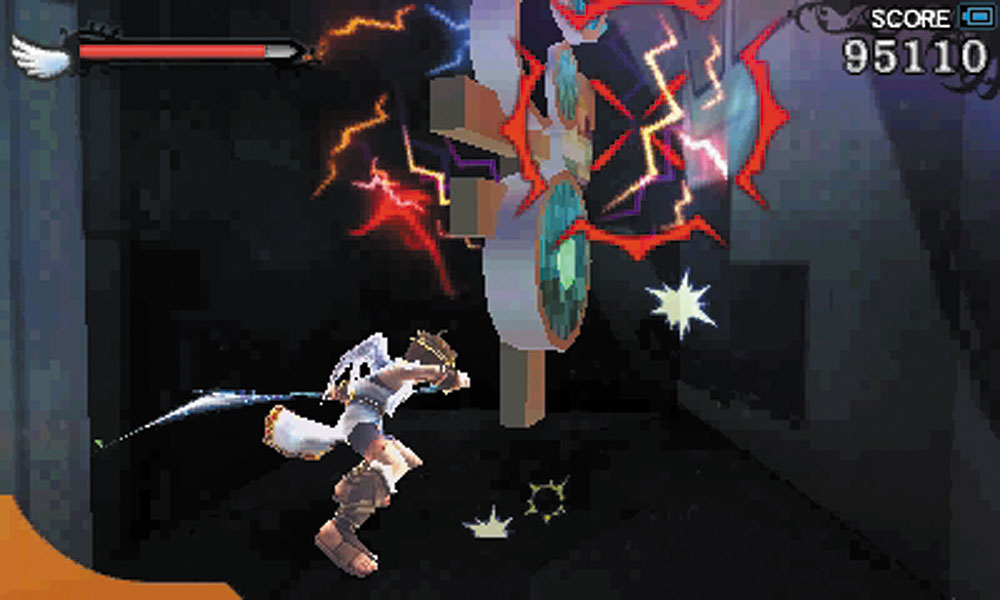
2. Aurum Monoeyes patrol this room, while portions of the floor become electrified. At the end of the corridor, a Baglo lies in a small alcove to the right of the exit.
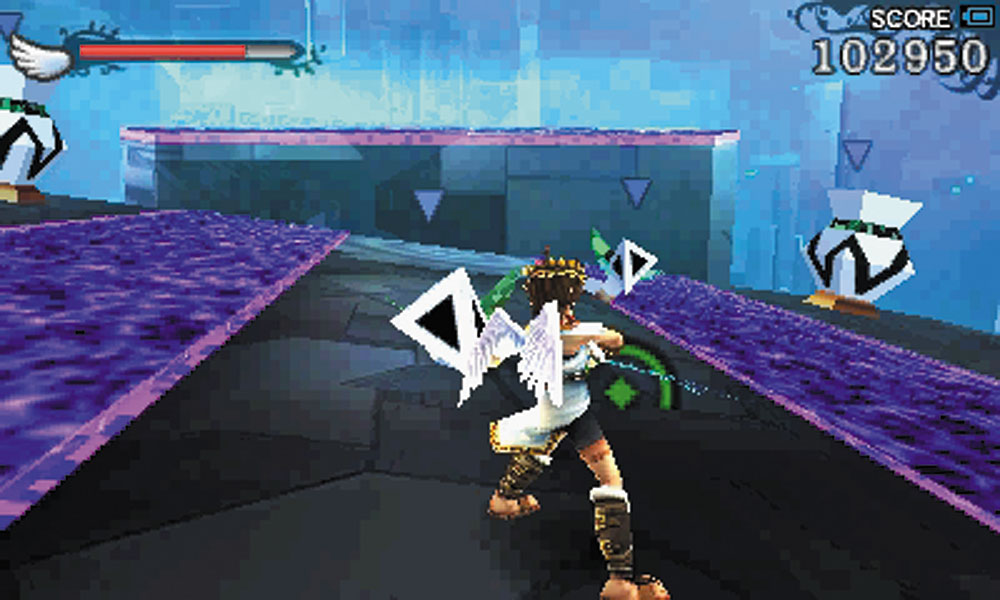
3. The electrified floor on this platform makes combat more difficult, as it restricts your movement options. You may find yourself dealing with Aurum Shemum until the floors deactivate and you’re able to destroy the jars they are spawning from.
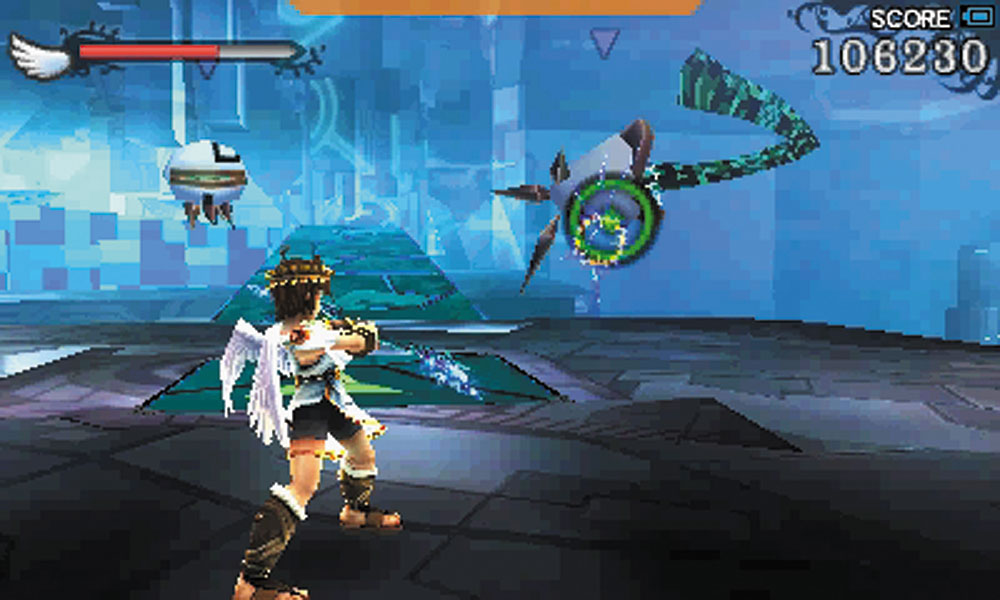
4. Aurum Miks will try to knock you off this collapsing narrow path. A good tactic is to snipe as many enemies as possible before you begin the run on the walkway. If you fall off, you’ll miss out on some treasure.
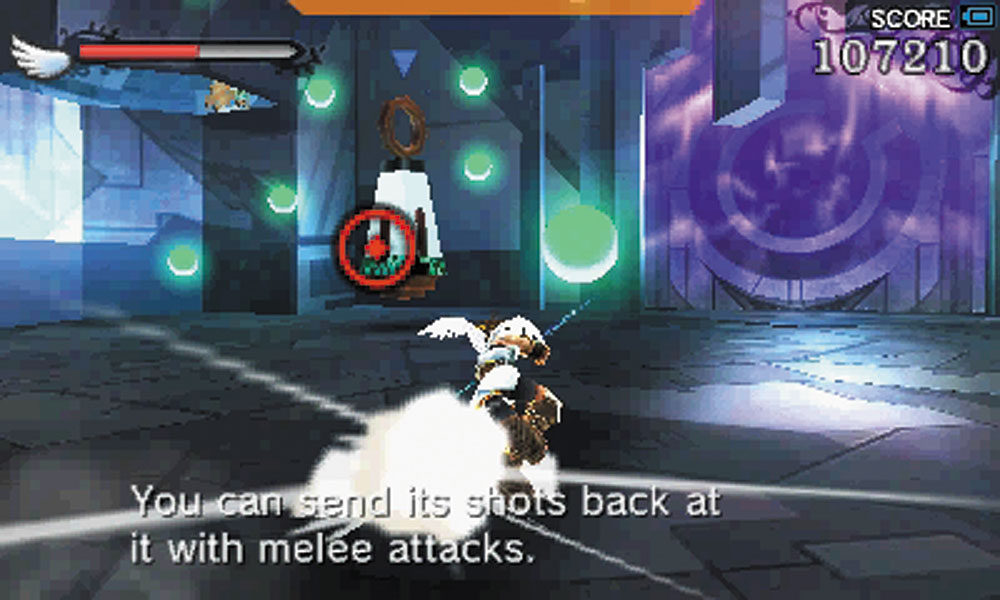
A new Aurum type, the Biota, appears in the area the walkway once occupied. Knock its shots back at it with melee attacks to defeat it.
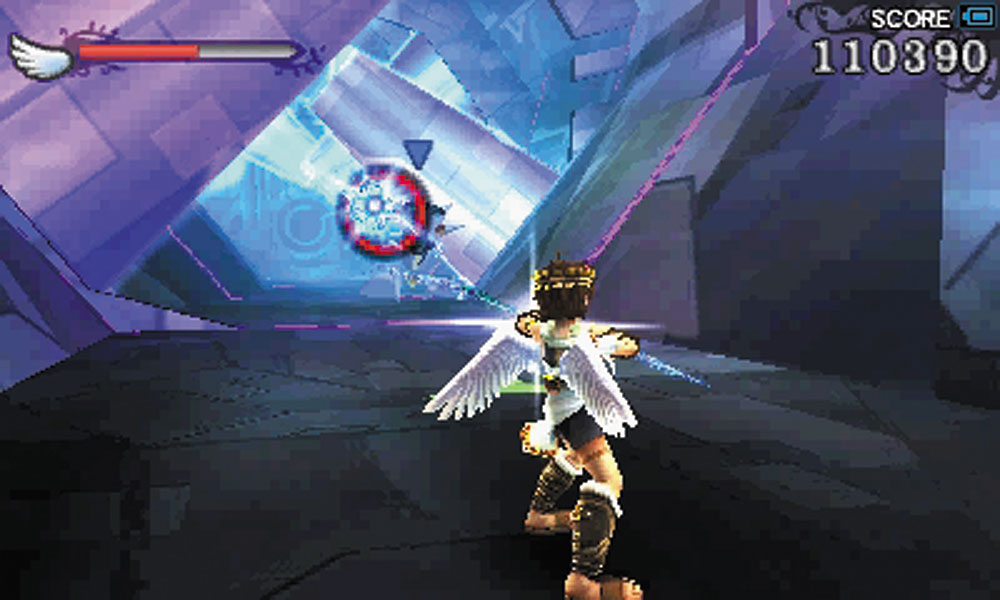
5. This hall has numerous rotating electric barriers. A pair of Urgles will try to ambush you here, and it’s best to draw them away from the laser traps so that there is less of a chance you’ll get knocked into one.
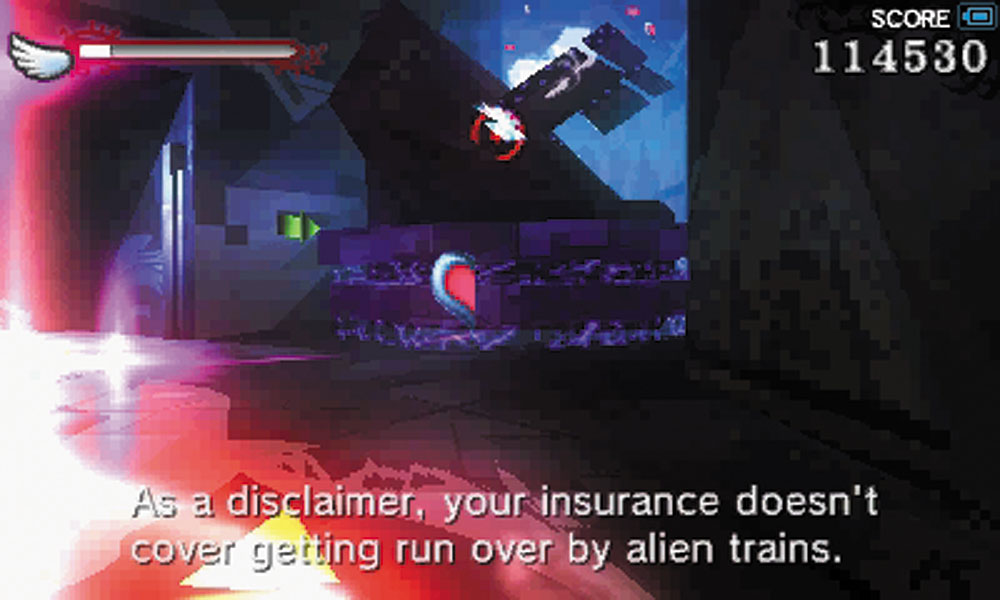
6. A massive Aurum vehicle drives through this area at regular intervals.
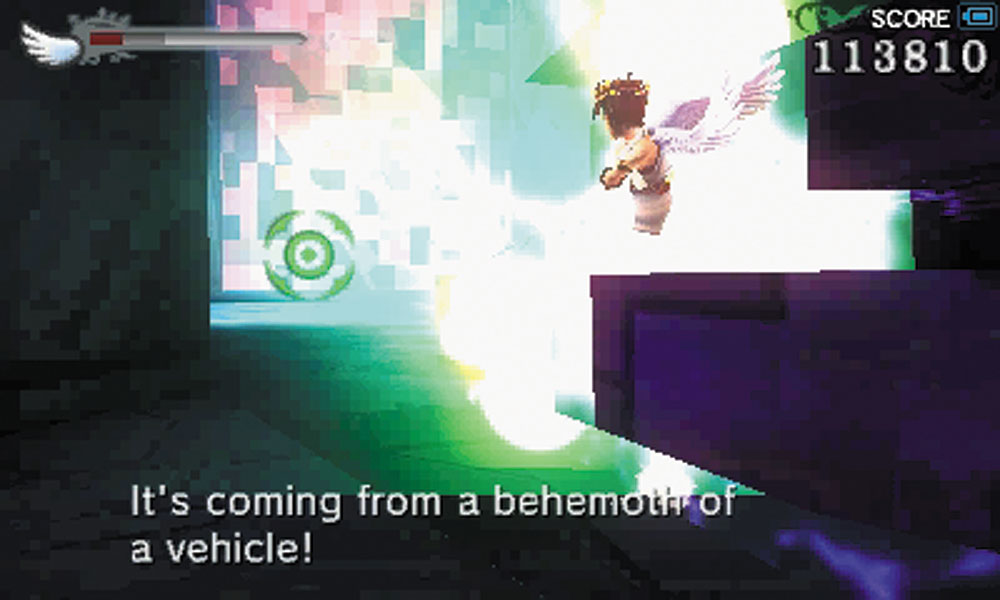
It can’t be slowed or stopped and, as one might expect, it hurts to get hit by it. You need to wait for an opening and sprint down the tunnel until you get to one of the safe zones, wait for the vehicle to pass, and then continue your advance.
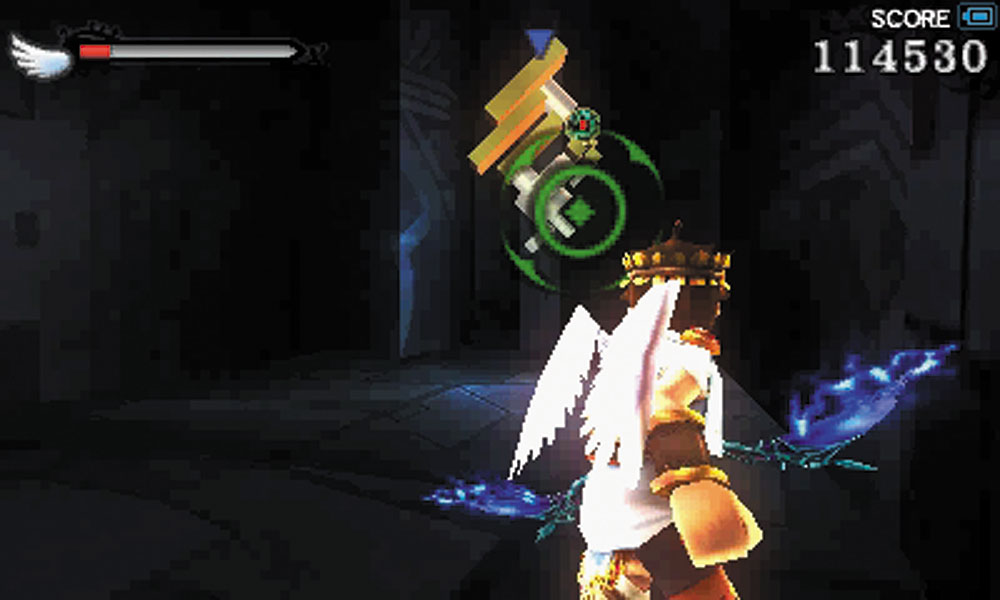
Not all of the side areas are perfectly safe. This one contains a Baglo. There is also a Treasure Box behind the breakable wall in this alcove
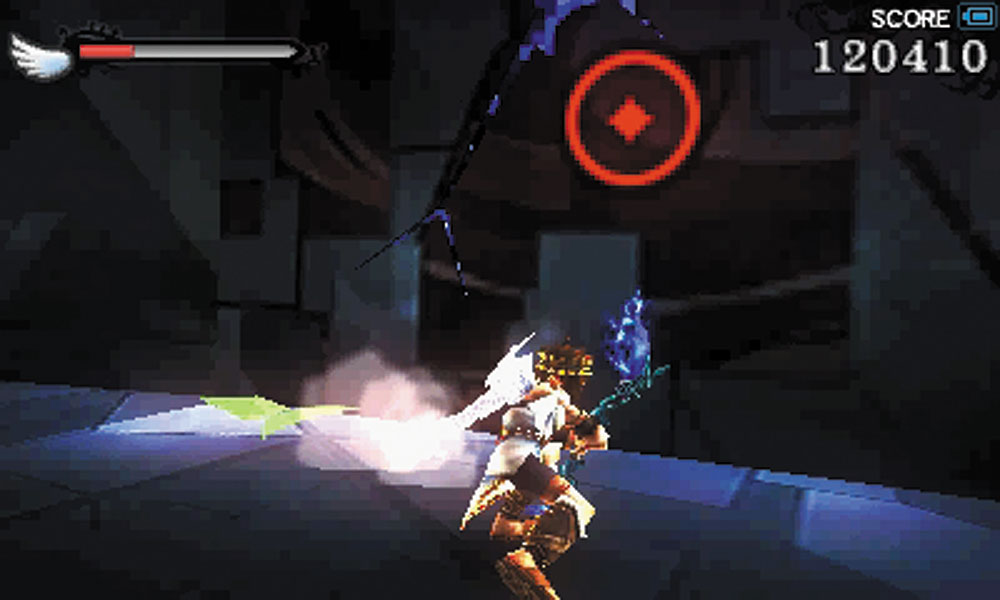
You must break through a damaged wall to get to one of the safe spots.
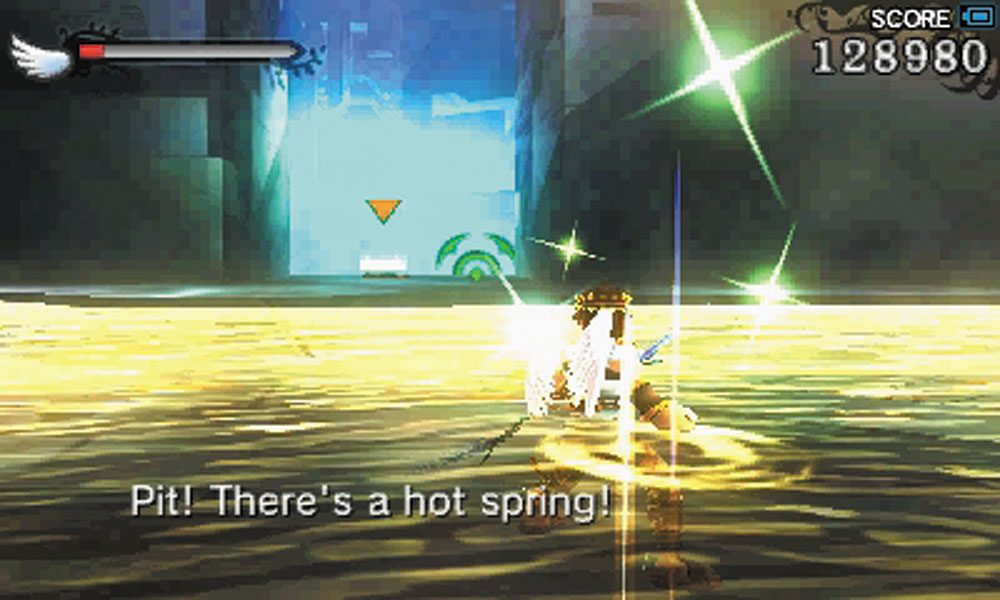
7. A hot spring has managed to find its way into the Aurum Hive. Don’t ask too many questions about it.
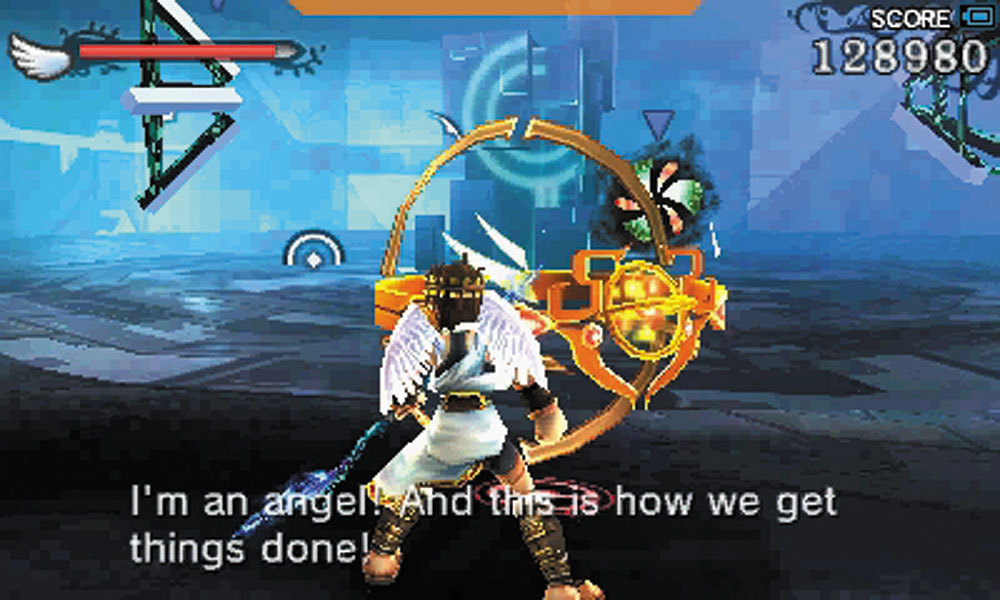
8. Hop into the Aether Ring found here, and keep it in one piece! You can’t access the Zodiac Weapon in this level without it. There are a lot of Jyoks in this room and they can do a lot of damage to the vehicle, so don’t forget to use the shield ability when necessary.
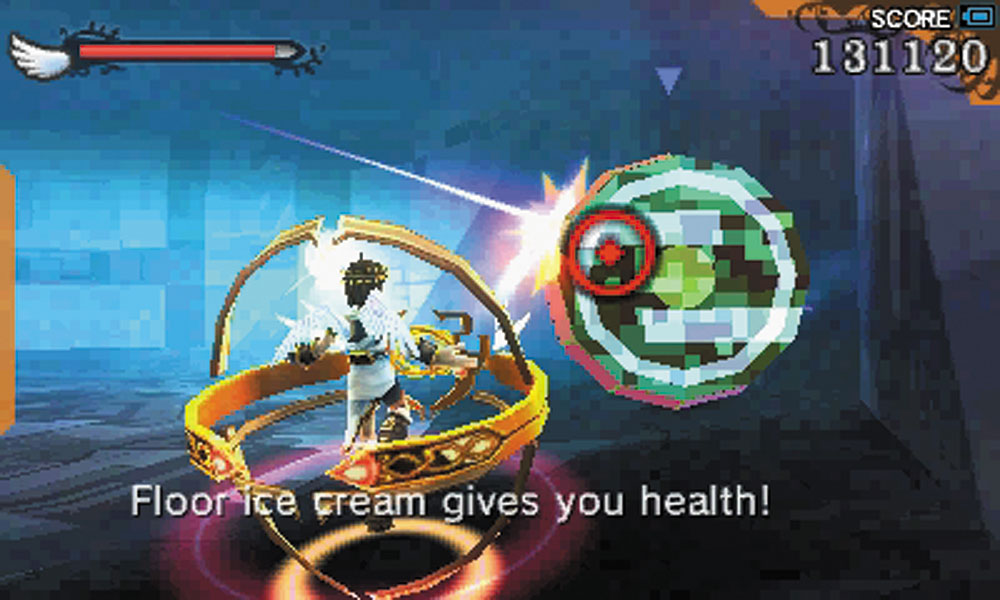
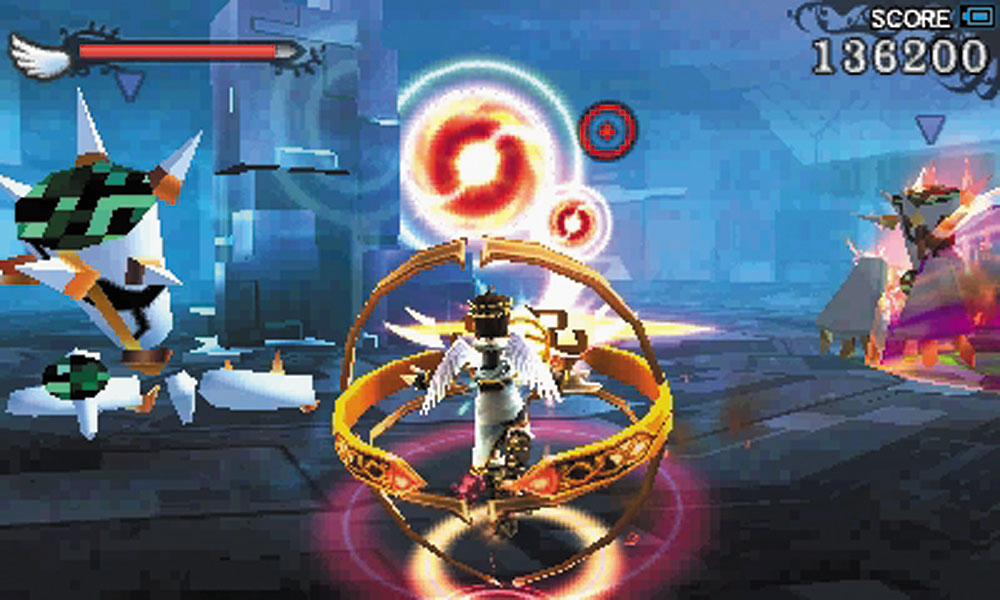
Kolmas and Aurum Urgles attack after you destroy the Jyoks.
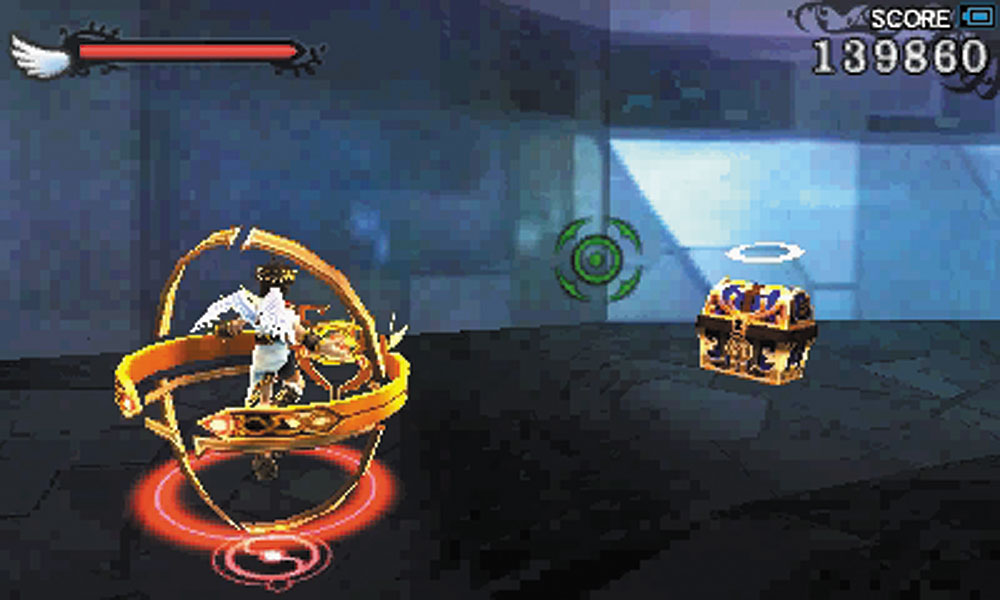
Don’t miss the treasure box that appears in this room after the enemy has been wiped out.
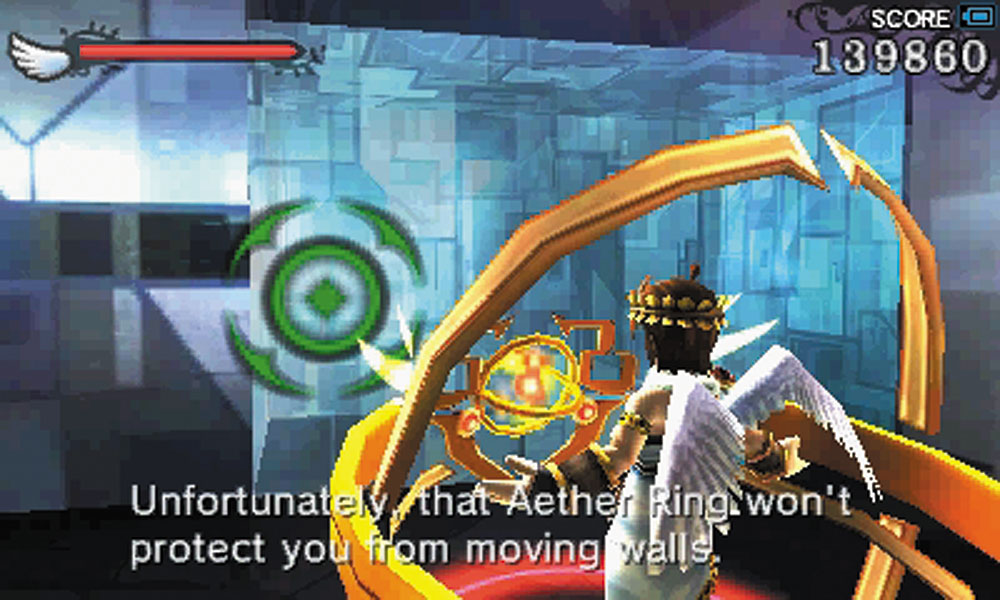
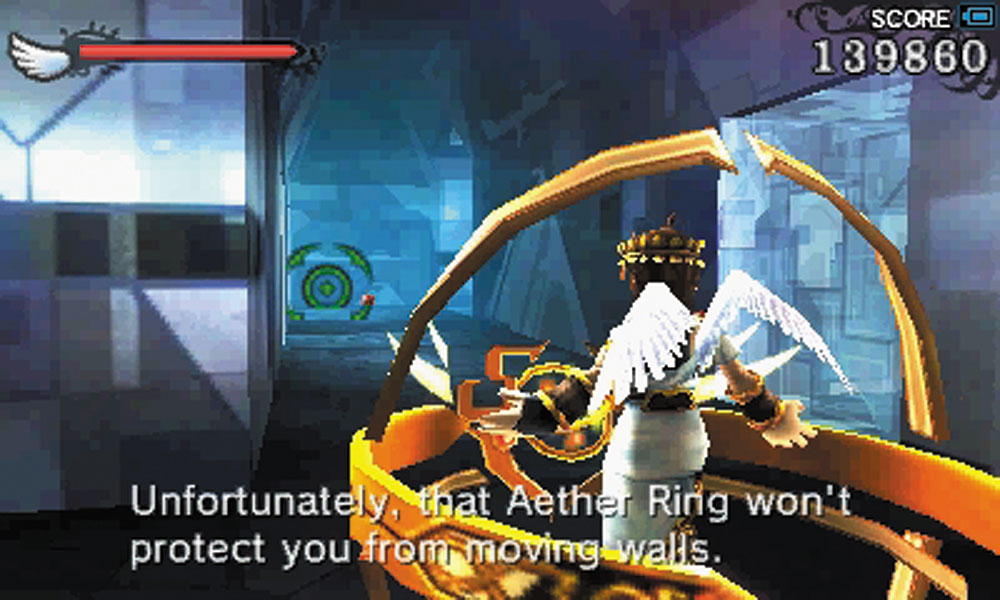
9. The moving walls in this area provide a different challenge. The Aether Ring is not exactly a precision craft. One bounce off an object can affect where it’s going immensely, and it’s not known for its ability to stop on a dime. Too many impacts with these moving walls will cost you the Aether Ring.
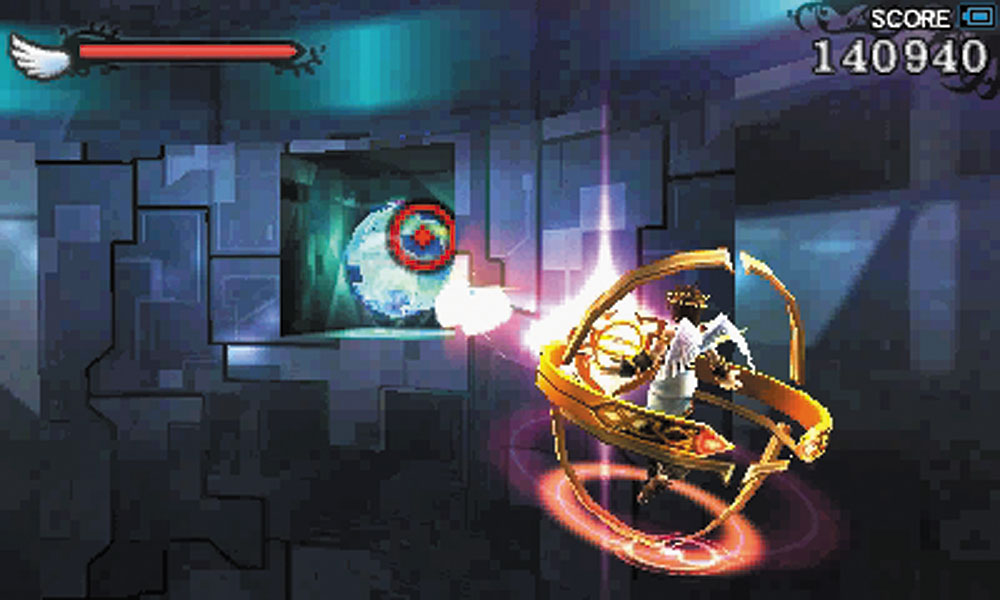
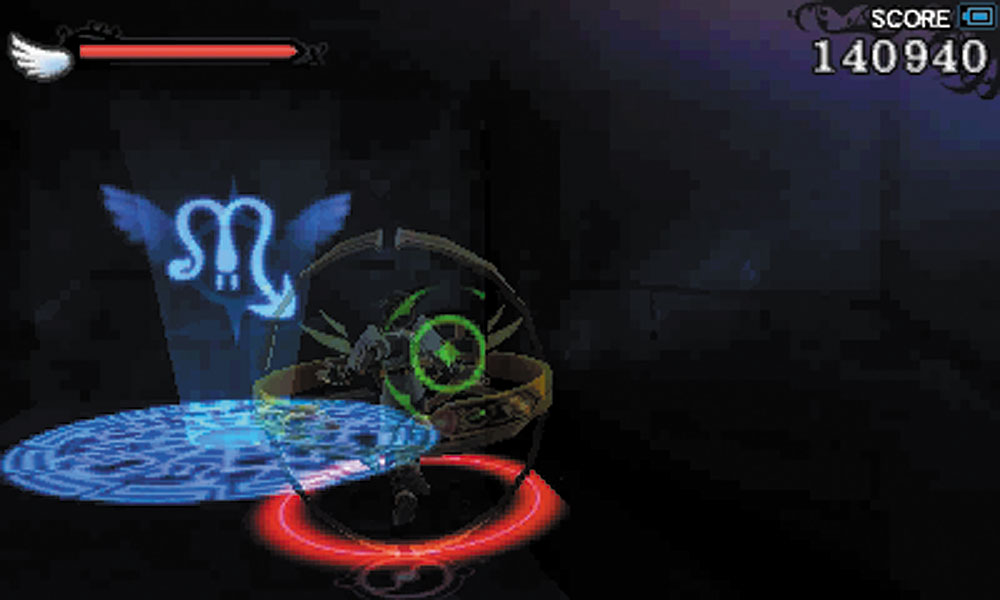
10. Take the Aether Ring and drop down the hole in the center of this room. Spin around in midair until you find a switch to shoot. This will open the way to the Zodiac Weapon chamber.
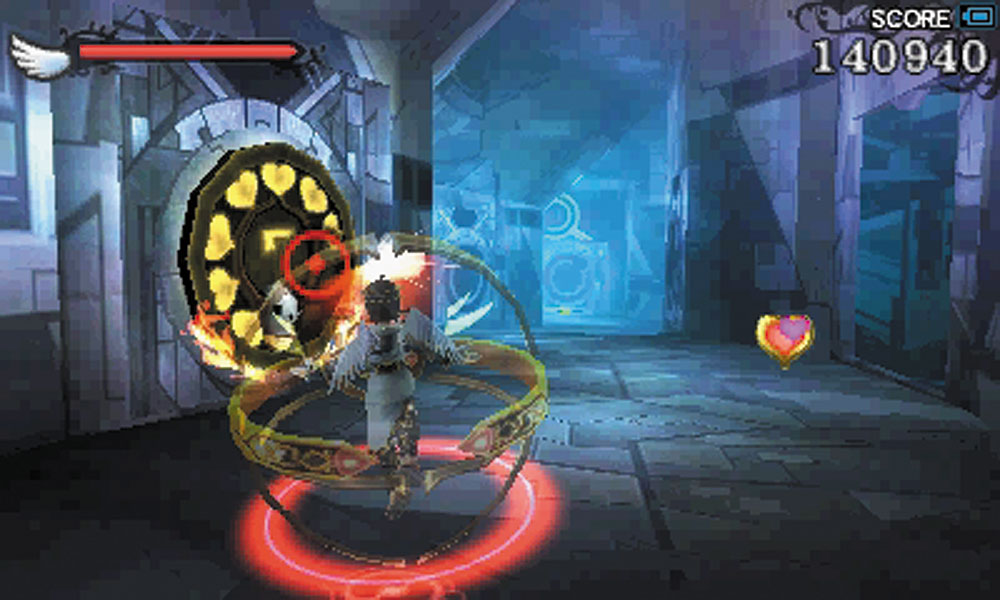
11. The winding wall here contains a Level 7 Intensity Gate. If you’re playing at that level, the gate opens and dispenses a weapon.
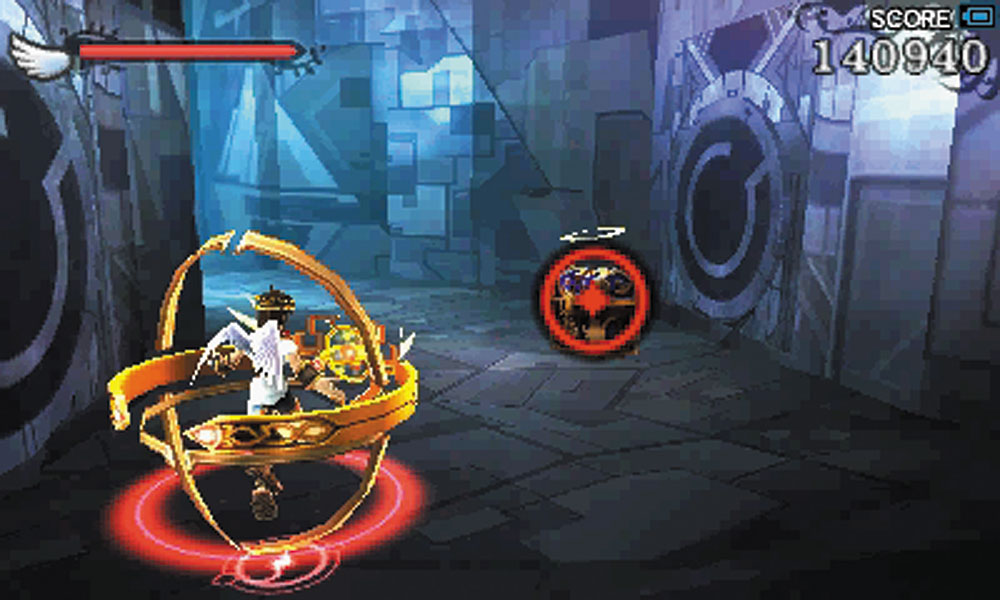
One of the doors in this hall will dispense a treasure box.
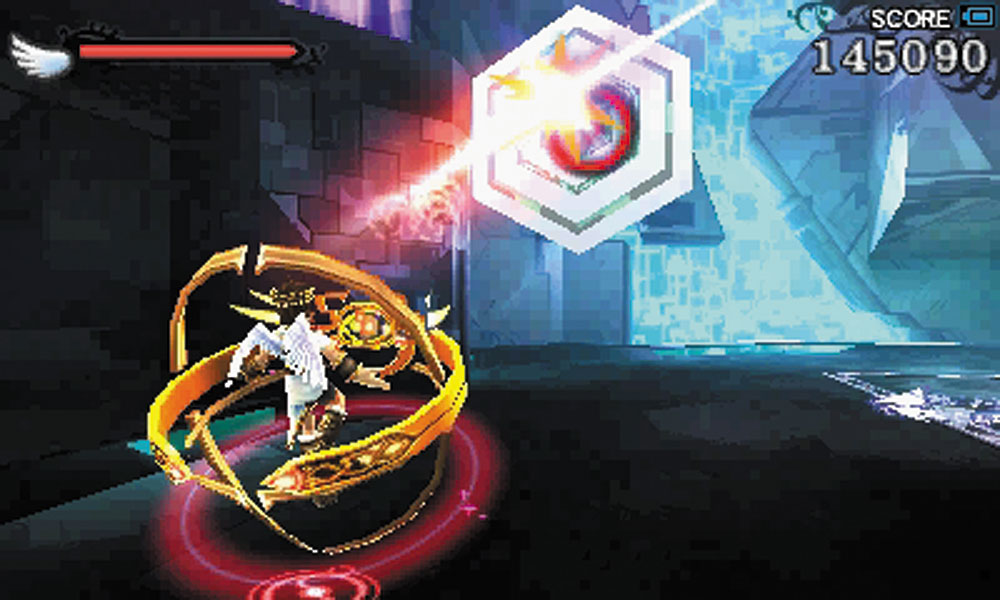
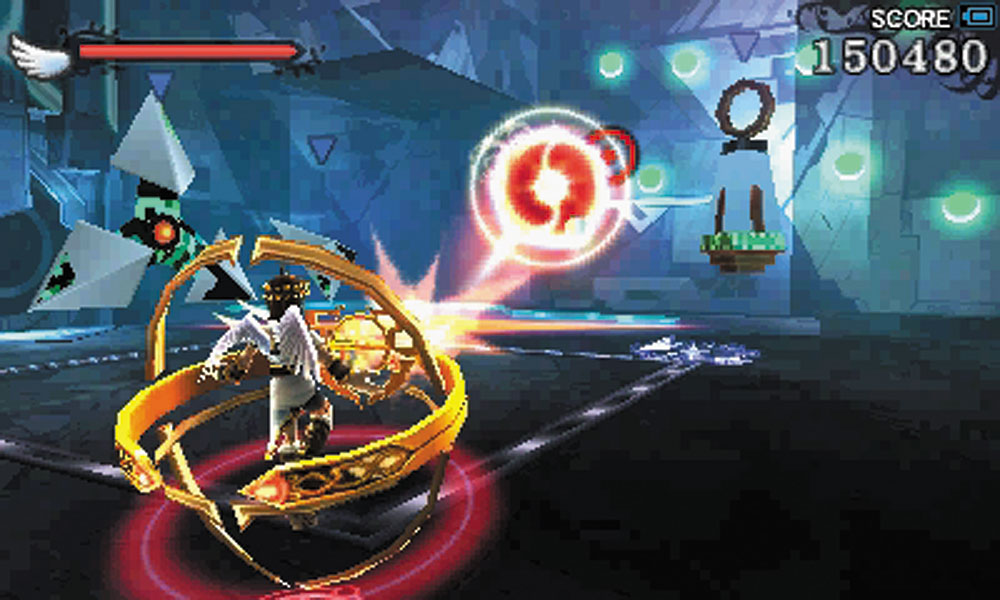
12. As soon as you enter this room, the Aurum attack in force. Quoils, Sios, and a Zrink are among the attackers. Be careful about the electric spark traveling in a square shape on the floor of this room. If you’re still driving the Aether Ring, the ambush may not seem too difficult. Just don’t forget your shield! Once the room is clear, a jump pad will take you to the next section.
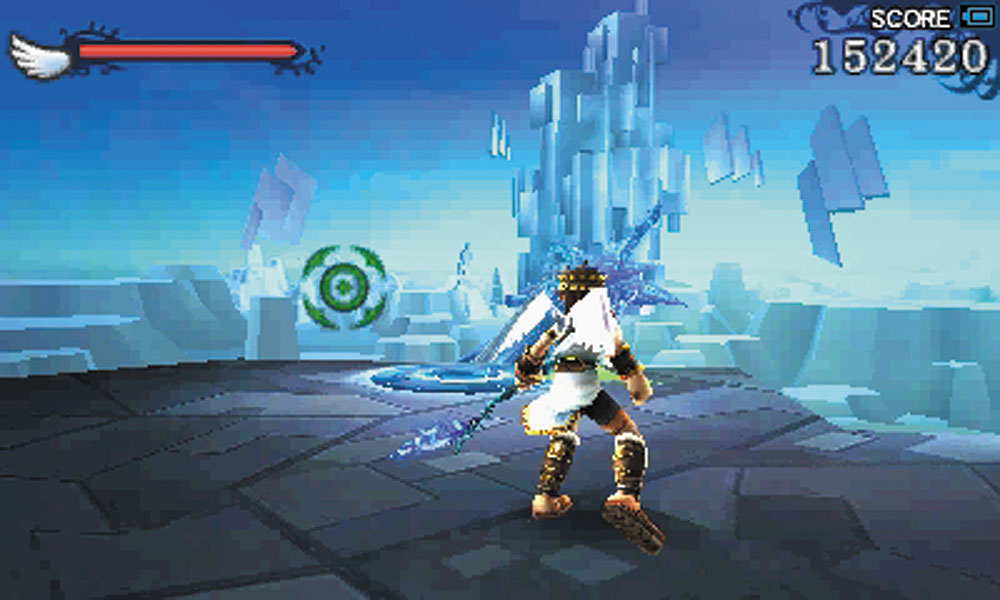
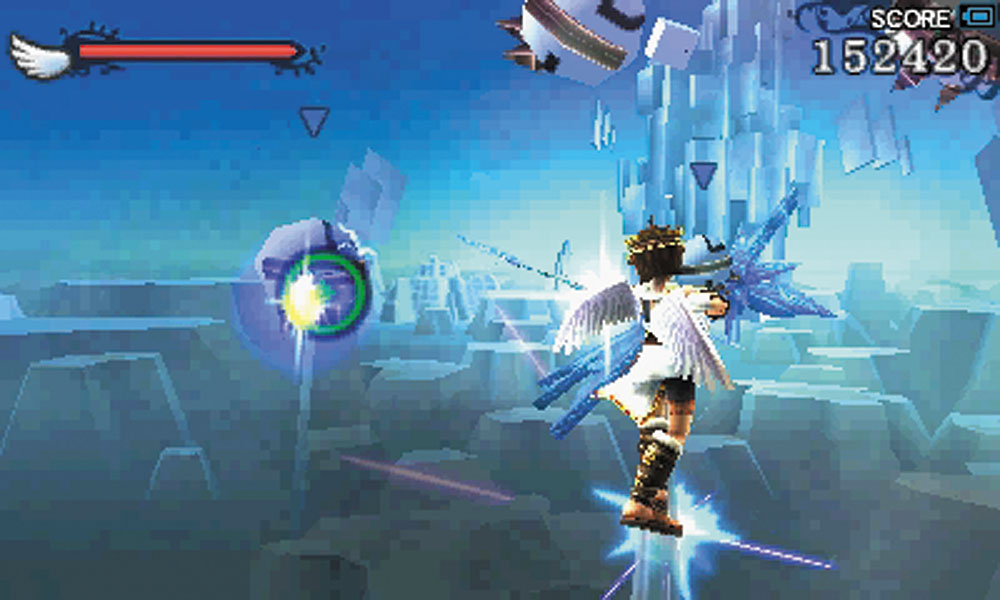
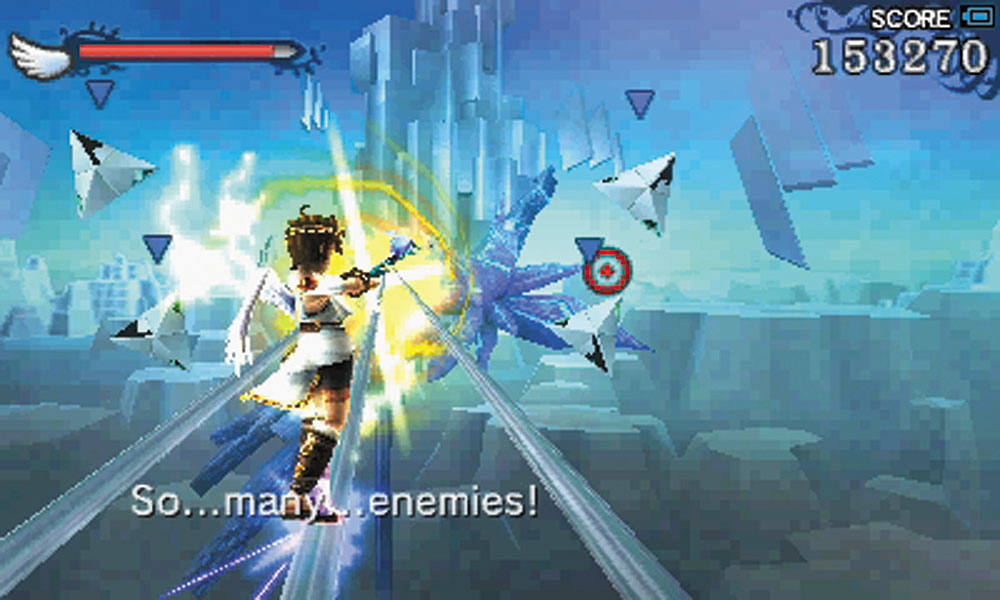
13. A long grind rail stands between you and the heart of this fortress. You get some assistance from the Forces of Nature during this trek. They are marked with green arrows, so if you don’t mind the extra help, don’t shoot them down.
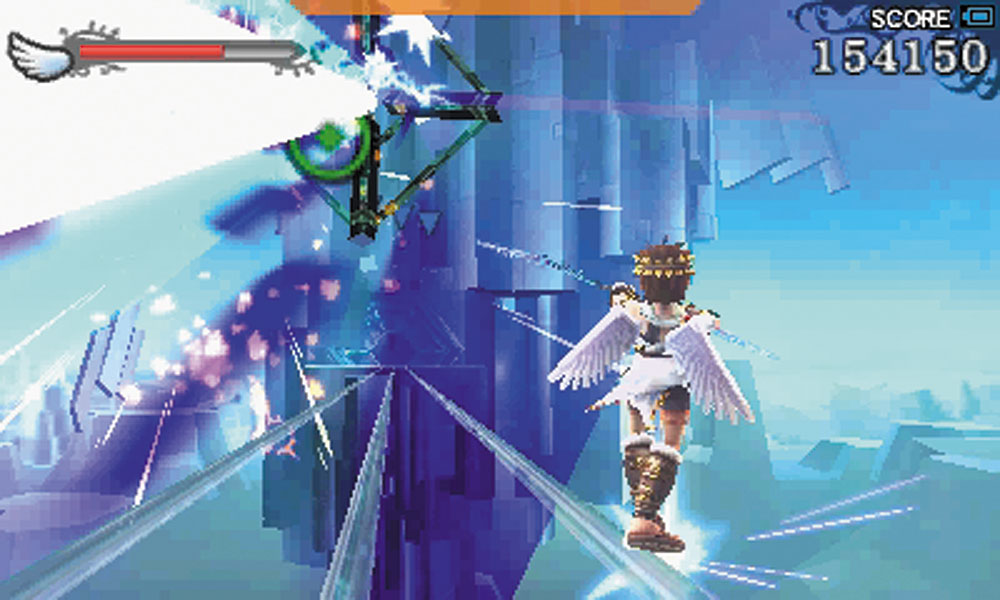
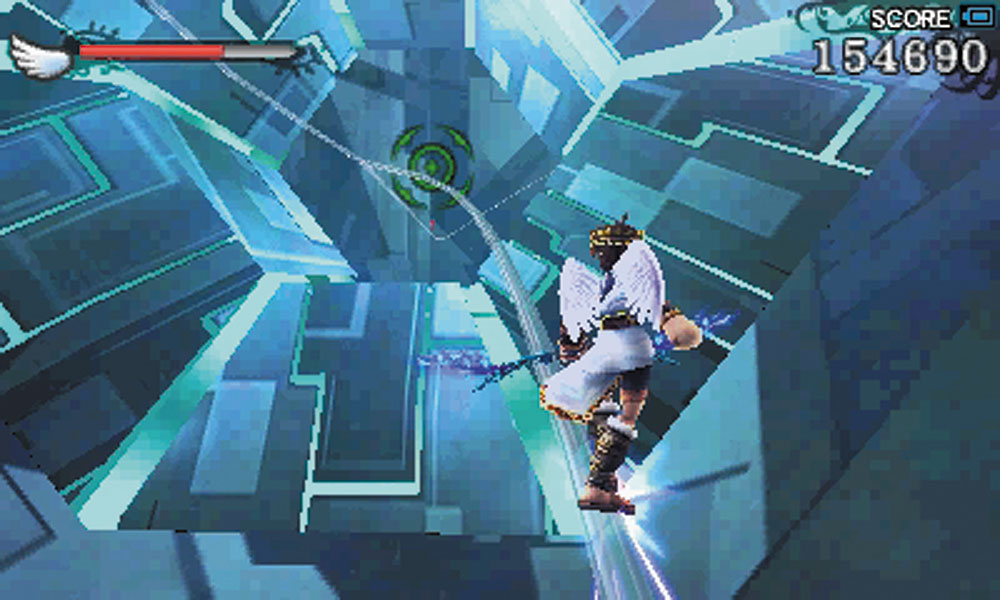
You can hop between different grind rails on the way to the generator, which will come in handy when avoiding attacks from Jyoks.
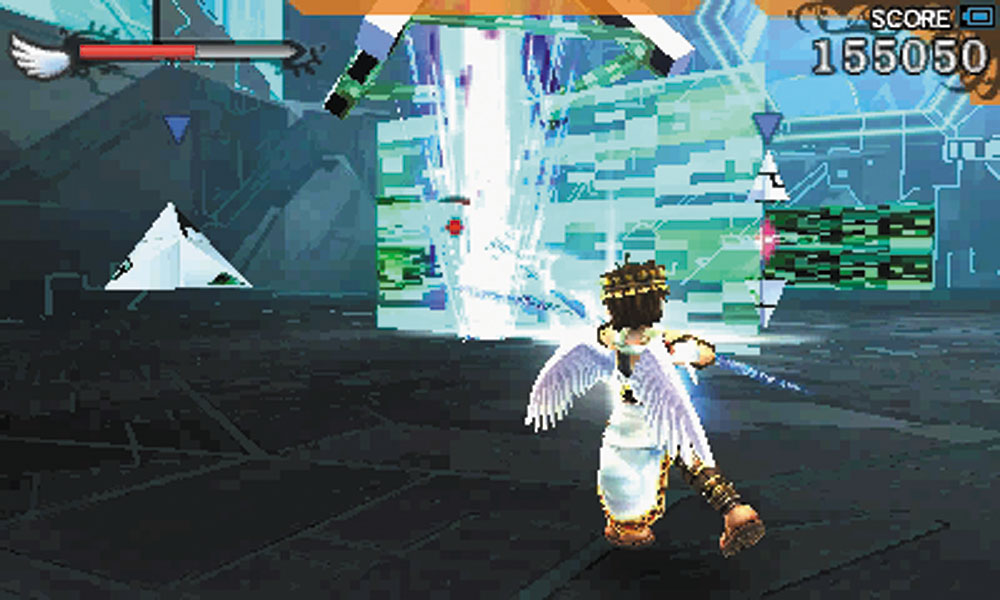
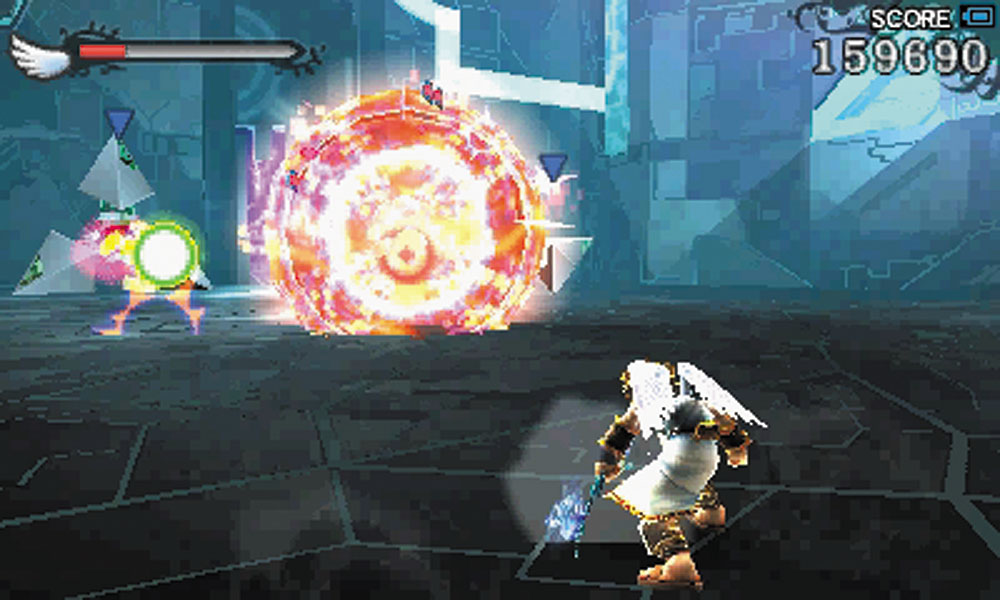
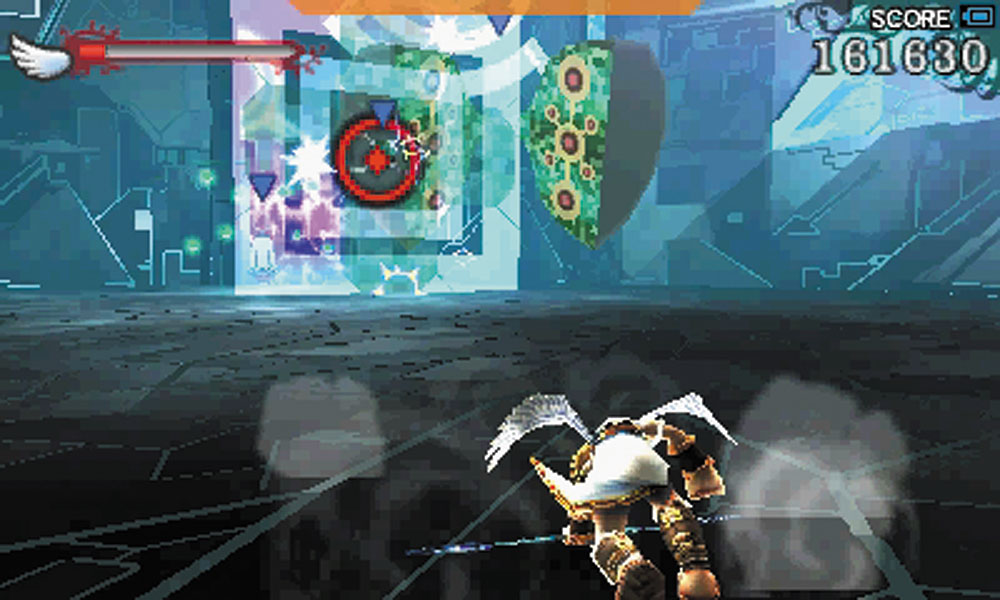
14. The last line of defense before the generator room throws a small Aurum zoo at you. It’s nothing you haven’t seen before, but this can be a taxing battle, particularly if you’re low on health. Once you overcome the three waves here, a Drink of the Gods appears. The way to the generator is open.