
Kid Icarus: Uprising Guide Walkthrough Chapter 12: Wrath of the Reset Bomb
Land Battle
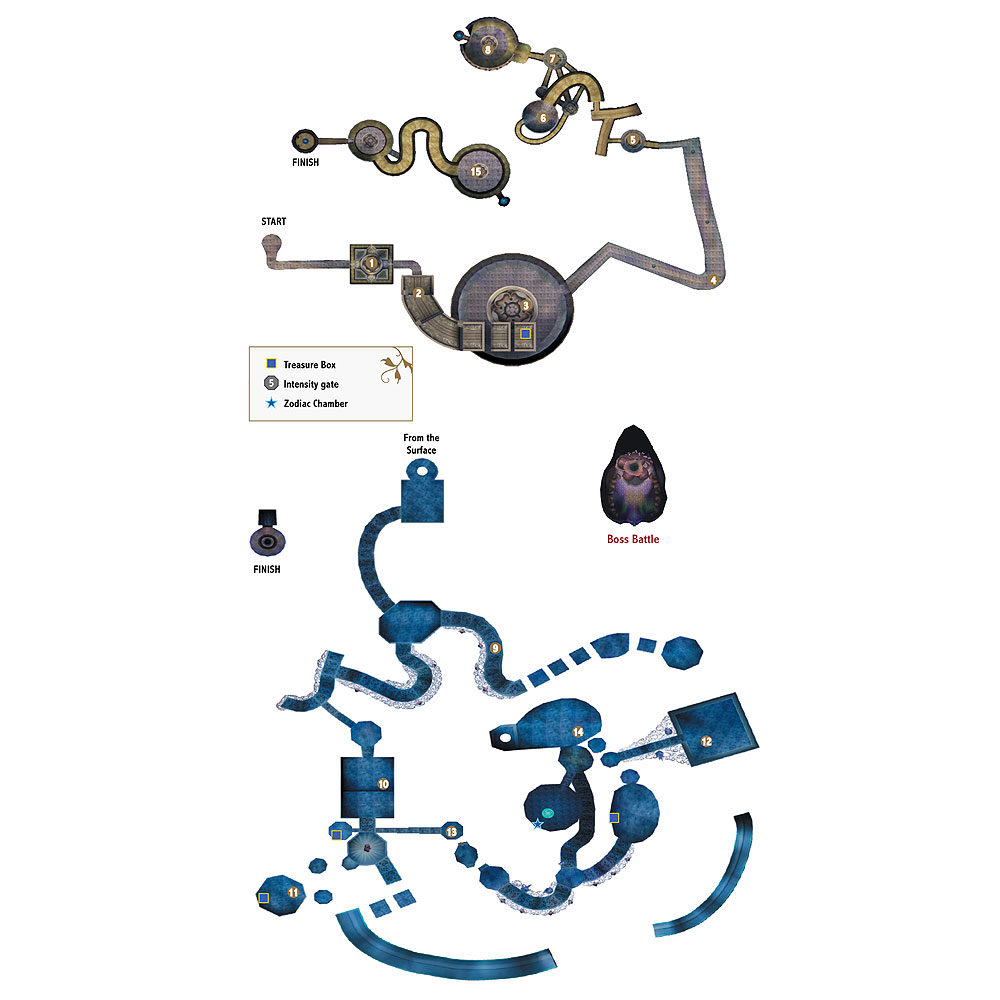
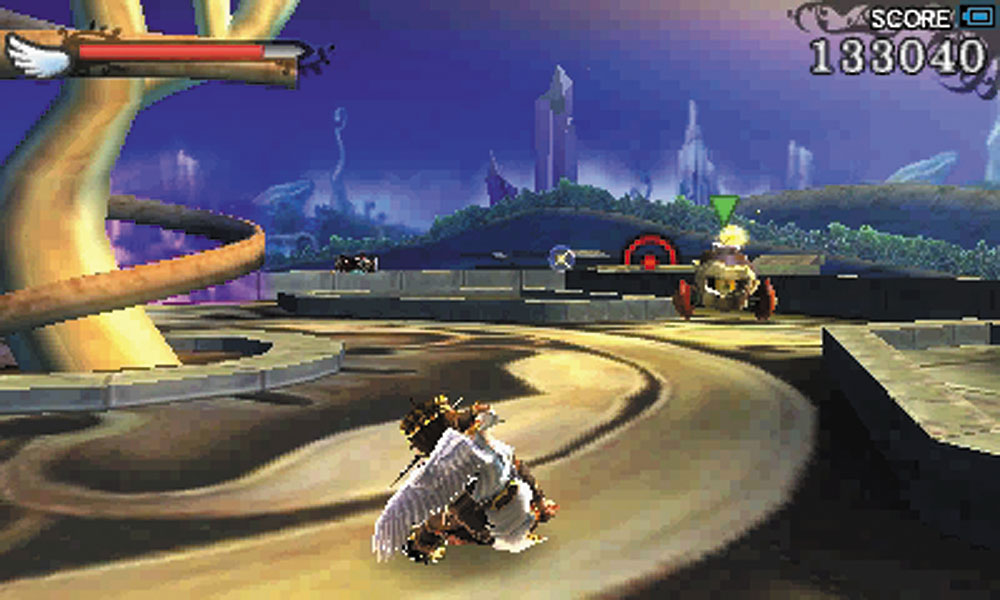
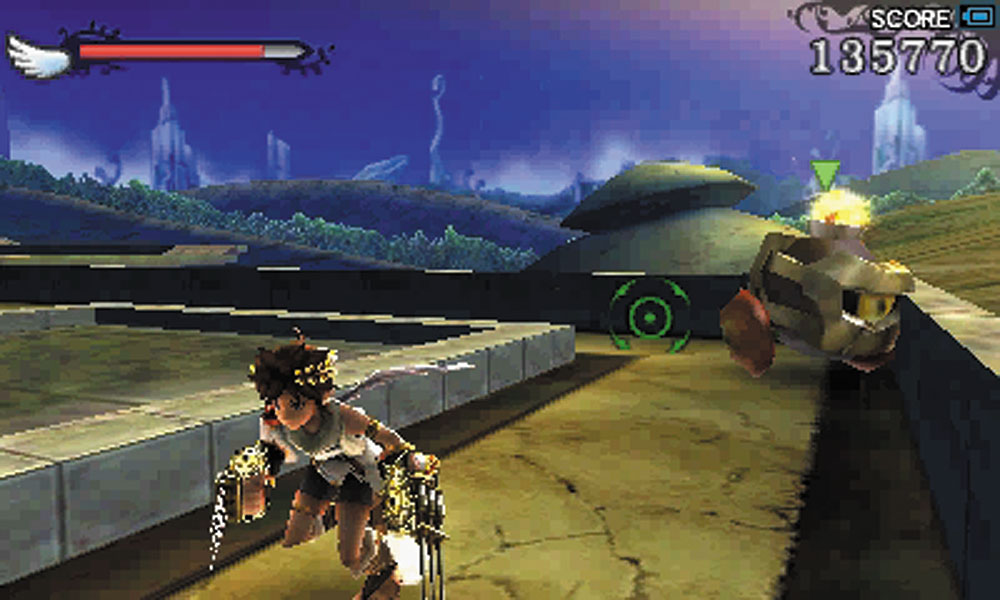
1. Bumpety Bombs chase you around until they explode, and this arena has many obstacles that prevent you from running away in any direction freely. Charged shots tend to knock back a Bumpety Bomb, giving you a chance to escape. Watch out for Zerts looking to join in the fun.
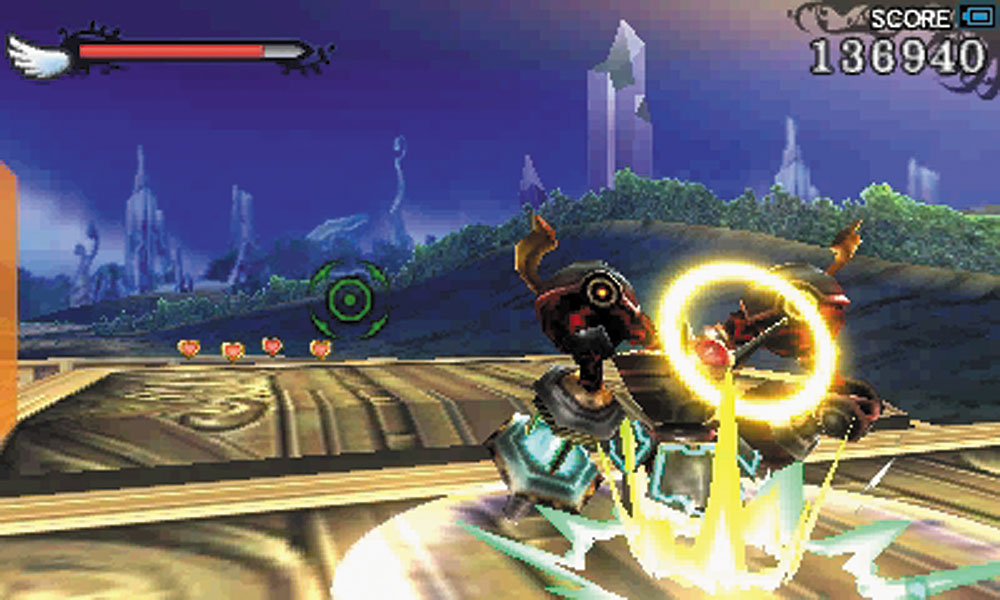
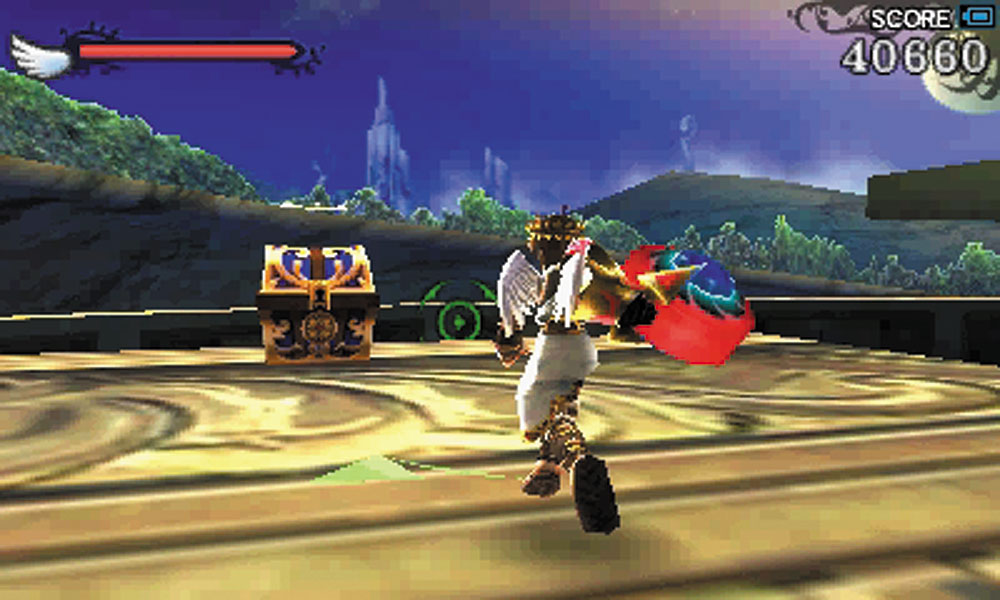
2. You get access to a Cherubot on this elevated bridge. If you are careful with its jumping ability, you can cross the gaps and reach the end of the bridge for a Treasure Box reward.
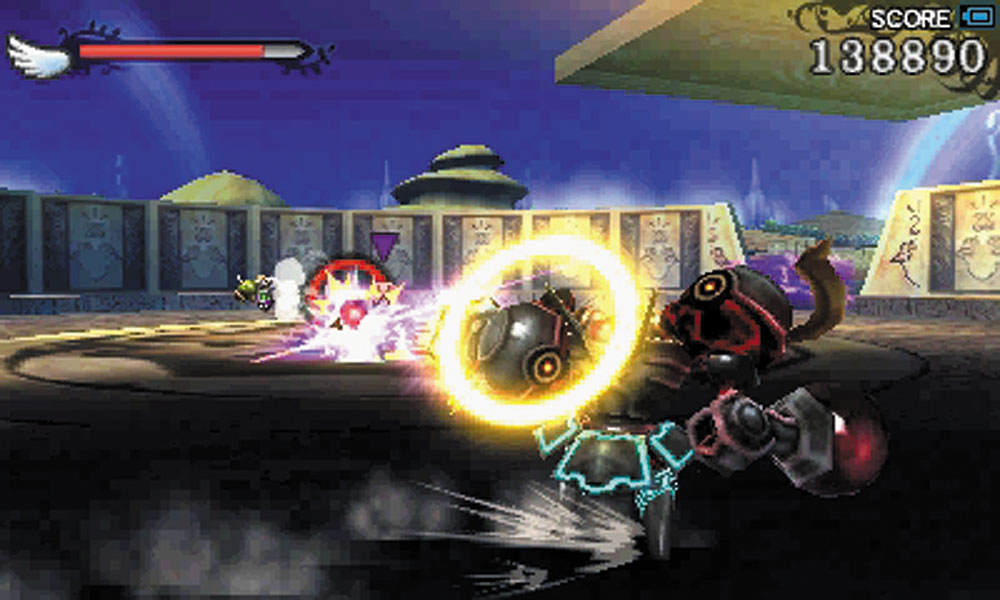
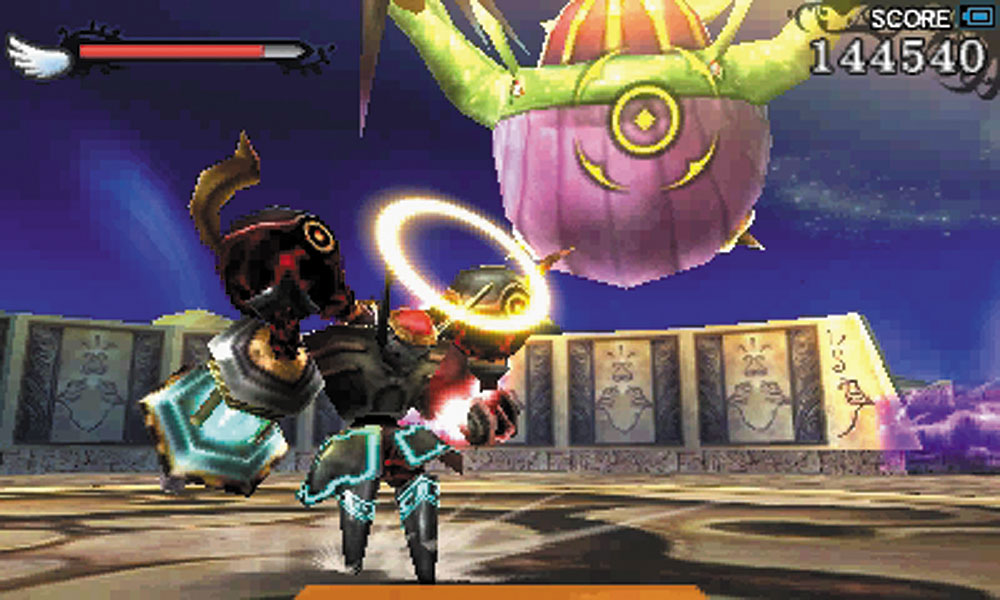
3. This circular arena features a mix of Underworld and Nature troops duking it out. If you’ve still got the Cherubot here, you can make short work of everything that comes your way. After the battle is won, you unfortunately must abandon the Cherubot and take a jump pad to the next area.
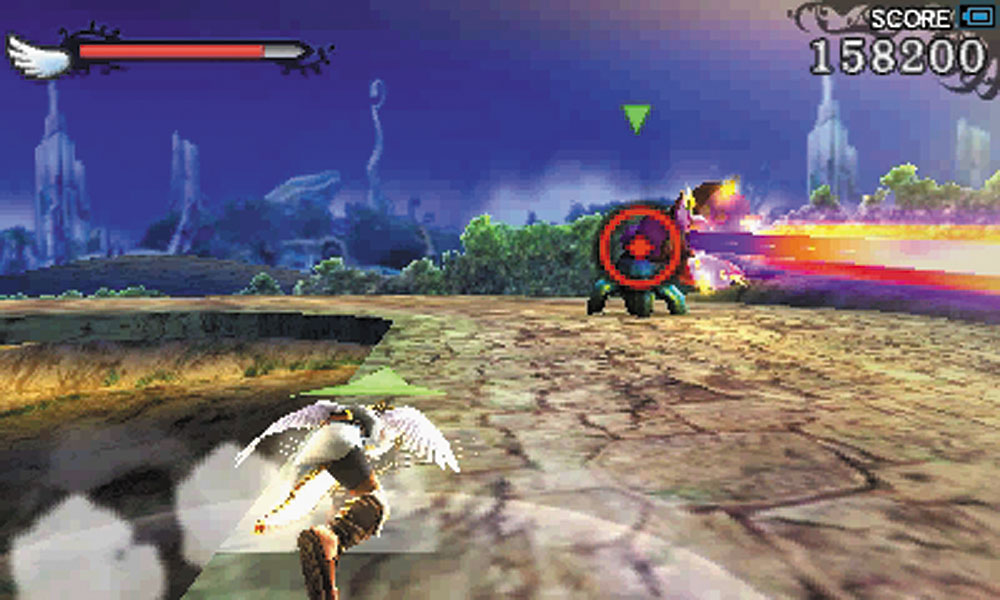
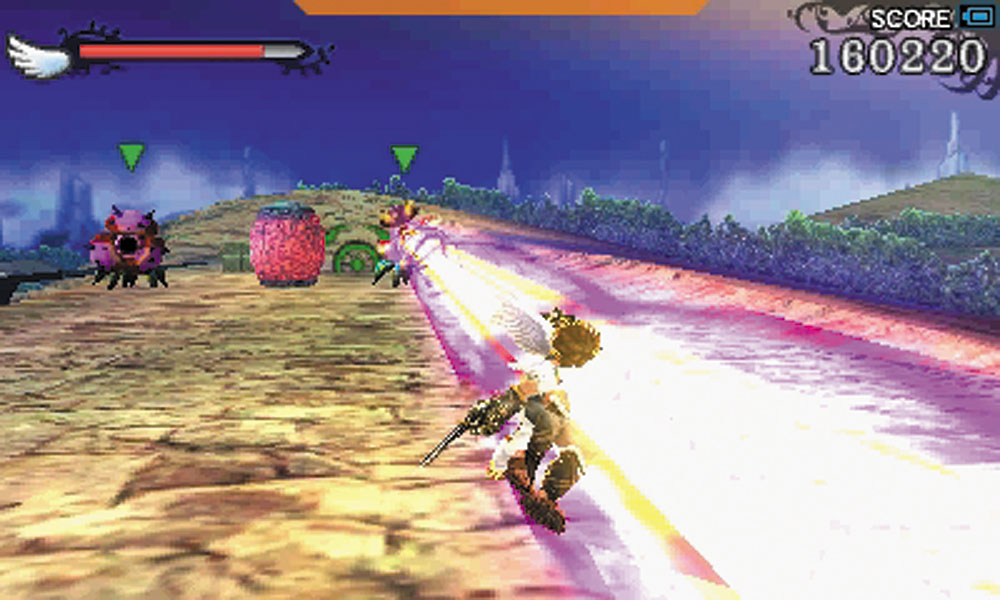
4. This walkway is guarded by Lethiniums, who fire powerful beam shots. You can use the destructible brick walls as cover, and when the beams subside, leap out and strike. Watch for some explosive barrels placed near some of the Lethiniums for a quick solution to the problem.
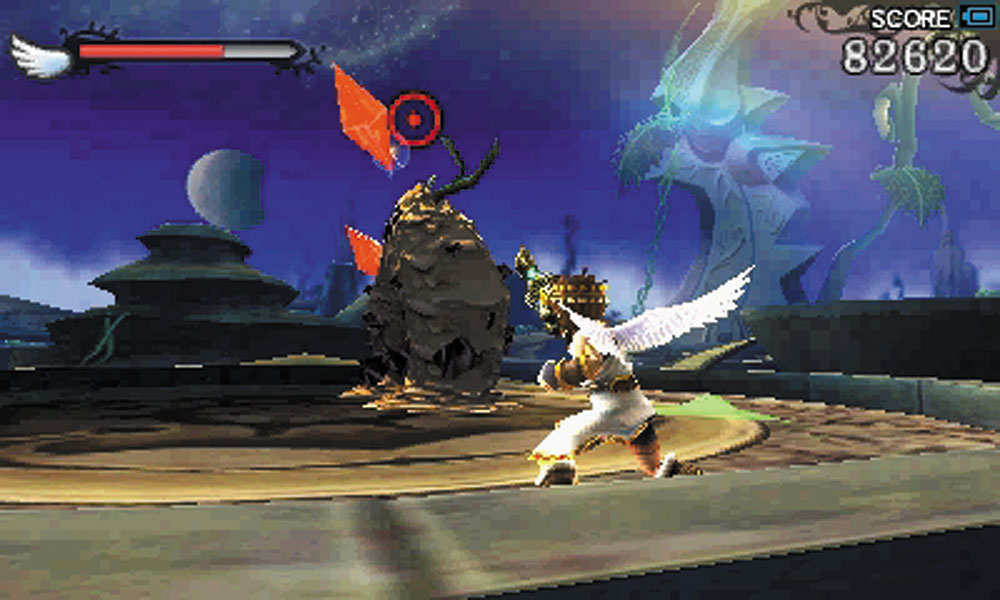
5. A Mudrone is dangerous if you allow it to be. They also take a long time to truly kill—they must be defeated a total of three times. If you’re in a rush, you can run past it and most of the other enemies in this section.
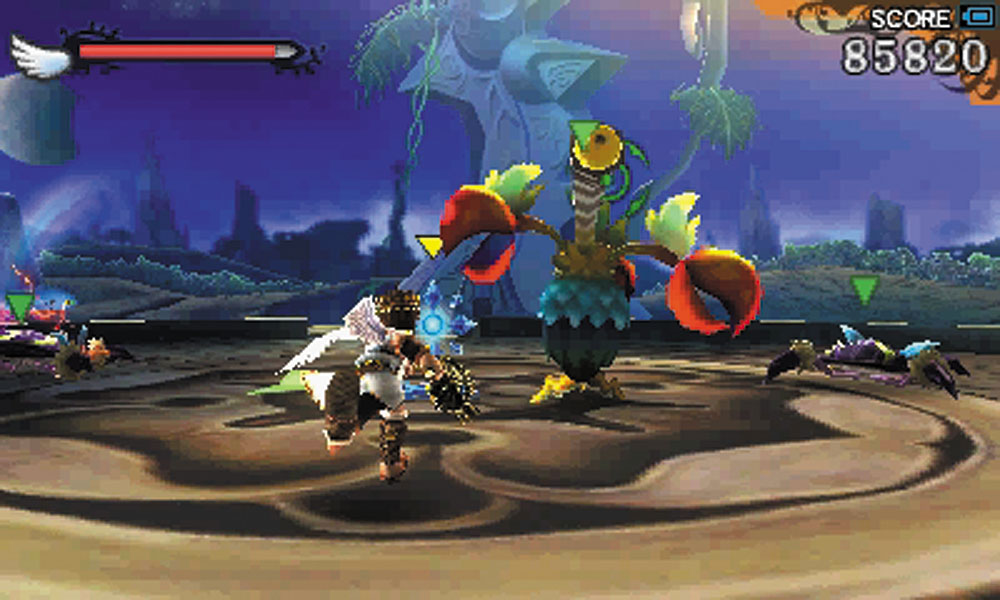
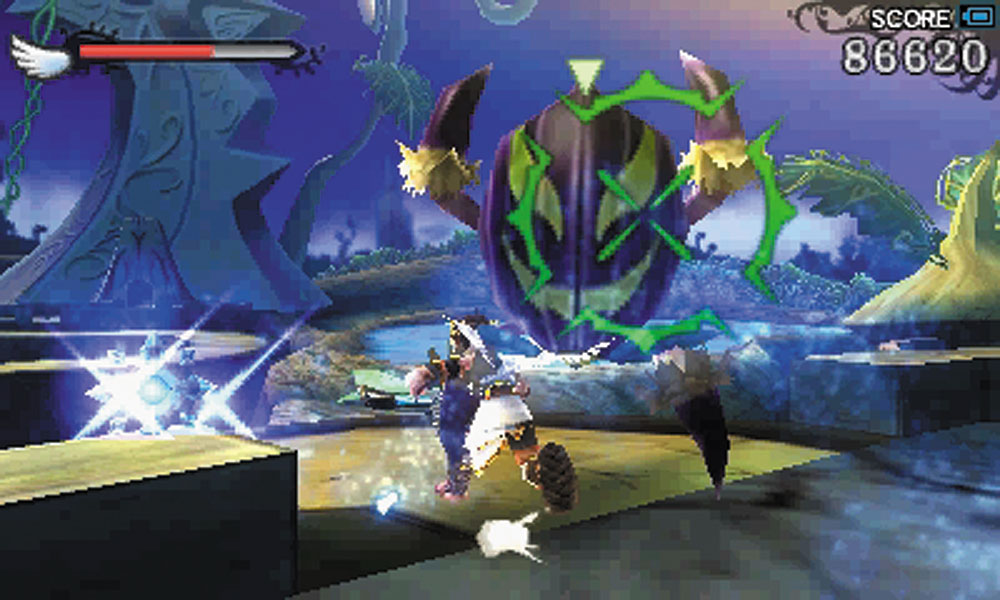
6. The Cacaw here has a dangerous ability to confuse Pit from afar, making it difficult for you to aim and move. Destroy it first to make fighting the Skreetles here easier.
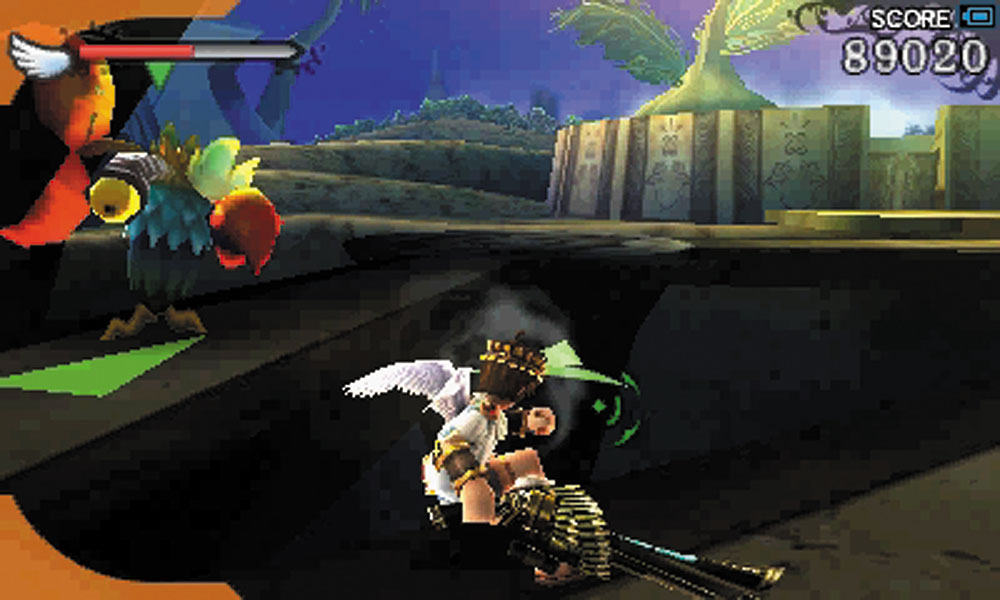
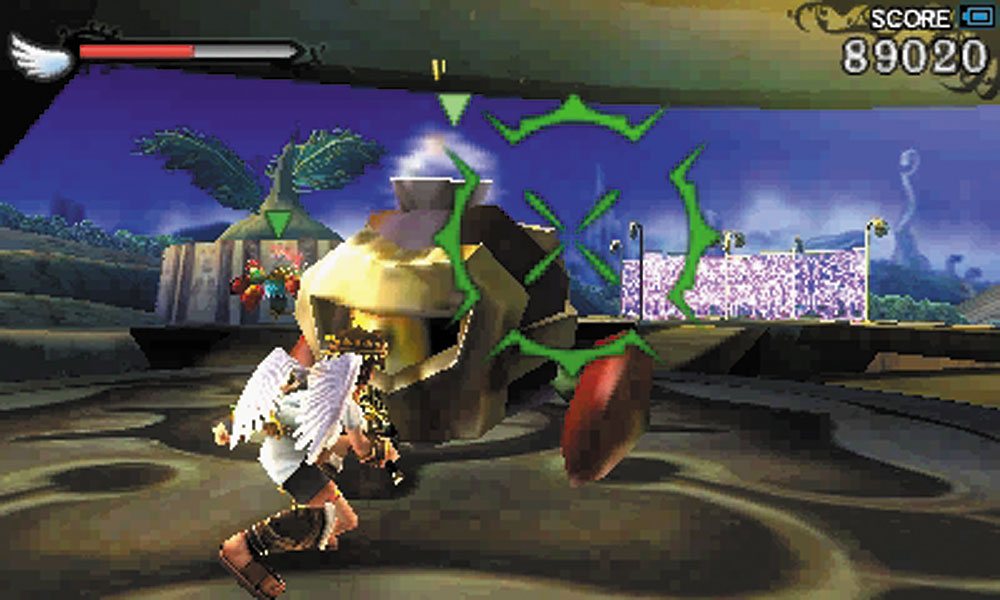
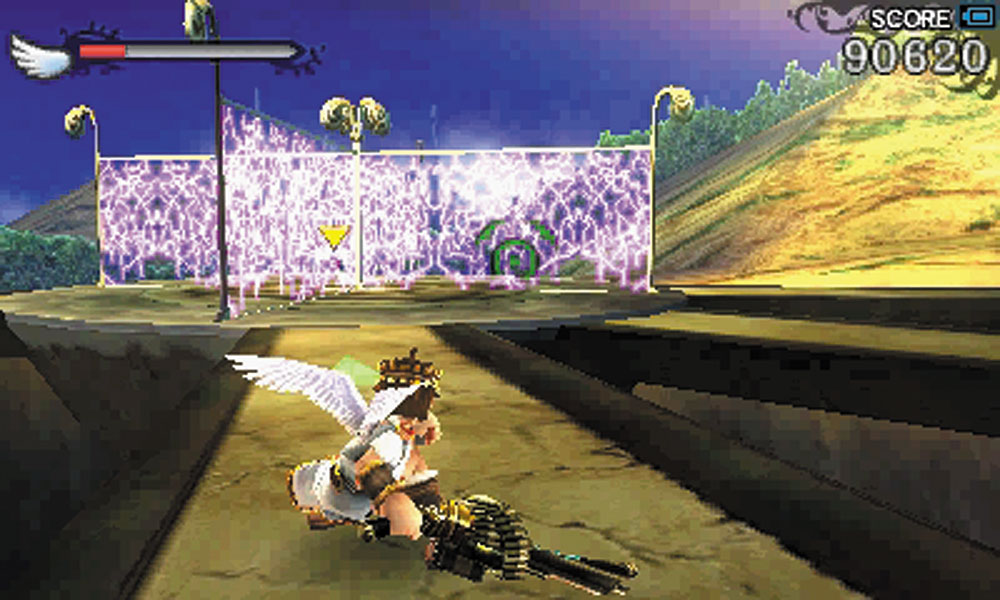
7. Bumpety Bombs, Cacaws, and a rotating electric fence make a bad combination. Destroy the enemies first before trying to navigate the trap.
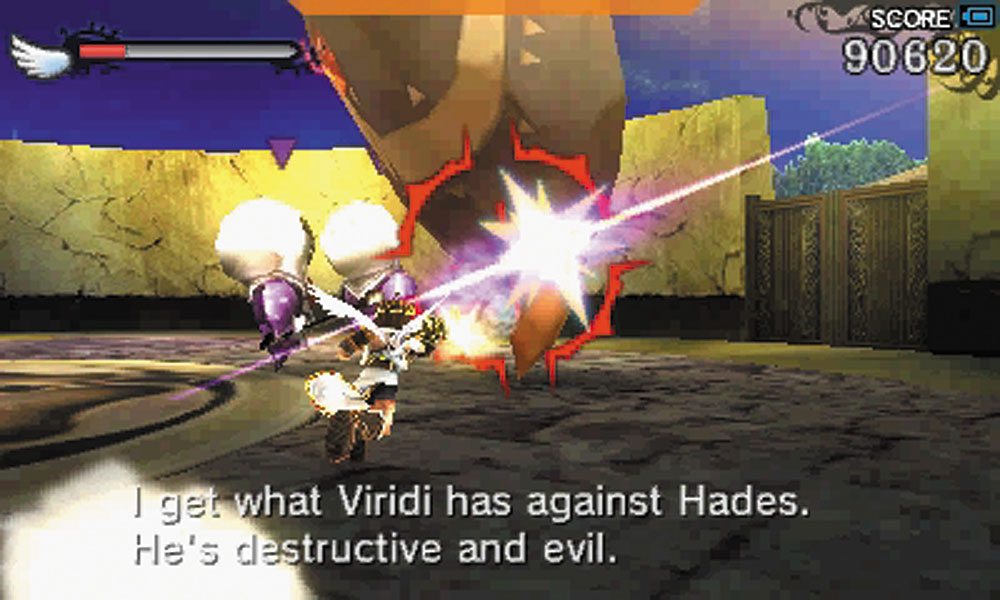
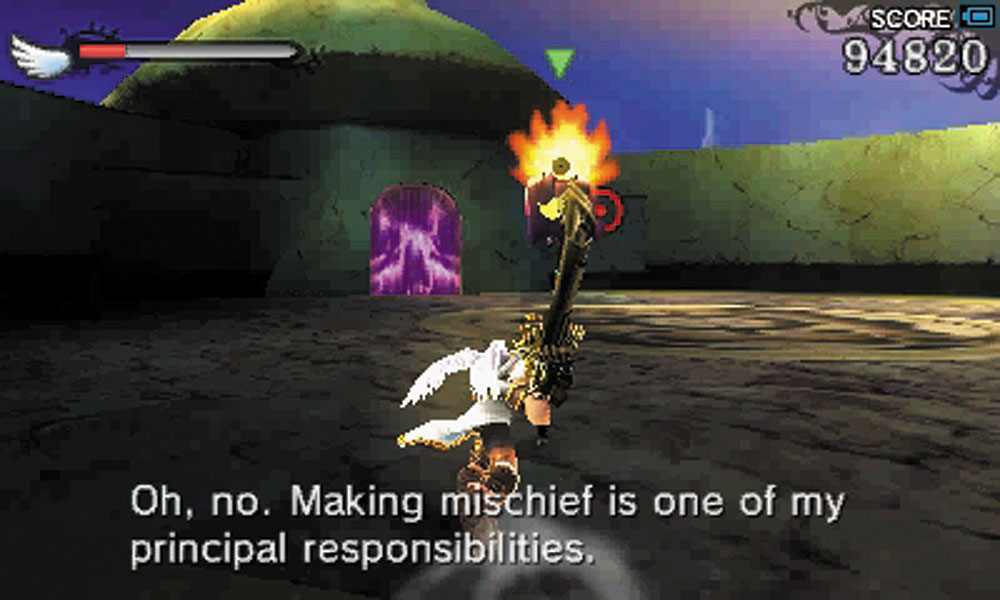
8. This is the site of an Underworld vs. Nature battle, but it would take too long to let the Boom Stomper defeat the Skuttlers on its own. Once both sides are eliminated, a Captain Flare will attack. It vanishes after taking damage, reappearing elsewhere to attack from a different direction. Take the elevator down after the battle.
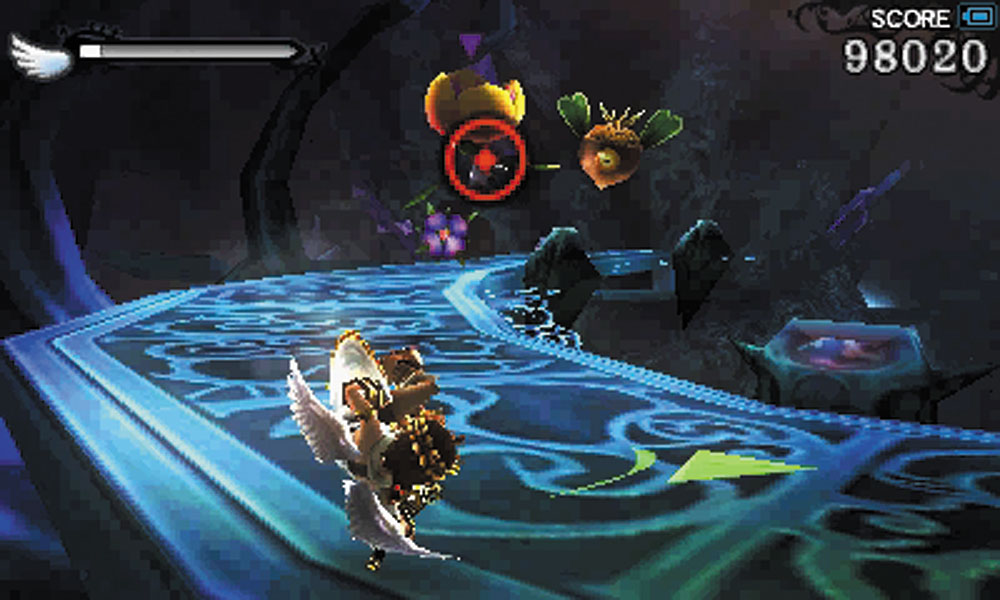
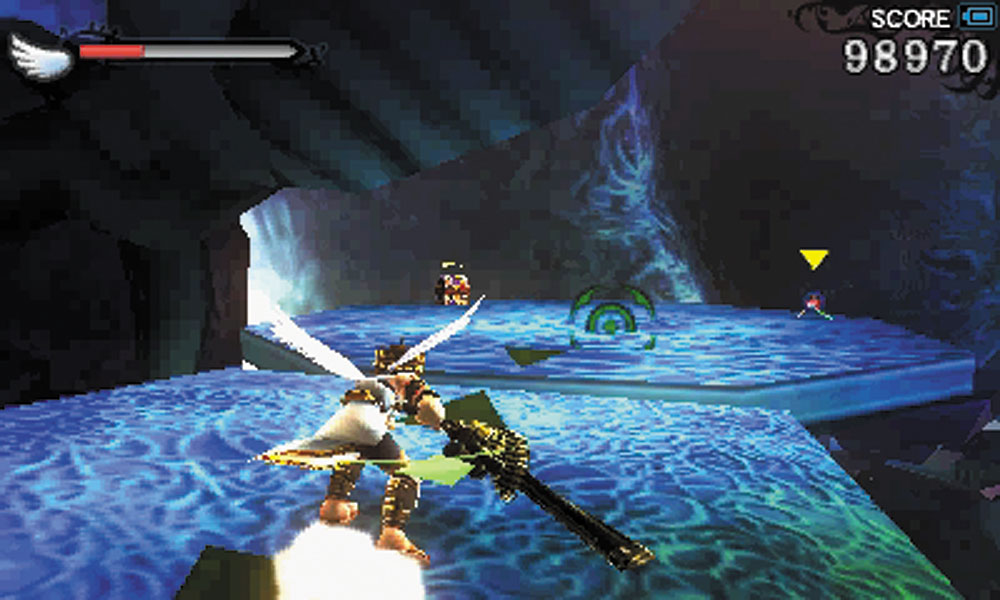
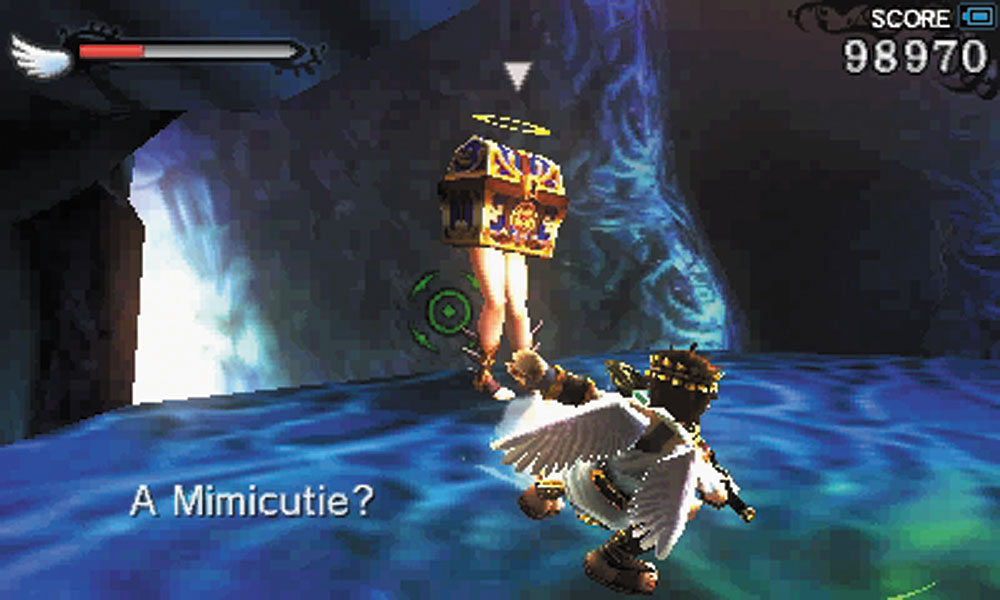
9. Nutskis and Pew Pews guard this side path leading to a Mimicutie. Take the Smart Bomb next to it and make short work of this monster, if you decide to fight it. A Cacaw and a Skreetle appear on the smaller platforms leading to the Mimicutie when the fight begins.
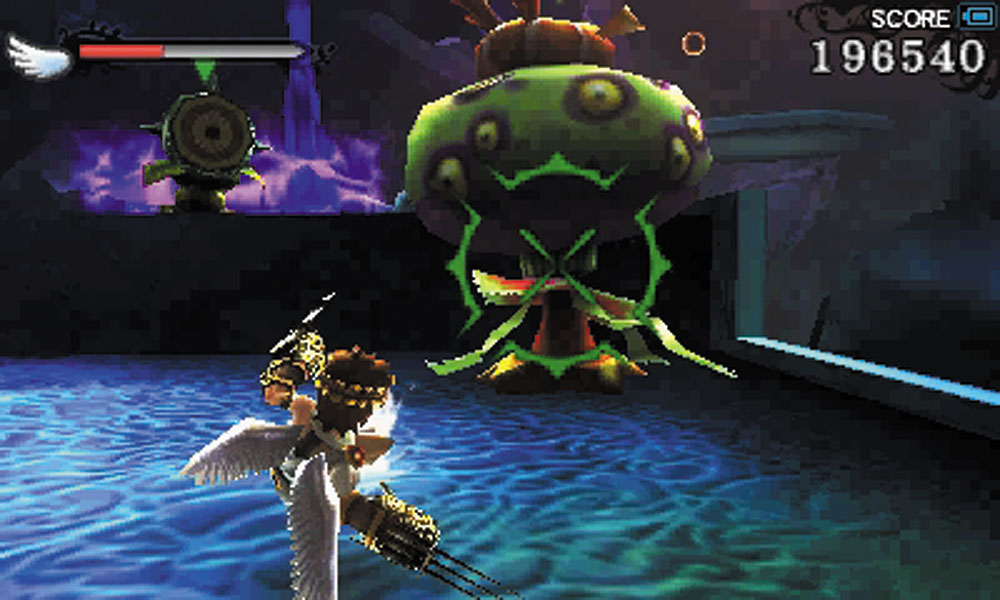
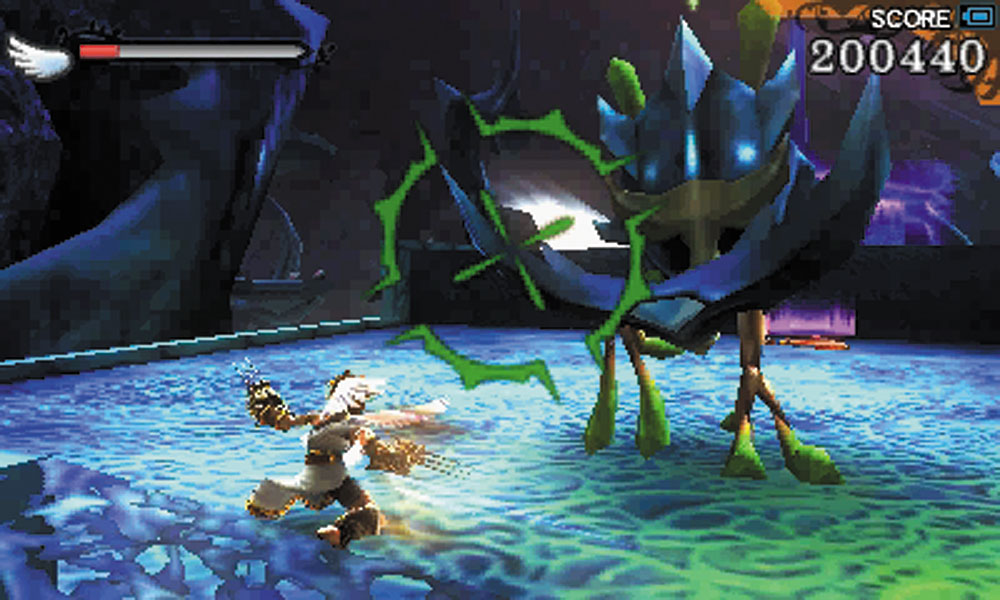
10. The Toxiecap makes this battle difficult, it can cover most of the platform with poisonous explosions. A Meeba also attacks here. It’s similar to an Armin and frontal attacks are useless against it. Attack it from the sides or behind.
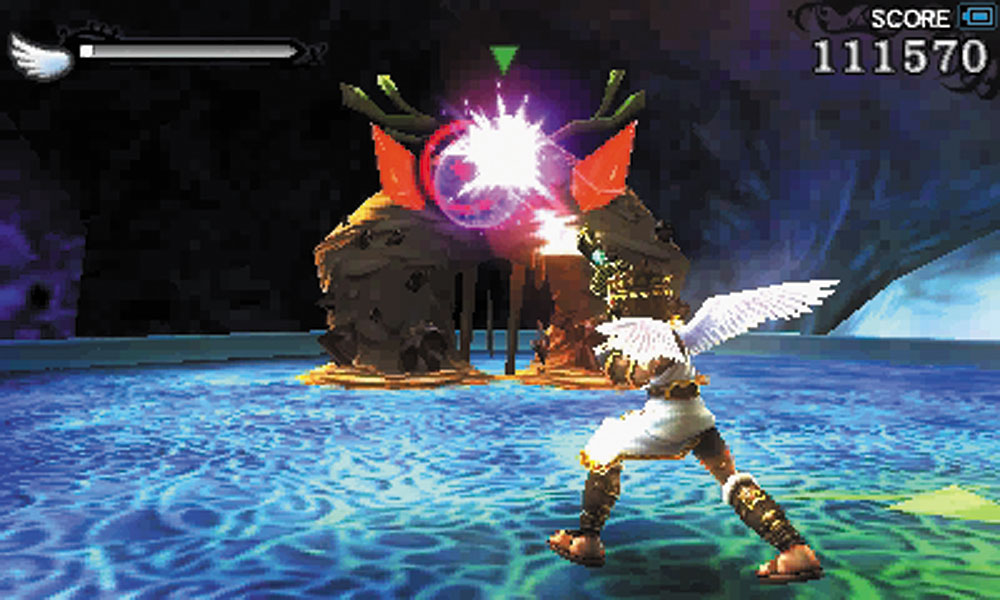
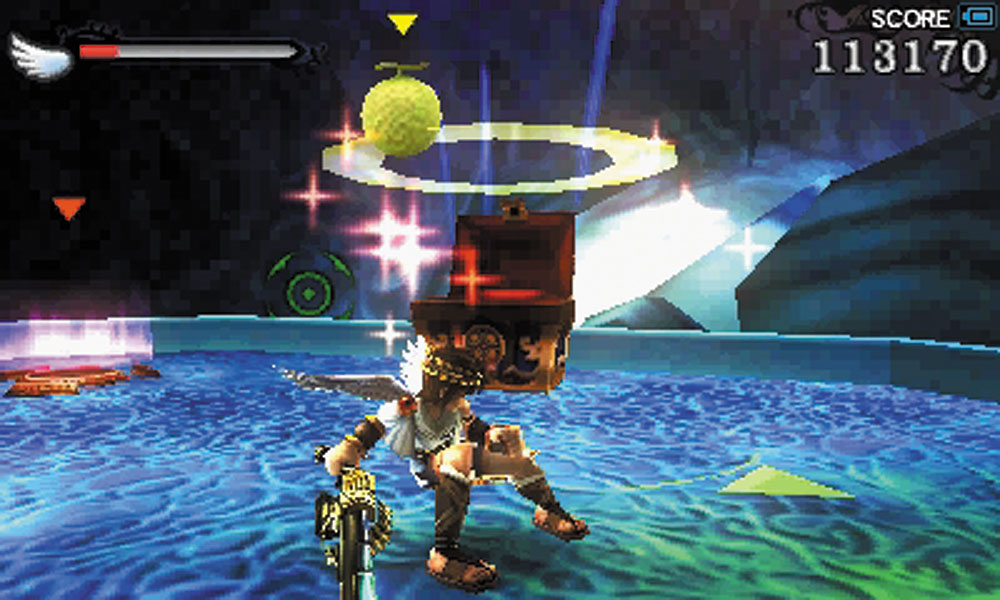
11. A Mudrone protects the Treasure Box here, and a second box appears when the monster is beaten.
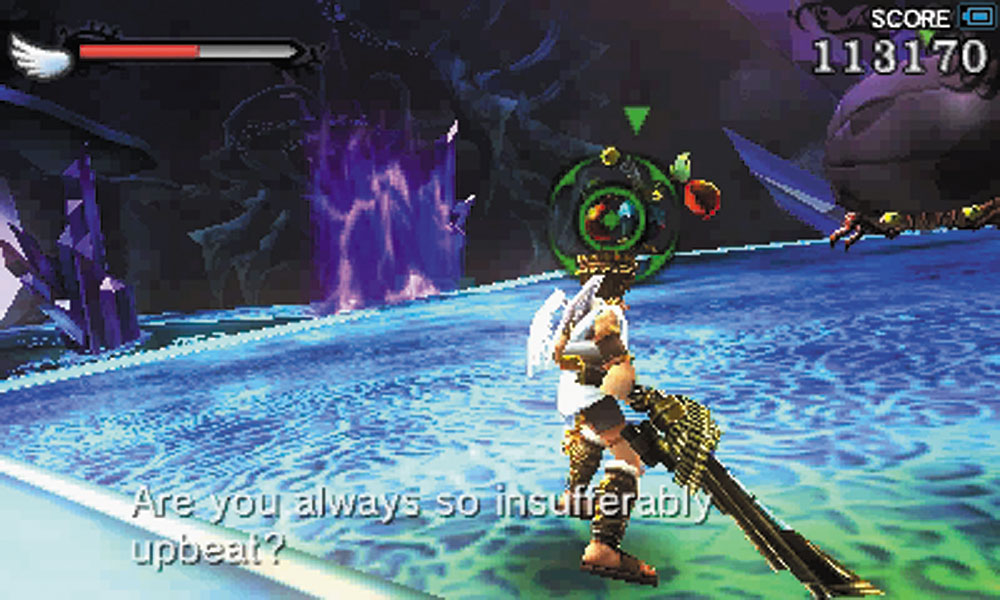
12. The two grind rail ramps send you to this platform, where you’re greeted by a Megonta and two Cacaws.
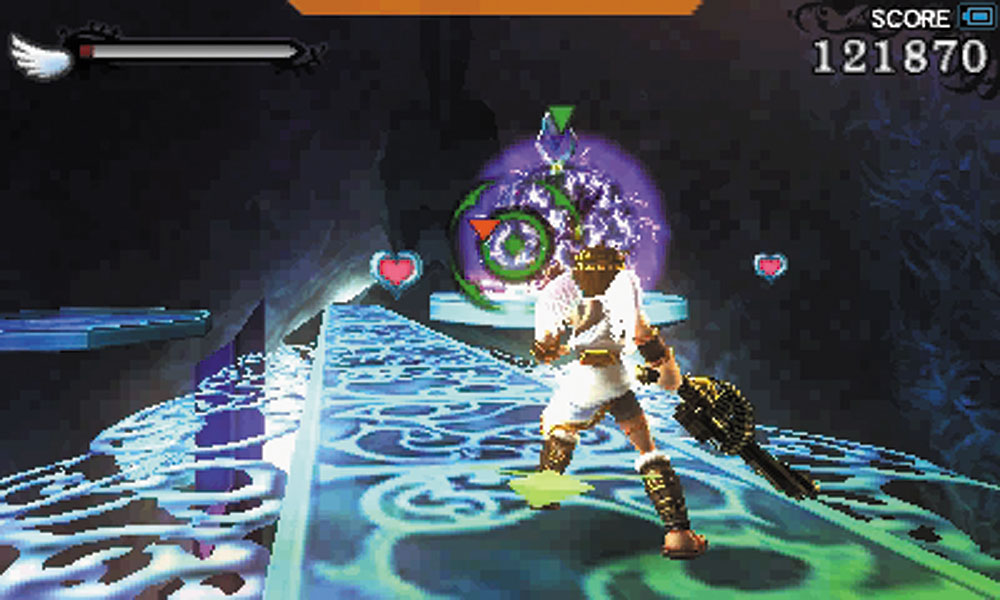
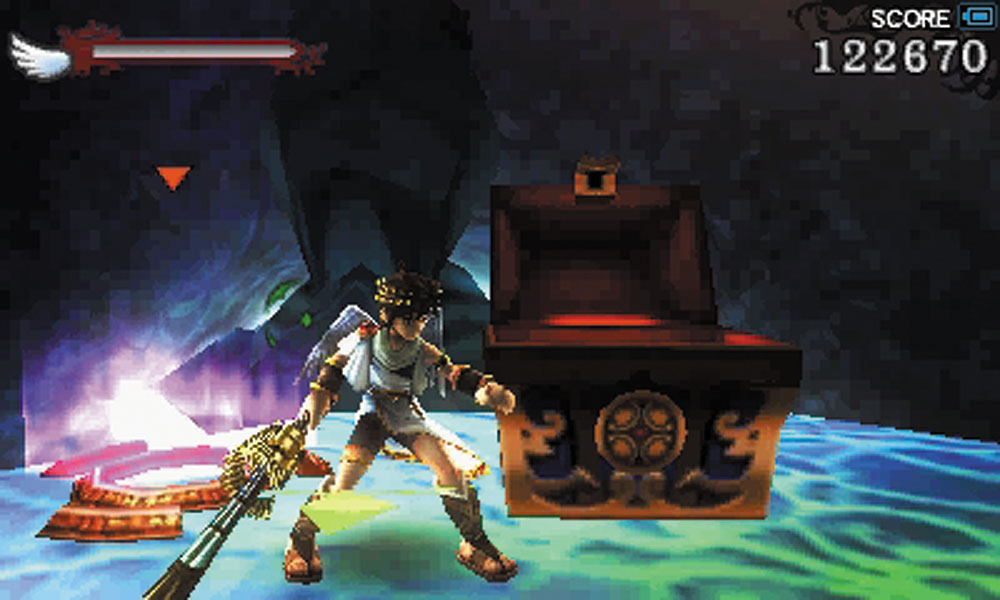
13, The bridge here swivels back and forth, while a Zert guards the platform with the Treasure Box. Take your time crossing the bridge. You can fall into a bottomless pit.
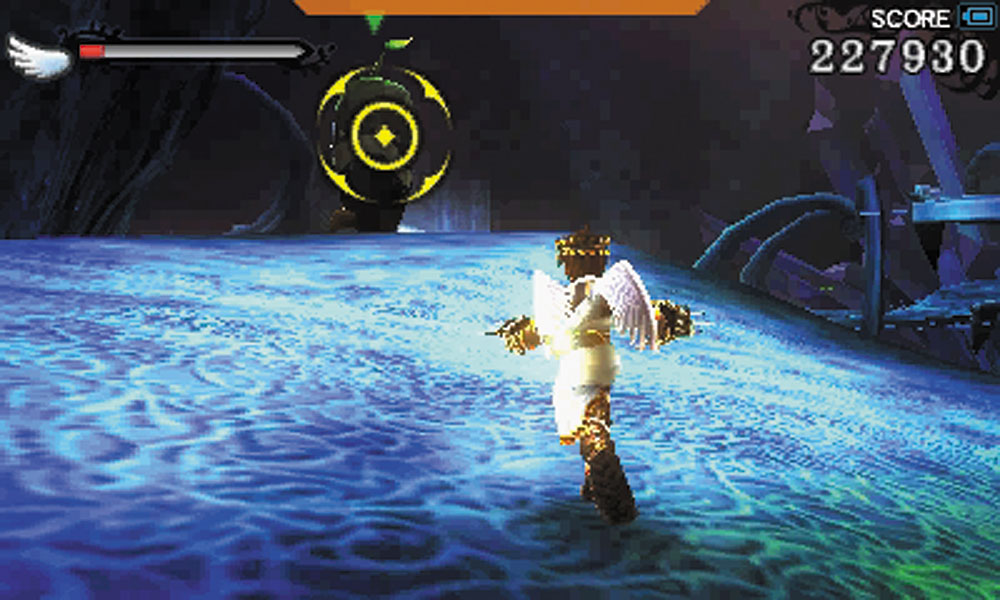
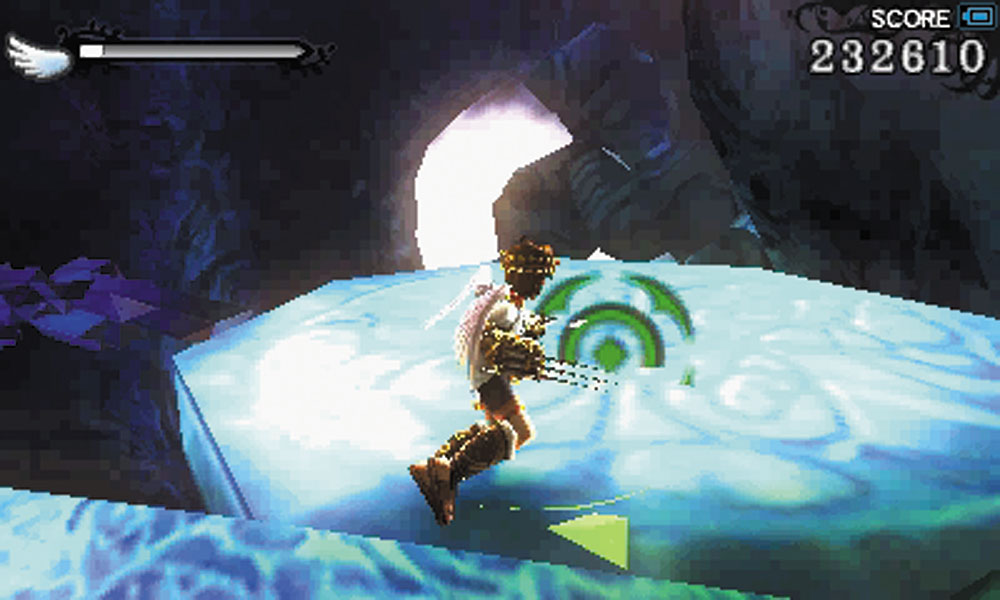
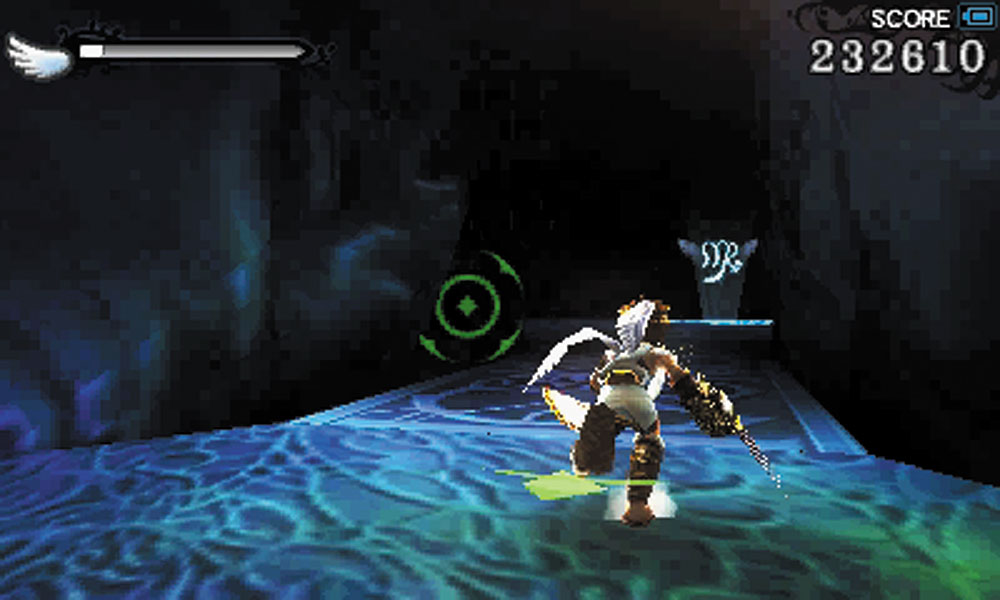
14. After fighting the enemies here, it’s easy to just blaze on toward the elevator to the upper levels. Resist the urge to do this and check the area for a small platform that takes you down to a Zodiac Chamber portal.
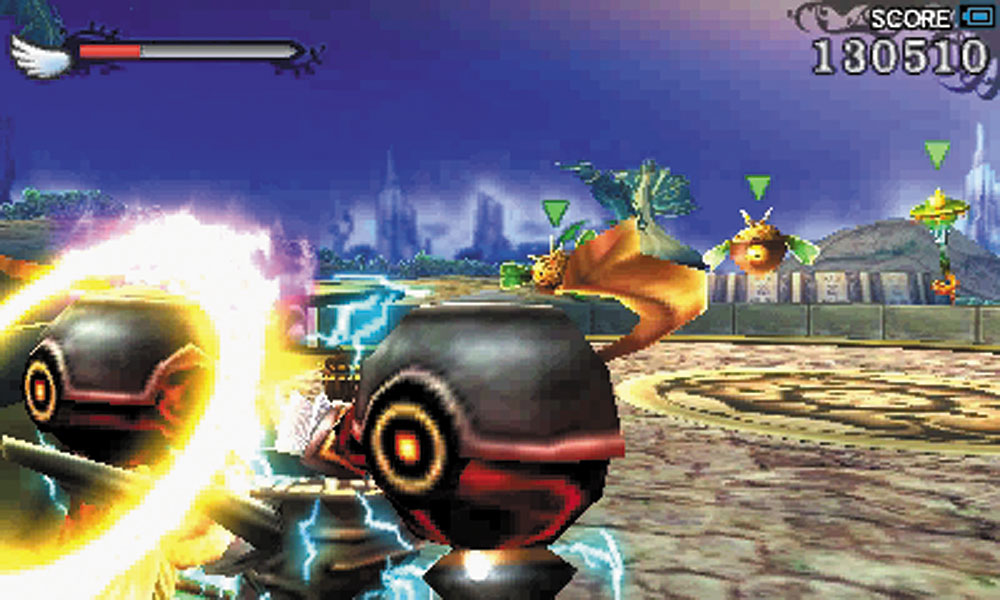
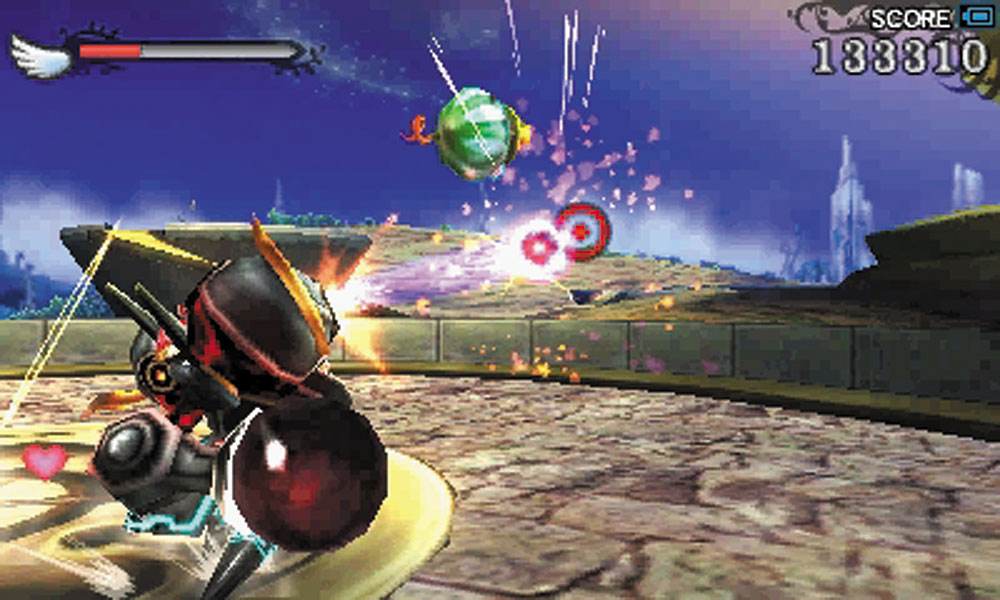
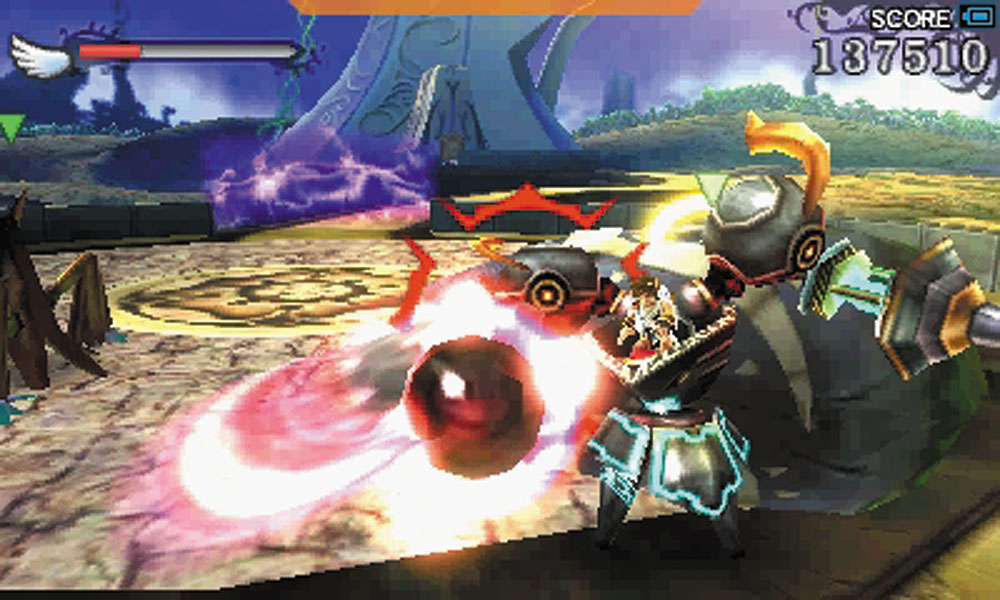
15. Another Cherubot is found here, and the Forces of Nature helpfully provide themselves as targets. It is possible to keep the Cherubot alive for this entire section.
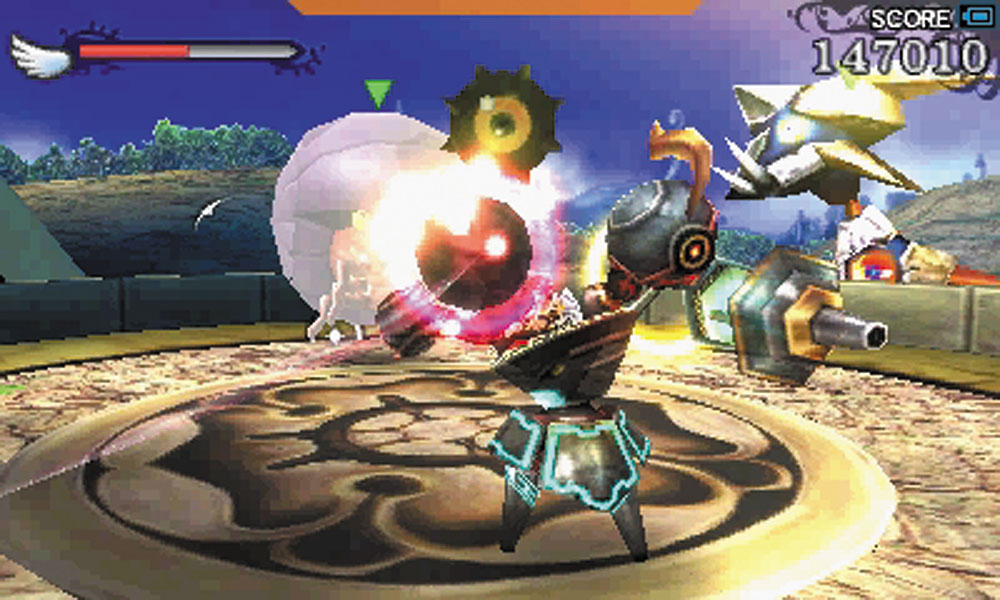
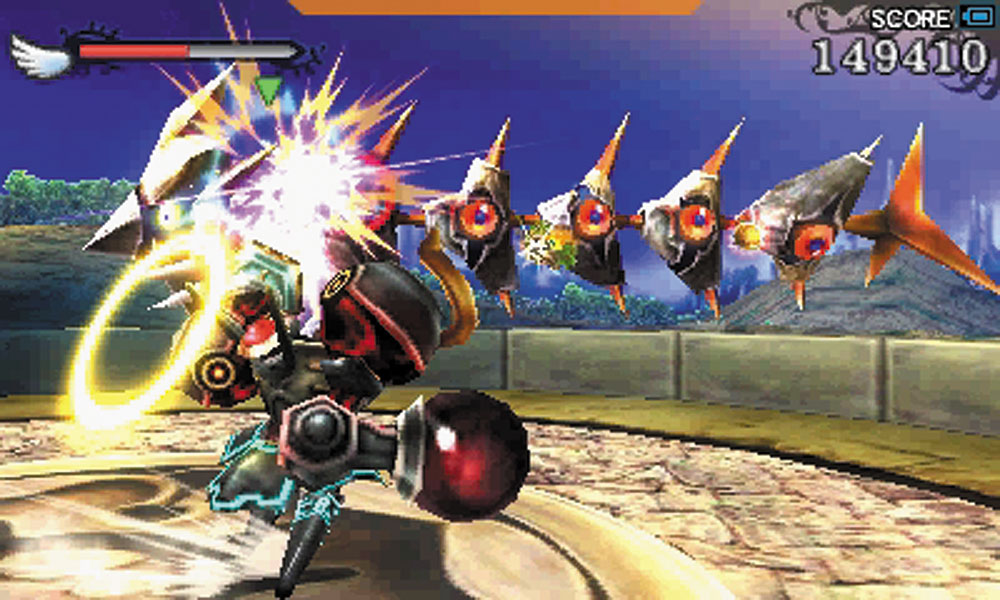
After surviving the gauntlet with the Cherubot, follow the winding path to the next platform and another enemy ambush consisting of a Megonta, a Lurchthorn, and a Captain Flare. When you’re clear, proceed through the exit to another elevator. This takes you to the very center of the Reset Bomb factory. It’s time to put an end to this operation!