
Kid Icarus: Uprising Guide Walkthrough Chapter 23: Lord of the Underworld
Land Battle
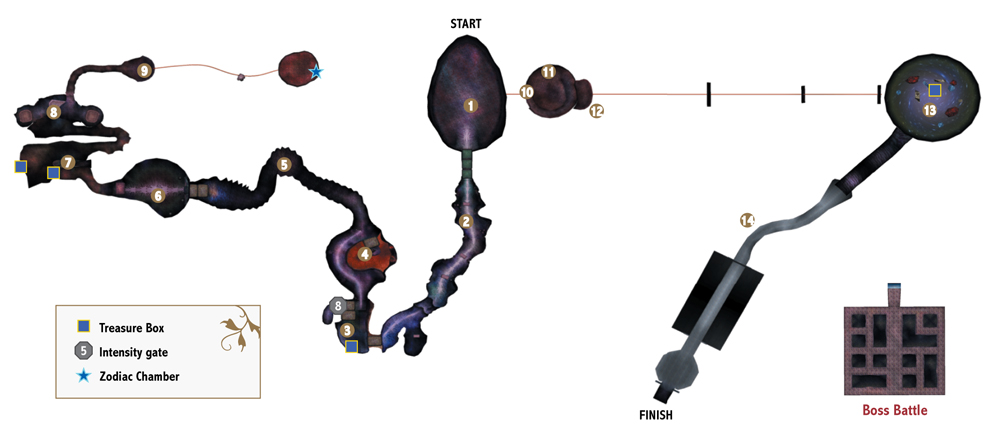
Yes, you are inside Hades. For what it’s worth, his digestive tract is not quite as awful as it could be.
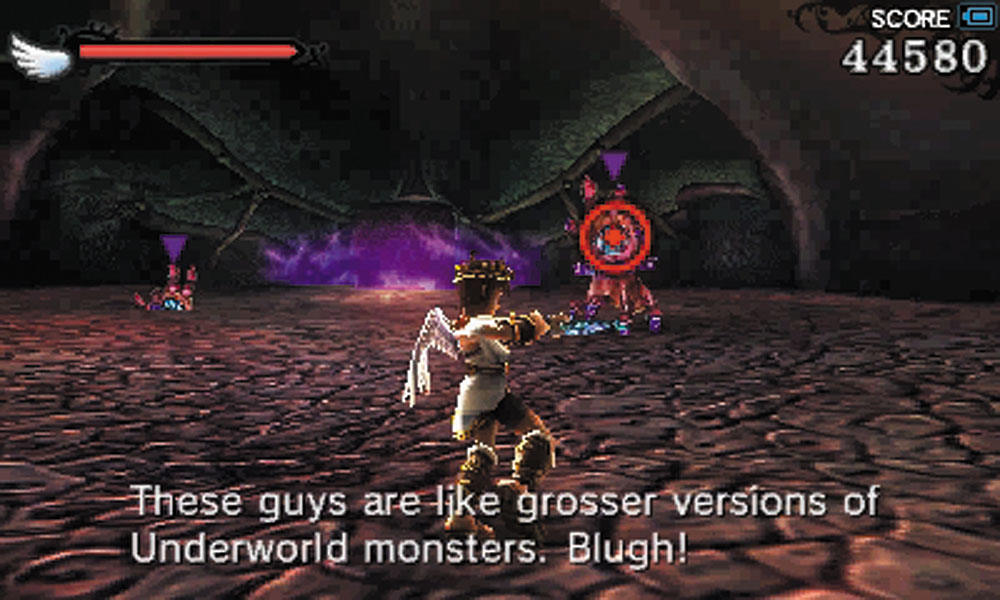
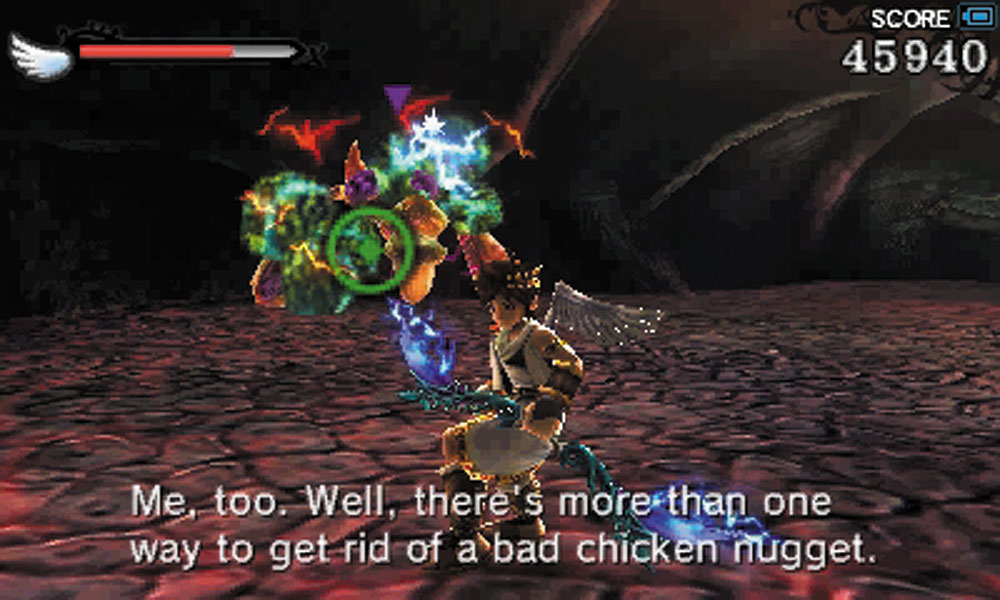
1. While inside Hades, you’ll face cellular versions of familiar Underworld opponents. A soon as you regain control of Pit, Cellular Handoras spout from the ground begin their assault. A Cellular Bluster also rises against you.
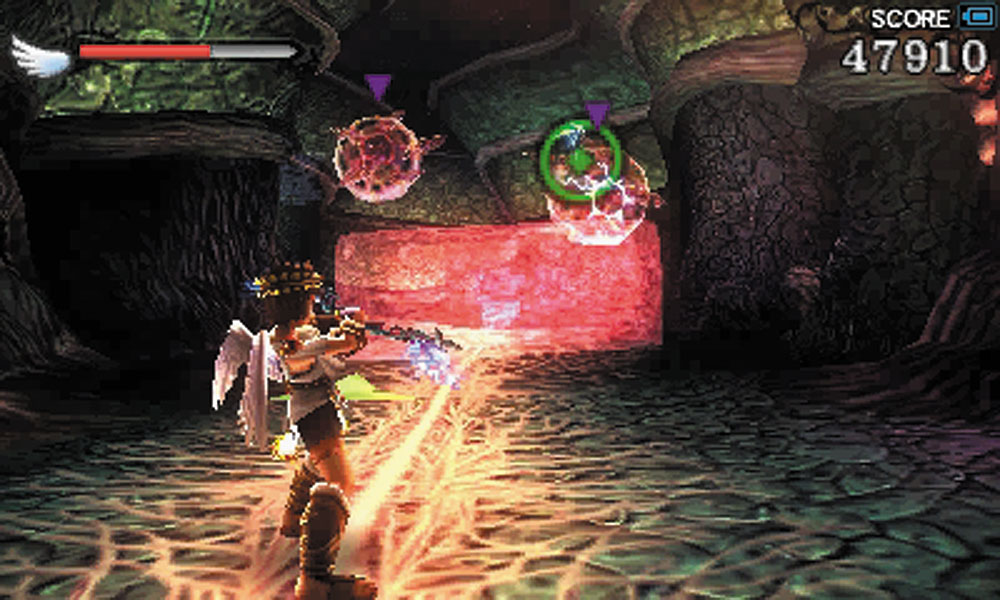
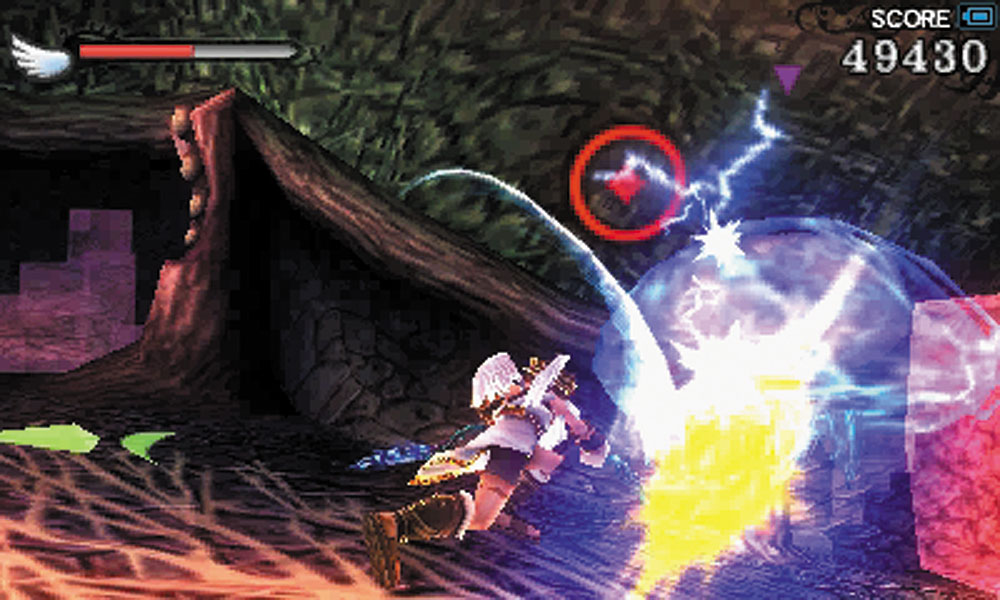
2. The pink flesh blocks in this corridor can be shot to move them out of your way, but they do grow back. Cellular Monoeyes and Komaytos occupy parts of this hall.
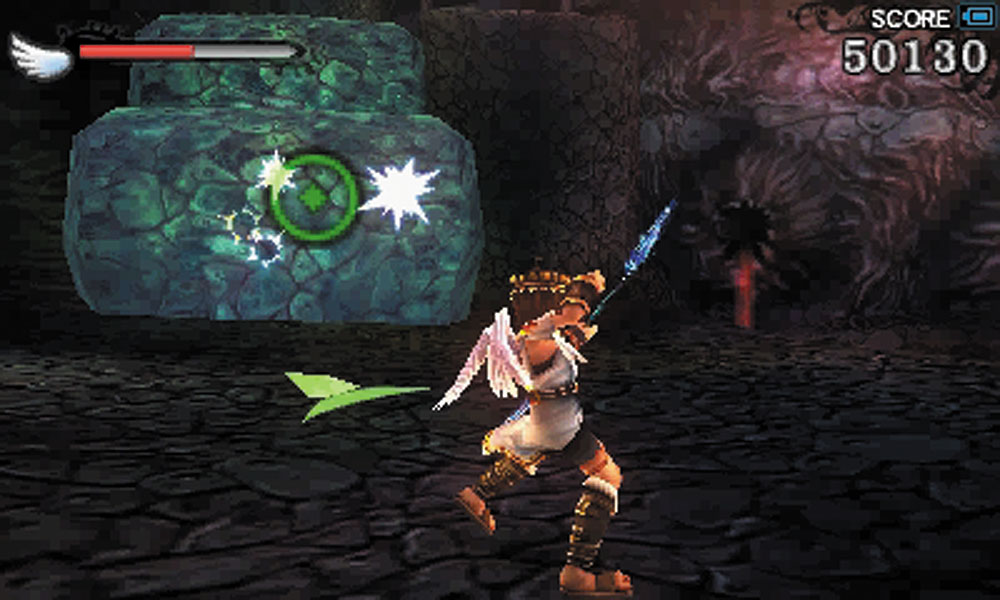
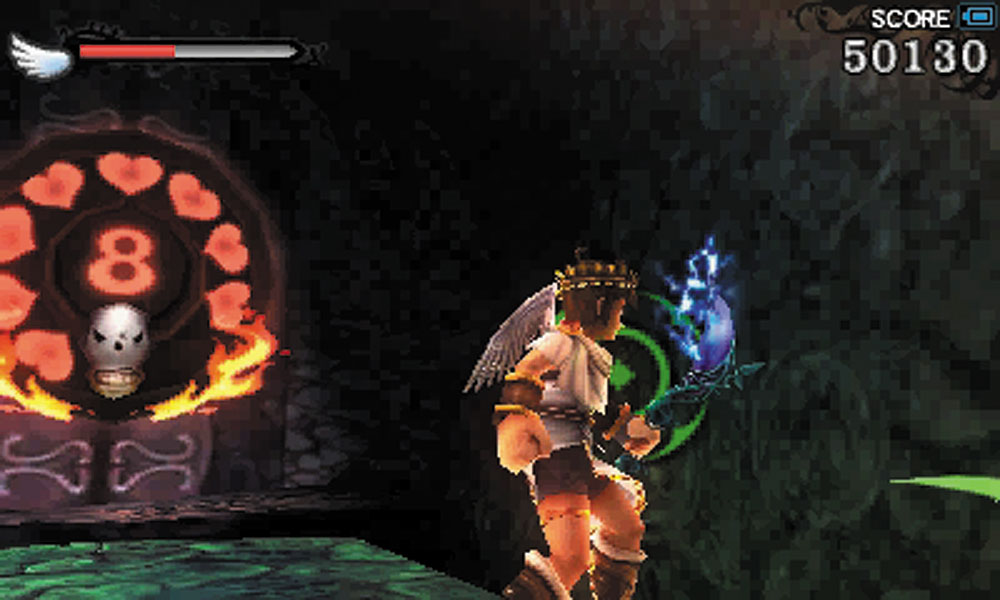
3. You can shoot the green flesh blocks here to lower them to your level. When you stand on them, they rise back up to their original position. A Level 8 Intensity gate can be found here guarding a Treasure Box.
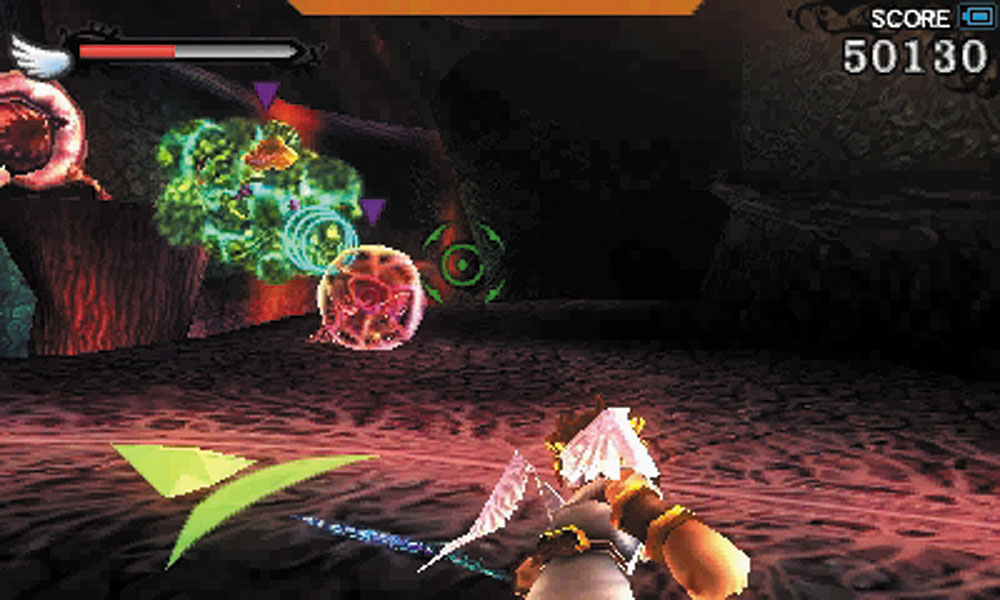
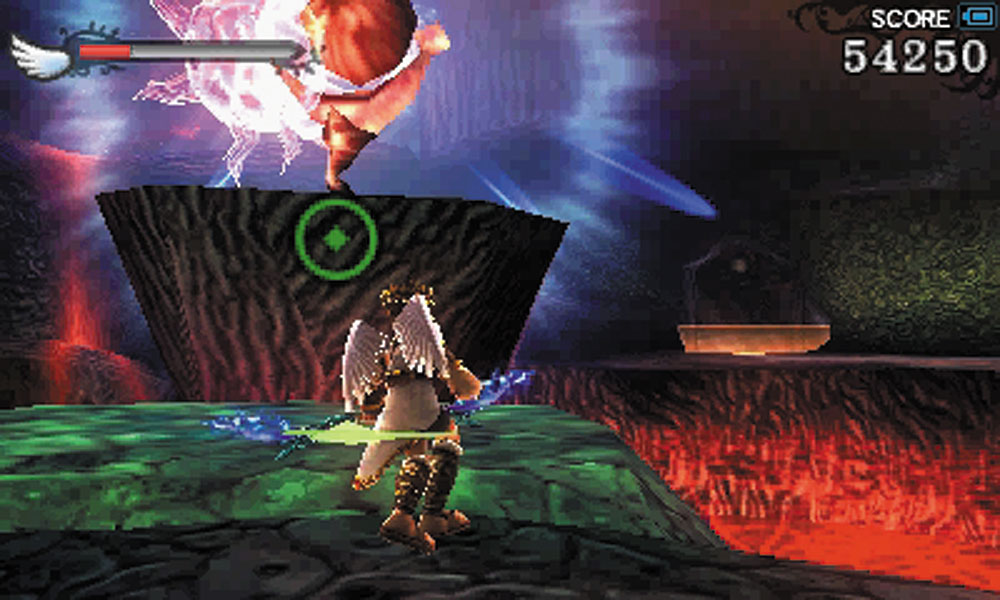
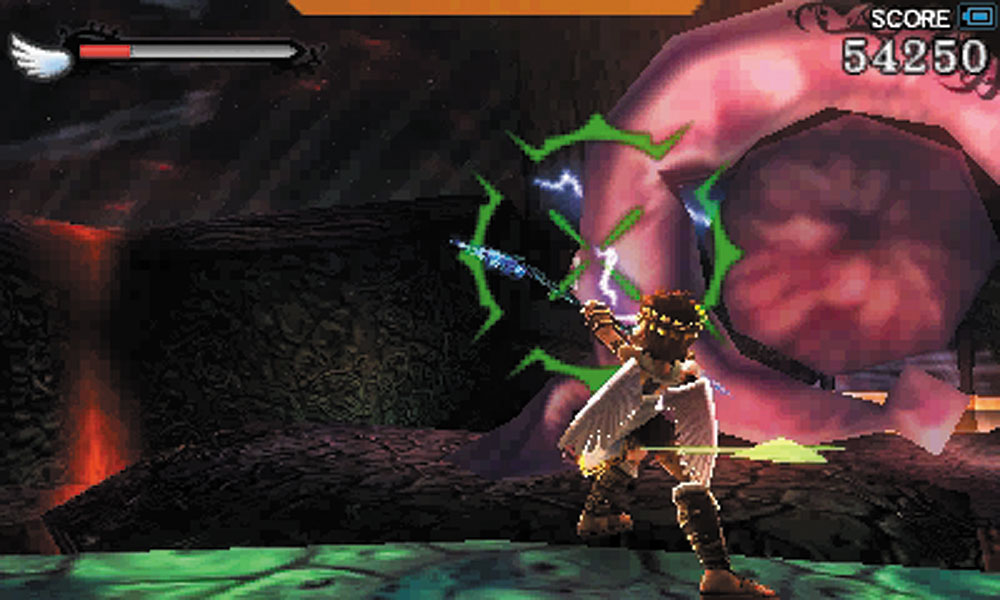
4. More Cellular Monoeyes and a Bluster attack you here. Use the green block to reach the growth on the ledge in the center of the room and break it open for some food.
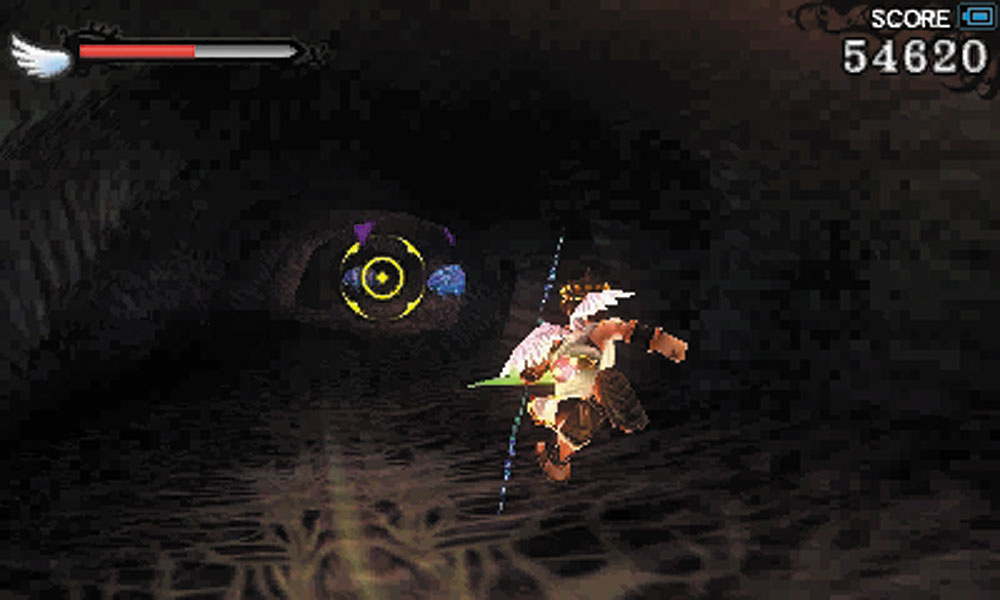
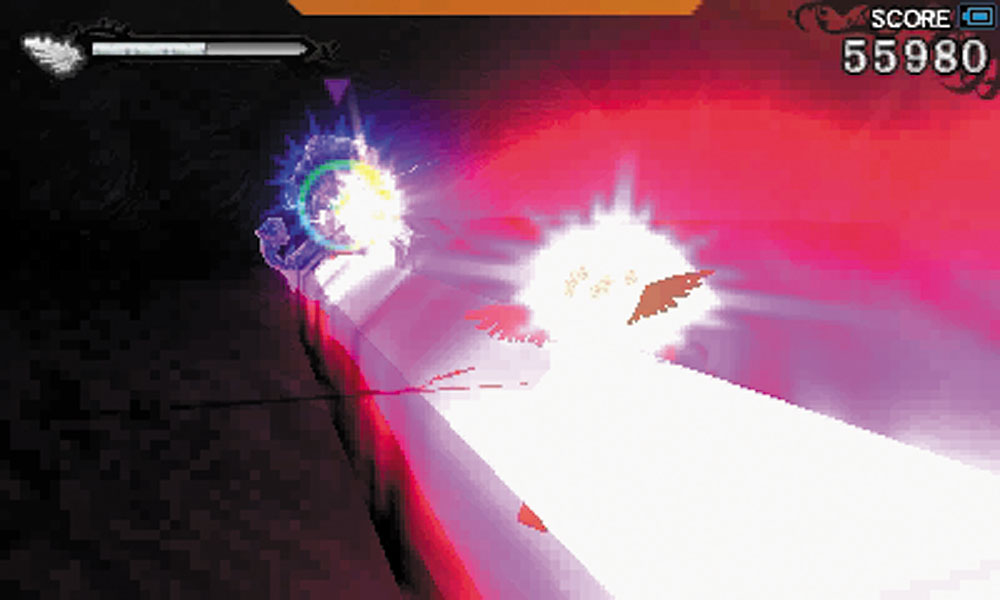
5. In this tube, Cellular Monoeyes, Handoras, and Komaytos try to block your passage. Fortunately there are some Bouncy Bombs that can be used to help clear the tunnel quicker. Watch out for the Cellular Igniot, as it may survive the bomb blasts. Its laser is tough to evade in this tight space.
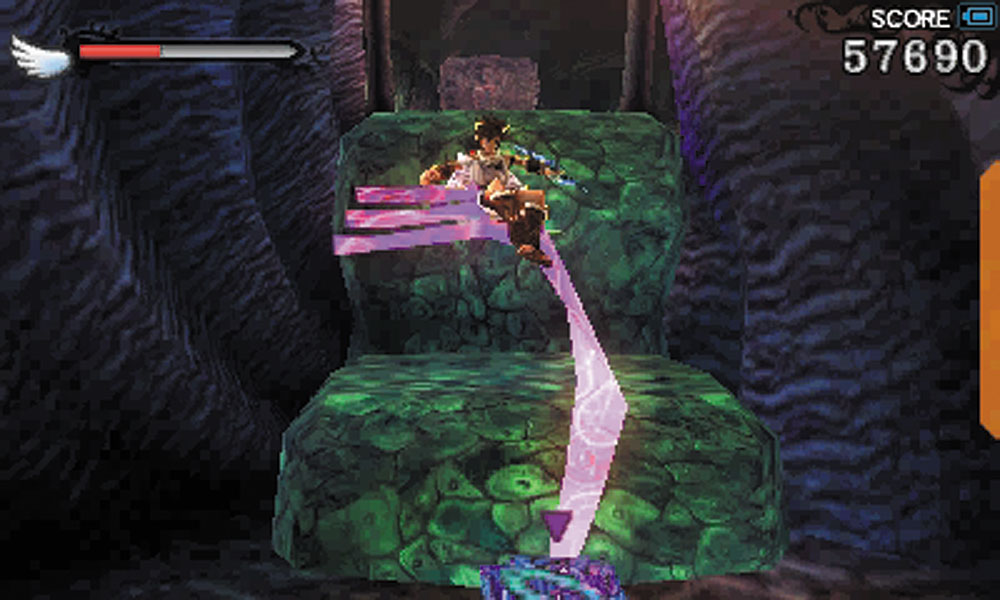
A little beyond the Igniot, a Cellular Sinistew guards the green blocks you need to use to move forward.
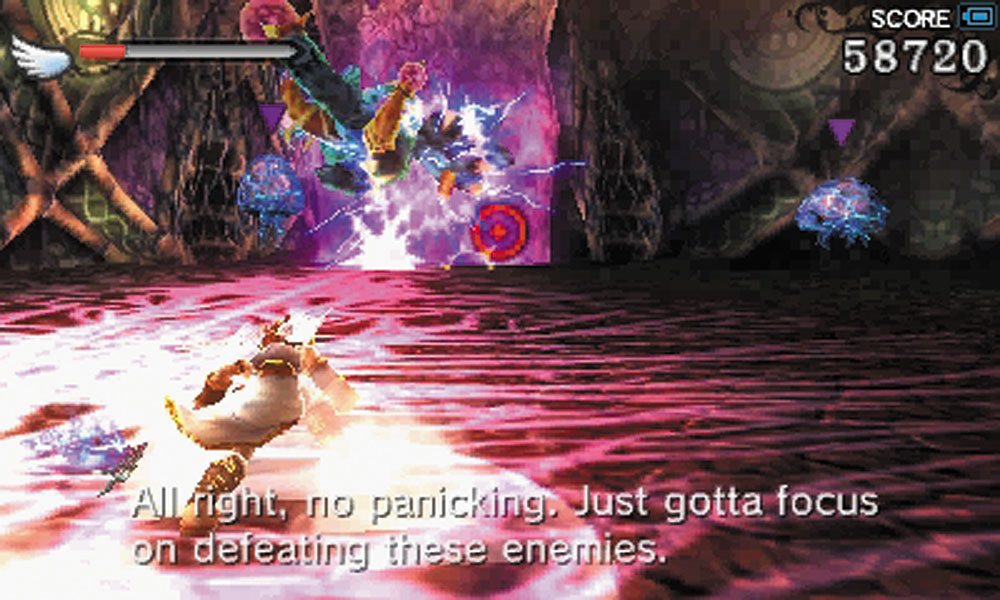
6. The Cellular Snong here is joined by Komaytos and a Handora. If the Snong’s arms hit you, there’s a good chance a Komayto will latch on to you to cause extra damage.
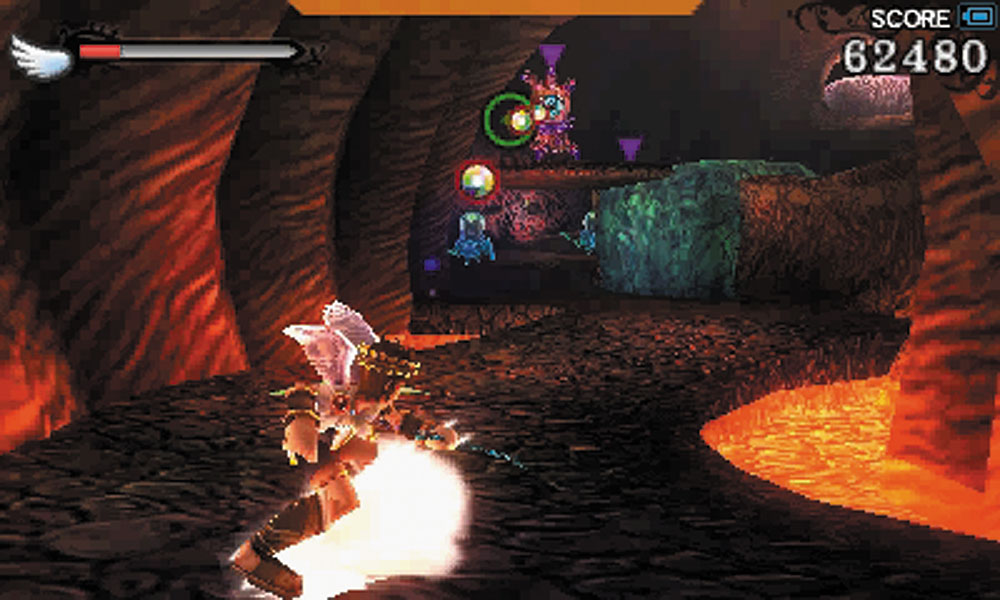
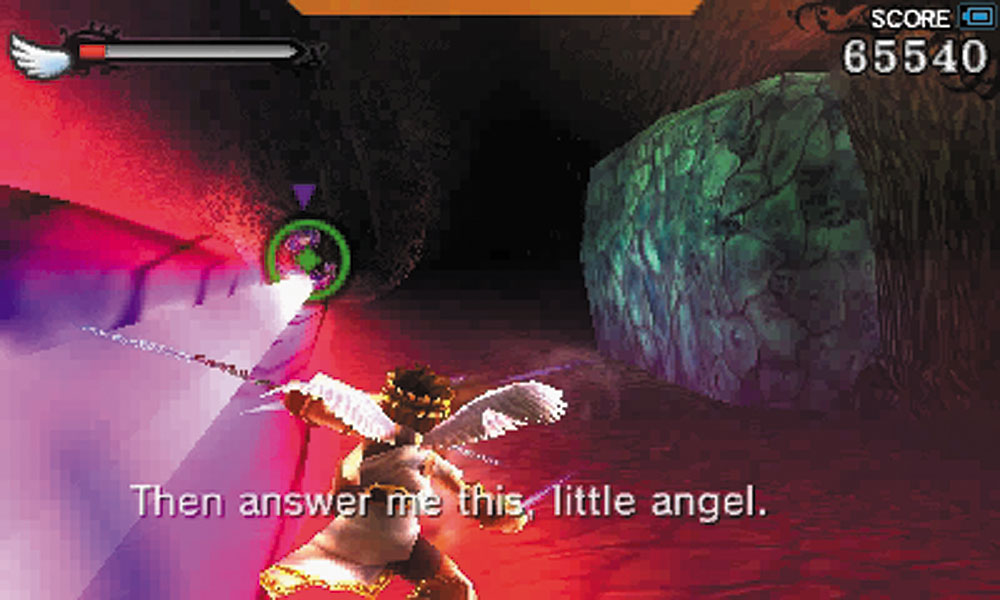
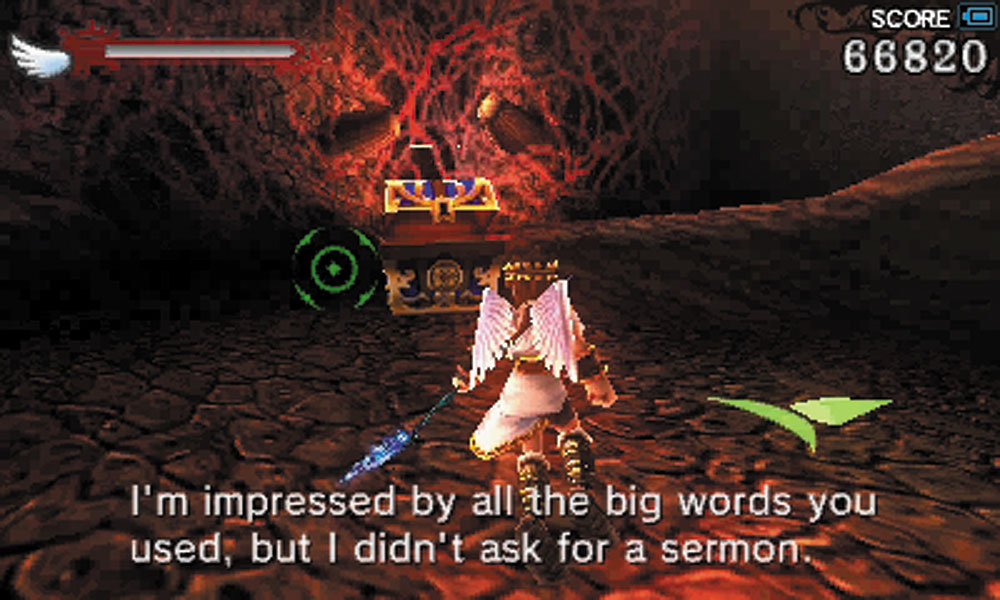
7. Cellular Handora, Skuttlers, and a Gyrazer confront you near the green flesh block. On the other side of the block, an Igniot blocks the passage leading to the next section. If you clear out the enemy here, a Treasure Box appears.
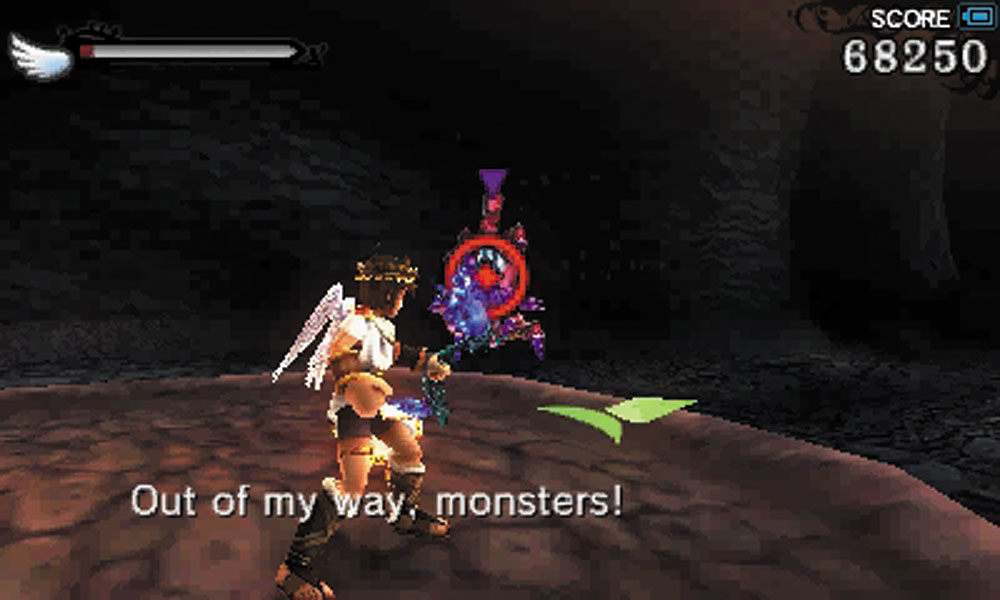
8. Handoras ambush you in this room after you ride a platform up to it. After you destroy them, the indicator arrows clearly mark the next elevator to take, but if you want extra hearts, don’t take that ride out just yet.
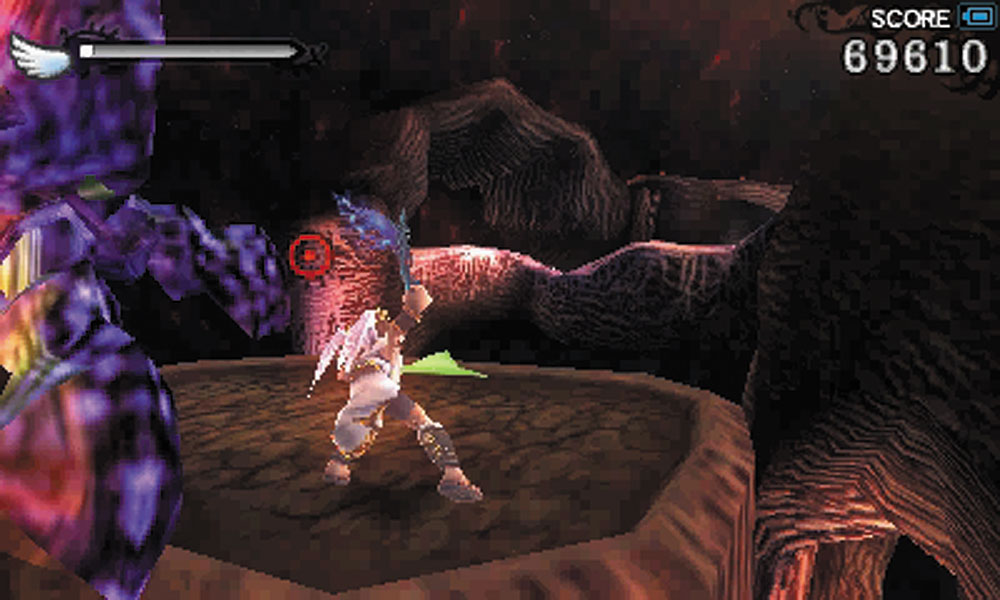
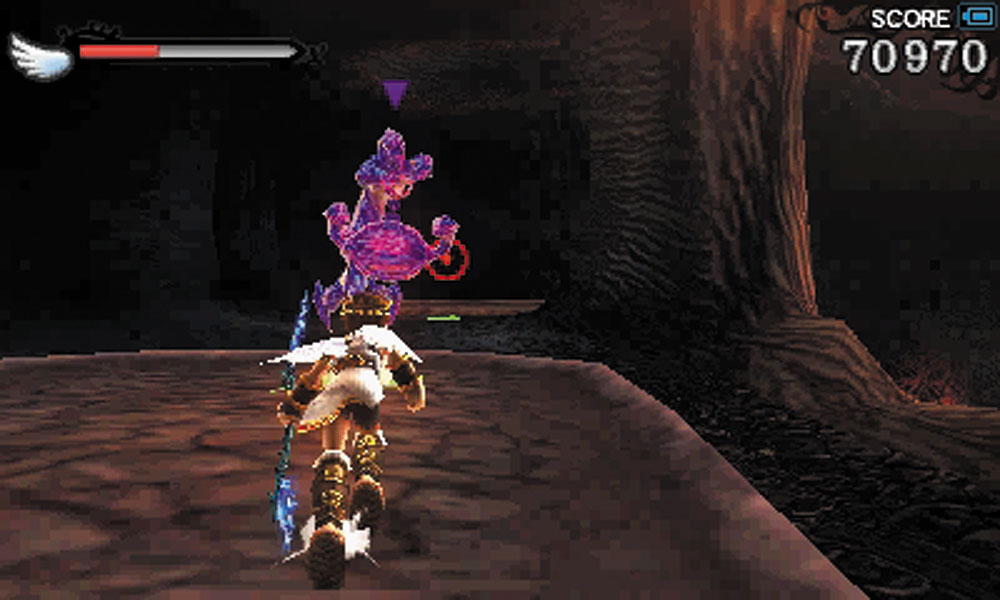
Take the other elevator that isn’t marked by navigation arrows. It calls down a Cellular Gyrazer that can drop some meat when it’s defeated. Back where the Handoras originally attacked you, Cellular Komaytos and an Igniot appear.
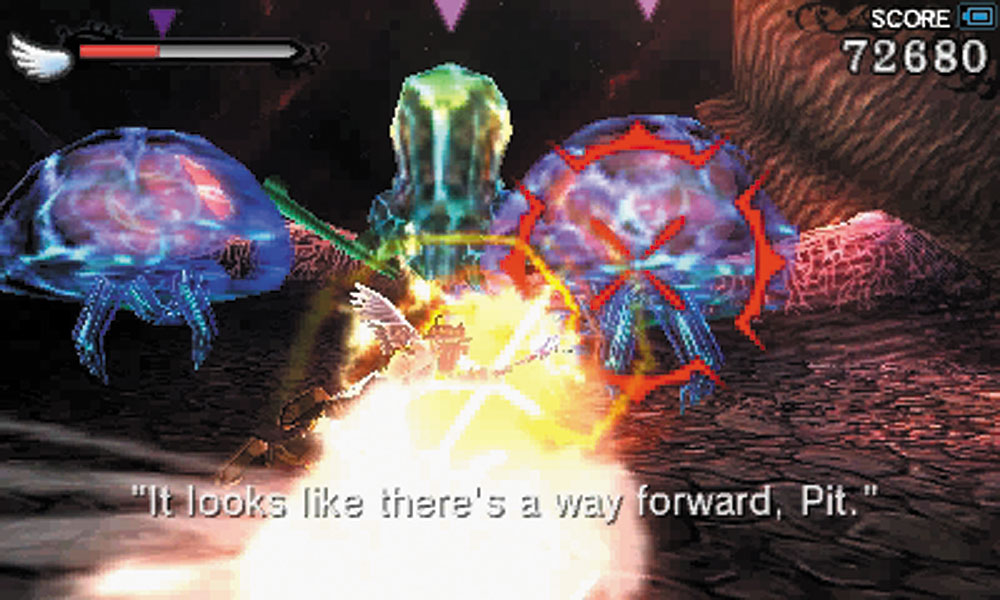
The designated elevator takes you into an ambush of Komaytos and a Skuttler. Destroy them and keep moving.
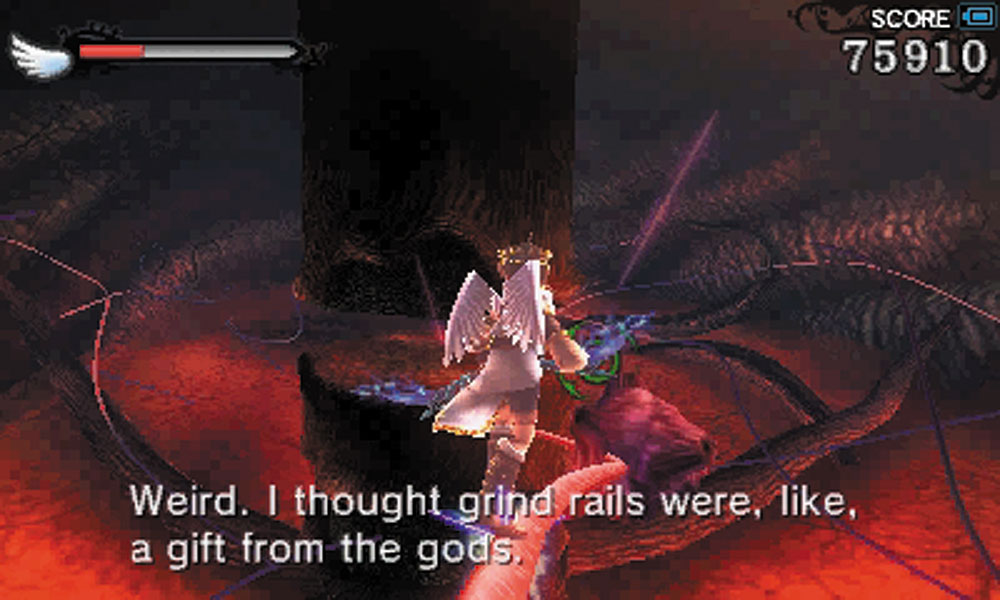
9. The grind rails here are simple, but you need to pay attention to two things. The first is the fleshy growths that grow on the rails. The second is that one of the rails can send you flying into the abyss if you don’t switch tracks in time.
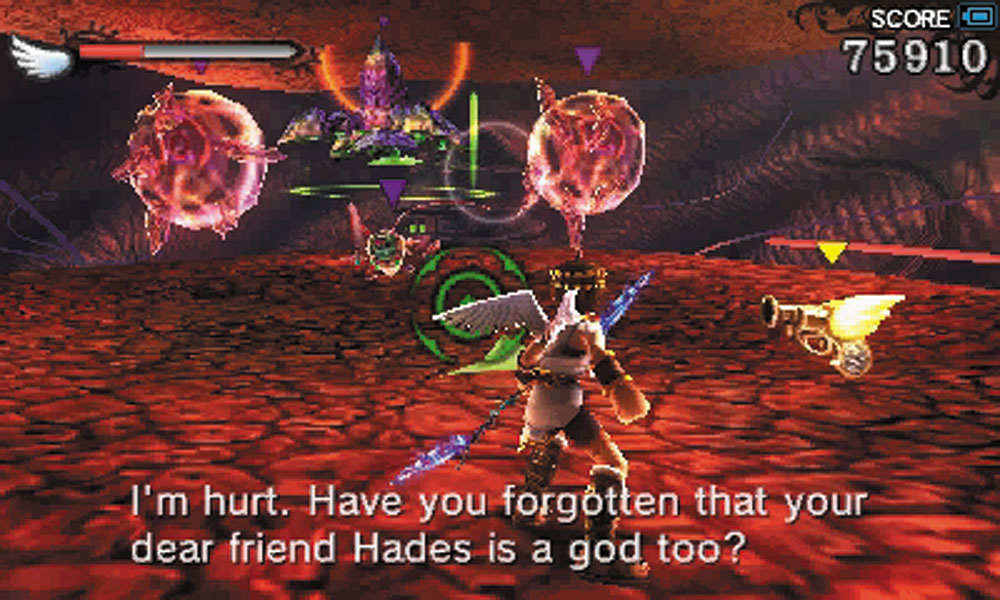
The island you reach beyond the first grind rail triggers an ambush of a Cellular Shildeen protecting a team of Monoeyes and a Gyrazer.
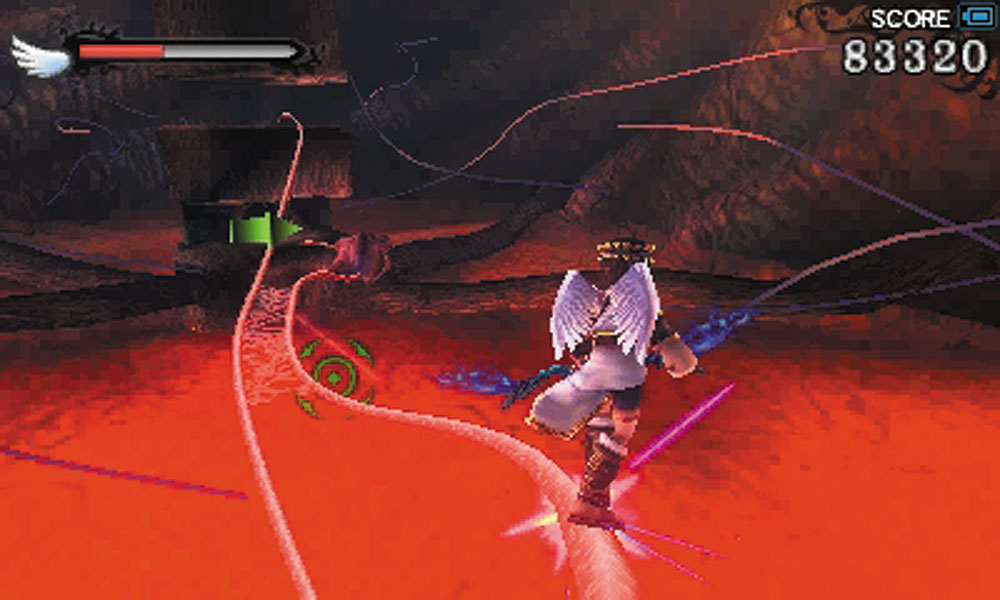
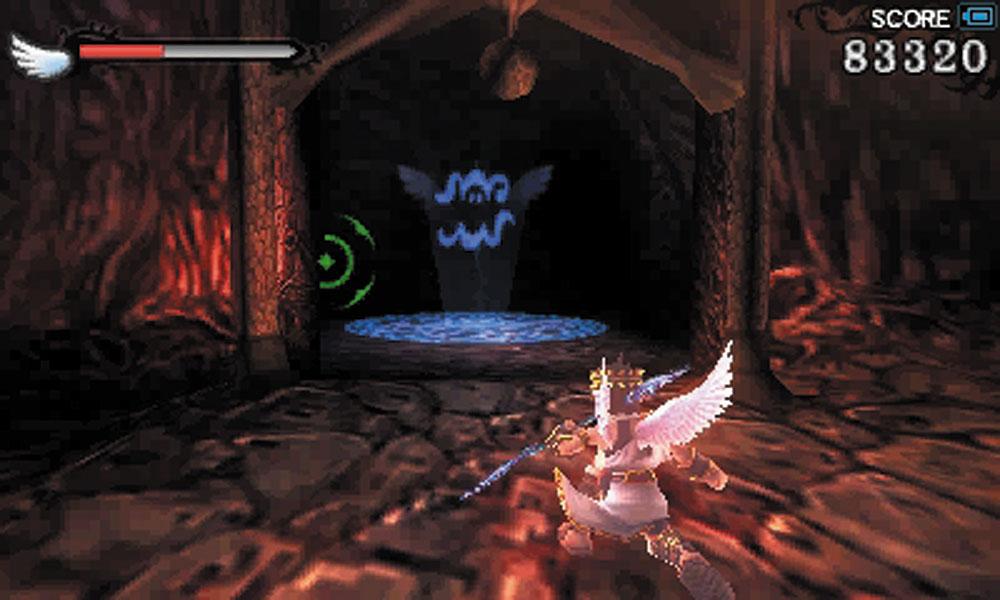
10. The grind rail that leads to this second platform does not disappear for a reason. If you take it back toward the first platform, but stay on the rail that veers to the right, you’ll reach a Zodiac Chamber.
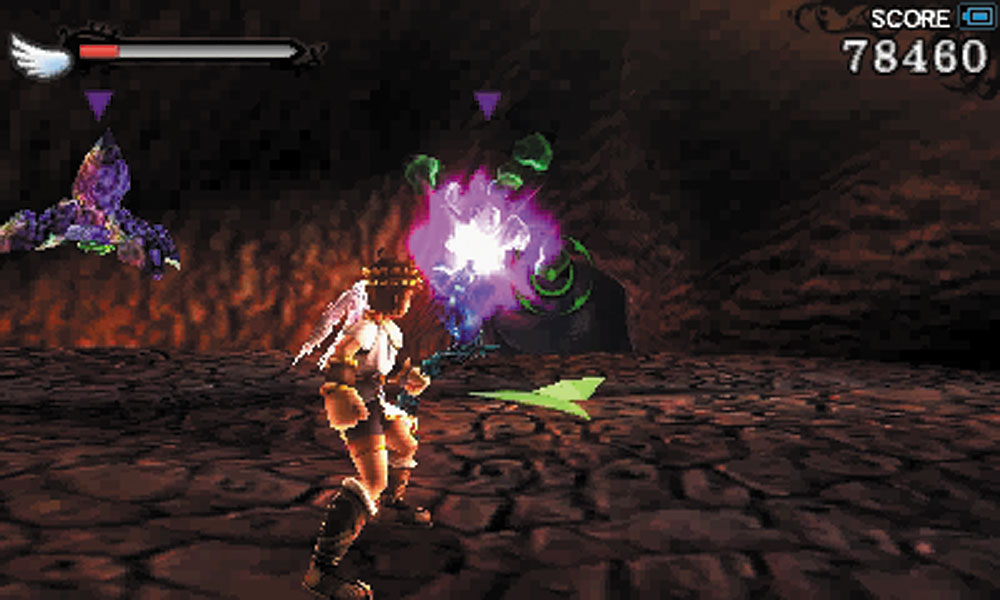
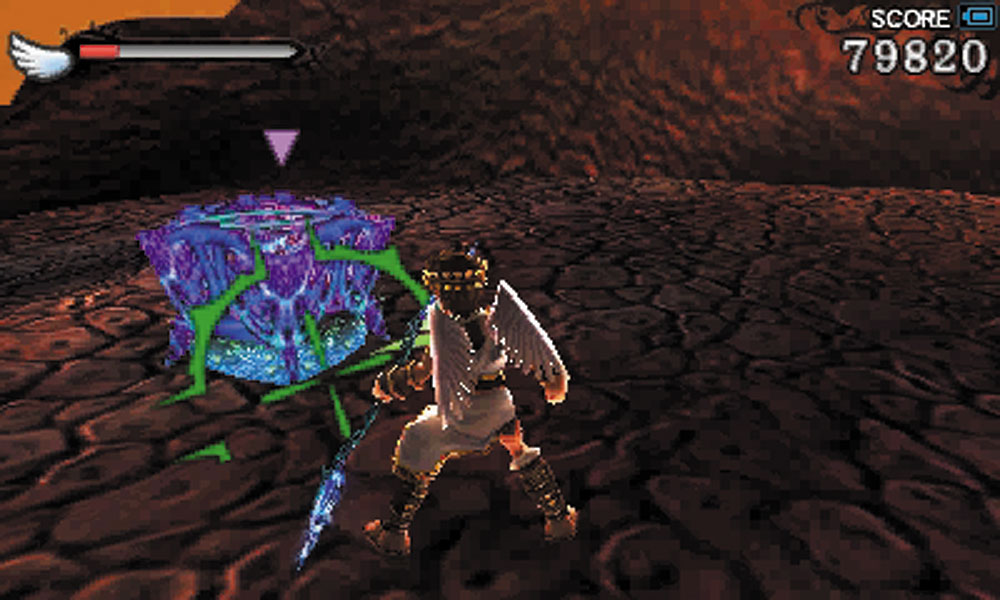
11. When you first reach this island, you’re attacked by a swarm of cellular enemies. Gyrazers are the first opponents, then they’re followed by a Sinistew.
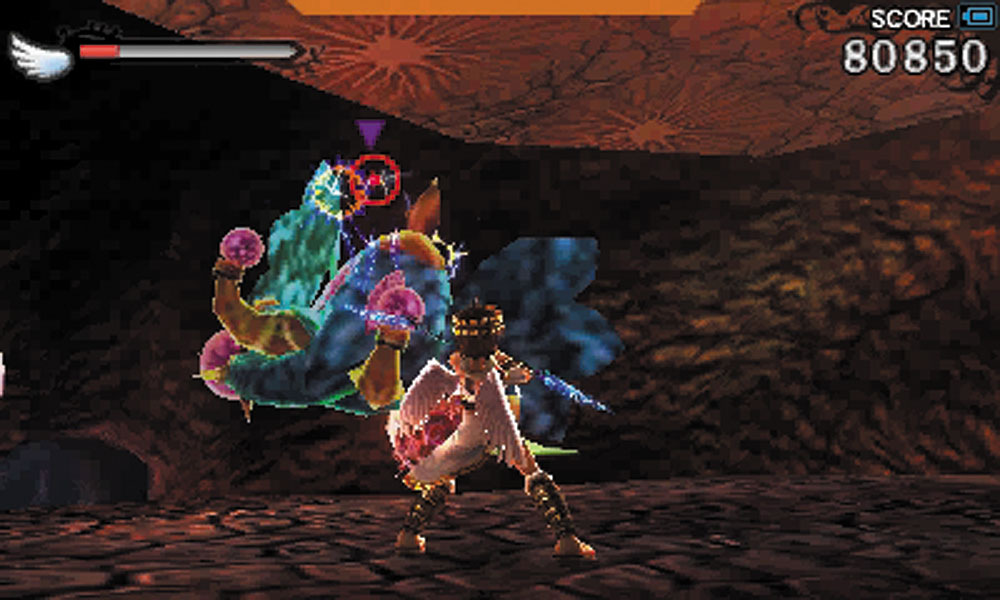
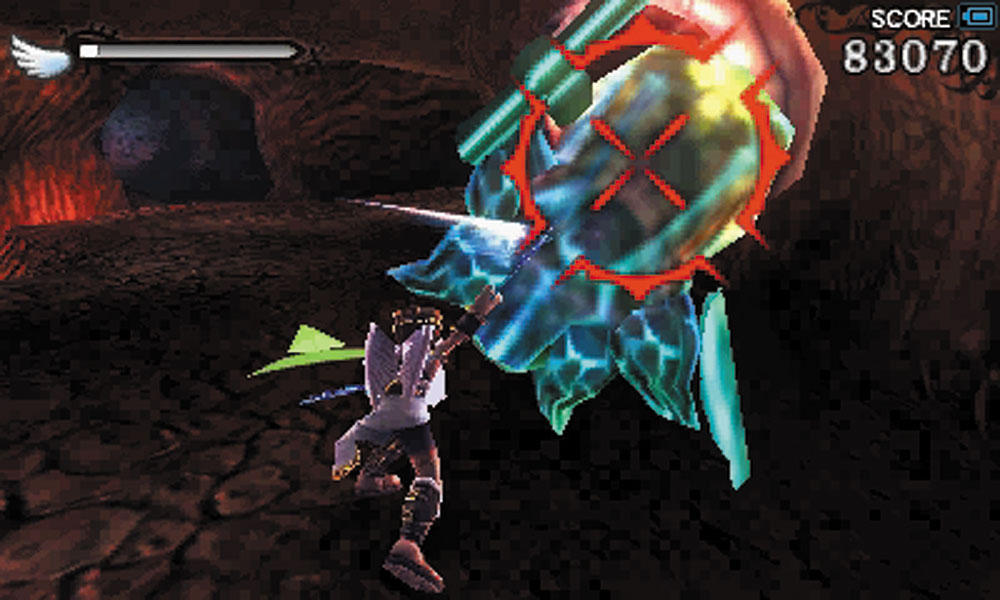
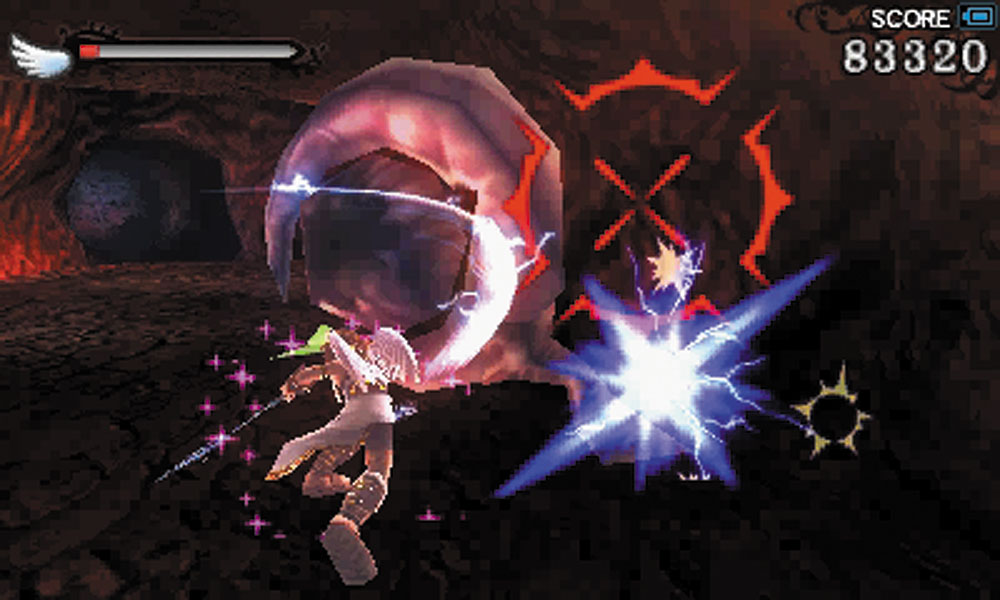
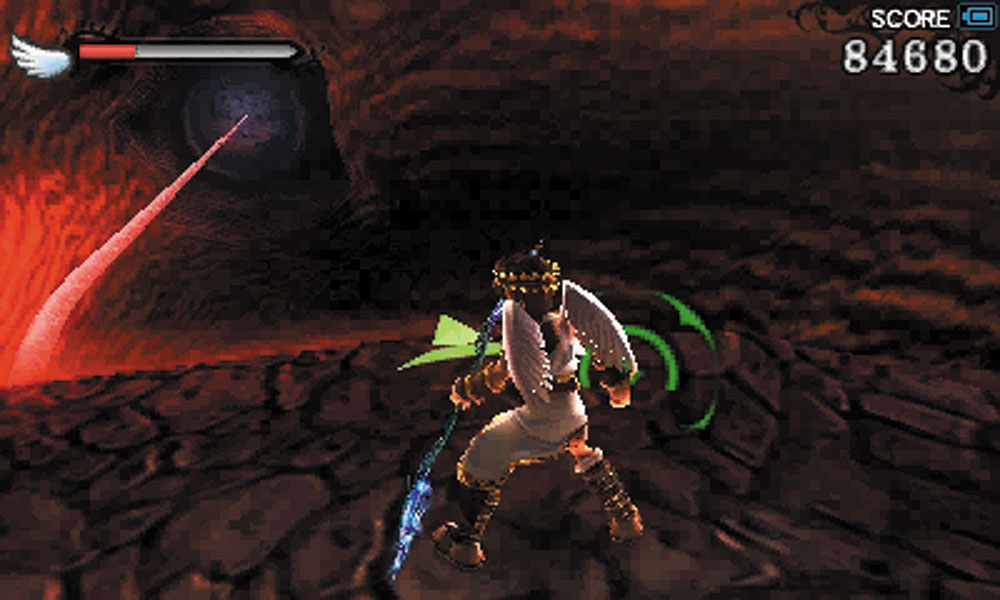
A Snong and two Monoeyes appear after the Sinistew is taken down. When you’ve finally cleared out the enemy, follow the path winding down the side of the platform to defeat a Skuttler and another fleshy growth that appears to be producing more of these goons. The grind rail leading out of this portion of Hades’ body appears after you’ve dispatched the enemy.
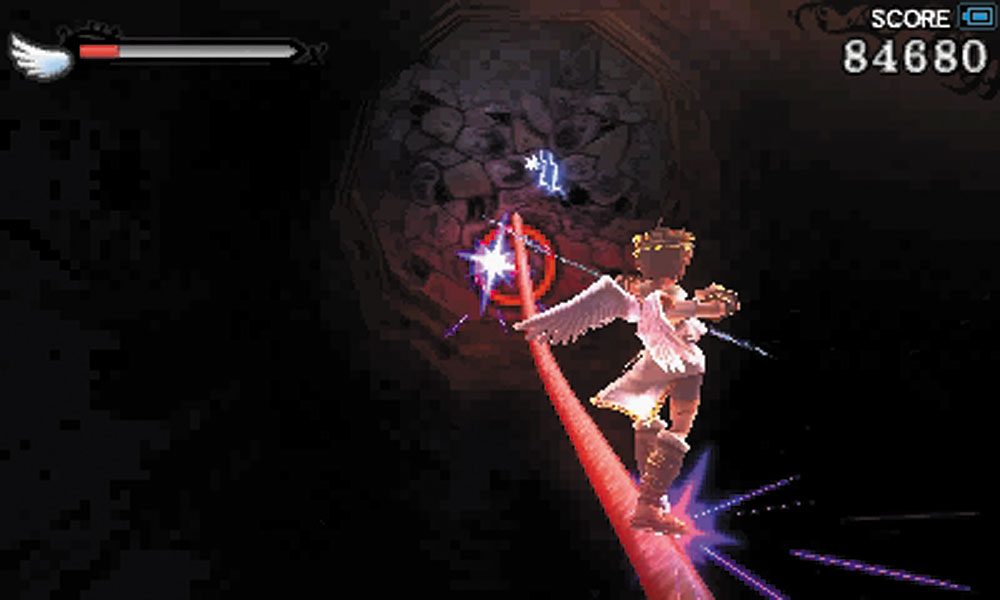
13. This grind rail isn’t a free ride. You have to blast open the flesh walls that bar your way, or suffer damage with every impact.
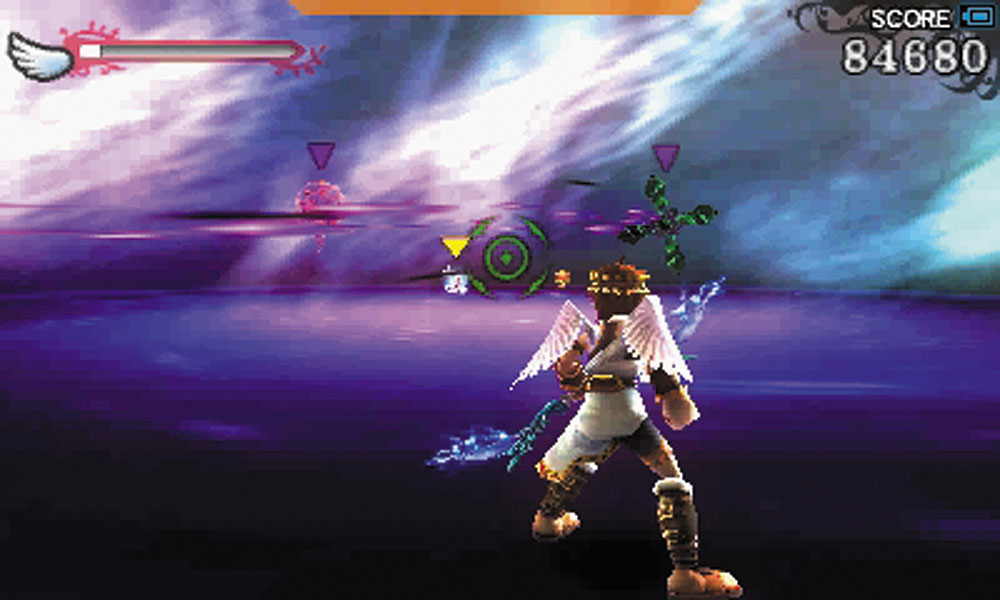
14. This chamber, Hades’ stomach, already has a pair of defenders. A Cellular Monoeye and Gyrazer attack as soon as you land inside.
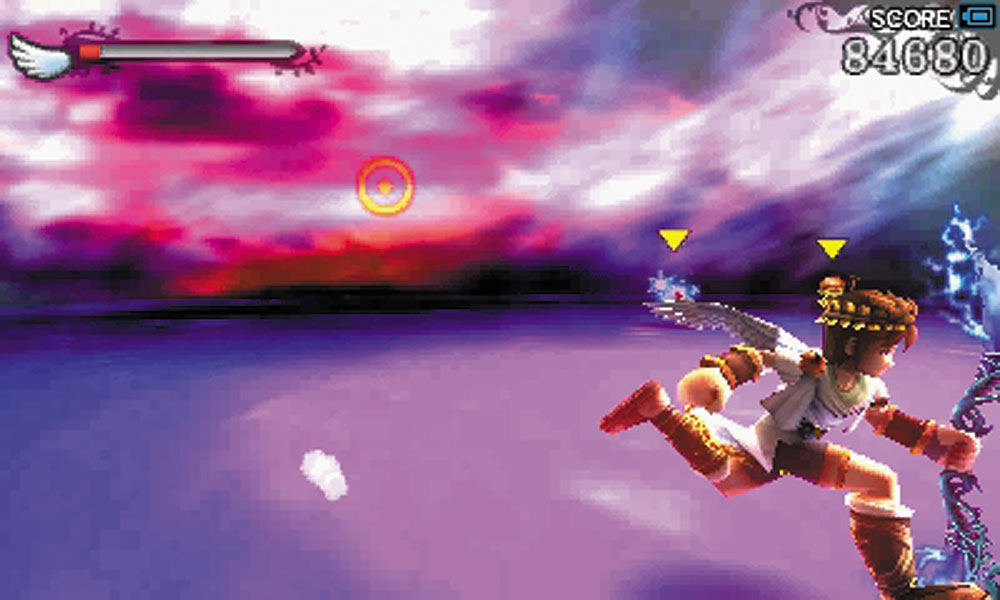
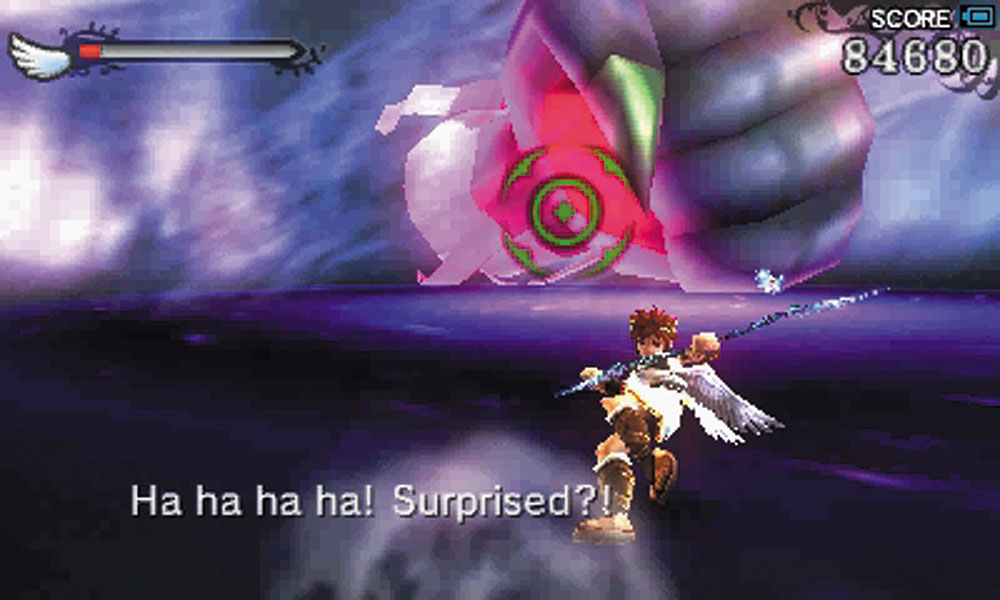
And then Hades punches into his own body to try to crush you. This attack is telegraphed by red flames that rush across the whole room. If you’re within those flames, get away as quickly as possible.
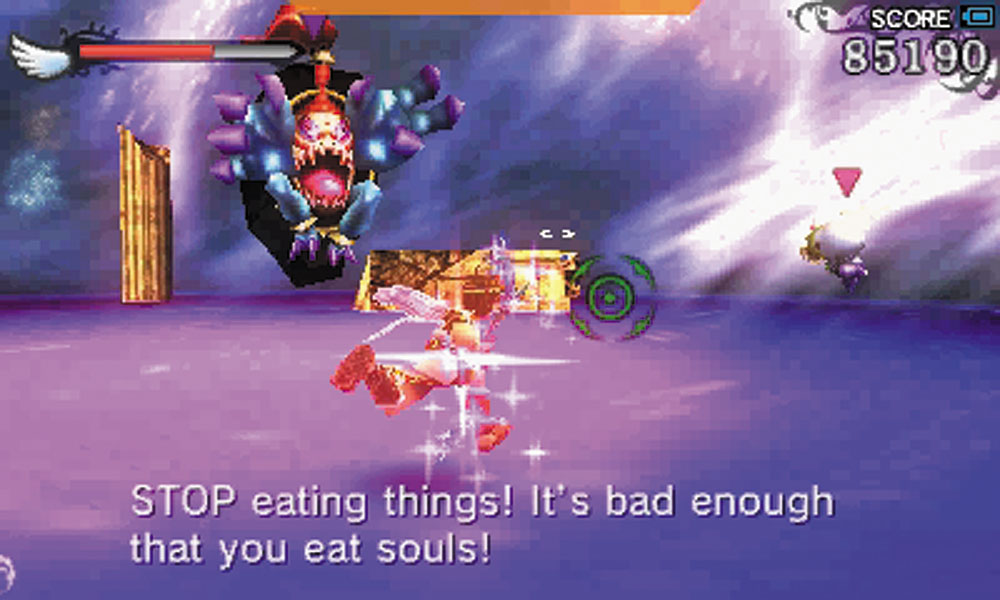
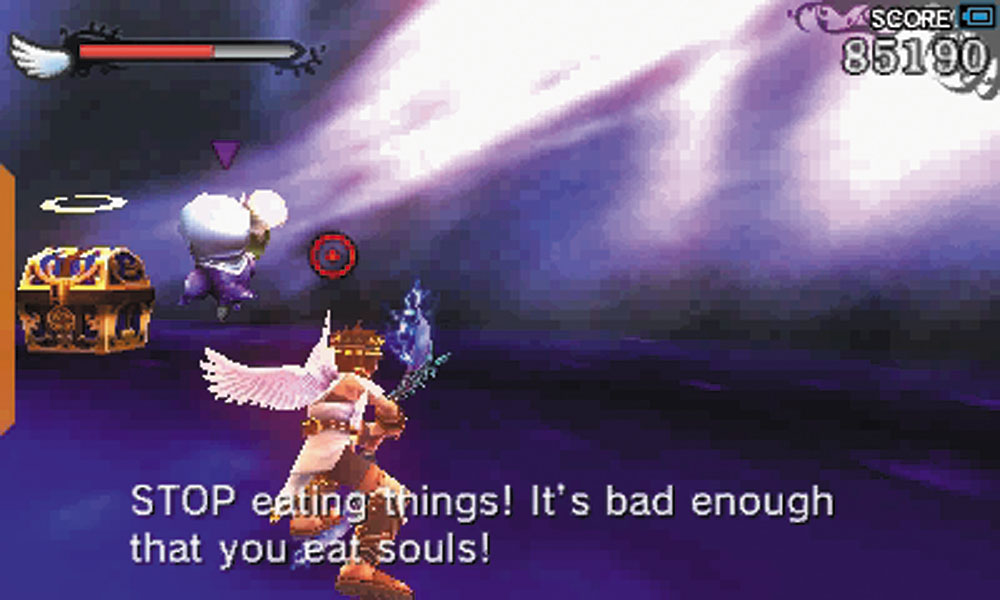
Hades begins to consume things from the outside world, which will fall into his stomach. This includes members of his own army, pieces of buildings, even a Treasure Box. The first set of enemies includes Skuttlers and a Boogity.
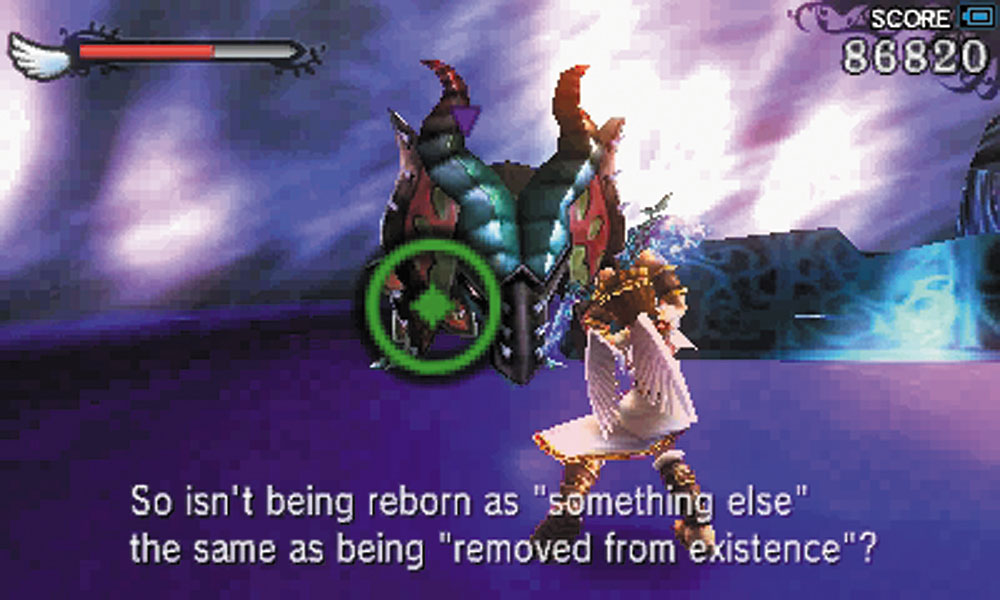
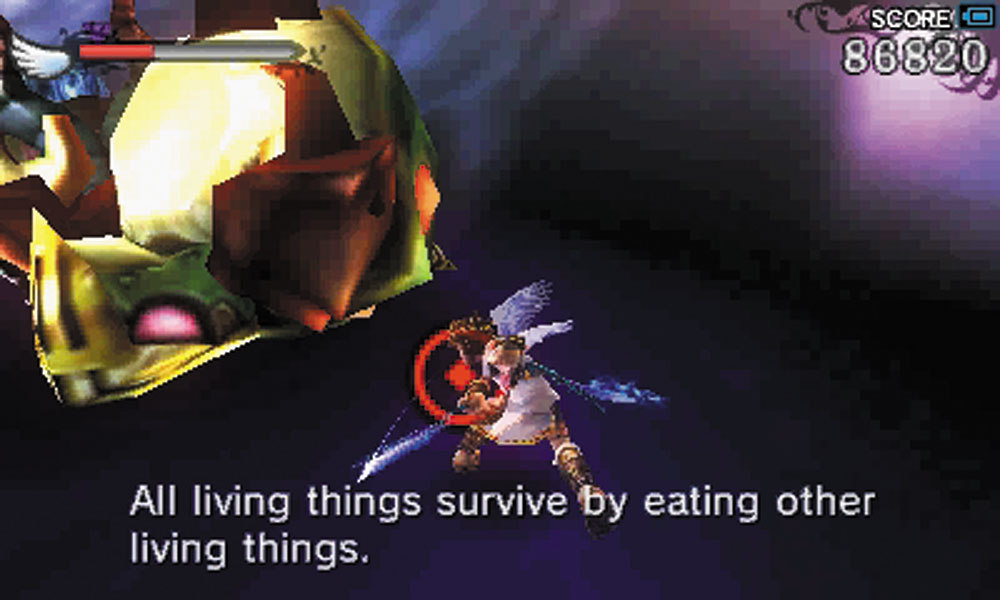
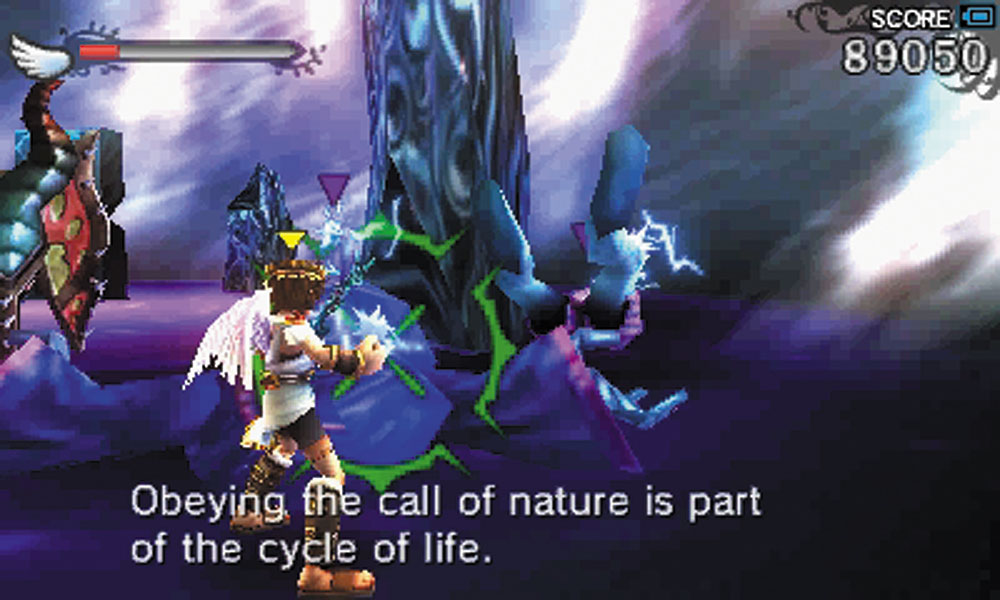
The second wave brings out an Armin and a Tortolunk. An Erinus and a Pluton also get thrown into the mix.
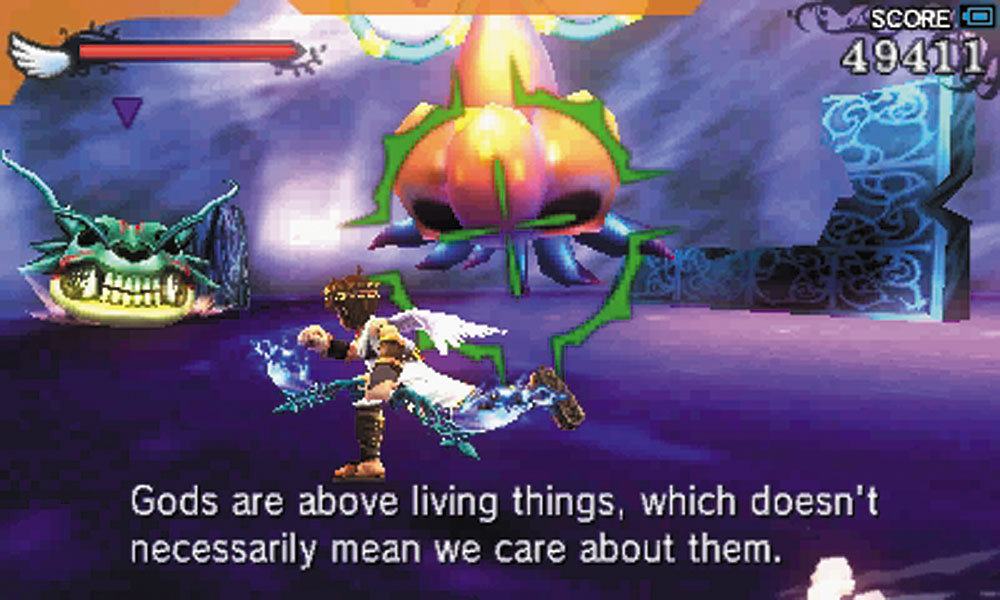
The third wave brings a Specknose and a Bumbledrop.
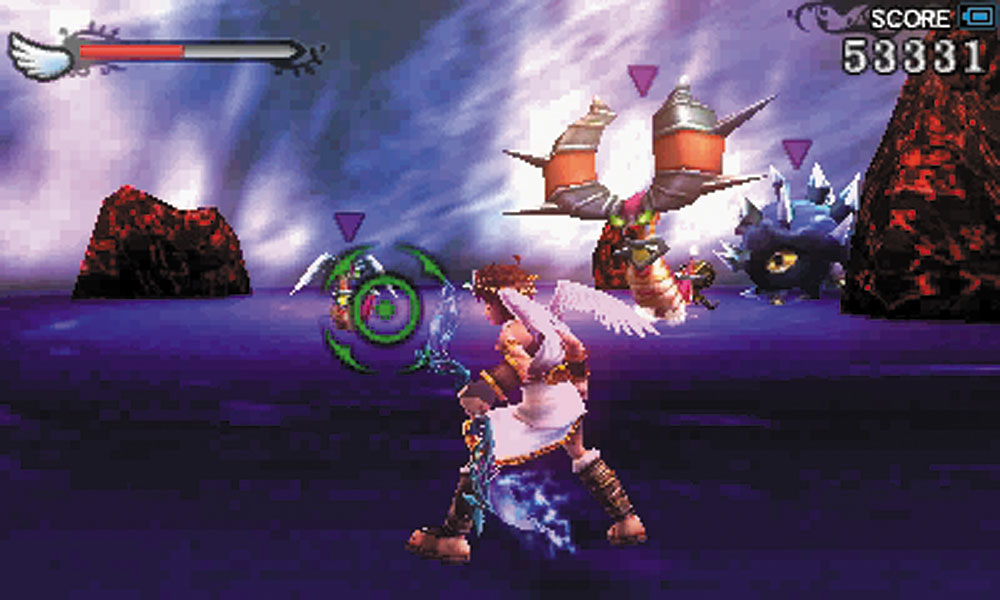
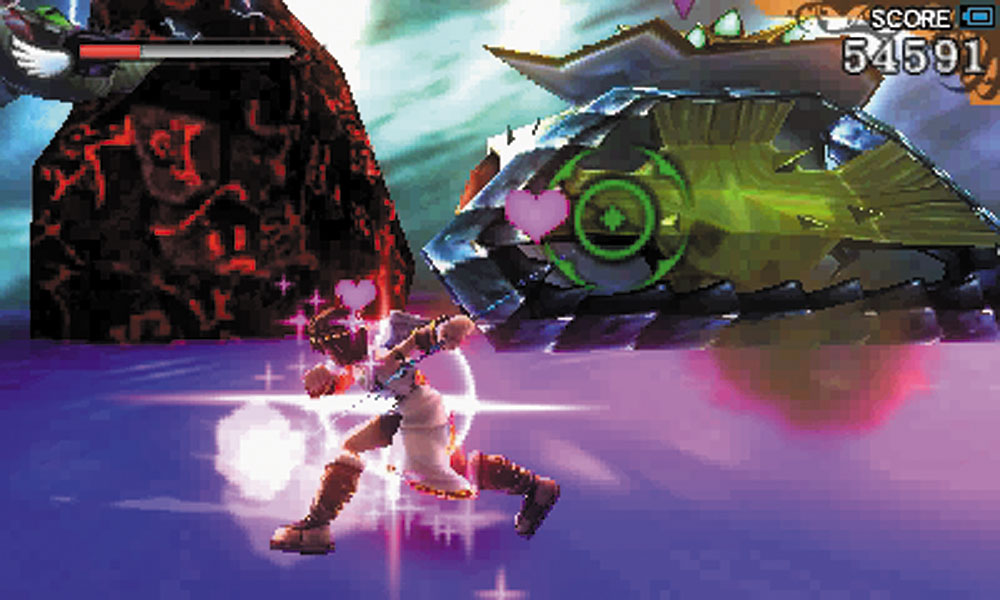
Ziks and Zaks team up with a Porcuspine in the fourth wave. They’re replaced by Skuttlers and a Crawler in the fifth wave. If you survive this, a passage will open up, allowing you to escape.
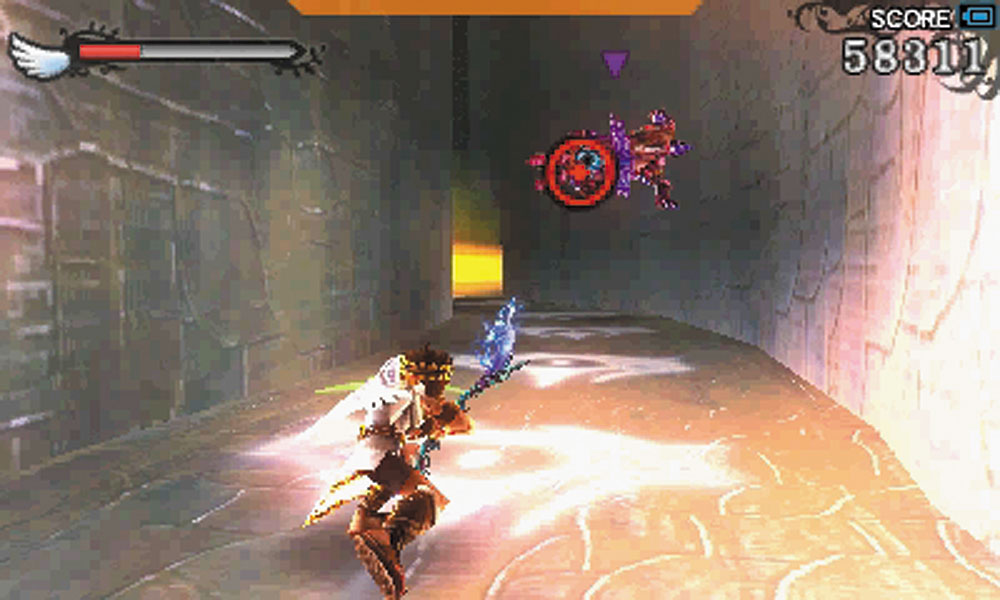
15. You’re nearly at the end. A group of Cellular Handora crawl on the walls as you travel through this tunnel. Once you get past them, you’ll reach the door leading to the boss battle, and a well deserved Drink of the Gods.