
Kid Icarus: Uprising Guide Walkthrough Chapter 8: The Space Pirate Ship
Land Battle
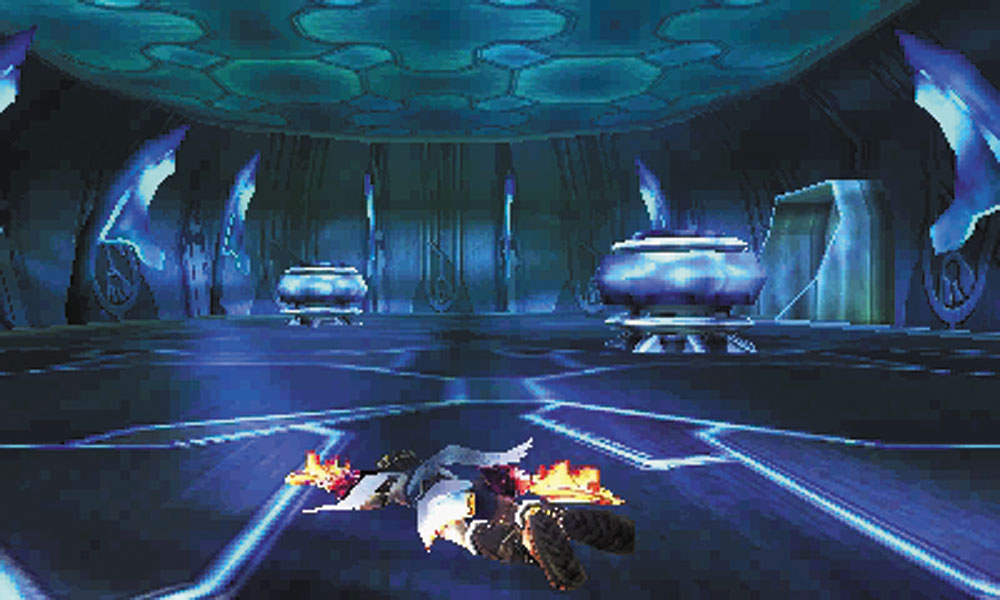
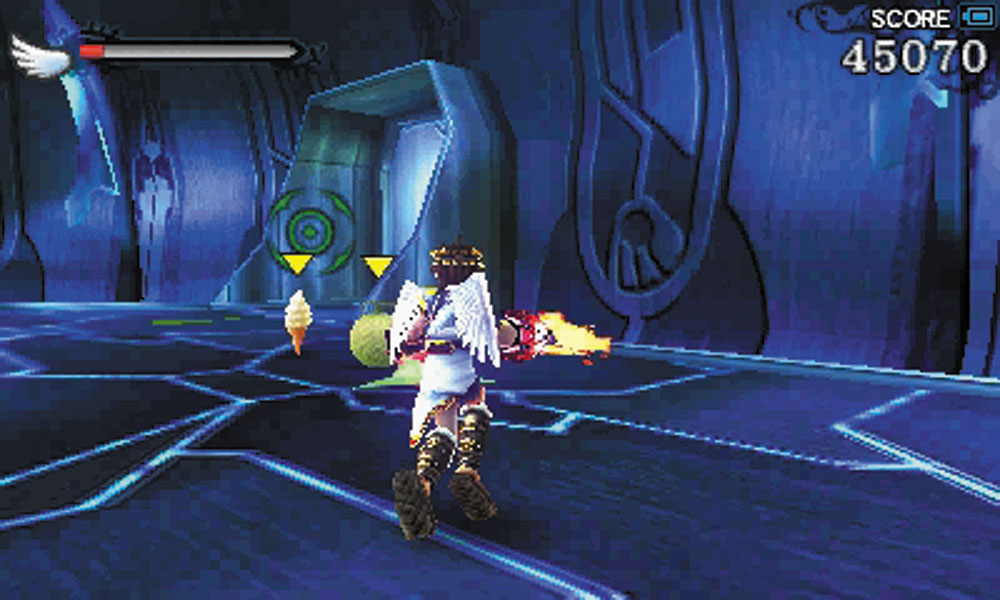
Now inside the pirate ship’s hull, an incomprehensible language blares out from the overhead speakers. The Pirates know that Pit has arrived. In order to recover the Three Sacred Treasures, you’ll have to contend with both the Underworld Army, as well as the Space Pirates who want you off their ship.
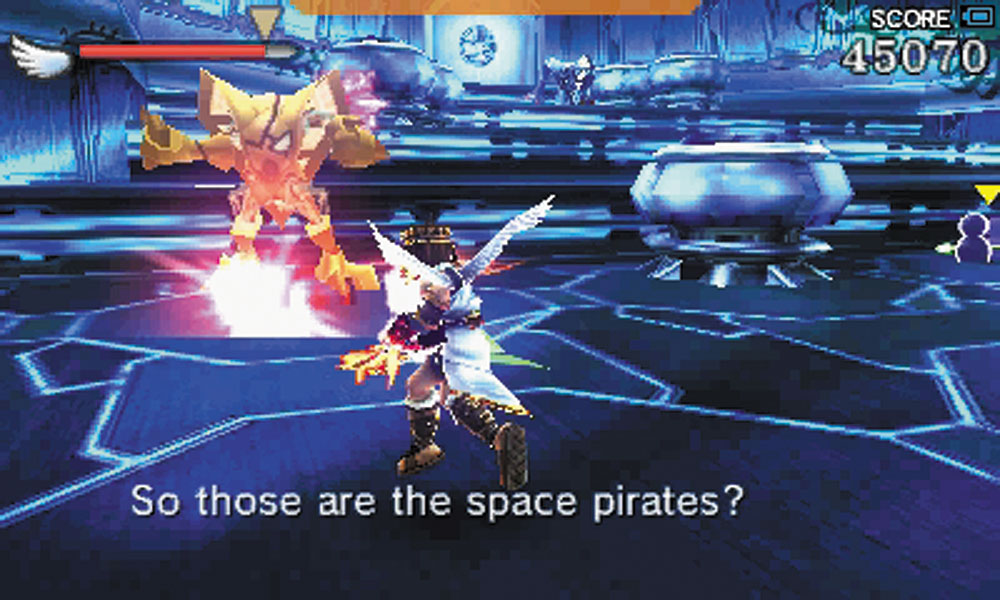
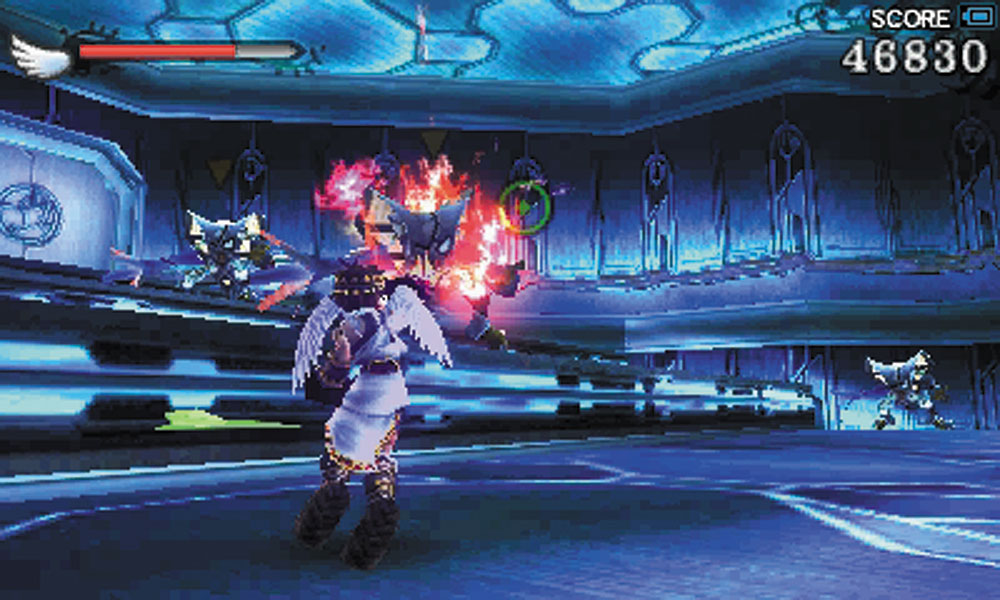
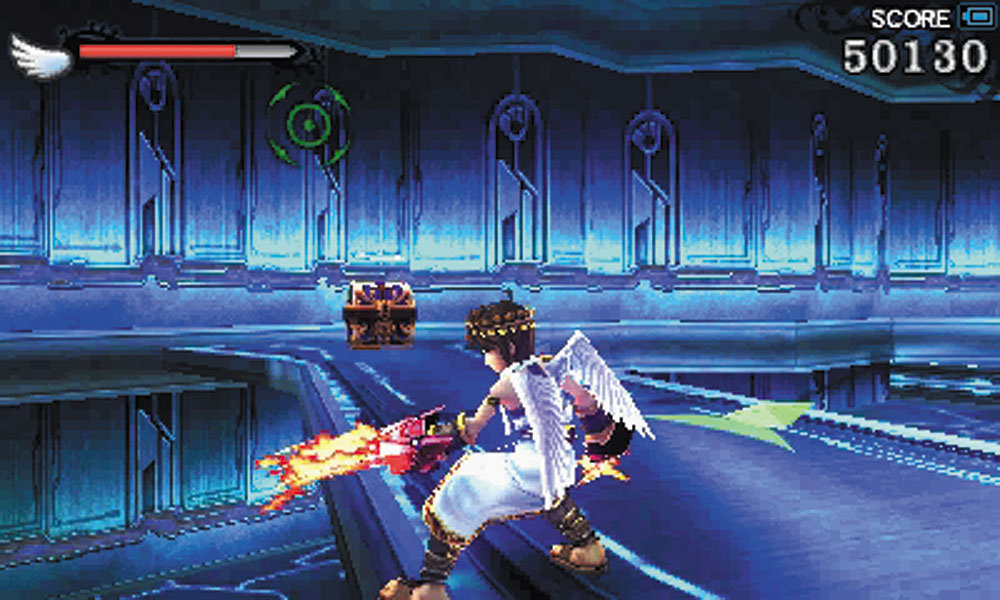
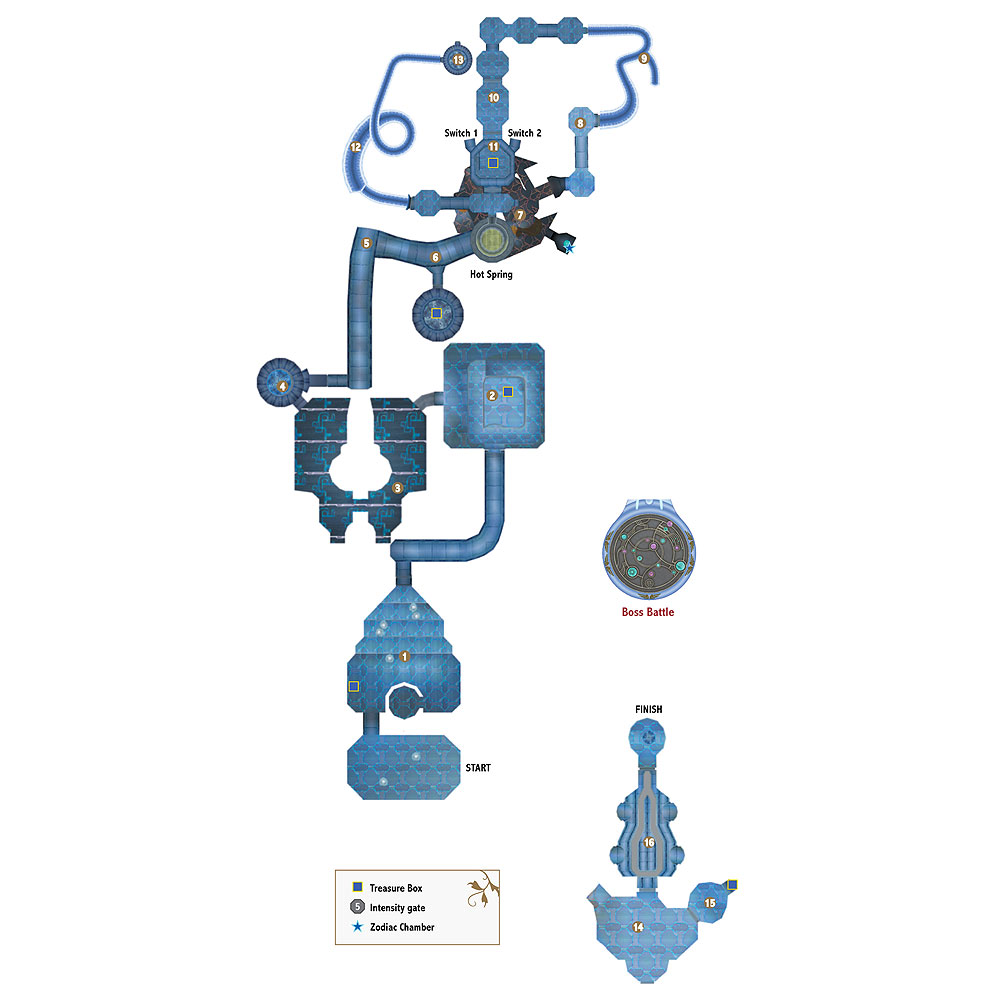
1. The first encounter with Space Pirates can be tough. A series of ledges overlook the entrance to this room, and the Pirates use the elevated positions to snipe at you. You’ll have to go level by level, using jump pads if your weapon range isn’t up to snuff.
After defeating all of the Pirates, don’t leave the room right away. At the bottom floor you can find a jump pad in a disabled elevator shaft that takes you to another walkway and a Treasure Box.
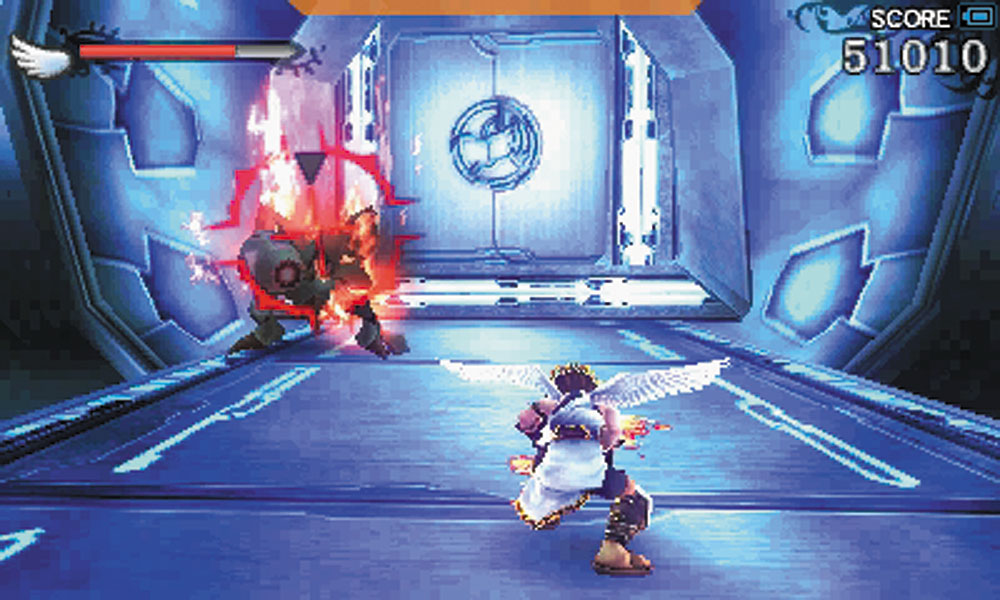
The hallway beyond the first pirate battle contains two more Space Pirate to defeat.
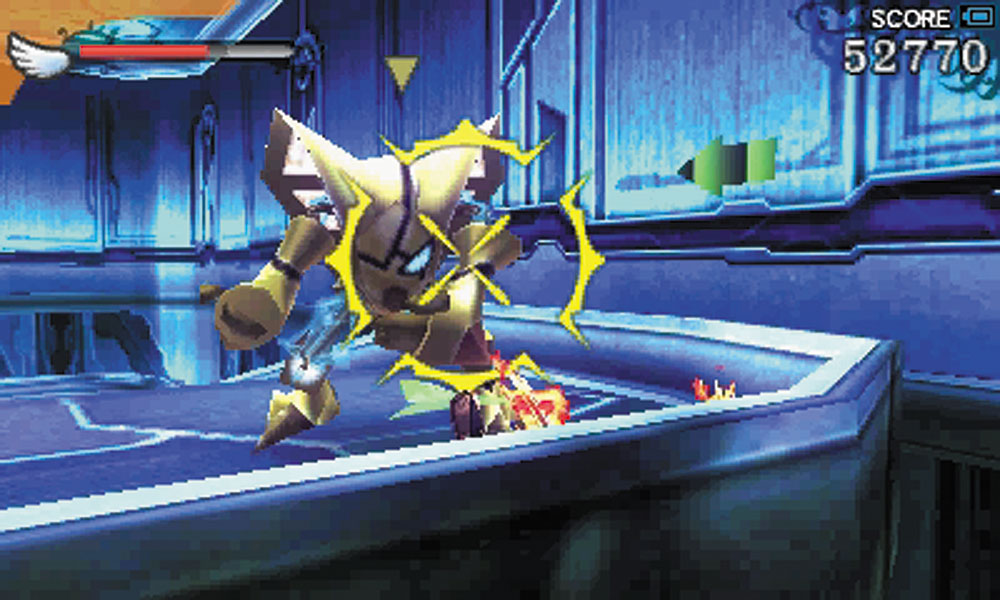
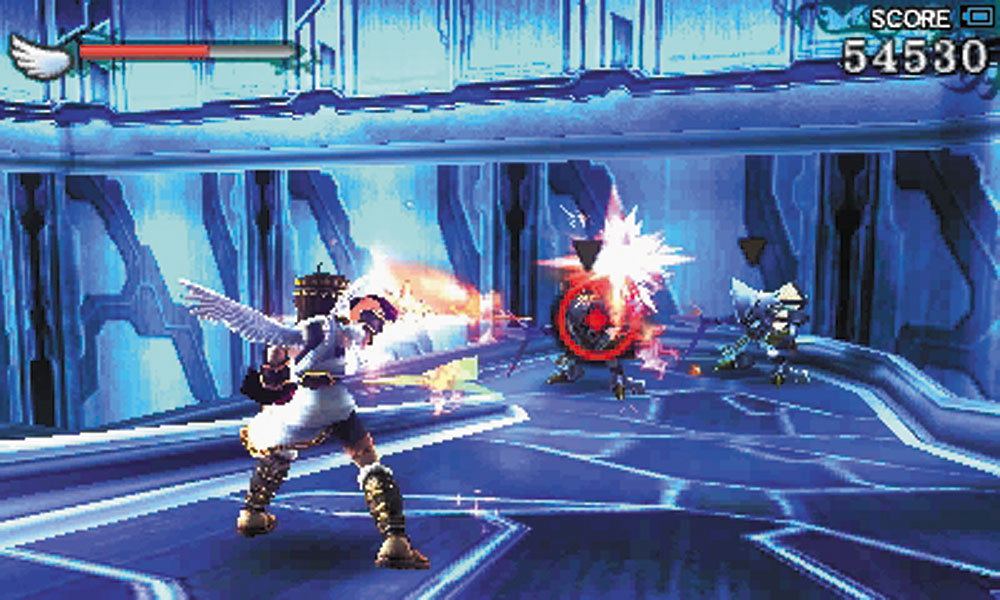
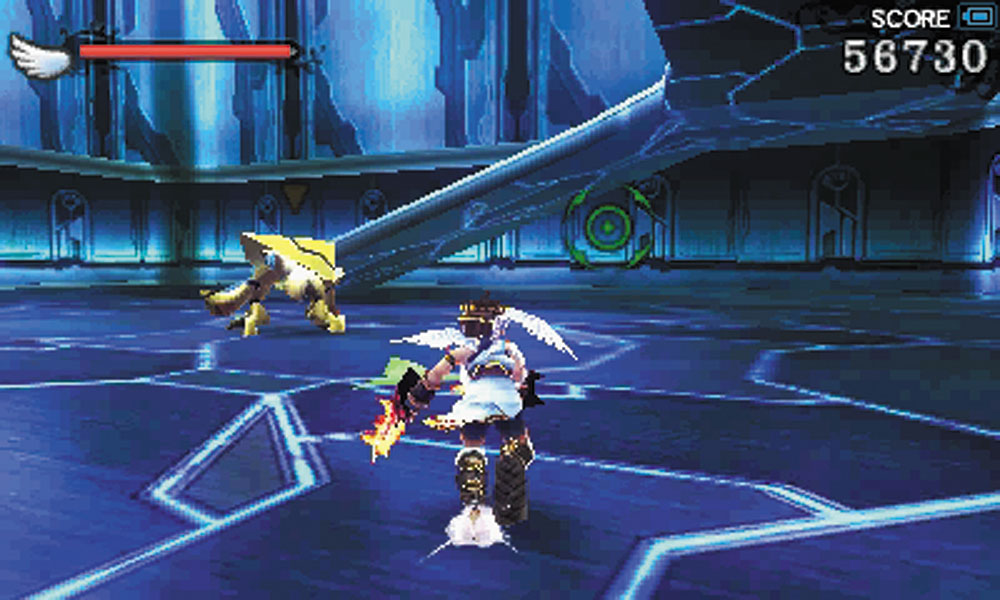
2. The walkway to this room spirals down to a lower level. Space Pirates will attempt to block you at every turn of the walkway. Remember that the blue Pirates prefer ranged combat, while the gold ones will rush for melee battles. Food can be collected along the walkway if you’ve been getting roughed up, so it doesn’t hurt to follow it to the bottom of the room.
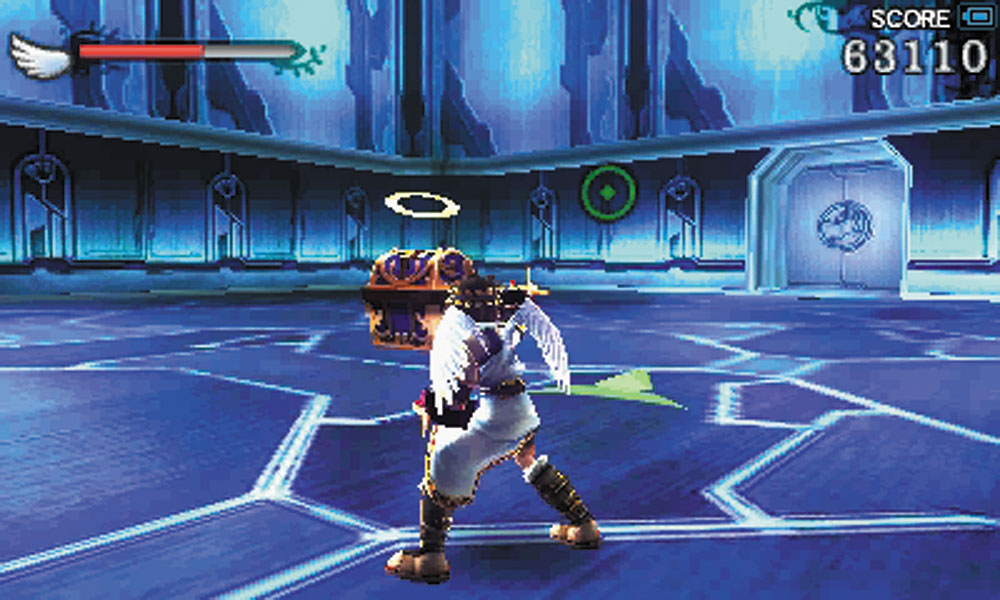
Defeating all of the Pirates here rewards you with a Treasure Box at the center of the room.
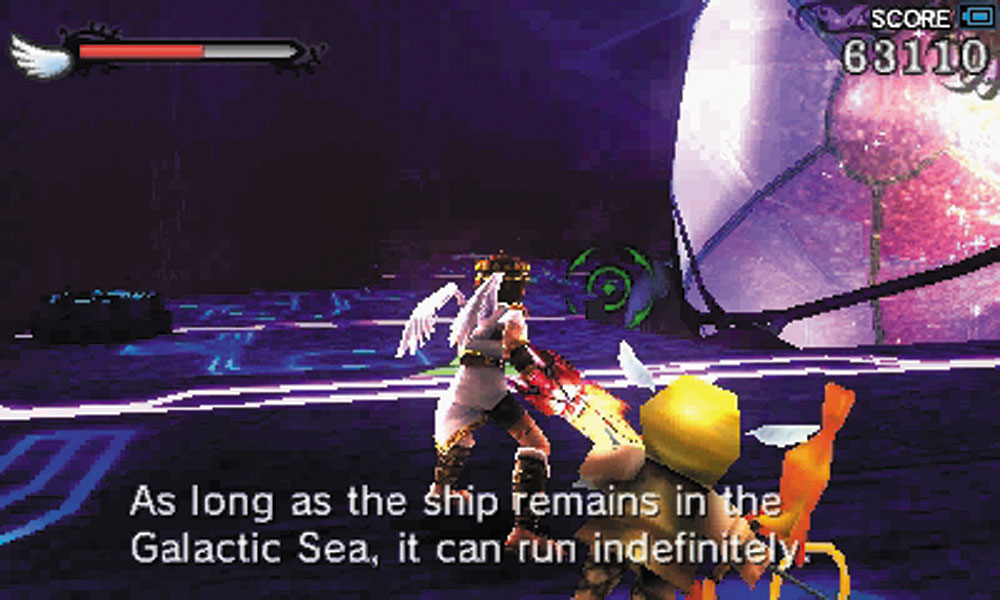
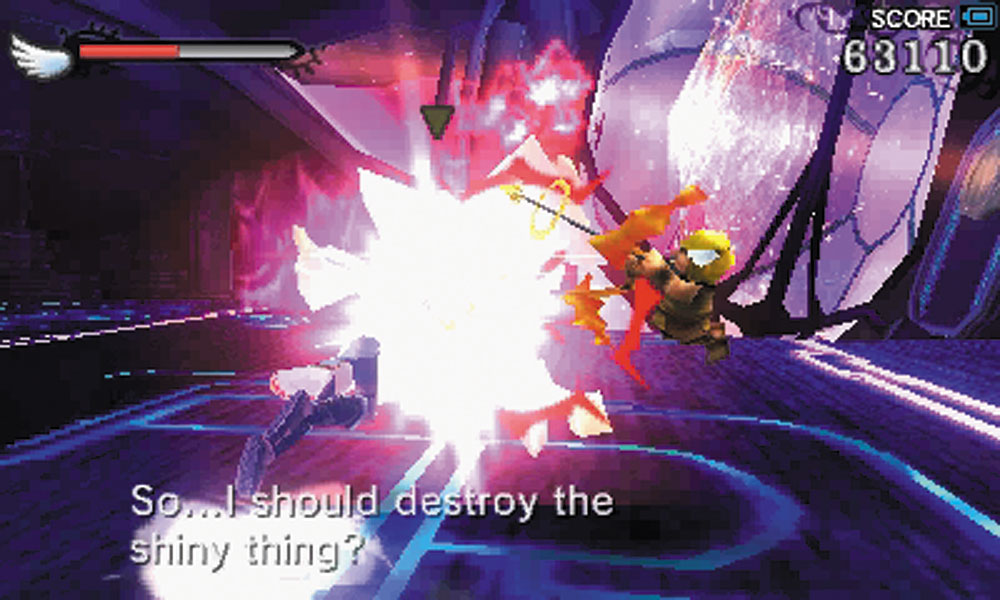
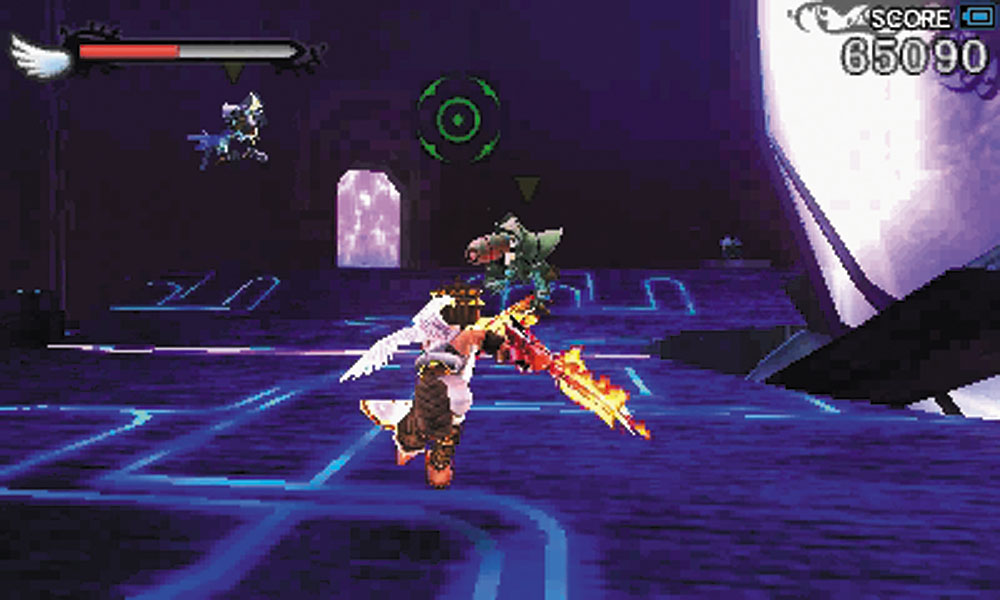
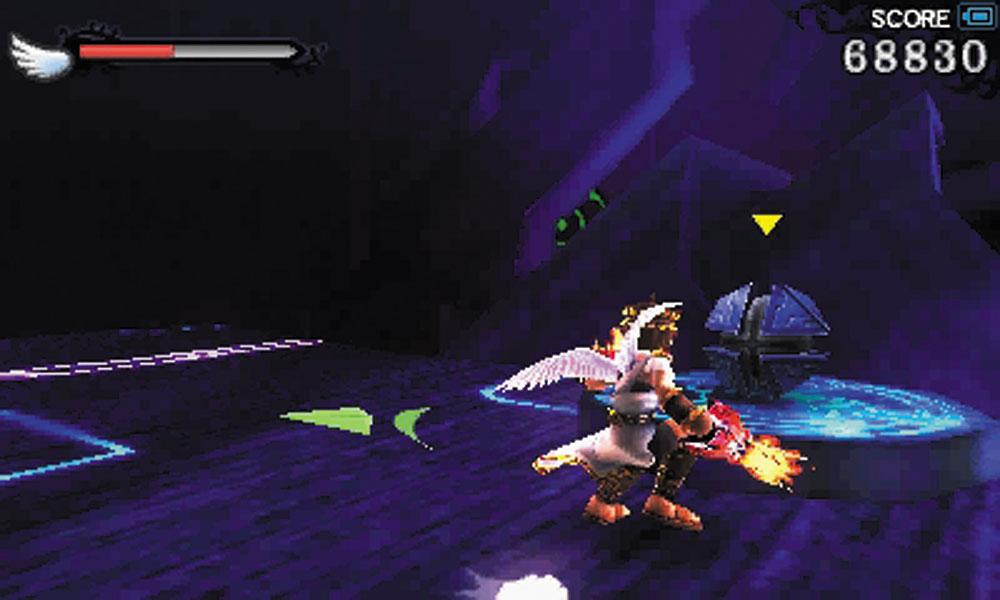
3. The battle for the generator room is divided into two parts. A set of Pirates will appear as you enter the room, and the way forward is sealed until you defeat them. Crossing into the other half of the generator, the seals reengage until the second wave of Pirates are taken down. An X Bomb can be found near the room’s exit. Try not to use it for the fights here unless you’re having trouble. You can always take the bomb with you for a later encounter.
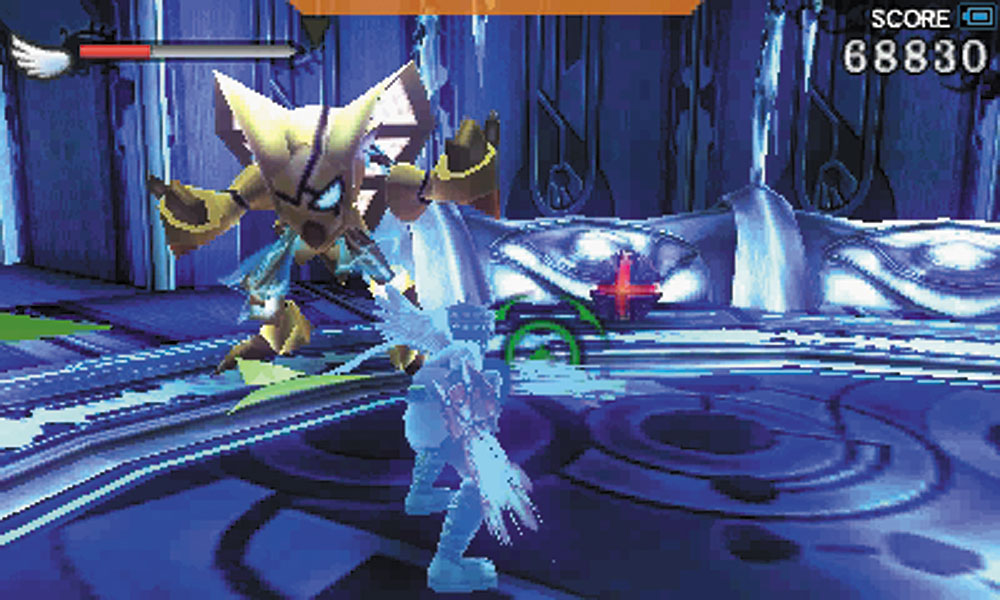
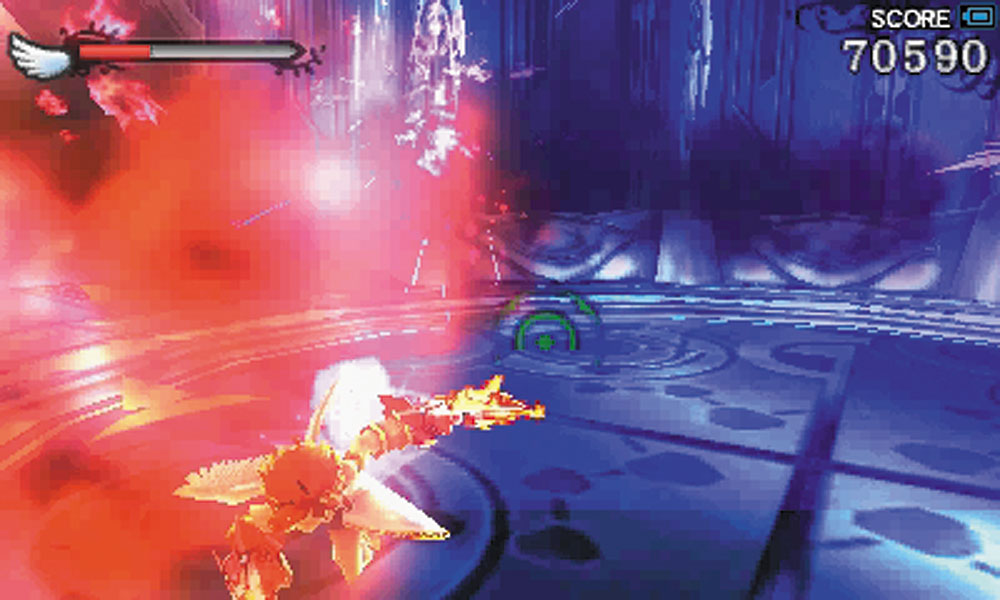
4. The elevator ride here is uneventful until you reach the top floor. Pirates drop down from the roof to ambush you. If you’ve got that X Bomb from the generator room, this is the place to use it.
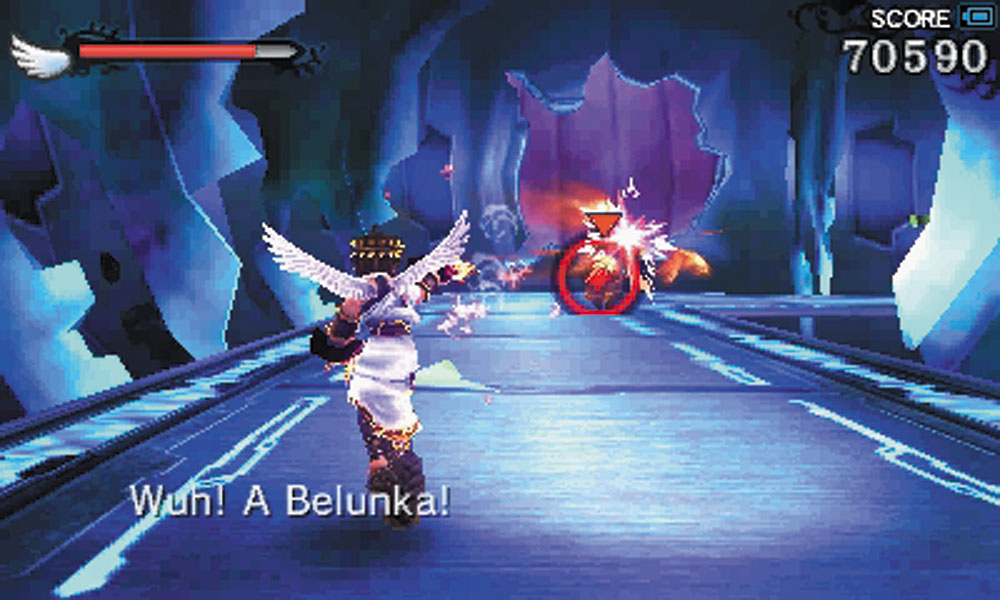
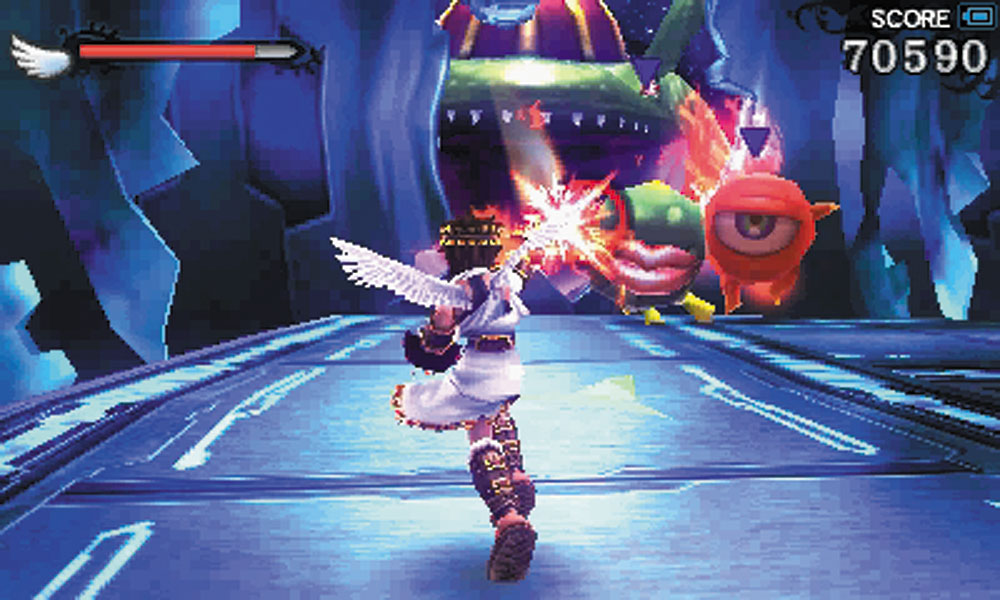
5. A pirate ambush here goes very badly for the Pirates when a Belunka breaks through the hull and begins pouring in Underworld Monoeyes, Miks, and Gyrazers.
6. Don’t miss this Level 6 Intensity gate, the room beyond it contains a Treasure Box.
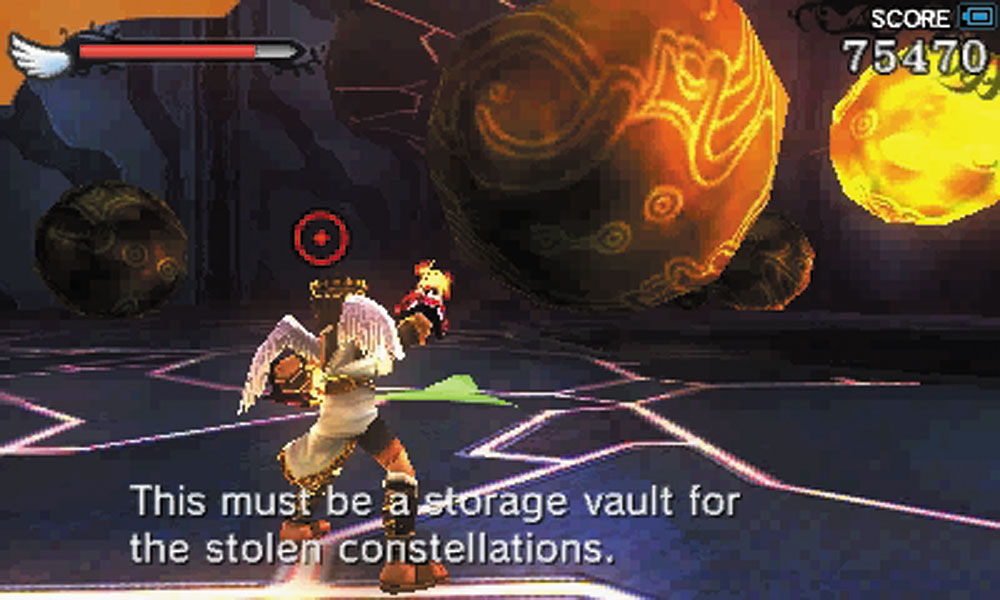
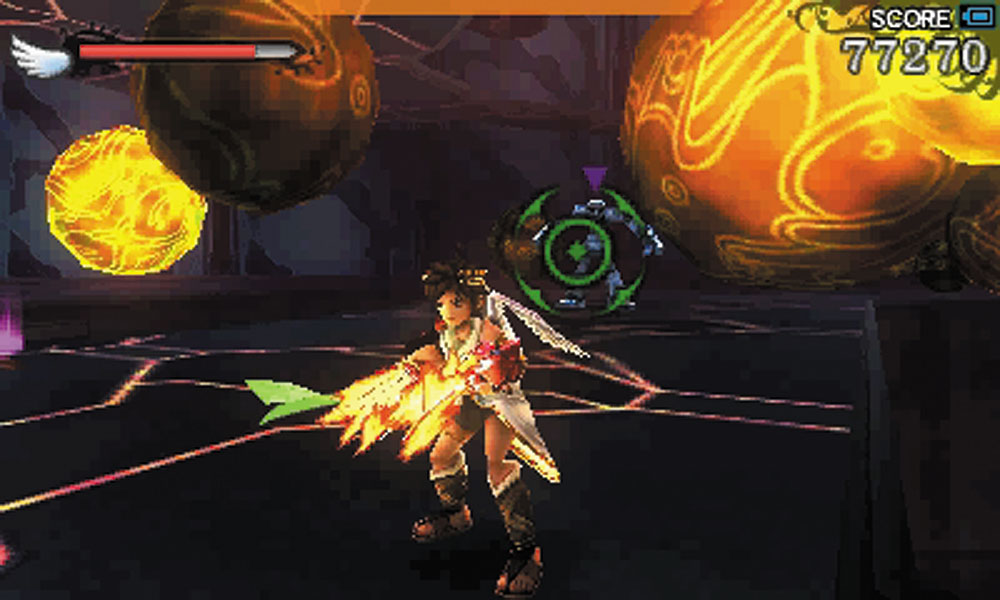
7. The storage vault has been attacked by the Underworld Army, and the Space Pirates are struggling to contain them and Pit. The vault is split into three separate levels, and you’ll want to explore thoroughly, as there is a Zodiac Chamber in this vault. The first floor is still dominated by Pirates. Advancing toward the back of the room causes a Snowman to appear. You can either fight the Snowman or take the jump pad up to the second floor.
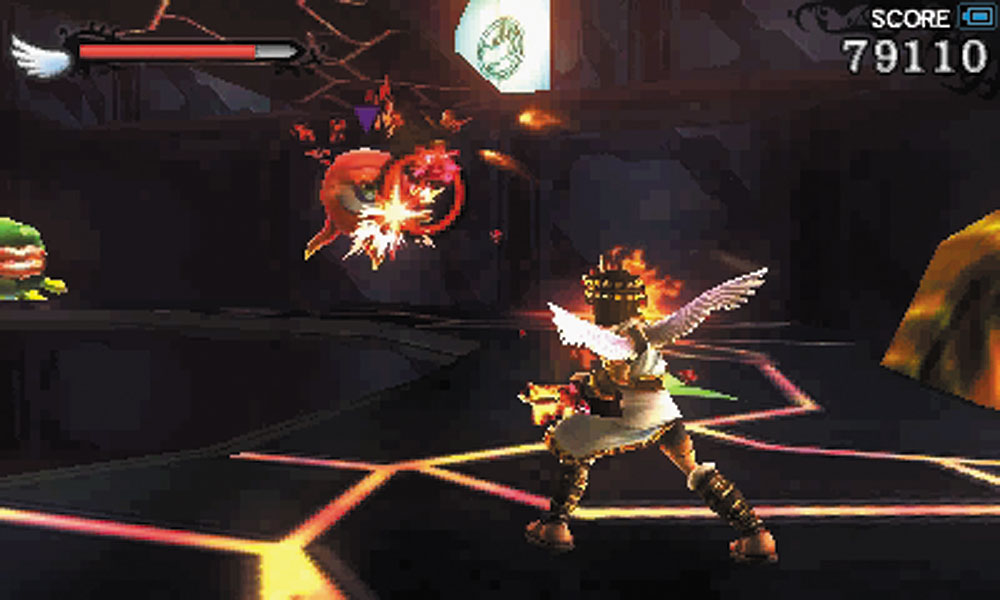
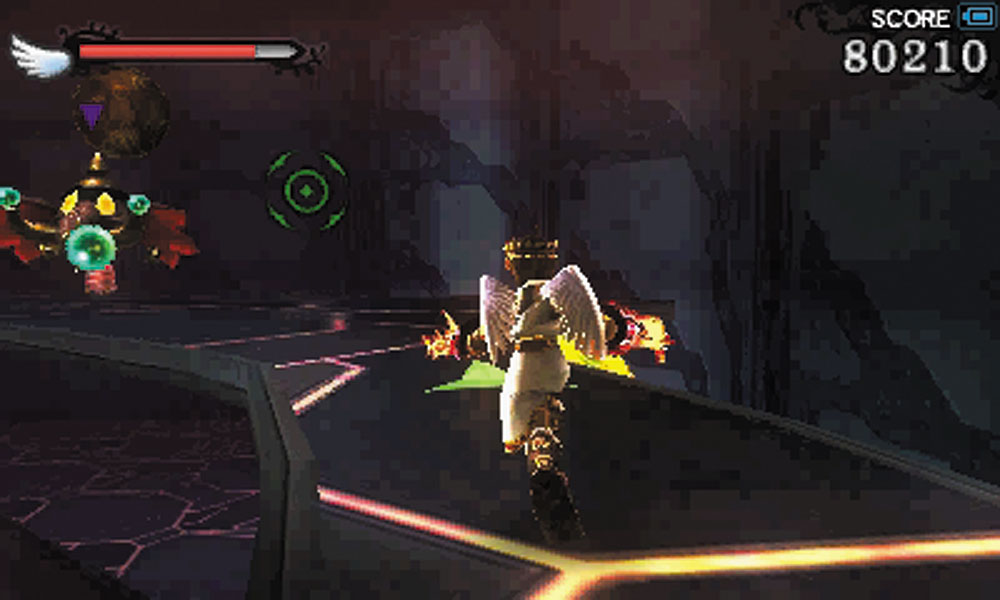
The second floor is filled with Underworld goons, including a Snong that is supported by a Skuttler sniping from one of the storage containers. Destroy them all, but do not take the jump pad to the third floor right away. You’ll miss out on the Zodiac weapon!
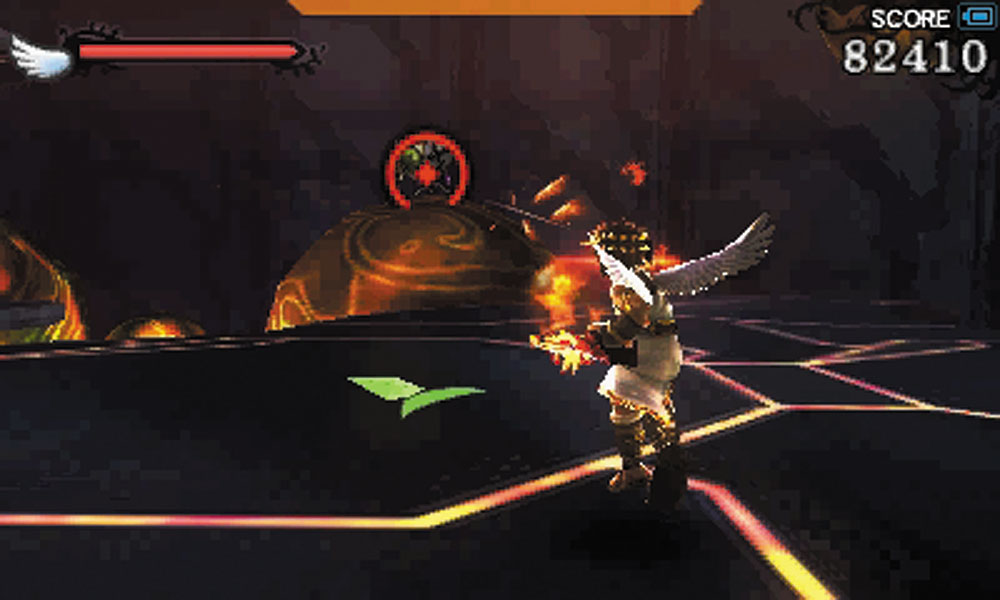
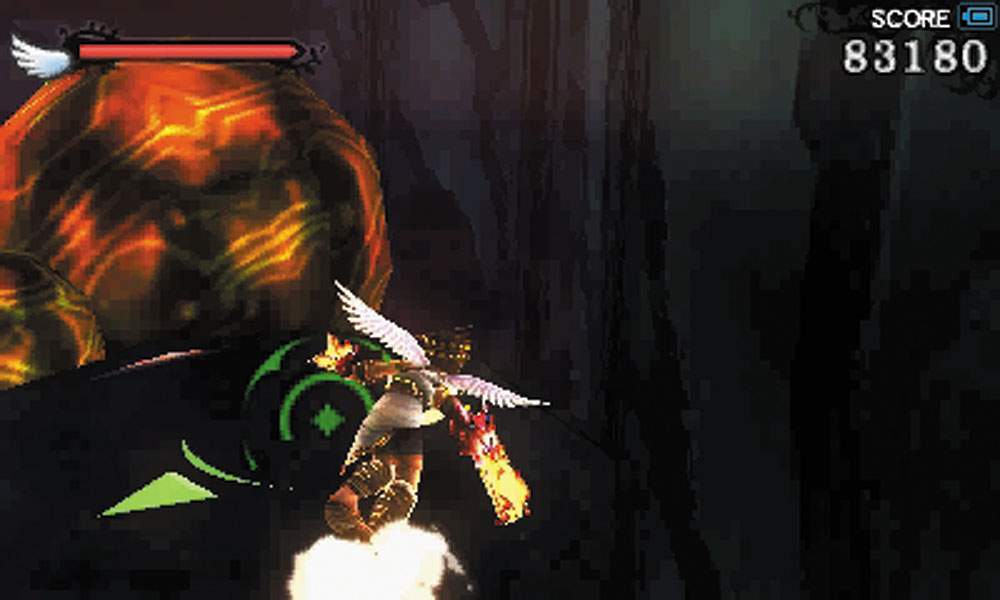
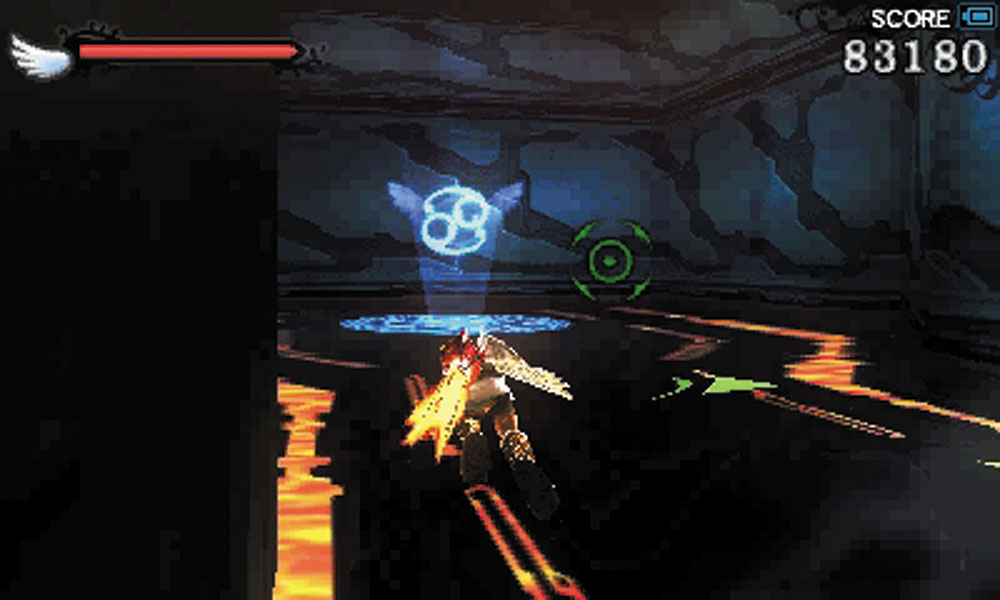
If you continue past the container the Skuttler was mounted on, you’ll find that you can leap back down to the first floor into a section that was blocked off by the storage containers. It’s here that you’ll find access to the Zodiac weapon. Take the jump pad that appears back to the second floor, then take the jump pad up that leads up to the third floor.
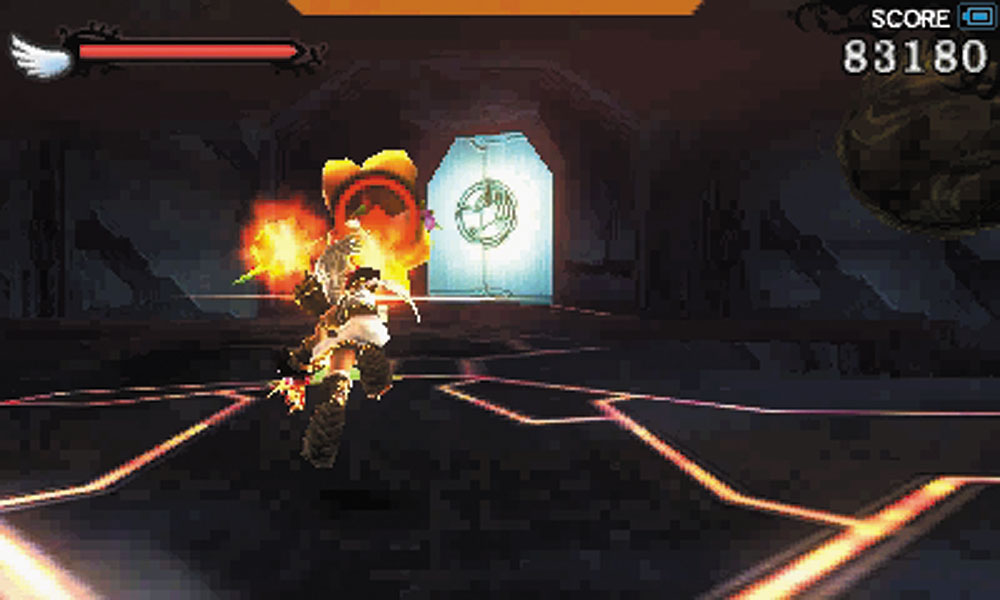
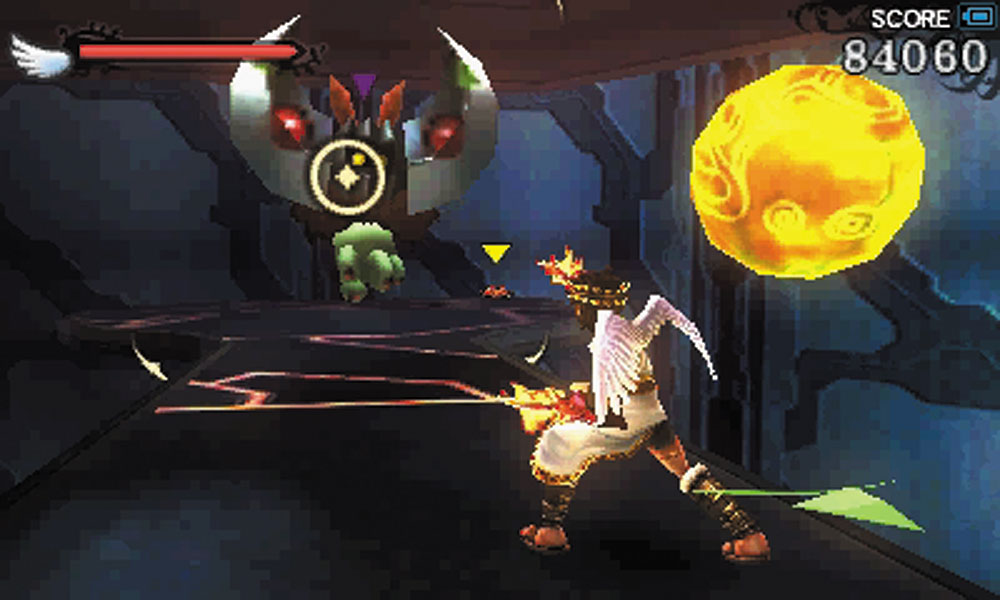
A Daphne and a Gloomerang are the last bit of Underworld resistance in the vault. Take them down and proceed through the door that the Daphne guarded.
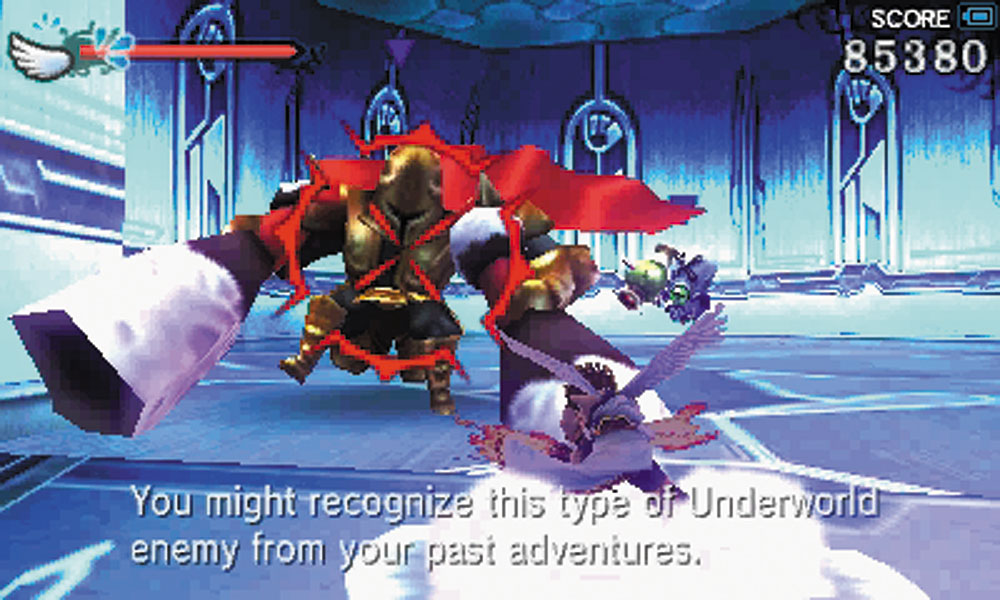
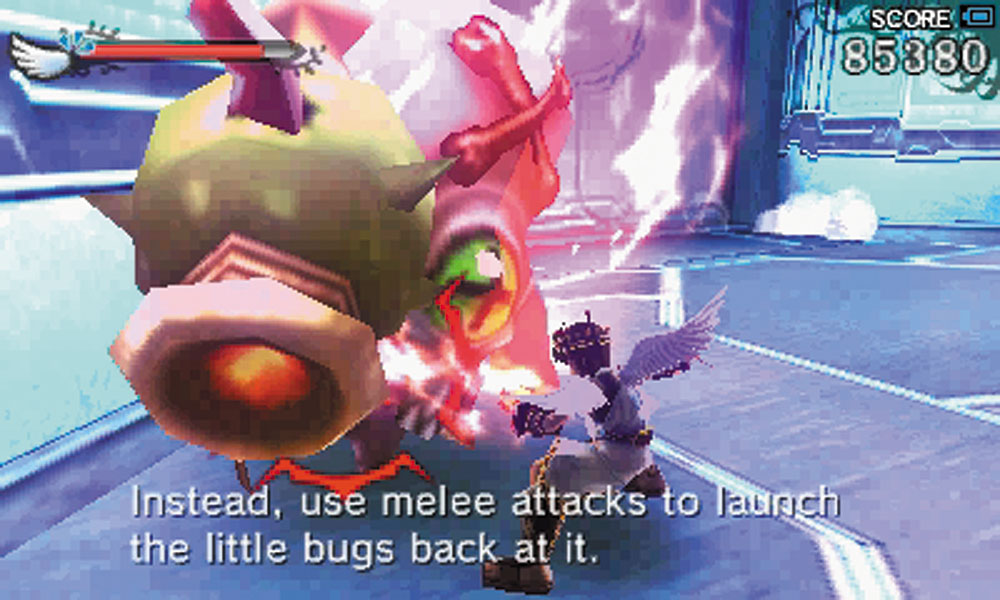
8. Skuttlers attack you in this corridor, but the big threat here is the Colin and Phil duo. Colin is the large golden, armored soldier, and Phil is the tiny monster that accompanies him. Colin will shoot Phil at you like a projectile, and hitting Phil back at him is the only way for you to hurt the caped soldier. It might be safe to eliminate the Skuttlers first.
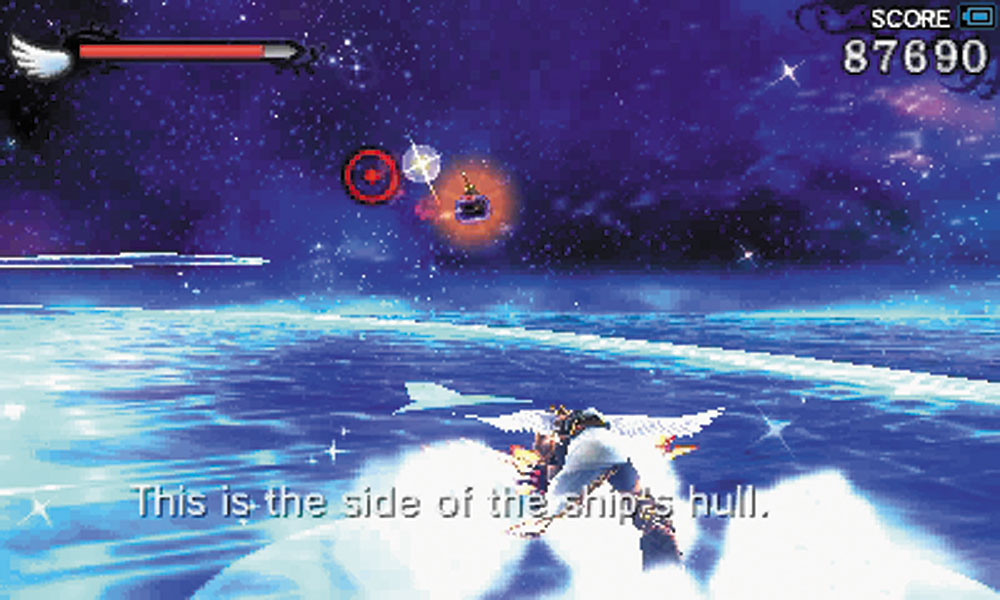
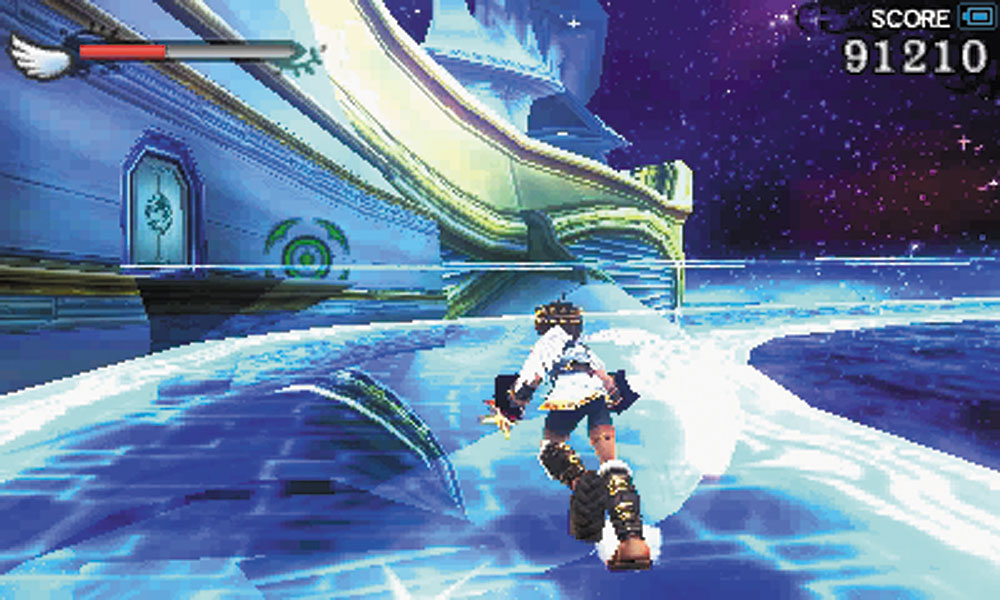
9. Be very cautious on these walkways! There are no guardrails here for safety, and falling into the sea costs you health.
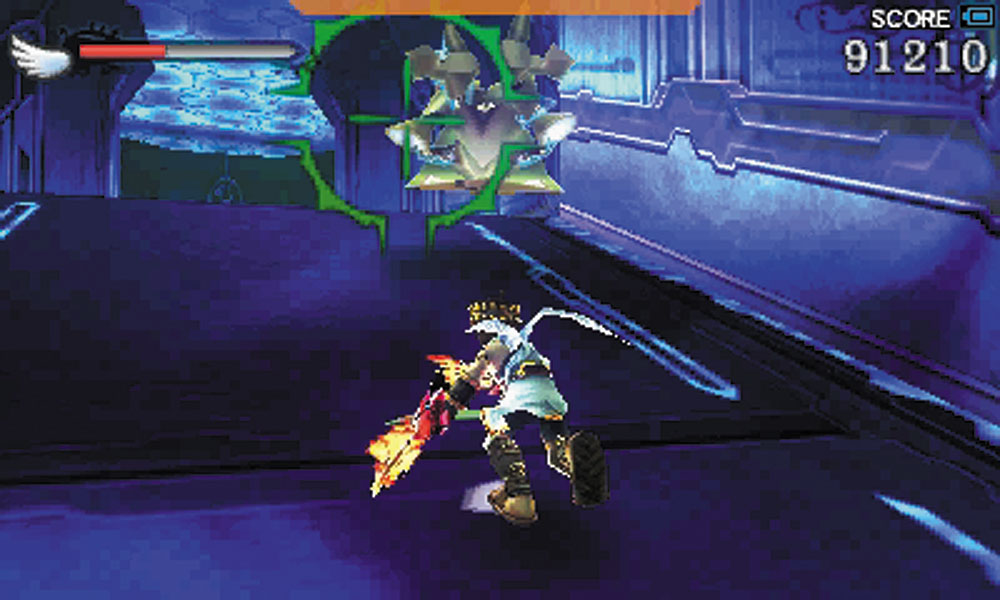
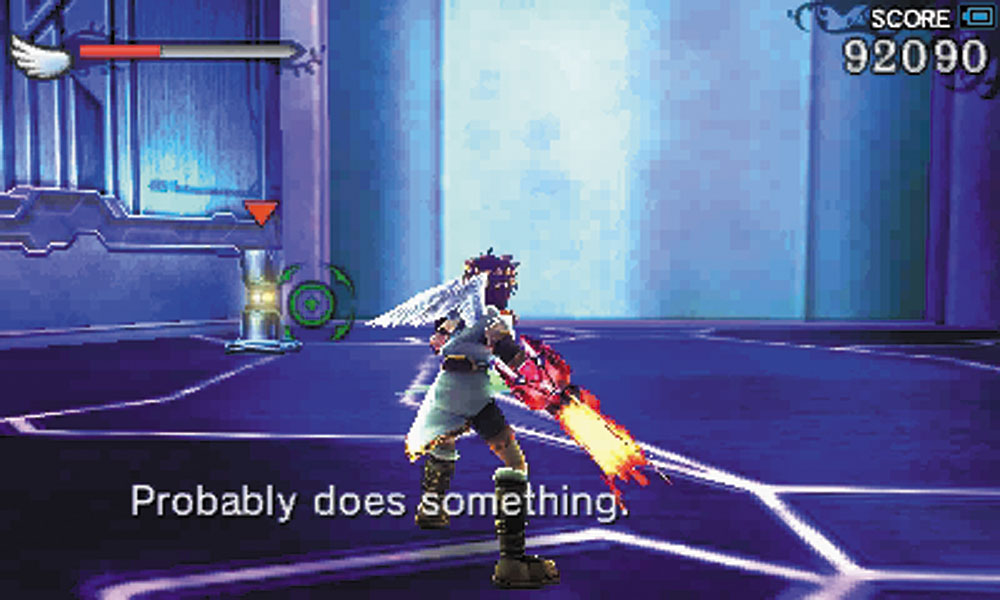
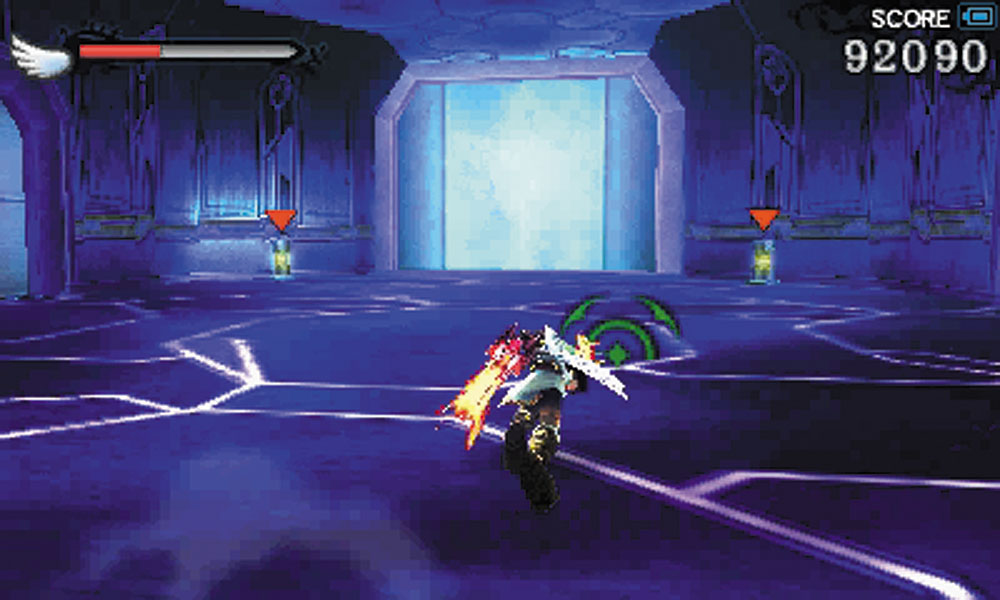
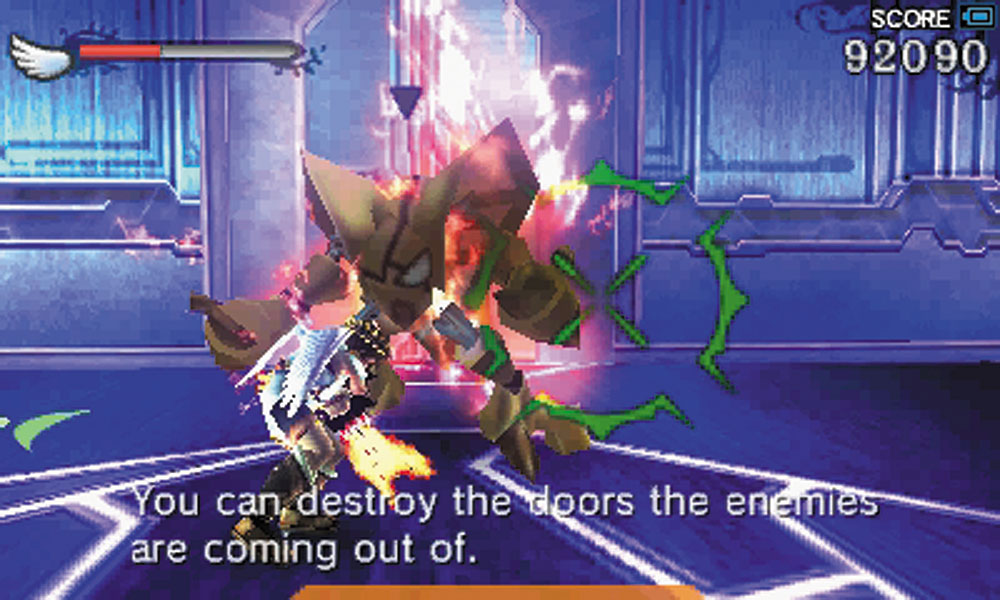
10. This corridor starts off lightly defended. You find a switch to open one door, then enter a room with two switches. On either side of the exit are a set of doors from which Space Pirates will emerge to cause Pit some pain. It’s possible to disable both doors to prevent more Pirates from arriving. After you hit the two switches, continue moving forward.
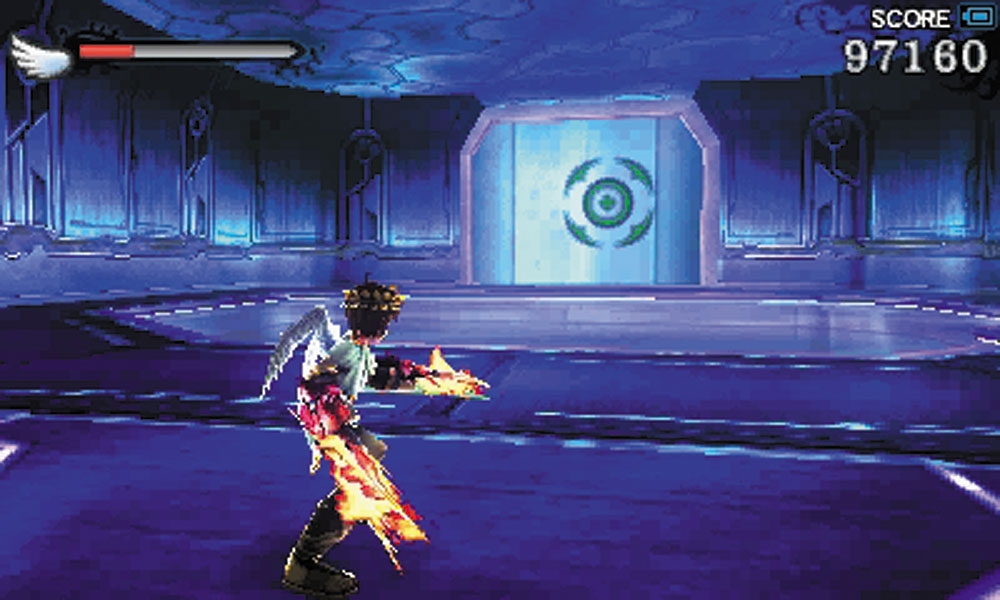
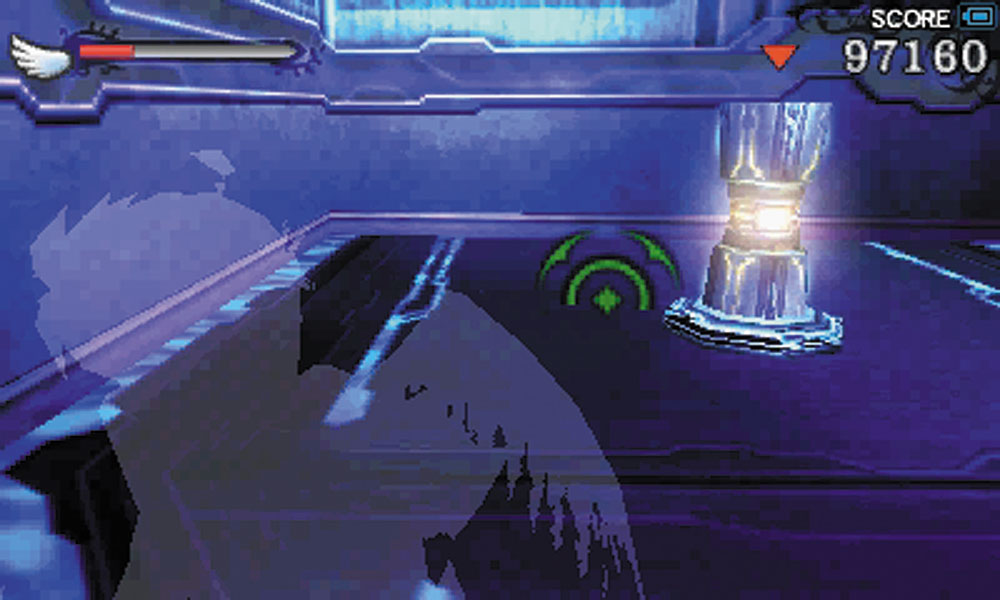
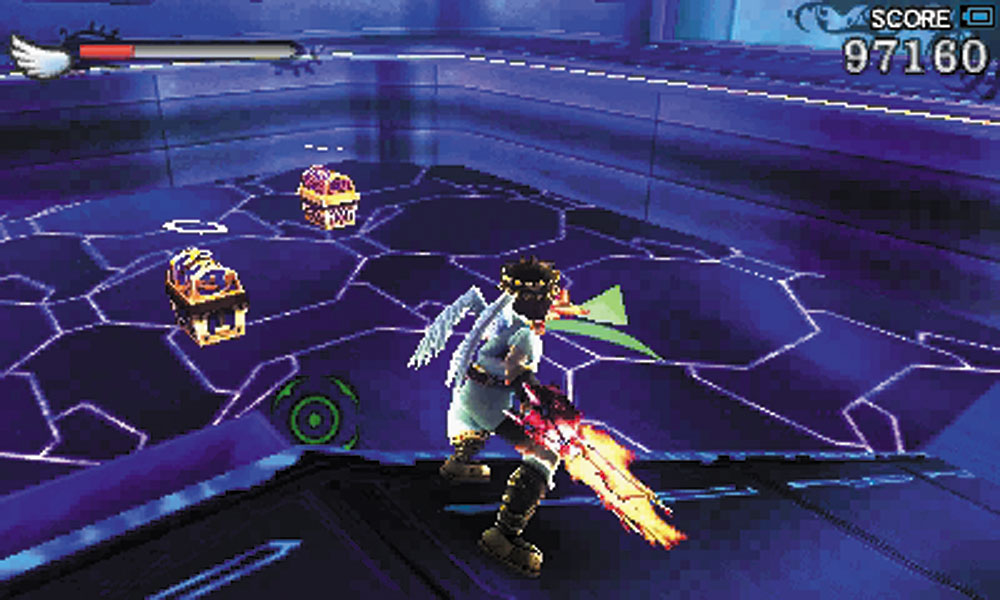
11. The next room has another pair of switches to hit. Switch 1 allows access to a trio of Treasure Boxs. Be careful! While the box in the center is not booby-trapped, the other two are, and they send out a barrages of energy bolts when you get close to them! The best way to get them open is to simply sprint past them. If you’re far enough away, the bolts dissipate before reaching you.
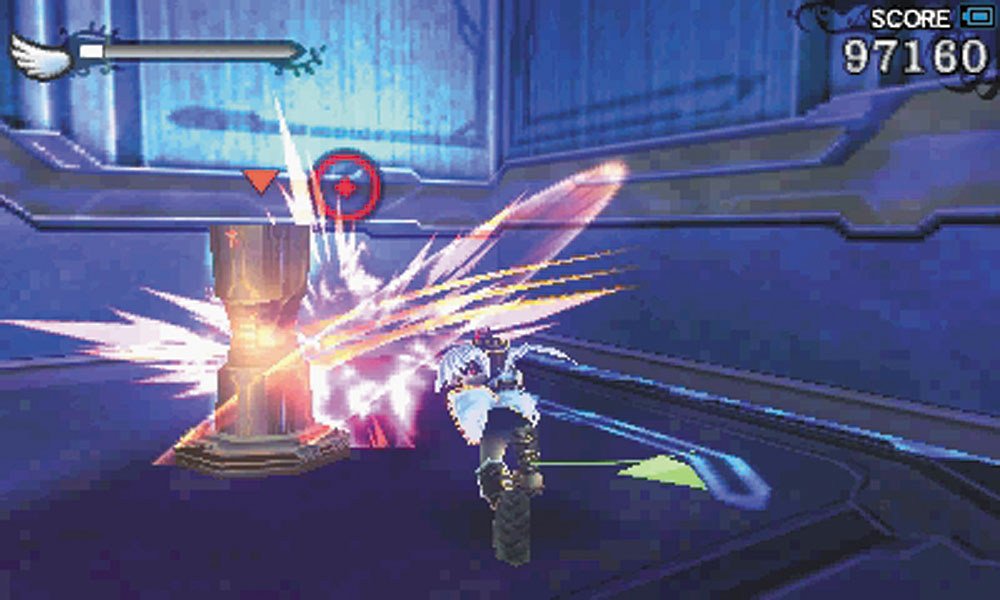
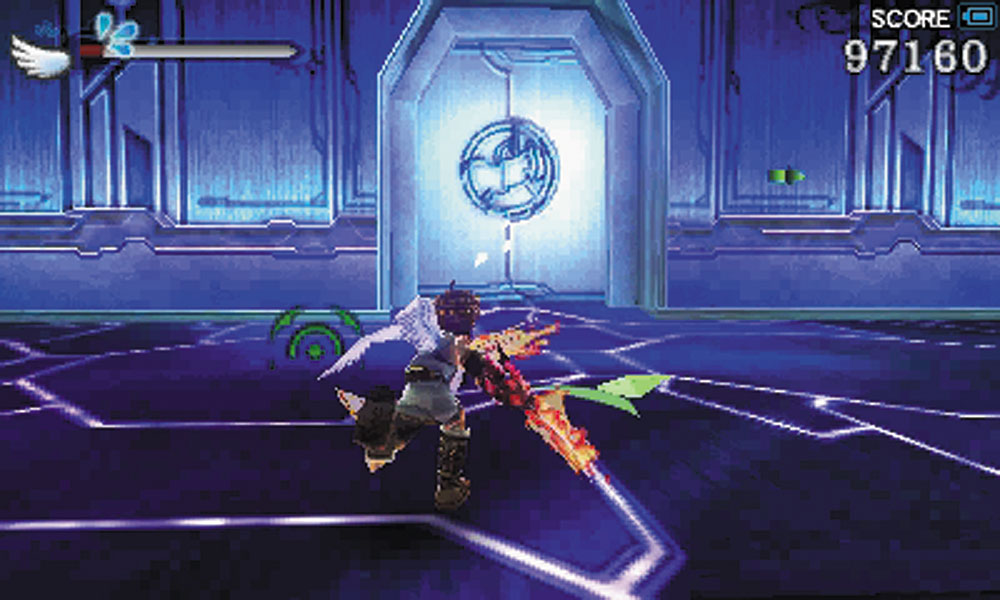
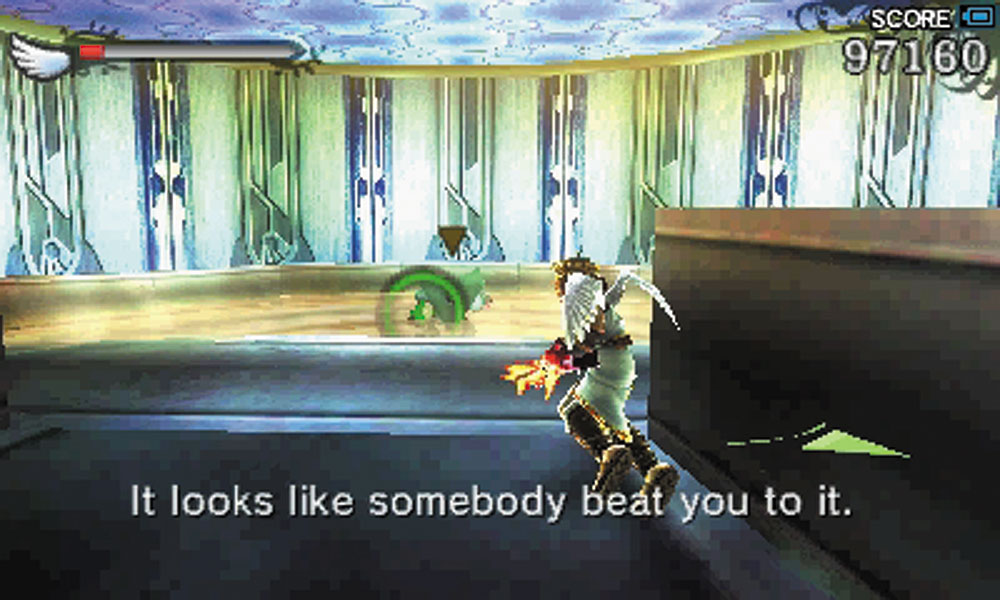
Switch 2 opens the way to the next section. Be sure to check out the hot spring for some healing!
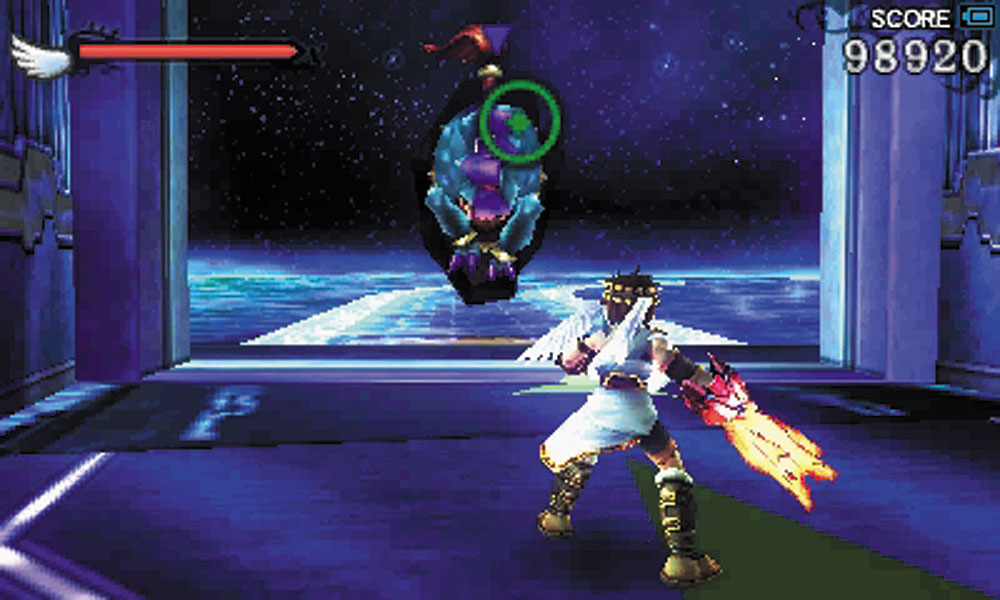
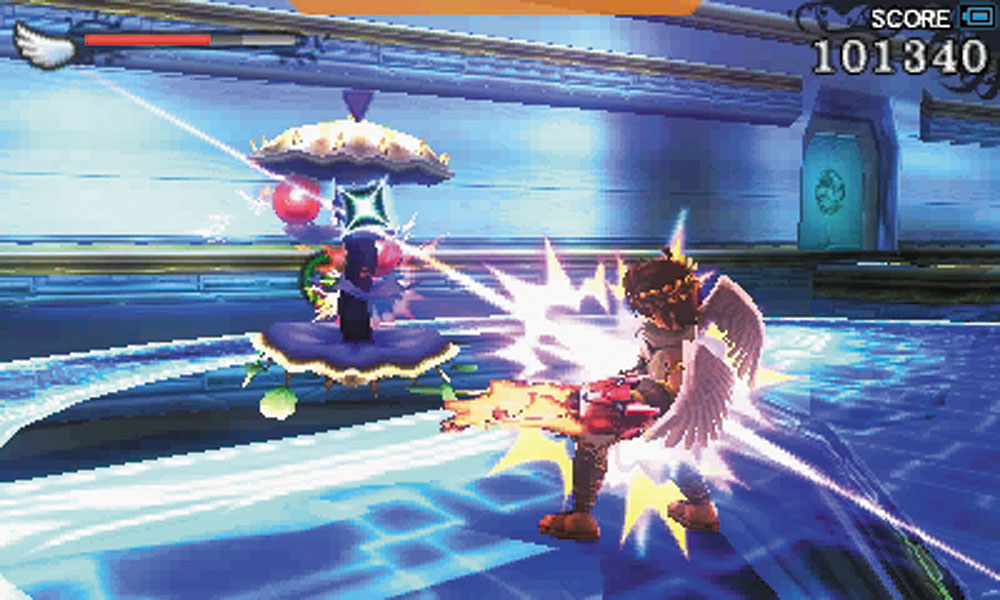
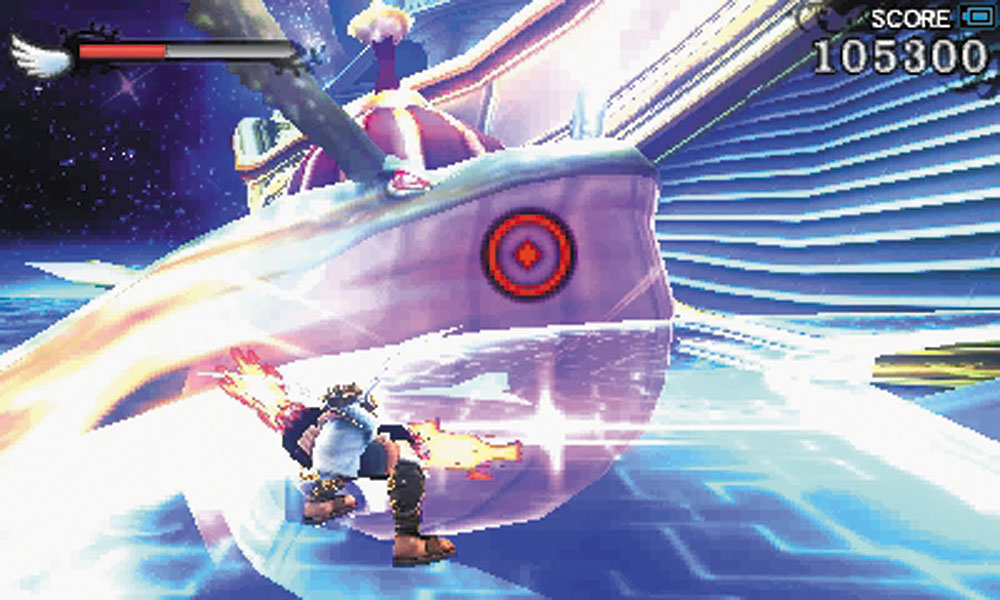
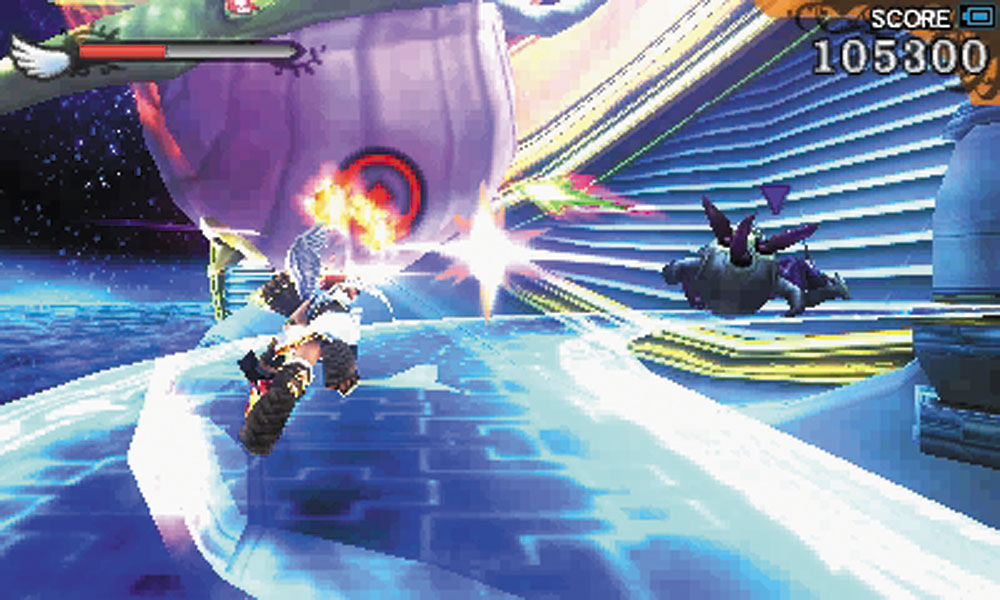
12. This is another wild walk on the outside of the ship, only this time there are a lot more enemies to be concerned with on top of the threat of falling. The Pirates and the Underworld troops are really going at it. The Mega Mussel, Splins, and a Boogity are all bad enough, but when the Belunka appears and drops a Clubberskull on the walkway, you know it’s time to leave.
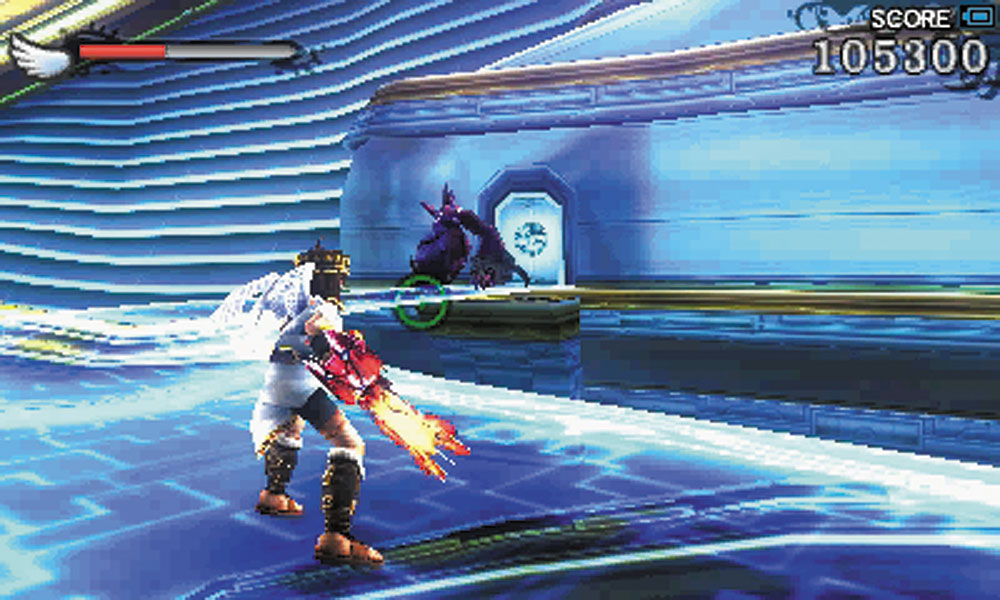
Fortunately, the Clubberskull starts off more interested in the Pirates, and leaps off the ship after them.
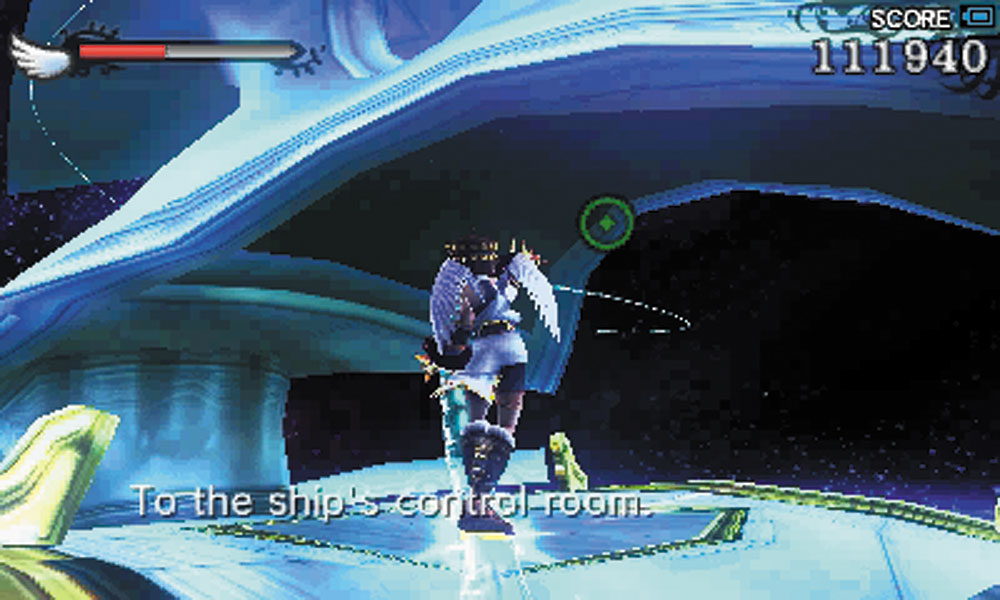
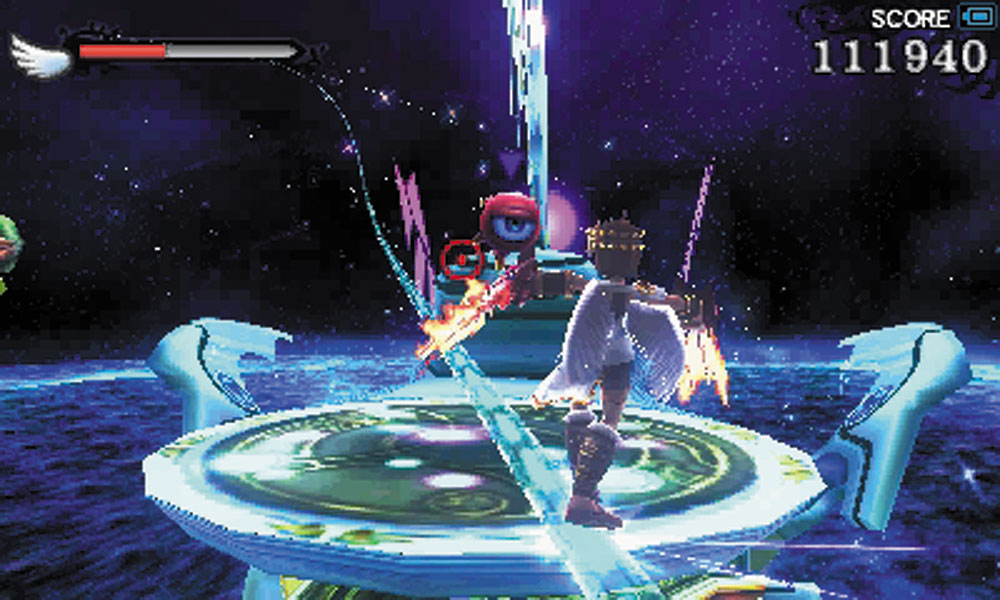
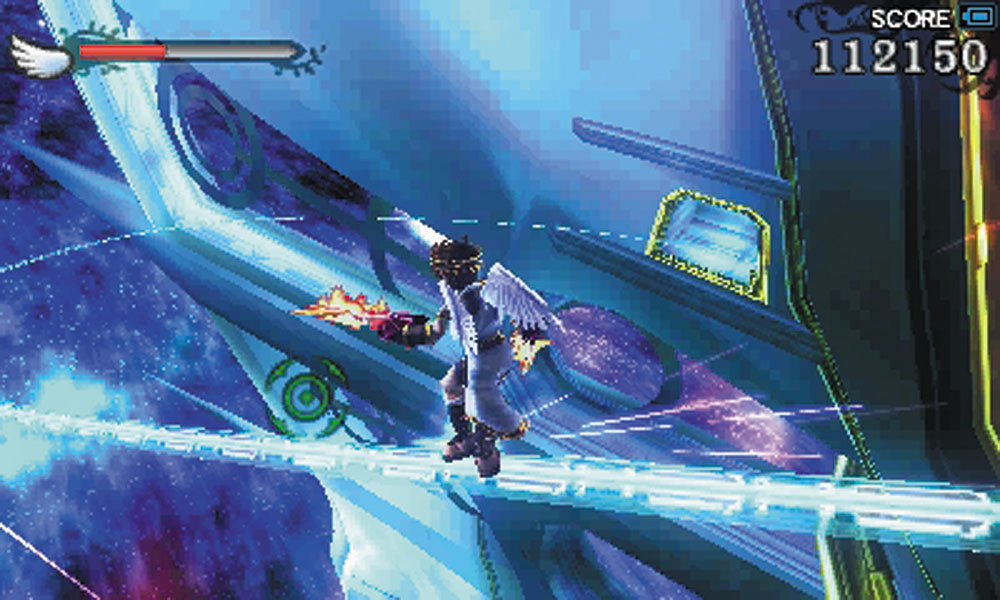
13. This is the start of a long grind rail ride. Pay attention to your surroundings and make sure the enemy doesn’t get a chance to shoot you while you fly around the ship.
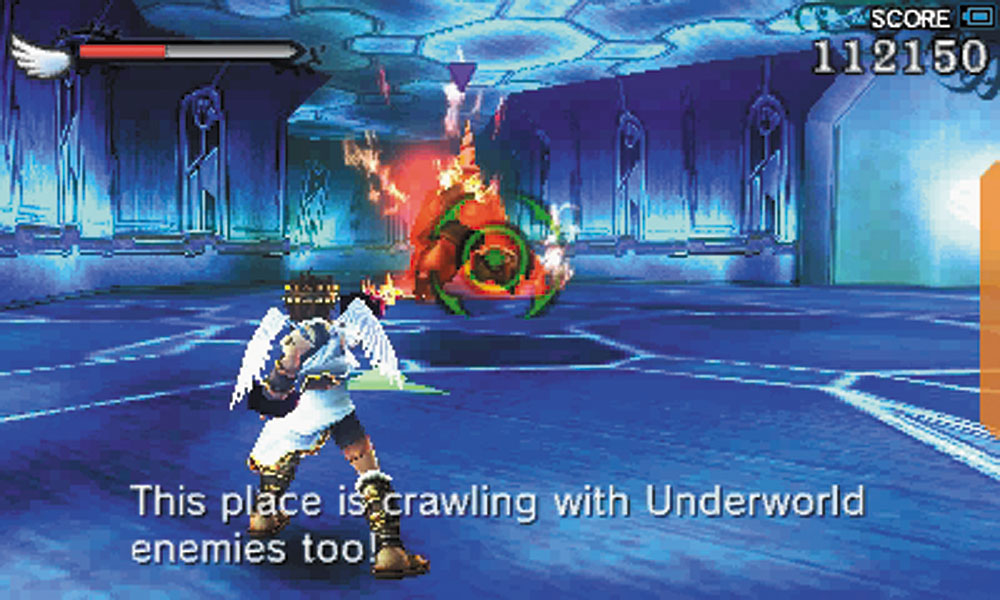
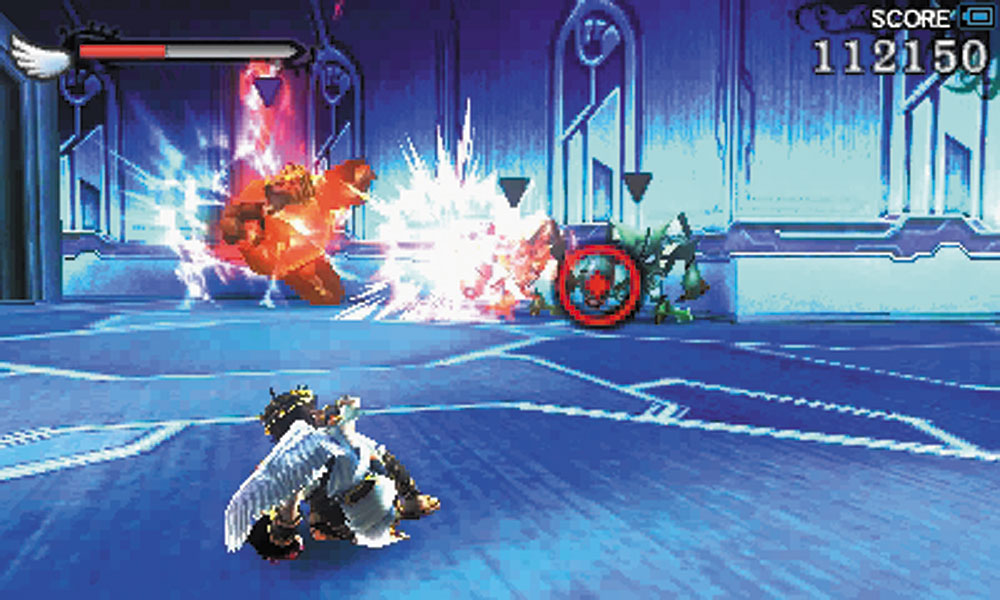
14. The control room is the site of another battle between the Pirates and the Underworld. Make sure that the only winner here is Pit.
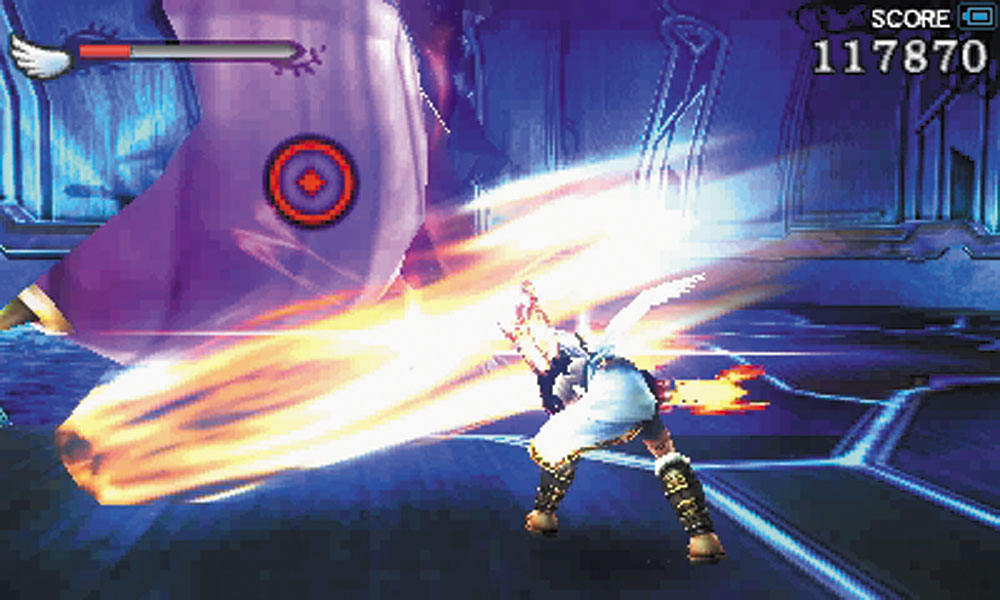
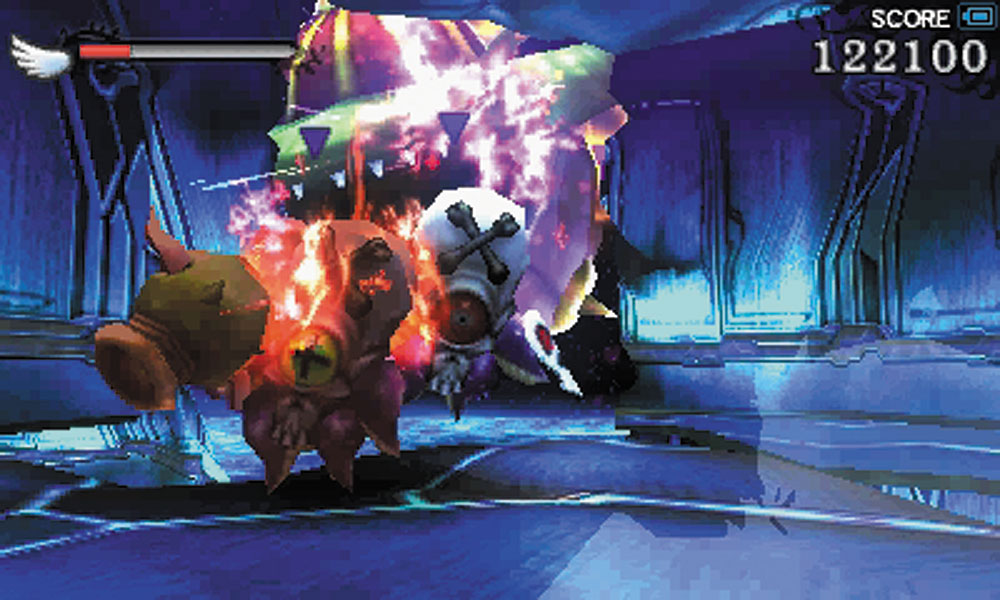
A Belunka appears in a hull breach, dropping off Skuttlers.
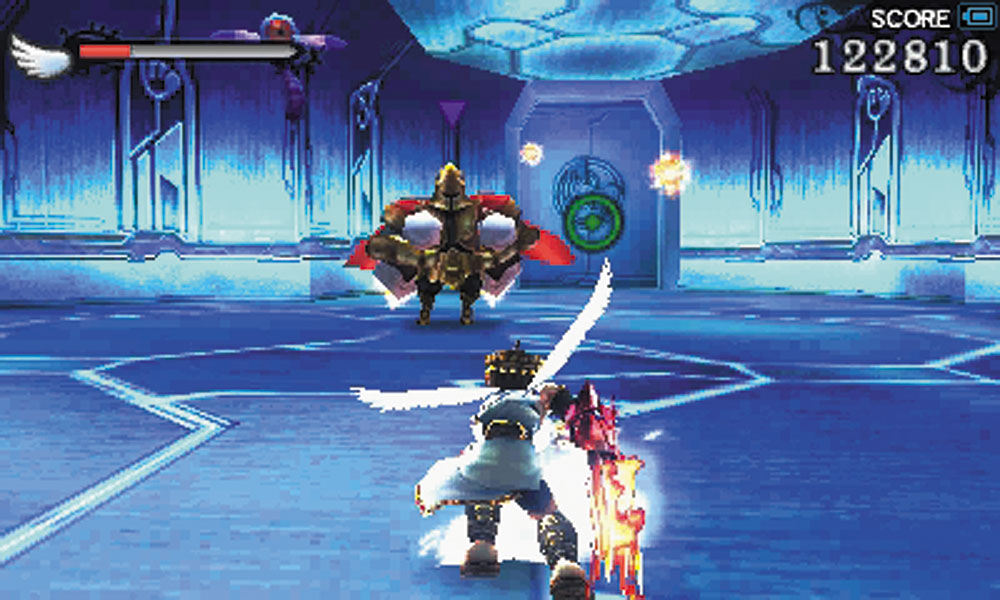
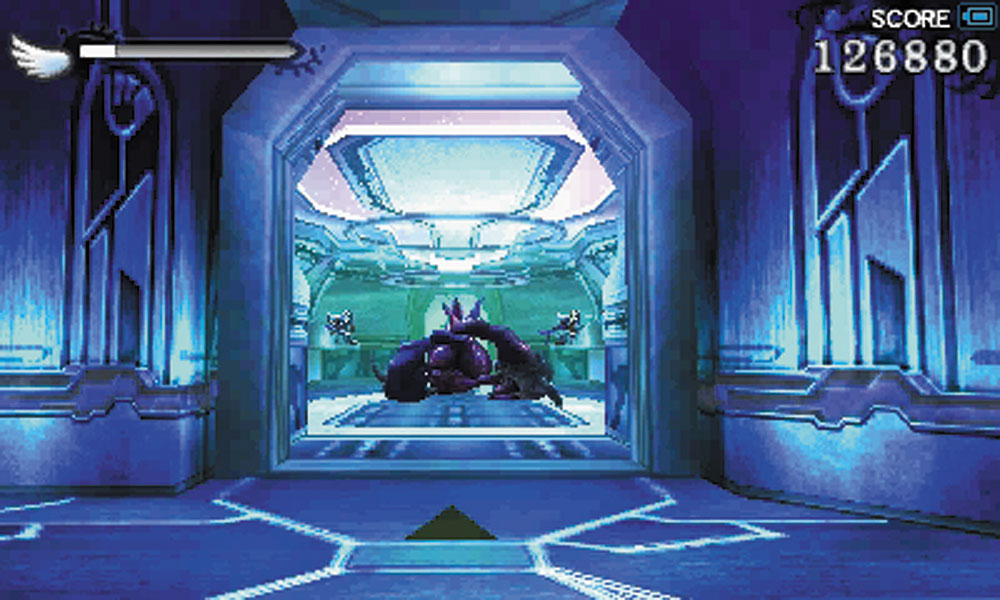
Another Colin and Phil duo also makes an appearance here, supported by Monoeyes, Miks, and Gyrazers. Once the enemy here is suppressed, the door to the command center opens, revealing another Clubberskull taking on the last of the Space Pirate defenses.
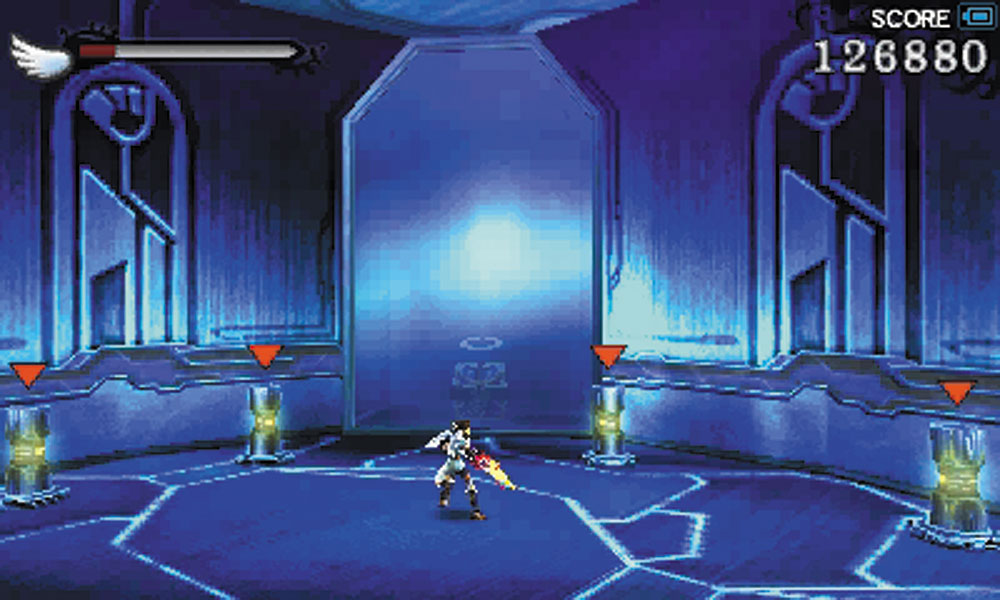
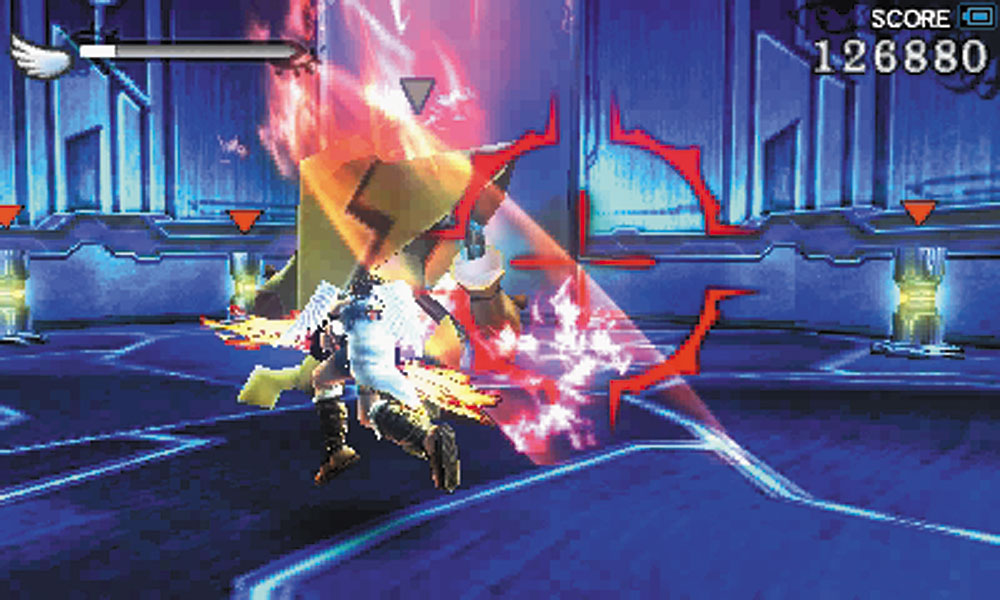
15. A Treasure Box can be found here, protected by a security barrier. Four switches are also found in the room, and only one will open the security barrier. The others call down more Space Pirates to fight.
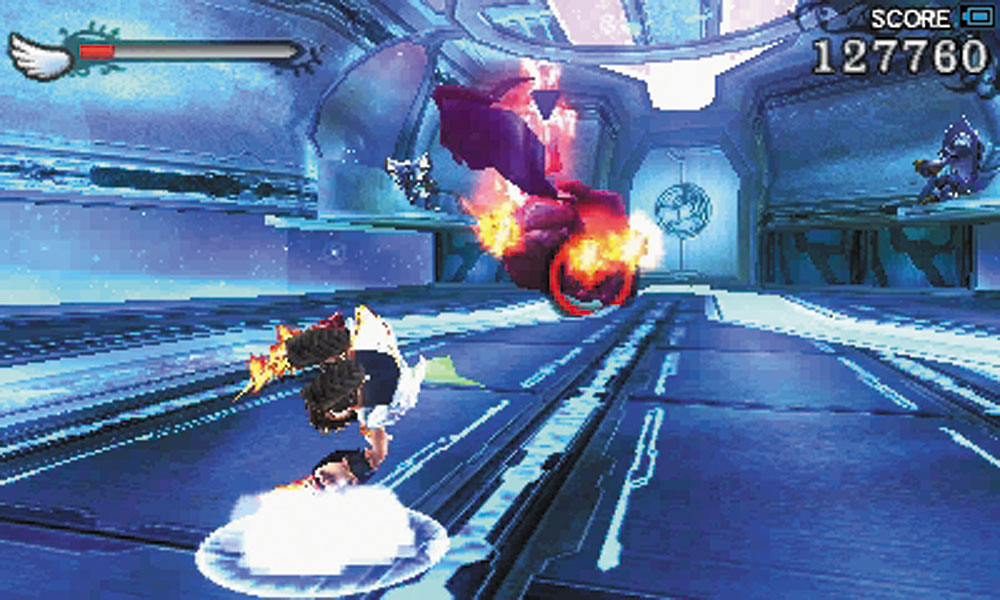
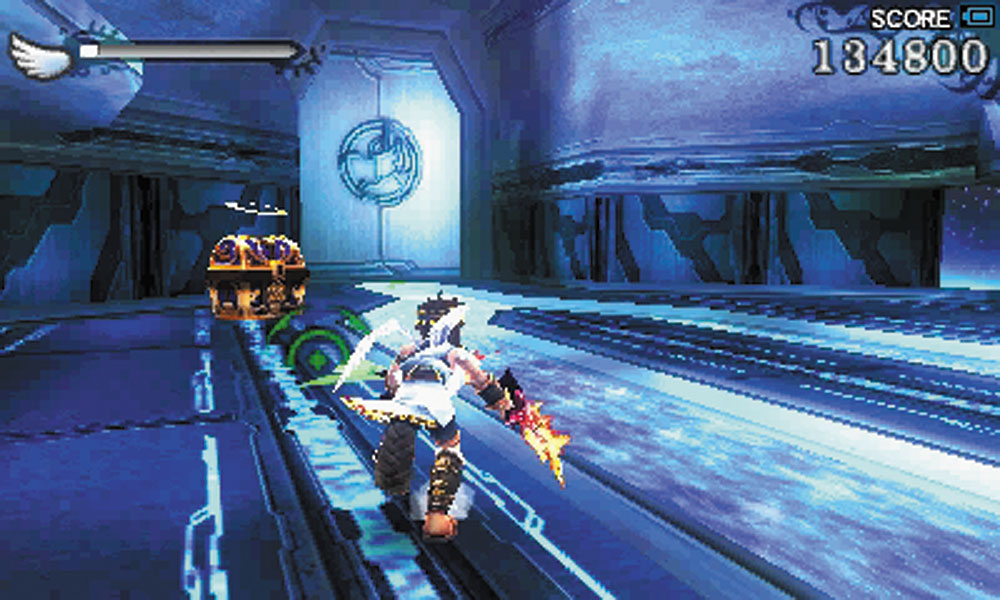
The Pirates here are doing their best to gun down the Clubberskull, and it doesn’t hurt to help them out in this instance. After the Clubberskull is defeated, finish off the Pirates and you’ll earn a Treasure Box.
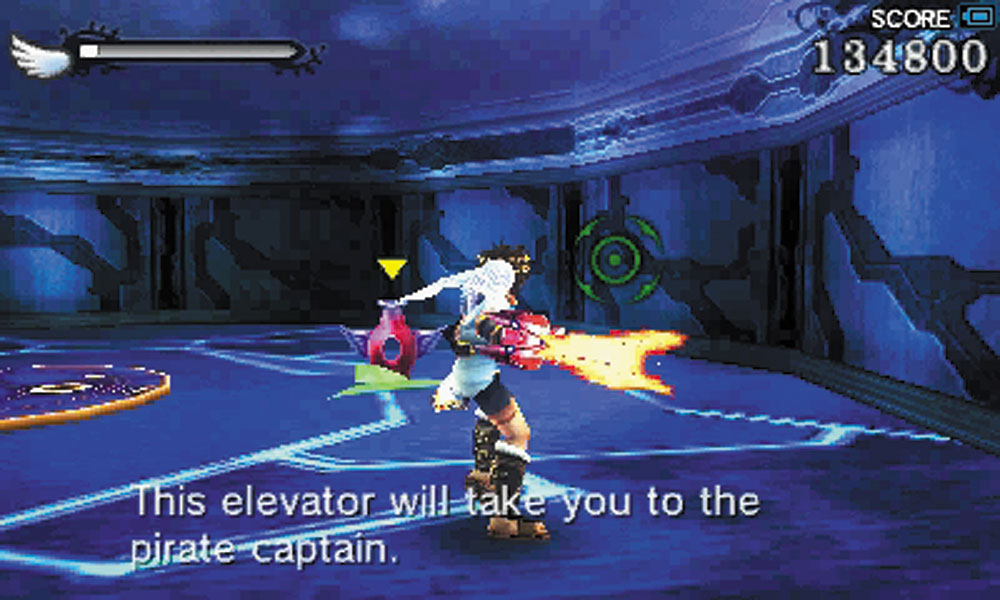
Take the Drink of the Gods at the exit elevator. You’ve made it to the boss!