
Kid Icarus: Uprising Guide Walkthrough Chapter 15: Mysterious Invaders
Land Battle
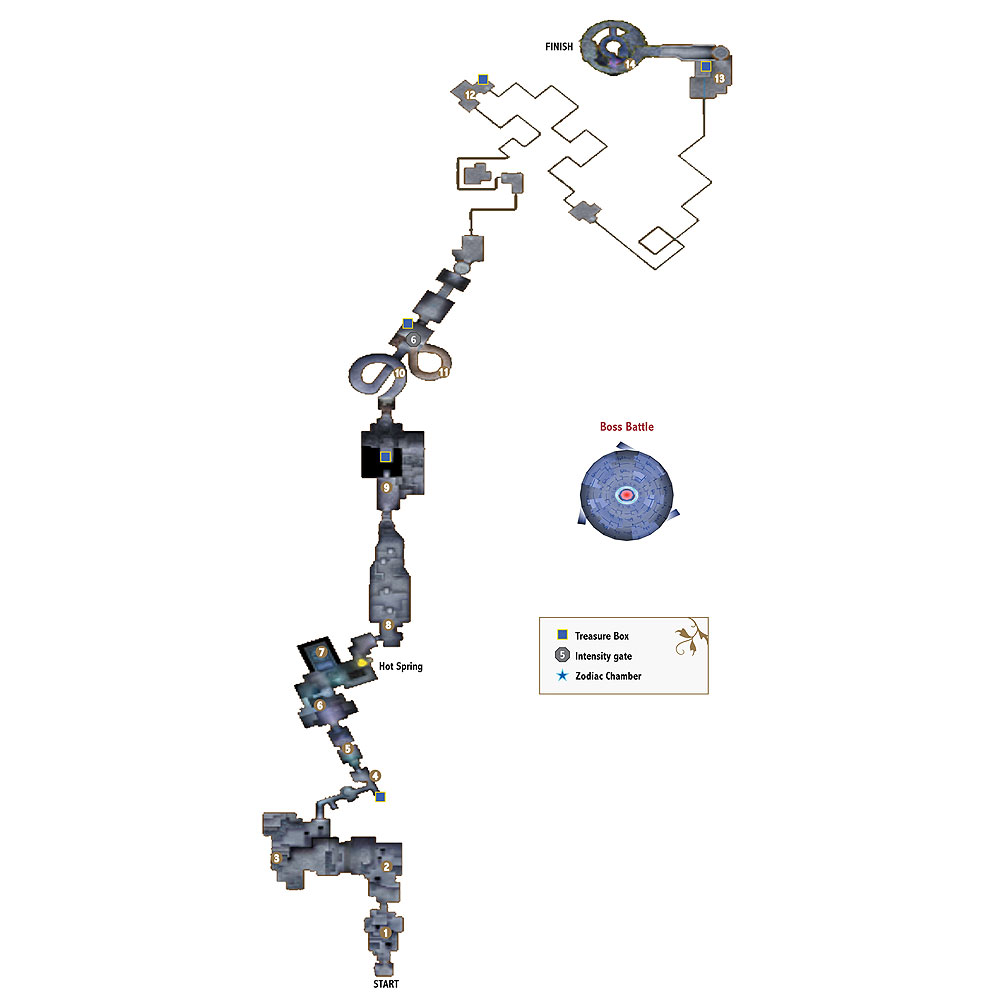
The road to the Aurum tower is like nothing you’ve seen from either the Underworld Army or the Forces of Nature. The Aurum will make Pit fight for each step forward he takes on their territory.
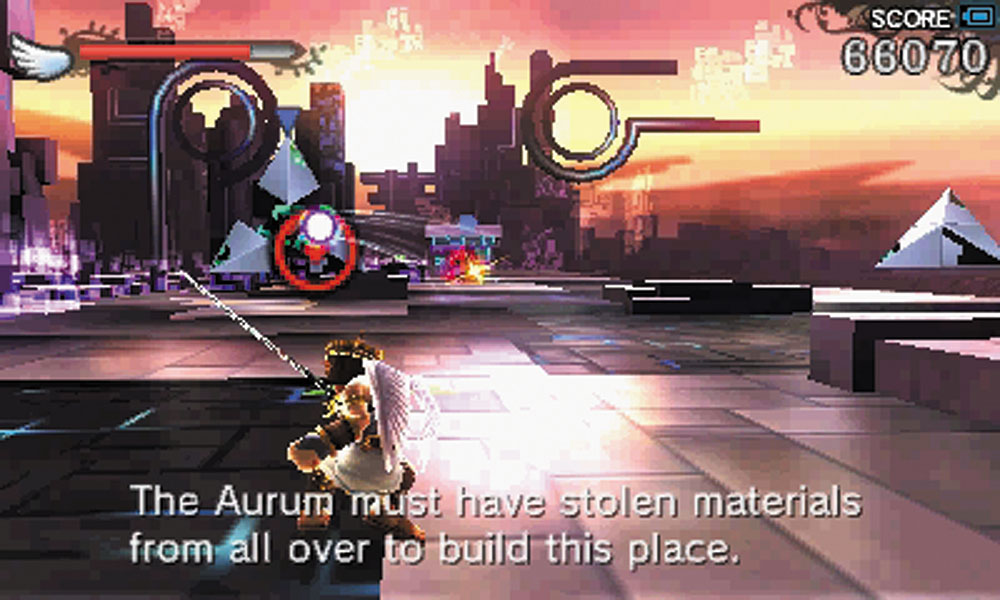
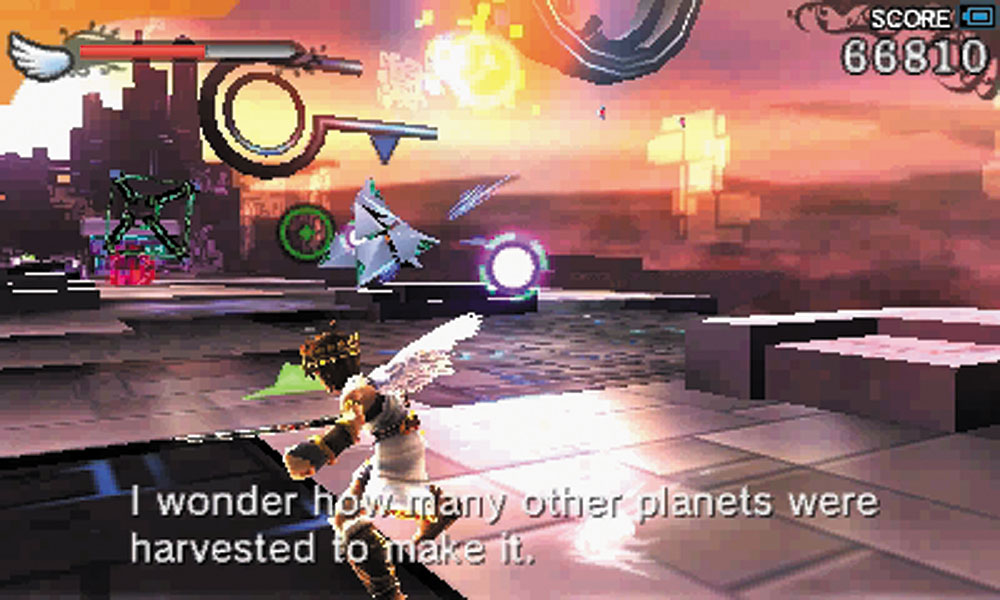
1. Tribytes and Jyok are the first defenders against Pit’s incursion.
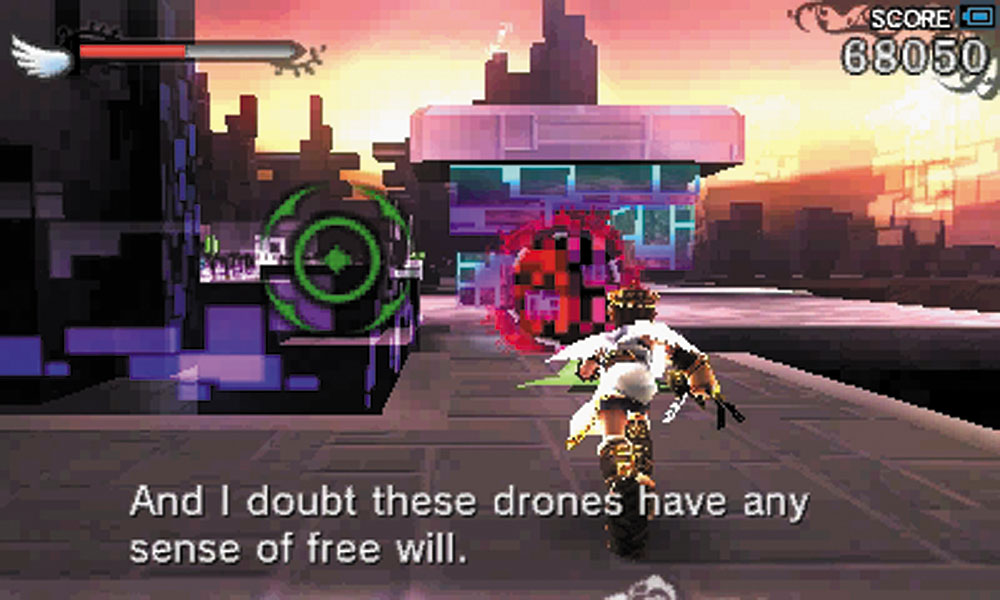
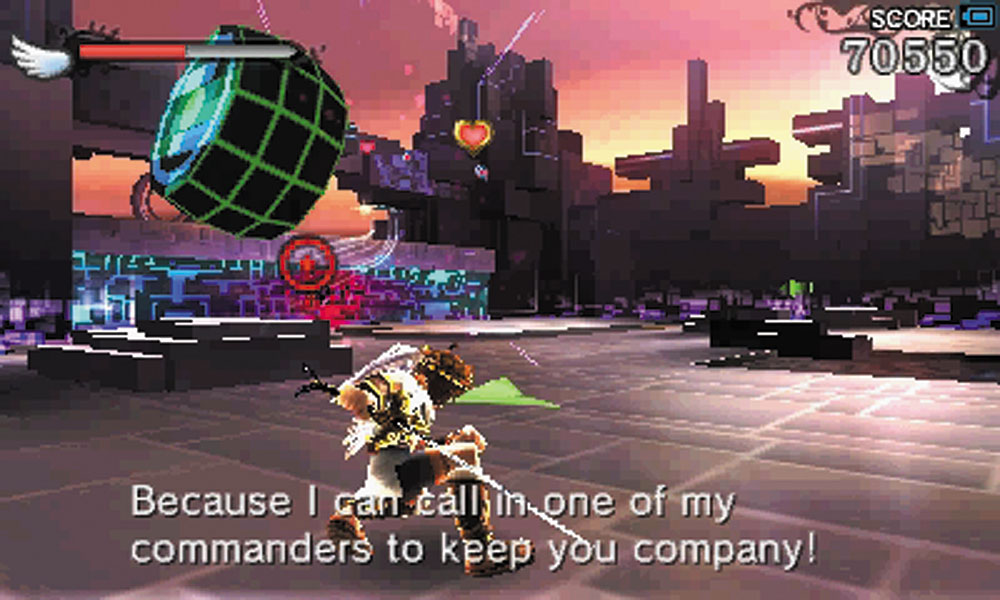
Blocks acting as barriers have red cores that should be destroyed, which will allow you access into newer areas. You’ll see them scattered throughout Aurum territory.
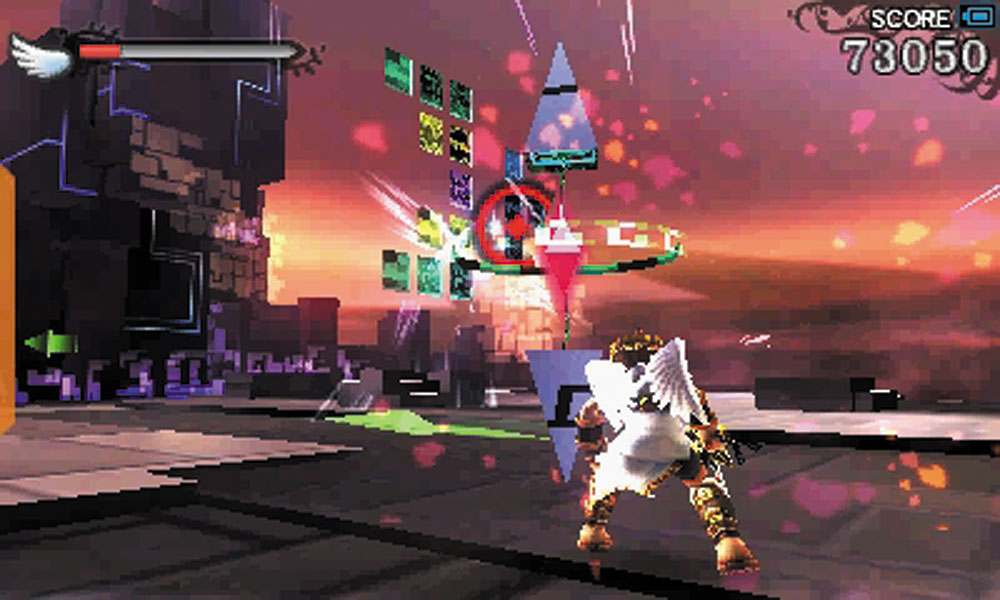
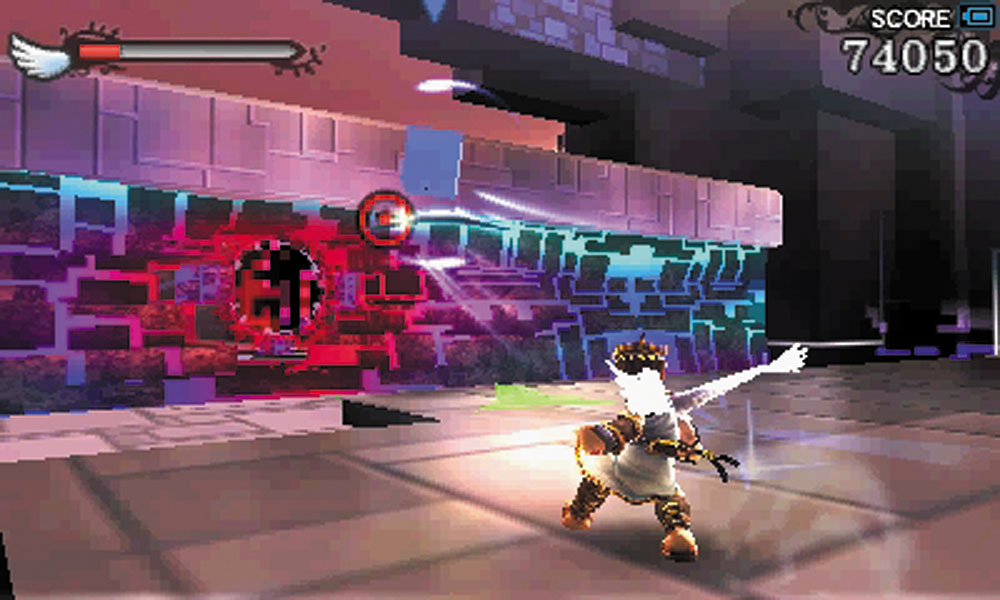
2. A larger barrier is guarded by a Xoneme and a Plixo. The shields on a Xoneme block most ranged attacks and act as a physical weapon against melee combat. You’ll have to wait for the shields to expand and then dodge through the barriers to get at the Xoneme.
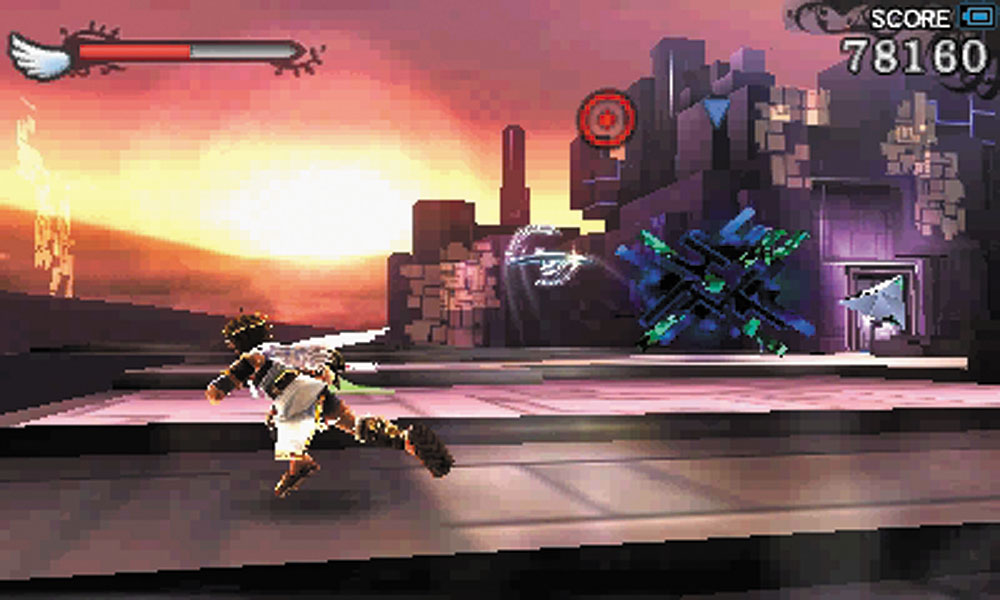
3. Sios generate black holes that trap you in place before unloading powerful beam cannons on their victims.
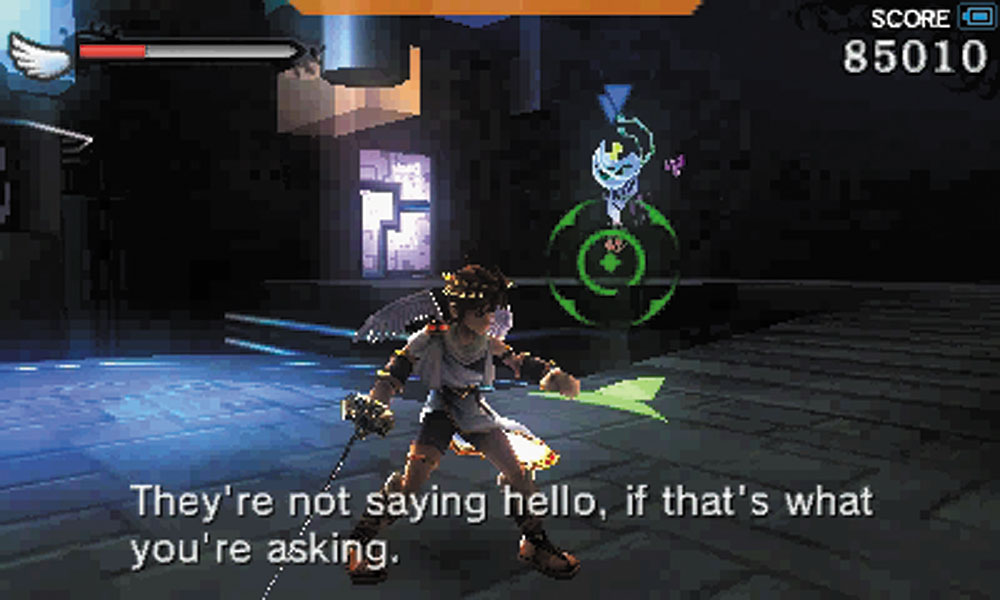
4. You encounter Zaurums for the first time here. They use wide area-of-effect shock waves to cause the confusion status.
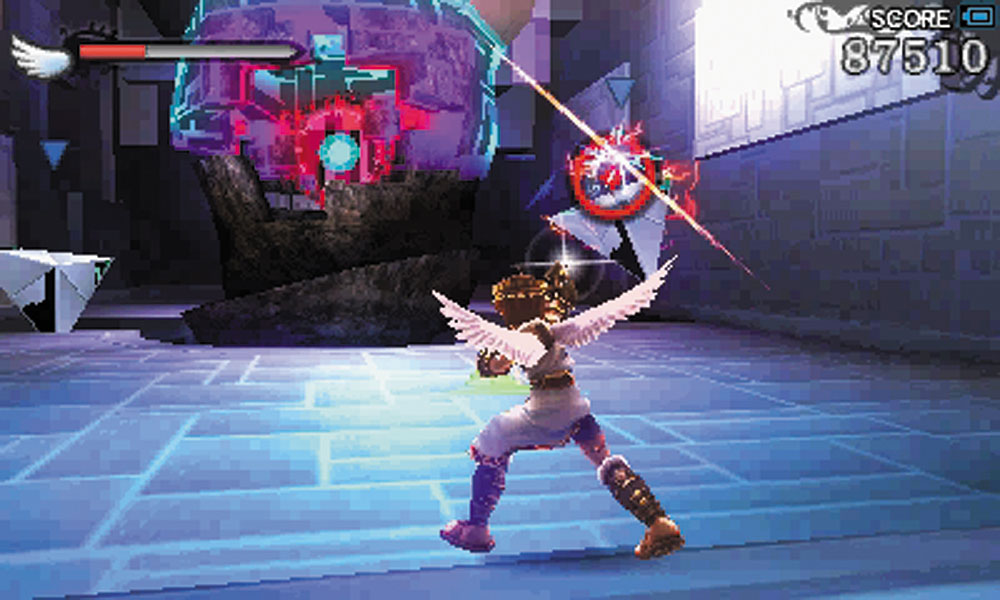
5. The red core here is defended by Tribytes and Zaurums.
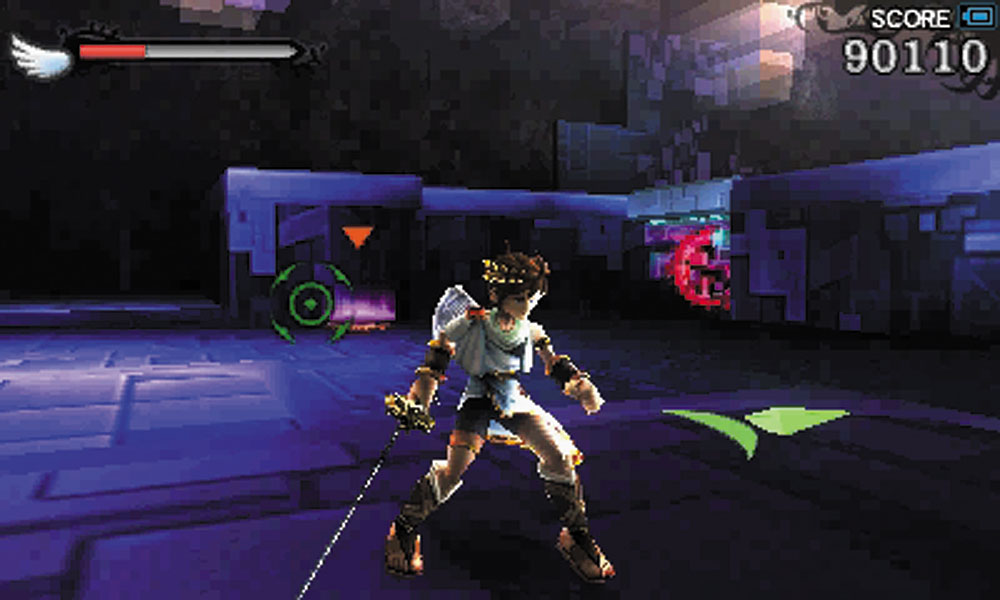
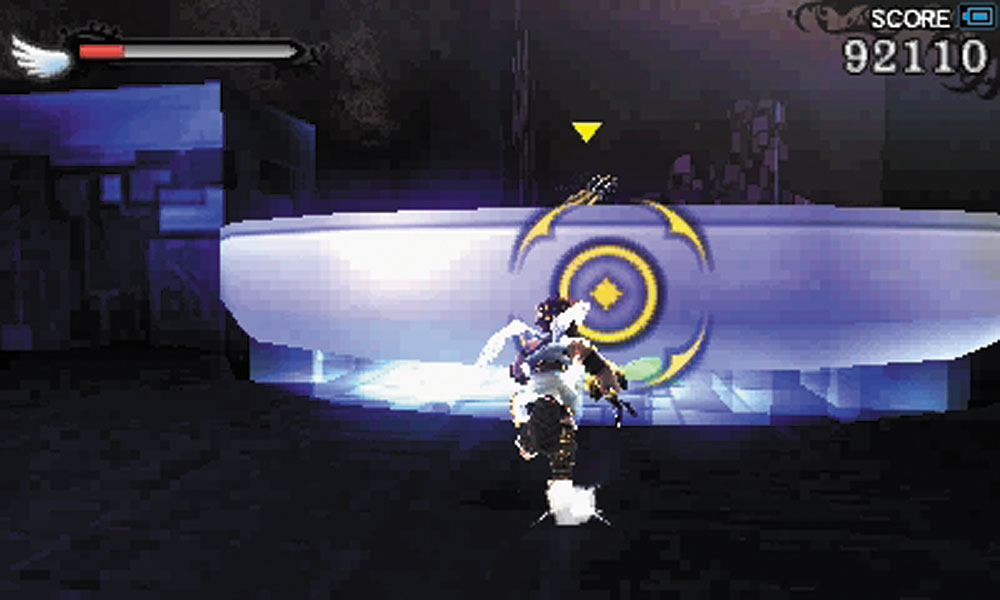
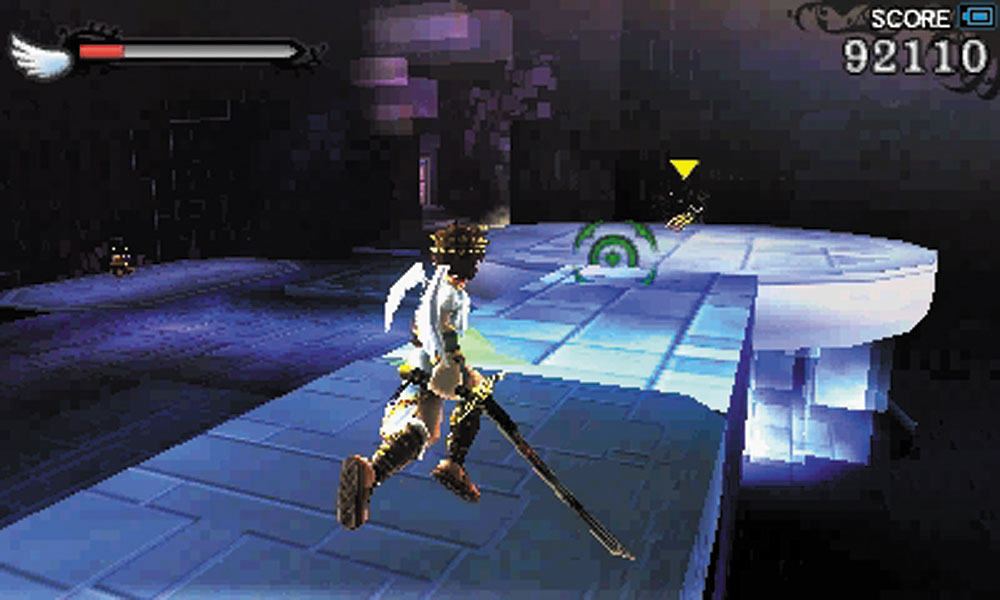
6. Don’t destroy the red core in this room right away. When you try to collect the weapon lying on the ground, it’s raised up by a part of the deck. You can use a jump pad to get on top of the red core to collect the item.
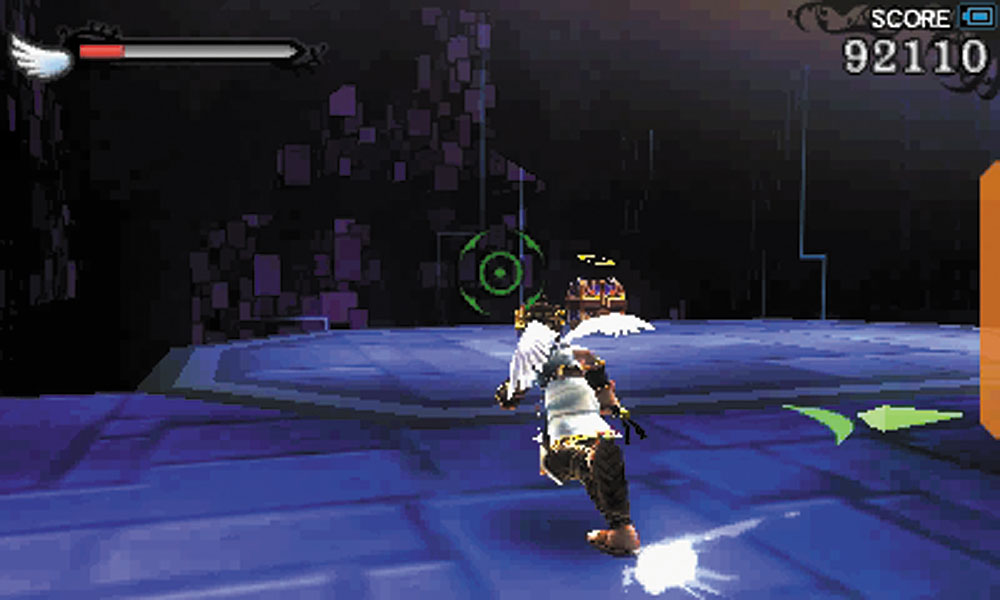
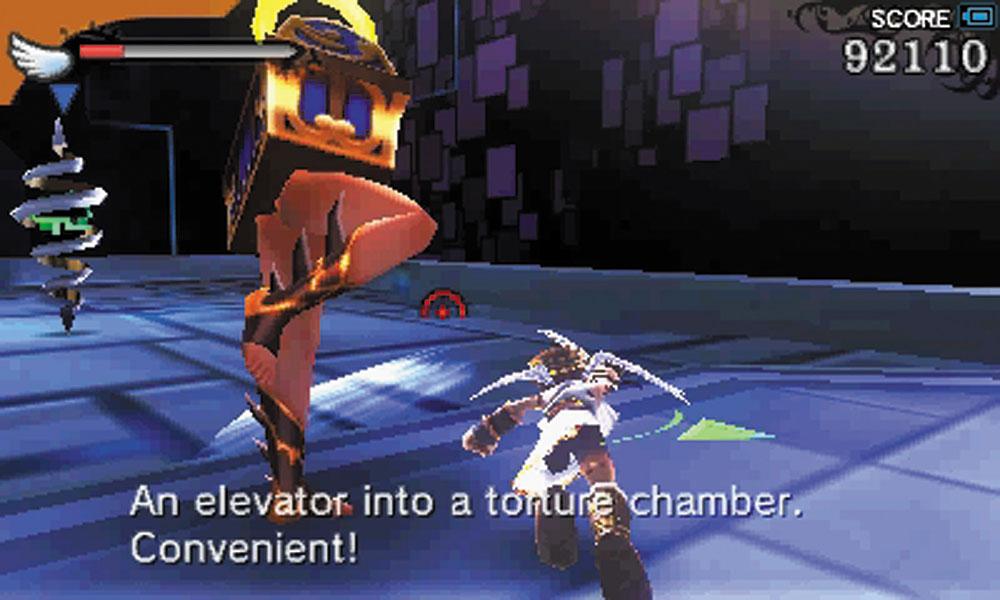
7. The treasure chest here is actually a Mimicutie! Going near it sends you to a lower area where you must battle with the Mimicutie and a Quoil. This is not a good combo to face in these close quarters. If the Quoil charges into you, you’ll be stuck spinning, which makes fighting the Mimicutie that much more frustrating.
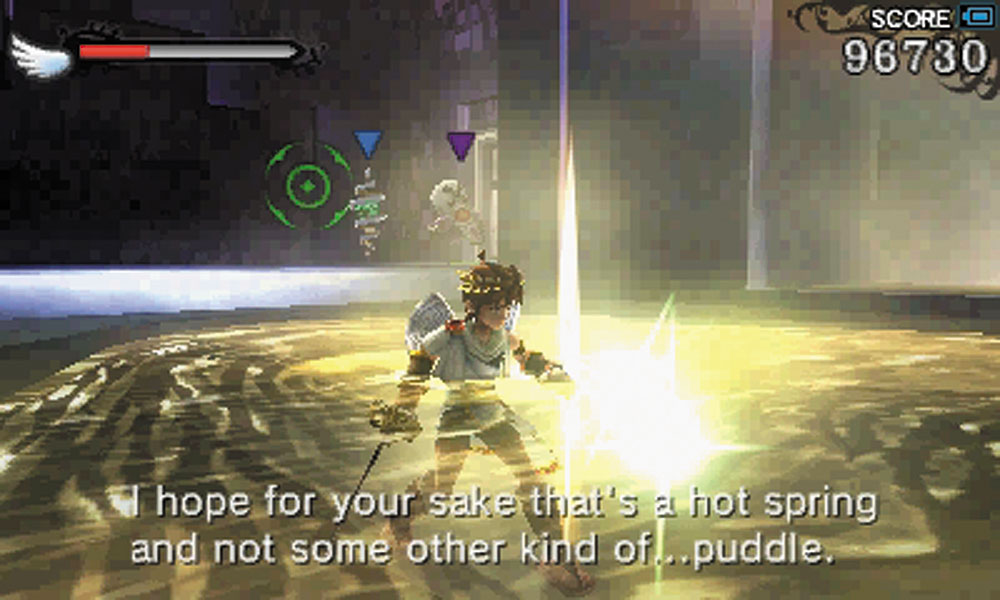
Luckily, there’s a convenient hot spring nearby that you can use to restore yourself. You can also snag another weapon that is stored next to it.
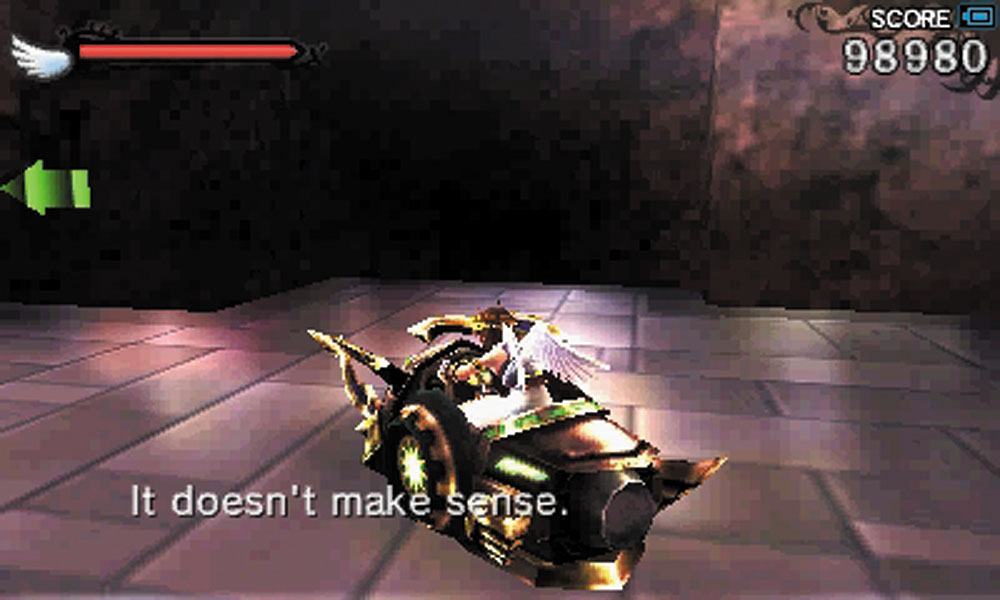
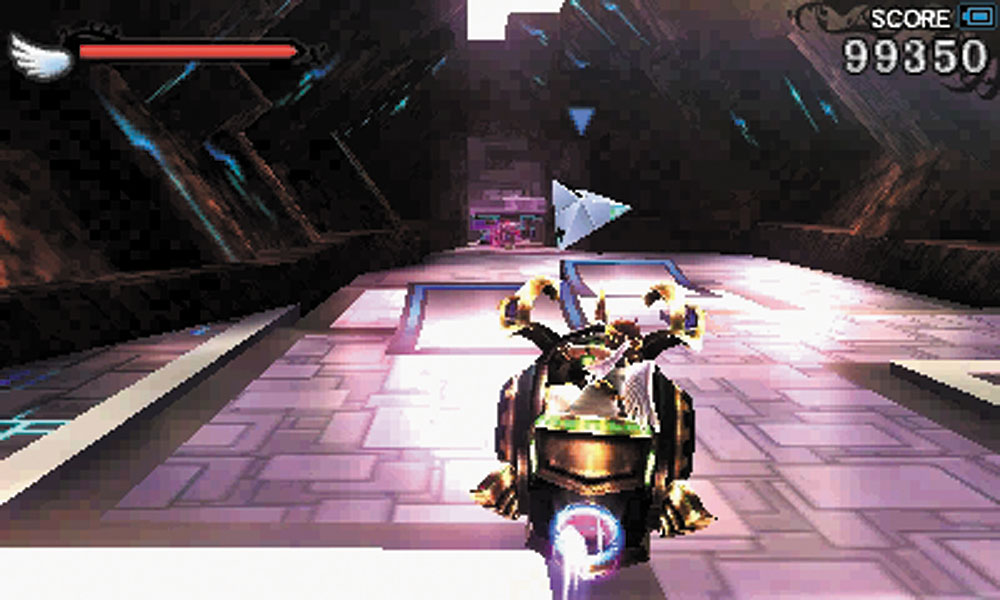
8. The Exo-tank here can be used to make a tough jump in the section after this. Don’t get it destroyed too soon.
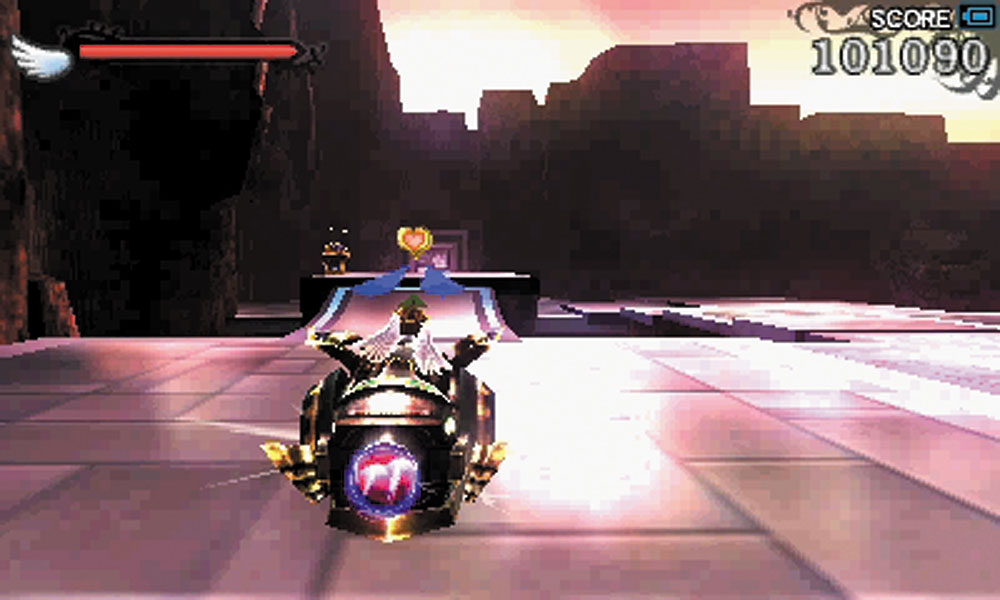
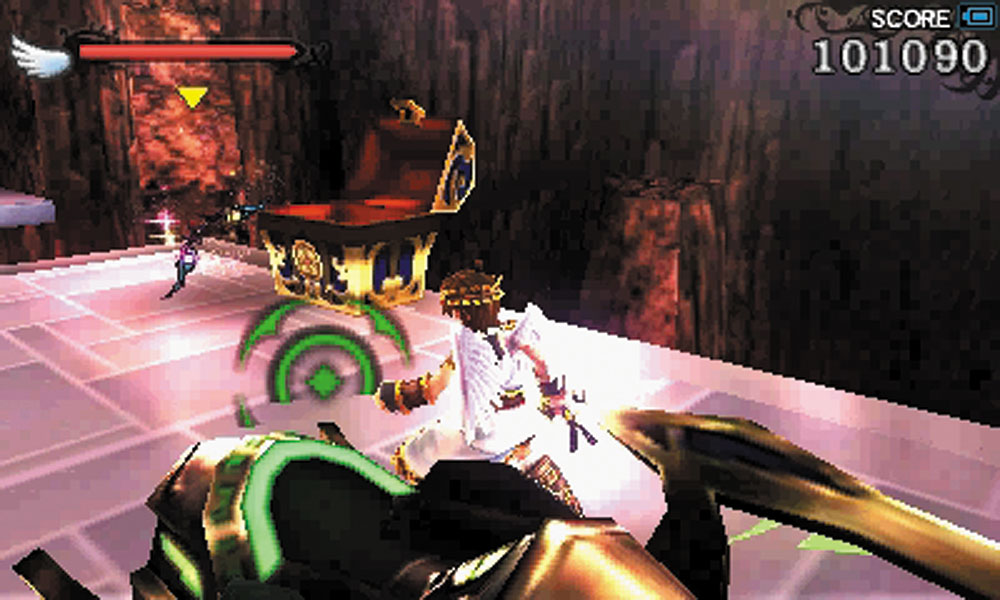
9. This is a difficult jump—no two ways about it. However, it’s the only way to grab this treasure chest. You need to use the ramp to get to the ledge itself with the tank. You don’t need to use the boost! As long as you get a solid running start at the ramp, and come at it straight on, you should be fine.
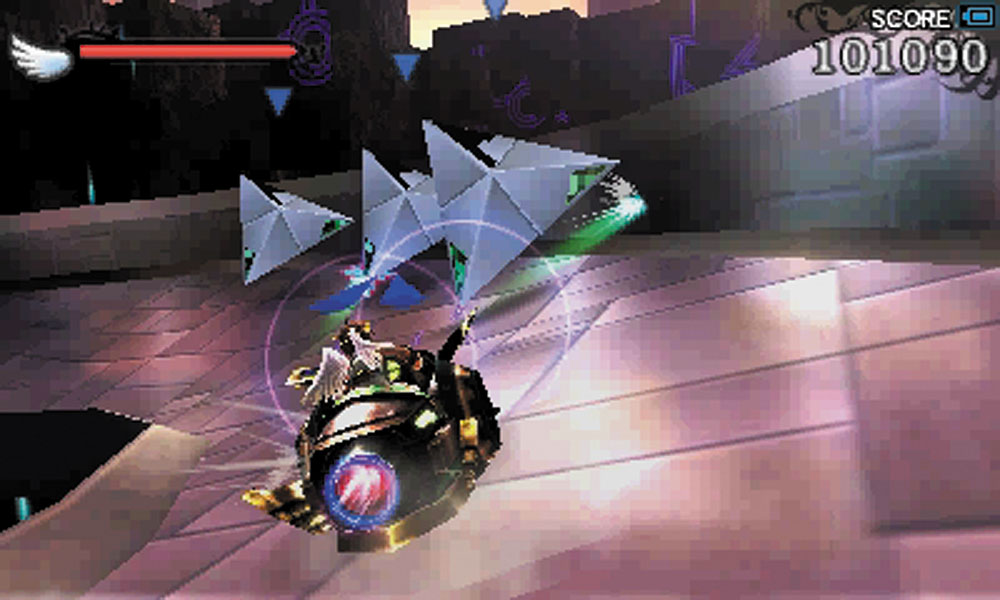
10. If you’ve still got an Exo-tank, you can blitz past the enemies on this winding road easily.
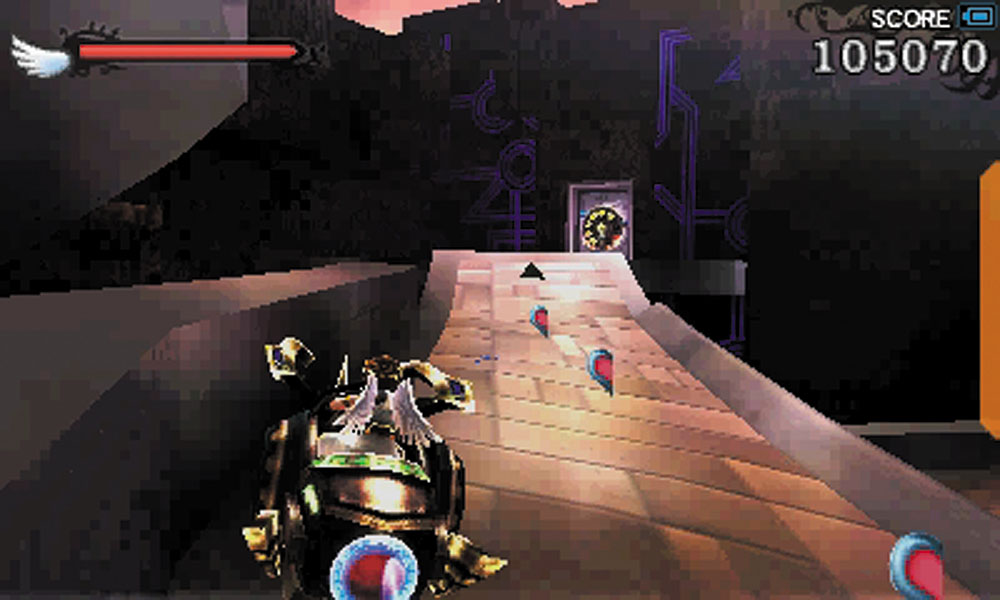
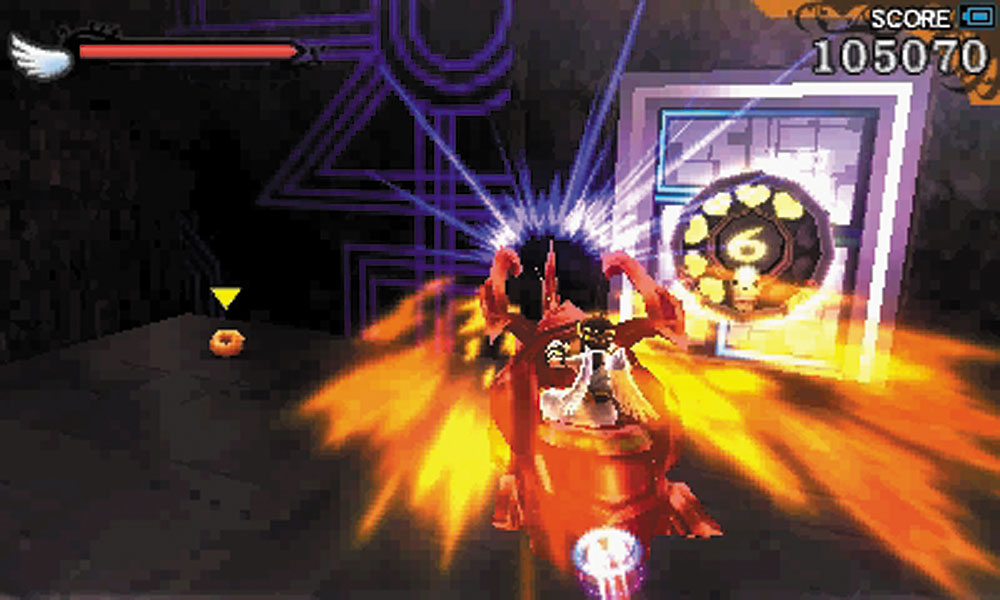
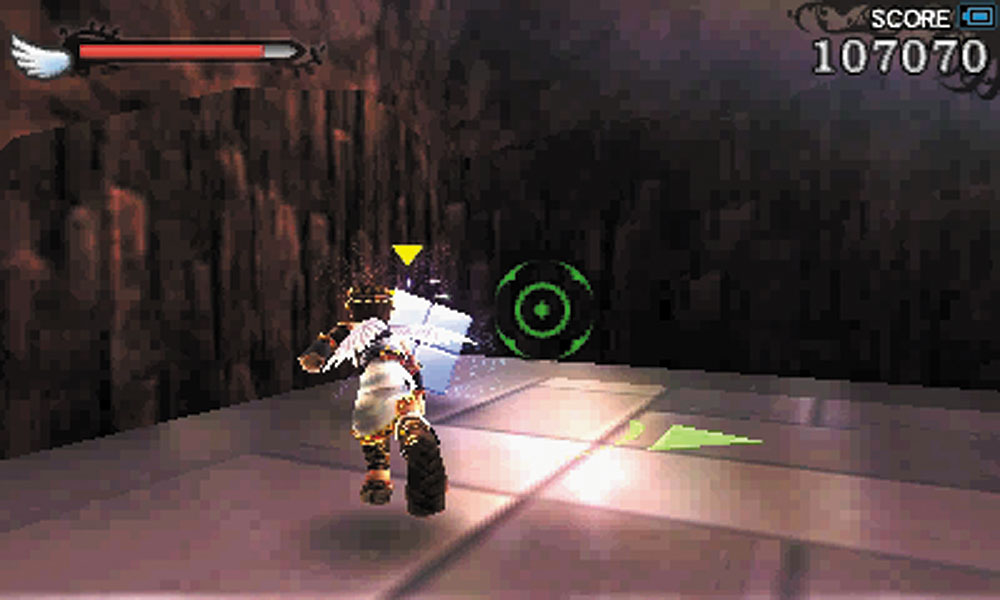
11. This side ramp can be used by an Exo-tank to enter a Level 6 Intensity Gate. Don’t miss the treasure chest in the corner of this room.
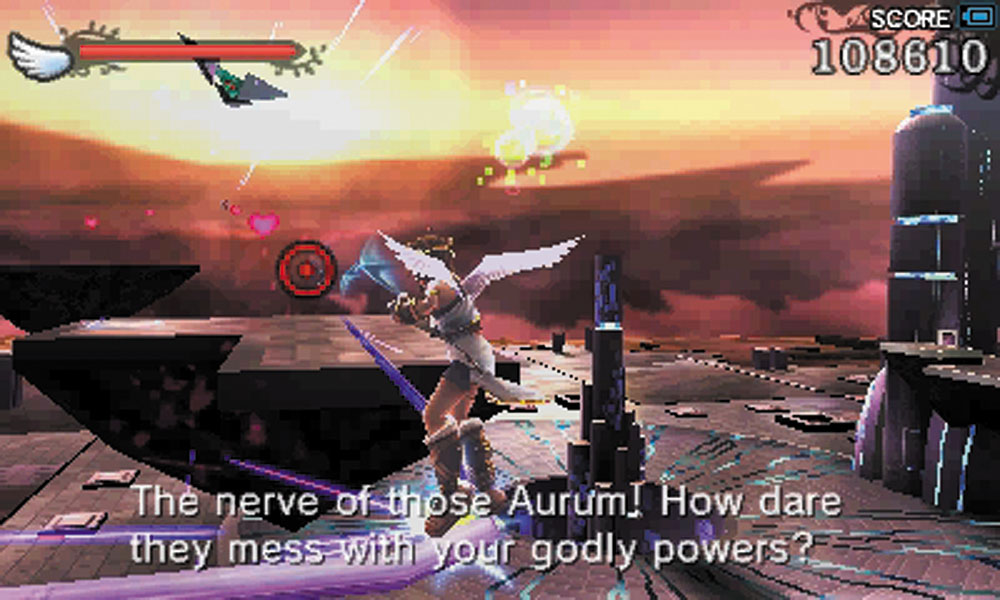
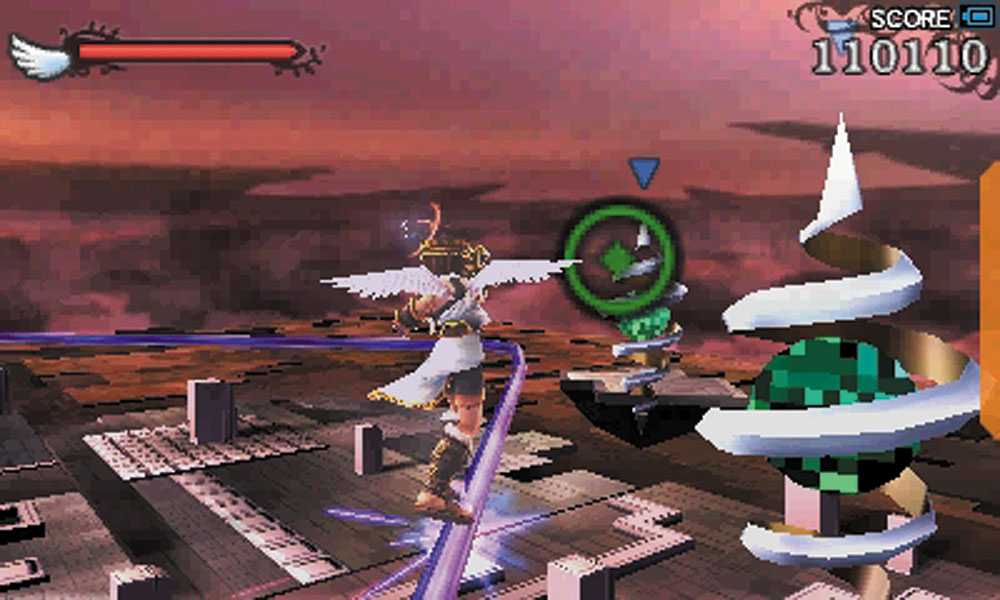
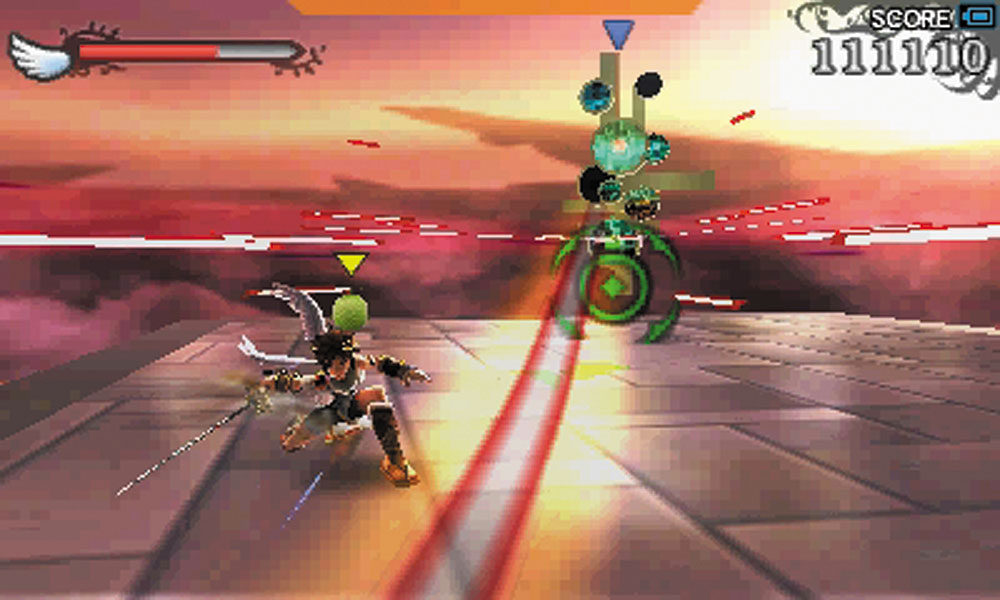
12. After a grind rail ride you arrive on this island and are confronted by a Baglo. This enemy absorbs any attack and responds with a vicious counterattack. Do not take Baglos lightly. Defeating the Baglo in this location causes the Treasure Box to spawn.
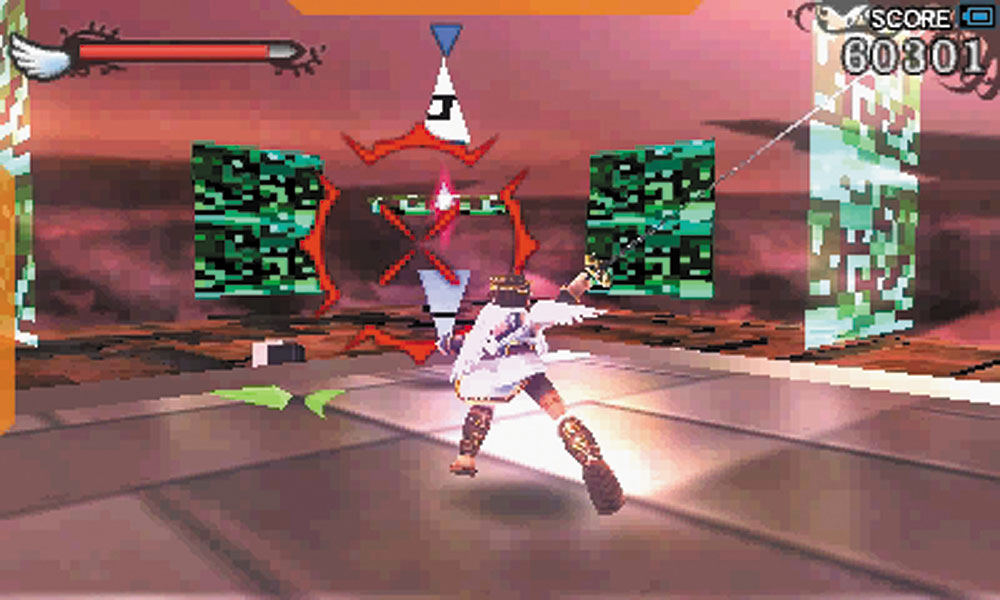
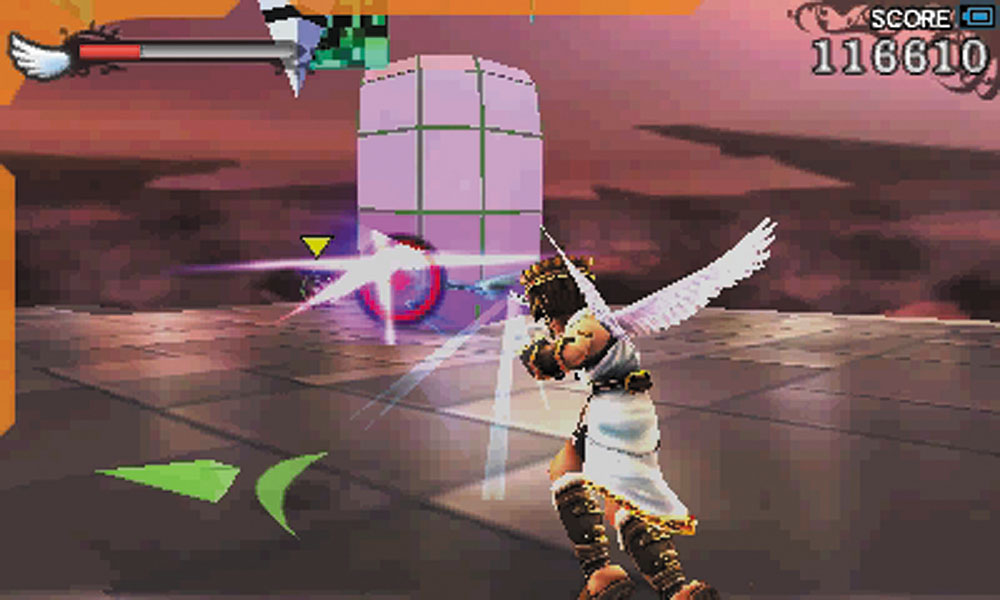
13. A Xoneme attacks your landing spot near the exit to this stage, while a pair of Kolmas roll around the lower level. Don’t take the Kolmas lightly, they do heavy damage every time they roll into you, and with a pair of them on the field, it’s a quick way to get finished. Defeating all the enemies in this location causes the Treasure Box to spawn.
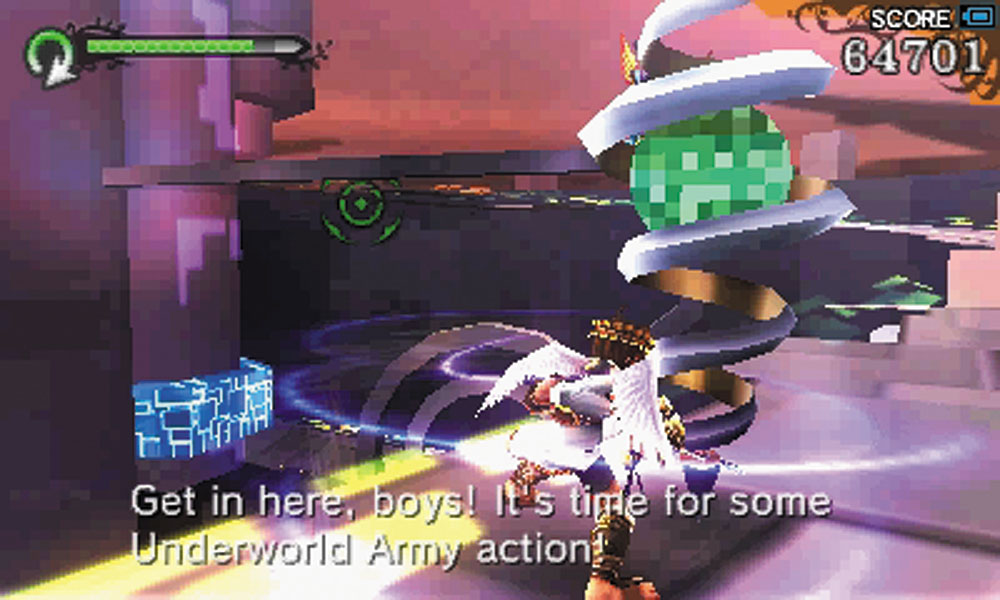
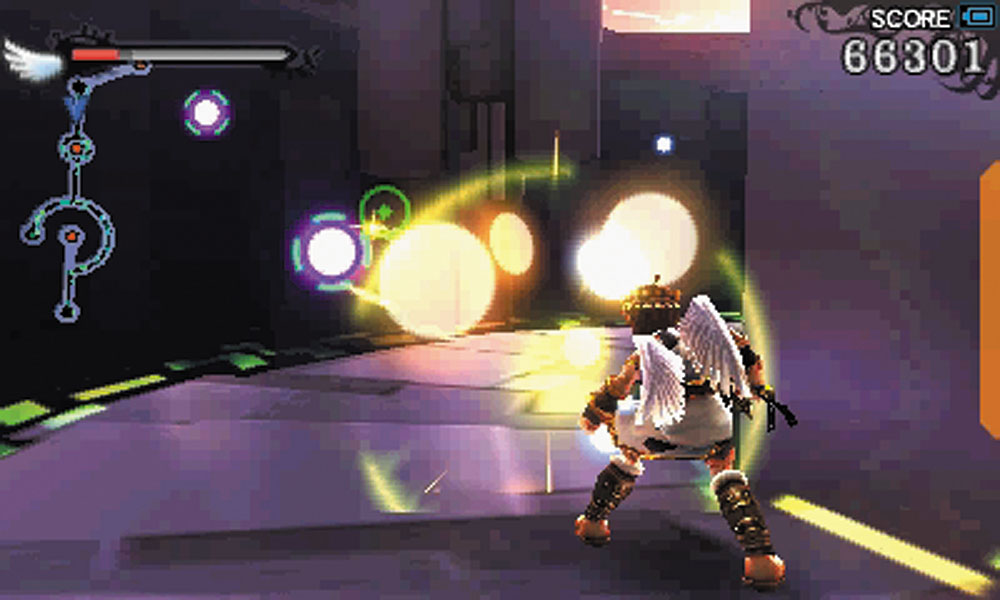
14. This last winding walkway to the depths of the tower is the final stretch! Everything the Aurum have shown you so far can be expected to try and block your way here.
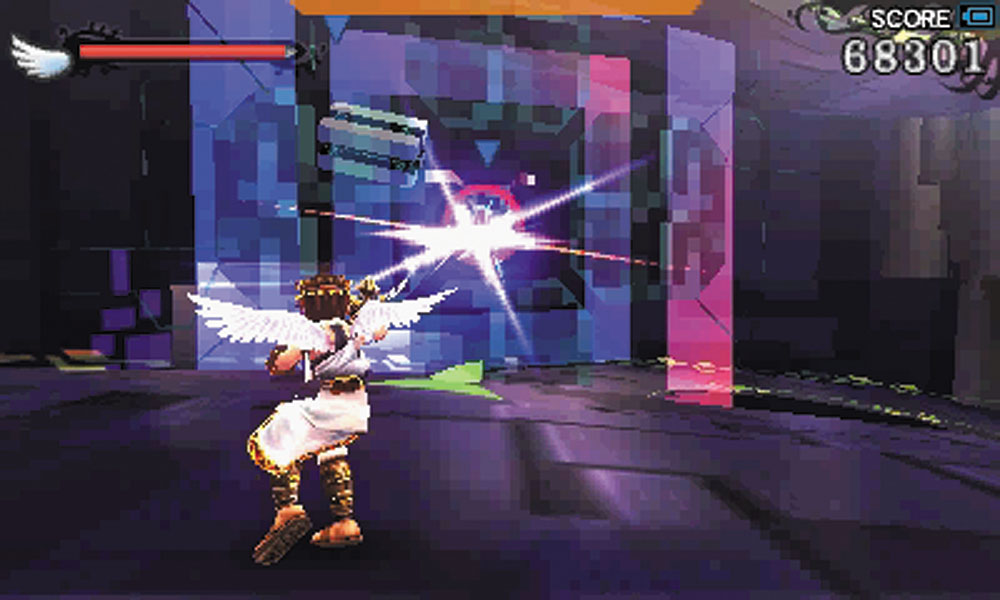
Rezdas make an appearance here, acting a shield for Jyok to blast at you in relative safety.
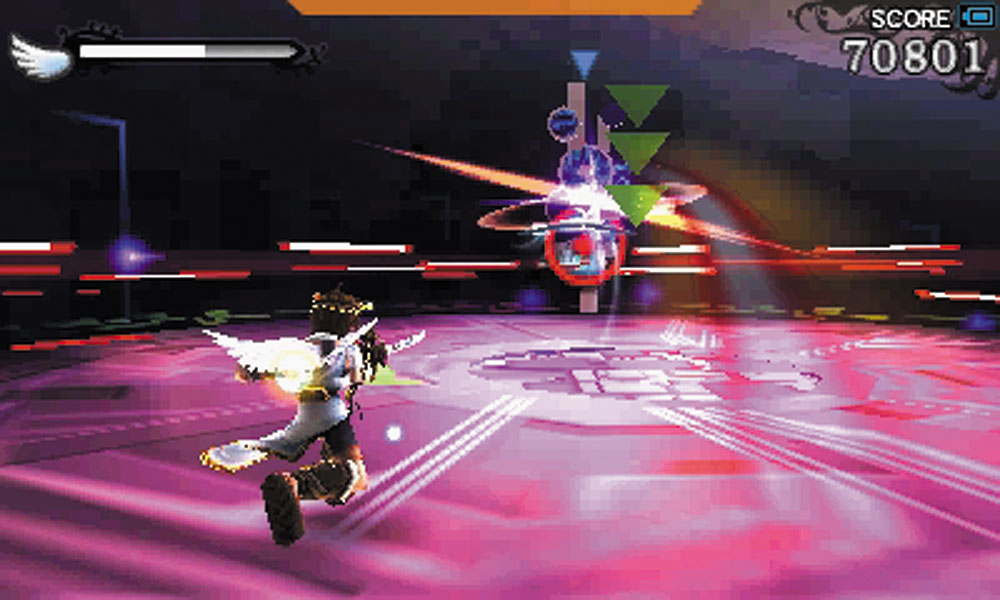
The bottom of the tower has an elevator that takes you to the Aurum Core, but it’s guarded by a Baglo. It’s probably for the best if you just collect the Drink of the Gods and step into the elevator without provoking the Baglo.